Join us at Perfectly Rustics for the “Make It Better” Challenge

Join us at Perfectly Rustics for the “Make It Better” Challenge

reminder1

There is still time to enter the Perfectly Rustics Challenge #43 – “Make It Better” – where you are encouraged to choose a project that you did (but aren’t crazy about) and make it better.  Link your new better version for the challenge on the Perfectly Rustics site, but post the before and after photos on your blog.  It’s that simple! (http://perfectlyrustics.com/2015/03/09/prdc-no-43-make-it-better/)

Here’s a card project I re-did:

Don't Lose Hope Original and New

(click HERE to see the original post of this “re-do”)

Another card I posted recently was one that was redesigned from my original version:

Make It Better 2(click HERE to see the original post of this card)

Be sure to check out the projects posted by the rest of the design team.  I can’t wait to see your redesigned card projects over at Perfectly Rustics!

Confetti Cluster Flower Card

Confetti Cluster Flower Card

Confetti Cluster FLower Card DSCN9112

I just learned a new technique called Confetti Cluster Stamping where you stamp a bunch of small images in the shape of your choice.  (You can see the video tutorial HERE over at Papertrey Ink.) Basically, you start with a shape template and lightly trace it onto your card panel.   Then you use a variety of tiny stamps and inks to fill in the traced shape.  Once the entire shape is filled in (enough to clearly see the original shape), you erase your traced lines and you are left with a beautiful, confetti-like image.

I am entering this card project in the Mod Squad “Flowers” Challenge this week where we are to use a flower as a focal point.  (Sadly, this site is no longer active.)  The sponsor for this week is Melanie Muenchinger from Hands. Head and Heart so for the bonus entry, you need to use one of Melanie’s stamps.

I am also entering this in The Paper Players challenge # 236 – “Ann’s Clean and Simple Floral Challenge” – where we are to create a clean and simple floral card. (http://thepaperplayers.blogspot.com/2015/03/pp236-anns-clean-and-simple-floral.html)

I started with a flower template from the Cricut George and Basics Shapes Cartridge that I cut with my Cricut.  I traced it very lightly with pencil onto a piece of white card stock.  Then I started stamping.

Inks used:  Tim Holtz tattered rose distress ink, and Gina K wild lilac, turquoise sea, ocean mist, sweet mango, sweet corn, kraft, grass green, prickly pear, and innocent pink.

Stamp Sets used (all Gina K Designs – some retired):  Love You Mini Set, The Giving Tree, Pretty Patterns, Mommy-to-be Diva, Party On, Fabulous Frame Fillers, Fabulous Holiday Fillers, Best Fishes, Bundle of Love, and Sunkissed Autumn.

Card Stock used:  Stampin’ Up Crisp Cantaloupe, Gina K Turquoise Sea, and white.

The Sentiment was from the Gina K Designs Happy Birthday Duo set and was stamped with versamark ink and heat embossed with Recollections snow embossing powder.  I cut the flower center with a Creative Memories circle punch and embossed it with a Cuttlebug Swiss Dots embossing folder.  The ribbon is by American Crafts and is strategically placed to hide an ink smudge!

This project was fun to do, but I needed to start over quite a few times because I kept getting ink on the edges of my acrylic block and then onto my card panel.  With such tiny stamps, you need to be careful not to rock the stamps when you are inking them up and again when you stamp the images.  Another problem I had was that I started off stamping my images slowly and deliberately, and then started moving more quickly which is when I tended to mess up.  I know that sounds obvious, but when you repeatedly stamp the same image randomly on your project, it is really easy to pick up speed!  My final problem was that I don’t normally use this many colors and I wasn’t sure I liked my combination at first.  I ended up putting the panel aside and working on something else, and when I came back to it, the colors had faded when the inks dried, and I liked it so much better!  For this project, I basically just kept grabbing ink pads.  For next time, I think I will try some combinations on scrap paper and let the inks dry to see how it will turn out instead of just starting on my card panel.

Thanks for checking out my card project!

This content uses referral links as described in the disclosure policy on my sidebar.

Let’s Craft!

Let’s Craft!

crafting

Interested in learning new techniques?  Want to try out the latest tools and supplies before committing to purchasing them?  Wish you had access to a large selection of stamps, dies, and embossing folders to use on your projects?  Tired of crafting alone?  If you live in the Cherry Hill, NJ area and are interested in any of the above, leave me a note below, or email me at lisababitz@gmail.com.  I’d be happy to set something up with you at your convenience.  Fees for lessons and other terms, including location, can be discussed in advance when you contact me. Oh, and one more thing – I don’t work for any company or sell any product so there will never be pressure to purchase anything. Let’s just craft!!

← Back

Thank you for your response. ✨

Baseball Thank You Note

Baseball Thank You Note

Baseball Thank You Note DSCN8983

My son needed another baseball themed thank you note, so I created this card.

The baseball print was from an image I found on google and printed with permission (photo courtesy of Tennessee Home & Farm, tnhomeandfarm.com originally seen HERE) on white card stock.  The brown paper is a digital paper I purchased on Etsy from a store called Happy Place Art and is from a set called Watercolour Series Nautical Set. (You can see the listing HERE.)  The THANKS stamp is from the Gina K Designs Vertical Greetings stamp set. (I LOVE their vertical greeting stamps and wish they would make more!) The baseball stamp is from the Hampton Art Warehouse Baseball Rubber Stamp Set (as seen HERE). Both were stamped with Gina K dark chocolate ink. All the edges were sponged with the dark chocolate as well. The stamped panel was adhered with foam tape to raise it up slightly. I finished it off with a bit of thin twine and adhered the whole thing to a Gina K Pure Ivory card base.

The greeting stamp had to be positioned “just right” with the other stamp, and because I stamped brown ink onto a somewhat dark brown card stock, I needed to stamp the images multple times in order to make the images dark enough to see well. I also wanted to make several copies of this card. My MISTI was the perfect tool for the job! (I talk about the MISTI in a previous post which you can see HERE.) It allowed me to precisely place the two stamps exactly where I wanted them, and it allowed me to stamp and re-stamp the images in the exact spot each time.  I posted a demonstration of how I used this tool to make this card HERE.

This card is being entered in the “Use Your Stuff” Challenge where we are encouraged to use stuff that we’ve had in our stash but have not used yet, and this week – to “Make it Monochromatic.”  It can be a card or a layout, altered art or an ATC – as long as it is monochromatic.  I used shades of brown and a baseball stamp that I purchased but hadn’t gotten around to using before now. (http://useyourstuff.blogspot.com/2015/03/176-monochromatic.html)

Thanks for checking out my card project!

This content uses referral links as described in the disclosure policy on my sidebar.

How I use the MISTI to Stamp Multiple Images on My Project

How I use the MISTI to Stamp Multiple Images on My Project

MISTI DSCN8983 cropped

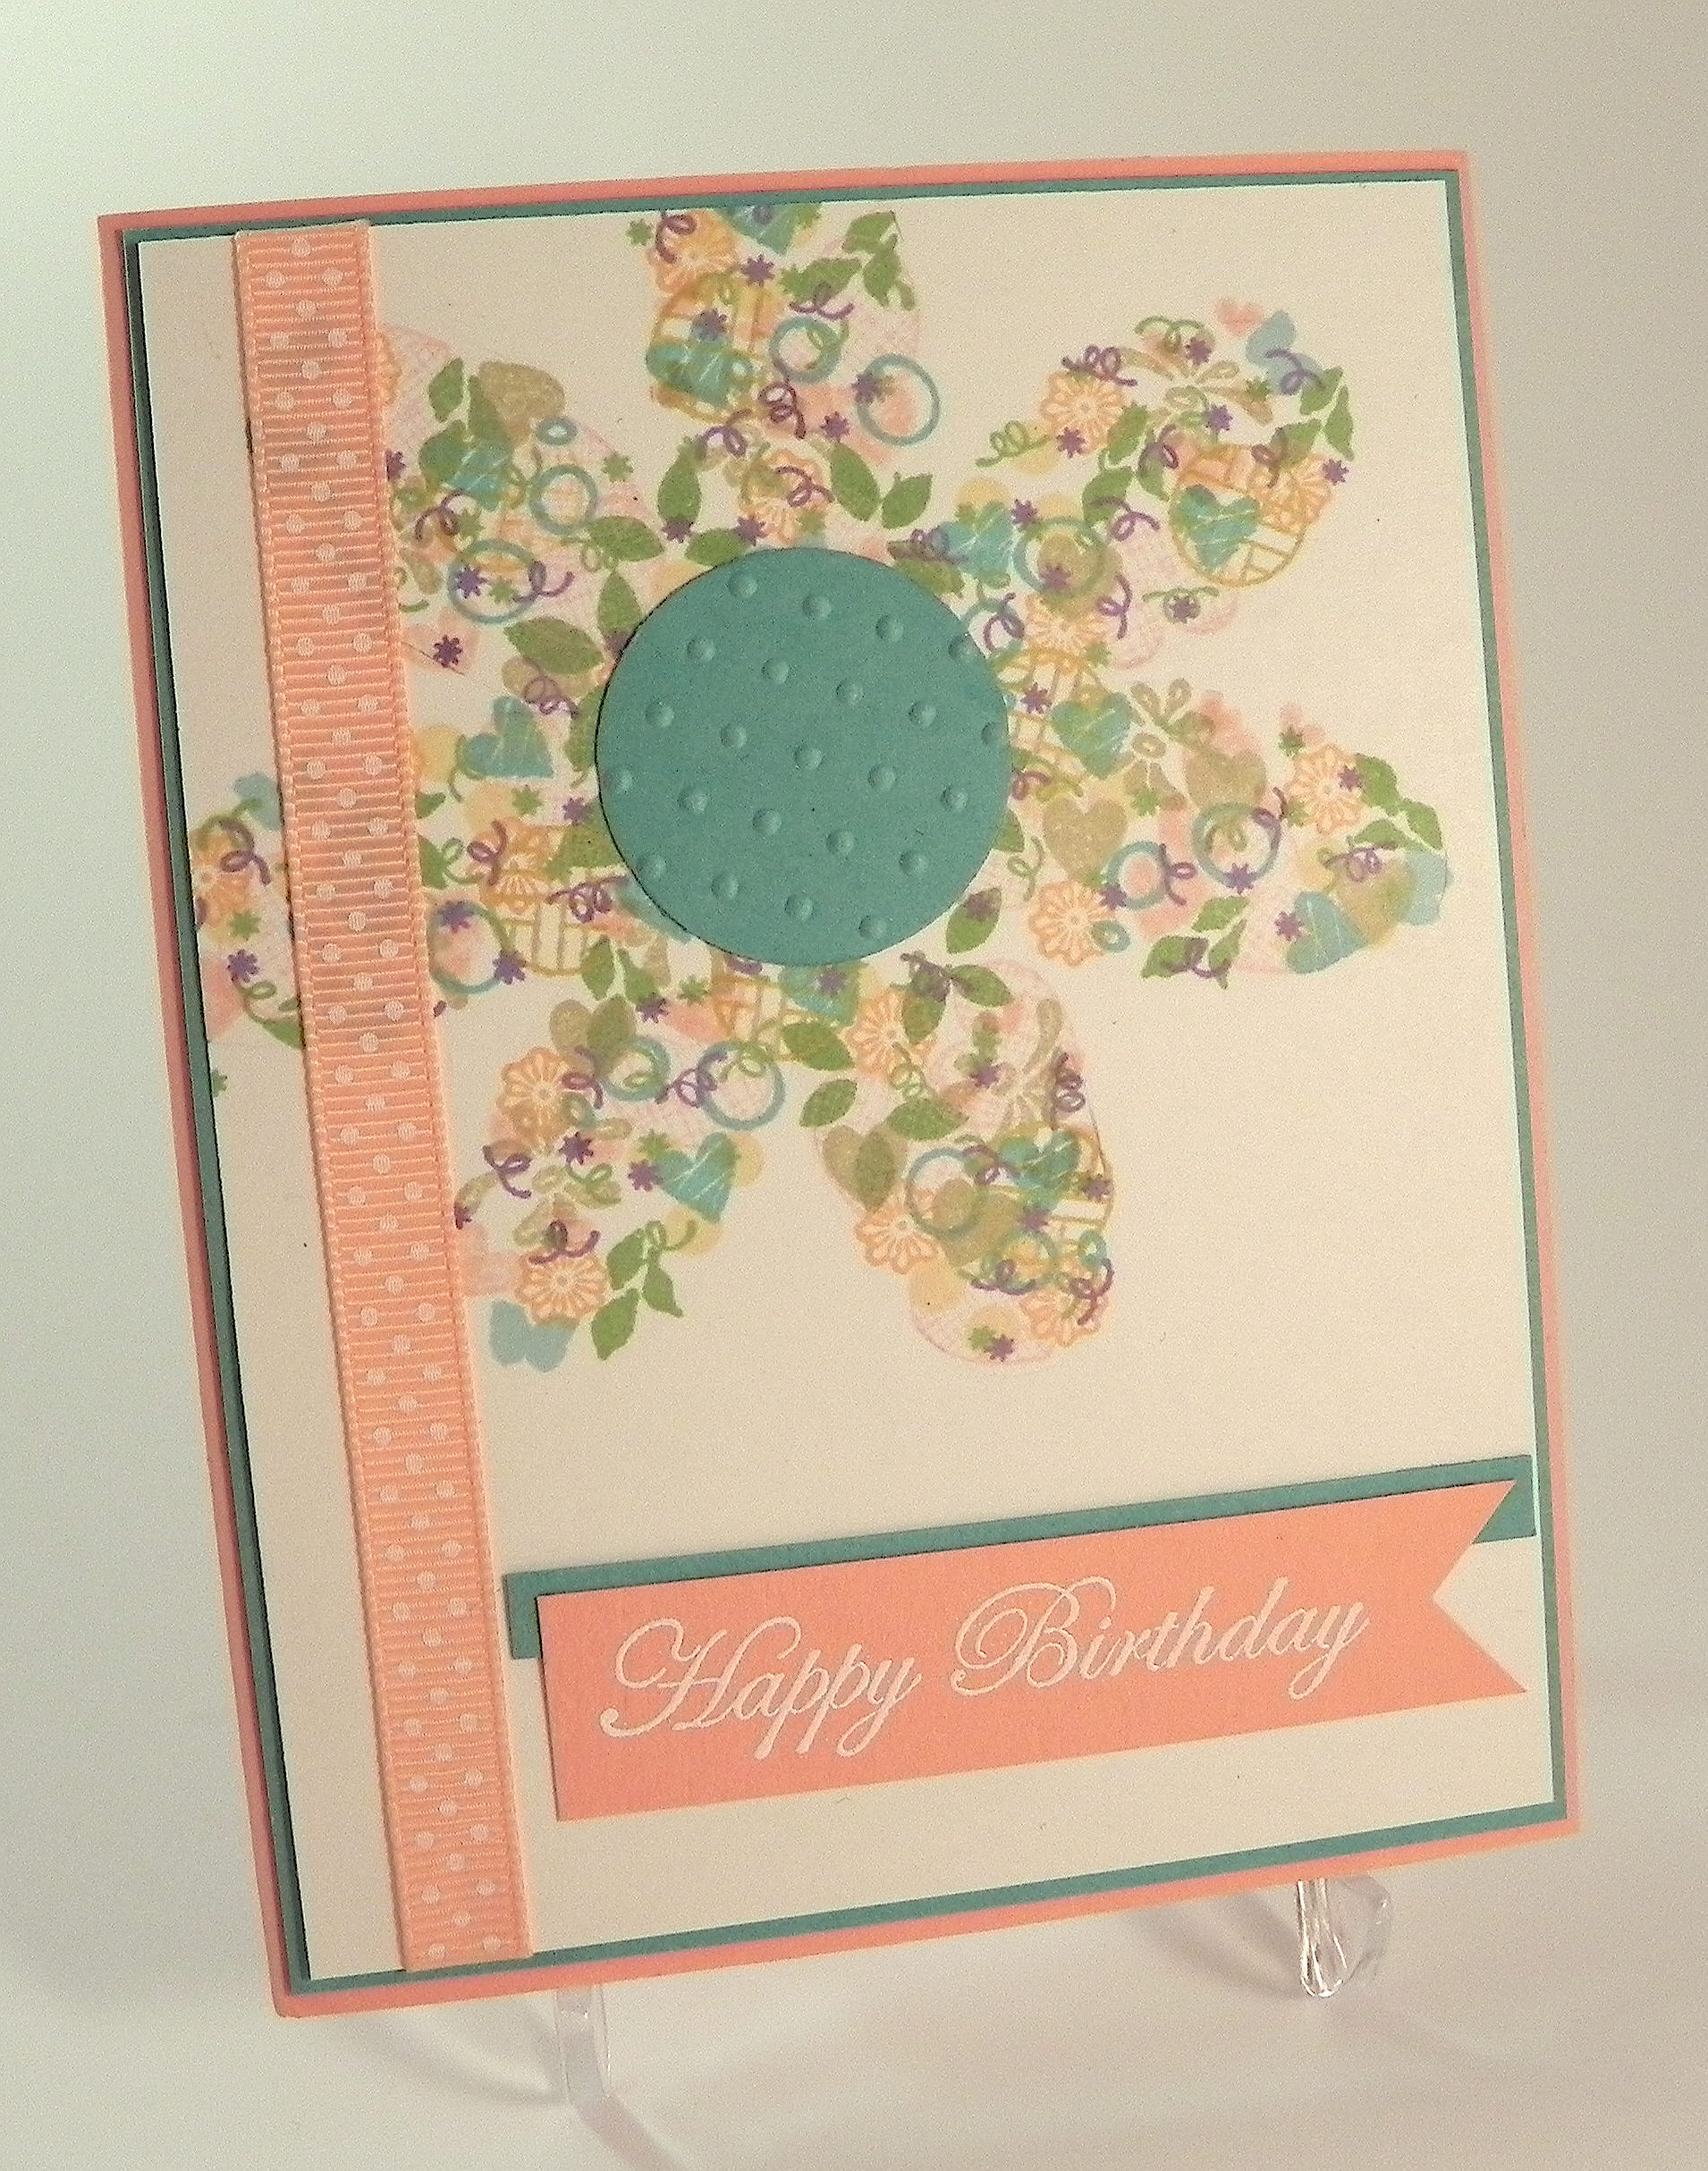
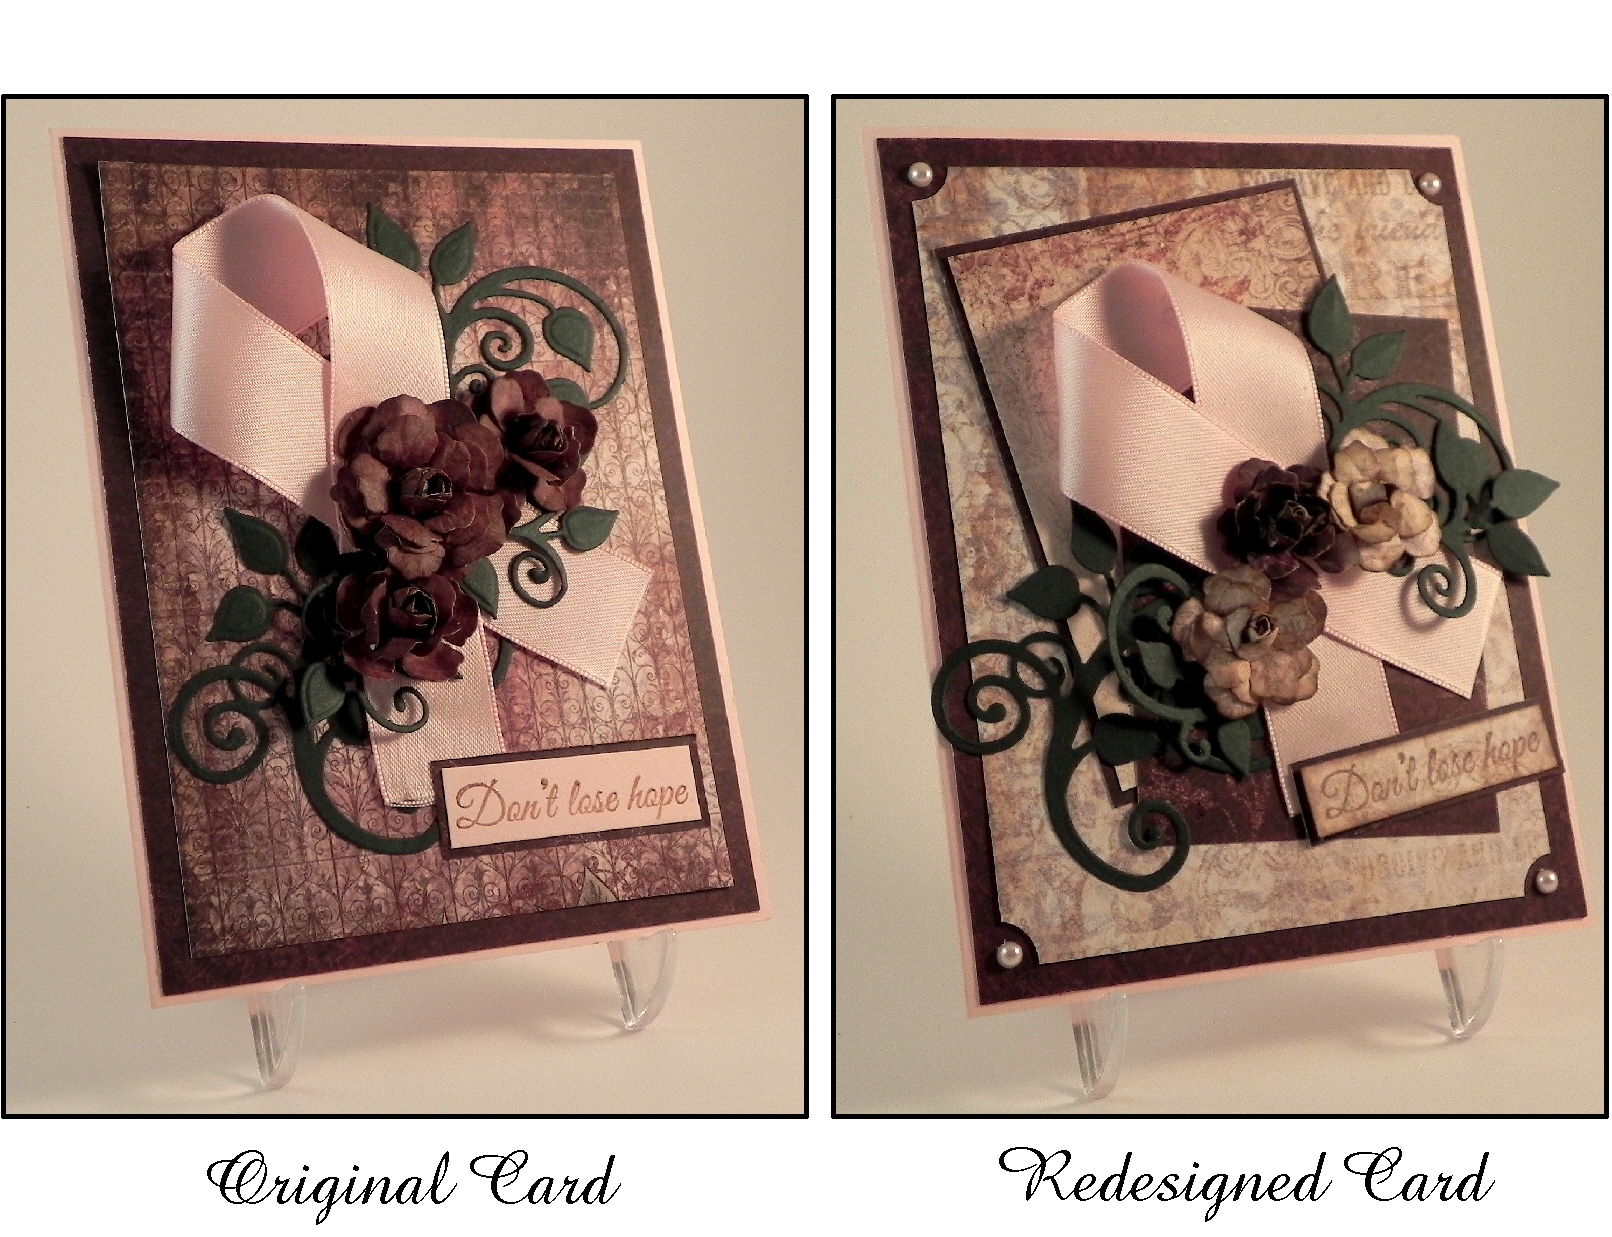
(Click HERE to see the original card post)

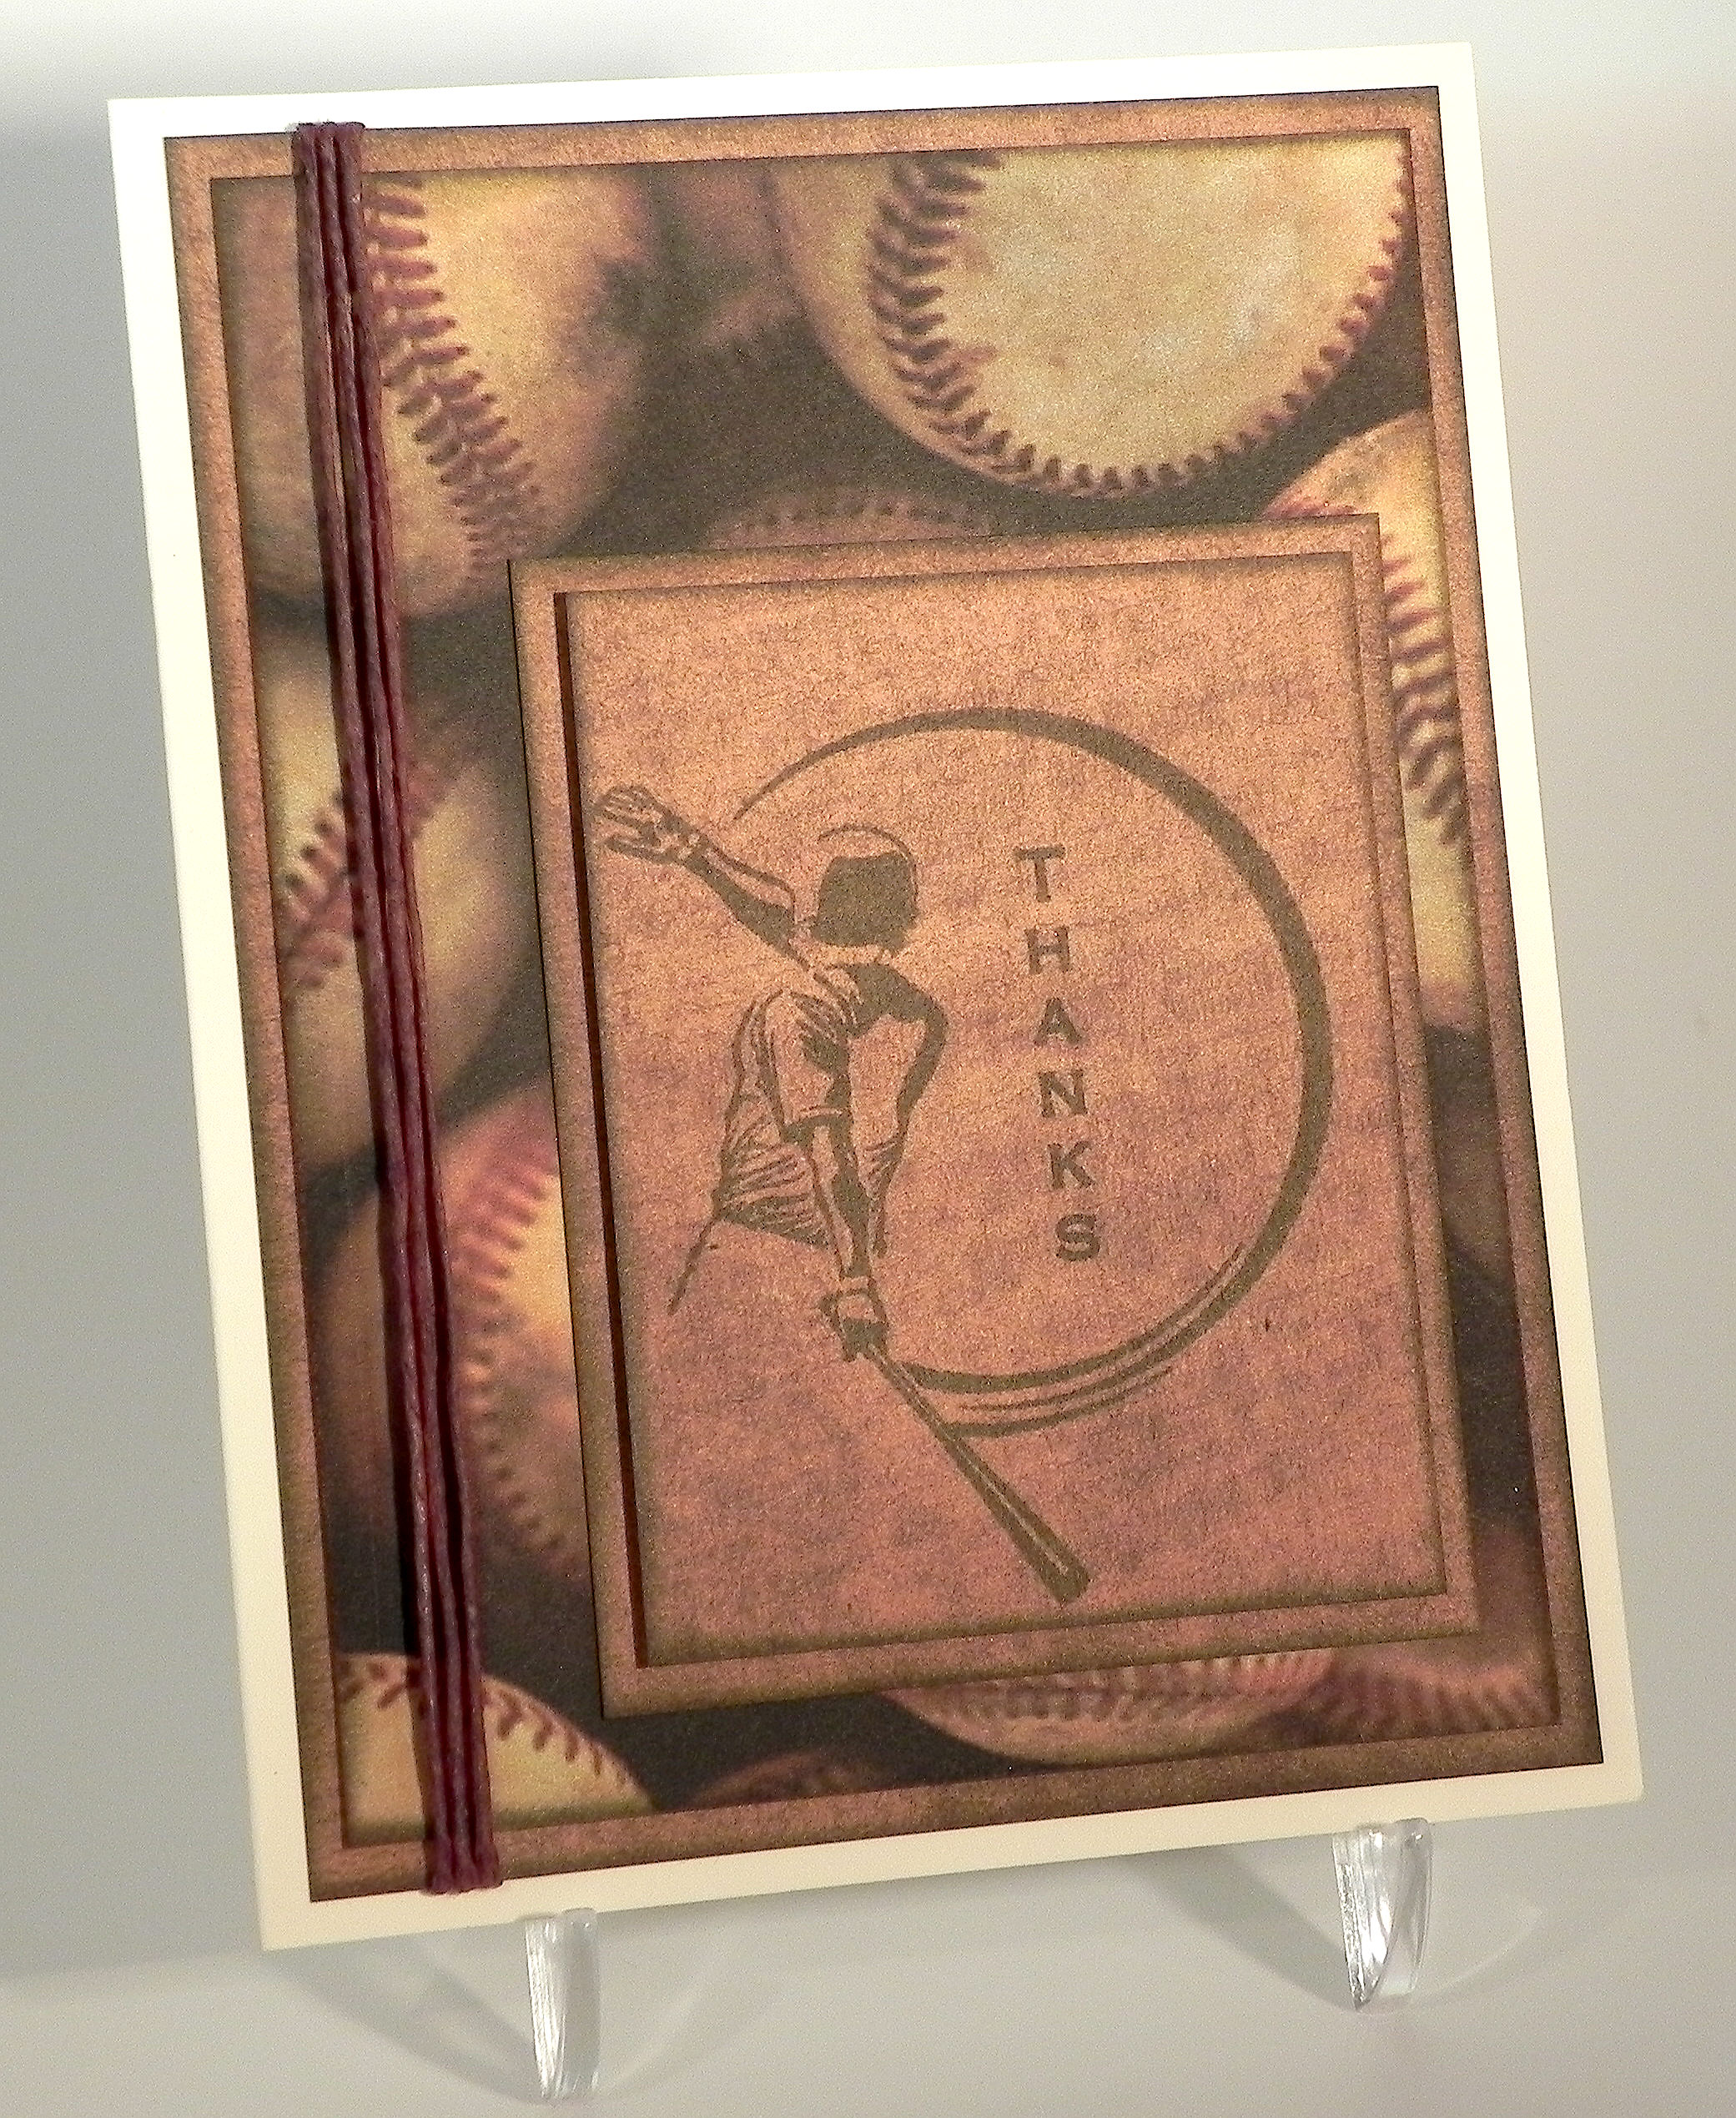
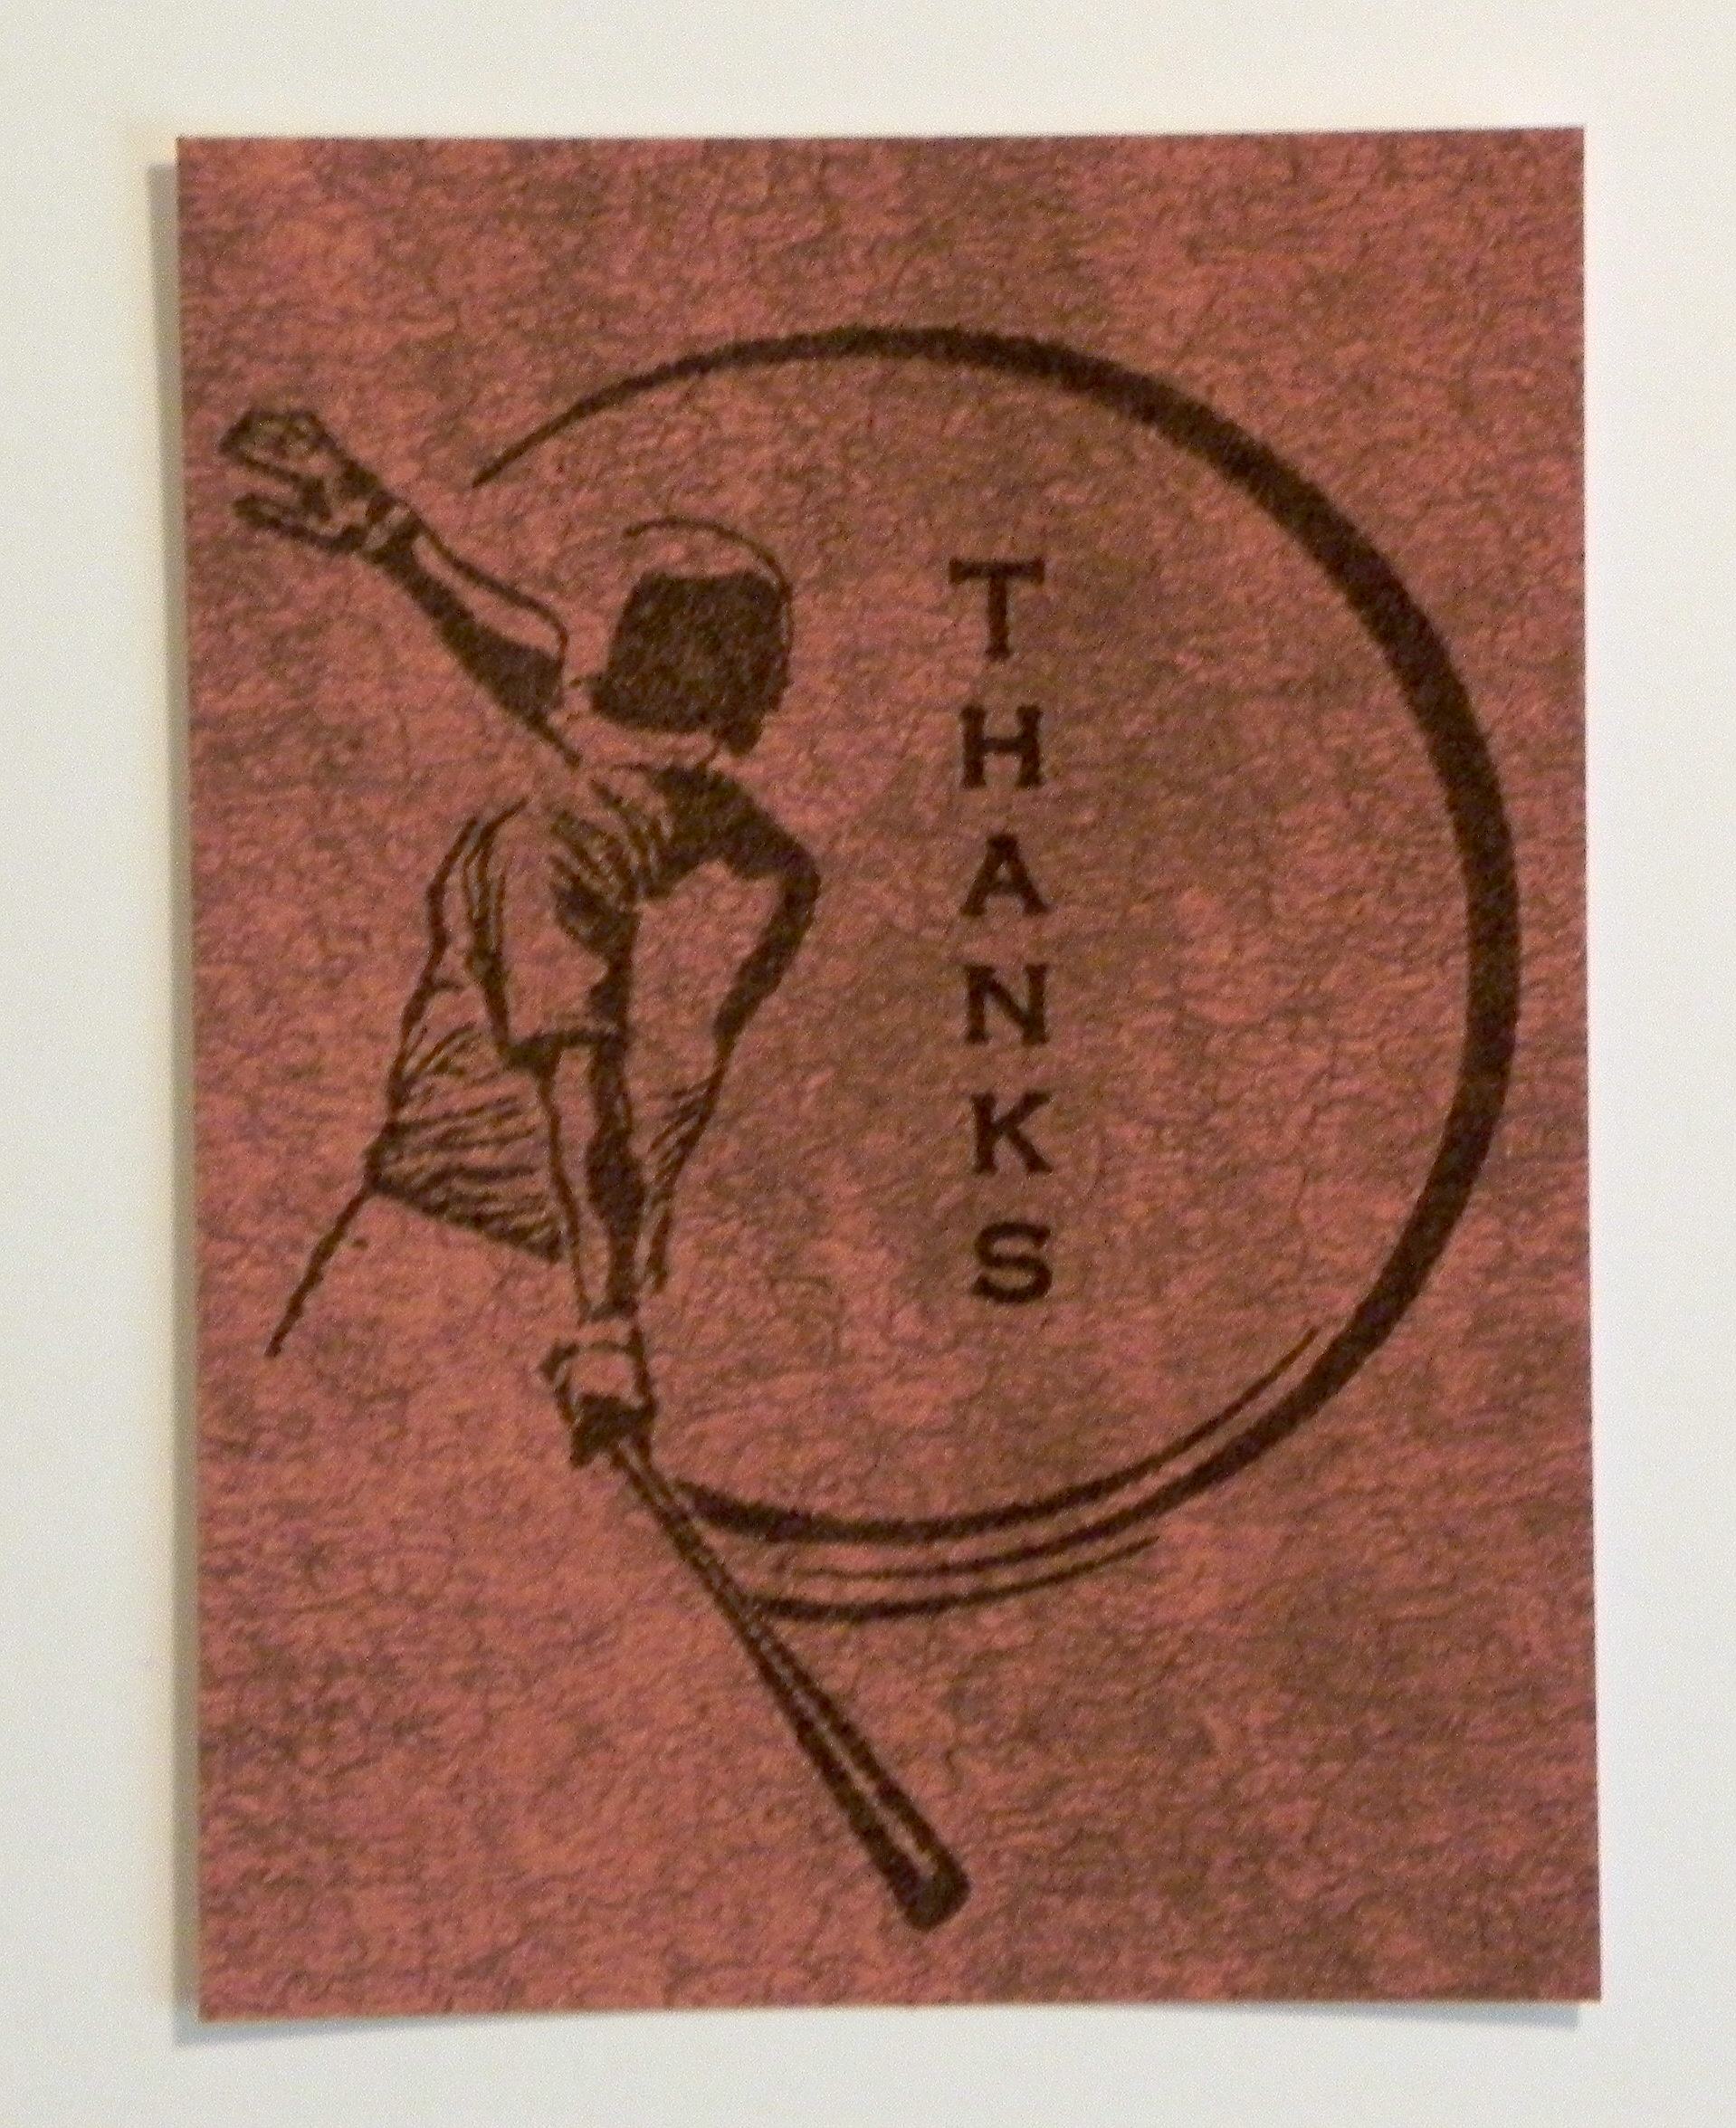
I recently created this Baseball Thank You Note which was to be part of a set.  The greeting stamp had to be positioned “just right” with the other stamp, and because I stamped brown ink onto a somewhat dark brown card stock, I needed to stamp the images multple times in order to make the images dark enough to see well.  Because it was to be a set, I needed to make several copies of this card. My MISTI was the perfect tool for the job!   (I talk about the MISTI in a previous post which you can see HERE.)  It allowed me to precisely place the two stamps exactly where I wanted them, and it allowed me to stamp and re-stamp the images in the exact spot each time.

Here’s how it’s done:

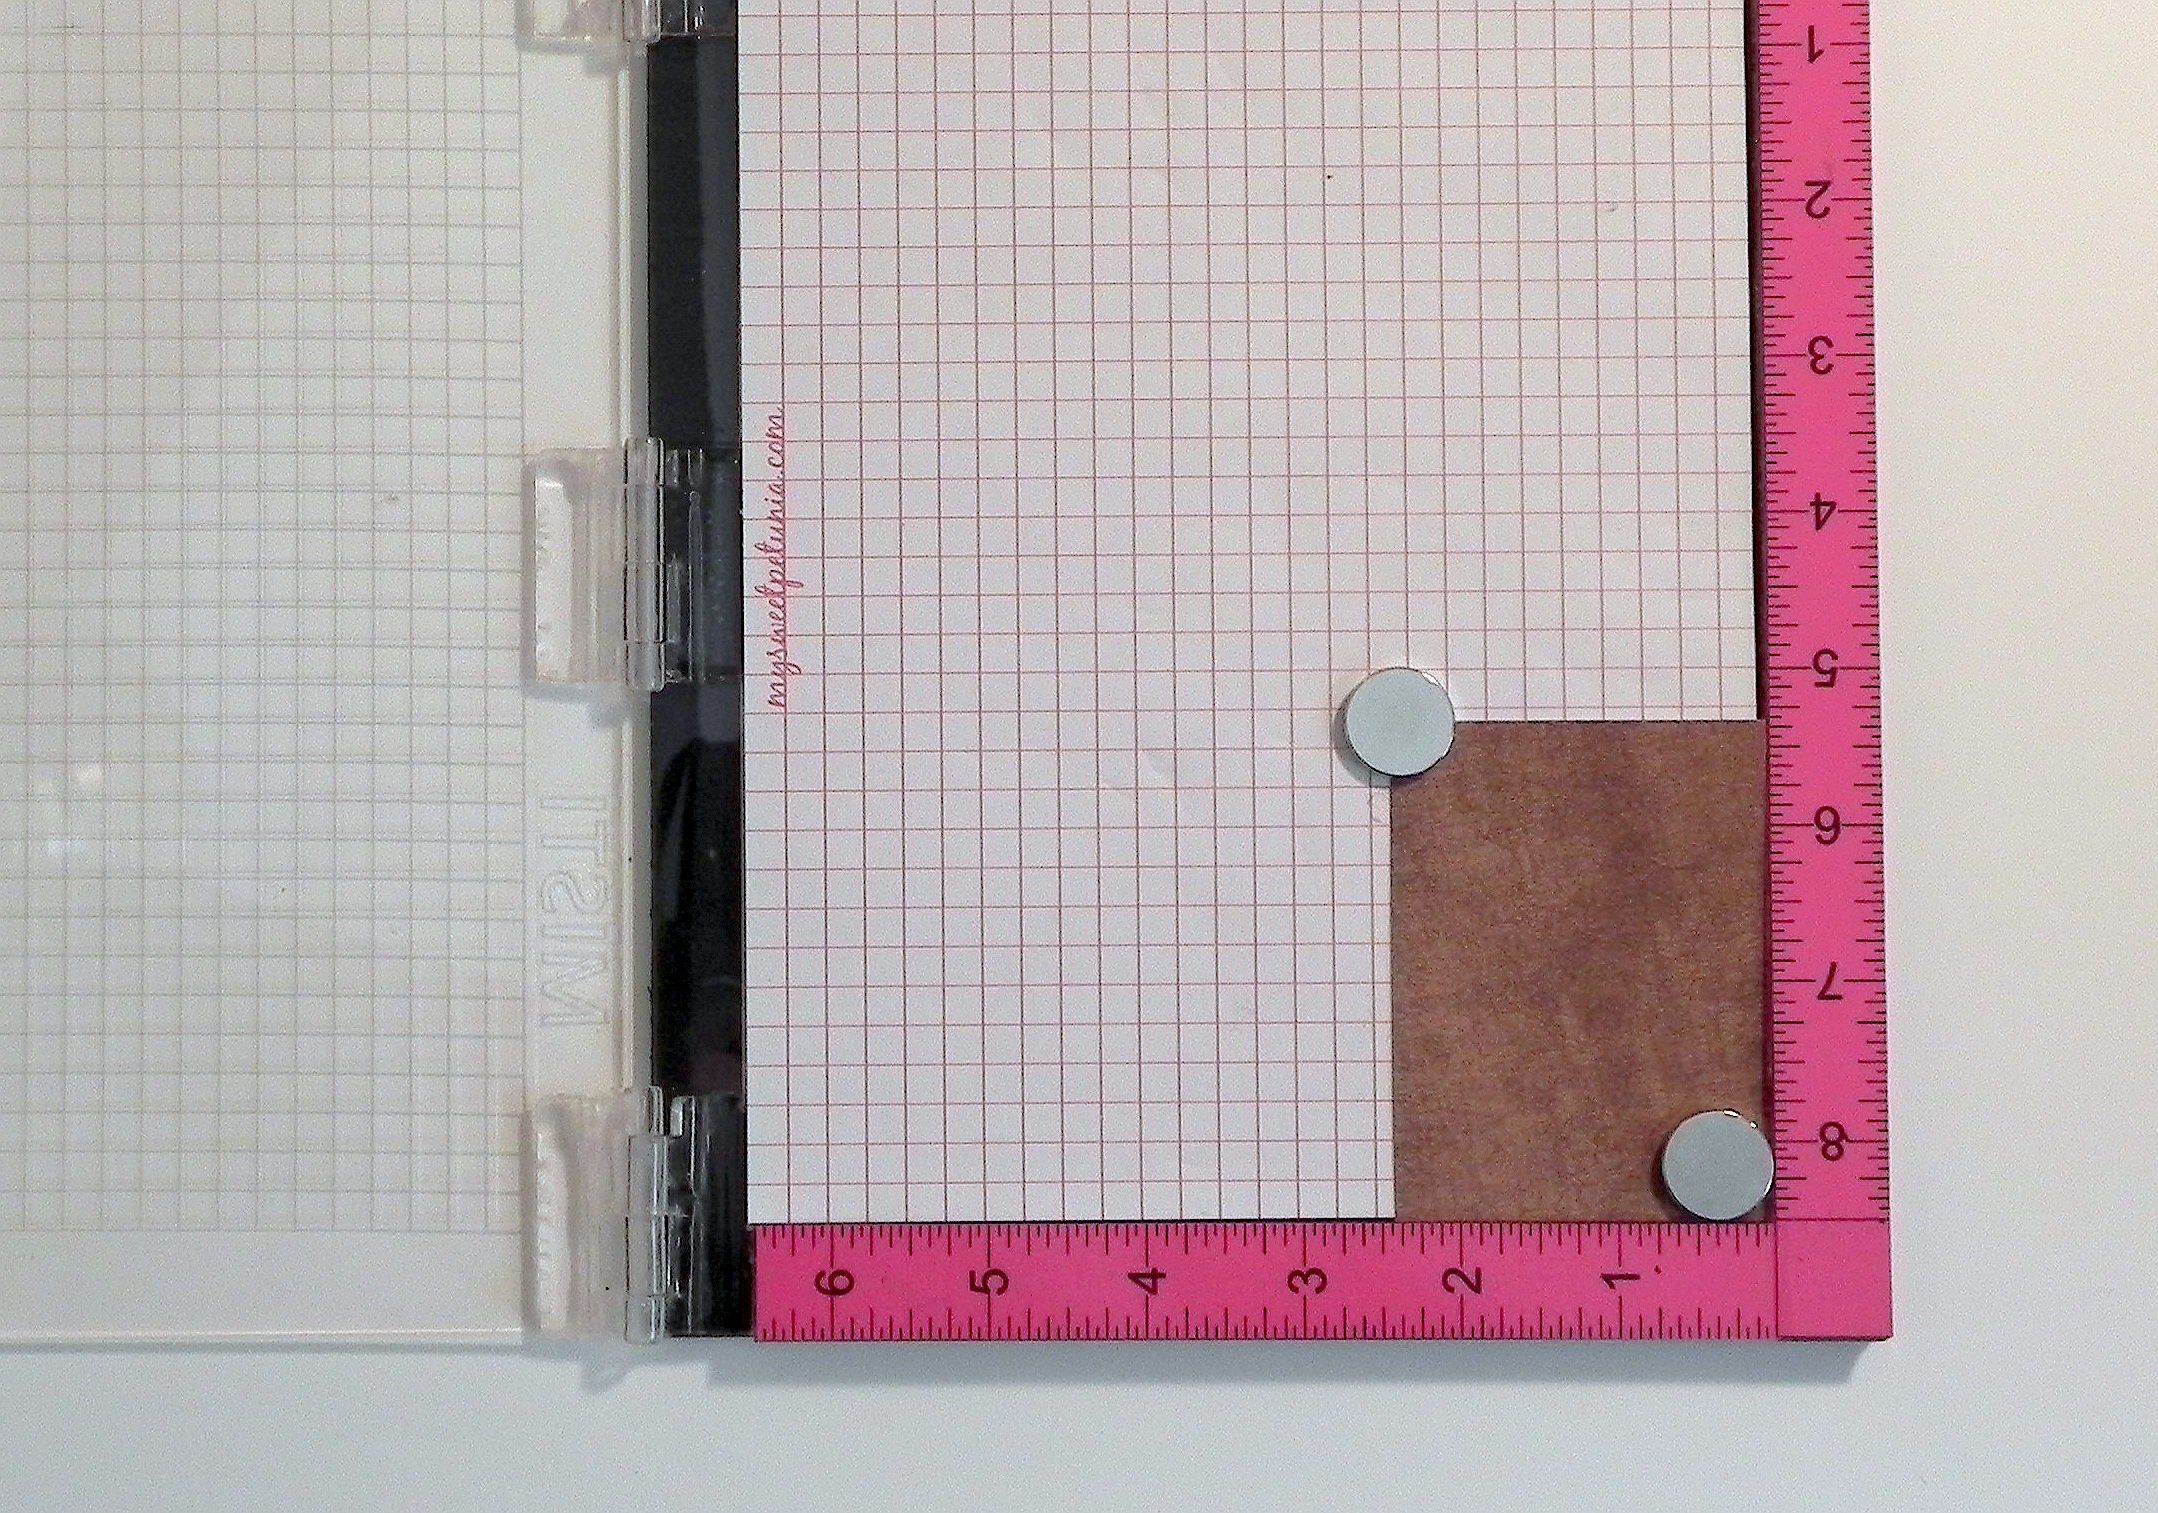
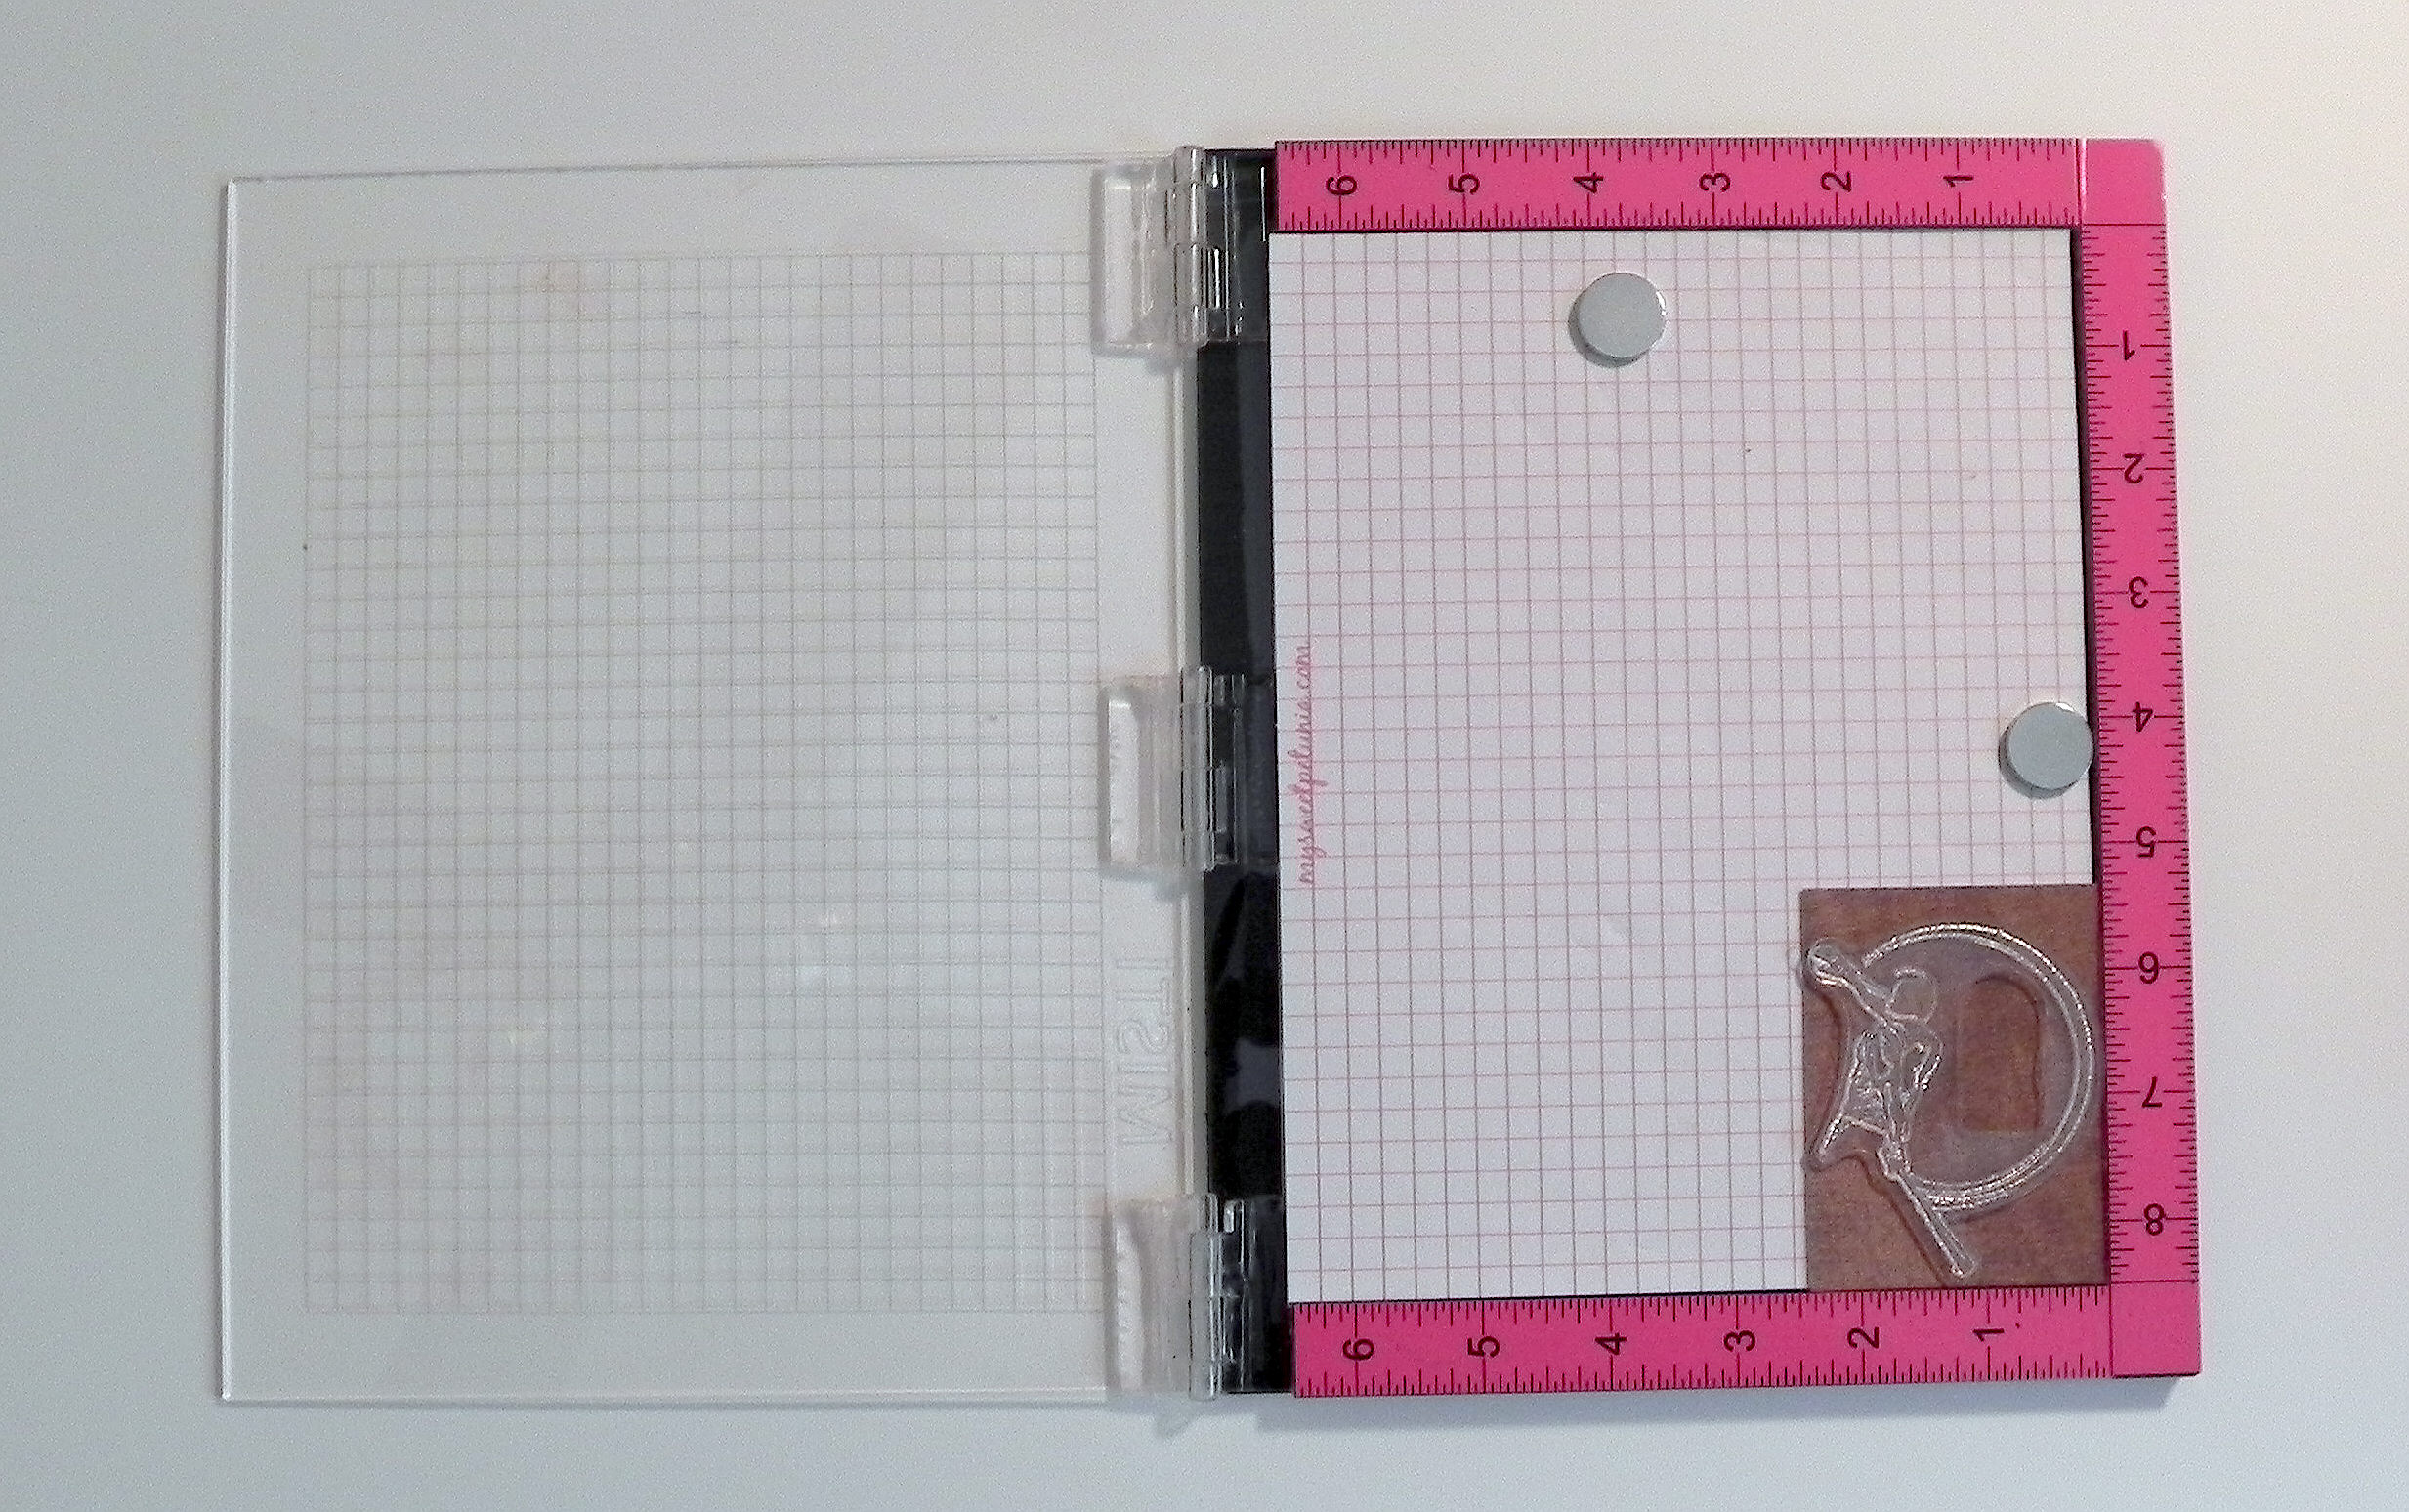
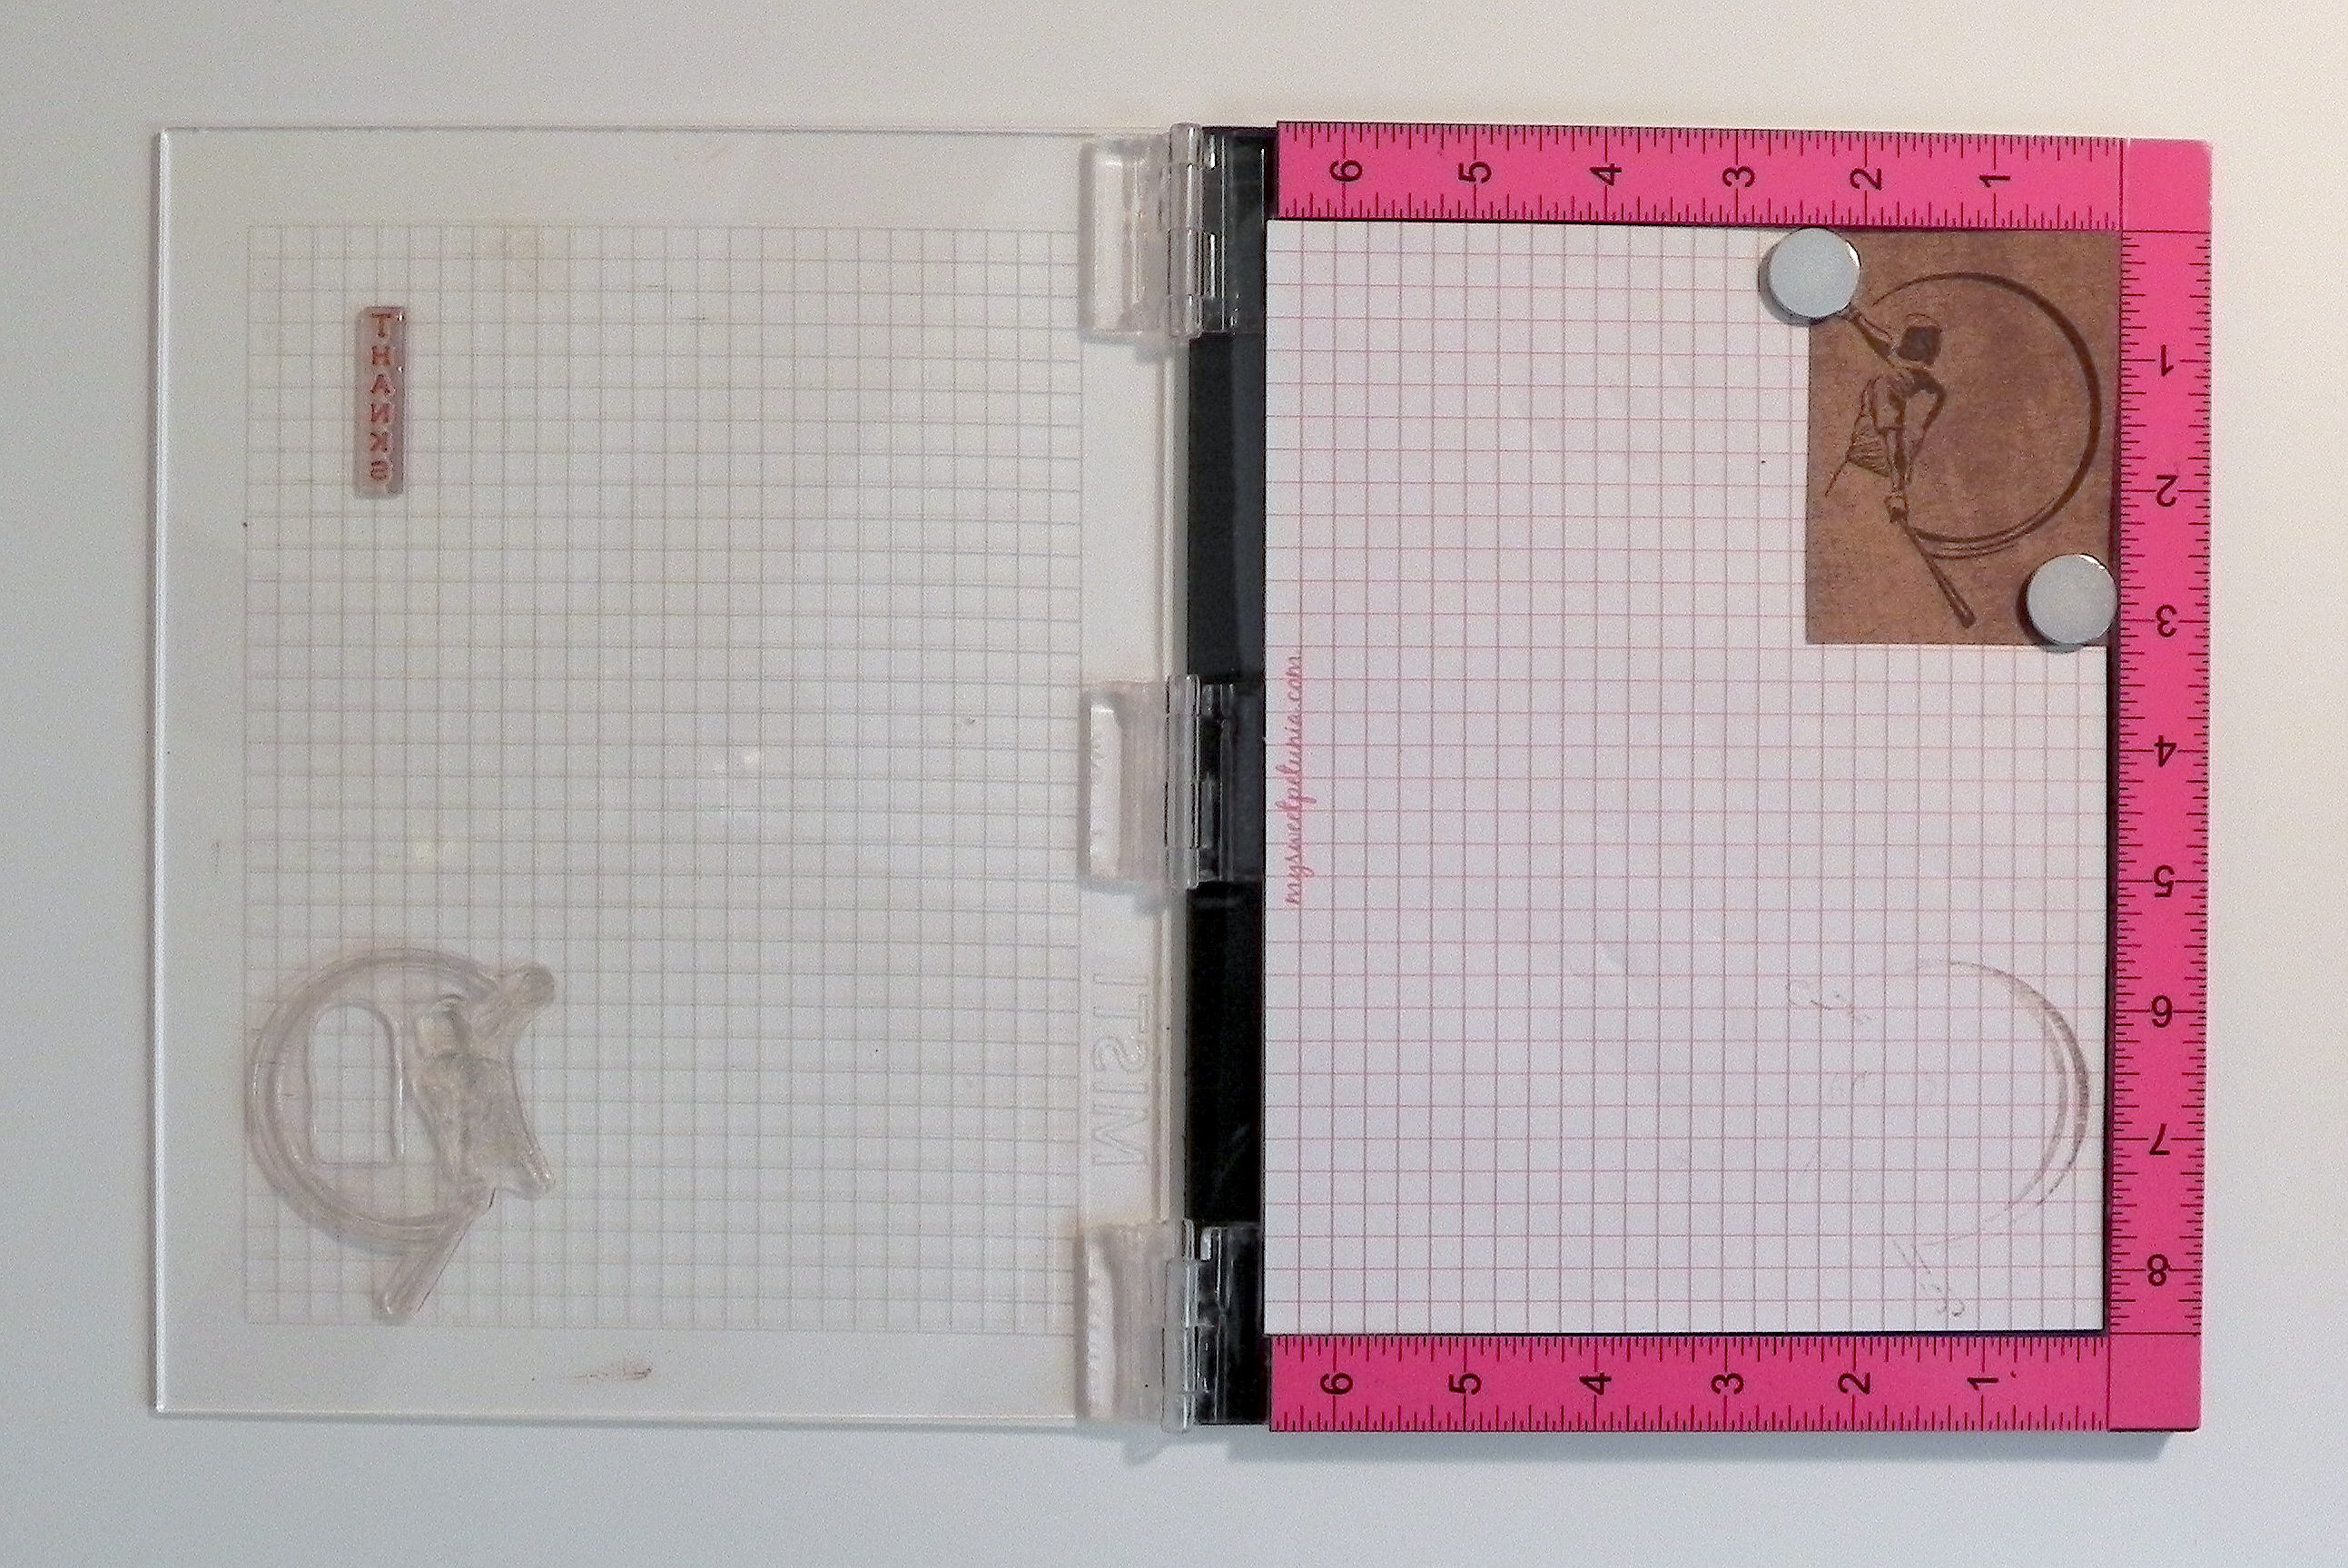
1)  Open the lid.  Start with your blank card stock in the bottom corner.  (I originally placed magnets in the corners to hold it in place but needed to move them for step 2.)  *Note:  If you are using an acrylic stamp, keep the foam panel under the grid paper.  If you are using a rubber stamp, remove the foam because those stamps are thicker.

010 DSCN8928

2)  Place your clean stamp on the card stock where you’d like the image to be.

020 DSCN8921

3)  Close the lid.

030 DSCN8923

4)  When you open the lid again, the stamp is stuck to the lid in position to stamp the first image.  I use magnets to hold the card stock in place.

040 DSCN8928

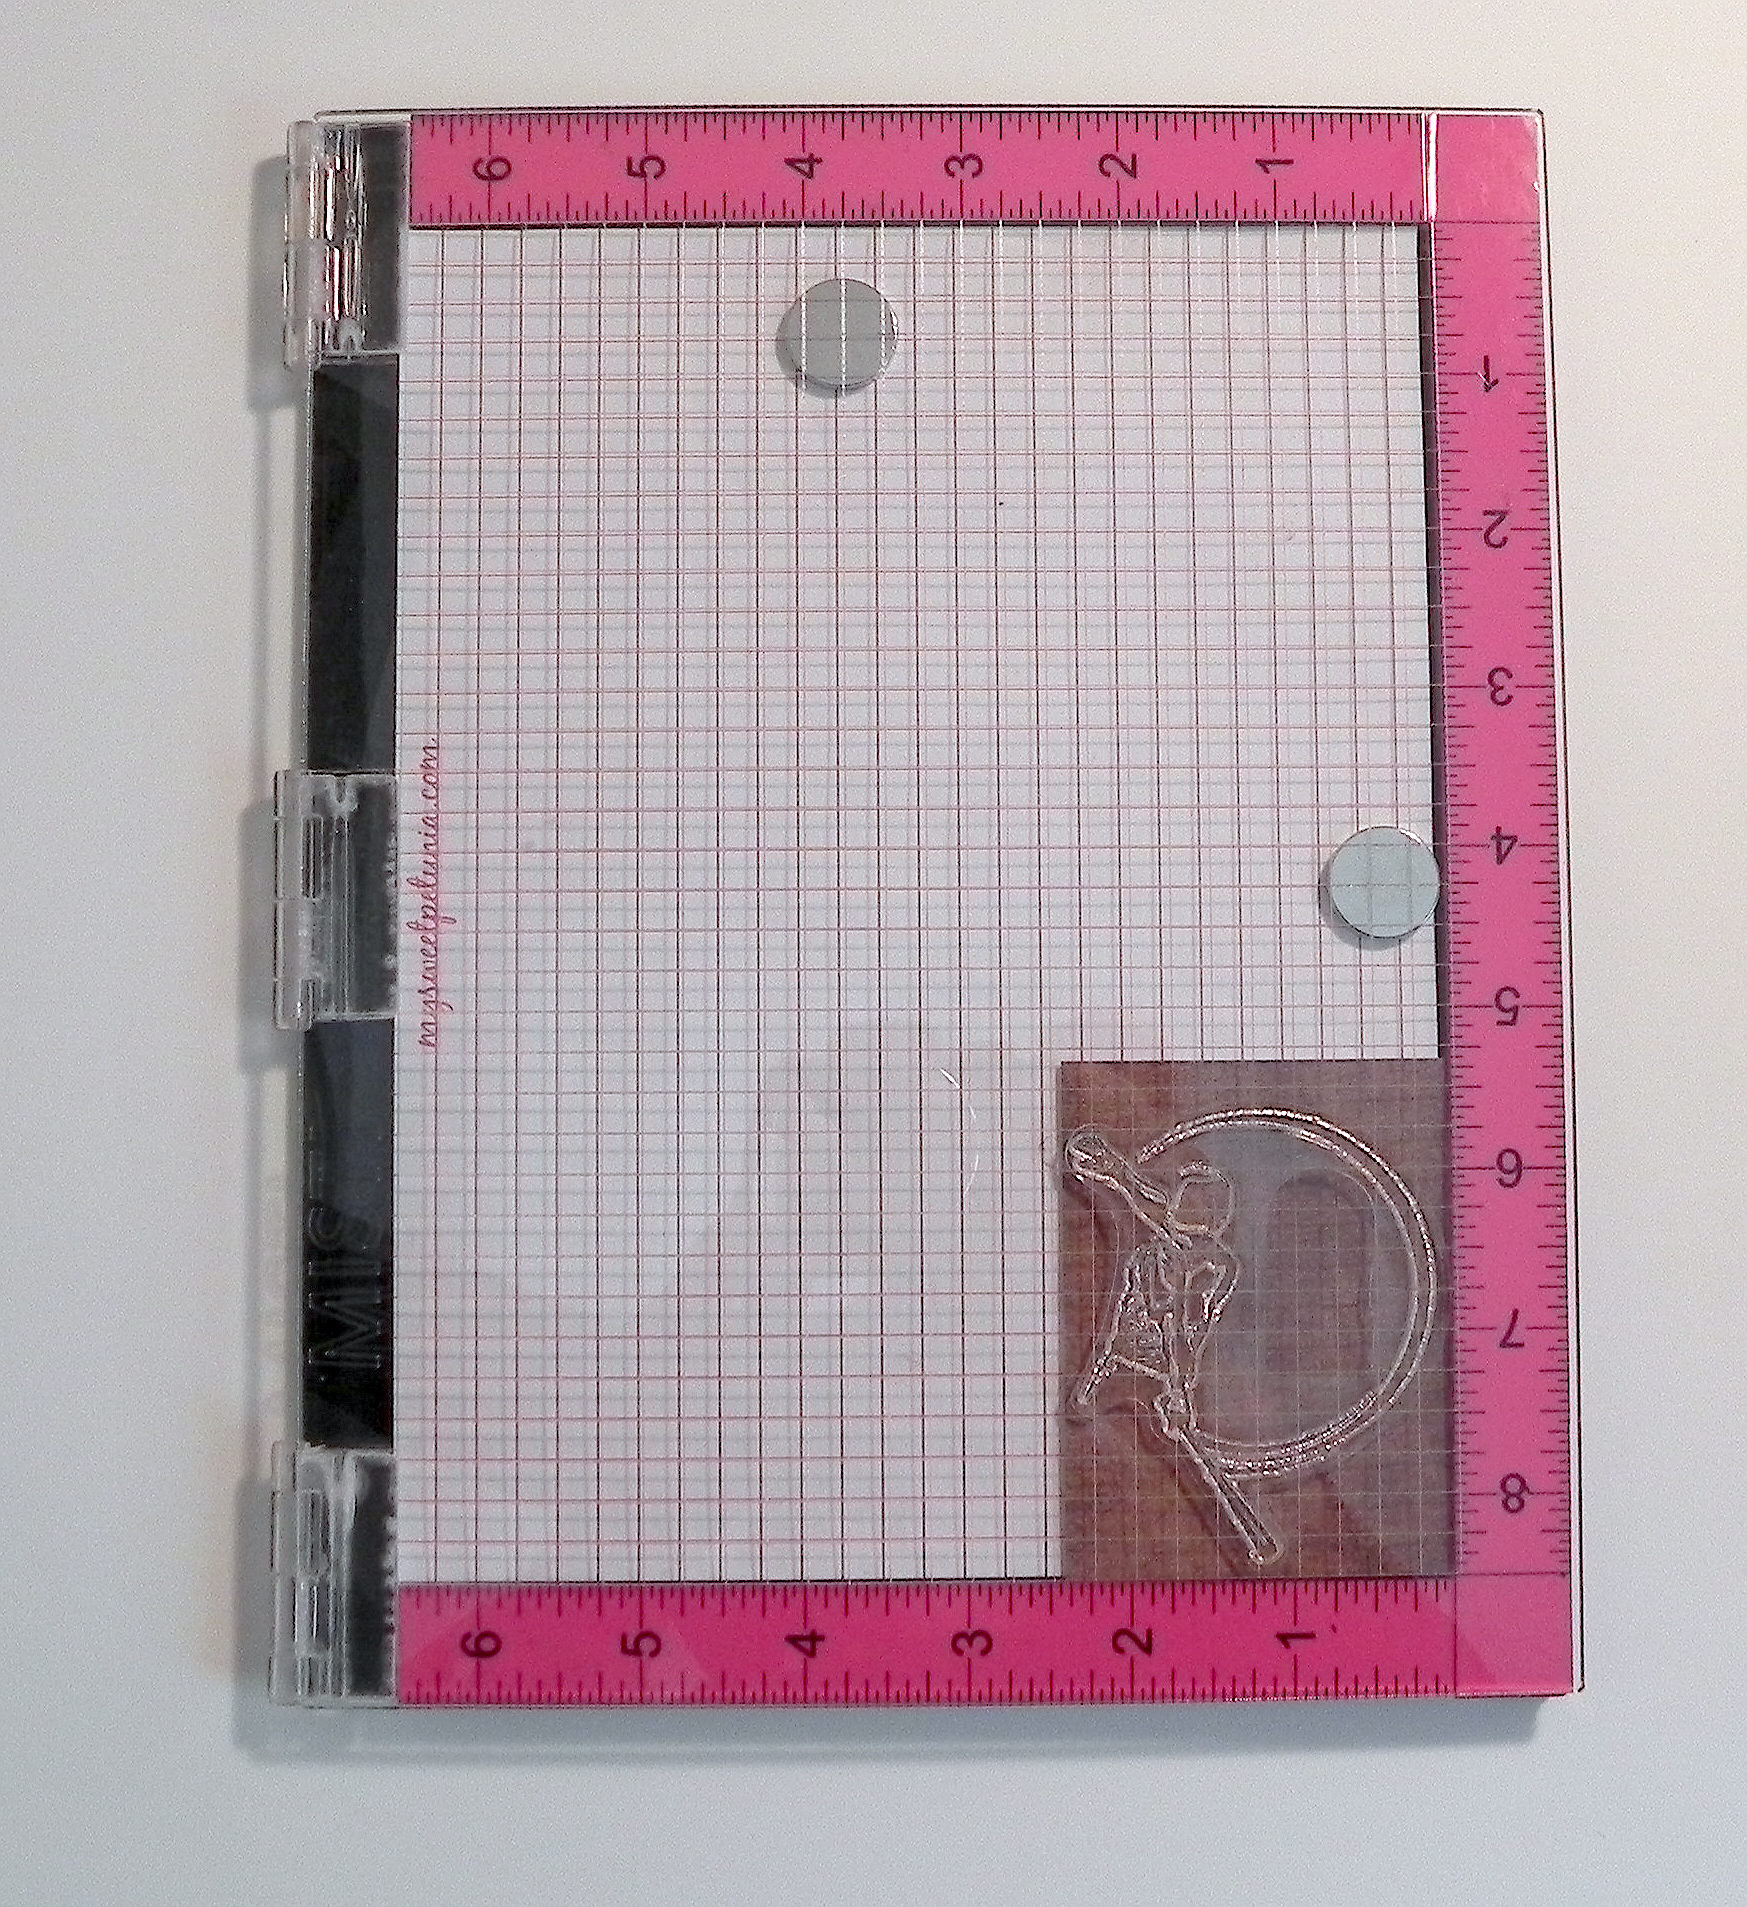
5)  Ink up the stamp and close the lid.

060 DSCN8932

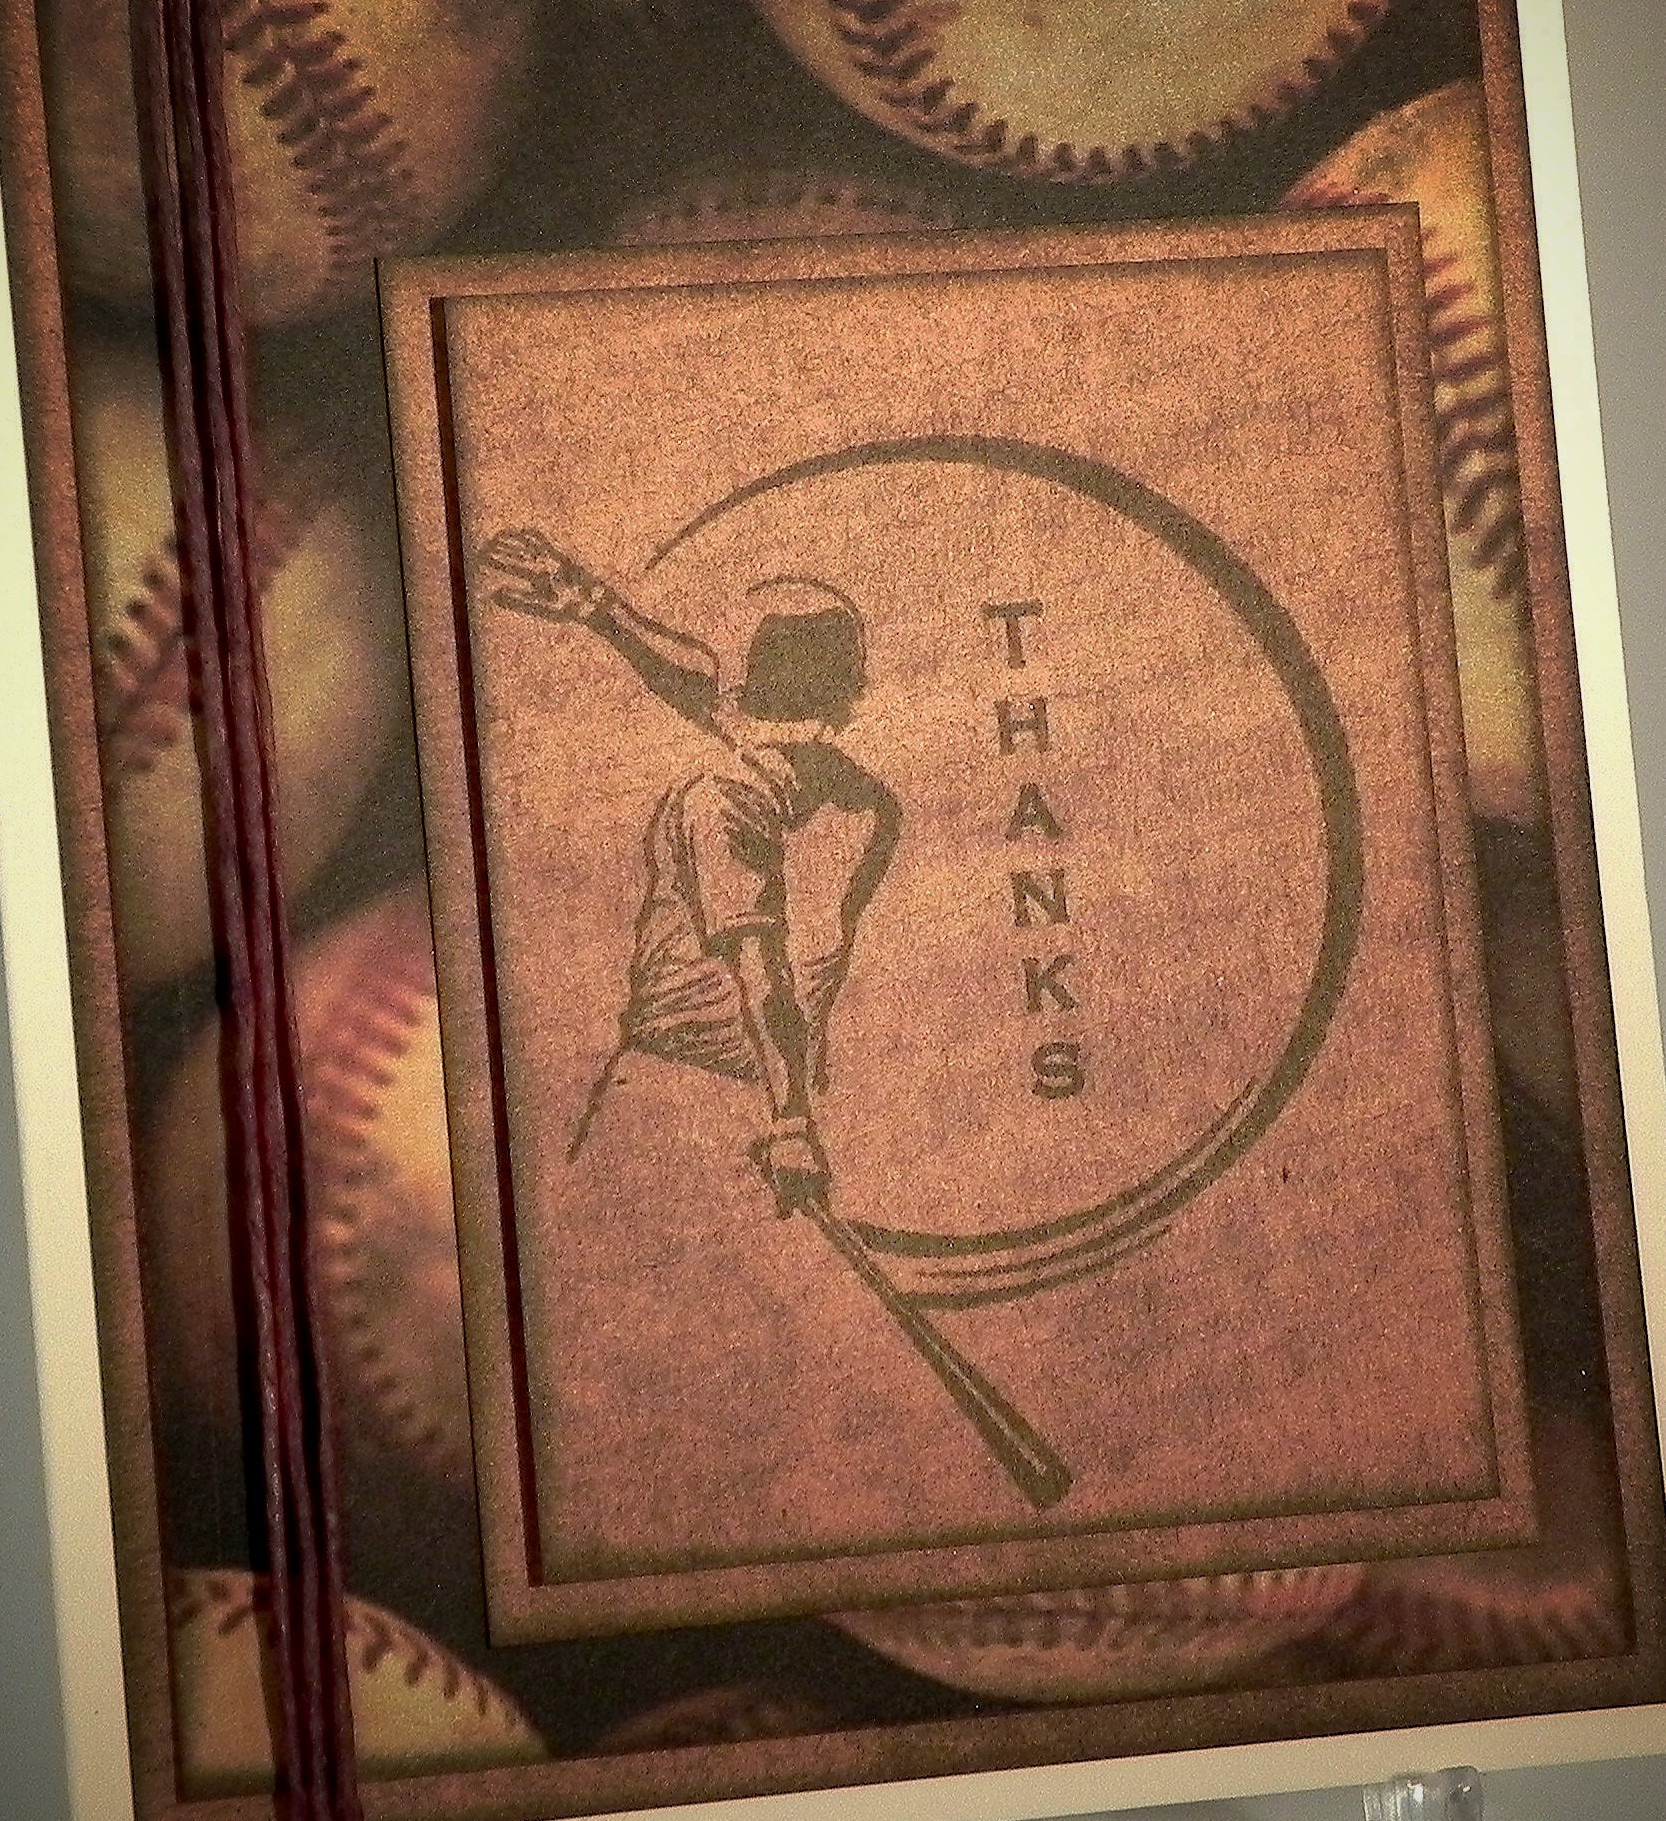
6)  Open it to see stamped image.  (I stamped the image 3 or 4 times to get a crisp, dark image.)

070 DSCN8934

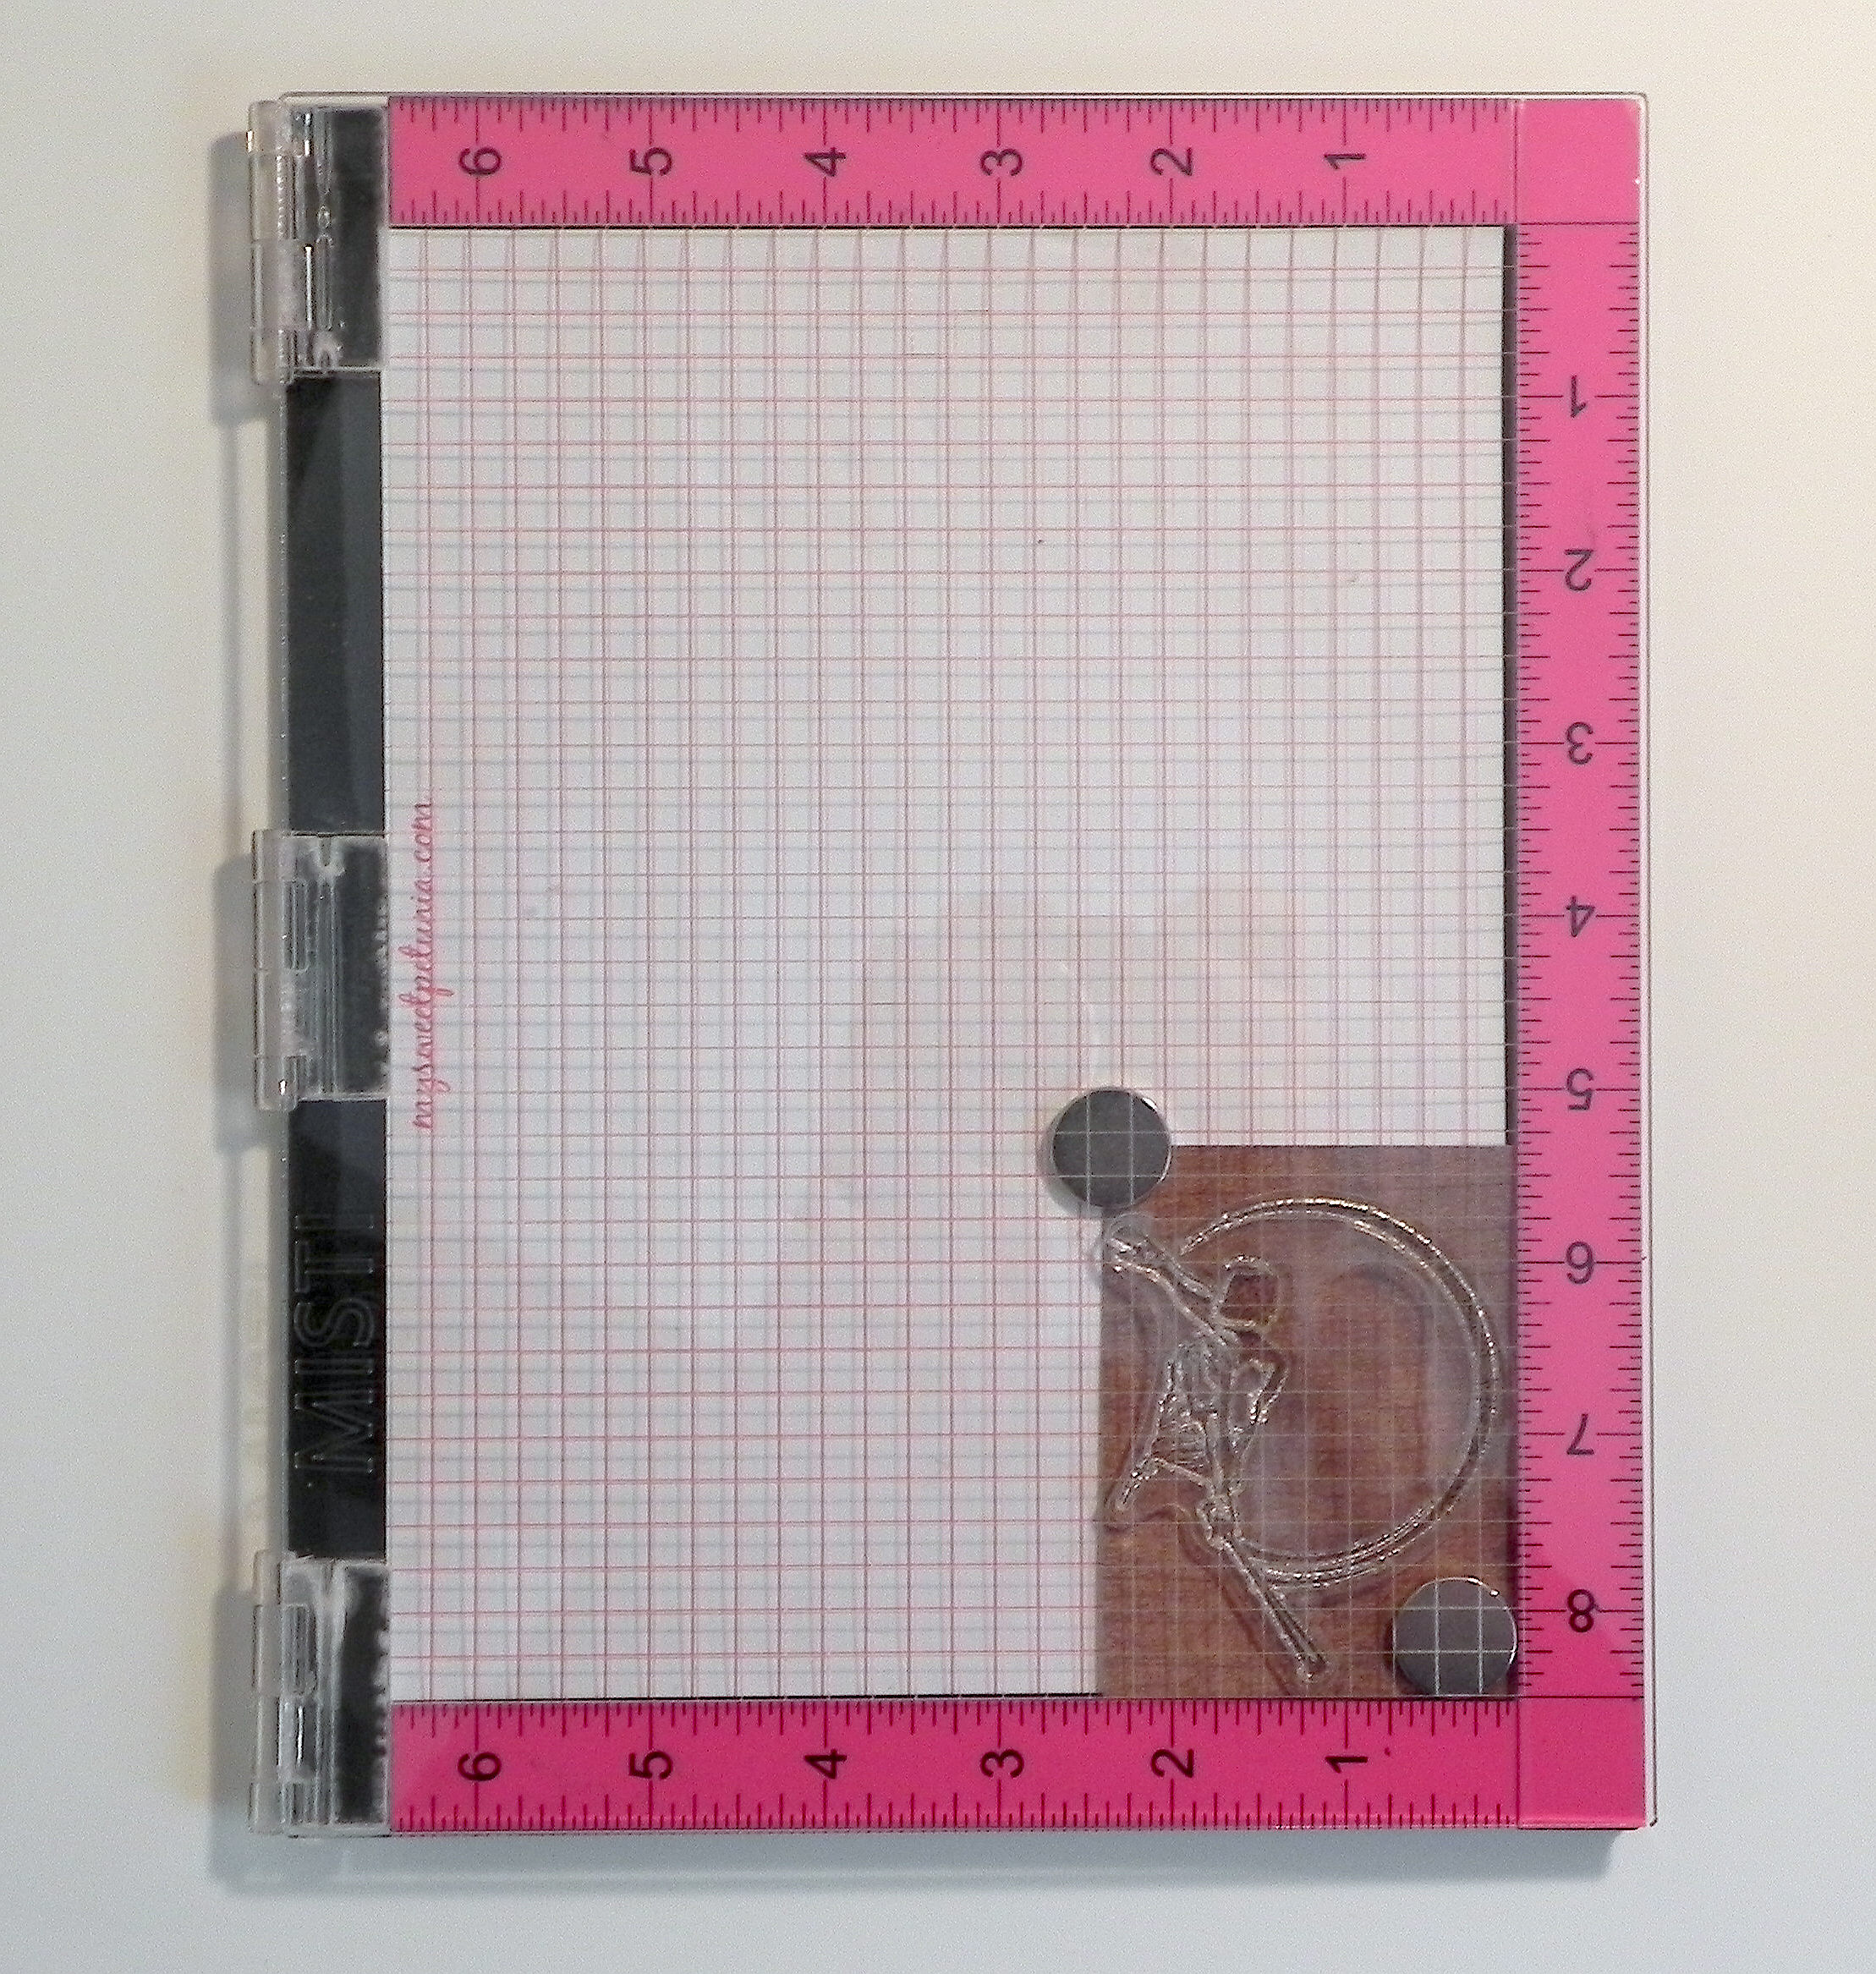
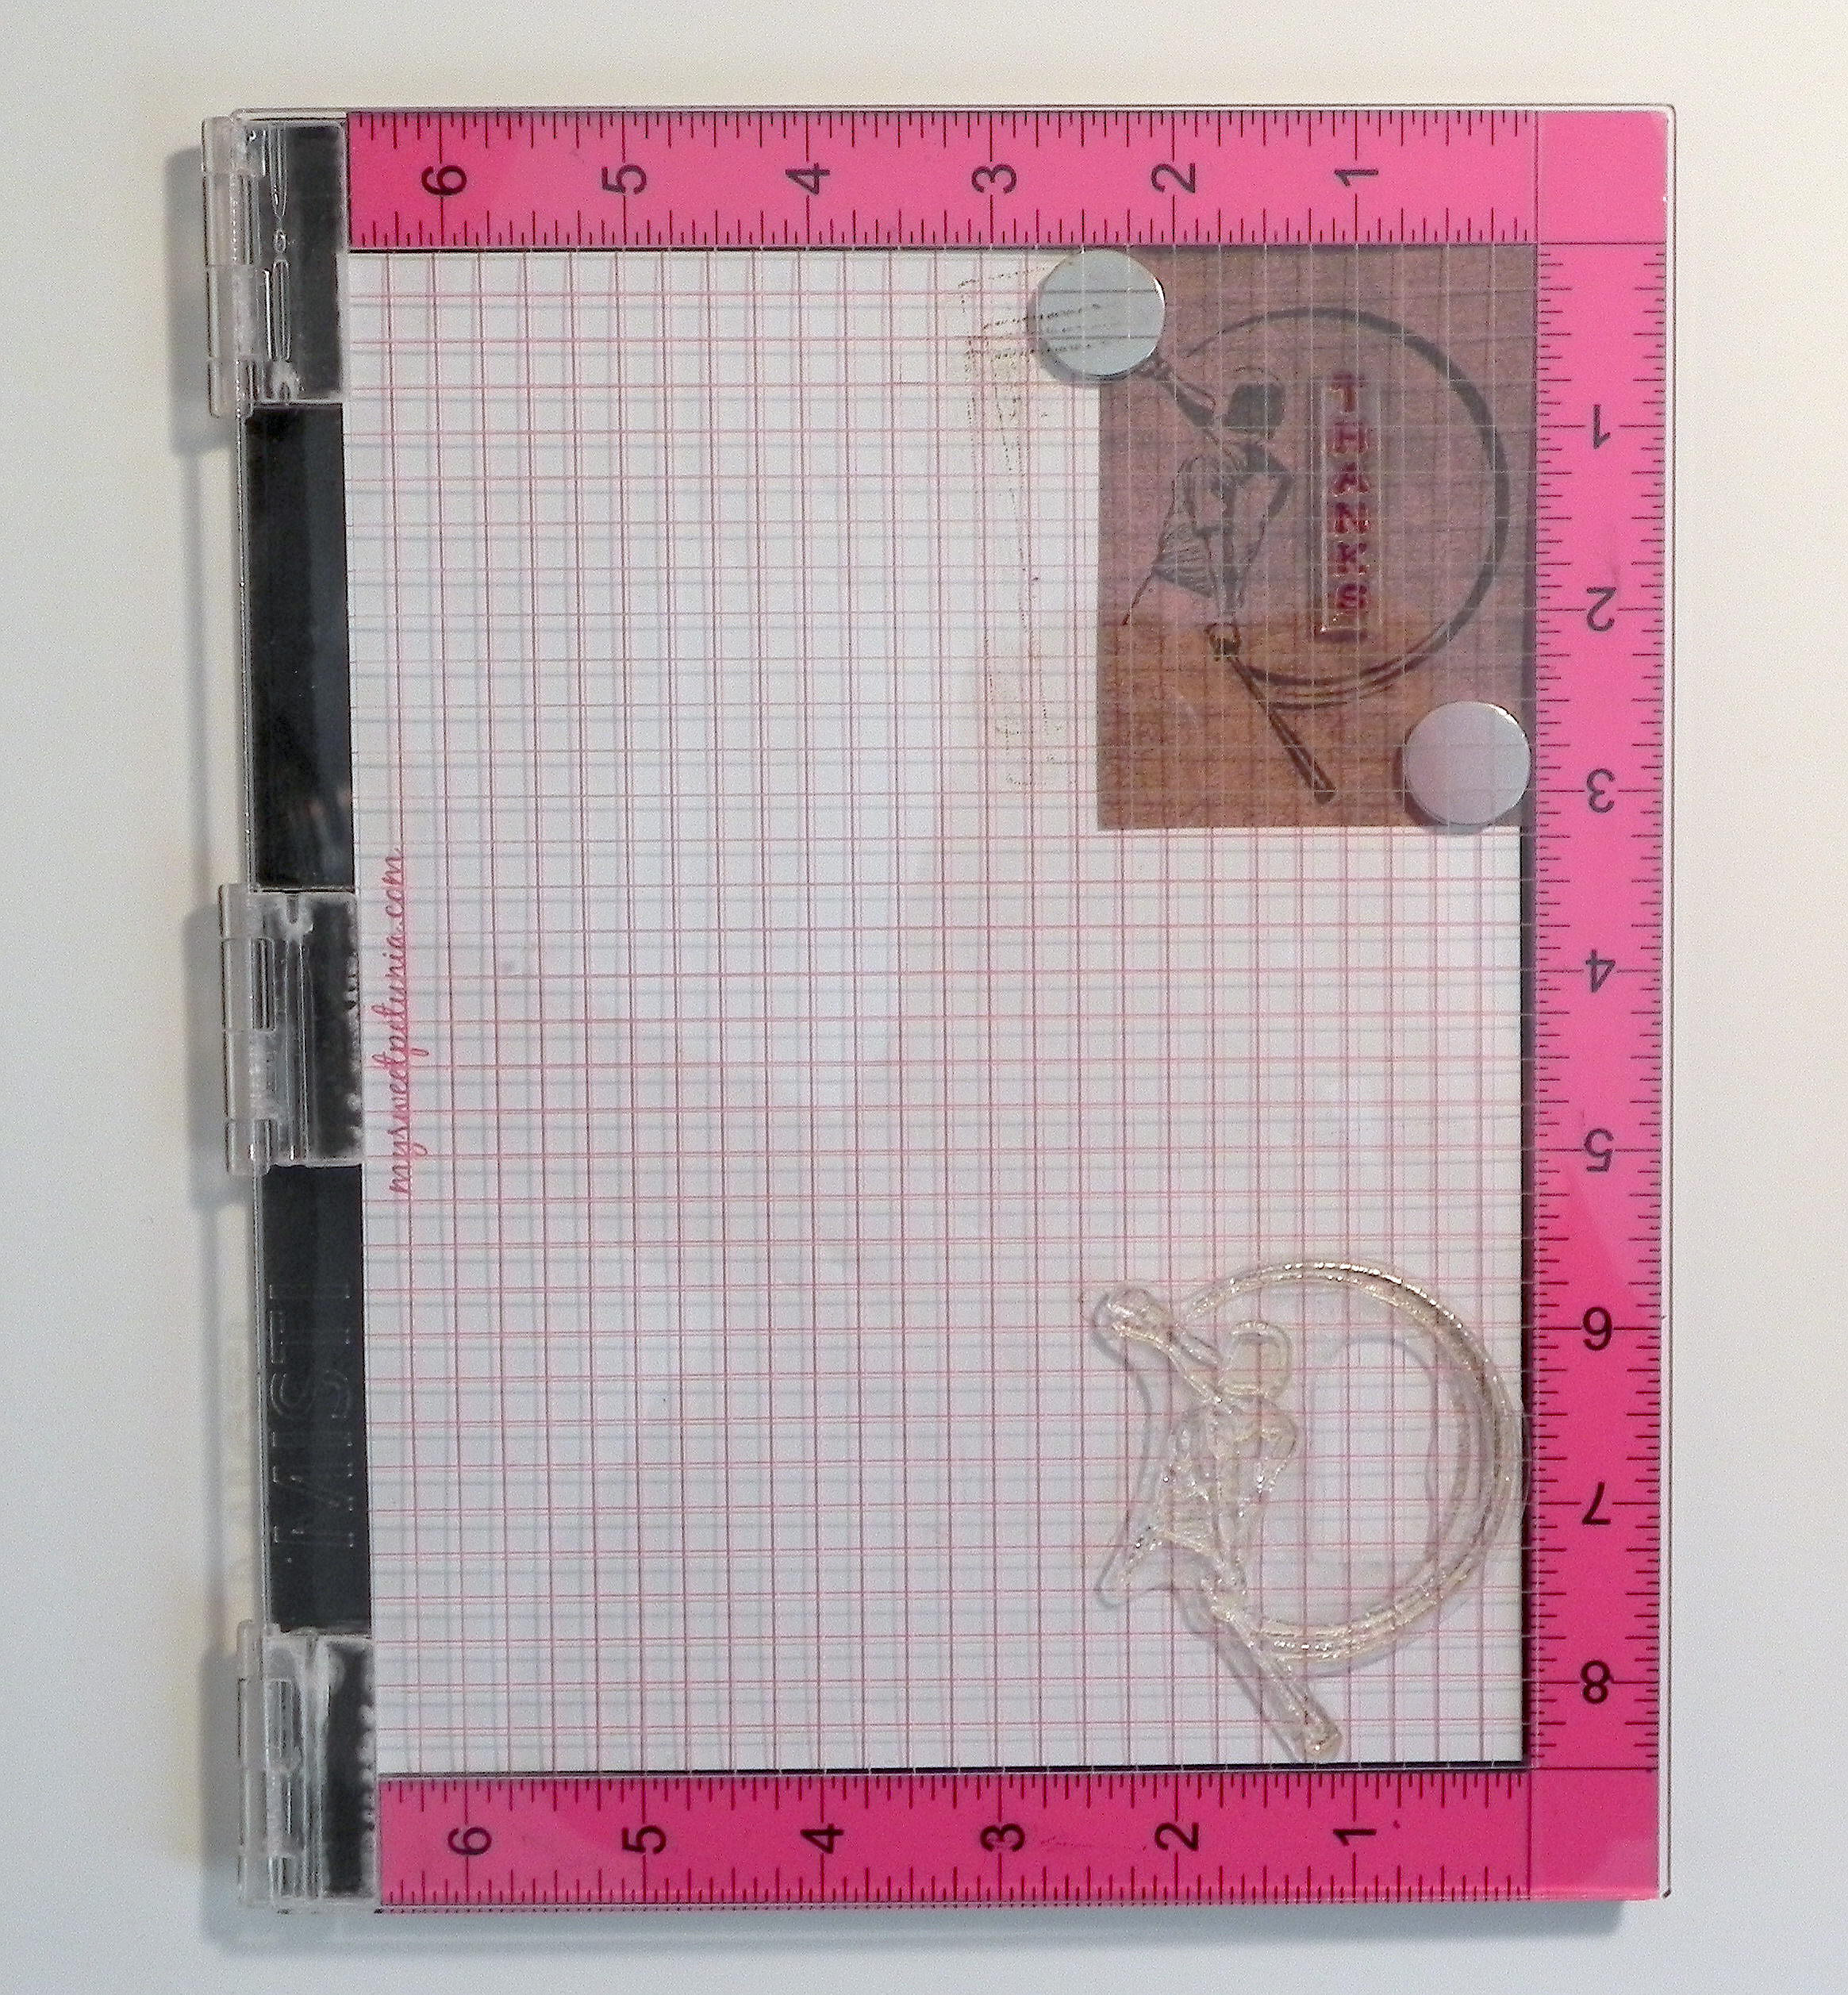
7)  Once you are satisfied with the quality of the image, move the card stock (with the image just stamped) to the upper corner.  Place the clean greeting stamp on the card stock where you want the image to be.  (My stamp is stained from repeated use, but it’s clean.)

080 DSCN8935

8)  As before, close the lid.

090 DSCN8937

9)  When you open it, the second stamp is also stuck to the lid.

100 DSCN8939

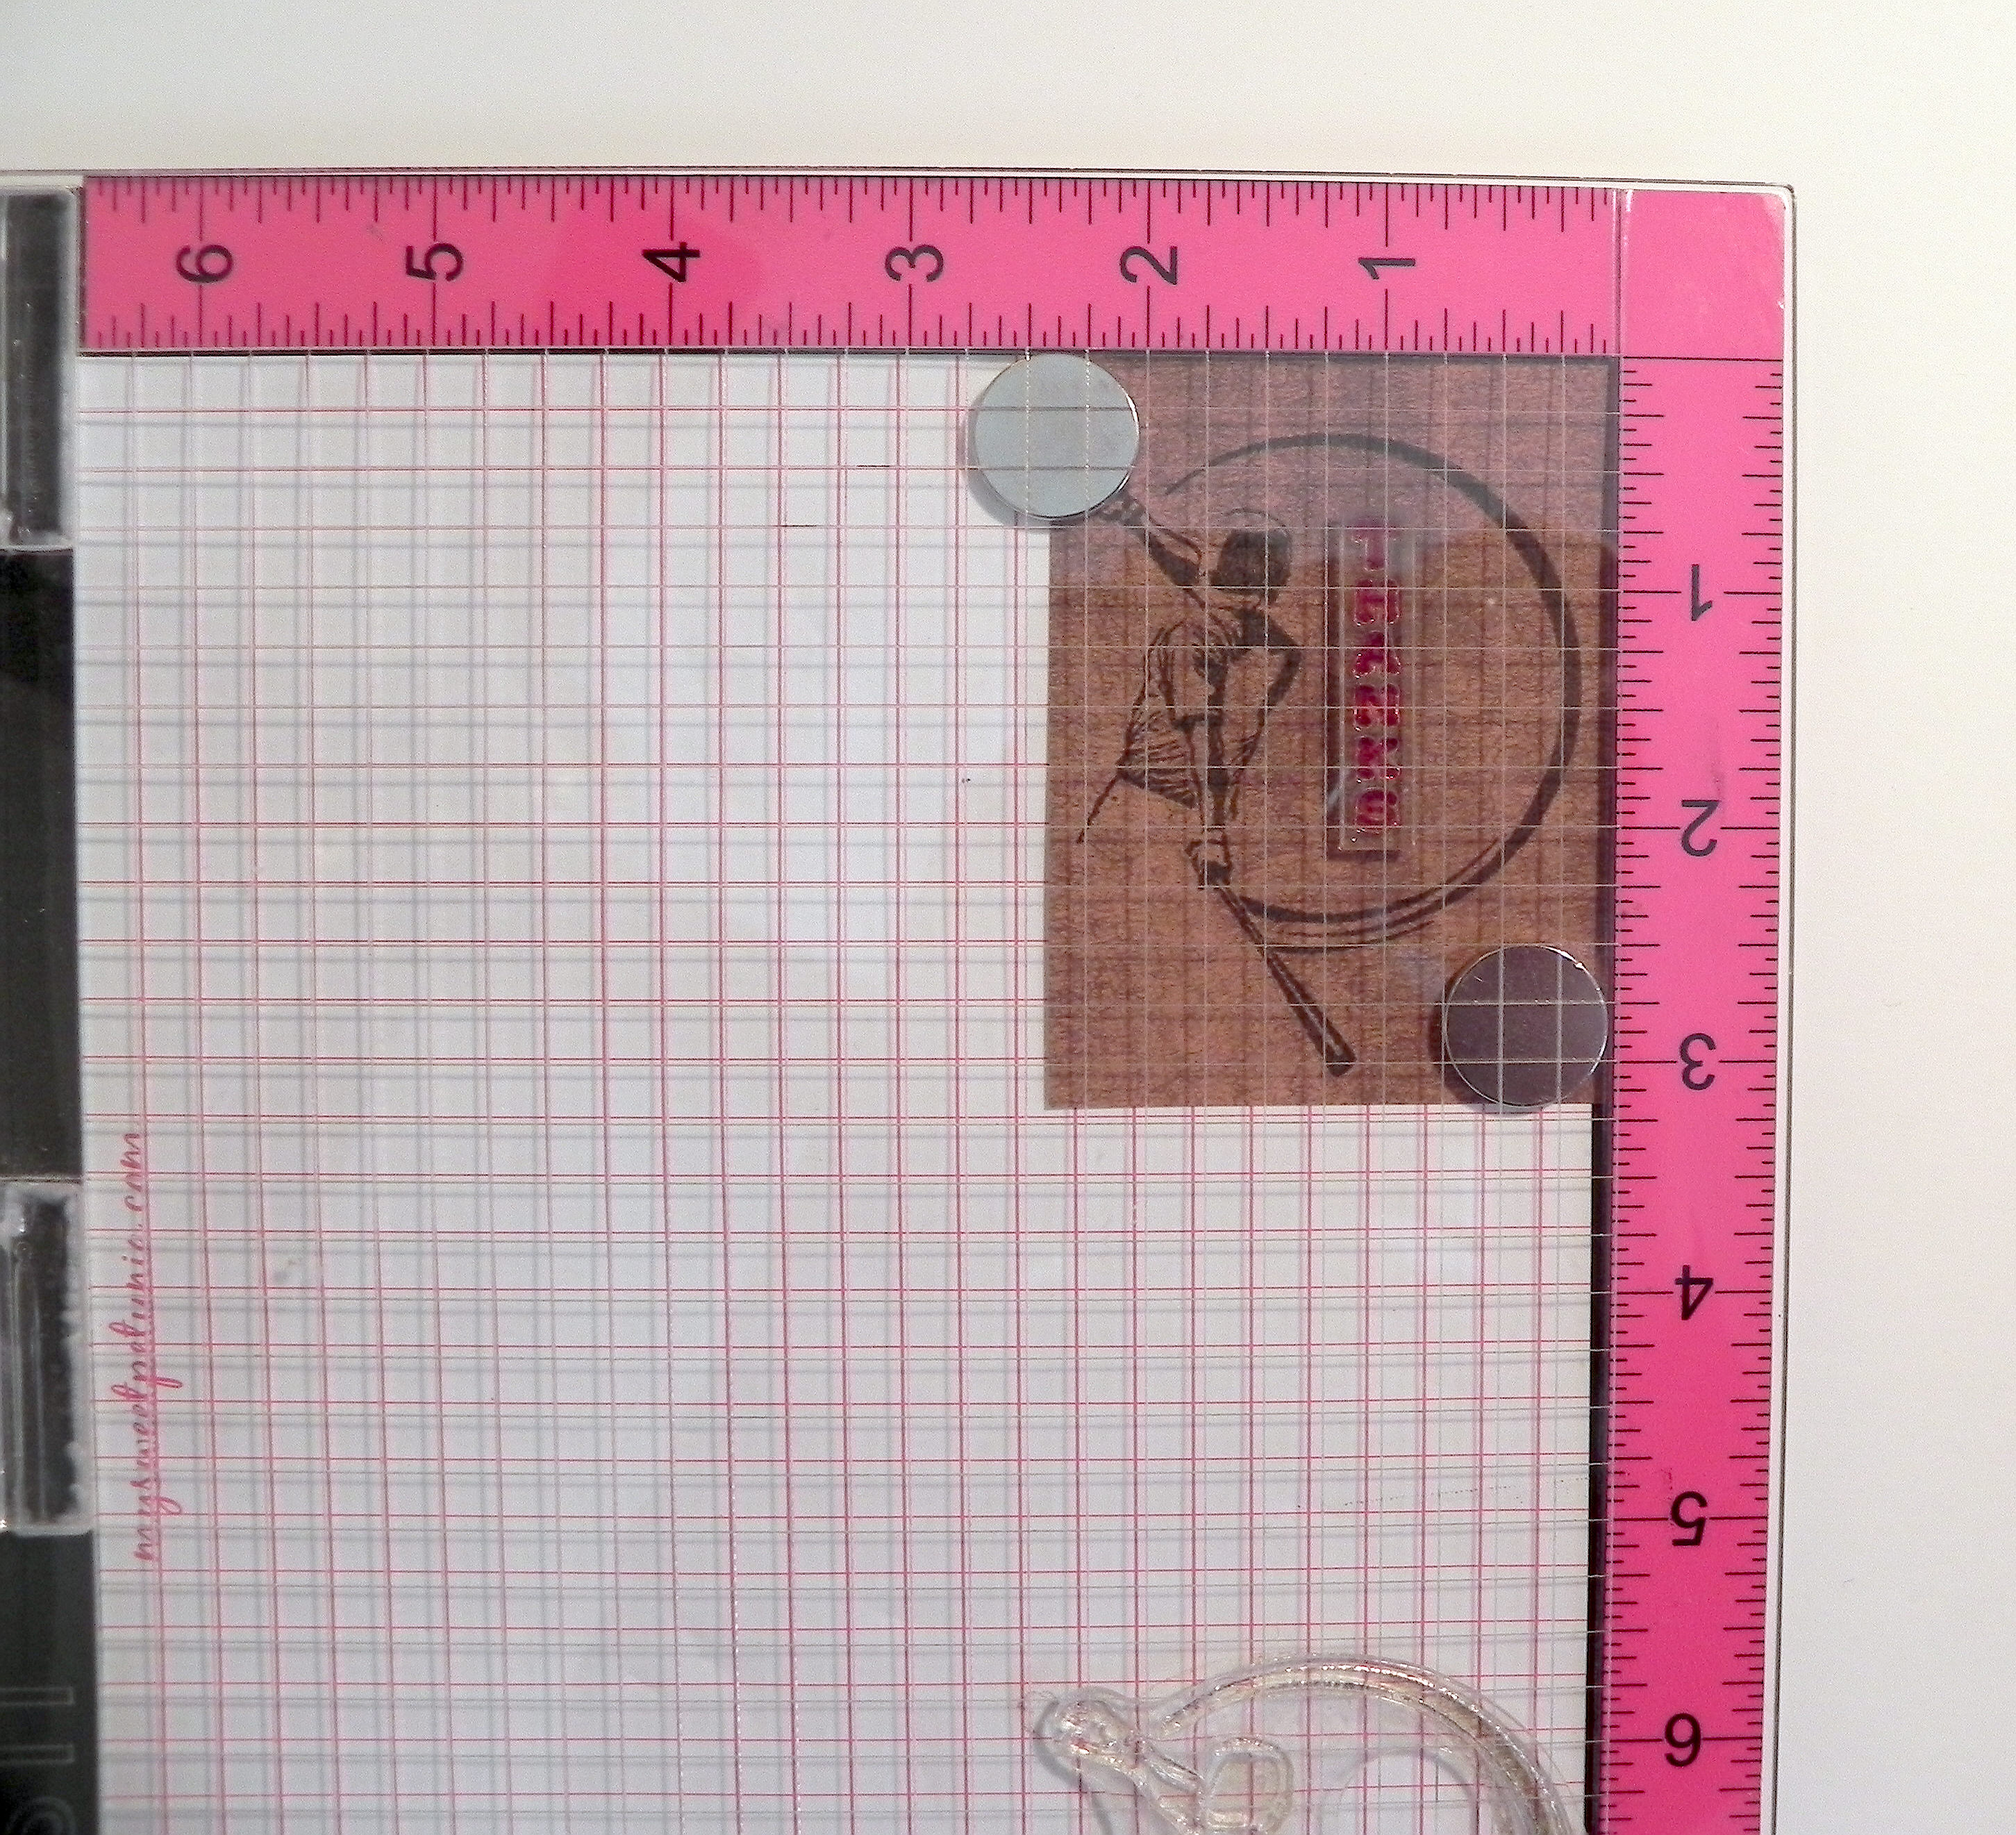
10)  Ink the top stamp and closed the lid.

110 DSCN8940

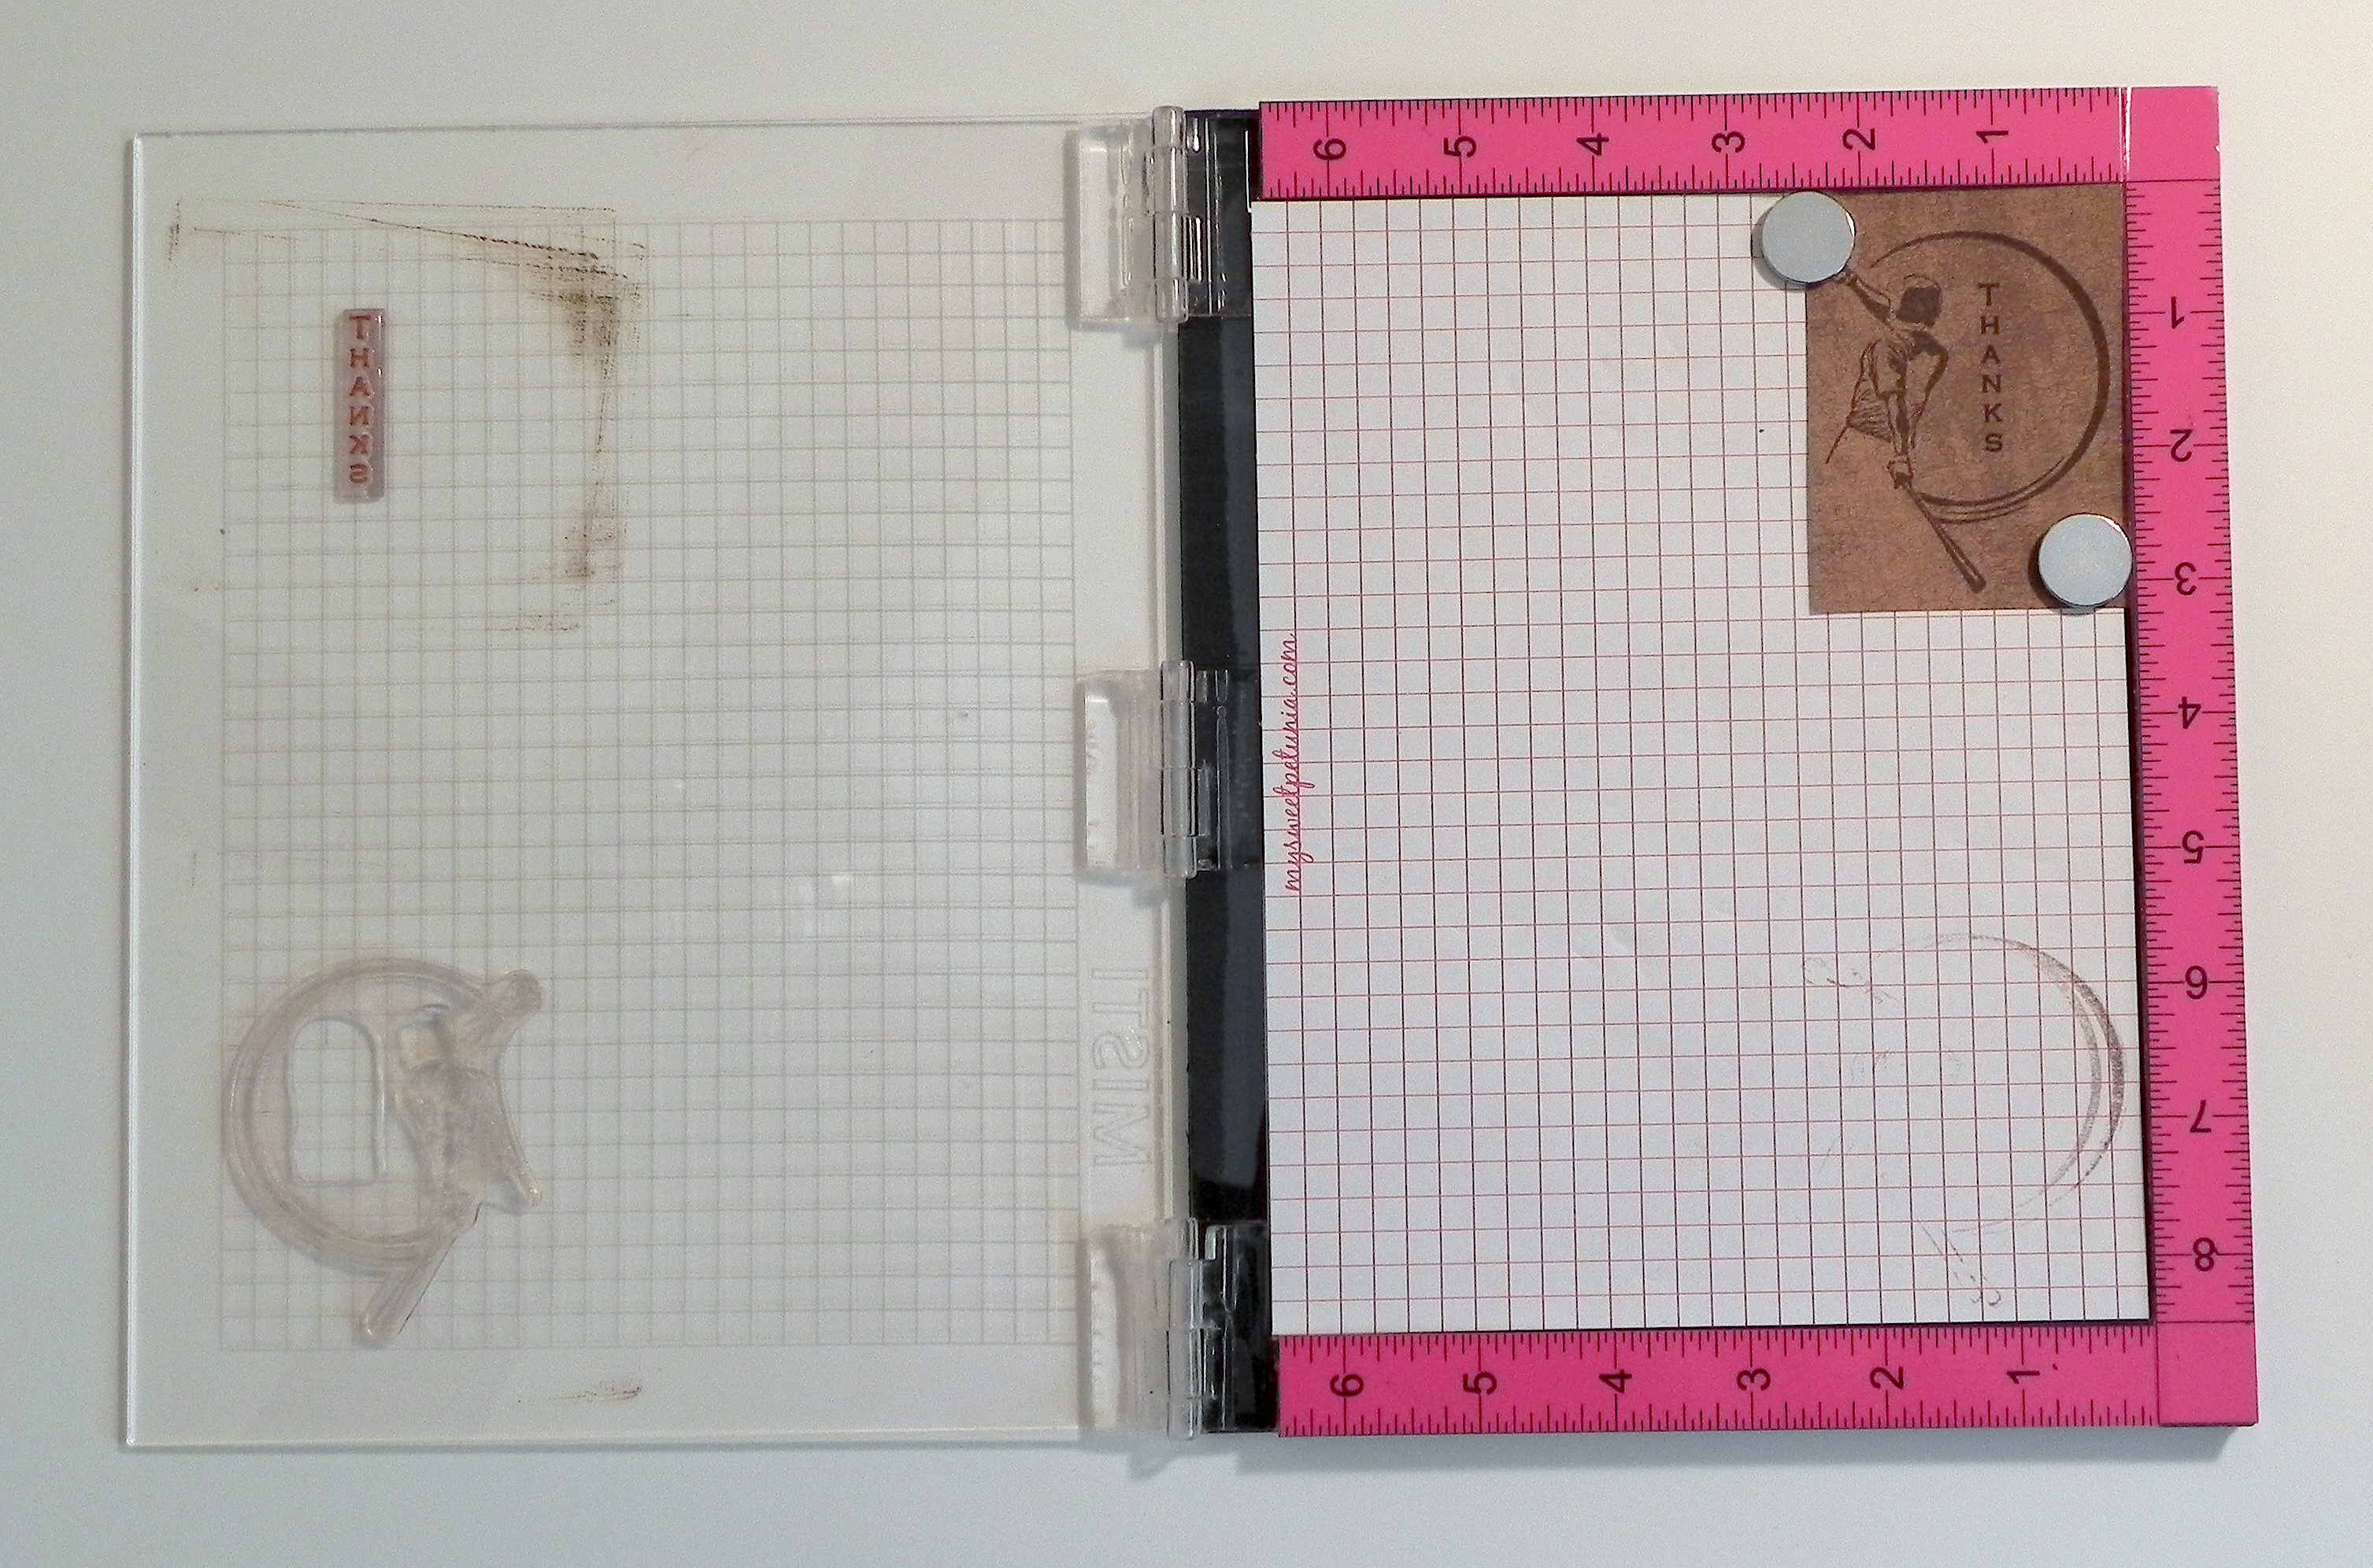
11)  Open the lid; the second image is now stamped onto the card stock.  (Again, I repeated this 3 or 4 times to get a nice dark image.)

120 DSCN8941

Here is the finished panel.  Notice that even though I stamped the images several times, the images are crisp without the double lines you often get if you try to re-stamp an image without the tool.  If you use the same size card stock and don’t move the stamps from the lid, you can create an infinite number of these panels, and they will all be exactly the same!  Position the stamps once and just stamp away!! This is perfect when you are making duplicates of the same card.

130 DSCN8943

I use my MISTI all the time.  (I can’t remember the last time I stamped with a plain acrylic block!)  Even if perfect placement of my stamp(s) isn’t necessary, I usually re-stamp my images a few times to make them really dark.

To order or for more information, go to mysweetpetunia.com.

(I am not affiliated with My Sweet Petunia in any way; I’m just a happy customer!  Check it out for yourself, and decide if it would be good for you.)

Thanks for checking out my post!