Collection of Cards from One Sheet of Patterned Paper

Odd (to me) that I have never done a “One Sheet Wonder” before now! I used Mary Knabe’s template and made 11 cards (using her 5 different sketches) from 1 sheet of 12 x 12 paper.
For those of you not familiar with a “One Sheet Wonder” project, the template tells you how to cut the sheet of patterned paper and gives suggestions for how to use the pieces on cards. You choose the other paper, die cuts, stamped images and/or embellishments to complete the cards. You can follow the suggestions/sketches exactly, or you can use them as starting points and do as you wish. (I followed all of her sketches for my cards.)
This is the sheet of patterned paper (that I’ve had forever!) that I used on all of my cards.

This is how the paper was cut:

Mary charges for the PDF of her template and instructions which is why I did not post the measurements here, but if you watch her YouTube video, you can see them (for free).
*
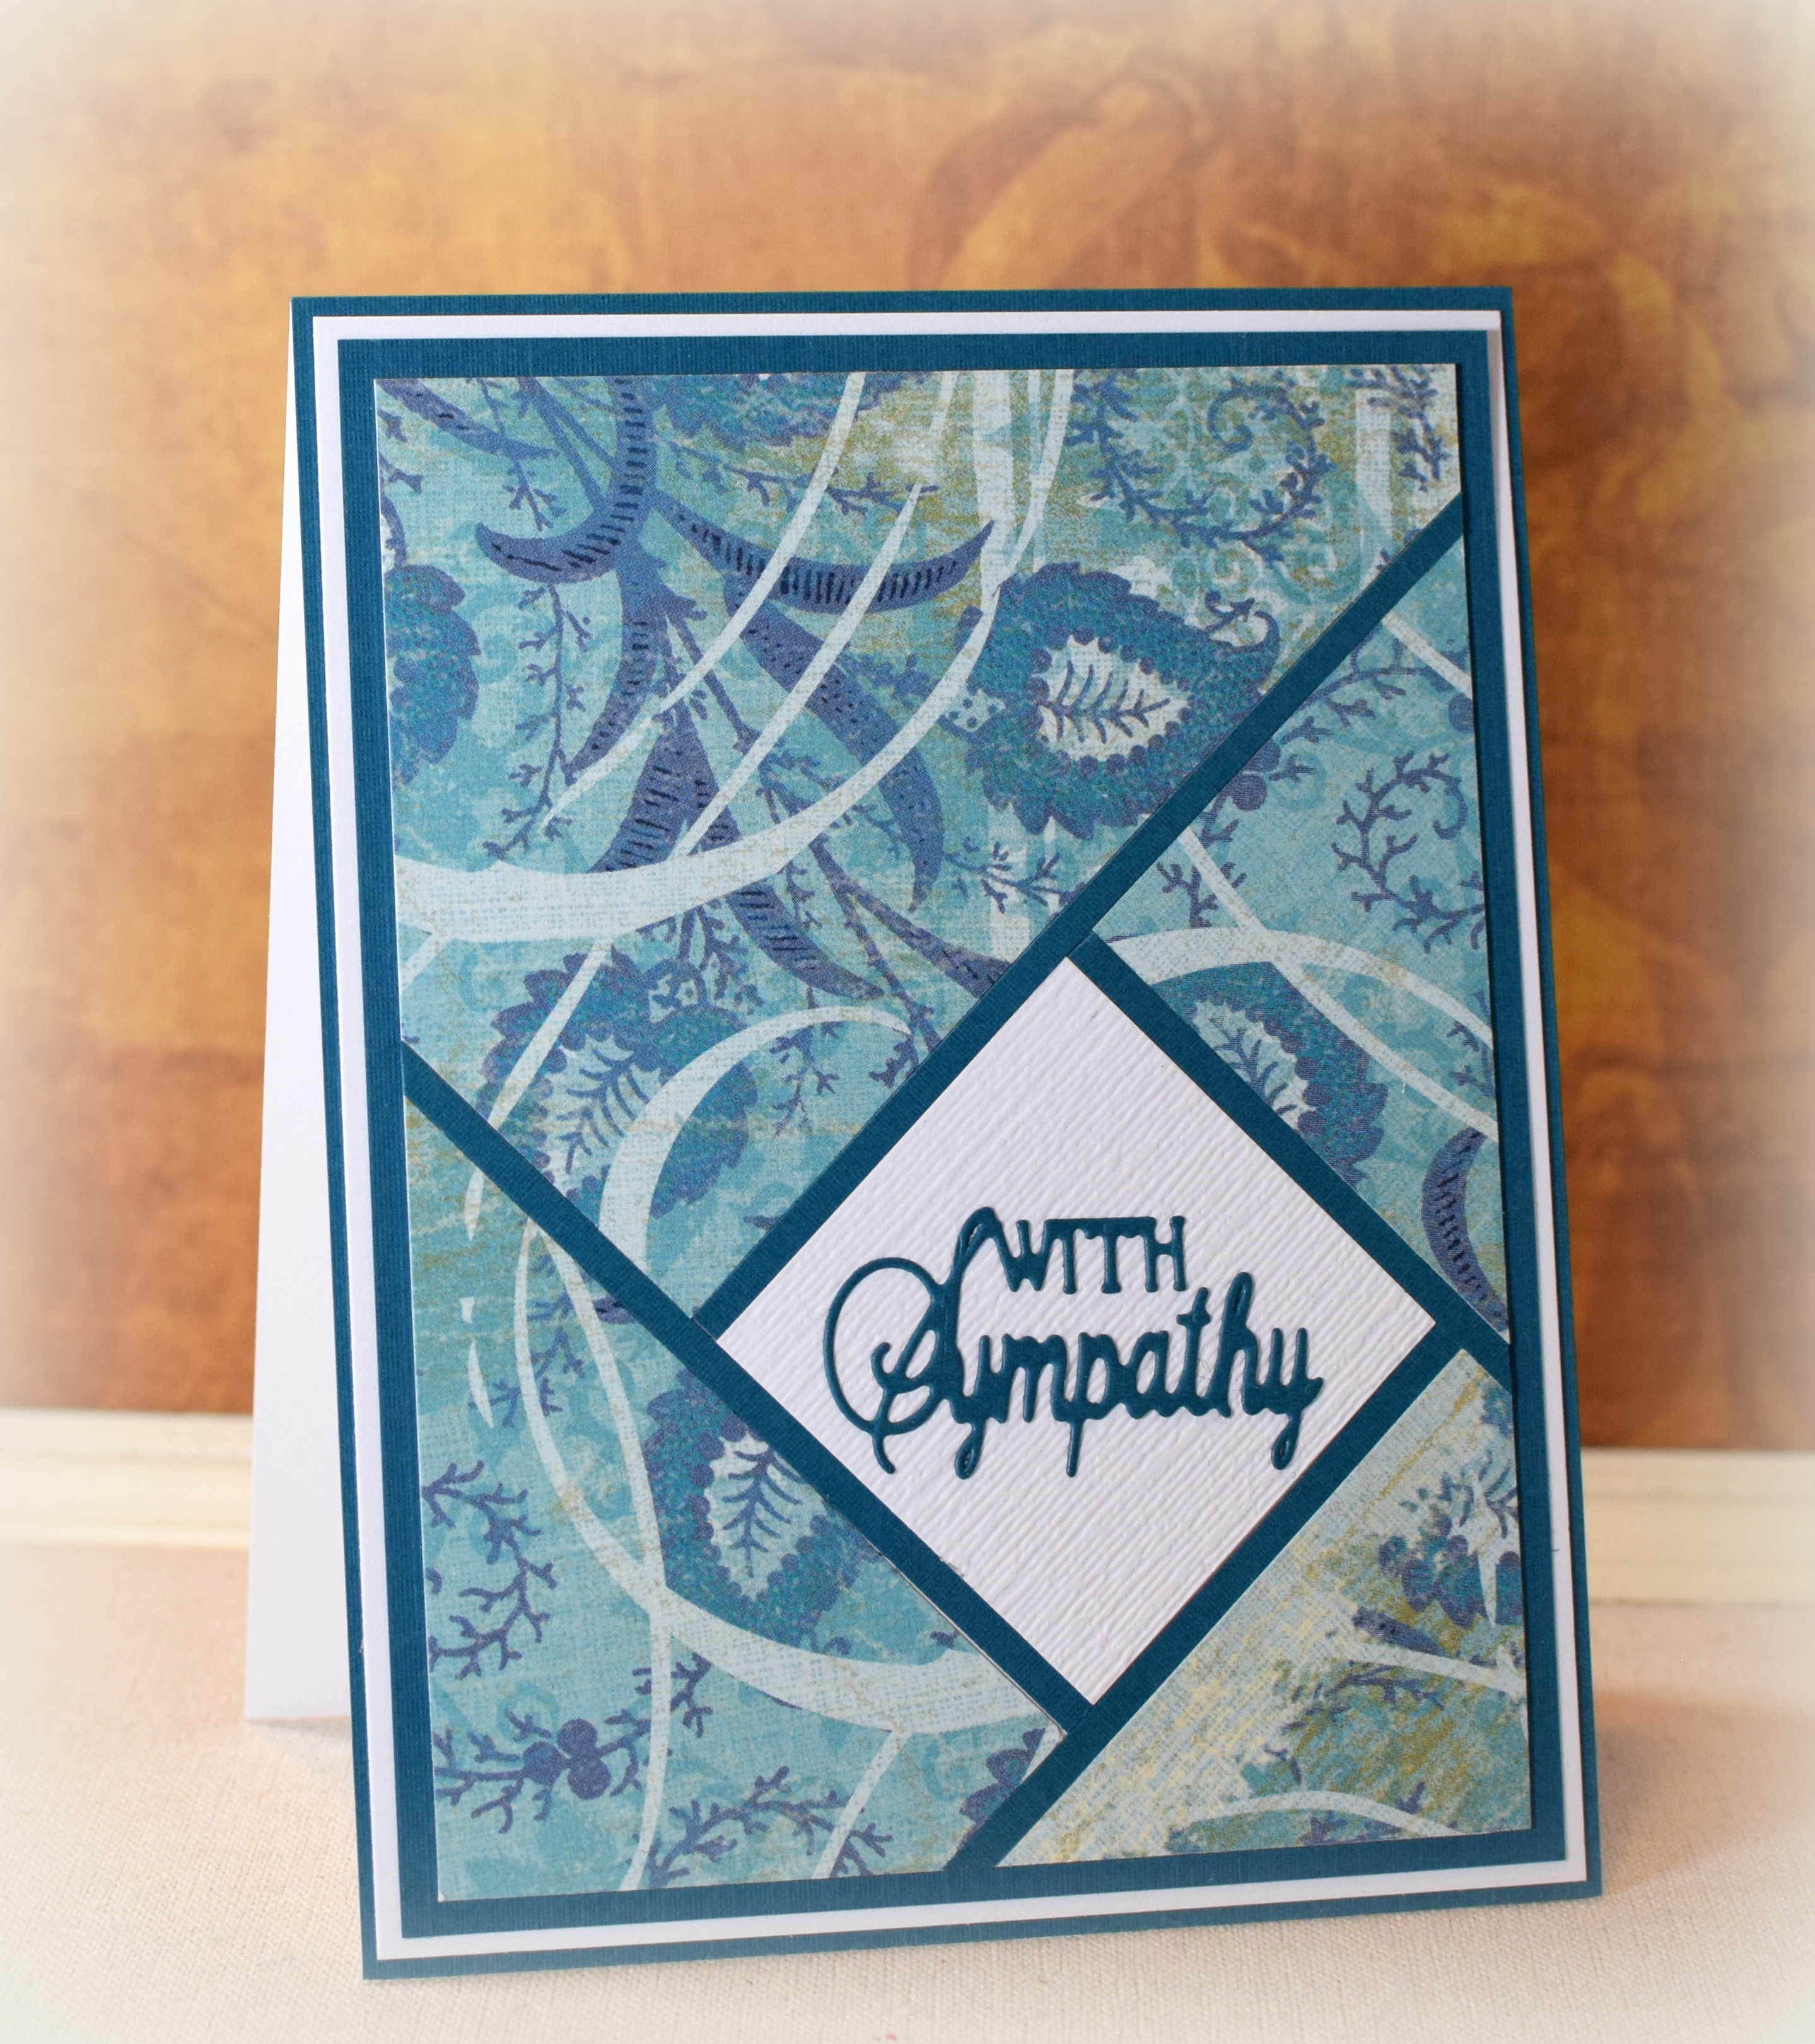
Here is the first card design. I was able to make 2 of these.
*
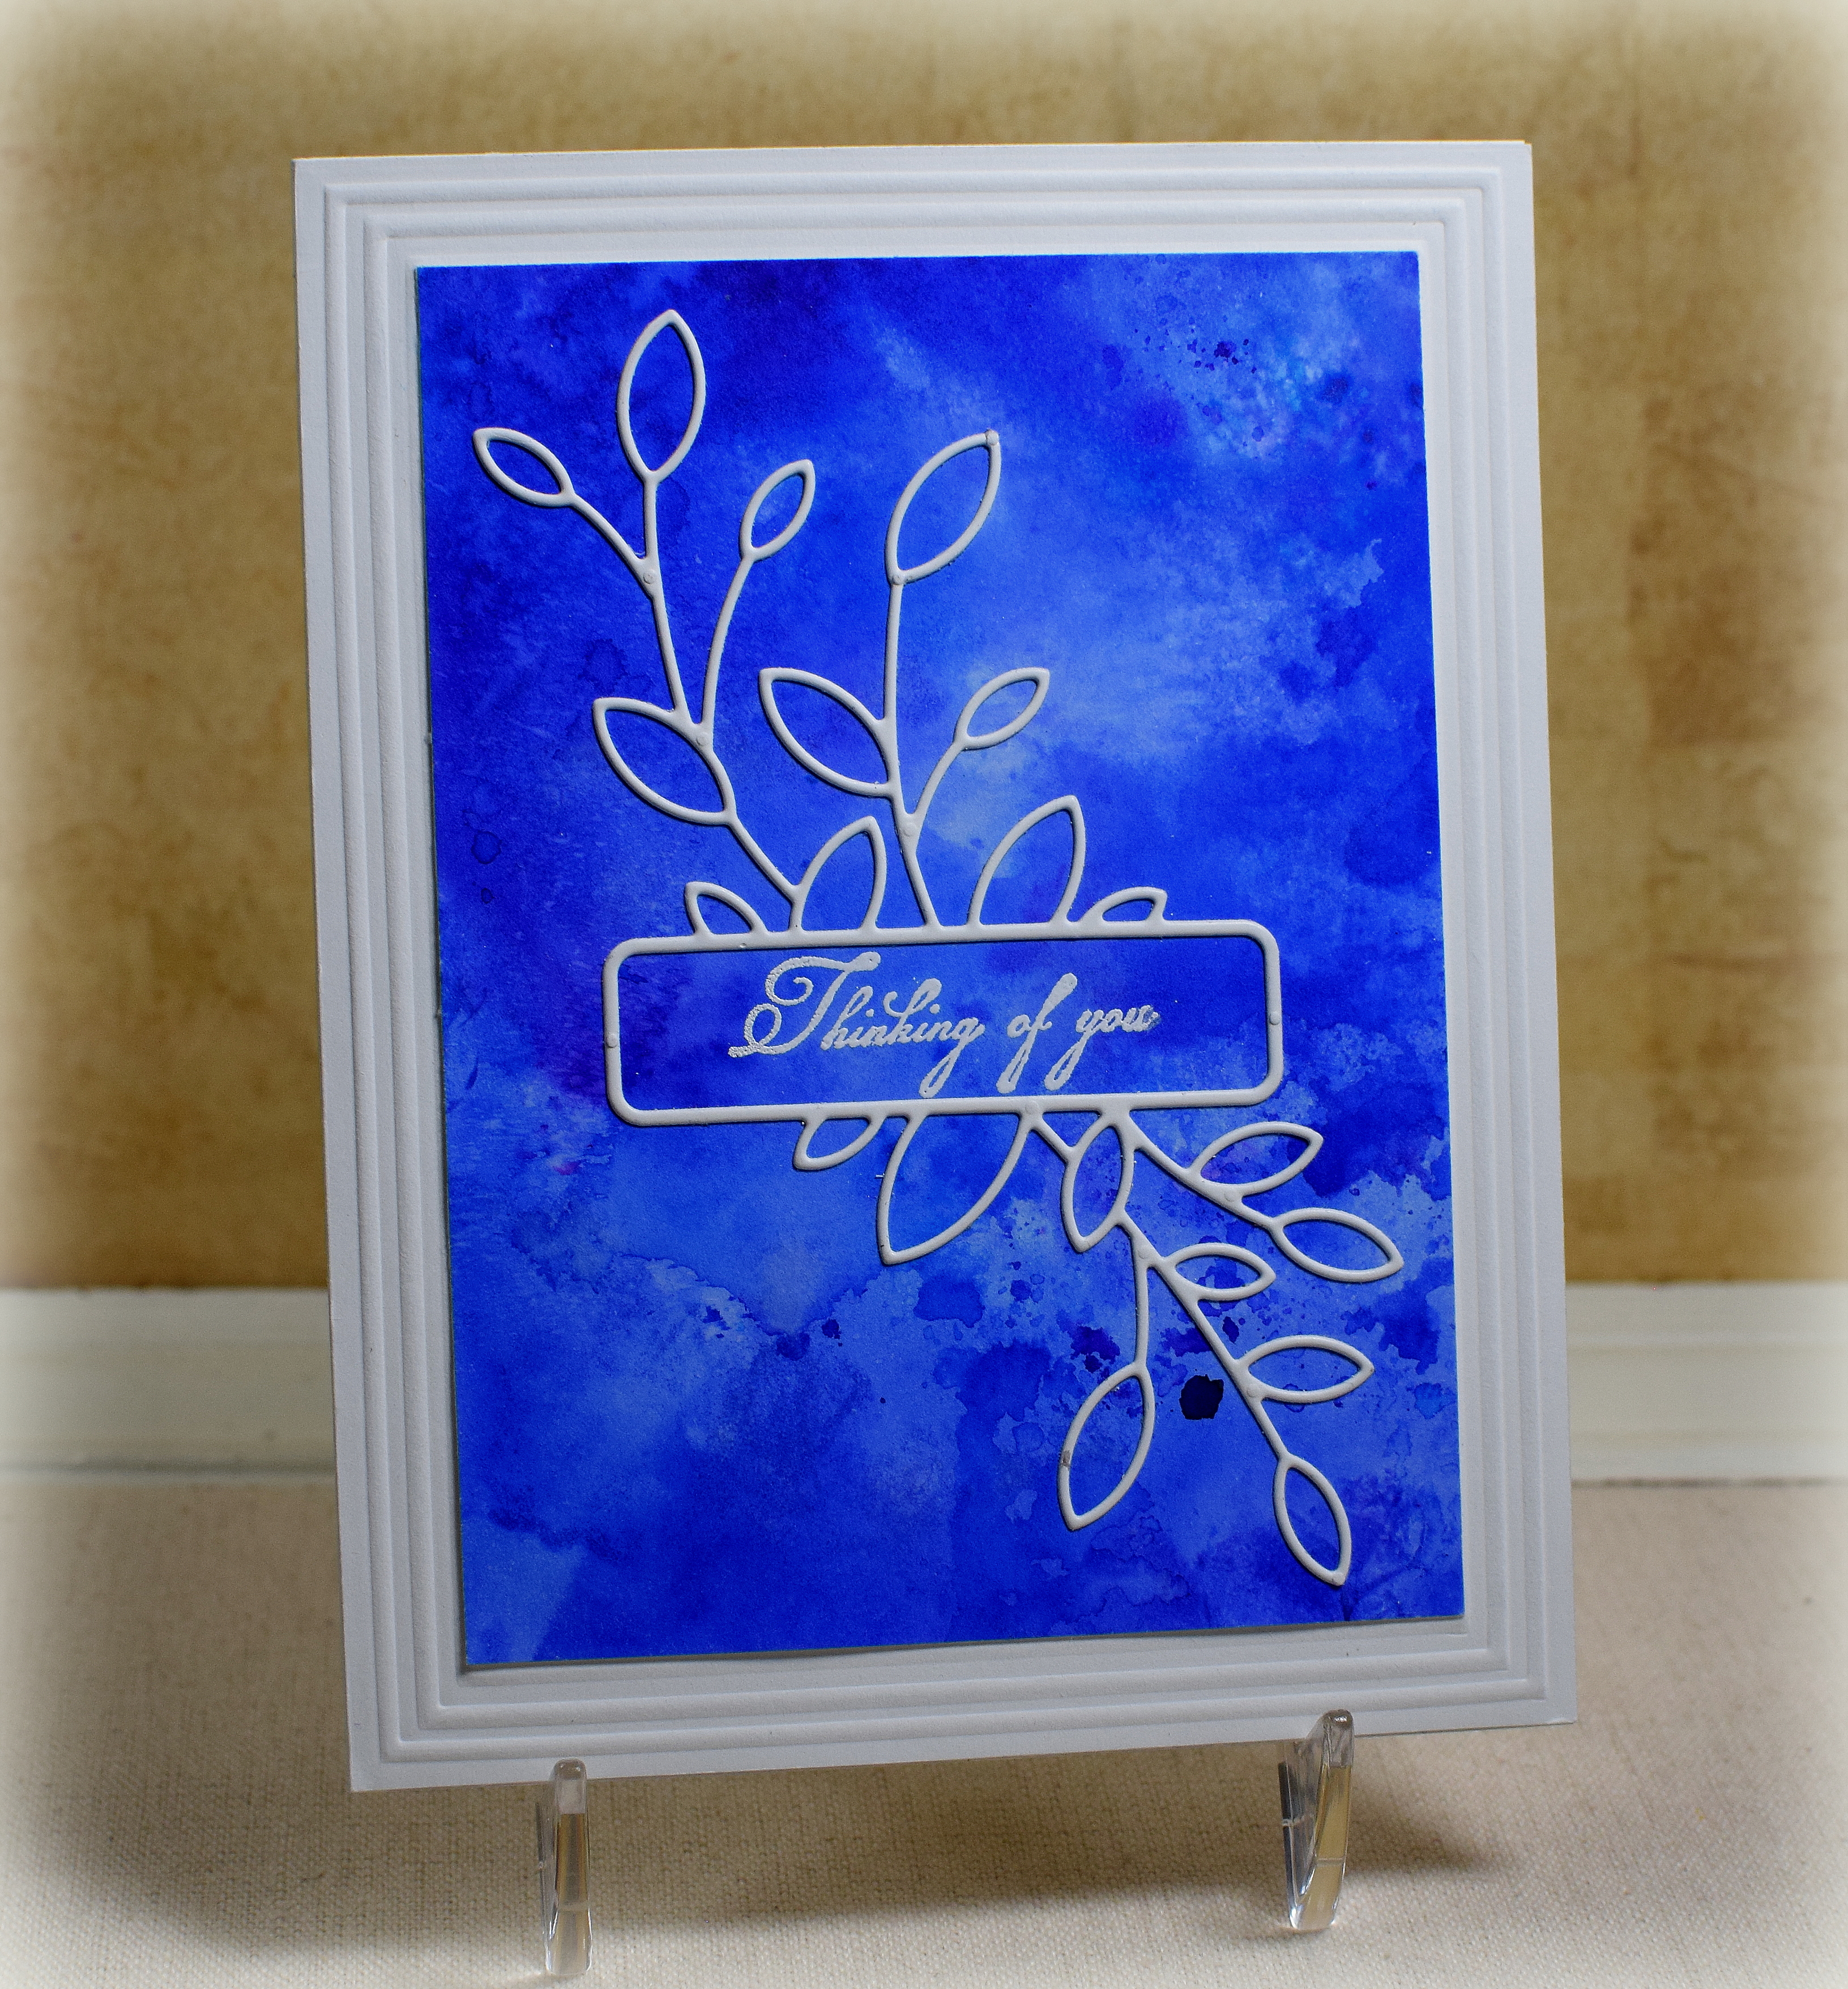
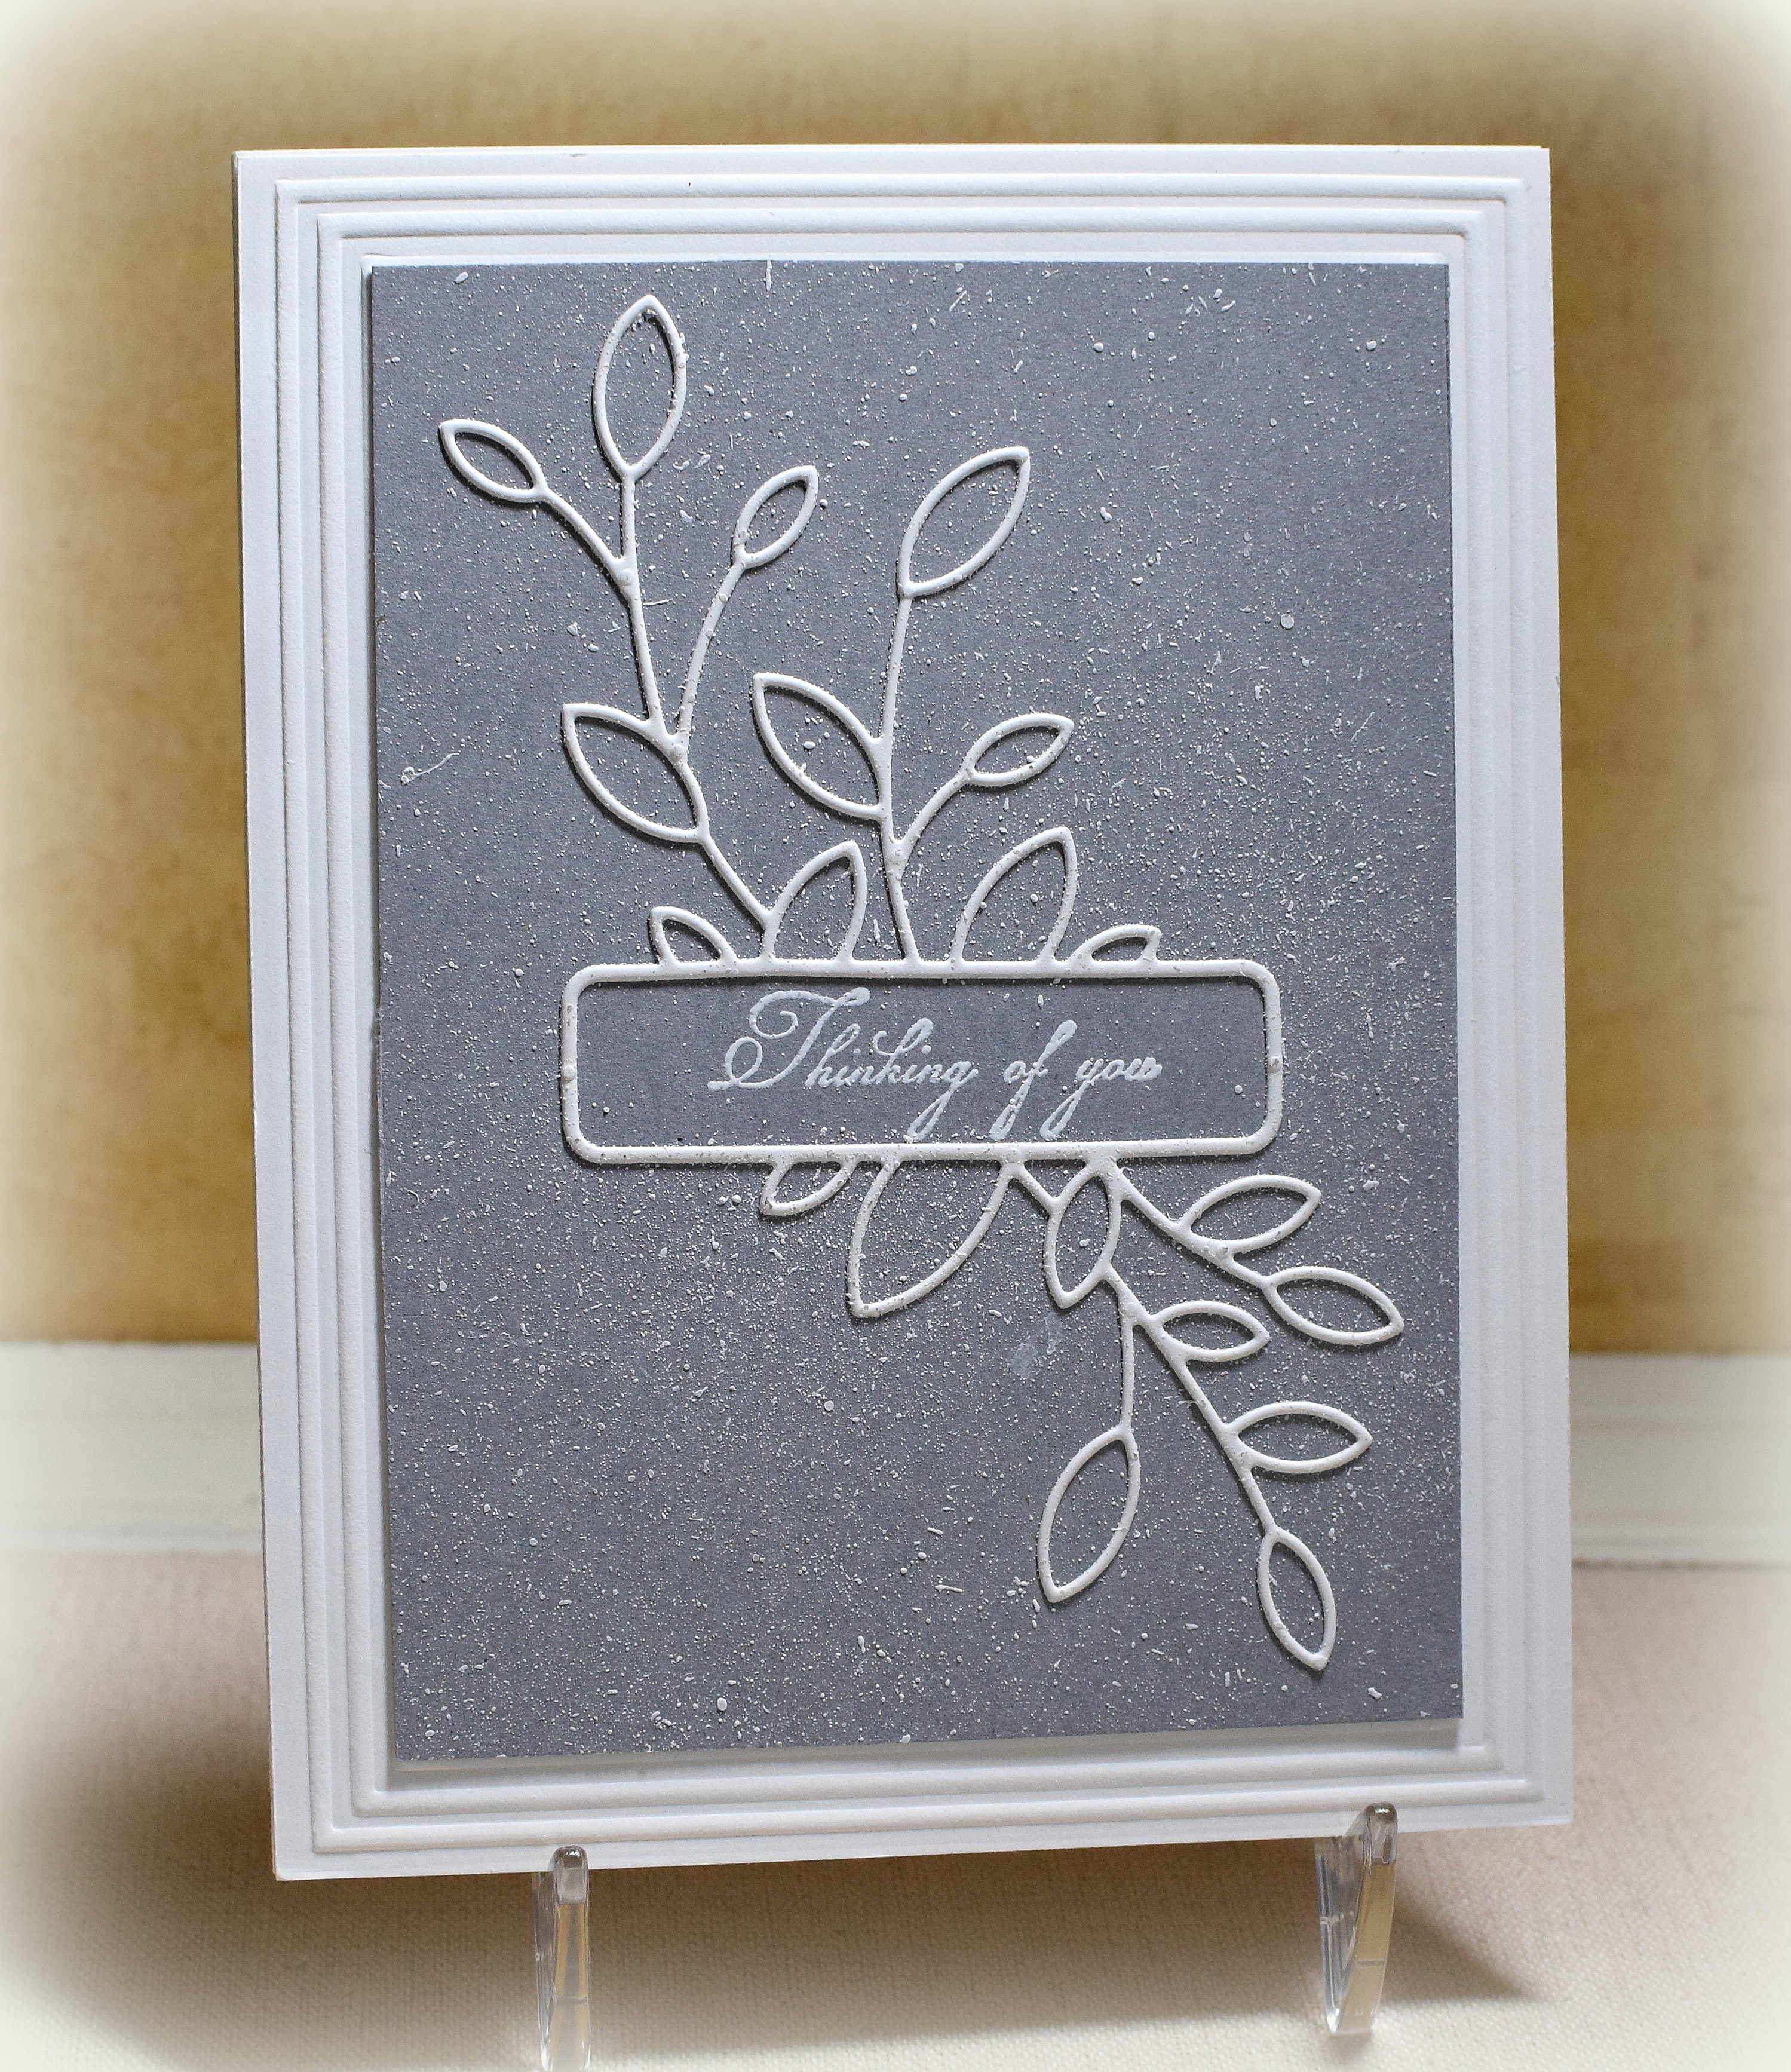
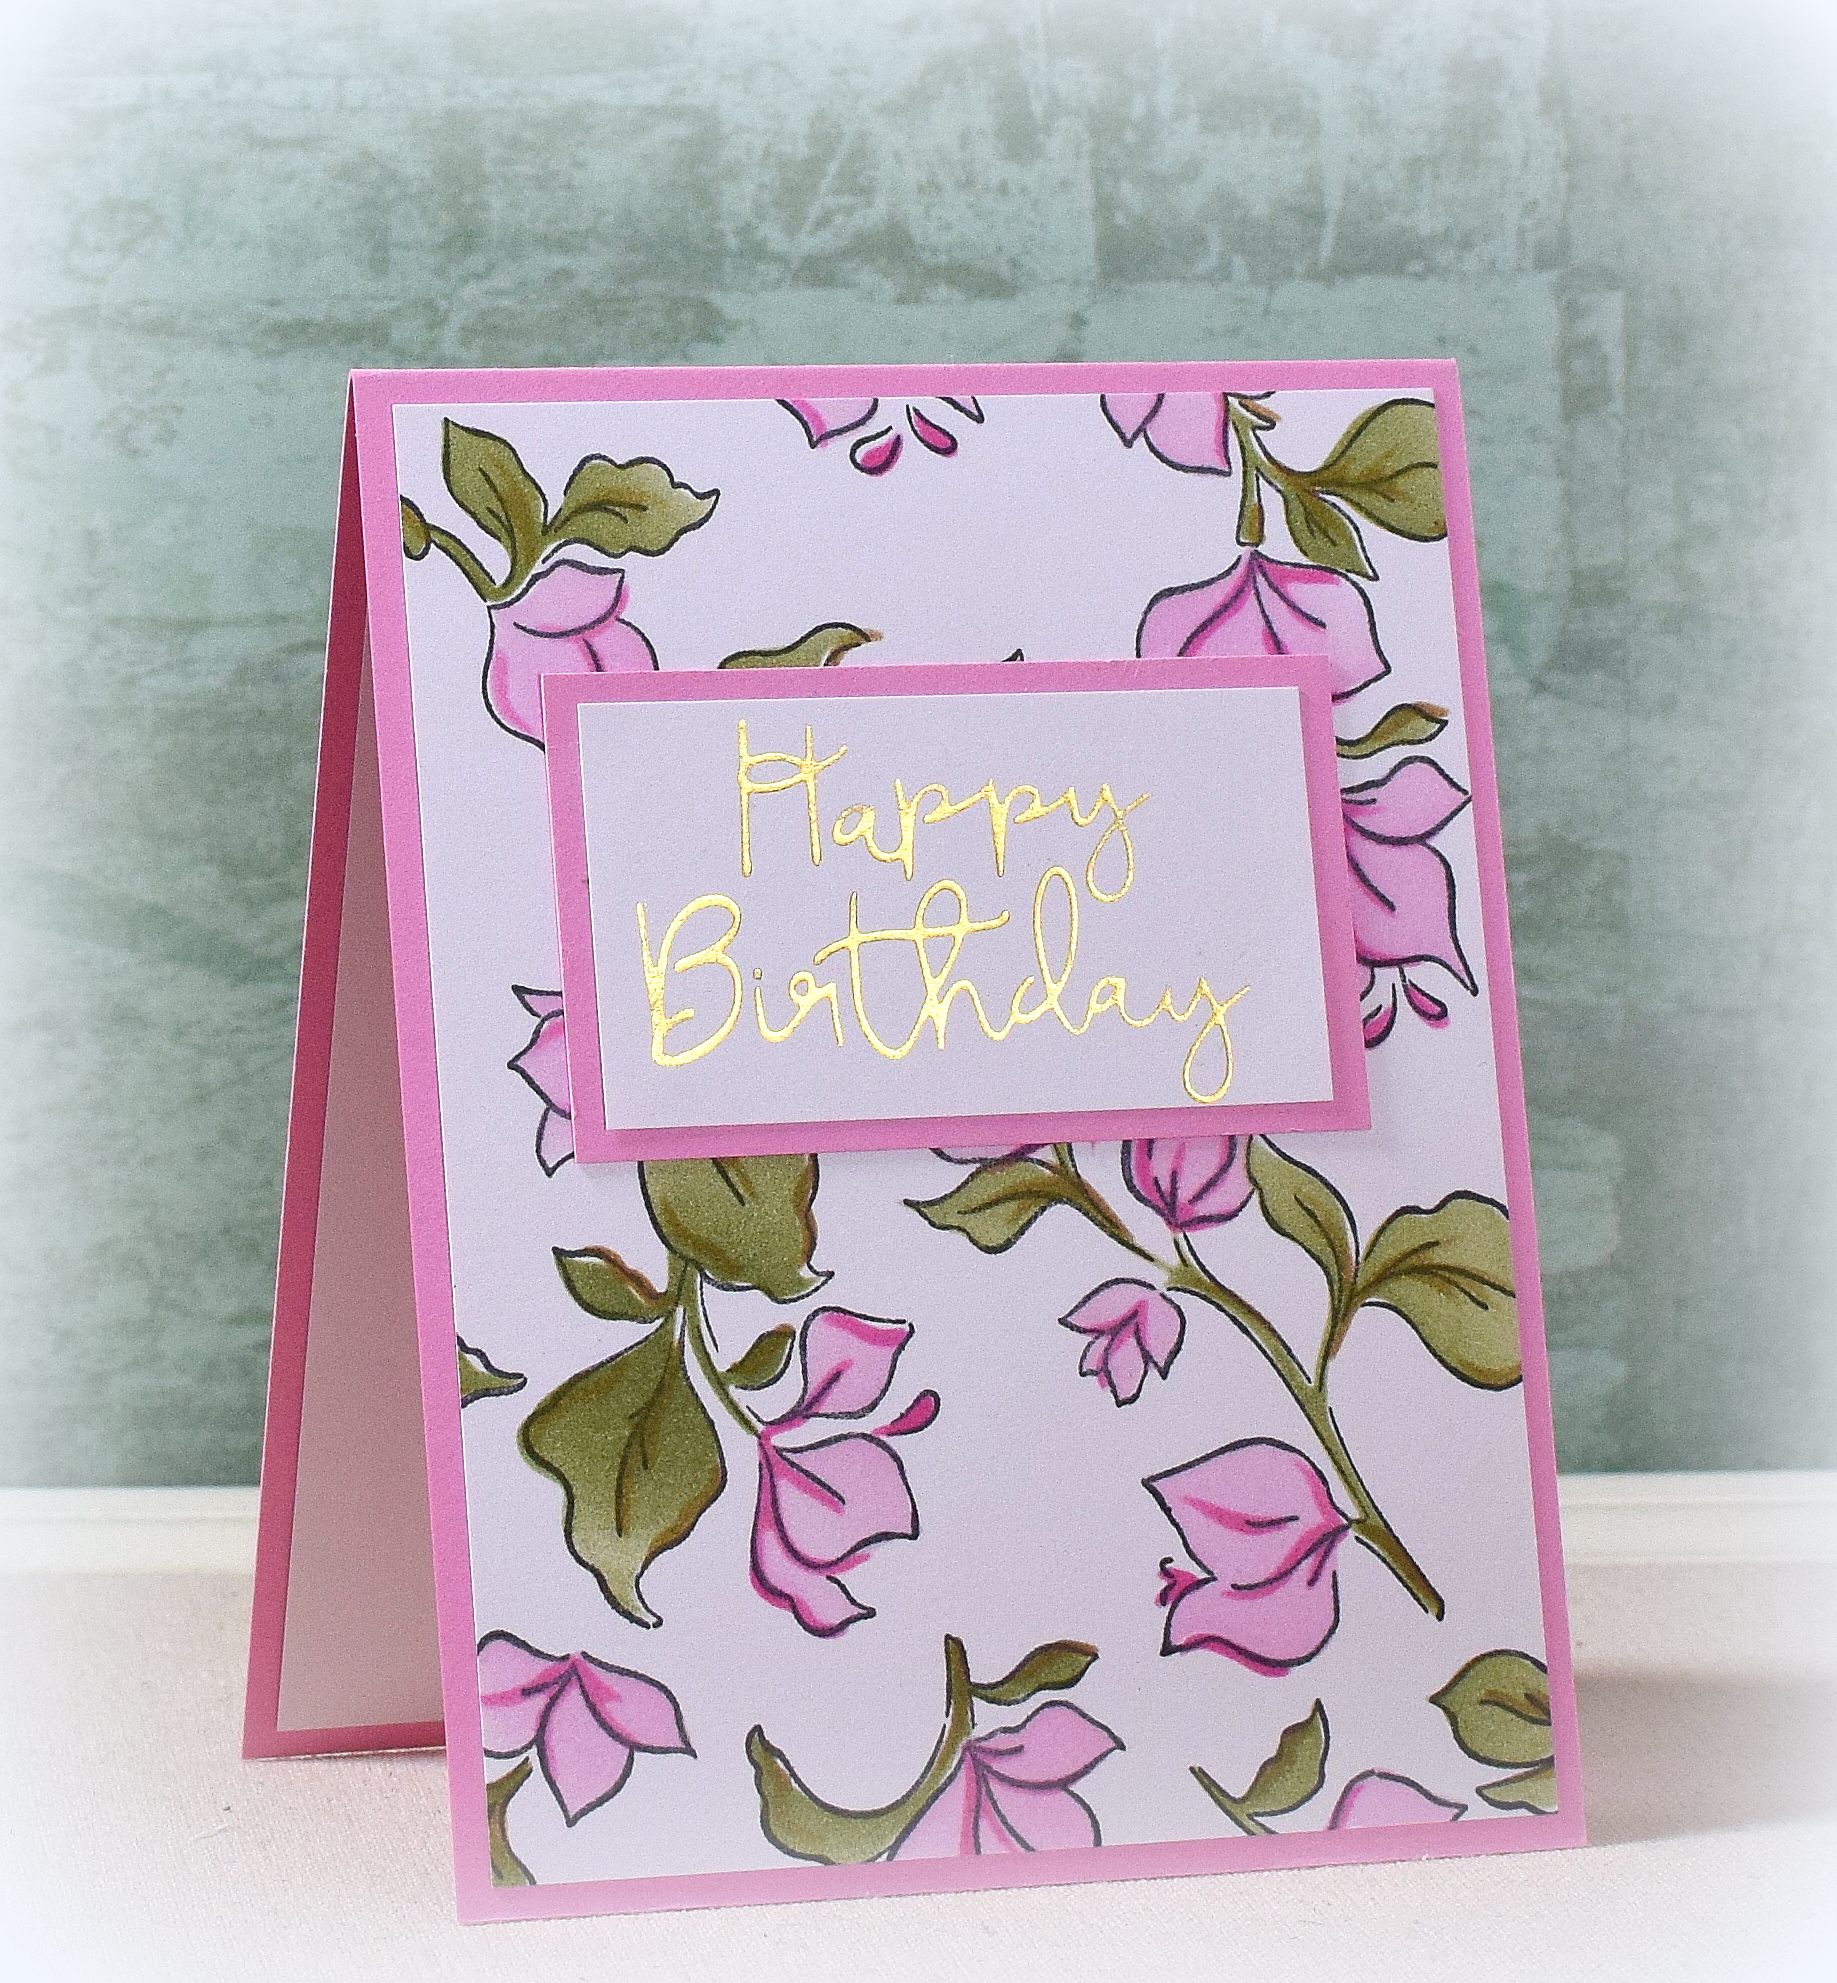
I was able to make 3 of the second card design. (I used one less mat layer than what the sketch suggested.)

*
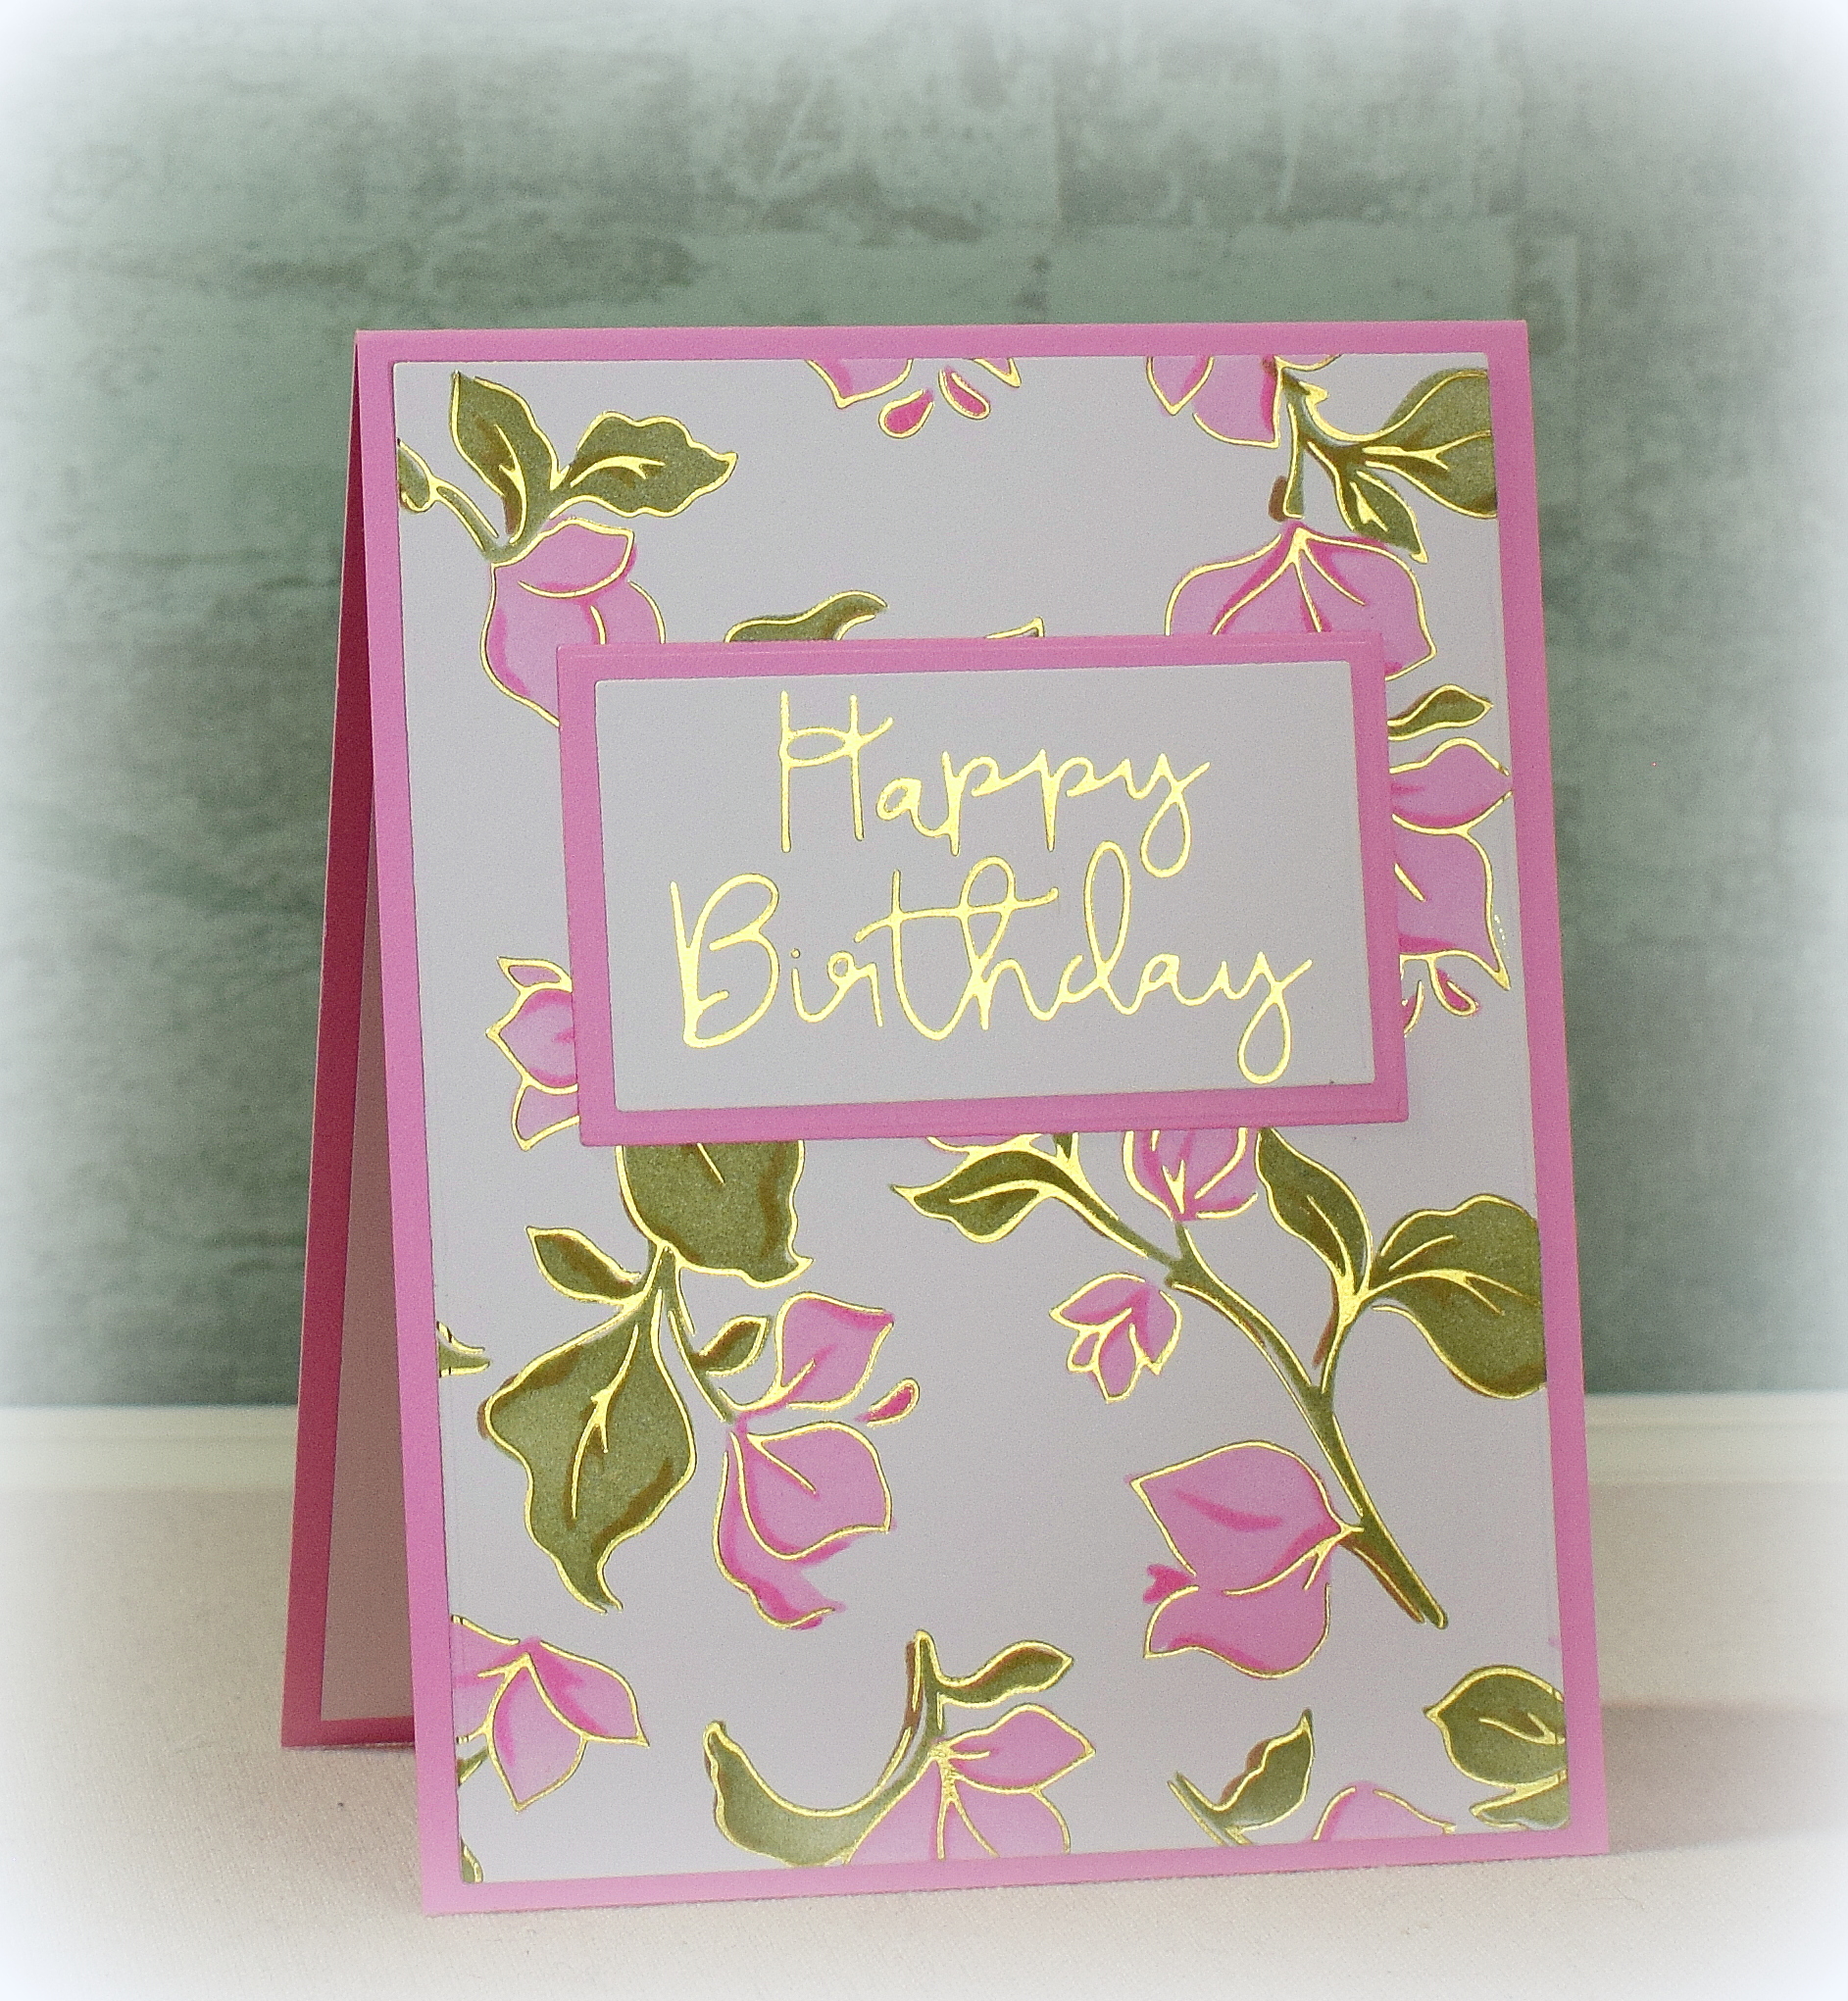
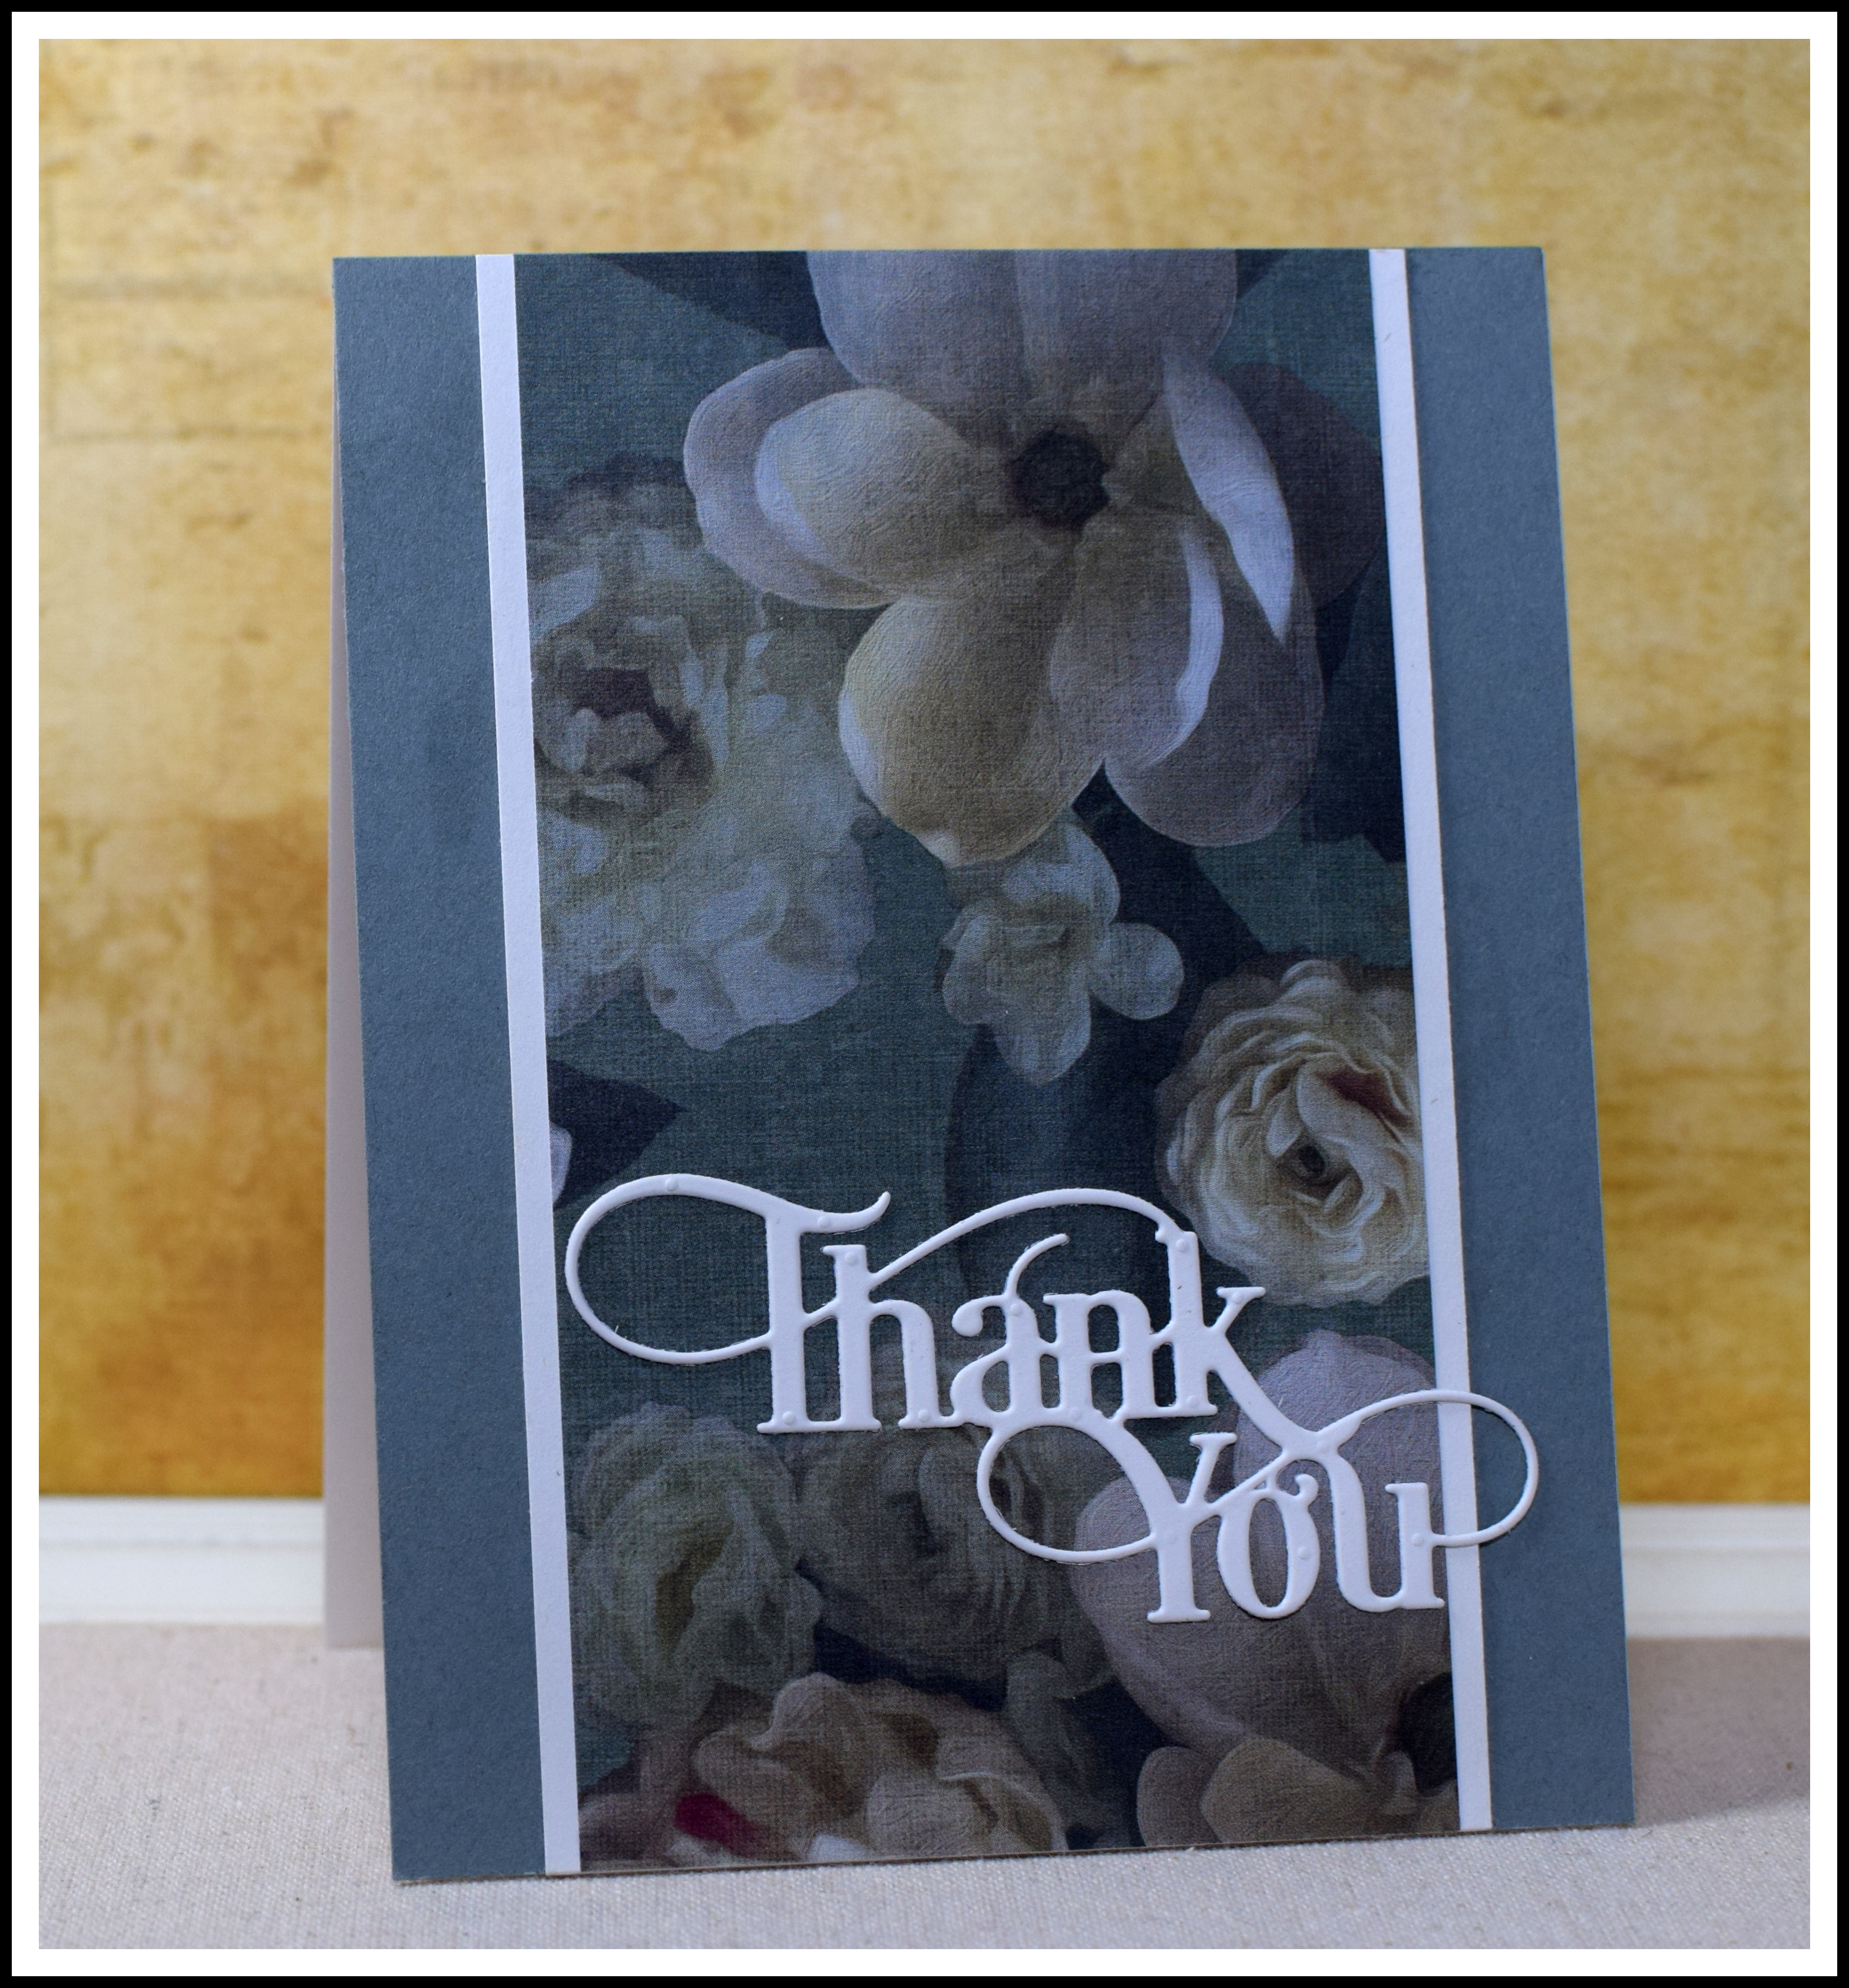
I was able to make 3 of the third card design.

*
I was only able to make 1 of the fourth card design.

*
And I was able to make 2 of the final card design. (I added an extra layer than what the sketch suggested for the background.)

This was a fun project! There was not a drop of the patterned paper left over, and the simple sketches can be used on their own or with the template. And I have 11 cards ready to go!
If you care to see the supplies I used on these cards, keep reading…
Continue reading