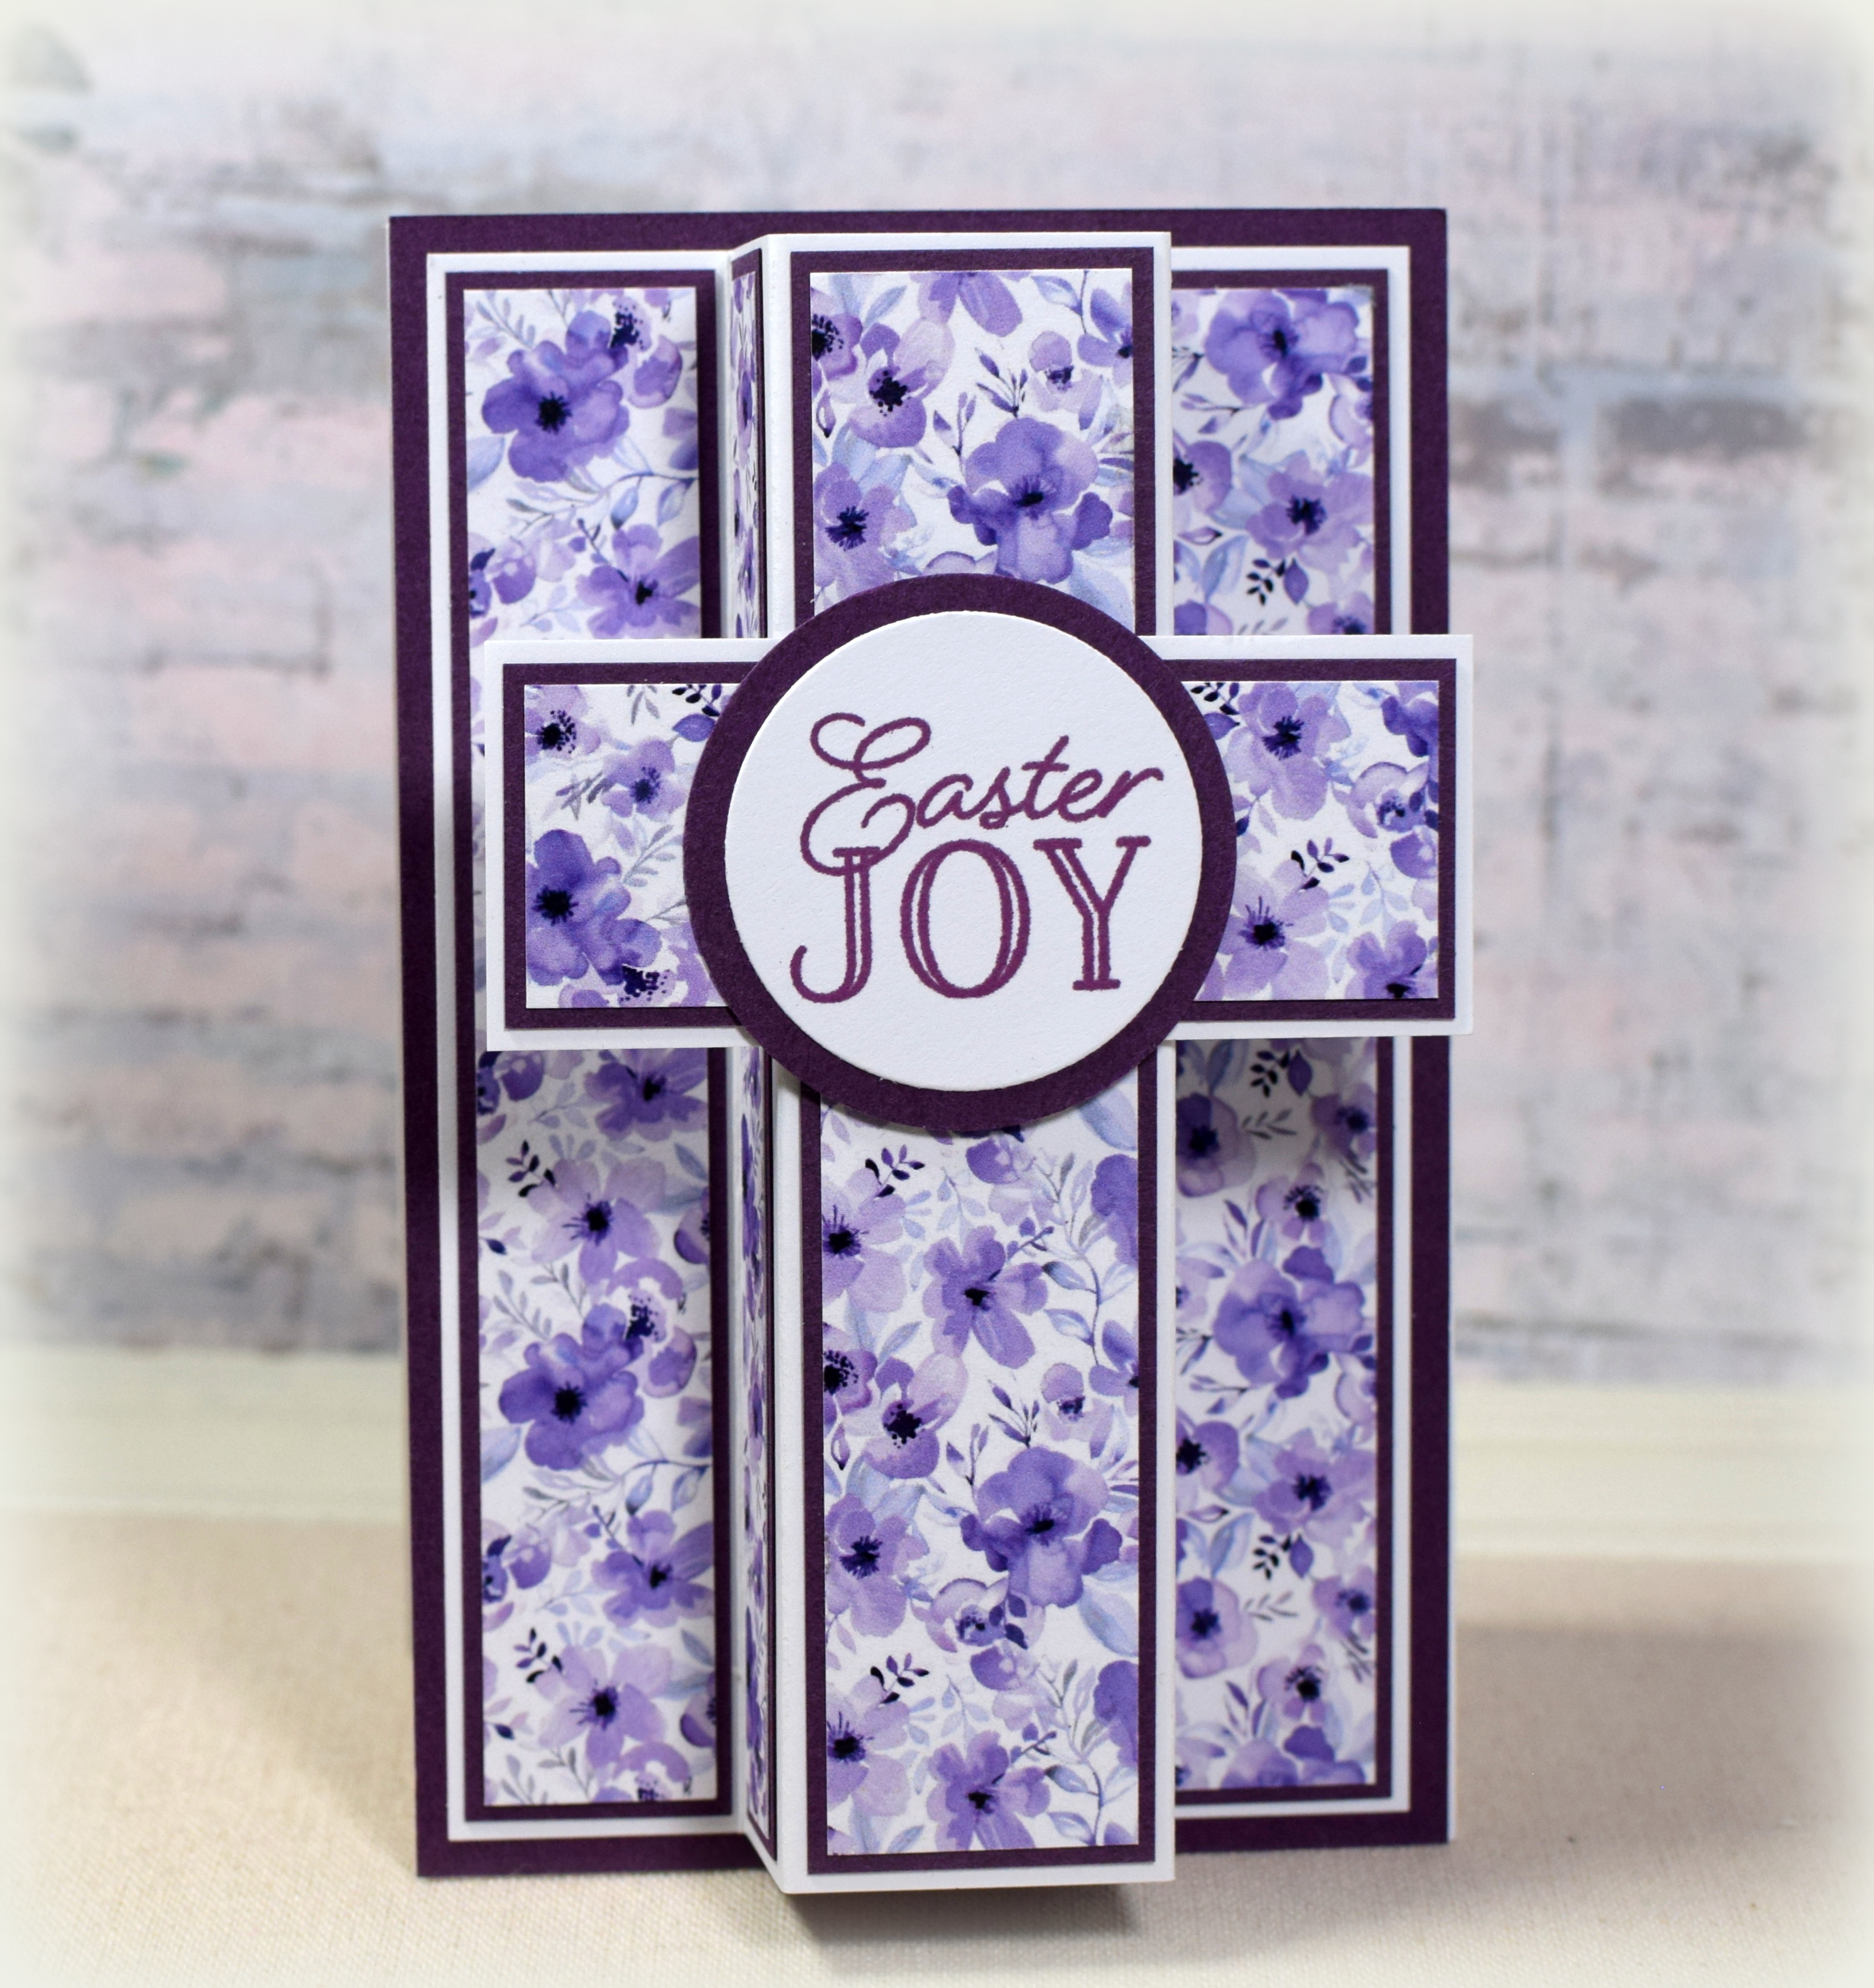
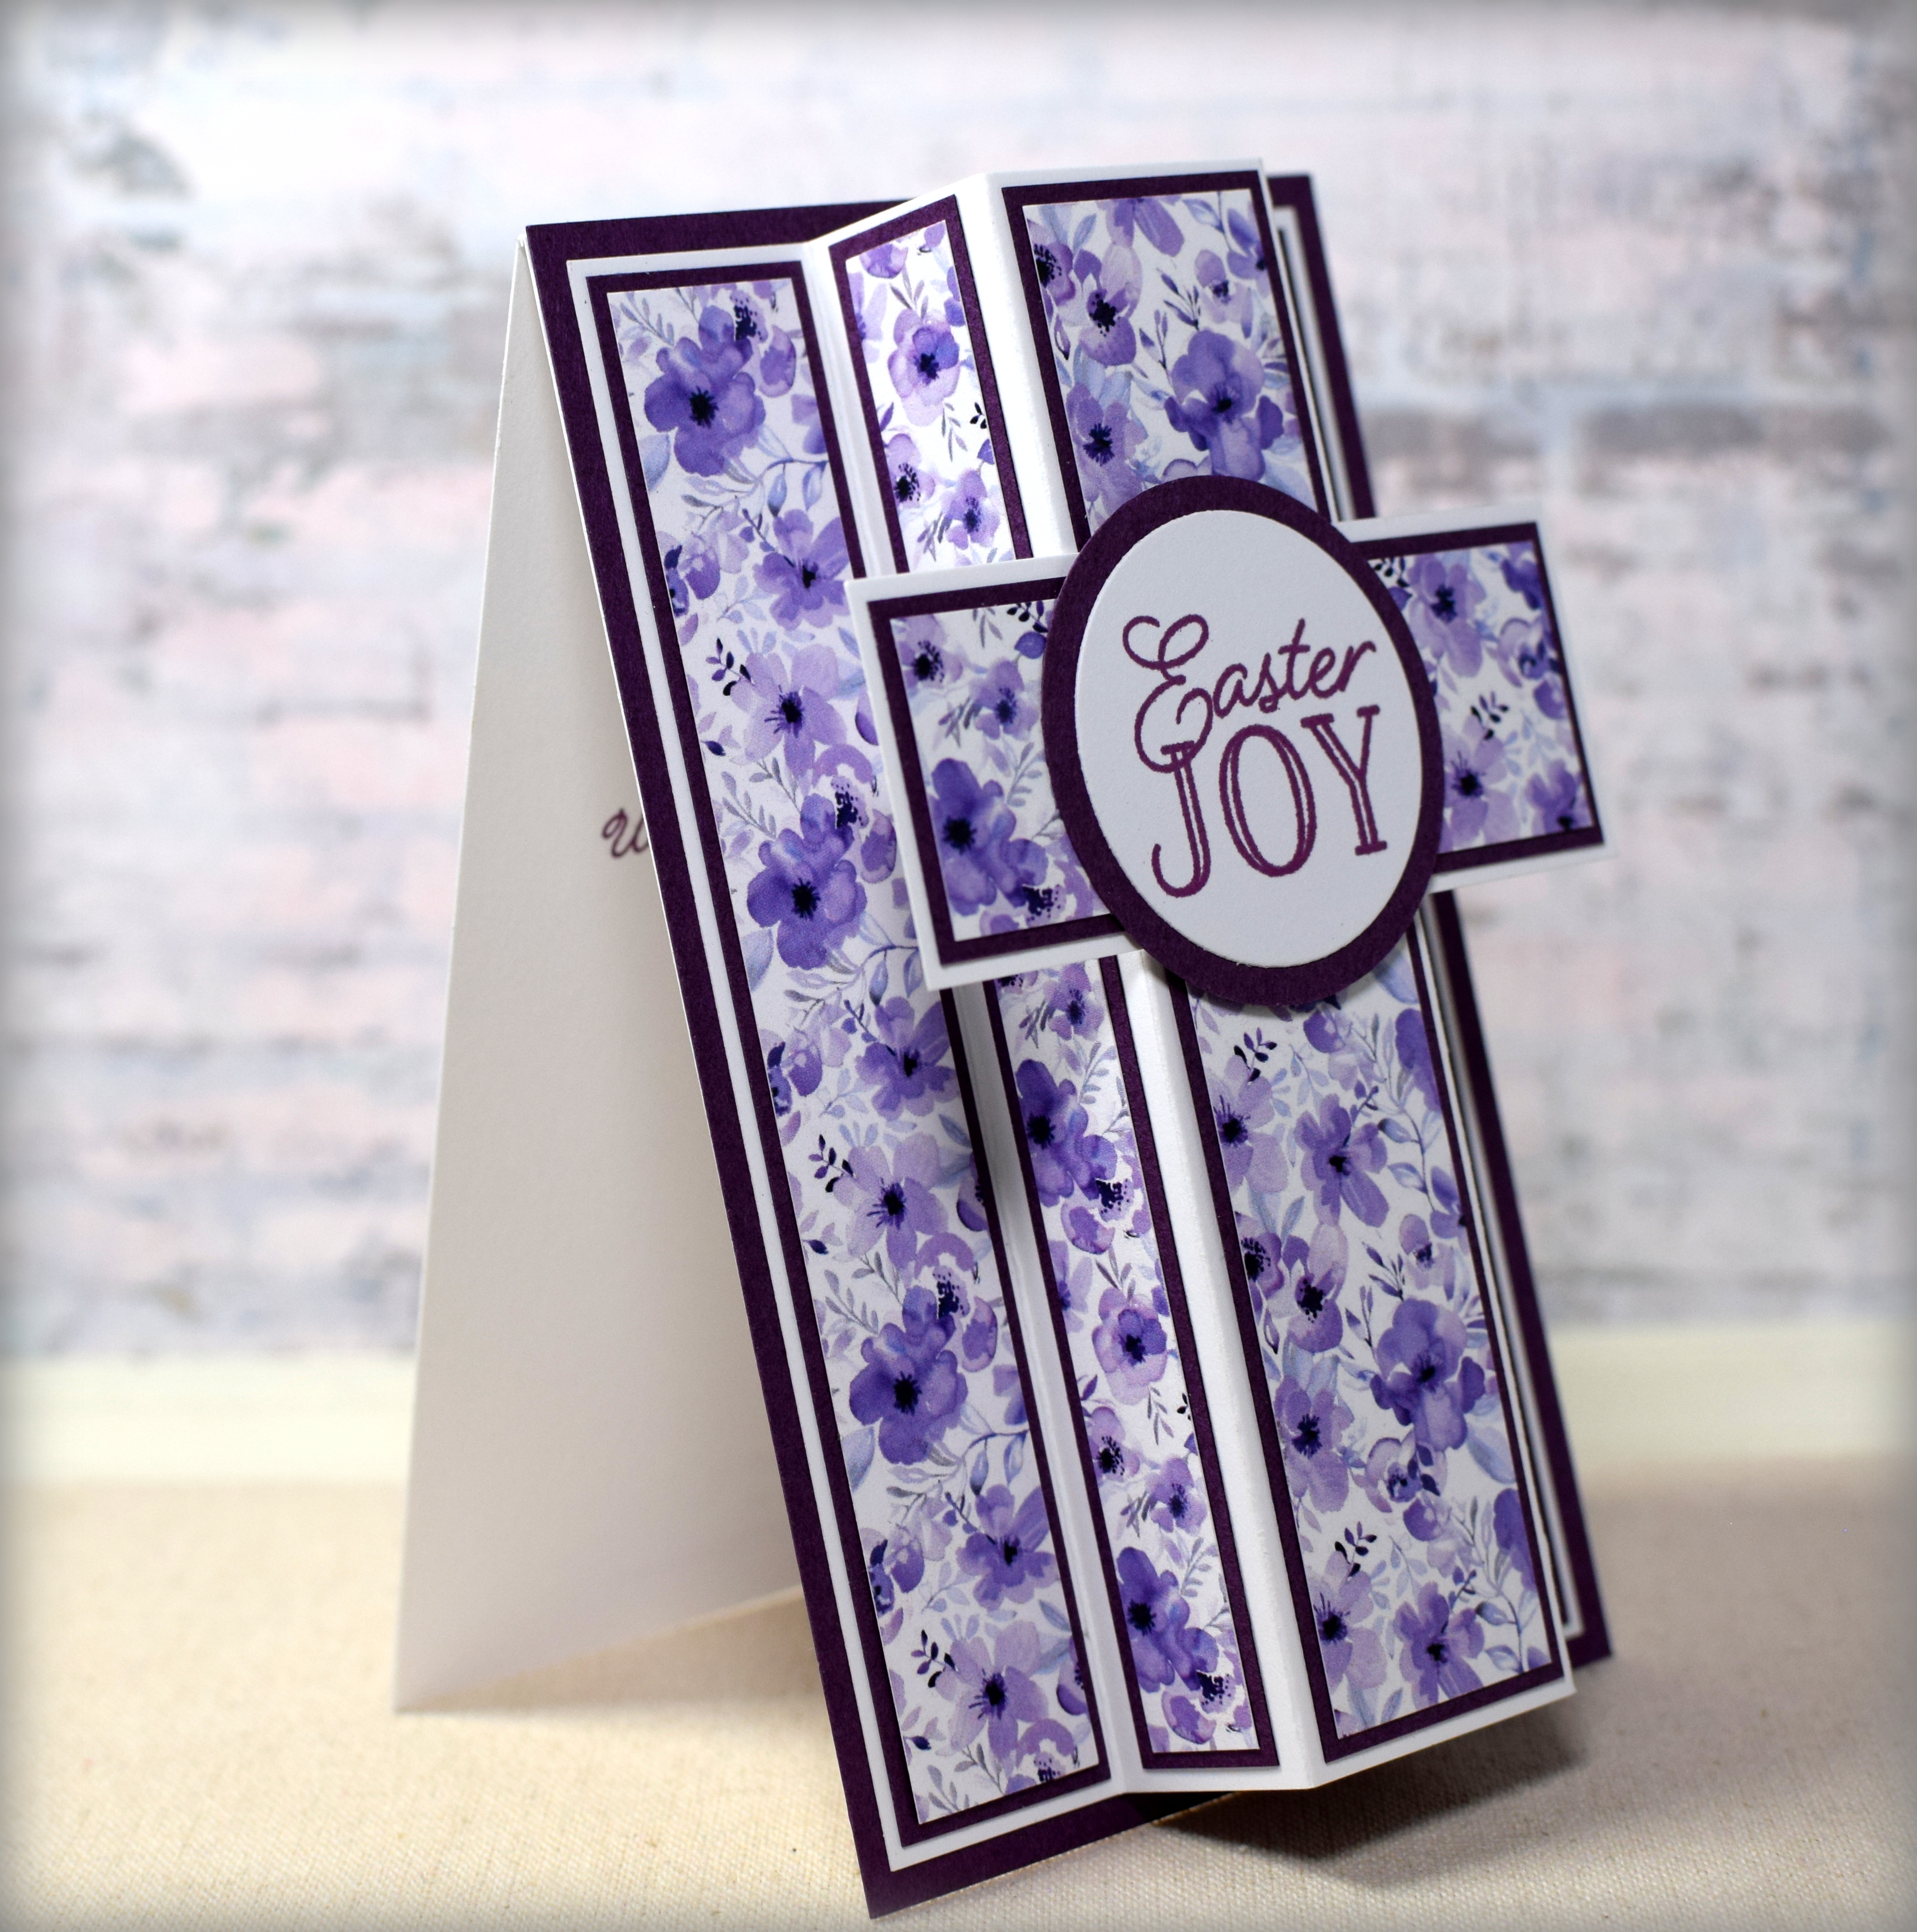
Easter Joy Cross Card
(inside: Wishing you a blessed Easter)
I saw this video to make a dimensional cross card and thought I’d give it a try.
Bethany’s instructions show how to make what I used as my card front. I added a top folding card base behind that panel (measuring 3 1/2 x 11 inches folded in half) to allow it to stand up better (it leans forward without the added base) and to have an “inside” for my sentiment/personal message (she put her message on the back).
The patterned paper is from the “Linen Floral” paper pack from Creek Bank Creations. American Crafts Velvet and white card stock was also used.
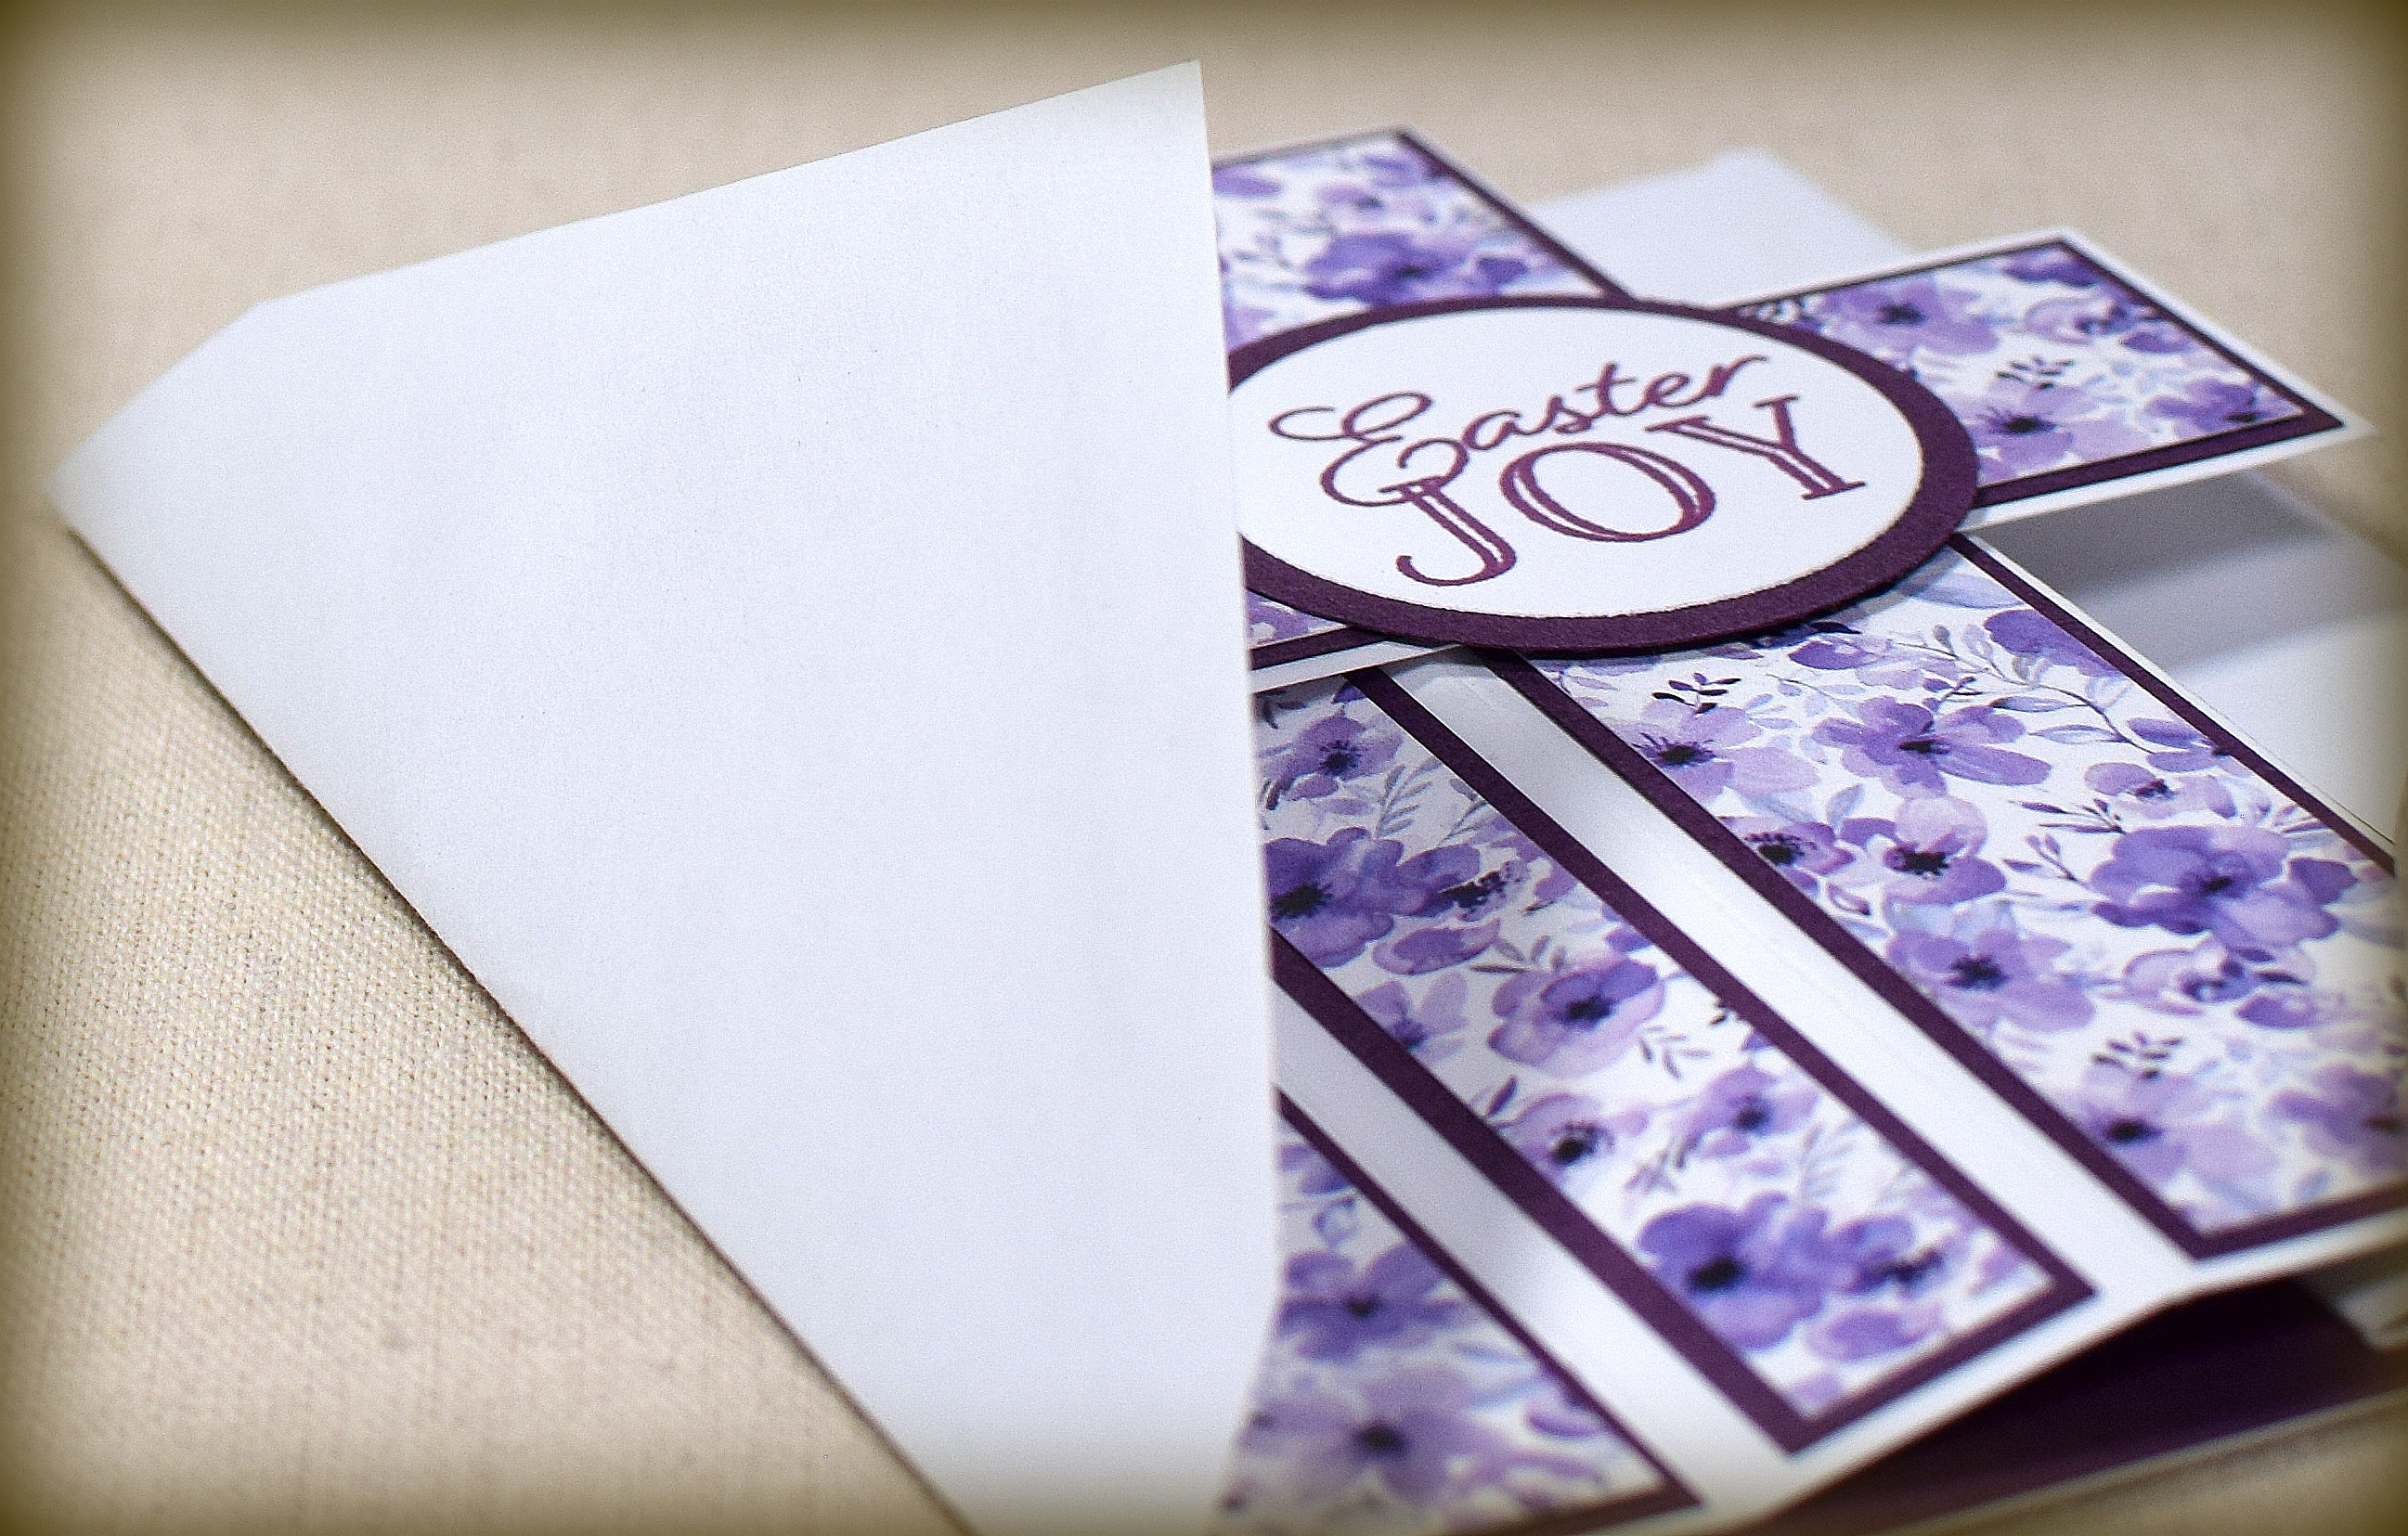
Both the greeting on the front and the sentiment on the inside were from the “Just Sentiments: Easter” stamp set from Ink to Paper and were stamped with Gina K Designs Plum Punch ink. I used a 1 1/2 inch and a 1 3/4 inch punch for the circles.
This card folds flat (to A2 size) for mailing.
Thanks for checking out my card project!
This content uses referral links as described in the disclosure policy on my sidebar.