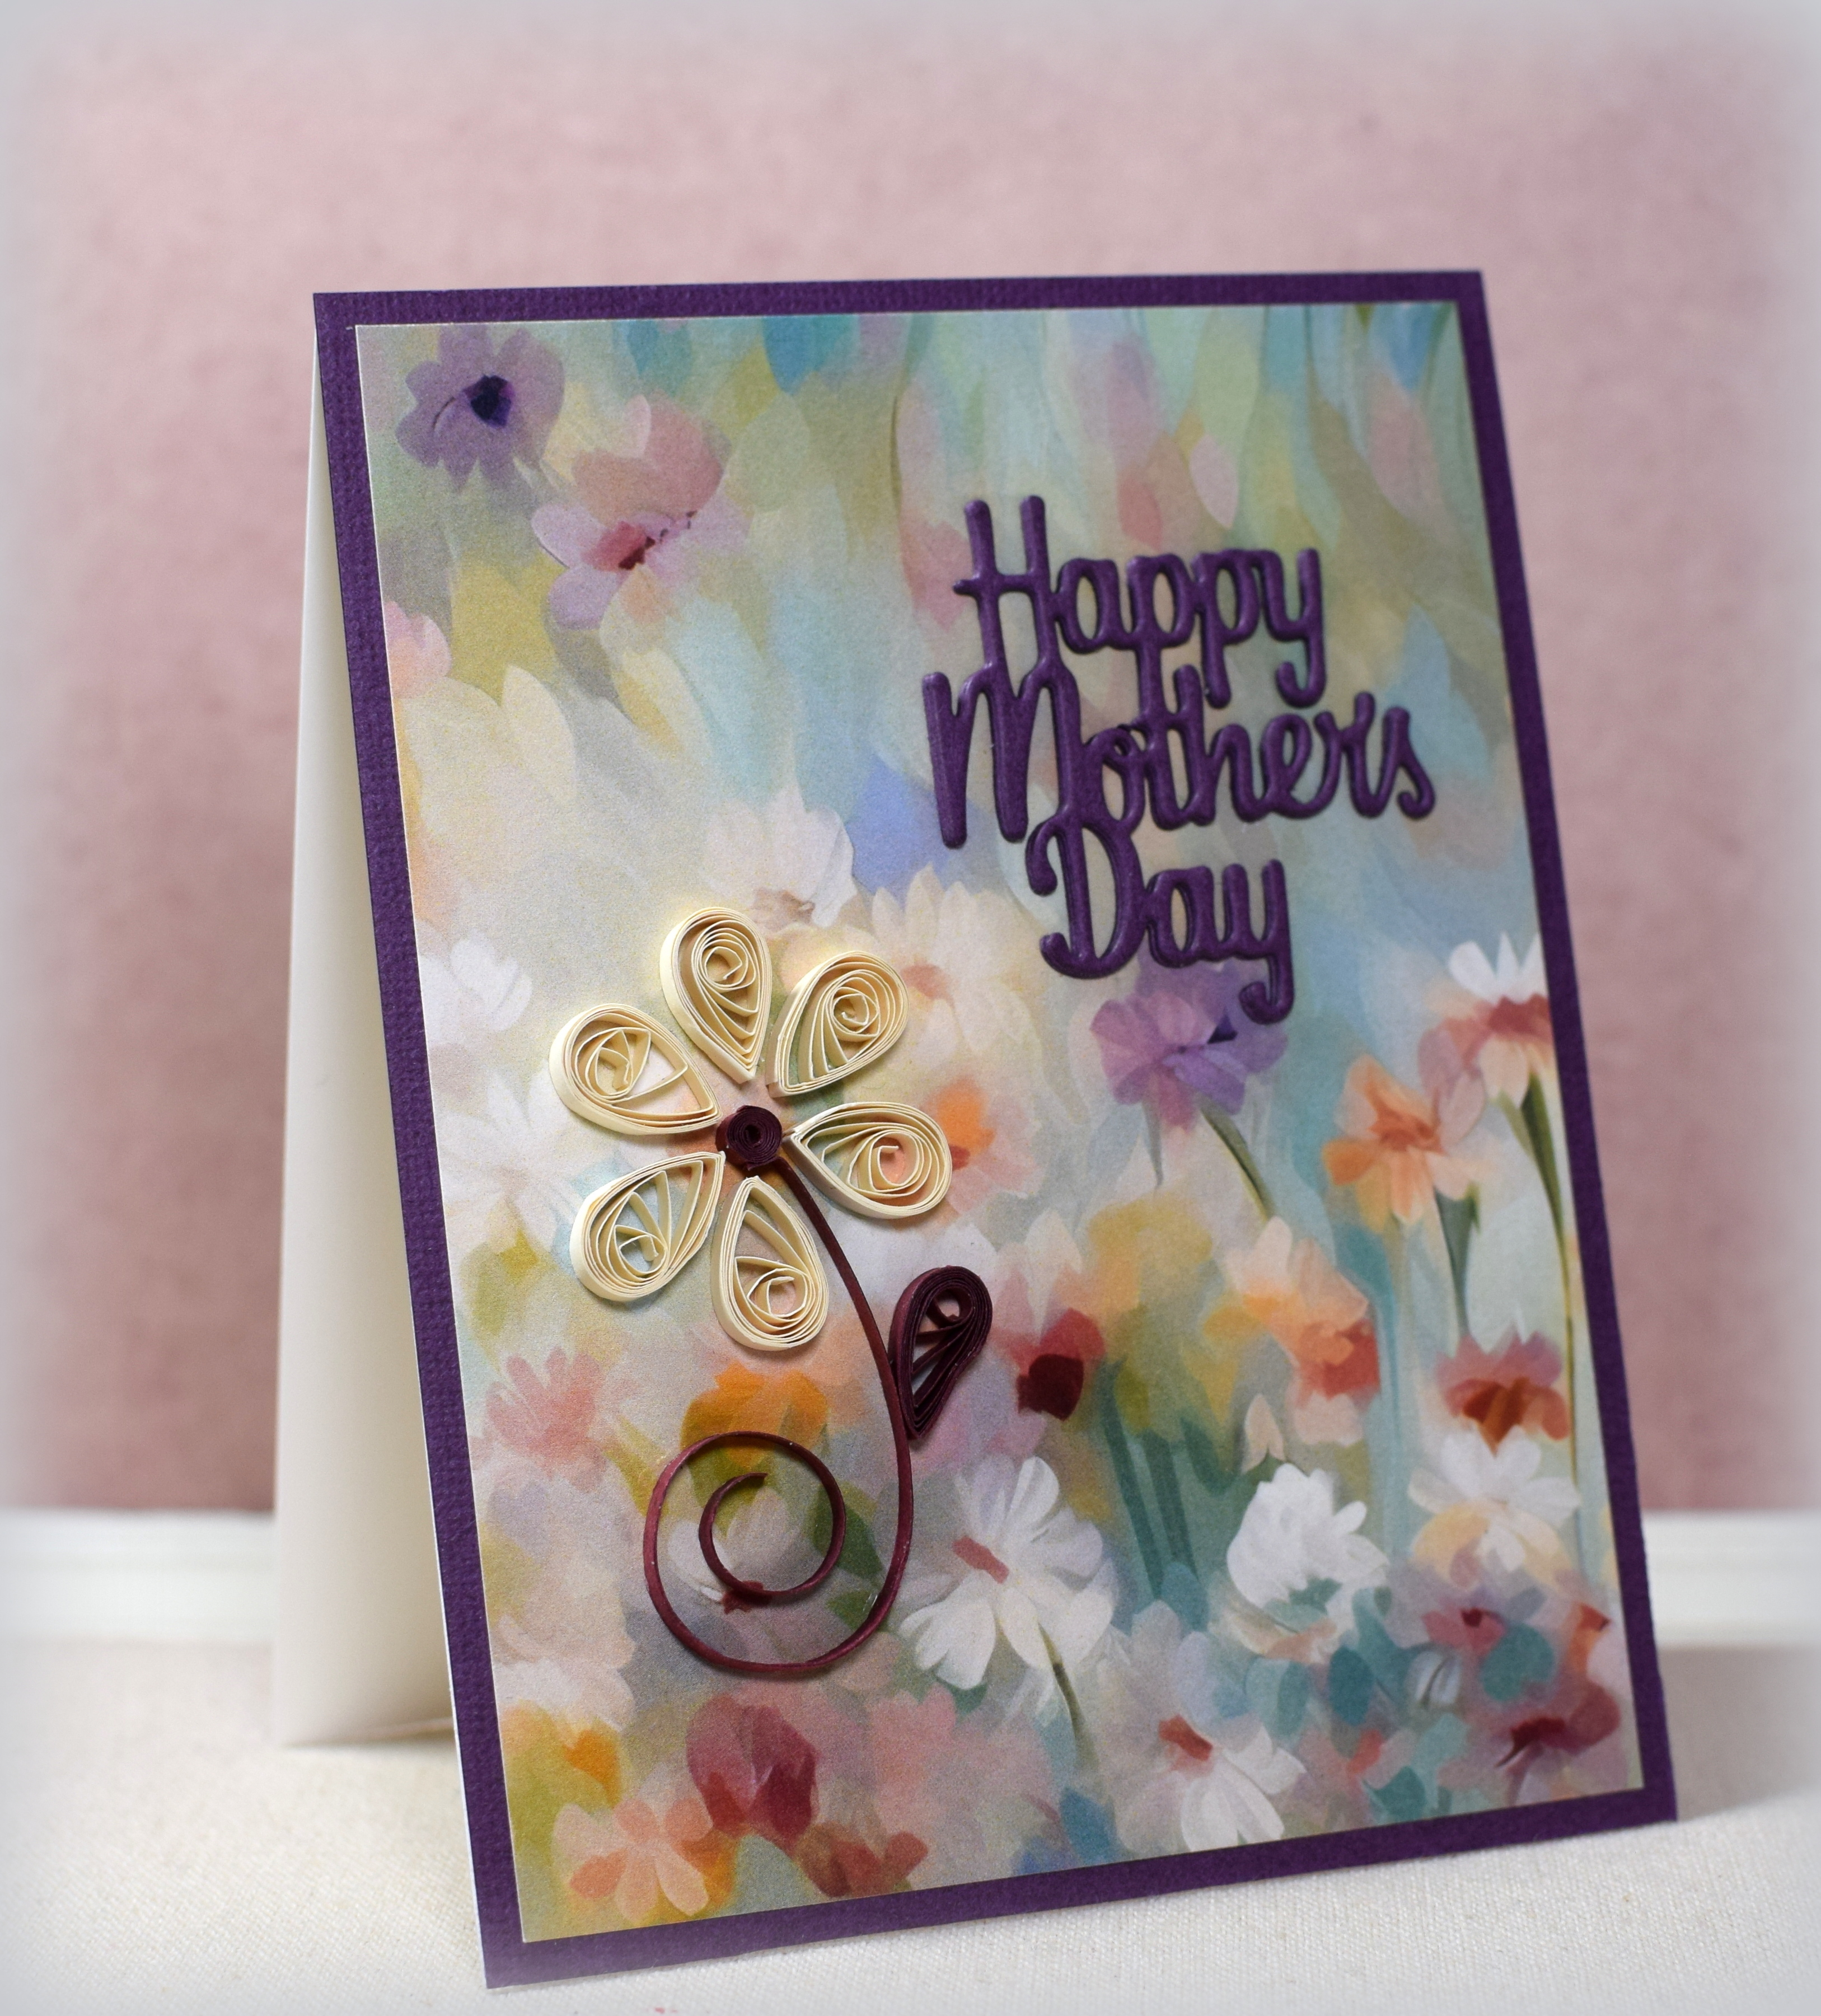
I haven’t done any quilling in a while and had big ideas in my head for this card. Quilling is A LOT harder than it looks (for me) – LOL! What was going to be a large quilled pattern with multiple flowers and swirls ended up being one, simple flower. Oh well; I’ll keep practicing!
The printed paper is from the “Floral Fields” paper pack from Creek Bank Creations. The purple card stock is Bazzill Velvet. The greeting die and inside sentiment stamp are from Amazon.
I have such respect for people who can quill well!!
Thanks for checking out my card project!
This content uses referral links as described in the disclosure policy on my sidebar.
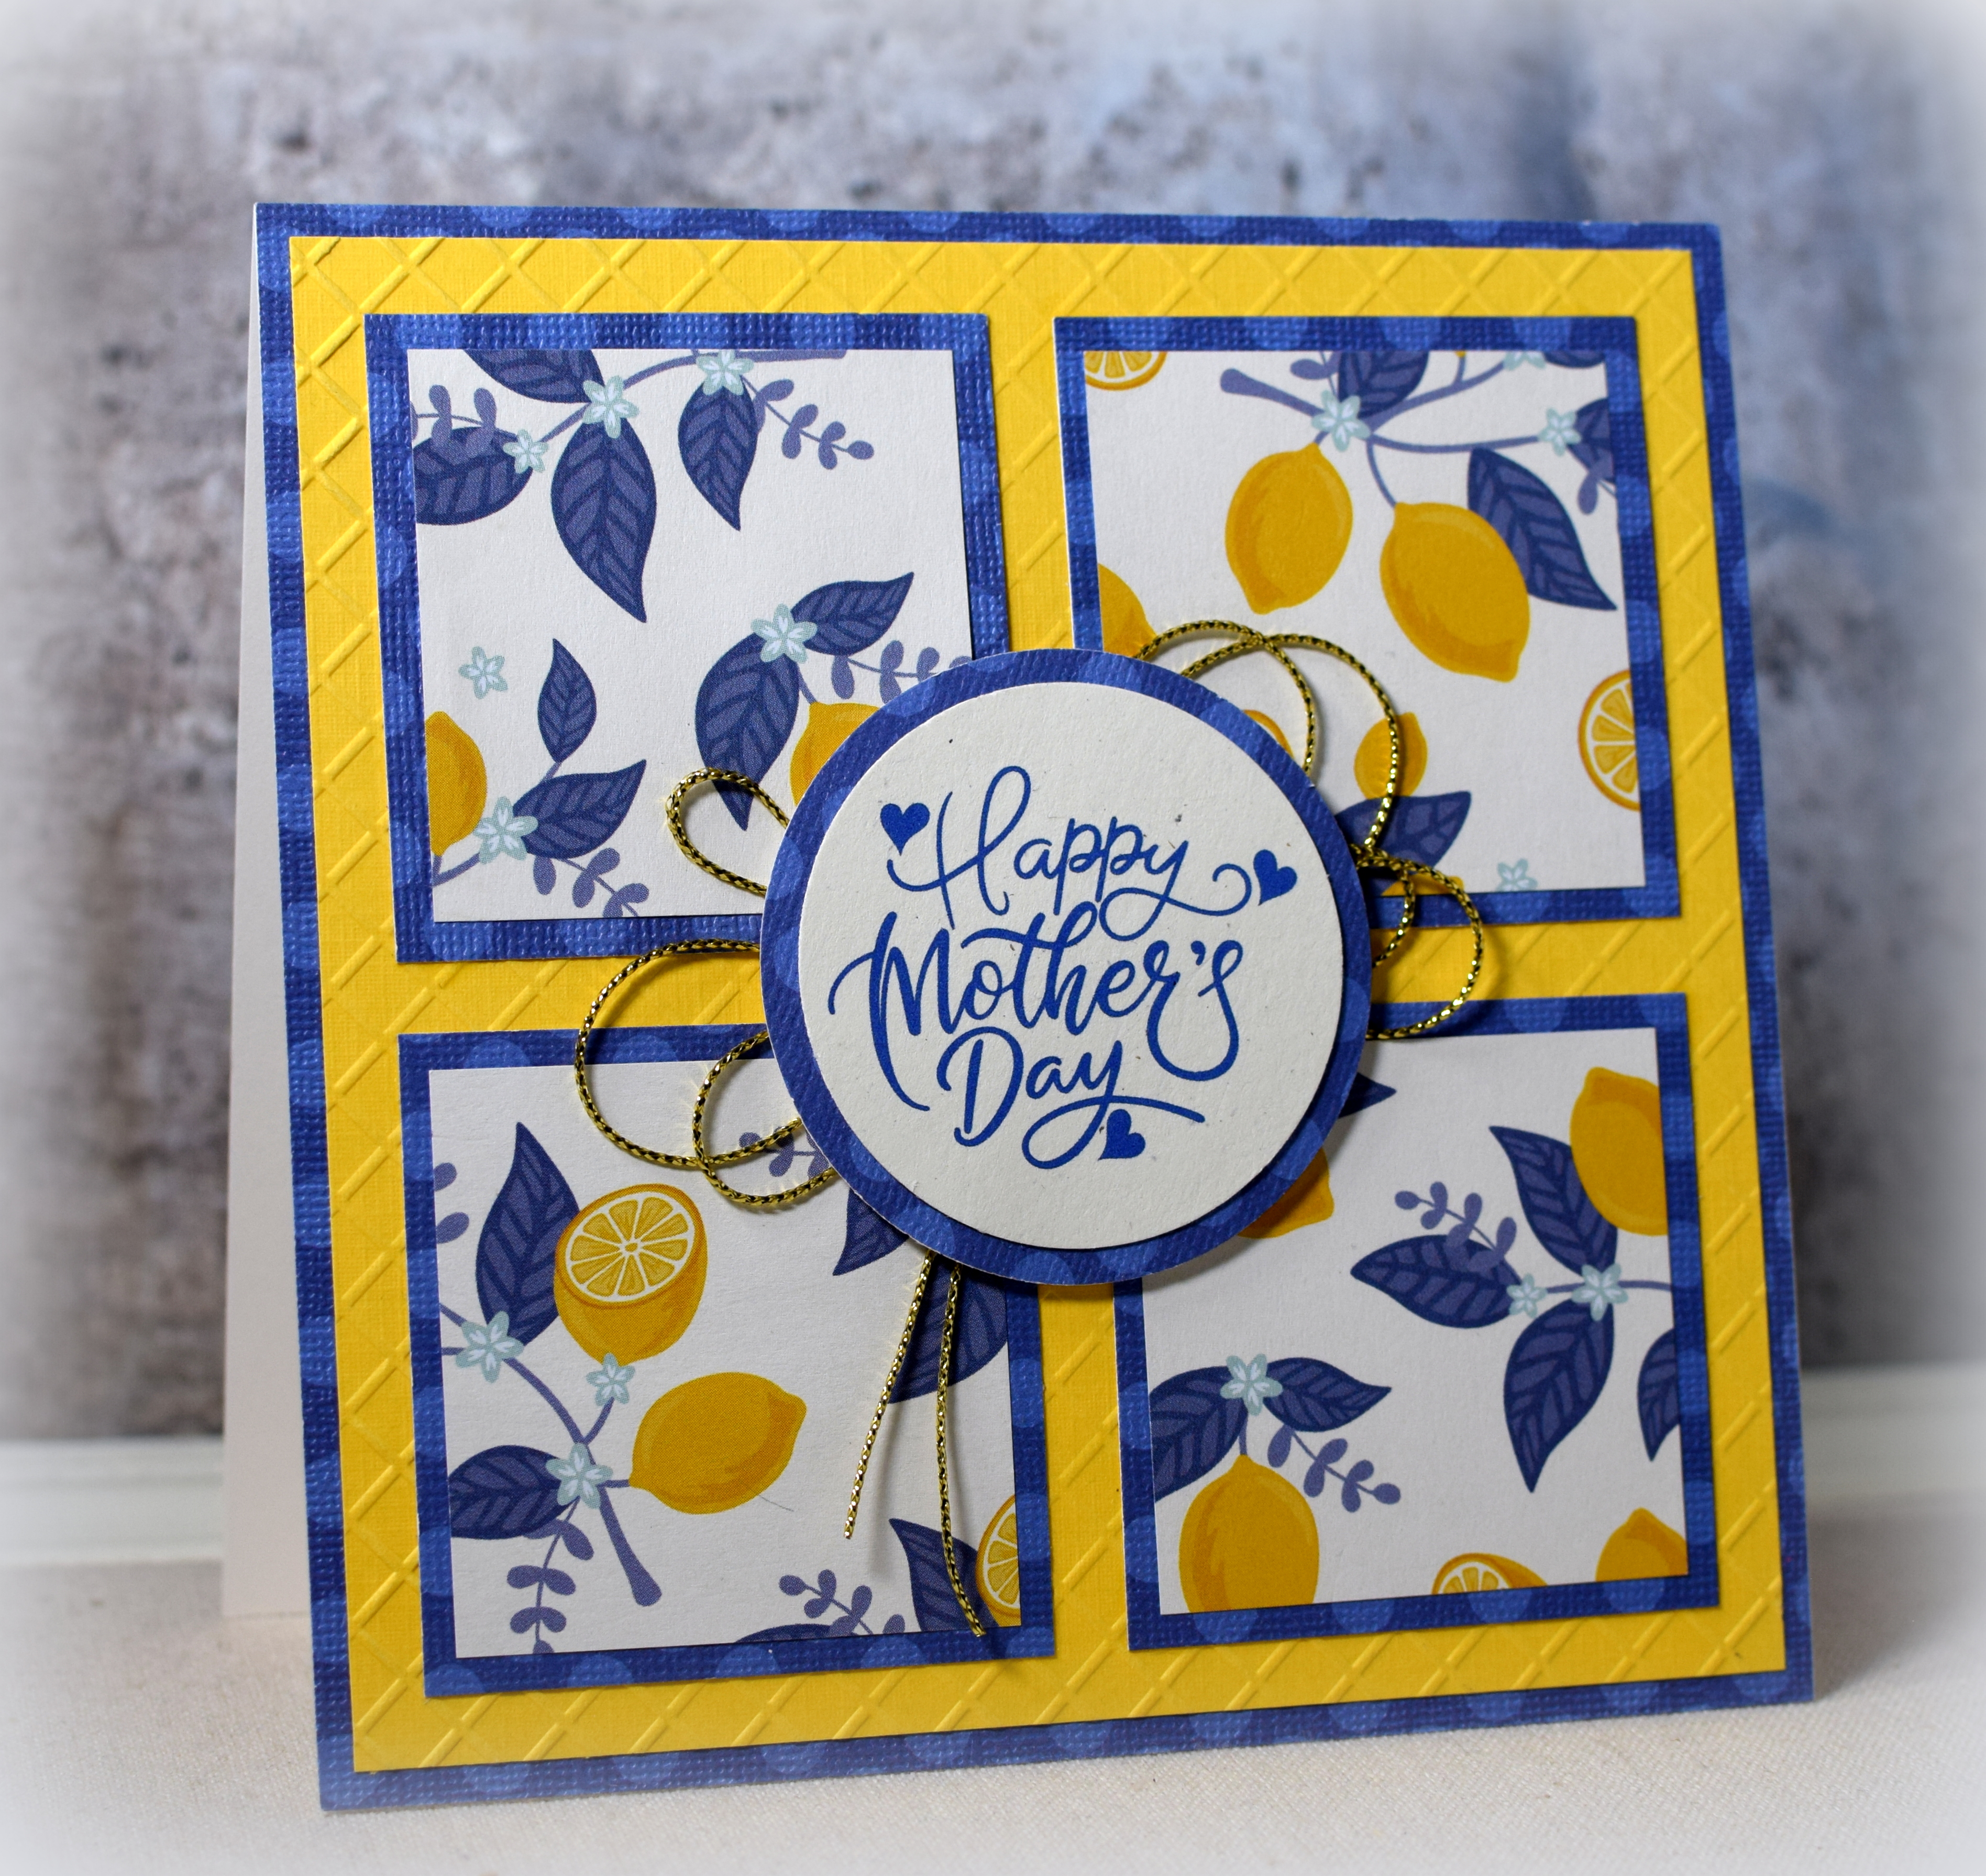
This card features paper from American Crafts (# 320492) and a simple layout that allowed the paper to shine! I used “Dark Blue Large Dot” paper from Core’ dinations and Yellow (#99248) from Recollections for the mats
The greeting was computer generated from a digital file by RedGumPrints that I purchased from Etsy. It was printed on Rustic Cream card stock from Papertrey Ink and cut with a 2 inch punch (and 2 1/4 inch punch for the mat – both from EK Tools). The inside sentiment is from the “Nurturing Blooms” set from Gina K Designs (retired).
I used the “6×6 Grid” embossing folder from Pink & Main to add some texture to the background and some gold cord for a bit of shine.
The squares are 2 inches with 2 1/4 inch mats, centered on a 5 1/2 inch square card. My “Straight and Steady Corner Tool” set from Creek Bank Creations made it easy to line everything up!
Thanks for checking out my card project!
This content uses referral links as described in the disclosure policy on my sidebar.
This card was made using an SVG file called Mother’s Day Flower Pot Card that I purchased from SVGCuts eons ago. It was one of the first “more involved” cards I made using an svg file and my electronic die cutting machine (back in May 2011).
I chose a few different colors of card stock – 5 for the flowers and banner and 3 more for the leaves and pot. After my machine cut out all the pieces, I grabbed a dowel for shaping the blooms, a few gems, and my glue, and this card came together pretty easily! (Lots of pieces and a bit of time, but not hard at all.) If I were to make this again, I might even take the time to ink the edges of the die cuts…
My mother had saved hers (this one) in its envelope so I was able to get a photo of it to share here. Surprisingly, it did not flatten in the mail (or in storage for years!), and I remember my mother-in-law was amazed that hers “actually stood up” – lol!
I was a little surprised that I hadn’t posted this here earlier, but I thought the file was worth sharing. (This project was originally posted in my StampTV gallery. Sadly, this site is no longer active.)
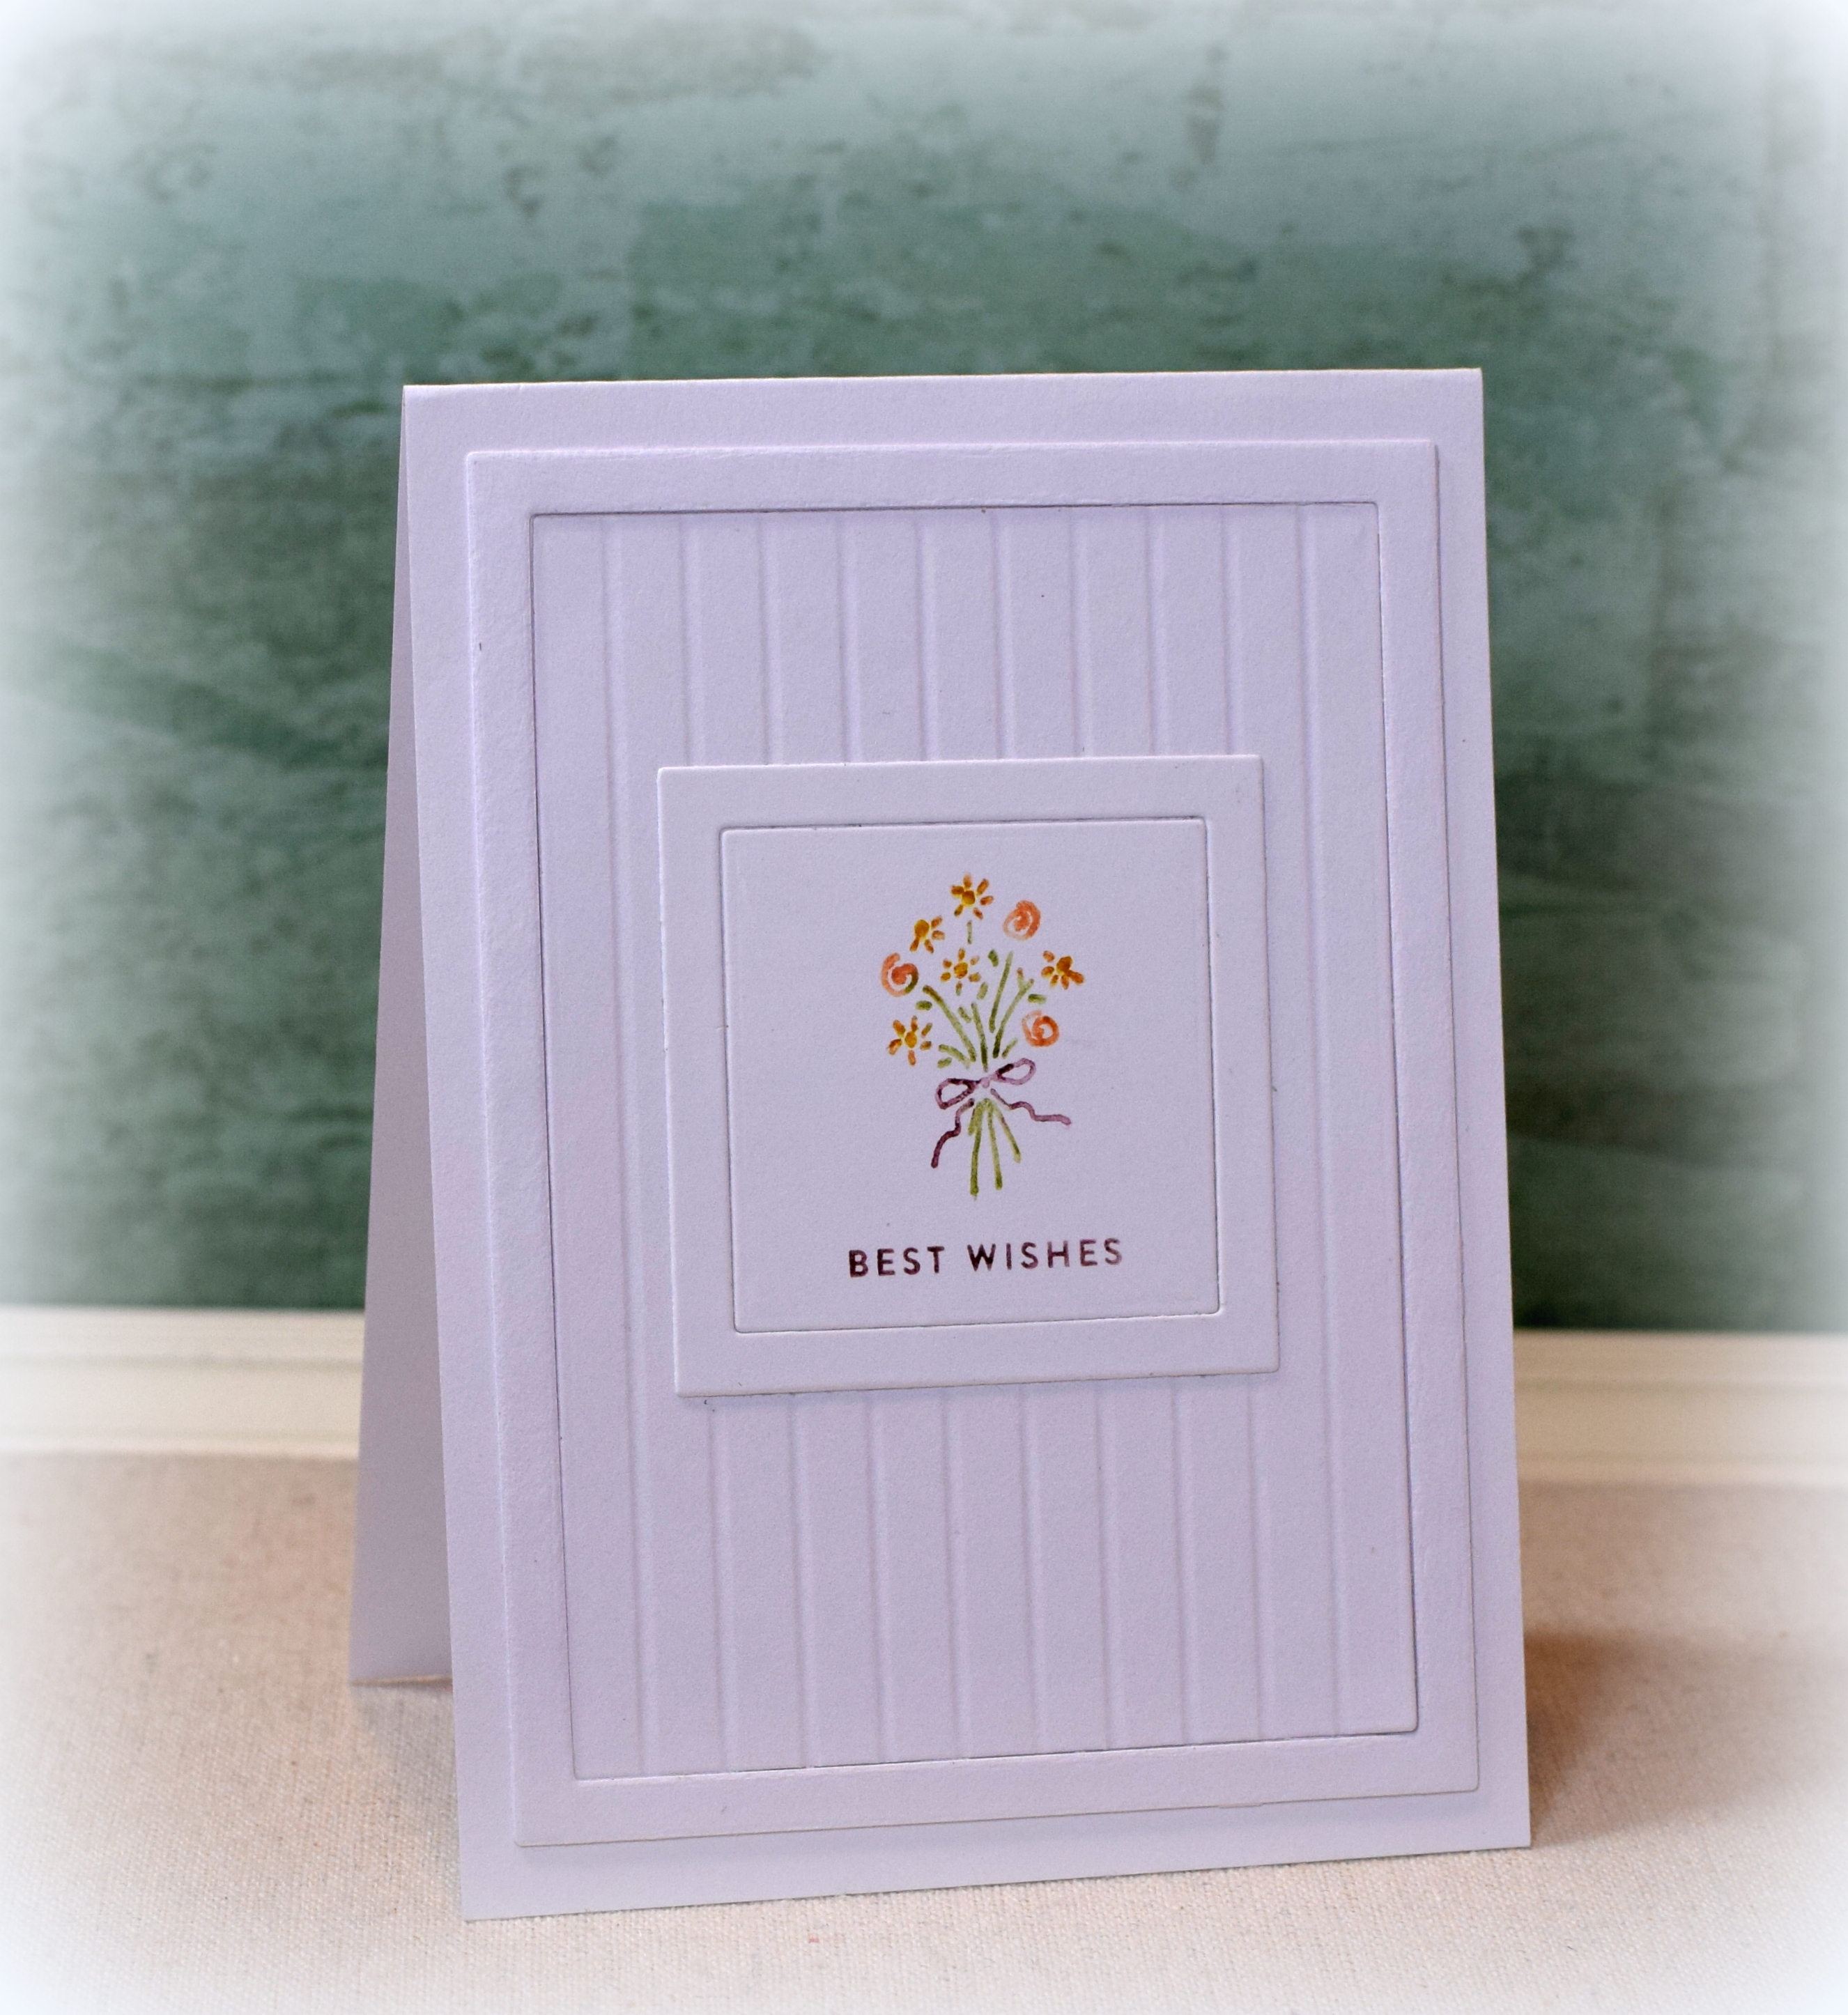
This bouquet image from the Stampin’ Up “Dear to My Heart” set (retired) is so sweet but so small (my card isn’t even A2 size!) so CAS it is – lol!!
Sticking with the “tiny” theme, I used a greeting from the “Tiny Words” set from Simon Says Stamp.
I applied ink to the stamps using Distress Markers (aged mahogony, rusty hinge, dried marigold, mustard seed, and peeled paint) which allowed me to get different colors on the single image.
The frames and panels were cut with Photo Dies #13 (which I bought at a scrapbook expo a few years ago and can’t find online to link), and I used my score board to deboss the background.
This card is small – 3 1/2 x 4 3/4 inches – so I created a custom envelope with my We R Memory Keepers envelope punch board. (6 7/8″ square paper punched at 3 7/8″).
Thanks for checking out my card project!
This content uses referral links as described in the disclosure policy on my sidebar.
Easel cards look like you fussed a little more than a traditional, folded card, but they are actually SUPER easy to make! Simply create a folded card base as usual and then fold the front in half. Basic easel cards are folded in half parallel to the fold. For a twisted easel, fold the front in half on a diagonal instead of parallel to the fold. Then, add a focal panel to your decorated base. (More detailed instructions are included below.)
You can see the two (diagonal) halves of the card front in this photo:
The base is also the “inside” of the card.
And this is what it looks like when it comes out of the envelope (folded flat):
Here’s how I created my twisted easel card:
Create the base. (Decorate as desired.)
(click on image to enlarge)
Cut and decorate your focal panel and adhere to card base as shown. (DO NOT put adhesive on the entire back of the focal panel. While the panel will ultimately be centered on the card front, the adhesive should not cross the fold.)
(click on image to enlarge)
Use the diagonal score line to help you line up your focal image.
(click on image to enlarge)
With the closed card flat on the table, open the card and fold the front down (mountain fold). The attached focal panel stands up creating the easel effect.
*
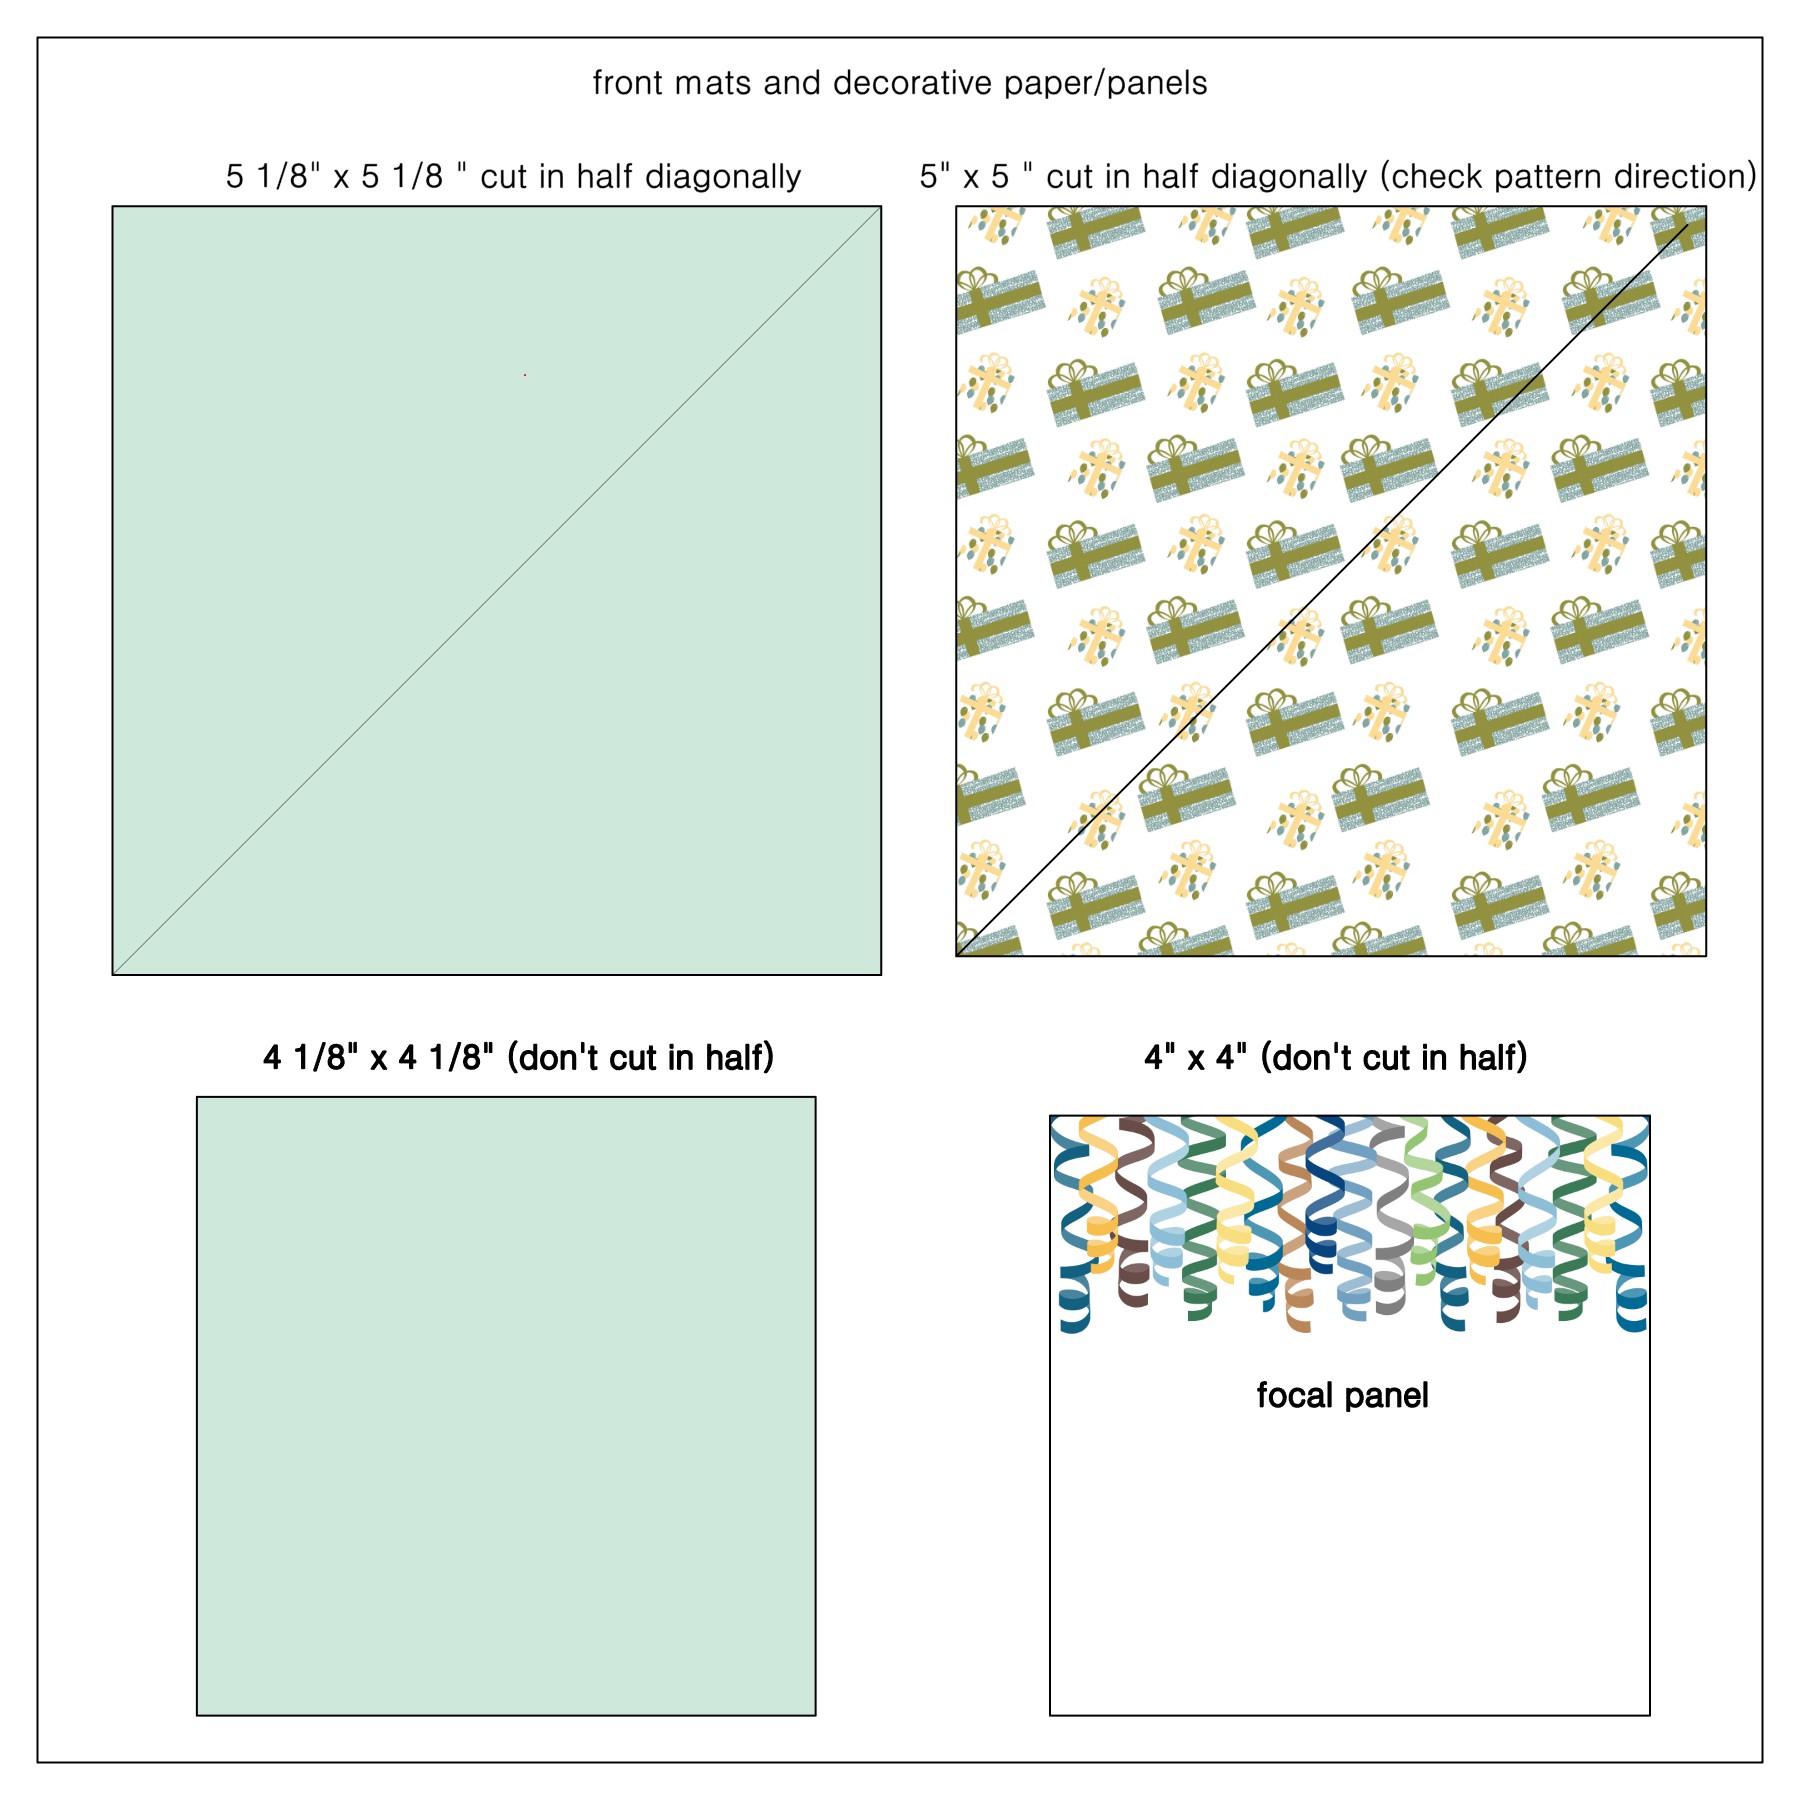
Here are my panel measurements:
For the front:
(click on image to enlarge)
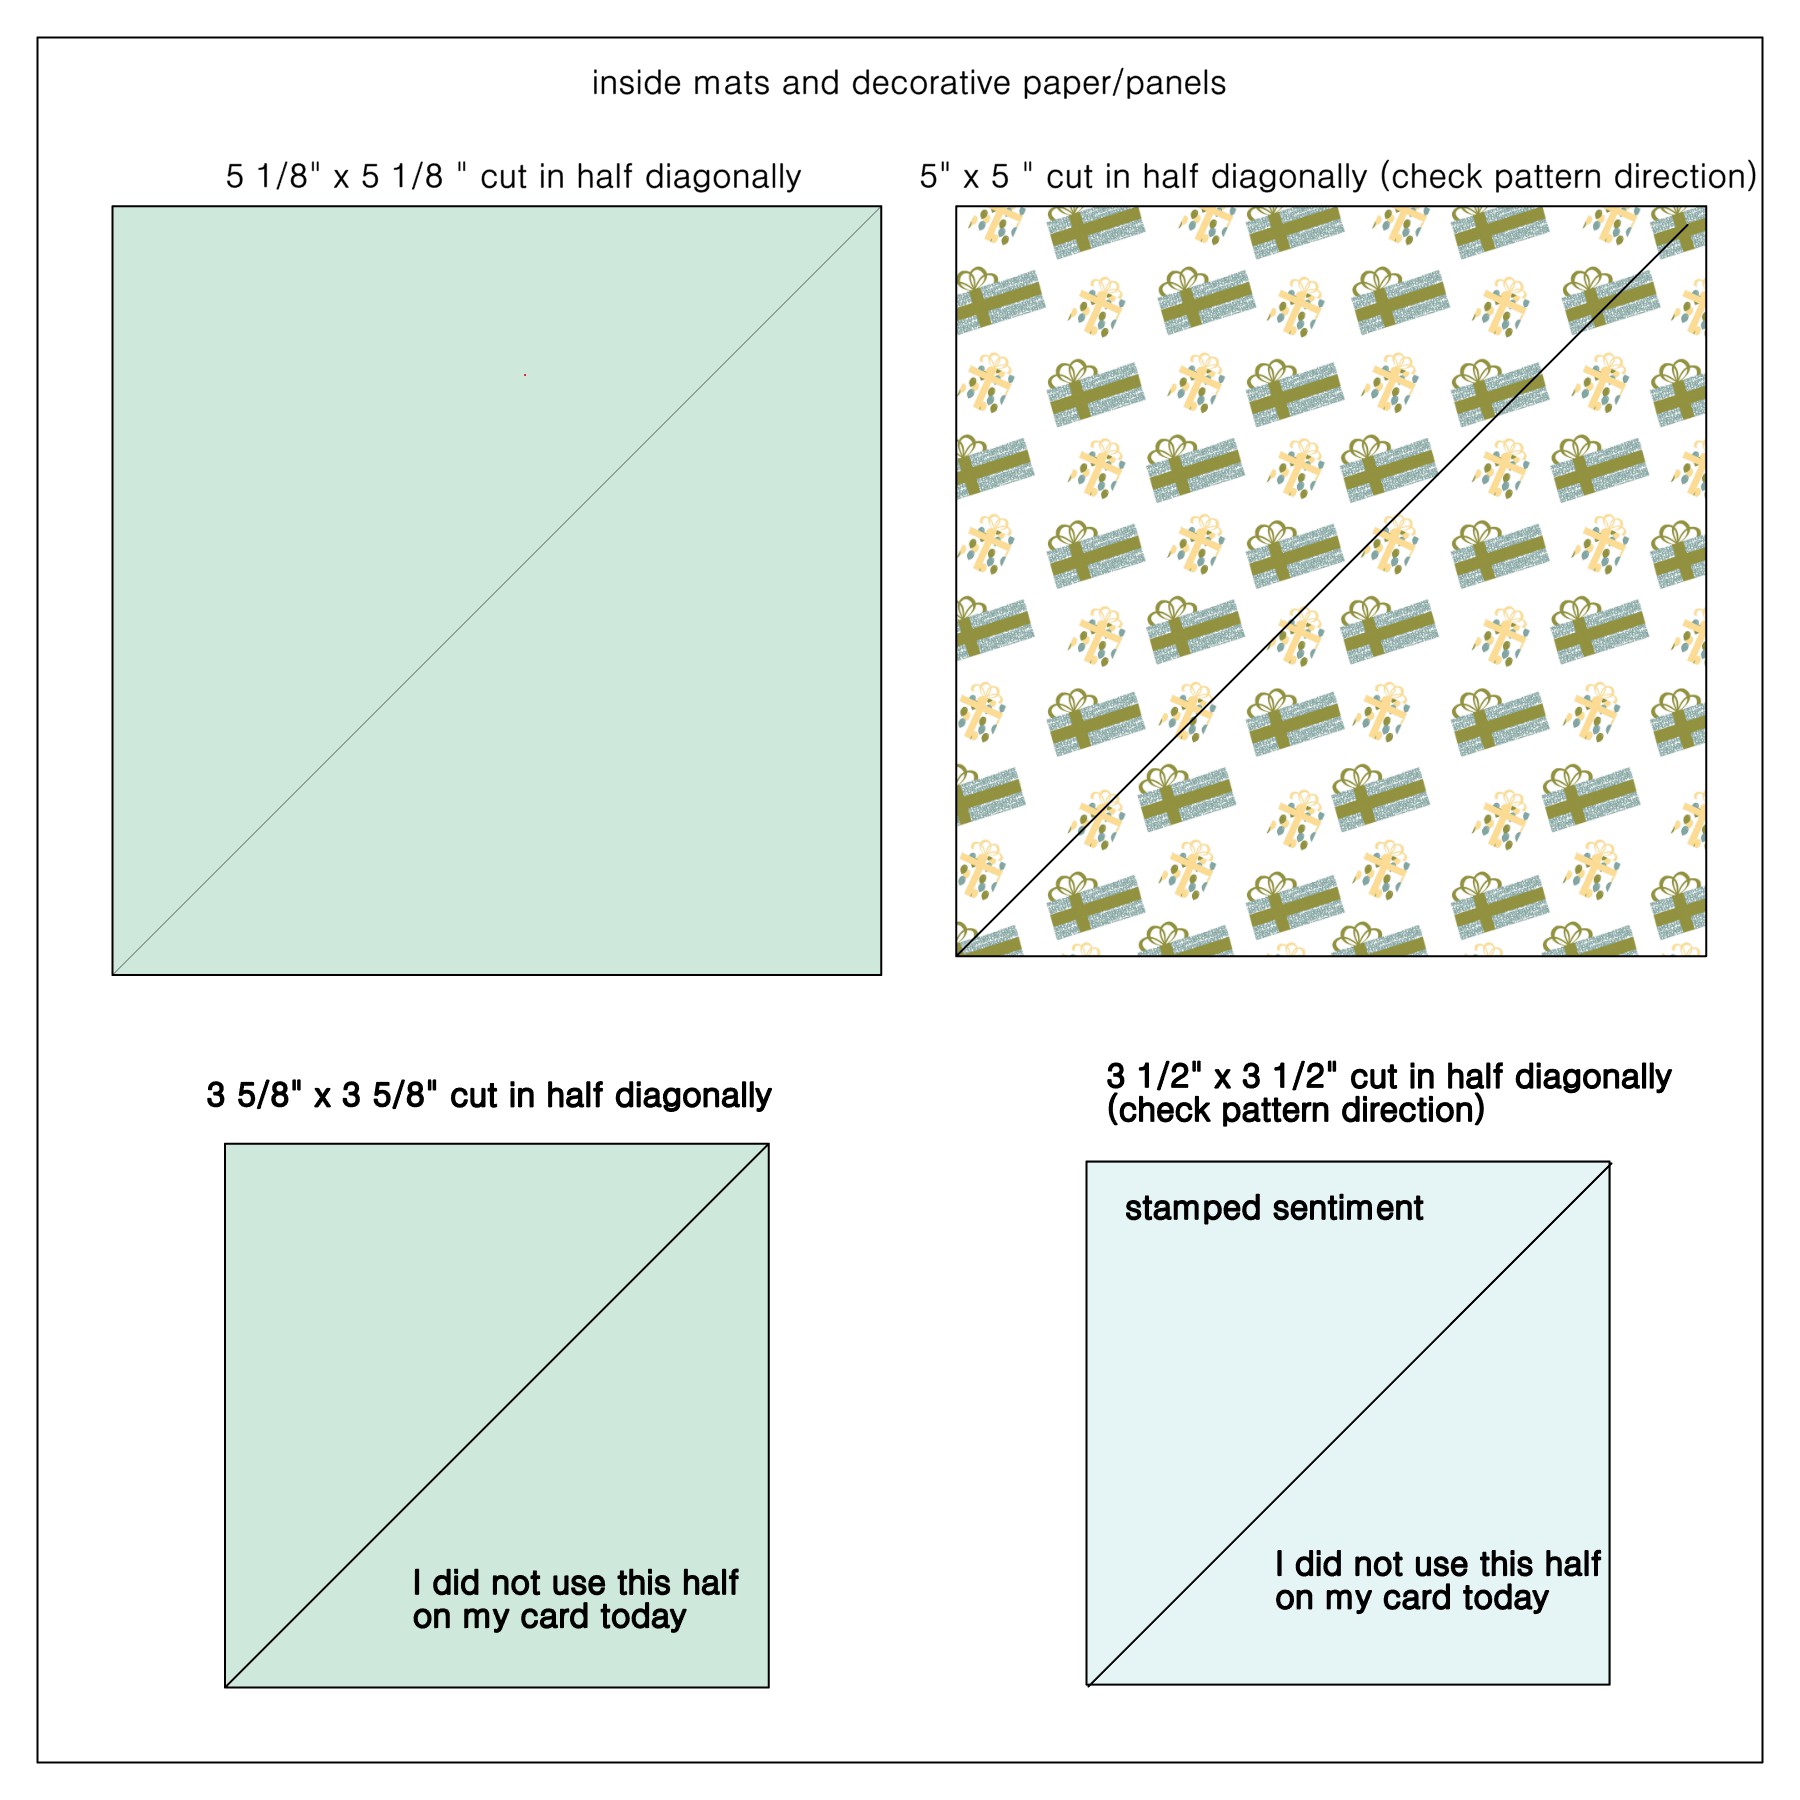
For the inside:
(click on image to enlarge)
I used a square for my focal panel, but other shapes could also be used.
Originally, I had a square panel on the inside, and then I struggled with what to add as a “stopper” so the easel stayed up when opened. In the past, I’ve popped up a sentiment or die cut to sit in front of the opened easel. I had already made my sentiment panel and everything else I tried to add to the patterned paper interfered with the soft print. I ended up splitting the inside panel into triangles, and now the easel can sit in the center channel.
The paper I used is from the “Our Family Tree” 12 x 12 paper pad from The Paper Studio. I wanted to use silver card stock for the mats to add some elegance, but the paper is kind of vintage looking, so I made my borders super thin for just a touch of silver. My focal panel is pretty big to accommodate the large greeting die cut. Measurements can be adjusted if you want larger borders or a smaller focal panel.
The greeting was cut with the “Happy Mother’s Day Phrase” die by Cottage Cutz. The circles were made with my “Bubbles Border Punch” by Fiskars (no longer available?). The inside sentiment is from the “Fabulous Holiday Fillers” stamp set by Gina K Designs (no longer available).