Floating Greeting Cards (several samples)
I wanted to create a card that has a greeting that appears to be floating. This is achieved by adhering the greeting die cut to an acetate panel which was inspired by this video by Sam Calcott.
I think the “floating” effect is really cool, but the clear panel creates a challenge when trying to include a sentiment on the inside. If you don’t want the inside sentiment to show through the acetate, you could either put it on the back or try to position it behind the card stock strips.
OR…
Here are two additional ways to make the card to include an inside message without it showing through the front…
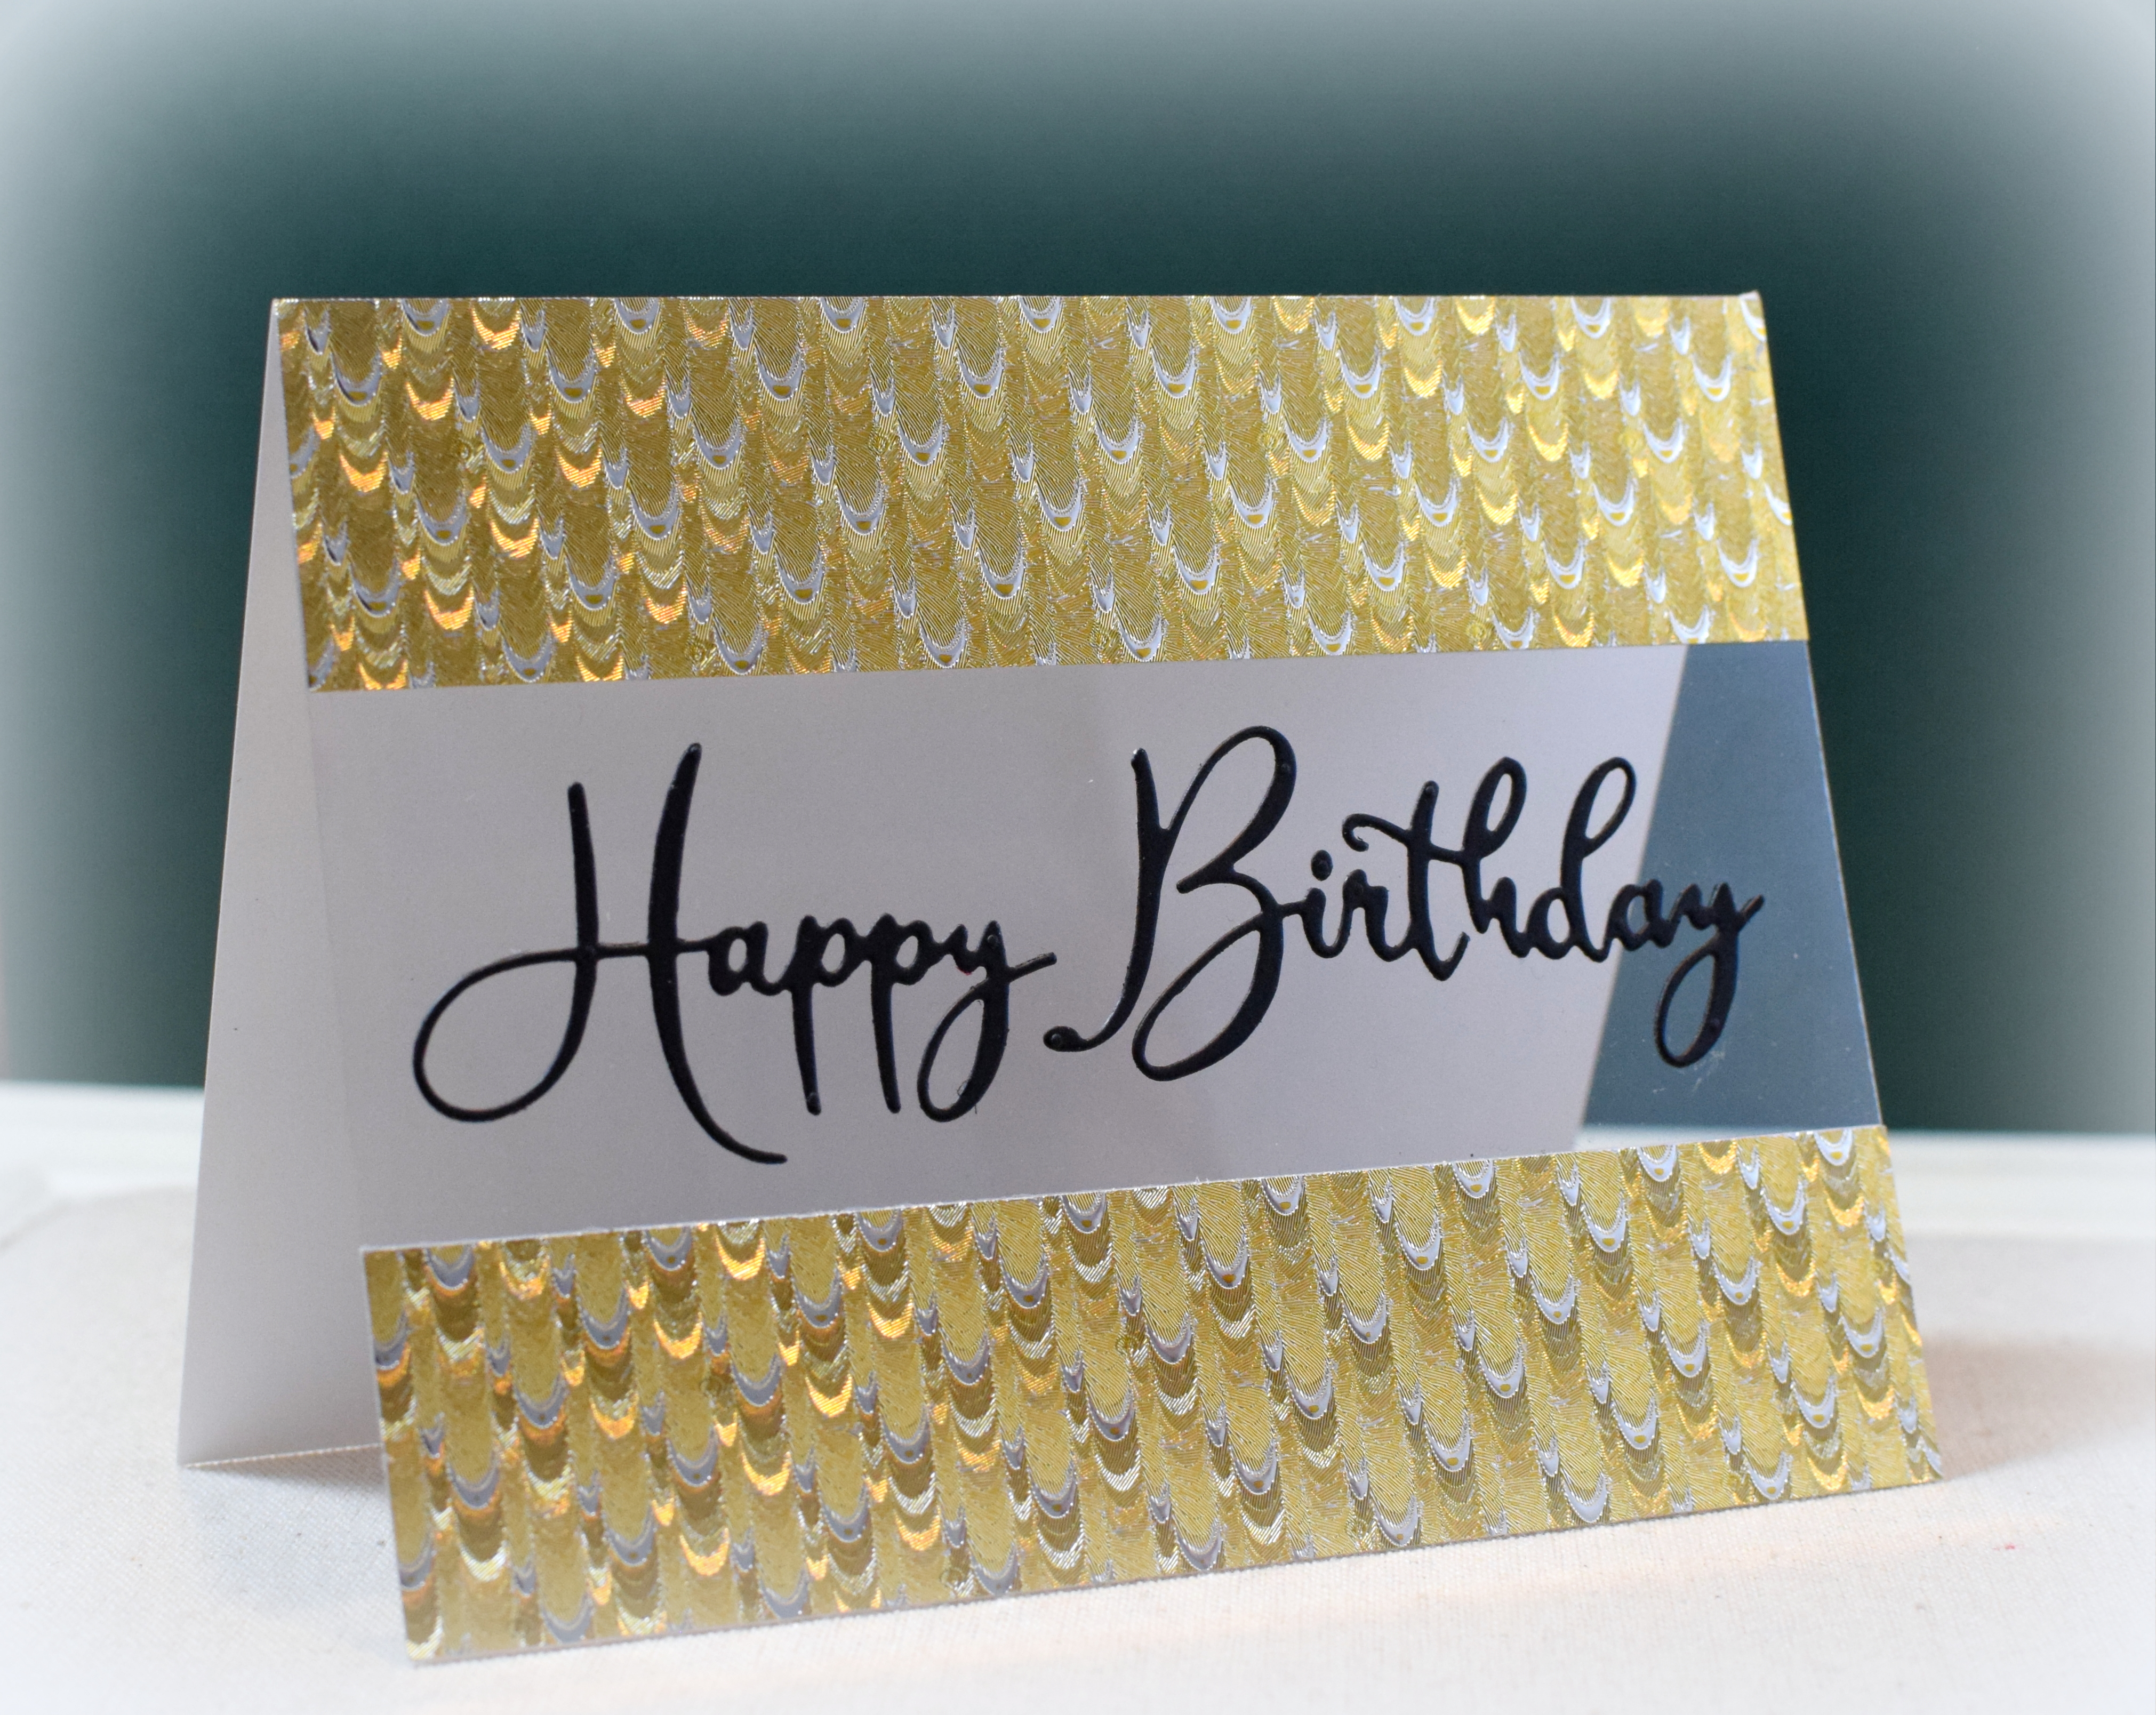
The first way is to create a “card within the card” as shown in this video by Yana Smakula. A sentiment can be added to the inside as usual, but the middle panel hides it when the card is closed or displayed. She used a plain acetate panel for her card front, but I created my acetate panel with strips – exactly as I did on my first sample (literally – lol!).
Here is a Father’s Day sample made the same way:
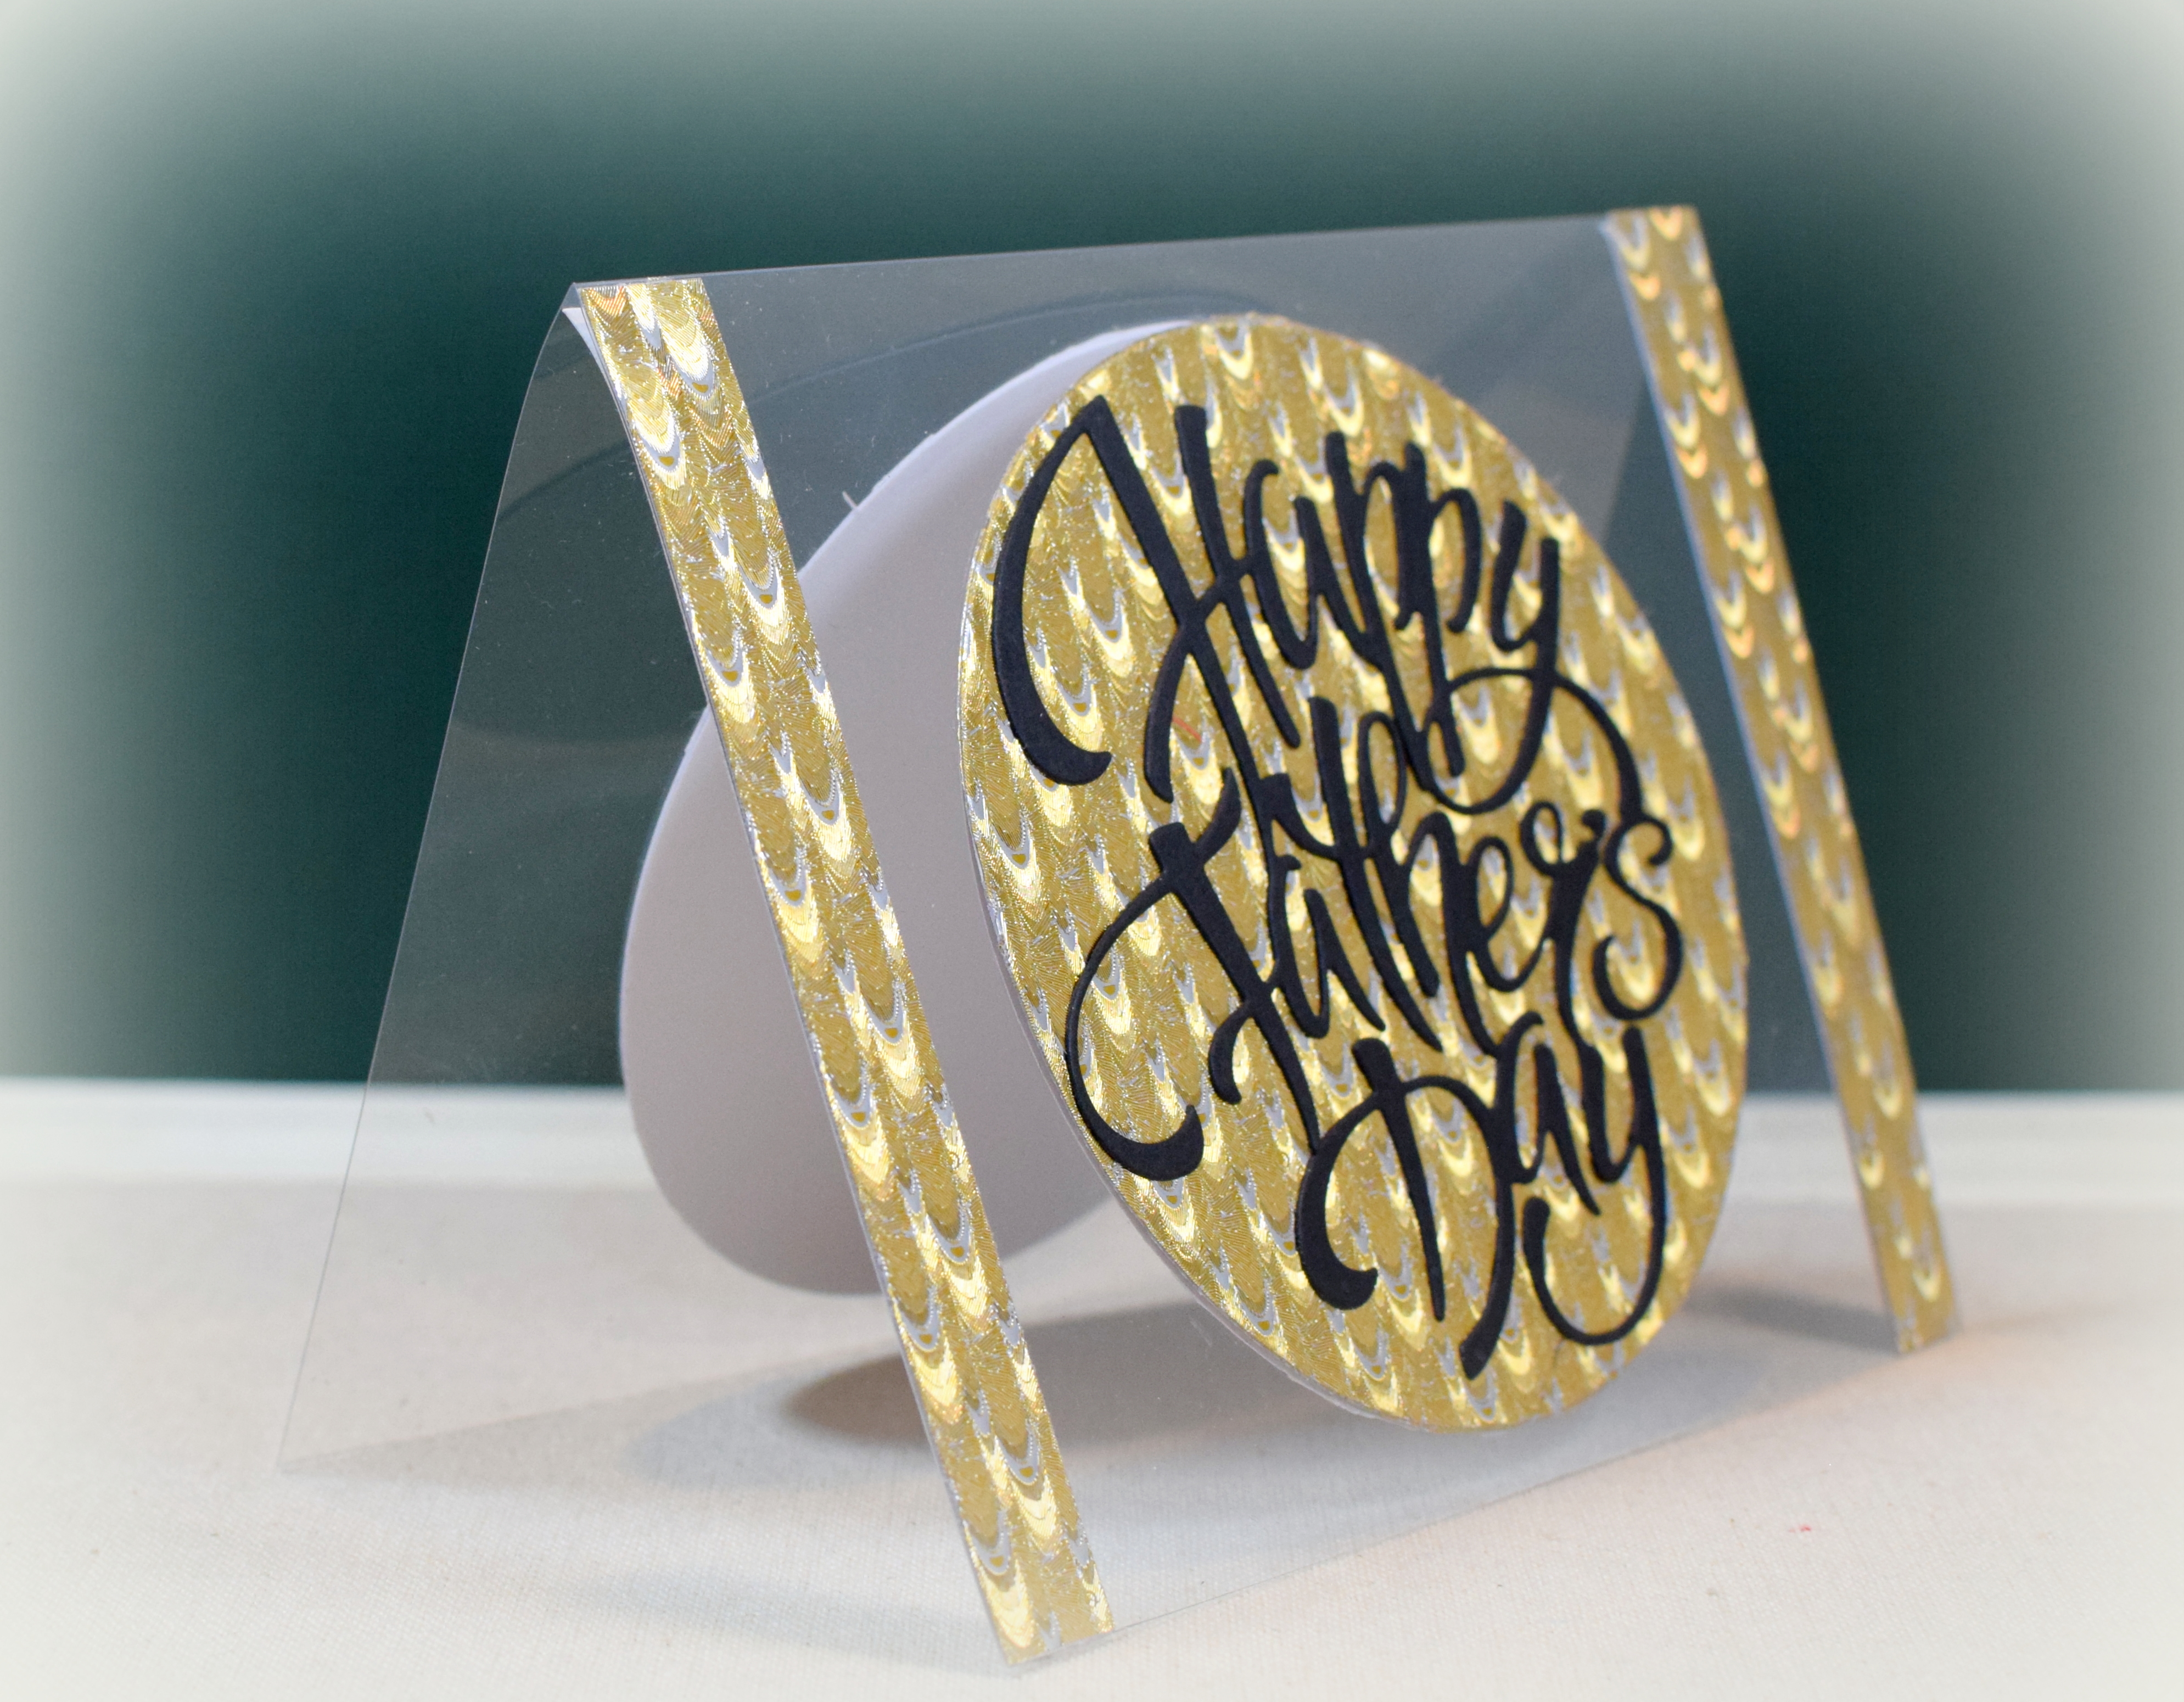
Since the greeting die cut was too large to fit completely on the straight acetate panel like on the birthday design, I used a circle die before cutting my strips to make my window larger to accommodate the larger greeting. This one also has the “card within the card” to hide an inside sentiment.
The circle “scrap” I cut out of the above card was used on the final sample below.
The card base is all acetate. A sentiment could be hidden behind the focal circle so a “card within the card” was not needed for this one. Instead, I attached a card stock circle inside on which to add my sentiment.
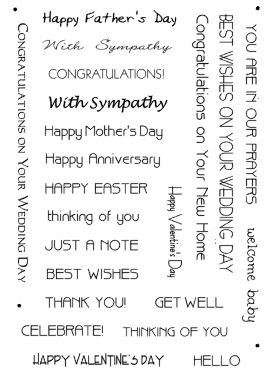
Recollections Foil Paper (#313049) was use along with black and white card stock. The “Happy Birthday Friendship Script” die is by Memory Box and the Father’s Day die is by Alinacutle.
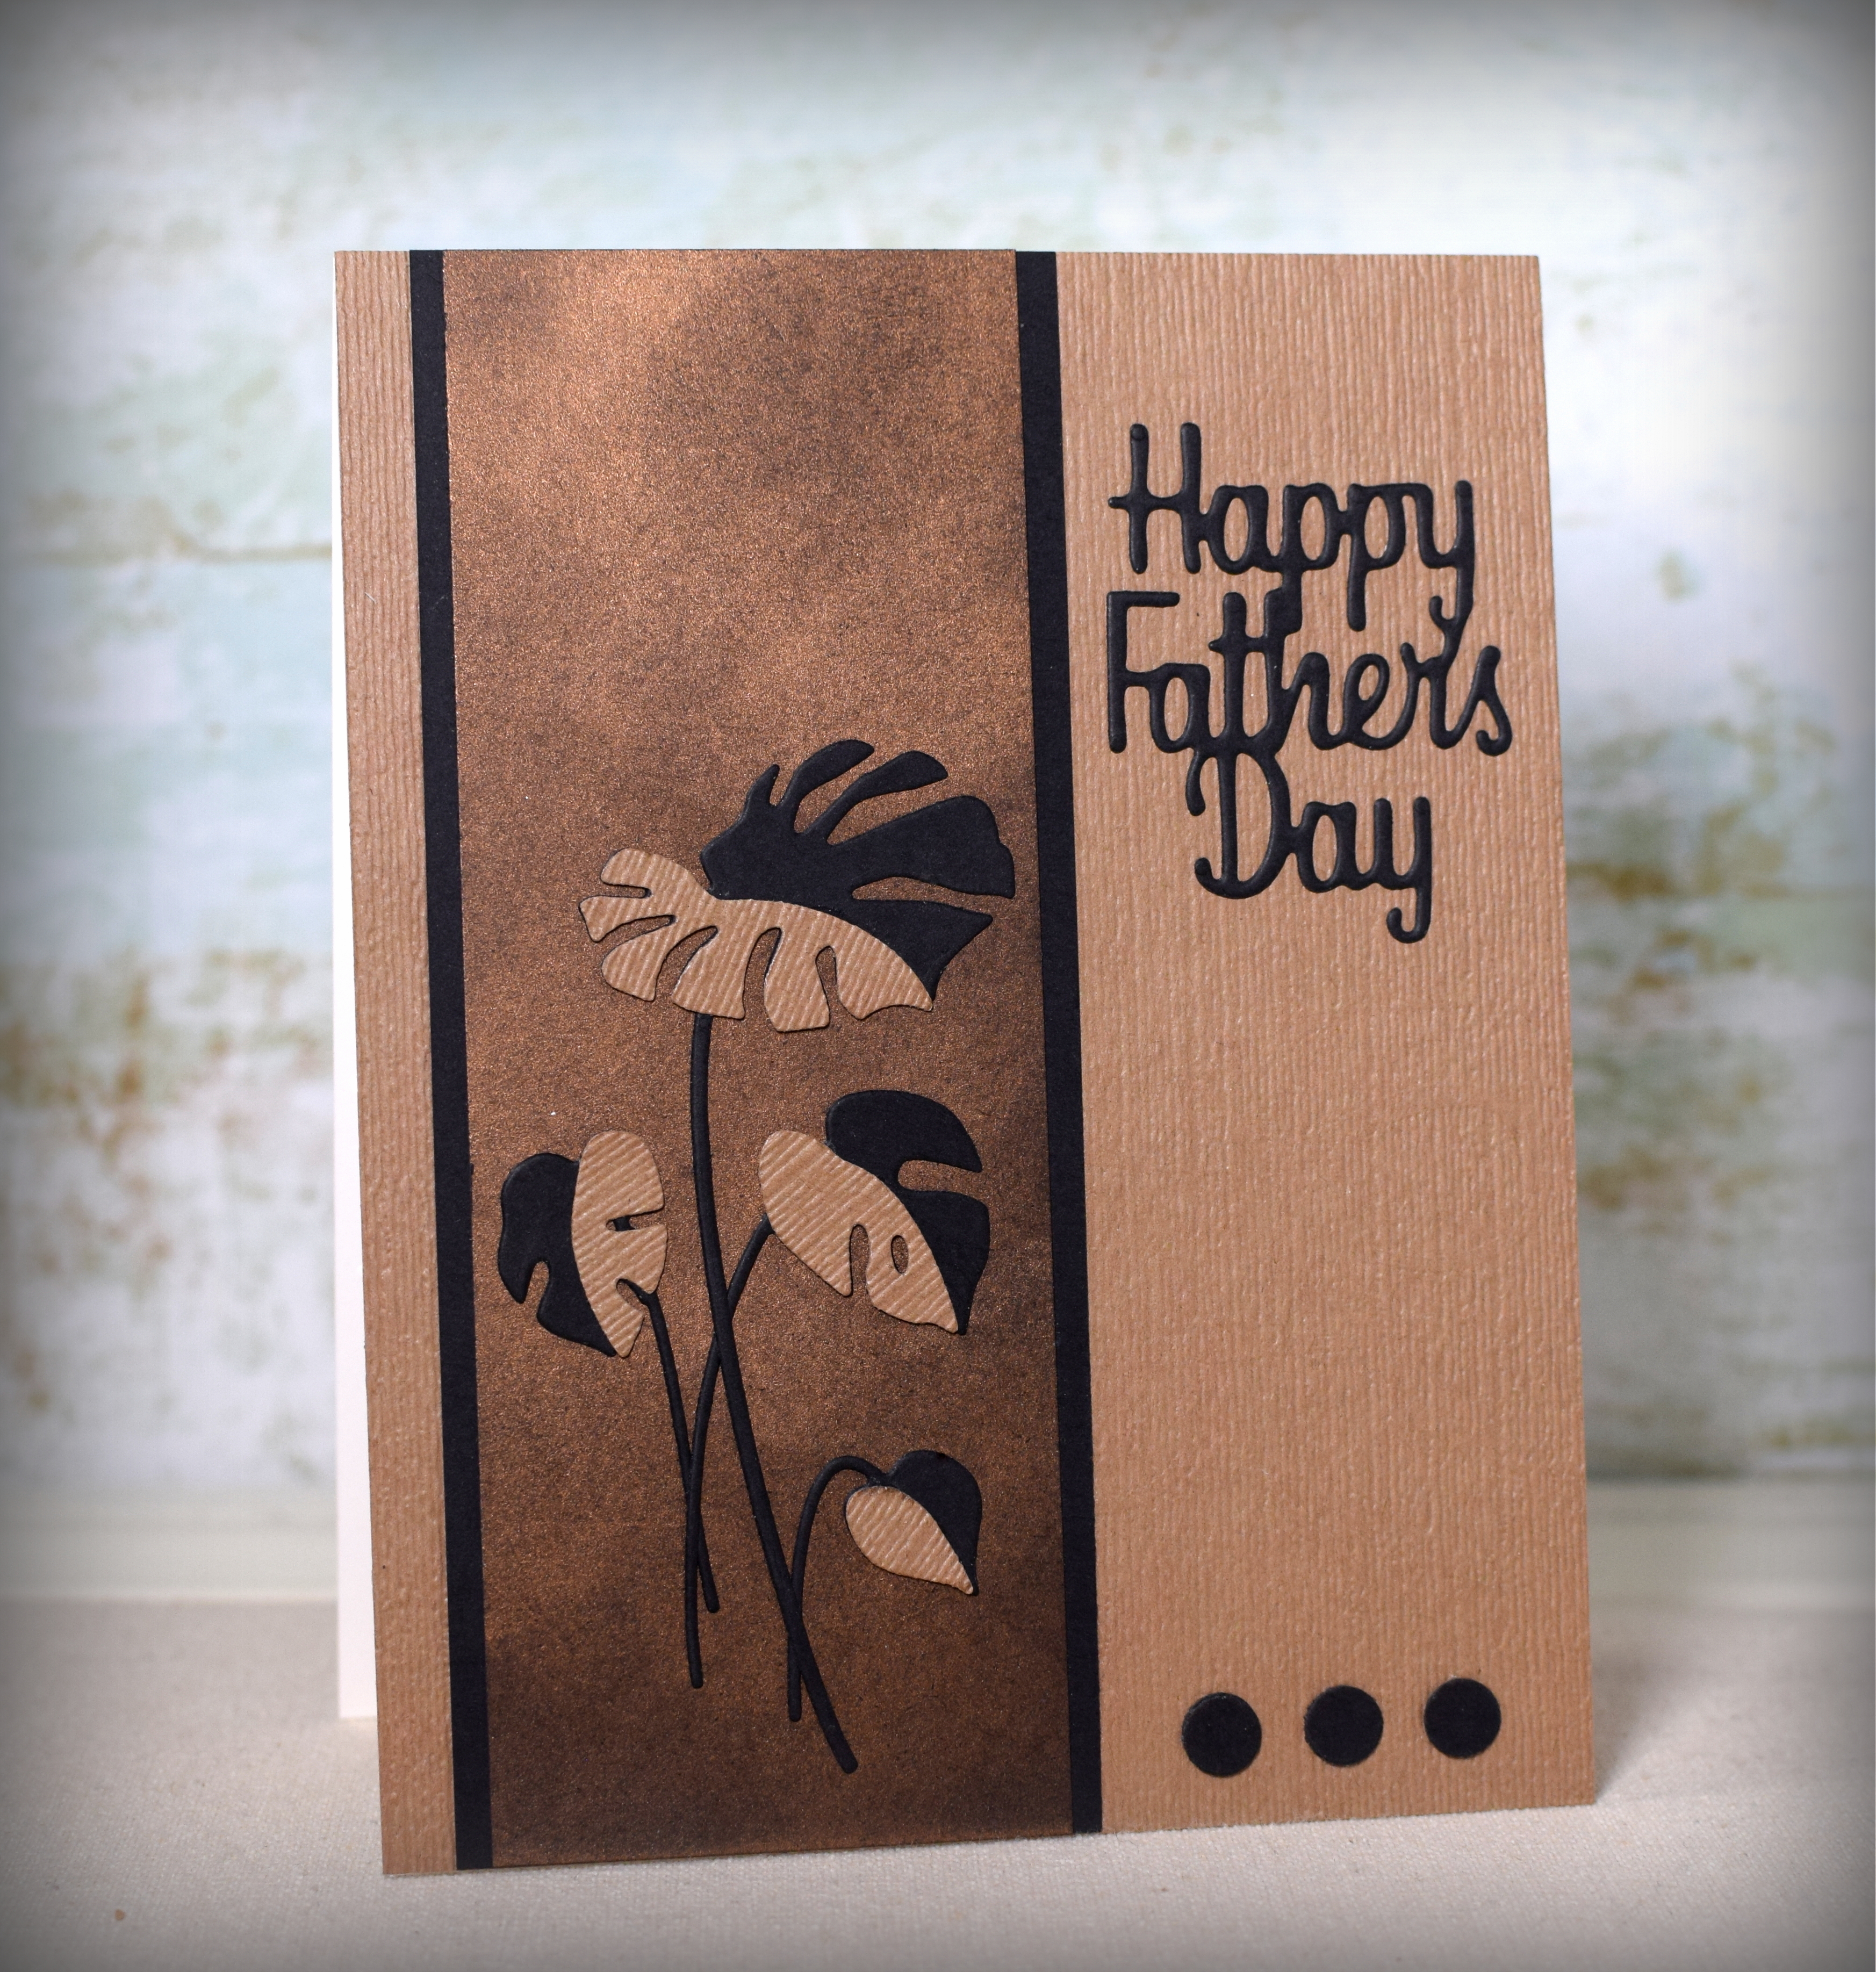
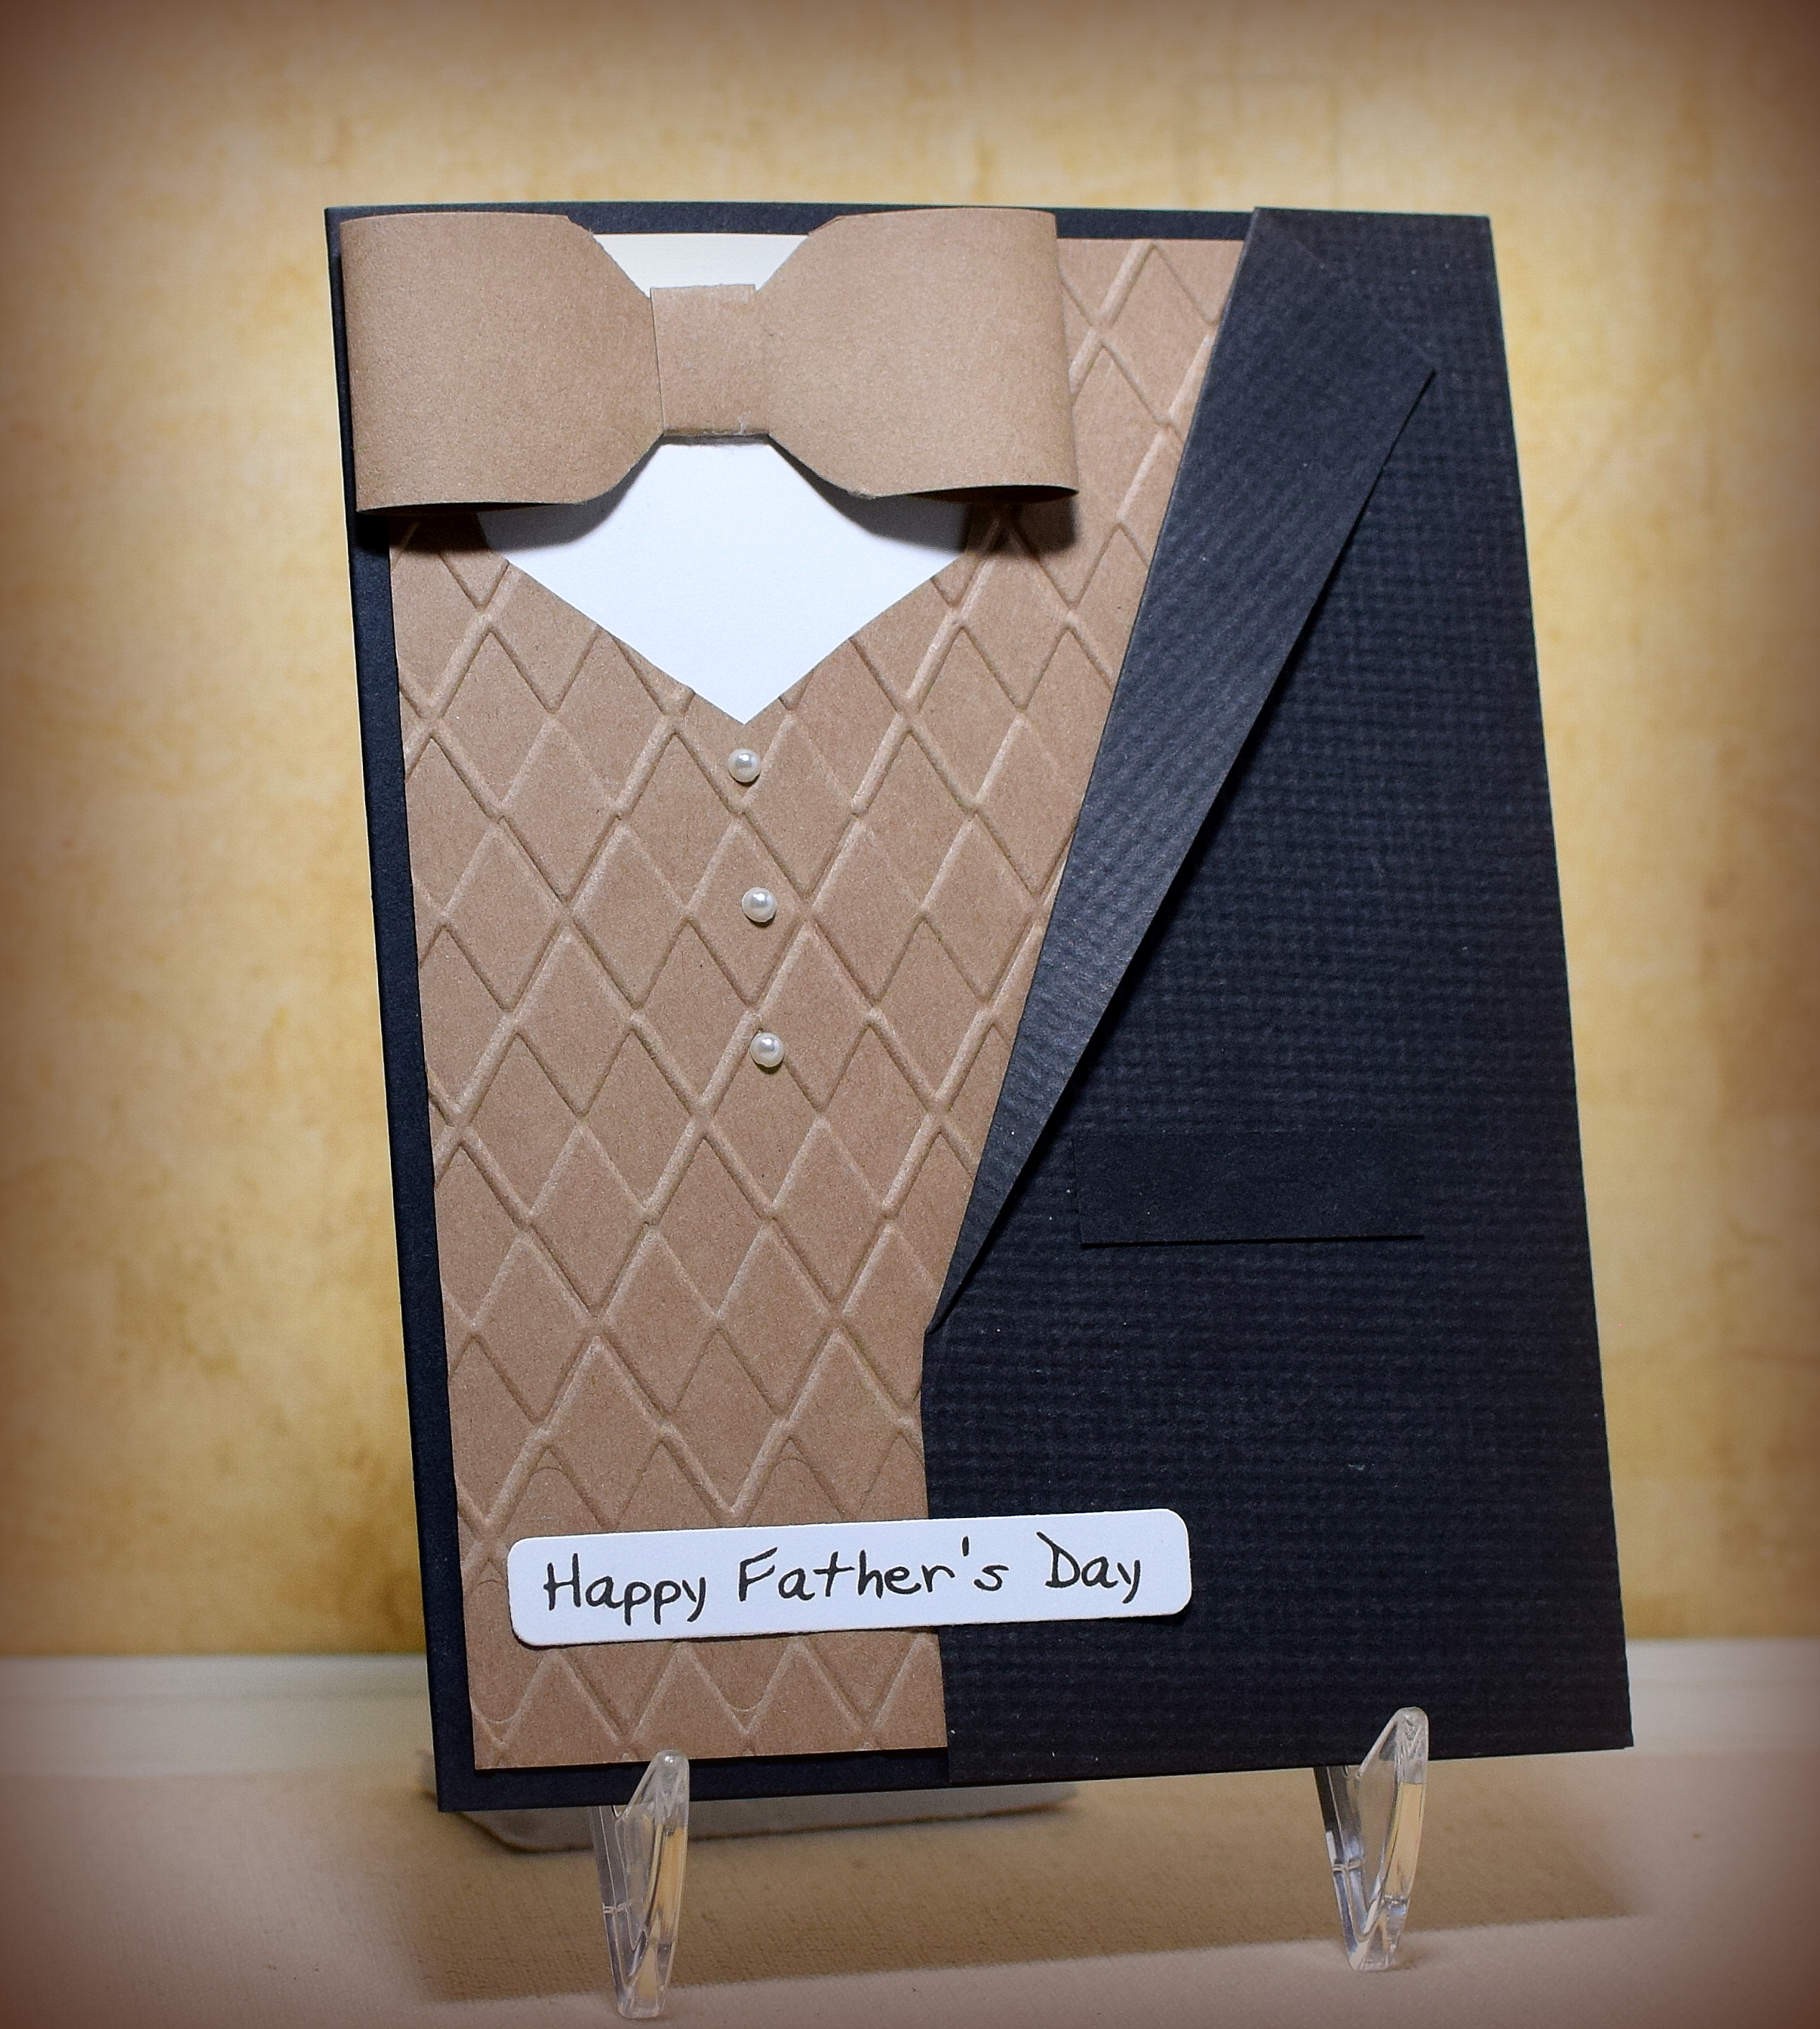
Obviously, these samples could be decorated more elaborately (and differently from each other – lol!). I was just experimenting with the different variations so I kept the designs simple and used the supplies that were out and handy.
Thanks for checking out my card projects!
This content uses referral links as described in the disclosure policy on my sidebar.