Football Slider Birthday Card

Football Slider Birthday Card
wDSC_7082.jpg

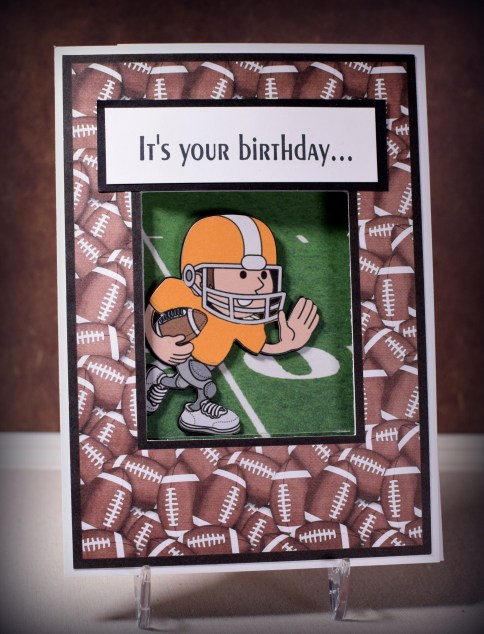
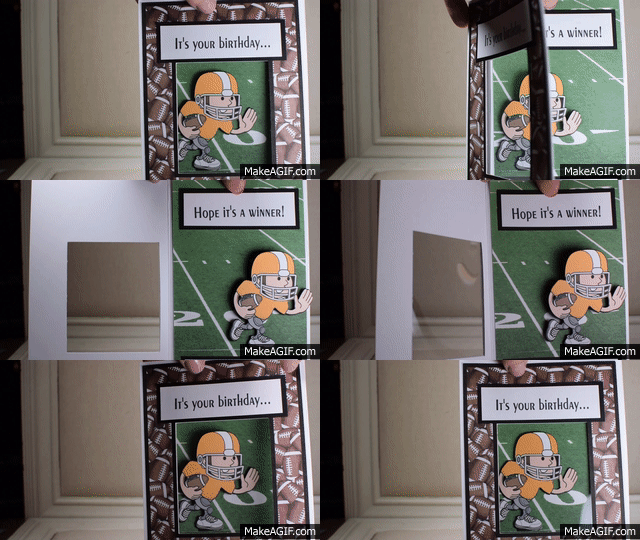
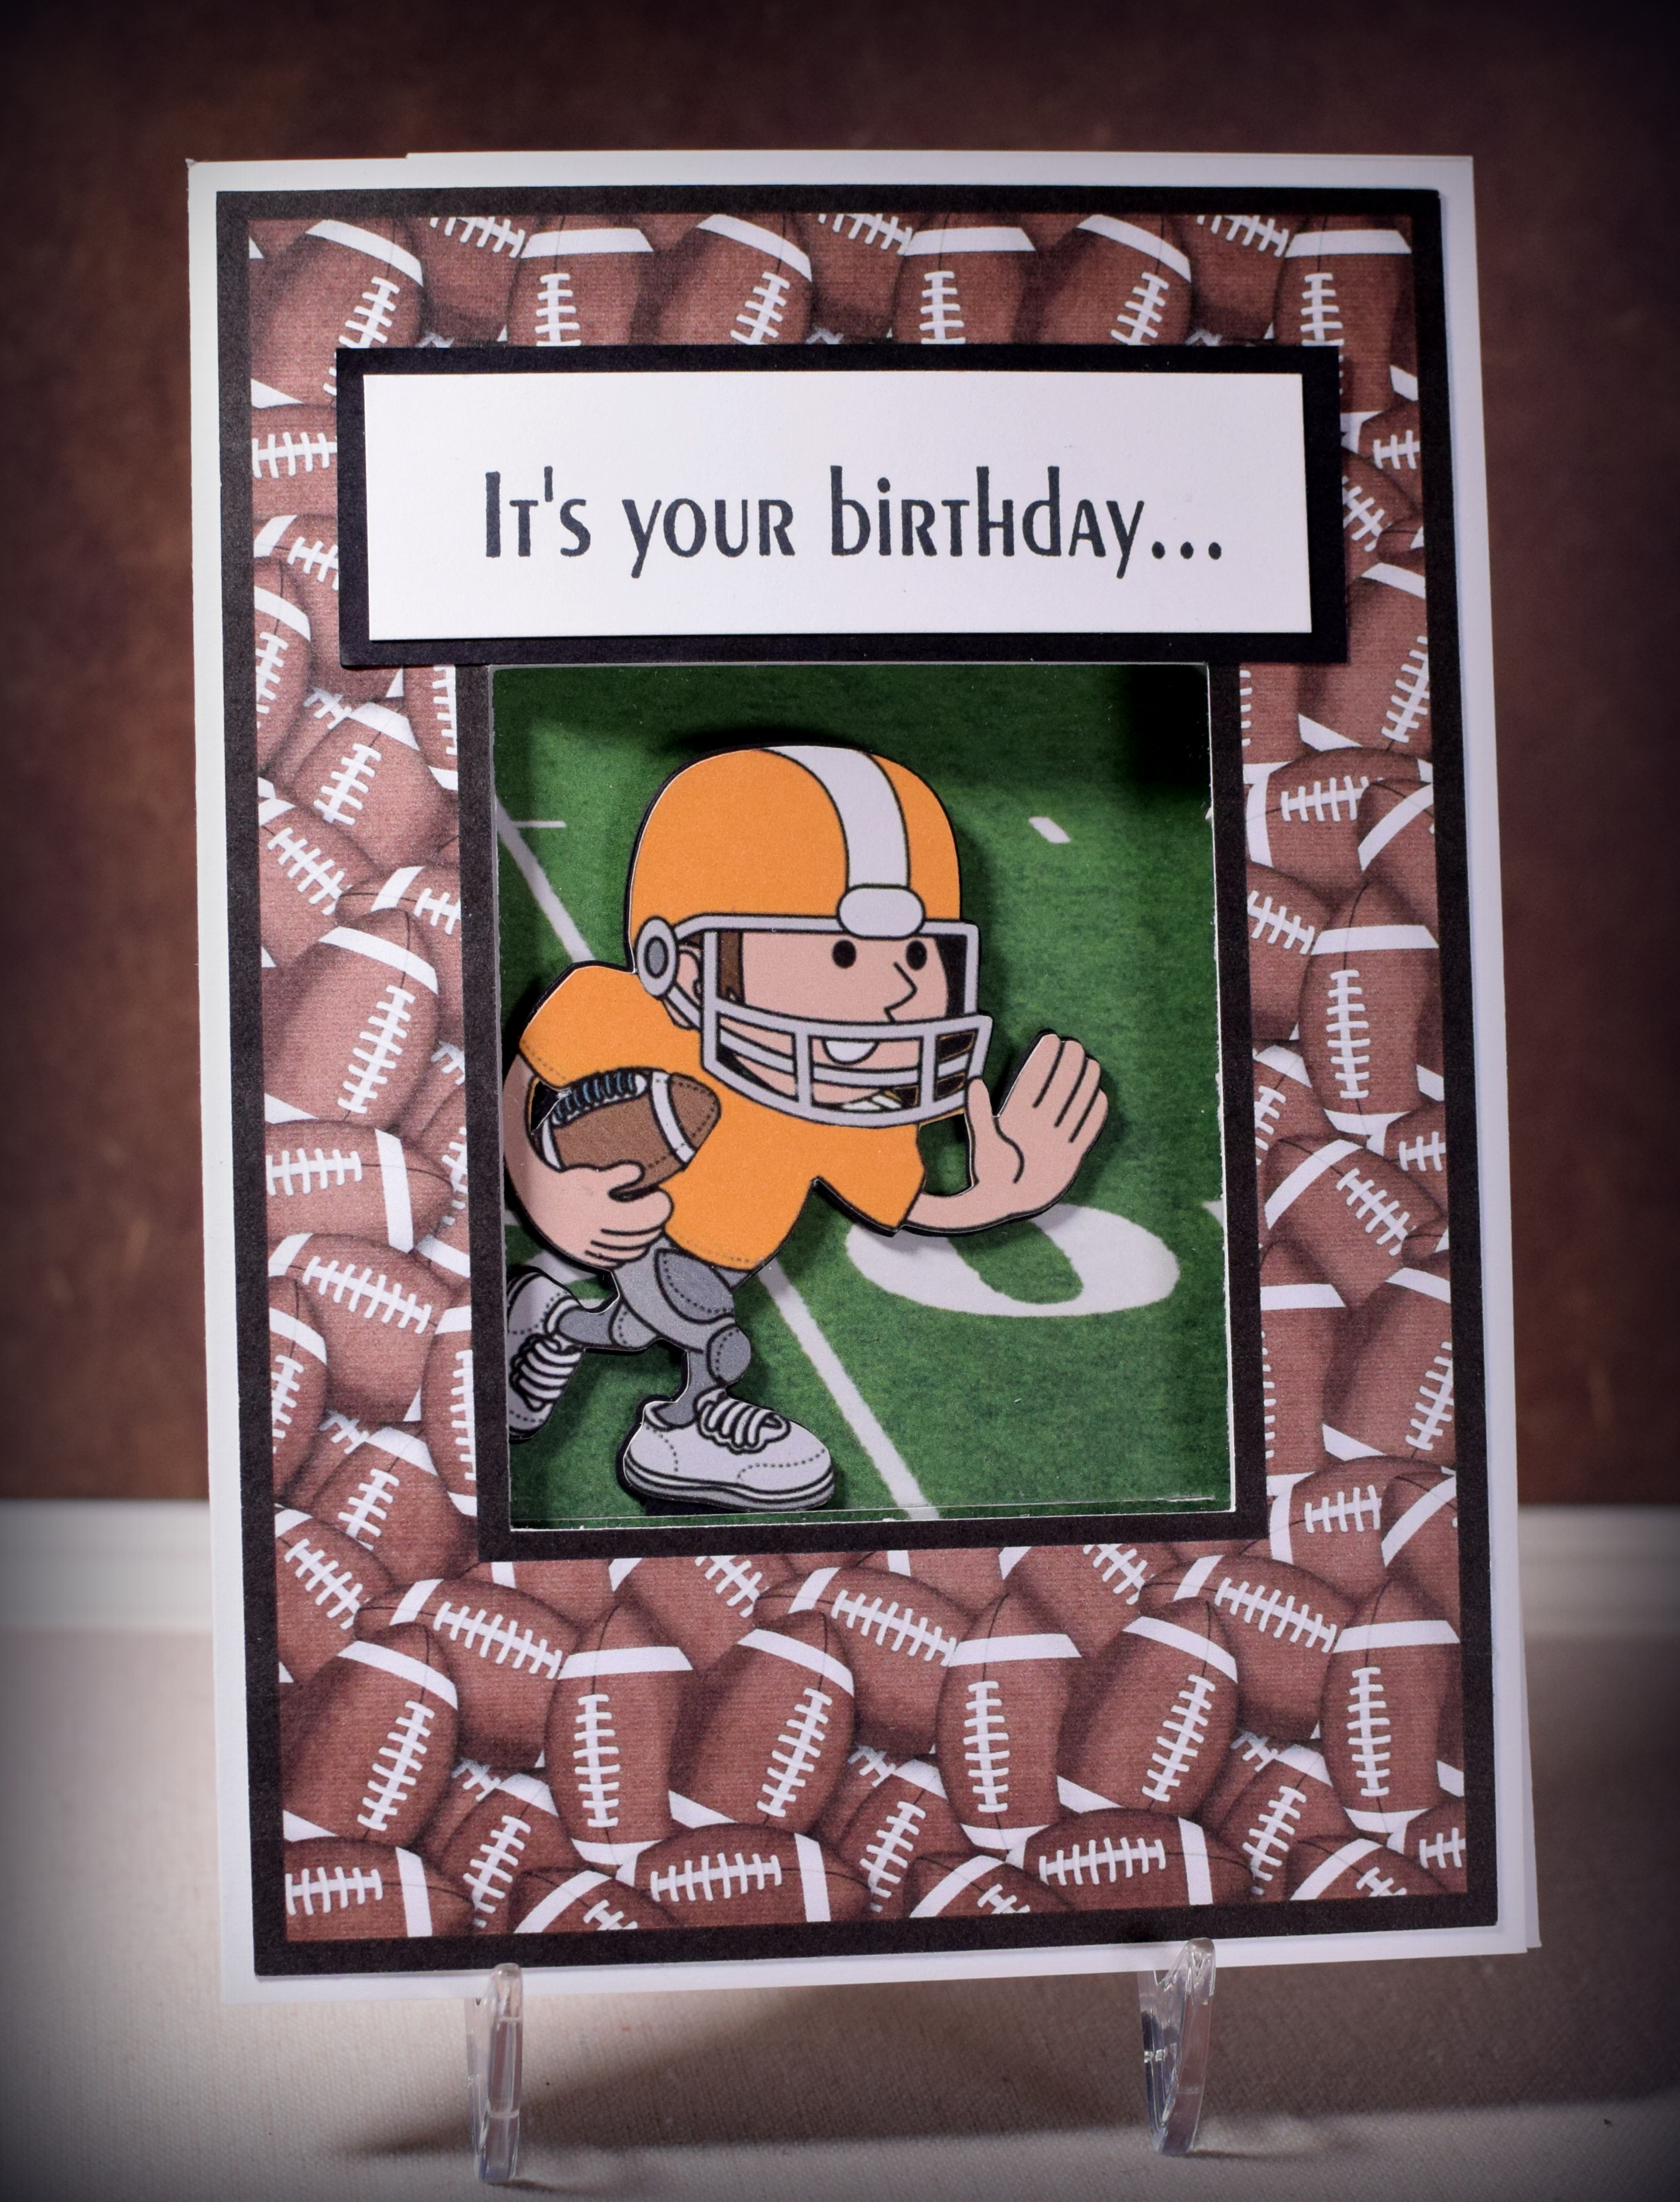
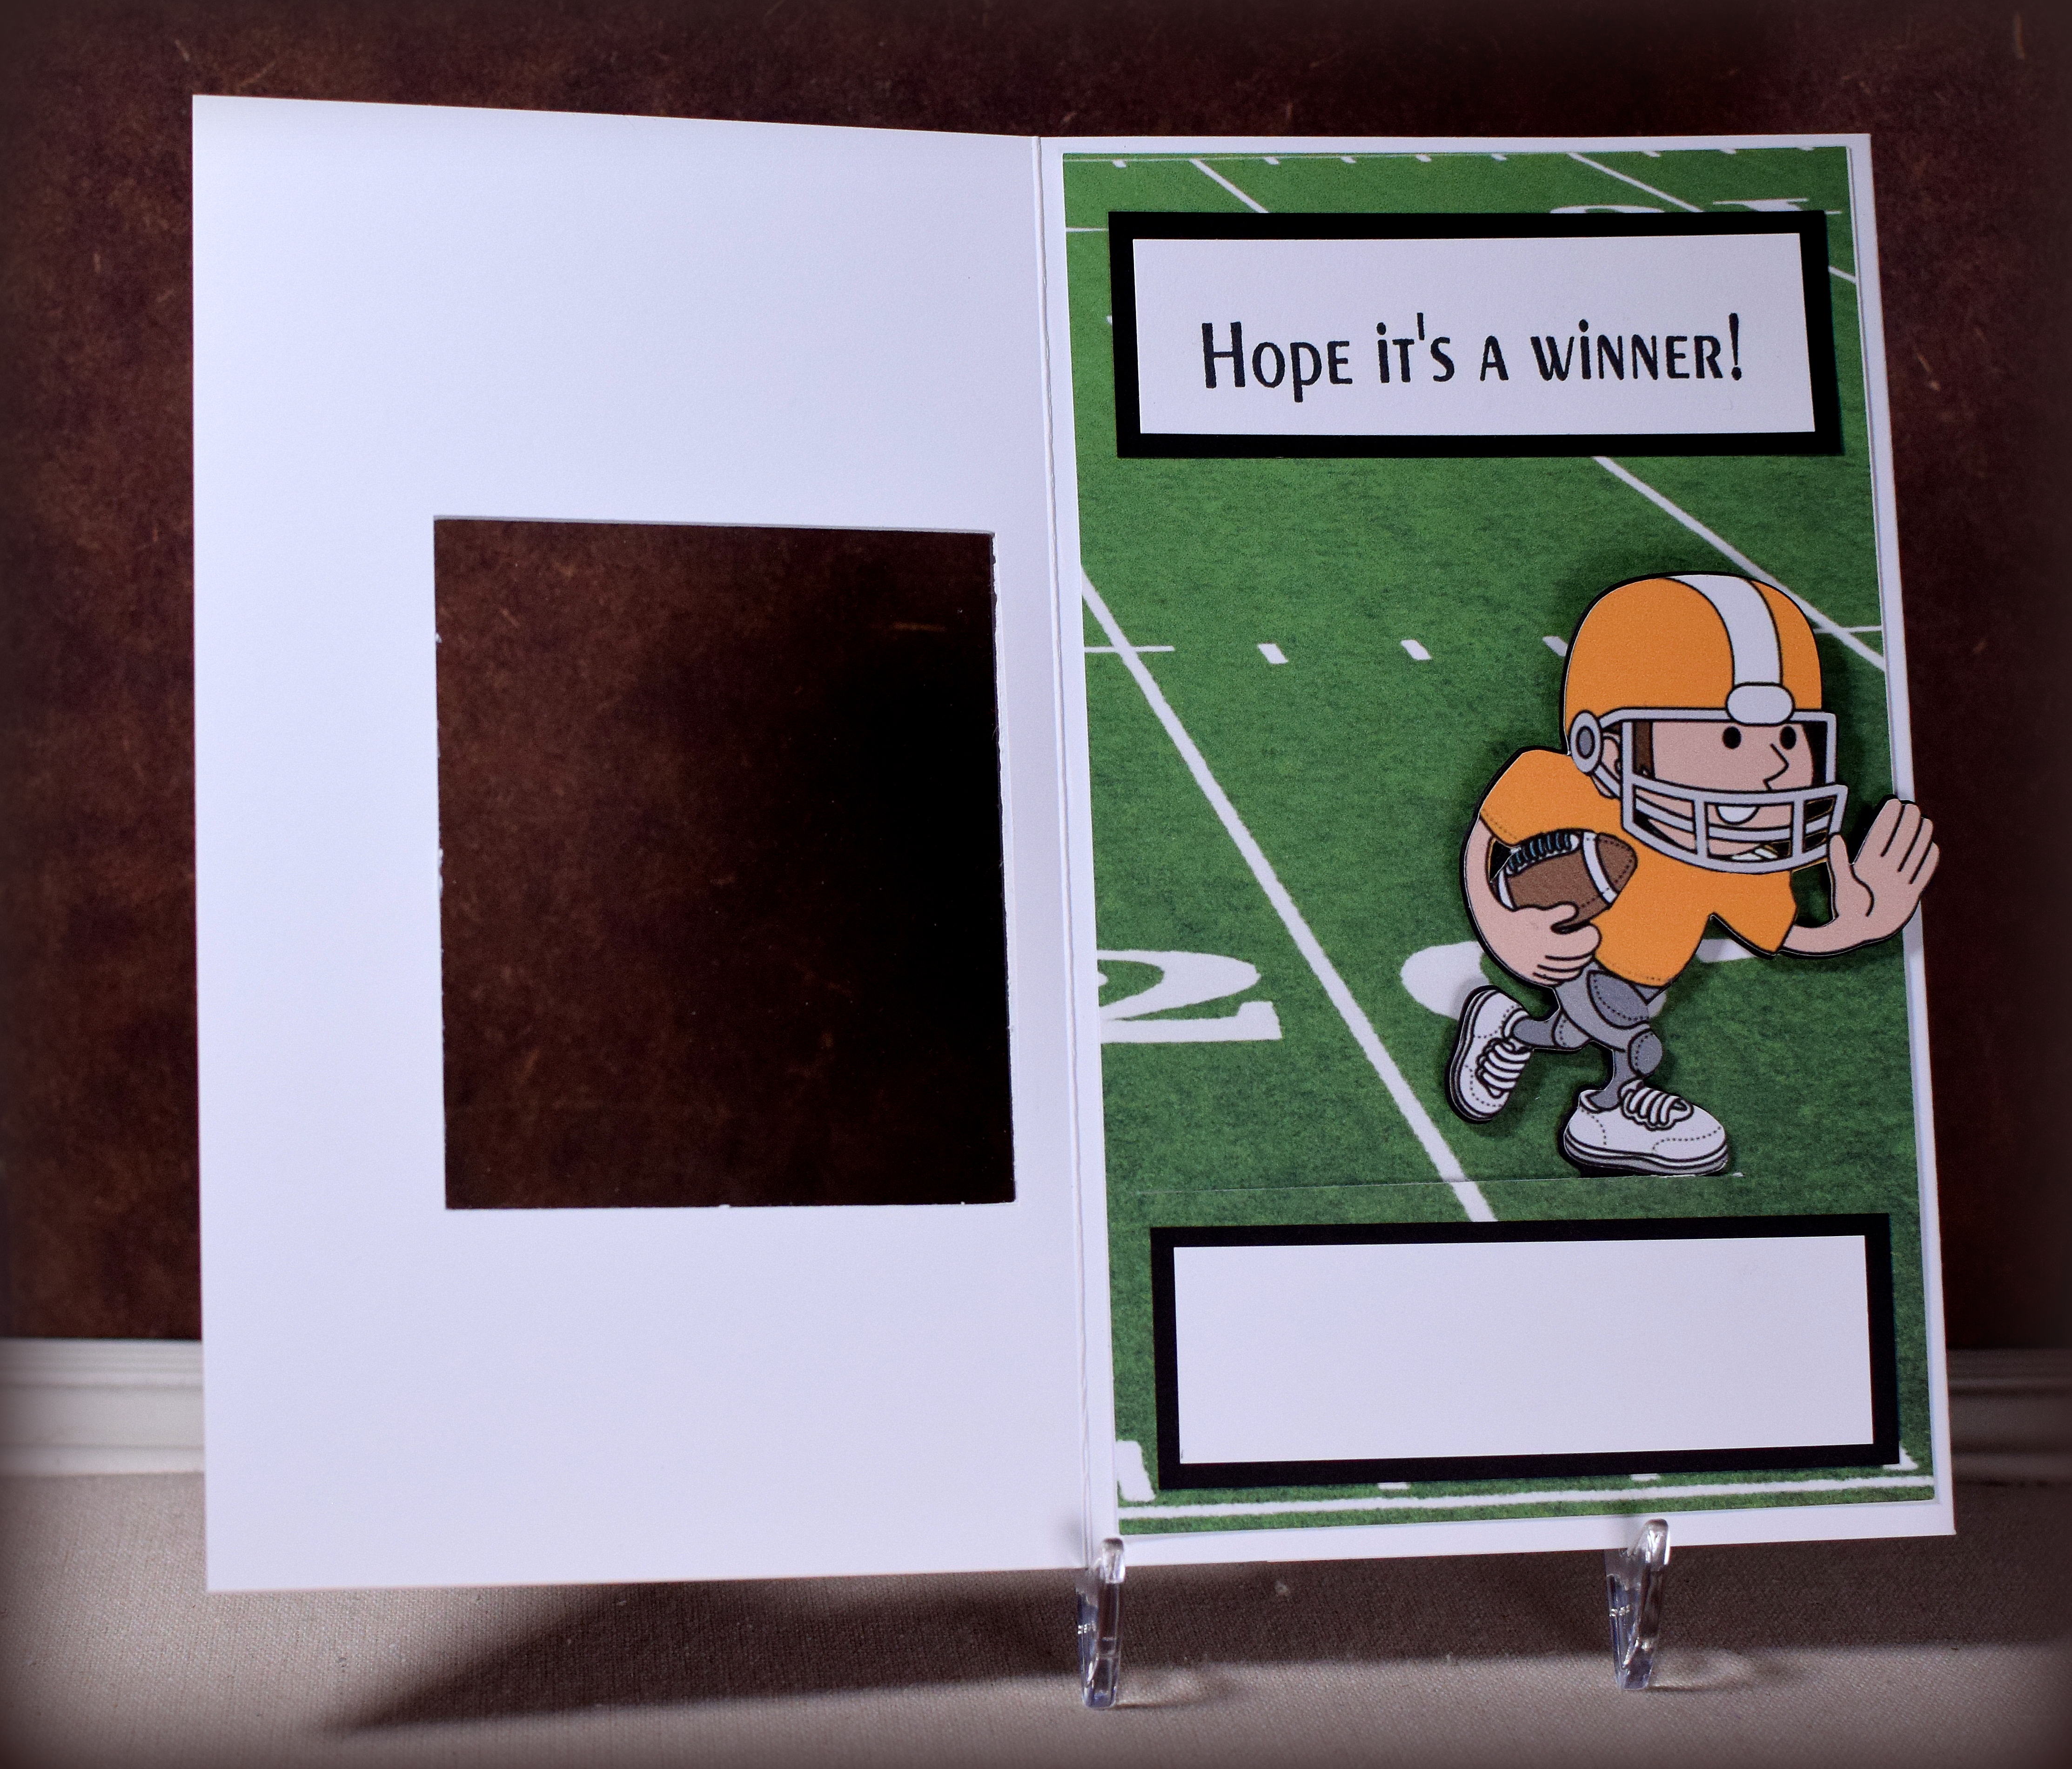
In a recent post, I shared an interactive card that I had made for my husband for our anniversary.   The card had an element that slid from left to right when the card was opened.  (HERE is a tutorial on how I made it.)  This type of card can be made with a variety of sliding elements, and here is another sample I created with an image of a football player.
Football Player GIF

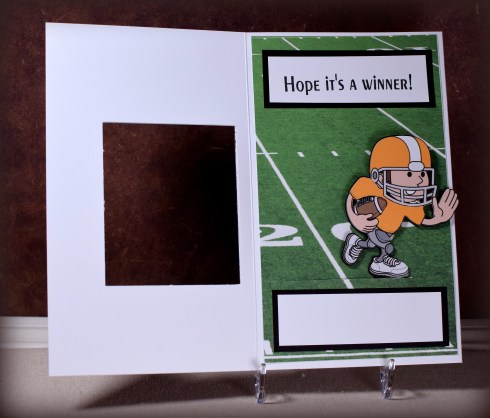
For this one, I created a cut out window on the front.  When the card is closed, you can see a portion of the inside scene.  I made the border/frame kind of wide so there is room inside to put a sentiment and signature panel that does not show through the window when the card is closed.  A piece of acetate covers the opening.
wDSC_7091.jpg

The football player was a google clipart image that I traced and cut with my Silhouette.  I needed him to “run” to the right so I flipped the image which I thought was quite clever until I realized that the numbers on his jersey flipped also and were backwards.  Of course I didn’t notice this until the card was done and I was ready to post!
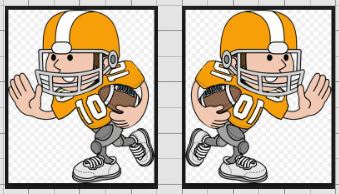
flipped image with numbers

I needed to go back and doctor the original image with my Silhouette software to remove the numbers, create a new die cut, and layer it over the old one.  Ugh!!!  Note to self… avoid images with letters and numbers when using mirror images.

The football field was also a google image.  There were many field choices; I chose one that put my player close to his end zone.

The printed paper on the front is from a digital scrapbook kit called, “Touchdown Football” by JssScrapBoutique which I purchased on Etsy.  I imported the football pattern into my Silhouette software and “filled” in the frame I created.  I added the black border and had the machine cut it out.  (The kit contains a frame with this pattern, but it is square, and I needed a rectangle to fit on my card front.)

The greeting and inside sentiment were stamped with Momento Tuxedo Black ink and were both from custom stamps I had made at rubberstamps.net   I’ve had stamps made there before, but this time, I realized that you don’t need to order individual stamps for each greeting or short sentiment.  You can put several greetings/sentiments (as different lines of text) on the same stamp and cut them apart when they arrive.  A big money saver!

Thanks for checking out my card project!
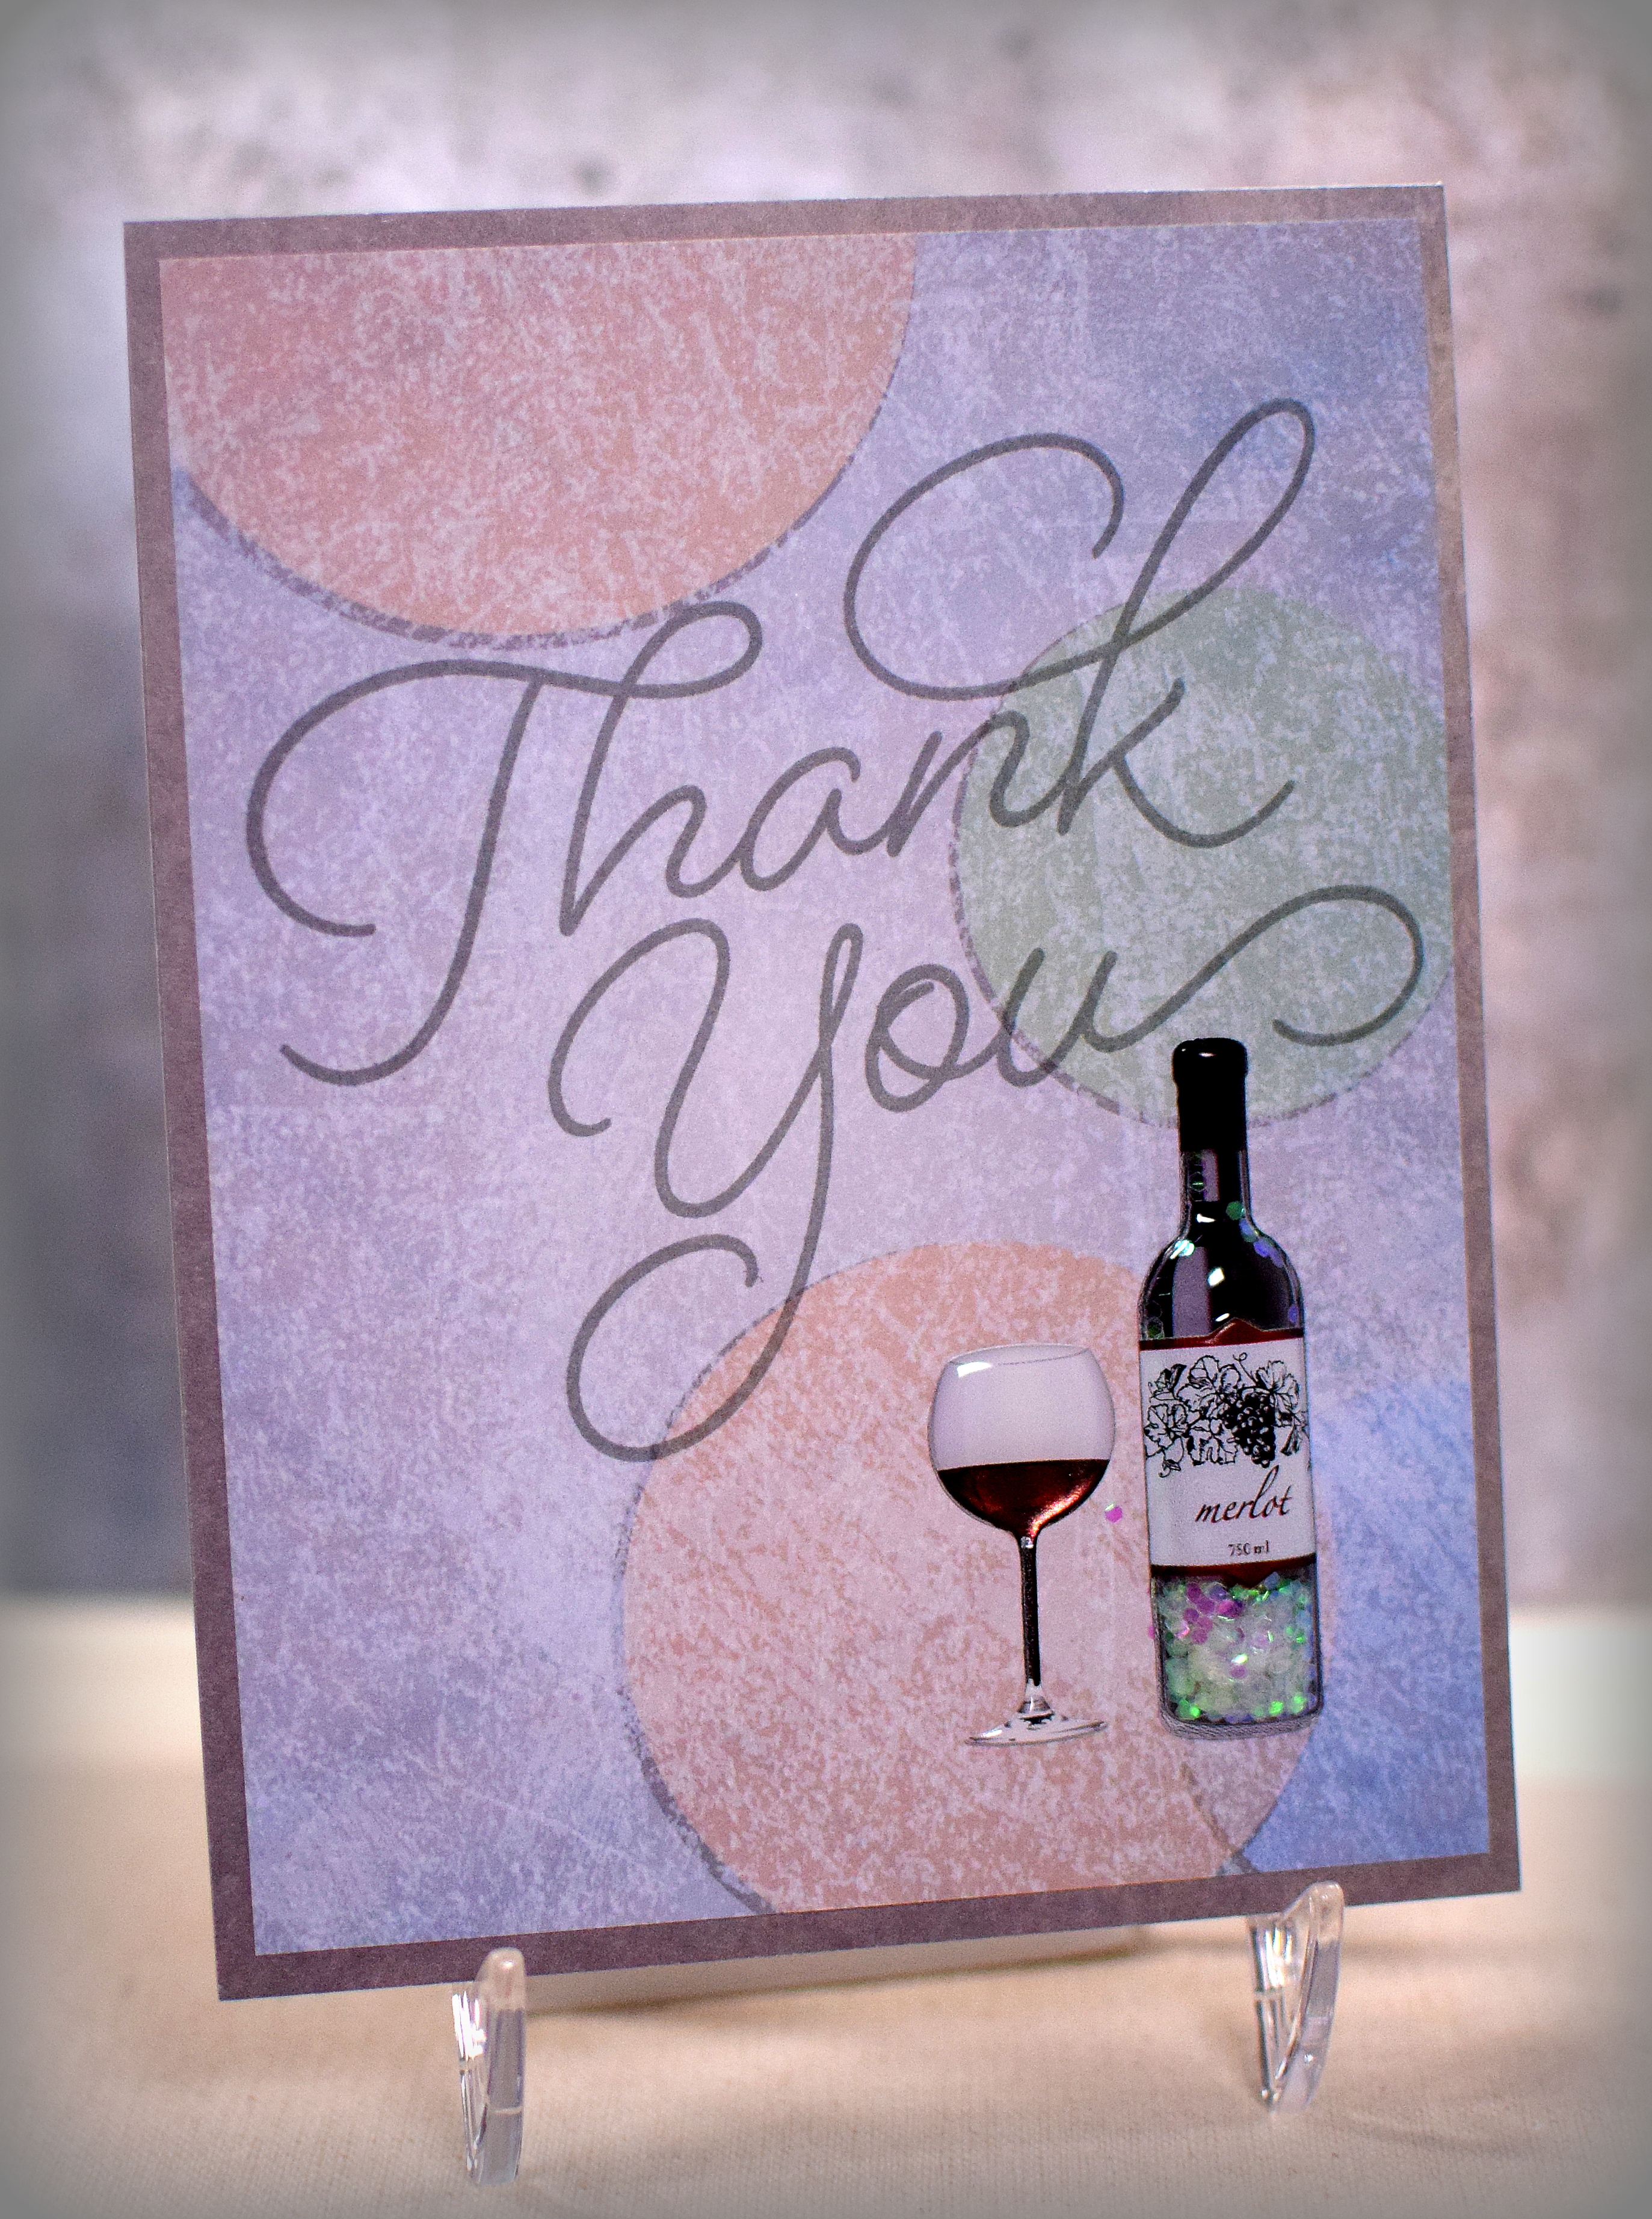
Thanks for the Wine Note Card

Thanks for the Wine Note Card

wDSC_6922.jpg

I found myself needing another wine-themed thank you note.  For this one, I used some fun paper, a large thank you stamp, and puffy, shaker stickers.  Can’t get much easier than that!

The paper is from the “Nostalgia” 6×6 paper pack by Love Nicole.  The stamp is from the “So Very Much” set by Stampin’ Up, and the stickers are by Recollections.  I stamped the greeting with Ranger Cool Graphite dye ink.

Thanks for checking out my card project!
Baseball Birthday Shutter Card

Baseball Birthday Shutter Card

wDSC_7260.jpg

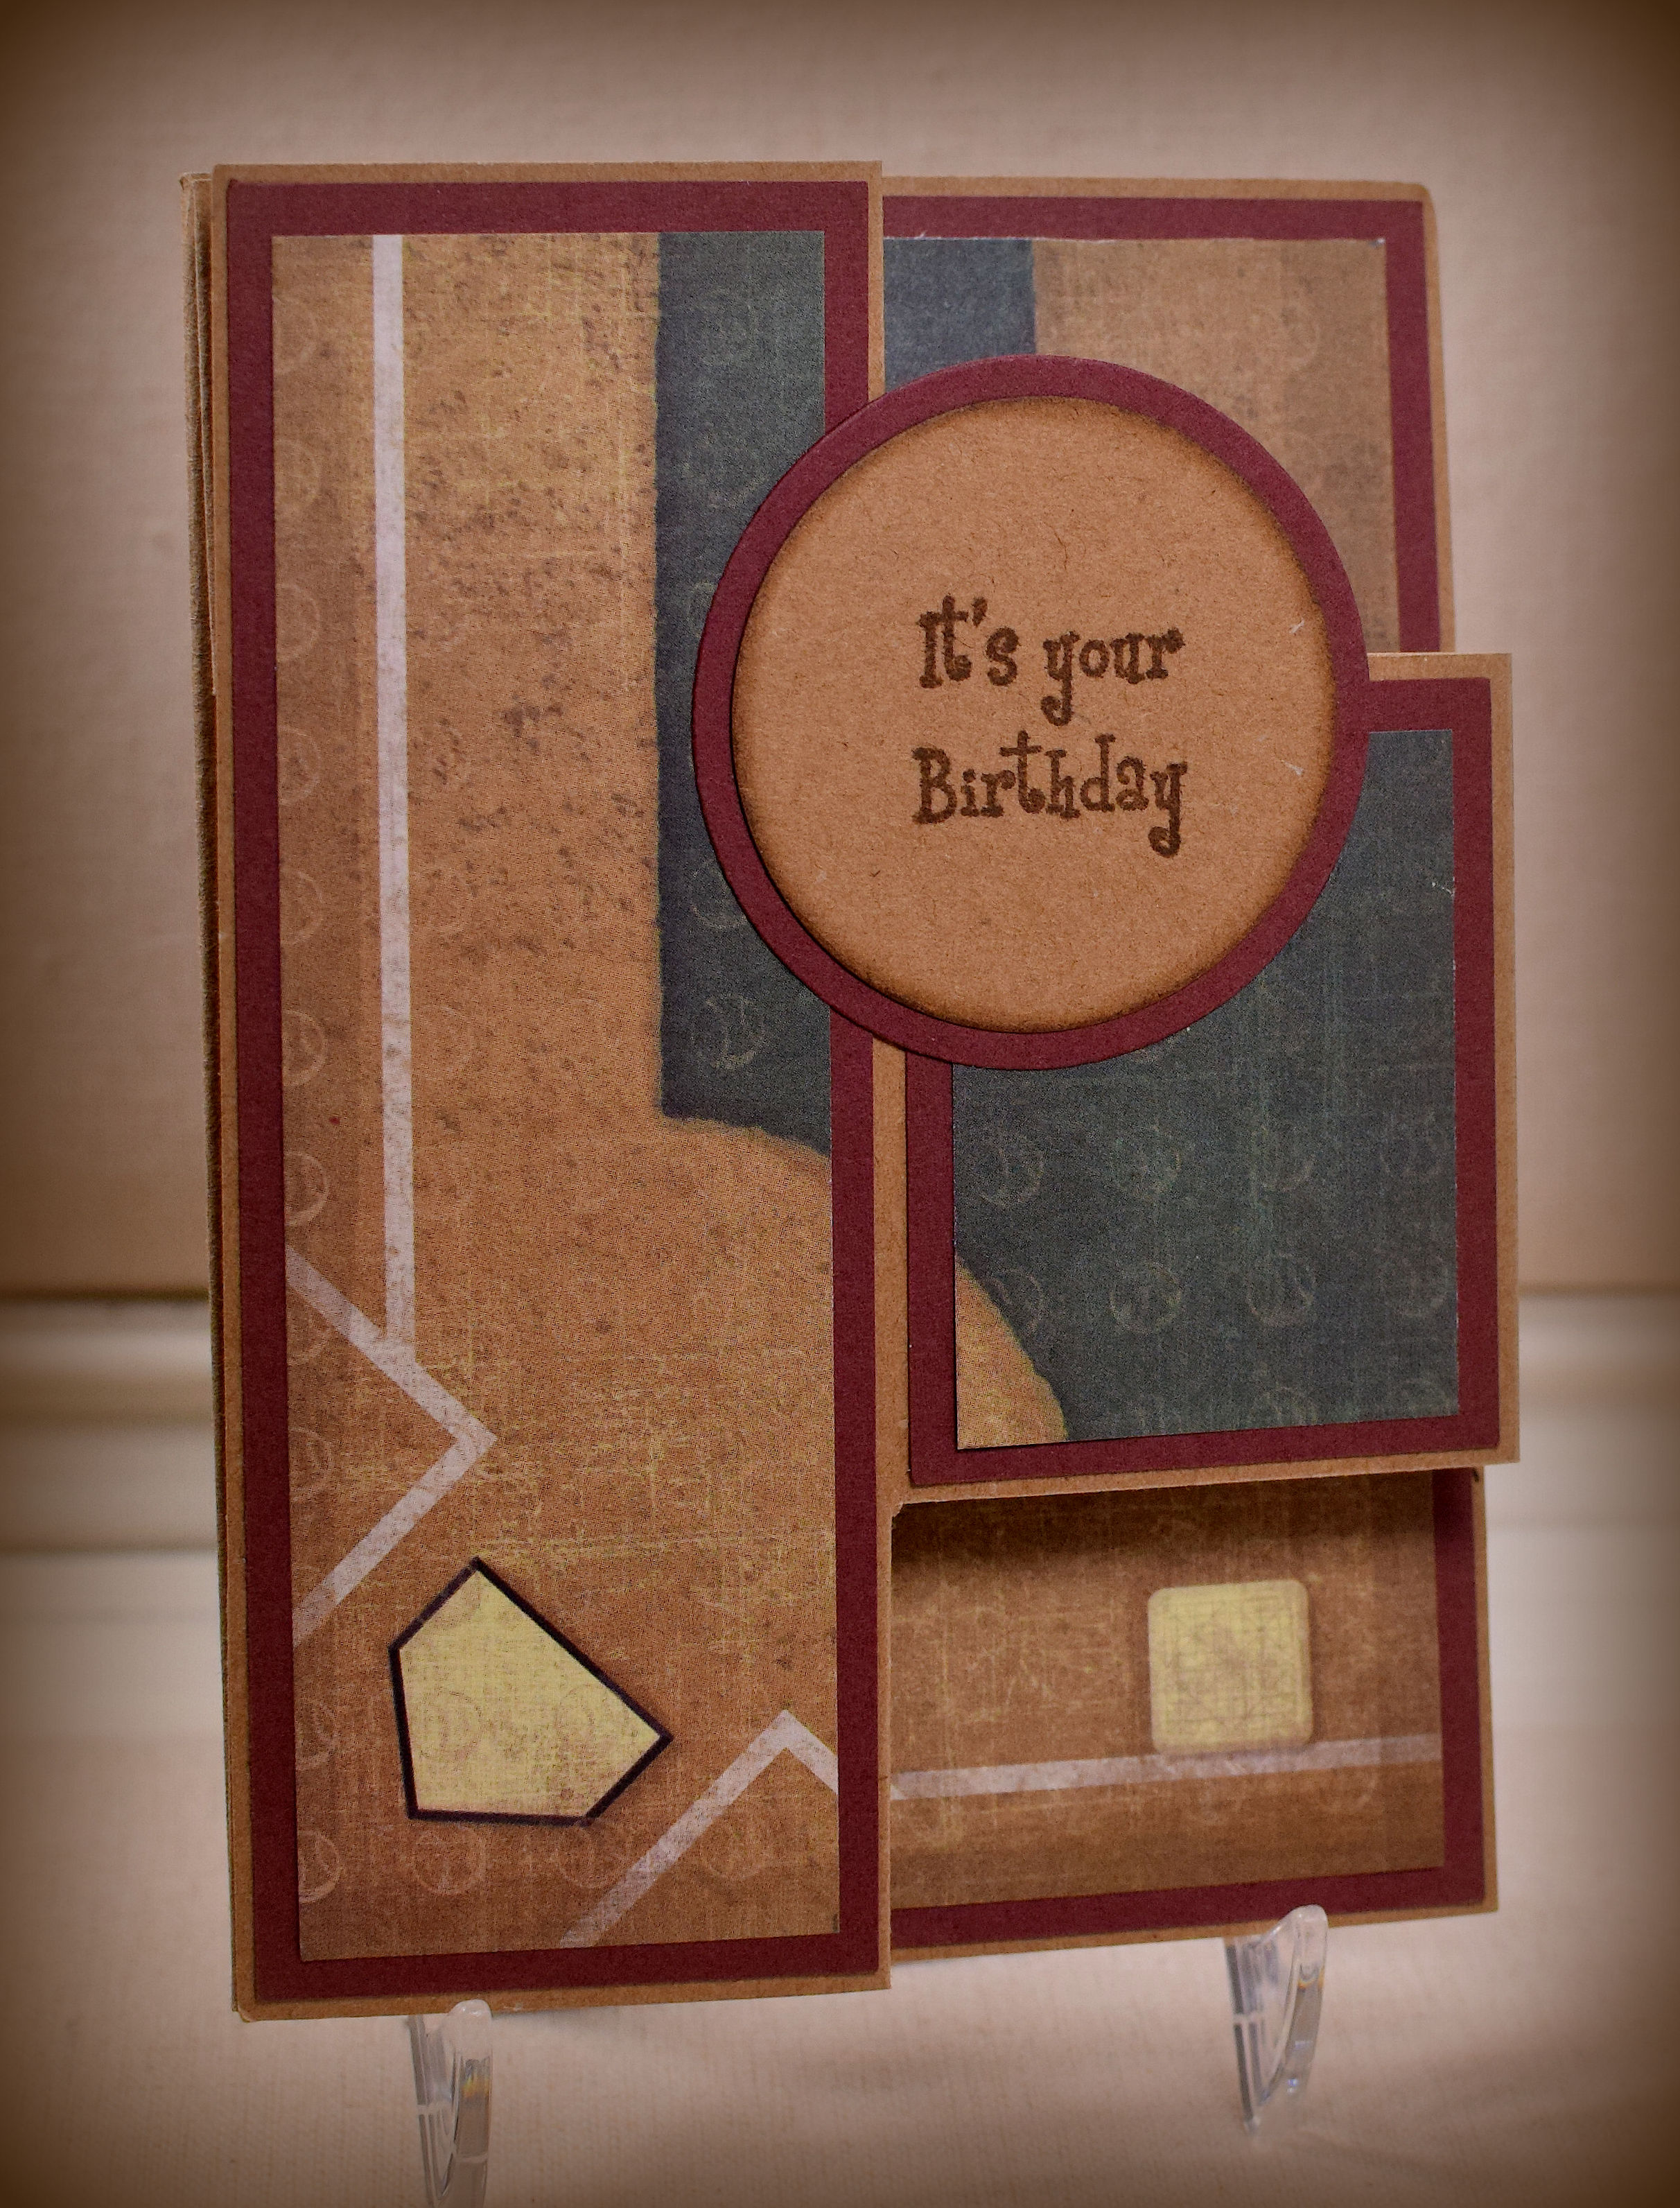
My son has a fall birthday, and he’s really into baseball (he will be working for the Milwaukee Brewers’ after he graduates in May), so I made this card for him.  The Modsquad Challenge this week is “Fall Fest” where we are to create whatever comes to our minds when we think of fall.  I loved the rich, fall colors of these papers, and in my house, playoff baseball is definitely a fall thing!

This shutter card features paper called “Baseball/Softball Diamond” from a kit called “Rookie of the Year” by Karen Foster.

karen foster baseball softball diamond paper darker

I matted each of the printed pieces with some open stock card stock called “Merlot” that I purchased at AC Moore.  (There is no brand name on the label.)  The card base is Recollections Kraft.

The circle pieces were cut with dies from the “Standard Circles Large and Small” sets from Spellbinders.  The stamps are from Crackerbox Palace (here and here) stamped with Tim Holtz Walnut Stain distress ink.  I inked the edges of the greeting and sentiment panels with this ink as well.

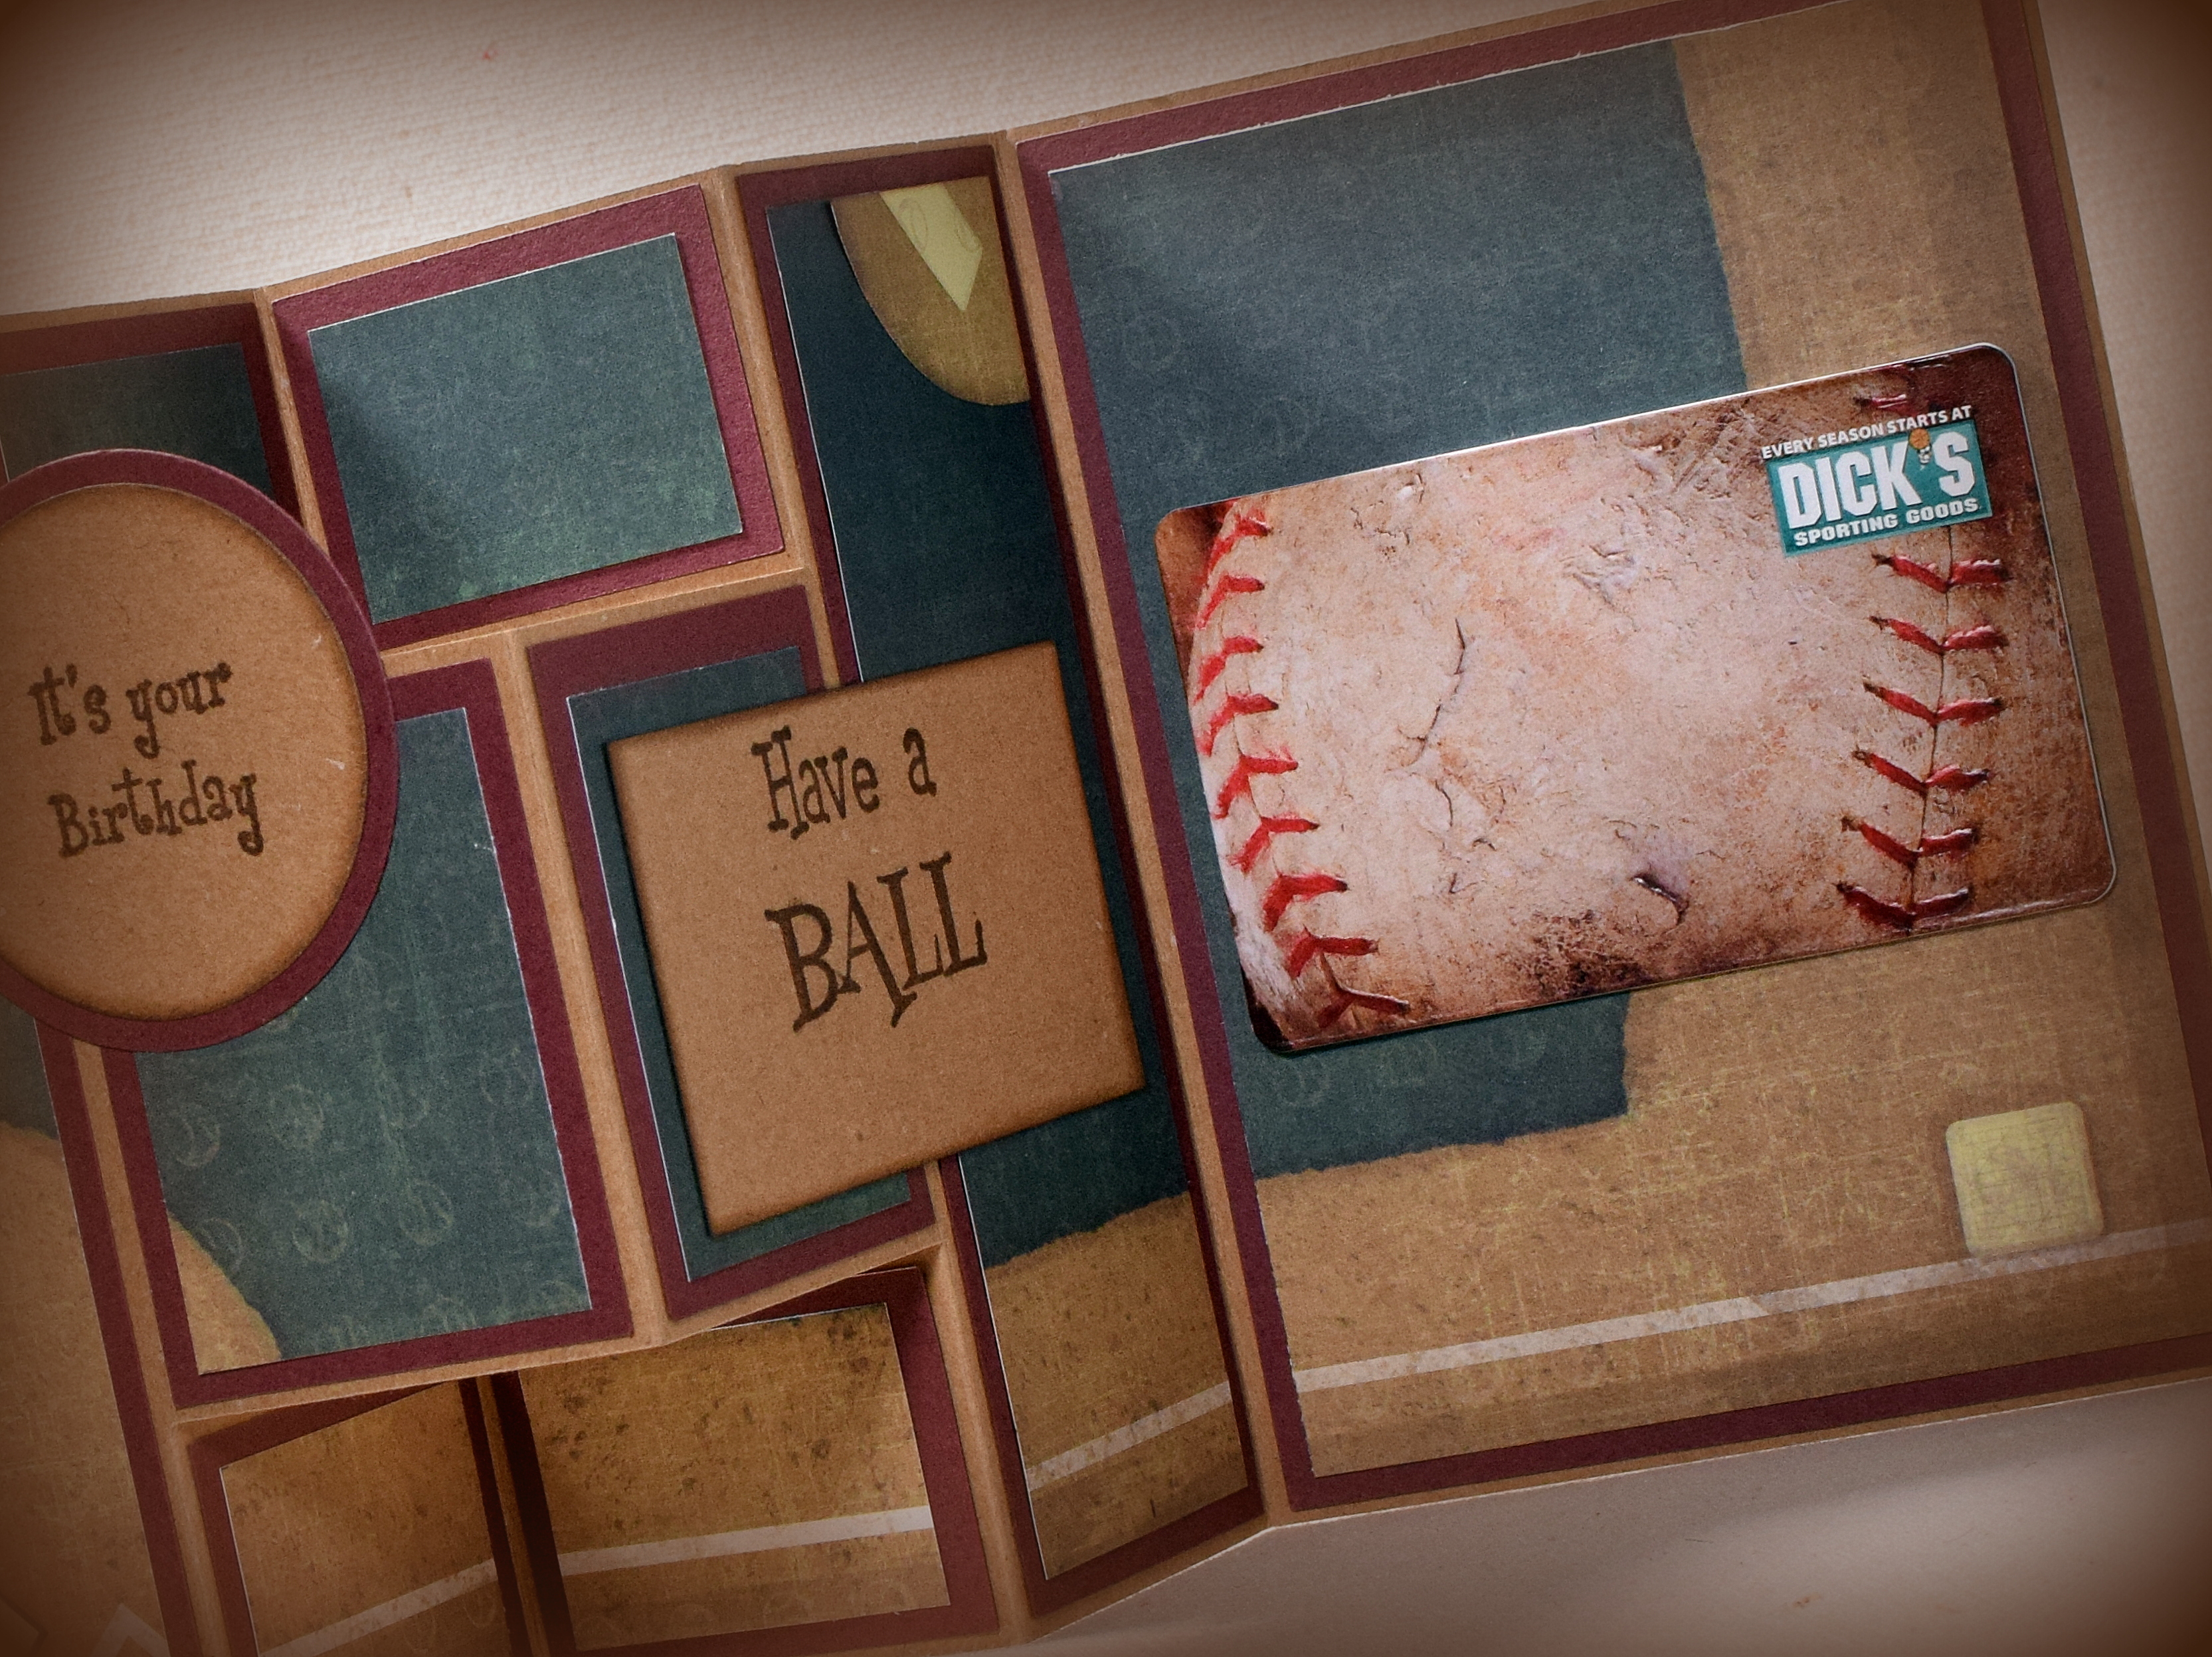
I left a little space under the “have a ball” stamp for a signature.  The space on the back panel that does not show when the card is closed is big enough to hide a gift card or monetary gift (attached with removable adhesive) if desired.

     wwDSC_7276 cropped

zzDSC_7273 sharper

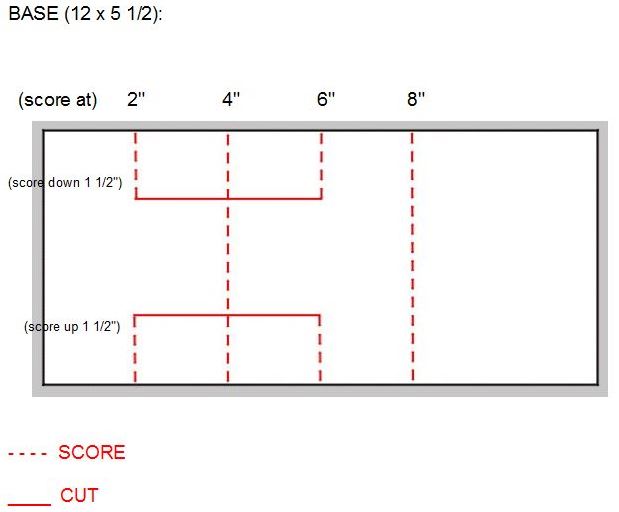
This card is 4 1/4 x 5 1/2 inches when folded.

Here is the template for making the card base:

Shutter Card Template

(HERE is a video tutorial on how to make this type of shutter card.)

Thanks for checking out my card project!
This content uses referral links as described in the disclosure policy on my sidebar.

Perfect Together Anniversary Slider Card

Perfect Together Anniversary Slider Card

wwDSC_6942.jpg


This interactive card has a cute couple inside that comes together for a kiss and hug when the card is opened  I made this card for my husband for our 30th wedding anniversary.

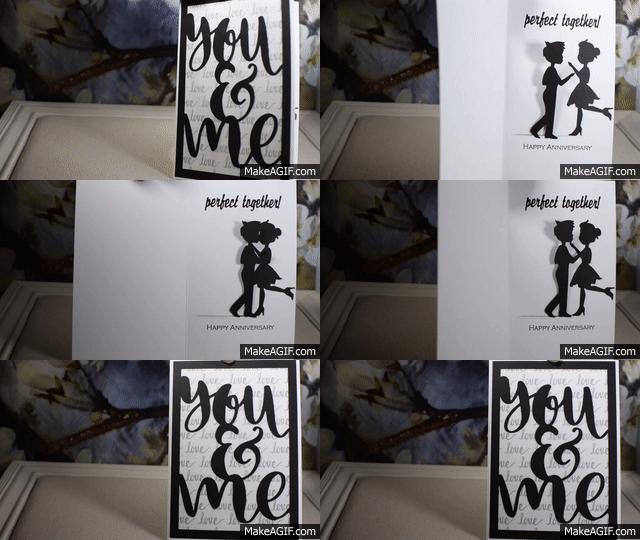
Perfect Together GIF

I had seen a card with a similar sliding element online a while ago and searched high and low for a video tutorial on how to make one.  I finally found one, but there seemed to be an error with the measurements because the pieces did not fit properly and the card would not open all the way.  (Maybe it was me!)  Anyway, I took the general concepts from the video and got to work trying to figure it out.  After going through quite a bit of paper, I came up with something that finally worked for me.  (HERE is a tutorial on how I made mine.)

The man and woman die cuts were adapted from an image I found online that I “traced” and cut with my Silhouette software and die cutting machine.  I cut several of each and layered them to make them thicker.

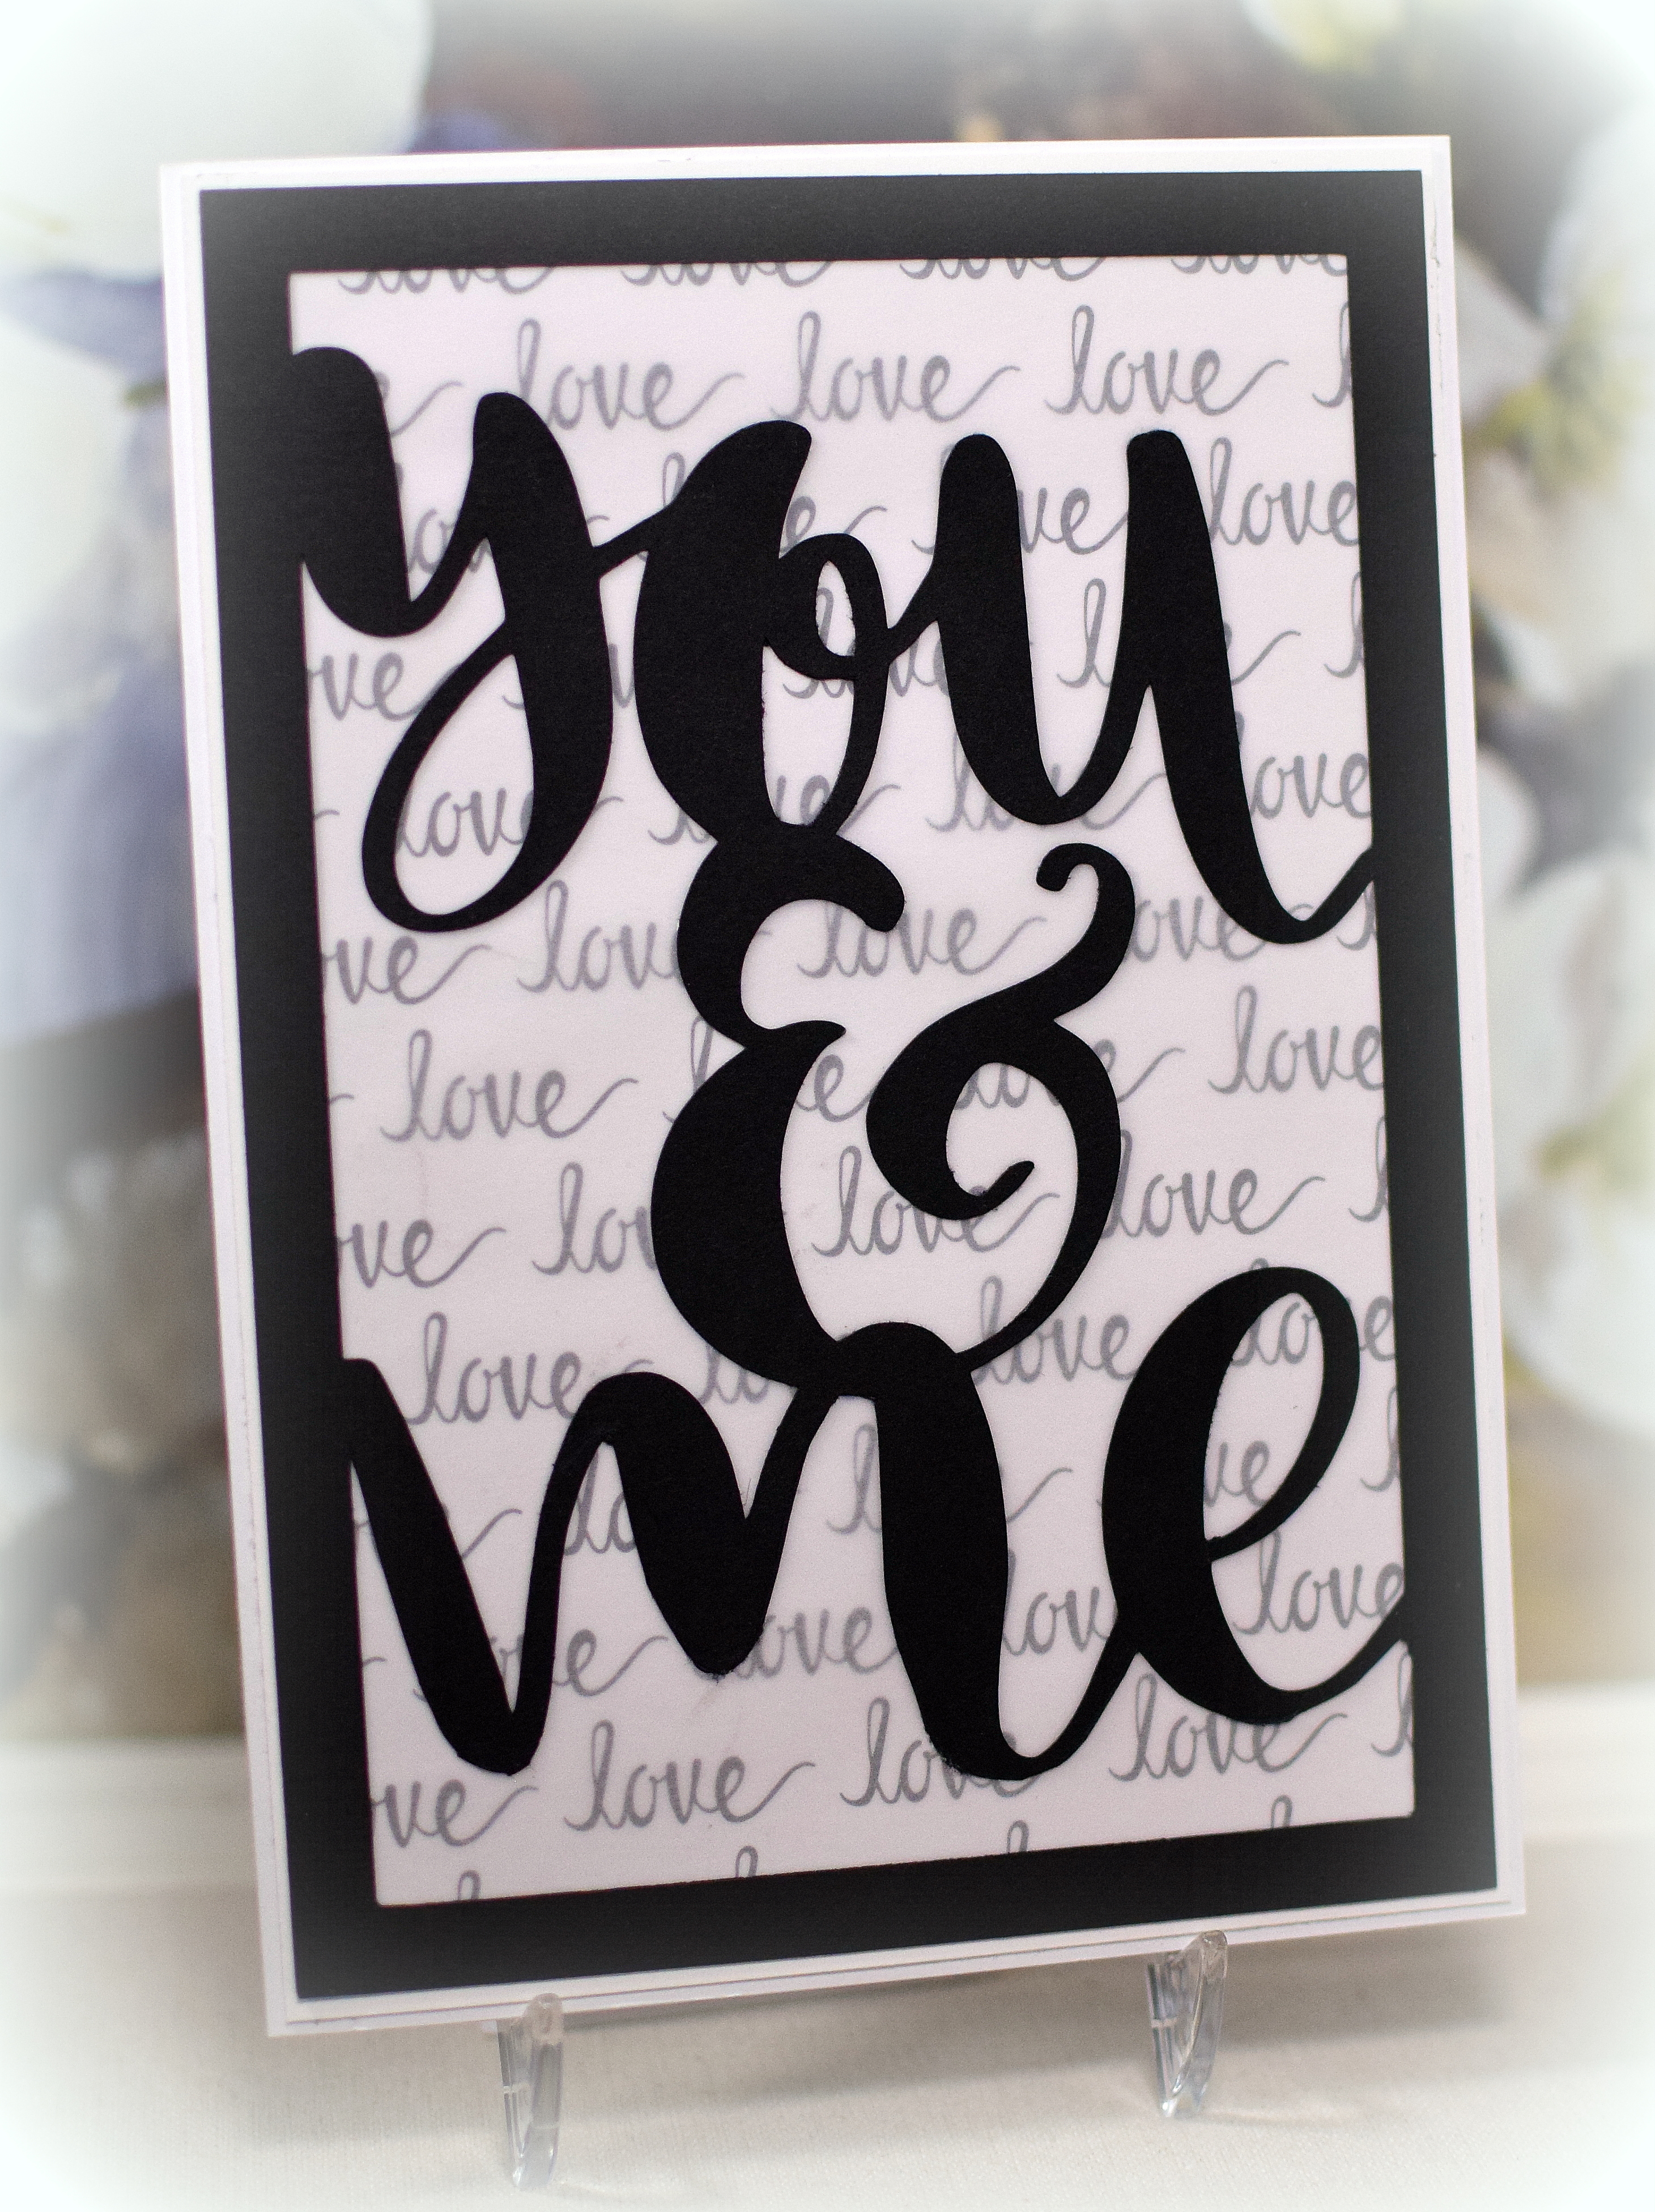
The black die cut frame on the card front was made with a silhouette file called “you and me” by Rhonna Farrer (design id #173722) that I purchased in the Silhouette store.  The file contains the words, and I sized and welded it to the frame I created.  The Love Word paper is by The Paper Studio.  I covered it with a piece of vellum so it wasn’t so dark and busy behind my die cut frame.  The “perfect together” on the inside was also created and cut with my silhouette.

The anniversary stamp was from the “Lacy Borders” set (retired?) from Gina K Designs.

wDSC_7077

Thanks for checking out my card project!
This content uses referral links as described in the disclosure policy on my sidebar.