Magic Window Card Tutorial

Magic Window Card Tutorial

wDSC_6845.jpg

Recently, I posted a card with a window element that opens and closes like the iris of a camera.

Magic_Window_Card

I saw several tutorials on YouTube showing how to make this type of card.  Each had slightly different measurements and slightly different ways to cut and assemble the pieces for the card.  This is what I did to make mine… Continue reading

Masculine Birthday Magic Window Card

Masculine Birthday Magic Window Card

wDSC_6830.jpg

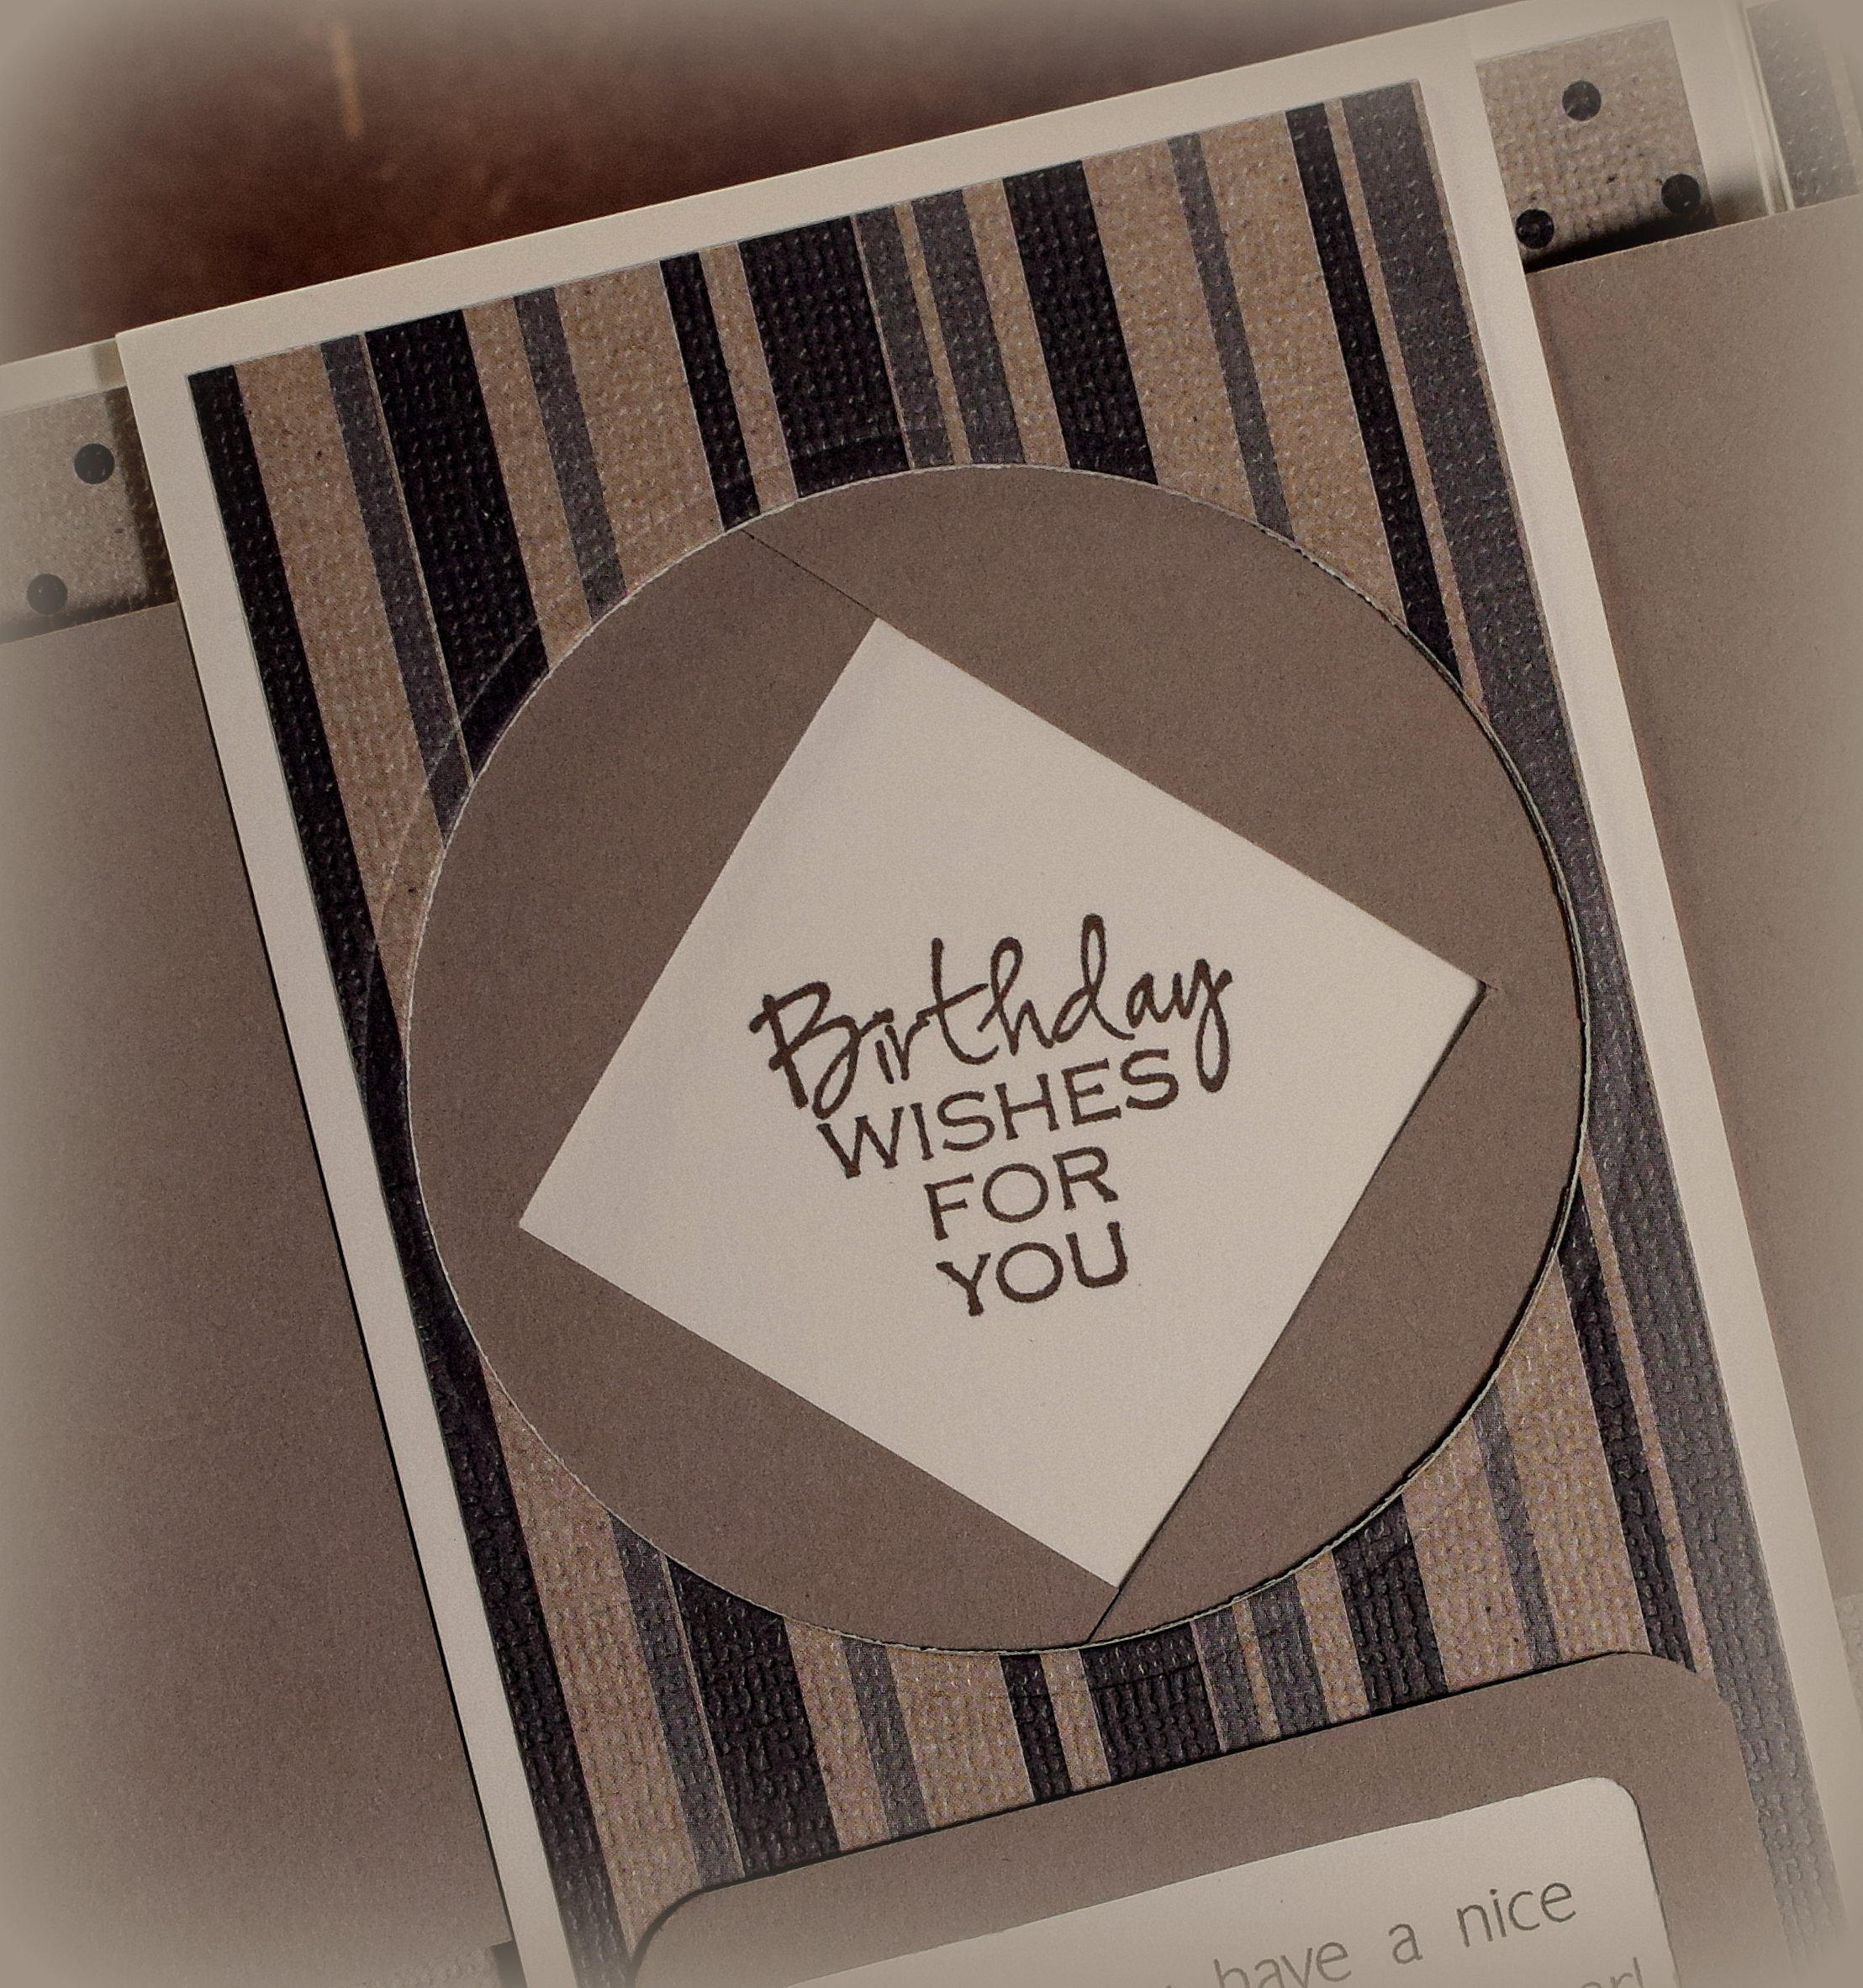
This gatefold card has a cool “magic window” mechanism on the inside that reveals a hidden message or image when the card is opened.

Magic_Window_Card.gif

The hidden message or image disappears as the card is closed again.

wDSC_6834

The sentiment in the window is from the “Framed Greetings” set (retired?) by Gina K Designs, stamped with GK Charcoal Brown ink.  The sentiment below the window is computer generated.  The patterned paper is “Kraft Small Dot” and “Kraft Stripe” by Core’dinations.  I also used Stampin’ Up Tip Top Taupe card stock and Recollections heavy weight ivory.

I created a belly band which slides on the card when closed.

wDSC_6844

The image on the belly band is from the “Sketch a Party” set by Stampin’ Up and was also stamped with GK Charcoal Brown ink.  The circle panels were cut with dies from the Spellbinders Large and Small Standard Circles dies.

Thanks for checking out my card project!

How Should Ink Pads Be Stored?

How Should Ink Pads Be Stored?

question image

I recently received a question asking if dye ink pads should be stored upside down.  I have seen this question (and lots of opinions about it!) online and have often wondered what the answer is myself.

I sent an email to Tsukineko (Memento ink pads) asking this question and received no response.

I found this HERE on the Ranger site:   “How should I store my Distress Ink Pads?    The molded plastic case is designed to create the proper fit needed for the ink formulation. While storing the pads flat with the bottom side up will neither help nor hurt, we usually store pads on their sides or flat with the right side up.”

And HERE is an interesting video (at 4:21 mark) where Tim Holtz talks about how ink behaves in their pads and how they don’t need to be stored upside down.  (Thanks for pointing this out, Joyce!).  He talks about it again HERE (at 8:30 mark).

I also contacted customer service at Gina K Designs, and this is the response I received:  “It actually does not matter, it will not affect the quality of the ink at all. We store them with the colored label up here at our brick and mortar store. :)”

I am not an expert, but according to the sources I checked, it doesn’t really matter.  It seems to me (and this is just my opinion) that if the ink pads were supposed to be stored with the pads facing down, the manufacturers would put the ink pad on the lid. Since the pad is on the bottom and the label is on the top, it seems (to me) like that is the way they are to be stored (or at least that it is fine to store them this way).

Personally, I store my ink pads on their sides or with the lids facing up (because that is how my storage racks or containers hold them), and I have never had a problem.

When I am actually stamping, I usually place my stamp on the table facing up and tap the ink pad down on the stamp, and then I place the ink pad face down on its lid on my desk.  (I like to keep the lid on the pad when I am done inking the stamp, and this is just a more natural technique for me than flipping the pad over and picking up the lid.)  The ink pads are just as “inky” when stamping from this upside down position as when I first start using it from the upright position as it was stored.

Thanks for checking out my post!
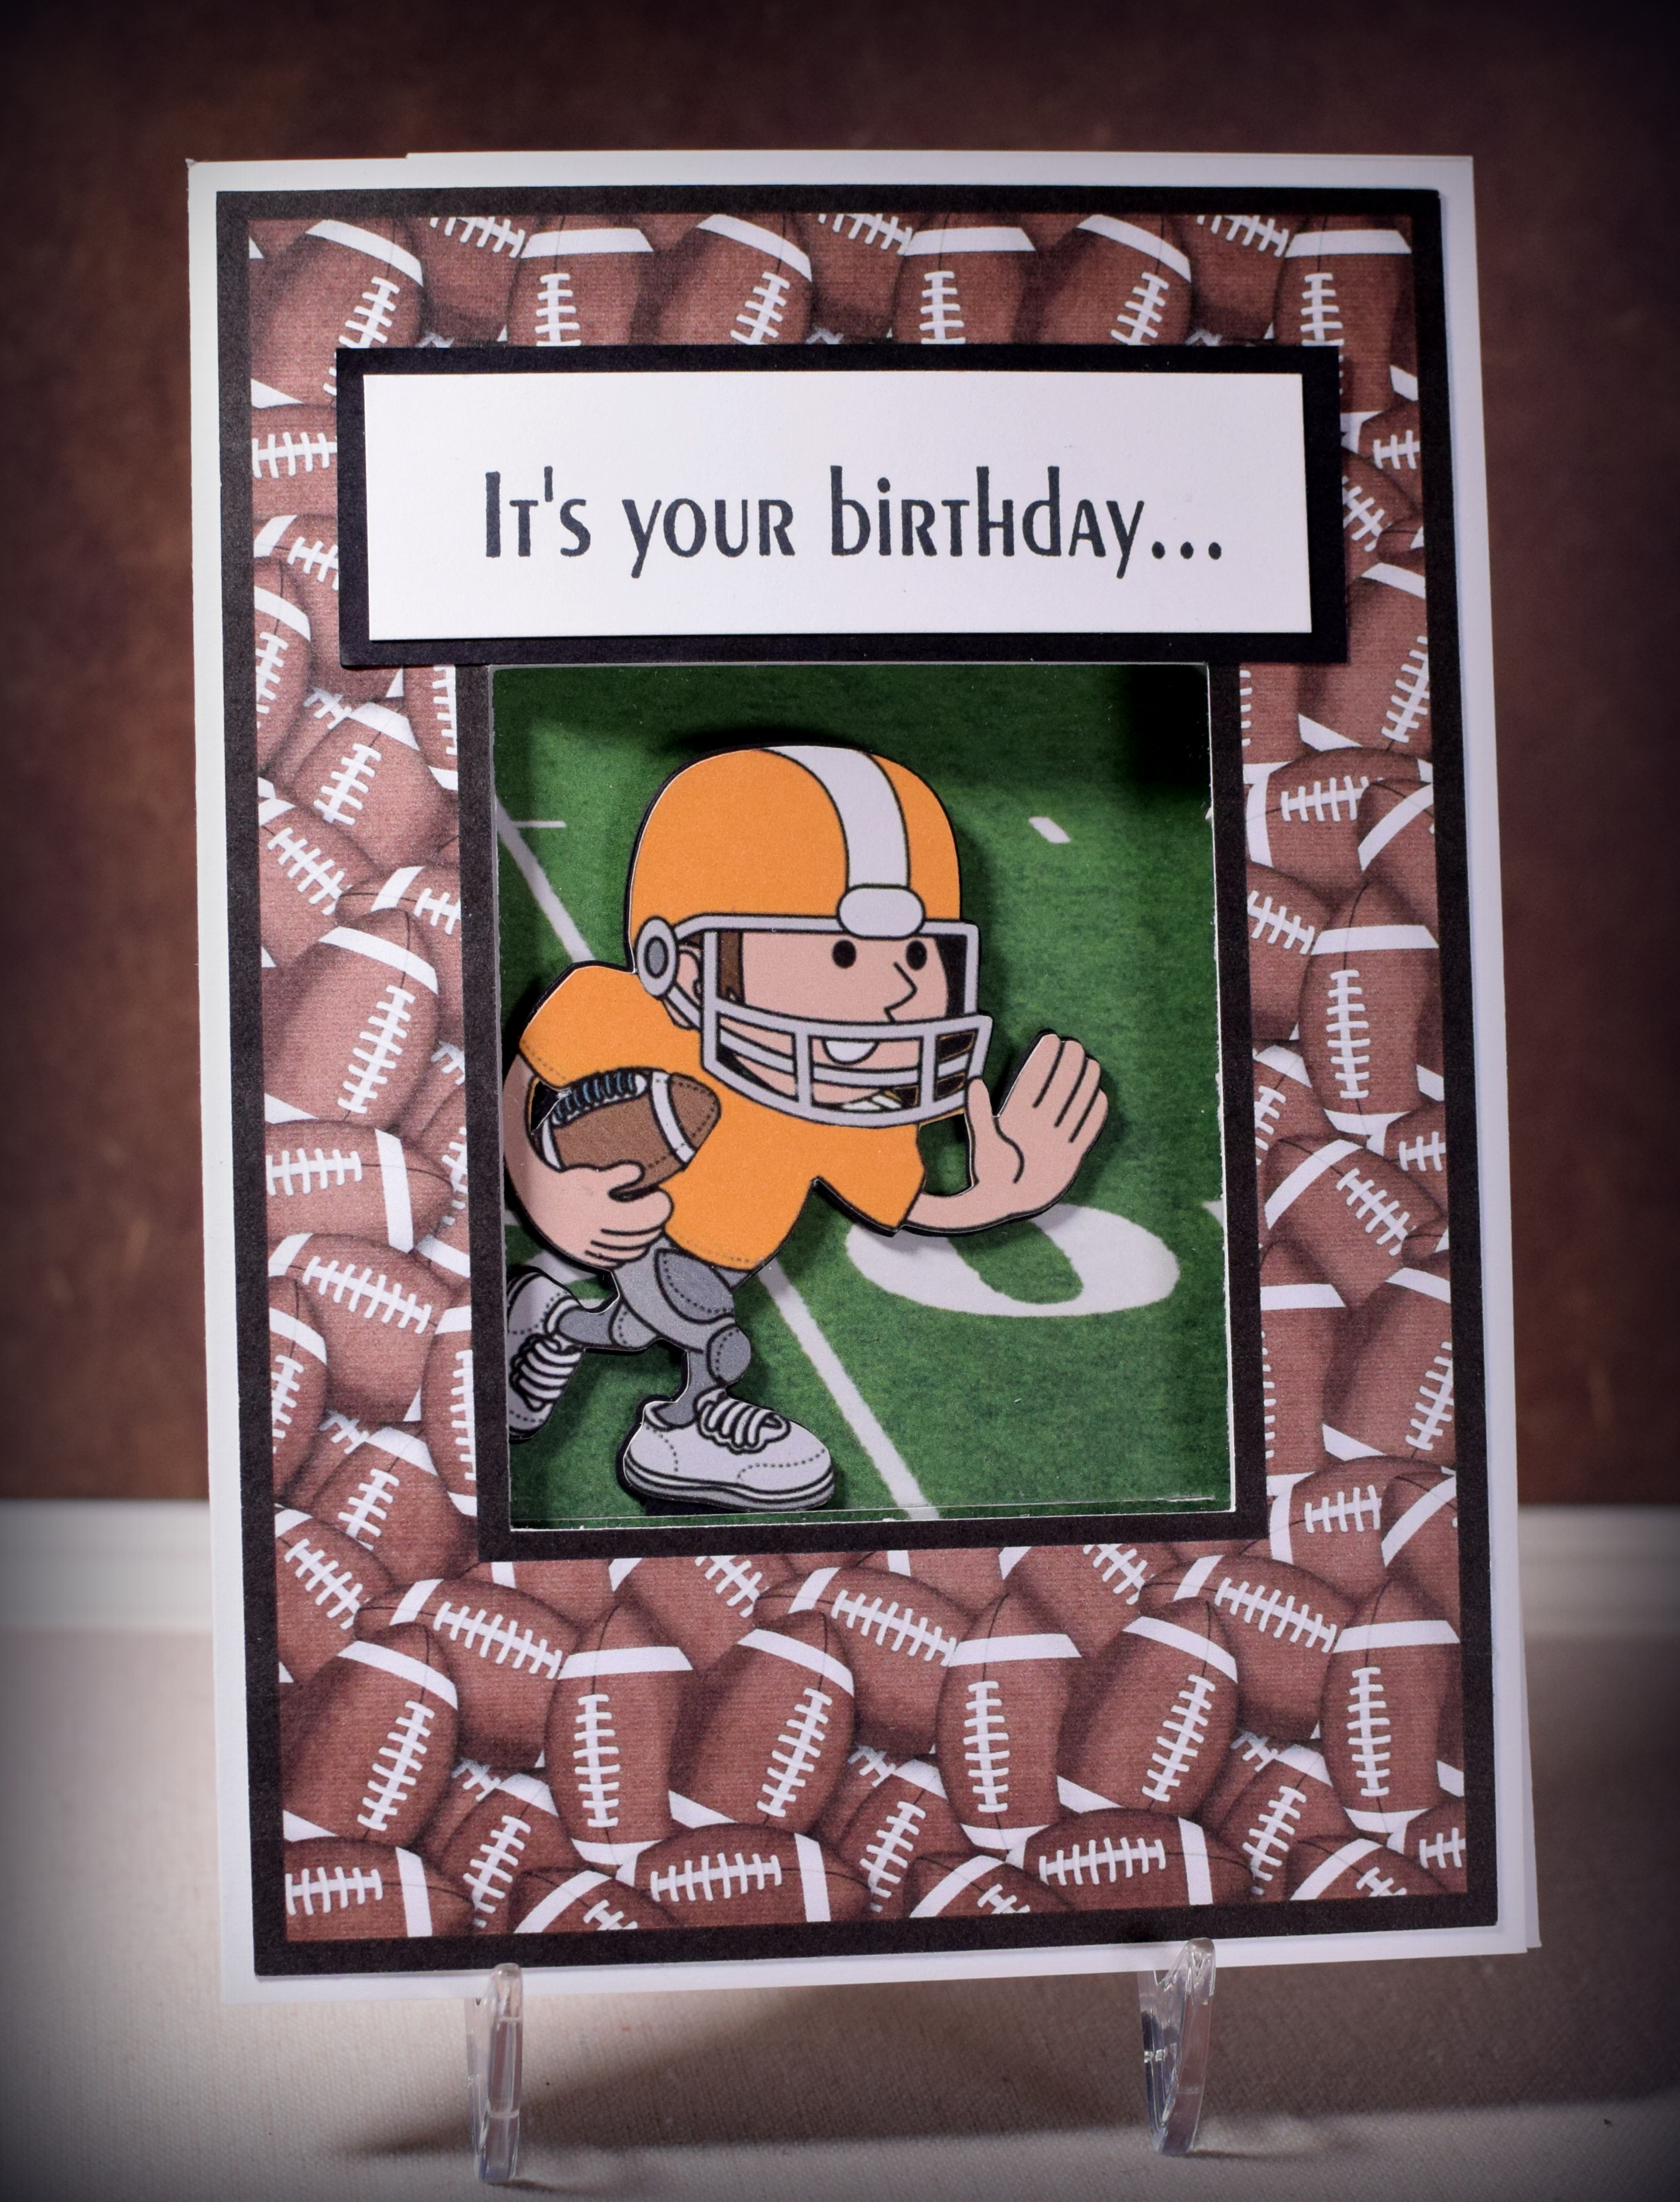
Football Slider Birthday Card

Football Slider Birthday Card

wDSC_7082.jpg

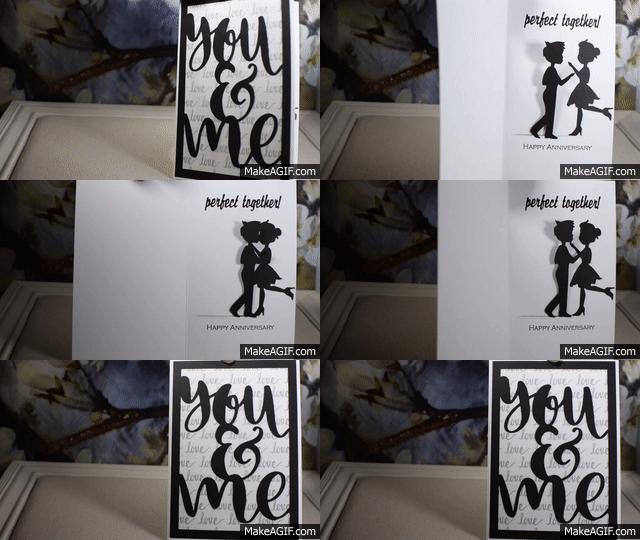
In a recent post, I shared an interactive card that I had made for my husband for our anniversary.   The card had an element that slid from left to right when the card was opened.  (HERE is a tutorial on how I made it.)  This type of card can be made with a variety of sliding elements, and here is another sample I created with an image of a football player.

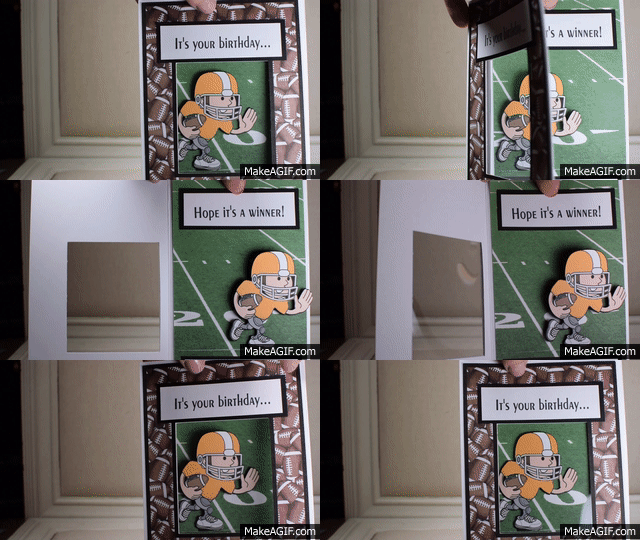
Football Player GIF

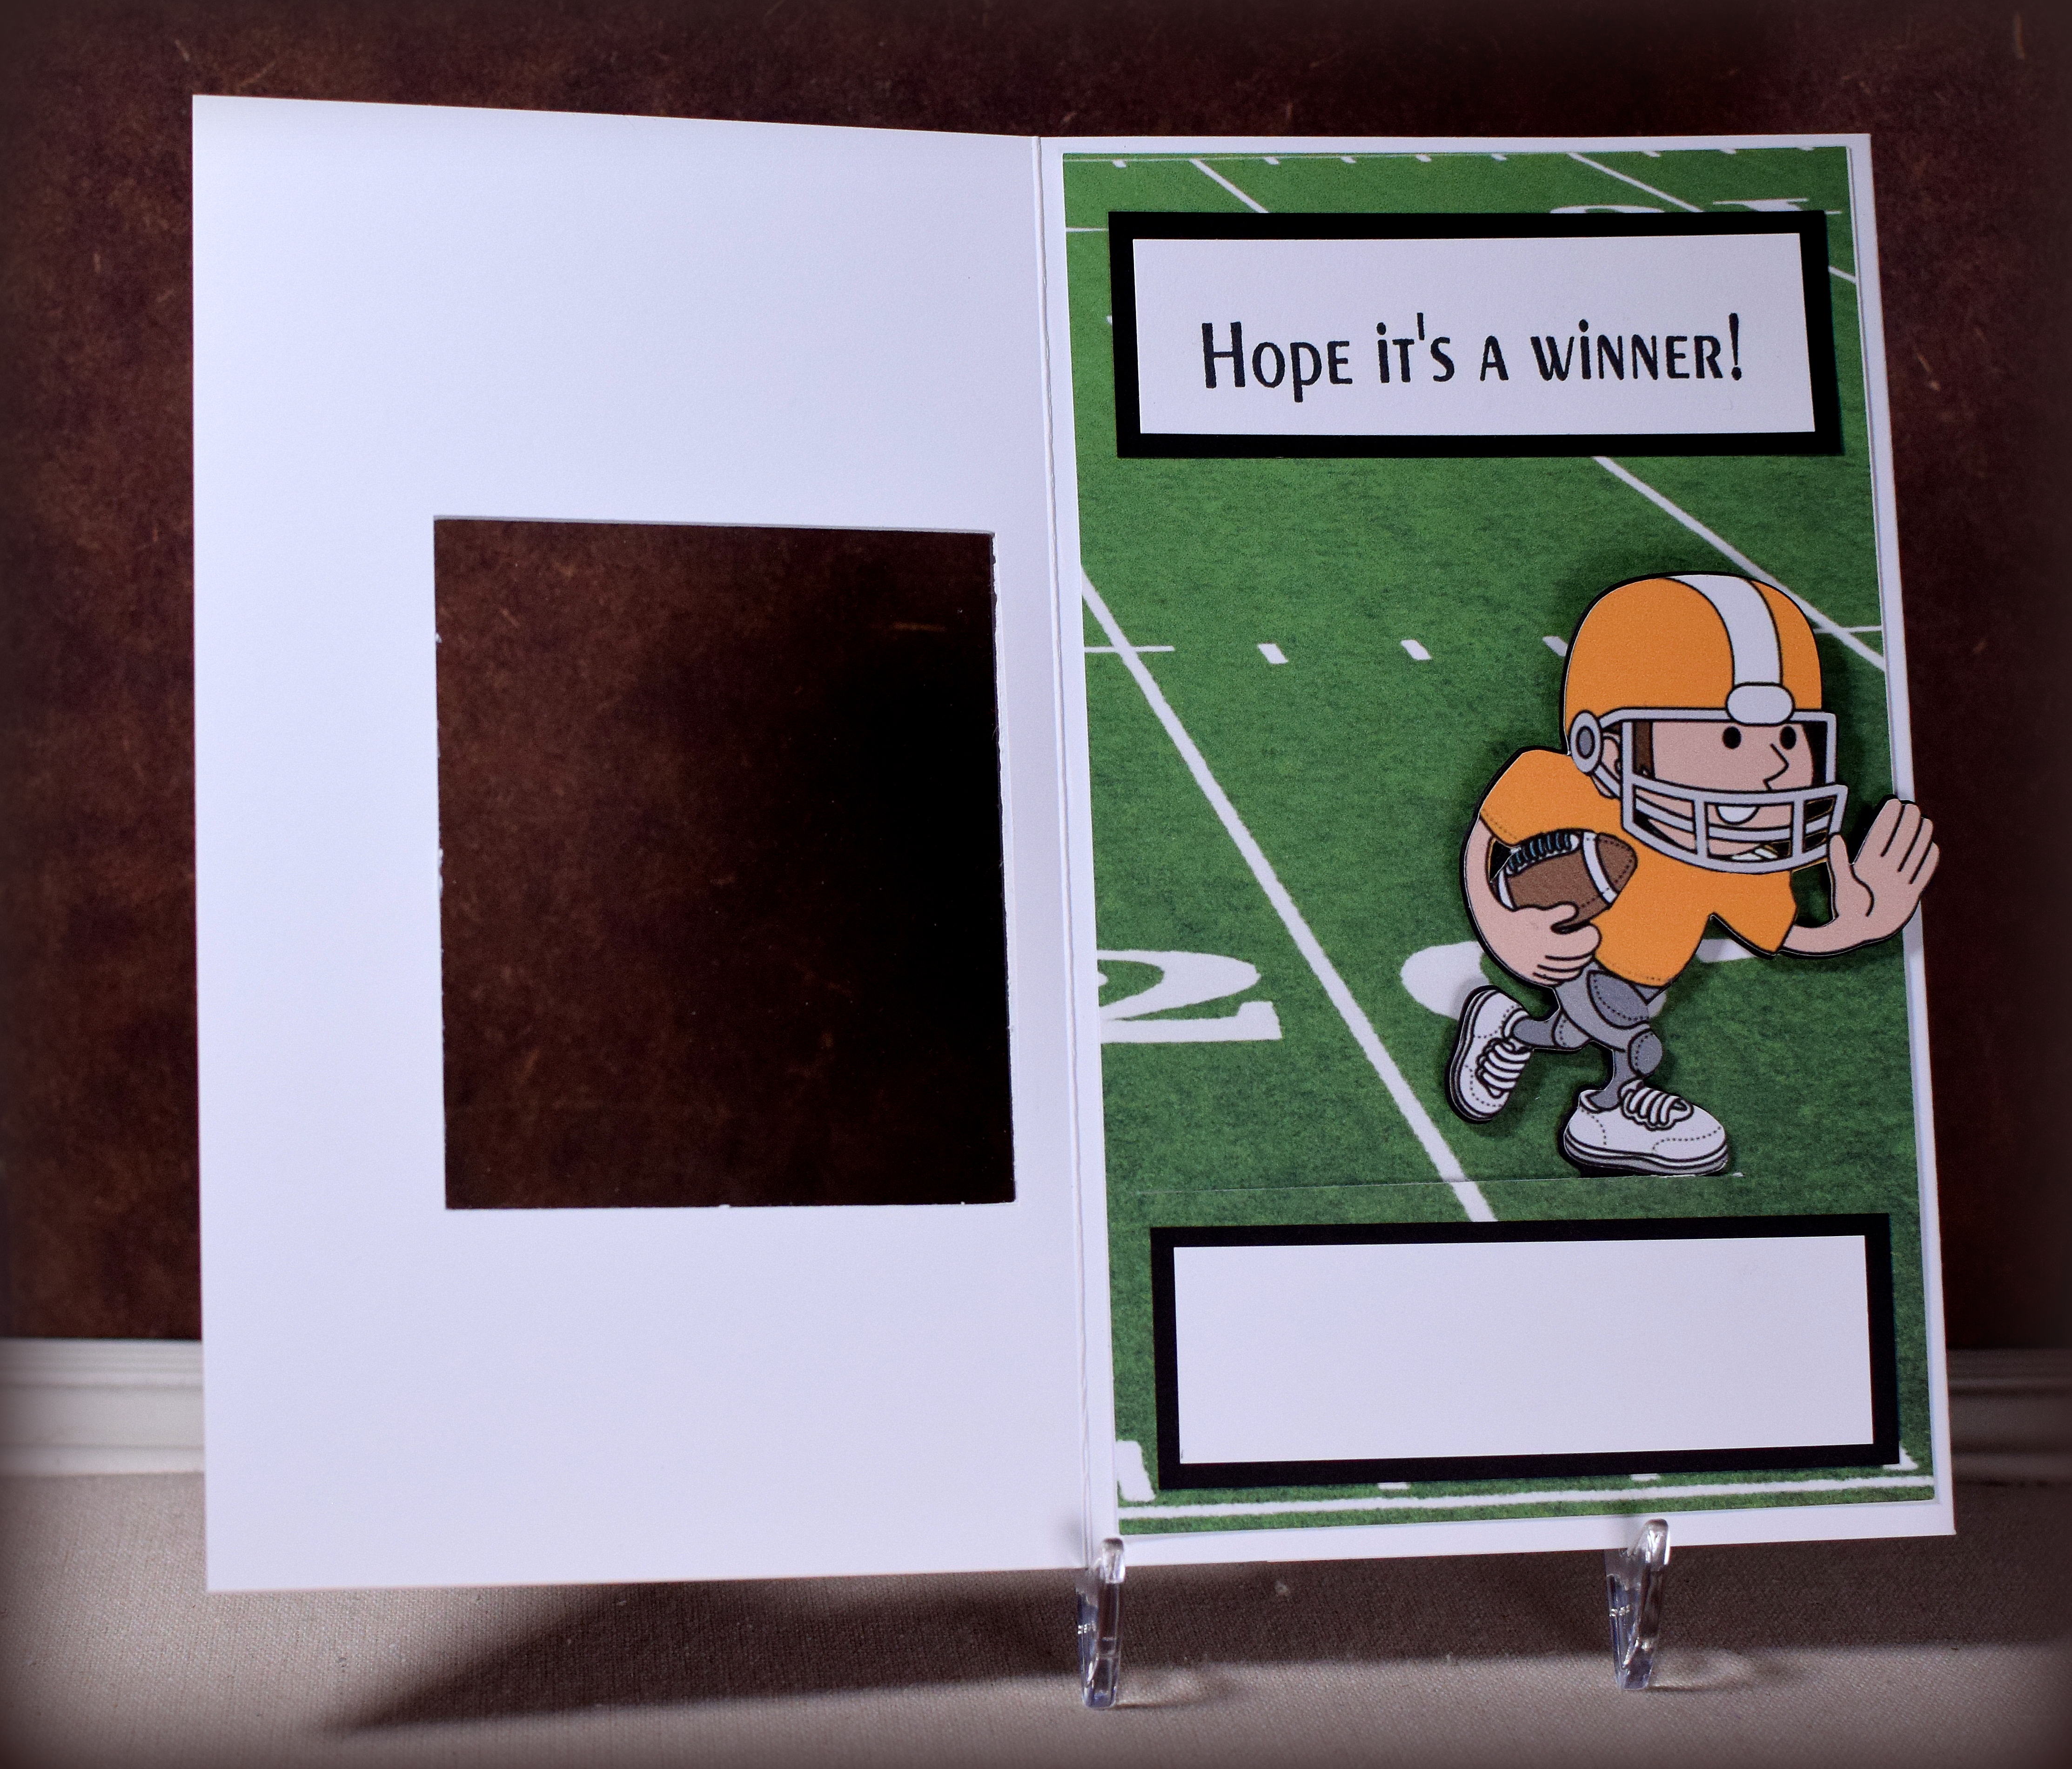
For this one, I created a cut out window on the front.  When the card is closed, you can see a portion of the inside scene.  I made the border/frame kind of wide so there is room inside to put a sentiment and signature panel that does not show through the window when the card is closed.  A piece of acetate covers the opening.

wDSC_7091.jpg

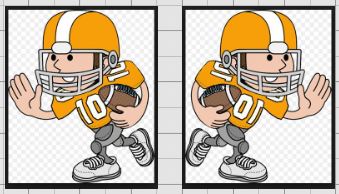
The football player was a google clipart image that I traced and cut with my Silhouette.  I needed him to “run” to the right so I flipped the image which I thought was quite clever until I realized that the numbers on his jersey flipped also and were backwards.  Of course I didn’t notice this until the card was done and I was ready to post!

flipped image with numbers

I needed to go back and doctor the original image with my Silhouette software to remove the numbers, create a new die cut, and layer it over the old one.  Ugh!!!  Note to self… avoid images with letters and numbers when using mirror images.

The football field was also a google image.  There were many field choices; I chose one that put my player close to his end zone.

The printed paper on the front is from a digital scrapbook kit called, “Touchdown Football” by JssScrapBoutique which I purchased on Etsy.  I imported the football pattern into my Silhouette software and “filled” in the frame I created.  I added the black border and had the machine cut it out.  (The kit contains a frame with this pattern, but it is square, and I needed a rectangle to fit on my card front.)

The greeting and inside sentiment were stamped with Momento Tuxedo Black ink and were both from custom stamps I had made at rubberstamps.net   I’ve had stamps made there before, but this time, I realized that you don’t need to order individual stamps for each greeting or short sentiment.  You can put several greetings/sentiments (as different lines of text) on the same stamp and cut them apart when they arrive.  A big money saver!

Thanks for checking out my card project!