Great for Adhering Intricate Die Cuts…

Great for Adhering Intricate Die Cuts…
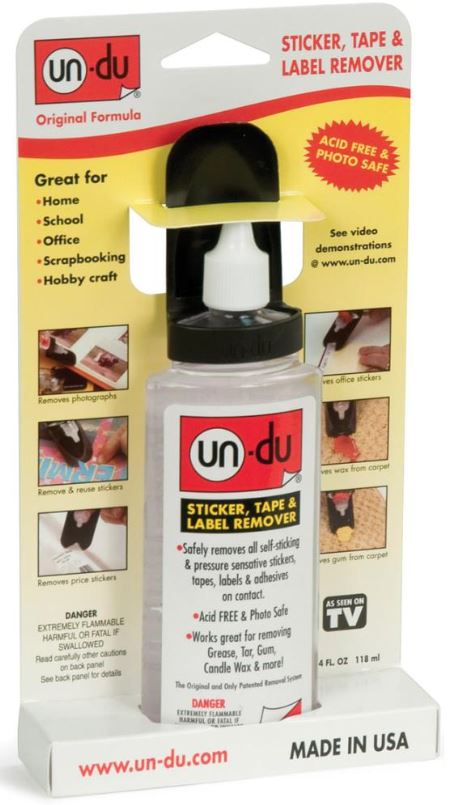
Un-du

Do you struggle with making panels straight or positioning die cuts on your projects?  Do you find it challenging to stack multiple die cuts to create thicker elements for your cards?  Check this out…

Un-du is a non-greasy sticker, tape & label remover that works great for positioning die cuts (with non-liquid adhesive) to your projects.  When applied, it temporarily neutralizes the adhesive allowing you to move the die cut around until you have it positioned to your liking.

First, you apply adhesive to the back of your die cut or panel by either backing the card stock with sticker paper before cutting (great for intricate die cuts) or by applying two sided tape/adhesive to the back of the die cut/panel after it was cut.  (Un-du will not work with liquid glue.)  Then, apply the un-du to the surface on which you will be adhering your die cut/panel.  Place the die cut/panel on the treated surface and position as desired.  The un-du makes the adhesive temporarily “un-sticky” so it is easy to move the die cut/panel around.  When first applied, your surface will appear wet, but in about 30 seconds, the un-du will evaporate and completely disappear from view, and your die cut/panel will now be stuck in place.  You can also use it to move or remove something that you already stuck down, and it’s great for getting the sticky residue off of your scissors, punches, etc.

Check out this video (at the 10:25 minute mark) to see it being used.  Here is another one (at the 10:25 mark).  (Creek Bank Creations now sells un-du on their site as well.)

According to the product label and the information in the above videos, this product is acid free, photo safe, and is safe on most surfaces (including surfaces that have been inked, stamped, etc.), but I think it’s always a good idea to test the product on the material on which you plan to use it to be sure.

Thanks for checking out my post!

This content uses referral links as described in the disclosure policy on my sidebar.

CAS Bird and Berries

CAS Bird and Berries

wDSC_3697

(inside: wishing you a wonderful birthday)

This CAS card features stamps from the Stampin’ Up “Sweet Summer” set (retired) and a greeting stamp from Gina K Designs (unknown set).

The images were stamped with GKD Jet Black Amalgam Ink and colored with Copic Markers (E13, BG70, and BG72).

The background panel was embossed with a Stampin’ Up “Stripes” embossing folder (retired).  Papertrey Ink “Ocean Tides” card stock was used for the mat.

Thanks for checking out my card project!

This content uses referral links as described in the disclosure policy on my sidebar.
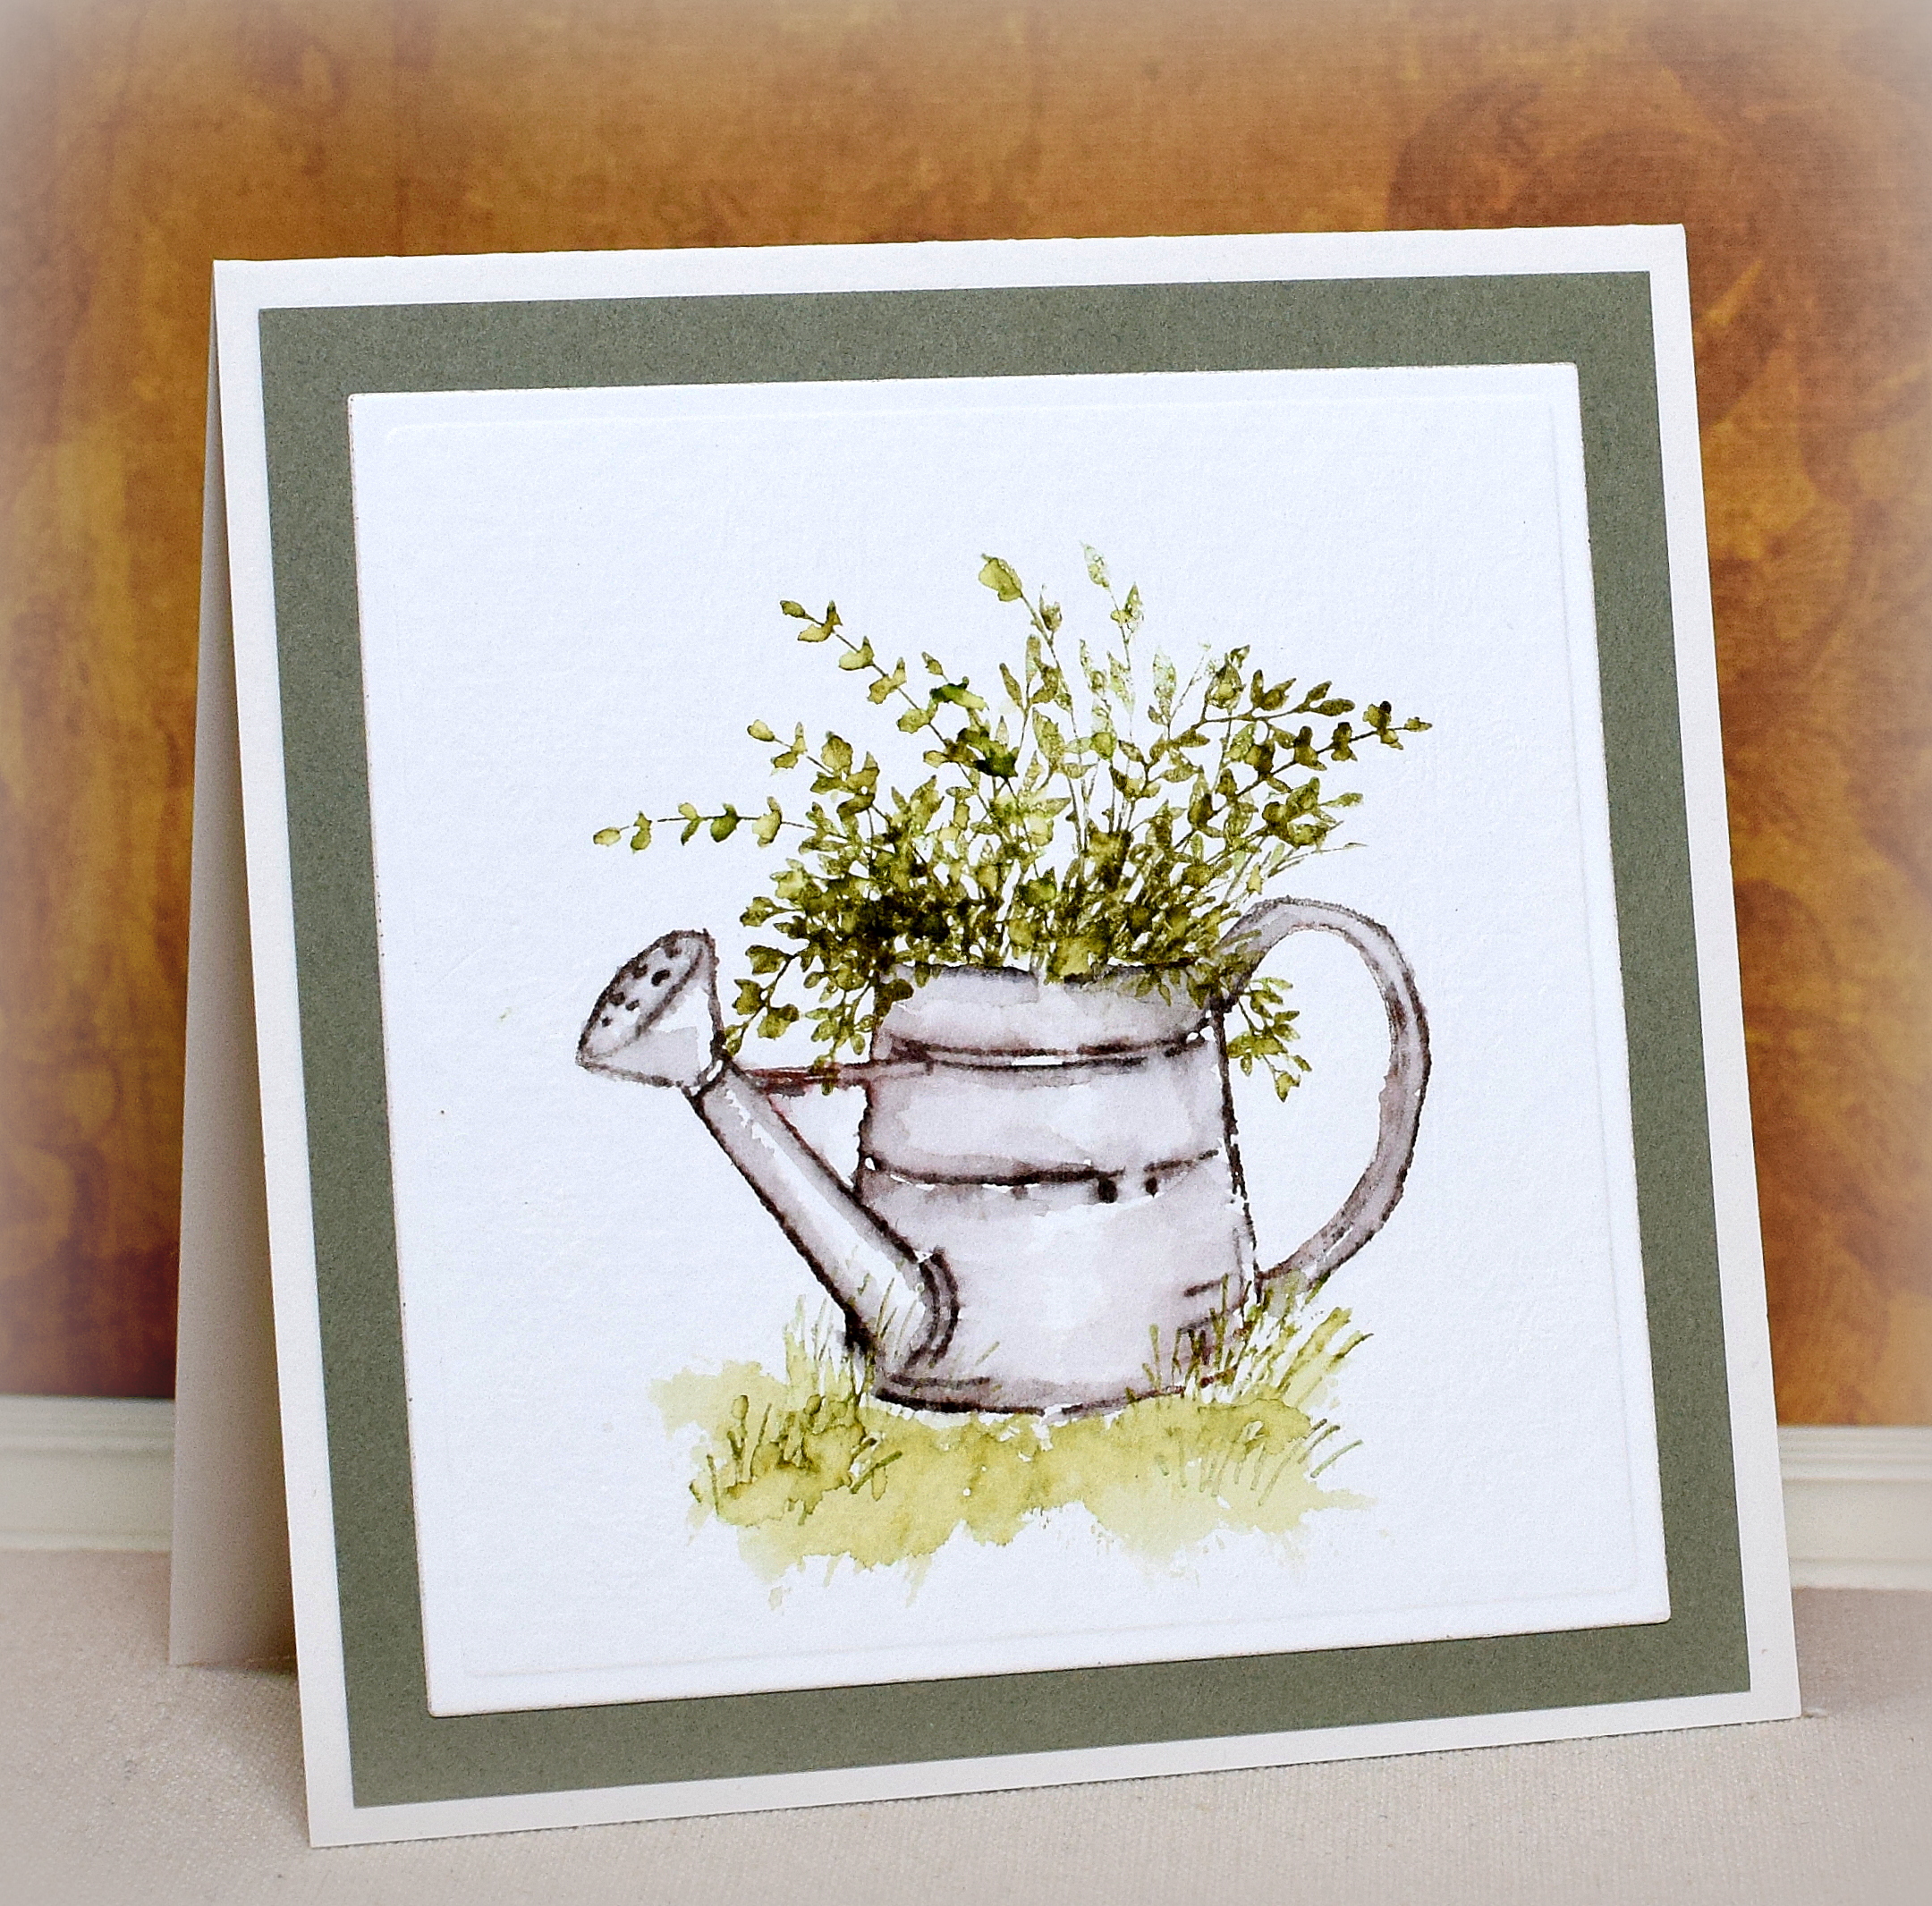
Watering Can with Greenery – Water Colored Note Card

Watering Can with Greenery – Water Colored Note Card

zDSC_3718

Still playing with the Art Impressions water color stamp sets I recently purchased…

I used Spectrum Aqua markers and water along with the following stamp sets:  Watercolor Starter Bundle (which includes the WC Decorative Jar Set – 5123, Foliage Set – 4051, and Flower Set – 4052), WC Foliage Set 4 (#5126), and Watering Can (#4761).  (While I love the little scene building stamps in these sets, any stamps and water based markers will work for this technique.)

The water colored panel was mounted on Gina K Designs Dusty Sage card stock (retired?) and a Recollections Ivory base.  The finished card is 4 1/4″ square.

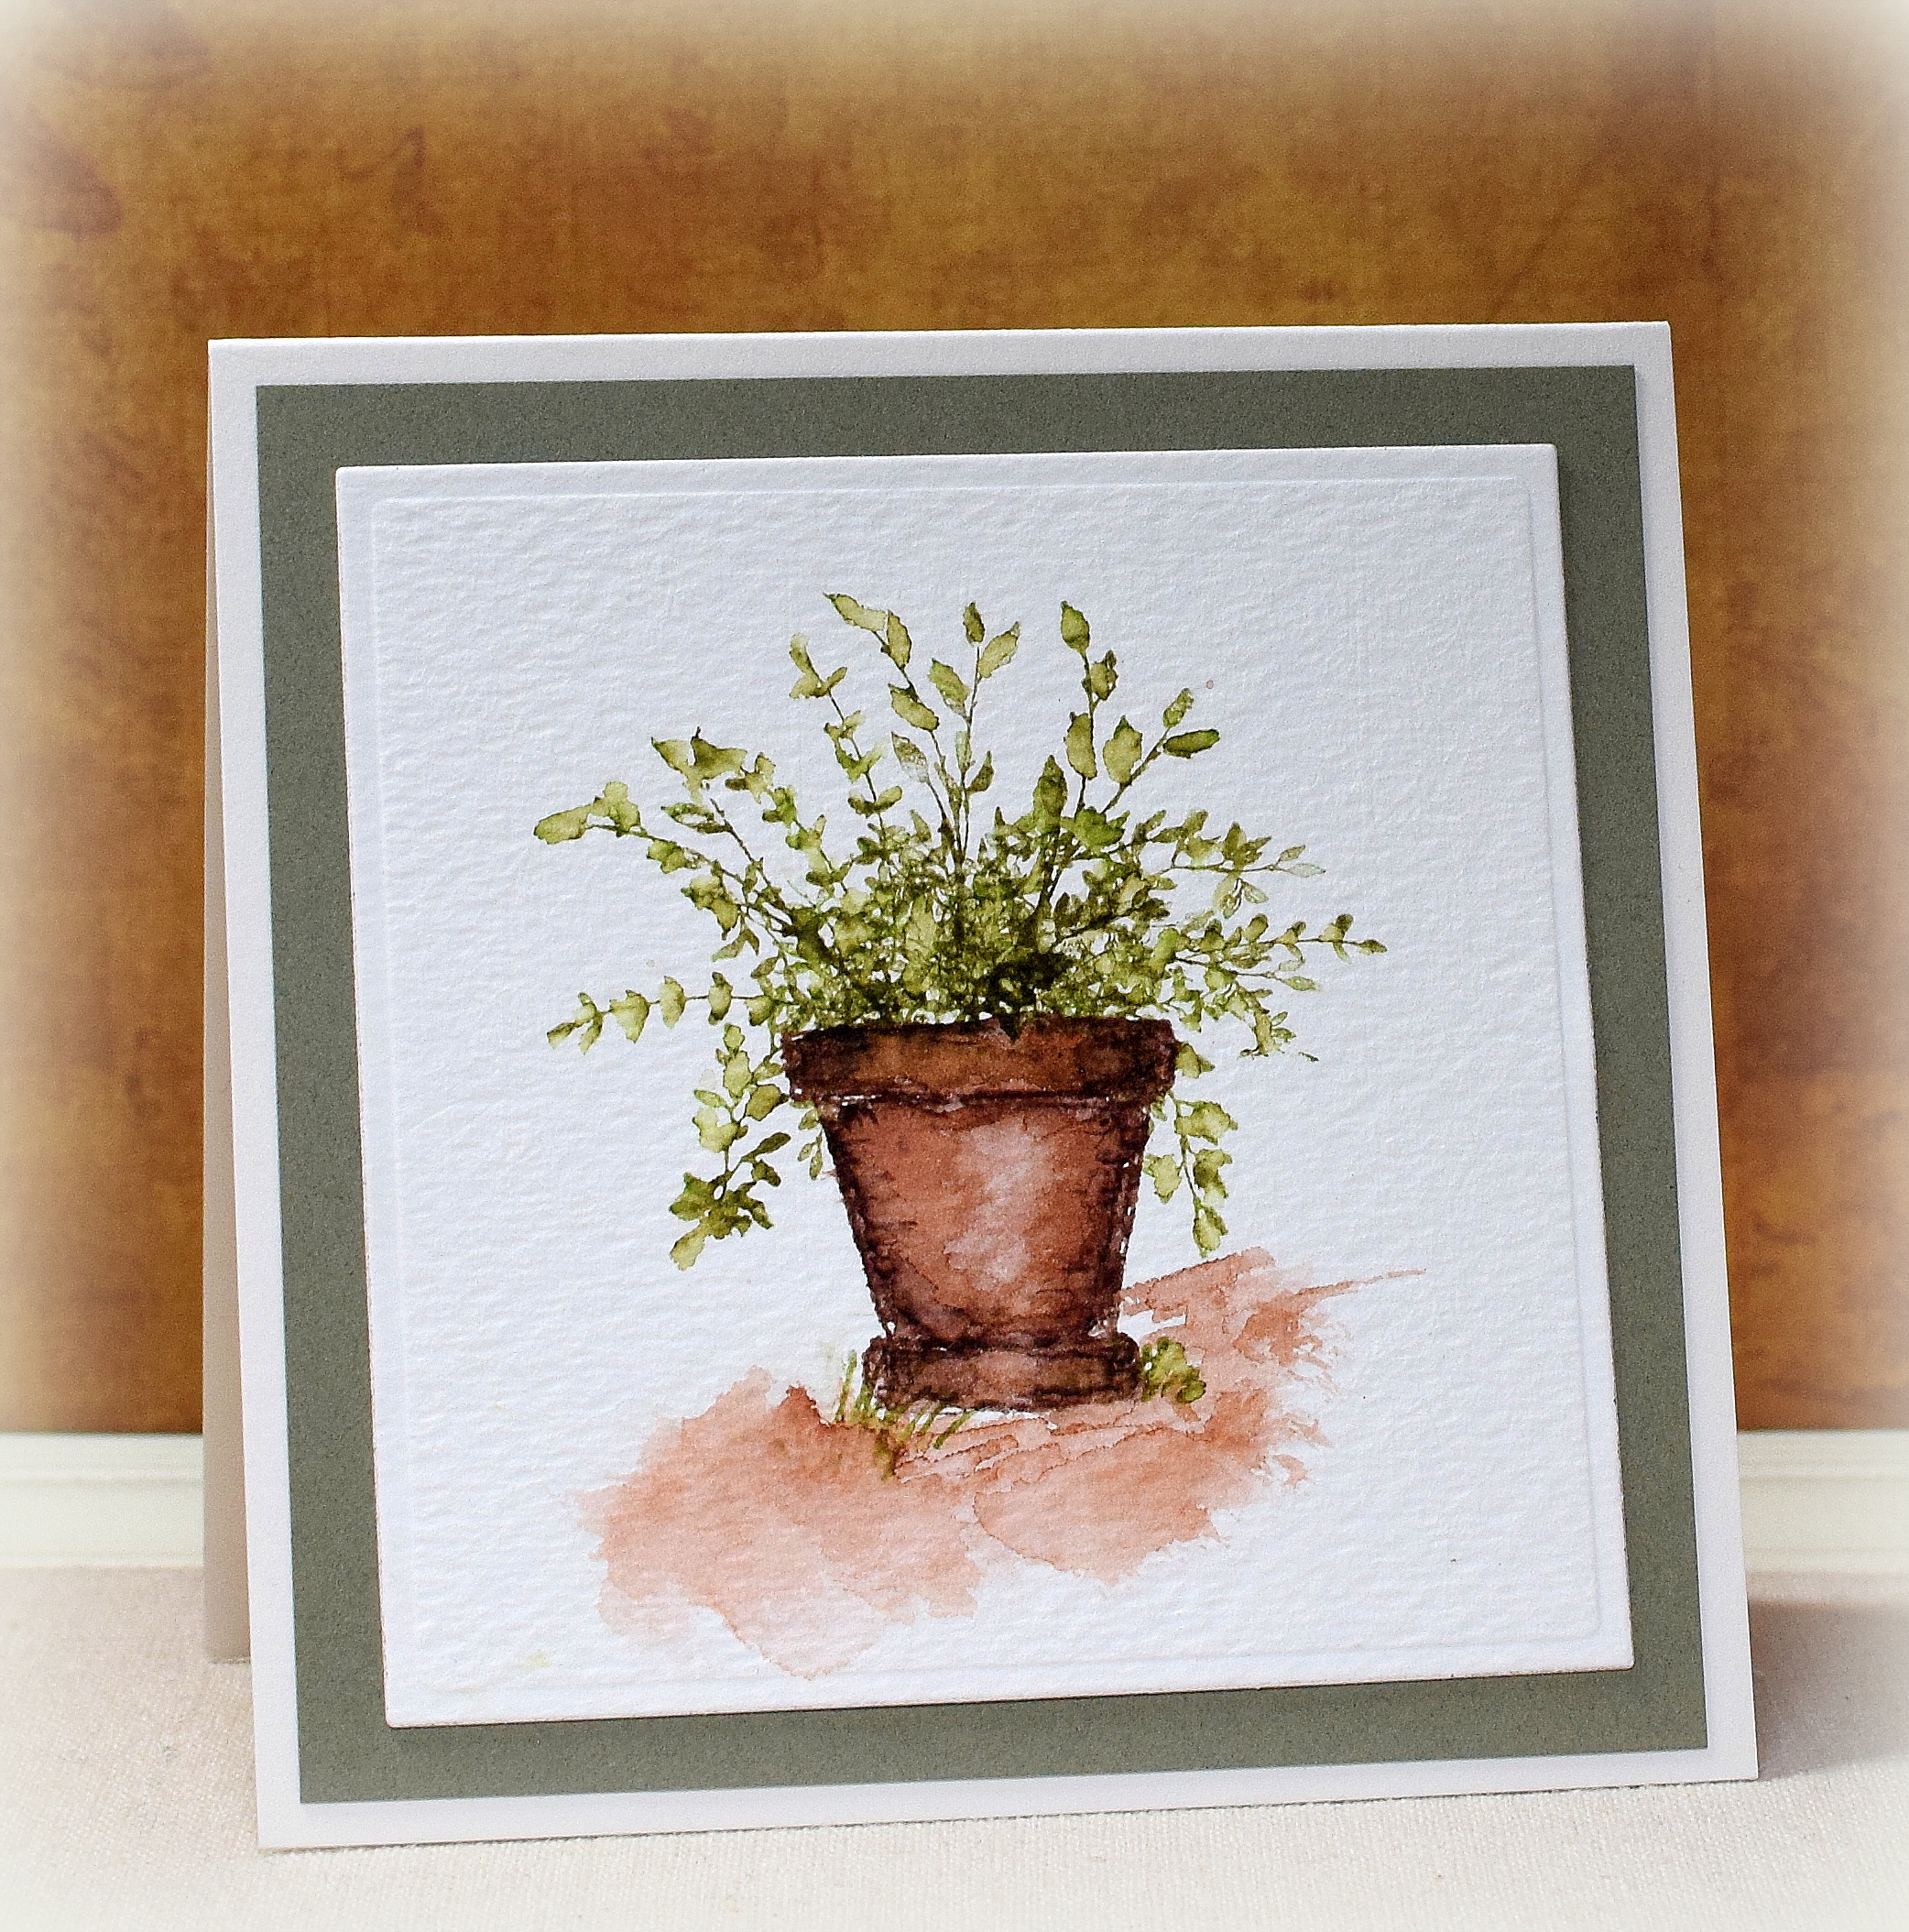
Here’s one more sample using a pot from the WC Containers (#4111) set.

wDSC_3732

Thanks for checking out my card projects!

This content uses referral links as described in the disclosure policy on my sidebar.
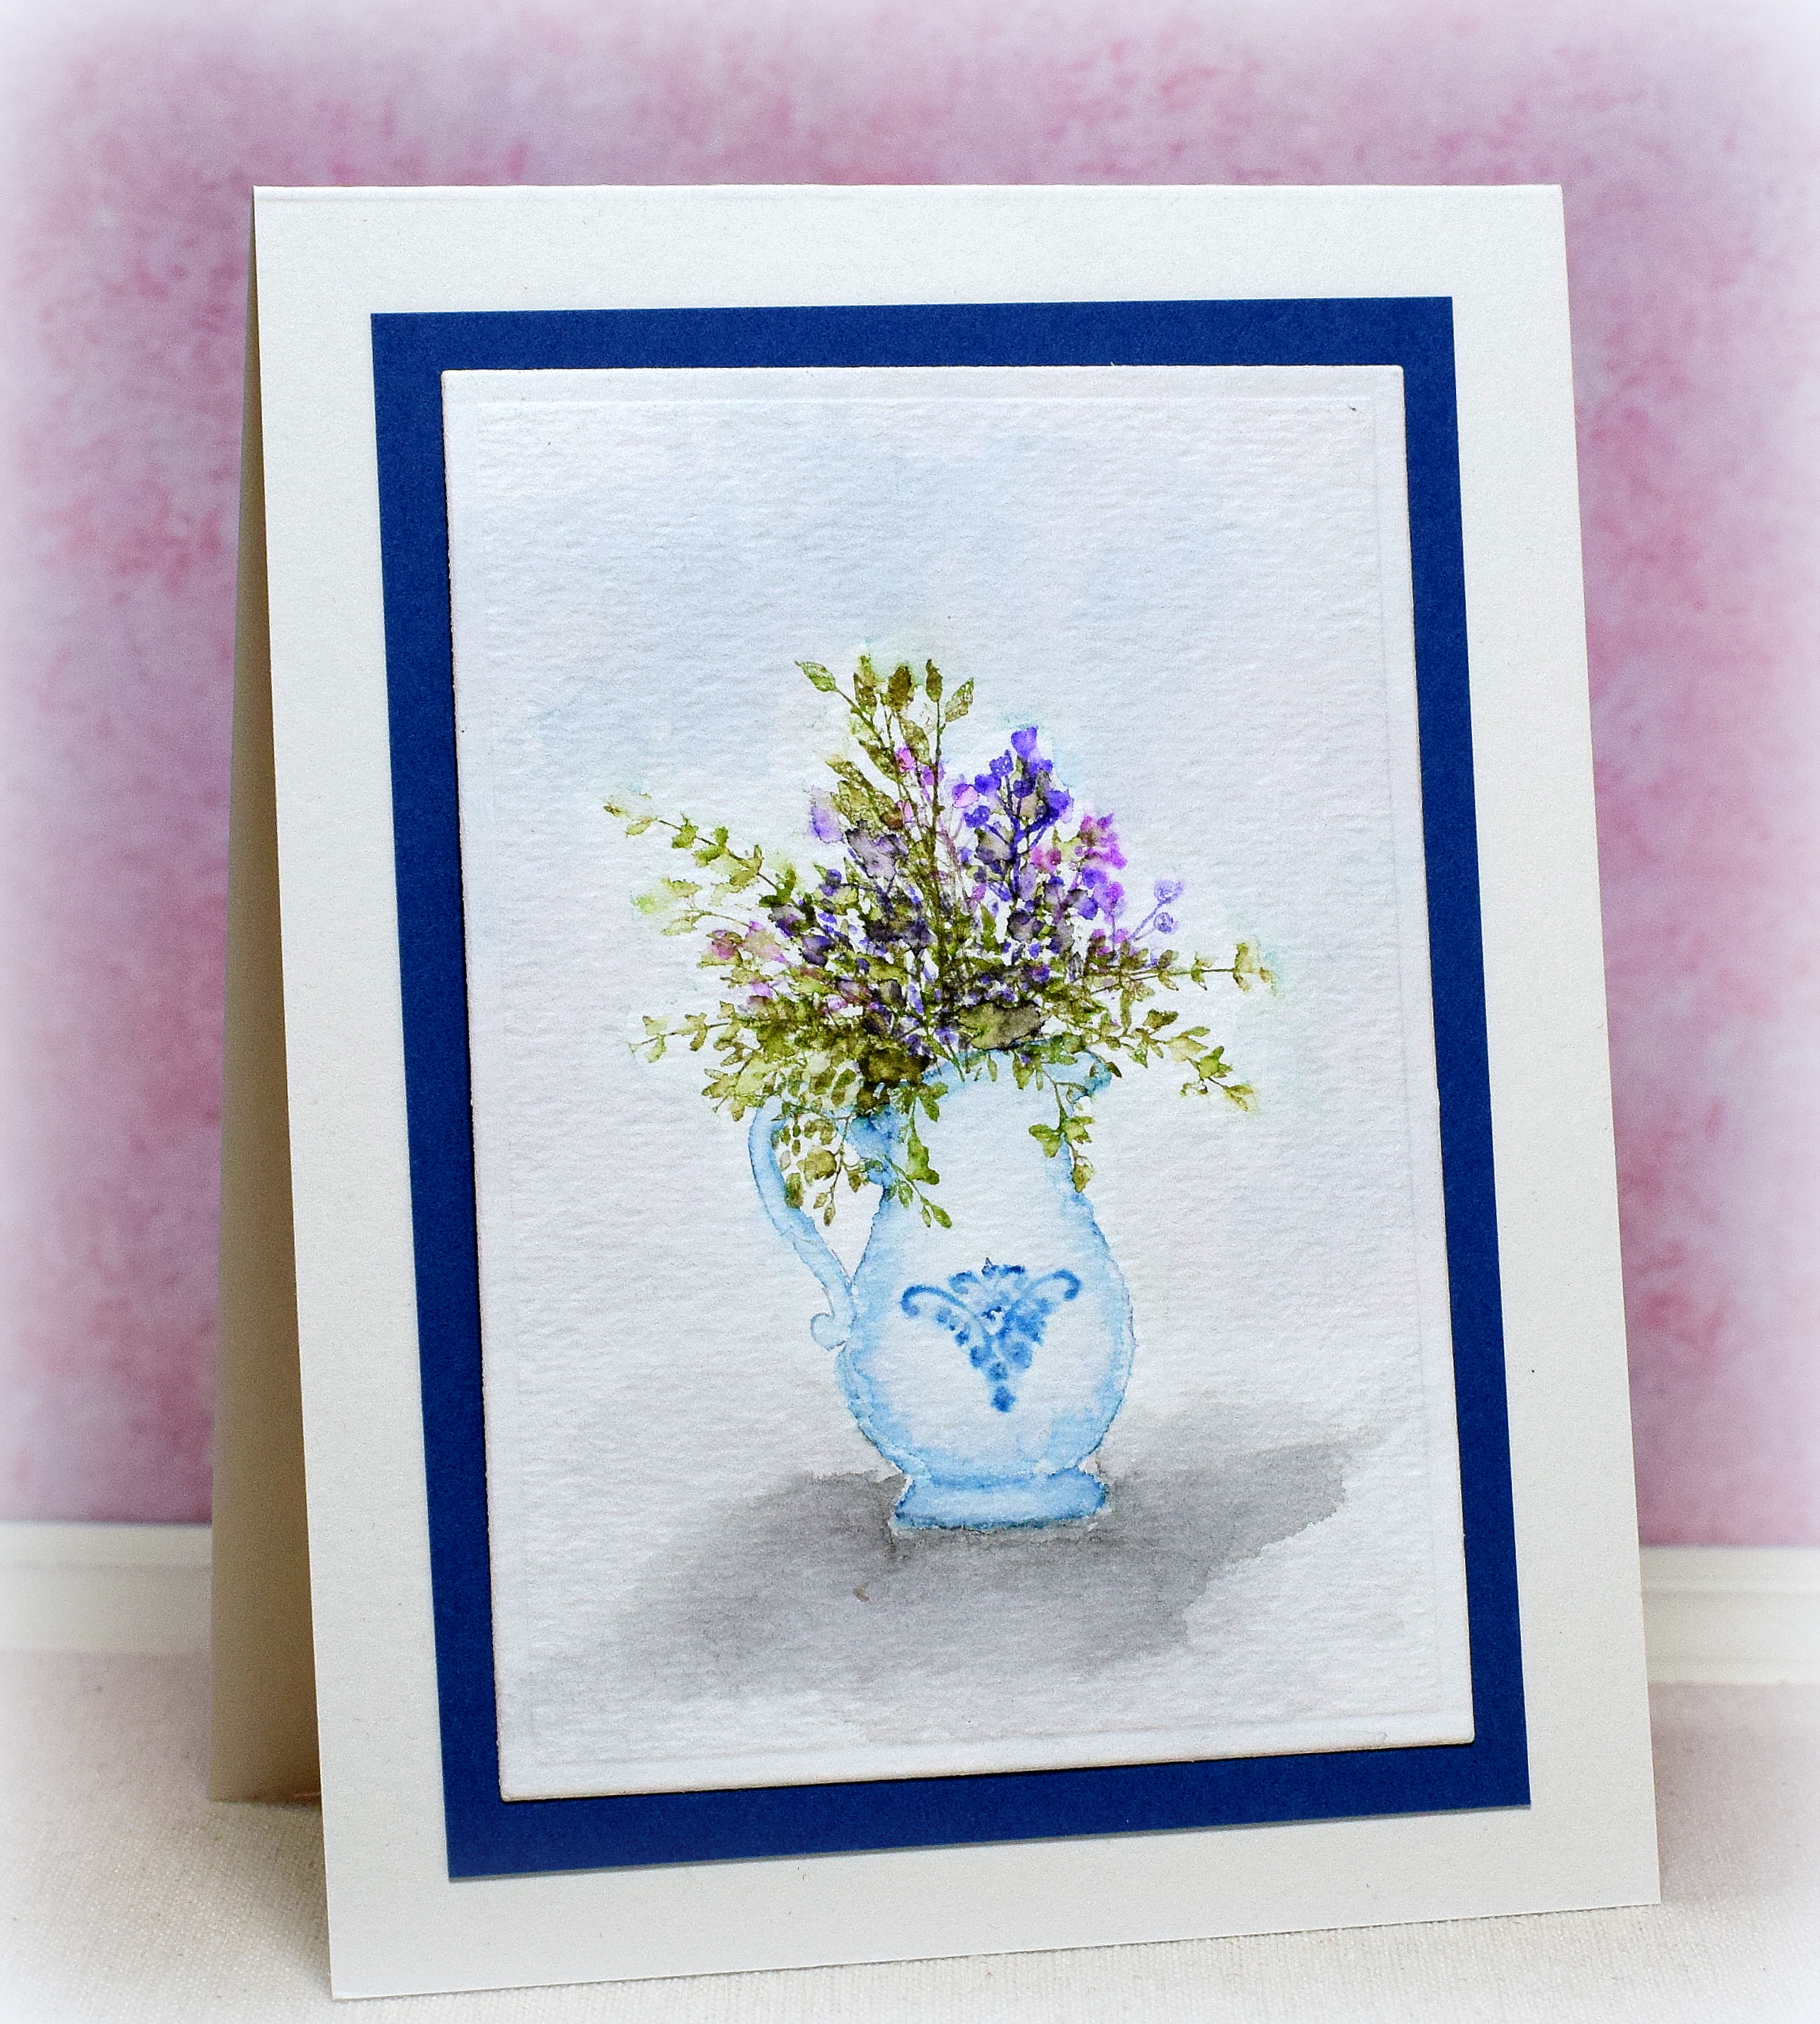
Flowers in Pitcher – Water Colored Note Card

Flowers in Pitcher – Water Colored Note Card

vDSC_3715

In a recent post, I tried out a water color technique with stamps, markers, and water that I learned to do from this video (and several others in the AI Water Color series).  I was inspired to purchase some Art Impressions stamps from their water color line and had fun creating this card.

The Art Impressions stamps used for this card came from several sets:  Watercolor Starter Bundle (which includes the WC Decorative Jar Set – 5123, Foliage Set – 4051, and Flower Set – 4052), WC Foliage Set 4 (#5126), and WC Mini FLower Set (#5009).  (Each package has a water colored sample that may have been created with stamps from other sets; look carefully to see what is actually included in each set if interested in purchasing any of their stamps.)

I used water color paper, Spectrum Aqua markers (from various sets) as my paint, a no. 4 paint brush, and water.

The water colored panels were mounted on Gina K Designs Blue Denim card stock and a Recollections Ivory base.

Thanks for checking out my card project!

This content uses referral links as described in the disclosure policy on my sidebar.
Woven Lighthouse Card (and a layered frame sample)

Woven Lighthouse Card (and a layered frame sample)

yDSC_3654

In one of the Spring Card Camp II online classes I recently viewed, we were encouraged to try weaving on our cards.  The class samples were done with colored strips behind cut-out windows on the card front, but I was curious to see what it would look like to weave a stamped image, and this big scene stamp seemed like a good one with which to try.

Using my MISTI stamp positioner, I stamped the “Lighthouse” stamp from Impression Obsessionon on two (large) pieces of ivory card stock with GKD Chocolate Truffle amalgam ink.  Then I cut each panel into 1/4 inch strips – one vertically and the other horizontally.  After making sure all the strips were in order, I wove “every other” horizontal strip back into the vertical strips to recreate the scene.  (As I am typing this, I am thinking I probably should have stamped a third panel for more vertical strips to create a second card with the horizontal strips I did not use here.  Also wondering if I could have woven blank card stock first and then stamped – eliminating the challenge of lining everything up.  Hmmm…. )

Once the strips were woven together, I adhered them to a scrap of card stock to prevent them from moving around and then trimmed it to size.

My original plan was to place the woven panel behind a cut-out window/frame as shown in the class, but the image was too large so I used the stitched frame die already sitting on my desk to create this next card…

zzDSC_3646

I stamped the same image onto a piece of ivory card stock with the Chocolate Truffle ink.  Then I cut three frames with the frame die;  the first was from the stamped panel, and two more were from Chocolate Truffle card stock.  After stacking and gluing together the three die cut frames,  I put the frames and the other parts of the cut, stamped panel back together on a Tranquil Teal card base.  The greeting is from Gina K Design’s “Love & Prayers” set.

Thanks for checking out my card projects!

This content uses referral links as described in the disclosure policy on my sidebar.