More Monoprinting – Birthday Daisies

More Monoprinting – Birthday Daisies

wDSC_3700

Recently, I shared some cards I made using a monoprinting technique I learned from a class in the online Spring Card Camp 2 course.  This card was done the same way, but the stamp used here was a large background stamp with less “solid” images than on the stamp I used before.  (I don’t want to give too much of the technique/lesson away as the lesson is exclusive to the class and enrollment in the course is required,  but I briefly described what I did in my recent post.)

As mentioned before, you can get several panels from the “same” ink on the gel plate and stamp.

wDSC_3707

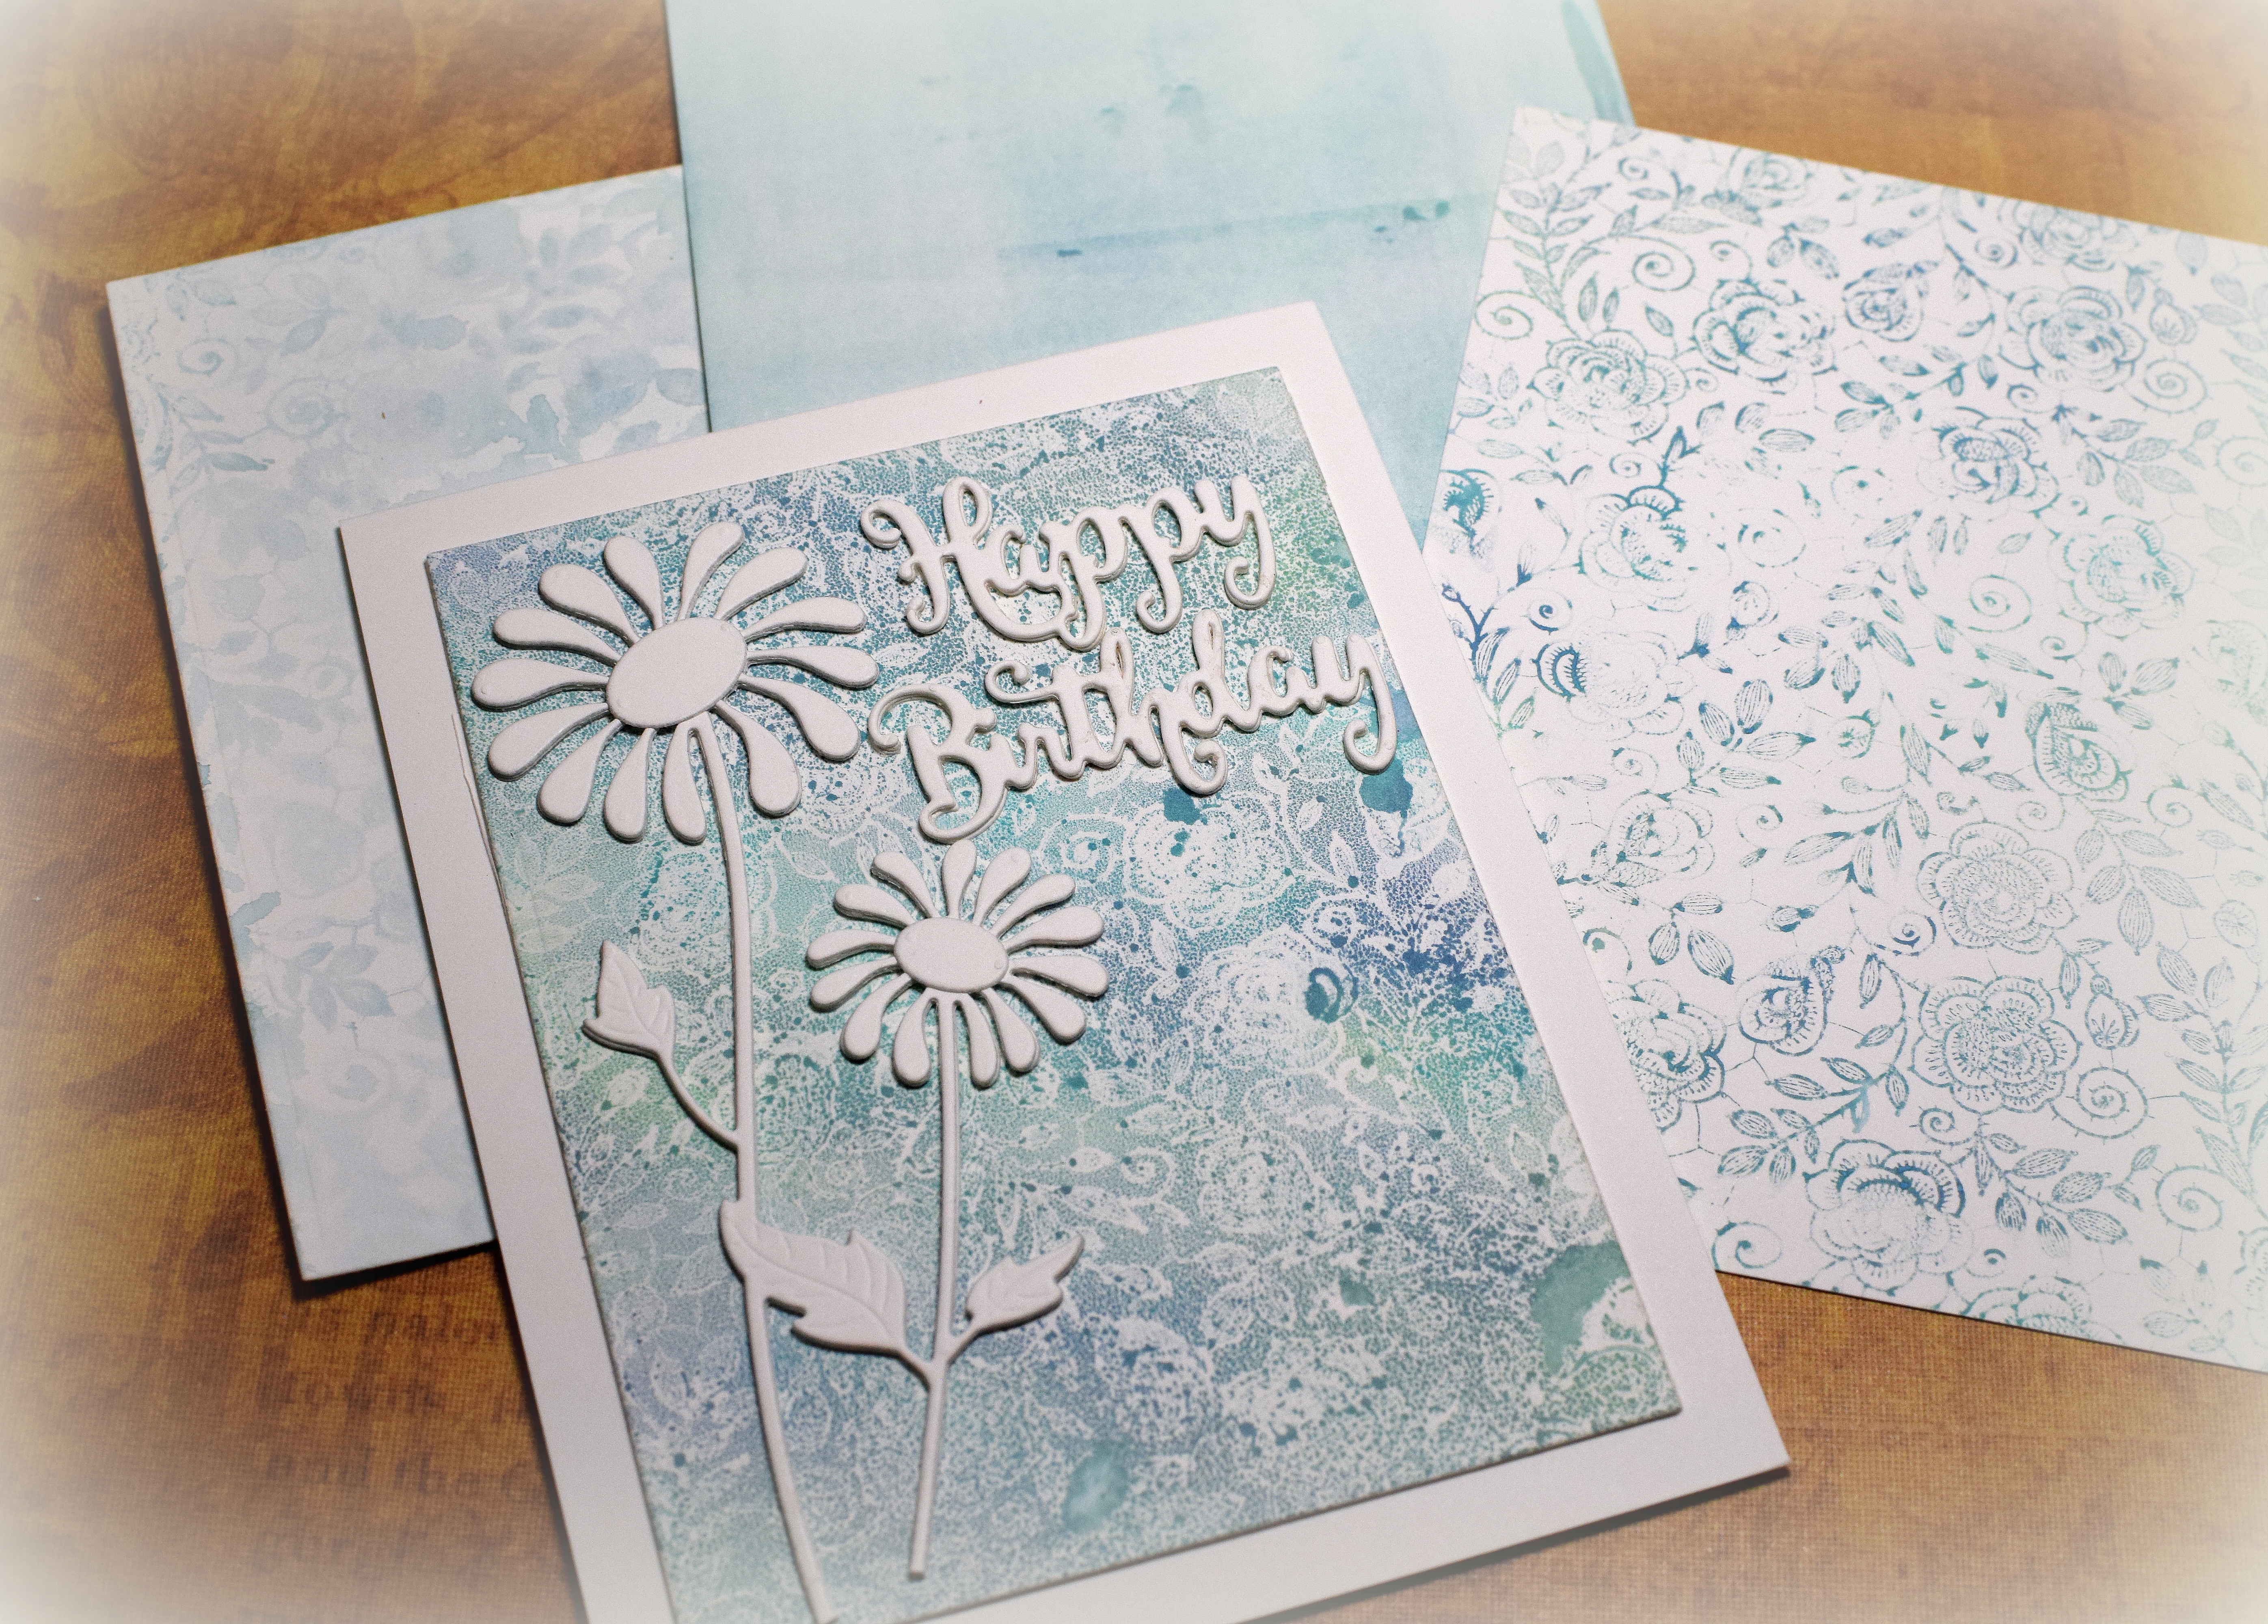
The background stamp is the “Rose Lace Background Stamp” from Gina K Designs.  Cracked Pistachio, Peacock Feathers, and Faded Jeans Distress Oxide inks were applied with a brayer to the plate.

The die cuts used were “Delightful Daisy” by Poppy Stamps and “Mini Expressions – Happy Birthday” by Creative Expressions.  These were each cut three times, stacked, and glued together to make them thicker so they’d stand out better.

Thanks for checking out my card project!

This content uses referral links as described in the disclosure policy on my sidebar.

A Father Is…

A Father Is…

wDSC_3573

(inside: Happy Father’s Day)

This simple card features the “Father Calligraphy” stamp (G10093) from Paper Inspirations and the background stamp from the “You’ve Got This” set from Stampin’ Up (retired).

For the background, I inked up the stamp with Gina K Designs Powder Blue ink  and “stamped off” the image onto scrap paper.  Then I spritzed the stamp (and remaining ink) with water and stamped the wet ink onto a white card panel.  Once that dried, I stamped the “Father” sentiment with GKD In the Navy ink at full strength.

I used my Tim Holtz distress marker spritzer tool with a Copic Marker (B39) to add some tiny ink spots and then embossed this panel using the “Subtle” 3D embossing folder from Stampin’ Up.  This was added to a GKD In the Navy mat and a white card base.

Happy Father’s Day!

Thanks for checking out my card project!

This content uses referral links as described in the disclosure policy on my sidebar.

Birthday Banners

Birthday Banners

wDSC_3416

(inside: enjoy your day)

I’m always on the lookout for greetings with fun fonts – especially if that is to be the focus of the card, and the stamps in the “Sassy Salutations” set from Stampin’ Up (retired) fit the bill!

I stamped the greeting with Versafine Onyx Black ink and paired this panel with some black card stock and some colorful patterned paper from the “Cupcakes & Carousels” paper pad (also SU).  The solid background panel is from a Momenta pad (Lot 0005508).

I cut my fishtail banners with the Stampin’ Up Banner Triple Punch, added a few strips from scraps that were sitting on my desk, and my card was complete!

Thanks for checking out my card project!

Water Colored Lighthouse Scene

Water Colored Lighthouse Scene

wwDSC_3632

I recently viewed this video (and several others in the AI Water Color series) where stamps, markers, and water are used to create amazing water colored scenes and images.

I placed an order for some Art Impressions “scene building” water color stamps to try it out, but while I was waiting for those stamps to arrive, I decided to practice with a single scene stamp that I already owned just to get the feel of moving ink with water, and this is the card I created.

I used the lighthouse stamp (#97173-X) by Inkadinkado with Spectrum Aqua markers and water to create my water colored scene.  The stamp and paper were on my MISTI stamp positioner so I could work on small sections of the stamp at a time.

Here is a sample of the image just stamped in Onyx Black versafine ink.  You can see how “sketchy” the image is.  (I’m not sure if that made it easier or harder to get a good, water colored look.)

wDSC_3635

I am anxious to try this again with the scene building stamps when they arrive!

Thanks for checking out my card project!

This content uses referral links as described in the disclosure policy on my sidebar.

Birthday Ferns – Monoprinting Technique

Birthday Ferns – Monoprinting Technique

wDSC_3671

“Must-Try Monoprinting” was one of the lessons offered in the Spring Card Camp 2 online cardmaking class.  What is cool about this technique is that the “same ink” applied to a gel plate can be used to make two (or more) card panels.

wDSC_3678

I tried the techniques Dawn showed in her lesson and added a few variations of my own.  And while the class included more detailed instructions along with suggestions for alternate tools and supplies that could be used for this technique, here is a very brief summary of what I did to create my cards:

First, I applied ink to my gel plate (I used Broken China, Faded Jeans, and Peeled Paint Distress Oxide inks) and blended the colors with a brayer.   I then rolled the brayer onto a piece of card stock to clean it; no sense wasting all that ink!  I ended up with an inked panel that I was able to use for this card:

wDSC_3660

*

Next, I “removed” ink from the gel plate with a stamp (kissing technique) and stamped the image onto a second piece of card stock. I used the “Three Ferns” (S5154) stamp from Hero Arts and repeated the kissing and stamping several times (cleaning the stamp between each repetition) to create the panel for this next card.

wDSC_3657

*

Now for the monoprinting – I placed a third piece of card stock on the gel plate to transfer the ink that was left from the previous step.  (The “Hello Topper” die is by Birch Press Designs.)

wDSC_3662

*

My stamp still has some ink on it so I spritzed it with water and stamped on a fourth piece of card stock.  To clean the gel plate, I spritzed water over it and “smooshed” a fifth panel onto the wet ink before wiping it clean/dry.  I used both panels on this next card:

wDSC_3665

FIVE panels/FOUR cards from a single inking!

I tried this technique several times (it’s very addicting), and in some cases, there was enough ink on the stamp and/or gel plate to get even more panels!  (The card shown at the top of this post was made from one of these later tries and was trimmed to create a 4 1/4 inch square card.)

Thanks for checking out my card projects!

This content uses referral links as described in the disclosure policy on my sidebar.