Embossed Birds Sympathy Card
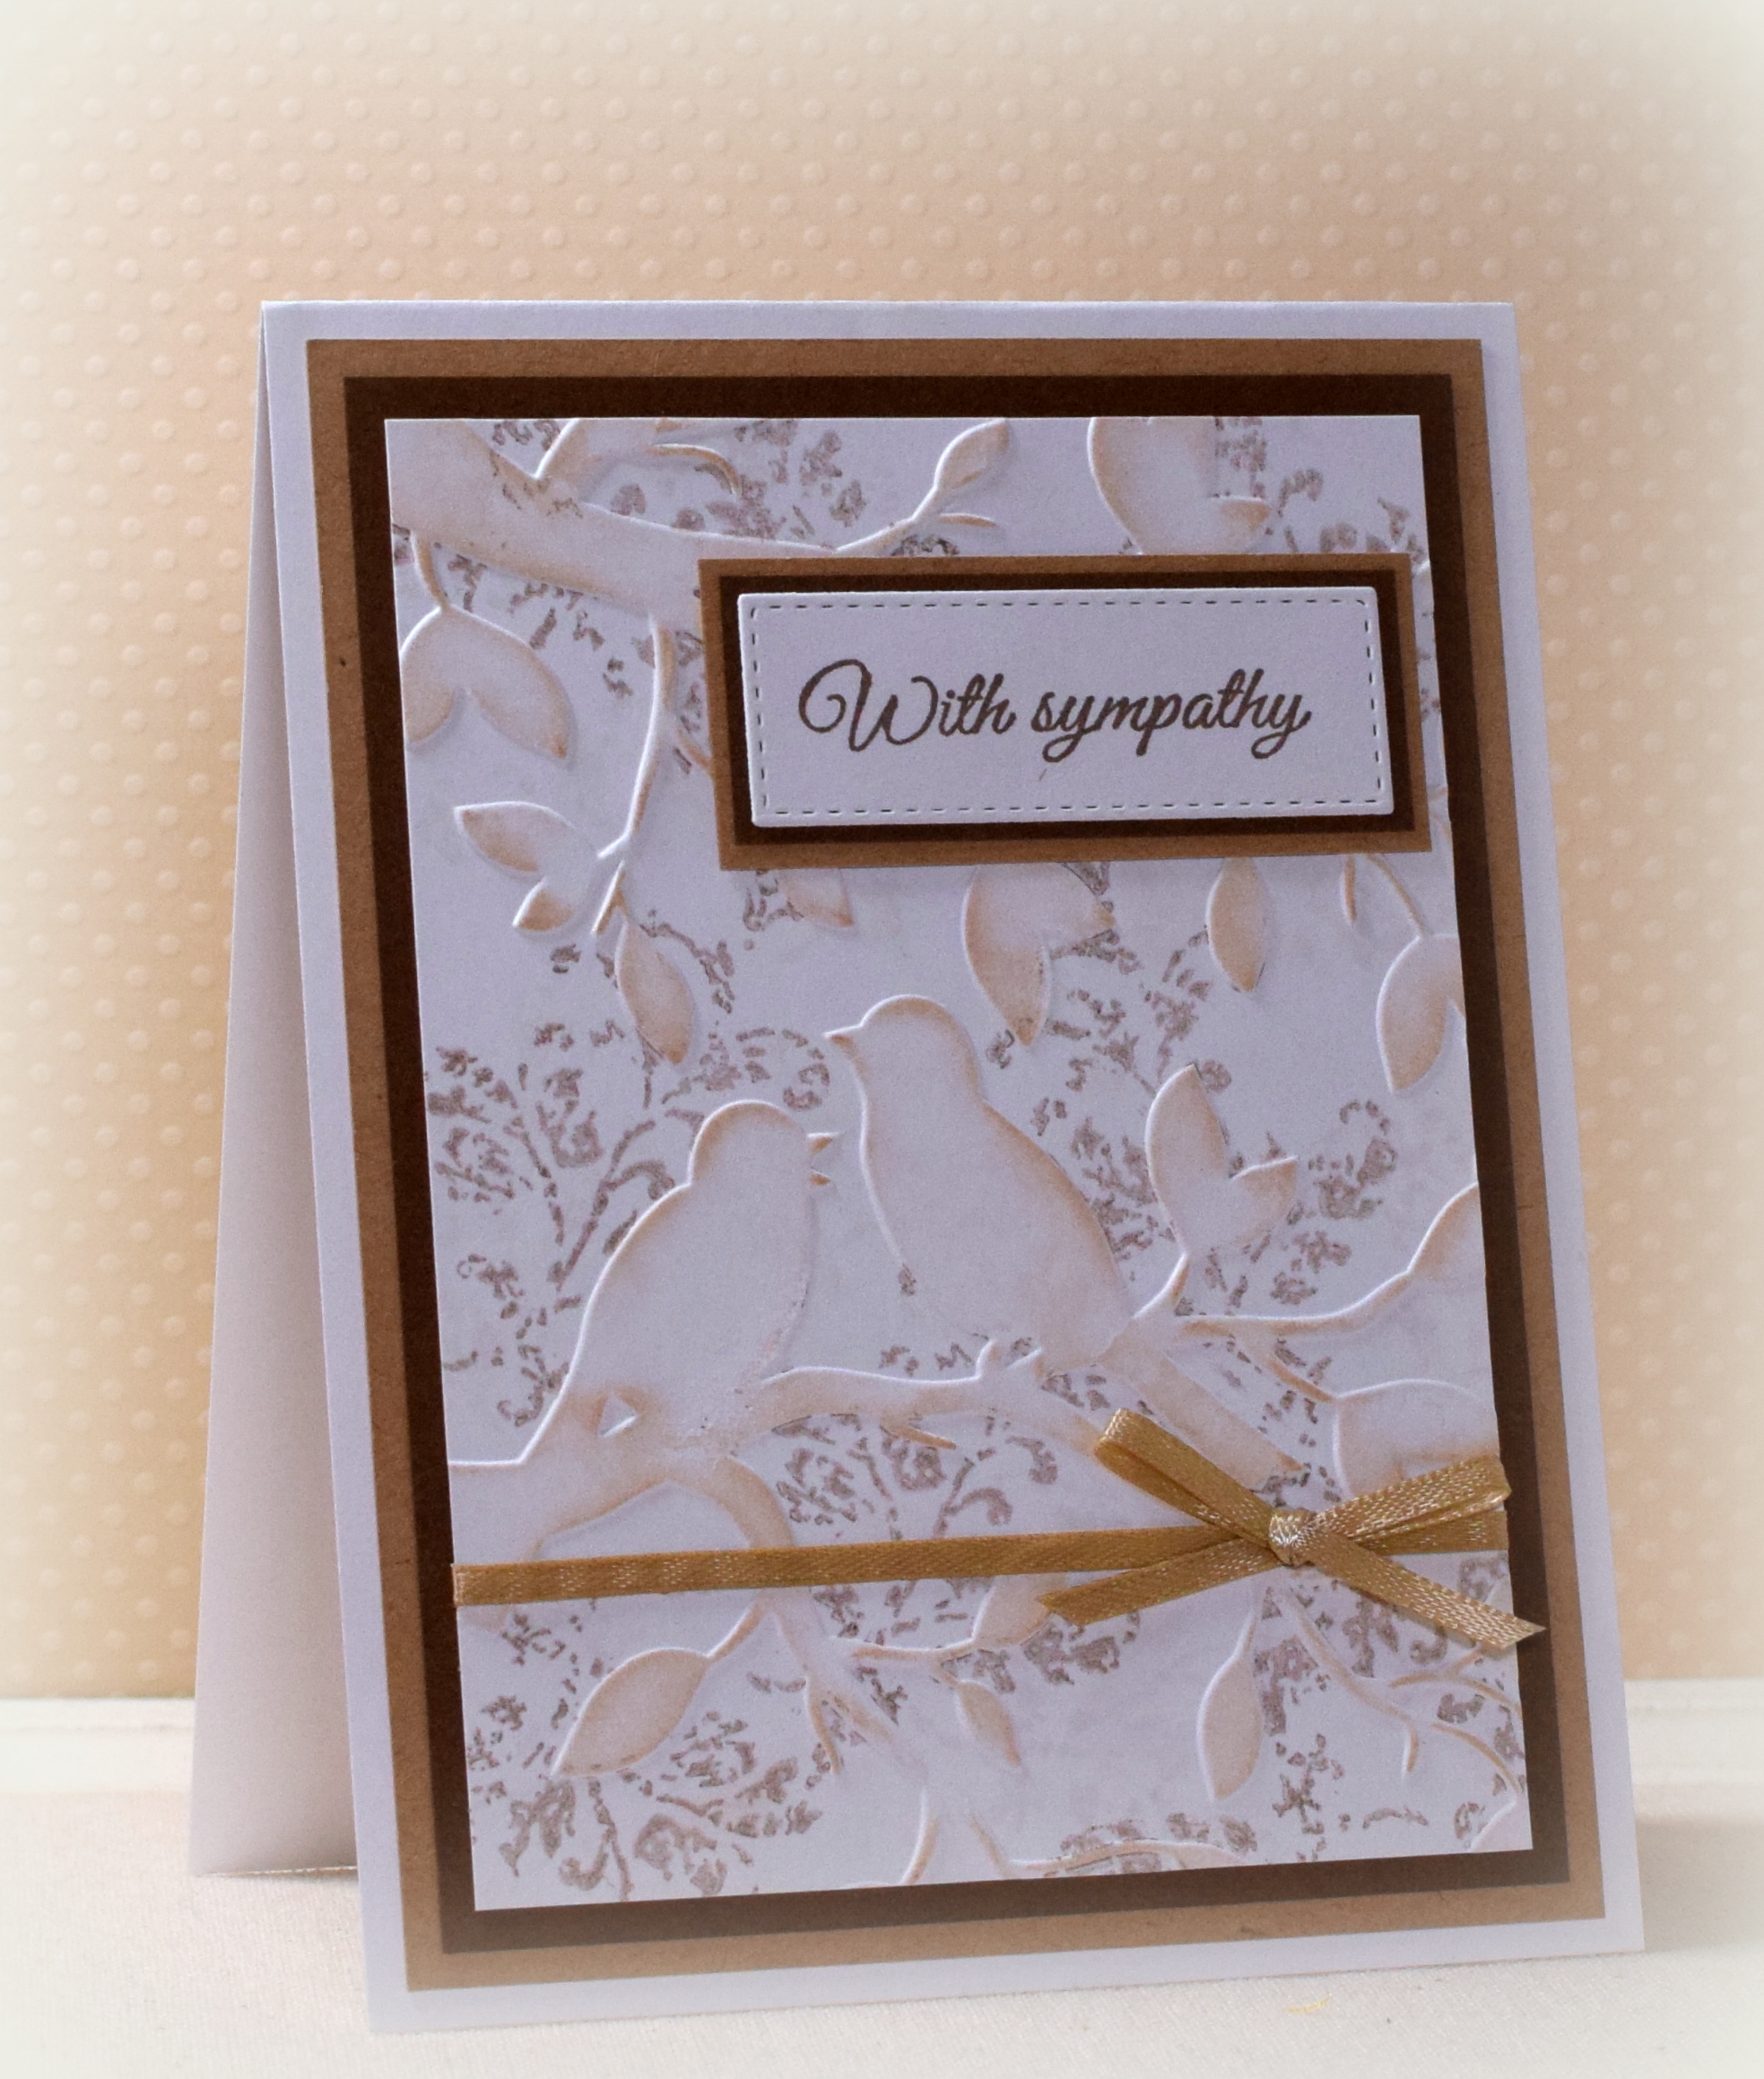
This card features the “Birds in Branches” embossing folder by Darice and a stamp from the “Timeless Textures” set by Stampin’ Up.
In order to make the stamped pattern appear behind the embossed birds and branches, you stamp the pattern onto the inside of the embossing folder before embossing. Embossing folders with larger, solid portions (as opposed to thin lines/patterns) work best for this technique. Open the embossing folder and stamp your image on the “front” side of the folder (with the indented images that will be embossed). You want the ink/stamped images to go only on the flat part of the folder; avoid getting ink inside the “indented” birds and branches. (In other words, press/stamp lightly; do not press so hard on your stamp that it squishes into the indented portions of the folder.) You can use a large background stamp to ink up the folder or repeatedly stamp a smaller image (like I did here). Keep in mind that whatever you stamp will transfer as a mirror image so text, music notes, etc. will appear backwards with this technique.
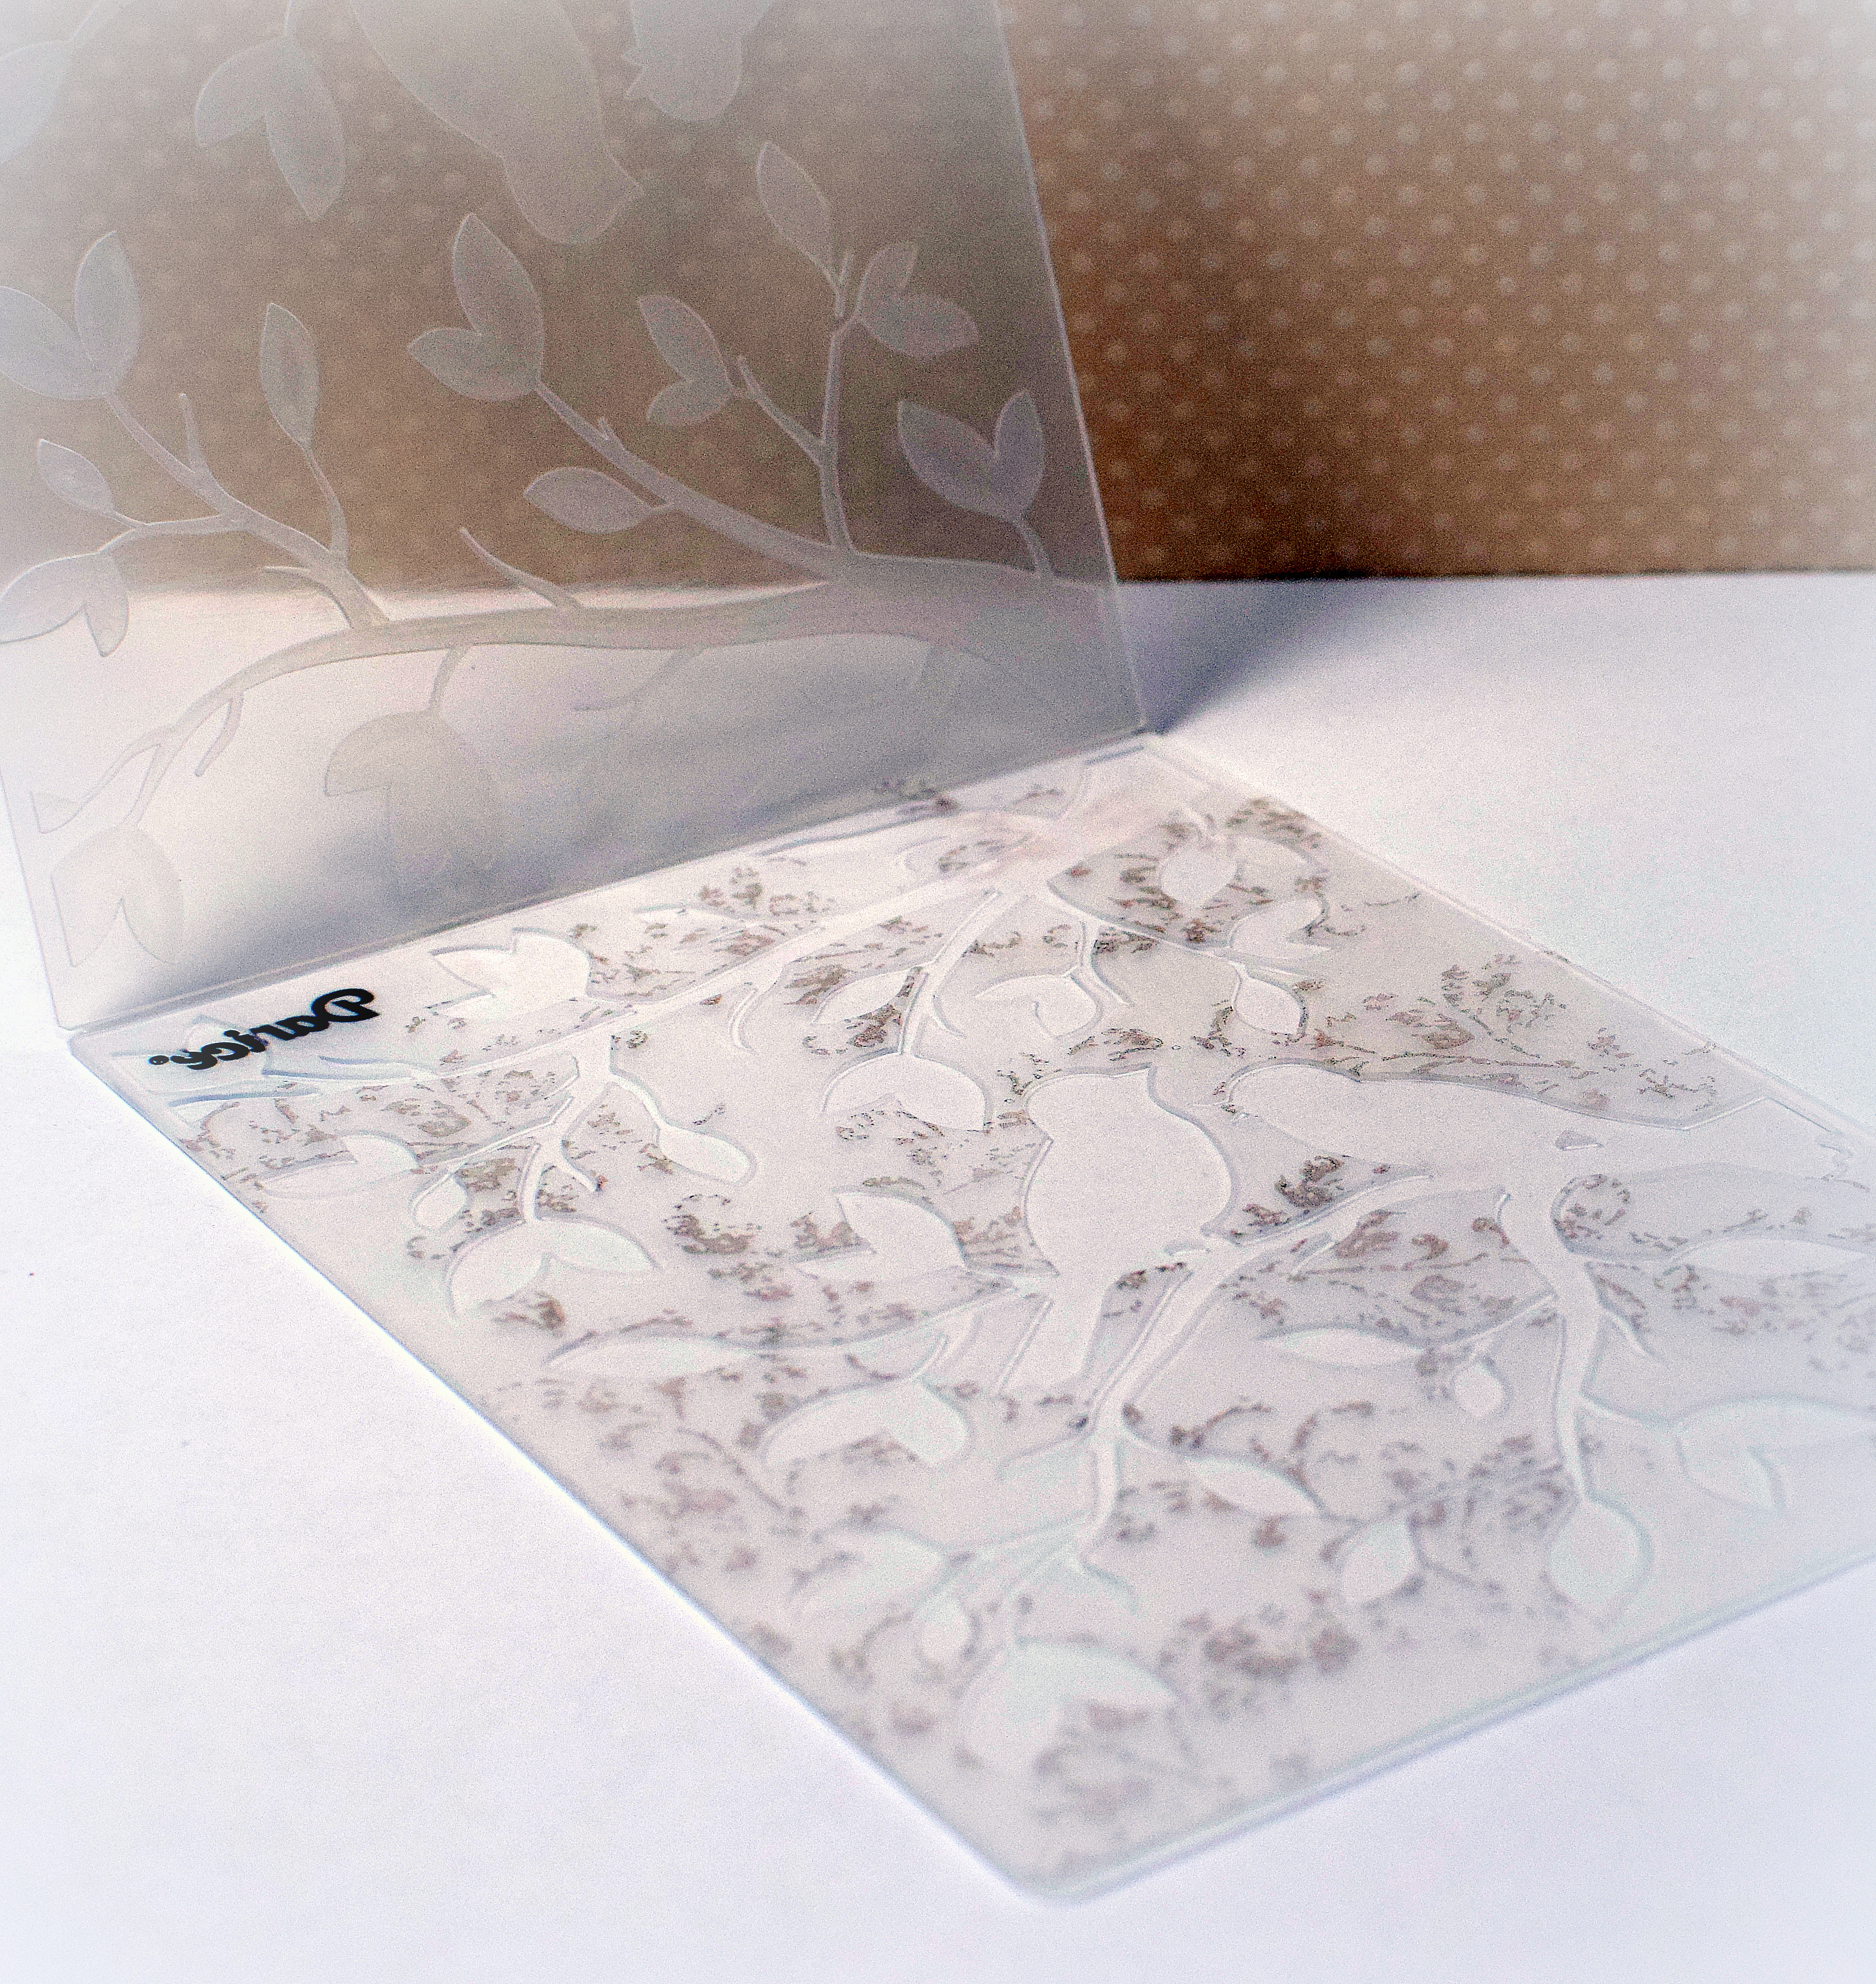
Once the embossing folder is inked up, carefully place your card stock inside the folder (position paper on clean side and then close folder to avoid smudging stamped images), and run it through your die cutting machine as you normally would. (You may want to use a card stock shim and run it through a few times to make sure all the ink transfers to the card stock.) And don’t forget to wash your embossing folder when done in case there is any ink left behind!
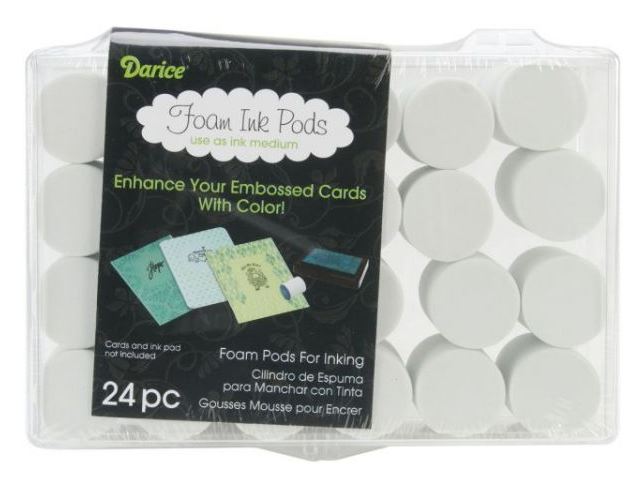
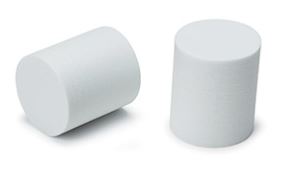
After I embossed my panel, I lightly rubbed over the raised portions with ink and a Darice Foam Ink Pod. Because these pods are kind of hard/firm (unlike a sponge), I find it easier to keep the ink only on the raised surfaces and not in the “nooks and crannies” around the embossed parts. (These pods can be washed with soap and water and reused.)
The embossing folder does all the work on this card! I simply added some mats, a greeting stamped on a stitched rectangle die cut, and a ribbon embellishment to finish it off.
Thanks for checking out my card project!
This content uses referral links as described in the disclosure policy on my sidebar.