How to Make a Rolled Frame

(Click HERE for original card post.)
I recently posted a card project where I made a rolled frame. The rolled frame is a technique I learned at a workshop given by Quick Quotes Scrapbook Company at the Scrapbook Expo in Somerset, NJ in 2015. This is the mixed media project (on a 12×12 inch canvas) that we made using the “Moments Like This” kit that they make and sell:

Here’s a quick tutorial on how to make it:
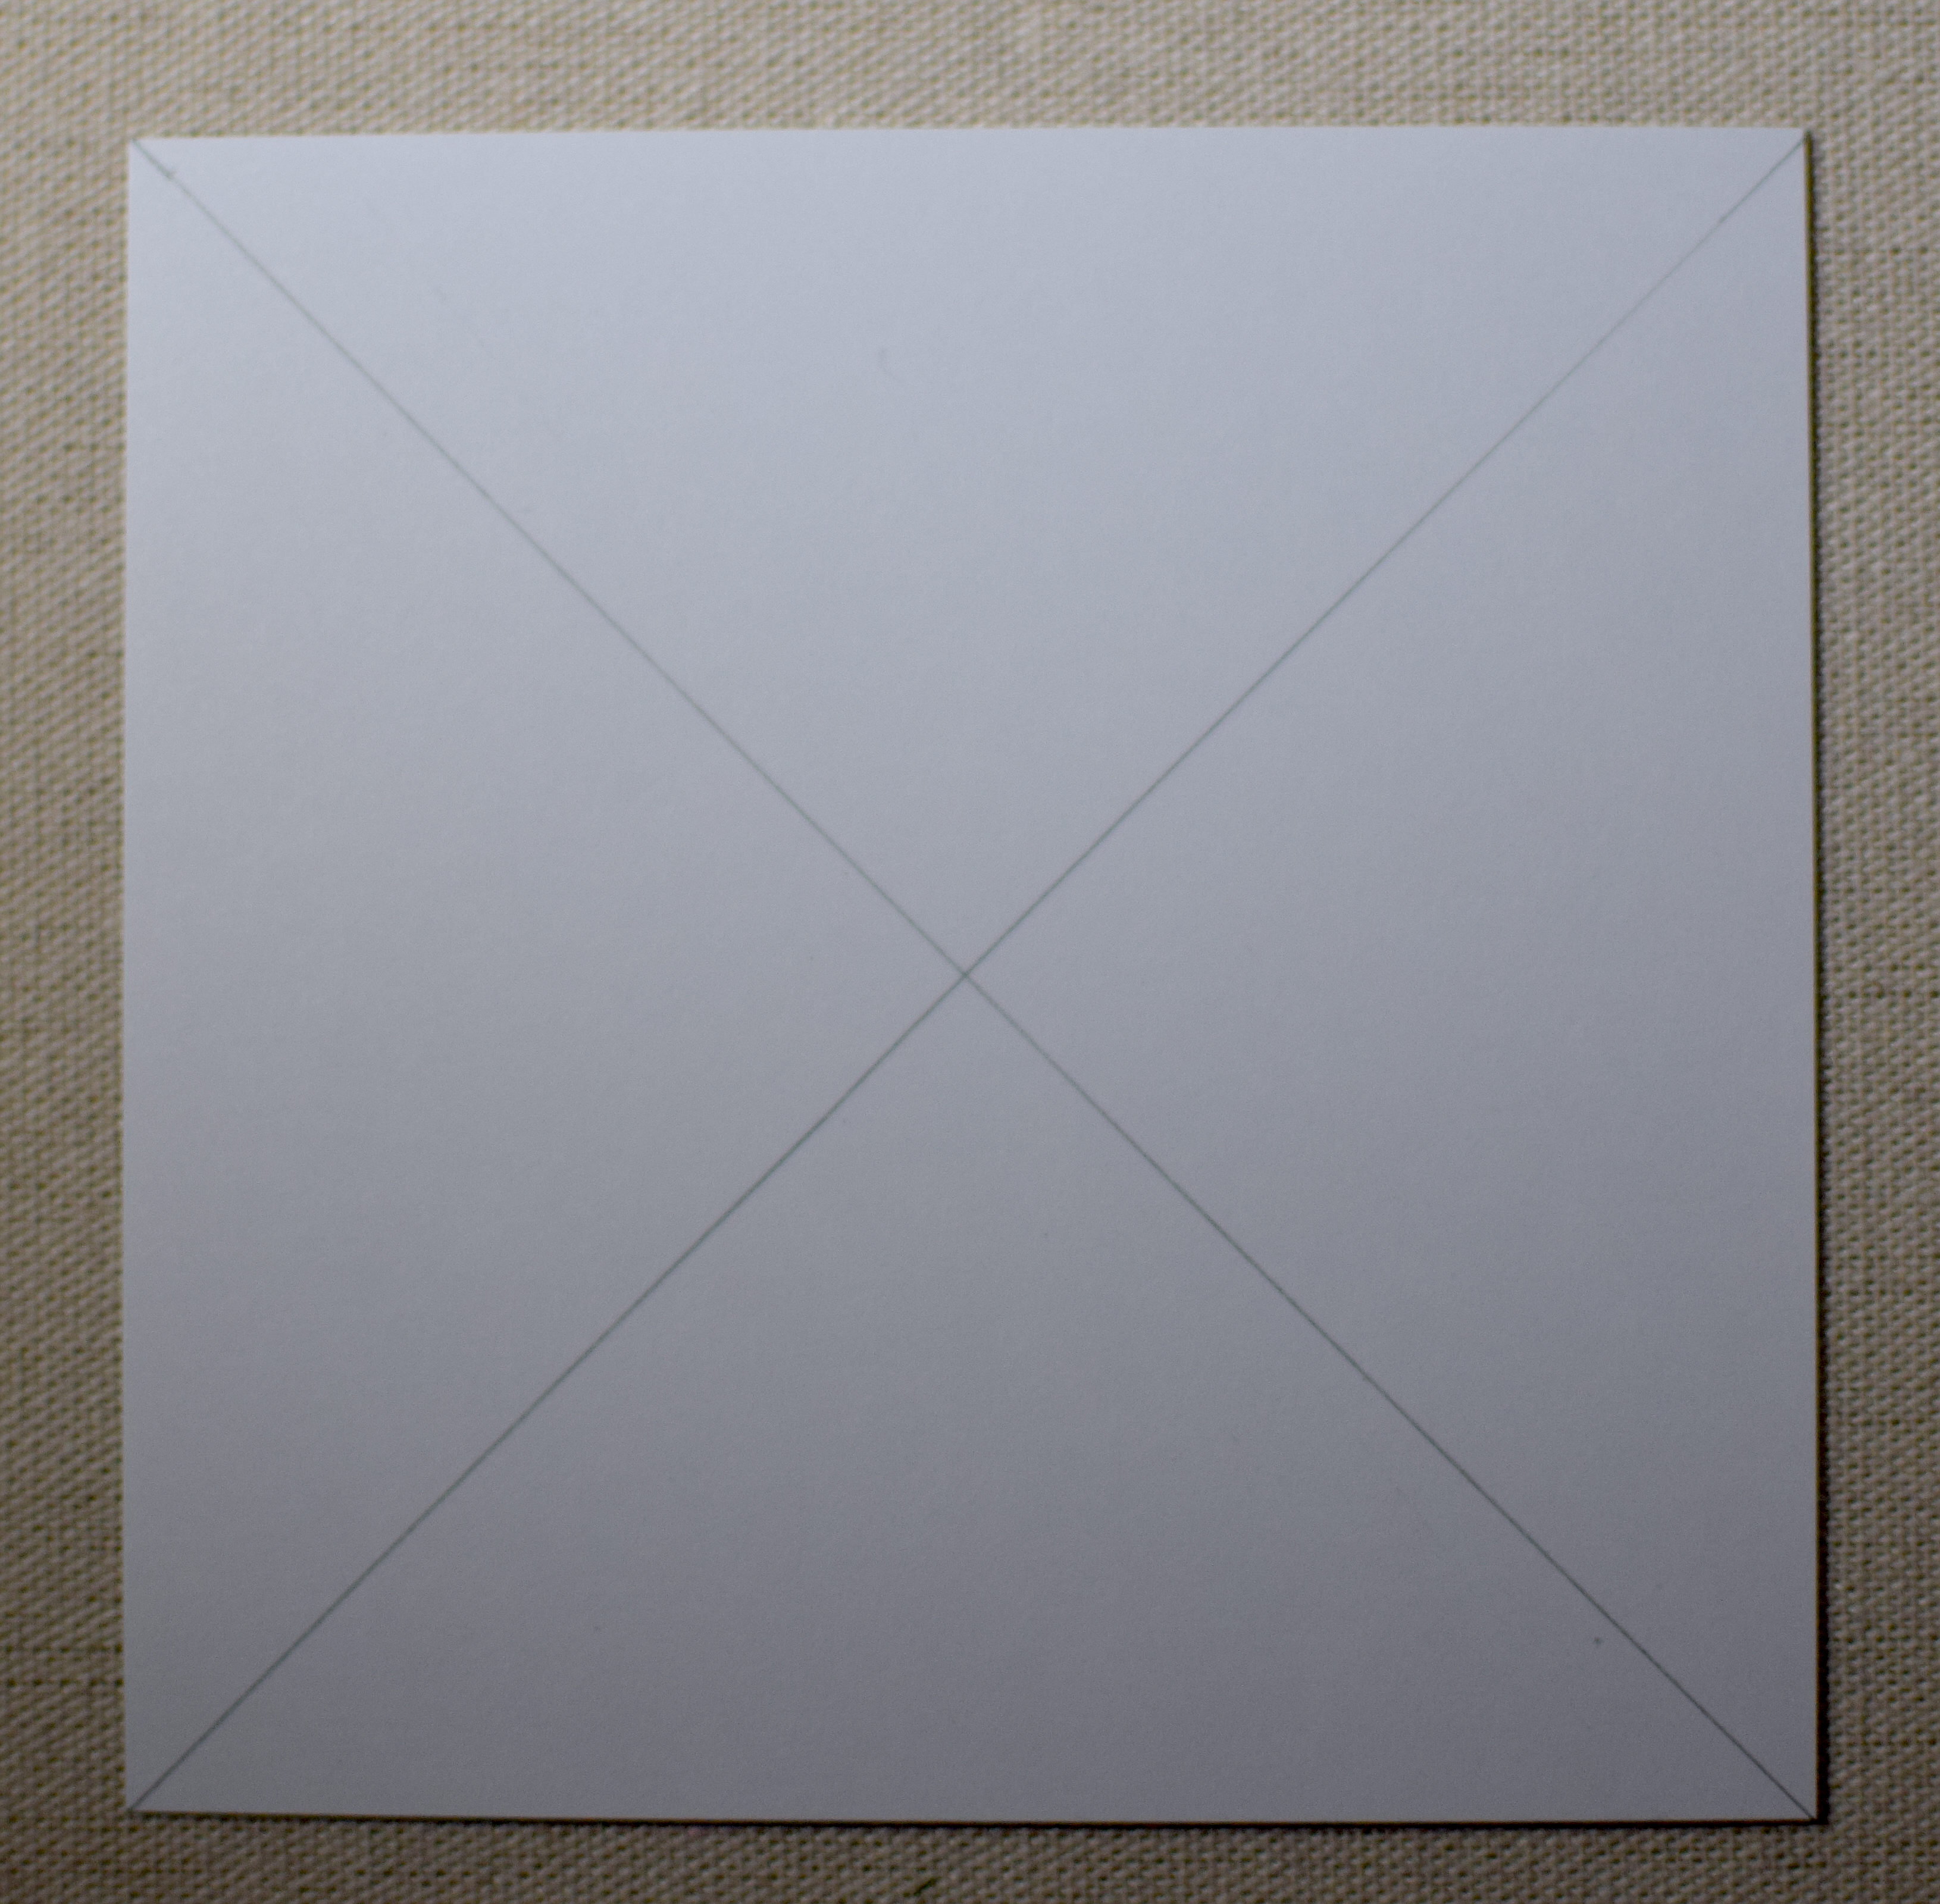
First, cut your card stock to the desired size. I am using a 4 inch square for this tutorial, but rectangles work also. Lightly draw (with pencil) diagonal lines from corner to corner of your frame panel. (Click on the photos for a larger view if desired.)
***
Score along each edge but only between pencil lines. (I went over my score lines with a green pen so you could see it in the photo; you do not actually need to do this.) The width of your score is determined by how wide you want the outer flat part of the frame to be. On my sample below, I scored 1/4 of an inch in from each of the edges. After you score the 4 edges, you can erase the pencil lines.

***
Cut slits (with an blade, scissors, or trimmer) diagonally but only within the score lines. Do not go beyond the score lines to the outside corners.

***
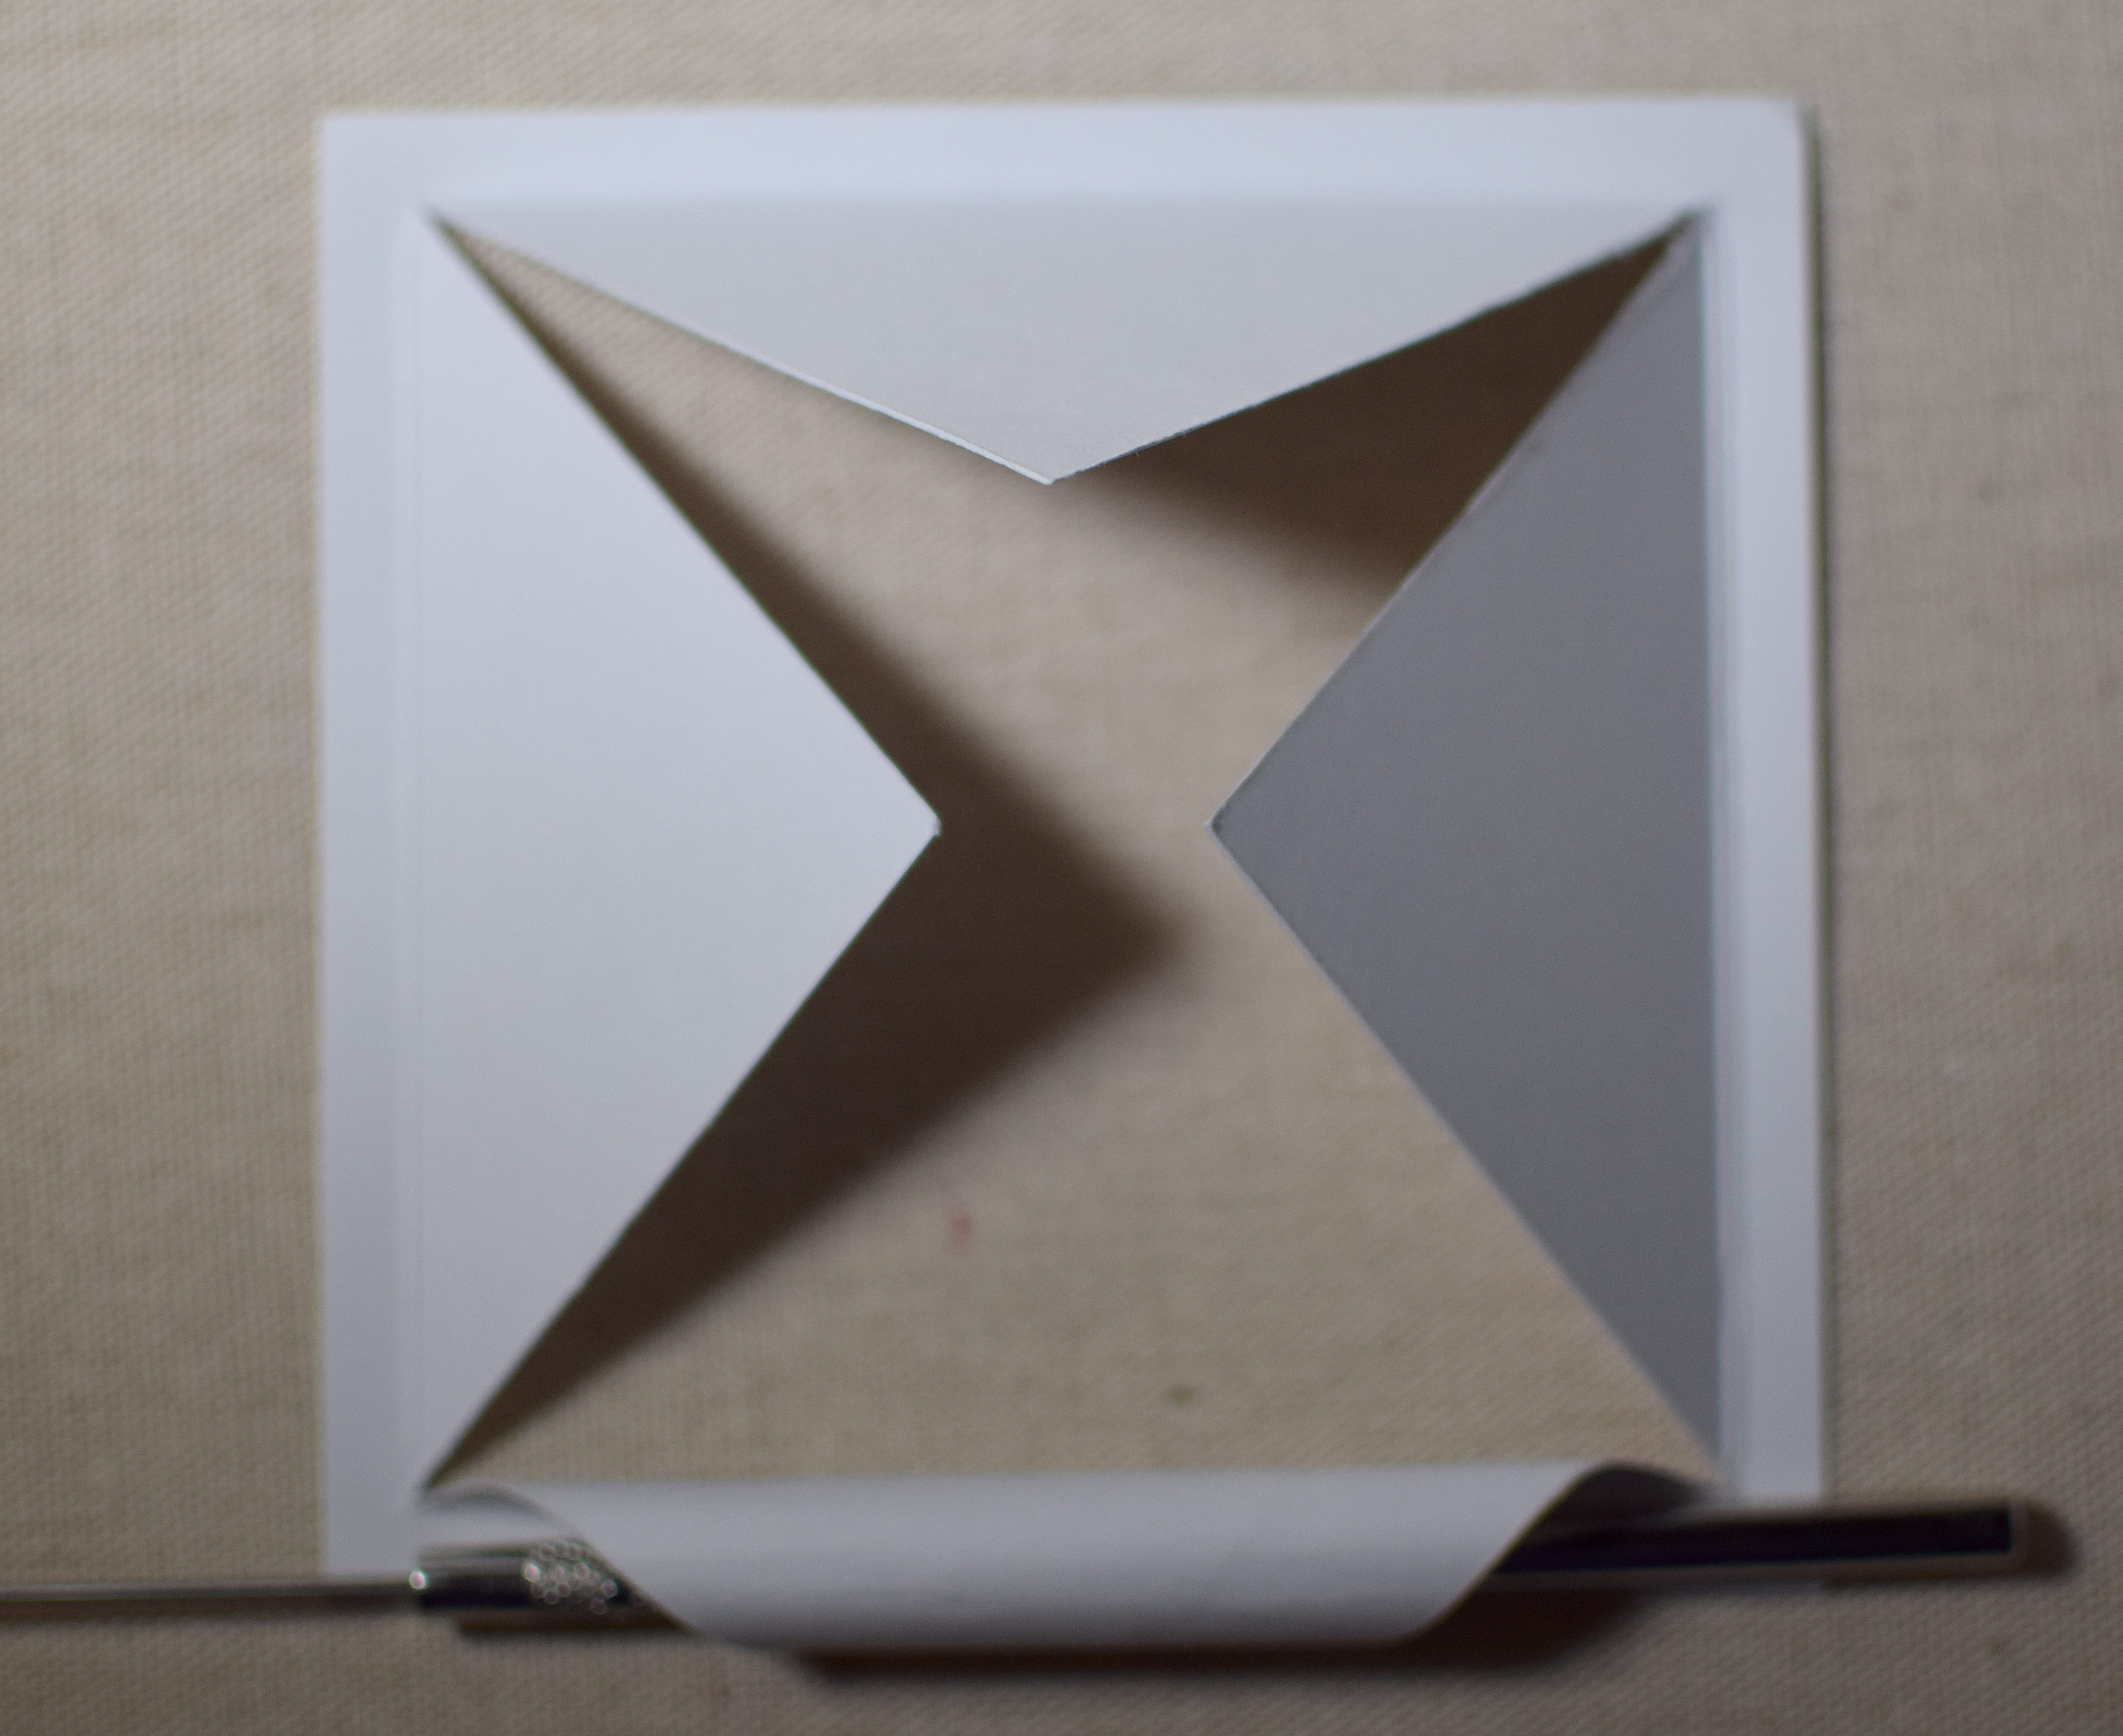
Once cut, fold each of the sections up along the score lines.

***
With a pencil, knitting needle, or something similar in shape, roll one of the triangles outward around your rod (away from center), starting at the point and going straight down to the edge. The size of your rod determines how tight the roll will be. Repeat for the other 3 triangles.
***
This is for a single roll. You can layer panels for multiple rolls.
For my card above, I started with a 4×4 inch gray panel and scored at 3/8 inch from each of the edges. My blue panel was 3 3/4 x 3 3/4 inches and was scored at 1/4 inch from each edge. Once the diagonal cuts are made and the “triangles” are folded up, you can slide one panel on top of the other one and glue the flat edges together (but not the triangles); the triangles of the two panels should now be lined up.
Roll the two triangles together over your rod. You can either leave them together for a single roll (like on the right and bottom below) or separate them so you see both rolls (like top and left side).

Thanks for checking out my post!


Great tutorial.
LikeLike
Pingback: Rolled Frame Birthday Card | I Played With Paper Today!