Karate Scrapbook Layout
As I mentioned earlier, the scrapbooks I do are for each of my kids, starting from birth and documenting everything and anything until … well, I guess that depends on how far I get! The idea is to go through high school, but we’ll see! Anyway, in addition to their general books, I had planned to also make a karate themed book for each of them when they earned their black belts. I finished Eric’s when he earned his junior black belt and need to add pages now that he earned his adult 1st degree. I still need to do Kelly’s, Kevin’s and Keith’s books.
These are the layouts in Eric’s book so far.
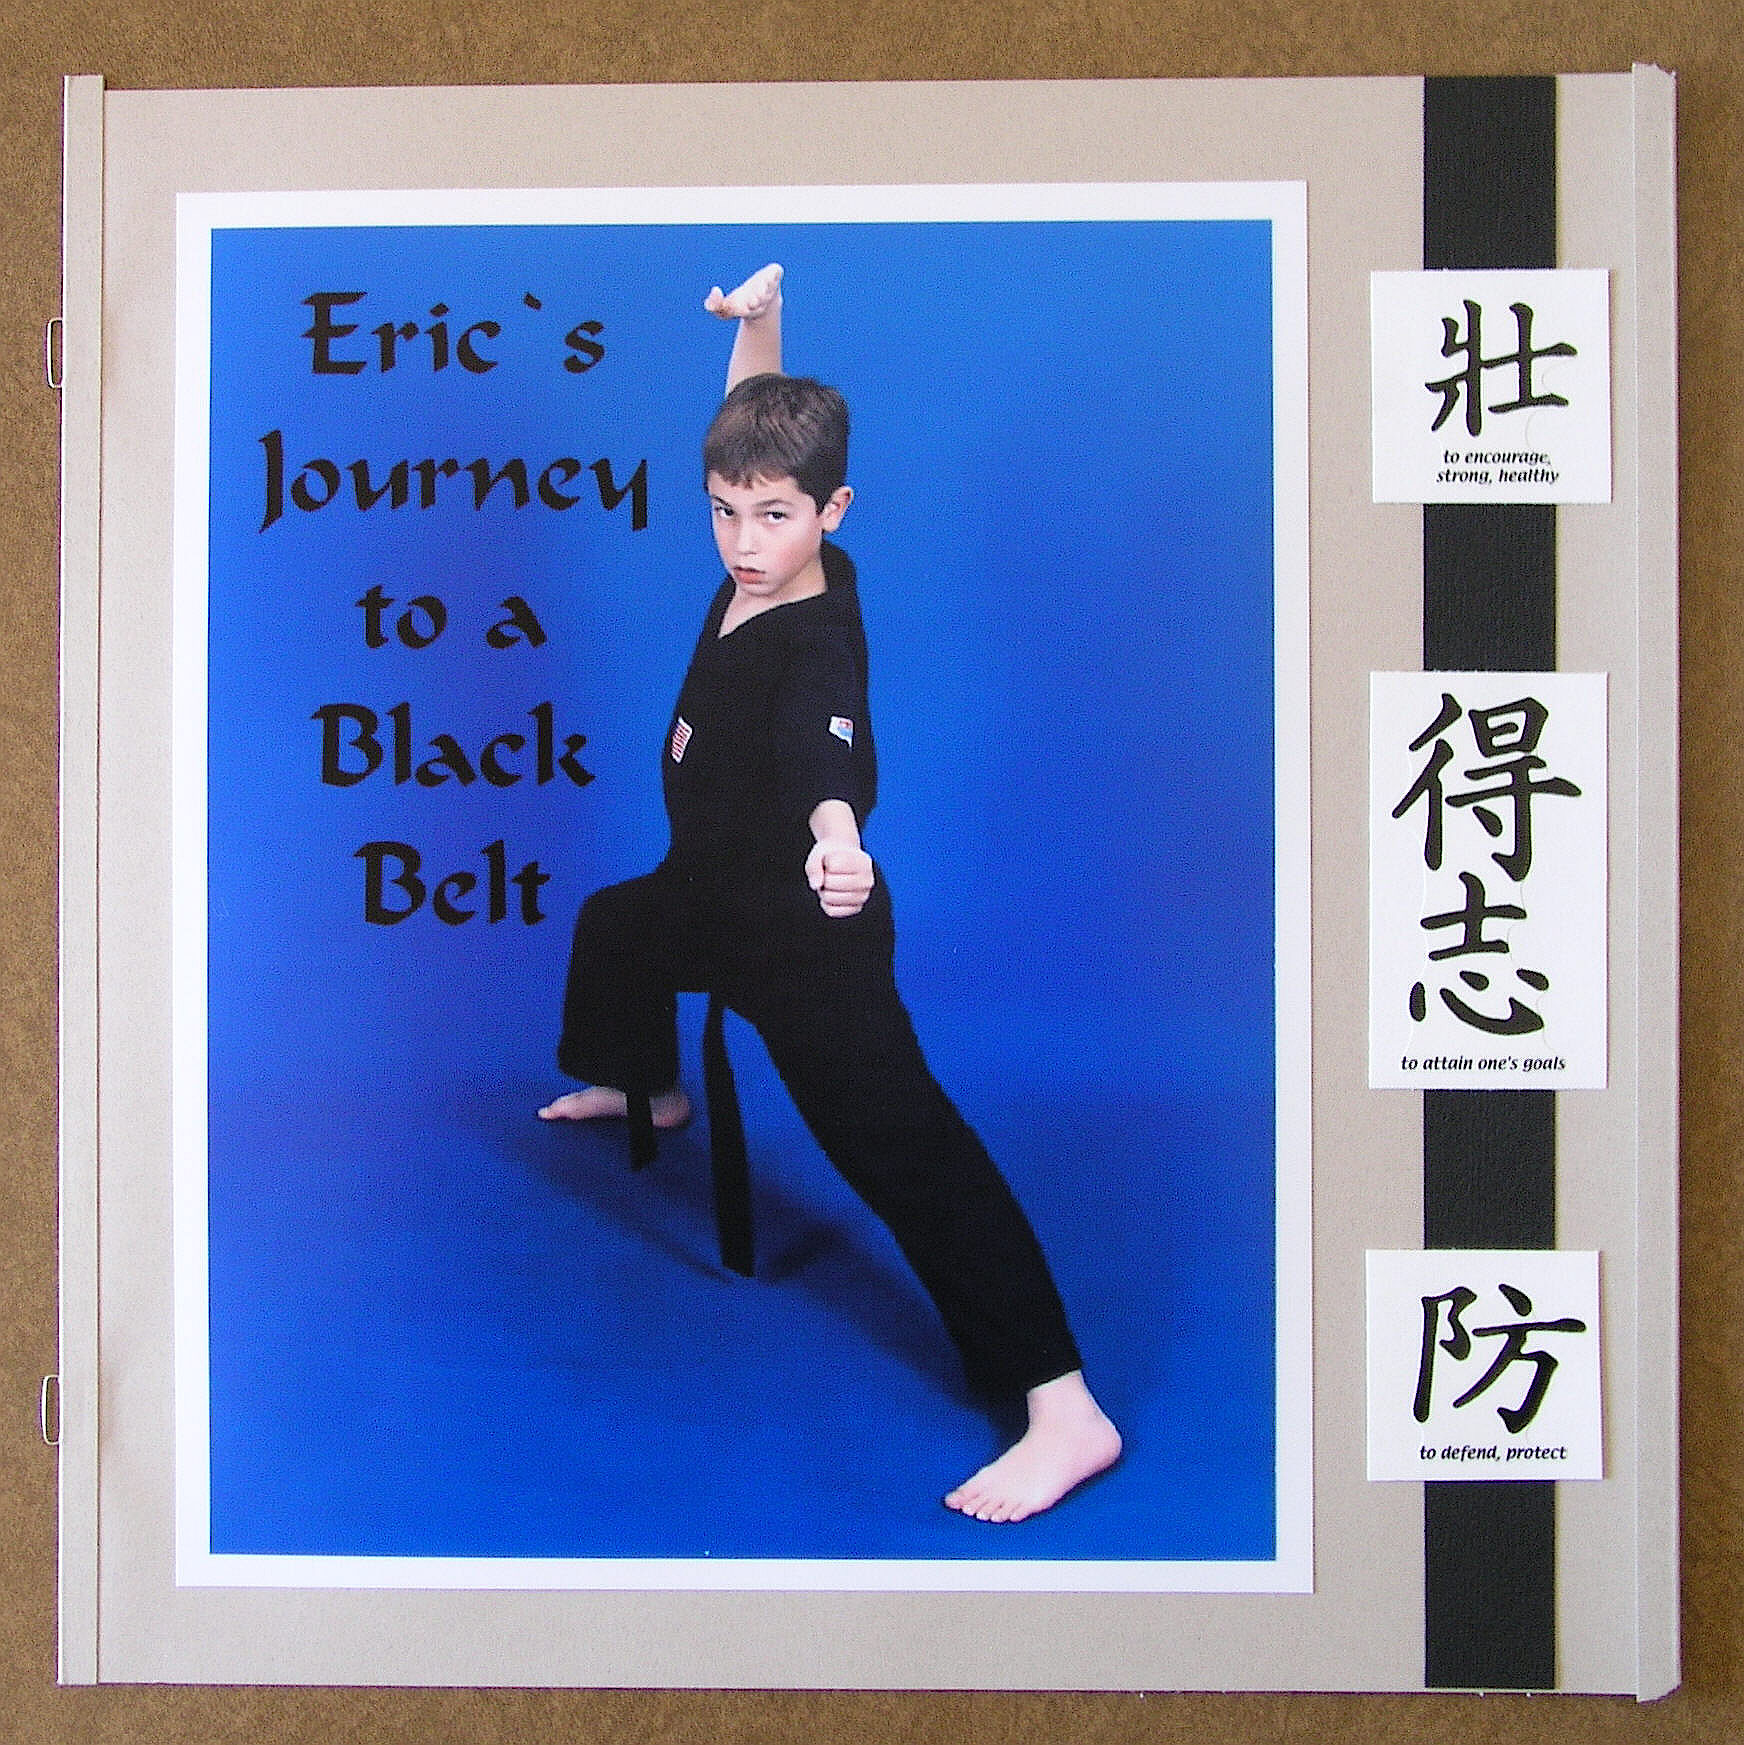
“Title Page”

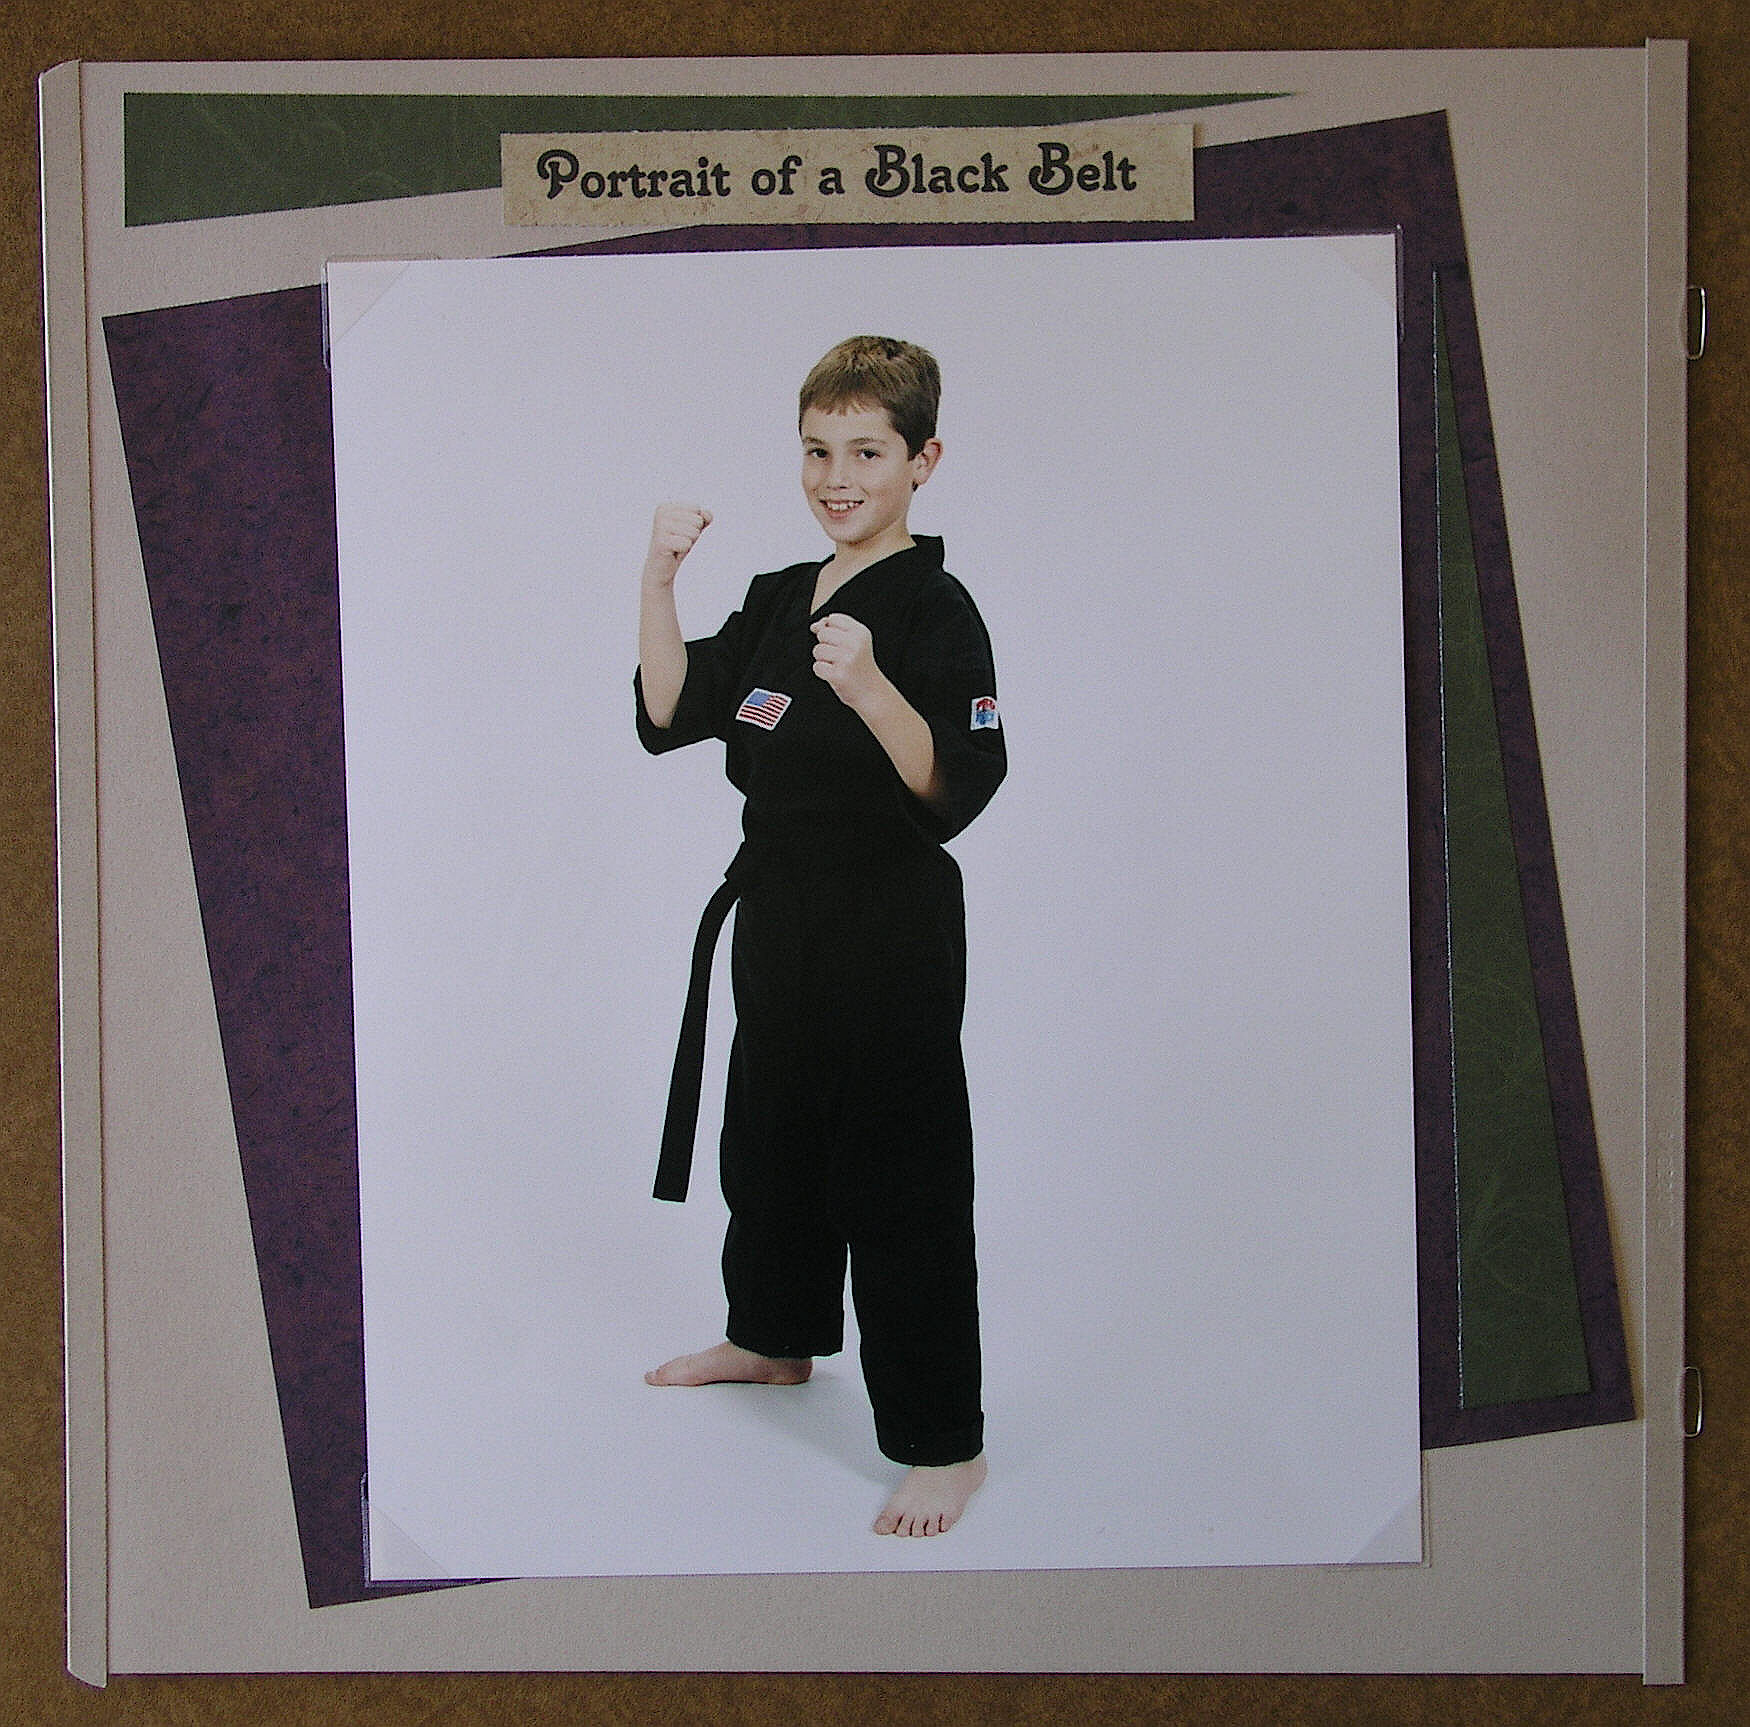
“Karate Kid”
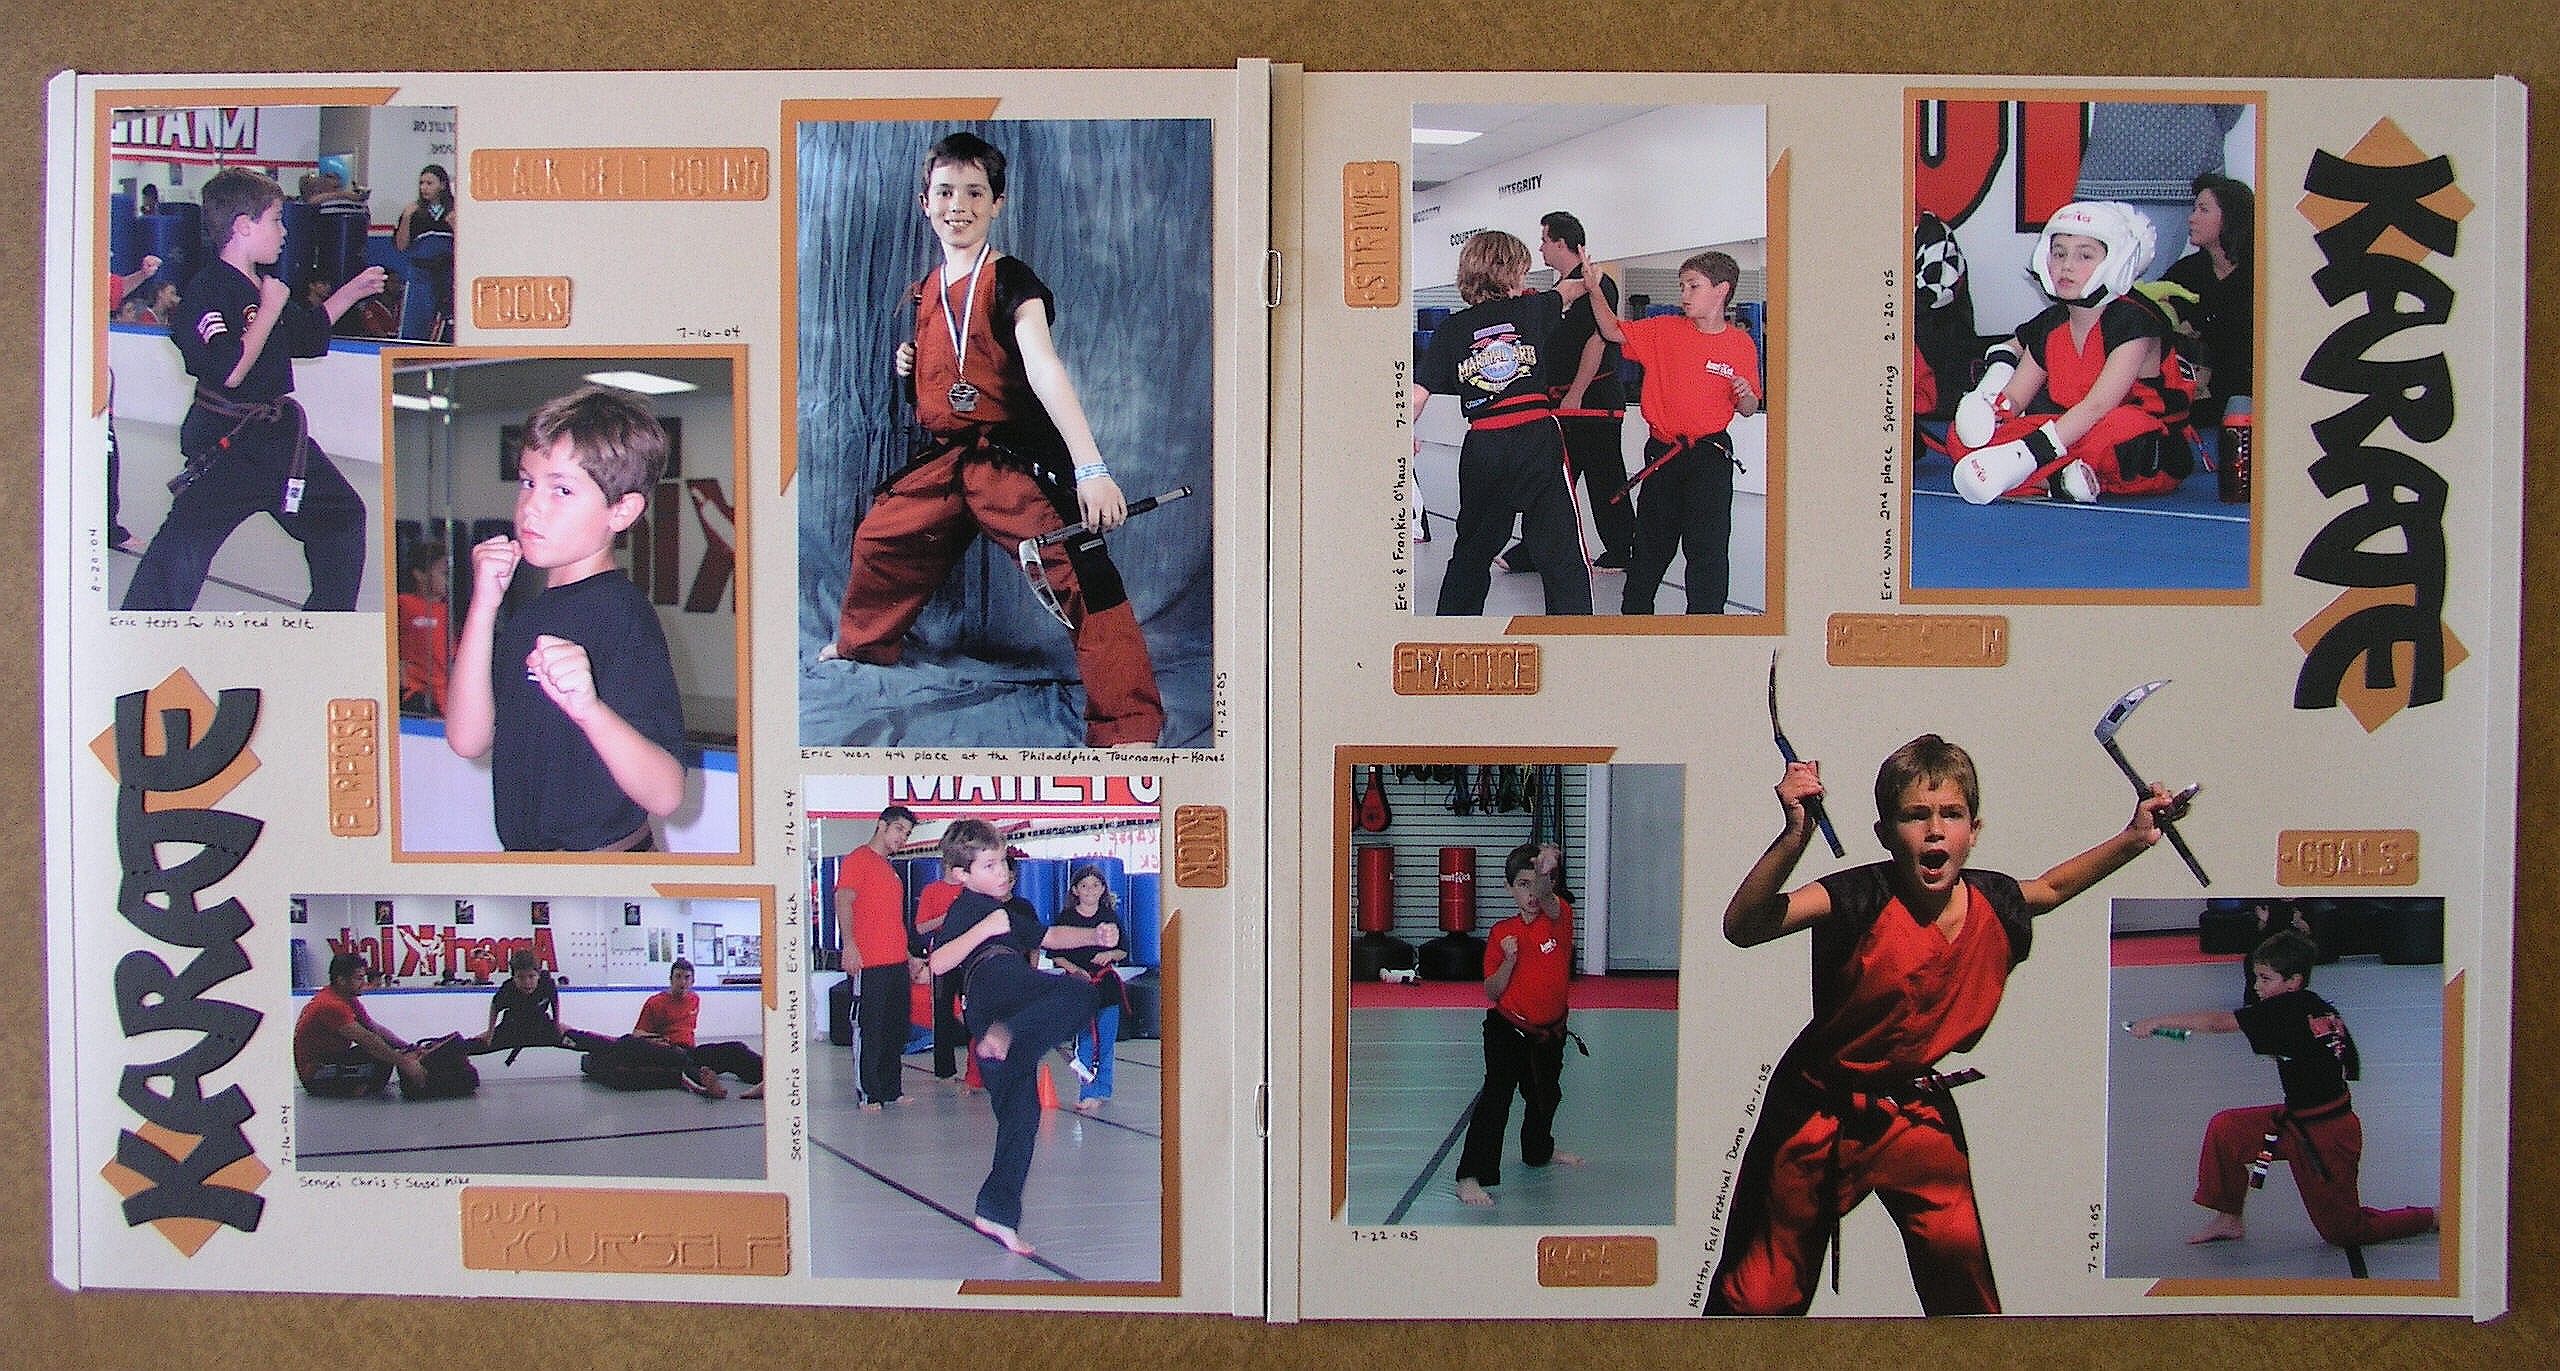
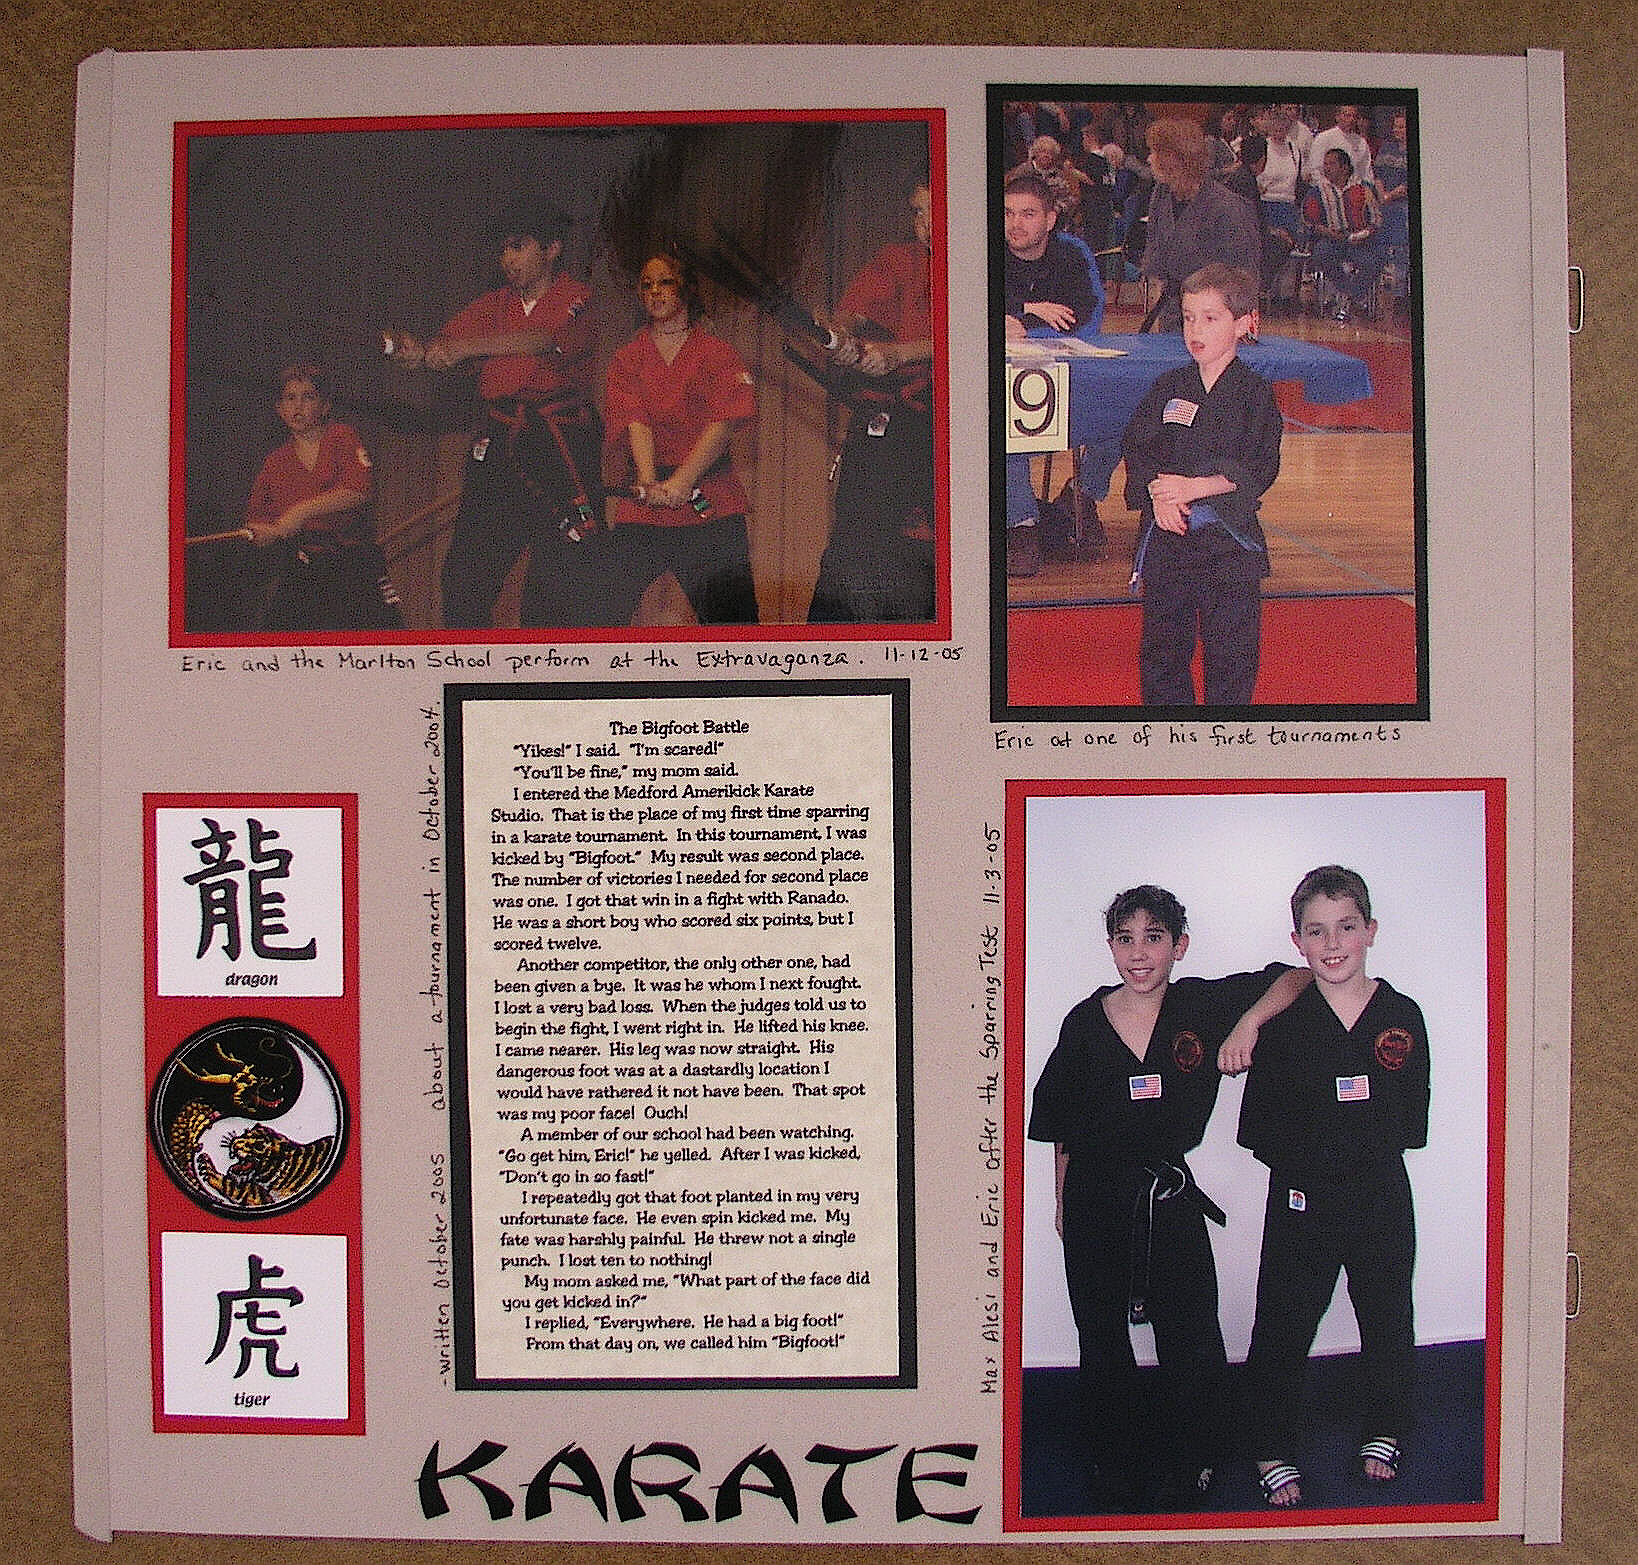
“Older Candids”

“Part 1 of Black Belt Testing – Curriculum”

“Part 1 of Black Belt Testing – Curriculum (pg. 2)”

“Sparring Test”

“Belt Flipping Ceremony”

“Ticket to the Black Belt Extravaganza”

“Extravaganza Performance”
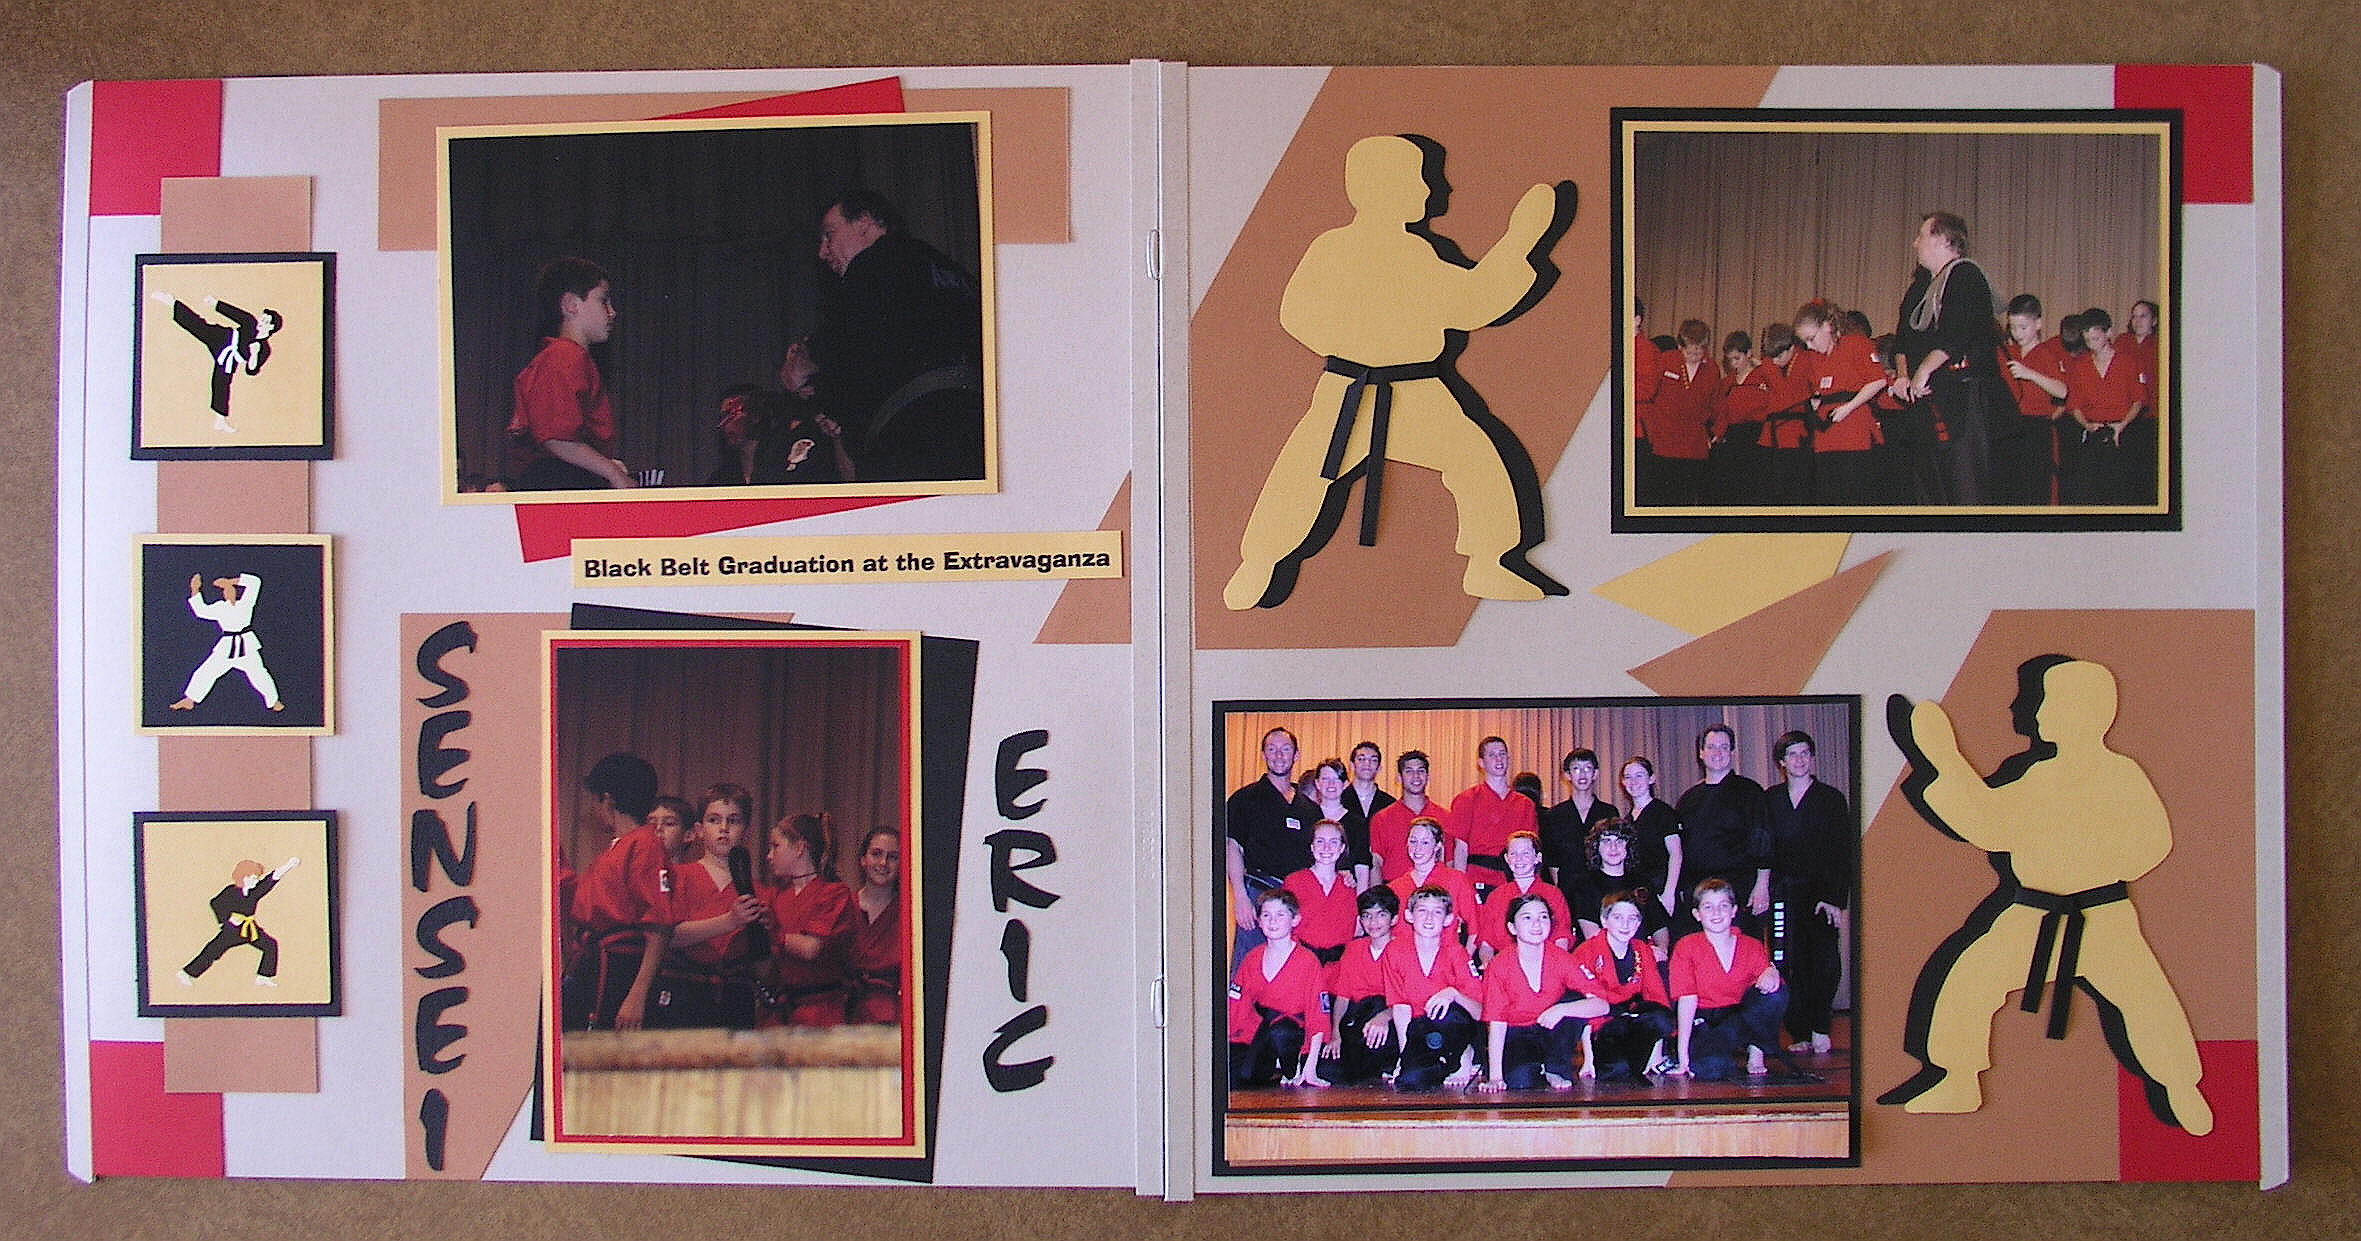
“Belt Graduation Ceremony at Extravaganza”

“Sensei Eric Receives his Diploma”


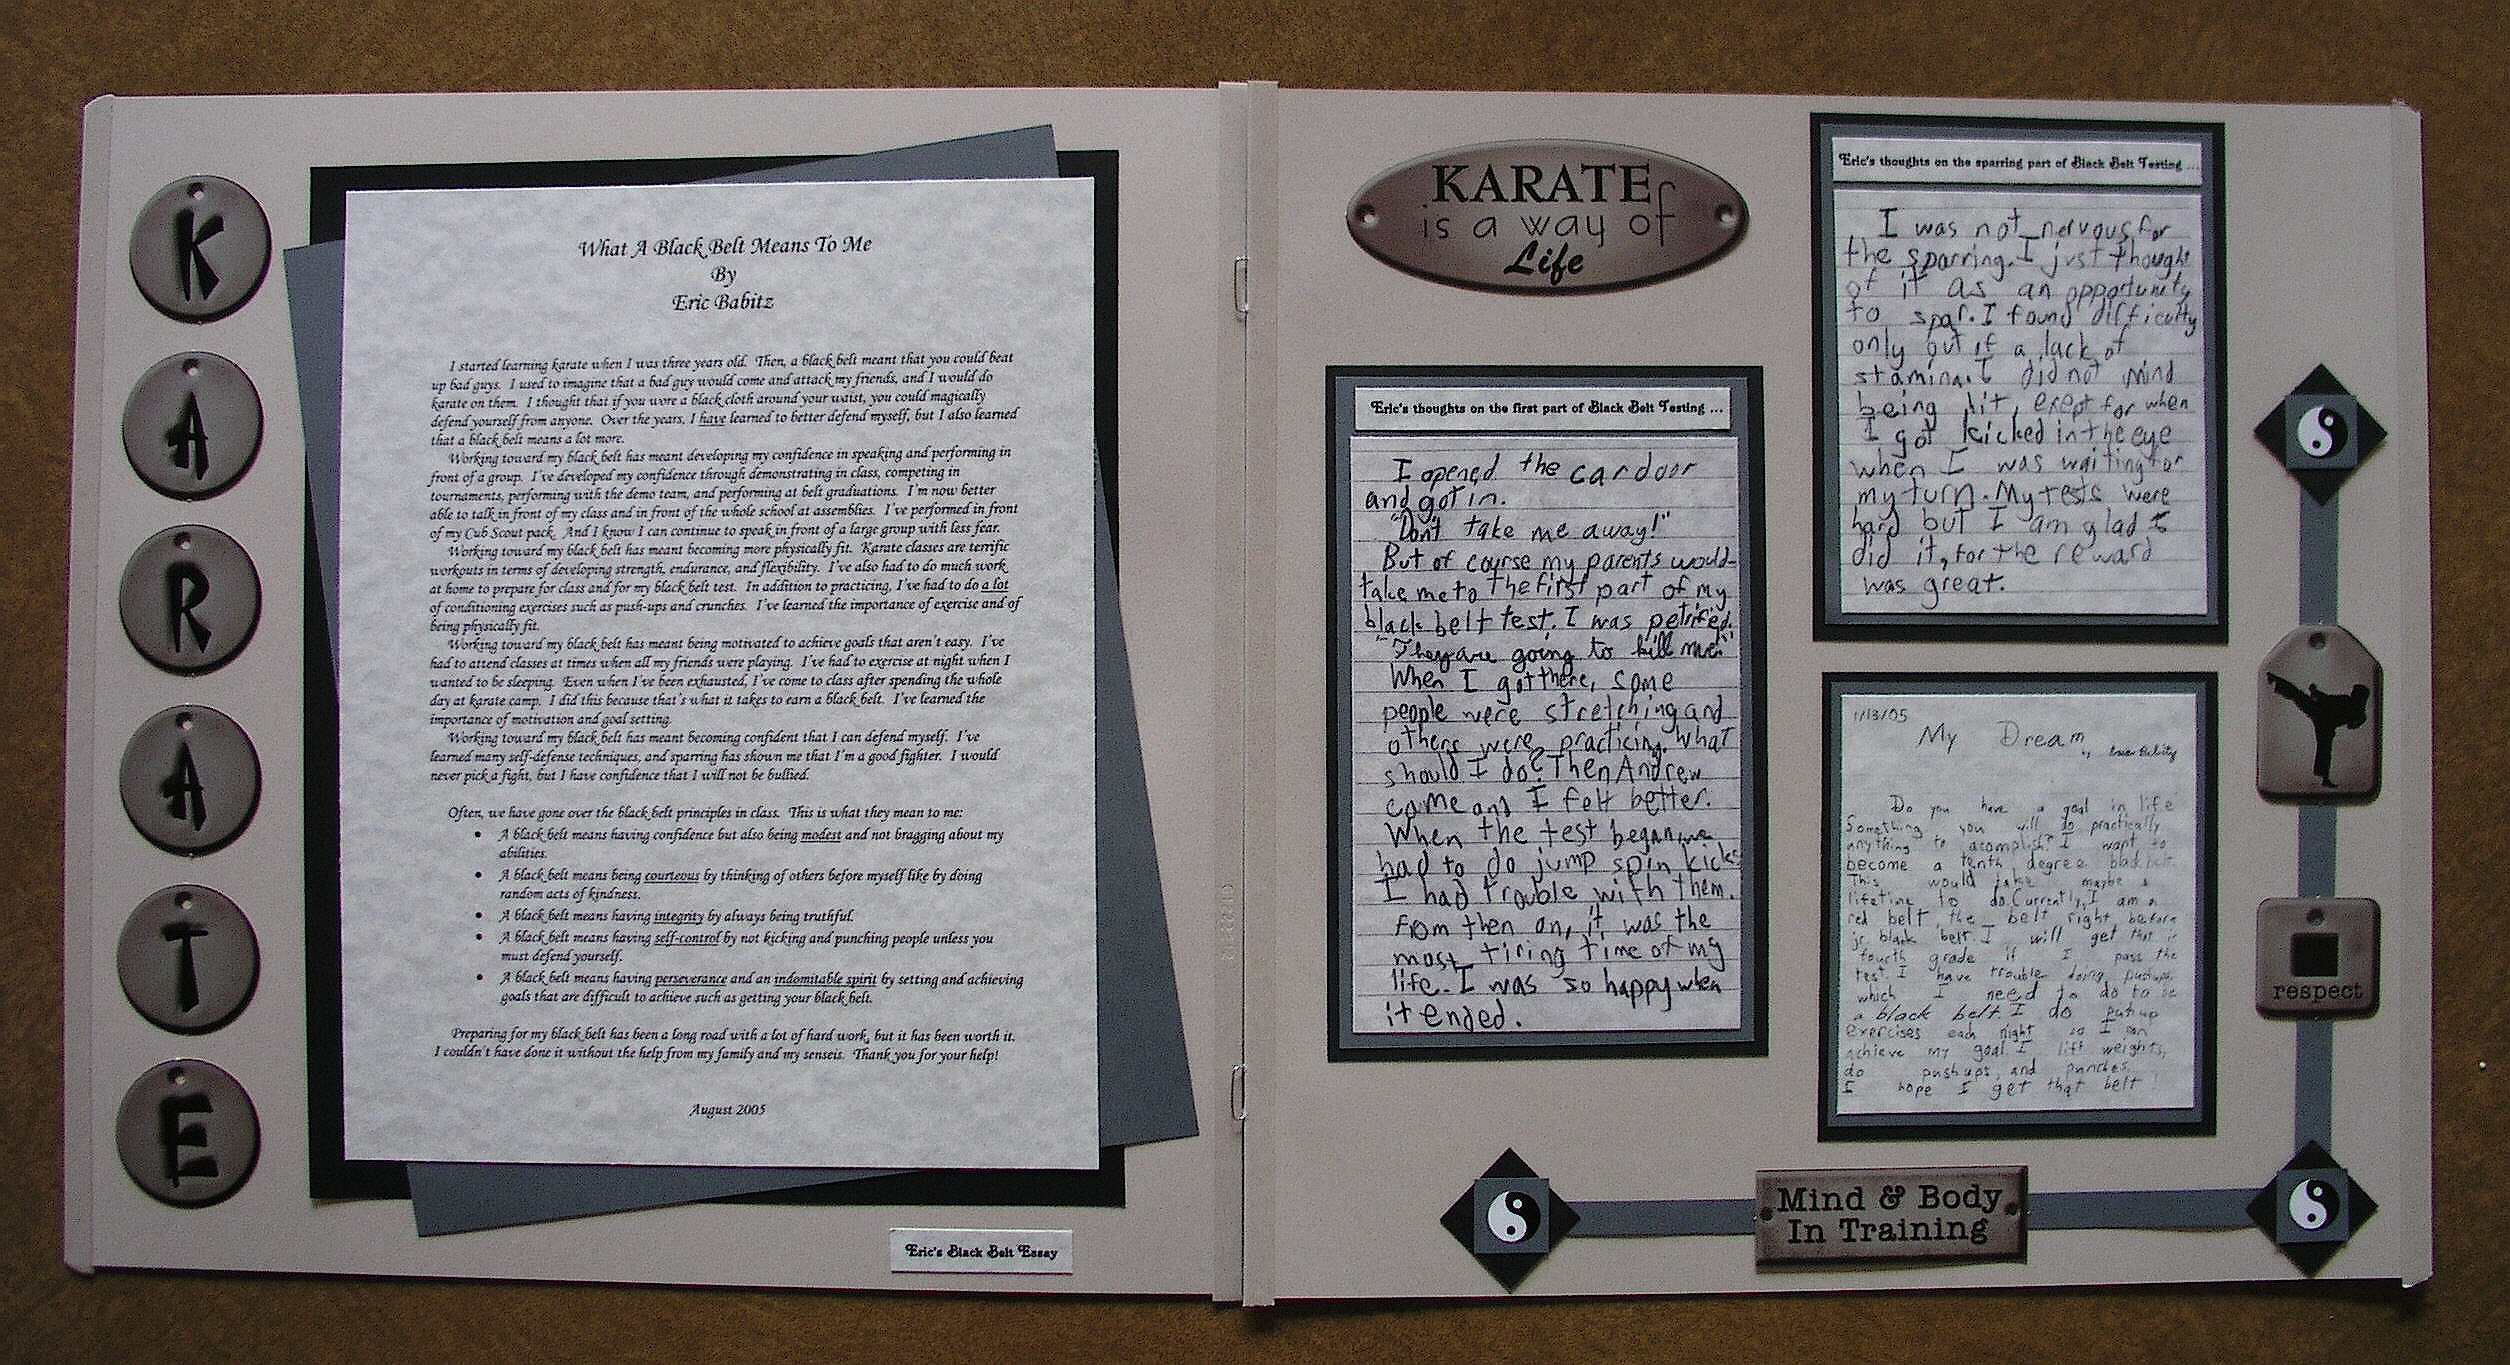
“Eric’s Thoughts”

“The Creeds”
Several of these pages were featured on martialartspartystore.com.
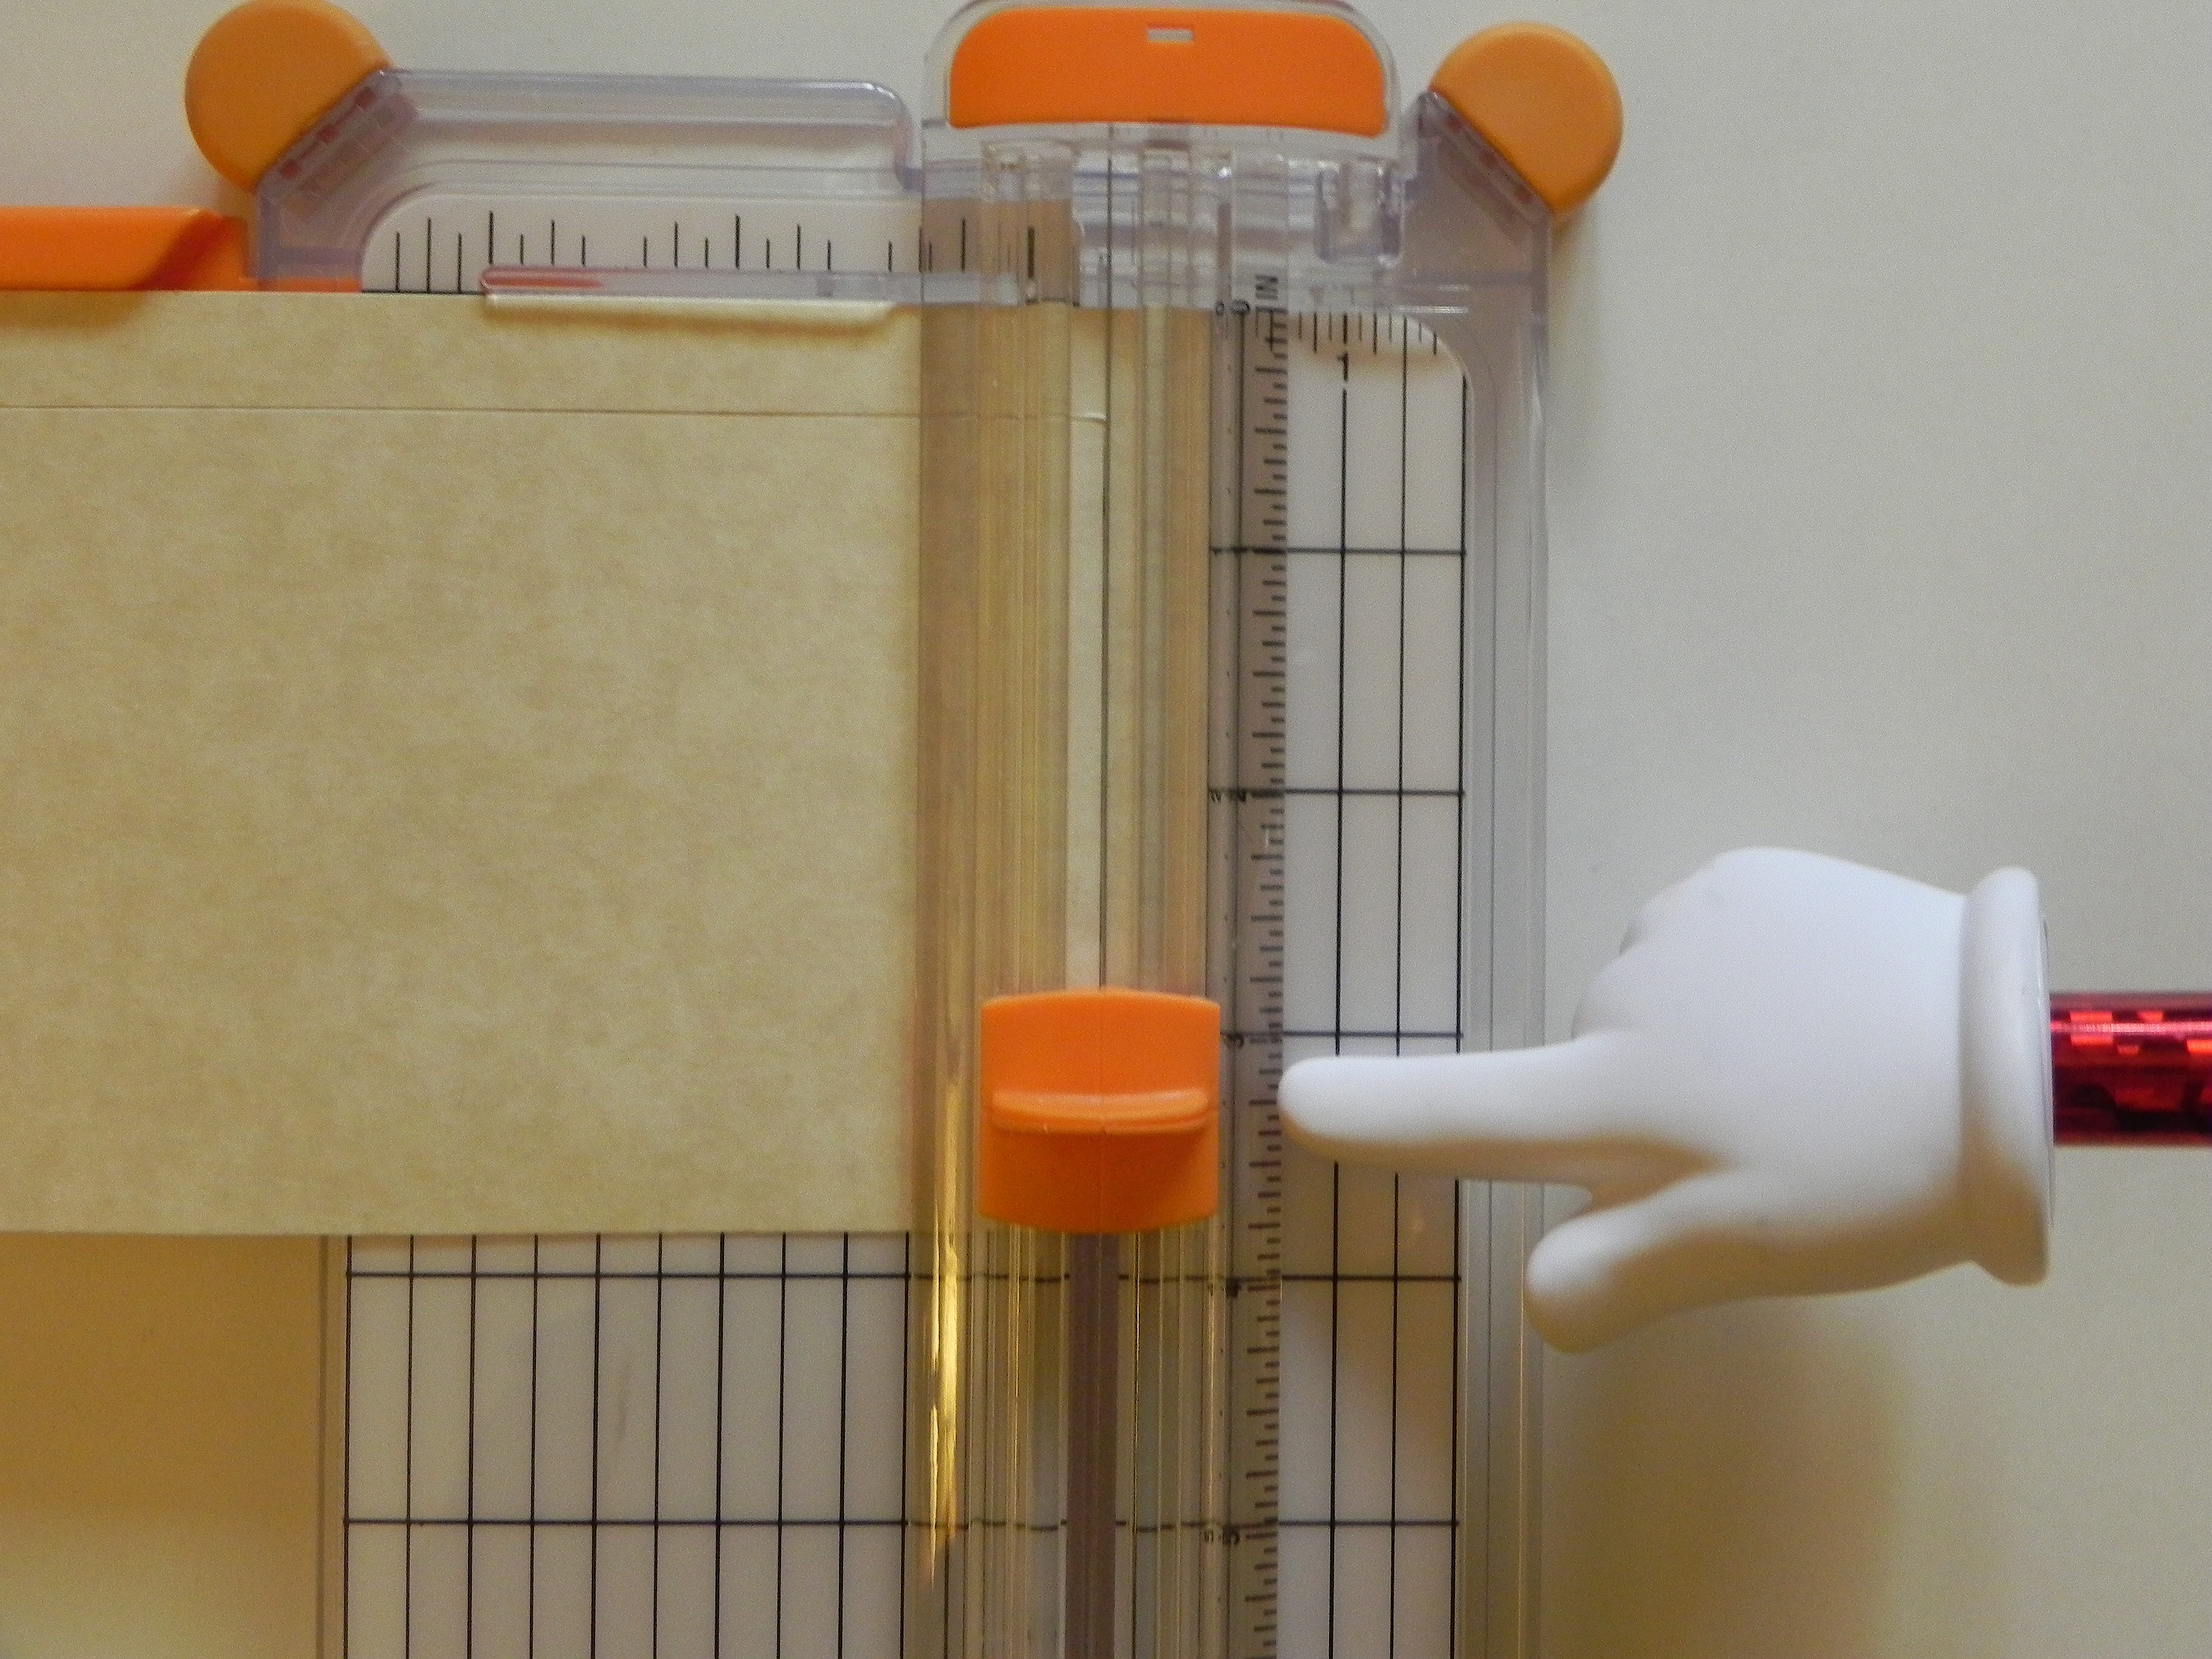
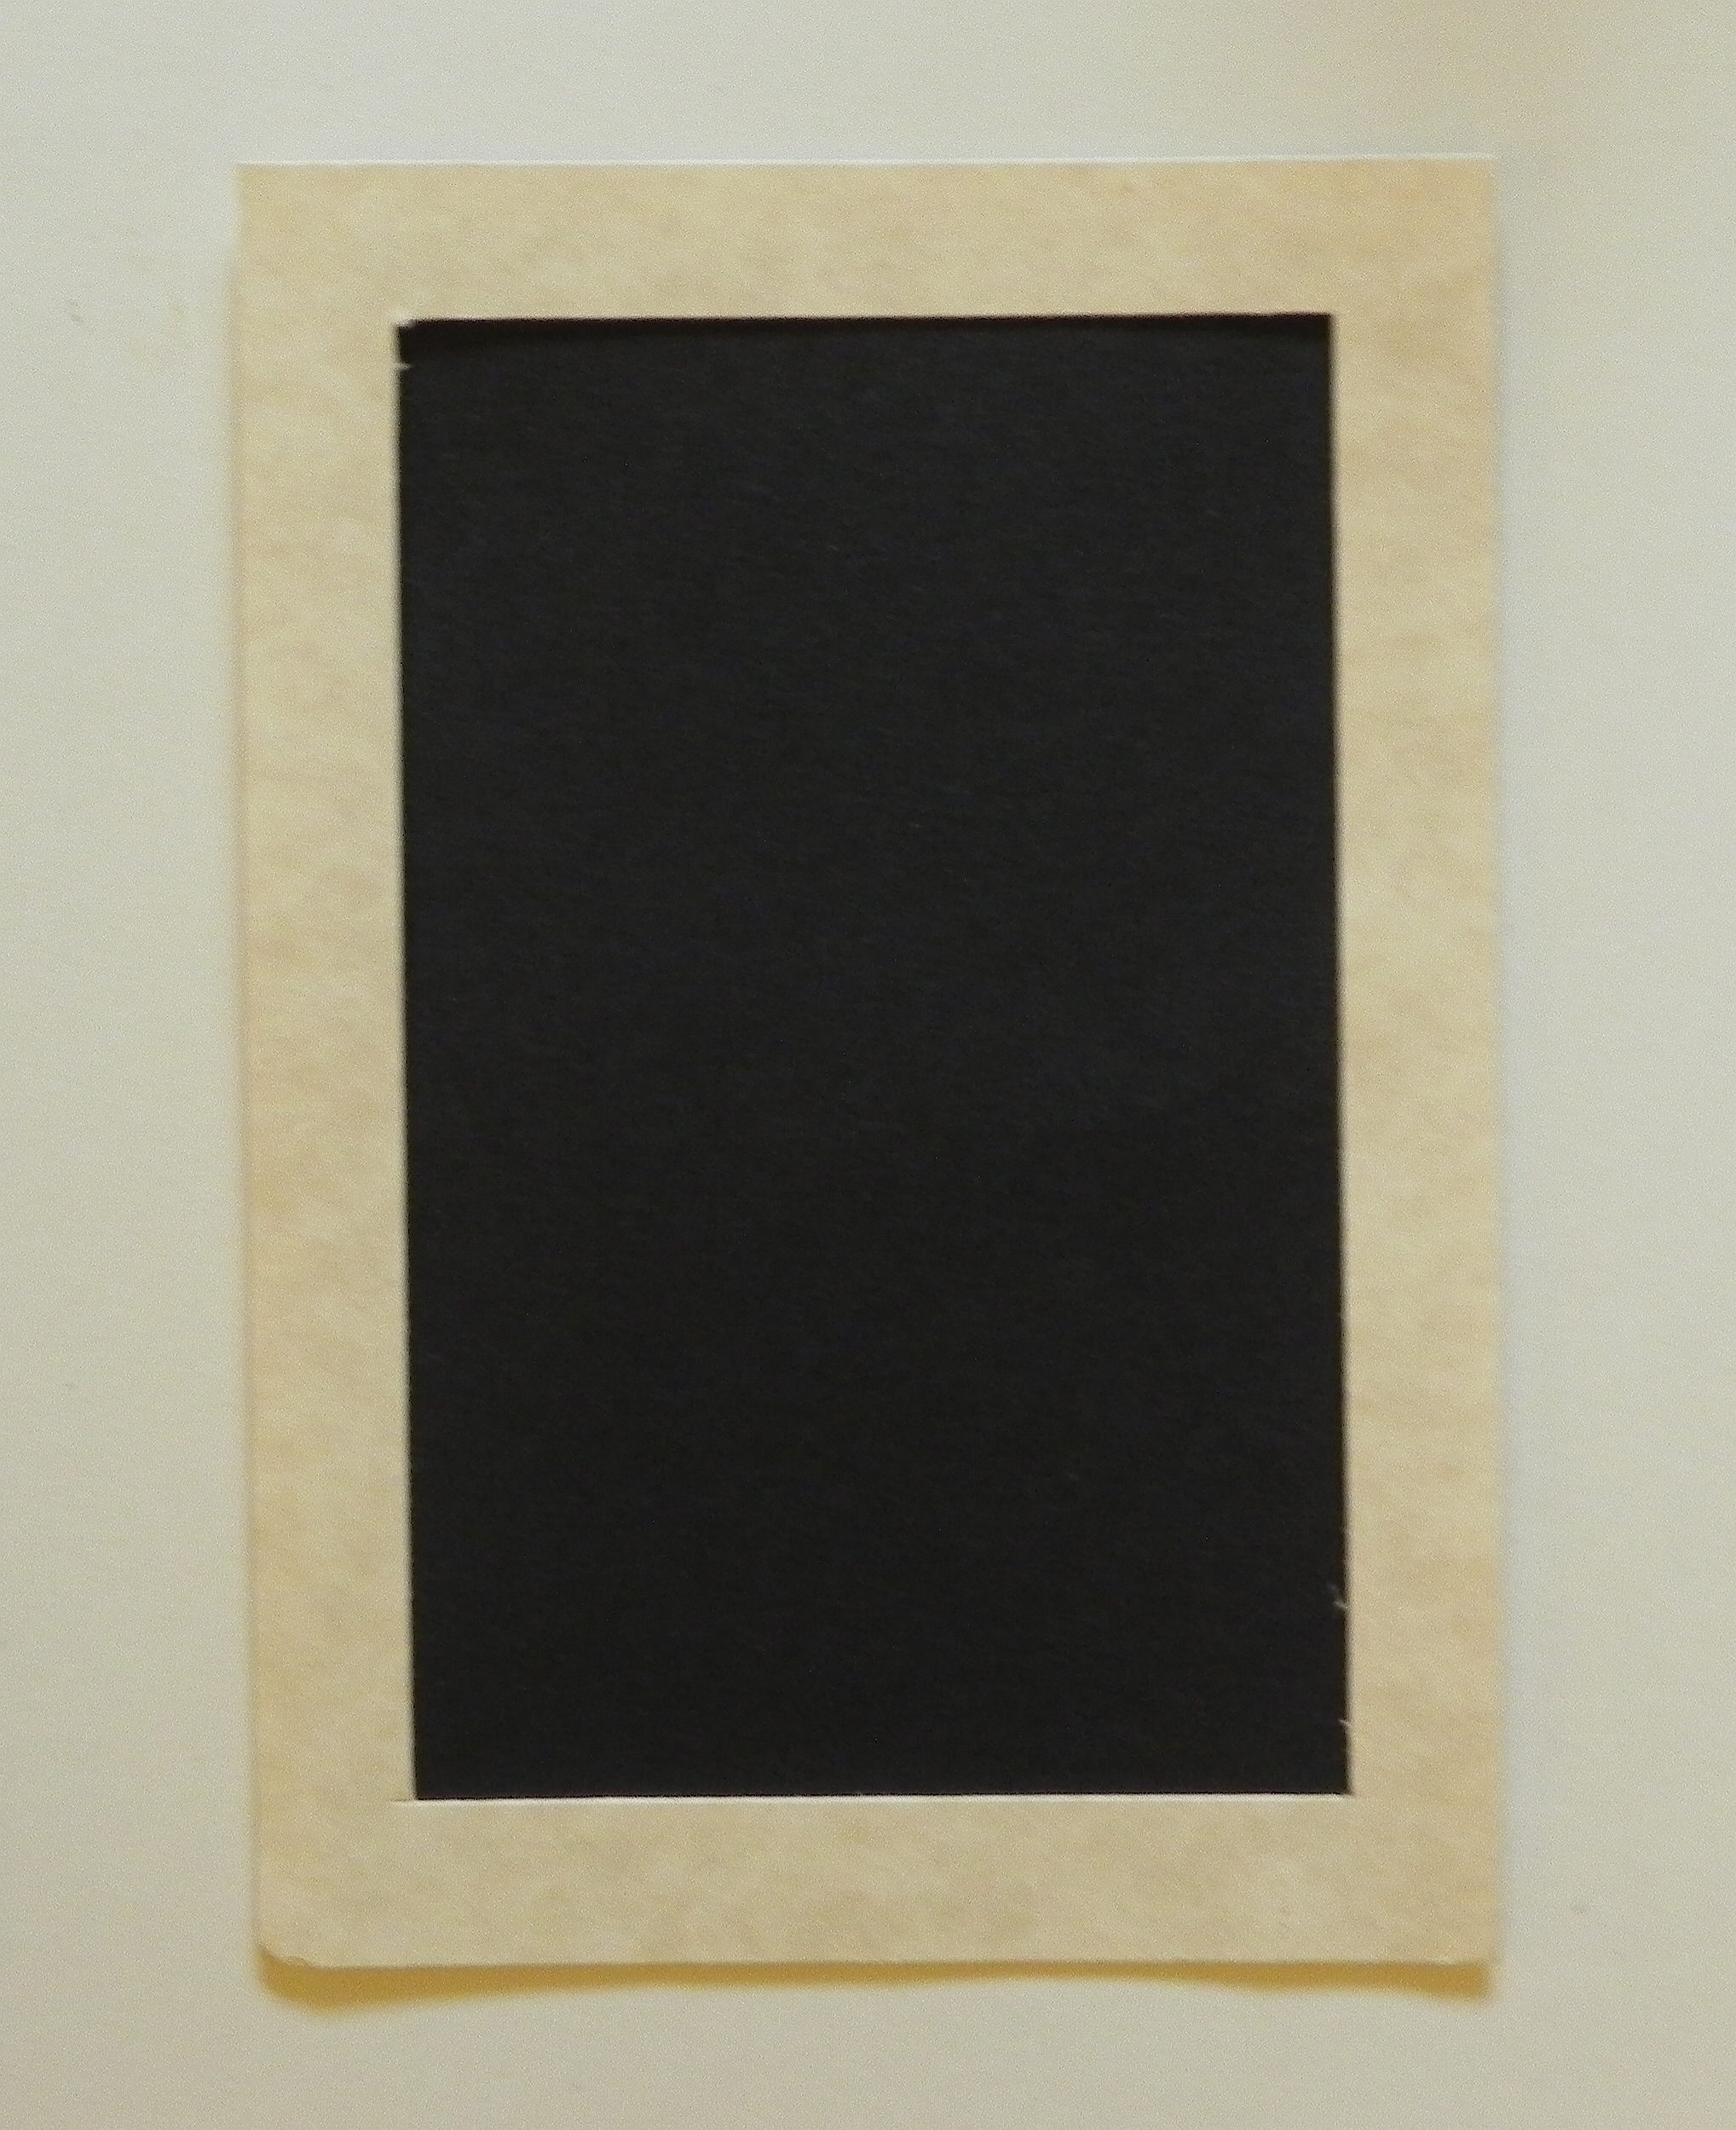
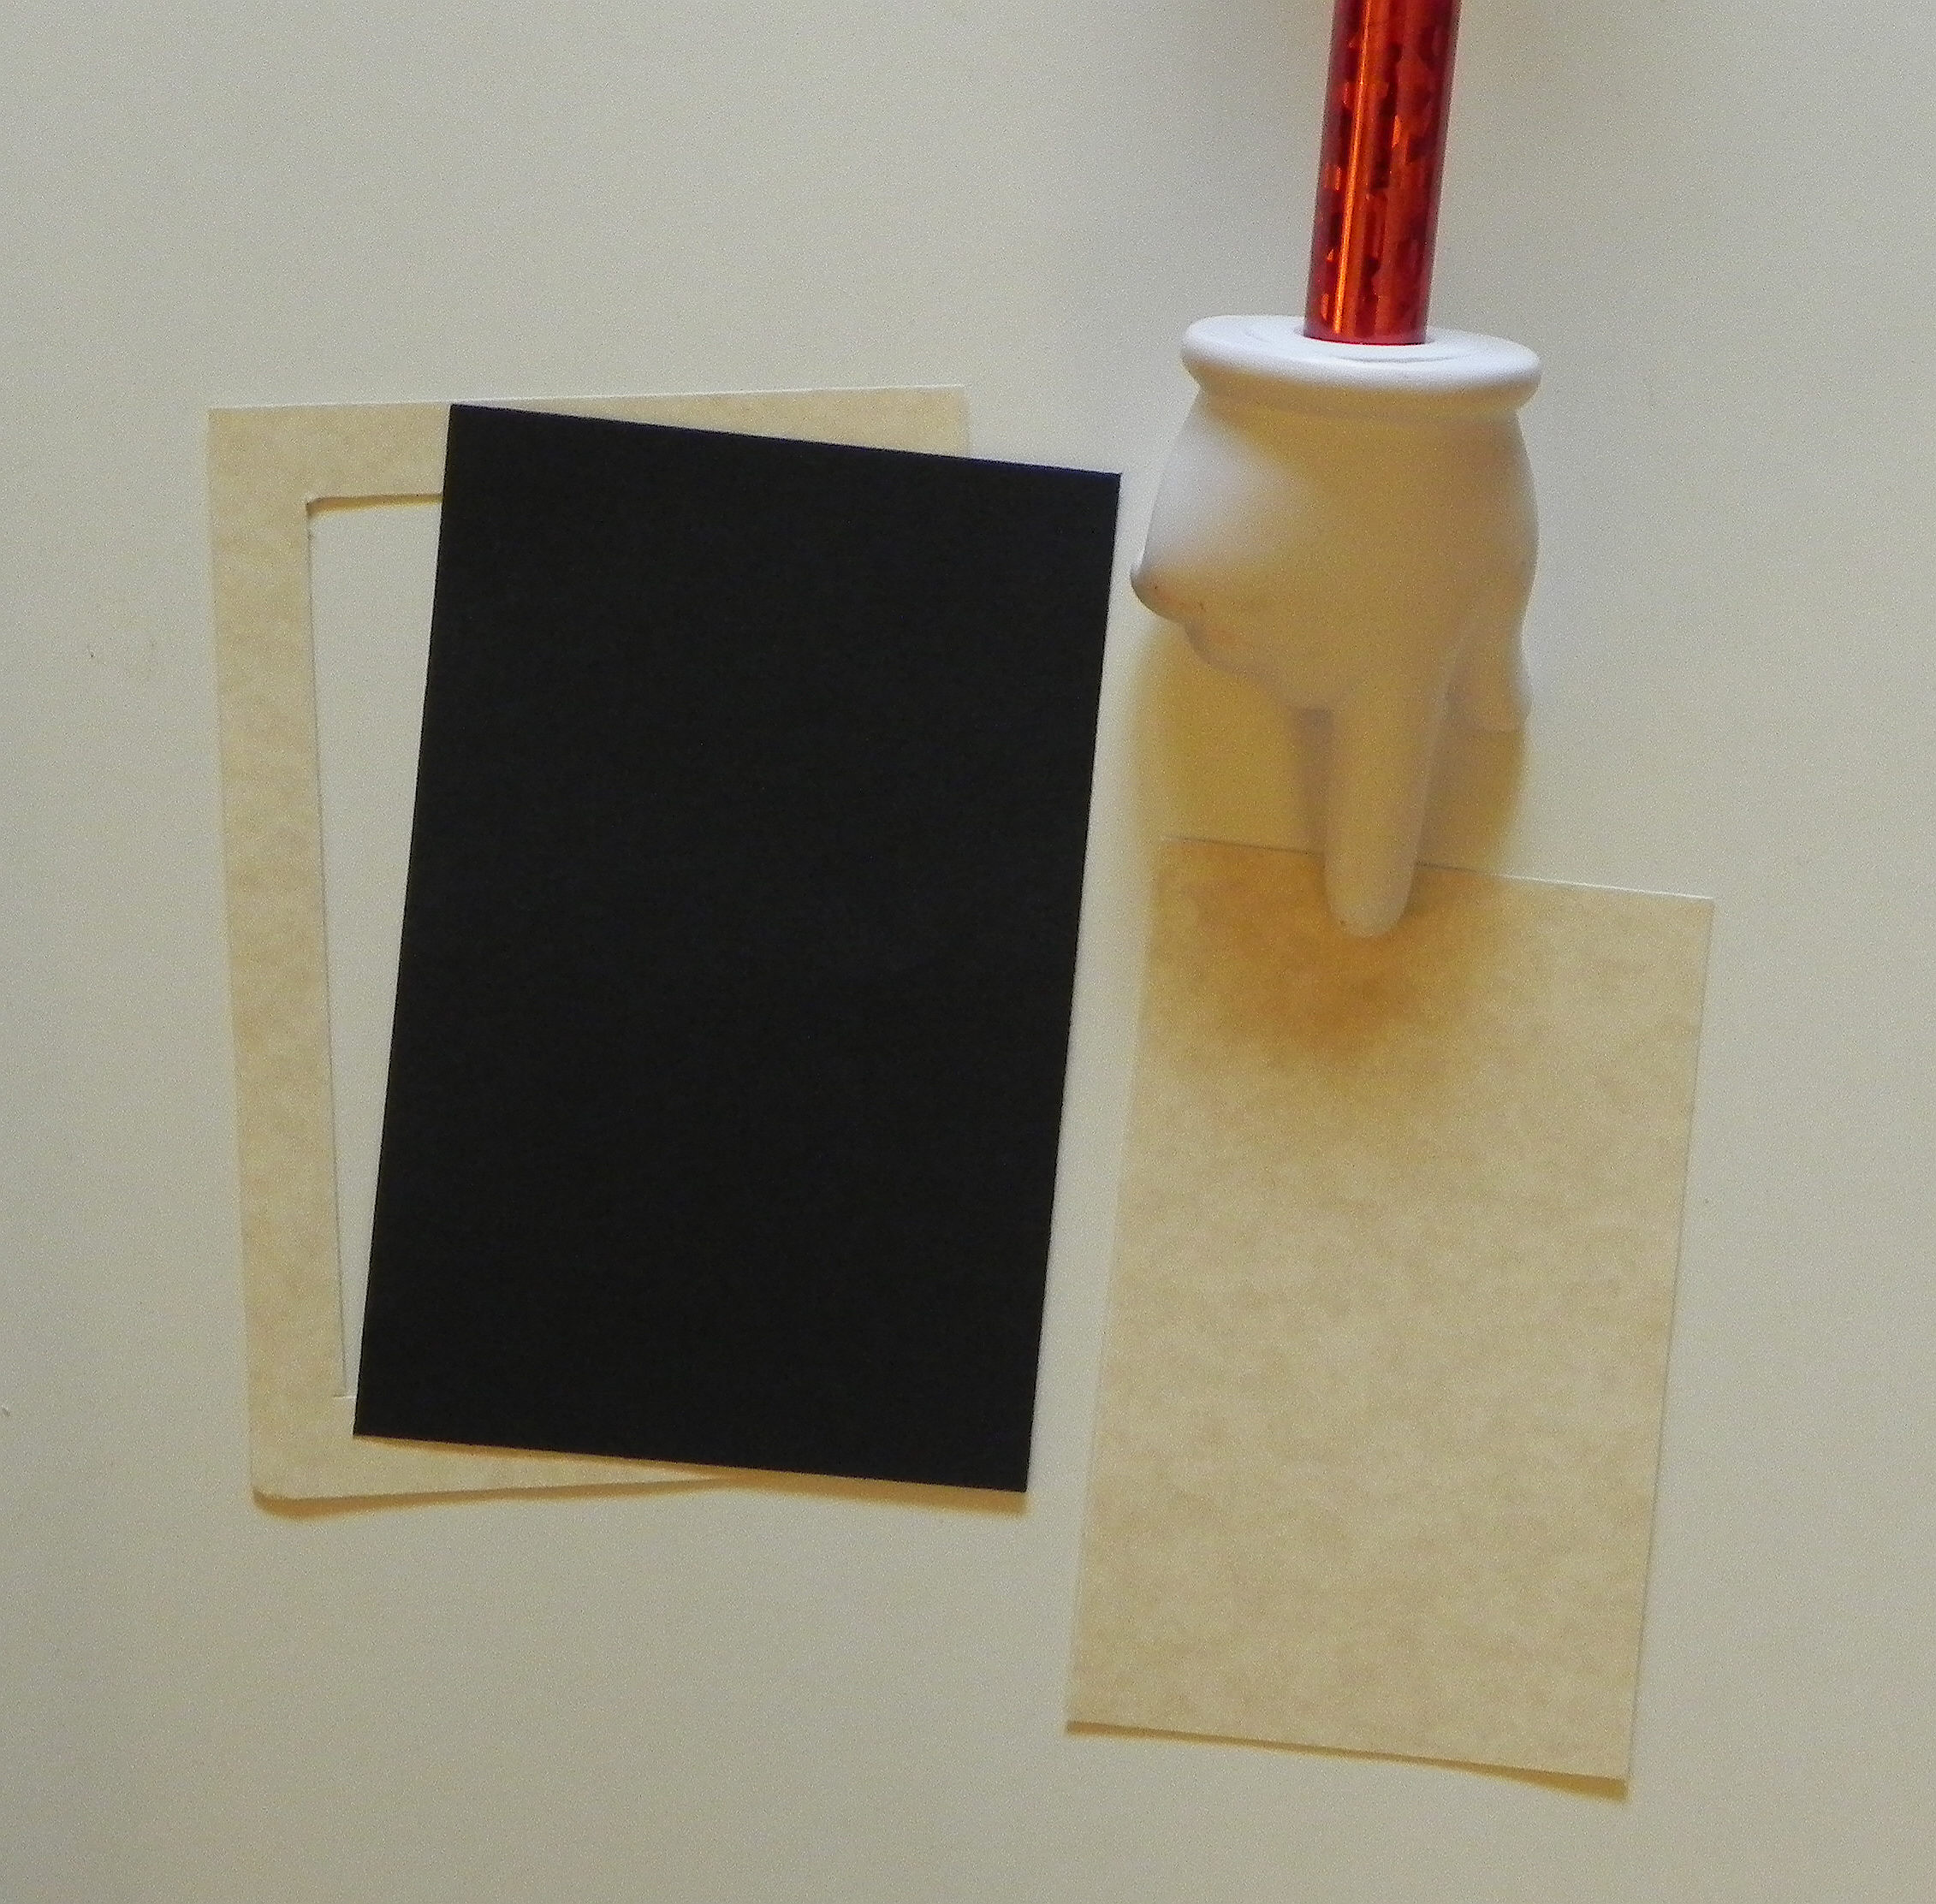
What was very difficult about doing these pages back in 2005 was the lack of martial arts materials and supplies. After much searching and frustration, I found a woman (who owned a scrapbook supply store which has since closed, I think) who had an electronic die cutting machine (which I had never heard of before). I’m not sure what kind she had but it was a huge machine, and she had CD’s with tons of images from which to choose. Luckily, she had quite a few karate images. She cut 4 of everything for me so I have all the dies ready for Kelly’s, Kevin’s and Keith’s books when I am able to do them. (I was there all afternoon; that poor woman!!) I also was fortunate to find the website martialartspartystore.com (no longer in business) which had a lot of great stuff. I laugh now because I could cut my own stuff out with my Silhouette, and there seems to be so much more online, but back then… very little!
This page was not in the karate scrapbook but was in Eric’s regular scrapbook showing his first belt test.

“First Belt Test”
Thanks for checking out my post!