How to Make a Frame with a Paper Trimmer
I made this tutorial to answer this specific question asked by a member on StampTV: “I want to frame designs without using a whole sheet of the framing paper under the stamped object. Basically, just a frame with no inner paper. How is this done? Unfortunately, most dies do not always fit the stamped design. I would like to find a way to use a paper cutter to achieve the results.”
I recently used my paper trimmer to make the plaid frame on this card:
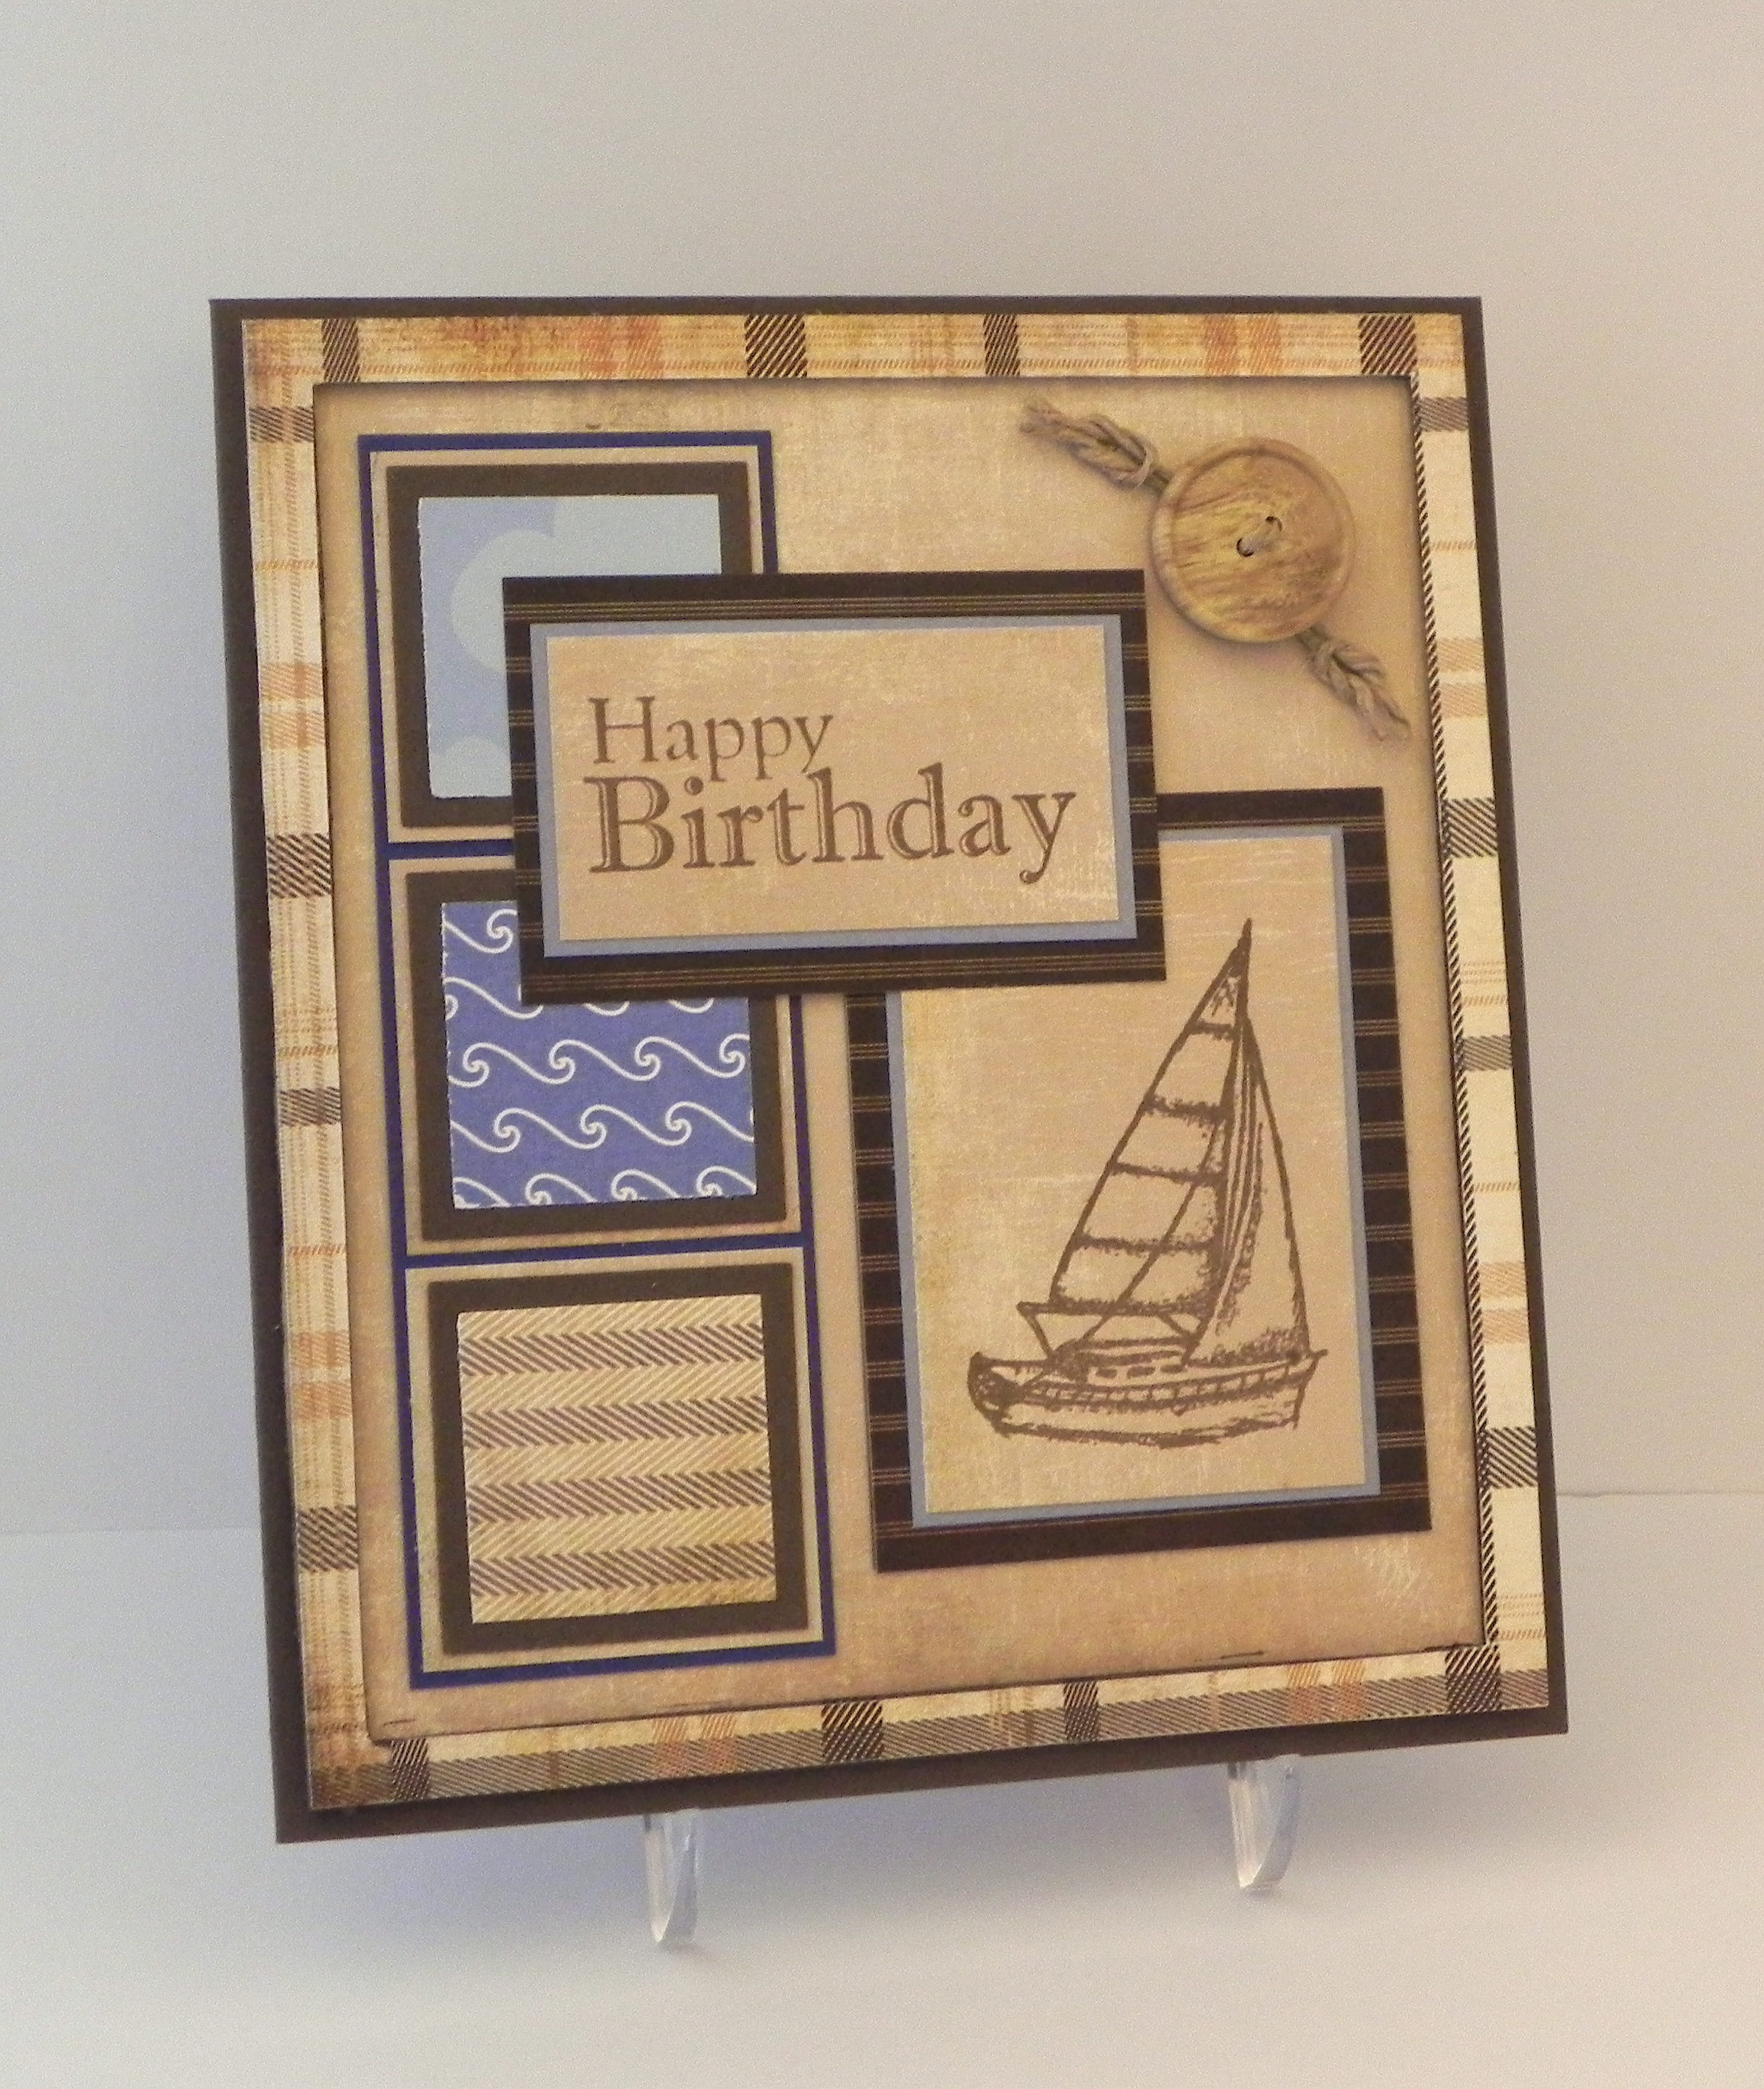
(Click HERE to see original card post.)
Here’s how I did it:
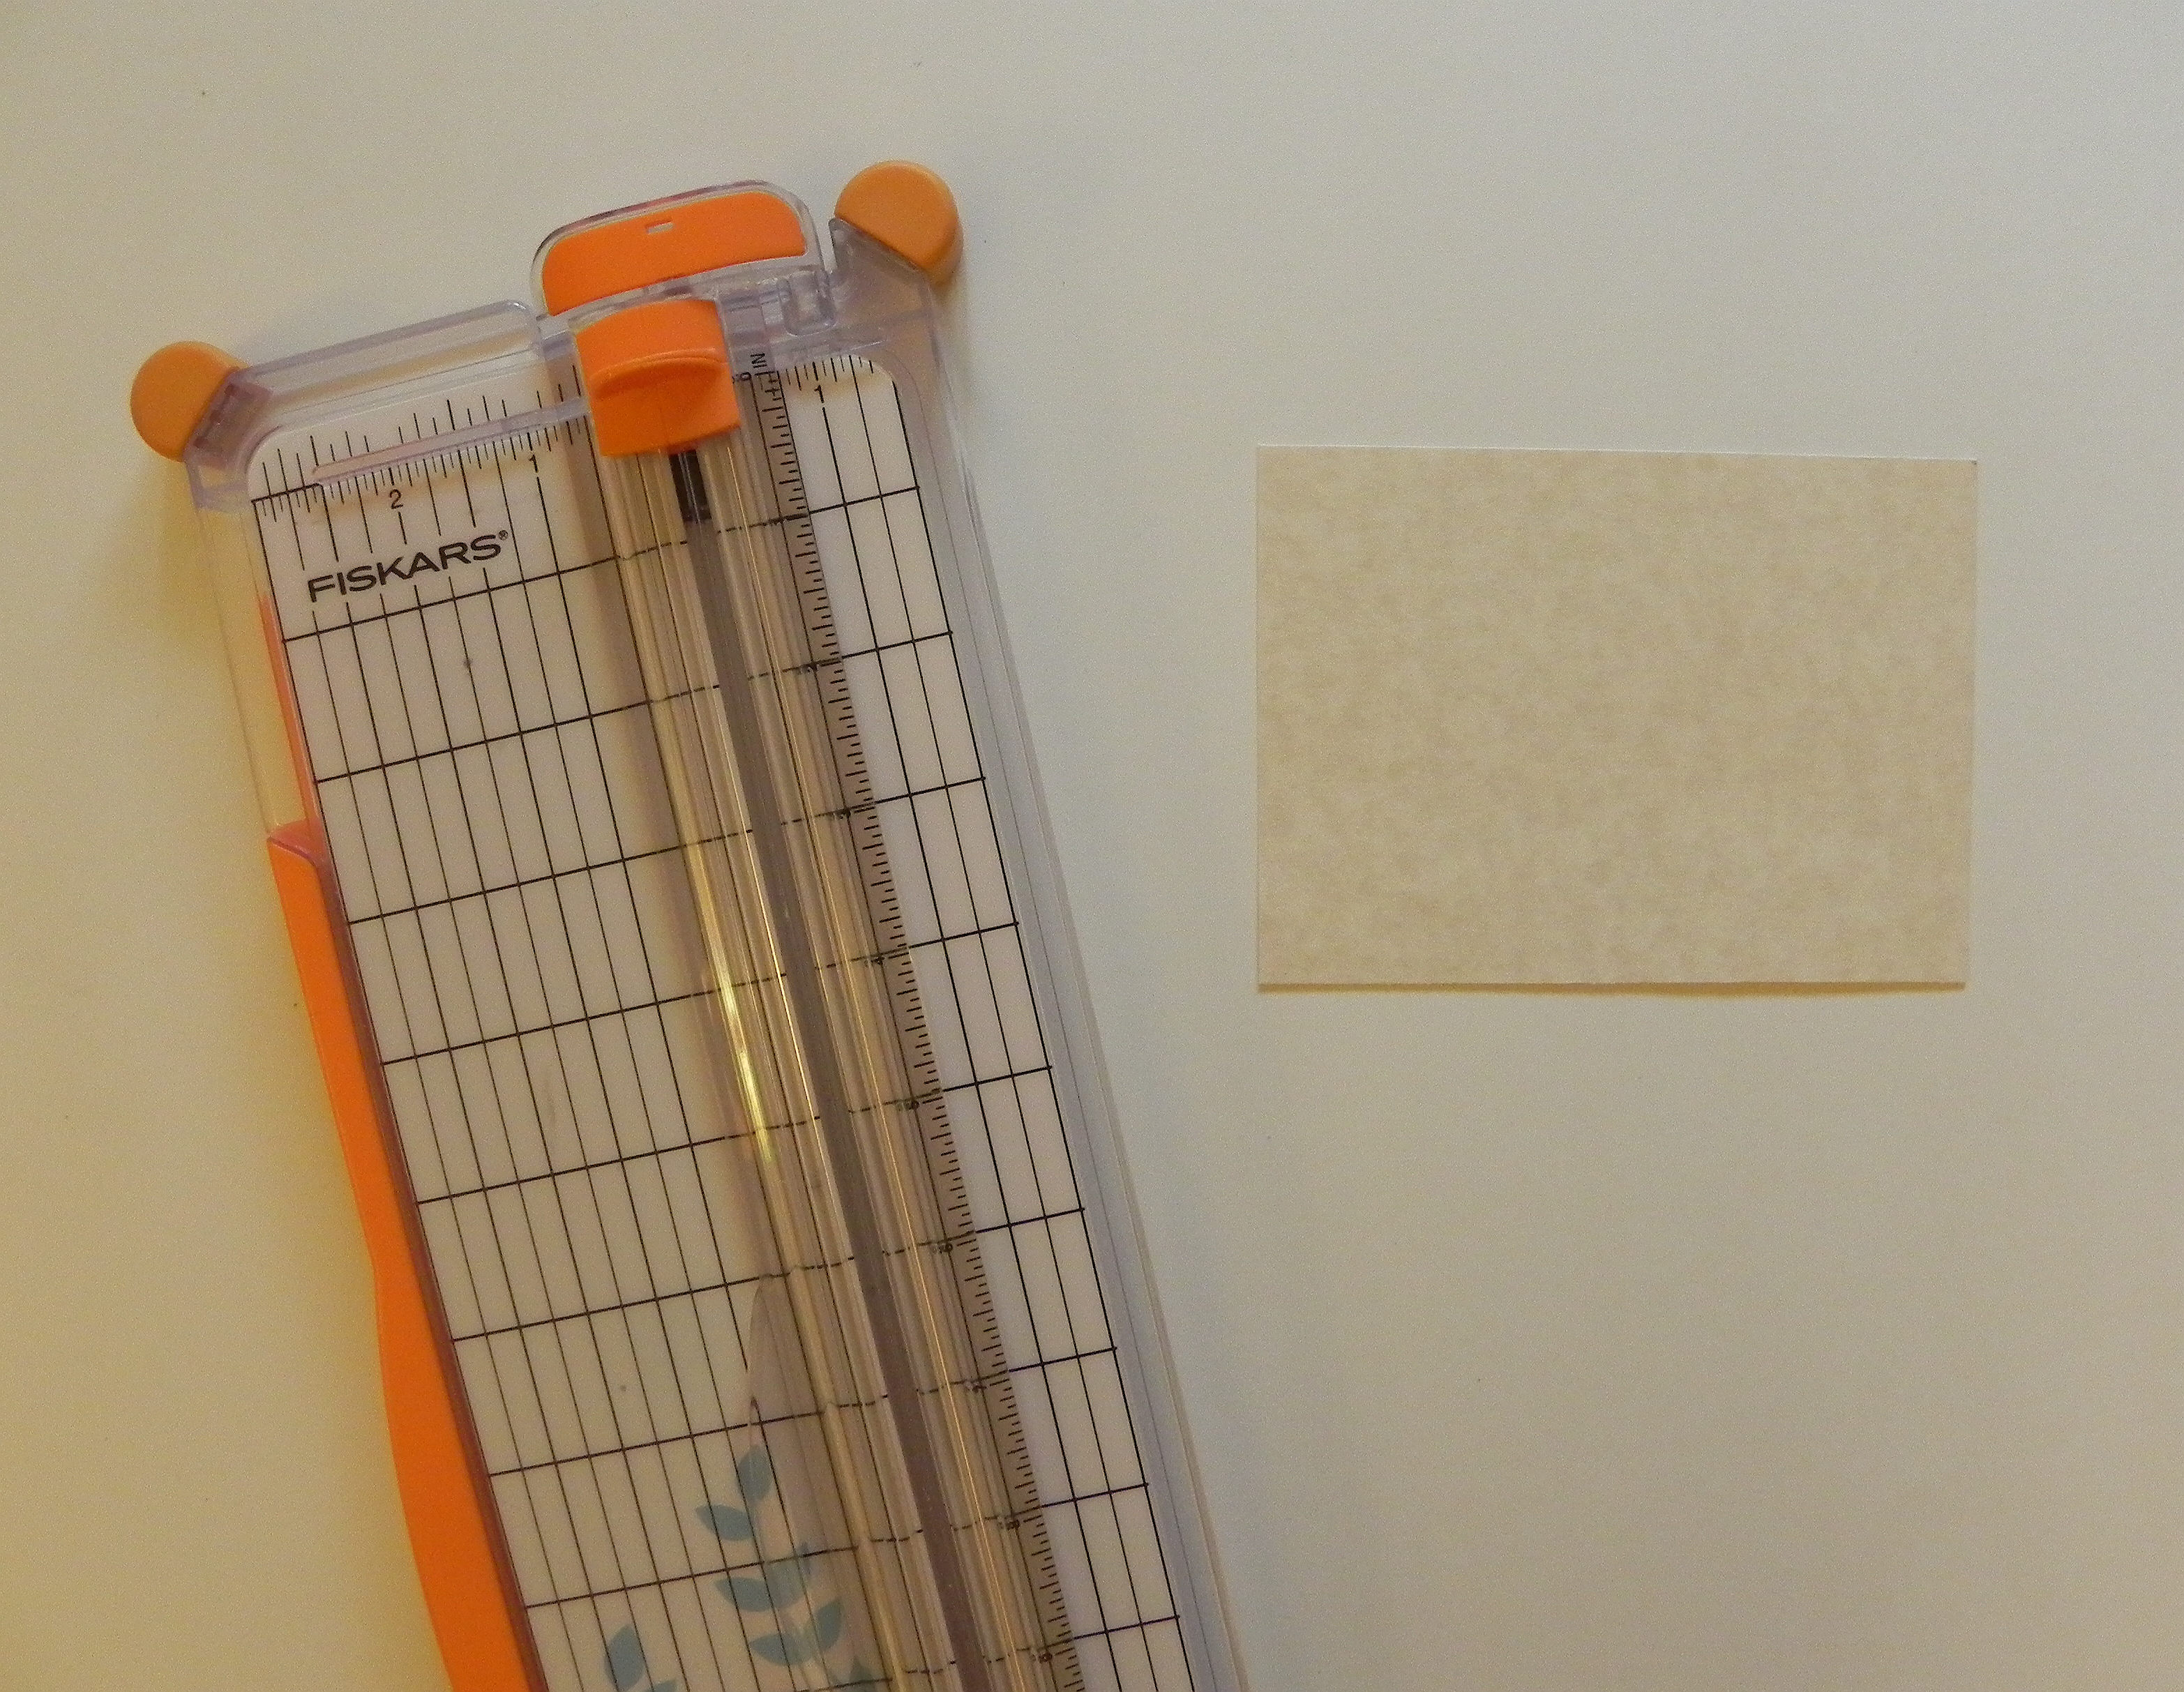
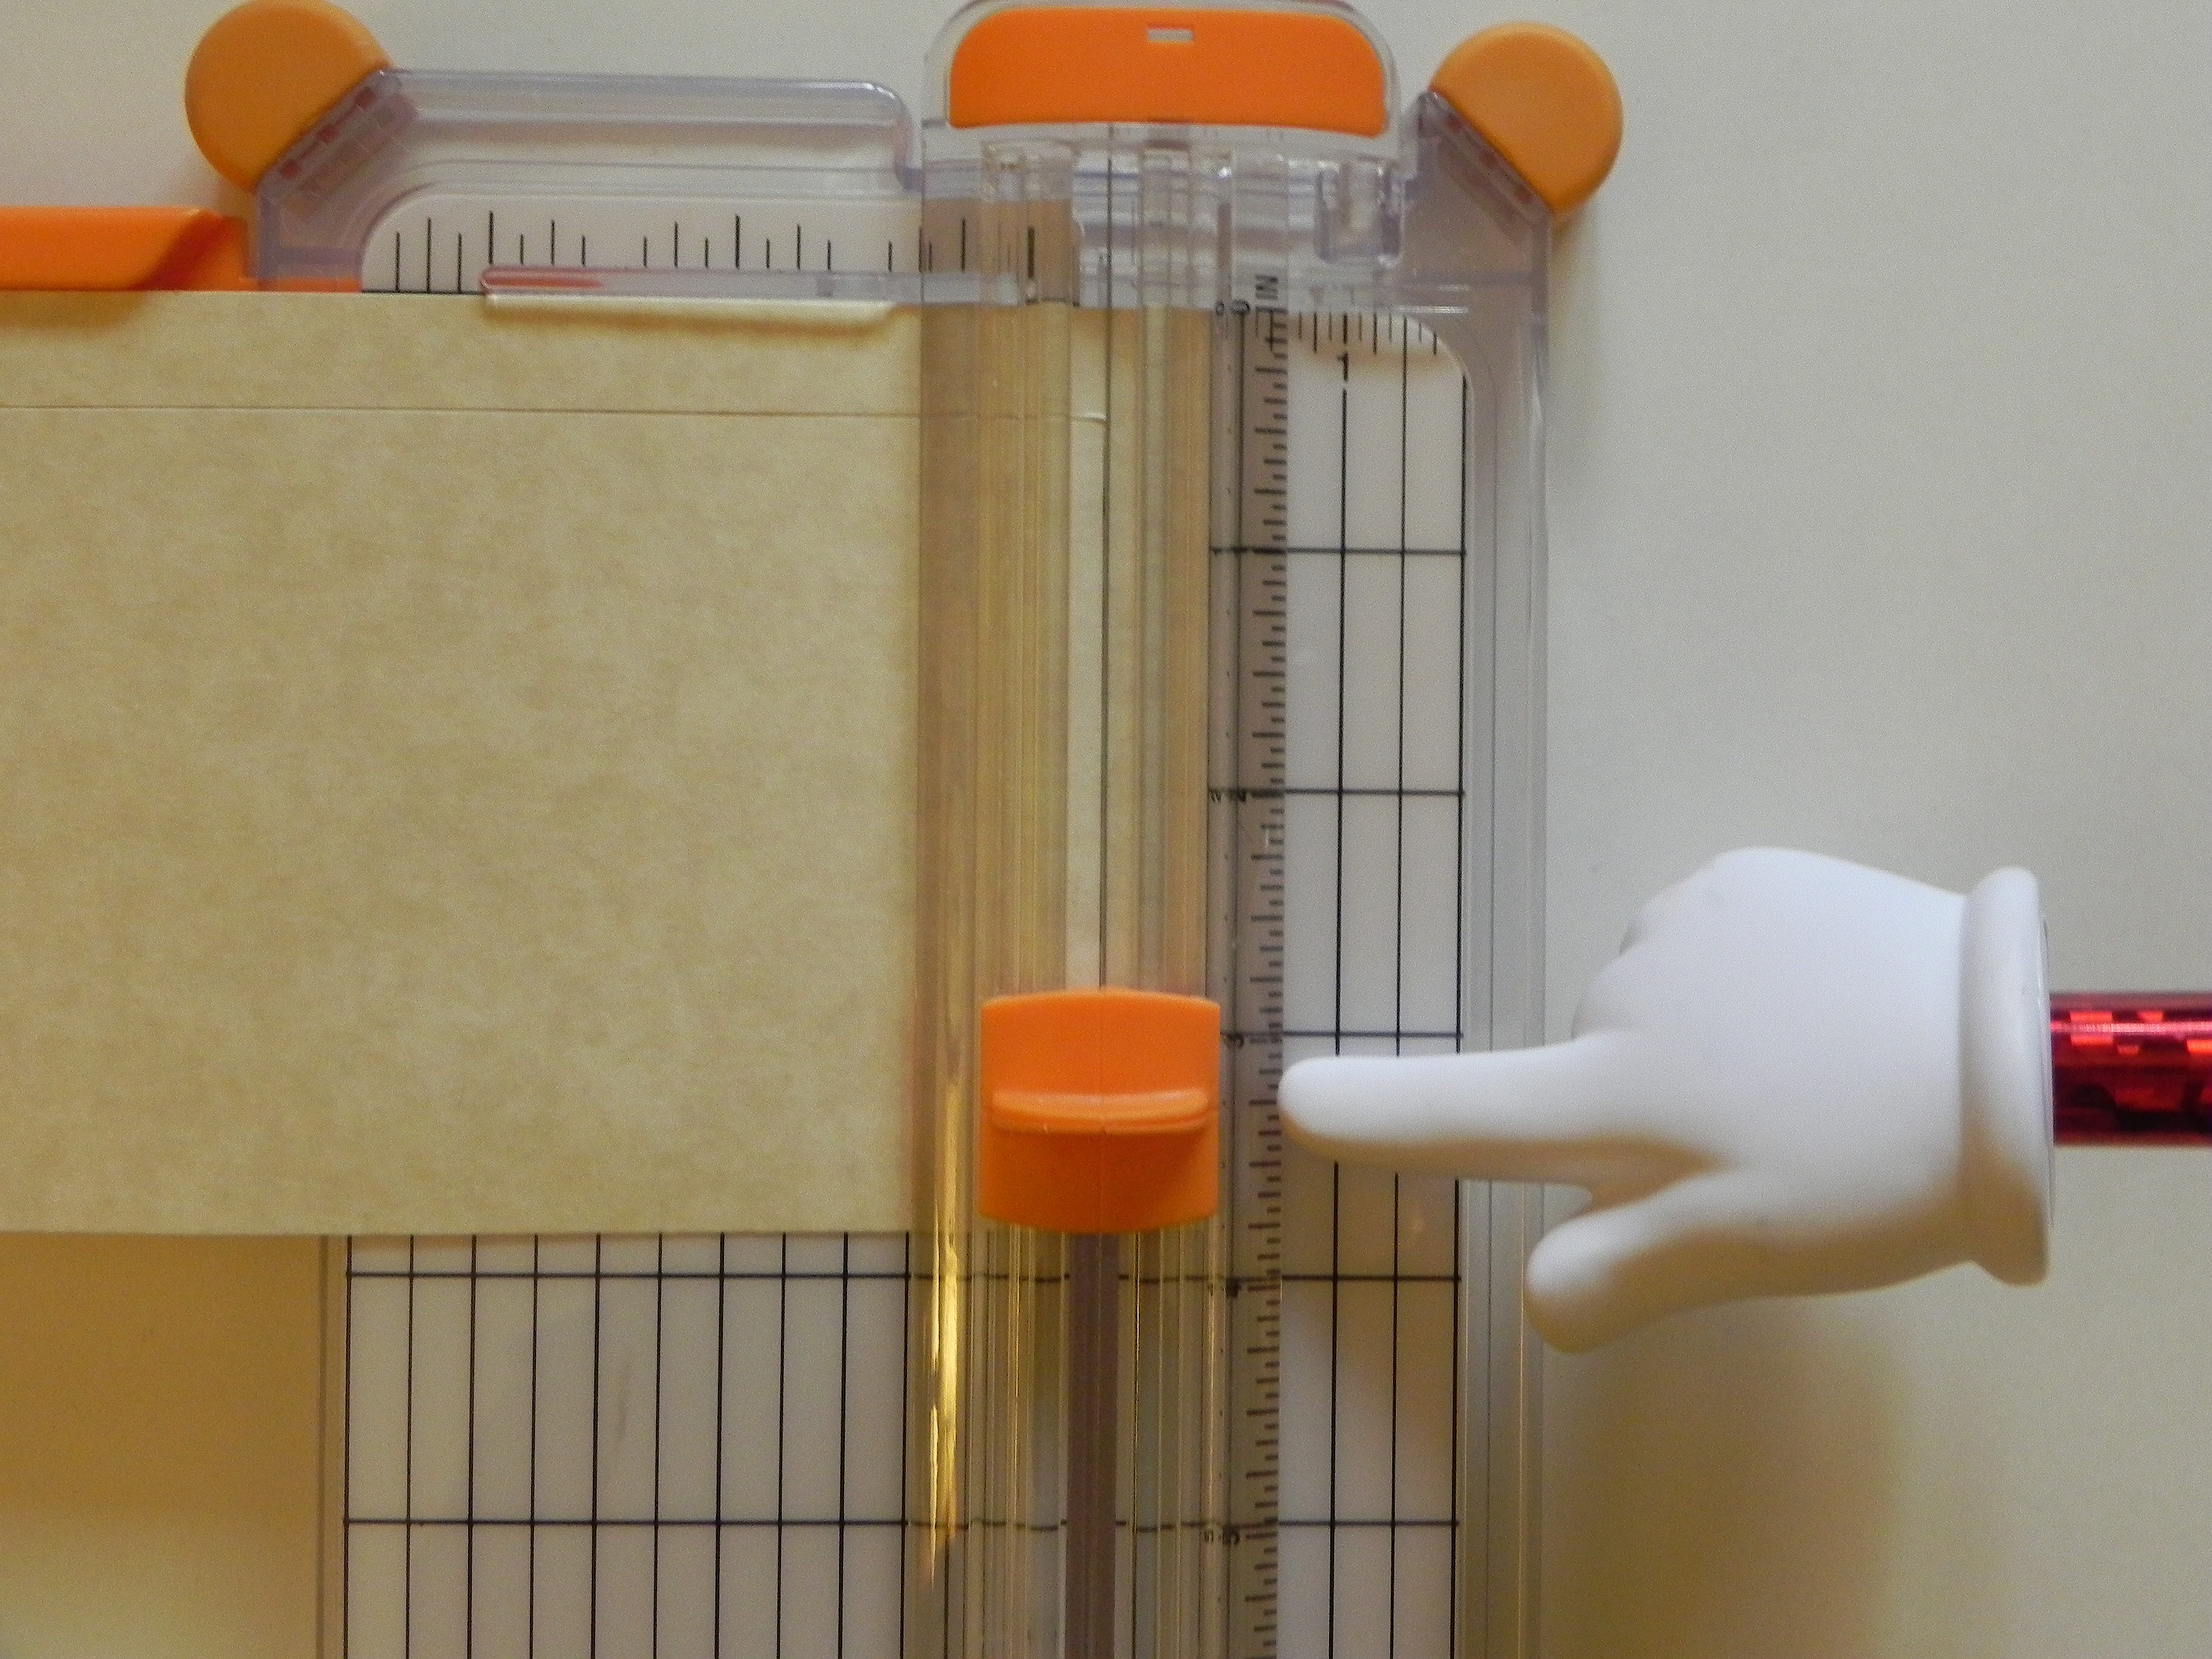
I’m using a Fiskar’s trimmer, although any trimmer with a sliding blade will work basically the same way. (Click on a photo if you need a closer view.)
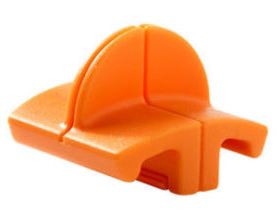
Notice the lines on the blade handle. These lines indicate where the blade is “hiding” underneath. Since you cannot see the blade when it is down, you use these lines to position the blade where you want to make a cut. (If your trimmer does not have lines, you can use a Sharpie to make a mark on the edge of your blade handle that lines up with your blade.)

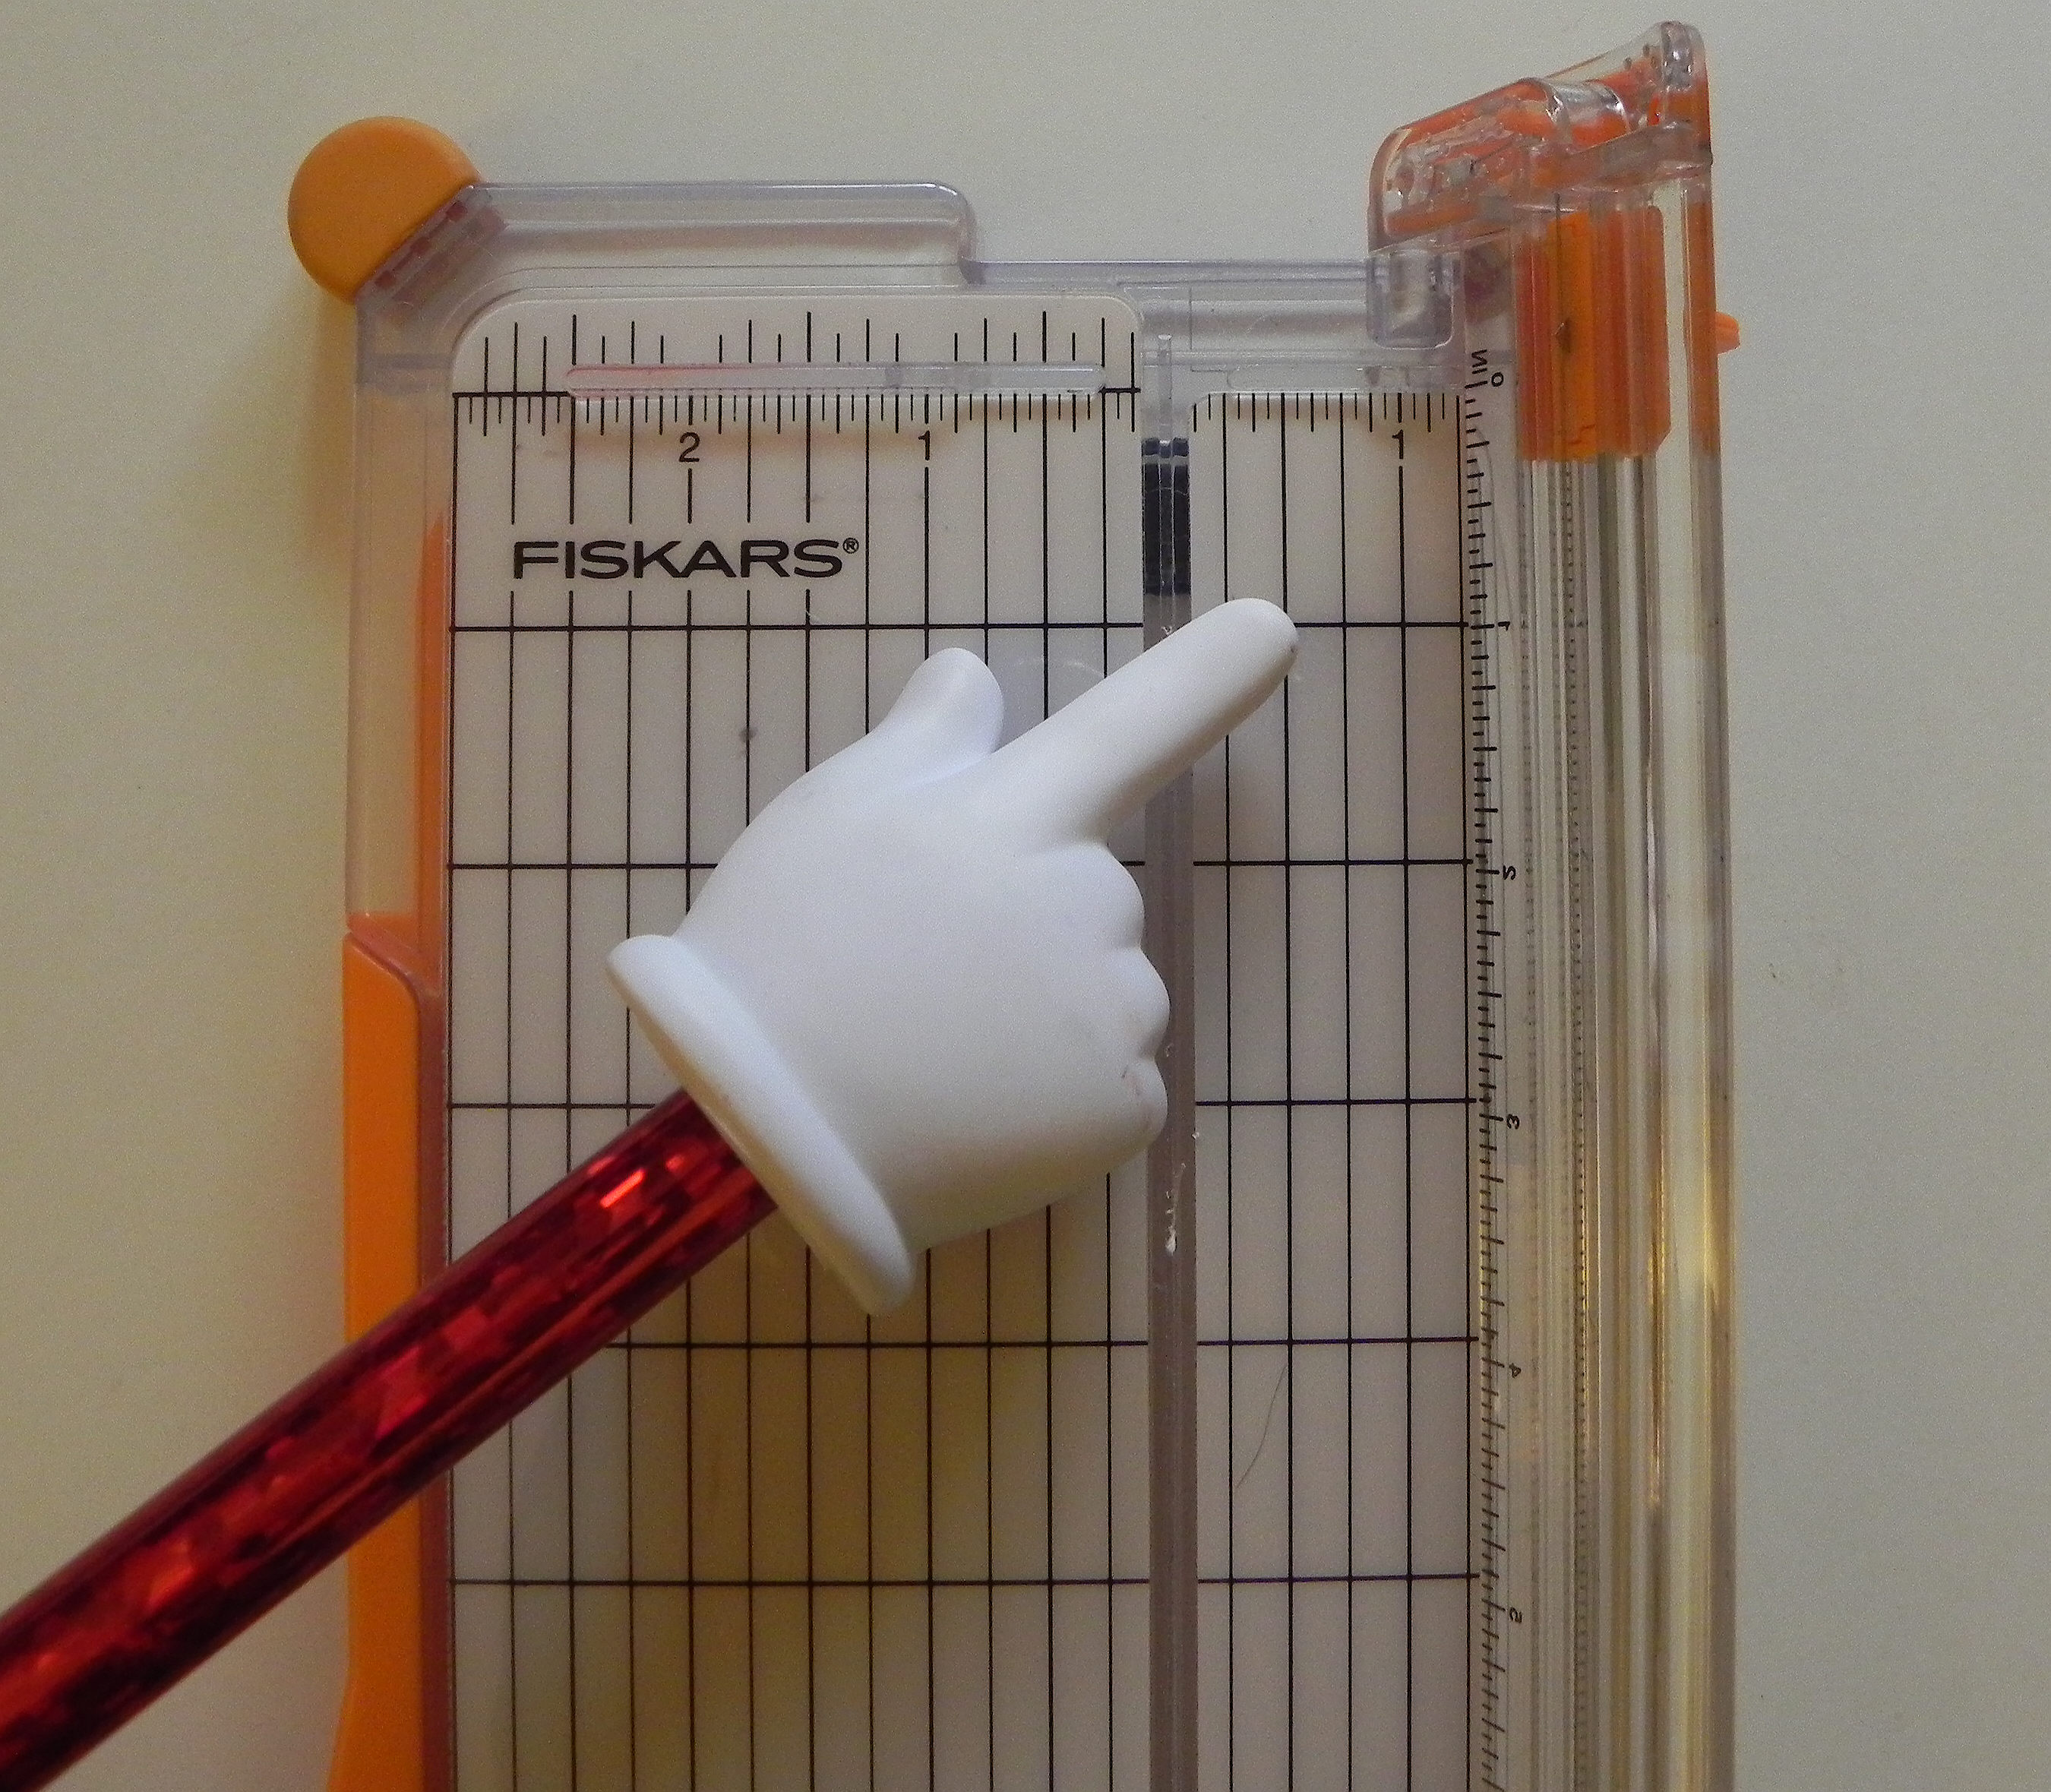
Notice the place on the trimmer where the blade actually makes the cut.

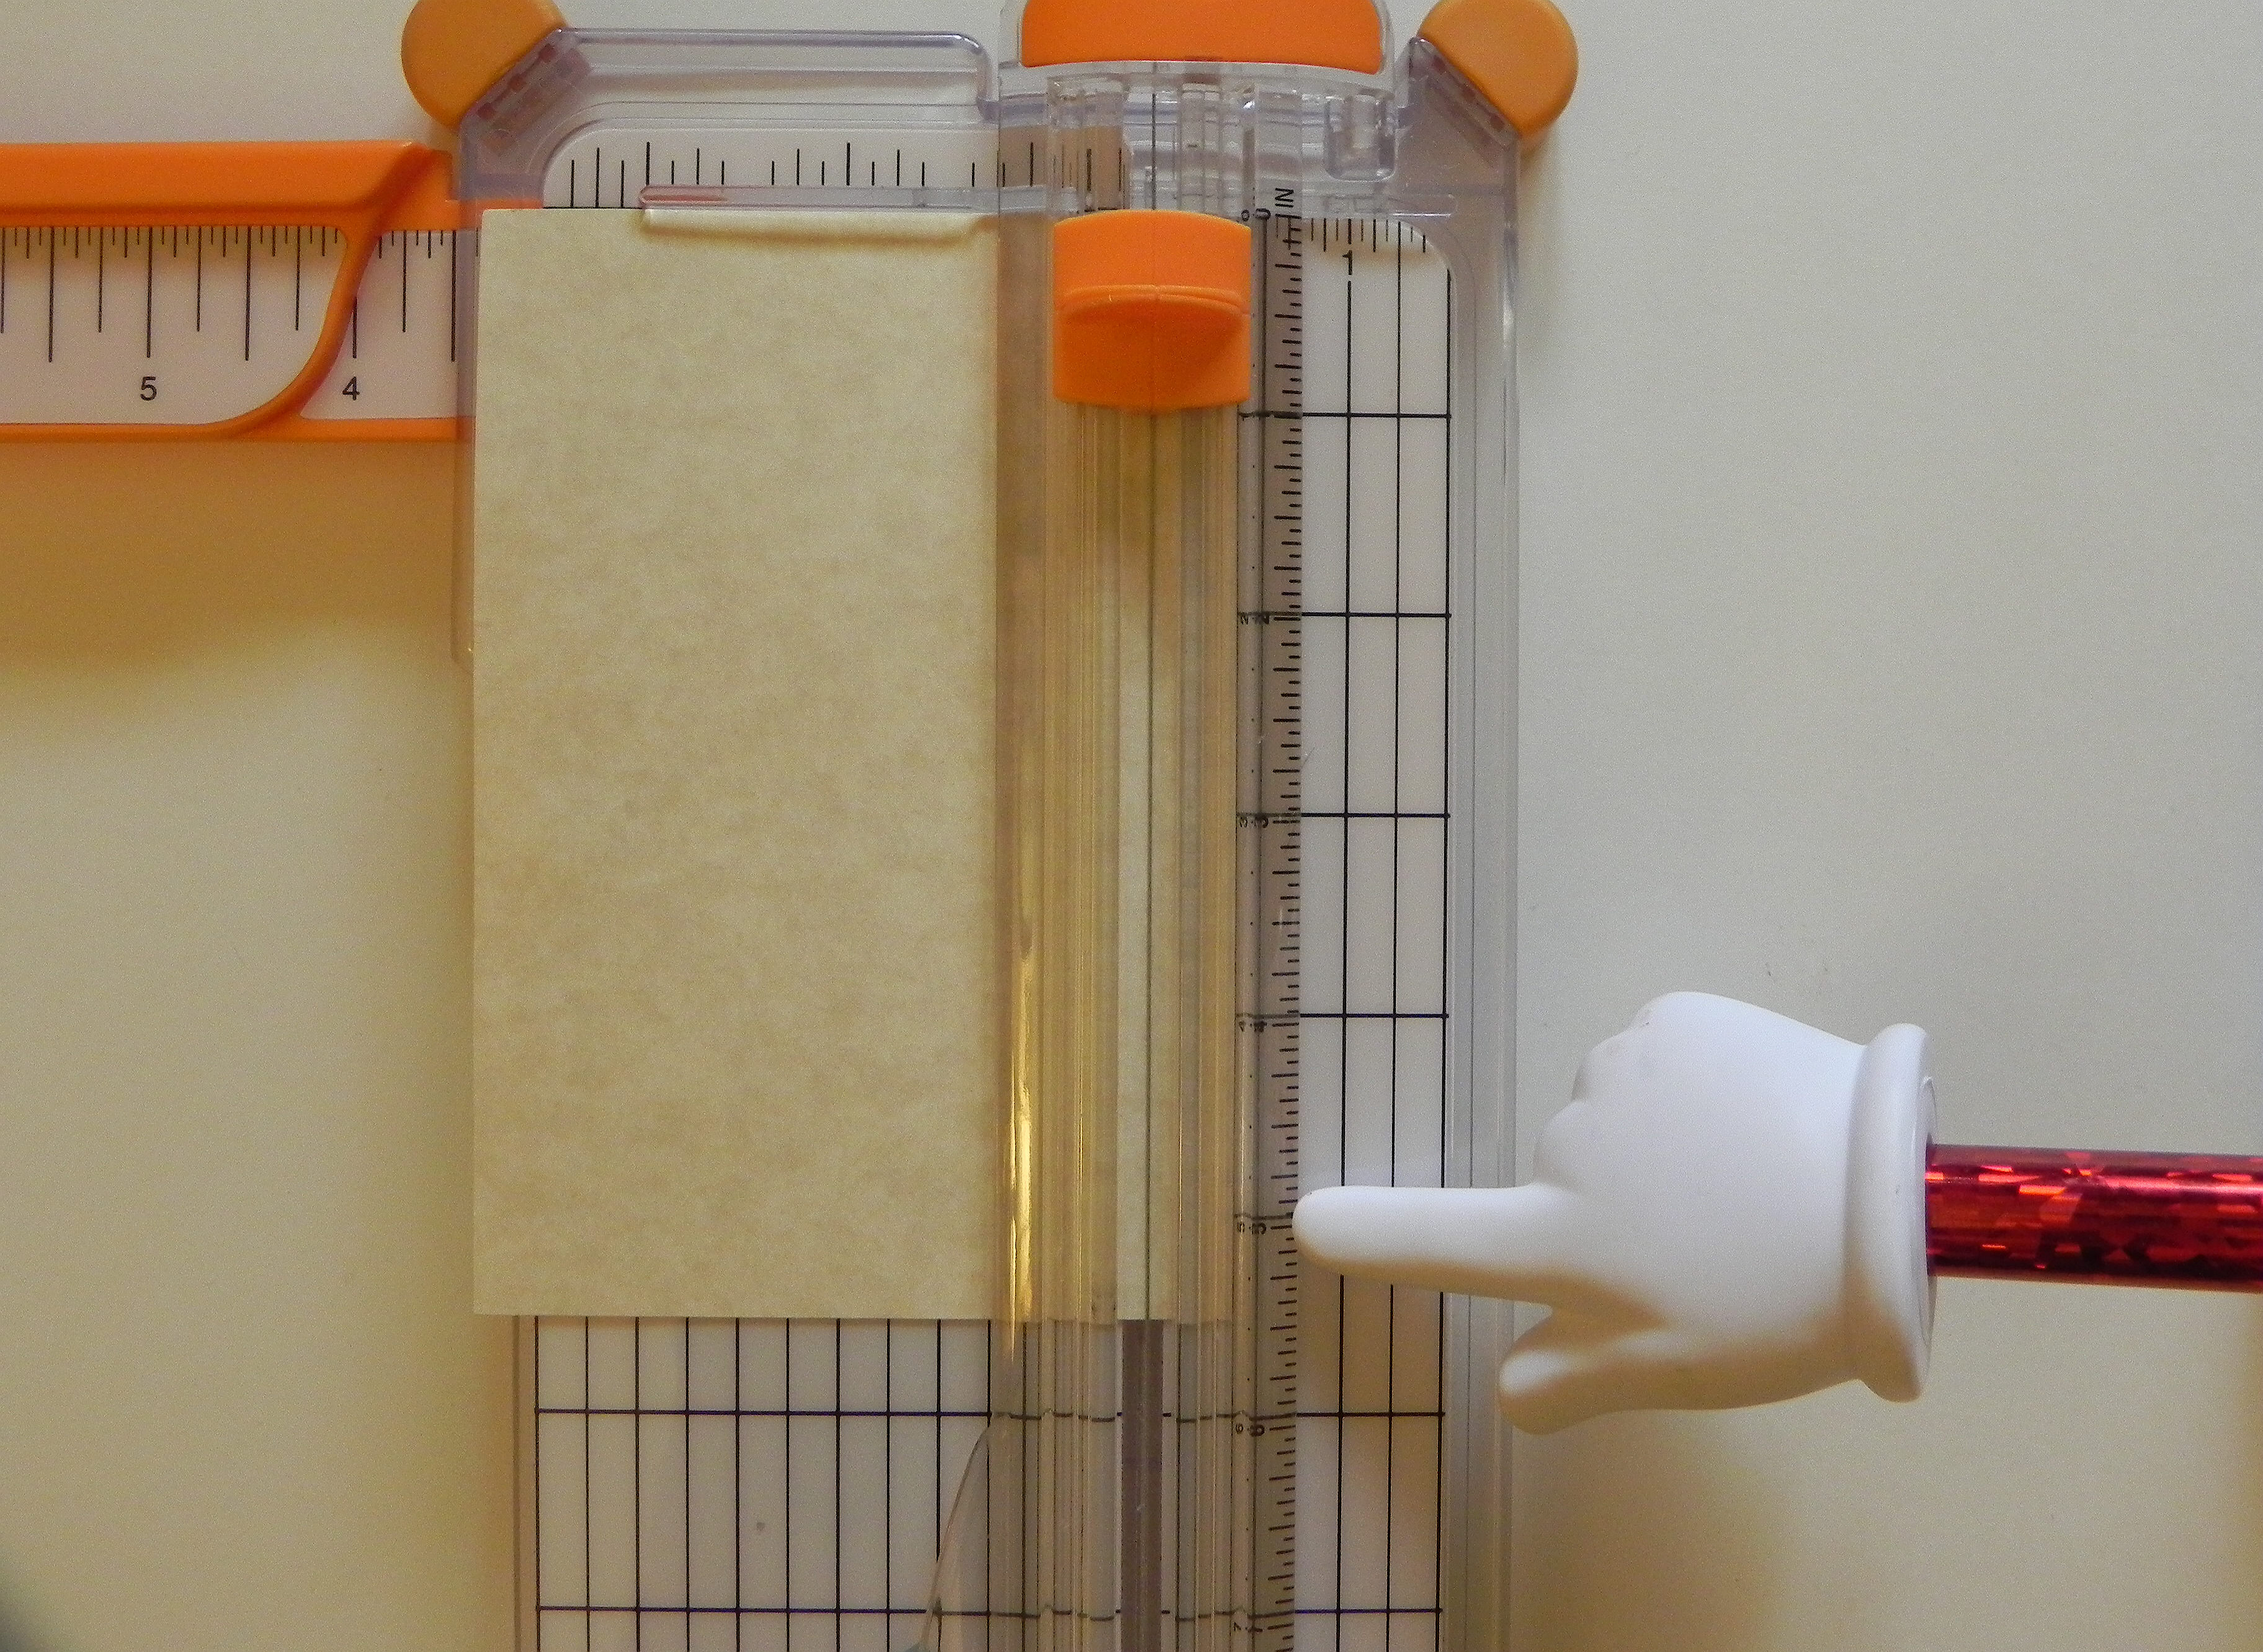
Let’s say you want to make a half inch frame. You want to find the mark on the trimmer that is 1/2 inch from the place where the blade is cutting. On my trimmer, you could go a half inch to the right or left. I am going to use the half inch mark on the right of the cut line.
Line up the edge of your paper from which you plan to cut the frame at the 1/2 inch mark indicated in the previous step.

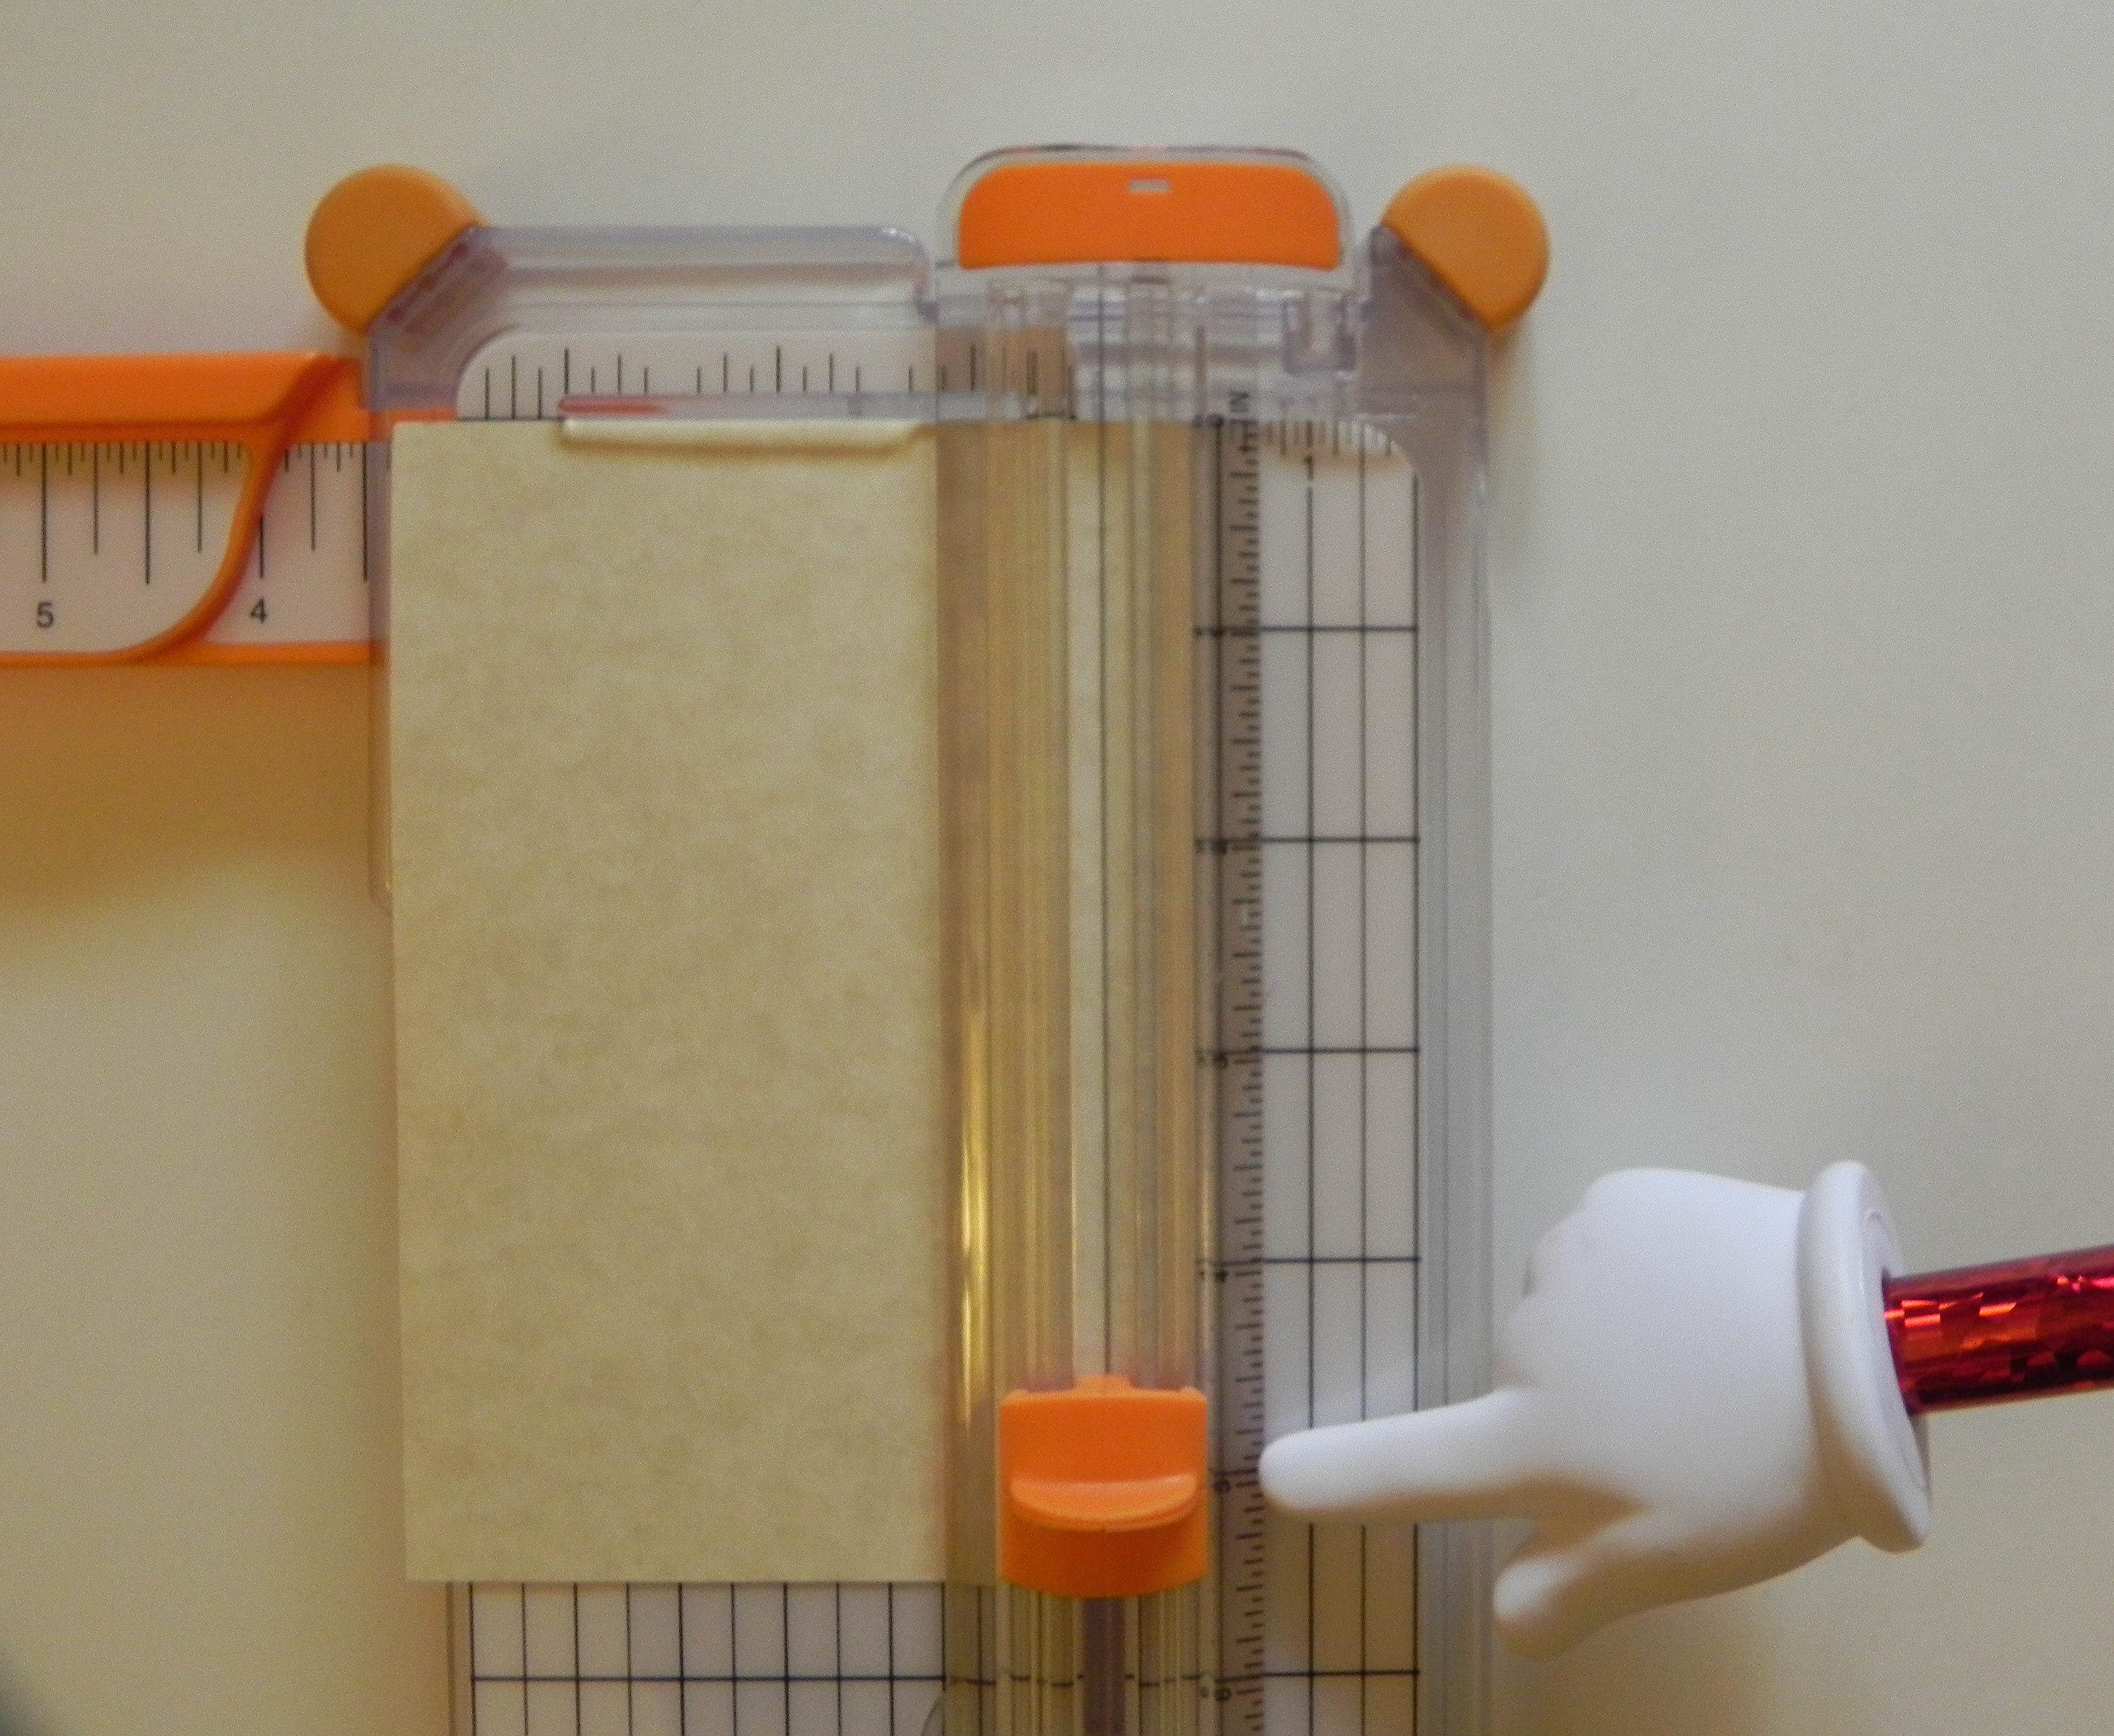
You want to line up the marks on the side of the blade handle with the 1/2 inch mark (from the top of the paper) on the ruler where the blade slides back and forth. DO NOT drag the blade into position; it will cut your paper. Lift the blade off the paper to position it. Then put it on the paper. The blade positioned here on the ruler is going to start cutting 1/2 inch from the top.

(Just a quick note – The lines on the side of the blade handle usually start all the way at the top or zero mark on the ruler and the blade will cut from the edge of the paper when in this position. This in NOT where you want it for the frame!)

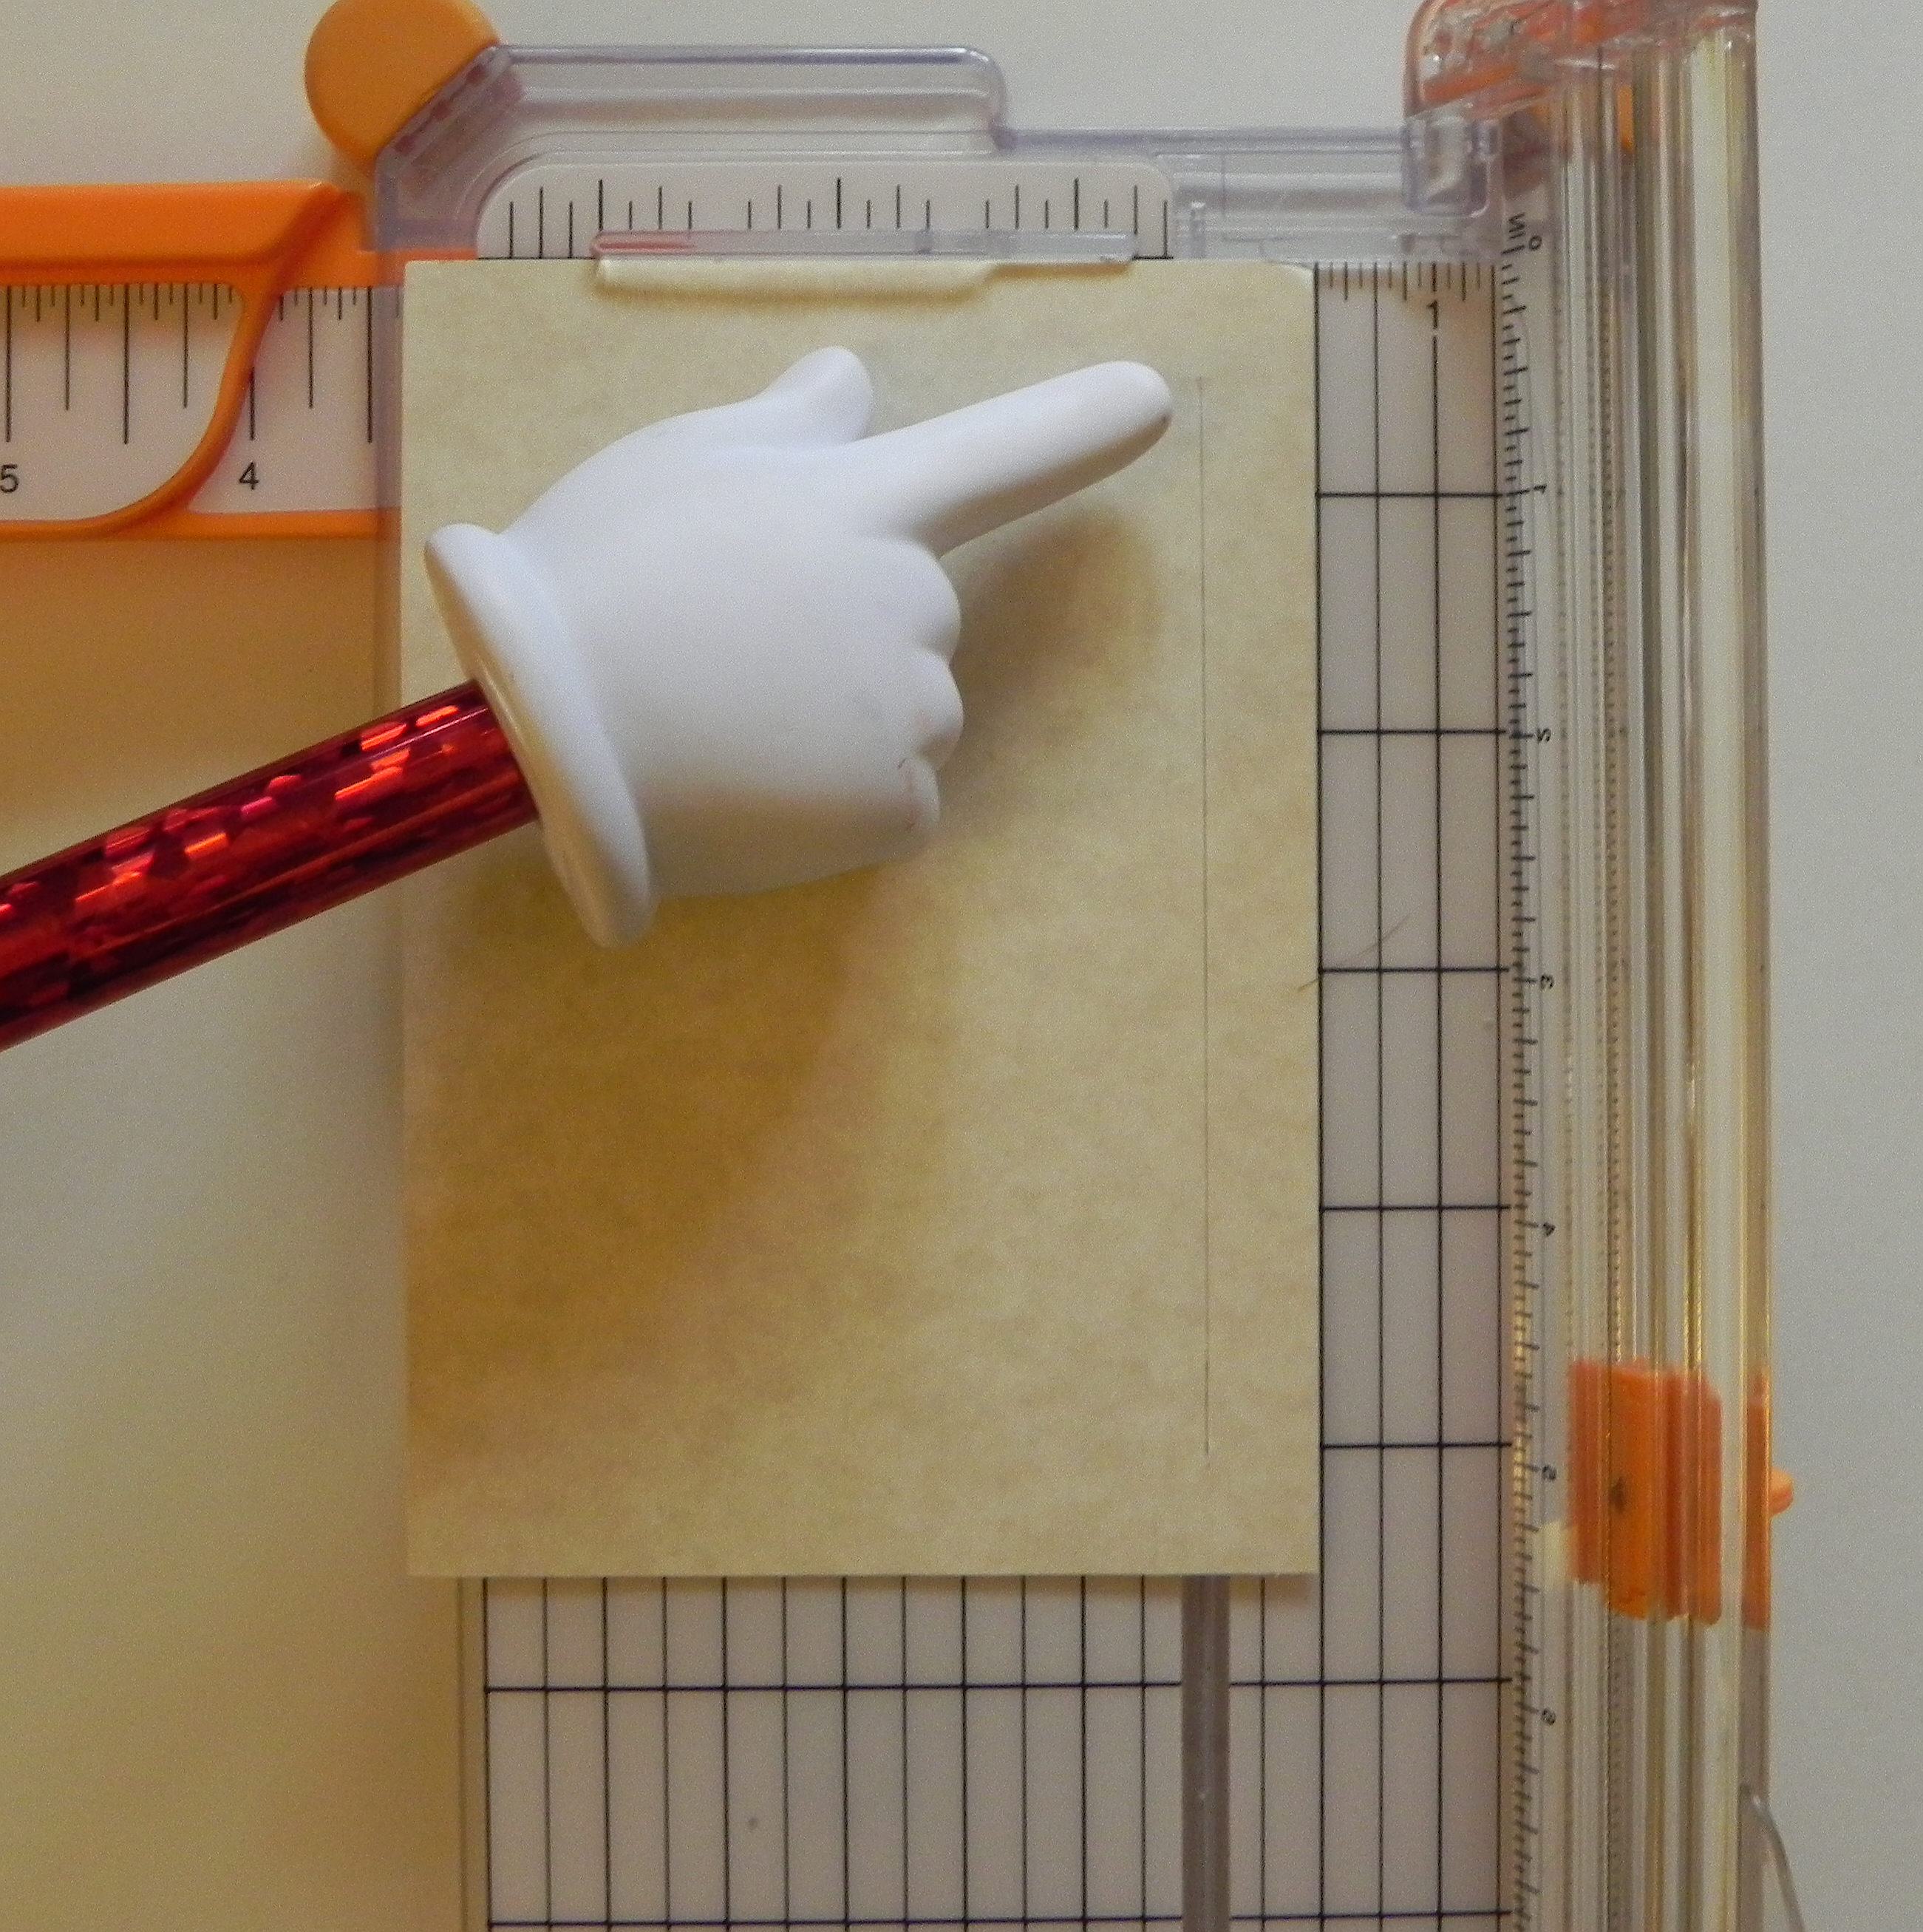
Before you drag the blade down the paper to make your first cut, note where you will be stopping which will be 1/2 inch from the bottom of the paper.
Now drag your blade down to the point you noted (1/2 inch from the bottom.)
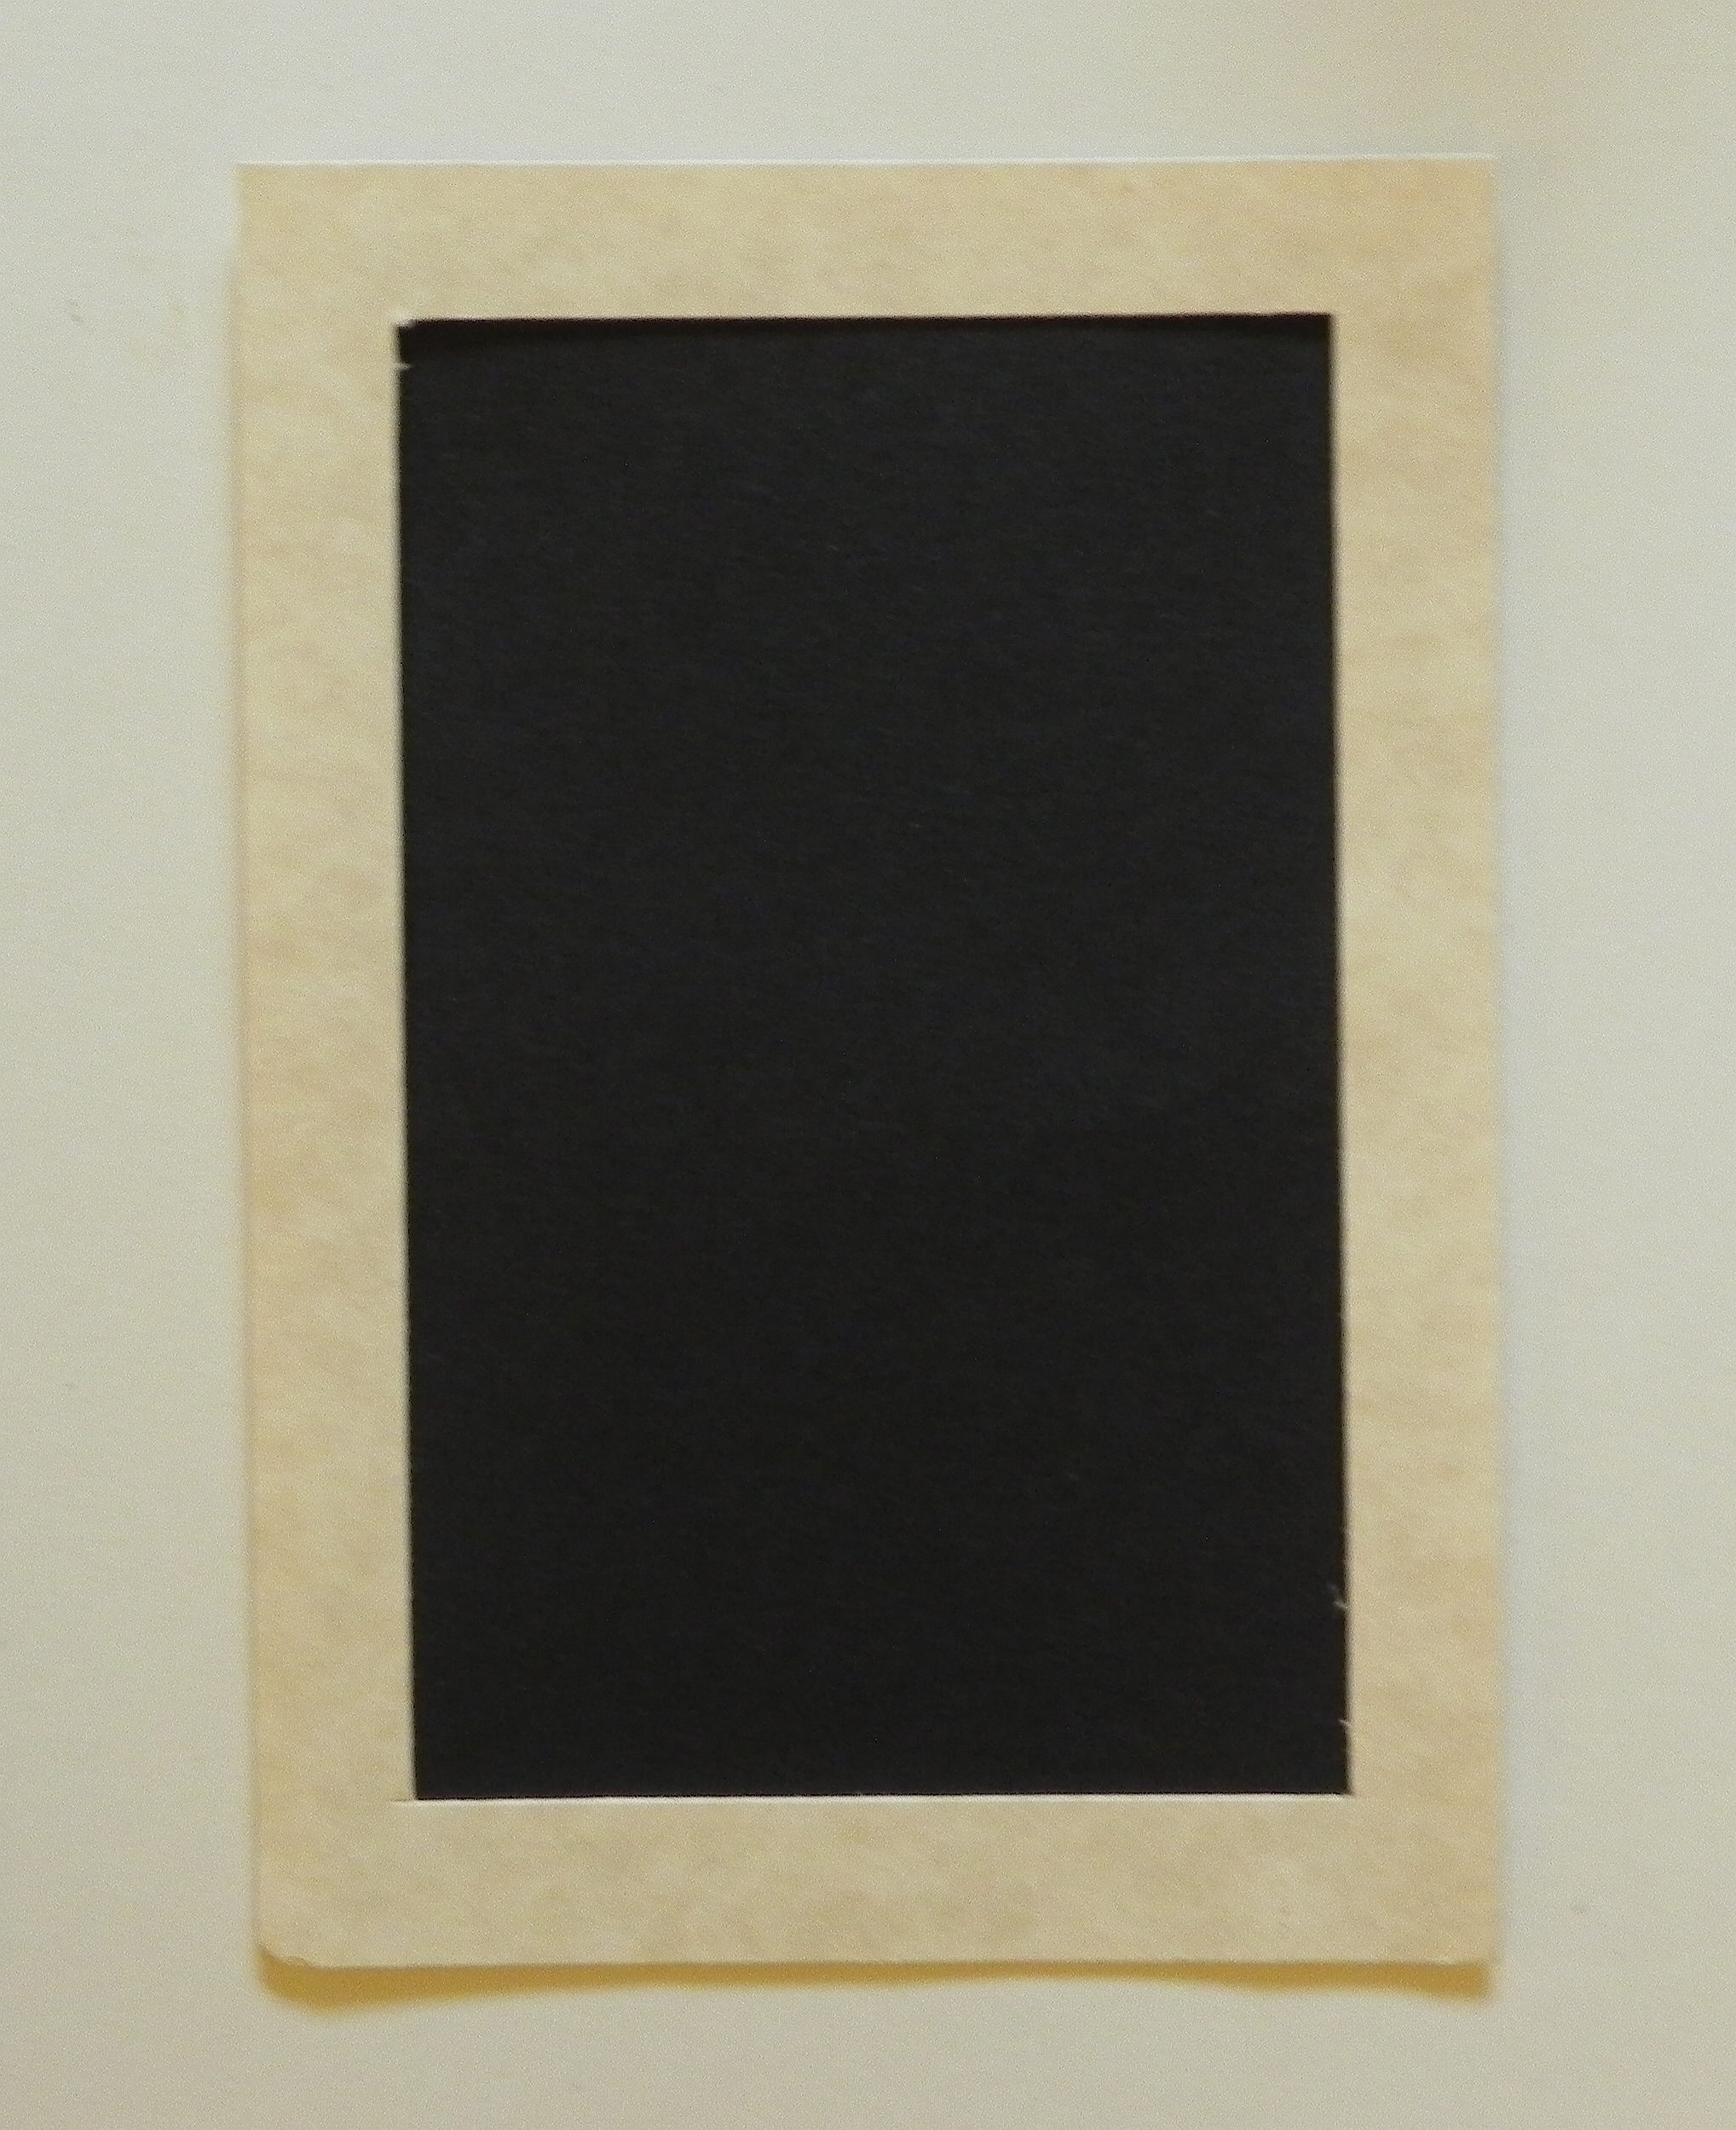
Here’s your first cut. Notice that it is an interior cut that does not go off the top or the bottom. It starts 1/2 inch from the top and stops 1/2 inch from the bottom.

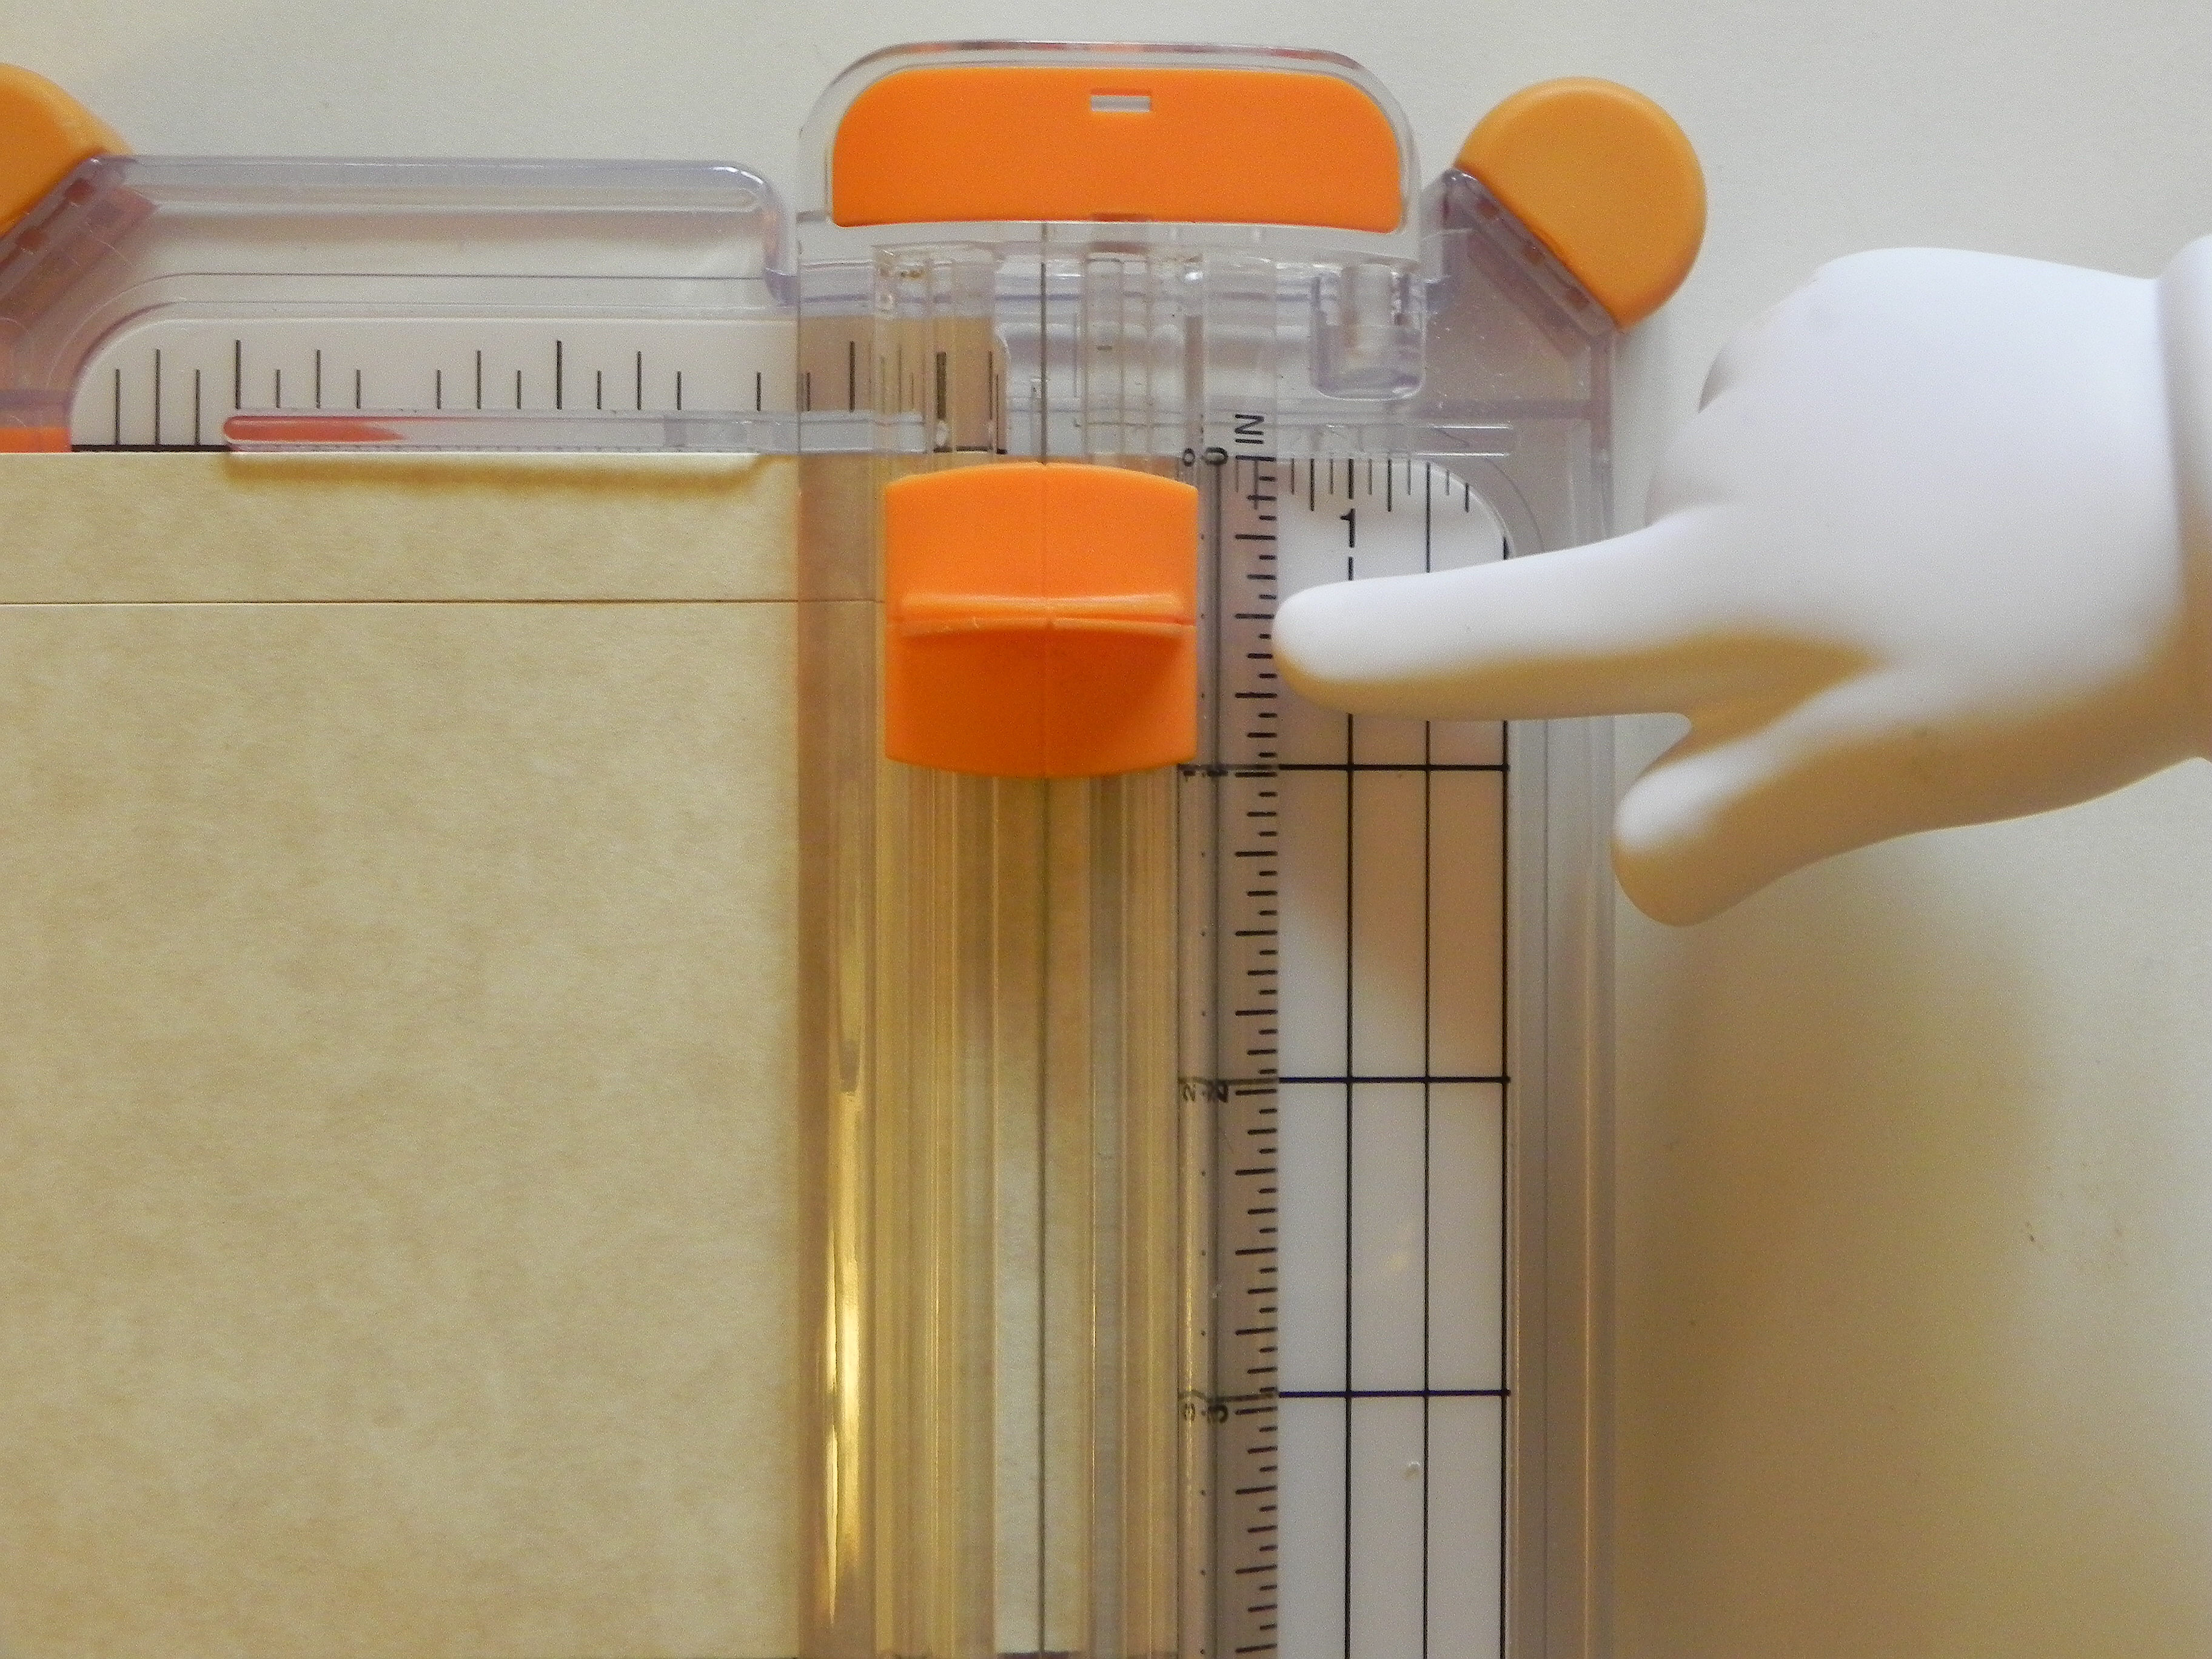
Now turn your paper a quarter of the way around to make your second cut. Again, make sure it lines up with the 1/2 inch line on your trimmer like before.

Again, line up your blade 1/2 inch down from the top of the paper using the ruler where the blade slides up and down. (DO NOT drag it on the paper to get it in position.)
Before cutting, note where you will stop, 1/2 inch from the bottom of your paper.
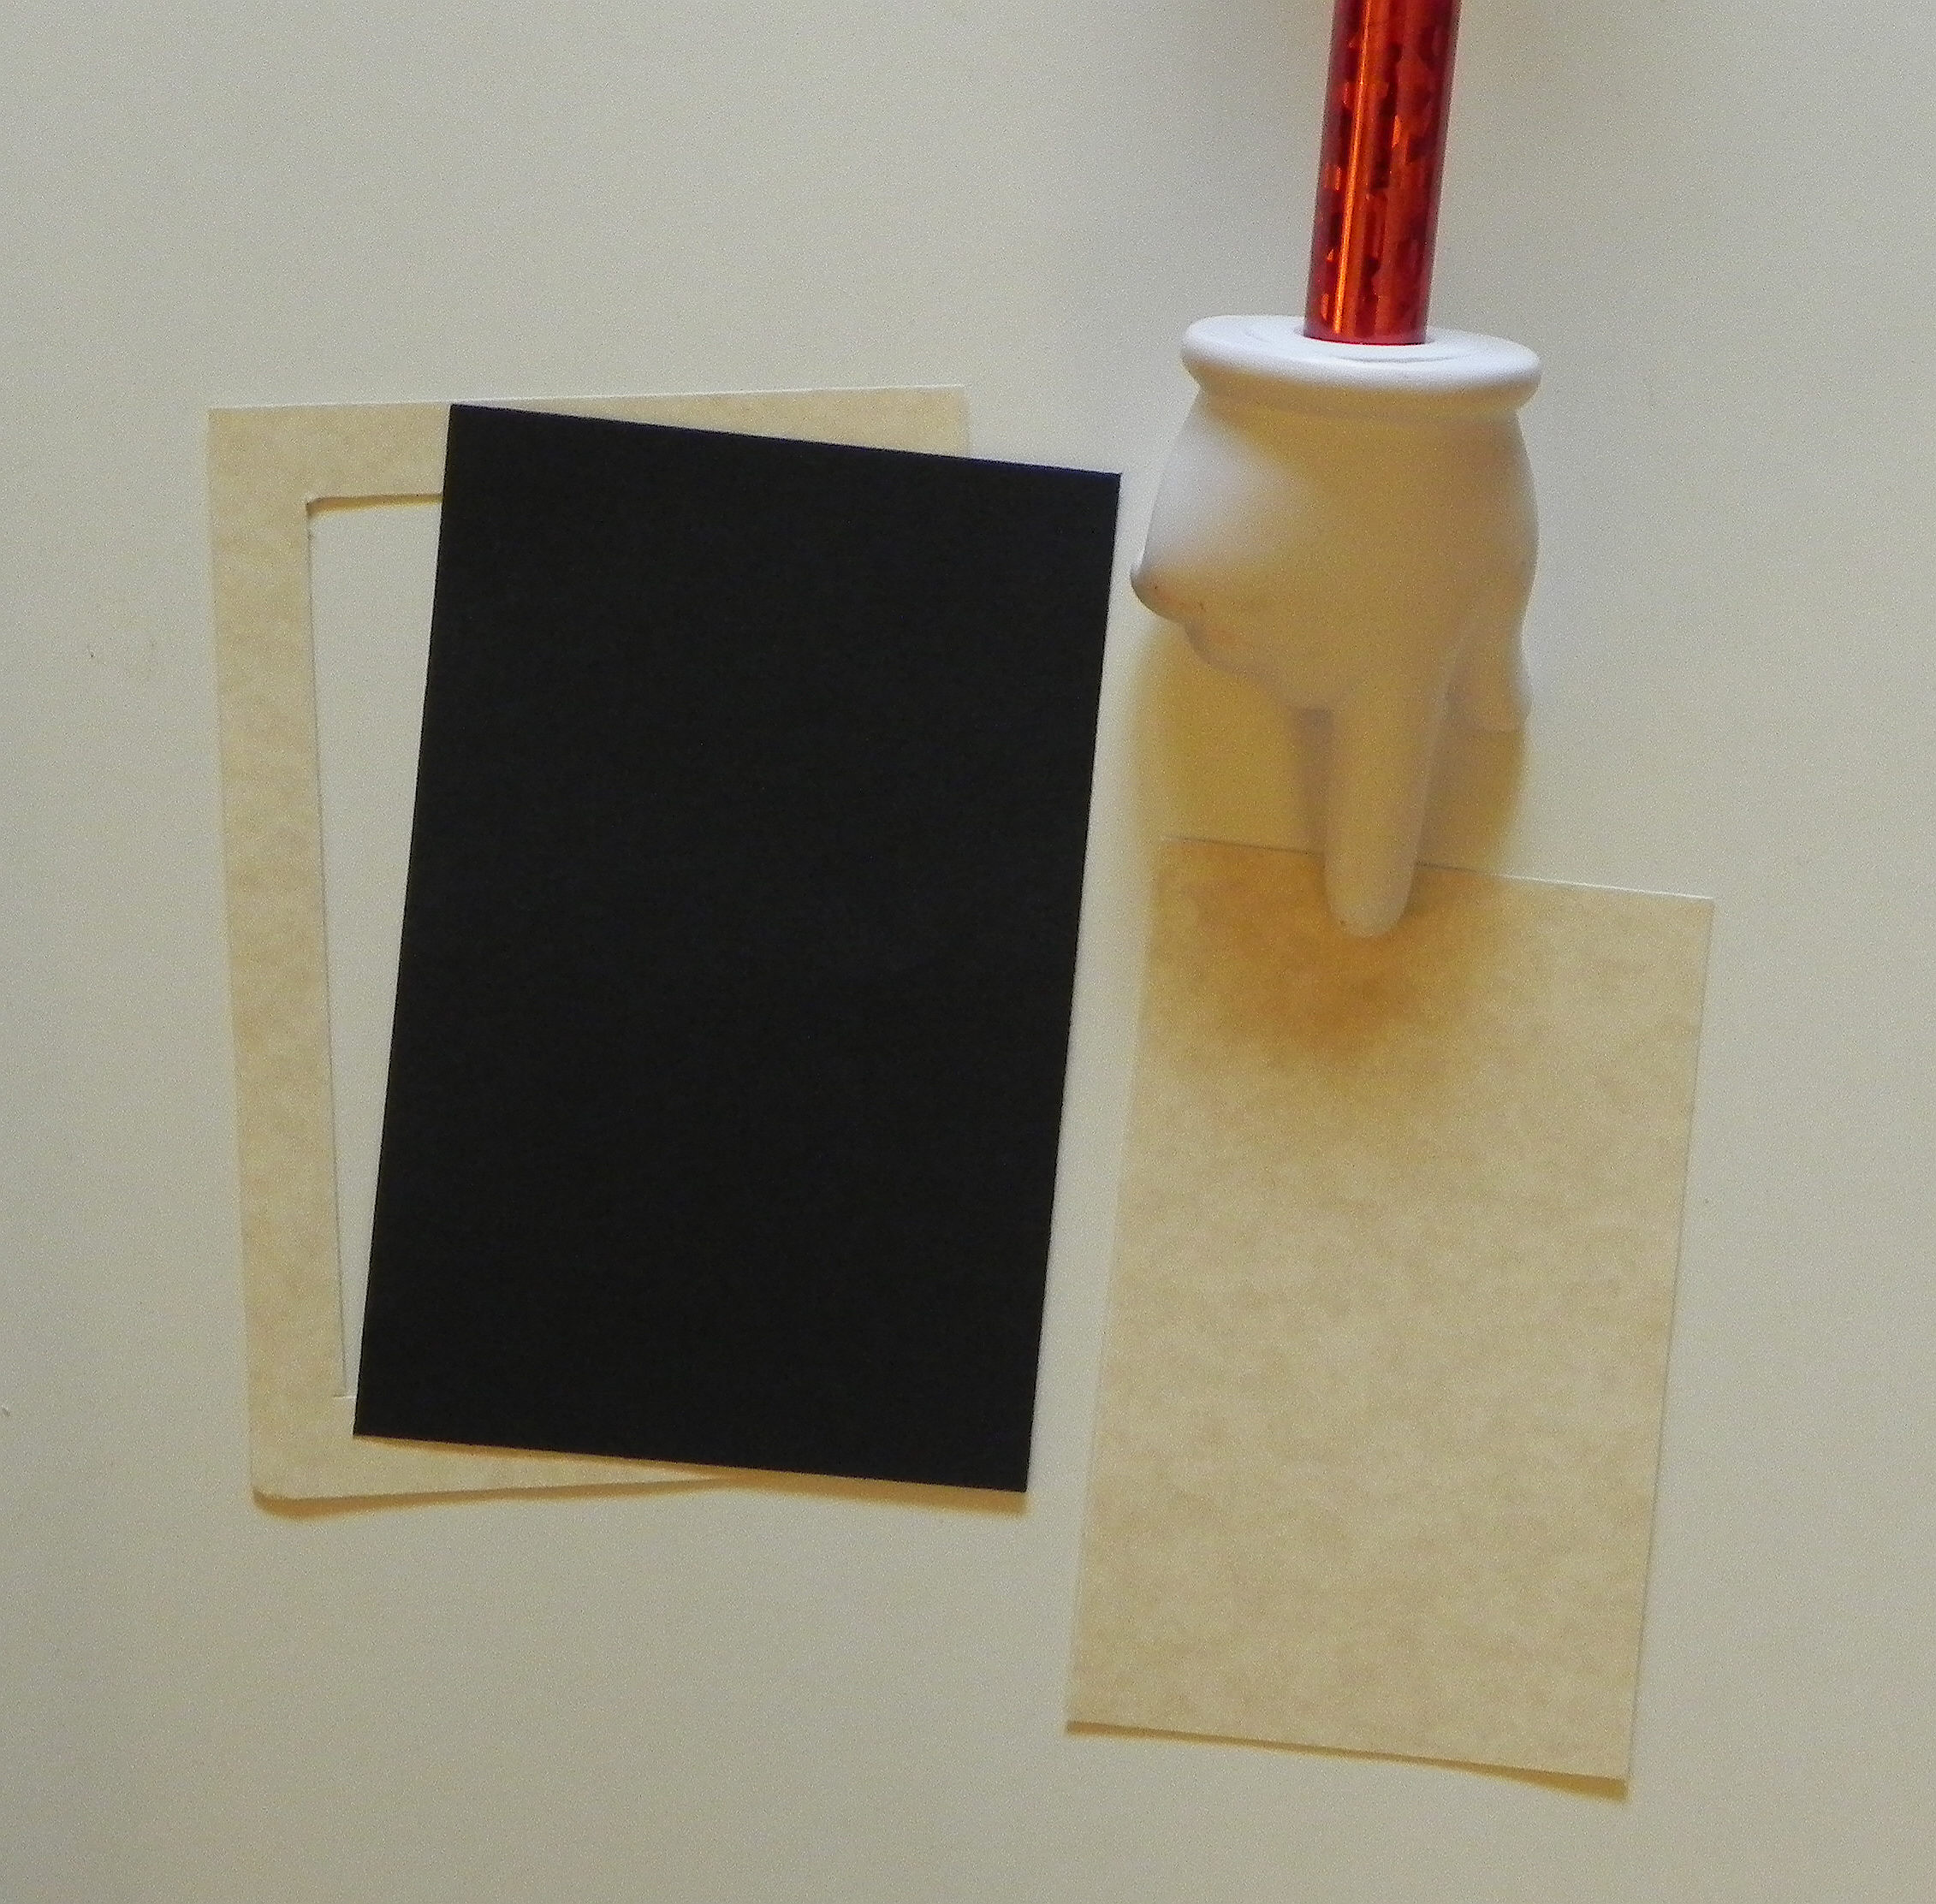
You will do this for all 4 sides. When you are done, you will have a frame and a rectangle from the center. You can use this rectangle to make another smaller frame or for whatever you want!

Once you have your frame cut out, you have 2 options. You can either put the panel you want framed (my example is the black paper) behind the frame you just cut out, and the frame will be on top. Or you can place your image on top to use it as a mat. Because you took the time to cut out the center, you have saved some of the paper for another use. If you do it this way, your frame doesn’t have to be measured as precisely.


There are many ways to make a frame for highlighting an image – by using nesting dies, a craft knife and ruler, an electronic die cutting machine, strips of paper, etc. Here is one way using a tool you probably have in your supplies.
Thanks for checking out my post!
This content uses referral links as described in the disclosure policy on my sidebar.


Very helpful tutorial, Lisa. Nicely done. Thanks for sharing.
LikeLike
Lisa has explained this framing process very well. She is easy to follow. I would say that for first time framer’s we need to practice on scrap paper. Beverly
LikeLike
A great tutorial Lisa.I need to do this more often and save some of the center card stock.
LikeLike
Wonderful tutorial! I am also subscribed via email so I won’t miss any of the action from you.
LikeLike
Pingback: ‘Tis The Season Shaker Card | I Played With Paper Today!