I..C..U.. Get Well Card

I..C..U.. Get Well Card

ICU Get Well Card yDSC_0329.jpg

(inside sentiment: Hope you’ll soon be fully re-covered!)

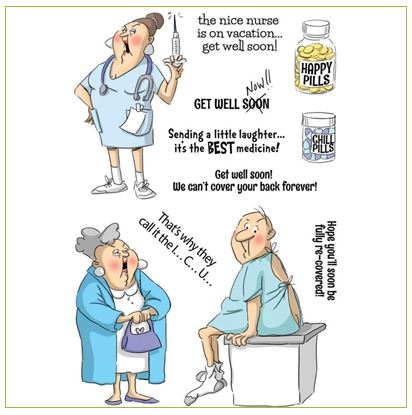
This masculine get well card features the amusing stamps from the Hampton Art – Art Impressions ICU/Get Well stamp set available at Michaels.

AI Get Well stamp set

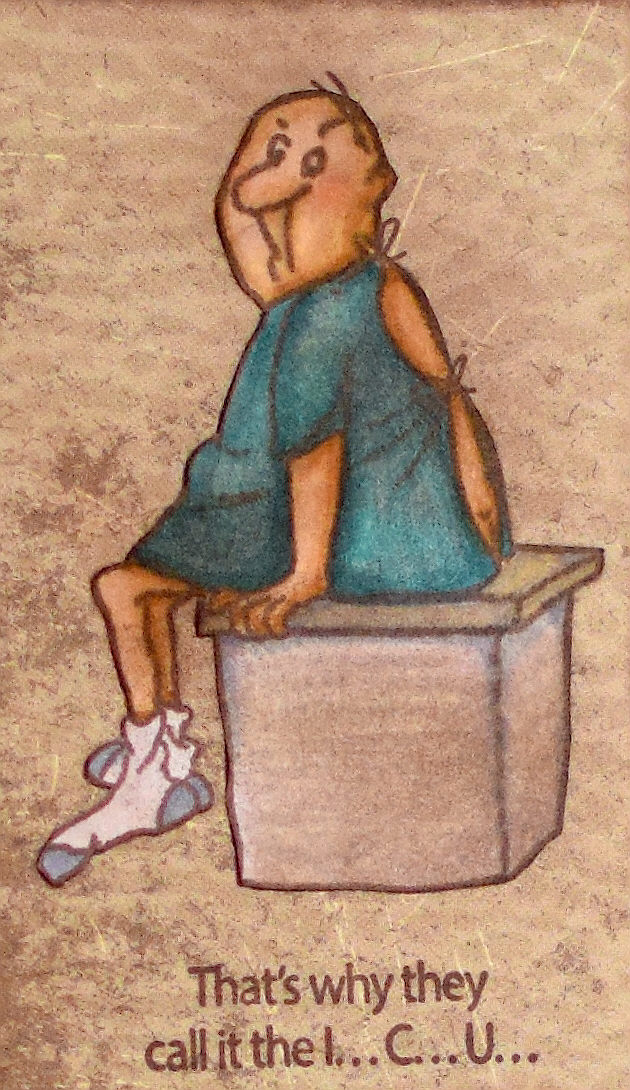
I stamped the image with Gina K Designs Charcoal Brown ink on a piece of white card stock, colored it, and then fussy cut it.  The Copic Markers I used were:  B13.000, E31, E35, R20.C4, and the colorless blender (o).

xDSC_0100 close up

Once he was cut out, I mounted him on a panel of  “Textured Leather” paper by the Paper Studio from Hobby Lobby.  The other patterned papers are “Masculine Stripe” and “Masculine Polka” which are also by the Paper Studio.  The card base and mats are “Faded Brick” by Gina K Designs.

I used a die from the Framelits set called “Banners #3” by Sizzix.

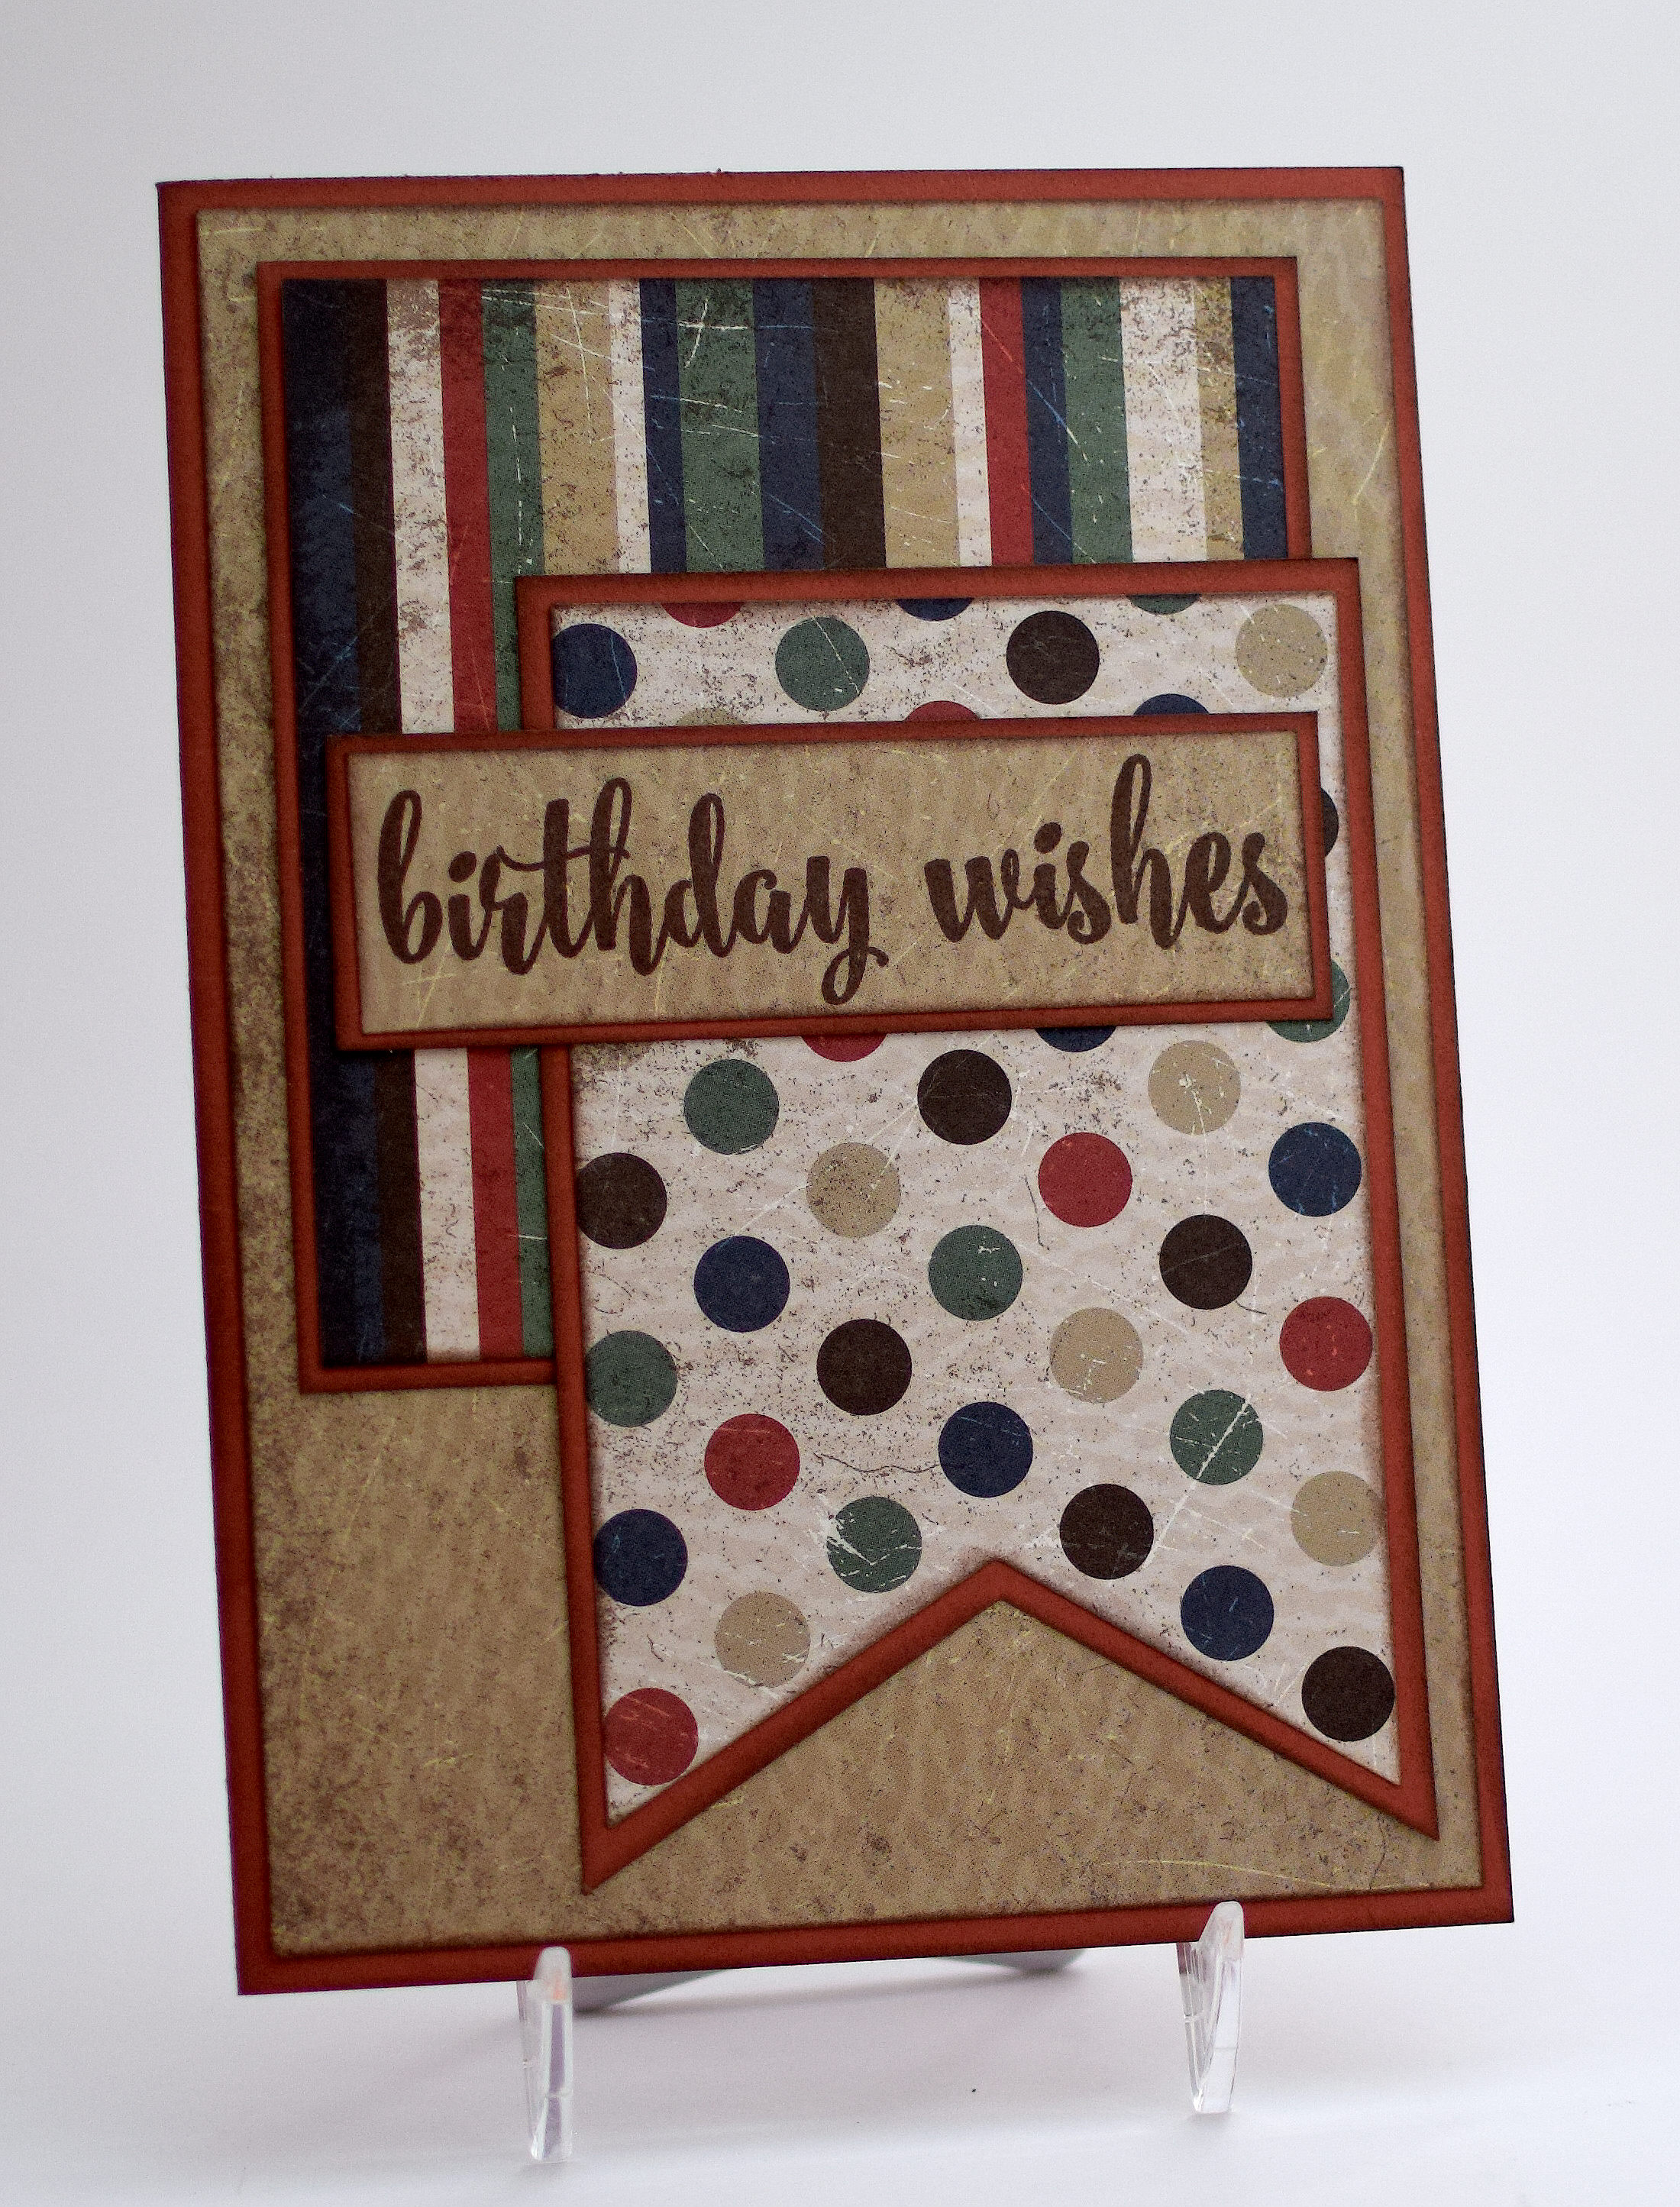
Before making this a “get well” card, I tried this layout as a birthday card.

yDSC_0328.jpg

For this one, I used a stamp from the Gina K Designs “Massive Messages” set and Gina K charcoal brown ink.

Thanks for checking out my card projects!

This content uses referral links as described in the disclosure policy on my sidebar.


Screen Divider Birthday Card

Screen Divider Birthday Card

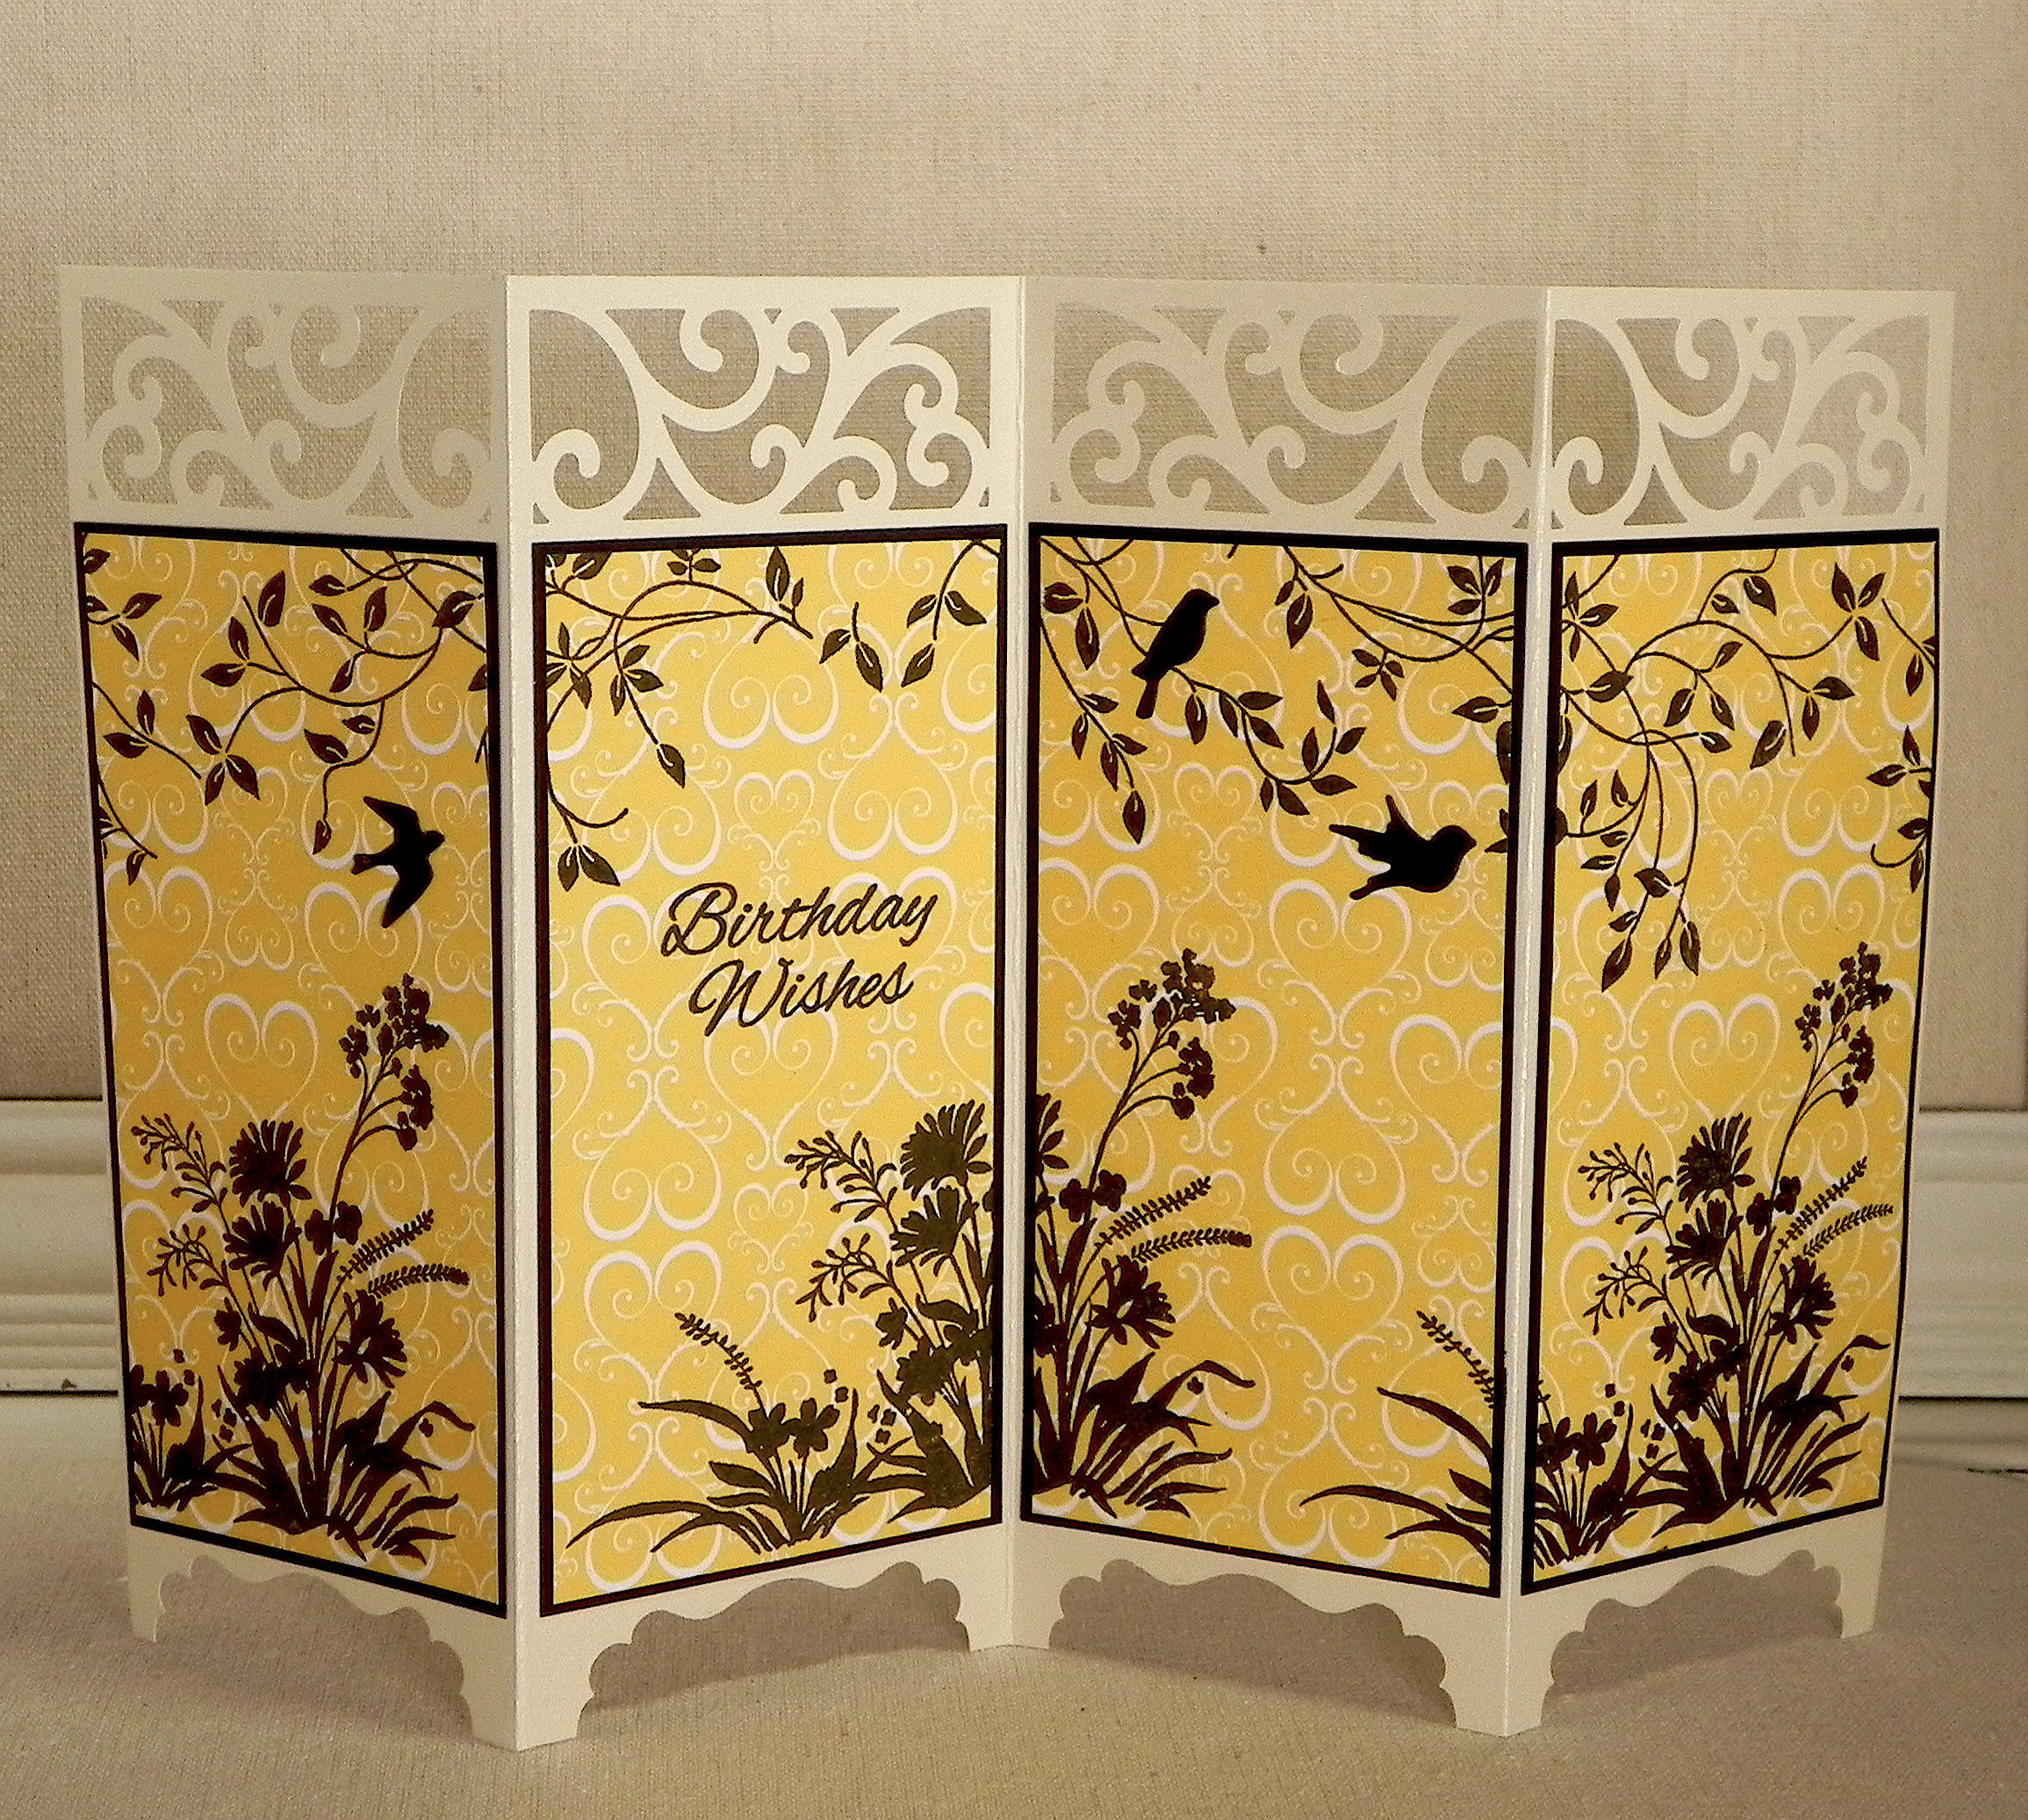
Screen Divider Birthday Card xDSCN9996.jpg

I’ve been wanting to try a screen divider card for quite some time, and I was surprised at how quick and easy it was to make.  The card is basically a piece of card stock (11 1/2 inches long) folded in quarters to create the four, tall panels.   A label punch is used to create the bottom legs, and an optional decorative punch along the top adds interest.  There are quite a few video tutorials on YouTube including this one by Linda Parker.

For my card, I started with a piece of Shimmer Champagne Card Stock by Recollections which measures 11 1/2 x 7 inches.  The height of your card can be whatever you want/need it to be to accommodate your design.  Position your card stock horizontally (landscape orientation), and score it at 2 3/4, 5 1/2, and 8 1/4 inches.  (These panels fold in opposite directions so to make it easier to fold, score the 5 1/2 inch line first, and then flip your paper over to score the two end lines.)

The yellow patterned paper I used was from a 6×6 Recollections paper pad, but I am not sure which one since the cover has long since fallen off.  All of the stamped images are from the Wild Blossoms set from Gina K Designs and were stamped with Onyx Black Versafine ink.  The three small birds were cut from black card stock with the Gina Marie Designs “Little Birds” die.

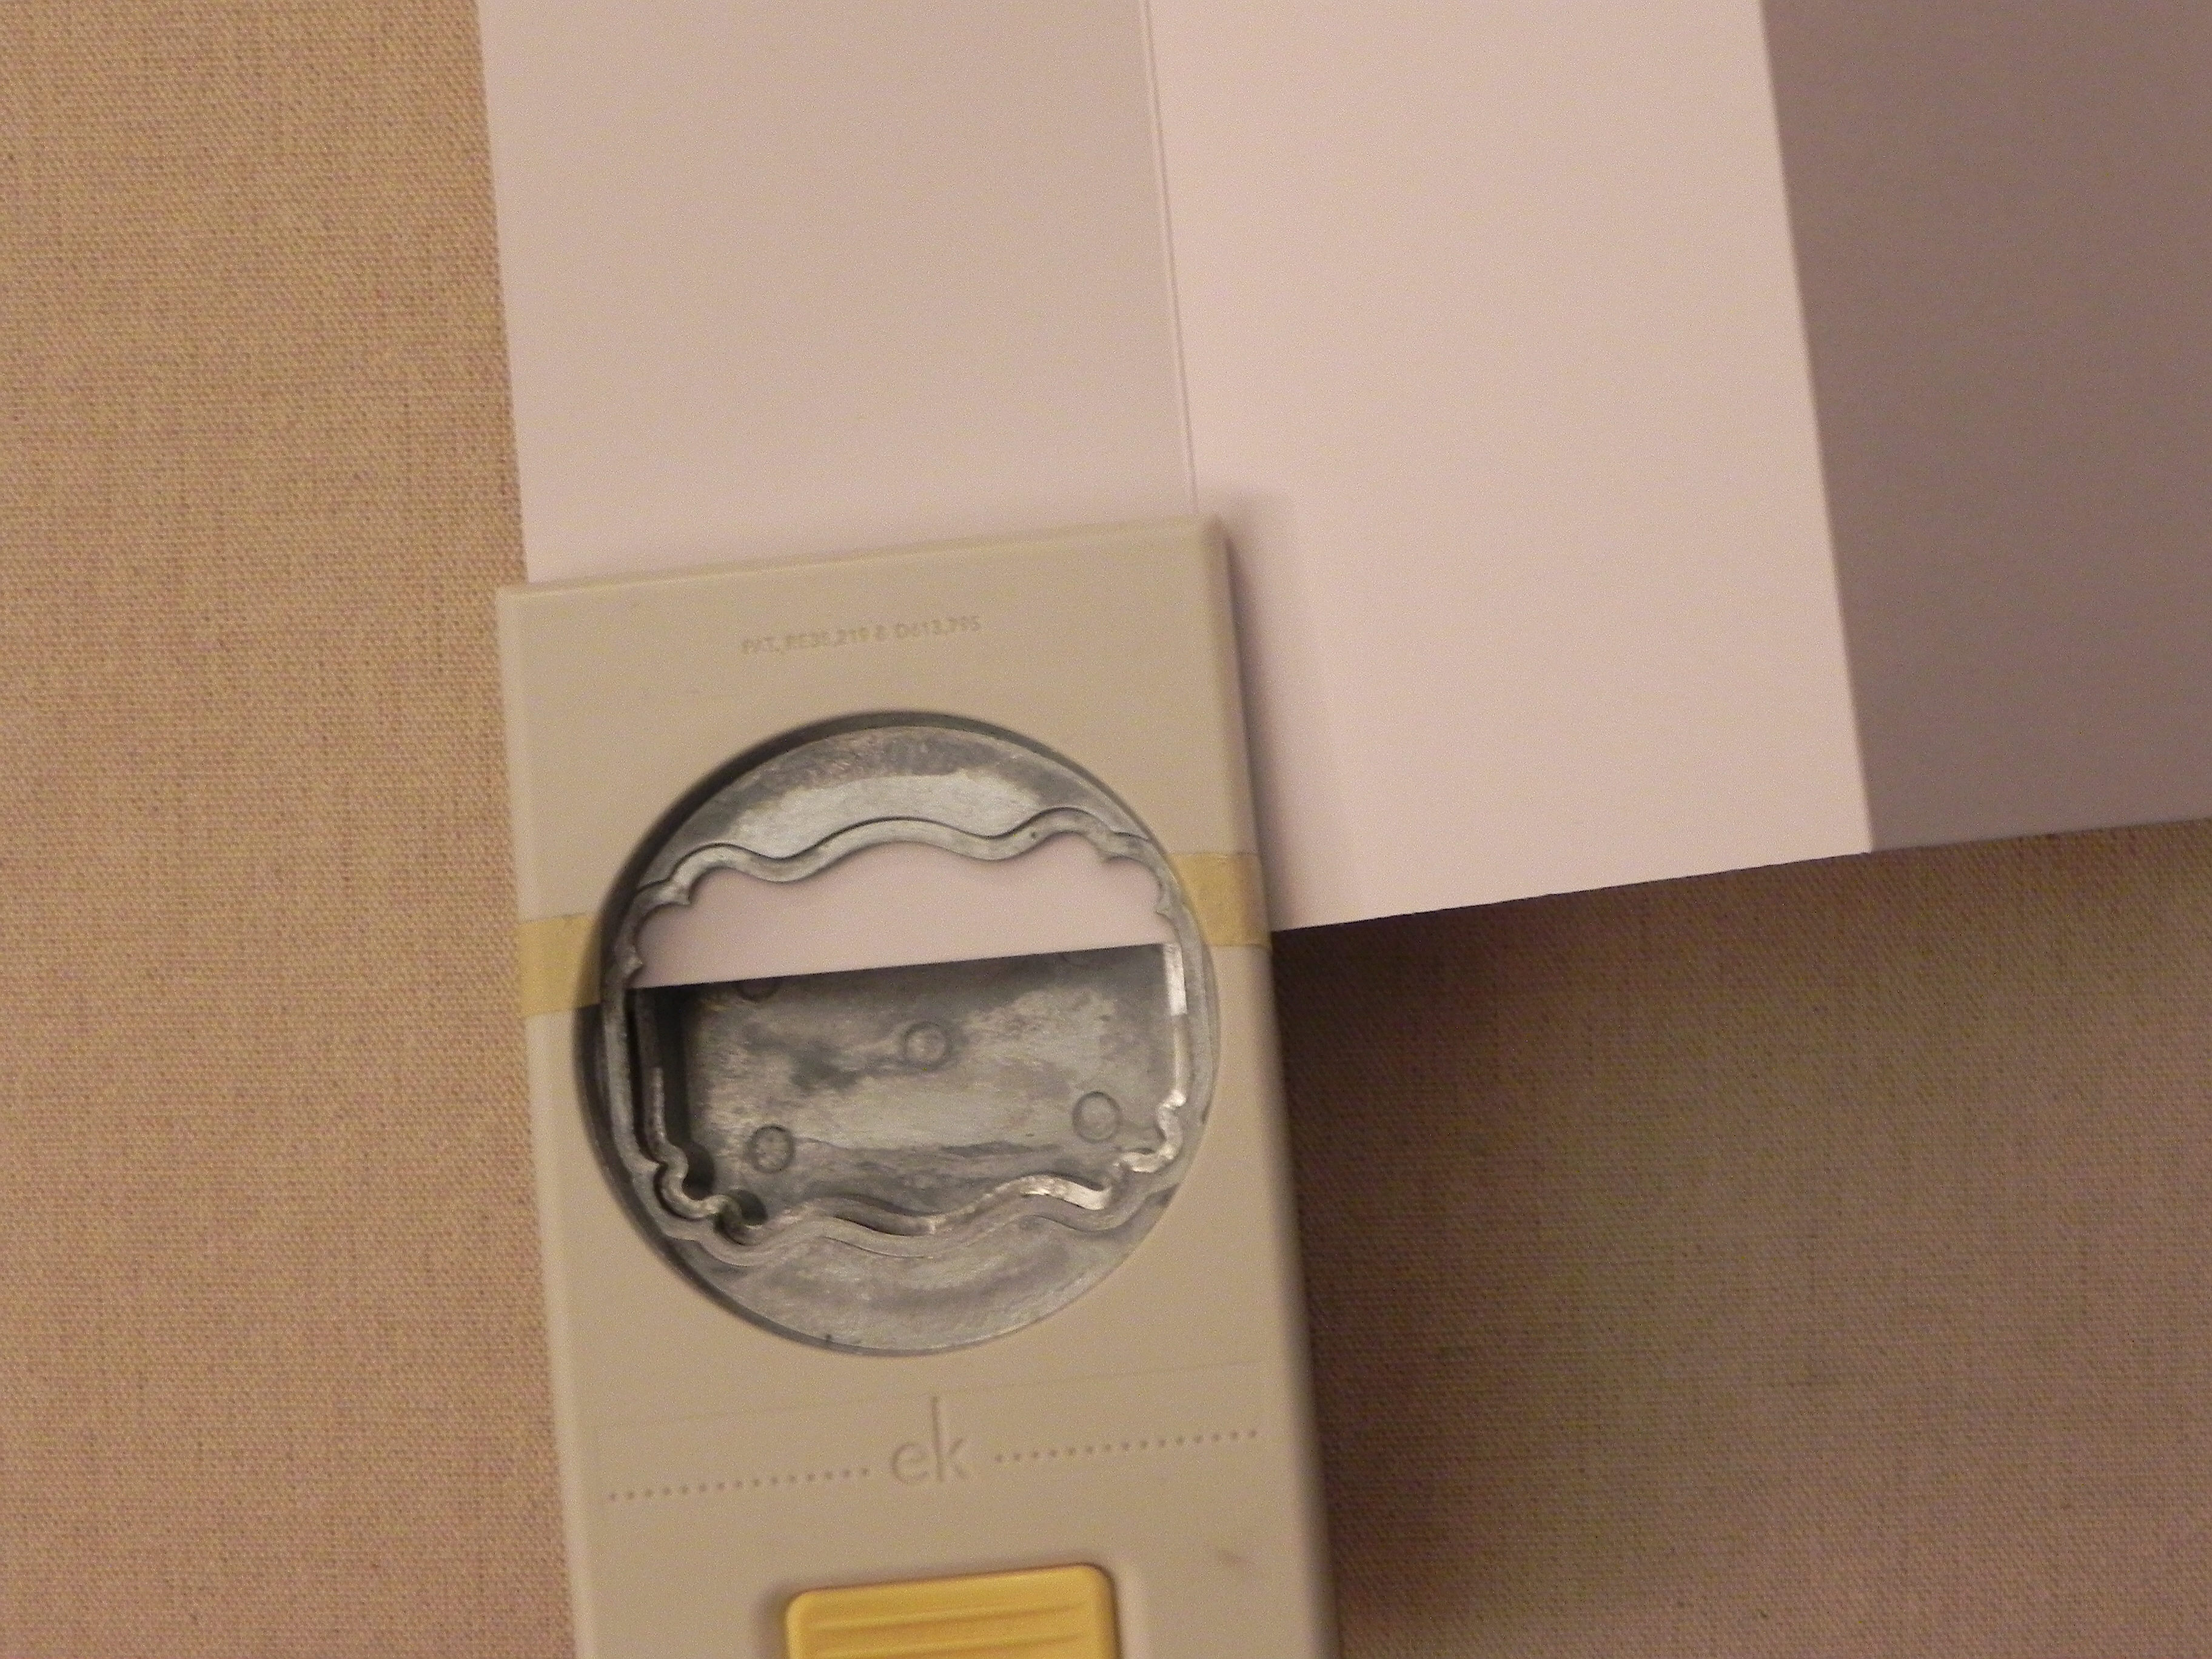
The legs of the screen were punched with the EK Tools Real Estate Sign large punch.  Only the upper portion of this shape is punched on the bottom edge of each panel with the legs on all 4 panels lining up as evenly as possible.  To help me see how far to insert the card stock to make each cut,  I “marked” my punch with masking tape and punched with the tool upside down.

wDSCN0029

The punch I chose to use along the top of my card is the EK Tools Edge Paper Punch, Large, Scroll Pattern.

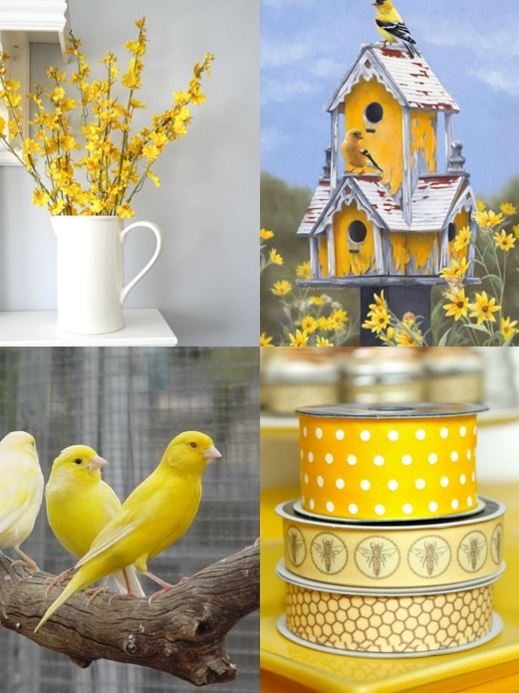
This card was made for the current Double D Challenge  called ‘Yellow’ A Happy Place To Be where we are to use the inspiration tile below and to make it yellow.

Double D Challenge

I included birds and floral images on my yellow card.

I am also entering this in the current challenge over at Seize the Birthday which is to make a birthday card – with floral “toppings” (optional).

Thanks for checking out my card project!

This content uses referral links as described in the disclosure policy on my sidebar.


Spring Birthday

Spring Birthday Card

Spring Birthday DSCN9672 LR adjustments - Copy.jpg

As I mentioned in my last post, Peggy Timmerman and I will be hosting the Mod Squad Challenge this week. The theme of the challenge is SPRINGTIME.  (Sadly, this site is no longer active.)

The card I created is a flip card.  The center panel flips over as the card is “pulled” open.

DSCN9607 LR adjustments bc.jpg   DSCN9614 LR adjustments bc

For my card sample, I used a few of the stamps from the Newton’s Nook Designs – Newton’s Birthday Bash stamp set along with one of the coordinating dies from the Newton’s Nook Designs – Newton’s Birthday Bash Die Set.  Both of these sets are available at Kat Scrappiness who is one of the Mod Squad Challenge sponsors this week .

Newton's Nook Birthday Bash Stamp SetNewton's Nook Birthday Bash Die Set

Kat stocks the products that she loves and uses as well as what her customers request.  If you don’t see it in her store, feel free to contact her.  She is happy to do special orders for you!  And she offers a DISCOUNT CODE for The Mod Squad Challenge: MSC10!

To create my card base and the decorative panels, I used the Sizzix Square Flip Framelit Dies and my paper trimmer.  The base is Gina K Sweet Corn card stock, and the patterned paper is from the Gina K Designs Garden Tour and Spring Parade Patterned Paper Packs.

I used Memento Tuxedo Black ink for my stamped images.  The image was stamped on white card stock, colored with Copic markers (YR23, YR24, YR27, YG91, YG93, and a Colorless Blender), a Copic Black Multi Liner, and a Sakura White Gelly Roll Pen, and fussy cut.  (The swirly lines were cut off of this panel.)  The “happy birthday!” greeting was added after the image was colored.  The image was stamped again on the GK Sweet Corn card stock and cut with the die from the set mentioned above.  The colored image was adhered over the stamped image on the yellow panel giving the colored image a yellow border with the swirly lines now included.  To add some dimension, this panel was mounted on fun foam (also cut with the die so it fit behind the panel perfectly) and was adhered to the card front.

The greeting on the inside panel of the card is also from the “Birthday Bash” set.  The stamp actually says “have a purr-fect birthday!” but I masked the “birth” part of the word “birthday” because that sounded better to me when paired with the “happy birthday” on the front.  Masking makes it possible to use this cute stamp in different ways and for a variety of occasions; it’s like having two stamps in one!!  I stamped the sentiment a little higher than center so there was a place to sign the card.

Now it’s your turn!  Head on over to the Mod Squad Challenge Blog, and show us your spring projects. I can’t wait to see what you create!

In addition to this being the Mod Squad Challenge Blog sample, I’d also like to “send” this card to Iliana’s “Sweet Little Petunia” who is turning 11 today!  In honor of this special day, Iliana (creator of the MISTI) is hosting a Birthday Giveaway.  Pop on over, and wish her daughter a happy birthday!

Thanks for checking out my card project!

This content uses referral links as described in the disclosure policy on my sidebar.

Hoppy Easter – MSC Card Sample

Hoppy Easter – MSC Card Sample

Hoppy Easter z DSCN9683 LR adjustments.jpg

(inside sentiment: Hoppy Easter!)

I was asked to co-host the Mod Squad Challenge this week with the very talented Peggy Timmerman. The theme of the challenge is SPRINGTIME.  (Sadly, this site is no longer active.)

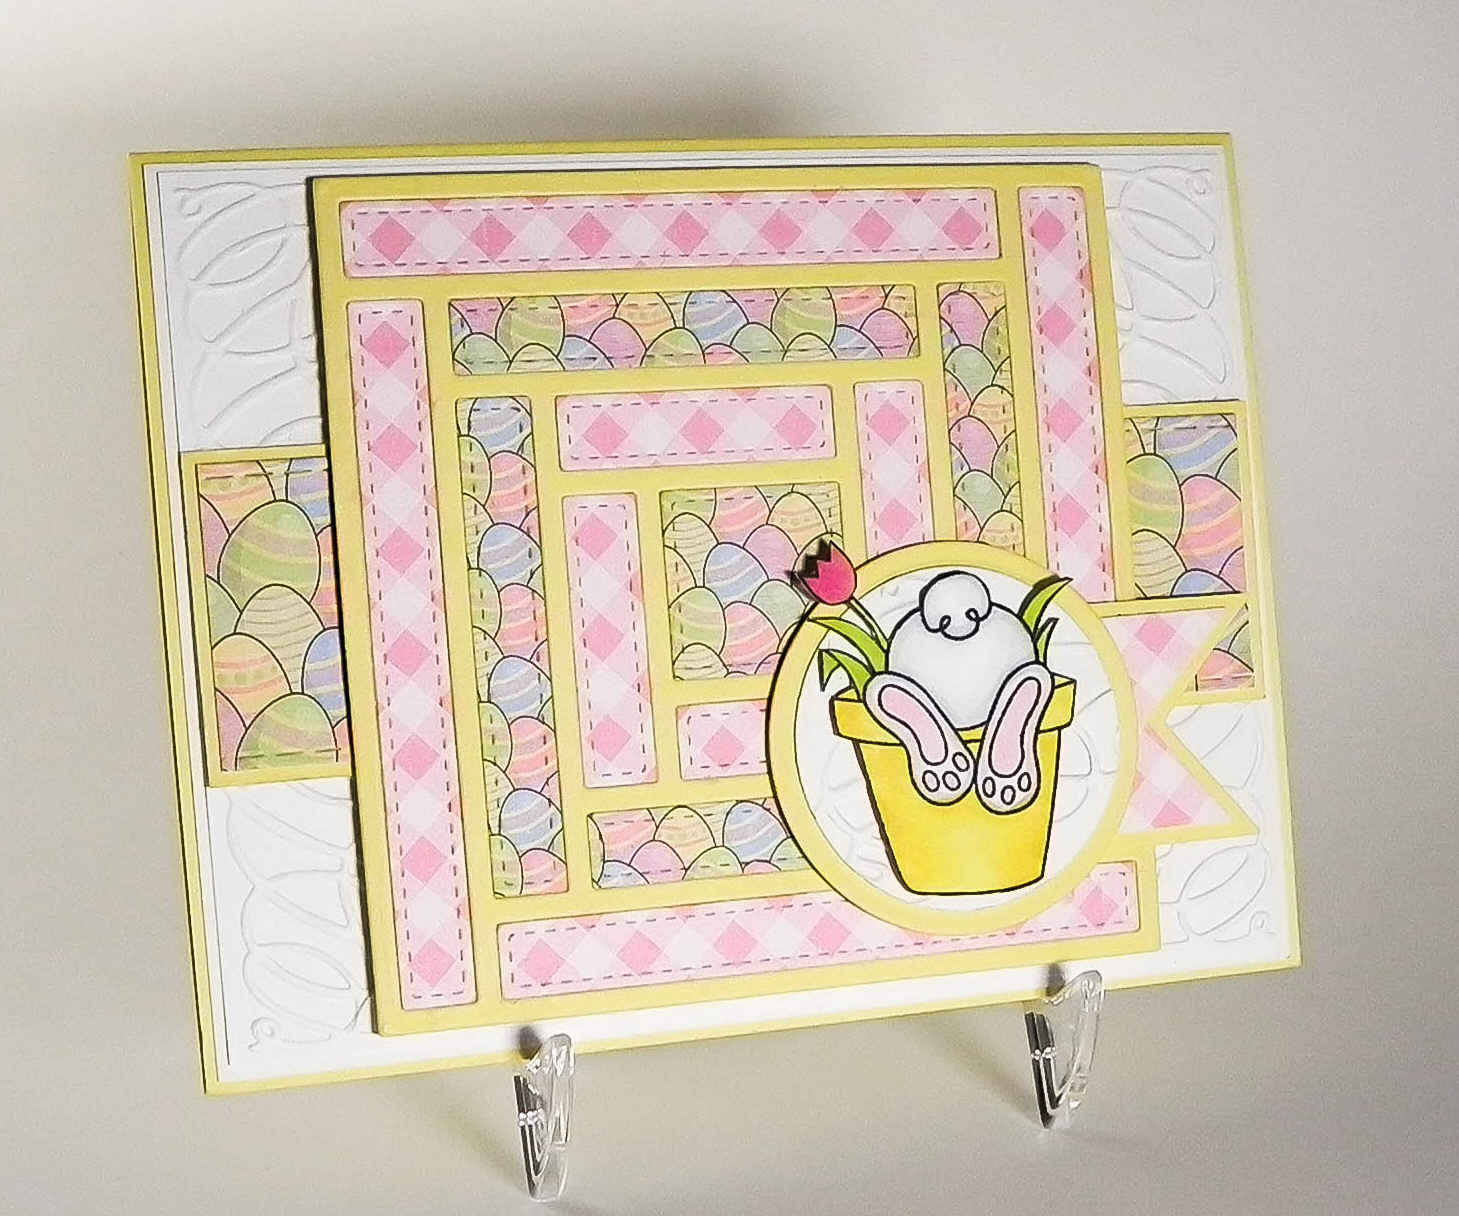
For my card sample, I used a few of the stamps from the Newton’s Nook Designs – Bunny Hop stamp set along with the Gina Marie Designs – 4×4 Stitched Quilt Die #2.  Both of these items are available at Kat Scrappiness who is one of the Mod Squad Challenge sponsors this week .

  bunny hop stamp set       quilt die

Kat stocks the products that she loves and uses as well as what her customers request.  If you don’t see it in her store, feel free to contact her.  She is happy to do special orders for you!  And she offers a DISCOUNT CODE for The Mod Squad Challenge: MSC10!

For the quilt, I used digital paper from a set called Happy Easter by Pininkie that I purchased on Etsy. The panels on the quilt are pretty small, so I needed small-patterned prints.  With digital paper, you can choose how big or small to print your panel which varies the size of the pattern.  You can see this if you look at the egg print on my card.  The panel for the quilt was printed small (3.5 x 5 with “fit picture to frame” unchecked) and the panel for the background strip was printed larger (4 x 6).  You can see the difference in the size of the eggs.

In addition to the digital paper, I also used white and Gina K Lemon Drop card stock.

The bunny image was stamped on white card stock with Memento Tuxedo Black ink, colored with Copic markers (YG03, R85, R81, BV20, C0, Y11, Y13, and Y15), and fussy cut.  It was then adhered to the circle panels cut with dies from the Spellbinders Standard Circle Dies (large) and Spellbinders Standard Circle Dies (small) sets.  I used the EK Tools 2-Point Flag Large Tag Punch to shape the ends of the accent panels behind the circles.

The Cuttlebug Scrollwork Embossing Folder was used on the white circle and the white background panel to add a bit of fun texture.

I wanted my background egg panel to have stitched sides to match the stitched patterned on the quilt, so I used a die from the Gina Marie Designs – Stitched Rectangle Dies set (also available from Kat Scrappiness.  The set didn’t contain a rectangle in the size I needed so I just used one edge of a larger rectangle and “stiched” just the top and bottom edges of my strip.

Now it’s your turn!  Head on over to the Mod Squad Challenge Blog, and show us your spring projects. I can’t wait to see what you create!

Thanks for checking out my card project!

This content uses referral links as described in the disclosure policy on my sidebar.

Easter Tulips – Center Step Card

Easter Tulips – Center Step Card

Easter Tulip DSCN9822 LR11- - Copy.jpg

(inside sentiment: may joy and peace surround you this Easter season)

This 5×7 Center Step Card card features images from the Stampin’ Up “Two Step Stampin’ – Terrific Tulips” set along with a greeting from the SU “All Year Cheer I” set.  They were stamped on white card stock with Gina K Designs Wild Lilac, Lovely Lavender, and Fresh Asparagus Ink.  This panel was adhered to a piece of Gina K Wild Lilac card stock.

The patterned background paper on the front is called “Lavender Lines” by Recollections.  The card base was made with Gina K Heavy Base Weight White.  I used a panel of Gina K Lovely Lavender and white card stock for the inside.  The sentiment on the inside was computer generated.  (I need to get more Easter stamps!)

I thought I’d participate in The Paper Players Challenge this week which is “Clean-and-Simple: Celebrate Spring ” so I tried not to add too much to this card.  However, I will admit that I don’t really know what CAS is exactly since the card samples from their design team vary greatly in the amount of “stuff” on the cards.  Since I feared my step card wasn’t CAS enough, I decided to try an even simpler design using the same stamped panel on just a plain white card base:

wwwwDSCN9882 cropped

I’m still not sure it is CAS enough since the card base is so small (this is an A2 sized card) and the stamped images are so big, but this is the version I decided to submit.  I do love CAS card designs when others make them and wish I were better at them; this is something I will definitely keep working on.

Thanks for checking out my card projects!