Peeking Bunnies Easter Card

Peeking Bunnies Easter Card

xDSC_1202.jpg

(inside: to some Bunny special)

I really liked these dies when I saw them and envisioned the card in my mind that I planned to create with them, and then I had a bit of trouble trying to fit all the actual die cuts on the card front – lol!  Luckily, die cuts are moveable so I played around with the placement until I came up with something that worked.

The textured, purple card stock is called “Elegance” by core’dinations and has glitter on it so adhering the die cuts required glue (and not tape).  You can see how I attached these intricate die cuts HERE.  For this project, I used Art Institute Glitter Designer Glue.

You can see the sparkle a little better here:

wwDSC_1204

I think the “Peeking Bunny Squares” by Frantic Stamper are so cute, and I love the font for “Happy Easter” by Impression Obsession!

Thanks for checking out my card project!

Foiled Valentine’s Day Z-Fold Card (and a few variations)

Foiled Valentine’s Day Z-Fold Card (and a few variations)

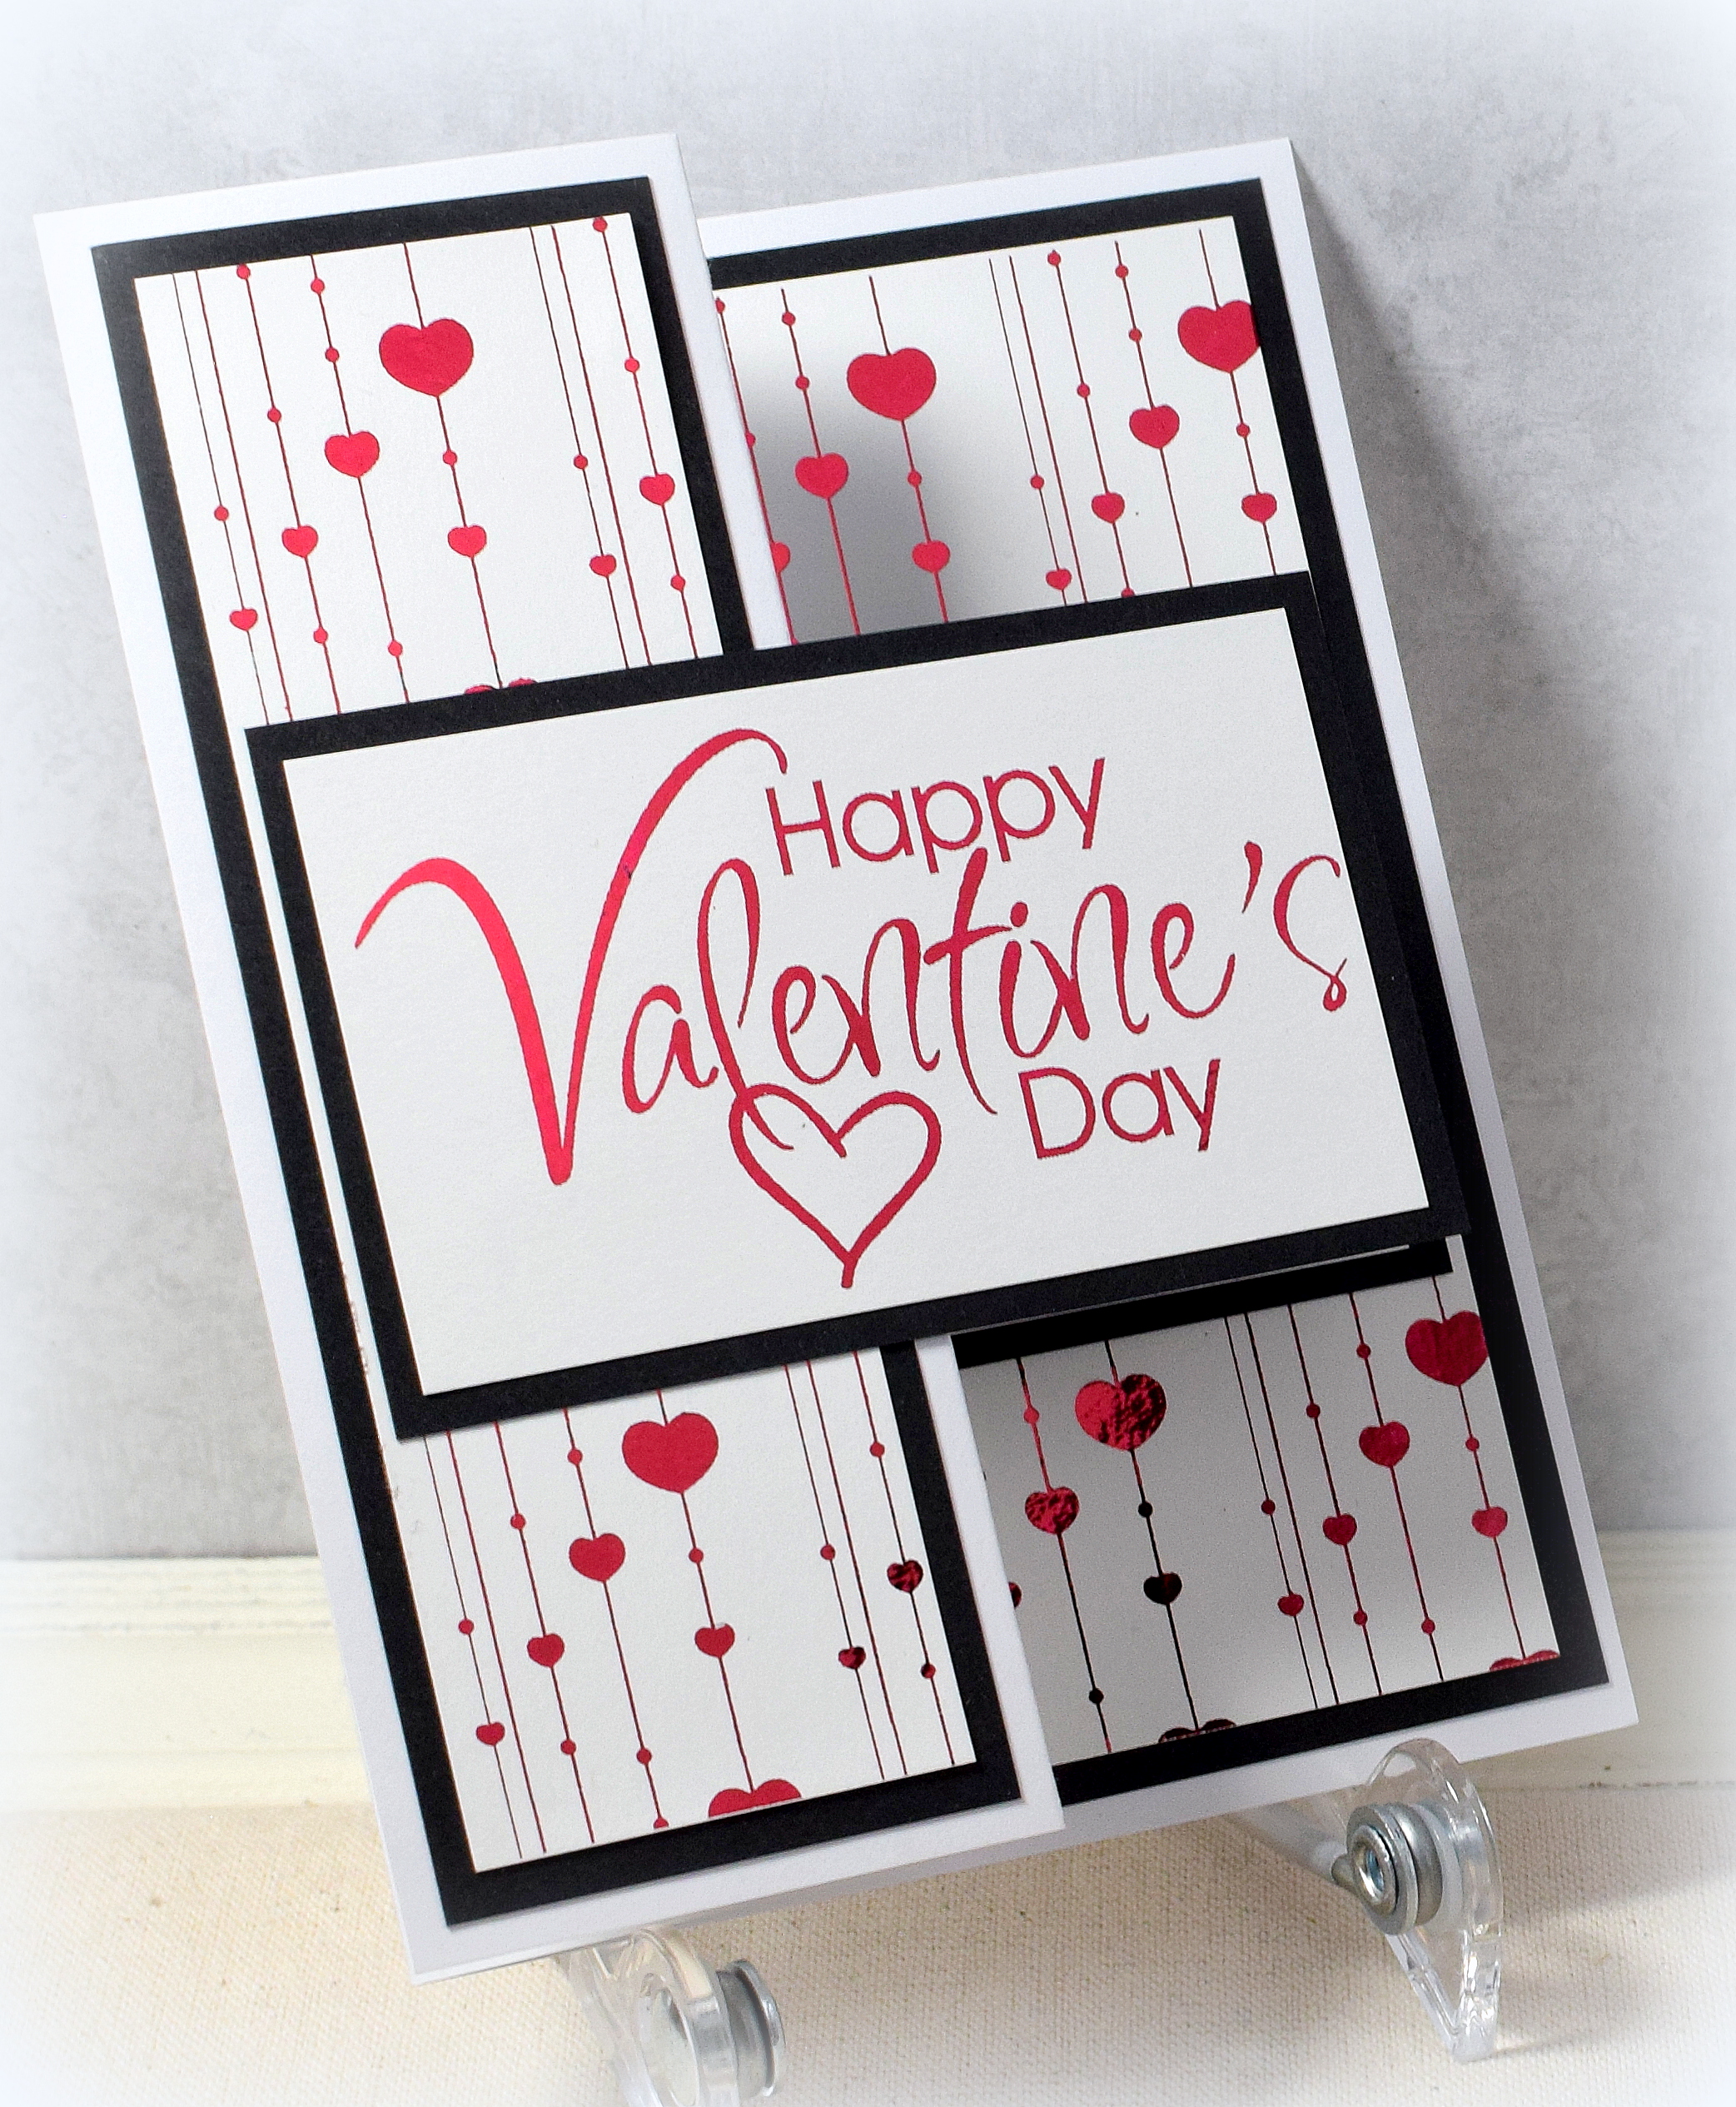
wDSC_0773.jpg

Z-fold cards display beautifully and are easy to make.  To create an A2 size z-fold card base, simply score an 8 1/2″ x 5 1/2″ panel at 4 1/4″ and 2 1/8″ and fold like a Z.  Z-fold cards fold flat for mailing, and this one (with these dimensions) fits in an A2 size envvelope.

wDSC_0779

The Valentine’s Day greeting I used is a digital clip art image I found at clipground.com, and the background pattern (part of a Valentine’s Digital Paper Pack) is from an Etsy shop called  Printkits Designs.  After printing both with my laser printer on white card stock, the panels were foiled with Gina K Designs Red Velvet fancy foil and my  Mini Minc foil applicator.

One of the great things about using digital images is that they can be sized to fit any project.

Here are a few simple variations:

WDSC_0763

and

wDSC_0805

The Mod Squad Challenge this week is called “Foiled Fun” where we are encouraged to use foiling on our cards.  (Sadly, this site is no longer active.)

Thanks for checking out my card projects!

This content uses referral links as described in the disclosure policy on my sidebar.

Merry Christmas!

Merry Christmas!

84631-OHGCI8-818c

I’d like to wish you all a very Merry Christmas and a Happy New Year!

I’d also like to take a moment to thank you all for taking the time to visit my blog and for all your support and encouragement.  I really appreciate it!

(The above image was created by Freepik.)


Nativity Bridge Card

Nativity Bridge Card

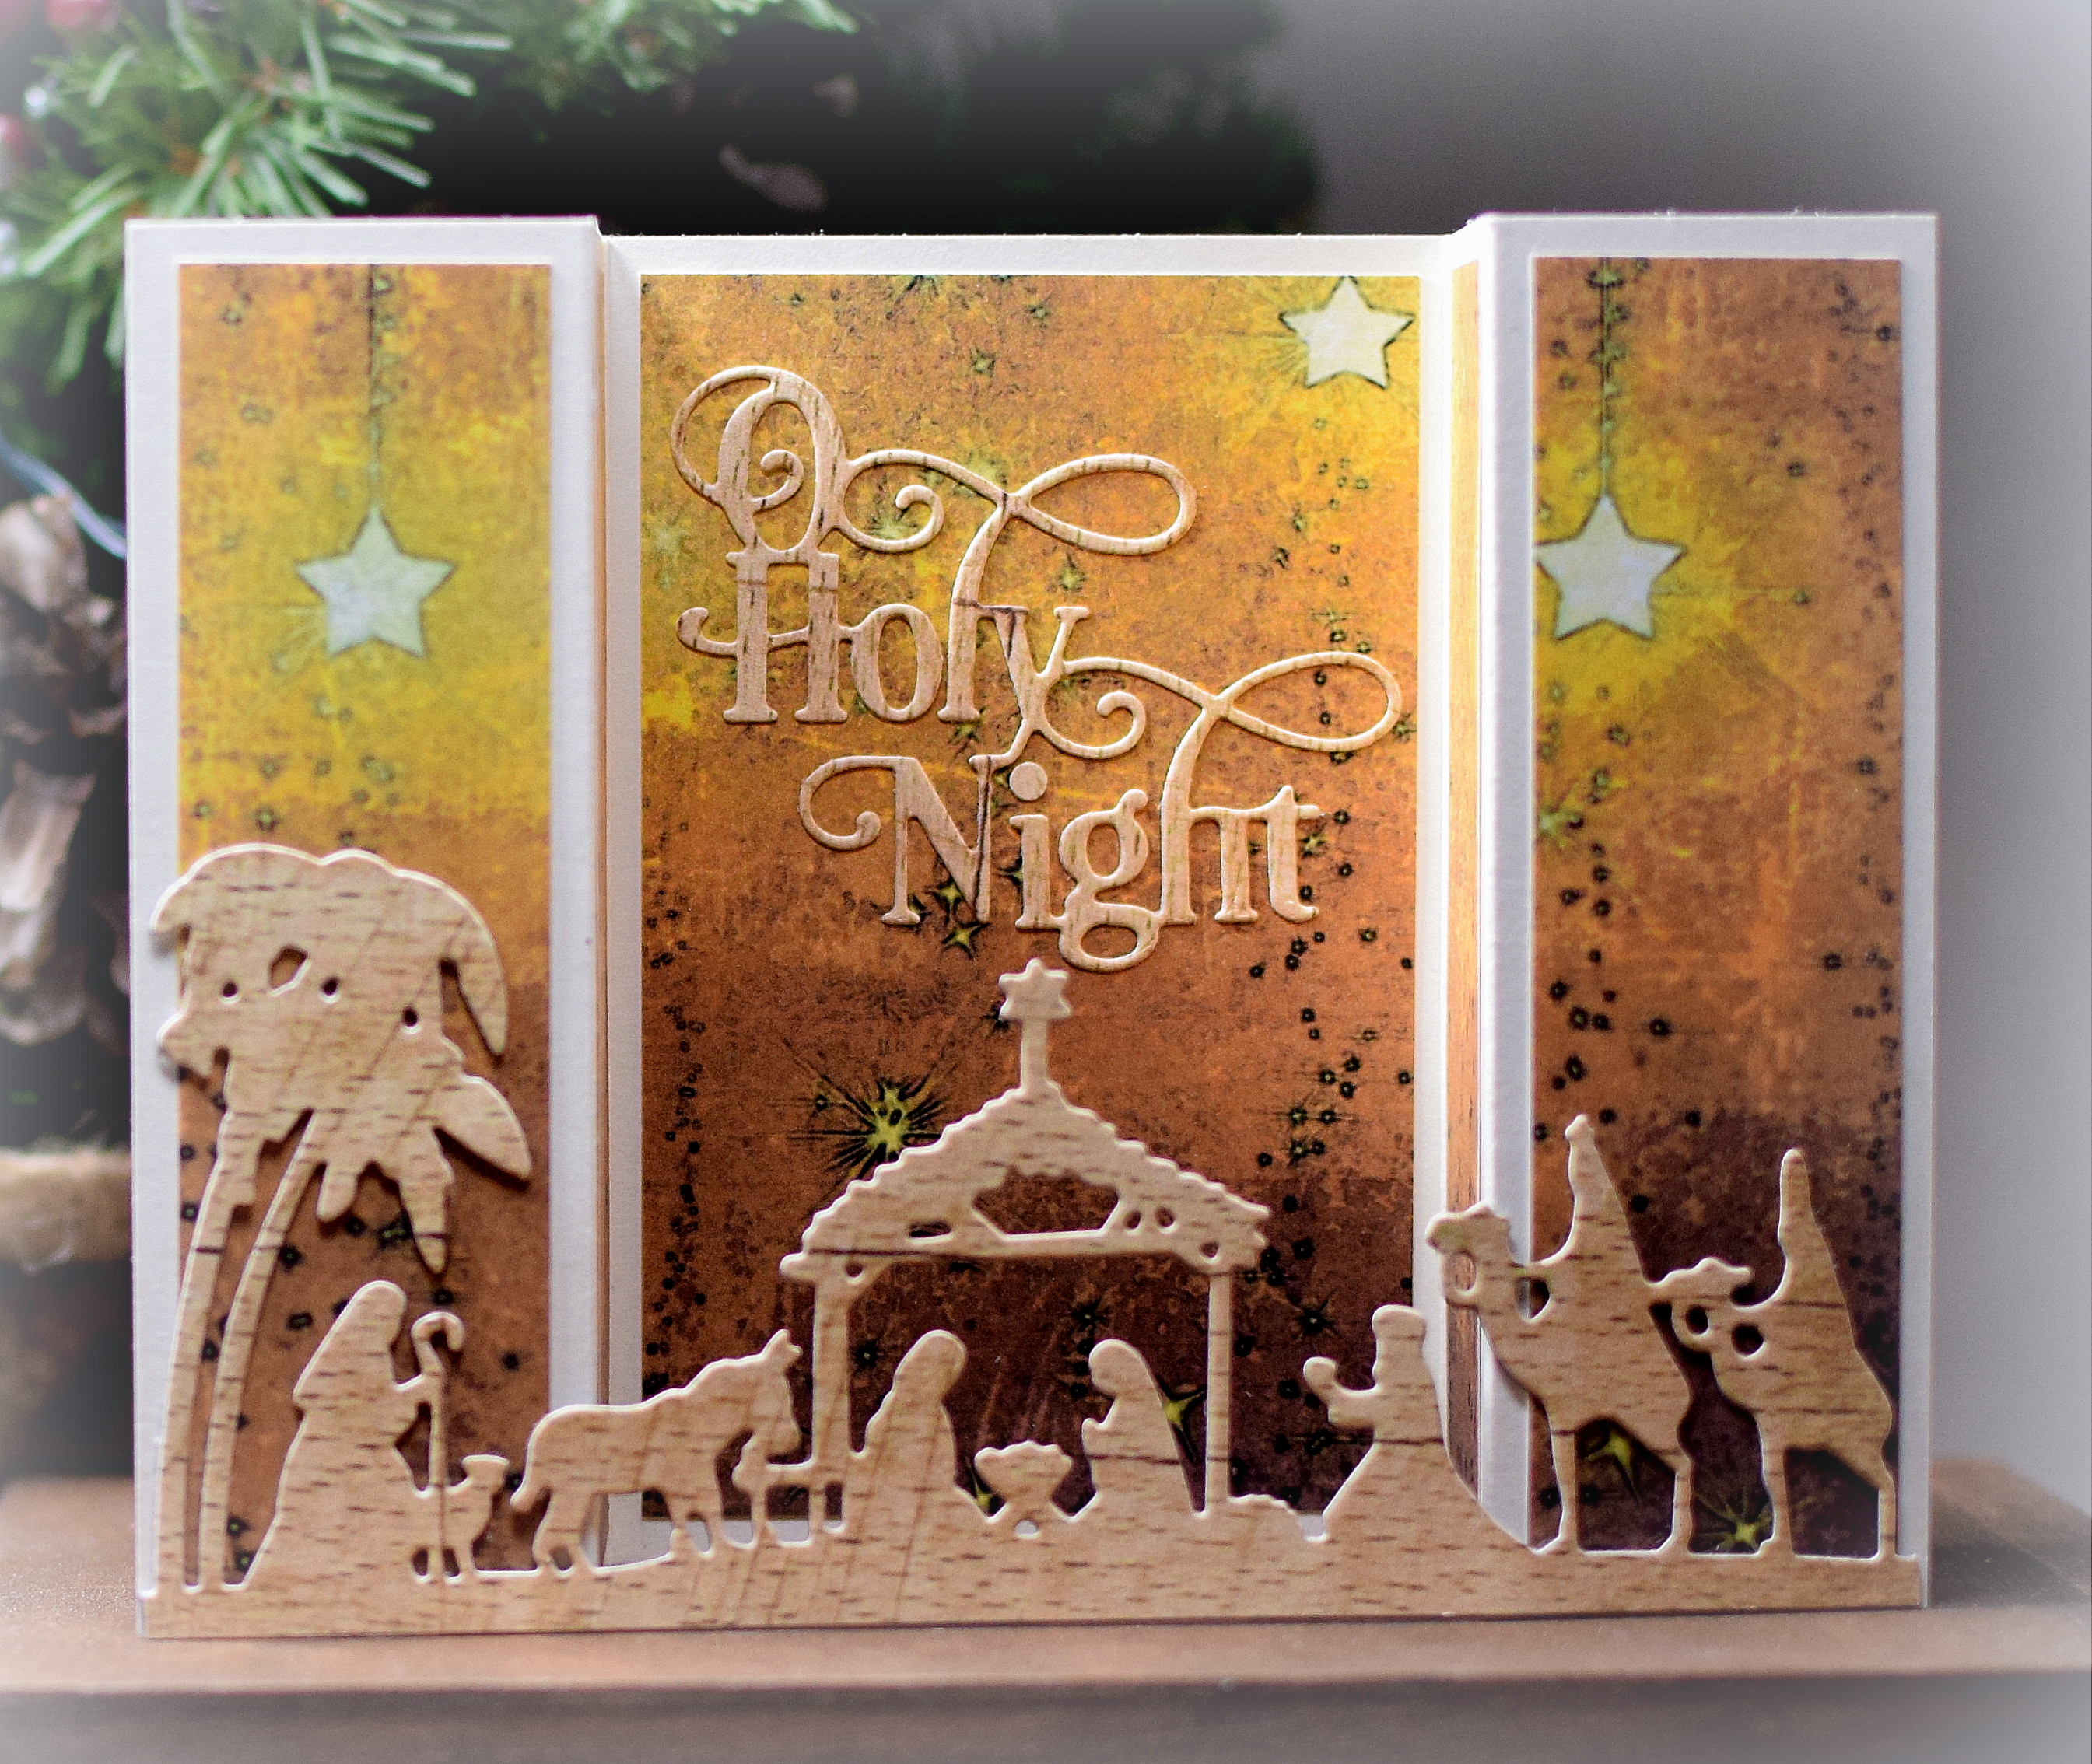
zDSC_0540

(on back:  Wishing you a heavenly Christmas filled with all God’s love & blessings!)

This bridge card features the “Nativity Border” die from Taylored Expressions and the Penny Black “O Holy Night” die (# 51-259).

The patterned paper for the background panels and for the die cuts were both digital files I purchased on Etsy.  The wood grained paper is from from Ladybird Press.  I had purchased the “Boy Scout Oath Print” file, and the owner was kind enough to send me the blank wood grained file (the boy scout print without the words) as well.  The background panels were from a file called “Hanging Stars” by SouthernSassGraphics (which, it appears, is no longer available).  The card base is “Butter Mints” (8-825) by Bazzill.

The greeting (stamped on the back) is from the “Christmas Blessings” stamp set by Divinity Designs (formerly known as “Our Daily Bread”).

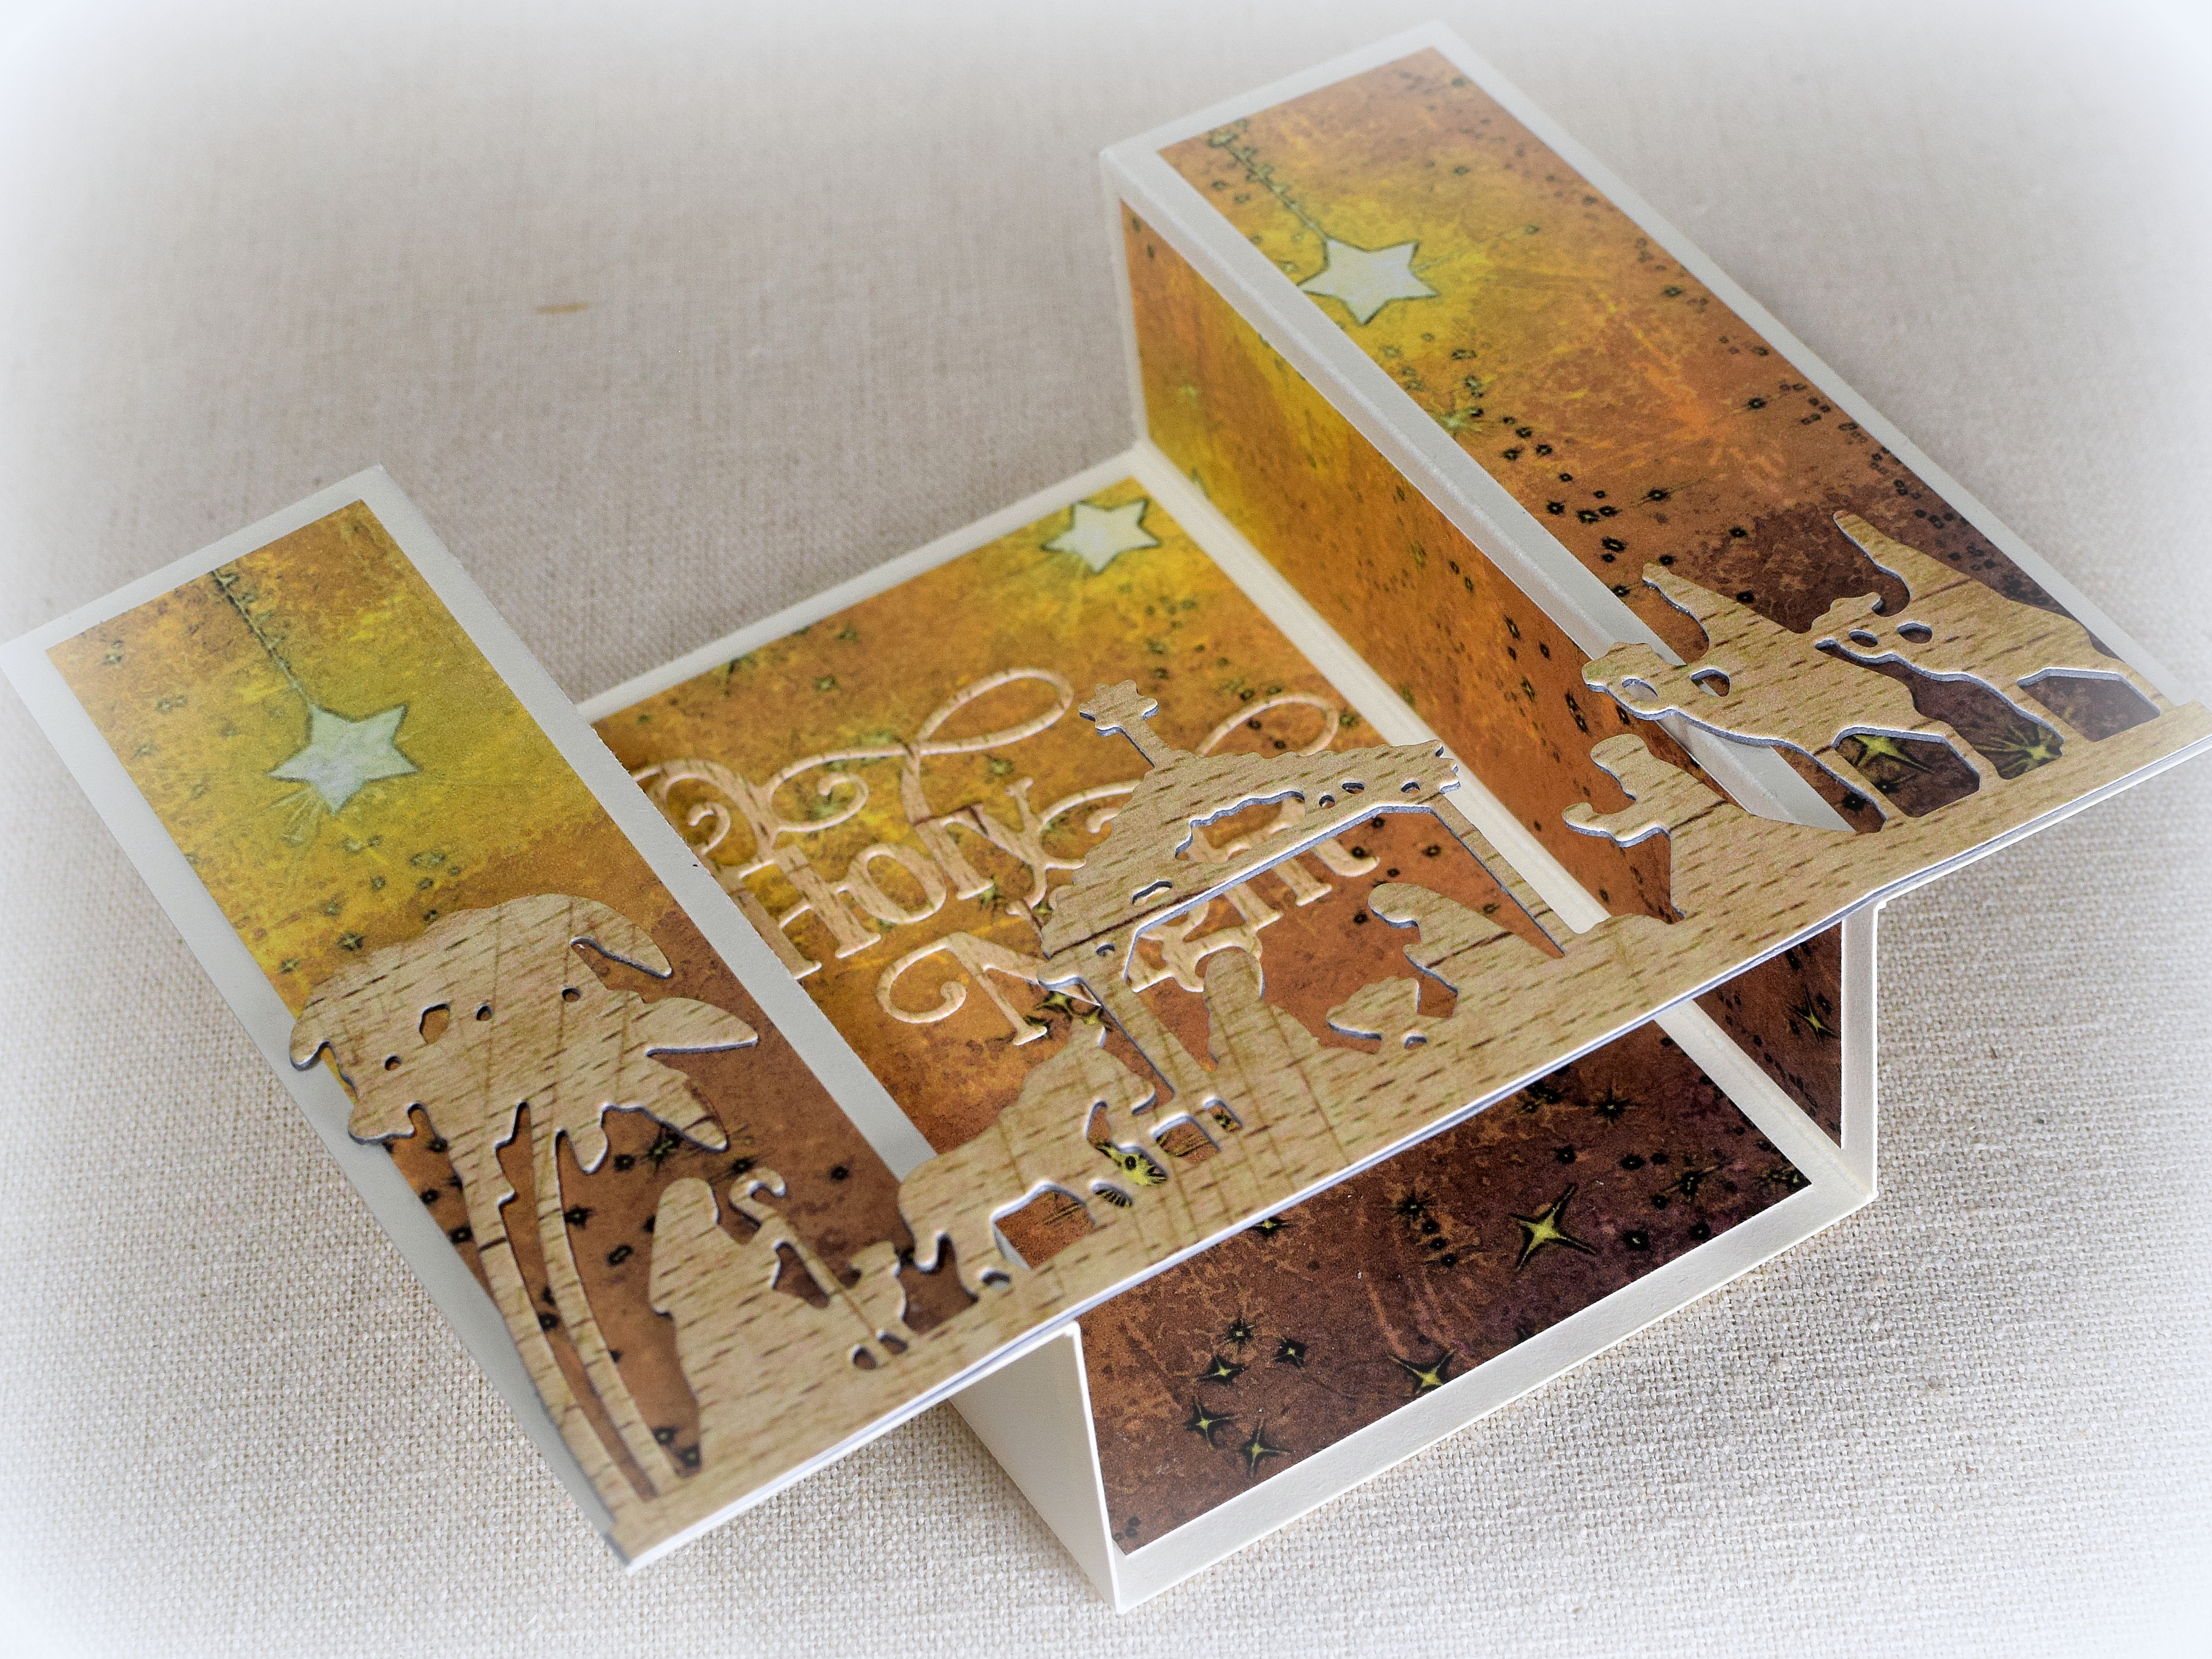
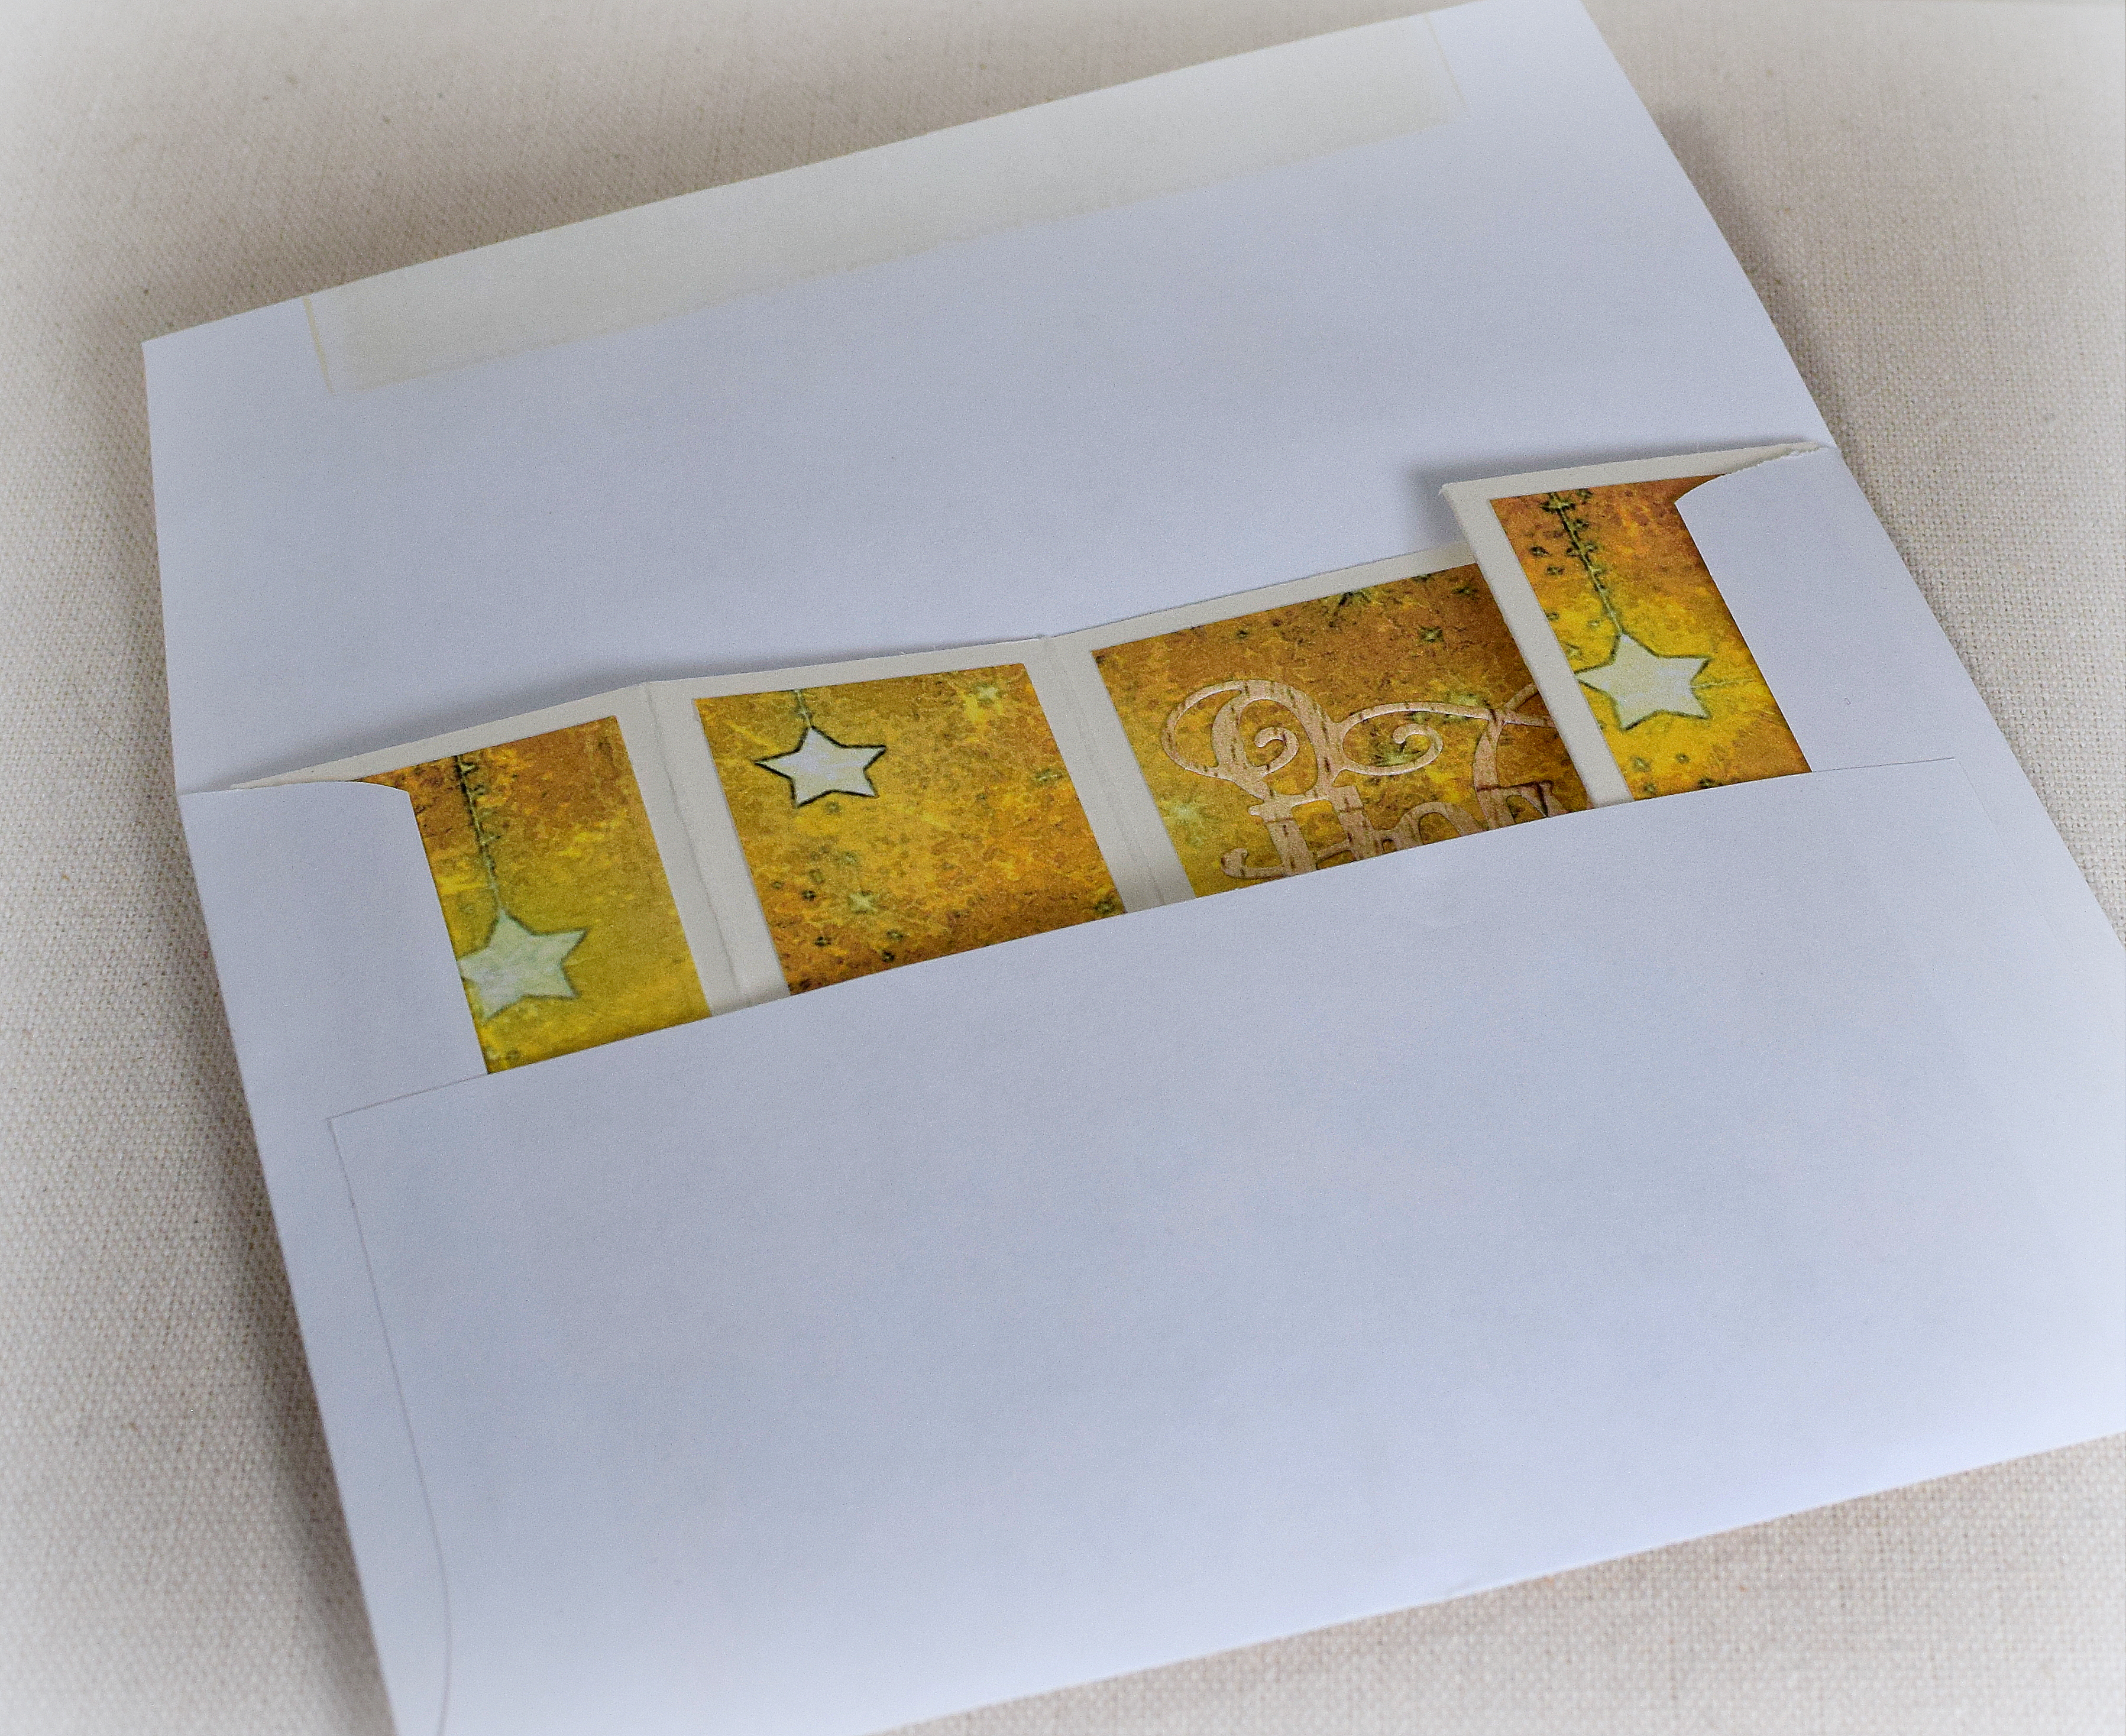
The card base is 8 1/4″ x 4 1/4″ scored at 1 3/8″, 2 3/4″, 5 1/2″, and 6 7/8″ and folded as shown below.  The “bridge” could be a rectangular strip that you decorate or a die cut (like mine) and is 5 1/2″ (or less) across and as high as desired to accommodate your card design.  (If your “bridge” is not quite 5 1/2″ across, just make sure it is longer than the 2 3/4″ center opening with enough extra length on each end so there is something to adhere to the side panels.)

wDSC_0577

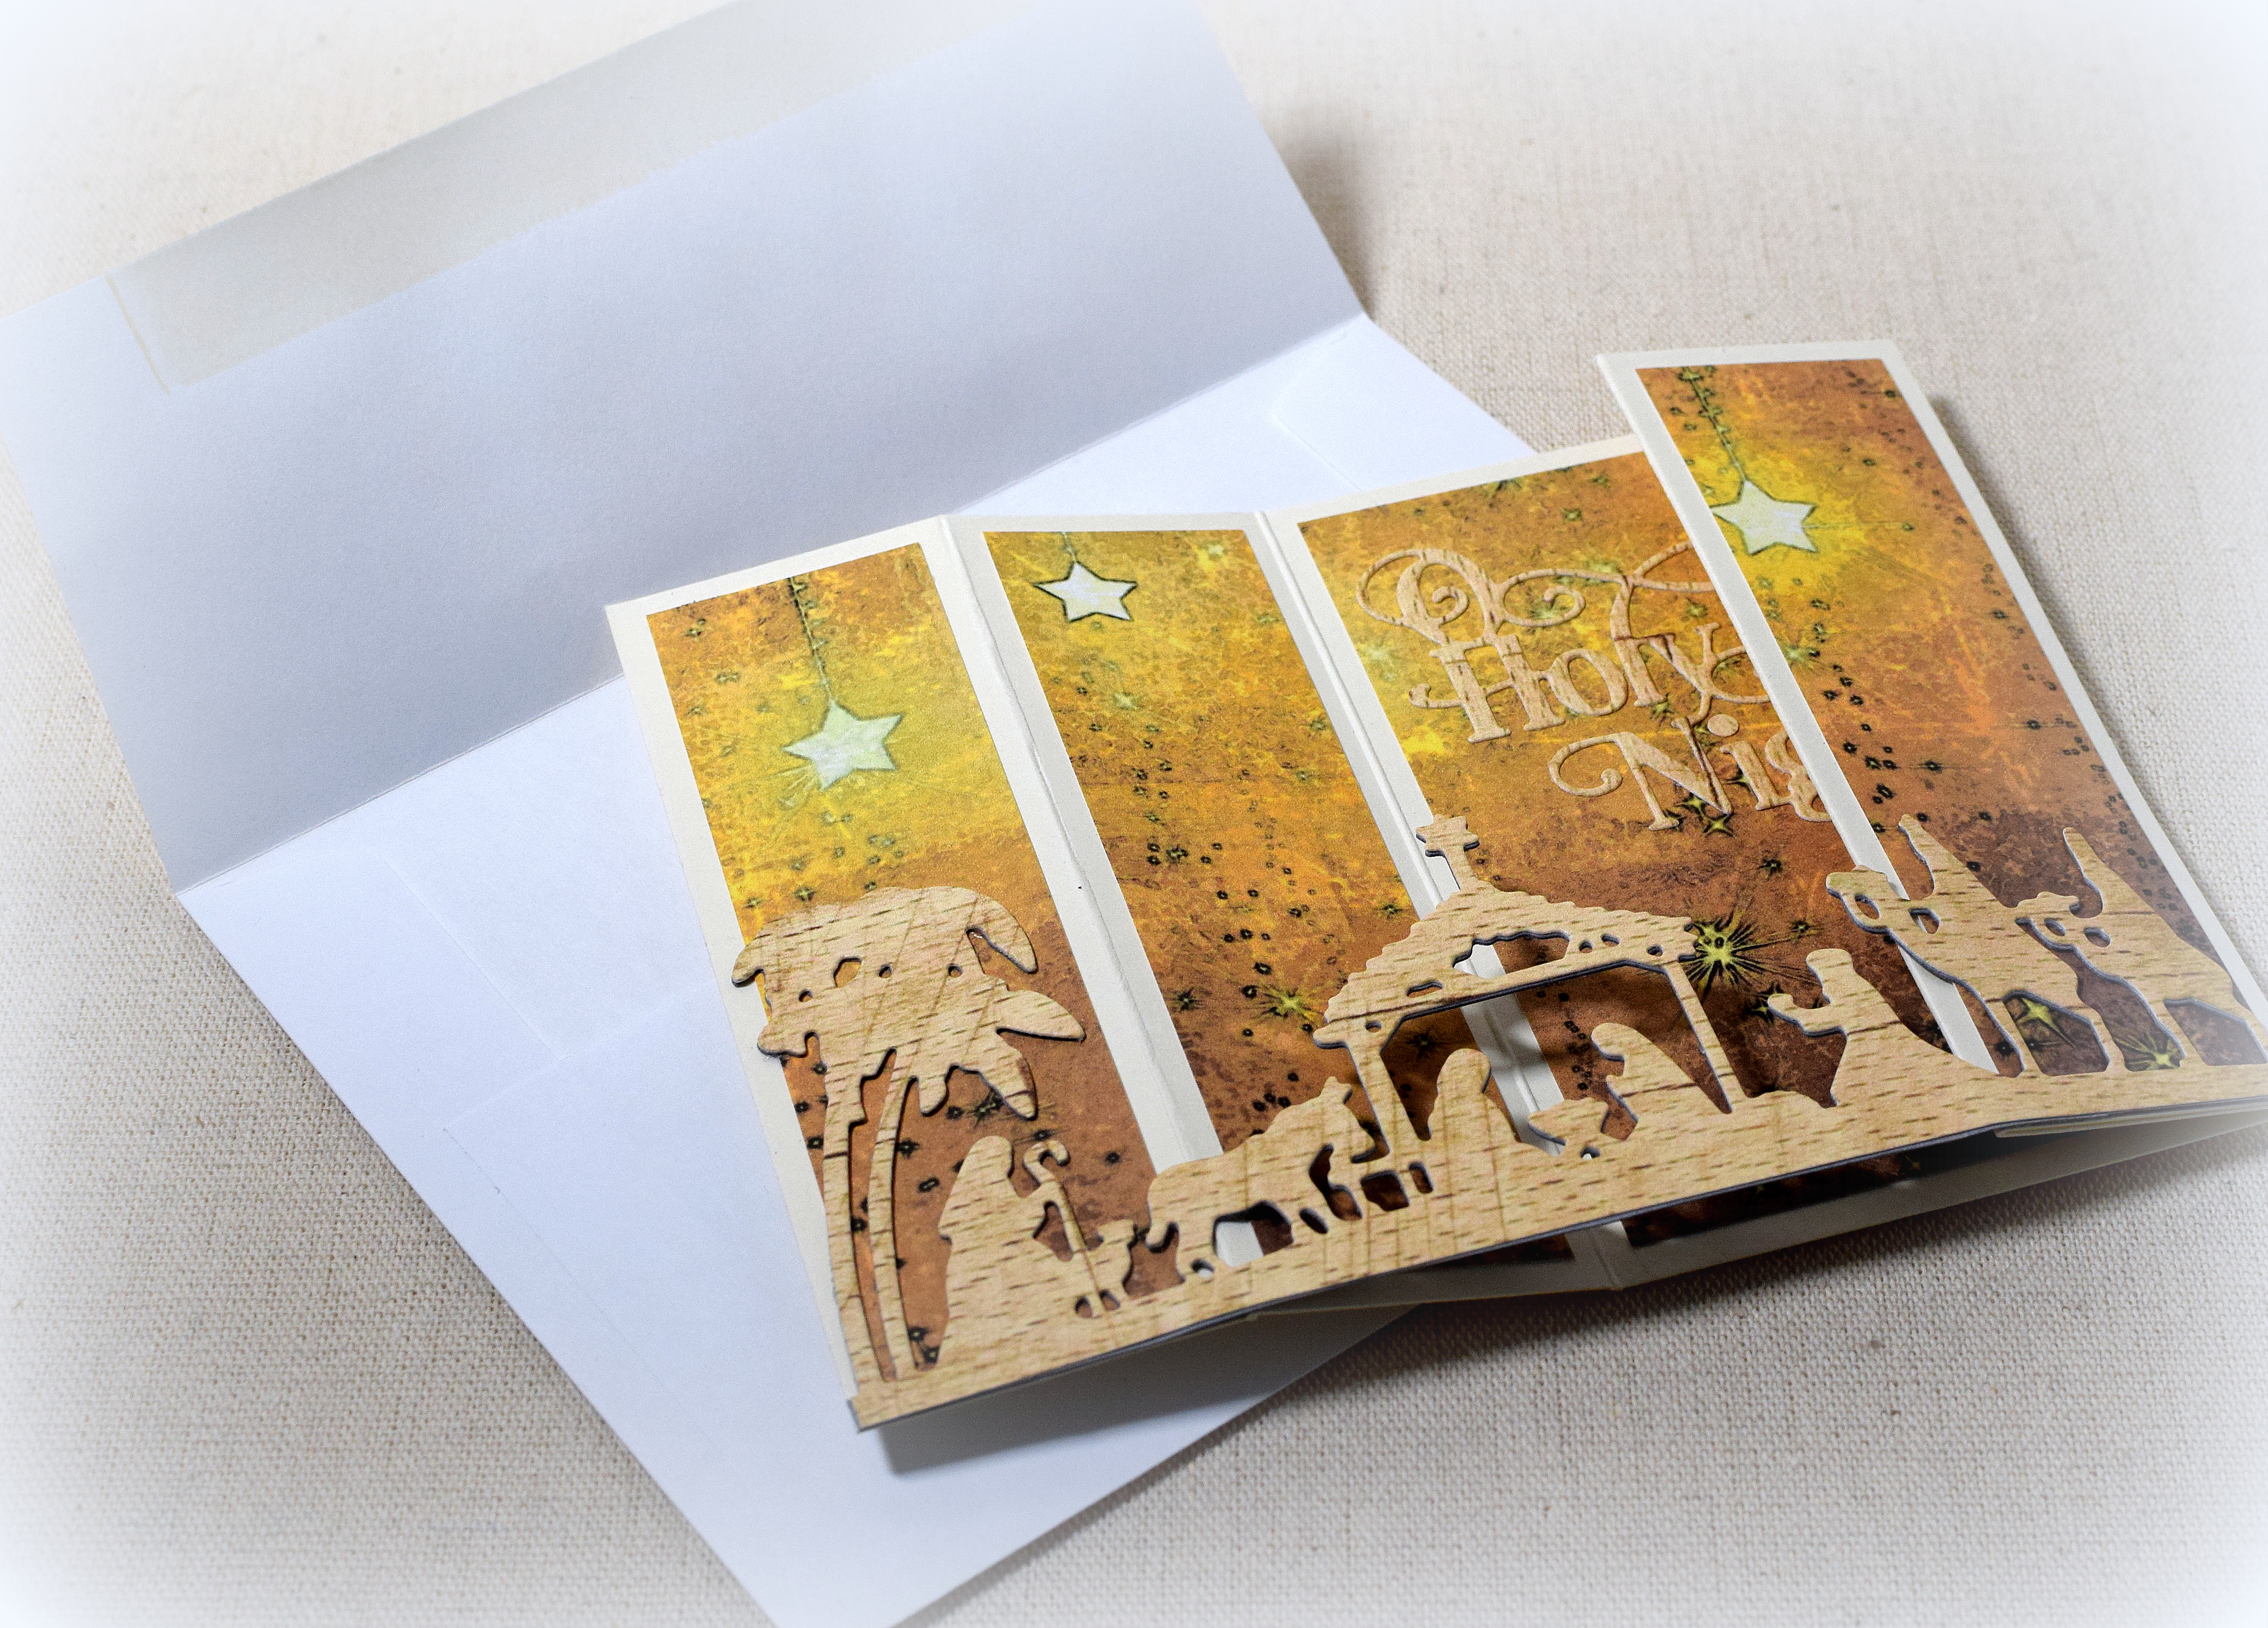
Bridge cards make a beautiful 3D display but fold flat for mailing.  This card fits in a regular A2 size envelope.

wDSC_0575

wDSC_0580

The Mod Squad Challenge this week is called Christmas/Winter Theme [Use a Metal Die] where we are encouraged to use a metal die and create a Winter or Christmas Project [Card, Tag, etc] using a Metal Die on our creations.(Sadly, this site is no longer active.)

Thanks for checking out my card project!

This content uses referral links as described in the disclosure policy on my sidebar.

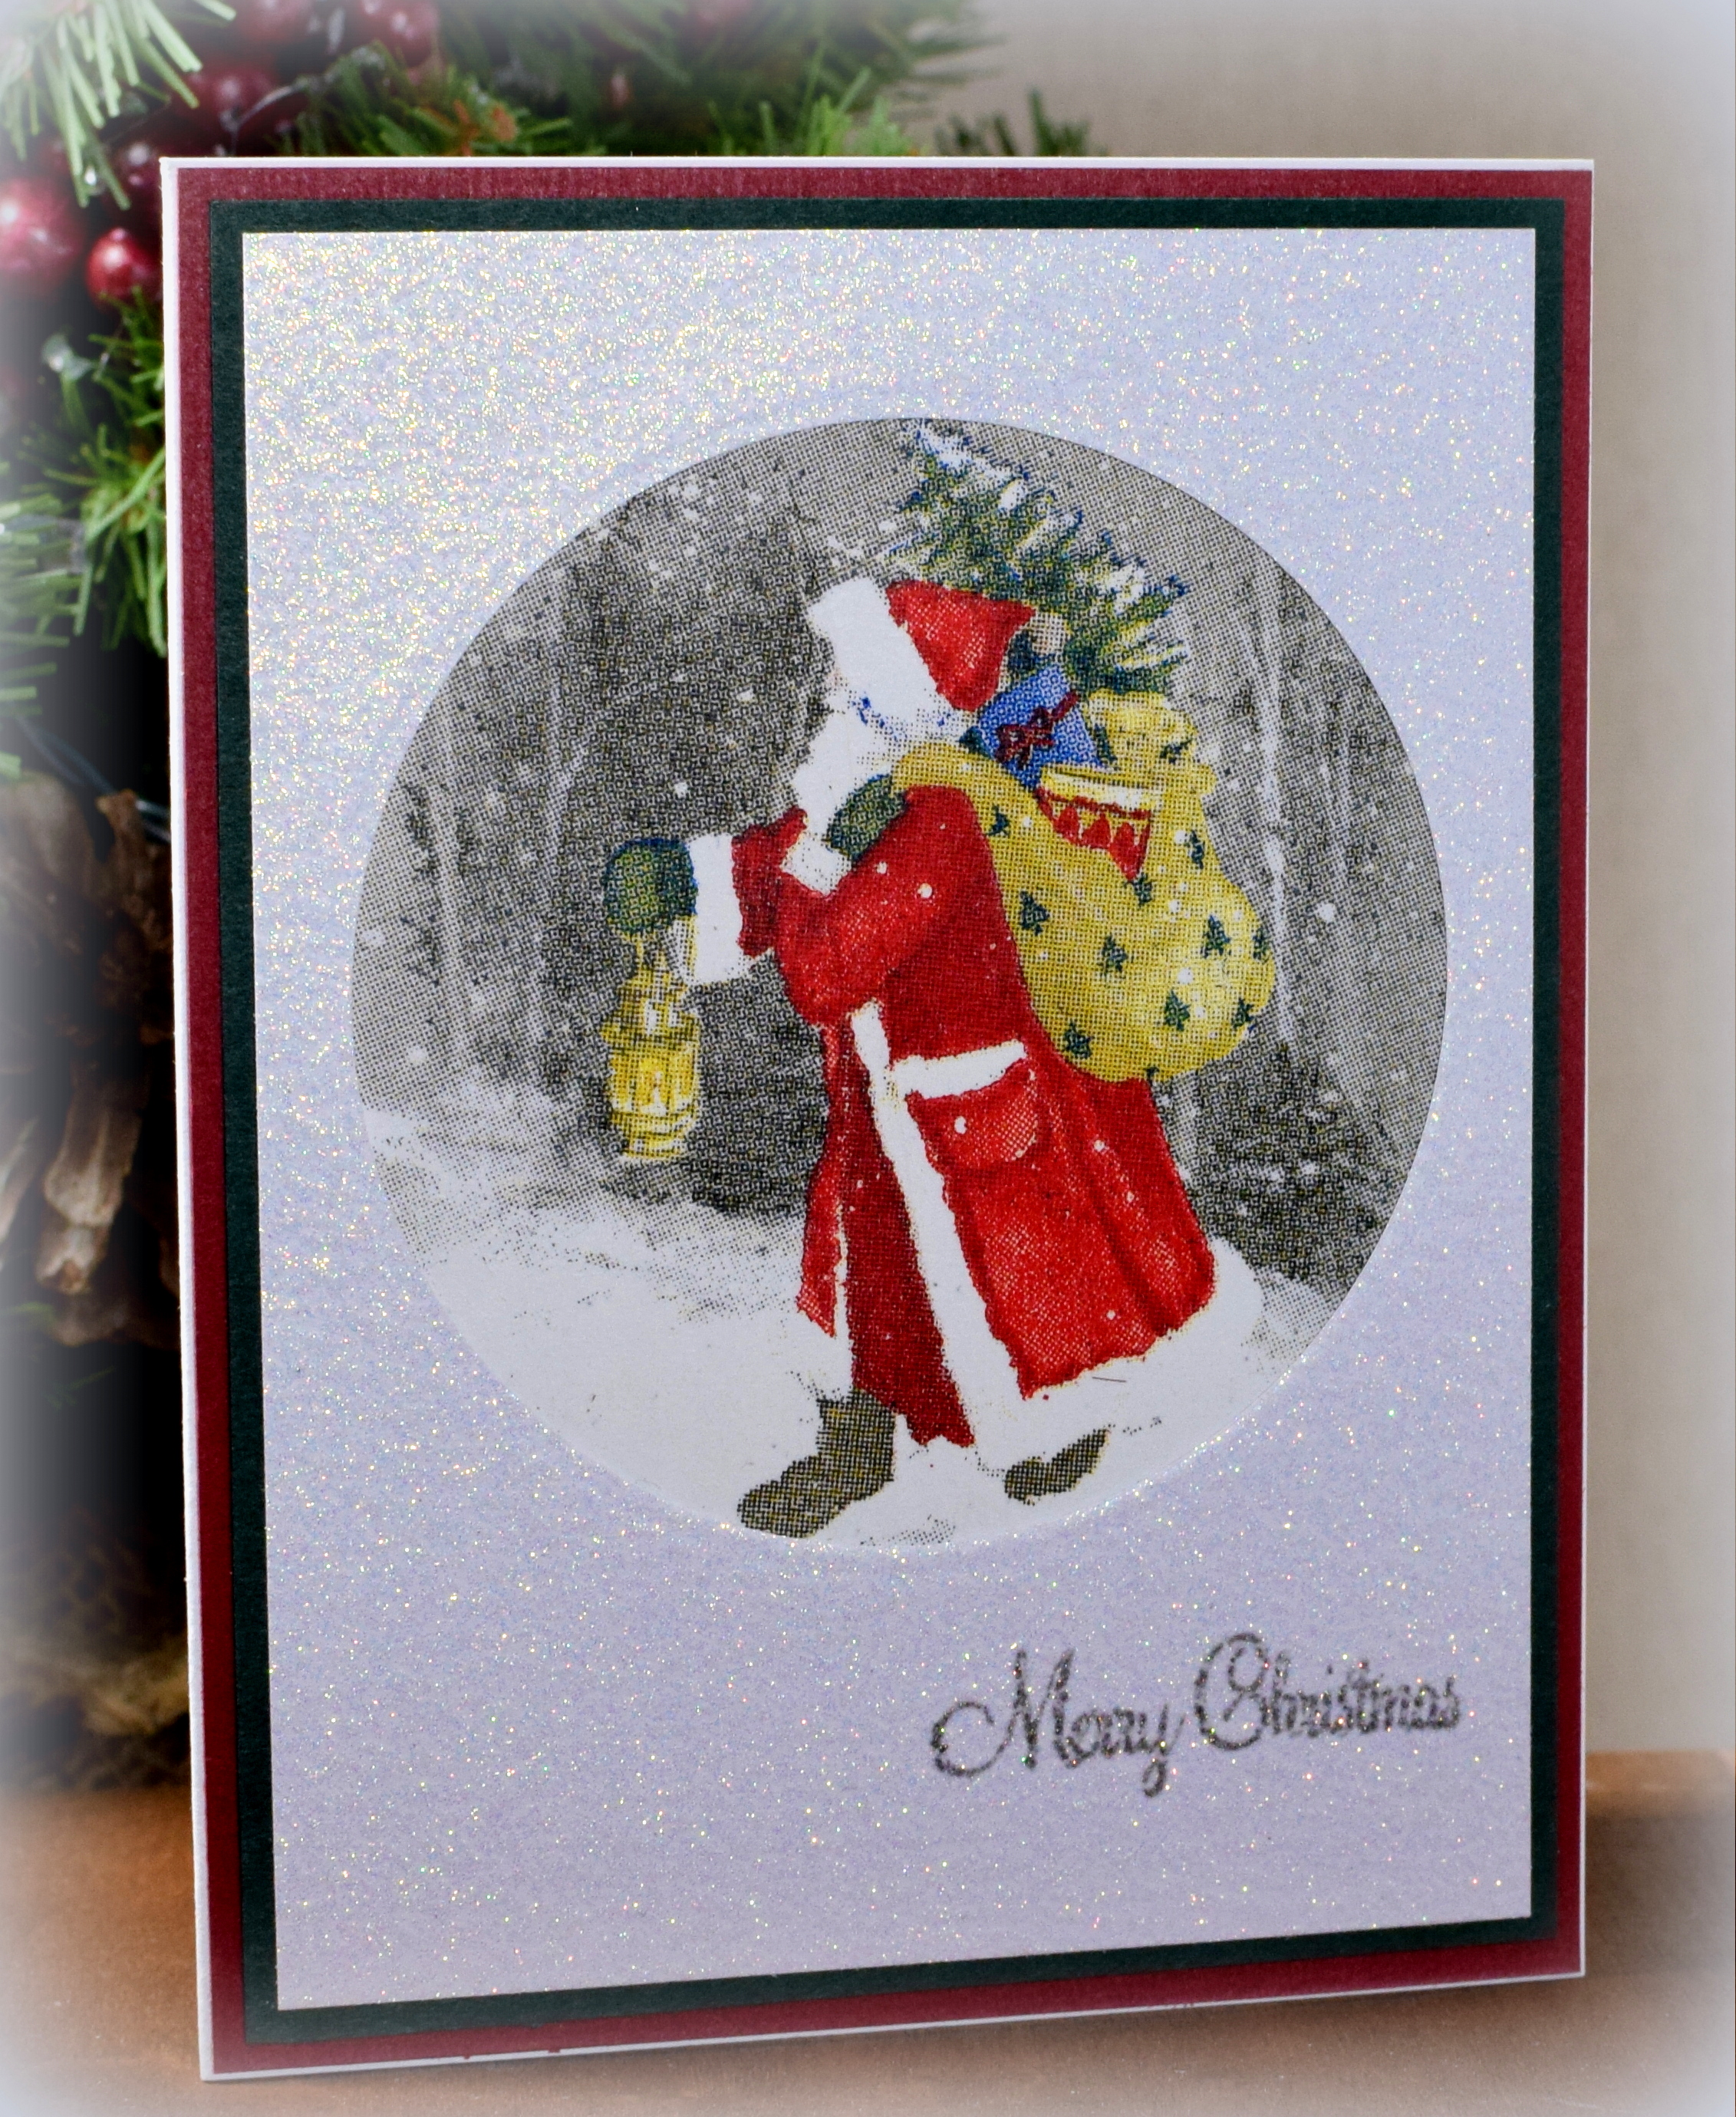
Santa in Snow Napkin Card (- a few variations)

Santa in Snow Napkin Card (- a few variations)

wwDSC_0584.jpg

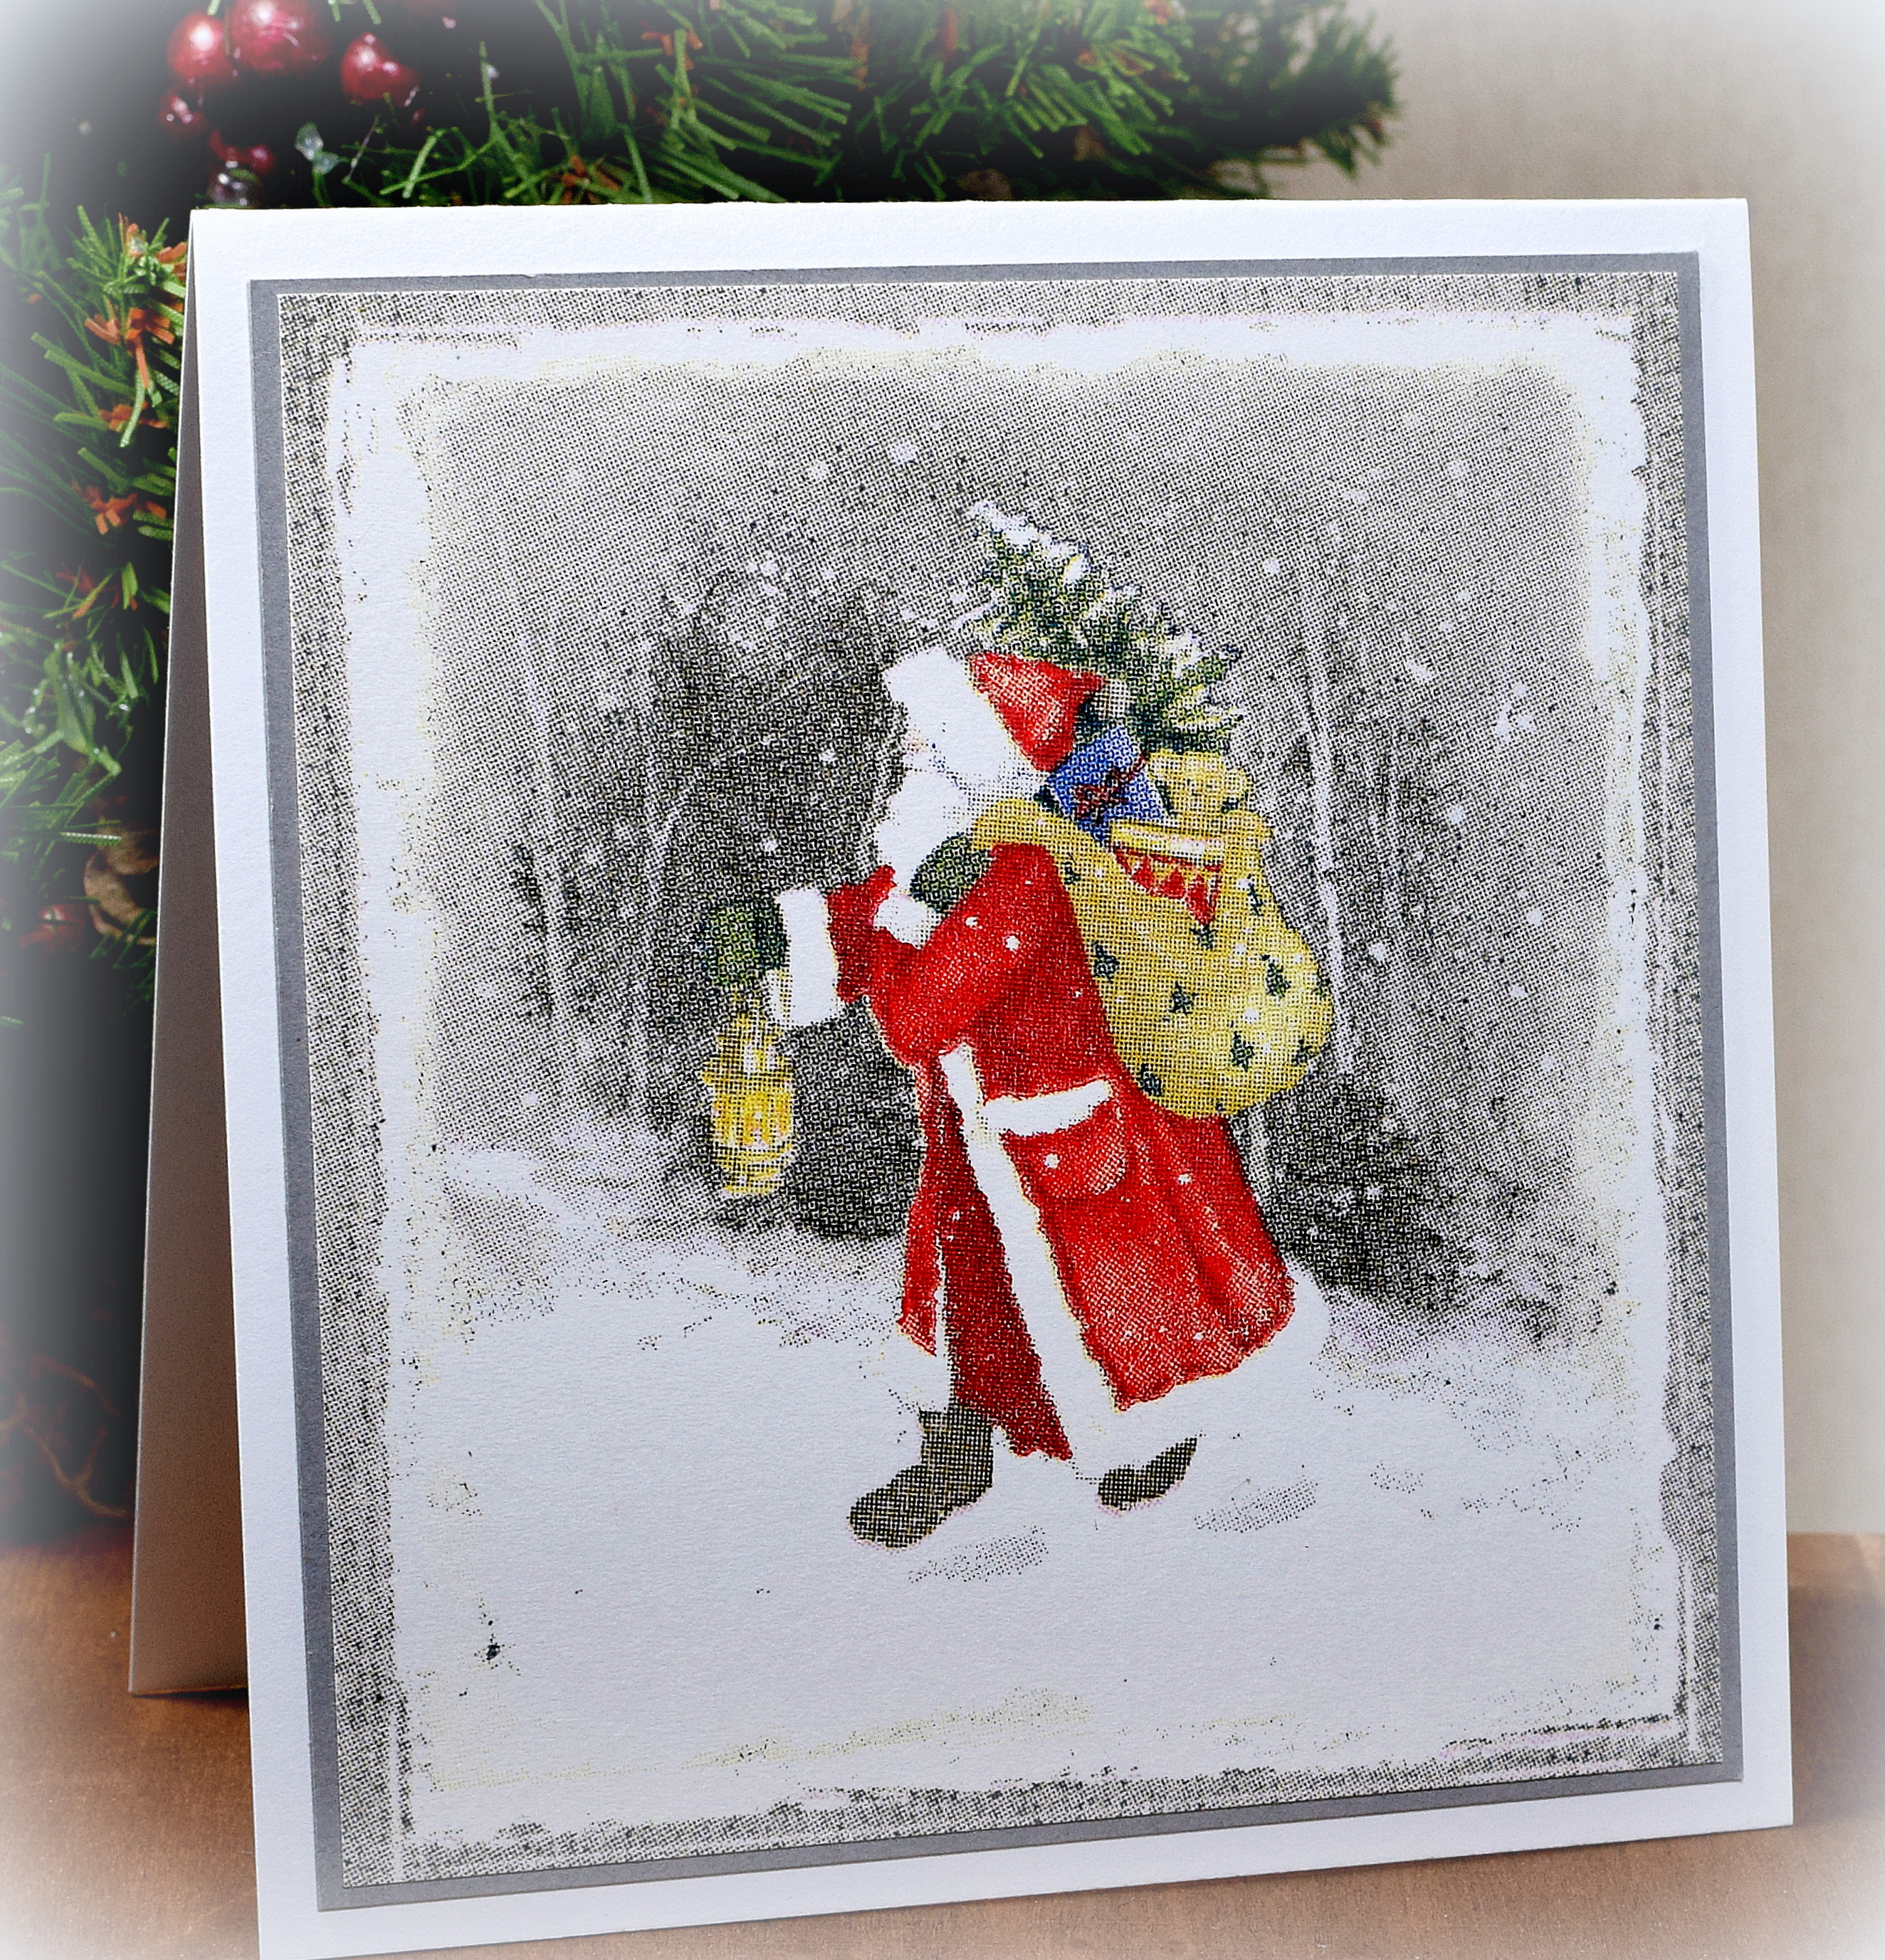
Did you ever make a card that looks like it took 5 minutes, but it actually took all afternoon?!  Lol!!  I was inspired to try this technique after seeing this video on YouTube where Karen shows how to attach a napkin to card stock with a Minc Foil Applicator  instead of an iron, and it took me several tries to work out the kinks.  (Karen’s video is great; the problems were mine, but more on that later in this post!)  I’m confident that future attempts will go better…

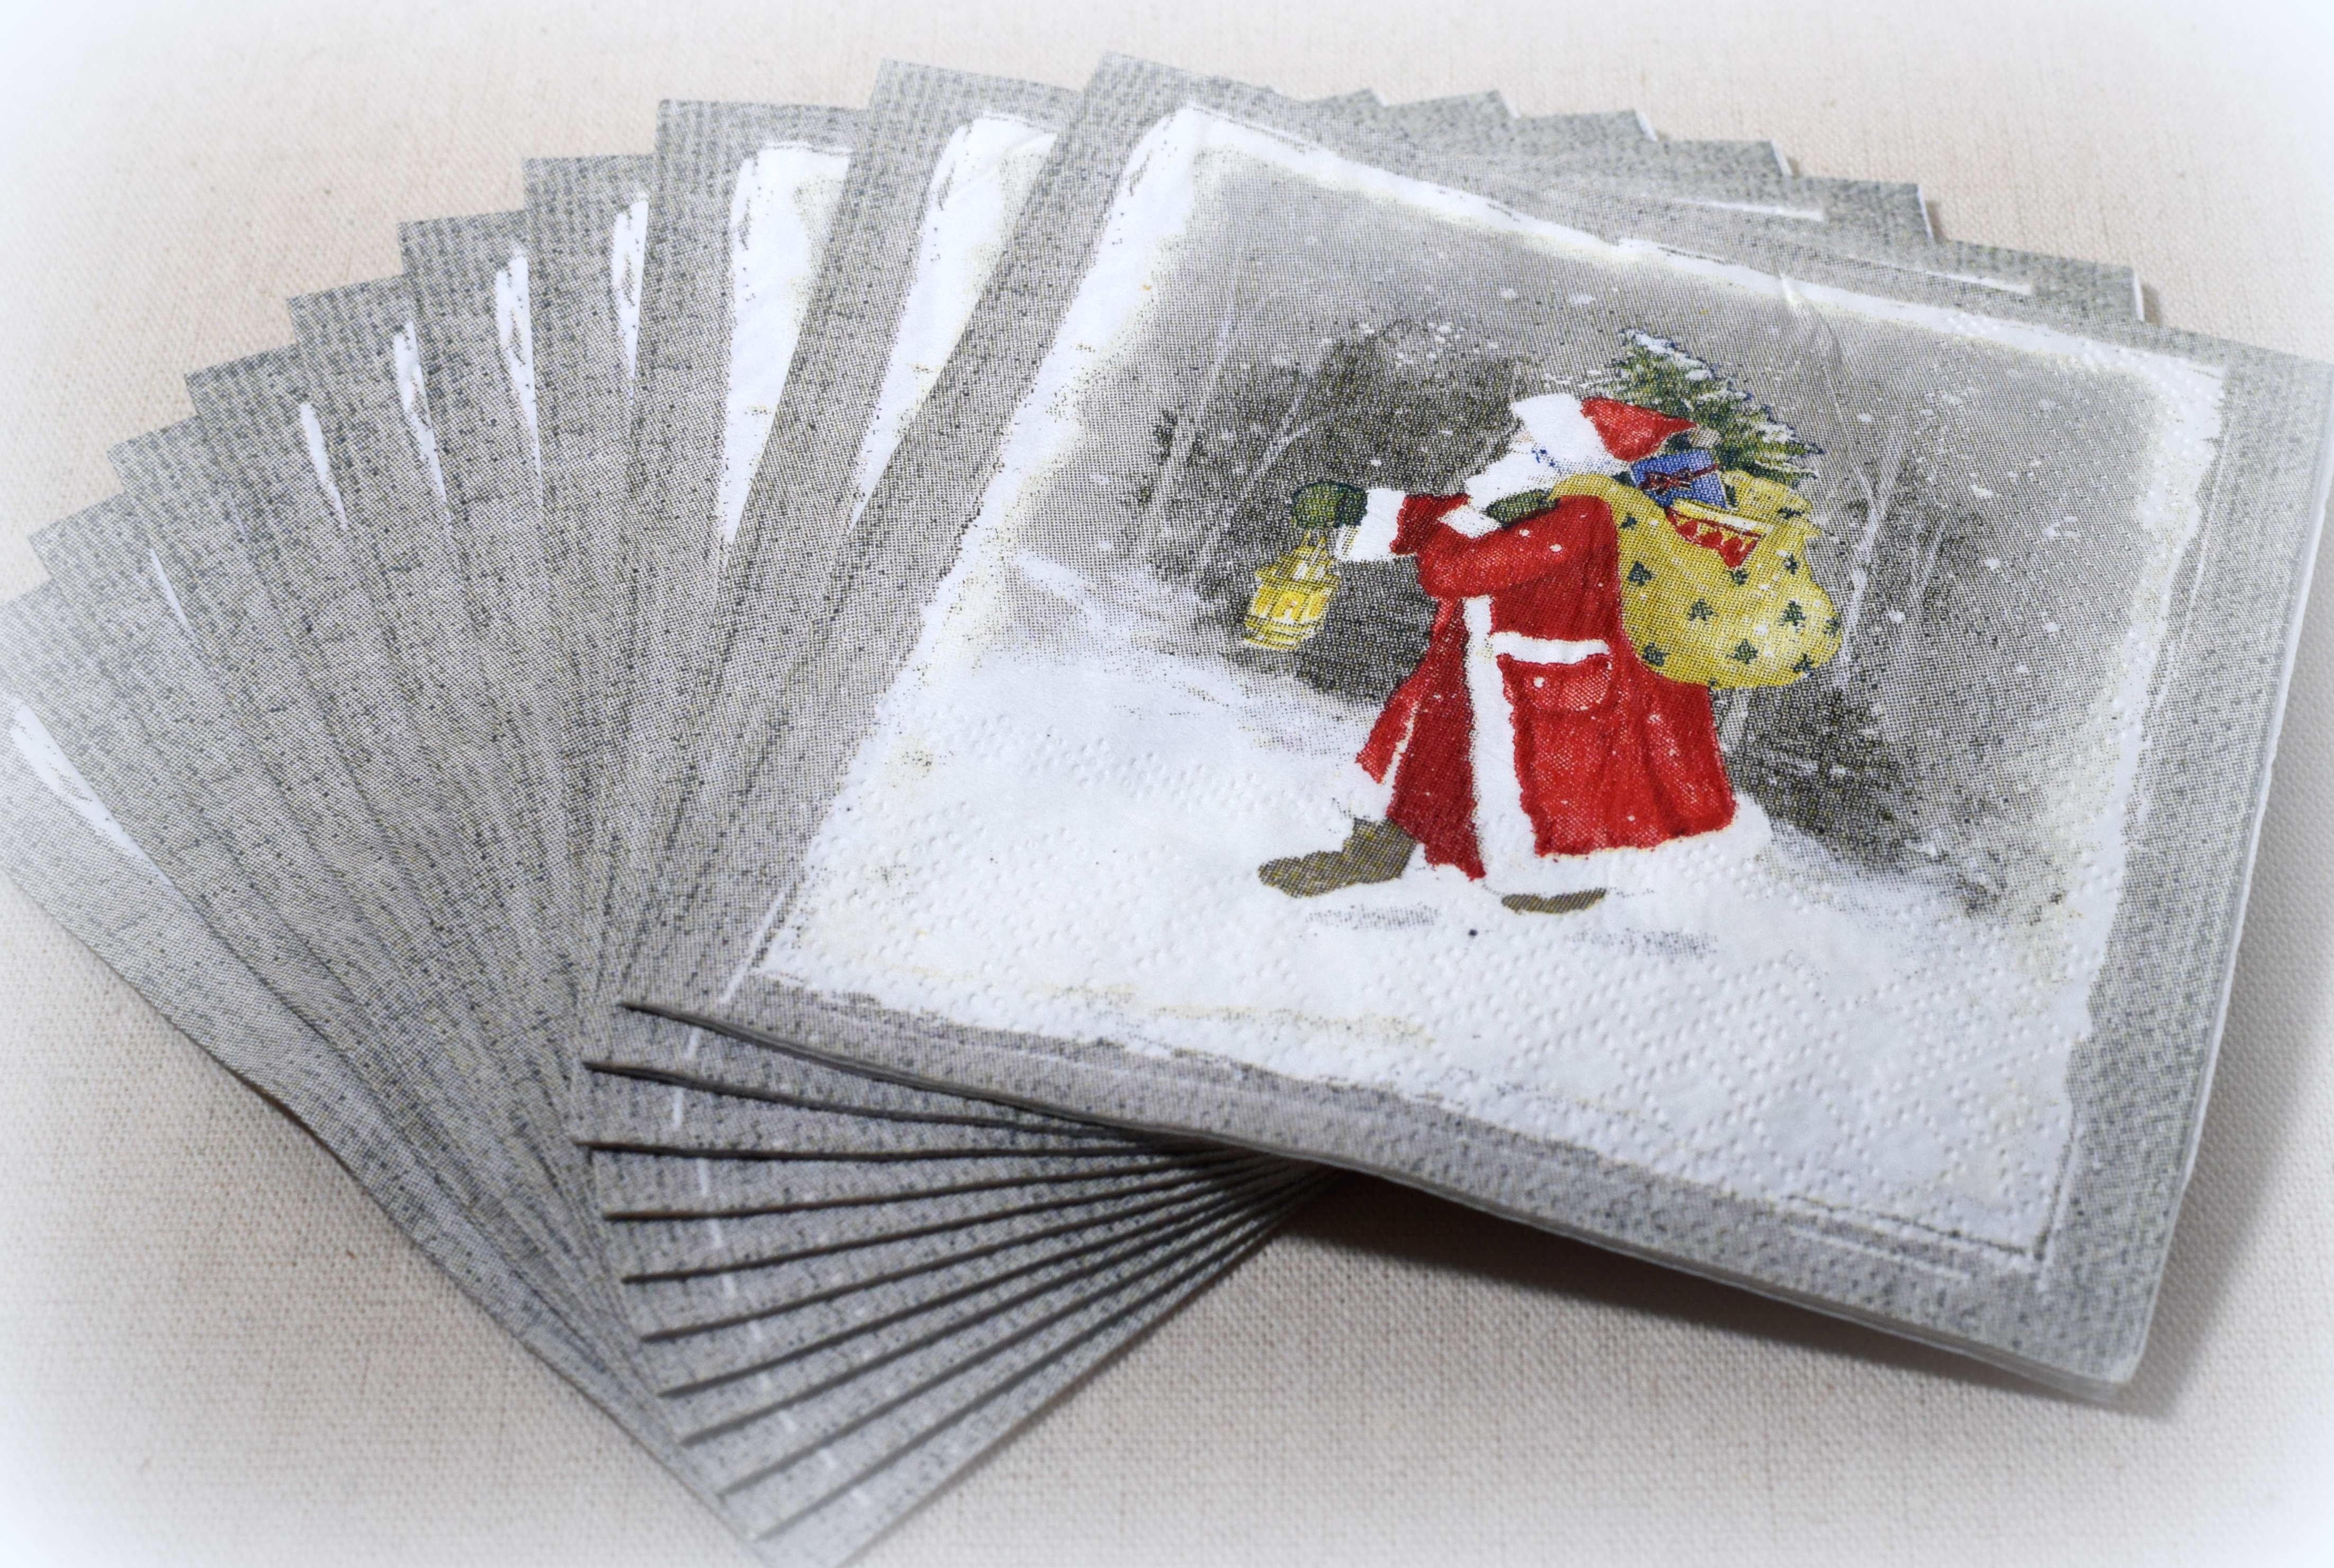
This beautiful Santa image came from a cocktail napkin (by Kathryn White; Evergreen Enterprises) that I purchased at Home Goods.
wwDSC_0581

To attach a napkin to a piece of card stock, you need to separate and remove the one (or two) plain layers from the top printed layer of the napkin.  (This could be a bit challenging – lol!)  Then, you sandwich a piece of cling wrap between a piece of card stock and the top layer of the napkin (all trimmed to size) and run it through your Minc (on the highest setting).  This is what melts/adheres the napkin to the card stock.

Once you get the napkin attached to the card stock, you end up with a panel that looks and feels like cloth.  Very cool!

I had several “messed up” panels where I couldn’t get the border quite right, so I tried a few more card designs using parts of those panels…

wDSC_0593

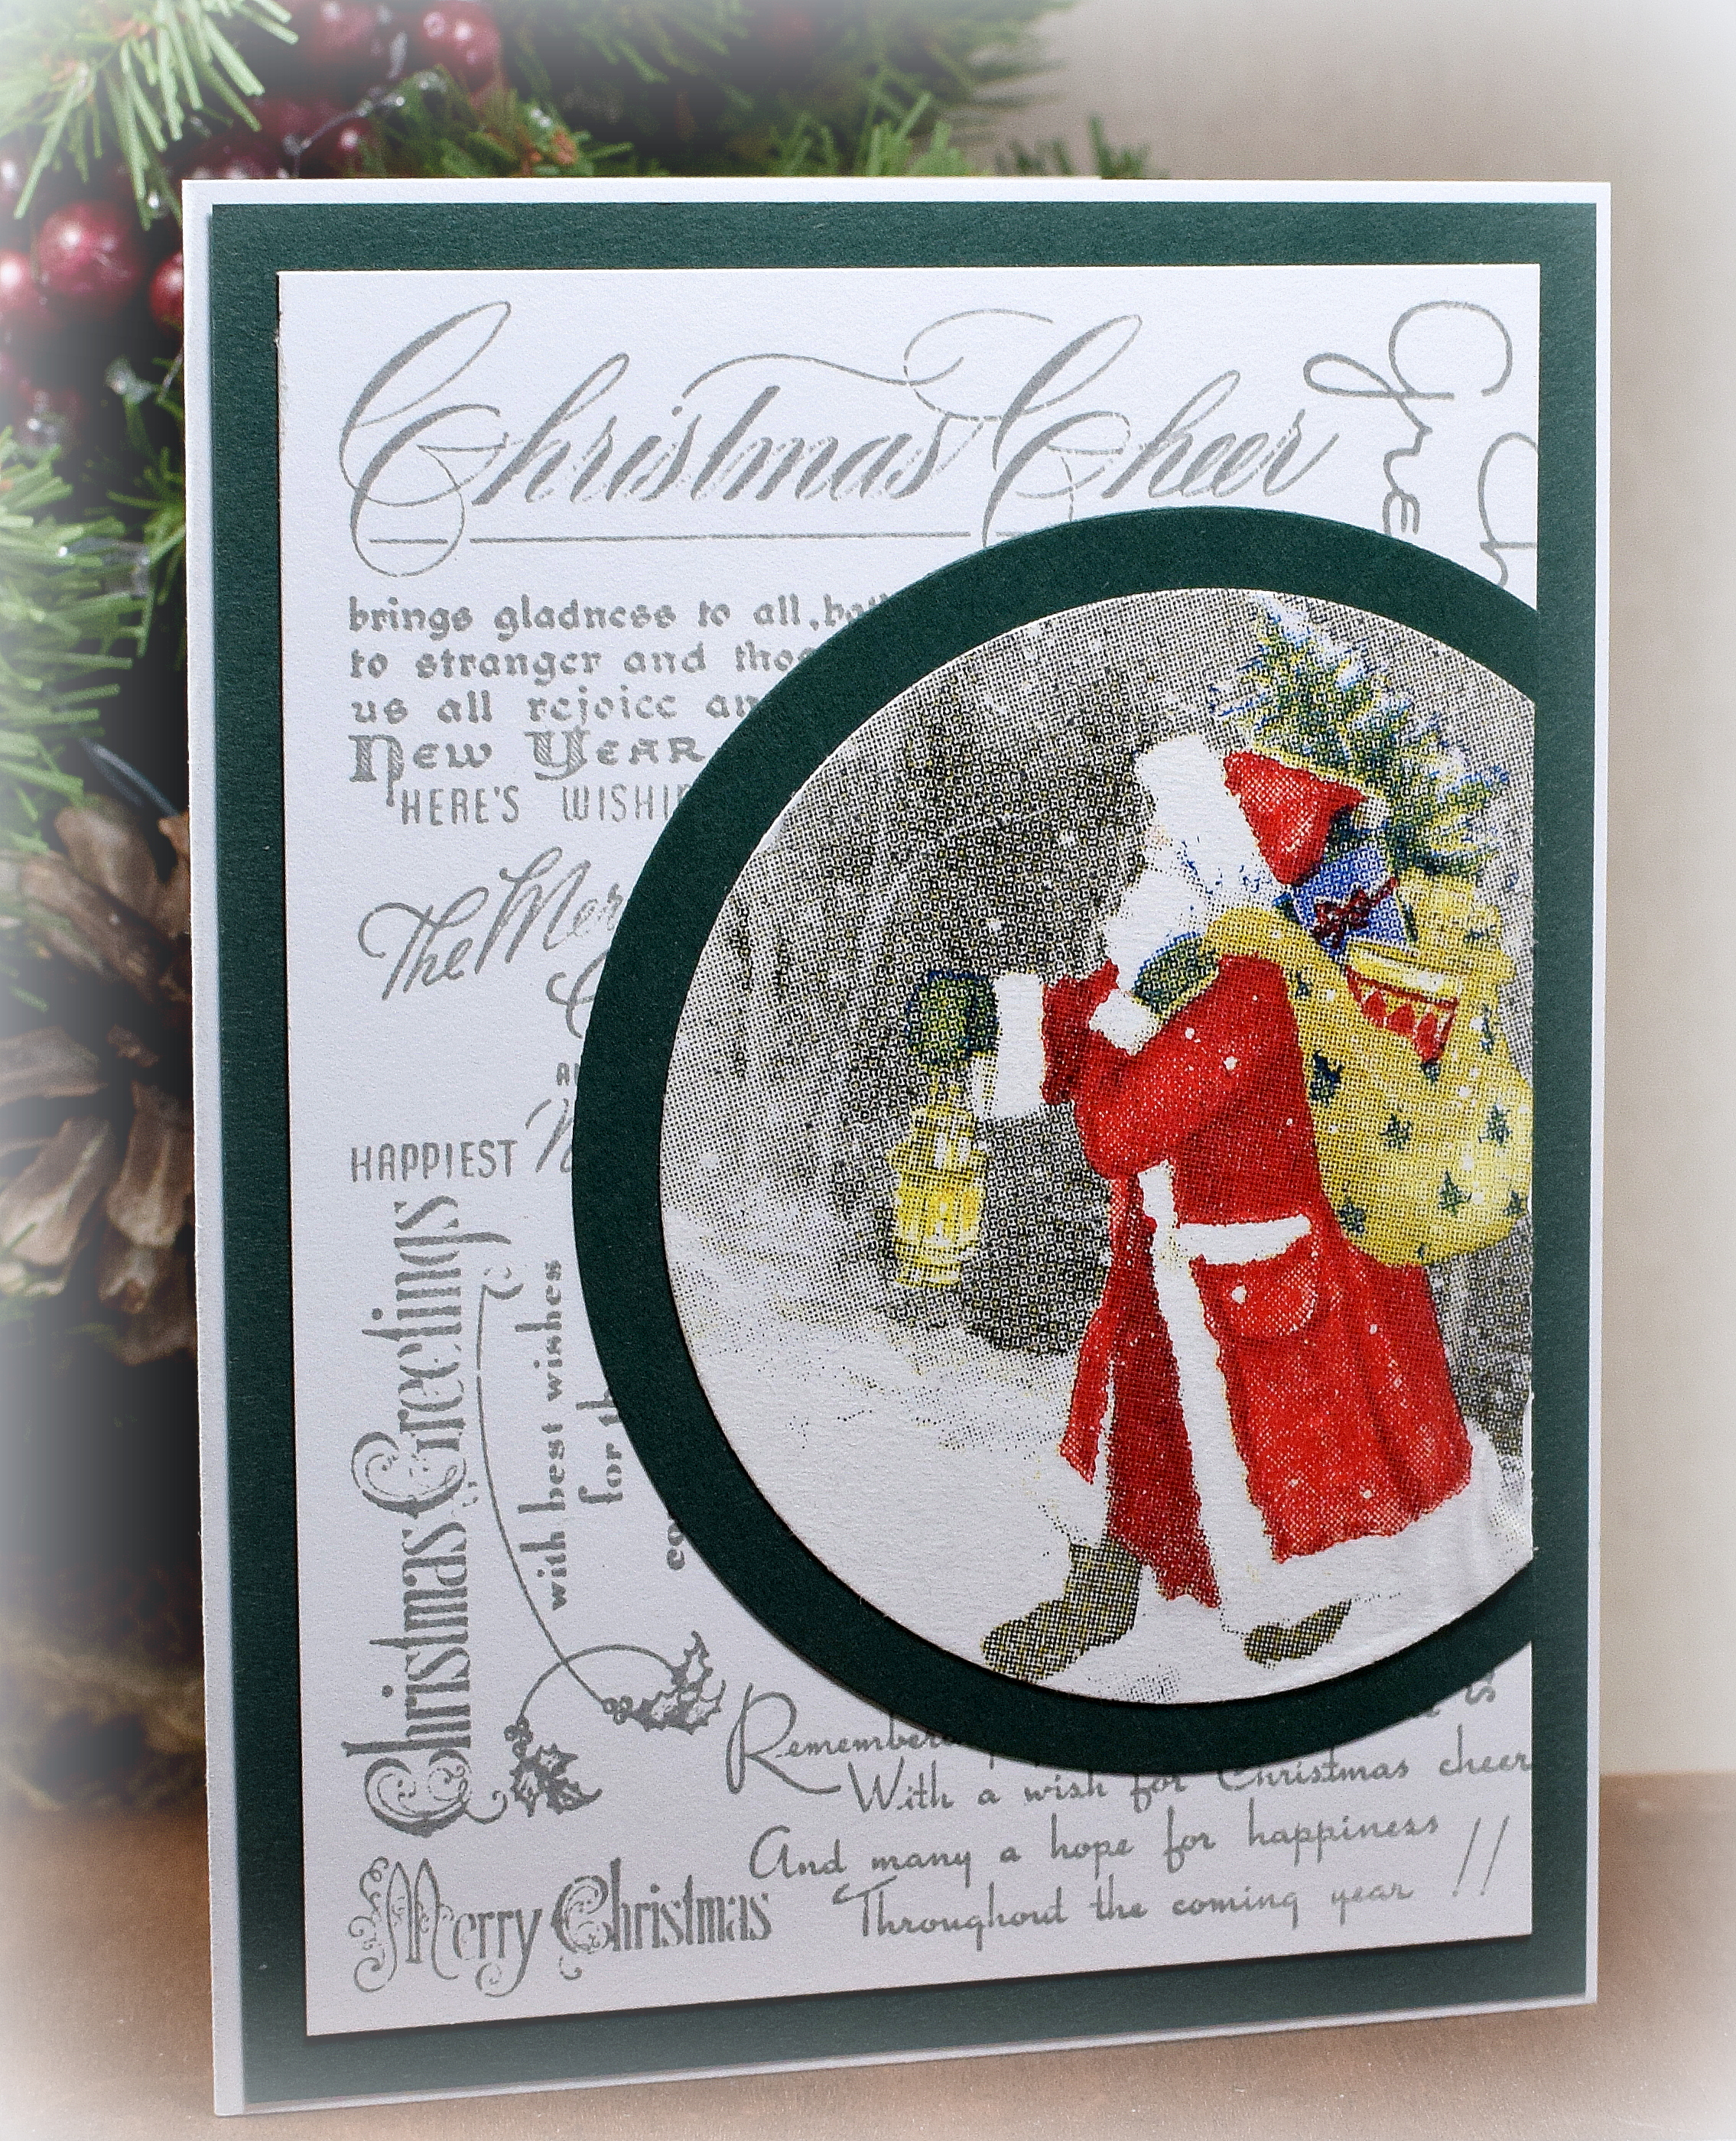
This one was made with spellbinders circle dies (with the die cuts placed over the edge of the background panel and trimmed) and the Stampendous “Christmas Background” (#CRR144) cling stamp.  Ranger’s Cool Graphite ink matched the grays in the napkin pretty well.

*
wwDSC_0588

This one was made with Recollections printable glitter paper from Michaels on which I was able to stamp a greeting.

The Mod Squad Challenge this week is called Christmas/Winter Theme [Use a Metal Die] where we are encouraged to use a metal die and create a Winter or Christmas Project [Card, Tag, etc] using a Metal Die on our creations.  (Sadly, this site is no longer active.)

If you wish to see the issues I had (and the ways I dealt with them)… Continue reading →