Bokeh Christmas Card (and a few other samples)

Bokeh Christmas Card (and a few other samples)

DSC_2168W

Bokeh comes from the Japanese word boke (ボケ), which means “blur” or “haze”, or boke-aji, the “blur quality.”  Bokeh is pronounced BOH-Kə or BOH-kay and is defined as, “the effect of a soft, out-of-focus background that you get when shooting a subject, using a fast lens, at the widest aperture.”  Simply put, bokeh is the pleasing or aesthetic quality of out-of-focus blur in a photograph.  (See more HERE.)

To create this effect on a card, you ink a background and then sponge over that with white pigment ink through a stencil made with varying sized circles .  Here is a video tutorial showing exactly how this is done.

For the card above, I used Memento Blue Danube and Summer Sky inks, Tim Holtz Seedless Preserves Distress ink, and Tsukineko Brilliance Moonlight White Pigment Ink to create my bokeh background.  I layered several of the sentiment die cuts to help it stand out and added a few sequins to finish off my card.

Here are a few more:

DSC_2182W

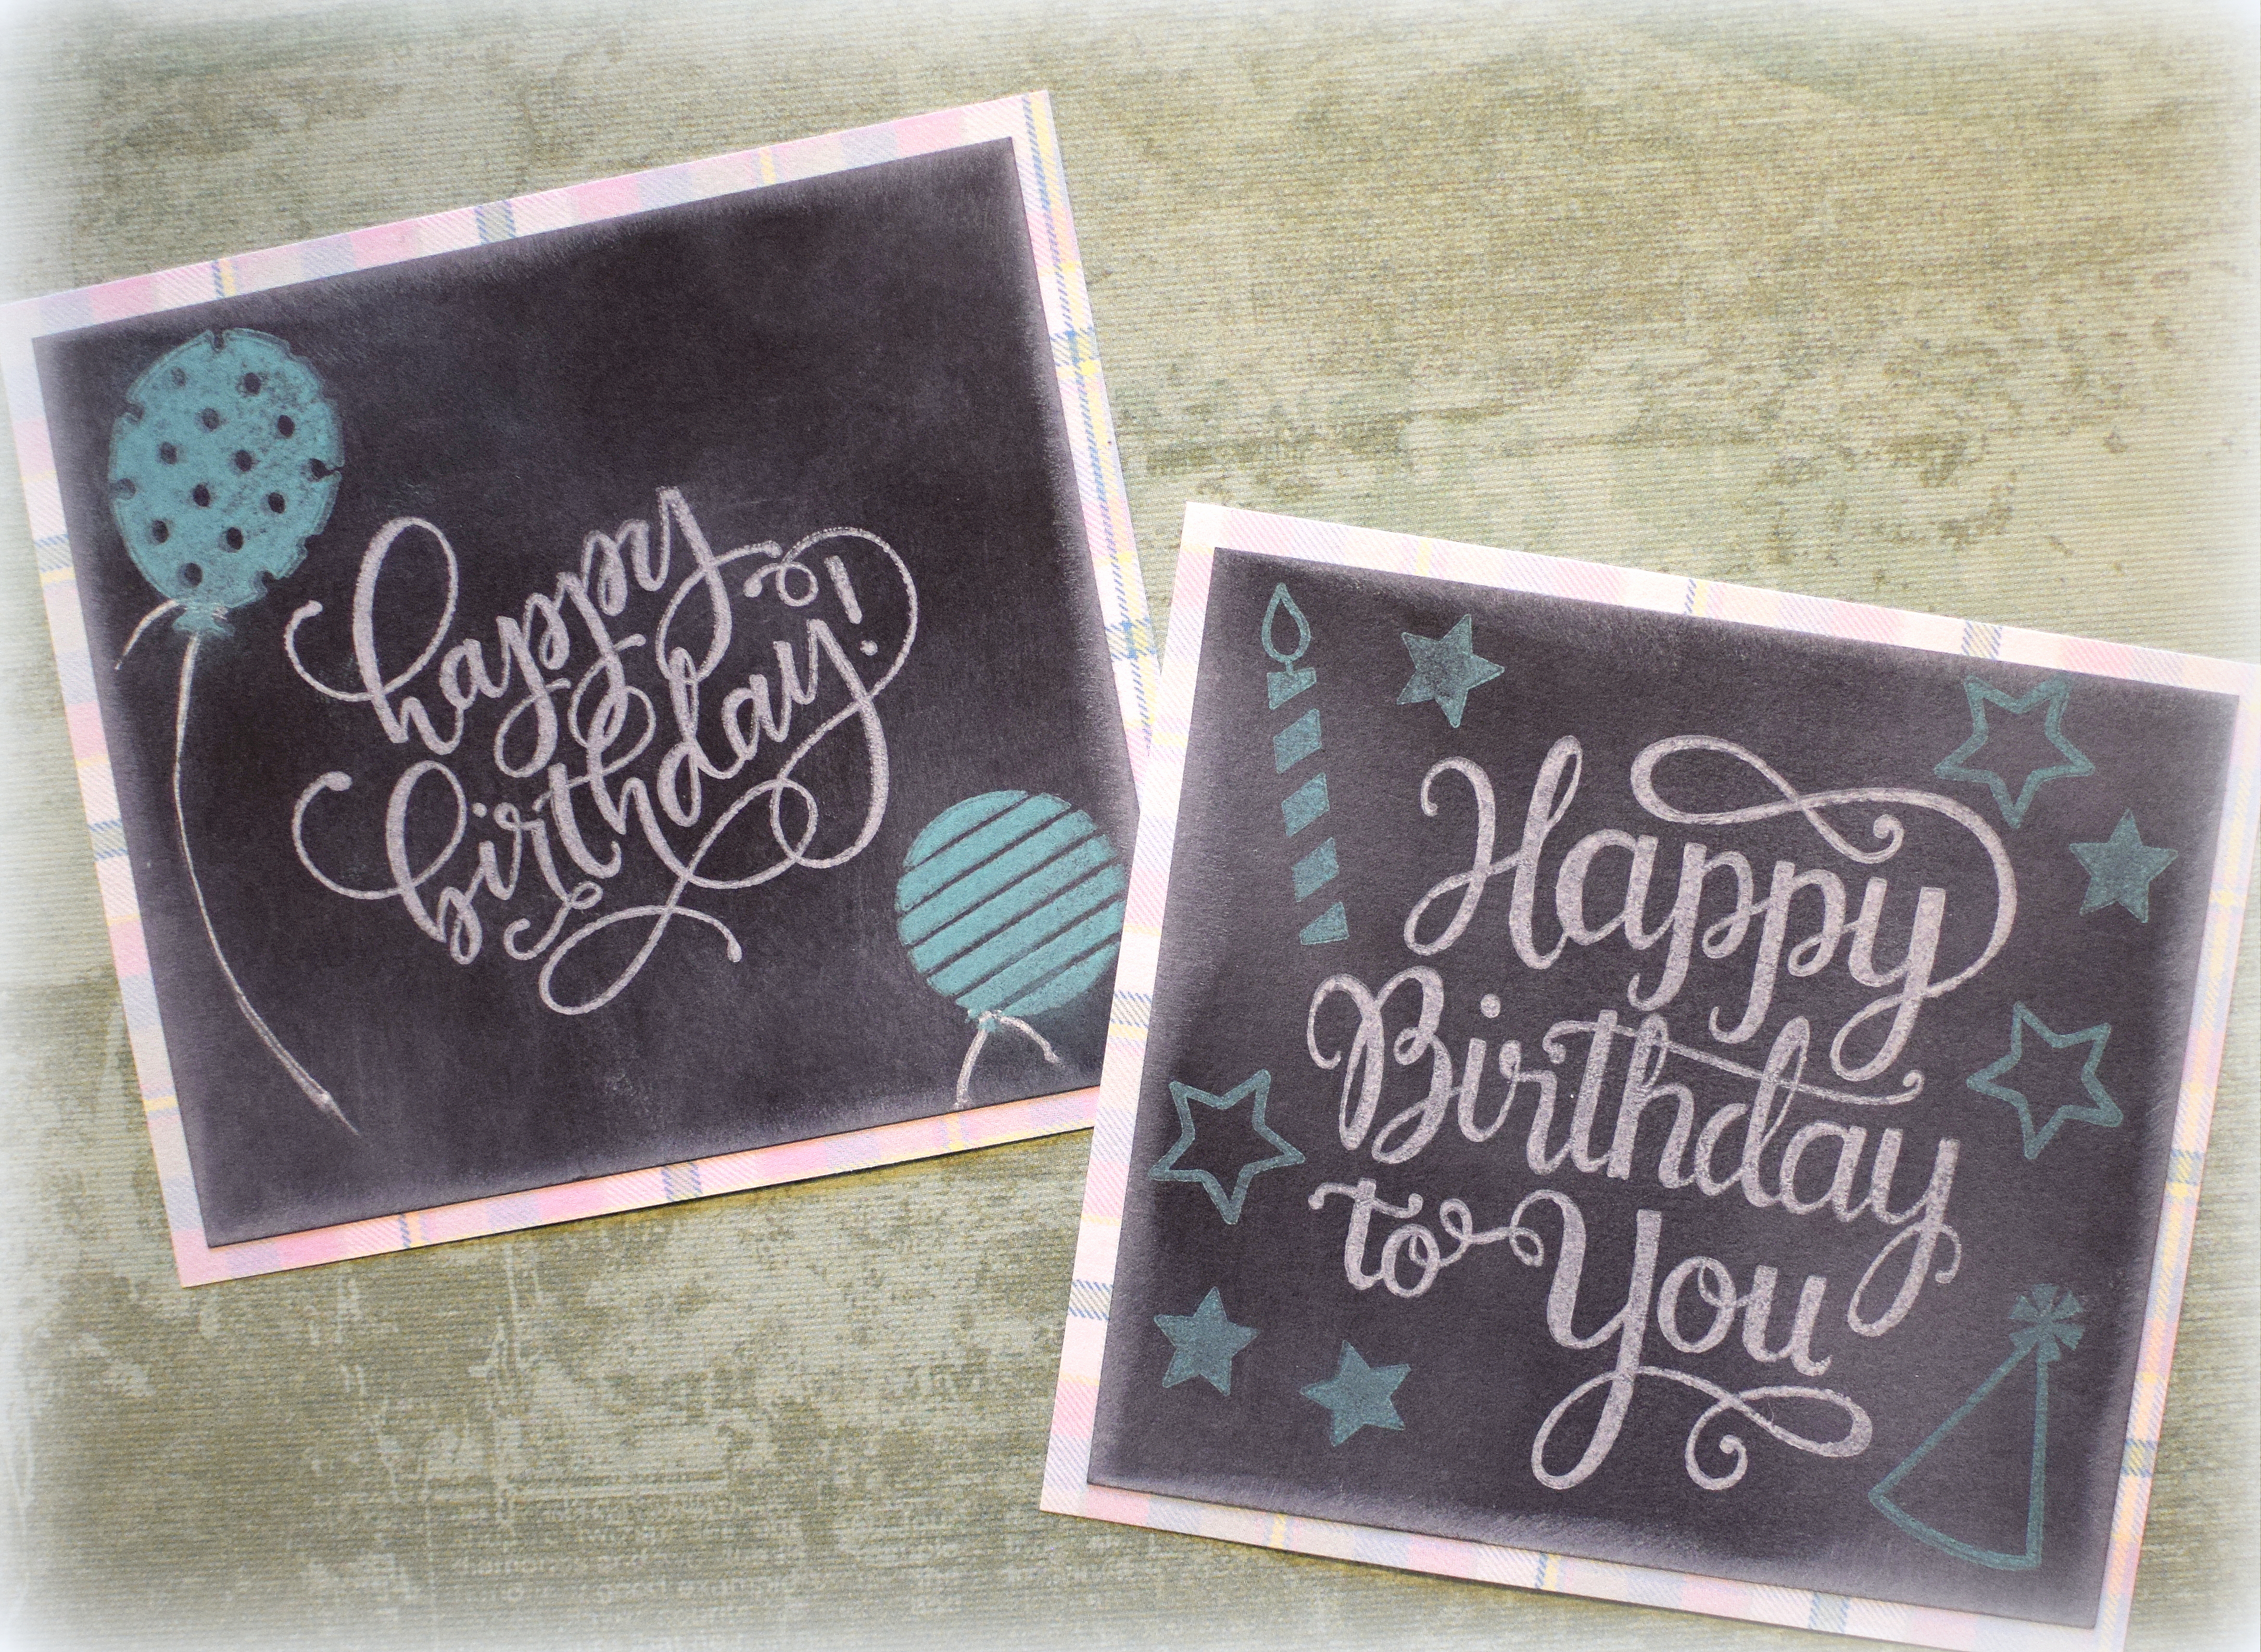
The die used on this card is the Festive Mini Expressions Stacked Merry Christmas (CEDME014) by Creative Expressions. The background was sponged with Mowed Lawn Distress ink.

DSC_2177W

The stamp sets I used for the greeting and bow were both unbranded on this one and were heat embossed in black.  It is a good idea to do any heat embossing before the background sponging and bokeh technique are done because the embossing powder will stick to any ink that is not completely dry.   Background inks were Memento Dandelion, Tangelo, and Lilac Posies.

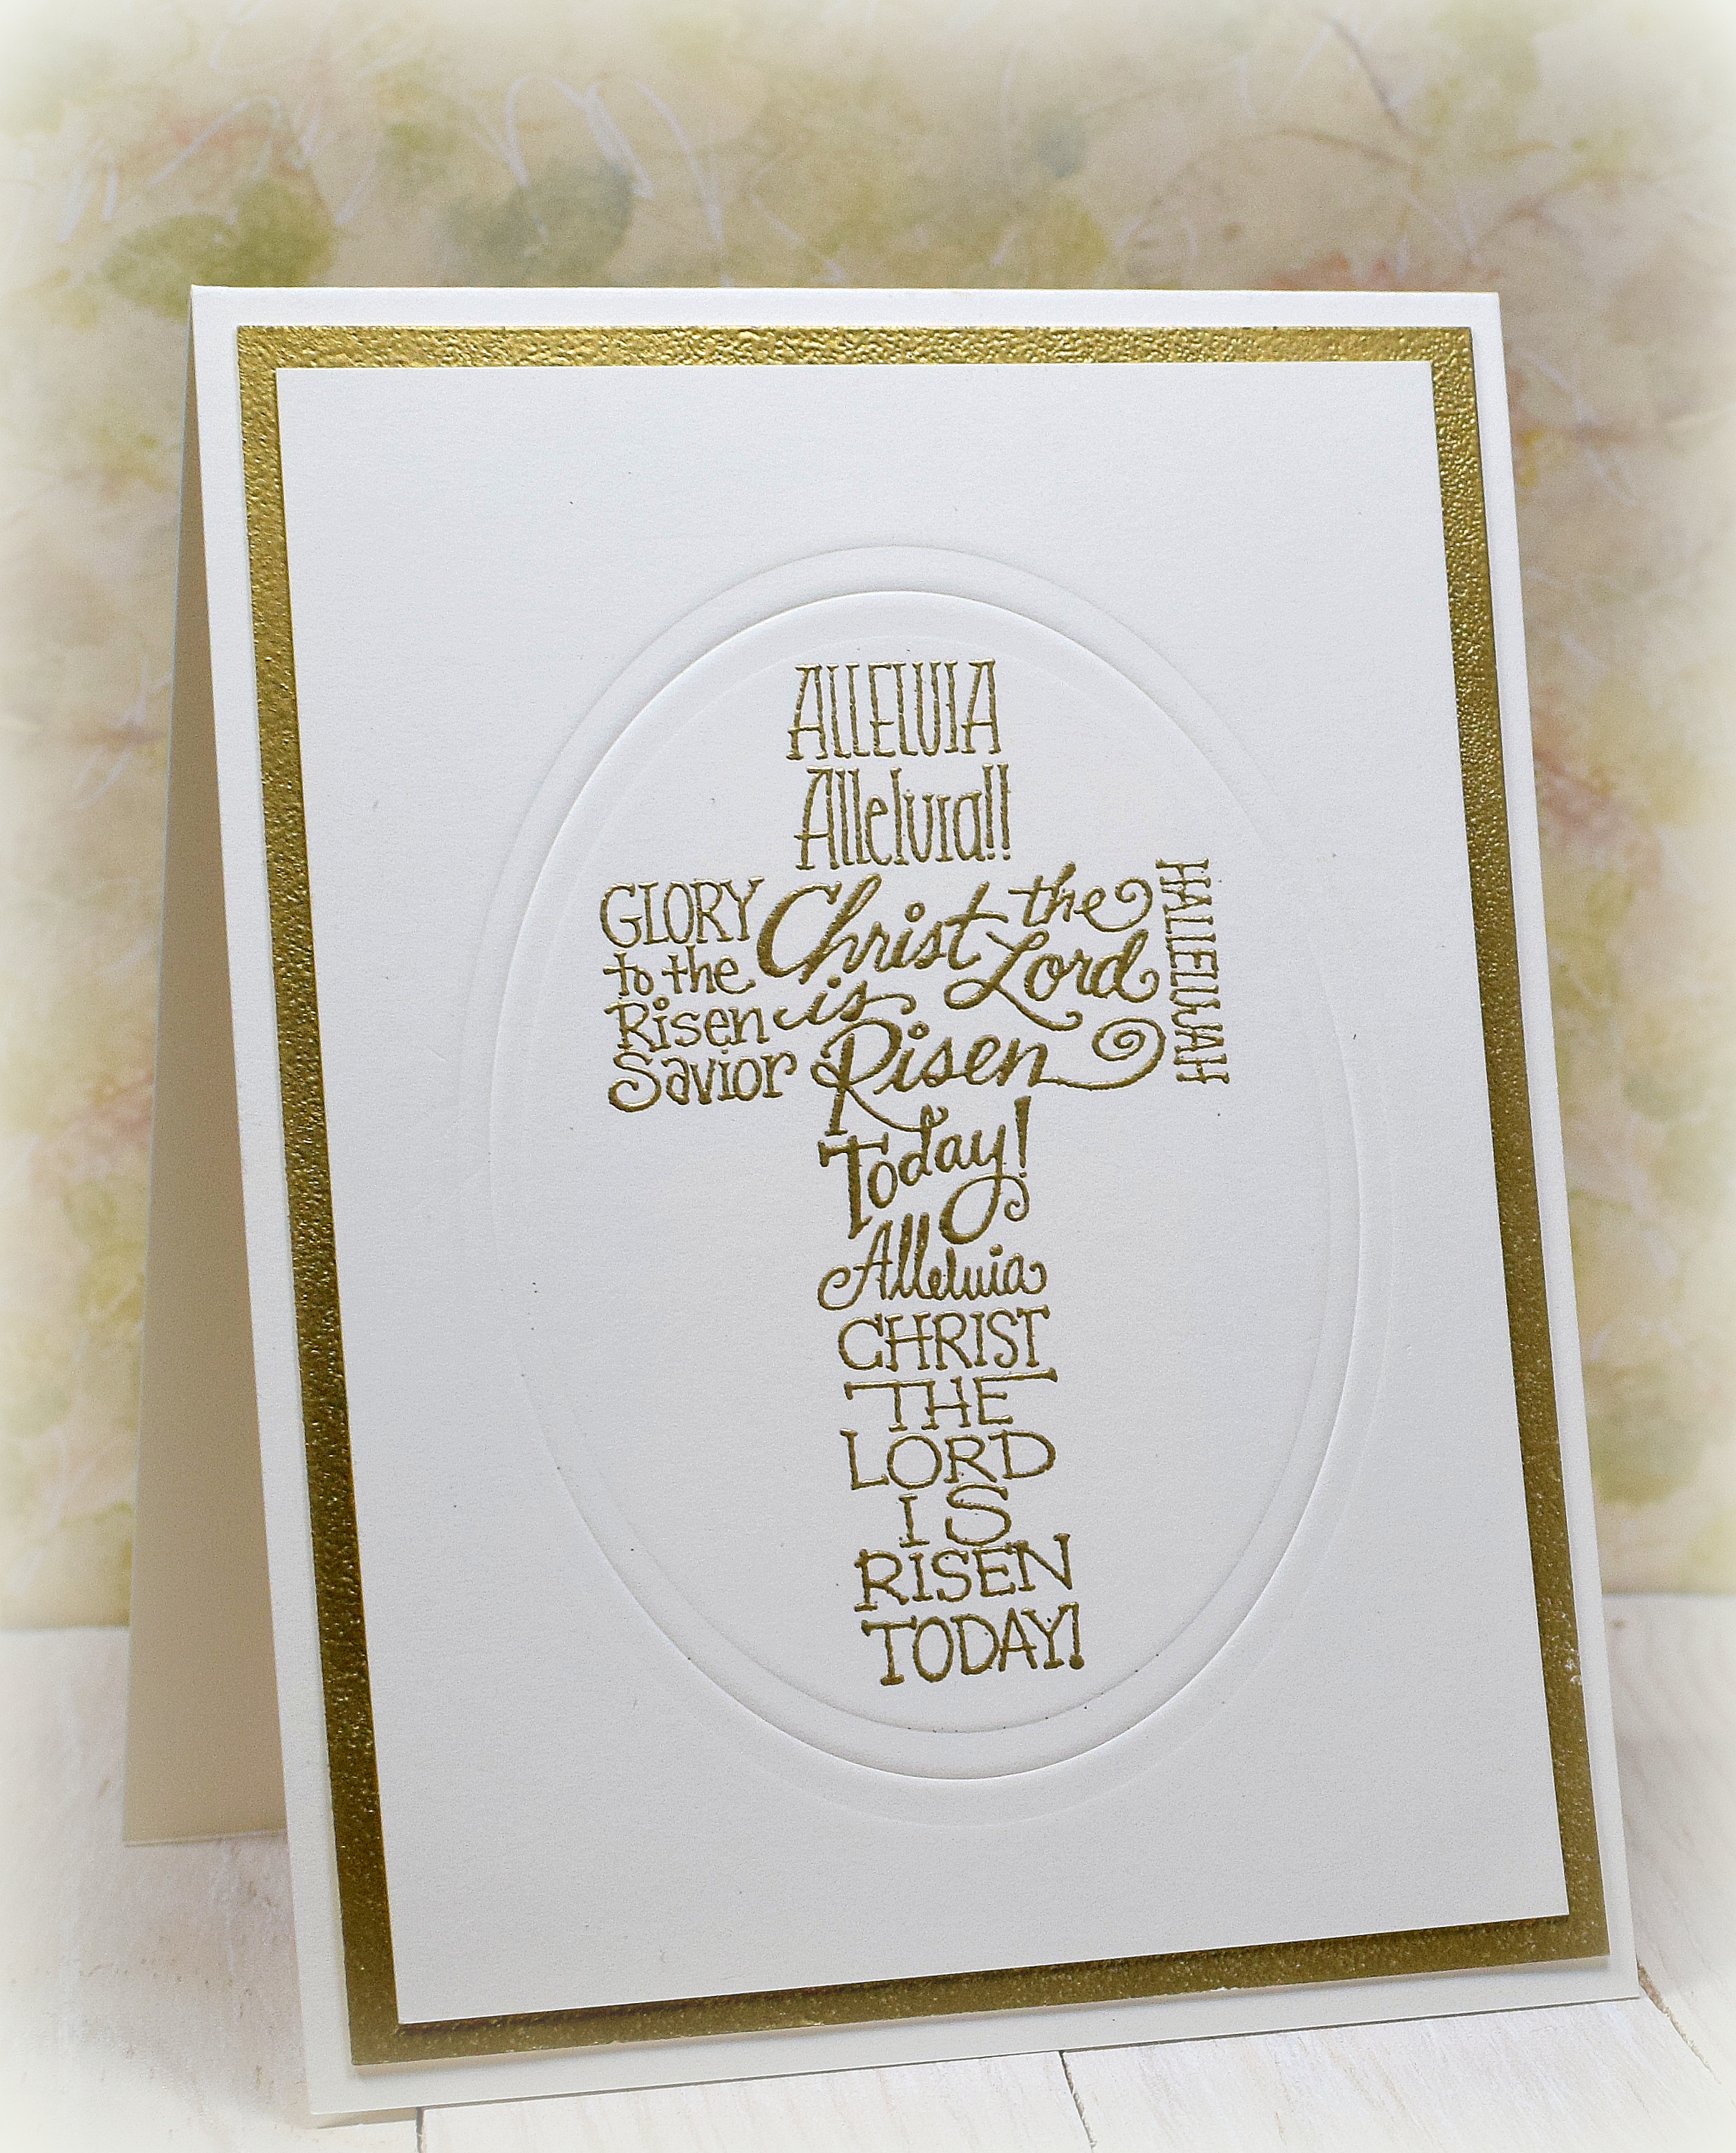
The Mod Squad Challenge for the next two weeks is “Sentiment Says It All” where the challenge is to have the sentiment take center stage.  All of these samples feature a sentiment on the bokeh background!

Thanks for checking out my card projects!

This content uses referral links as described in the disclosure policy on my sidebar.

Chalkboard Easel Cards

Chalkboard Easel Cards

wDSC_2727.JPG

Pigment ink is not my favorite type of ink.  I think it’s messy and takes too long to dry, and I avoid it when I can!  However, I wanted to show my students that it is good for certain applications (heat embossing and stamping on dark card stock for example) and that it is good for certain techniques like the chalkboard technique I used here on this card (and for the bokeh technique that we also tried).  Now they can decide if they want to use it on their own – lol!!

I used the Stampin’ Up “Hardwood” background stamp (retired?) with Memento Rich Cocoa ink on the front of a Gina K Kraft A2 card base.  The stamp is taller than it is wide with vertical planks, but I wanted them to be horizontal so I turned the stamp sideways, stamped the top half of the card front, masked the stamped portion, and then stamped the bottom half.  In this way, I didn’t have to worry about overlap or lining up the pattern where I left off.

I wanted to come up with ways this card could be made with minimal supplies.  Here is another sample where I just used my score board and the ink pad (on Recollections kraft) to create the wood grained look:

wDSC_2729

I created the legs with the EK Success Real Estate Punch (partially off the end).  Dies could also be used to create the legs as well as a trimmer (for straight legs), a craft knife, or scissors.

Black card stock matted on a scrap of patterned paper was used to create the chalk board on the easel.  The size could vary based on the stamp(s) you are using.

The pigment ink…UGH!!!  I initially used Craft Smart white pigment ink I purchased at Michaels.  (I needed inexpensive pads I could purchase for my students to use in class.)  The ink literally never dried!  I heat set it, and it smeared.  I let it sit for days (and days and days), and it still smeared.  I sprayed a sample with a fixative.  It smeared.  The only thing that seemed to work was heat embossing it, but the glossiness made it look less like chalk.  (And, by the way, Wow! Clear Matte Dull embossing powder is NOT matte!)  Hmmm…

So then I tried Gina K’s white pigment ink that I had on hand (same paper, same stamp, same technique, etc.)… soooo much better.  It was dry in a few minutes.  Heat setting was even quicker and dried it beautifully.  Not sure what the deal was with the first ink I tried.  I returned it and ordered a few Gina K ink cubes for class!  (I’ve used several other brands over the years, and they worked fine also; I just had trouble with the Craft Smart ink pad I purchased.)

As an afterthought, I pulled out my colored inks and played with those a bit.  Most of the colors I had in my stash were really dark and didn’t show up well on the black, but this “Patina” from inkit looks kind of cool!  (I’ll have to look around for some lighter colors to try.)  I also played around with a white gel pen and smeared it before it dried to make it look more like chalk.  Maybe I’m warming up to pigment inks after all!!

wDSC_2800

The stamp set I used for the greetings was unbranded.  I used a few punches and some scraps for the embellishments.  The birthday images on the additional panels were from a set called “Happy Birthday Stamps” (ms. sparkle & co.) that I found in a $2 bin at Joann Fabrics a while back.

Here is a video tutorial for doing the chalkboard technique.

Thanks for checking out my card project!

This content uses referral links as described in the disclosure policy on my sidebar.


Diagonal Split Panel Wedding Card

Diagonal Split Panel Wedding Card

DSC_2032ww

I came across this fun technique that features offset angles and some patterned paper to create an interesting, layered background panel.

Here is a video tutorial on how to do this technique, although I changed mine up a bit by matting my finished panel and changing the angle/measurements of my cuts.  I’ve also seen variations where the solid panels are popped up with foam tape and where the center portion is hand-stamped.

I used Bazzill “Whirlpool” along with black and heavy weight white card stock.  The patterned paper is called “B&W Wedding Words” by the Paper Studio.  I just love the dies from the “Shadow Box Collection – Mr. & Mrs.” set by Creative Expressions!

Here are two more cards I made using this technique:

DSC_2045ww

DSC_2036ww

Thanks for checking out my card projects!

Embossed Easter Cross

Embossed Easter Cross

wDSC_1215

(a blast from the past…)

This CAS card features a stamp called “Easter Cross” by Stampendous.  The image was embossed with gold embossing powder on GKD Ivory card stock. The mat was also embossed in gold (around the edges) before adhering to the back of the front panel. I used a Spellbinders oval die to emboss the frame around the cross.

This card was originally posted in my StampTV gallery May 4, 2014.  (Sadly, this site is no longer active.)

Thanks for checking out my card project!

This content uses referral links as described in the disclosure policy on my sidebar.

Peeking Bunnies Easter Card

Peeking Bunnies Easter Card

xDSC_1202.jpg

(inside: to some Bunny special)

I really liked these dies when I saw them and envisioned the card in my mind that I planned to create with them, and then I had a bit of trouble trying to fit all the actual die cuts on the card front – lol!  Luckily, die cuts are moveable so I played around with the placement until I came up with something that worked.

The textured, purple card stock is called “Elegance” by core’dinations and has glitter on it so adhering the die cuts required glue (and not tape).  You can see how I attached these intricate die cuts HERE.  For this project, I used Art Institute Glitter Designer Glue.

You can see the sparkle a little better here:

wwDSC_1204

I think the “Peeking Bunny Squares” by Frantic Stamper are so cute, and I love the font for “Happy Easter” by Impression Obsession!

Thanks for checking out my card project!