Santa in Snow Napkin Card (- a few variations)
Did you ever make a card that looks like it took 5 minutes, but it actually took all afternoon?! Lol!! I was inspired to try this technique after seeing this video on YouTube where Karen shows how to attach a napkin to card stock with a Minc Foil Applicator instead of an iron, and it took me several tries to work out the kinks. (Karen’s video is great; the problems were mine, but more on that later in this post!) I’m confident that future attempts will go better…
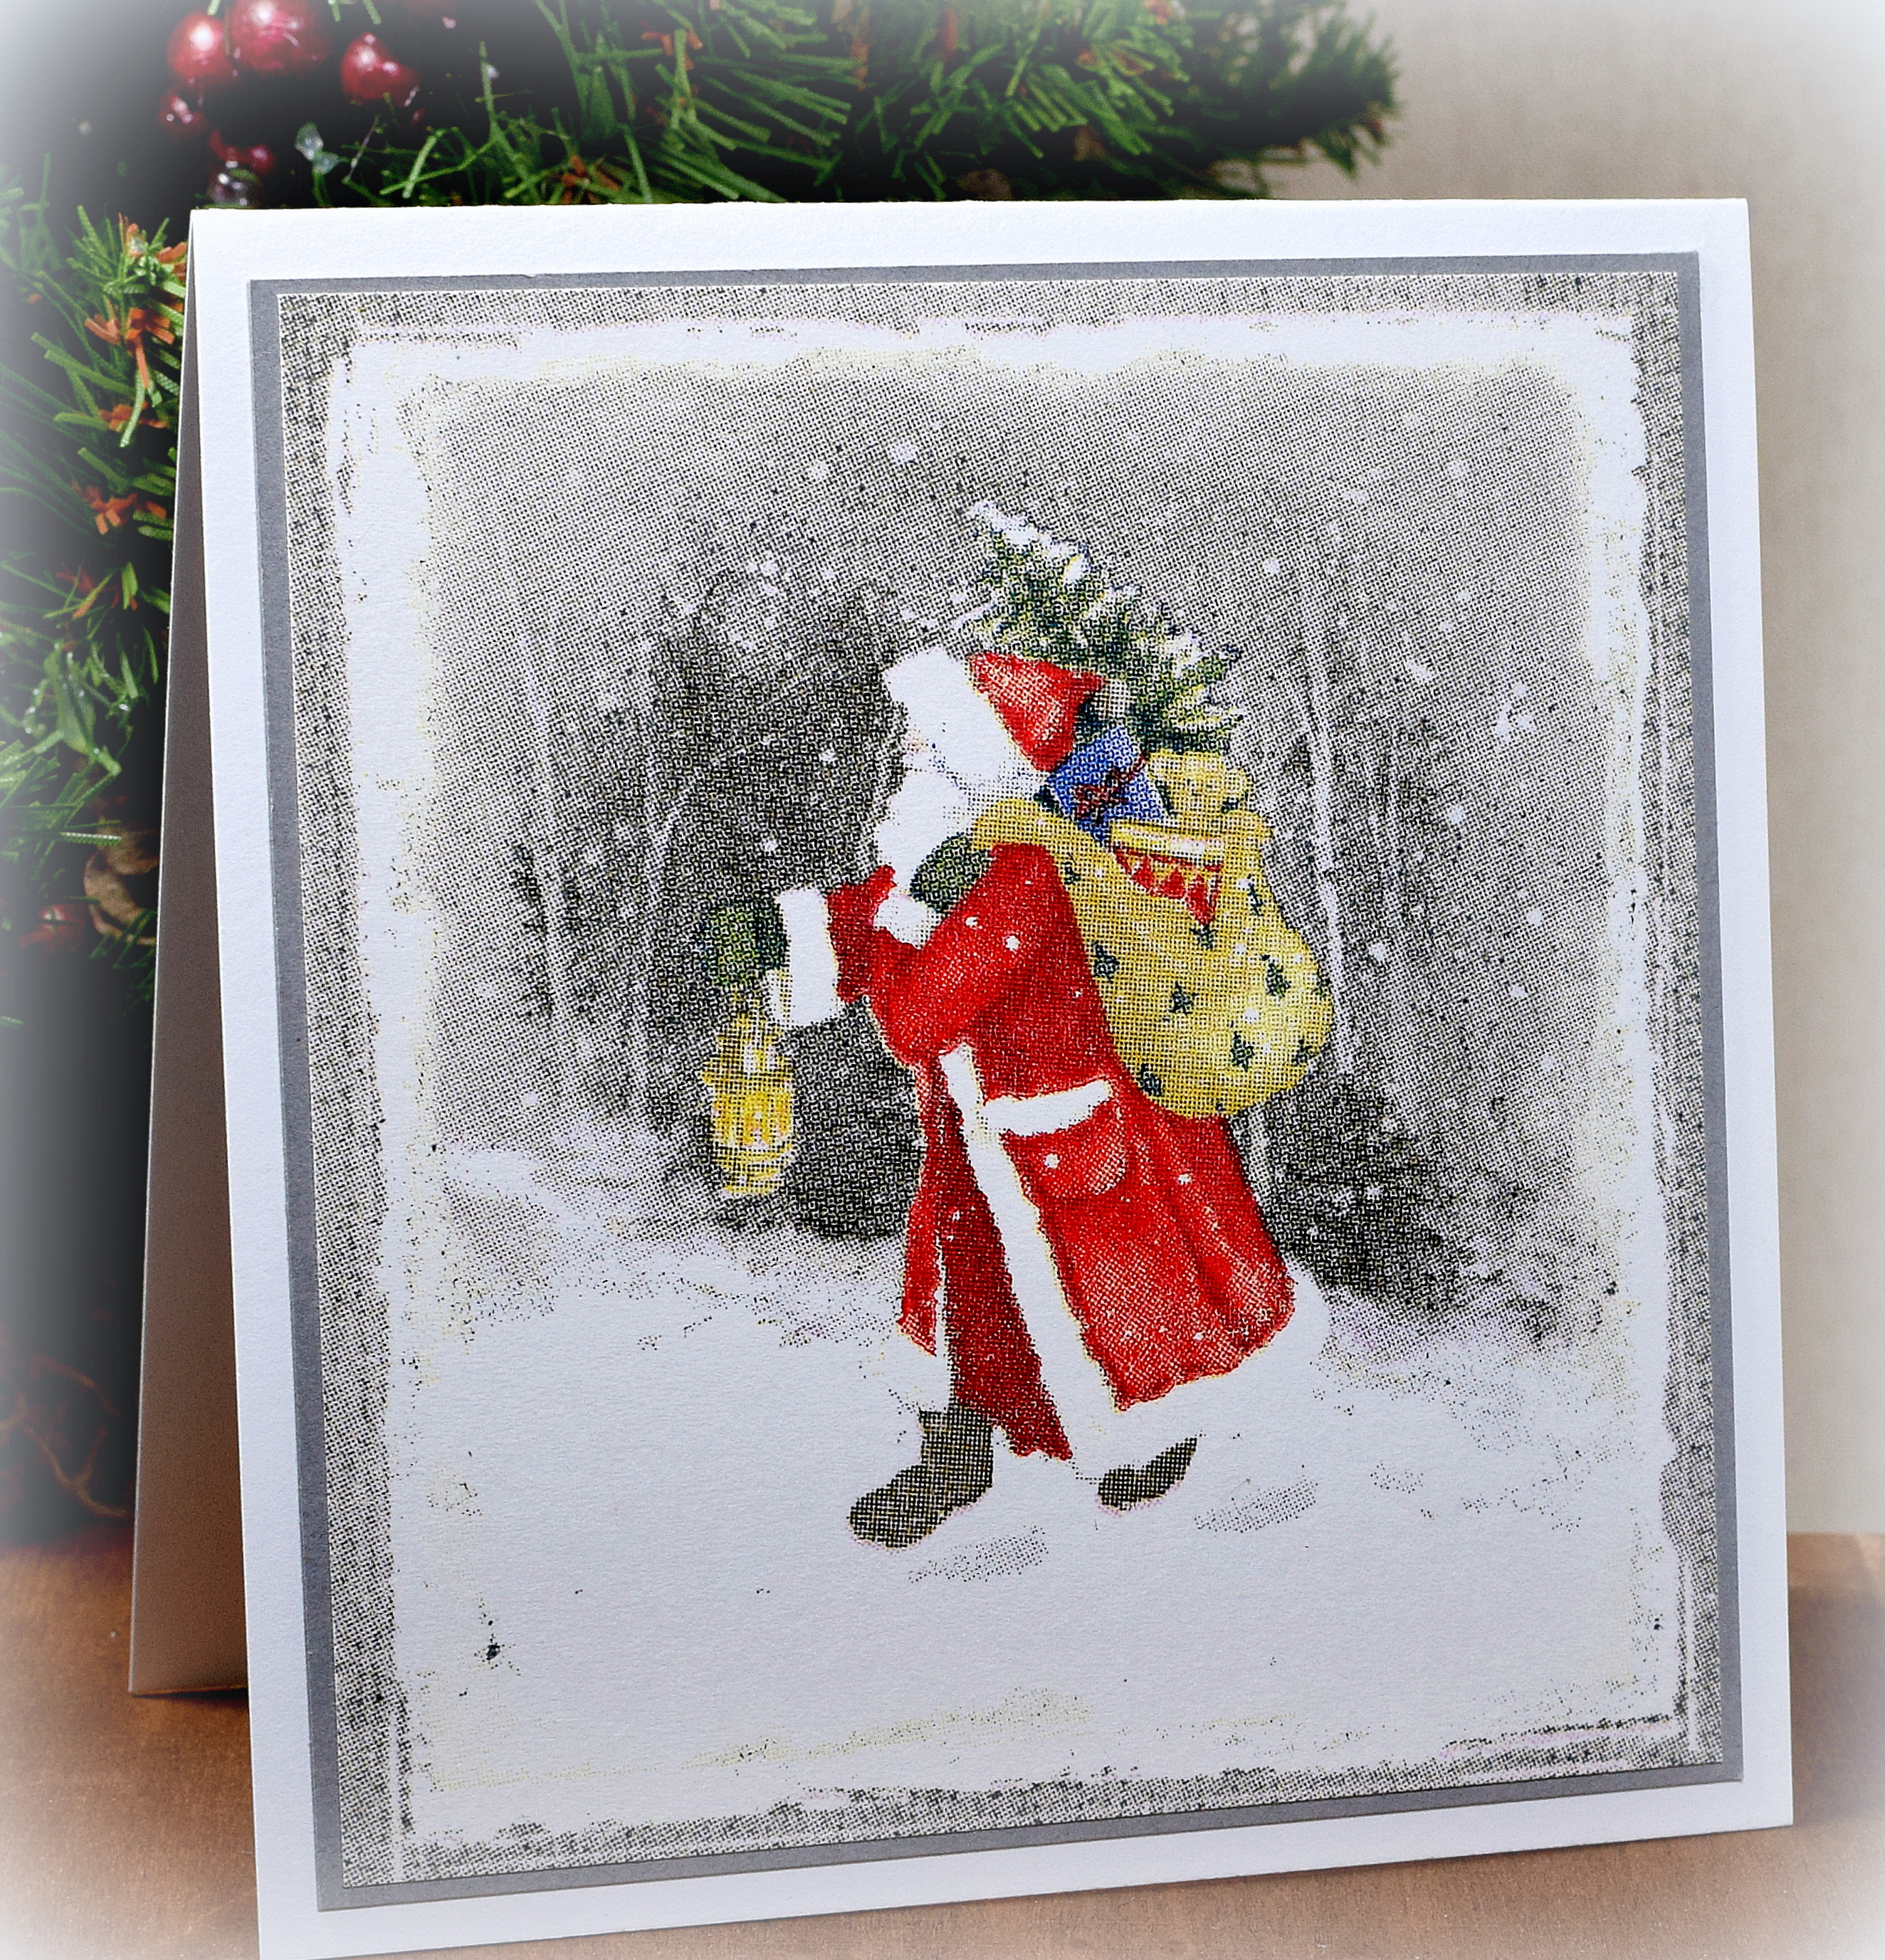
This beautiful Santa image came from a cocktail napkin (by Kathryn White; Evergreen Enterprises) that I purchased at Home Goods.
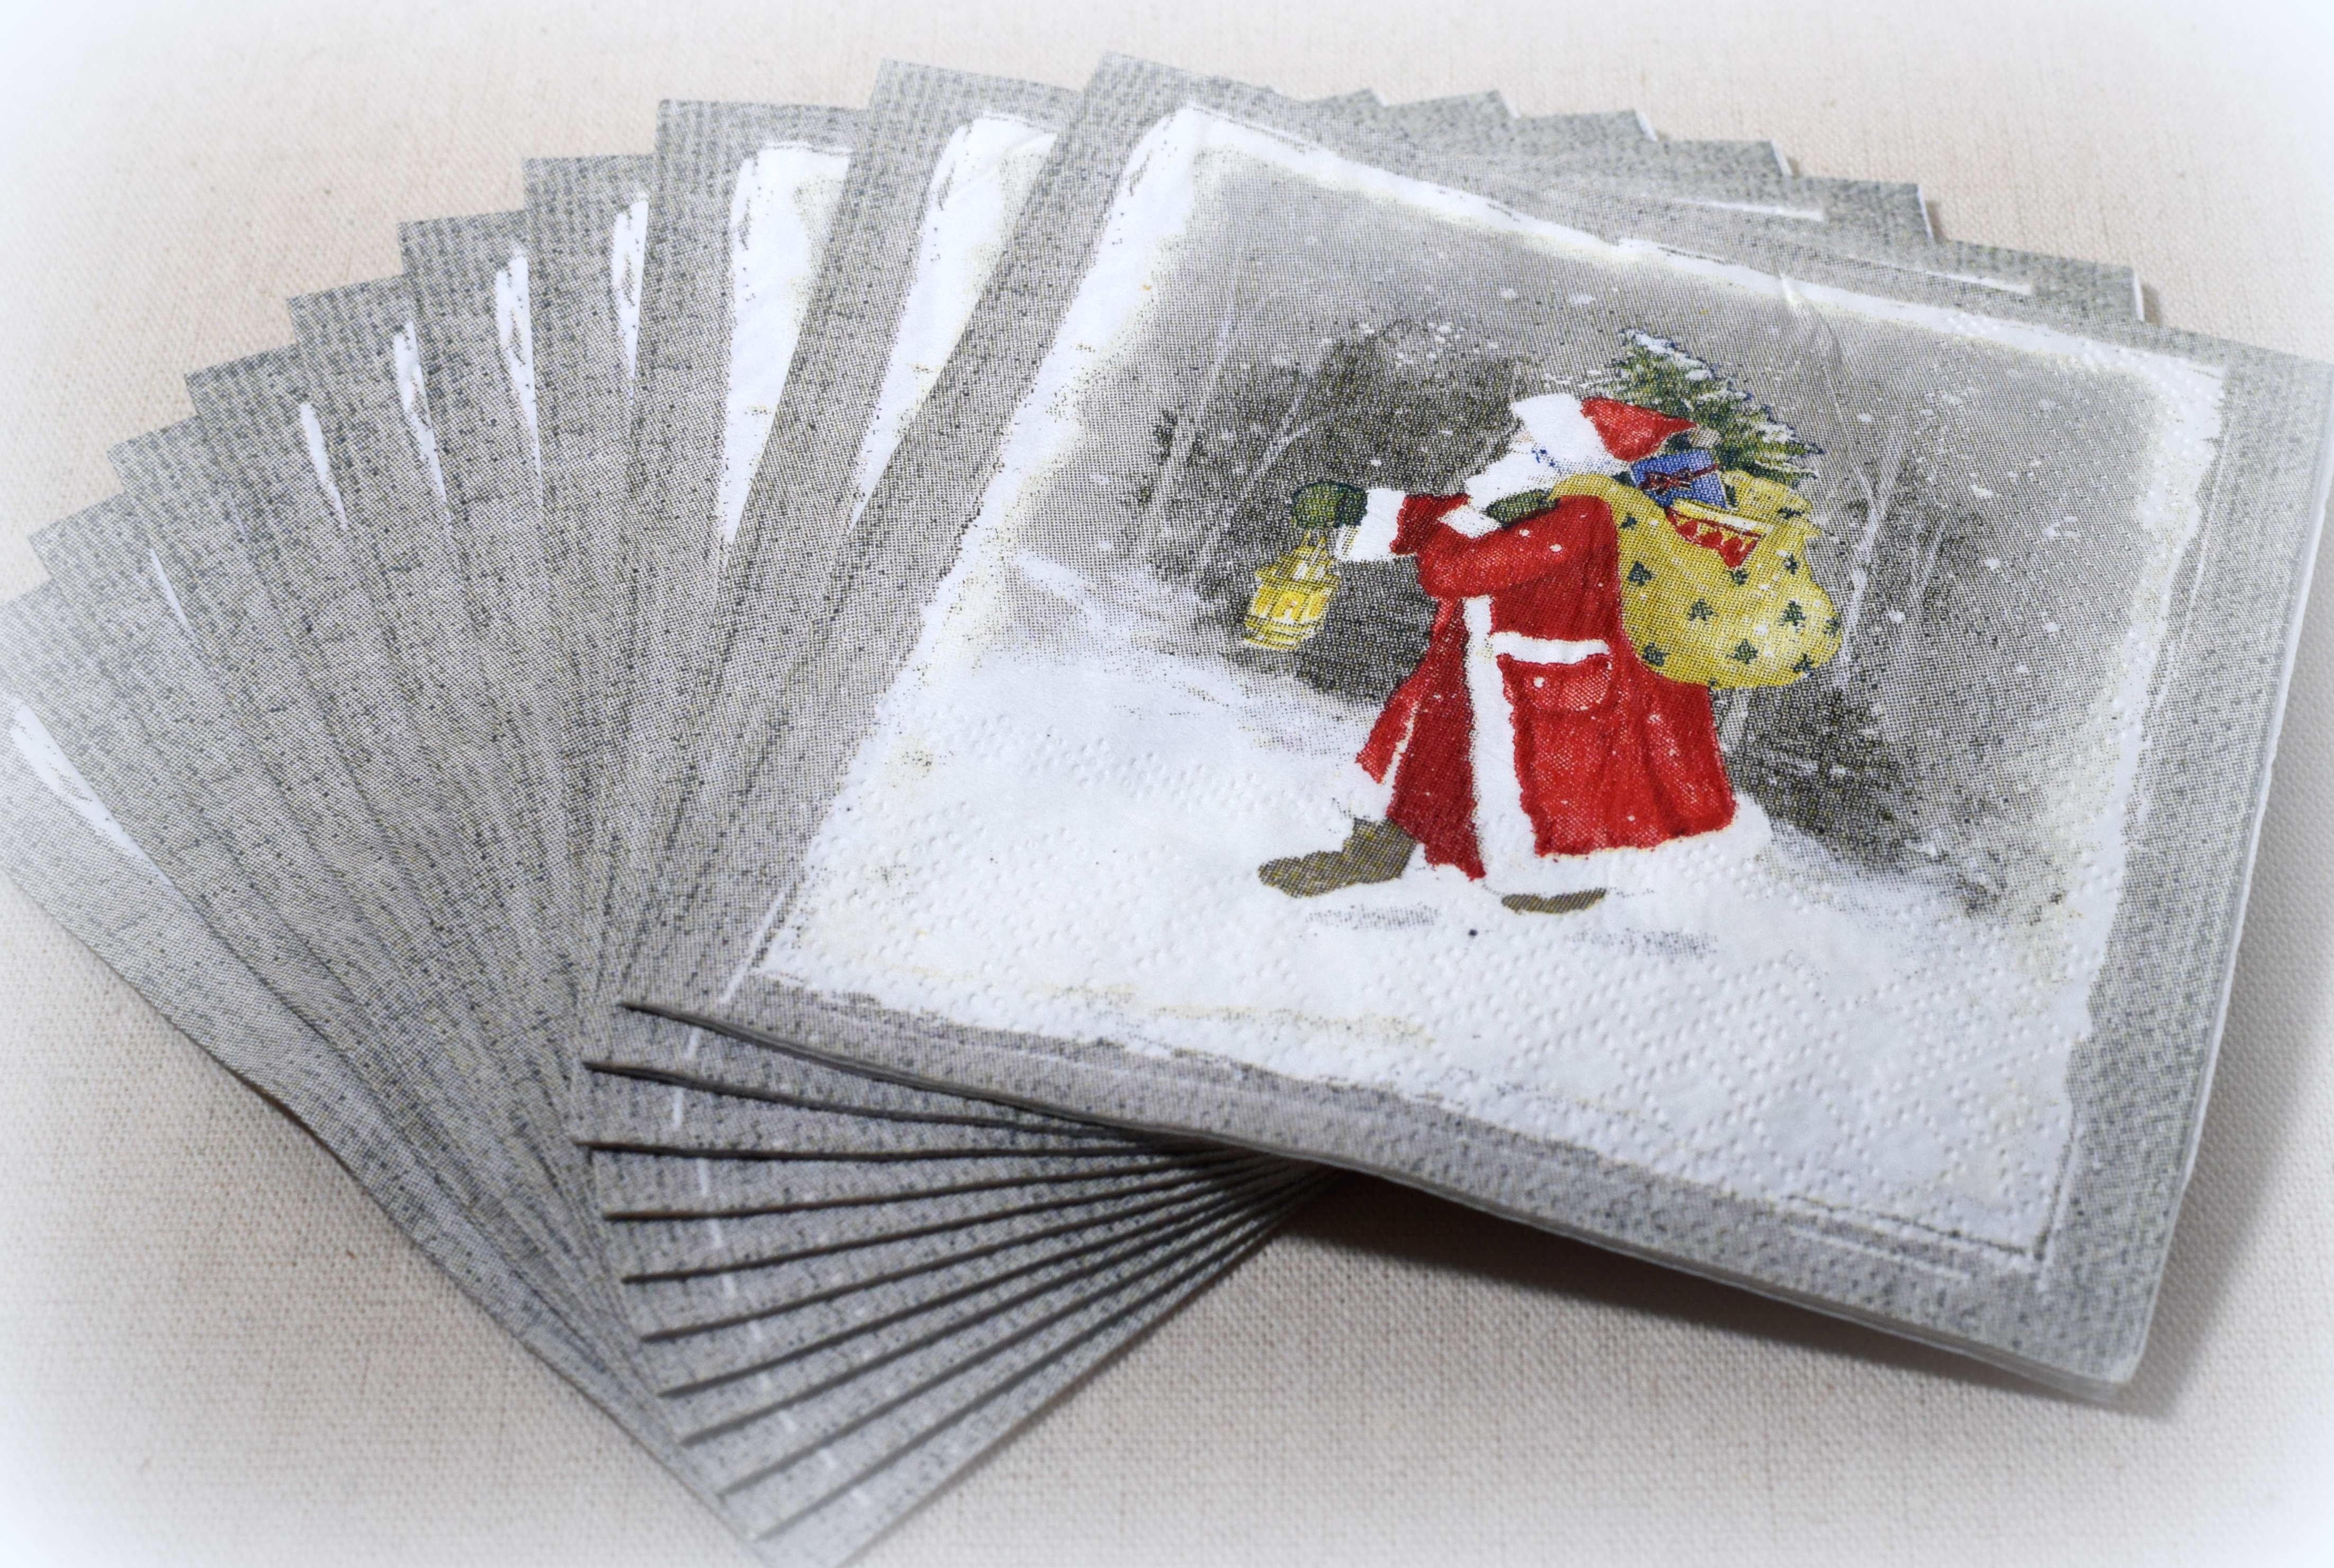
To attach a napkin to a piece of card stock, you need to separate and remove the one (or two) plain layers from the top printed layer of the napkin. (This could be a bit challenging – lol!) Then, you sandwich a piece of cling wrap between a piece of card stock and the top layer of the napkin (all trimmed to size) and run it through your Minc (on the highest setting). This is what melts/adheres the napkin to the card stock.
Once you get the napkin attached to the card stock, you end up with a panel that looks and feels like cloth. Very cool!
I had several “messed up” panels where I couldn’t get the border quite right, so I tried a few more card designs using parts of those panels…
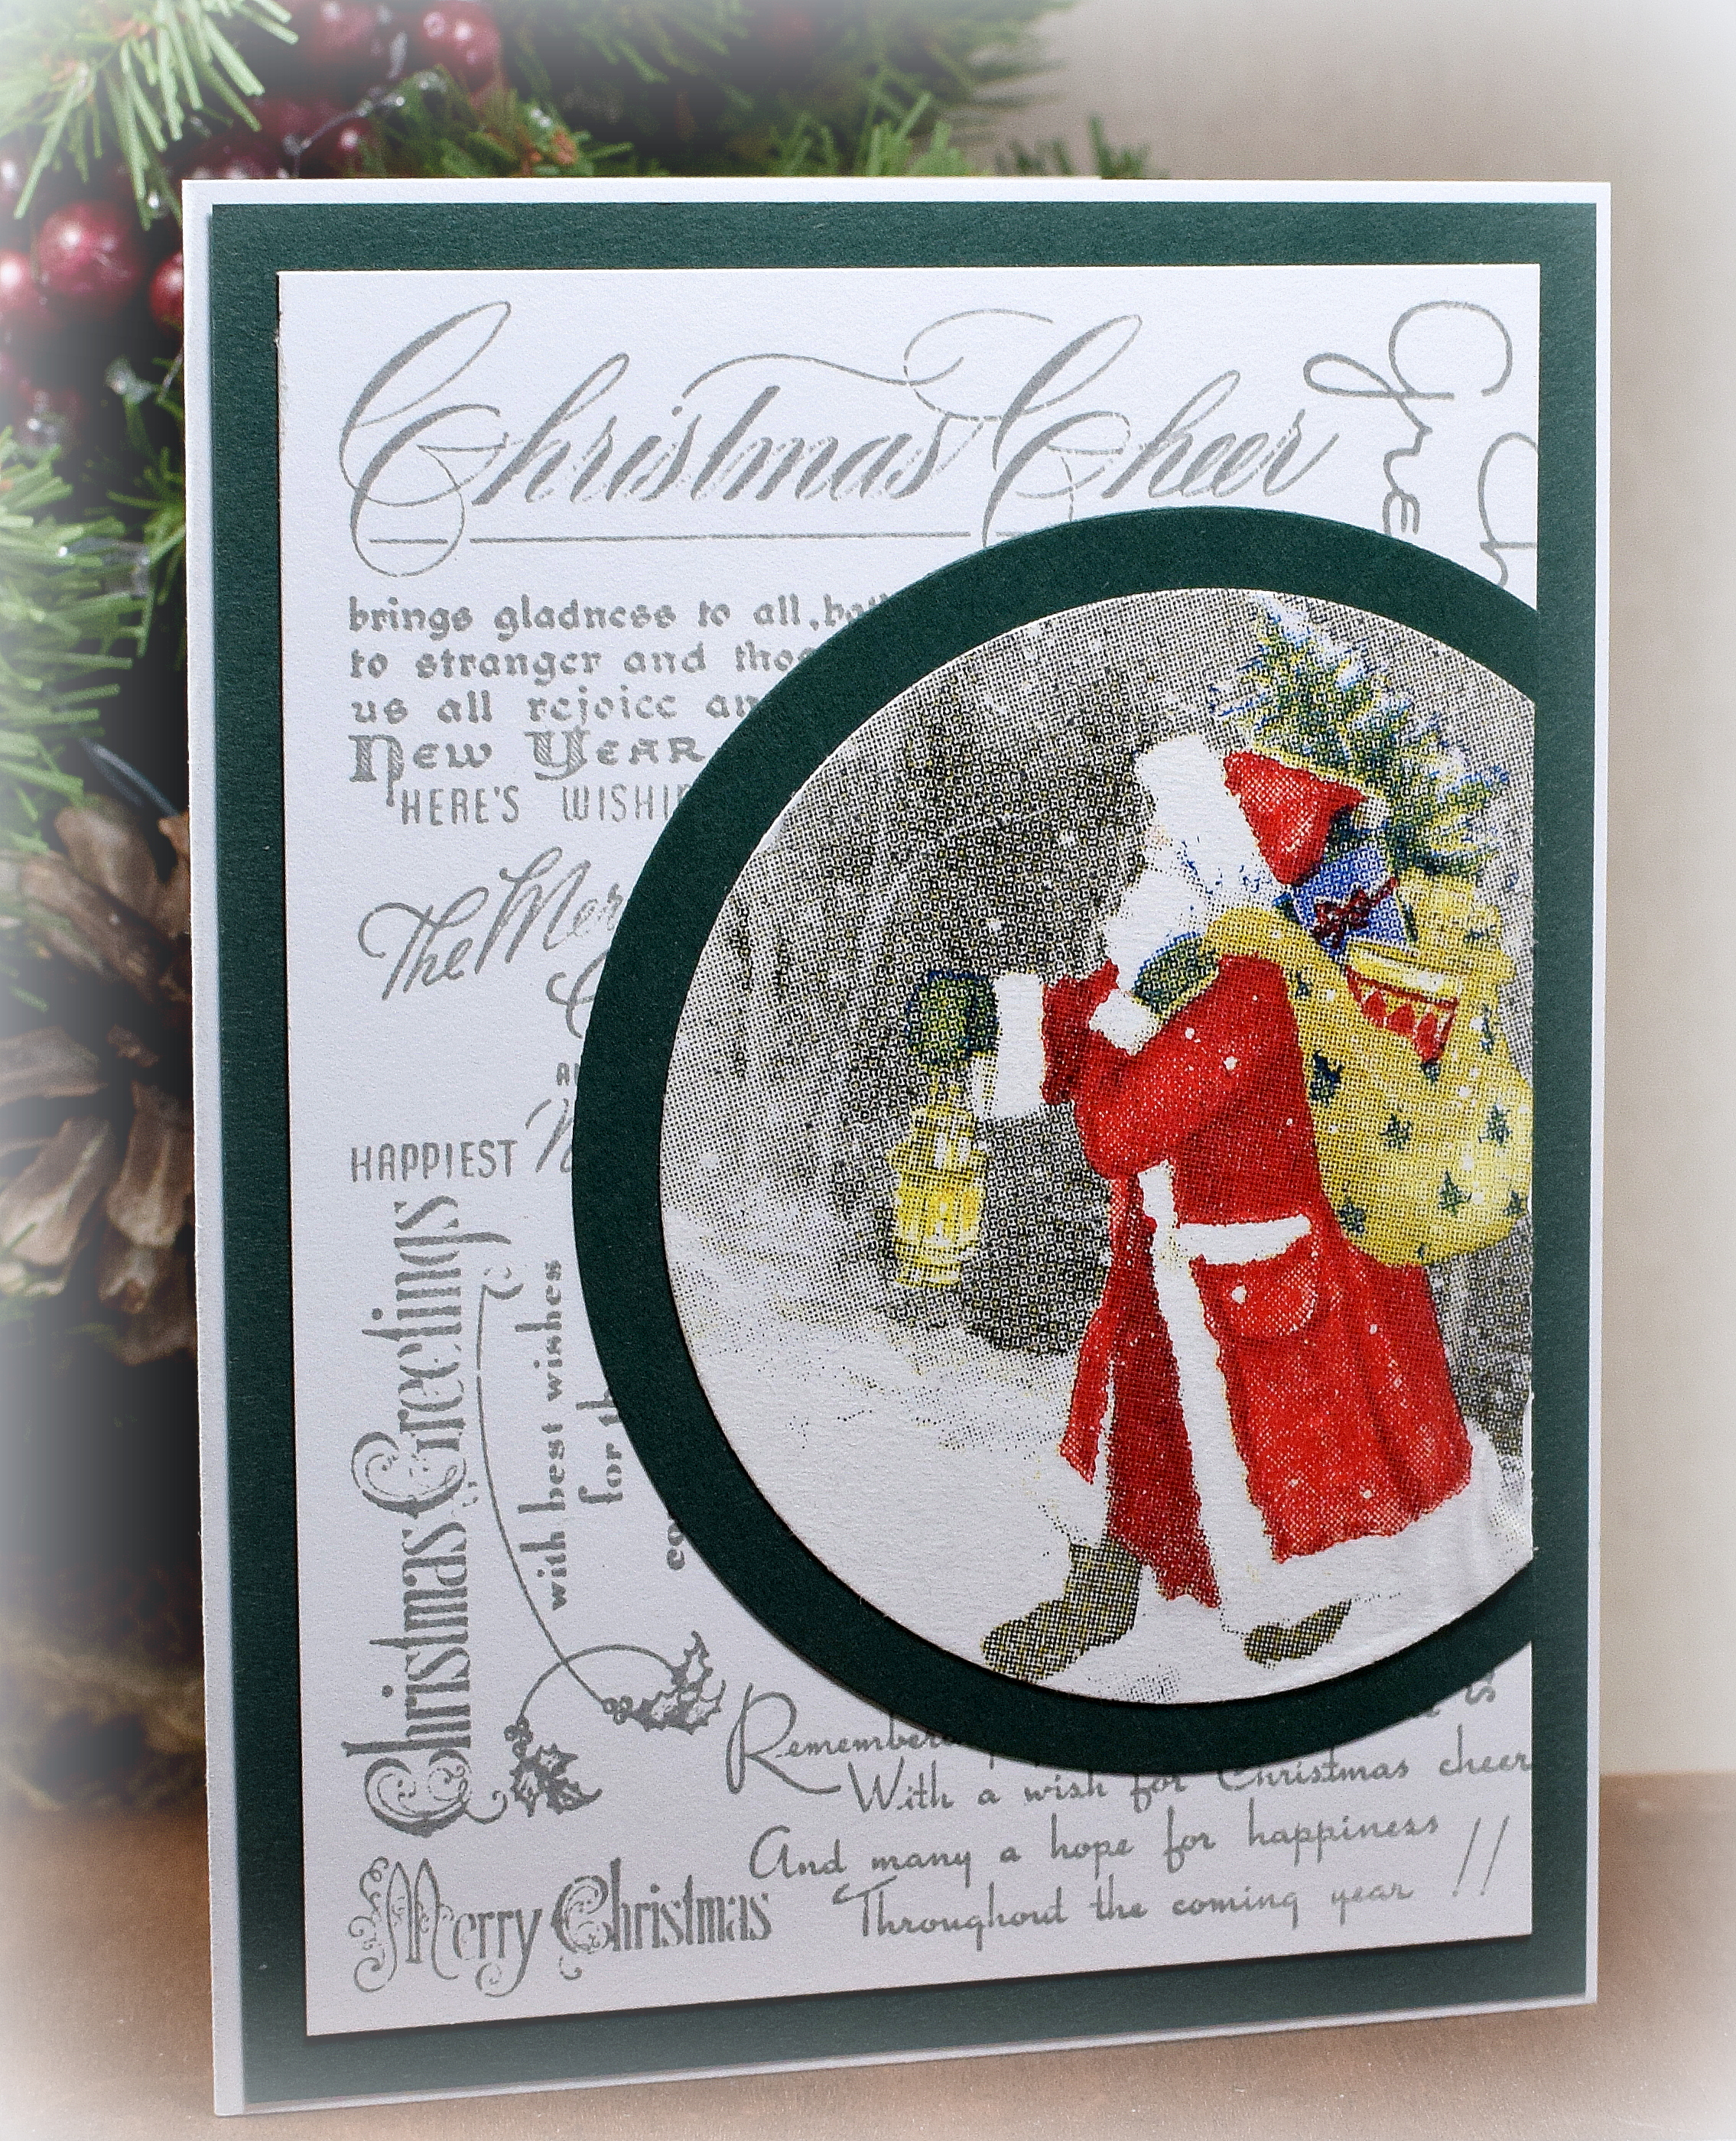
This one was made with spellbinders circle dies (with the die cuts placed over the edge of the background panel and trimmed) and the Stampendous “Christmas Background” (#CRR144) cling stamp. Ranger’s Cool Graphite ink matched the grays in the napkin pretty well.
*
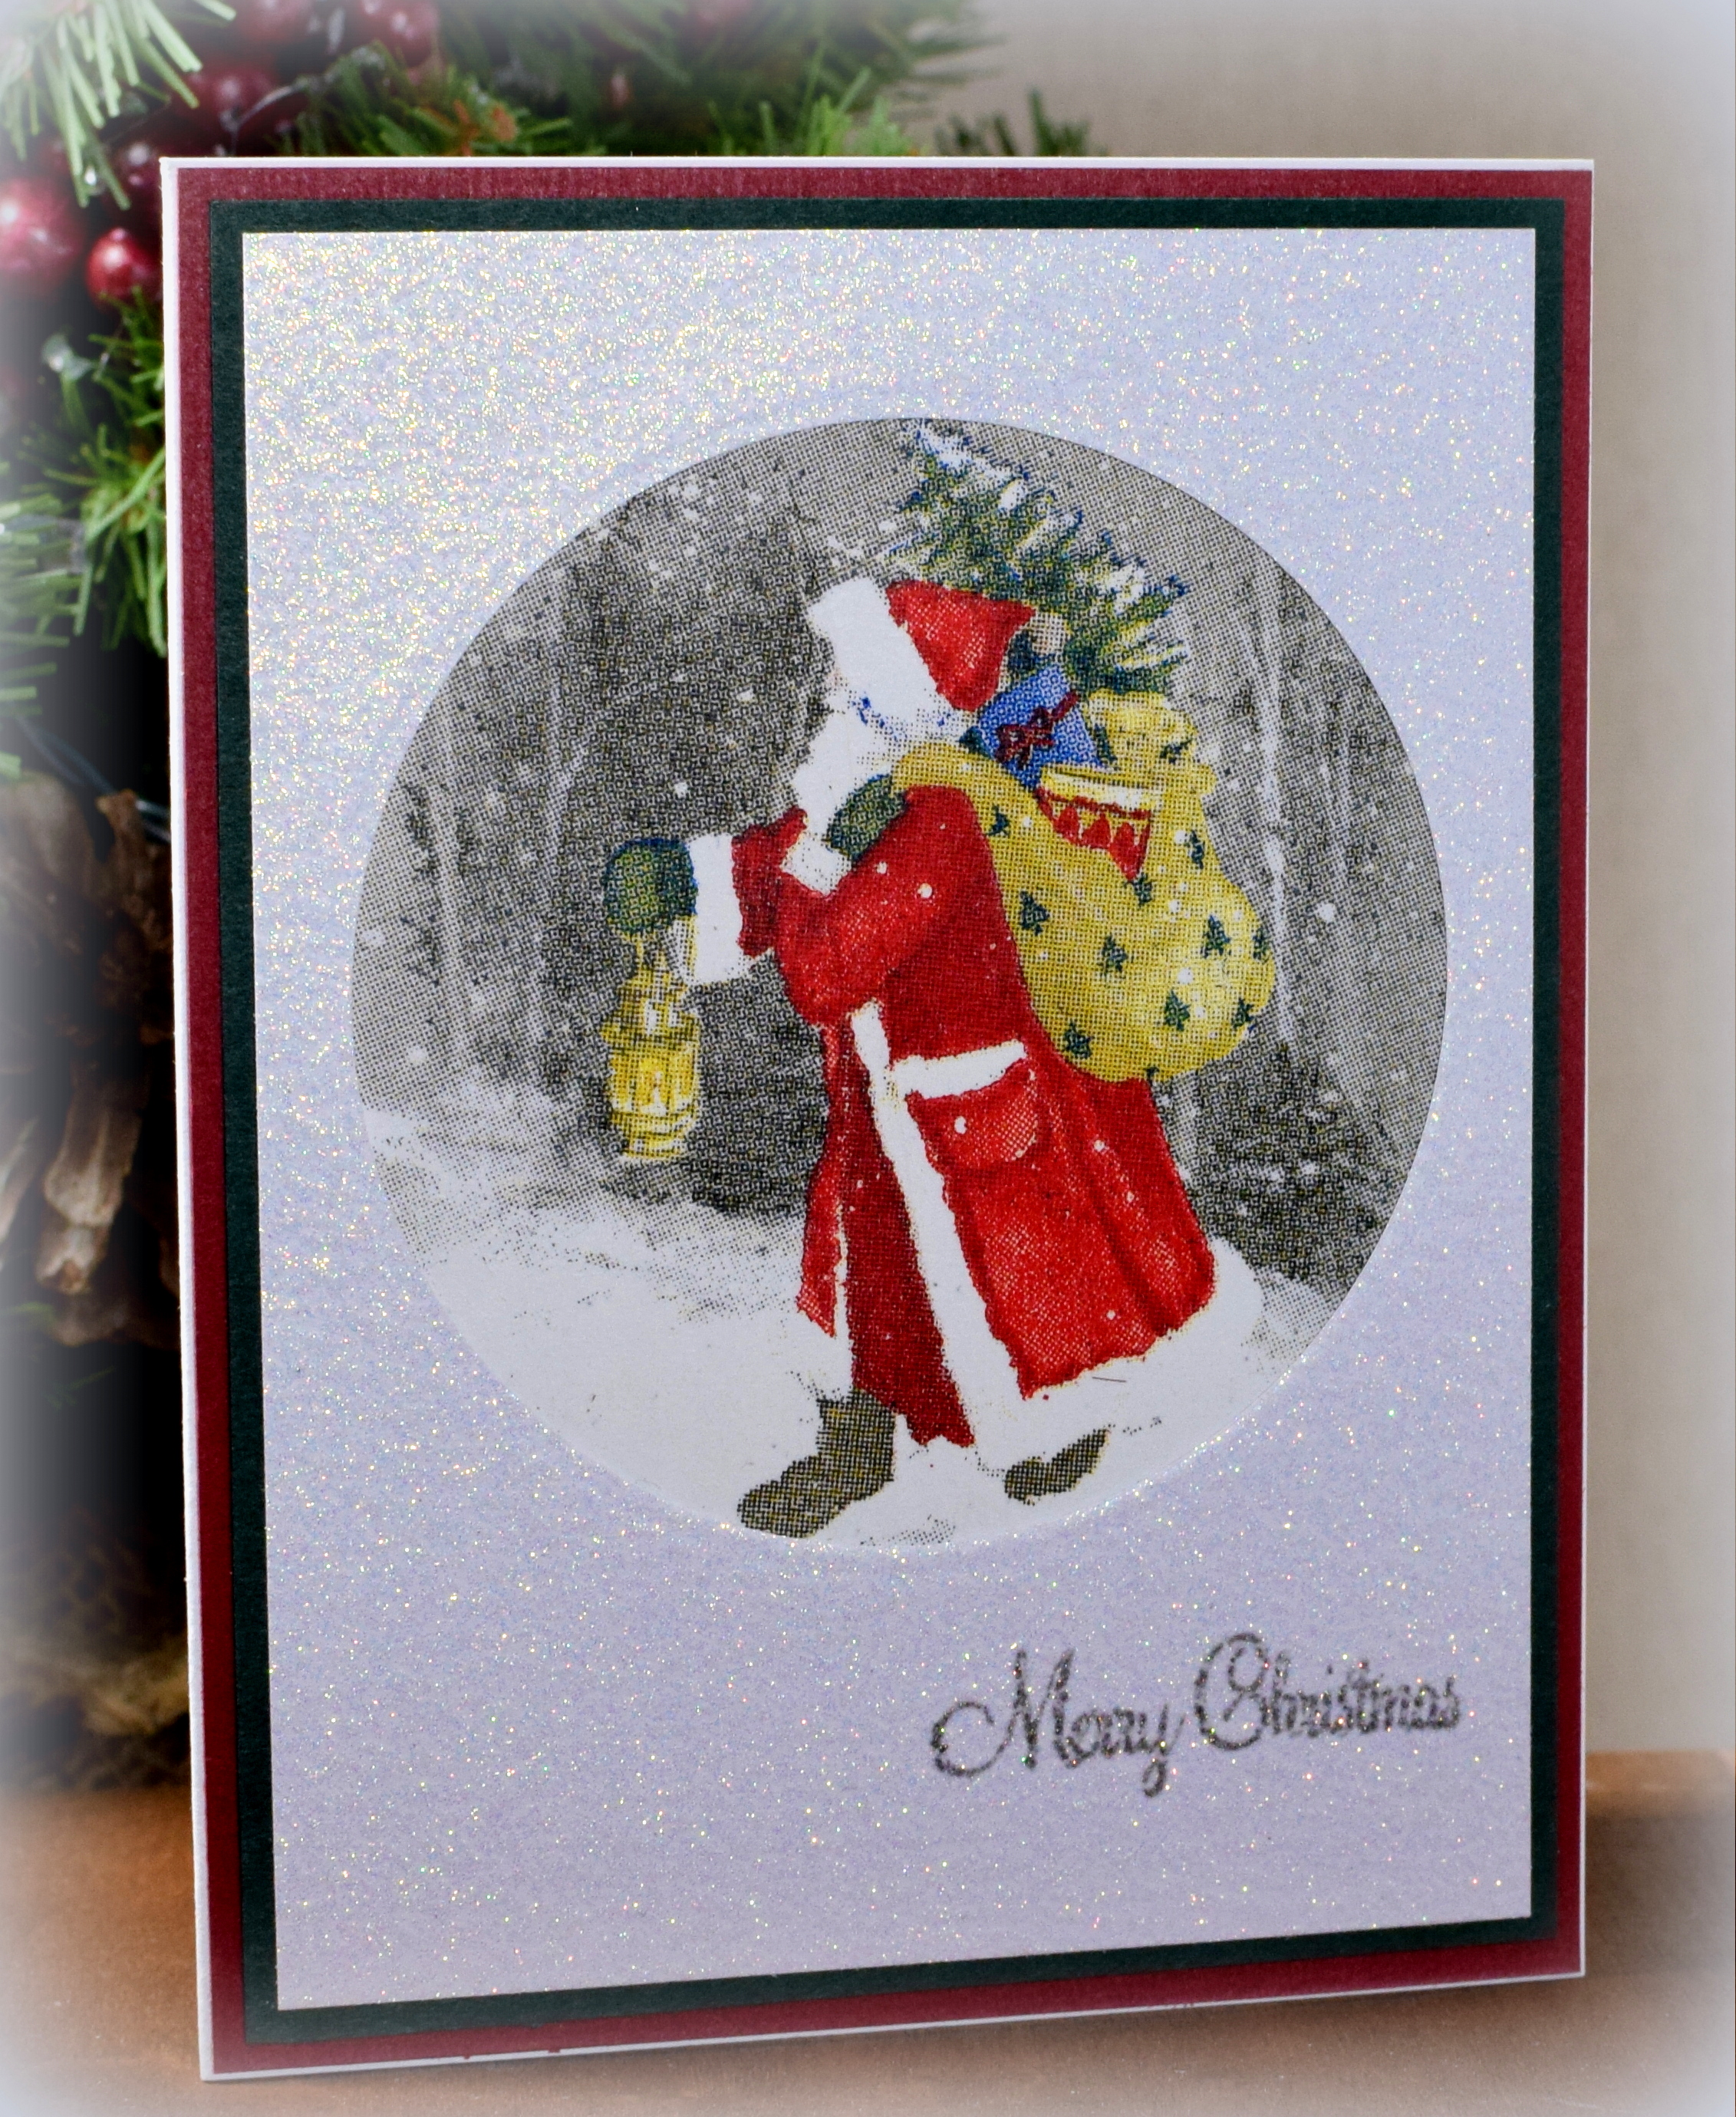
This one was made with Recollections printable glitter paper from Michaels on which I was able to stamp a greeting.
The Mod Squad Challenge this week is called Christmas/Winter Theme [Use a Metal Die] where we are encouraged to use a metal die and create a Winter or Christmas Project [Card, Tag, etc] using a Metal Die on our creations. (Sadly, this site is no longer active.)
If you wish to see the issues I had (and the ways I dealt with them)…
*
The cling wrap…
When heated, the cling wrap will melt/stick to whatever surface it is touching which is what adheres the napkin to the card stock. If the piece of cling wrap (between the card stock and napkin) is larger than the napkin or card stock panel, the overhanging excess will melt/stick to the carrier. (I used a piece of copy paper with a card stock shim as my carrier because I didn’t want any of the excess cling wrap to melt onto the carrier that came with the machine.) If, on the other hand, the piece of cling wrap is smaller than the napkin or card stock panel, the areas with no cling wrap between will not stick together.
So, the size of the cling wrap is important. And it was NOT easy to trim! The cling wrap was sliding all over the place when I was trying to cut it! Ugh!!! I did find that using clothes pins to hold the cling wrap and napkin to the card stock while trimming made this step much easier. It was still tough to cut the three pieces perfectly which brings me to my next issue..
*
The napkin design…
Ideally, the cling wrap would be the same size as the card stock panel and the portion of the napkin you wish to use for your project. But, because it is so hard to get the pieces to be exactly the right size, it was wisely suggested that you start with a larger napkin panel than you actually need, and then you could trim it down to size (to clean up the edges) after it has gone through the Minc.
The napkin/image I chose for this project proved challenging, however, because I wanted to include the entire scene with the gray border on my card, but there was not enough of the border to include the “excess” to trim off. It took me several tries to get a panel with and even border that was adhered completely to the card stock. I tried this technique with a snowflake patterned napkin that was larger than needed, and it was much easier to work with because the pattern was more random without a printed border, and there was a lot more to cut off. So the napkin image matters! If you want to include the whole image, know that you will not have as much room for “error” in your panel sizes.
Once I finally got a panel that worked, I tried to stamp a greeting which looked great initially, but as the ink dried/absorbed into the napkin, the font became “thick” and blury. I tried it a few more times with different ink brands, and the same thing kept happening. I’m not quite sure how to fix that issue. I ended up making another panel without the stamping, attached it to a mat and card base, and left it at that.
*
Thanks for checking out my card project!
This content uses referral links as described in the disclosure policy on my sidebar.


Awesome napkin cards. I remember doing these years go. It was so fun and I can see you had a great time with the napkins too. That is such a fantastic vintage design.
LikeLike
Pingback: Winter Napkin Card | I Played With Paper Today!
Pingback: Floral Frame Napkin Card – with Tutorial | I Played With Paper Today!