Gel Medium and Stencils (with foiling, heat embossing, and glitter)
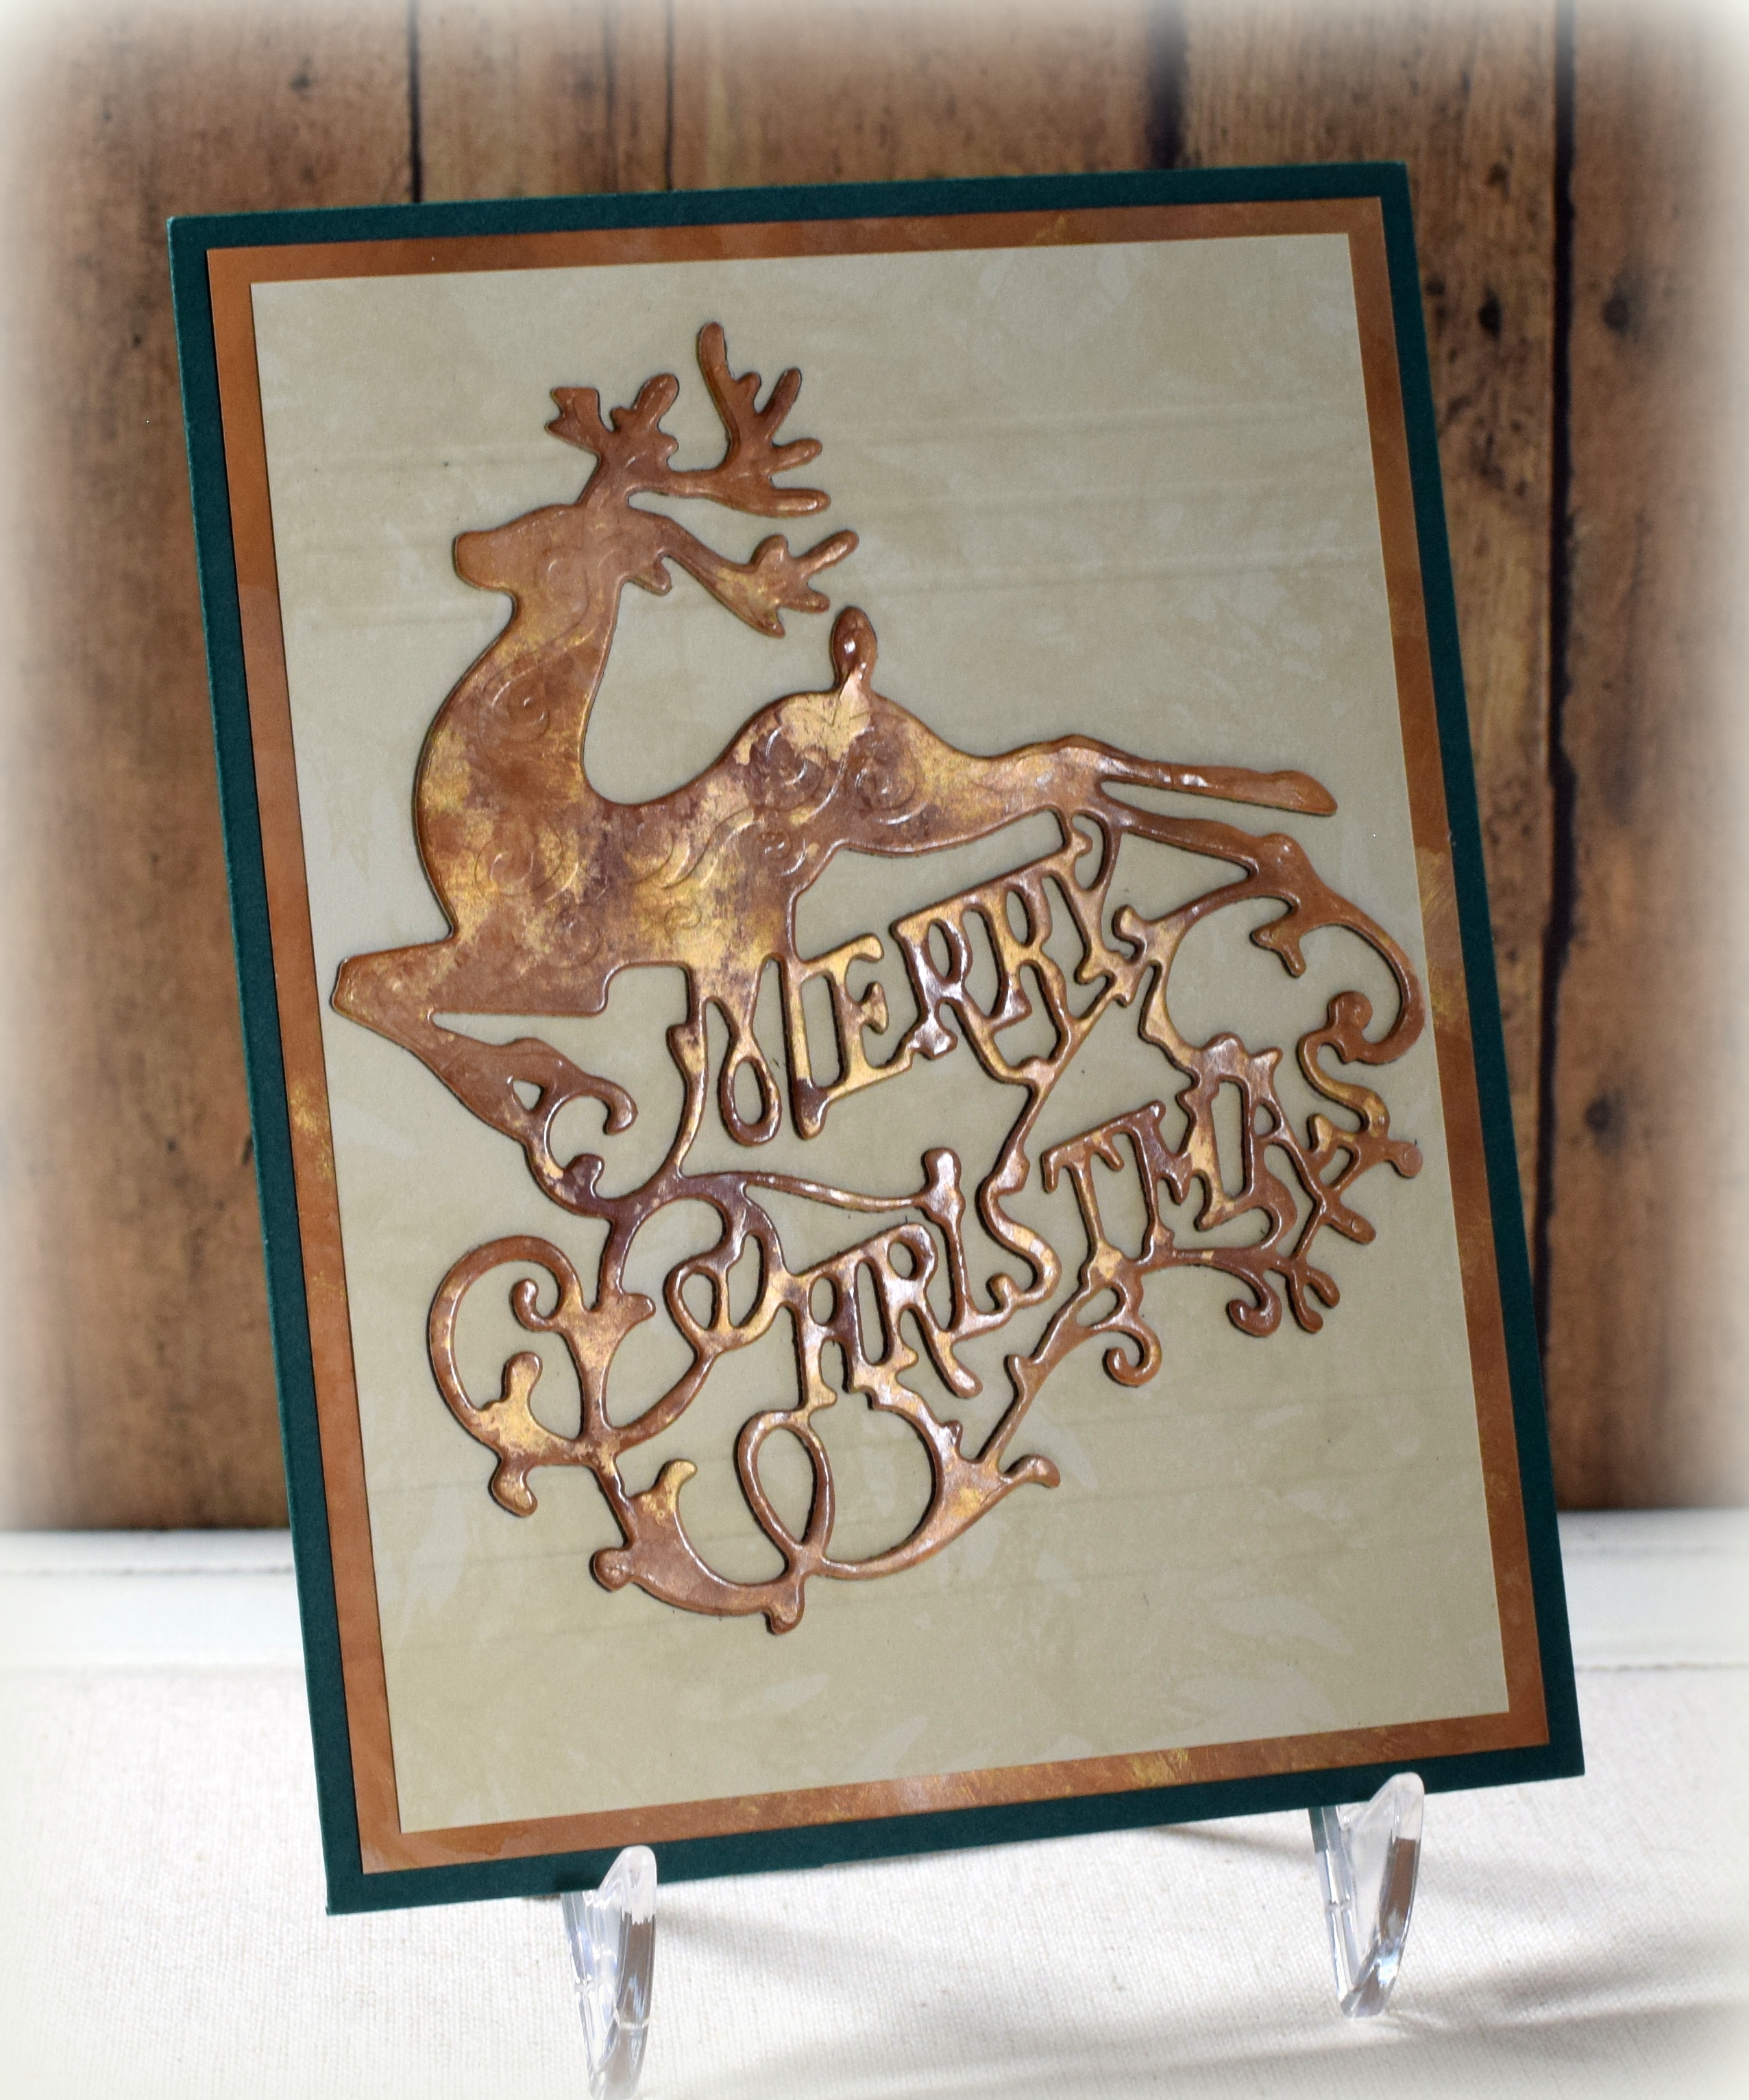
I tried some foiling with gel medium for the first time.
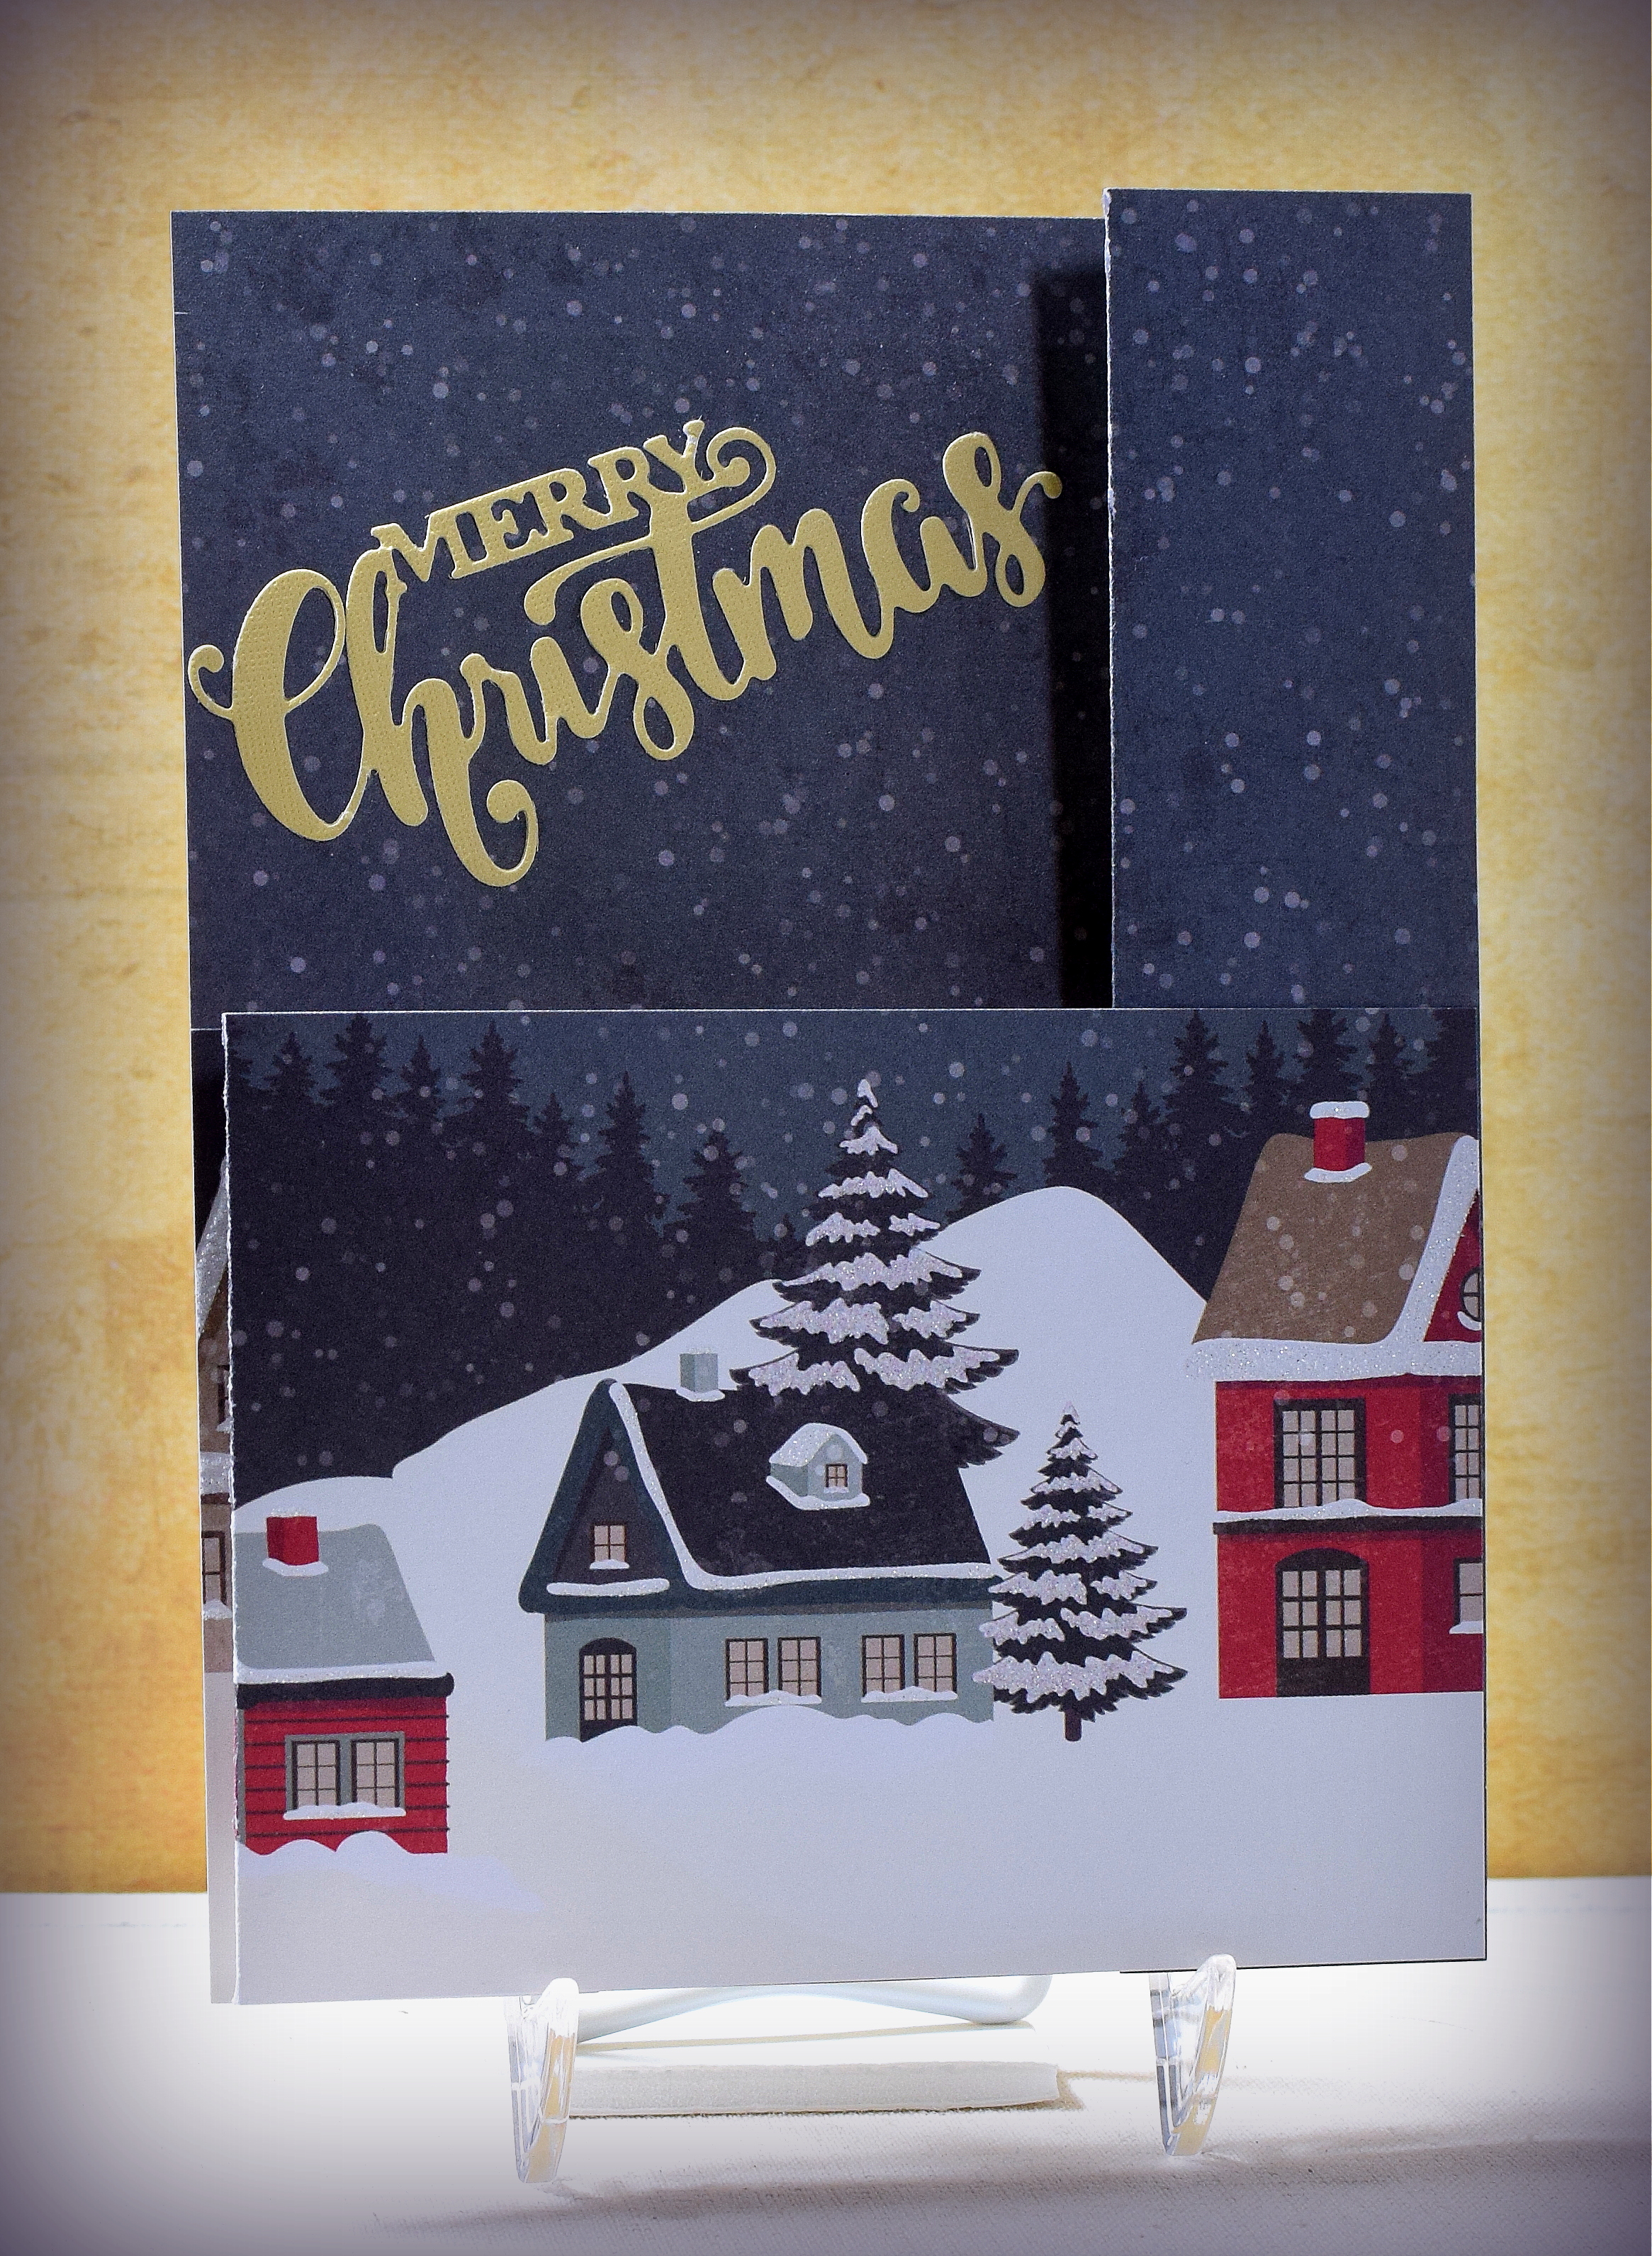
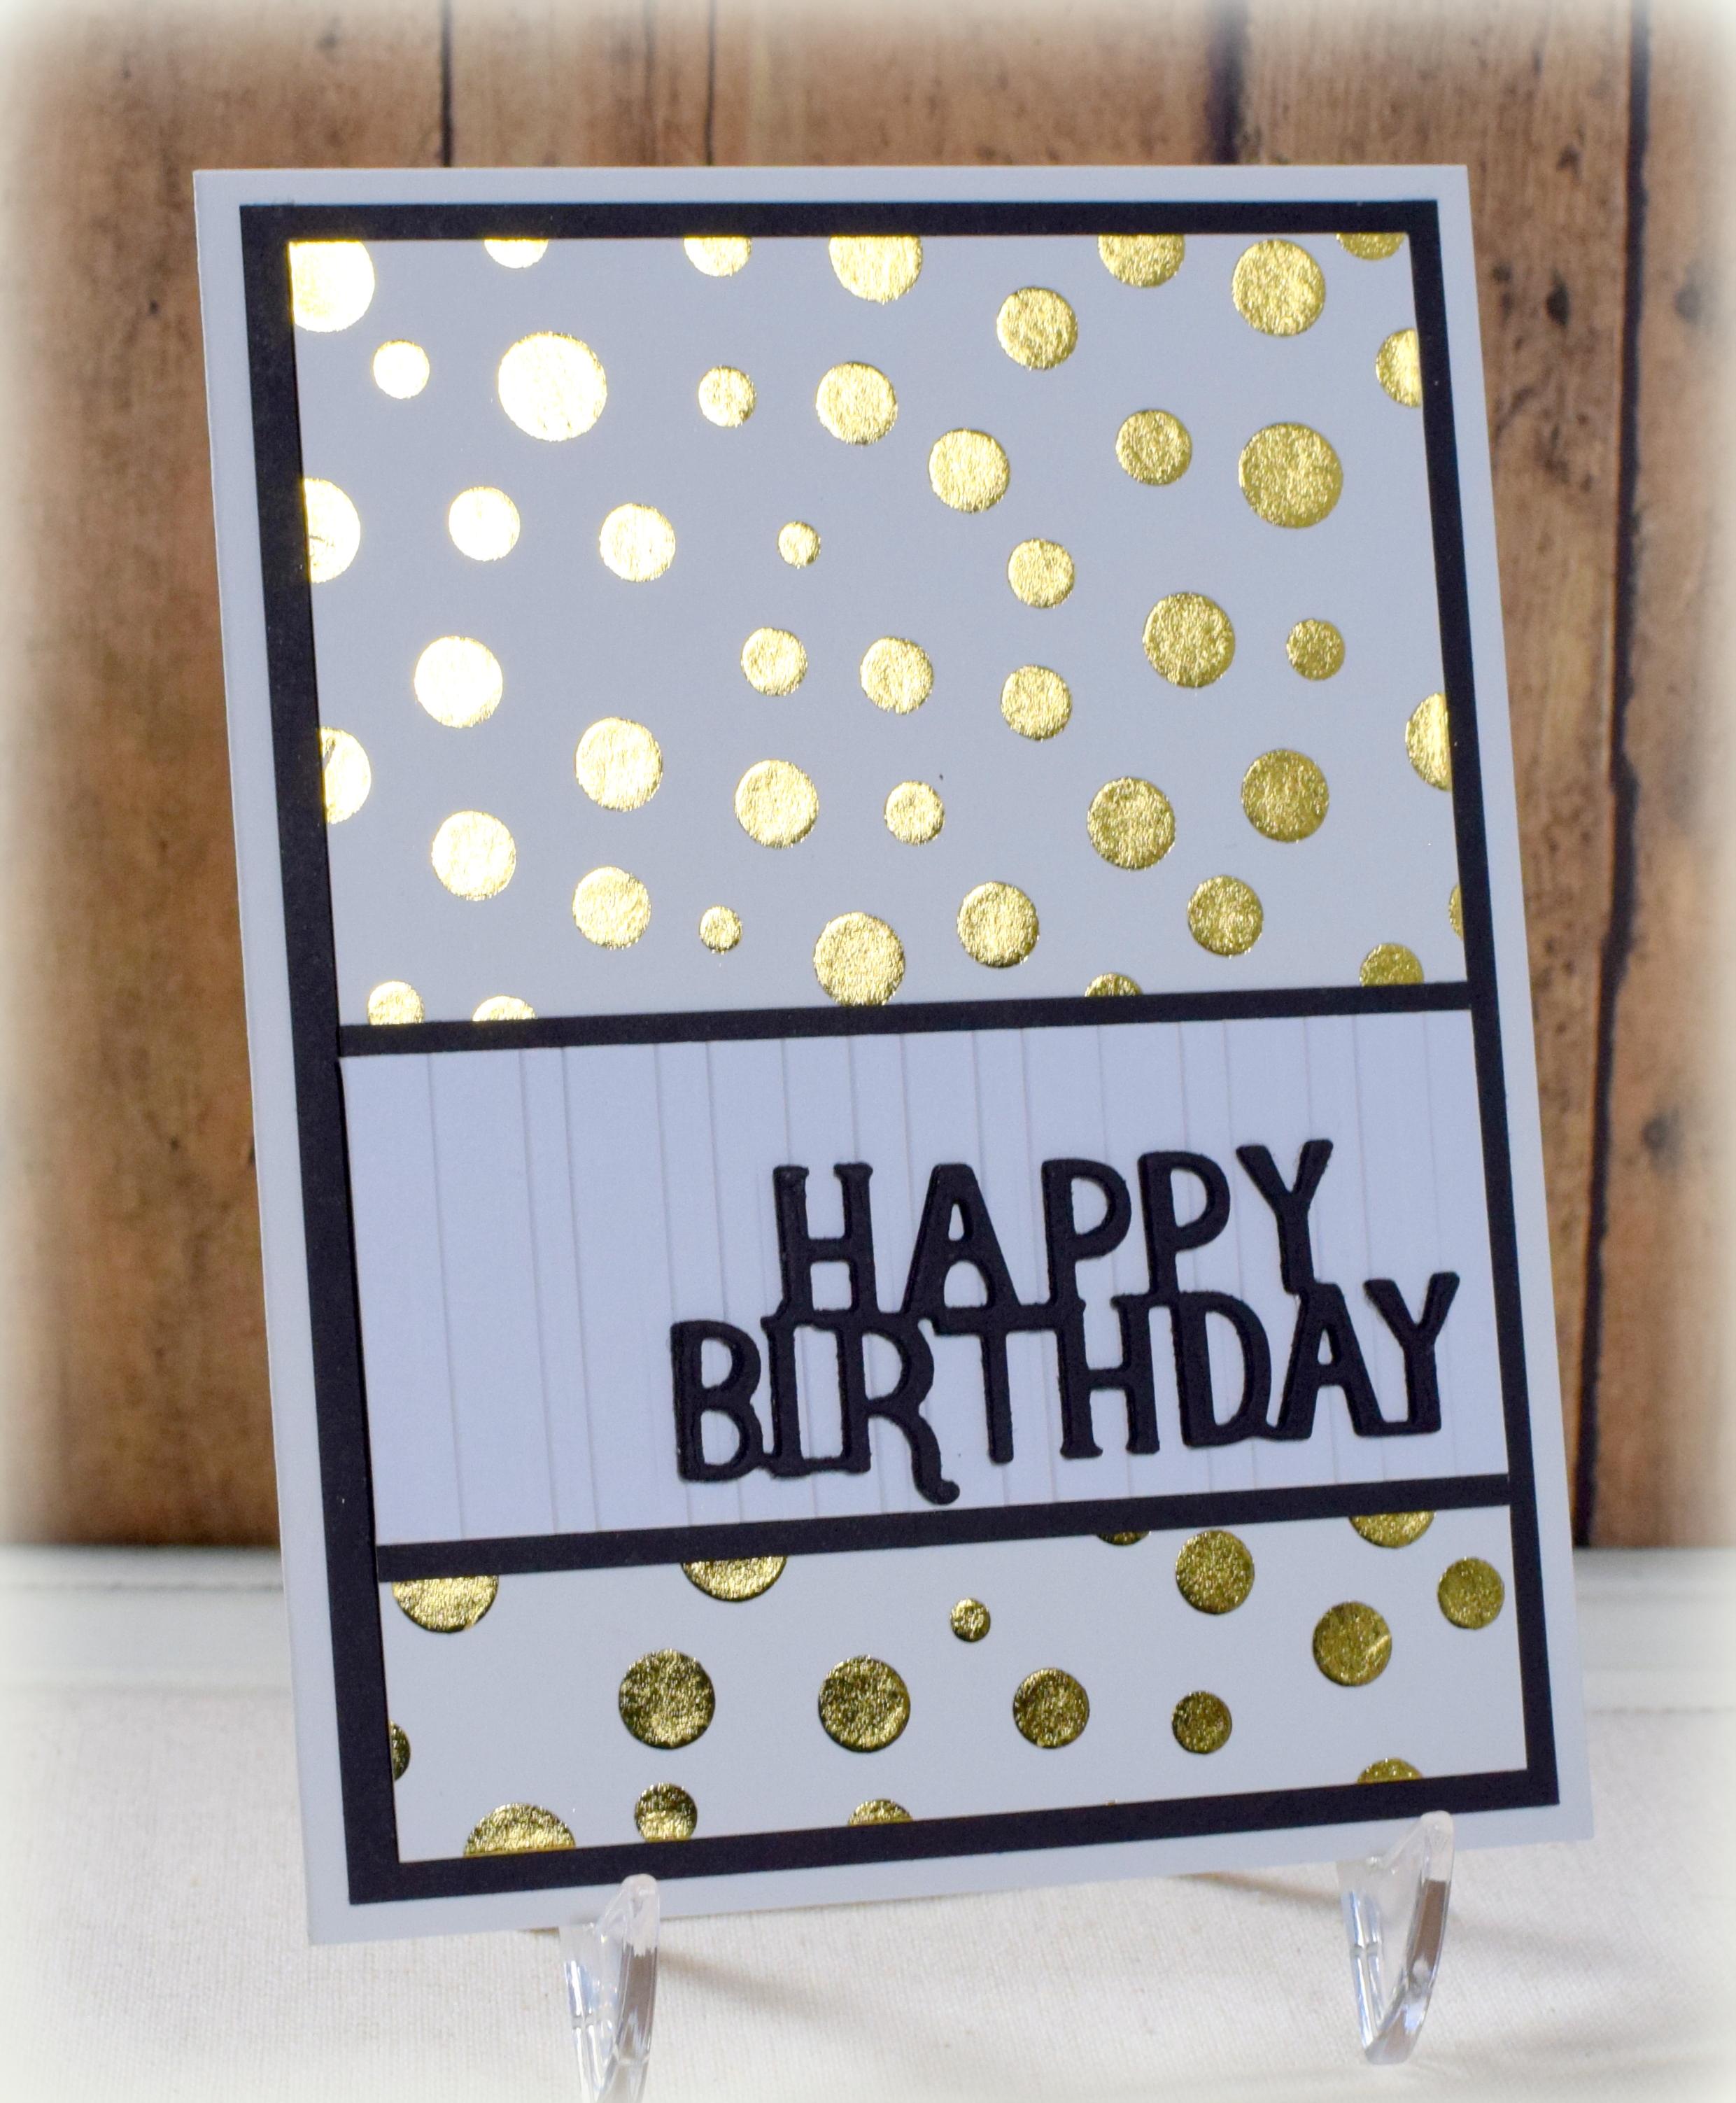
I applied the gel medium to my panel with a palette knife through a stencil and allowed the gel medium to dry. Then I placed a piece of transfer foil on top (of the dried gel medium) and ran the panel through my minc foiling machine.
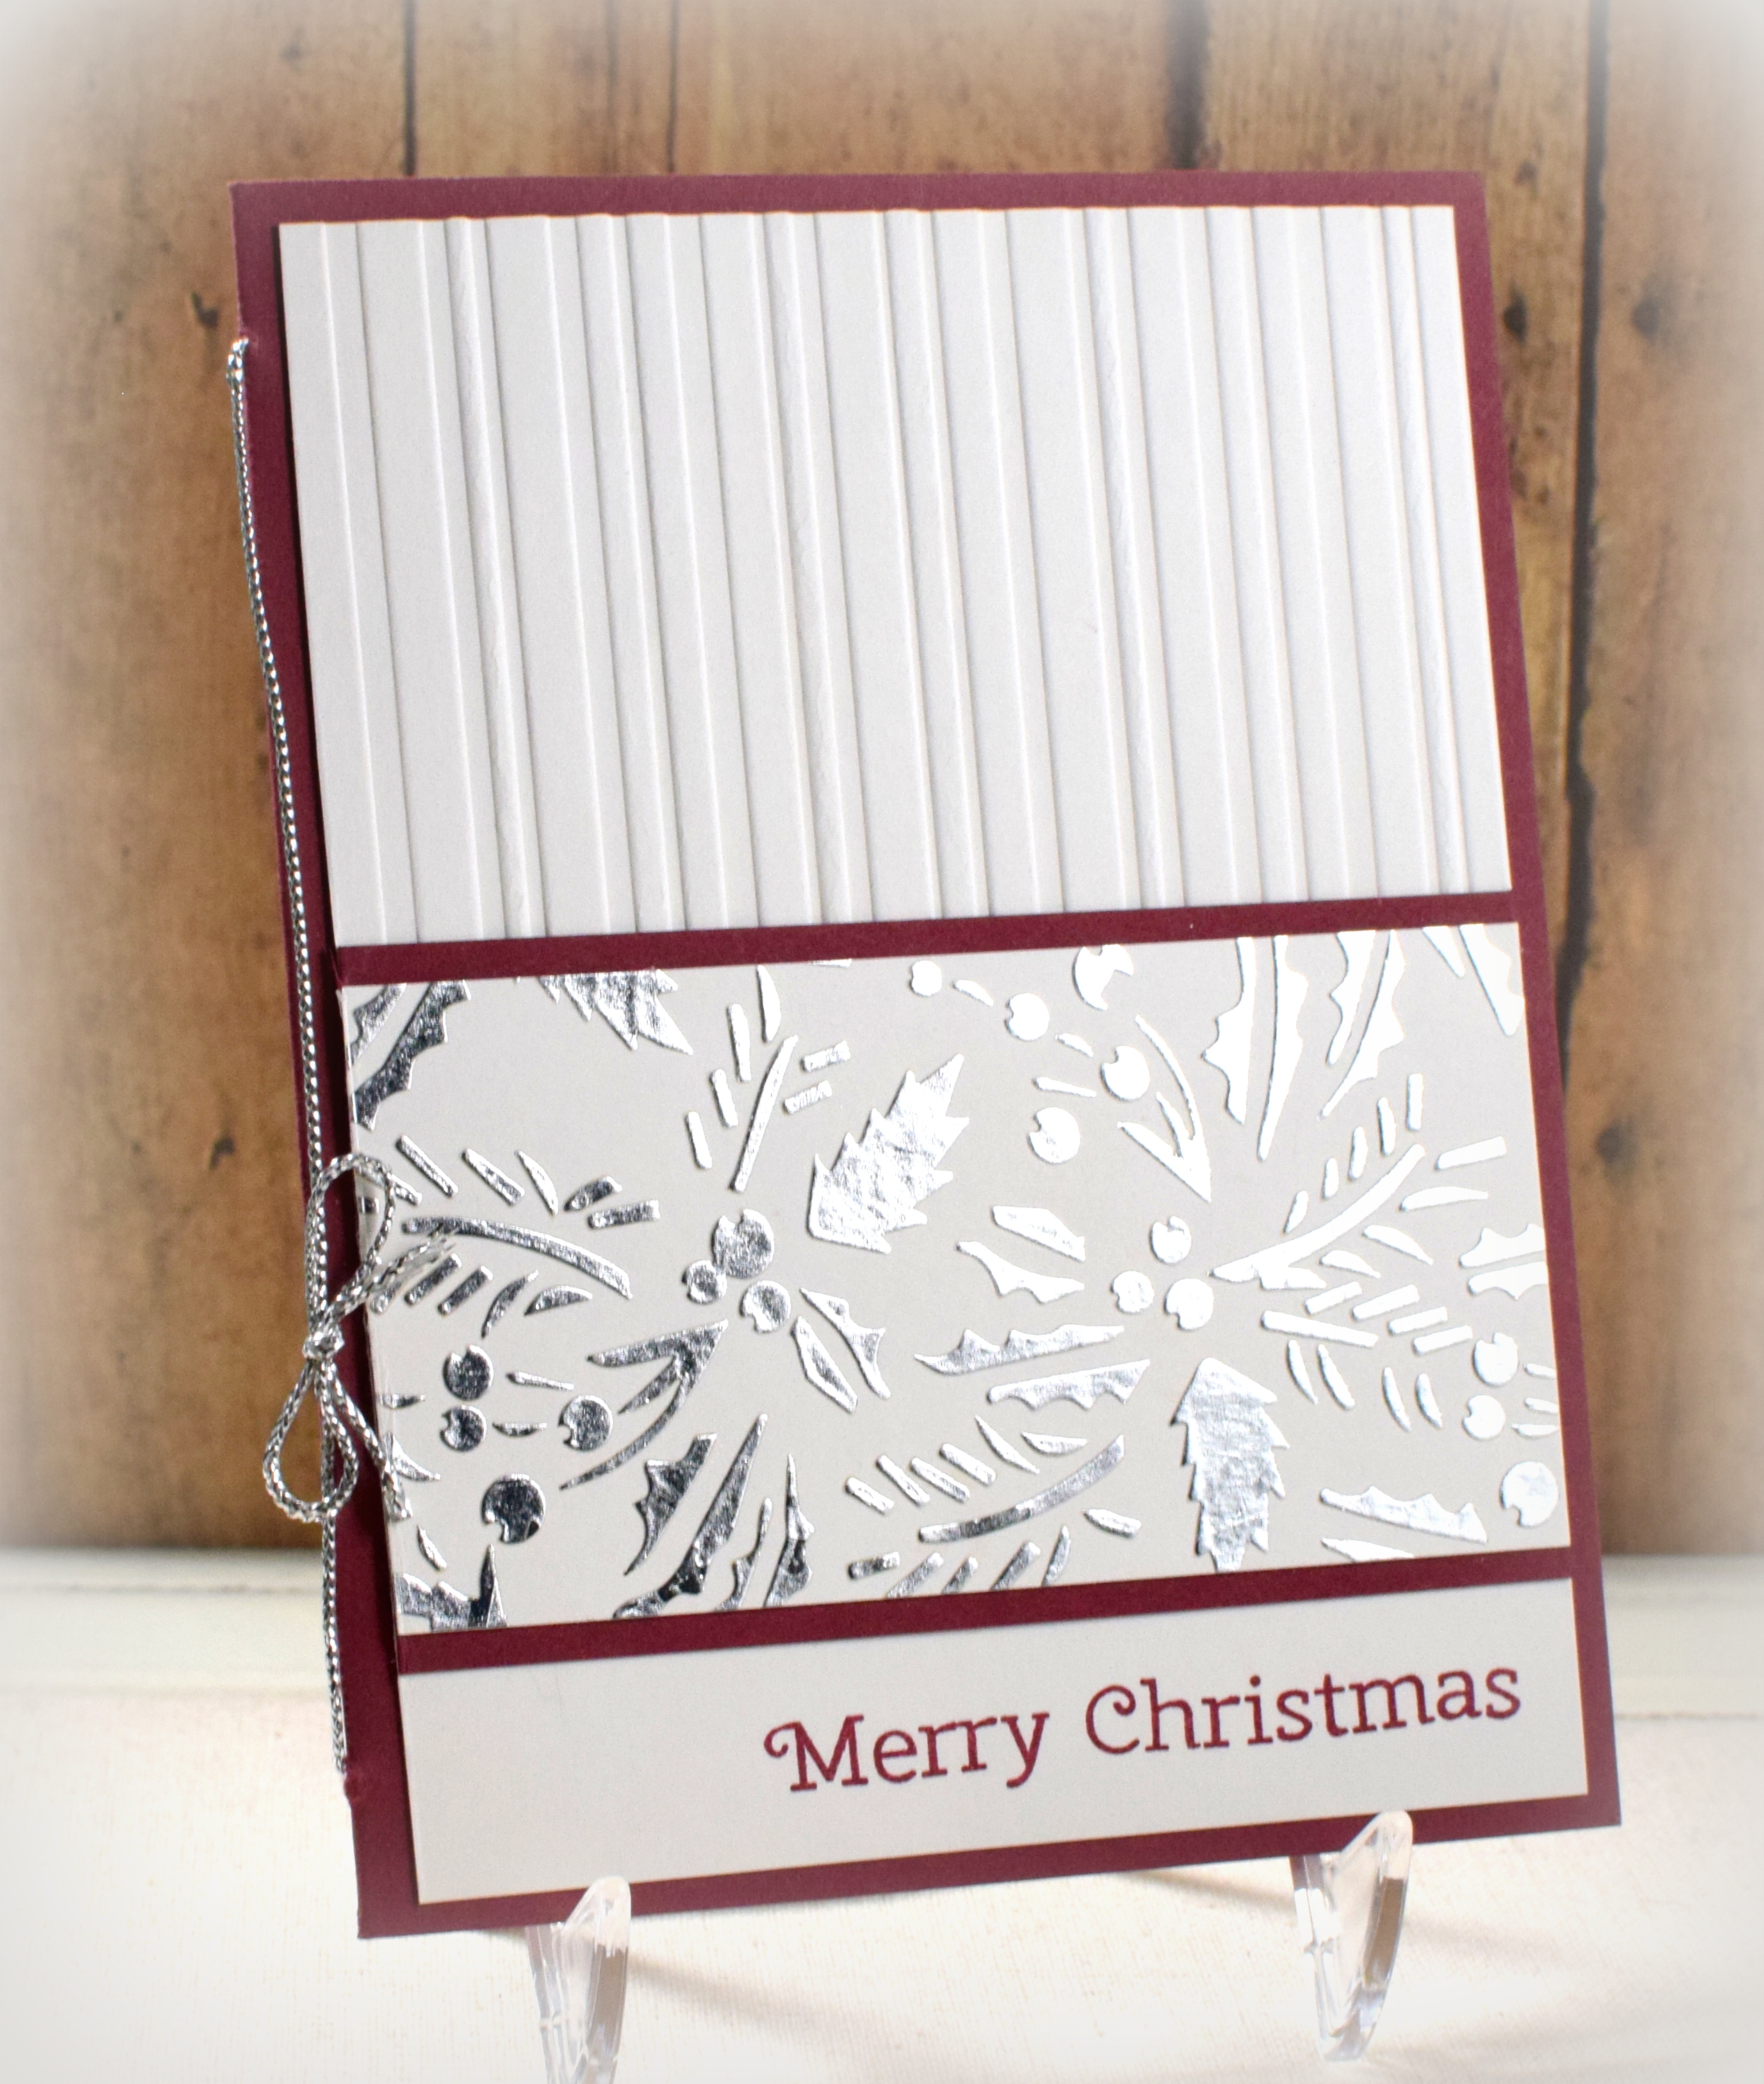
Here is another foiled sample:
*
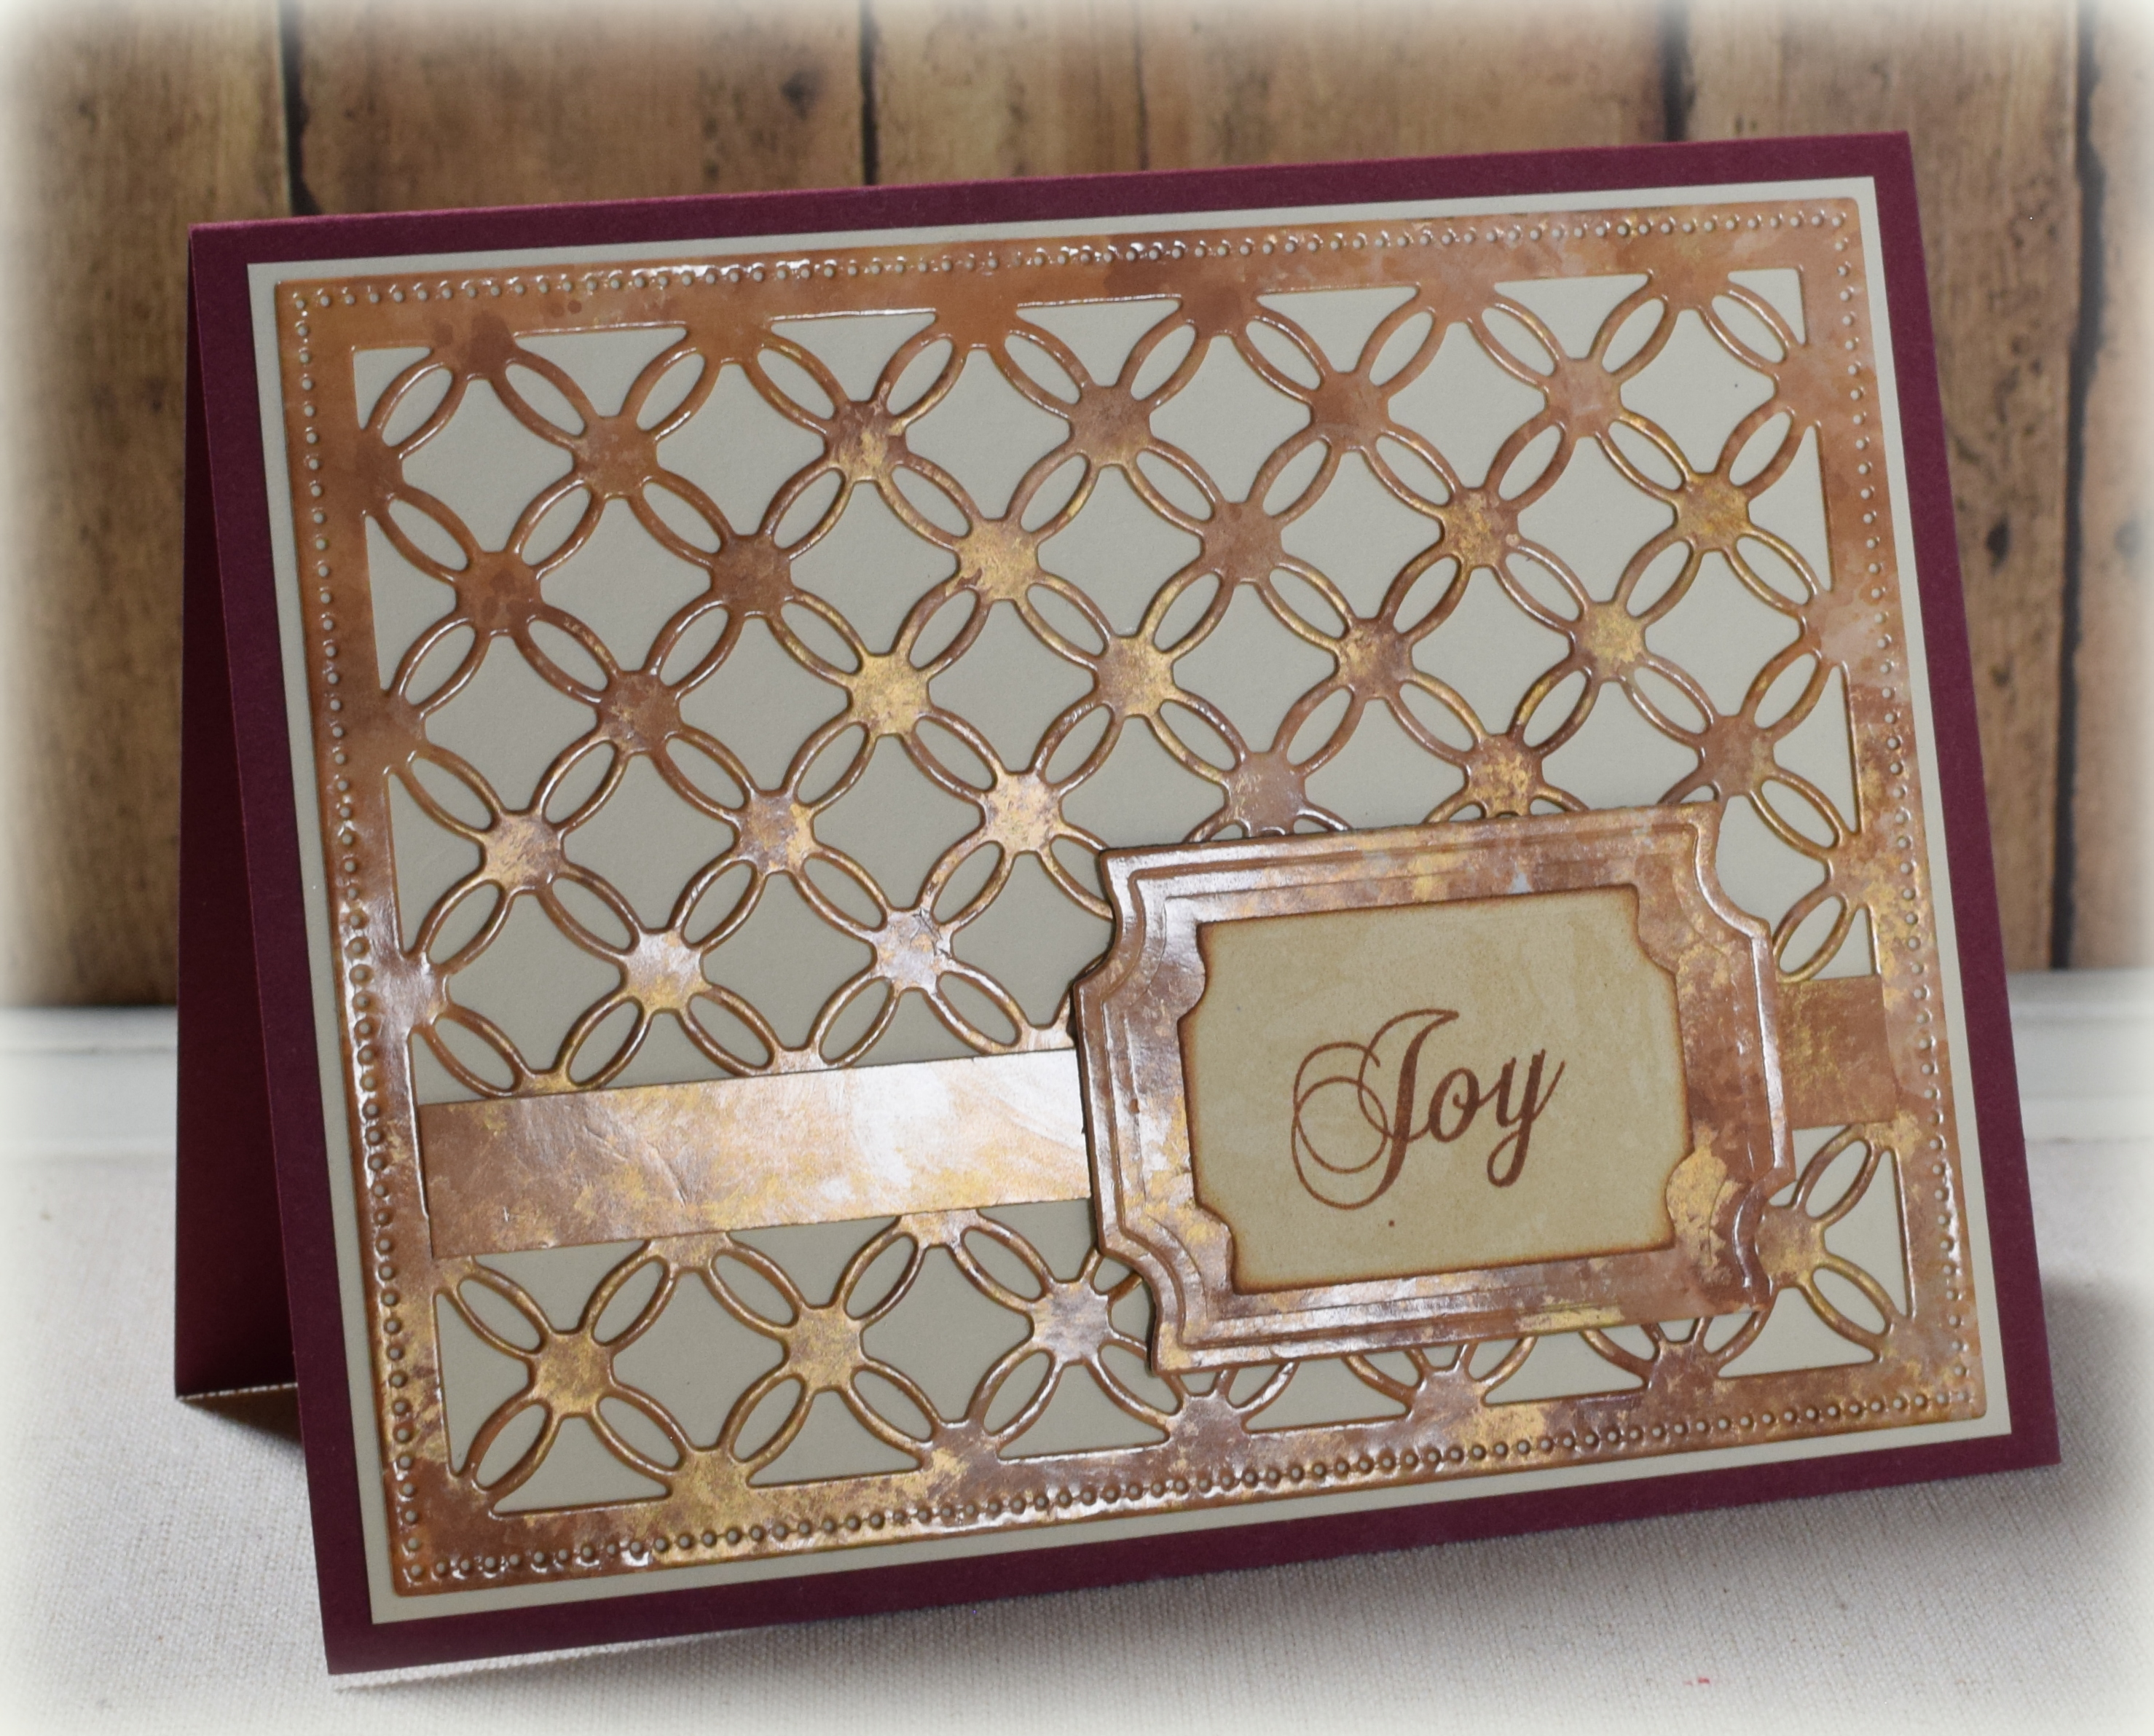
A similar effect can be achieved with embossing powder instead of the foil. While the gel medium is still wet, you sprinkle on the embossing powder as you normally would if you were stamping, shake off the excess, and then you allow the gel medium to dry. After it has dried, you heat set the powder with a heat tool.
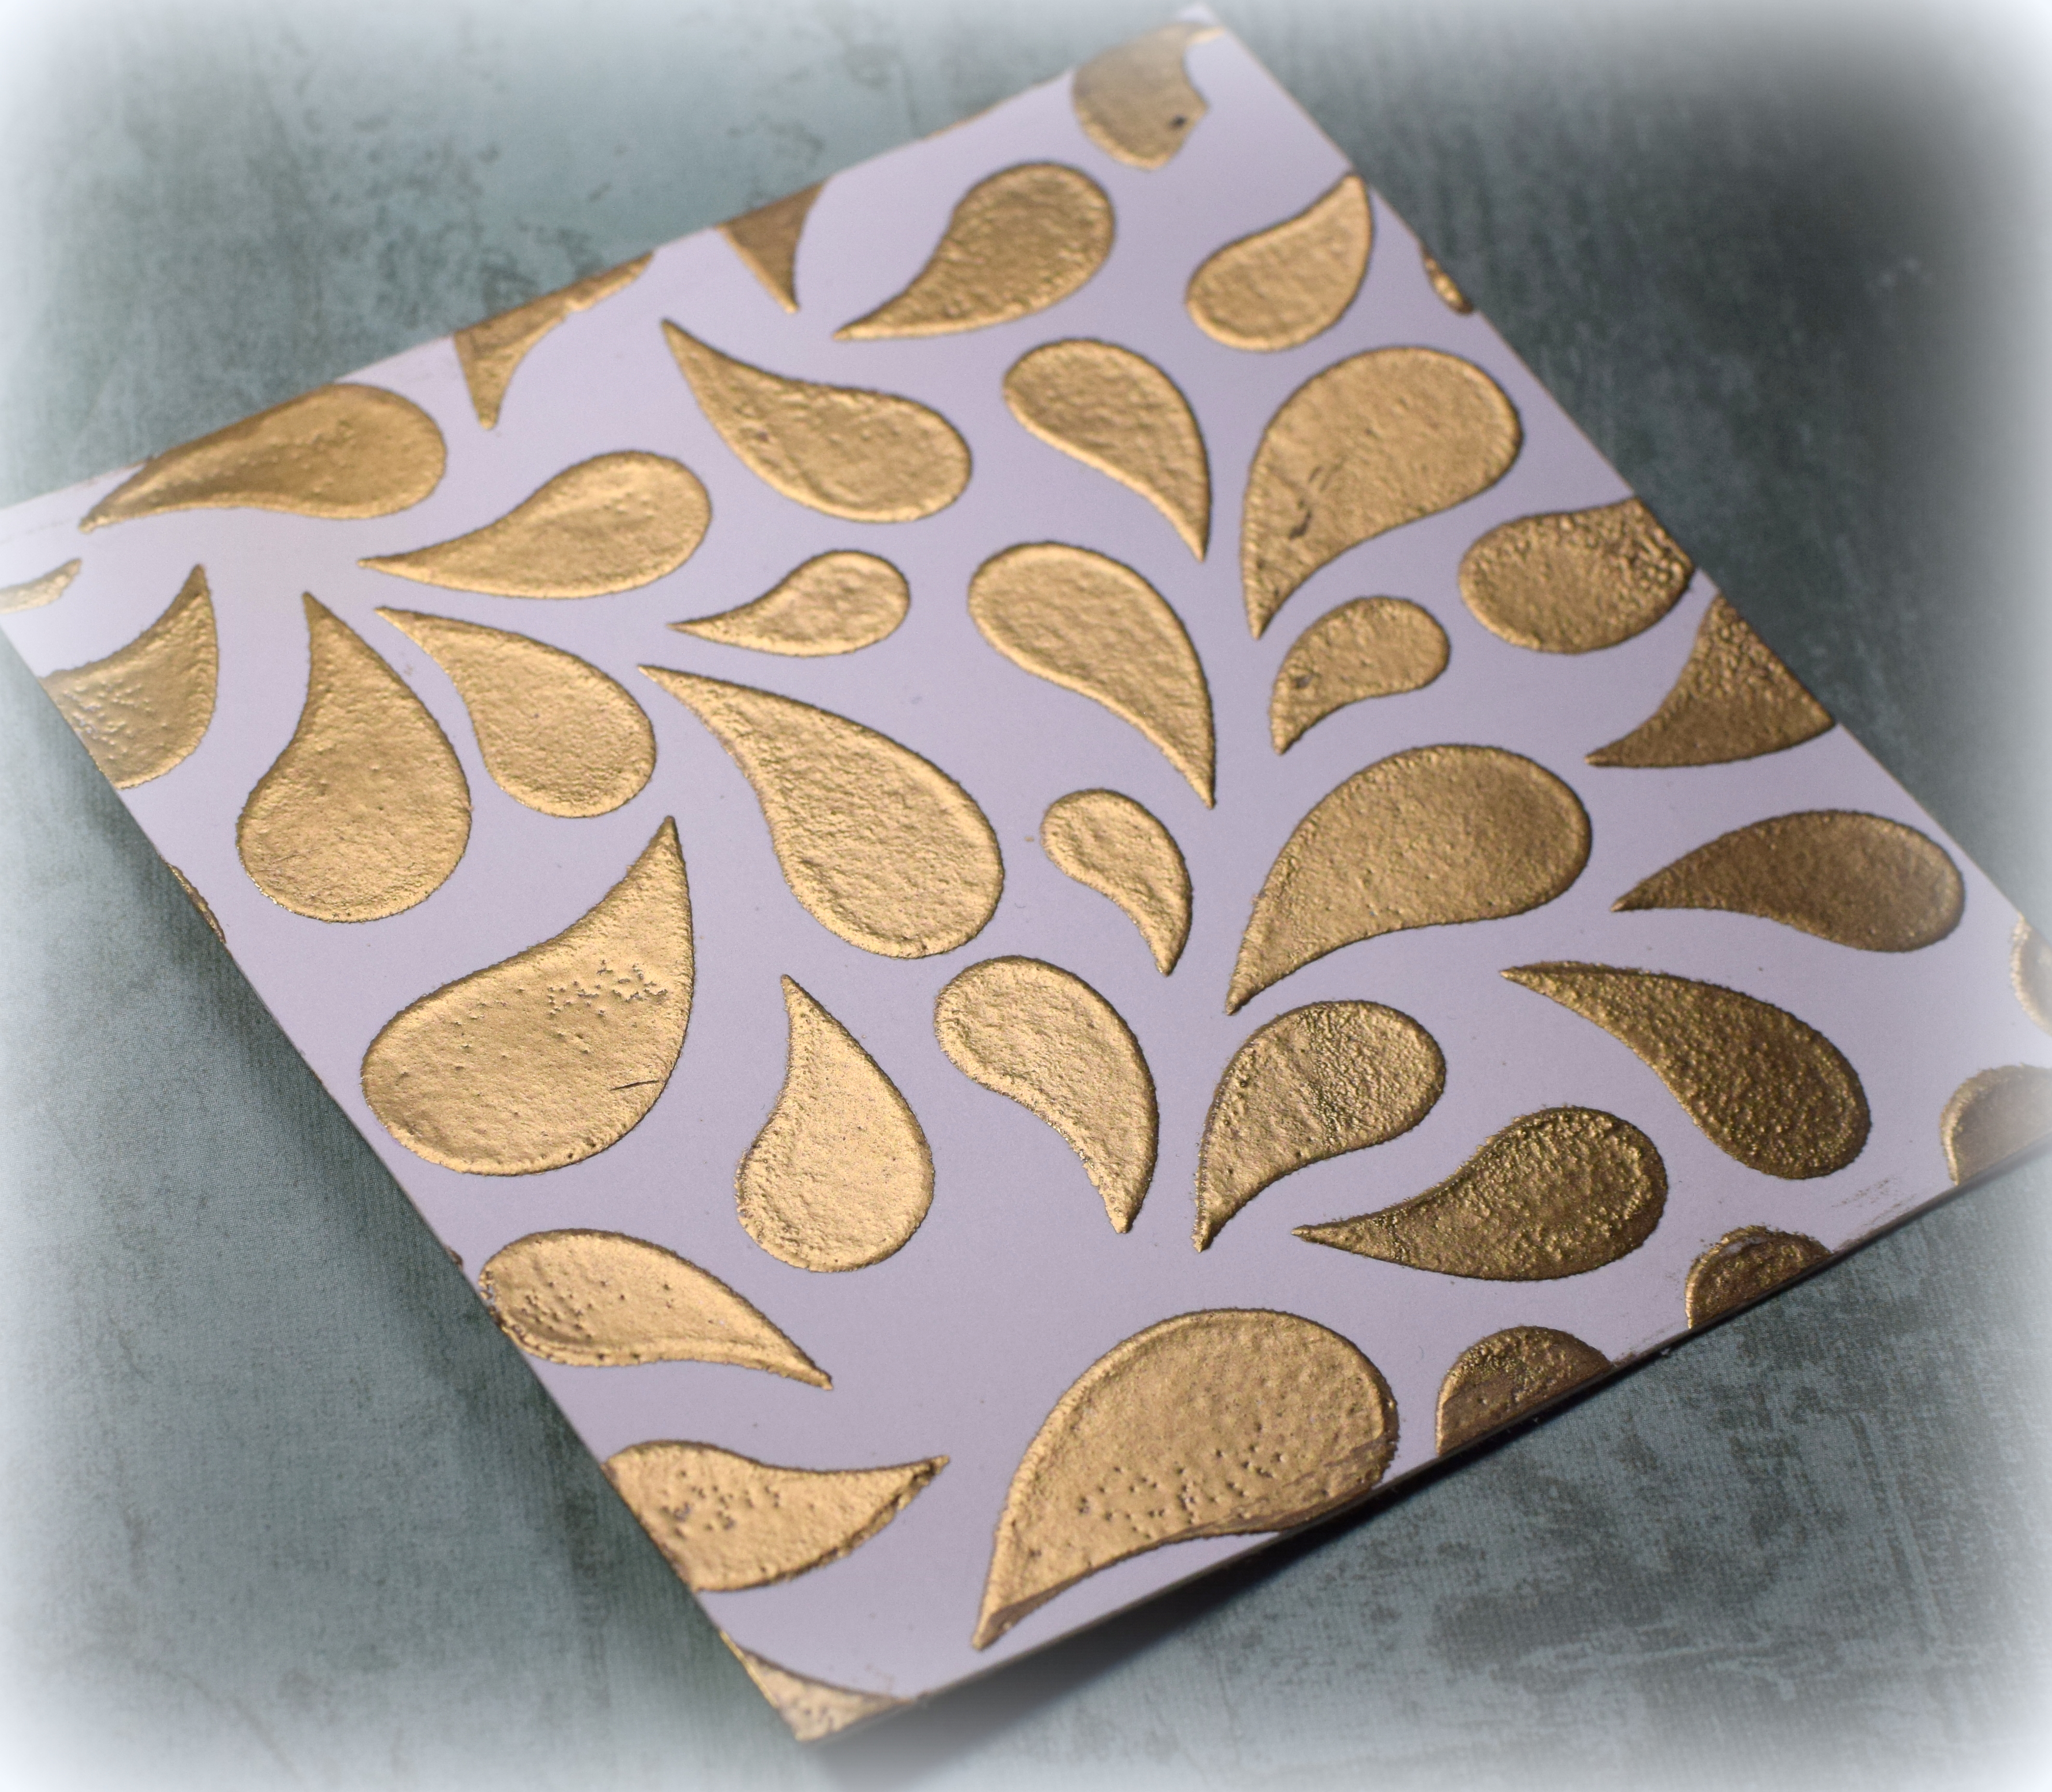
Here is a sample panel done with embossing powder:
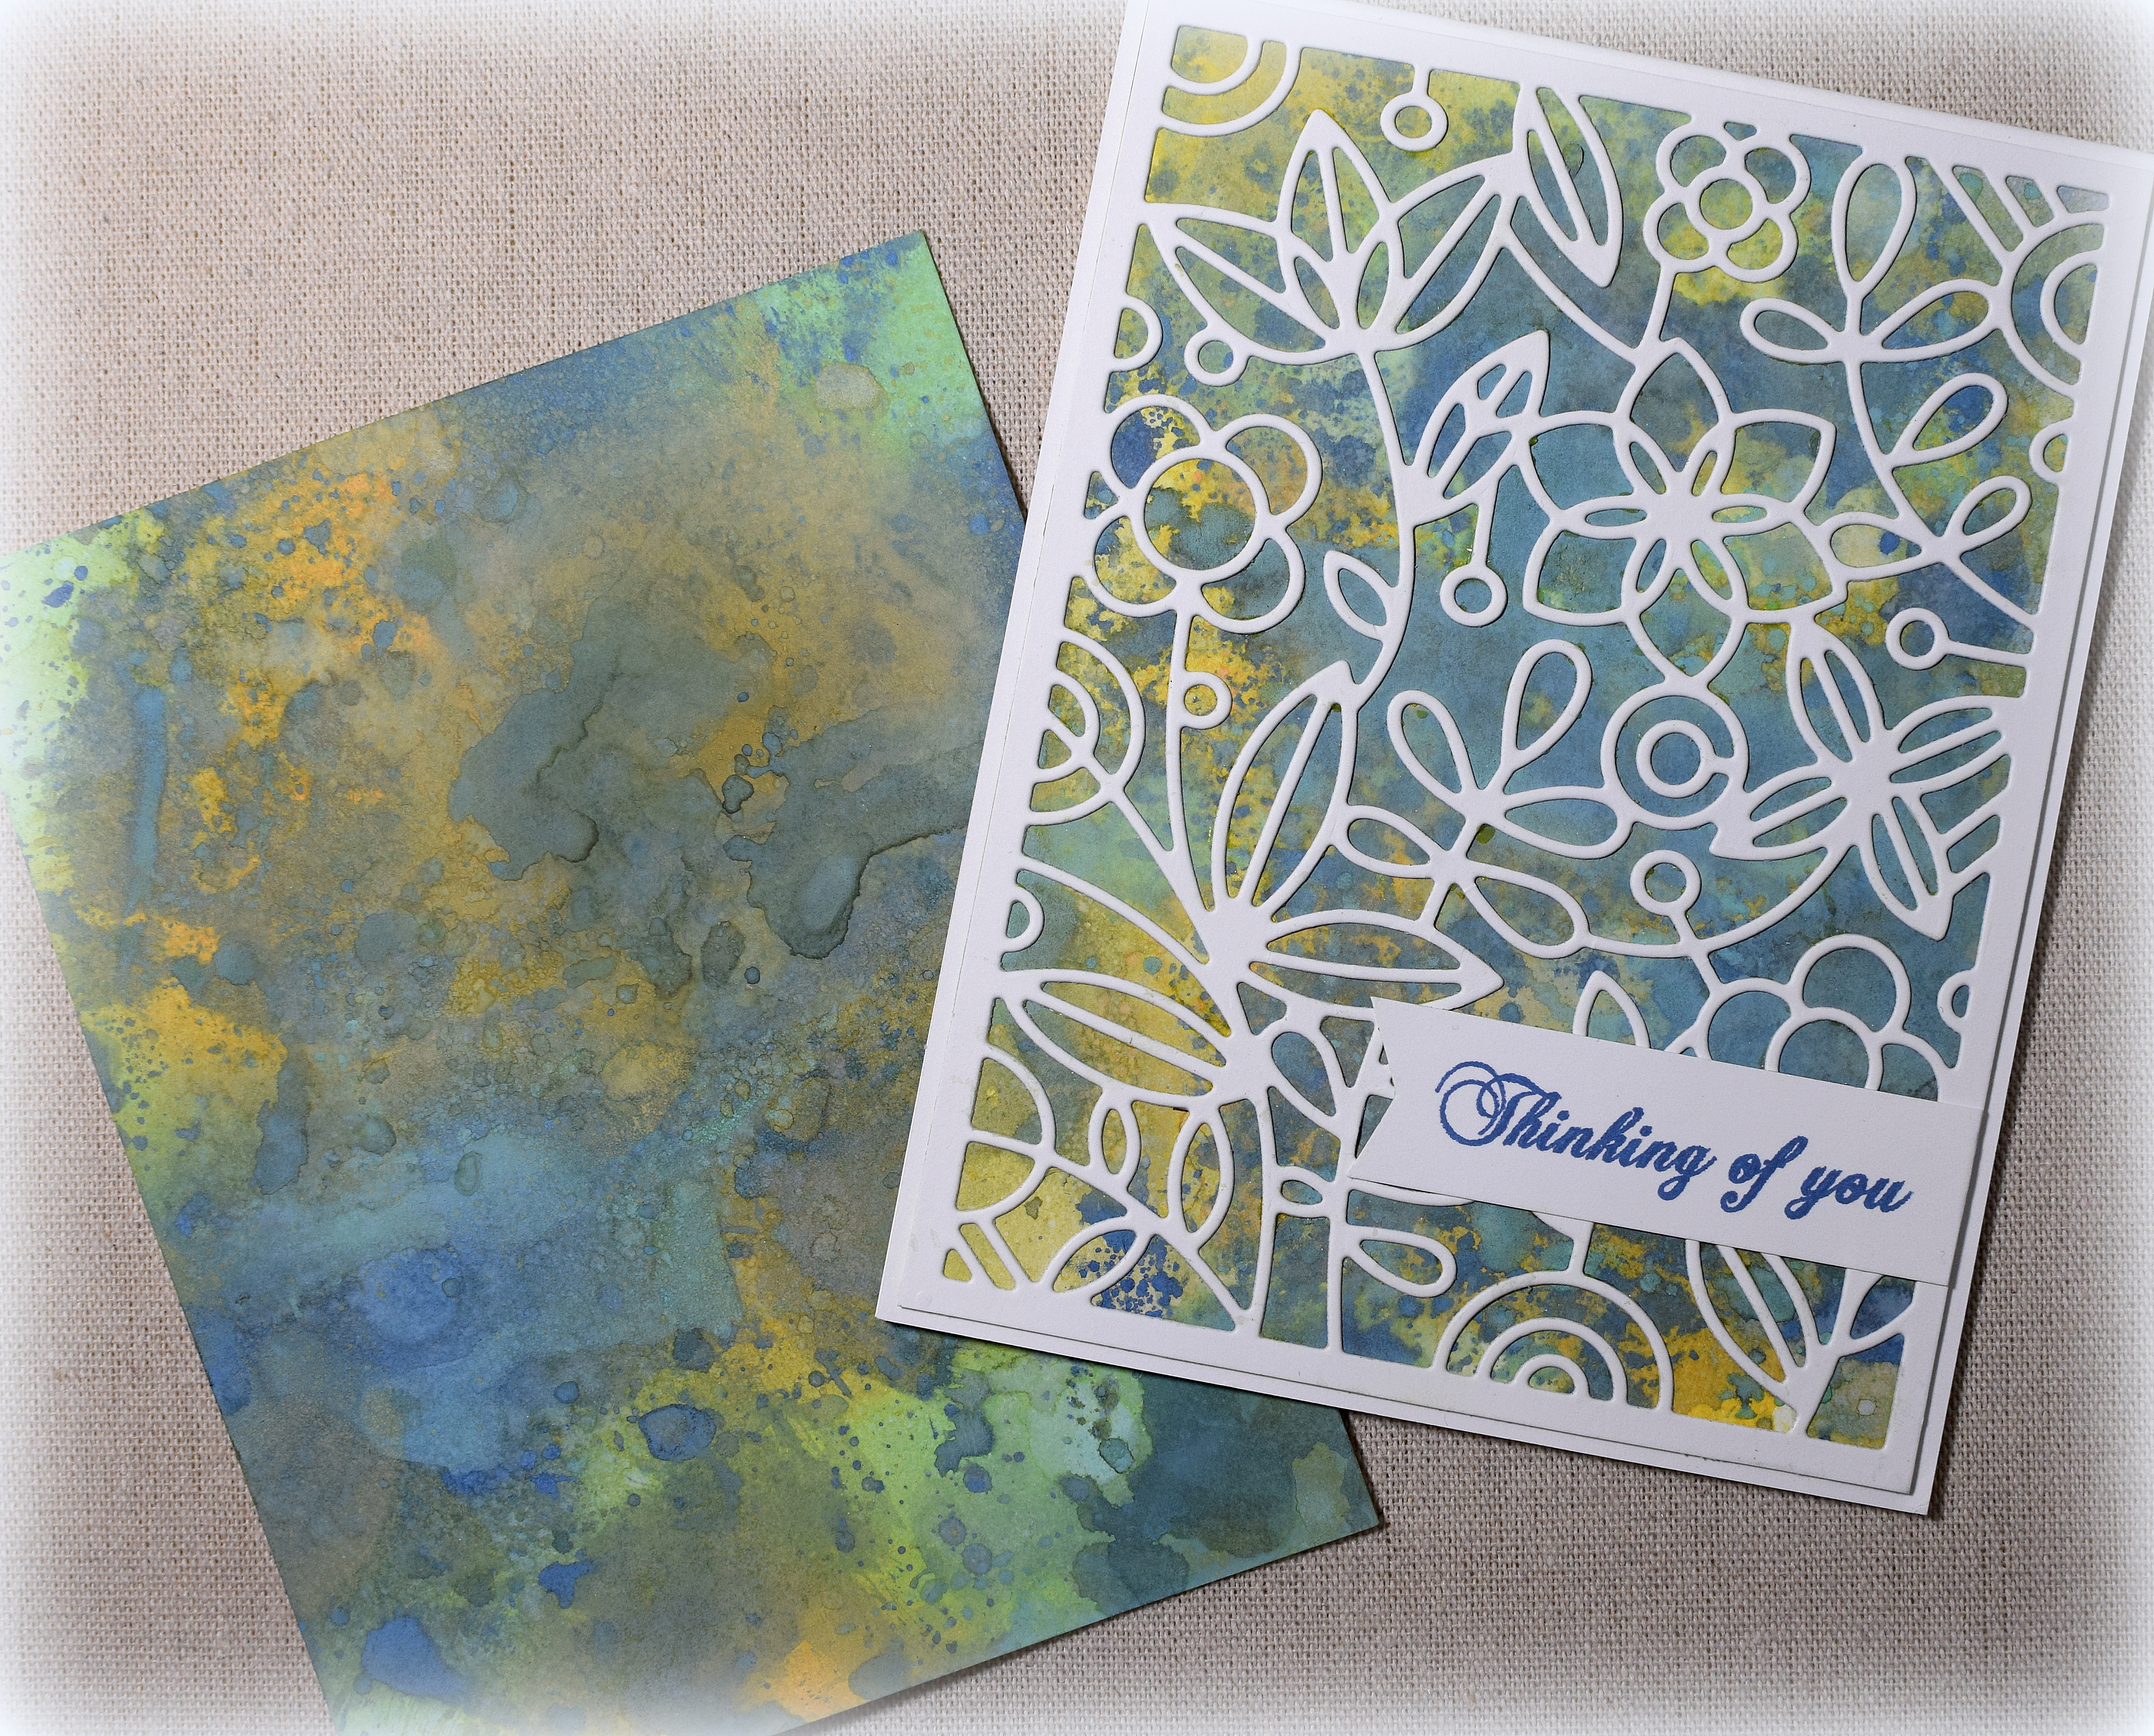
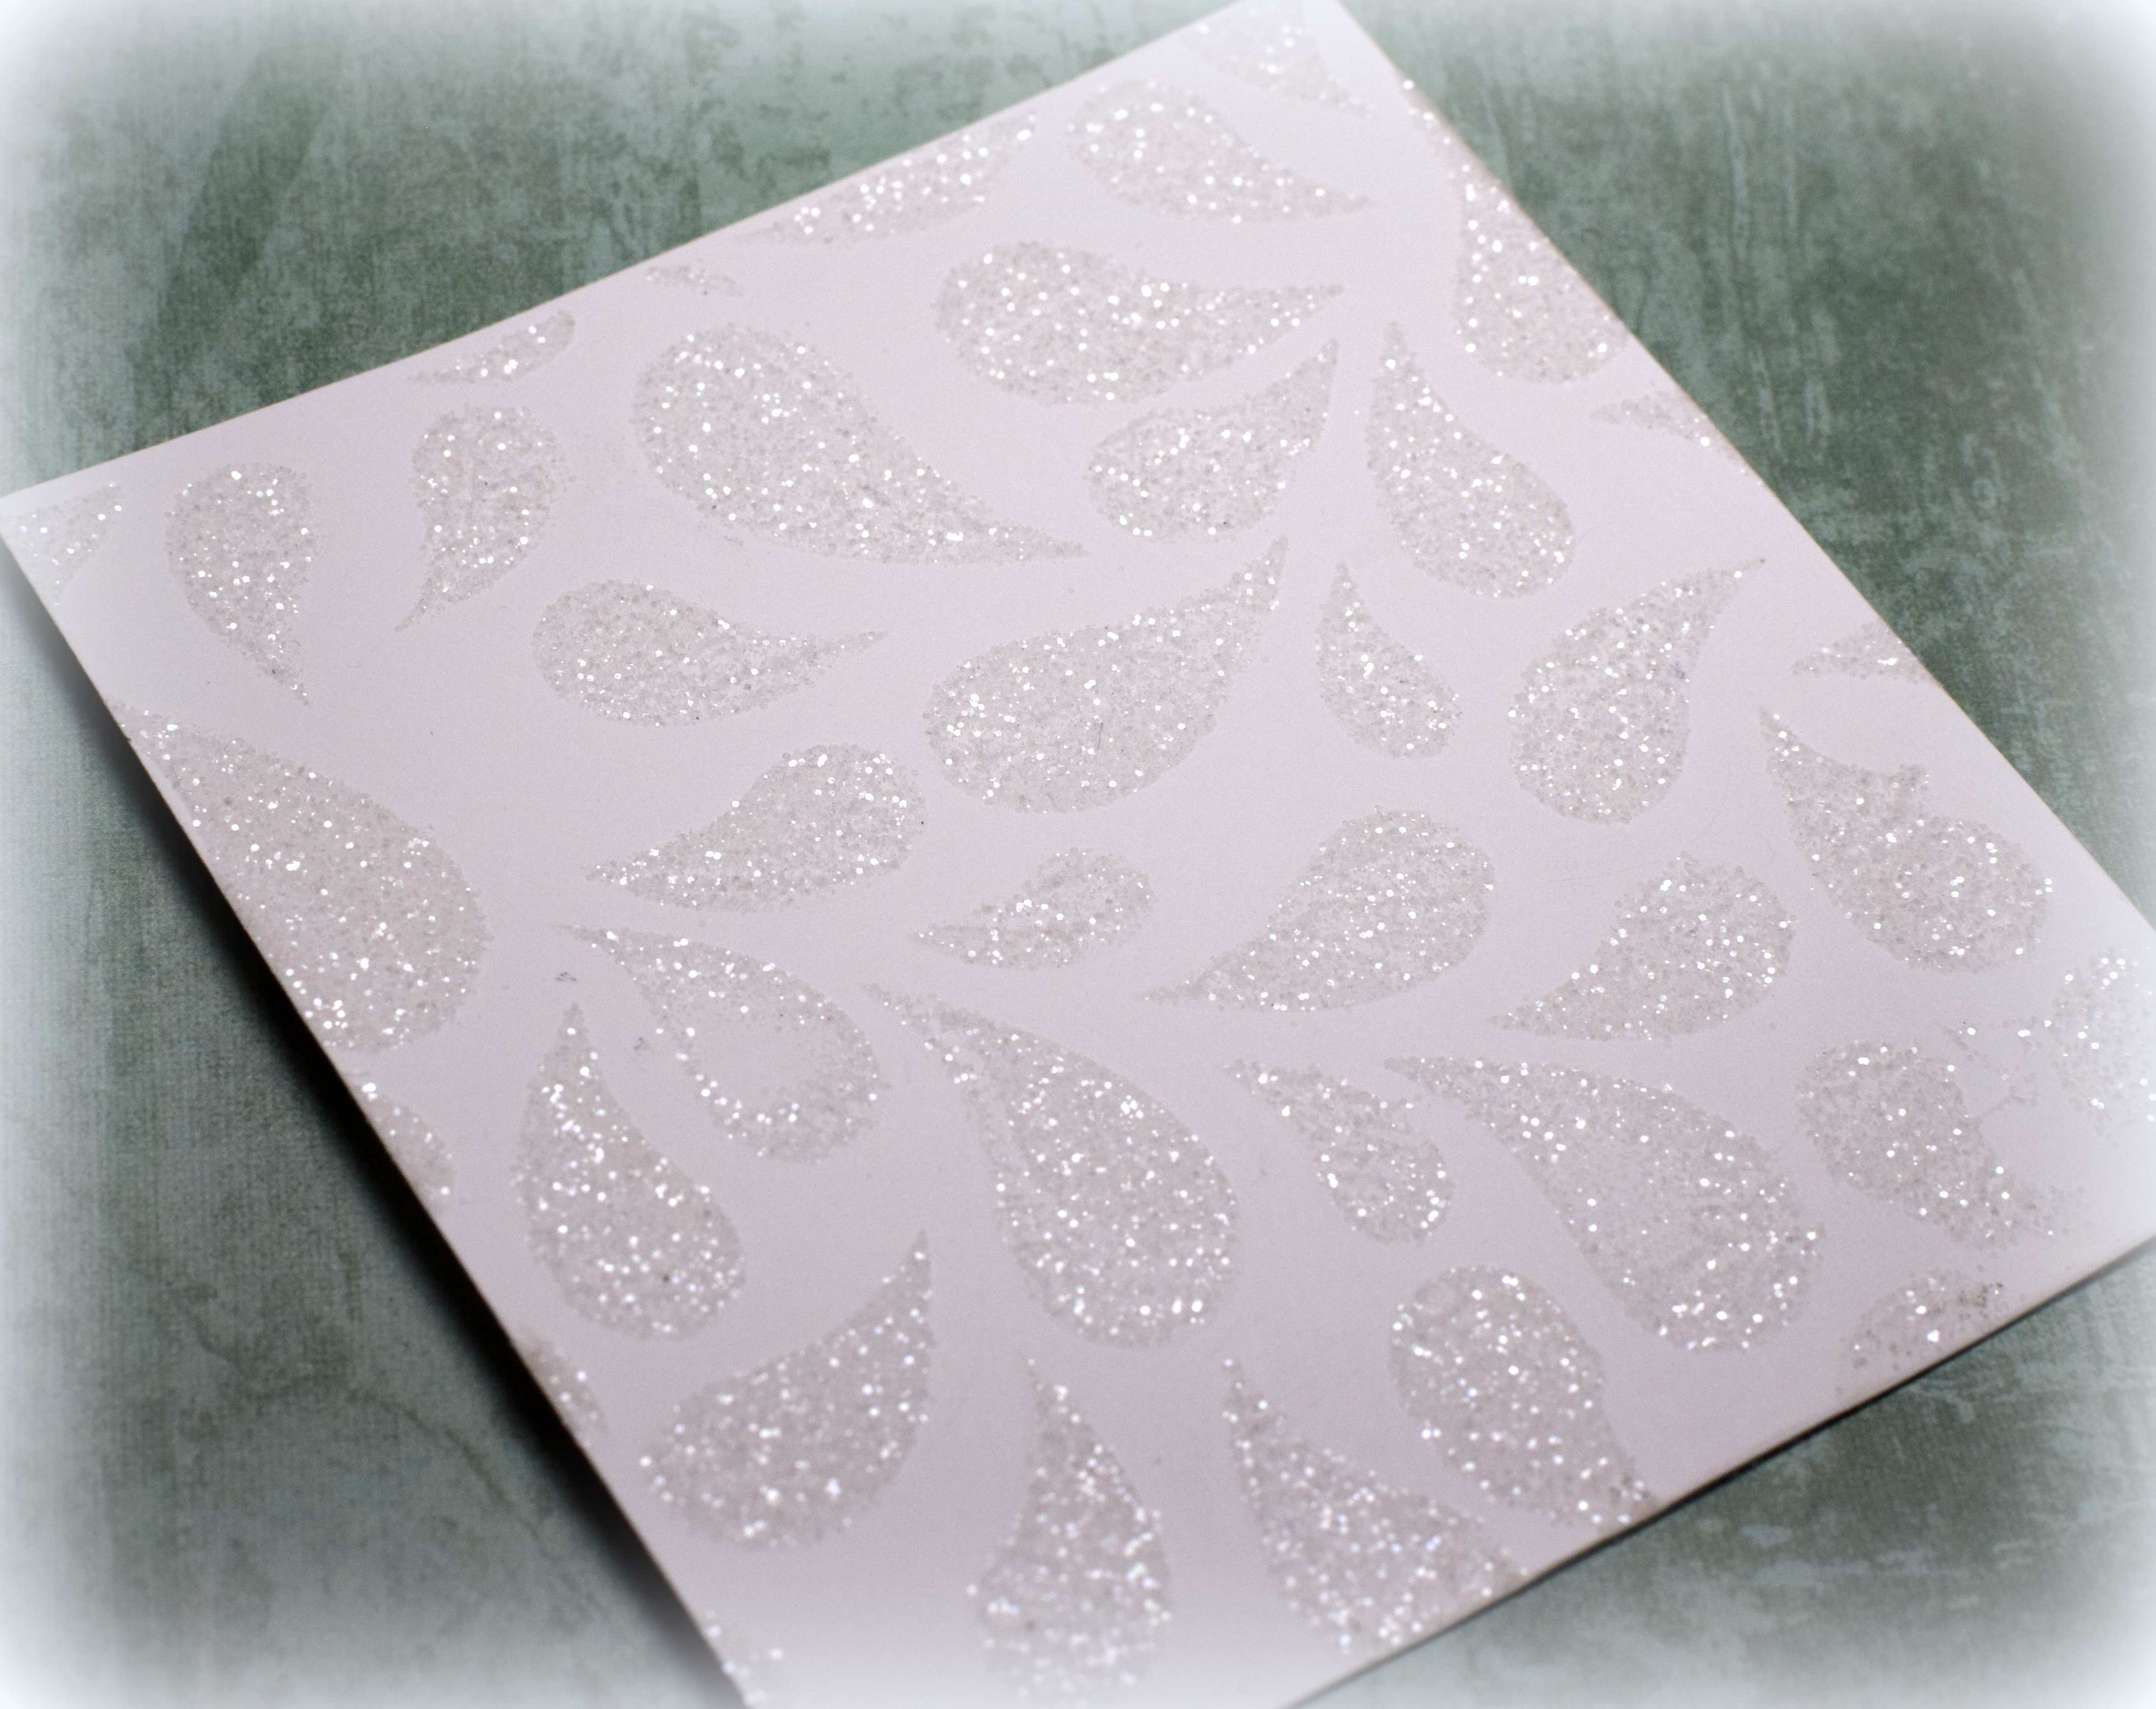
While the gel medium is still wet, you could also apply loose glitter (instead of embossing powder). Once the gel medium dries, shake/brush off the excess.
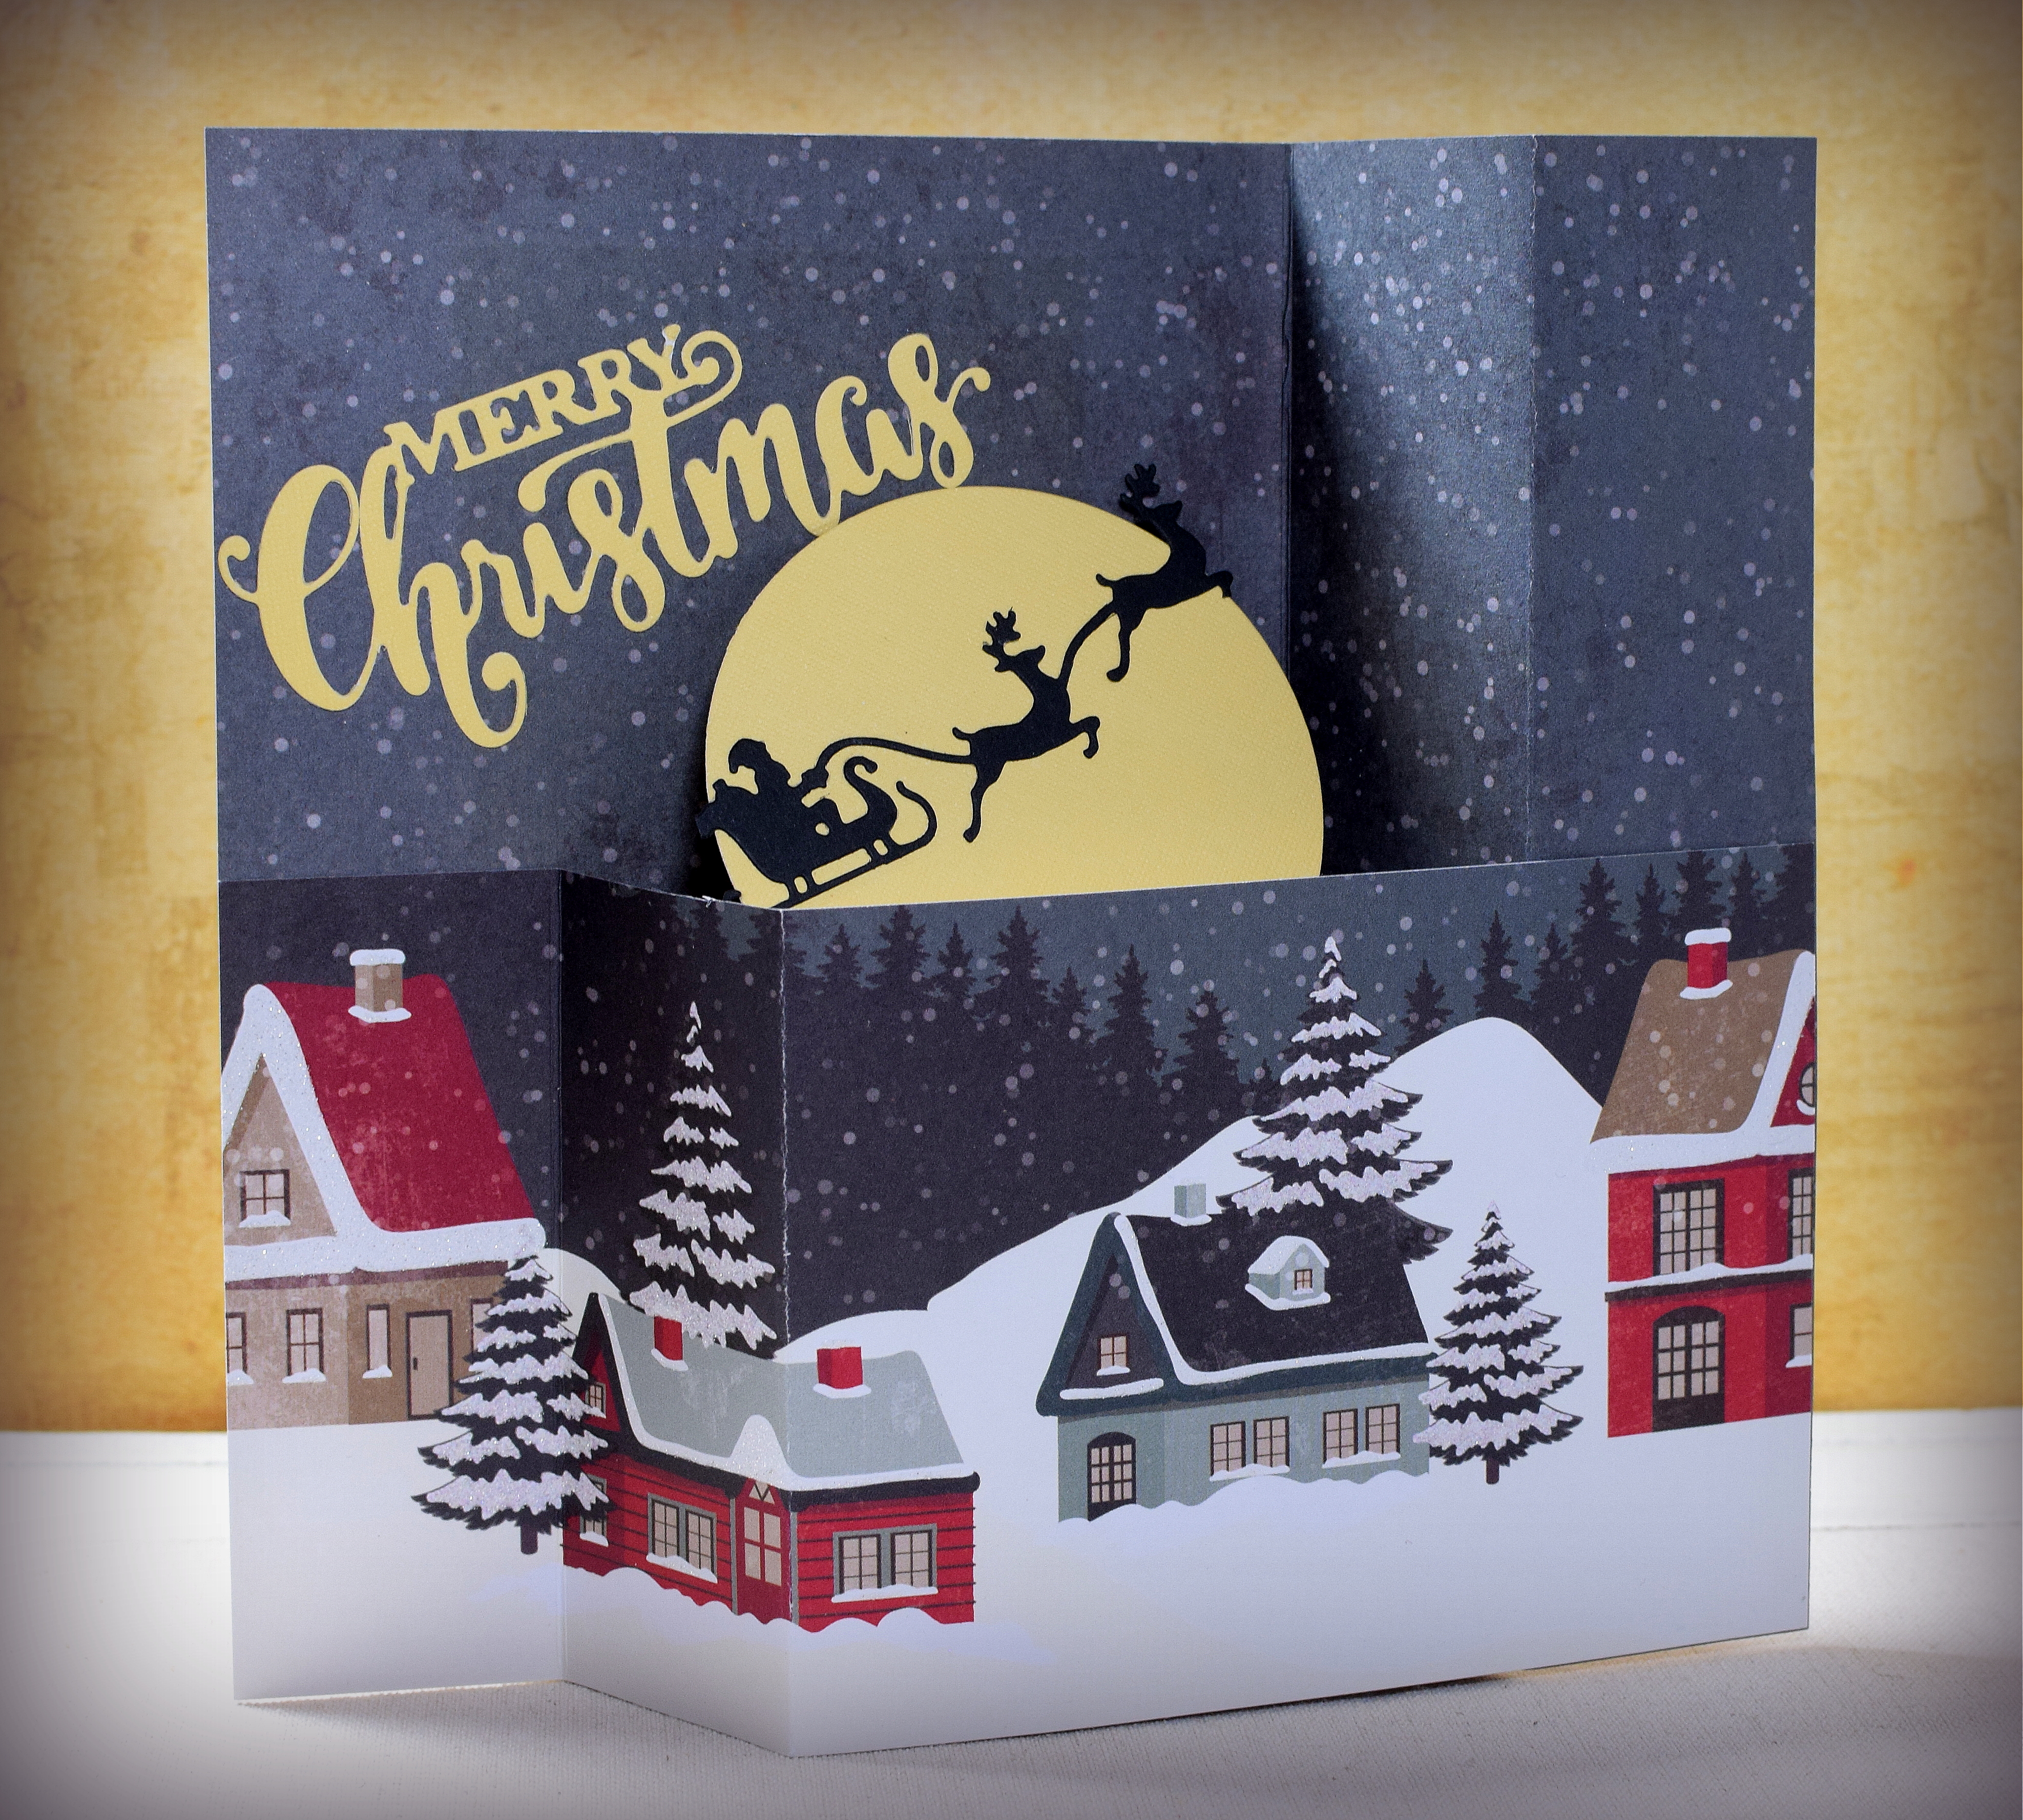
Thanks for checking out my card projects!
This content uses referral links as described in the disclosure policy on my sidebar.