Ranger Ink Pad Storage Rack

Ranger Ink Pad Storage Rack

Most of the stamp pads that I use regularly are stored behind my desk in racks on the pegboard.

a070 DSCN5485


I found these great wire racks at the Ranger Warehouse Sale that they hold once a year at the Ranger Headquarters in Tinton Falls, NJ.  (HERE  is the link to their blog post announcing this year’s sale.)  I went this year and last, and they had these racks both times, for $5 a piece.  Incredible value, I think!! (I think they are usually sold with ink pads to suppliers; I guess they sell off the surplus at the warehouse sale because I can’t find them sold separately online or in stores anywhere.)

aDSCN9656


I have 3 of them and have them hanging on hooks on my pegboard.  They are easily removed and can stand upright on my desk if needed, but I usually just leave them hanging.

a070 DSCN5485 cropped

DSCN9653


I have each of my ink pads in a 4″ x 6″ plastic bag.  I do this to keep a foam pad for the foam applicator for each color with the ink pad and also to keep the ink from drying out.  (I’m not sure if that’s at all necessary, but I just feel better keeping them sealed well!)

aDSCN9659

HERE is a link for the bags I use for my ink pads.

A note about storing ink pads on their sides – I have heard some people say that ink pads are best stored upside down so the ink stays on the surface of the pad.  I have been storing my ink pads on their sides without a problem.  I did have a problem years ago when the few ink pads I owned were just tossed in a cardboard box, and they dried out.  I don’t know if the lids were not secure since they were bumped about in the box, or what, but that is why I now store them in the bags.  I also tend to ink up my stamps by keeping the stamp on the table facing up and tapping the ink pad down on the stamp.  As I work, I place the ink pad face down on its lid on my desk.  Maybe, the ink “moves” to the surface while it sits on my desk like that – who knows!!

For what it’s worth, I found this HERE on the ranger site :   “How should I store my Distress Ink Pads?    The molded plastic case is designed to create the proper fit needed for the ink formulation. While storing the pads flat with the bottom side up will neither help nor hurt, we usually store pads on their sides or flat with the right side up.”  I’m not sure if this is correct for all ink pads.

Thanks for checking out my post!

This content uses referral links as described in the disclosure policy on my sidebar.

IRIS Scrapbook Case and Craft Organizer Tray

IRIS Scrapbook Case and Craft Organizer Tray

I use these scrapbook cases for storing quite a bit of stuff in my craft room.  They are the perfect size to hold 12″ x 12″ paper and other scrapbooking materials that size.  They are roomy enough to hold a lot of stuff, but not so much stuff that it becomes hard to find things in the box.  I store my re-inkers in one, alcohol inks and supplies in another, heat embossing stuff in one, etc.  These scrapbook storage boxes are sold separately or with the storage unit (scrapbook chest).

scrapbook case   aDSCN9639

IRIS 6-Compartment Storage System

I also really like the organizer tray that was designed to fit inside this box.

aDSCN9607   aDSCN9609

The organizer comes with 10 adjustable dividers which is nice because they hold items in place if you don’t have enough to fill the section of the tray completely.

aDSCN9615   aDSCN9618


One of the things I use the case and organizer tray for is my Tim Holtz Distress Ink Pads.

I have 44 ink pads and several foam applicator tools in mine.  (The right column is wider than the middle two; the left column is smaller and not as wide as a distress ink pad.  However, if you rotate the ink pad a quarter of the way around, you can fit a few more on the left.)  I have each of my ink pads in a 4″ x 6″ plastic bag.  I do this to keep a foam pad for the foam applicator with each ink pad and also to keep the ink from drying out.  (I’m not sure if that’s at all necessary, but I just feel better keeping them sealed well!)

aDSCN9632   aDSCN9645

HERE is a link for the bags I use for my ink pads.

I made my own labels for my ink pads since you can’t see the colors when they are stored in the box.  I recently found a pdf file here that contains labels for the distress pads on the ranger site:

Distress Ink Pads Labels

Distress Mini Ink Pad Labels

I like how they are colored and may need to re-label mine!

pdf file

(There are a lot of good organizational goodies on their site which you can check out here: http://rangerink.com/organize-your-ranger-products/.)

I store this box (and one other that contains extra foam applicators, foam pads, mini misters, reinkers, etc.) in the storage unit.

a070 DSCN5485   aDSCN9643

A note about storing ink pads on their sides – I have heard some people say that ink pads are best stored upside down so the ink stays on the surface of the pad.  I have been storing my ink pads on their sides without a problem.  I did have a problem years ago when the few ink pads I owned were just tossed in a cardboard box, and they dried out.  I don’t know if the lids were not secure since they were bumped about in the box, or what, but that is why I now store them in the bags.  I also tend to ink up my stamps by keeping the stamp on the table facing up and tapping the ink pad down on the stamp.  As I work, I place the ink pad face down on its lid on my desk.  Maybe, the ink “moves” to the surface while it sits on my desk like that – who knows!!

For what it’s worth, I found this HERE on the ranger site :   “How should I store my Distress Ink Pads?   The molded plastic case is designed to create the proper fit needed for the ink formulation. While storing the pads flat with the bottom side up will neither help nor hurt, we usually store pads on their sides or flat with the right side up.”


Another thing I use the box and organizer for is ribbon storage.

I have to confess, I am not a lover of ribbon as some crafters are.  (I use a lot more jute, raffia, etc.)  I admire ribbon on others’ projects, but I often can’t seem to make it work on mine.  As a result, I probably own less than most, but what I do have was making me crazy because I didn’t know what to do with it!  Originally, I had all the spools thrown in a few plastic bins with lids.  I could never find the colors I needed, and the ribbon always unraveled and got tangled when I rooted around the bins. When I moved into my craft room, it all got placed in a drawer which quickly became an even bigger disaster than the original bins because it was bigger so there was more of a mess in there!  Then I discovered that the ribbon fits nicely in these scrapbook cases, and if you use the organizer trays in them, the ribbon all stays put!

aDSCN9621  aDSCN9626

aDSCN9631

The dividers that come with the tray hold the ribbon in place if there isn’t enough to fill a whole column, and when the lid is closed, the ribbon does not move around at all!  Again, one of the columns is wider than the middle two and one is more narrow.  The small spools of ribbon that I bought in packs at the craft store fit perfectly in the thinner one.  I have two of these boxes filled and they sit stacked in the drawer.  (There were a few spools that were larger than most that didn’t fit in the case so I put those in a box to the side.  Since there are so few, it’s easy to keep them in order.  I also have loose pieces of ribbon in a bag stored with the larger spools.)

aDSCN9667

I put my twine, jute, string, yarn, raffia, etc. in the bins I was using before since they are too big for these boxes.  This system is working out much better for me!


Thanks for checking out my post!

This content uses referral links as described in the disclosure policy on my sidebar.

Stamp Storage

UPDATE 3/17/23 – I STILL STORE MY STAMPS THE SAME WAY TODAY AS DESCRIBED BELOW.  HOWEVER, I  NO LONGER USE BINDERS WITH PAPER COPIES OF MY IMAGE REFERENCE SHEETS.  I HAVE SINCE SCANNED ALL OF MY IMAGE REFERENCE SHEETS AND THESE DIGITAL “SHEETS” ARE NOW ORGANIZED IN “FOLDERS” ON MY COMPUTER.  (THE FOLDERS ARE THE SAME AS THE DIVIDER CATEGORIES FROM THE BINDERS, AND THE STAMP SETS ARE CROSS REFERENCED THE SAME WAY AS DESCRIBED BELOW.) 

I’d like to share my system for stamp storage with you!

(I’m going to show you the types of containers I use for storing my stamps and my system for easily locating all of my stamps when I need them for projects.  My system is easily adapted for using any containers you either prefer or may have on hand.  Here’s what I use …)

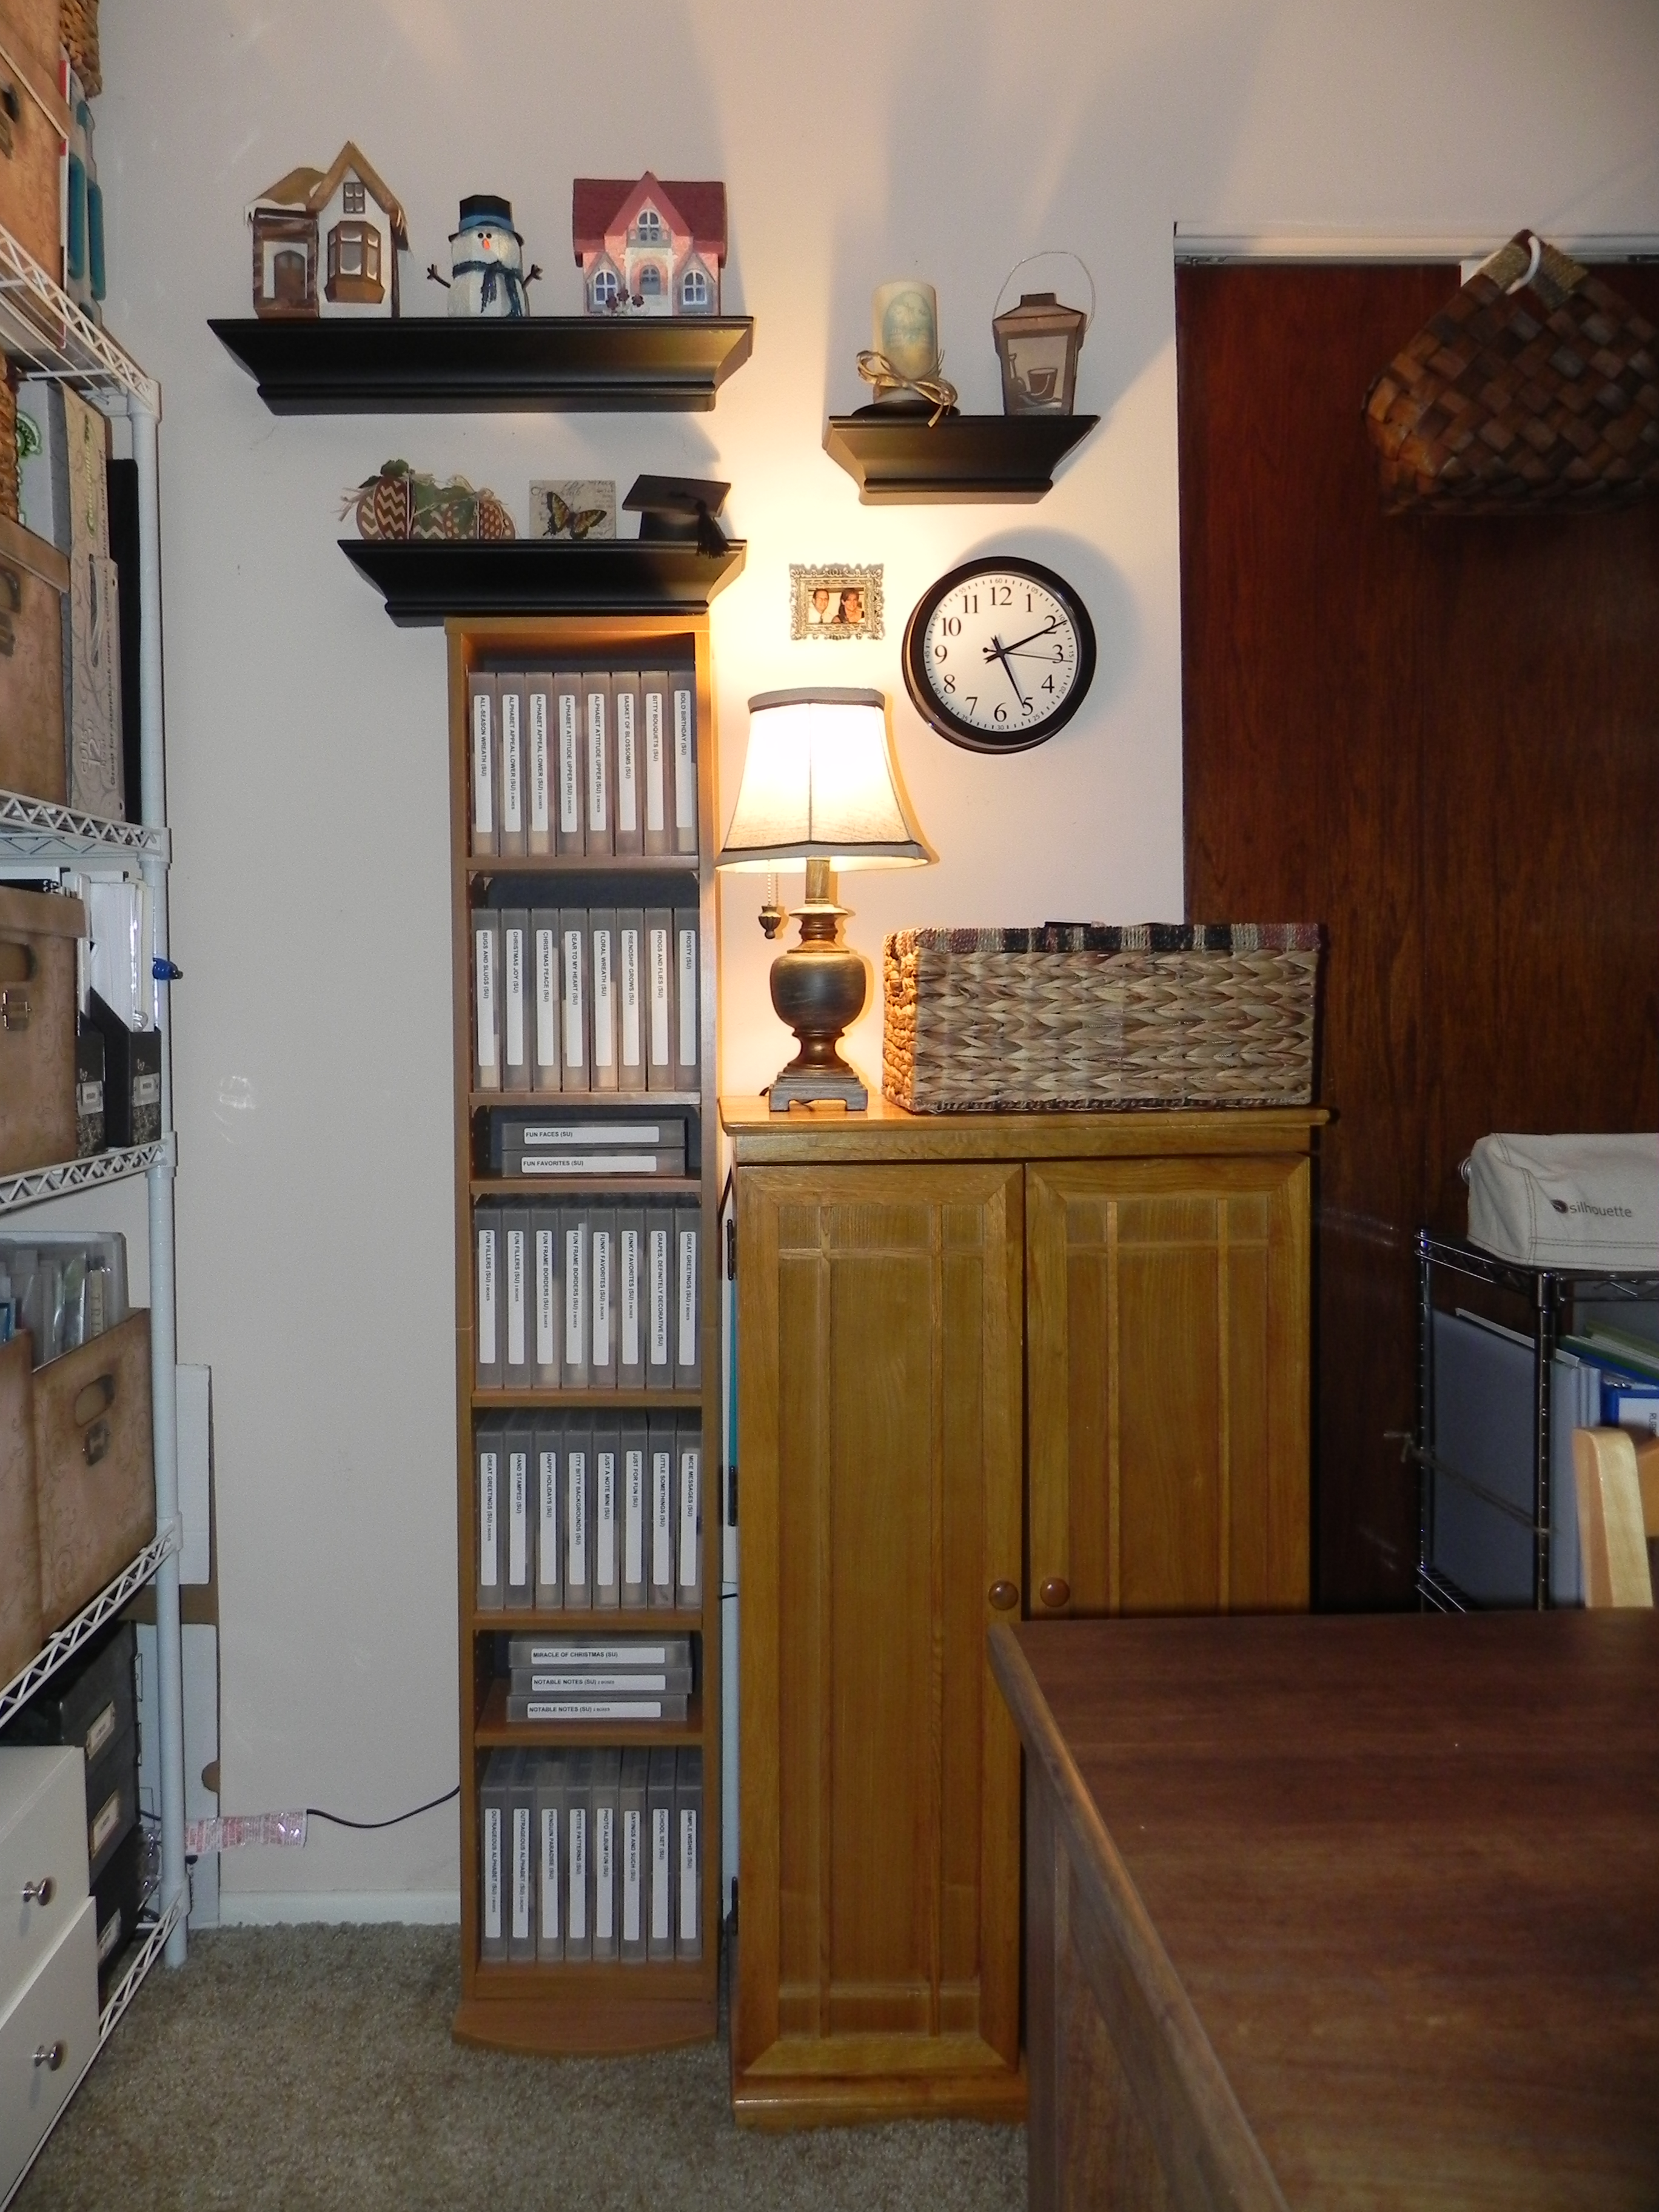
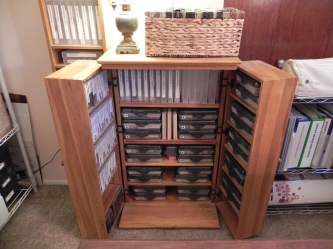
This is the corner of my craft room where all of my stamps are located.  (You can click on the photo to get a larger view.)

01 Craft Room Stamp Storage

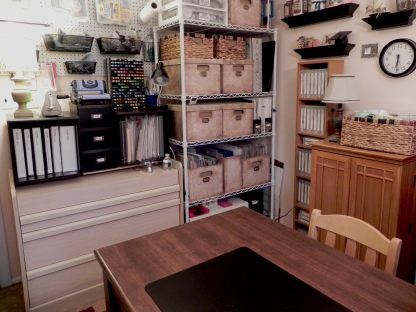
I have 4 different types of containers where stamps are stored:  BINDER POUCH, VHS CASE, CD CASE, and BOX (with number).


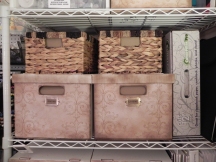
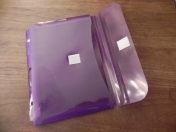
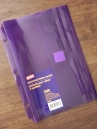
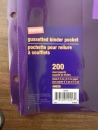
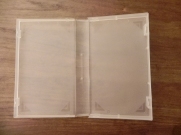
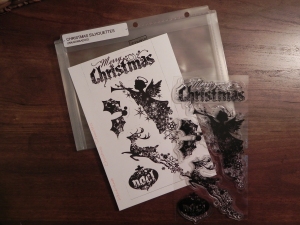
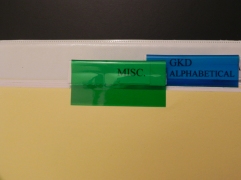
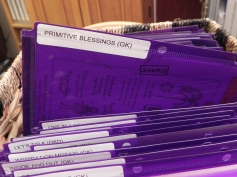
The first type of container is a BINDER POUCH filed alphabetically in baskets on the shelf unit.  These binder pouches (actually called binder pockets) are from Staples and are the perfect size for my Gina K Designs stamp sets and for most of the other larger unmounted sets I have.  I use Gina K binder sheets to store my unmounted rubber and acrylic stamps, and they fit in these pouches perfectly  The pouches have velcro to keep the stamps or sheets of stamps from falling out.  I make a label with the name of the stamp set and company for the outside and a copy of the stamp images for inside.  (I would have used all clear pouches, but usually Staples carries more of the colored ones at a given time.)


04 Craft Room Stamp Storage   05 Craft Room Stamp Storage   06 Craft Room Stamp Storage

43 Craft Room Stamp Storage   44 Craft Room Stamp Storage   45 Craft Room Stamp Storage


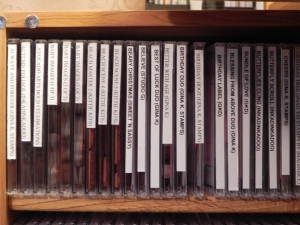
The rest of my stamps are stored on the tall VHS storage shelf or in the media cabinet.


   07 Craft Room Stamp Storage   08 Craft Room Stamp Storage


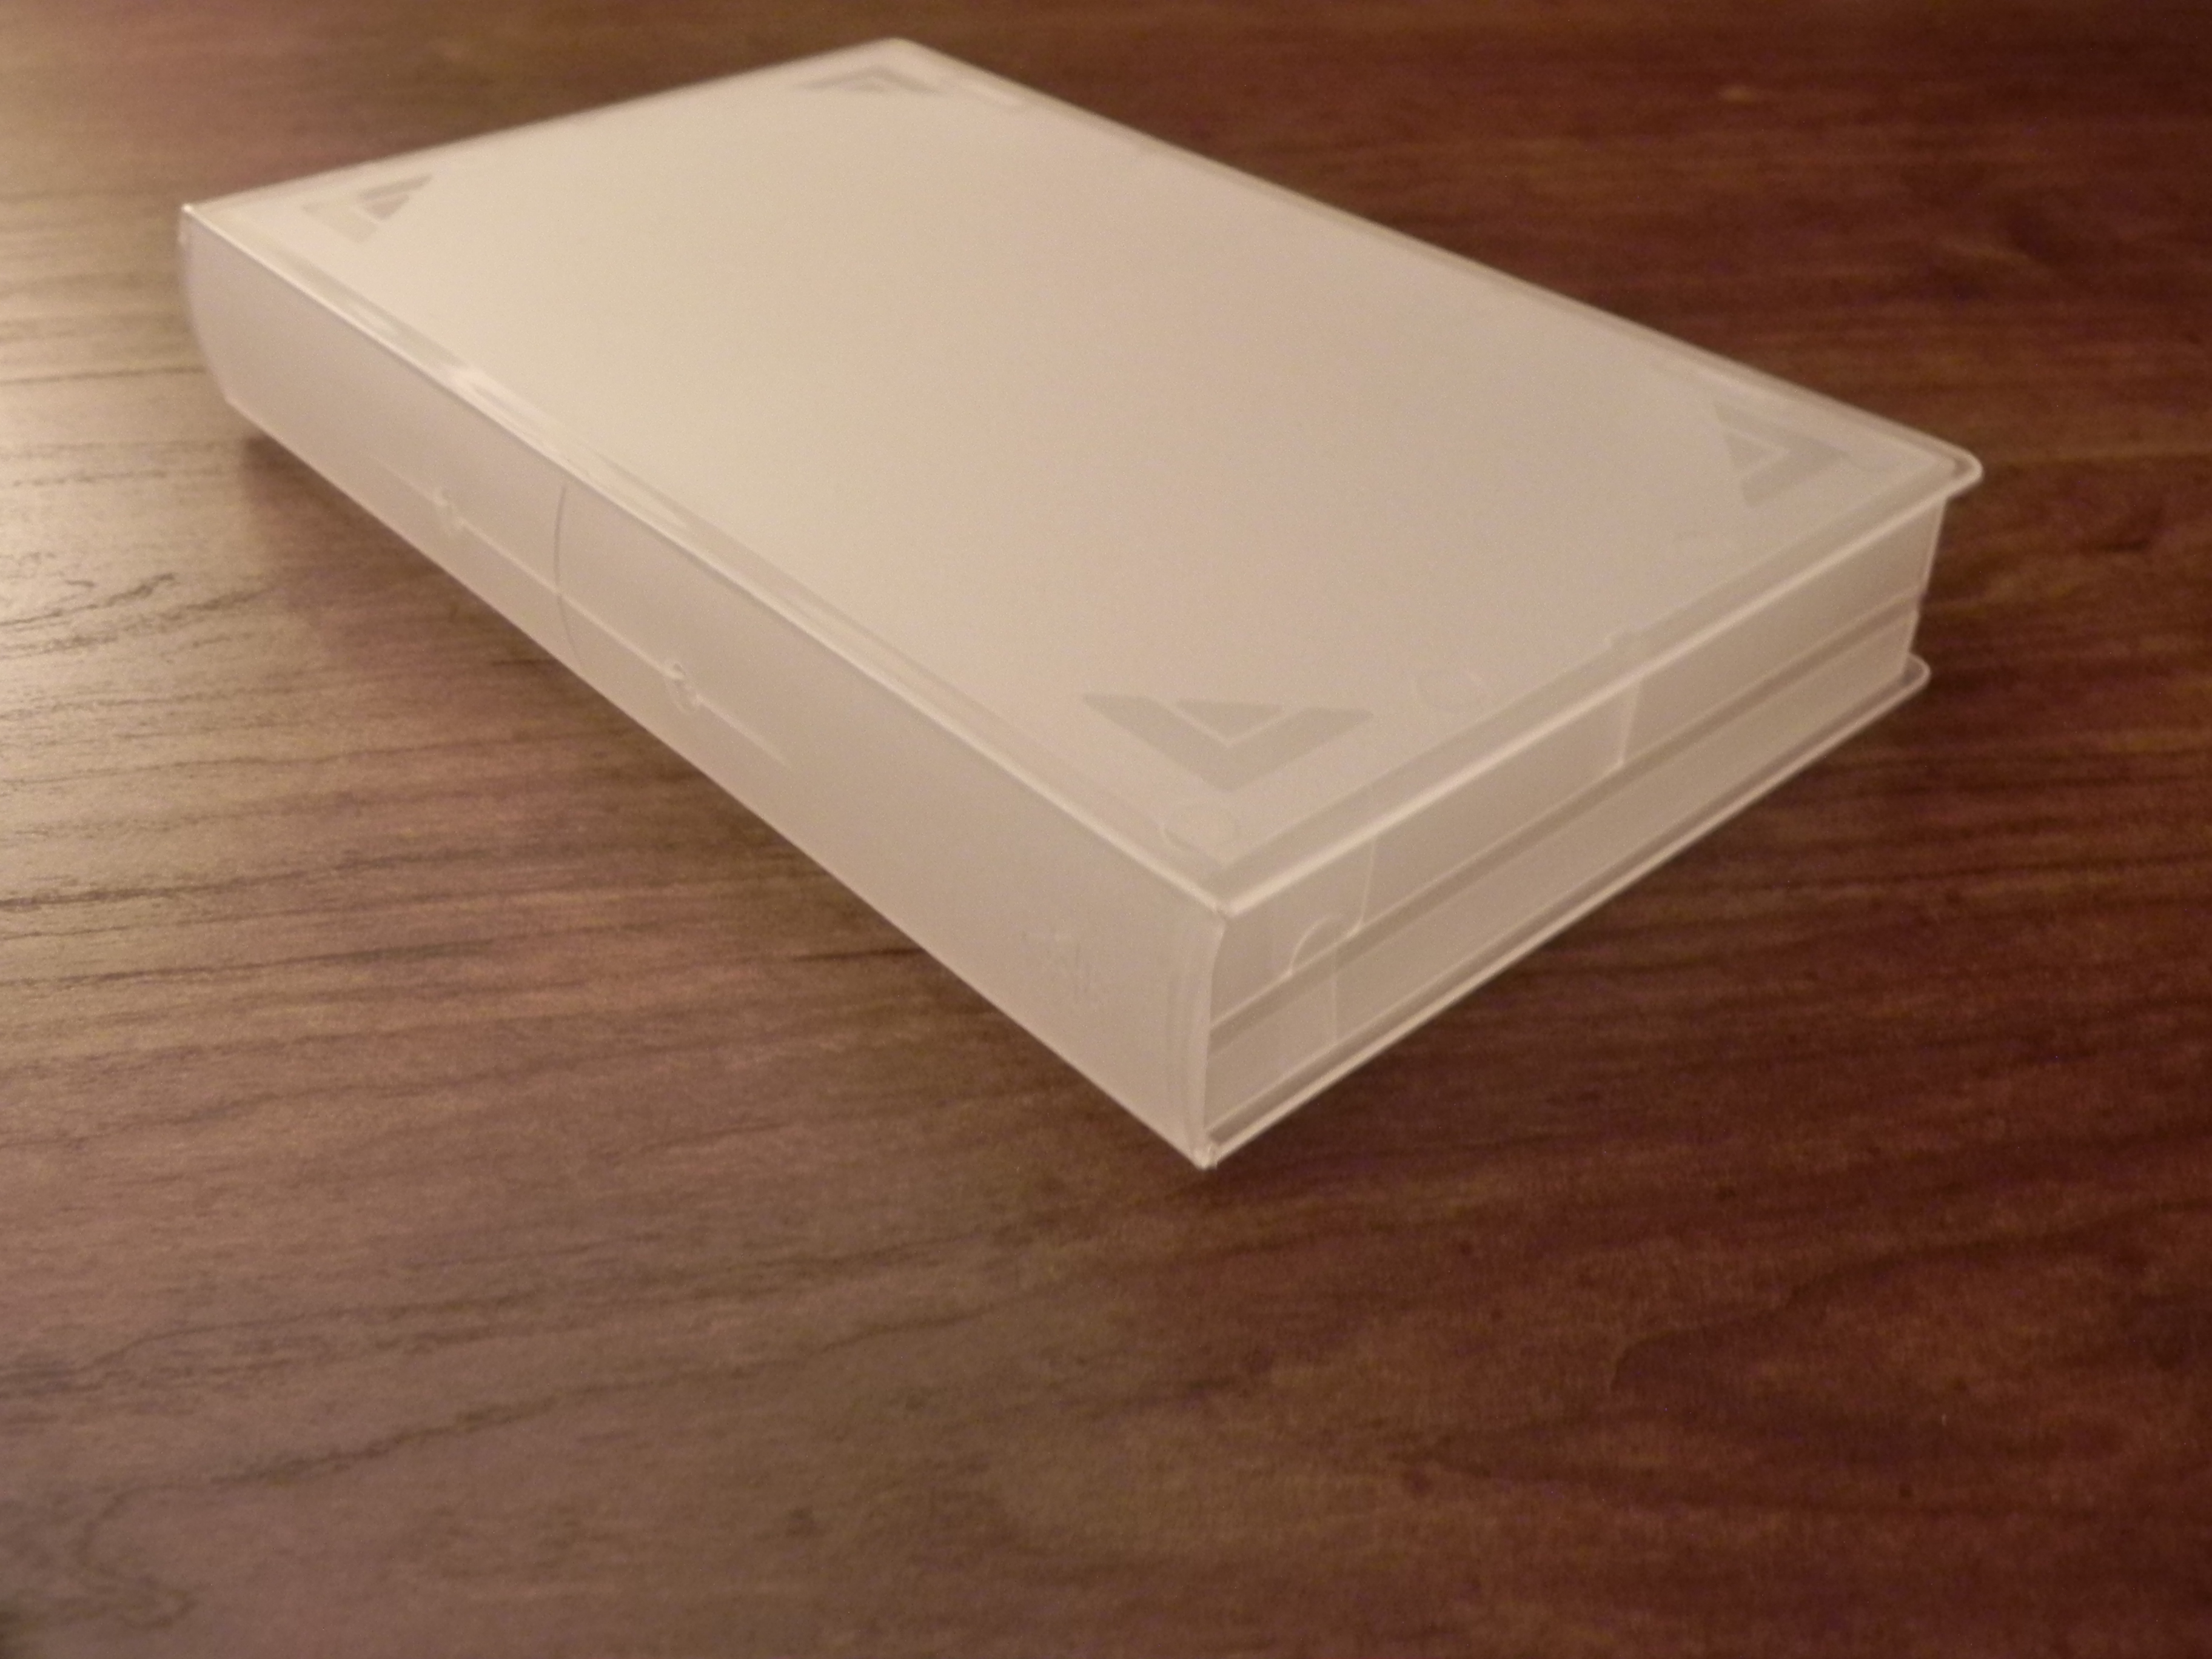
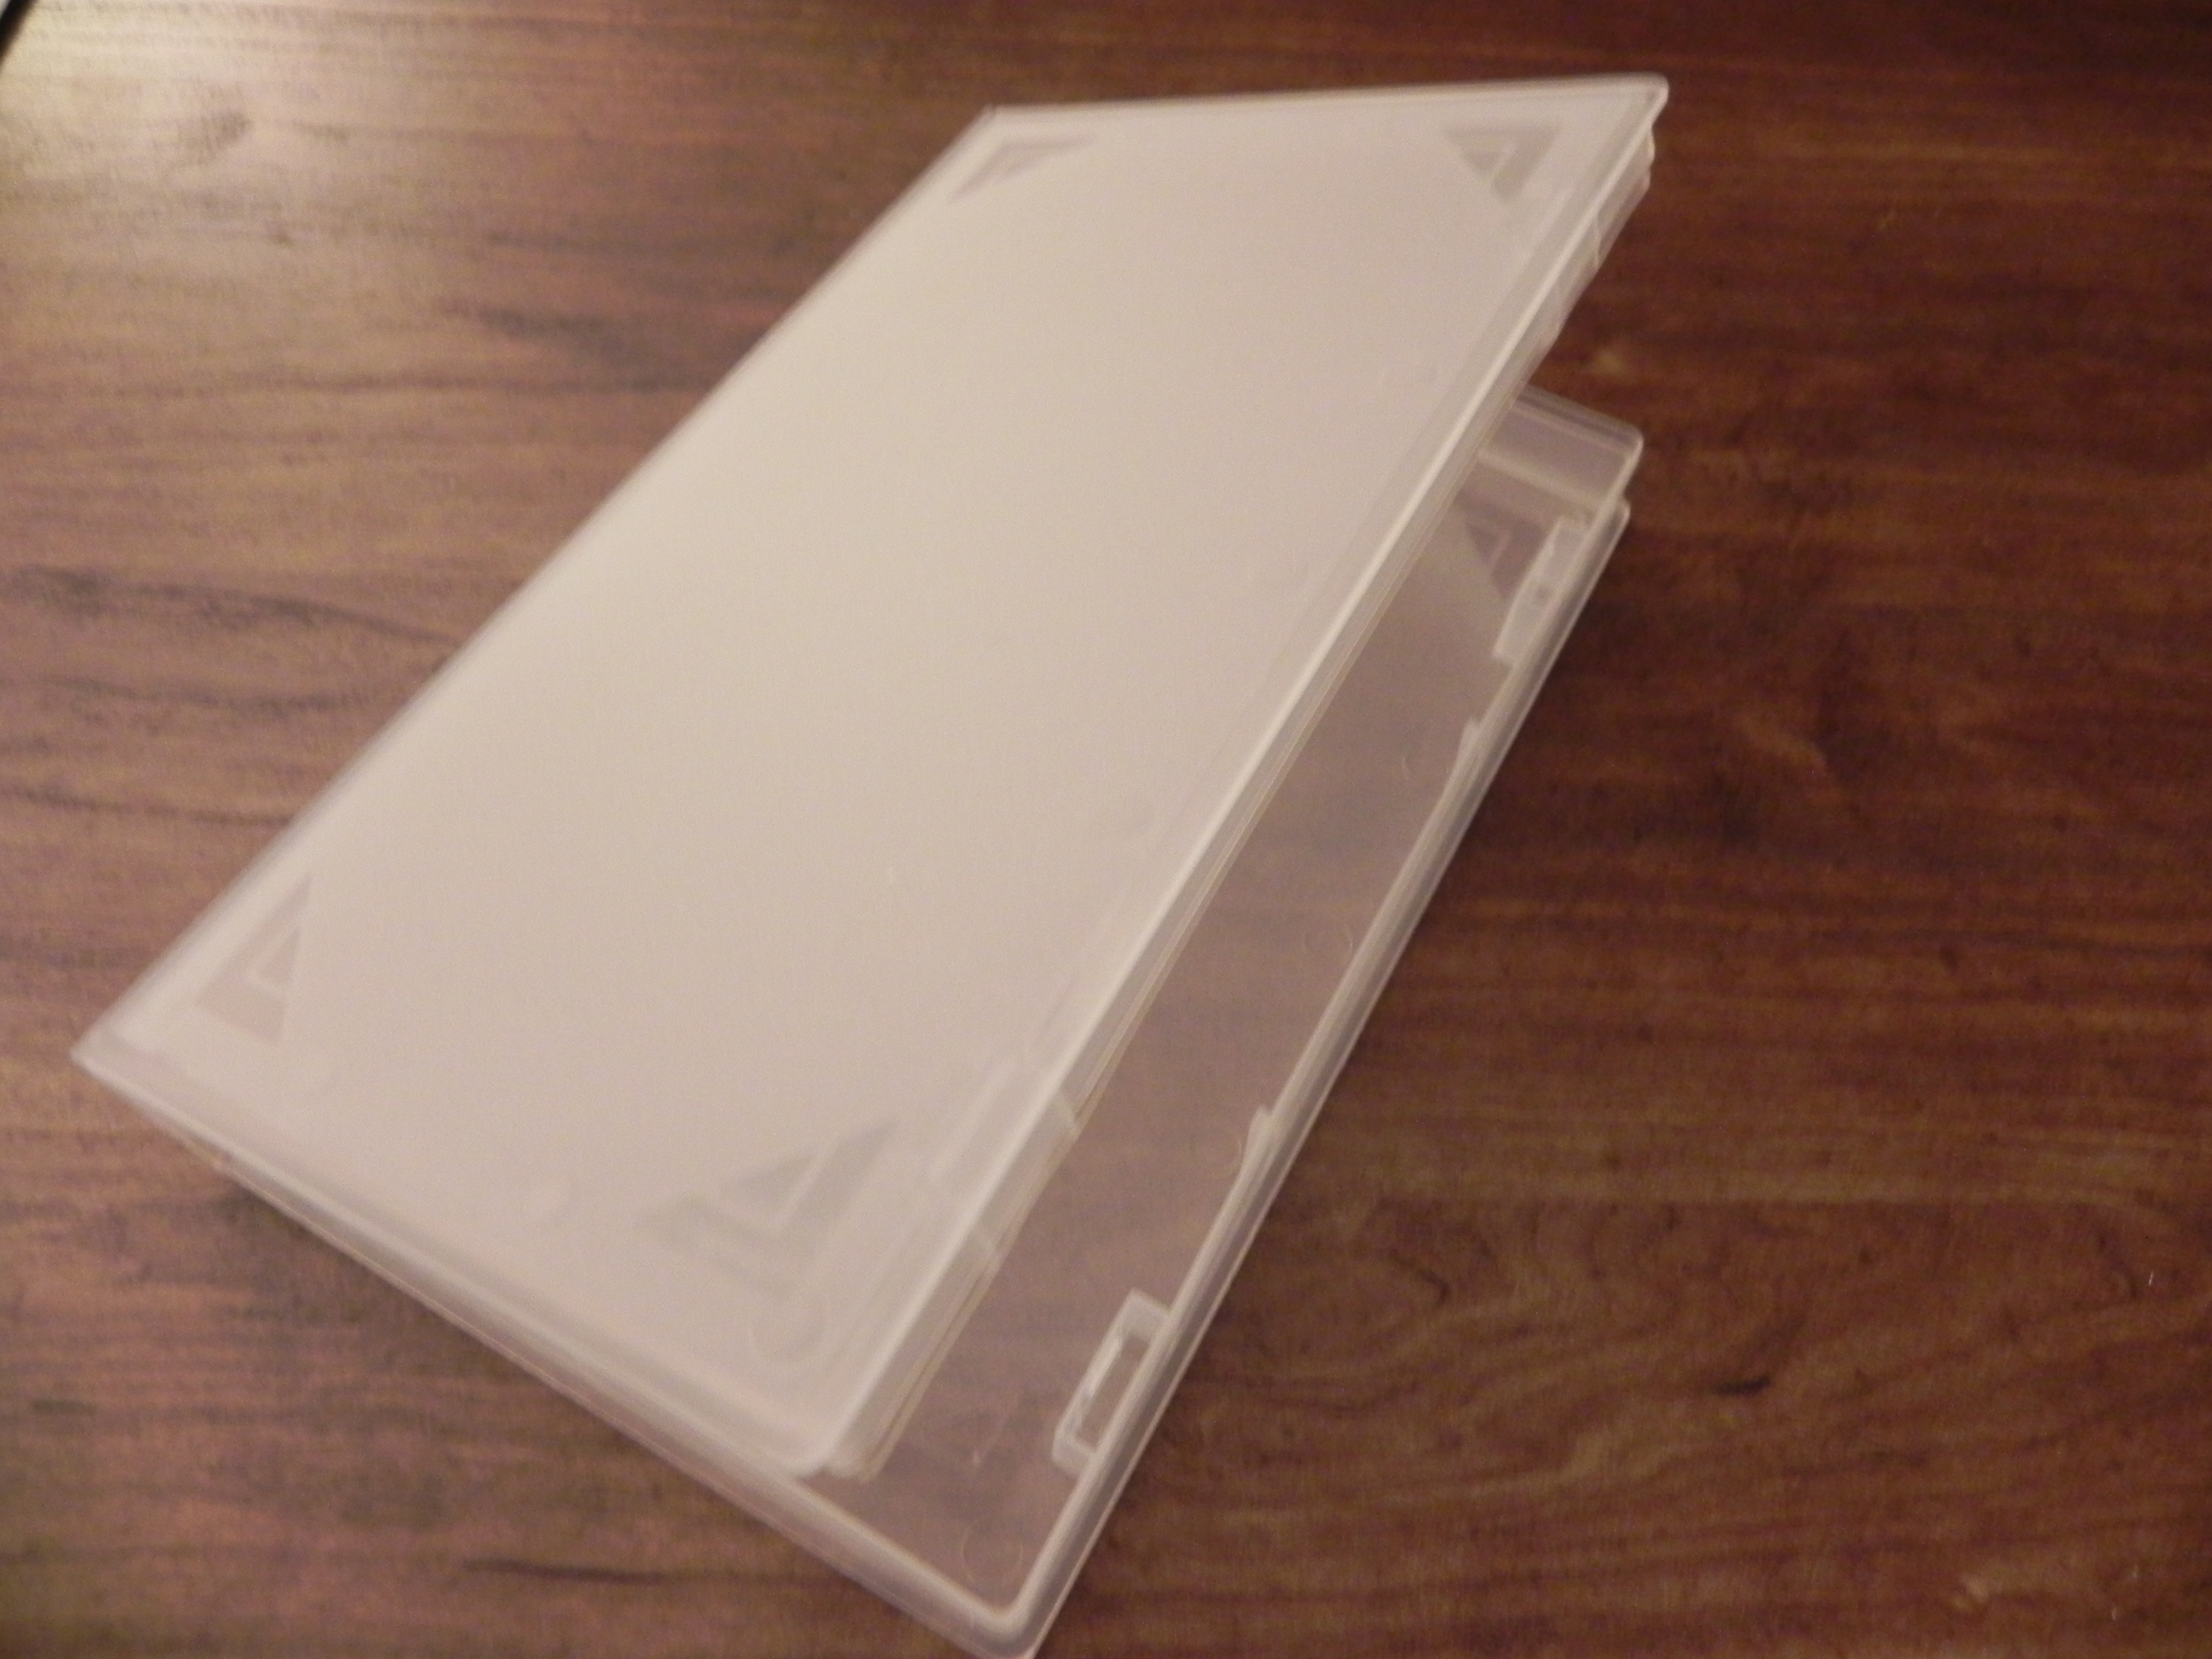
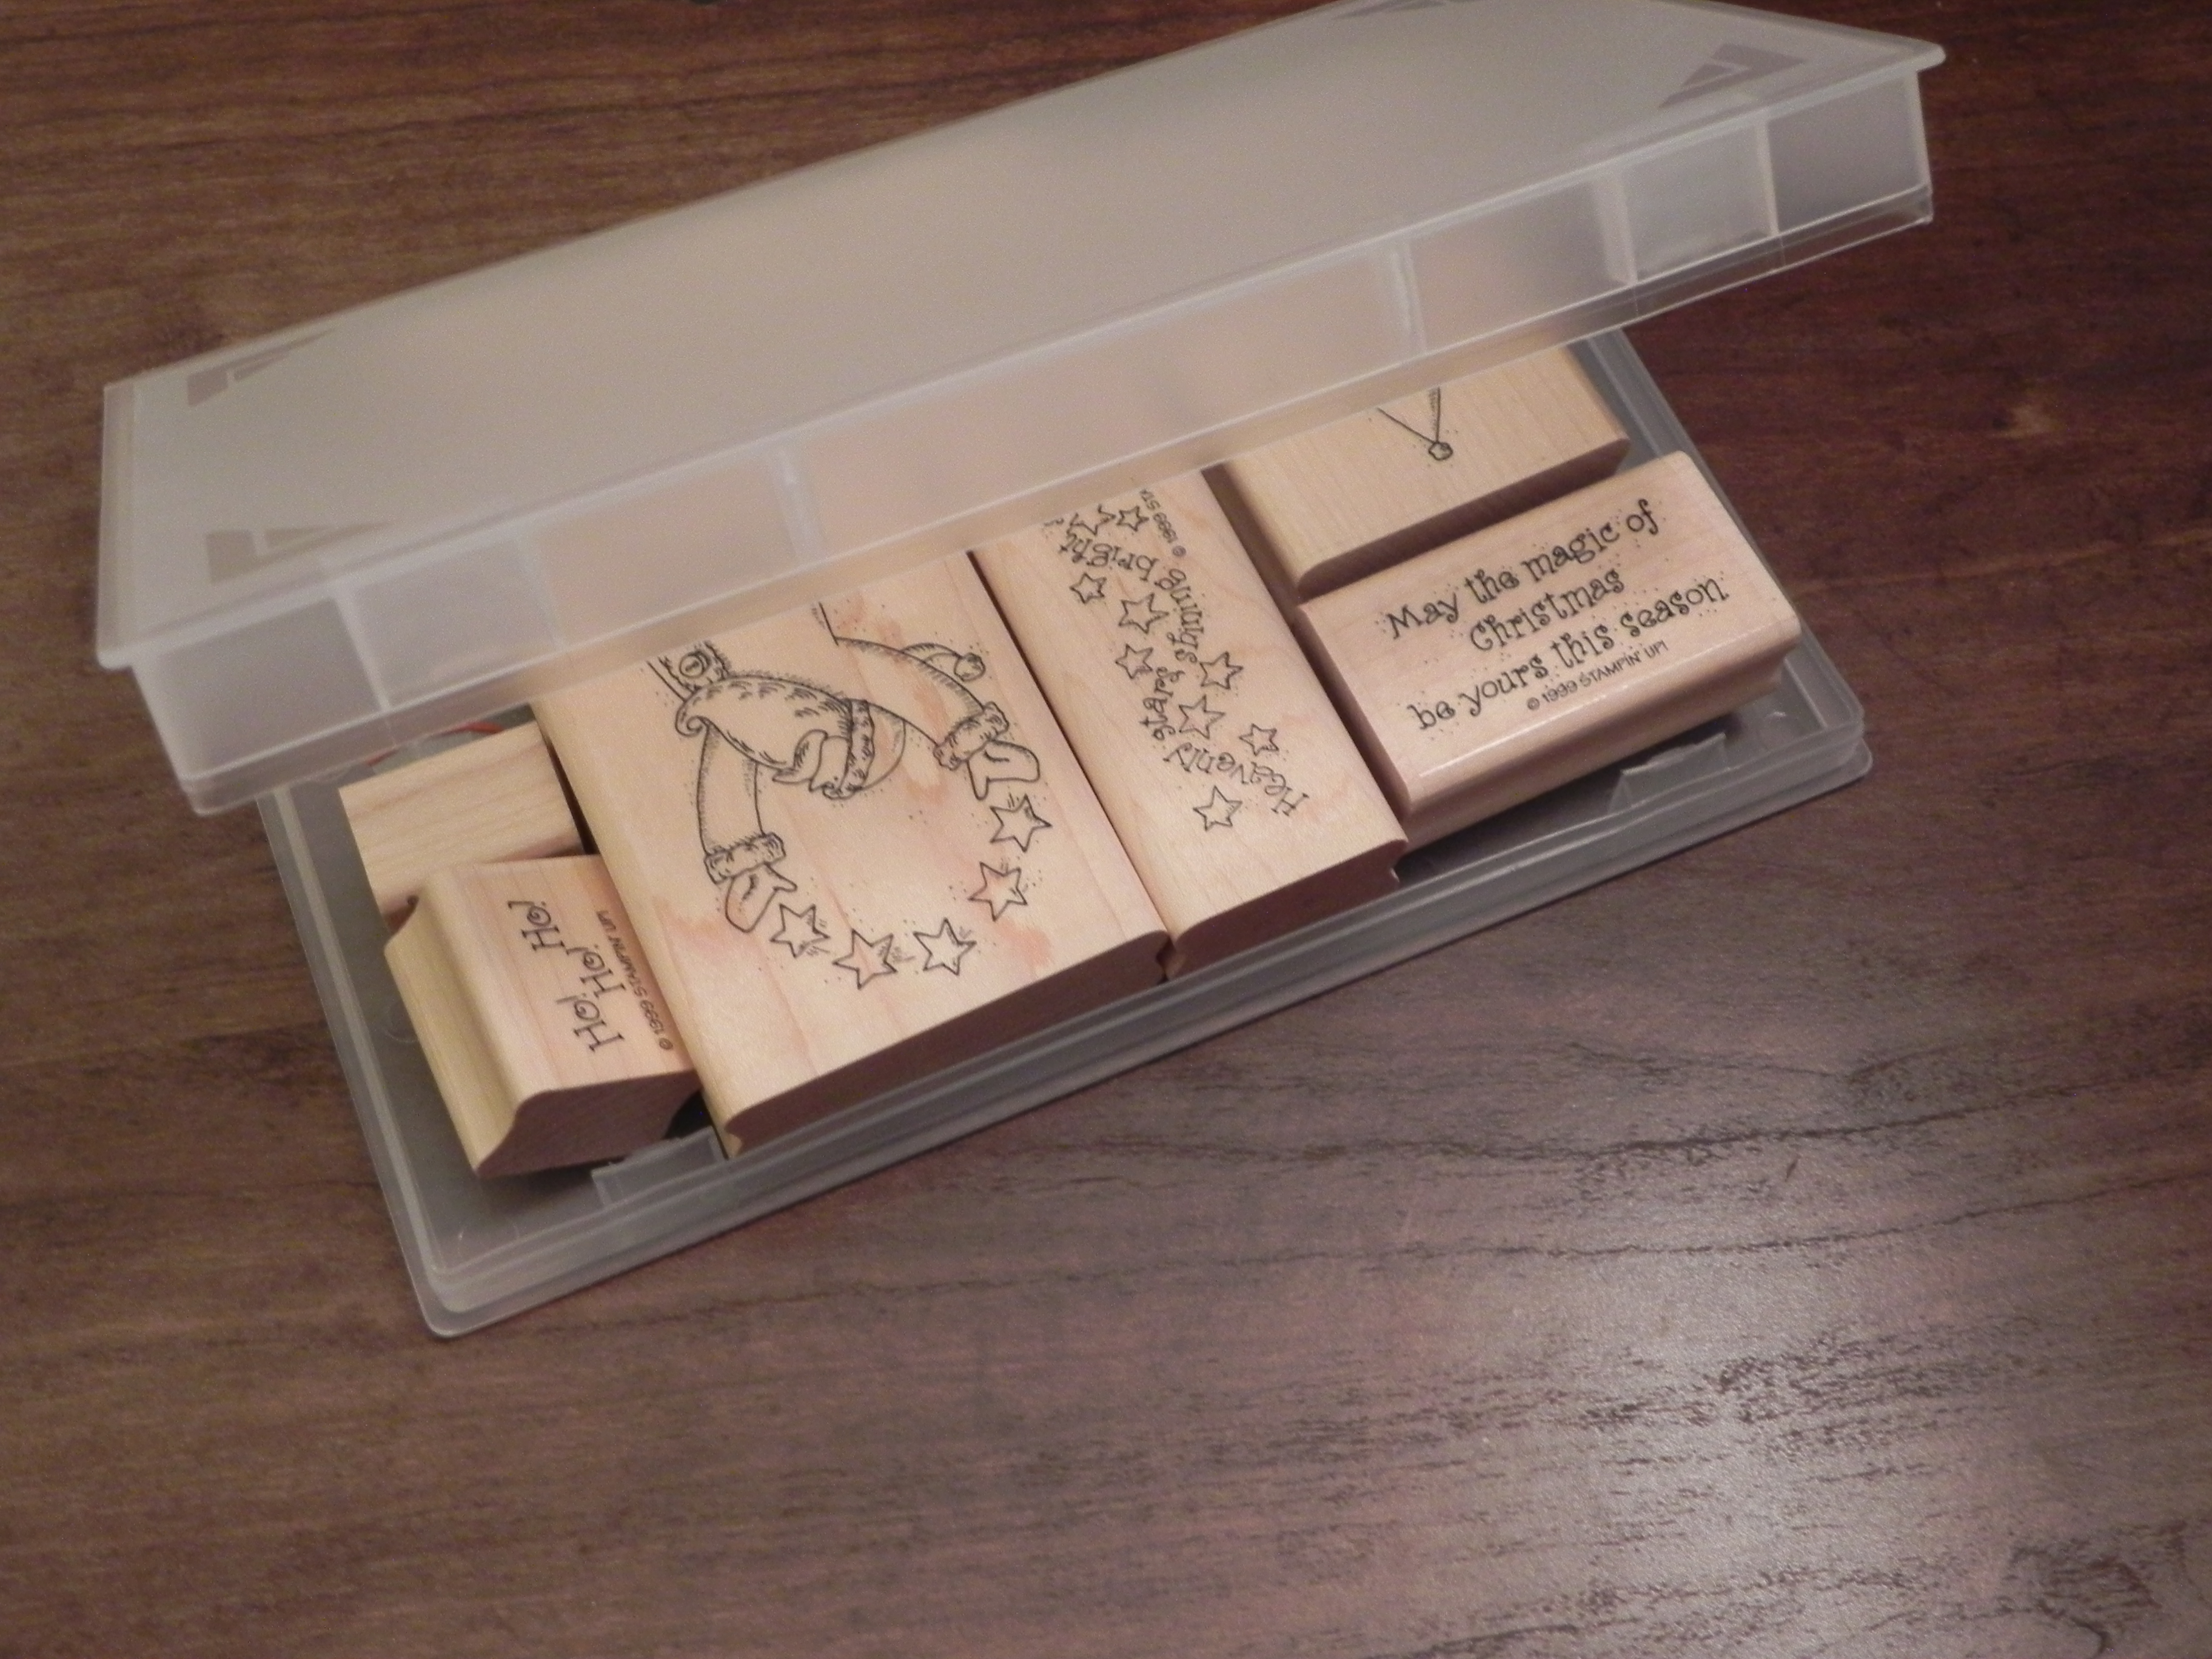
The second type of container is a VHS case filed alphabetically and stored on the tall VHS storage shelf.  (I had more than would fit on this shelf so they continue into the cabinet to the right.)  All of my wood-mounted Stampin’ Up stamps are stored in these cases.  I ordered these cases online where they came with flat interiors (no hub).  I put labels containing the names of the sets on the spines of the cases.

46 Craft Room Stamp Storage   47 Craft Room Stamp Storage   48 Craft Room Stamp Storage


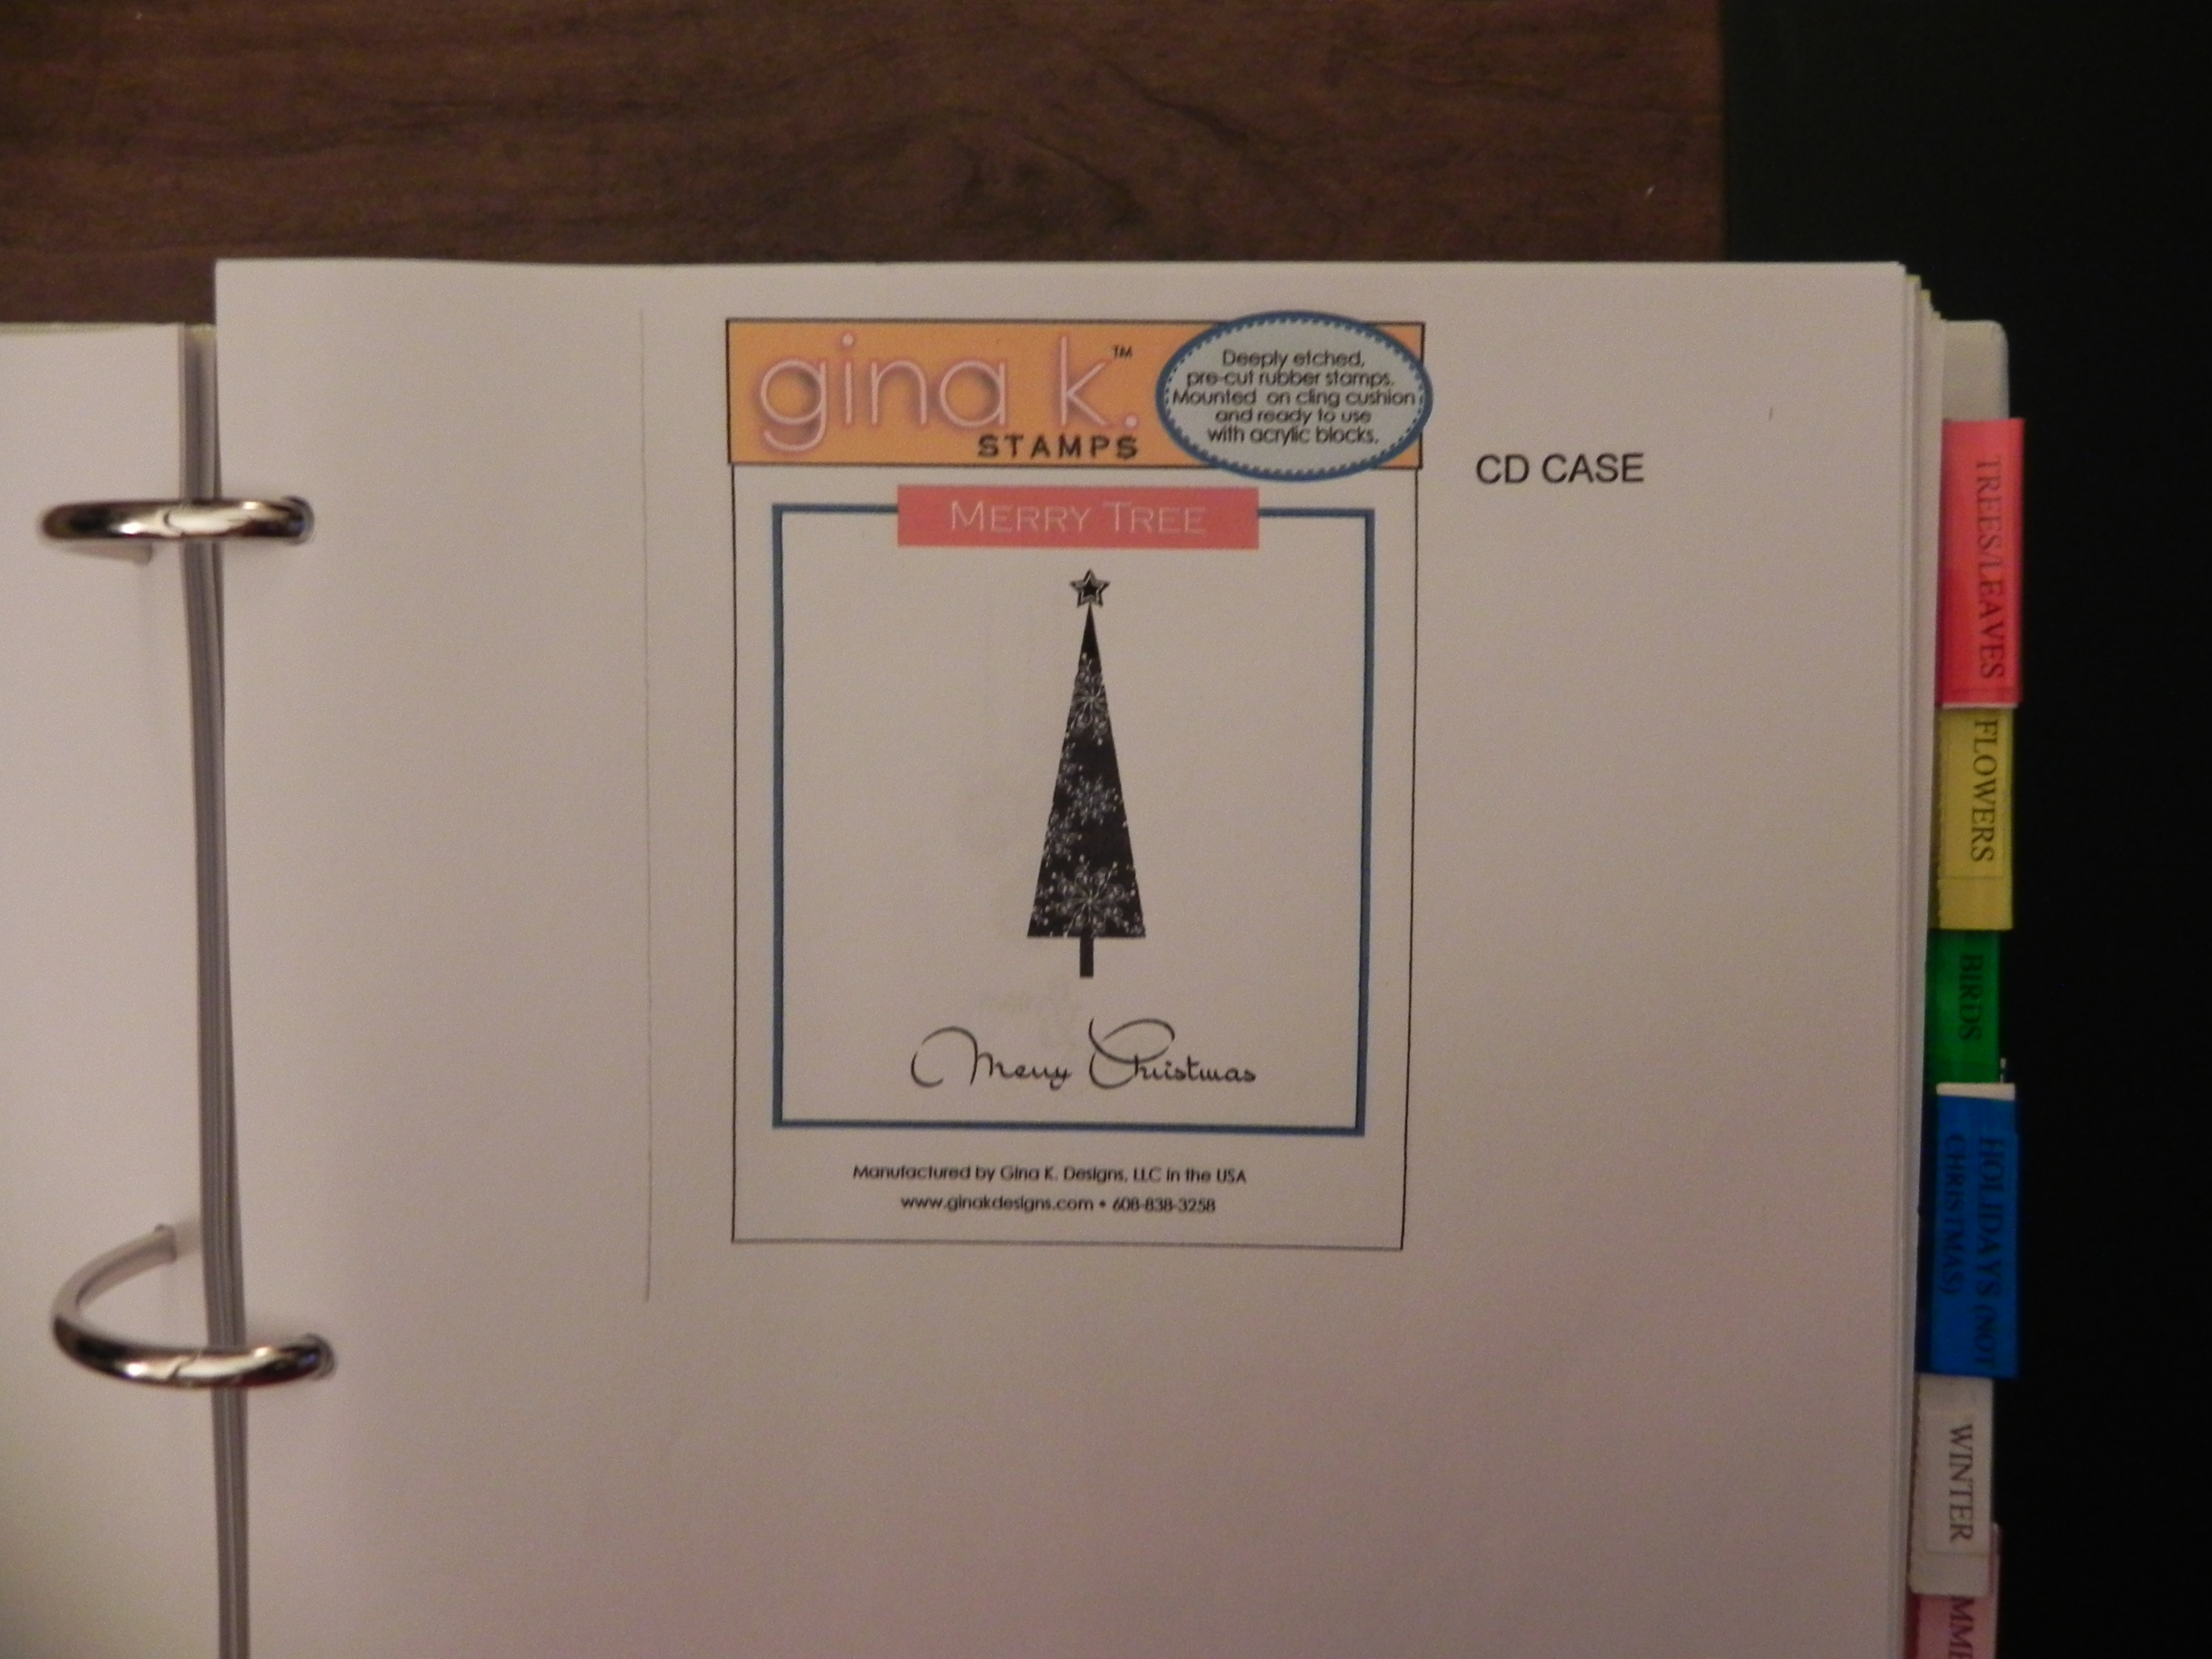
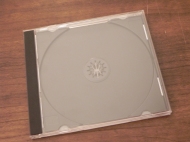
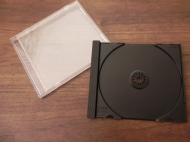
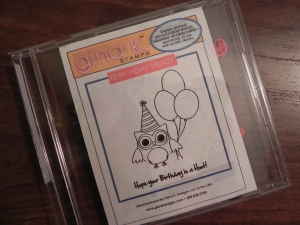
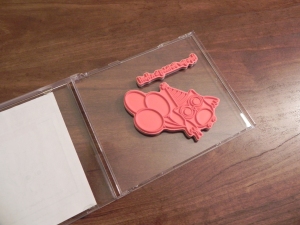
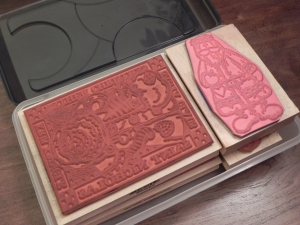
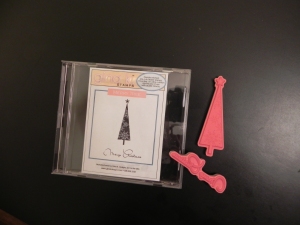
The third type of container I use is a CD Jewel case filed alphabetically in the media cabinet.  I bought these at Staples.  They need to be the standard (thicker) cases, not the slim ones.  The inner part that normally holds the CD in place is removed and the stamps stick to the inside. A picture of the stamp set is copied (and reduced if necessary) and attached to the front.  I put labels containing the names of the sets and the companies that make them on the spines of the cases.  These are for smaller sets of unmounted stamps.

DSCN8962   DSCN8960   22 Craft Room Stamp Storage


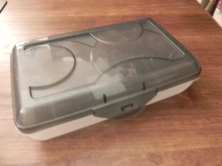
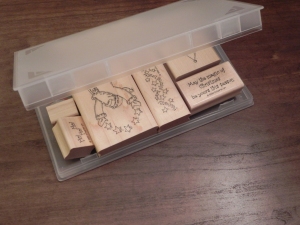
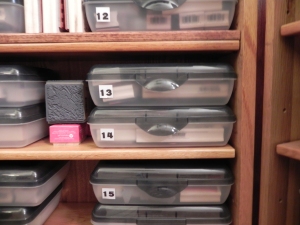
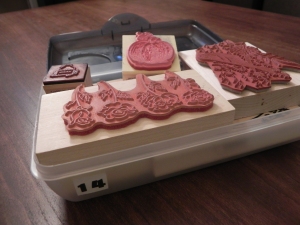
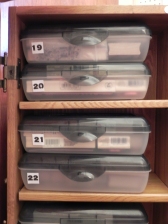
The fourth type of container I use is a plastic box that is often used for school supplies.  I purchased a bunch of these at Walmart when they had all of their back to school stuff out. These boxes have numbers on them.  These contain miscellaneous wood-mounted stamps.  I don’t worry about separating these stamps by theme; I just fill up a box and move on to the next one.

49 Craft Room Stamp Storage


Here’s how my system works.

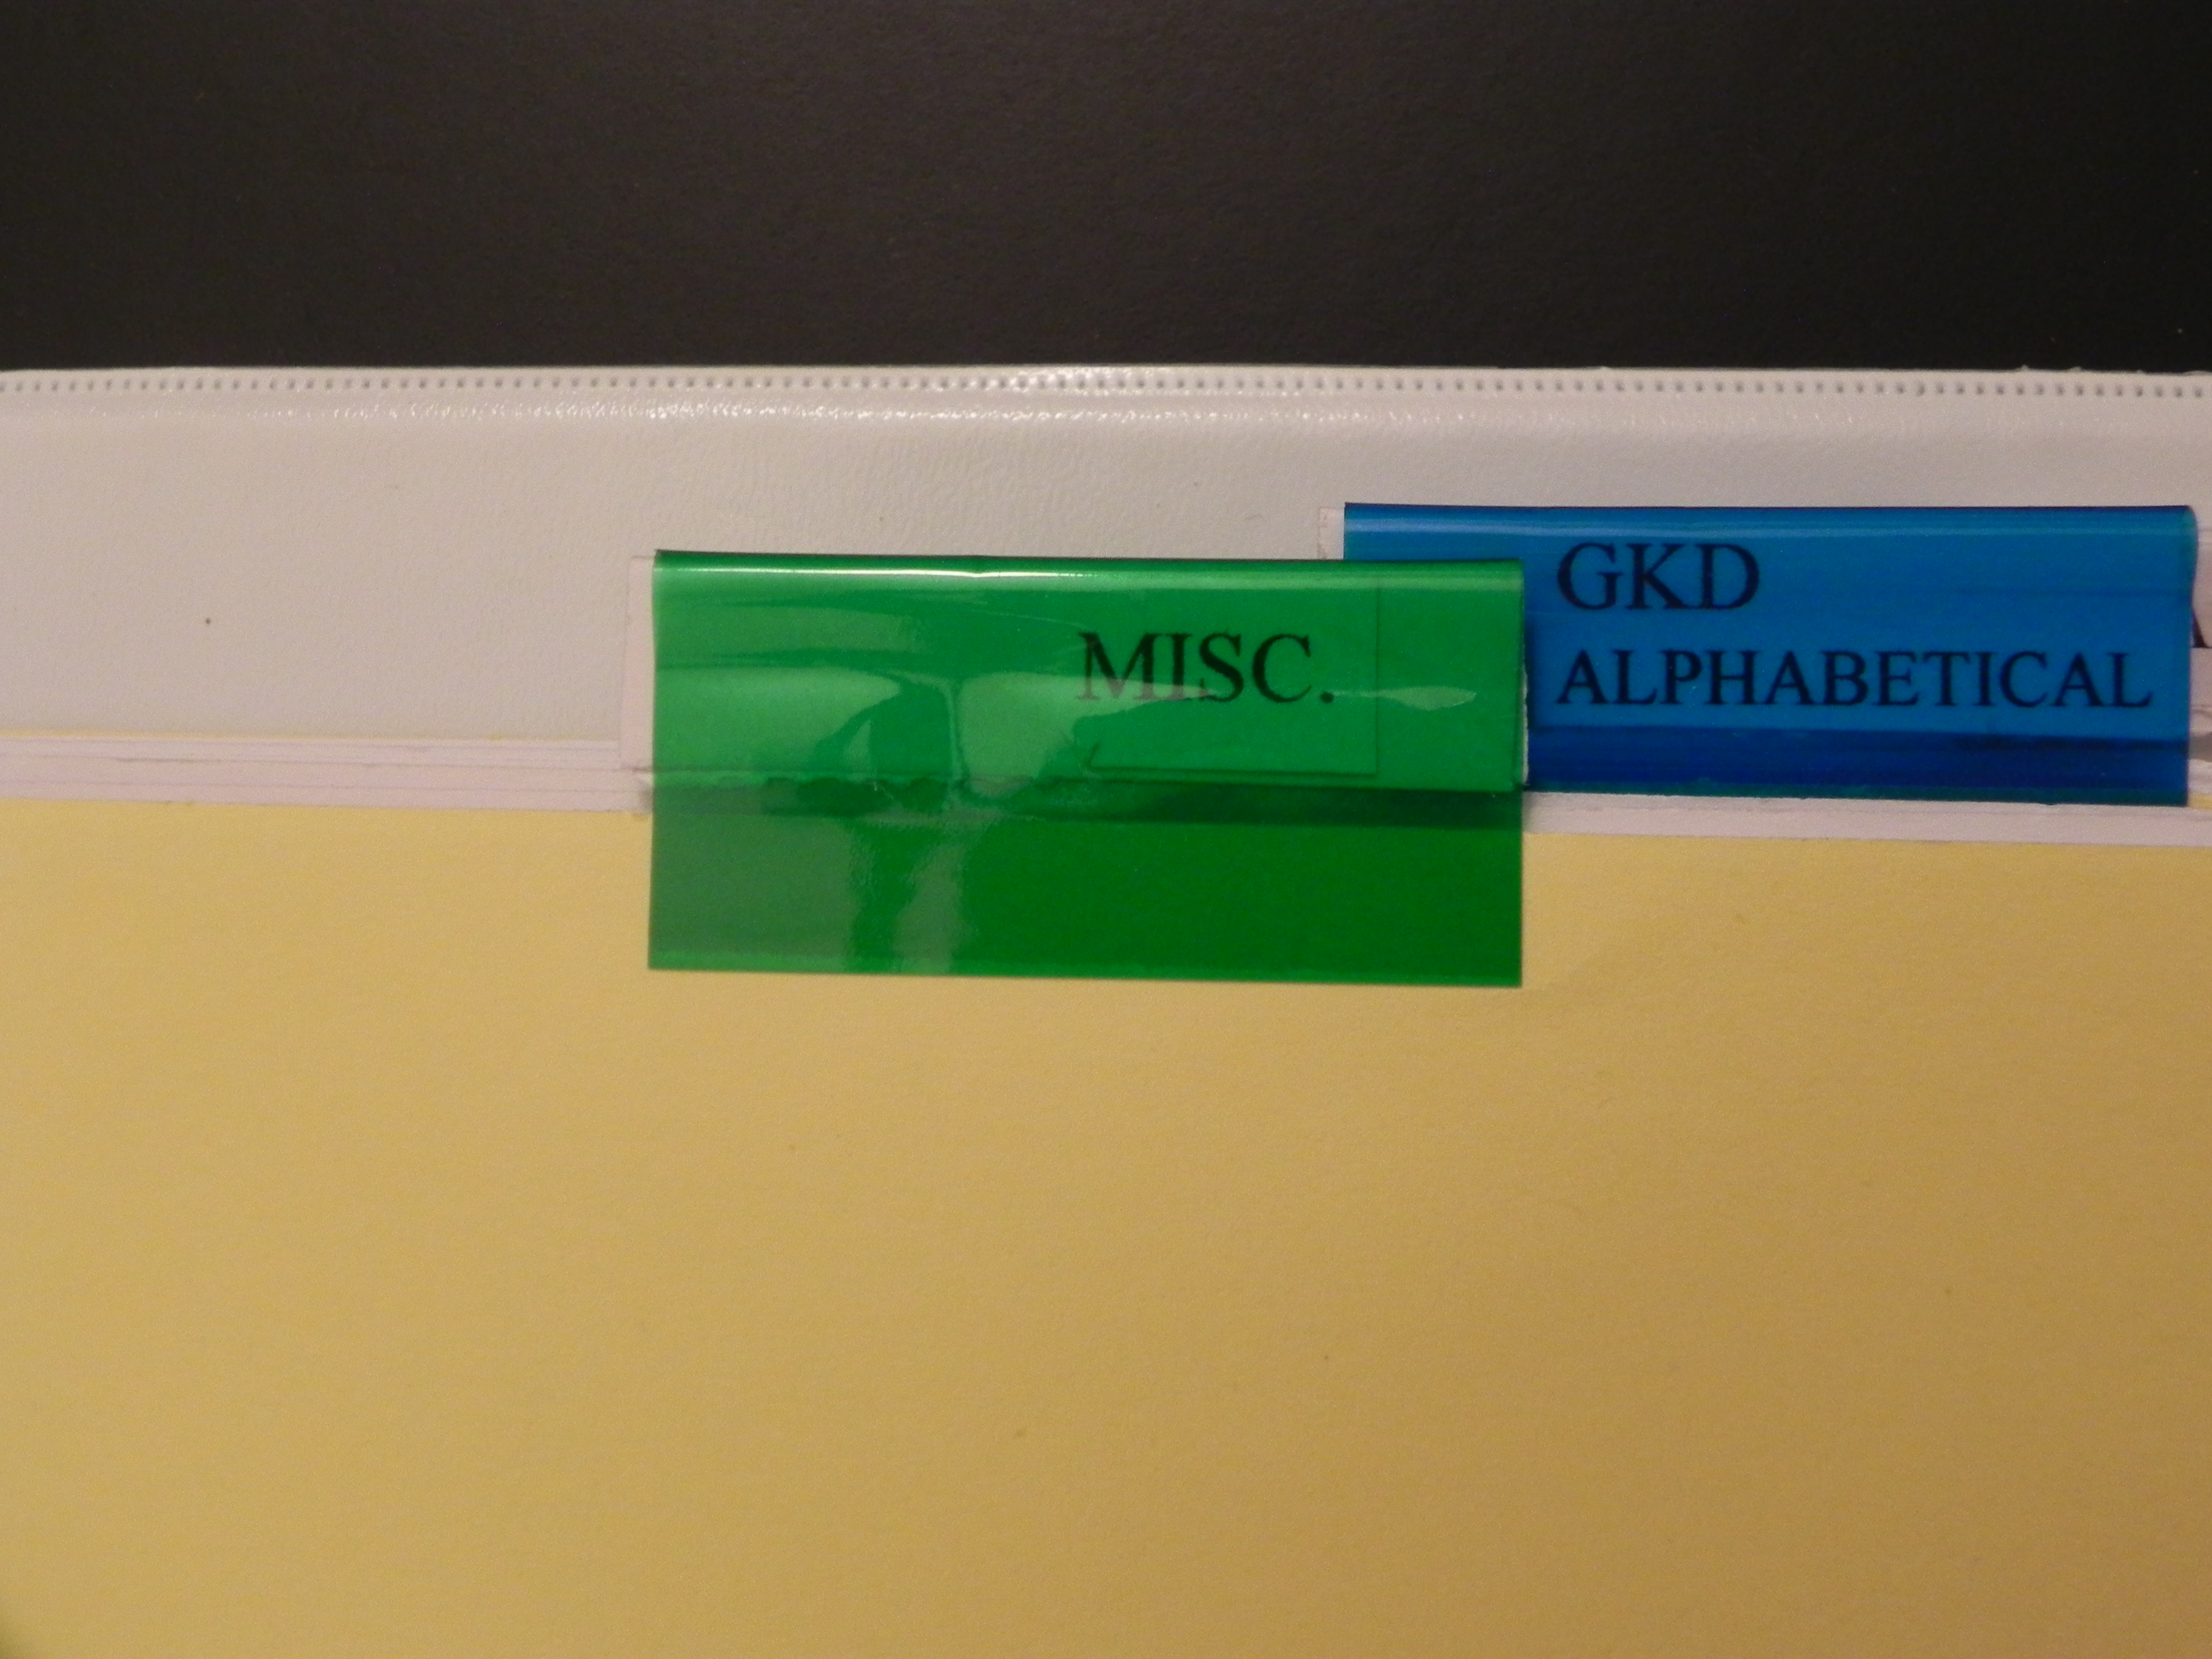
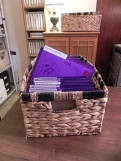
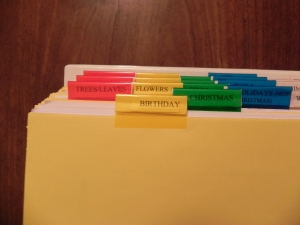
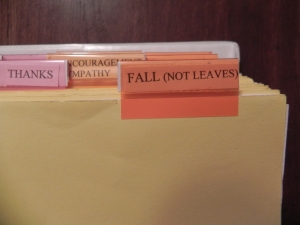
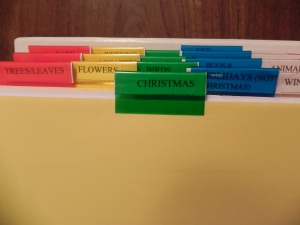
All of my stamp images are located in this “Stamp Index” binder.  I’ve divided the binder into the categories I use when looking for stamps.

02 Craft Room Stamp Storage   03 Craft Room Stamp Storage

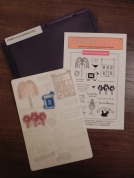
I either stamp the actual image on the page in the binder, or I use a copy of the label or image sheet that came with the stamp set.  I make a note on the sheet of the location  where I store the stamp.

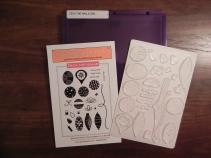
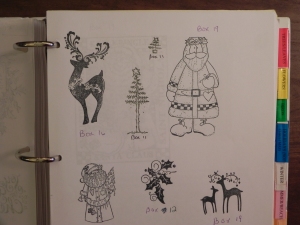
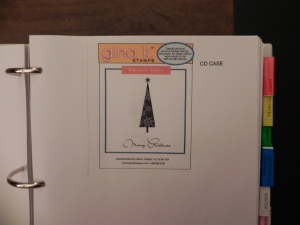
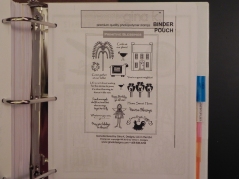
Here’s an example of a page in the binder.

42 Craft Room Stamp Storage

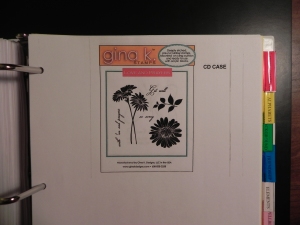
For this one, I copied the original image sheet that came with the stamp set.  I made multiple copies of this sheet and placed them in all of the categories that I would look when looking for these stamps. This particular sheet can be found in the following sections:  flowers, leaves, encouragement/sympathy, and GKD sets (alphabetical).

When I need a stamp, I look in the category in the notebook to find the image I want.  Then I note where it is stored (binder pouch, vhs case, cd case, or box#).  Then I simply find the corresponding container and get to work.


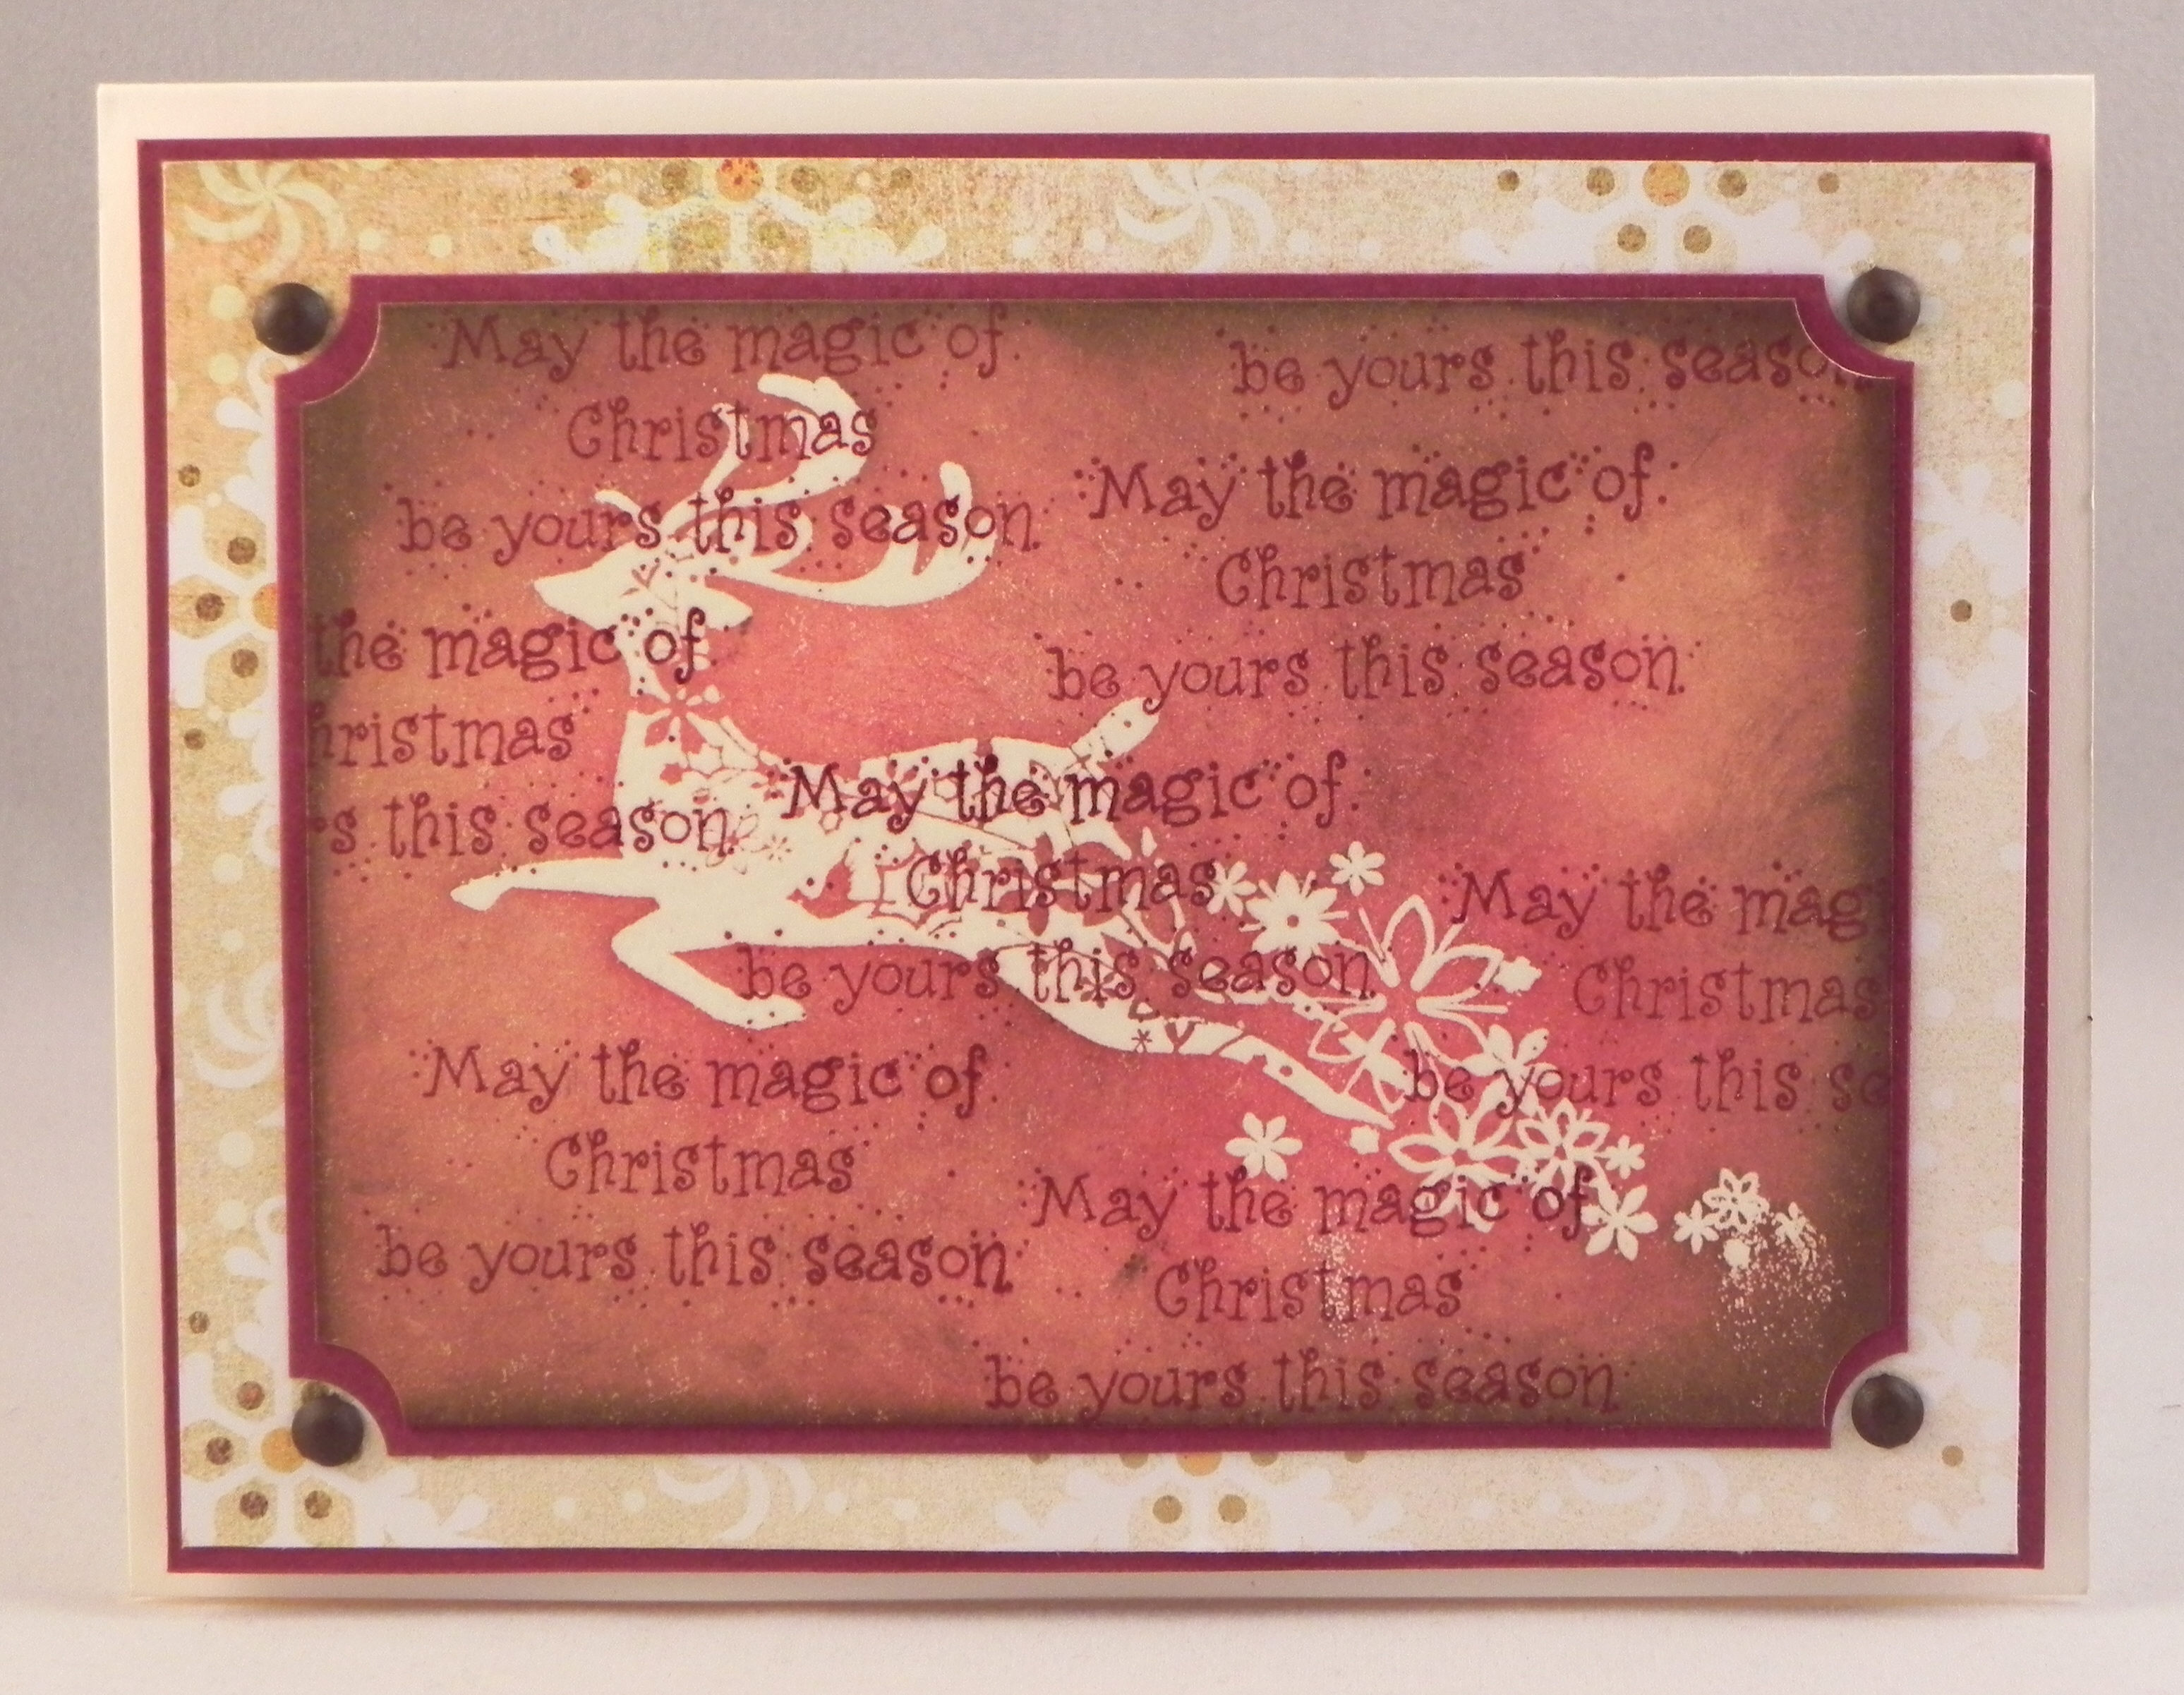
Here is a card sample and how I would have found the stamps to create it:

11 Craft Room Stamp Storage

If I wanted to make this Christmas card, I would first look in the binder in the Christmas section.  I would flip through the pages until I found the image I wanted to work with.

12 Craft Room Stamp Storage   13 Craft Room Stamp Storage

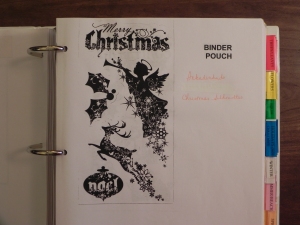
The deer image is on this page.  The sheet tells me it’s in a binder pouch and is in a set called “Christmas Silhouettes” so I’d go to the baskets and pull the alphabetically filed pouch with that label.

14 Craft Room Stamp Storage

In addition to the deer stamp, I also need the sentiment stamp to create the background.  I found that in the Christmas section in the binder as well.

15 Craft Room Stamp Storage

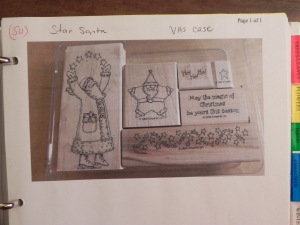
The sheet containing the stamp I want says this set is in a VHS case and is part of a Stampin’ Up set called “Star Santa” so I’d go to the shelf and find it alphabetically.

16 Craft Room Stamp Storage   17 Craft Room Stamp Storage


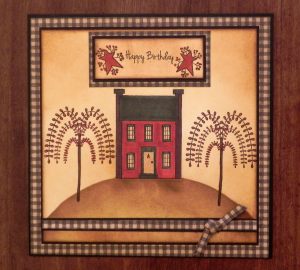
Here’s another sample card.

18 Craft Room Stamp Storage

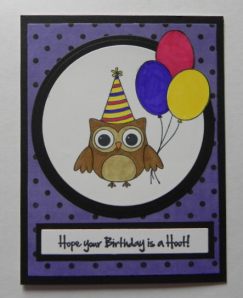
This is a birthday card so I’d look in the birthday section for my stamps.  (This owl could also be found in the “Birds” section.)

19 Craft Room Stamp Storage  20 Craft Room Stamp Storage

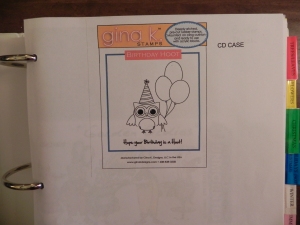
I can see that this stamp set is in a CD case and is called “Birthday Hoot” so I’d find it in the cabinet filed alphabetically.

21 Craft Room Stamp Storage   22 Craft Room Stamp Storage   23 Craft Room Stamp Storage


Another example:

24 Craft Room Stamp Storage

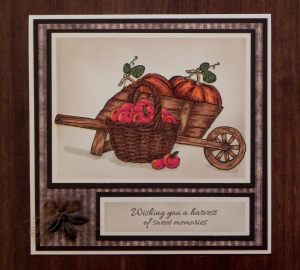
This card required a number of stamps, but if I were just looking for the pumpkin stamp, I’d look in the fall section of the binder.

25 Craft Room Stamp Storage   26 Craft Room Stamp Storage

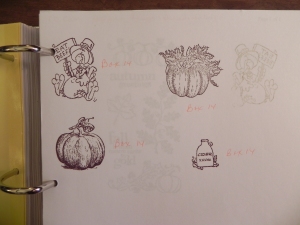
This is an example of an image I stamped directly on the page in the binder.  Next to the image, it says it is in Box 14 so I’d go to the box labeled 14, and this wood-mounted stamp will be in there.

27 Craft Room Stamp Storage   28 Craft Room Stamp Storage


Another one:


29 Craft Room Stamp Storage

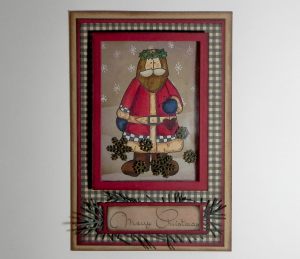
This is another Christmas card so I’d look in the Christmas section in the binder.  The santa image is in box 19.  Notice that all of the Christmas stamps on this page are stored in different boxes (which contain non-Christmas stamps as well).  The number next to the image in the binder makes it easy to find this particular stamp regardless of the theme or category.

30 Craft Room Stamp Storage   31 Craft Room Stamp Storage

32 Craft Room Stamp Storage   33 Craft Room Stamp Storage

To find the greeting stamp, I’d find it in the Christmas section of the binder as well.

34 Craft Room Stamp Storage

According to the sheet, this one is in a CD case.

35 Craft Room Stamp Storage   36 Craft Room Stamp Storage


A final example:

37 Craft Room Stamp Storage

The images on this card would be filed under Miscellaneous in my binder.  (It would also be in the birthday section.)

38 Craft Room Stamp Storage   39 Craft Room Stamp Storage   40 Craft Room Stamp Storage   41 Craft Room Stamp Storage


This system makes it very easy to locate stamps quickly.  Browsing through the binder in each section also helps me to remember what stamps I have.  It does require a little work when I first purchase a stamp or set, however.  A sheet needs to be added to the binder in all of the sections that would help me find it later.  I also need to prepare a label.  However, once it’s categorized and “filed” in the appropriate container, it is easy to locate.


Thanks for checking out my post!

Darice 32 Compartment Storage Container

I’d like to share a storage idea with you!

The product is the Darice 32 Compartment No Spill Organizer Storage Container.

DSCN8836

I use them to store my Memento Dew Drop ink pads and my sponge daubers.

DSCN8841   DSCN8844   DSCN8846   DSCN8847

What I love about these containers is that these items fit into the compartments perfectly.  They stack for easy storage and close to keep the contents secure.  I also like that they fit perfectly into my IRIS 6-Drawer Scrapbook Chest.

DSCN8851  DSCN8849   IRIS 6-Compartment Storage System

While not a problem for me based on how I use these boxes, I just want to point out that the compartments are not adjustable, and the box itself is pretty shallow.  Thirty of the compartments are 1.5″ x 1.875″  and are about 1″ deep.  (The two by the “hook” that closes it are smaller.)  I think the box itself is about 1.5″ high.

I purchased my Darice Organizers at Walmart in the craft department with the beads and jewelry-making supplies.  You can order them online at amazon.com or walmart.com.

Thanks for checking out my post today!

This content uses referral links as described in the disclosure policy on my sidebar.