Scented Wine Glass Lamps

Scented Wine Glass Lamps

wwdsc_1240

I have to say, I really enjoyed making these; my craft room smelled FANTASTIC!!!  These faux lamps are made with a wine glass filled with potpourri and topped with a handmade paper lampshade.

wDSC_1231

The lampshade svg file is called “Swirl Pattern Wine Glass lampshades” which was purchased on Etsy from a shop called MySVGHUT and was cut with my Silhouette.  I cut the shades from patterned paper, but the original file has a swirl pattern on it that is meant to be printed or foiled.  I also made my shades a bit bigger than the original design to better fit the glasses I was using.

The paper is from the Harvest collection by Reminisce.  The patterns I used are Autumn’s Ebb and Shades of Autumn.  I used a few foam dot squares to hold the shade in place on the glass.

I bought the wine glasses at Dollar Tree.  The potpourri is from Patricia of Mullica Hill in Haddonfield, NJ.  The scent I used for these autumn lamps is Apple Jack.  I plan to make a few Christmas lamps when their Christmas scents are available!

My original thought was to place a battery operated tea light in the glass to make accent lamps. However, the lights I had were a little too dim, and it was hard to see the light through the shade. (Believe it or not, it actually looks better in the photo below than it did in real life!)   If I knew I would be ditching the light idea, I might have used card stock to make the shades sturdier.  I plan to look for brighter, warm-colored lights to try later.

wdsc_1254

I think this would make a cute hostess gift to take when going to someone’s house for Thanksgiving dinner.

Thanks for checking out my project post!

This content uses referral links as described in the disclosure policy on my sidebar.

A “2016 RubberHedgehog Rubber Stamps Greeting Card Art Contest” Winner!…and a new challenge

A “2016 RubberHedgehog Rubber Stamps Greeting Card Art Contest” Winner!…and a new challenge

Tropical Birthday zDSC_0778

I am so honored and excited to have been chosen as one of the winners for the “2016 RubberHedgehog Rubber Stamps Greeting Card Art Contest” this year!  The folks over at RubberHedgehog generously offered a $100 store credit for the one Grand Prize winner and a $50 store credit for each of the four First Place winners.  My card was chosen as one of the First Prize winners. Thank you RubberHedgehog!!

The greeting card contest ended at the end of July, but they are gearing up for their “2016 RubberHedgehog Ornament Challenge” and will be accepting submissions from October 1 through November 30, 2016.  (HERE is the gallery with last year’s submissions and winners.)  Pop on over and check it out!

Click HERE for card contest description.

Click HERE for announcement of winners.

Click HERE for original blog post.

Thanks for checking out my post!

Tulip Thank You Note

Tulip Thank You Note

Tulip Thank You Note zDSC_0891

This card design may look familiar to you; I recently made an Easter card (HERE) with these stamps and this layout.  I simplified the card base and created sets of these thank you notes.  My Misti made it easy to make multiples of this design.

wDSC_0888

The tulips are from the “Two Step Stampin’ – Terrific Tulips” set by Stampin’ Up, and the greeting is a Recollections stamp from Michaels.  They were stamped on white card stock with Gina K Designs Wild Lilac, Lovely Lavender, and Fresh Asparagus Ink.  The white panel was adhered to a piece of Gina K Wild Lilac card stock and then to a white card base.

Thanks for checking out my card project – again!

This content uses referral links as described in the disclosure policy on my sidebar.

Wine and Cheese Tile Coasters

Wine and Cheese Tile Coasters

Wine and Cheese Tile Coasters zDSC_1216.jpg

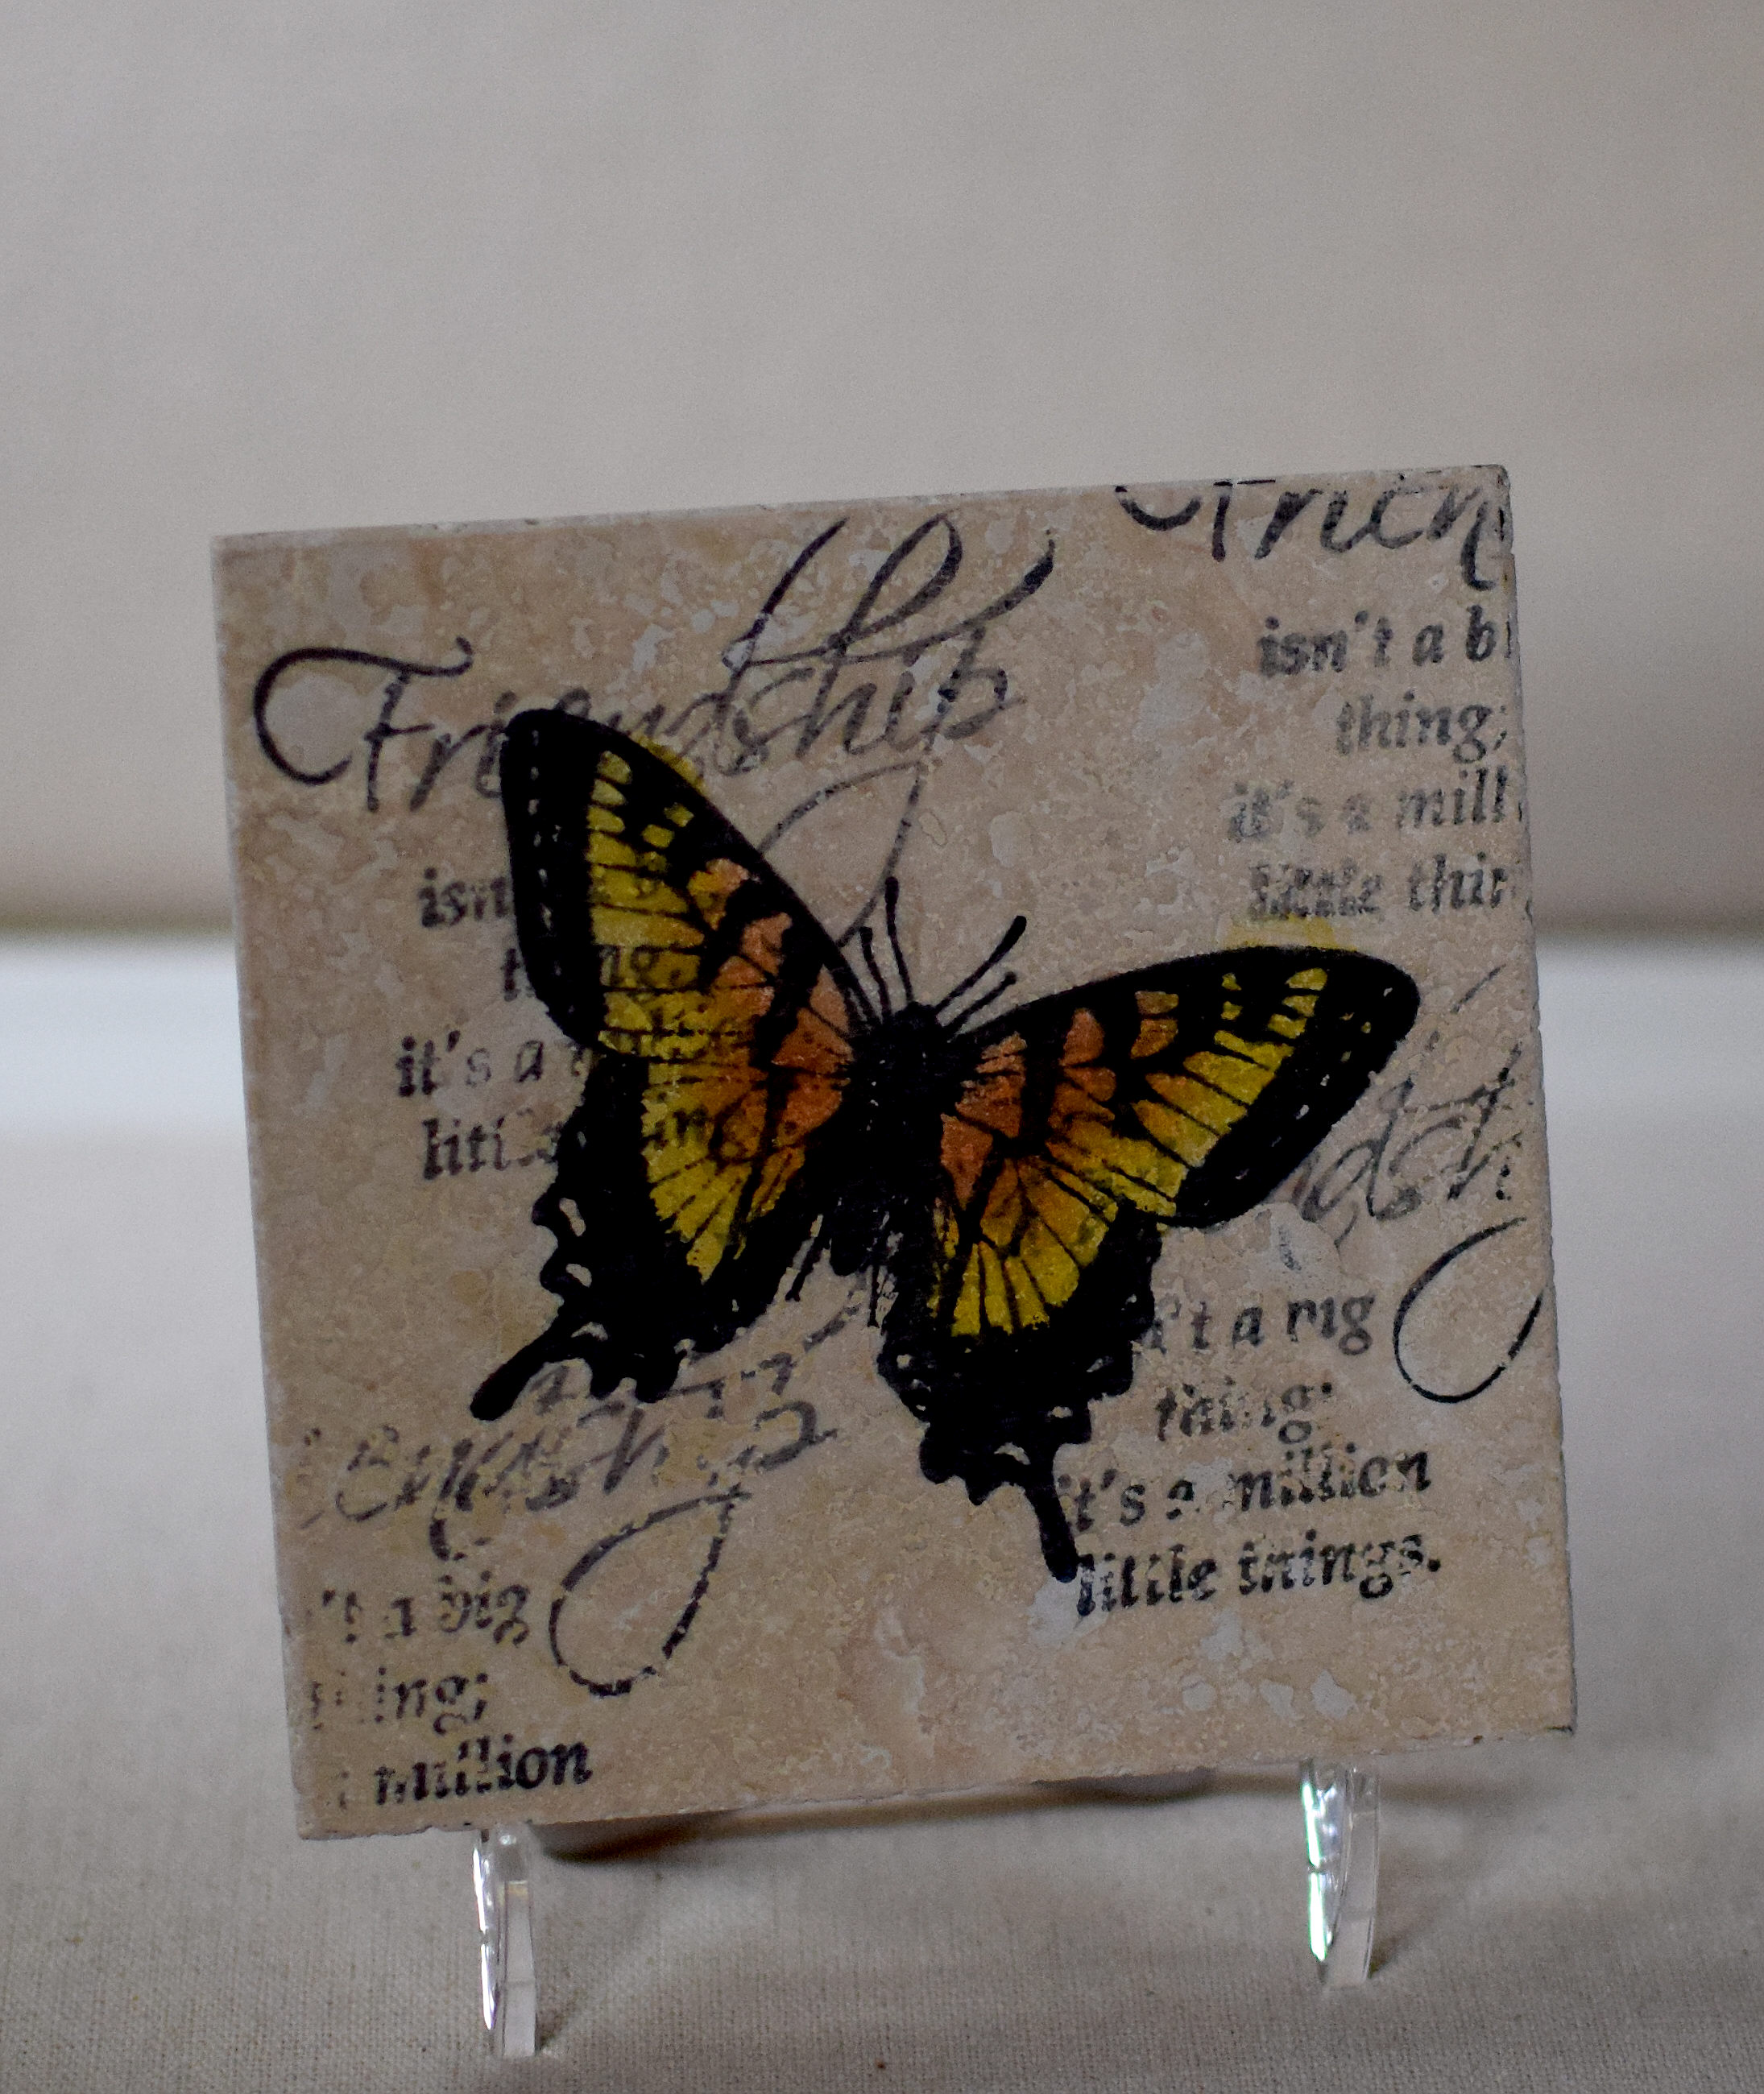
These coasters were made with Premier Decor 4×4 Ivory Travertine tiles I purchased at Home Depot. I stamped the Wine and Cheese image from Inkadinkado and inked the edges of the tiles with Stazon Timber Brown ink. Once the ink was dry, I used a Tombow sand eraser to lightly sand the stamped images and edges to soften them up a bit.

I cut squares of cork , ran them through my Xyron sticker machine, and adhered them to the bottoms of the tiles so they would not scratch the table when used. Each set contains 4 tiles.

I had seen a tutorial for making these coasters HERE on StampTV a while back and made this design:

vDSC_1222

Thanks for checking out my coaster project post!

This content uses referral links as described in the disclosure policy on my sidebar.

Center Step Nativity Card

Center Step Nativity Card

Nativity Center Step Card wDSC_1187

This card features the “Country Nativity” stamp by Uptown Rubber Stamps (H29014).  The card base is a center step card; I used the template with measurements found HERE.

Center Step Template

The image was stamped on white card stock with Memento Tuxedo Black ink and colored with Copic Markers [Mary’s Clothes (B95, B97, E41), Joseph’s Clothes (E43, E47), Jesus  (E42), Skin (E00), Hair (E44),  Stable (E44, E47), Cow (E42, E41, B95), Goat (E41, E43), Sheep (E40, E43), Staff (E47), Stars (Y23), Bird (E18), Branch G29)].

The card base is Gina K heavy base weight white.  The brown printed card stock is from the Collectable collection by My Mind’s Eye called Unforgetable “Happiness” Delight Paper.  It is two sided, and I used both sides.  The blue card stock (mat and inside panel) is called “Winter Freeze” by Melissa Frances.

Raffia and jute was also used.

The Mod Squad Challenge this week is called Teacher’s Pet where we are encouraged to use a pet or animal on our creation.  (Sadly, this site is no longer active.)

yDSC_1183 cropped

Thanks for checking out my card project!