3-D Penguin

3-D Penguin

wDSC_1983.jpg

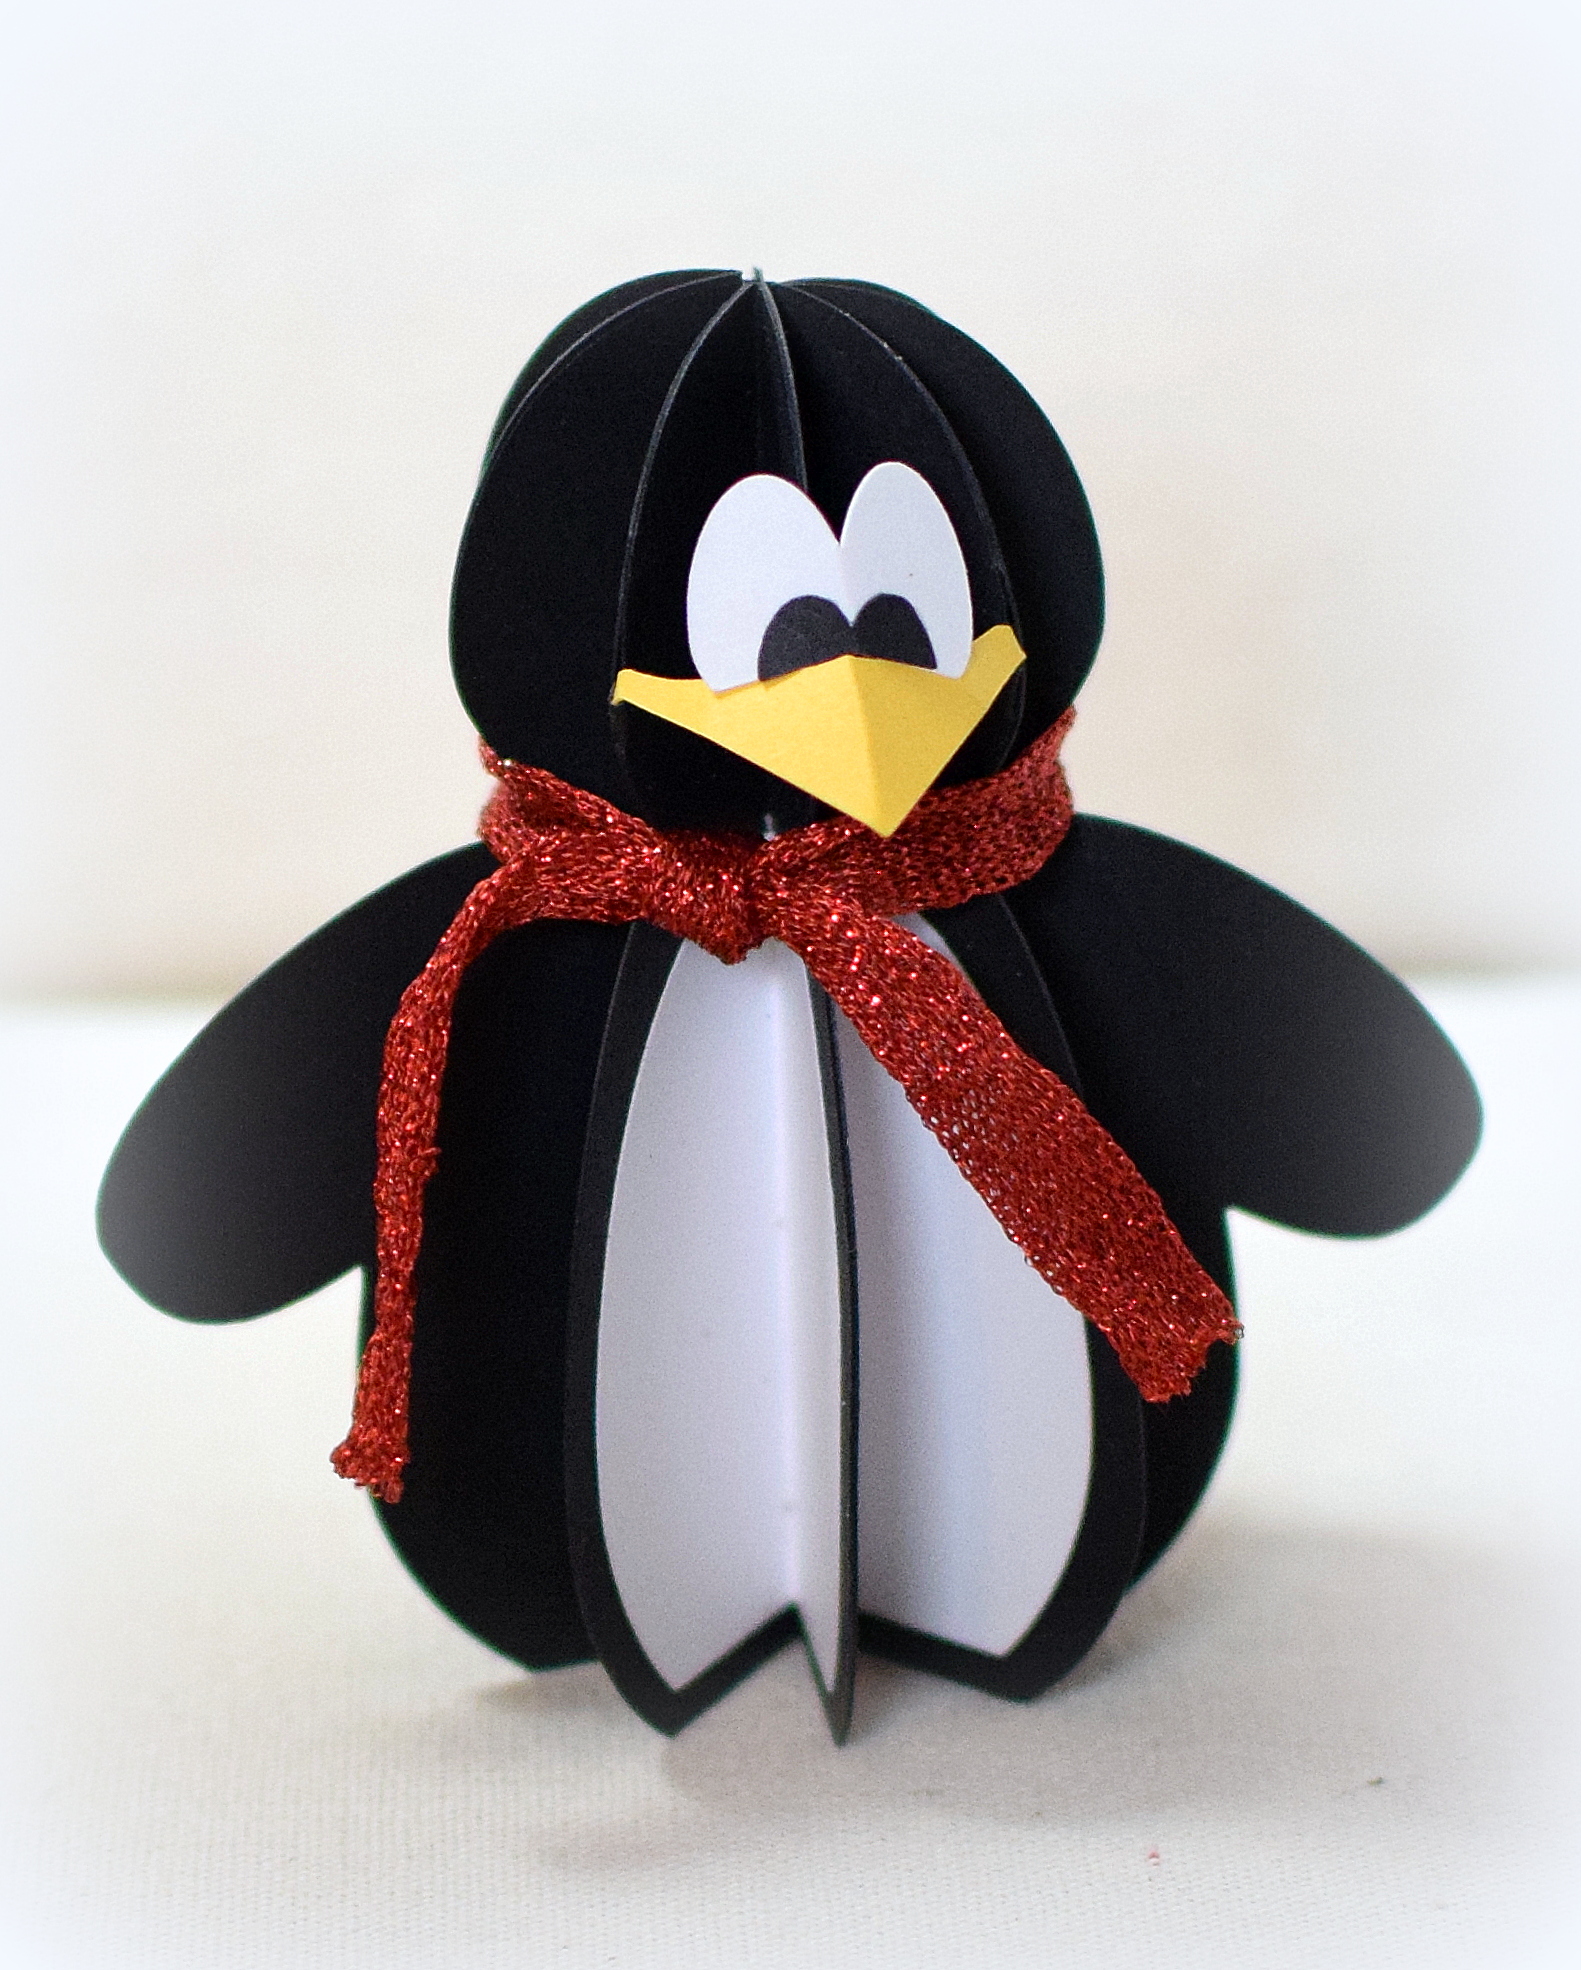
My daughter loves penguins so when I saw the file for this adorable guy, I had to get it and give it a try.

The file is in an svg kit called “Frosty Friends” by SnapDragon Snippets at SVGAttic.com.  (I originally bought the file from the Silhouette store, but it appears to no longer be available there.)

HERE is the tutorial on how to assemble him.

I used Recollections black card stock along with a few scraps of white and yellow I had in my stash.  His scarf is a piece of Martha Stewart garnet glitter ribbon that I just cut and tied around his neck.

Thanks for checking out my project!

Mod Squad Challenge – “Non Traditional Christmas Colors” – A Top 3 Winner!

Mod Squad Challenge – “Non Traditional Christmas Colors” – A Top 3 Winner!

Mod Squad Challenge Badge-TOP3

(December 20, 2017)

wDSC_7756

(The host/hostess picked the “Top 3” which will be featured on PINTEREST.)

Click HERE to see winning announcement.  (Sadly, this site is no longer active.)

Click HERE to see original challenge post.  (Sadly, this site is no longer active.)

Click HERE to see the original blog post for this card project.

Thanks for checking out my post!

Stick Snowman Ornament and Card

Stick Snowman Ornament and Card

wDSC_7771.jpg

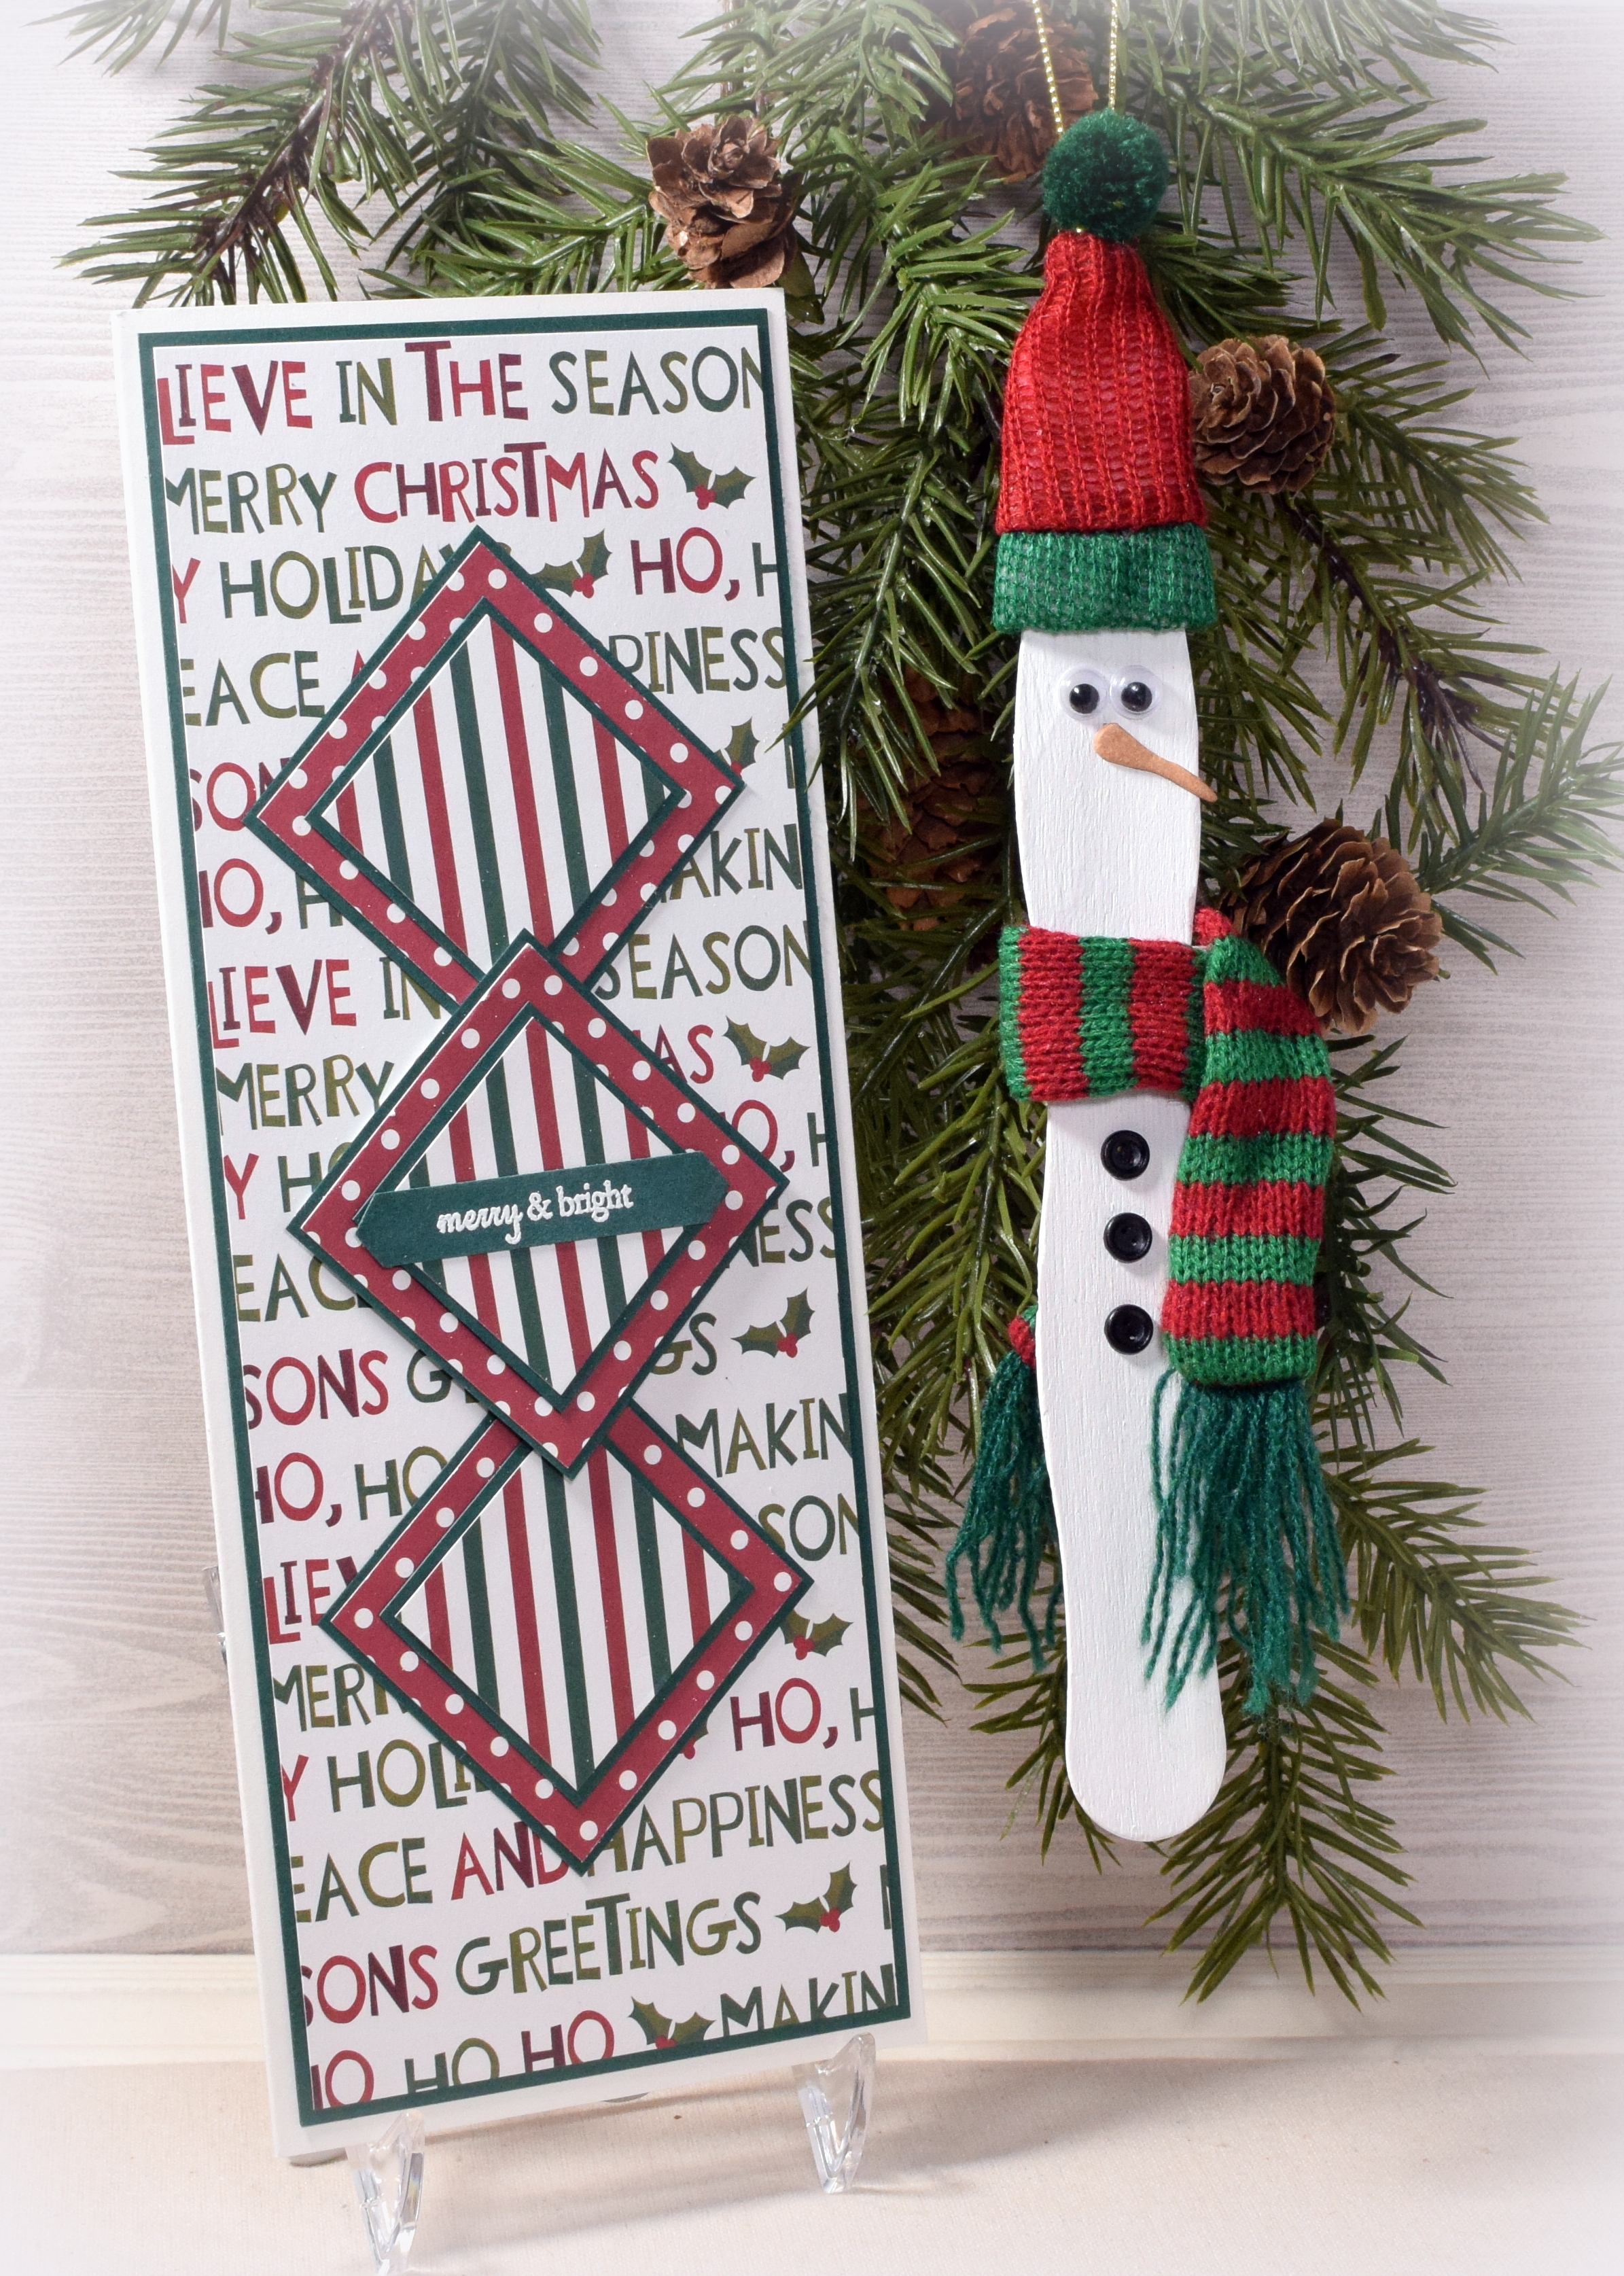
This is the fourth of my cards with ornaments.  This one features a removable snowman ornament made from a jumbo craft stick.

WDSC_7776.jpg

I sewed a small, strong magnet onto the back of the snowman’s scarf and placed another one  behind the greeting panel so the ornament can easily be removed or placed back on the card.

wDSC_7769.jpg

I debated between using regular craft/popsicle sticks or these jumbo craft sticks.  I really liked the curvy shape of the jumbo sticks, but they are much longer than the craft sticks.  Because I went with the jumbo ones, my card needed to be much longer than most cards.  I remembered a video Gina K had done showing a card that fit into a regular business envelope and realized that size would be perfect!  My finished card measures 3.75 inches x 9.25 inches.  Unfortunately, with the ornament attached, the card is too bulky to mail as a regular letter/card so it will need to be sent from the post office as a package.

For my ornament, I used:

For my card, I used:

Thanks for checking out my ornament and card project!

This content uses referral links as described in the disclosure policy on my sidebar.

Tin Snowman Ornament and Card

Tin Snowman Ornament and Card
yyDSC_7548.jpg

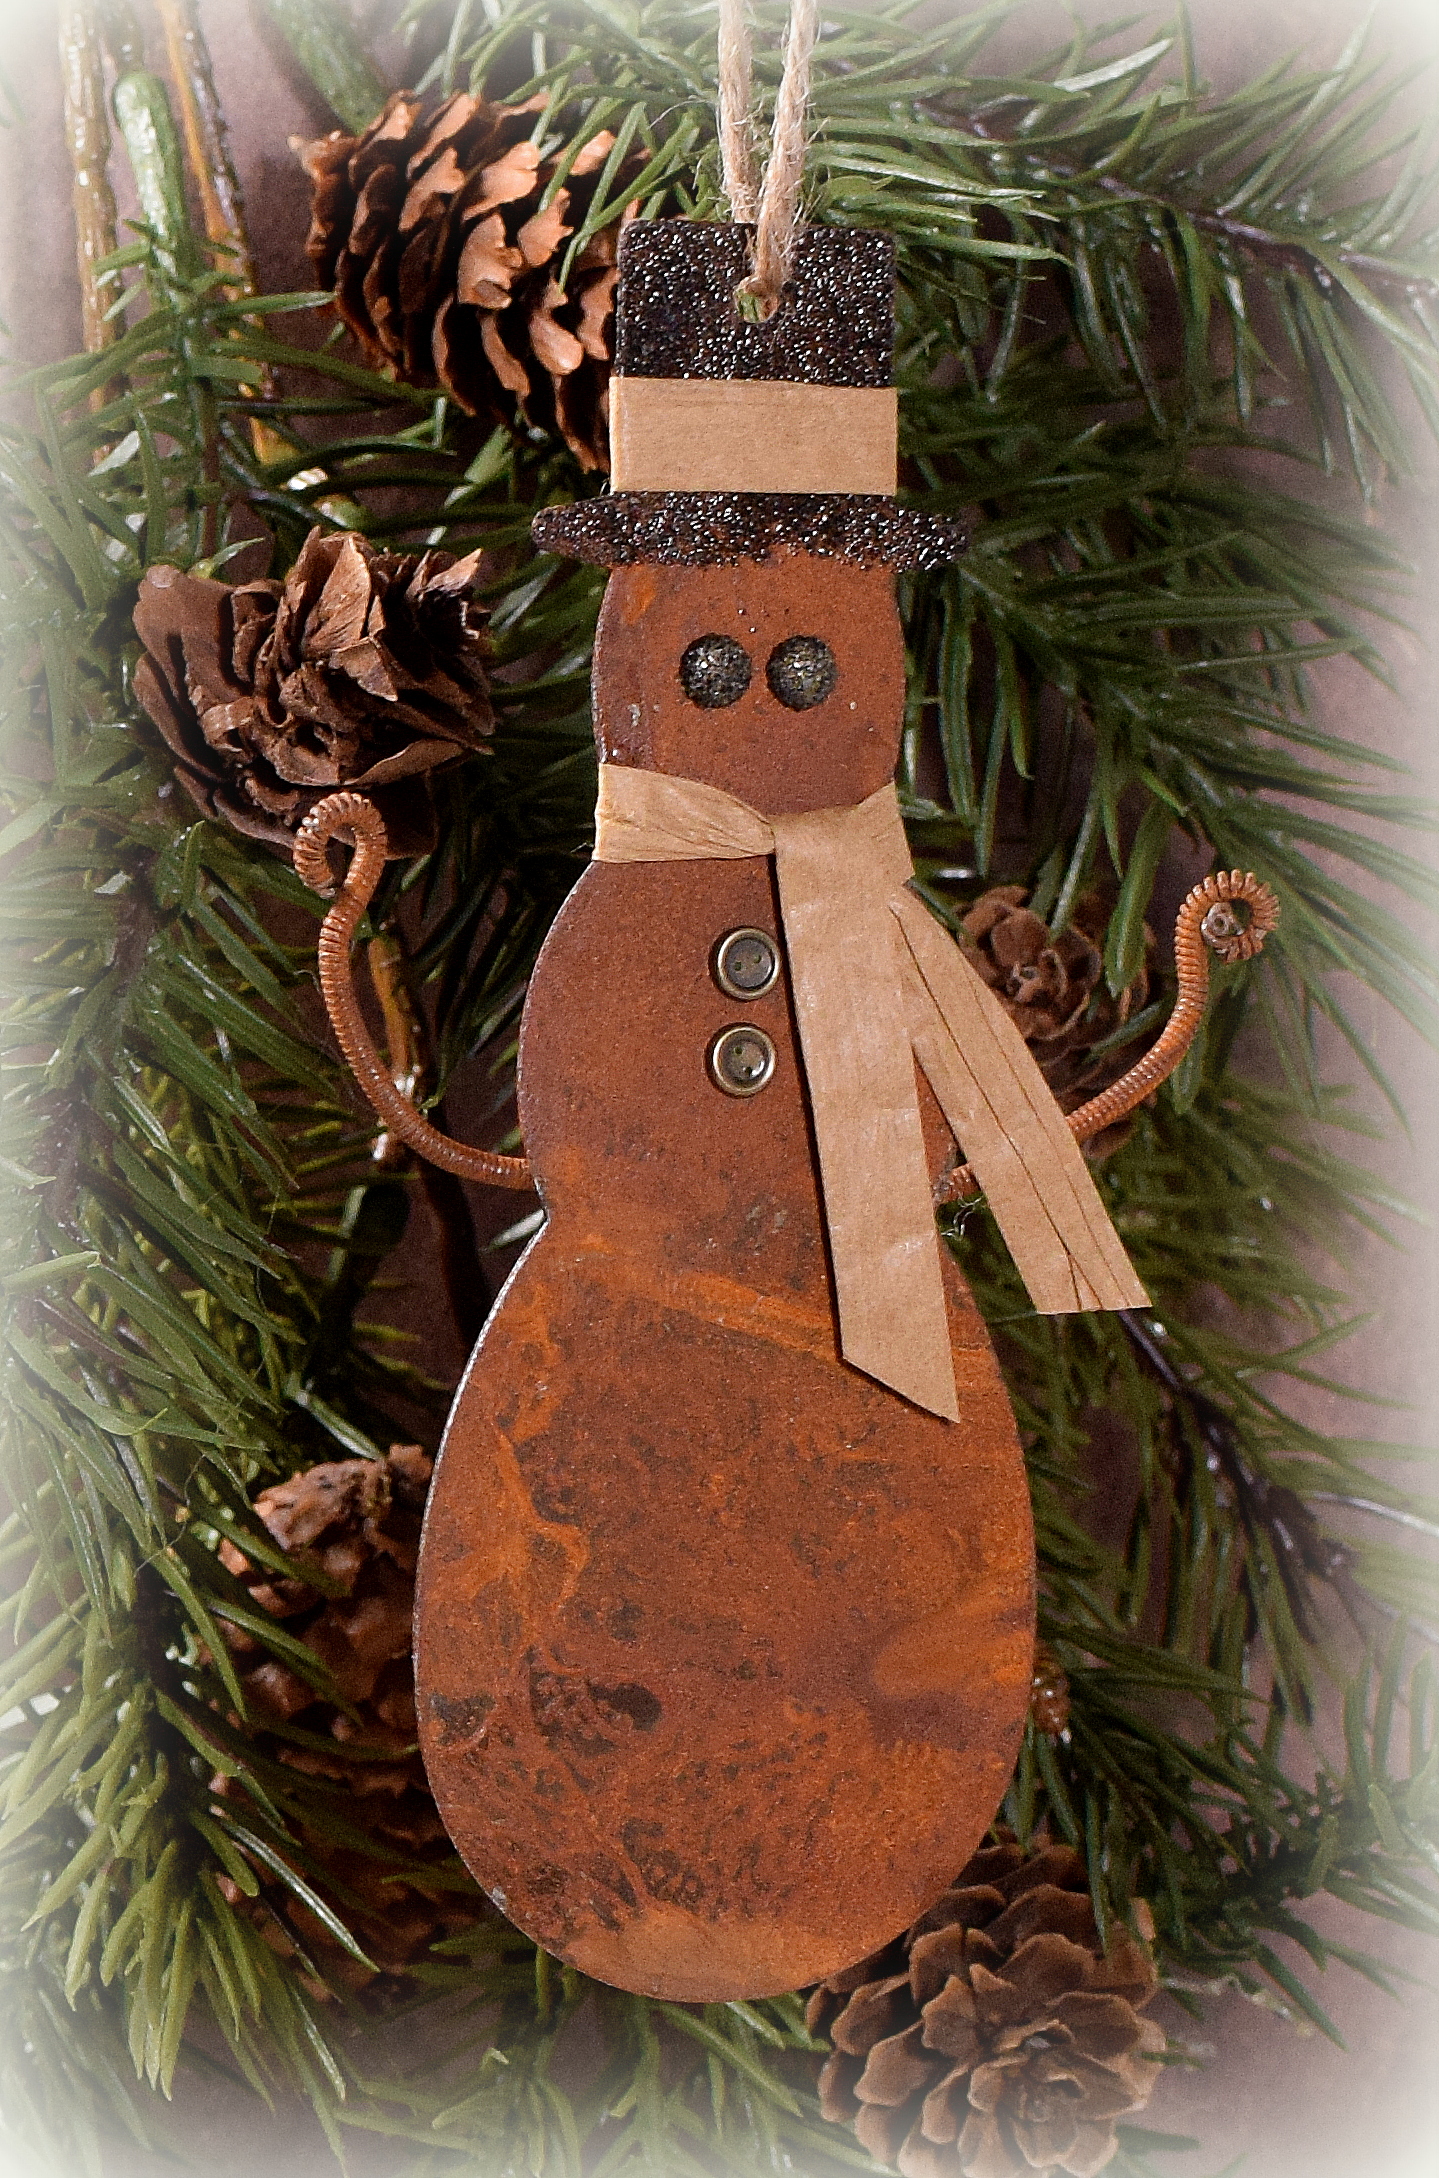
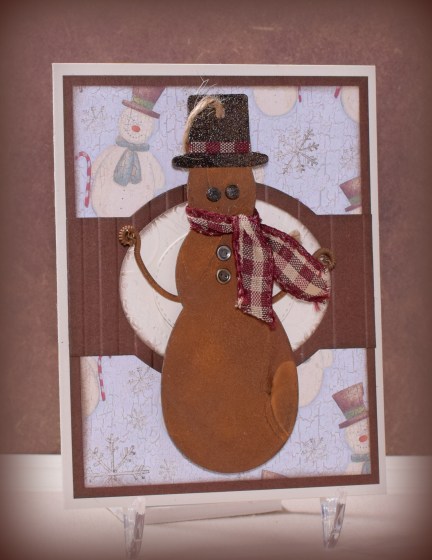
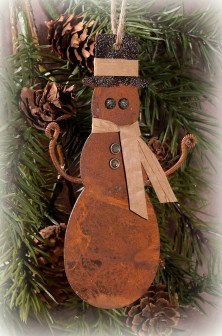
This is the third in my series of cards with ornaments.  This one has a removable, rusty tin snowman ornament.

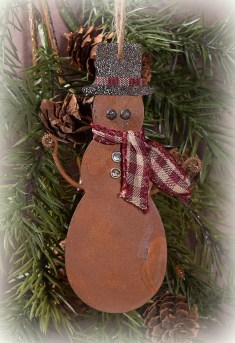
Here is the ornament by itself:
wDSC_7542

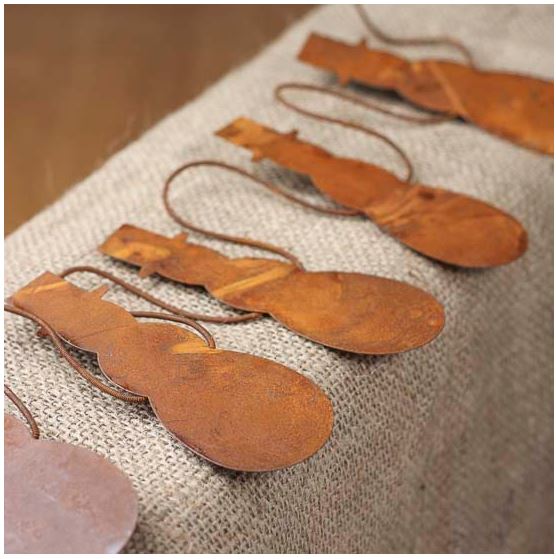
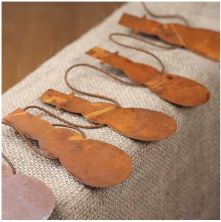
To create the ornament, I started with “Primitive Rusty Tin Snowman Garland” that I purchased online from Factory Direct Craft.
garland

I cut the garland apart with wire cutters (leaving some wire on both sides for the arms).  Each piece of garland has 10 snowmen, so I was able to make a bunch of ornaments (and cards).  I punched holes for the eyes, buttons, and hanger in each one with my We R Memory Keepers Crop-A-Dile.

I used versamark and Tim Holtz Walnut Stain Distress embossing powder to create the rough finish on the hat and on the mini brads used for the eyes.  The mini button brads (and brads for eyes) are both Recollections (from Michaels).  Wired ribbon was used for the scarf and trim on hat.

I made another version of the ornament with raffia instead of the ribbon:
wDSC_7545

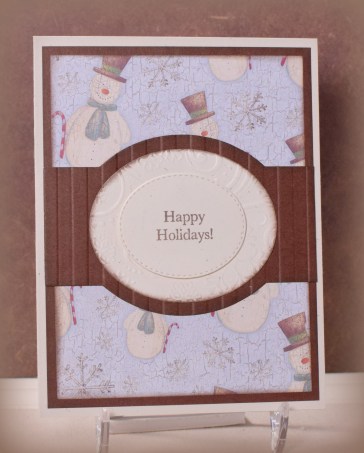
Here is the card without the ornament:
zzzDSC_7551.jpg

For the card, I used “Country Snowman” patterned paper by The Paper Studio (from Hobby Lobby) and some brown (unmarked) card stock from their open stock.  I also used some “Rustic Cream” card stock from Papertrey Ink.  All the edges were inked with Gina K Charcoal Brown ink.

The center layered pieces were cut with dies from the Gina K Designs Fabulous Label die set.  A Stripe Background embossing folder and a Snowflake Swirls embossing folder (both by Darice) were used to add texture to these panels.   The greeting is from the “Peace and Joy” stamp set from Gina K Designs.

Behind the greeting panel in the center is a small, strong magnet which allows the metal snowman to easily attach and detach.  This panel was popped up with foam tape to accommodate the thickness of the magnet.

Thanks for checking out my card project.

This content uses referral links as described in the disclosure policy on my sidebar.


Foiled Christmas Tree Words in Gold and White

Foiled Christmas Tree Words in Gold and White

vDSC_7651.jpg

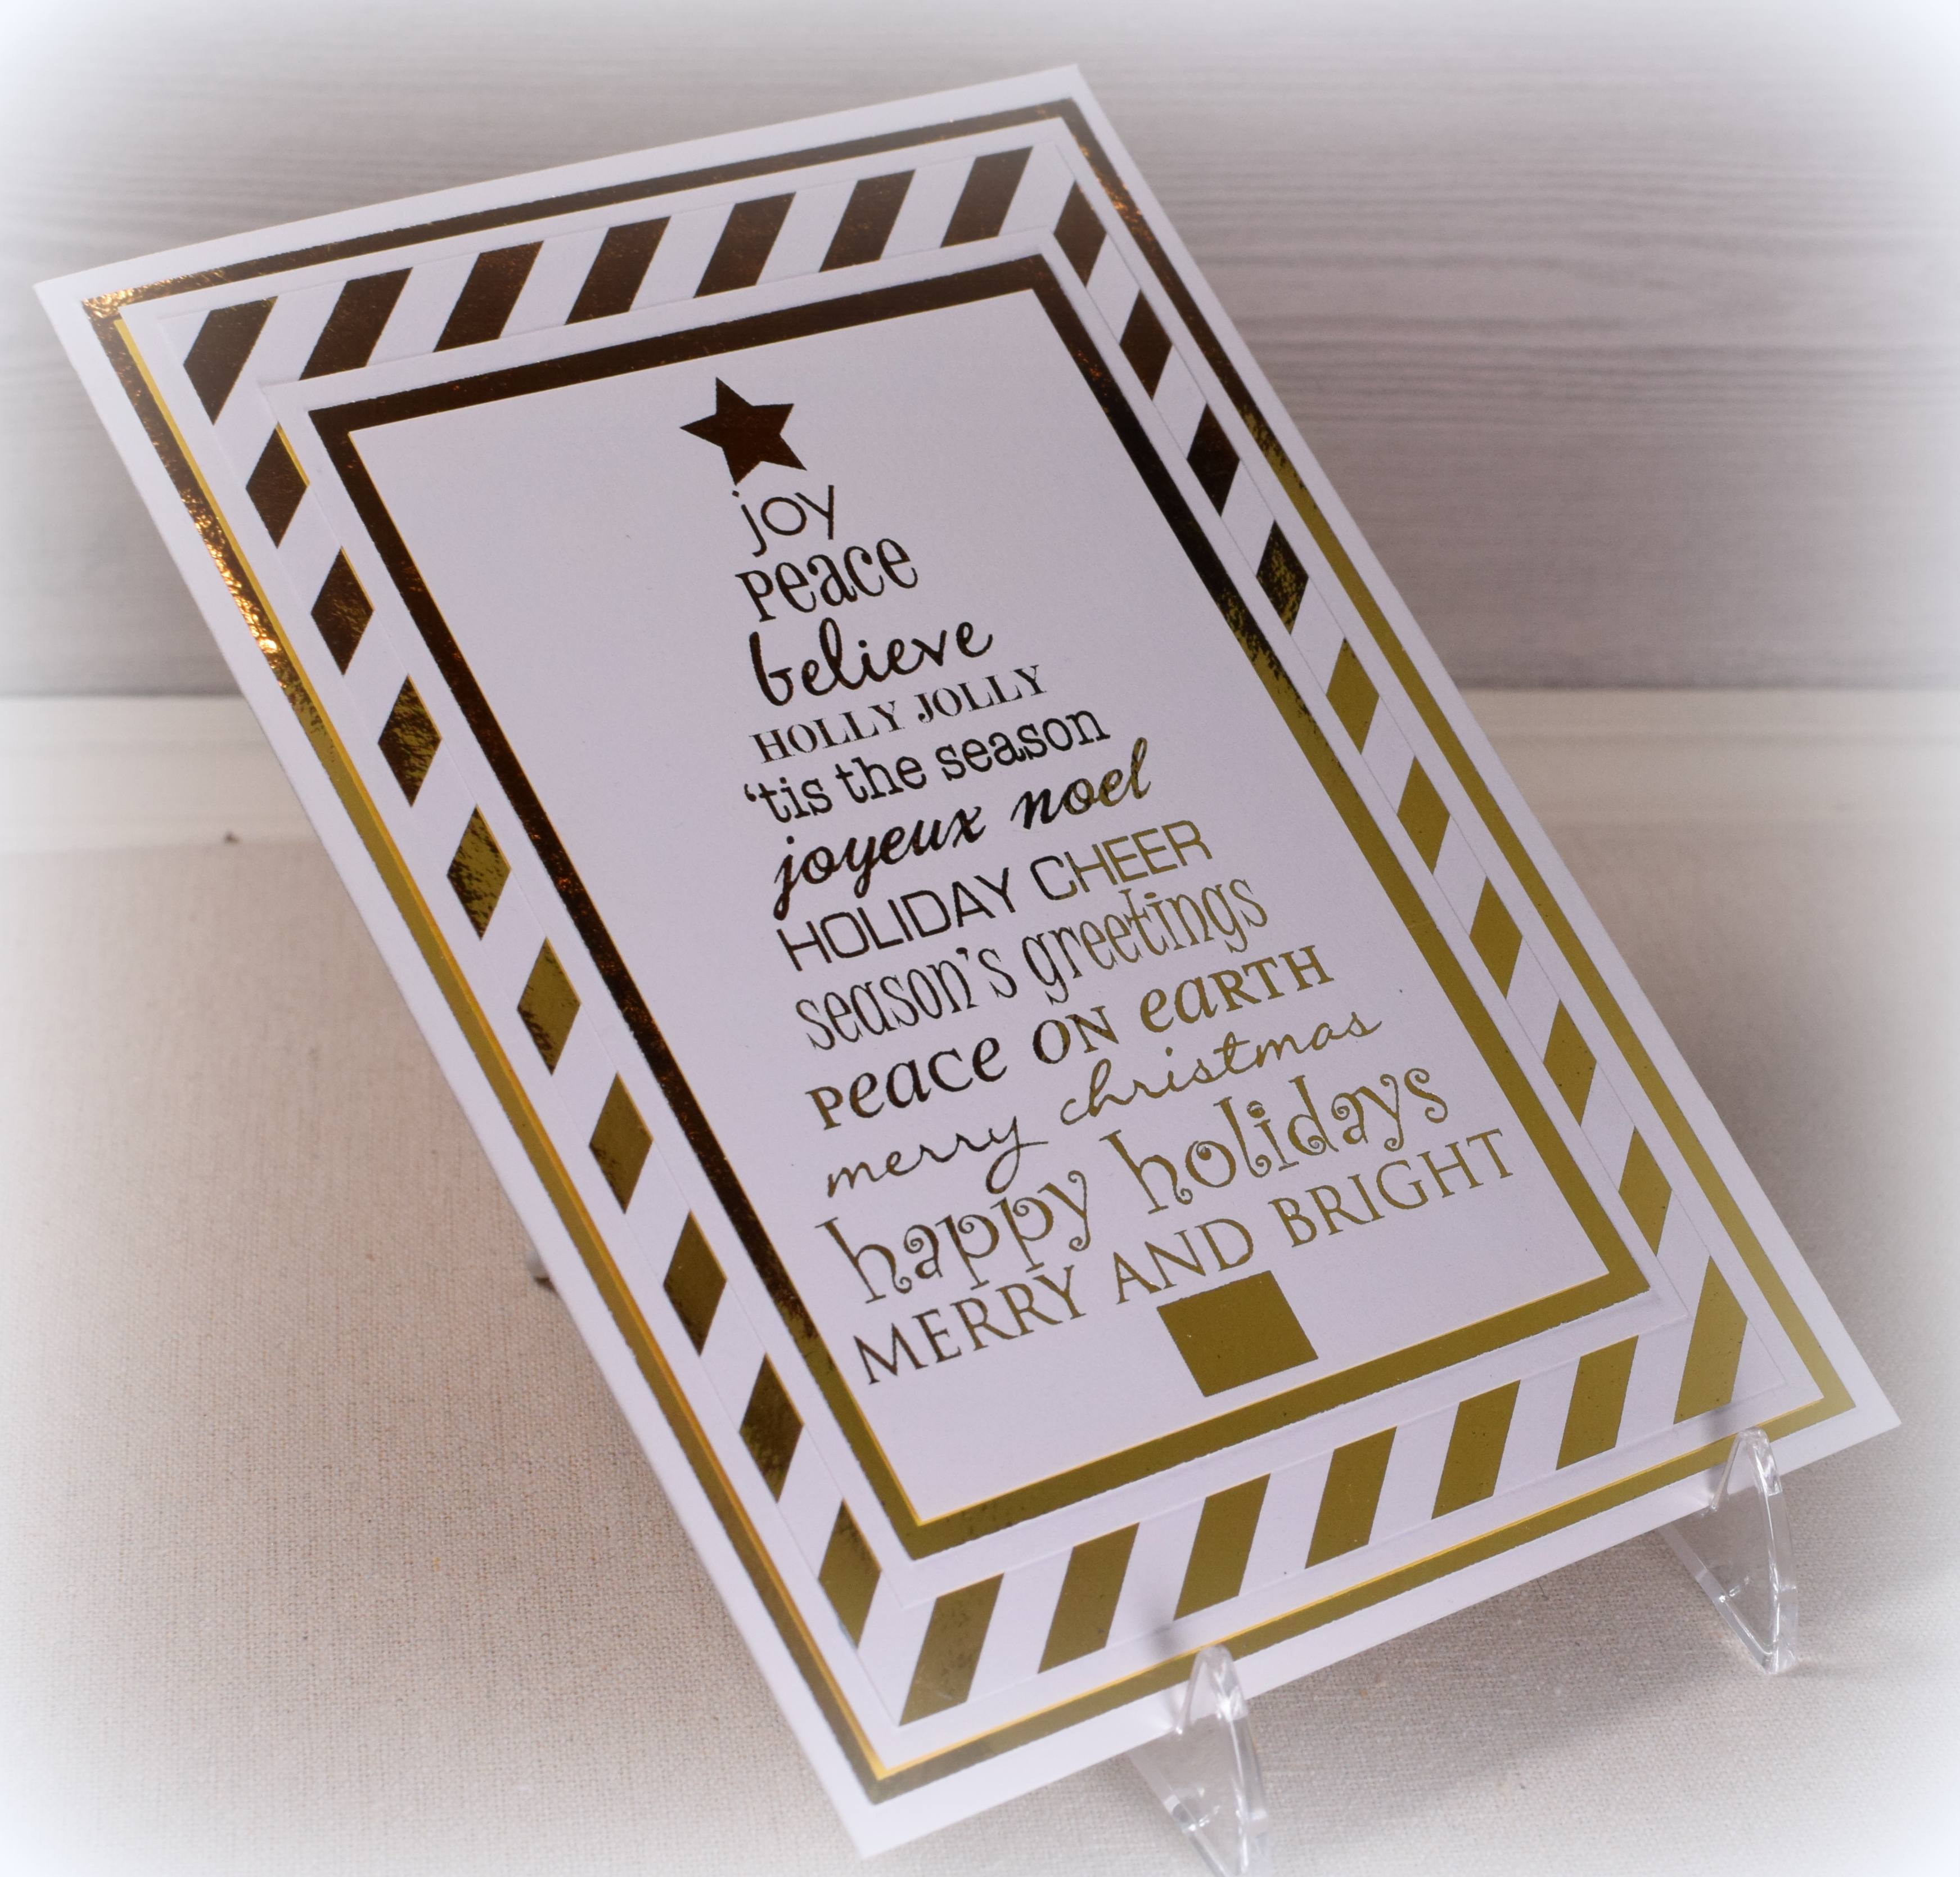
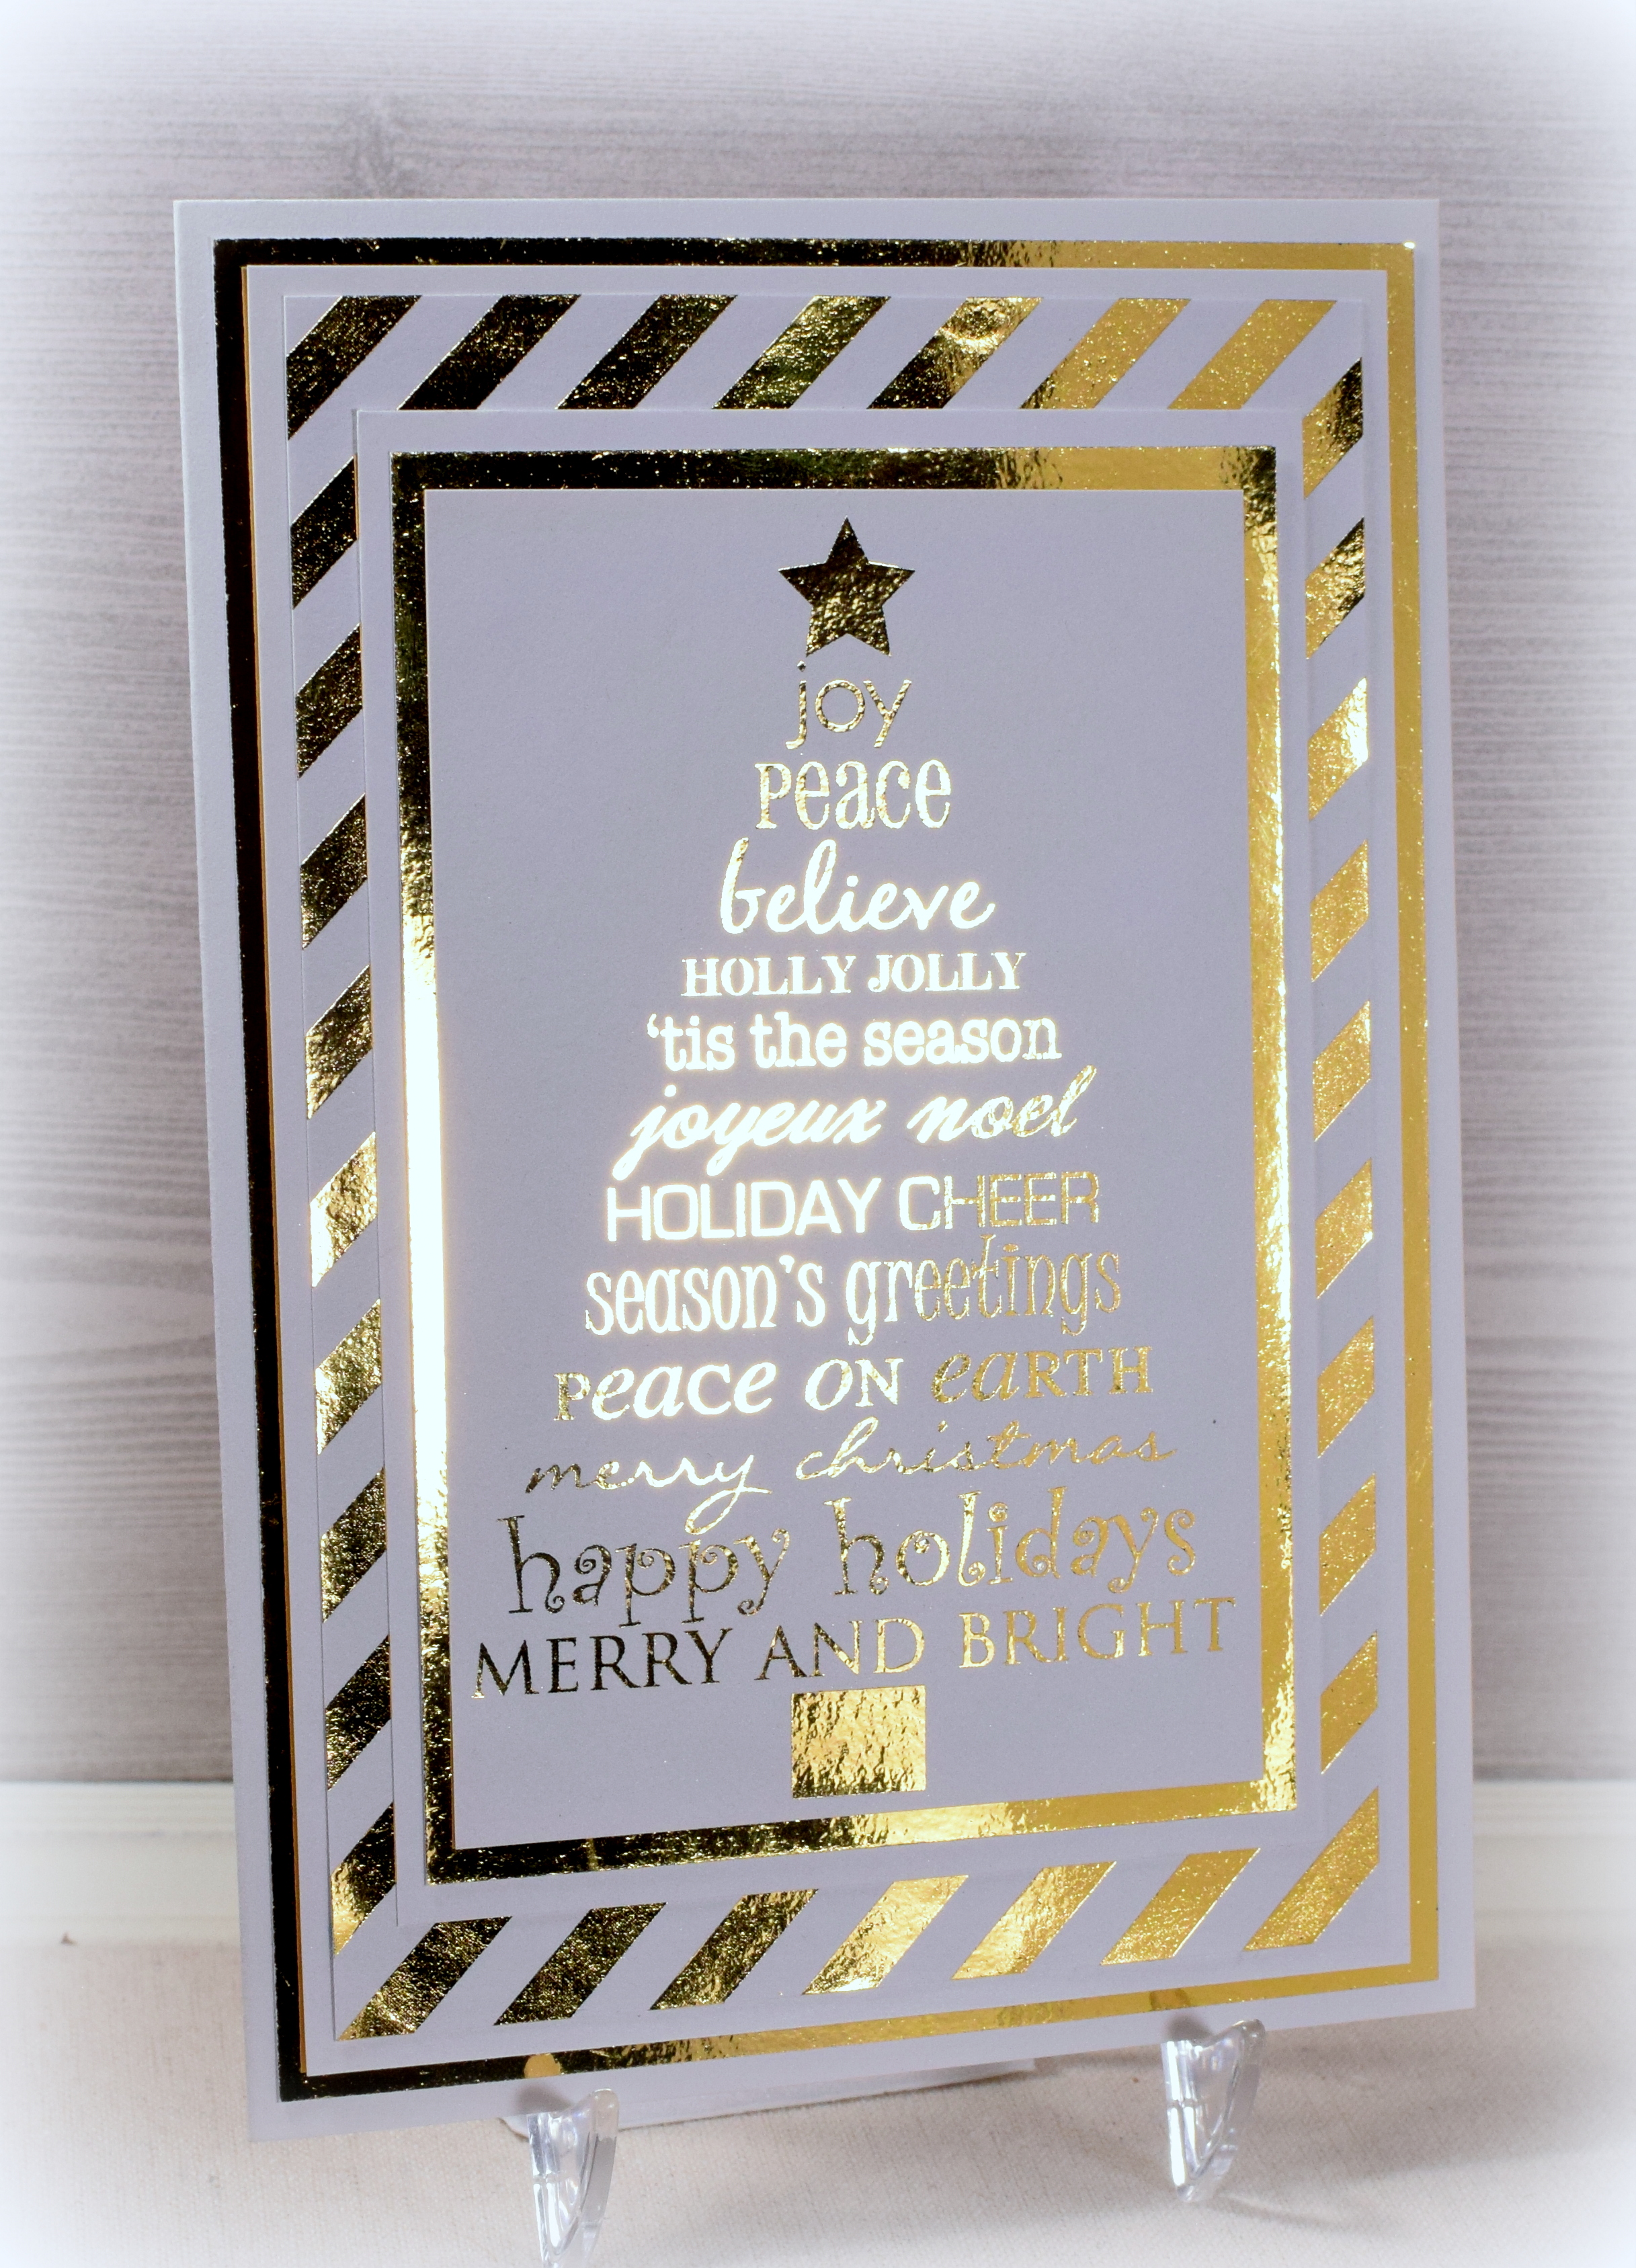
This 5×7 inch card features digital paper/images I purchased on Etsy which is a great place to find material suitable for foiling.  Put black and white digital paper (with a key word like Christmas or stripes, etc.) in the search bar, and a bunch of choices pop up.  The Christmas Tree Words Digital Clip Art is by The Digital Stash, and the striped background is from the Black and White Classics digital paper pack by Bridget Eubank Designs.

These panels, along with some plain toner sheets, were foiled with Gold Thermoweb Deco Foil, my monochromatic (black and white) laser printer, and my mini minc foiling machinePapertrey Ink white card stock was also used as mats and the card base.

Although hard to photograph, there is incredible shine as the light hits the card at different angles.

wwwDSC_7627

yDSC_7642

Thanks for checking out my card project!

This content uses referral links as described in the disclosure policy on my sidebar.