‘Tis The Season Shaker Card

‘Tis The Season Shaker Card

wDSC_0529.jpg

I had purchased a BUNCH of holiday paper packs at Michaels a few years back.  Although I’ve used a few sheets here and there, I still have quite a bit of it left!  (I know… it seems like I tried to use ALL of it on this card – LOL!!  I don’t usually make such busy cards, but once I started playing with this cute paper, I just couldn’t seem to stop – YIKES!!)

I did try to tone it down a bit on this one…

xDSC_0524

HERE is a video tutorial by Gina K showing how to make the shaker panel.  After showing some products she sells on her site and how she created her focal panel, she shows the shaker panel assembly (at the 8:26 mark of the video).  She uses foam tape in this video.  To see how to use pop dots or foam pieces, HERE is another video that may be helpful.

Gina uses dies to create her frame.  I used my paper trimmer to create the frame for my shaker panel.  (HERE is a tutorial showing how this is done.)

I let the paper do most of the work on my card – from the focal panel to the greeting!

Thanks for checking out my card project!

This content uses referral links as described in the disclosure policy on my sidebar.

Distressed Christmas Tree (and a few variations)

Distressed Christmas Tree (and a few variations)

wwDSC_0378

I had shared a few distressed card samples I made a little bit ago and thought I’d play around with the same layout and techniques using some holiday images.

The tree is part of the Penny Black “Wonder Collection” stamp set that was a free gift with the Papercraft Essentials Magazine (issue 113) from September 2014.  (The tree is called “A Splash of Winter” which is available by itself.

Here are a few more variations:

zDSC_0375    wwwDSC_0377  wDSC_0384

The nativity stamp used on the left is by PSX D-209 (no title).  (The greeting on this one is from the Penny Black set above.)  The “Swirly Christmas Tree”  in the center is by Rubber Soul.  The snowflake on the right is from Stampin’ Up; I purchased it by itself on ebay and am not sure what set it originally came from.

French Script” from Stampin’ Up (retired) was used behind the “smooshed” background.  The splatters are from the SU “Timeless Textures” set.  I used Memento Rich Cocoa and Desert Sand or Summer Sky and Blue Danube for these samples.

Thanks for checking out my card projects!

This content uses referral links as described in the disclosure policy on my sidebar.

Joy Peace Love Hanukkah Card

Joy Peace Love Hanukkah Card

wwDSC_0433.jpg

This card features an untitled Craft Smart stamp (#84168-2013-07) on a “smooshed” background.   The “splatters” are from the SU “Timeless Textures” set.  The greeting is part of the Penny Black “Wonder Collection” stamp set that was a free gift with the Papercraft Essentials Magazine (issue 113) from September 2014.

wonder collection by penny black

Memento Summer Sky and Blue Danube ink was used on white card stock.  The “smooshed” color added behind the menorah image was done by adding the Summer Sky ink directly to my craft mat and spritzing it with water.  The card stock was then dipped in/dragged through the ink/water droplets.  The edges were sponged with the Blue Danube ink and a foam blending tool.

Thanks for checking out my card project!

This content uses referral links as described in the disclosure policy on my sidebar.

Using a Wreath Builder Template WITHOUT a Stamp Positioner

Using a Wreath Builder Template WITHOUT a Stamp Positioner

wDSC_9982

Making wreaths is easy with a template from Gina K Designs.  (HERE is a video showing how to use this tool.)

While it is easiest to use a wreath builder template with a stamp positioner (like the MISTI), it is possible to create wreaths and other circular patterns without one and still achieve the same result.  Anything that has (2) raised sides at a 90 degree angle (like a shoe box top, a cookie sheet, a frame, a Stamp-a-ma-jig, etc.) and a large, rectangular acrylic (or wood) block will work.

Here’s how to do it using a photo box lid:

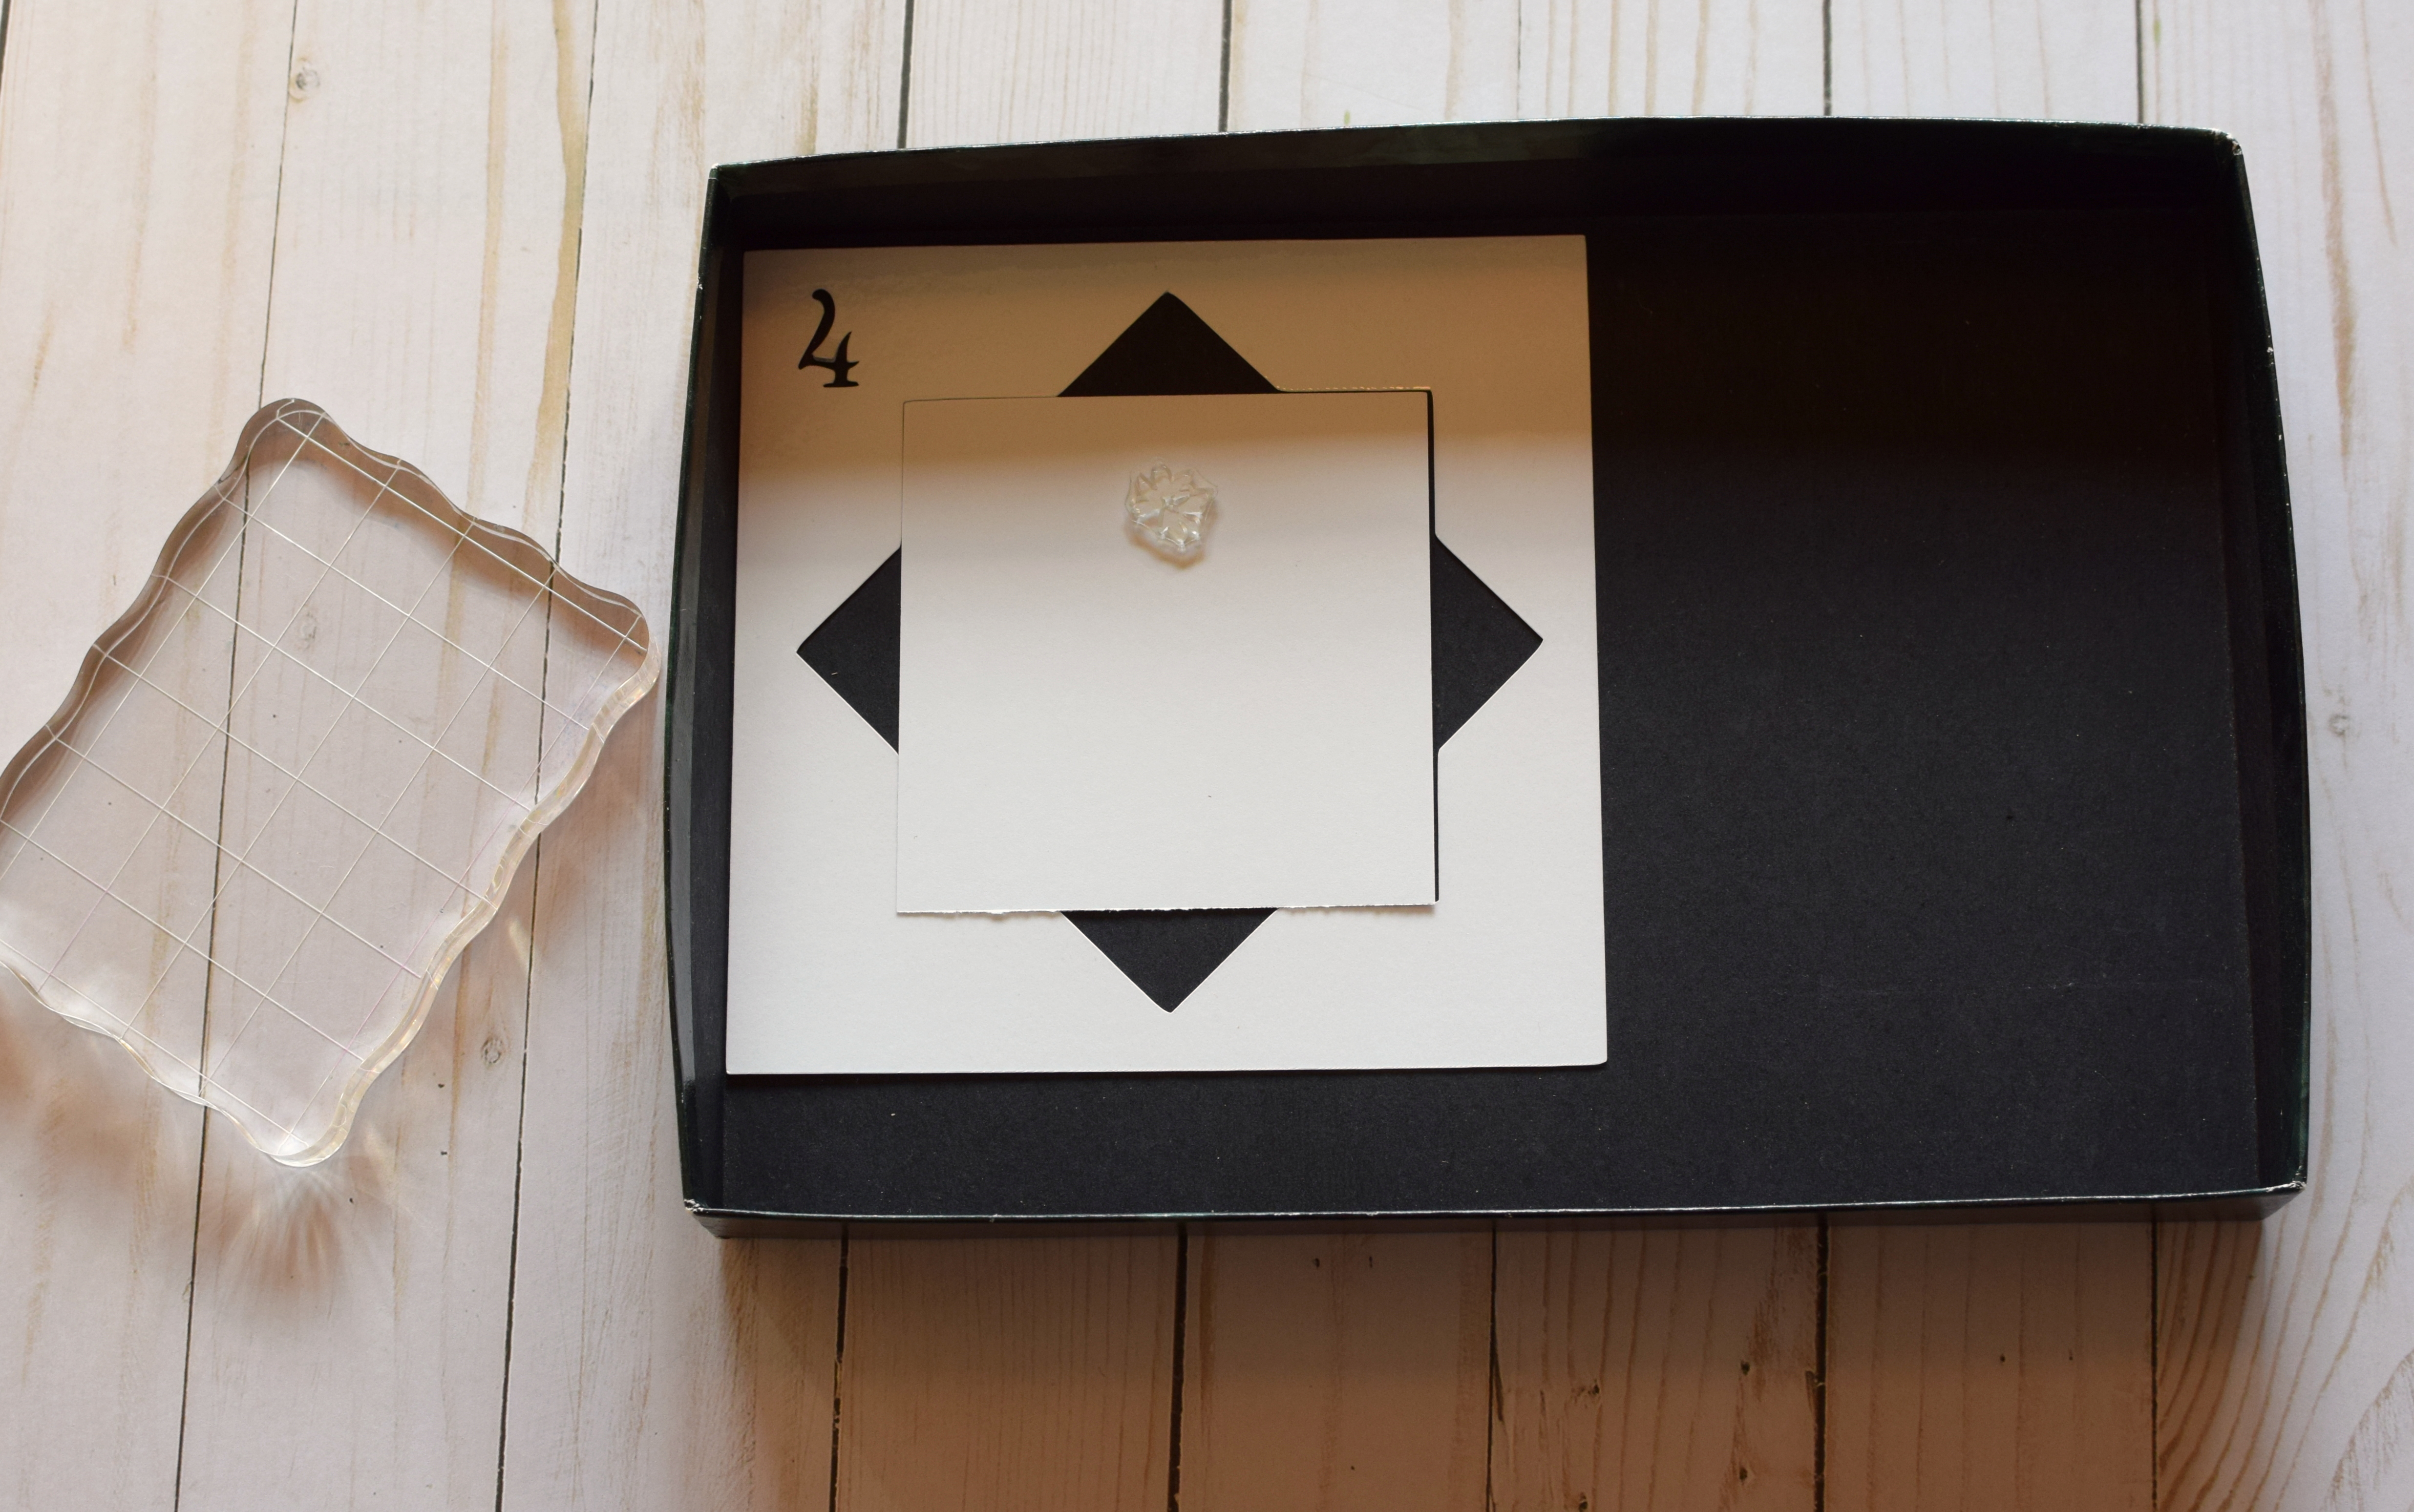
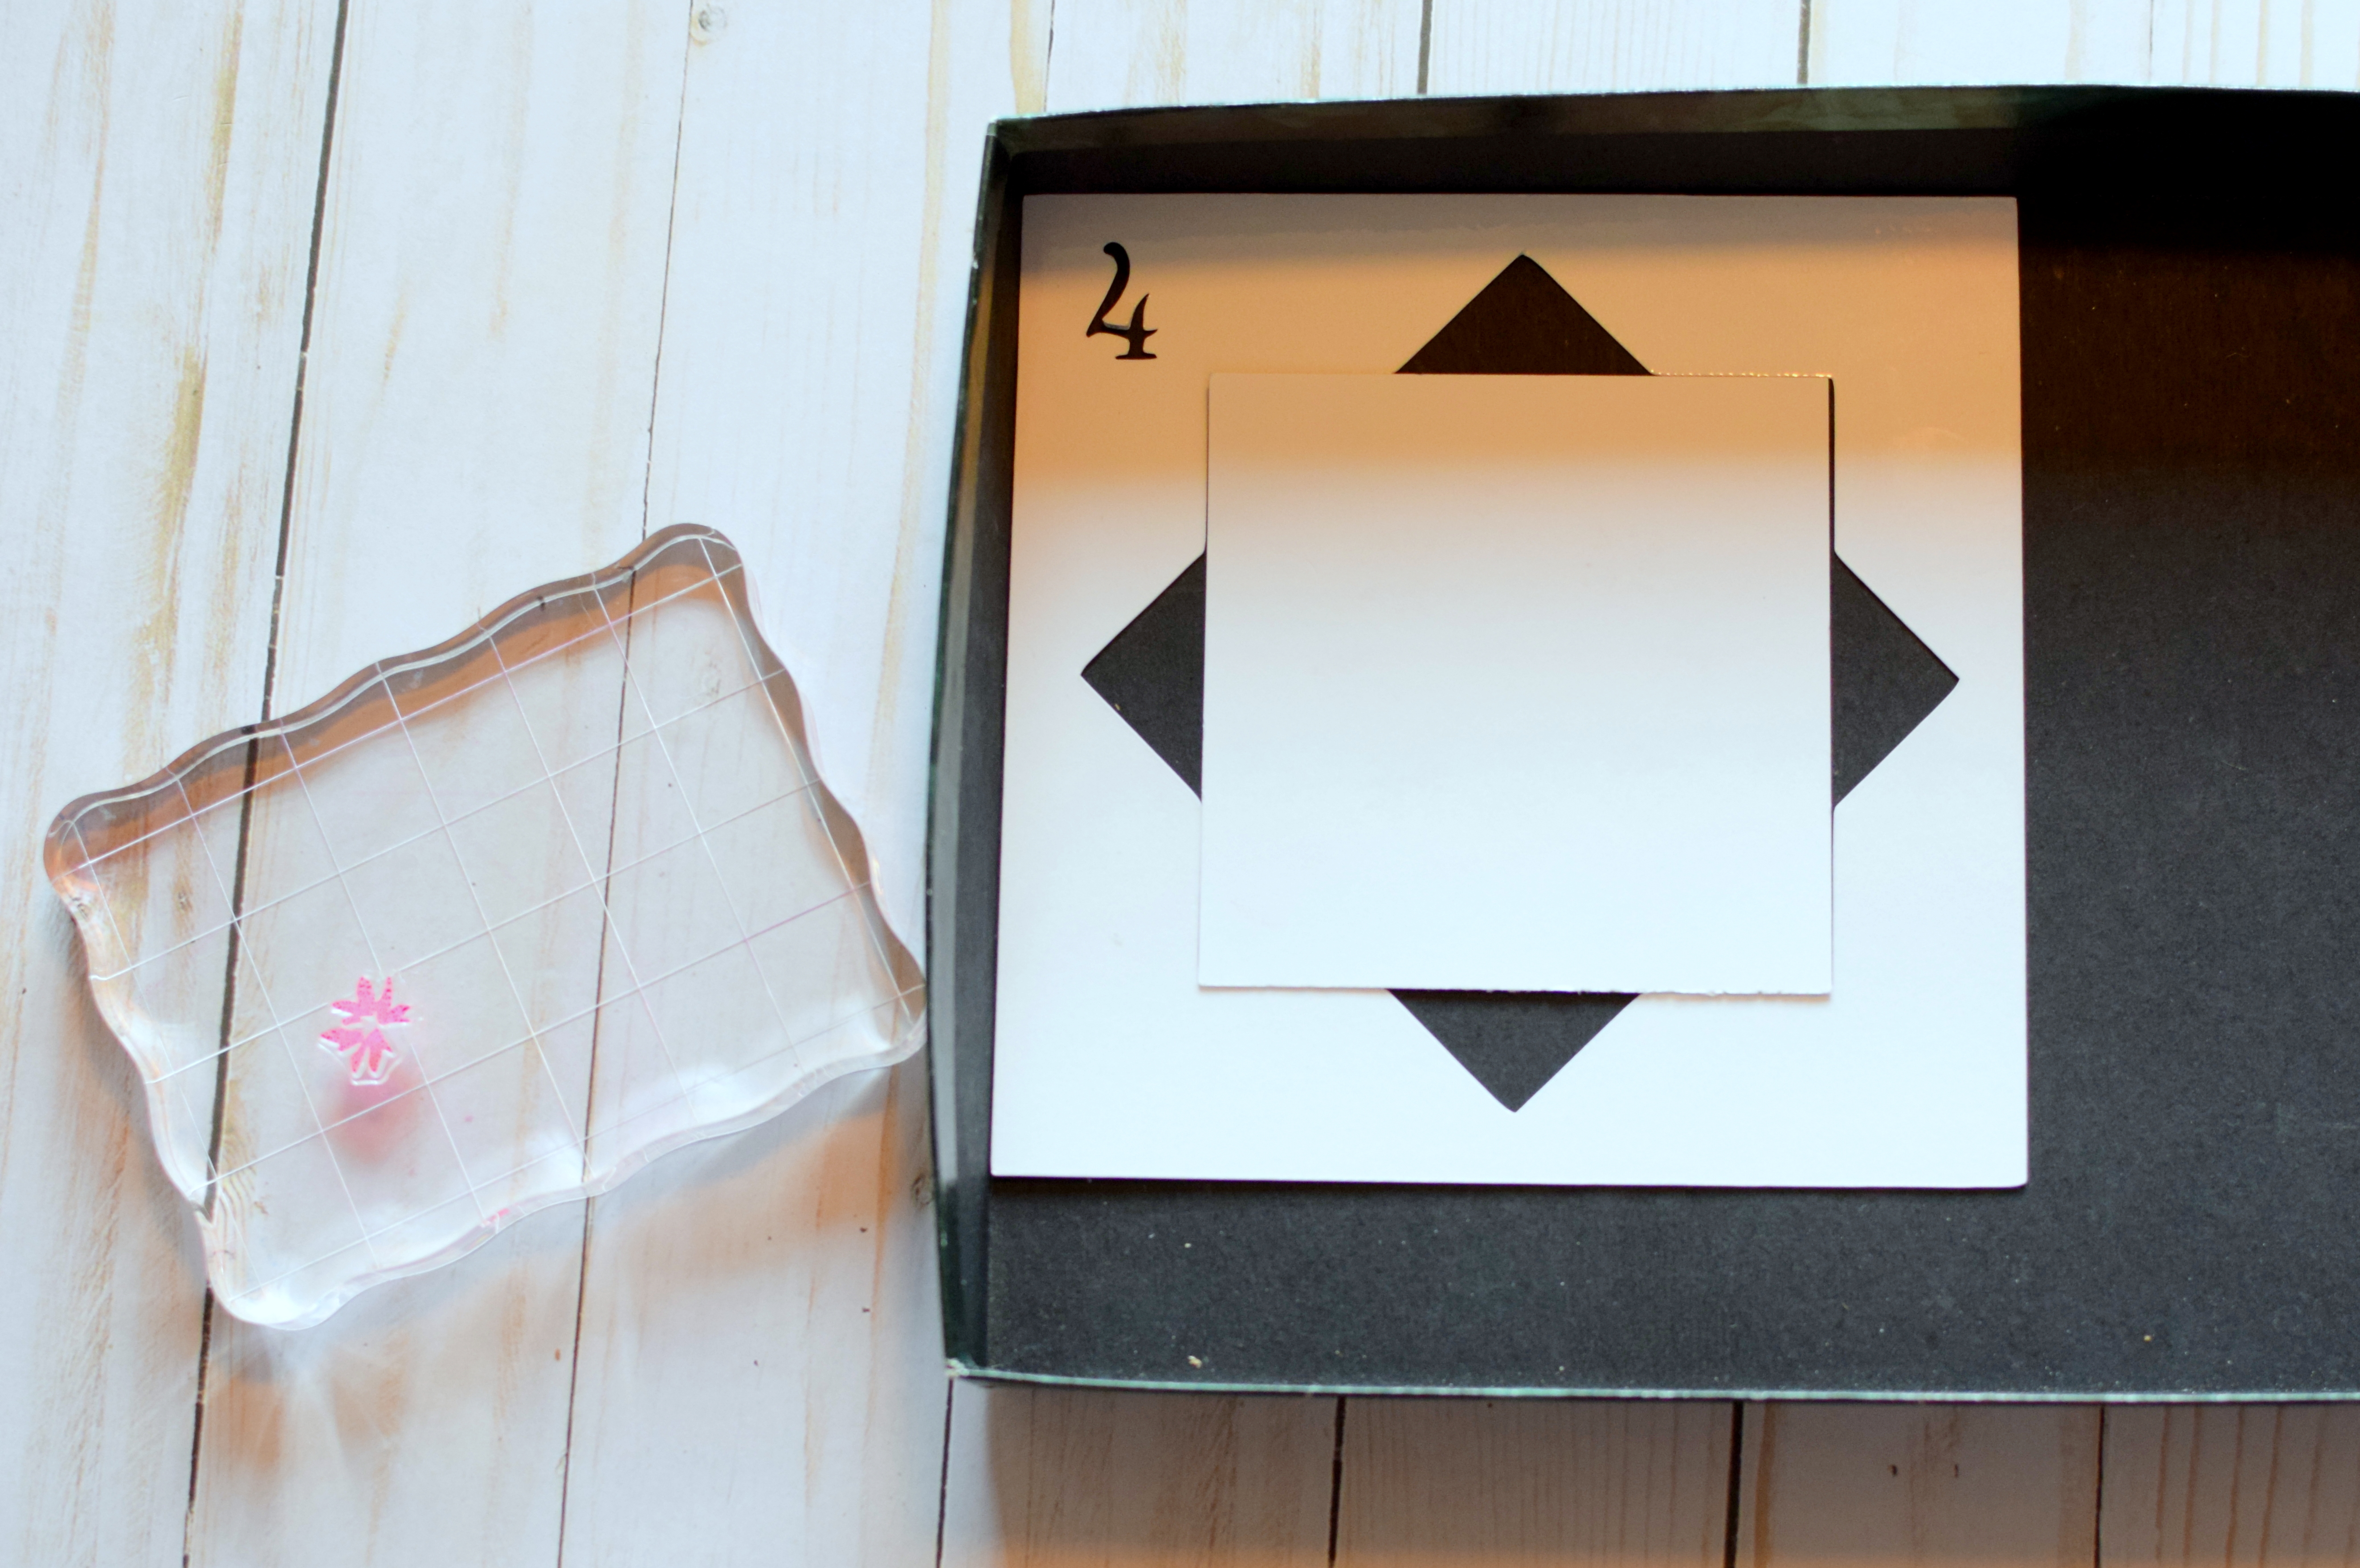
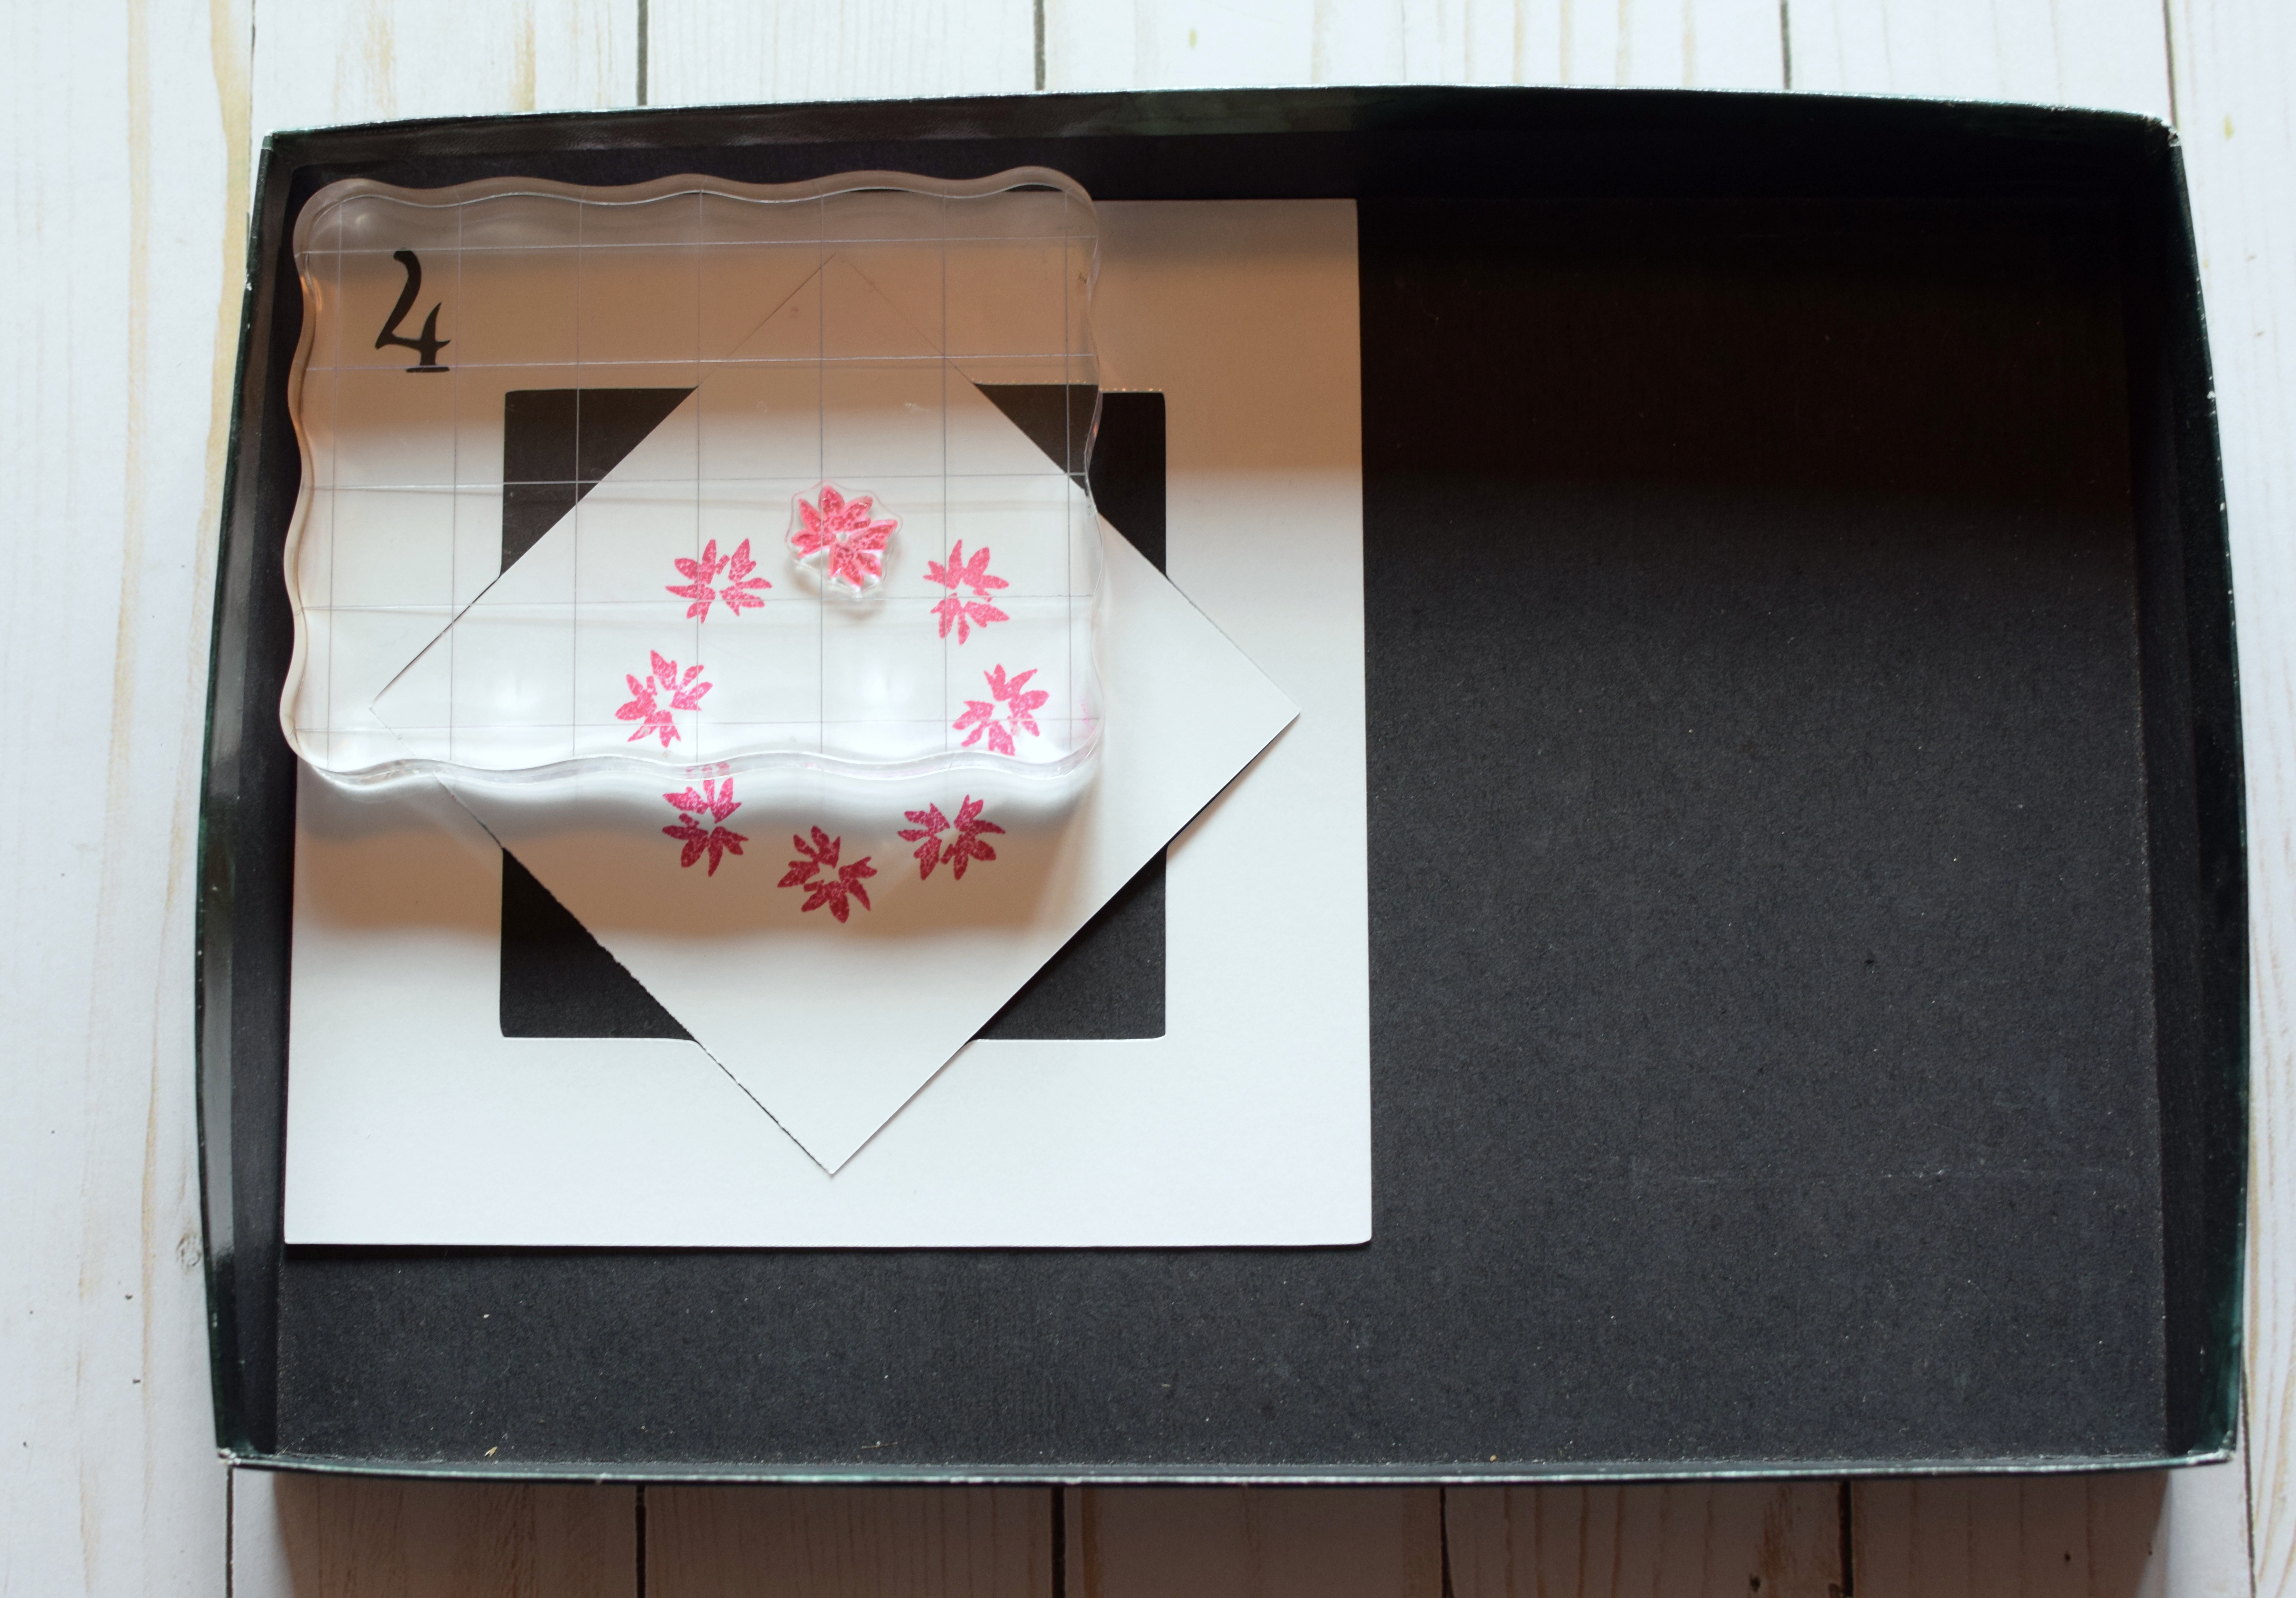
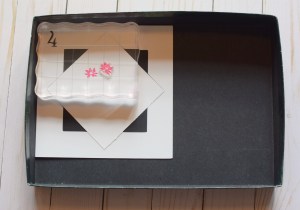
  1. Place your template in the corner of the box top.  (Once in place, the template cannot move.  Use tape to secure in place if desired.)  Place your card panel in the template in the square orientation (not diagonal/diamond orientation) to begin.  Place your first stamp on the card panel as desired.  (Place the stamp closer to the edge for a larger wreath or closer to the center for a smaller wreath.)

001 DSC_0435

*

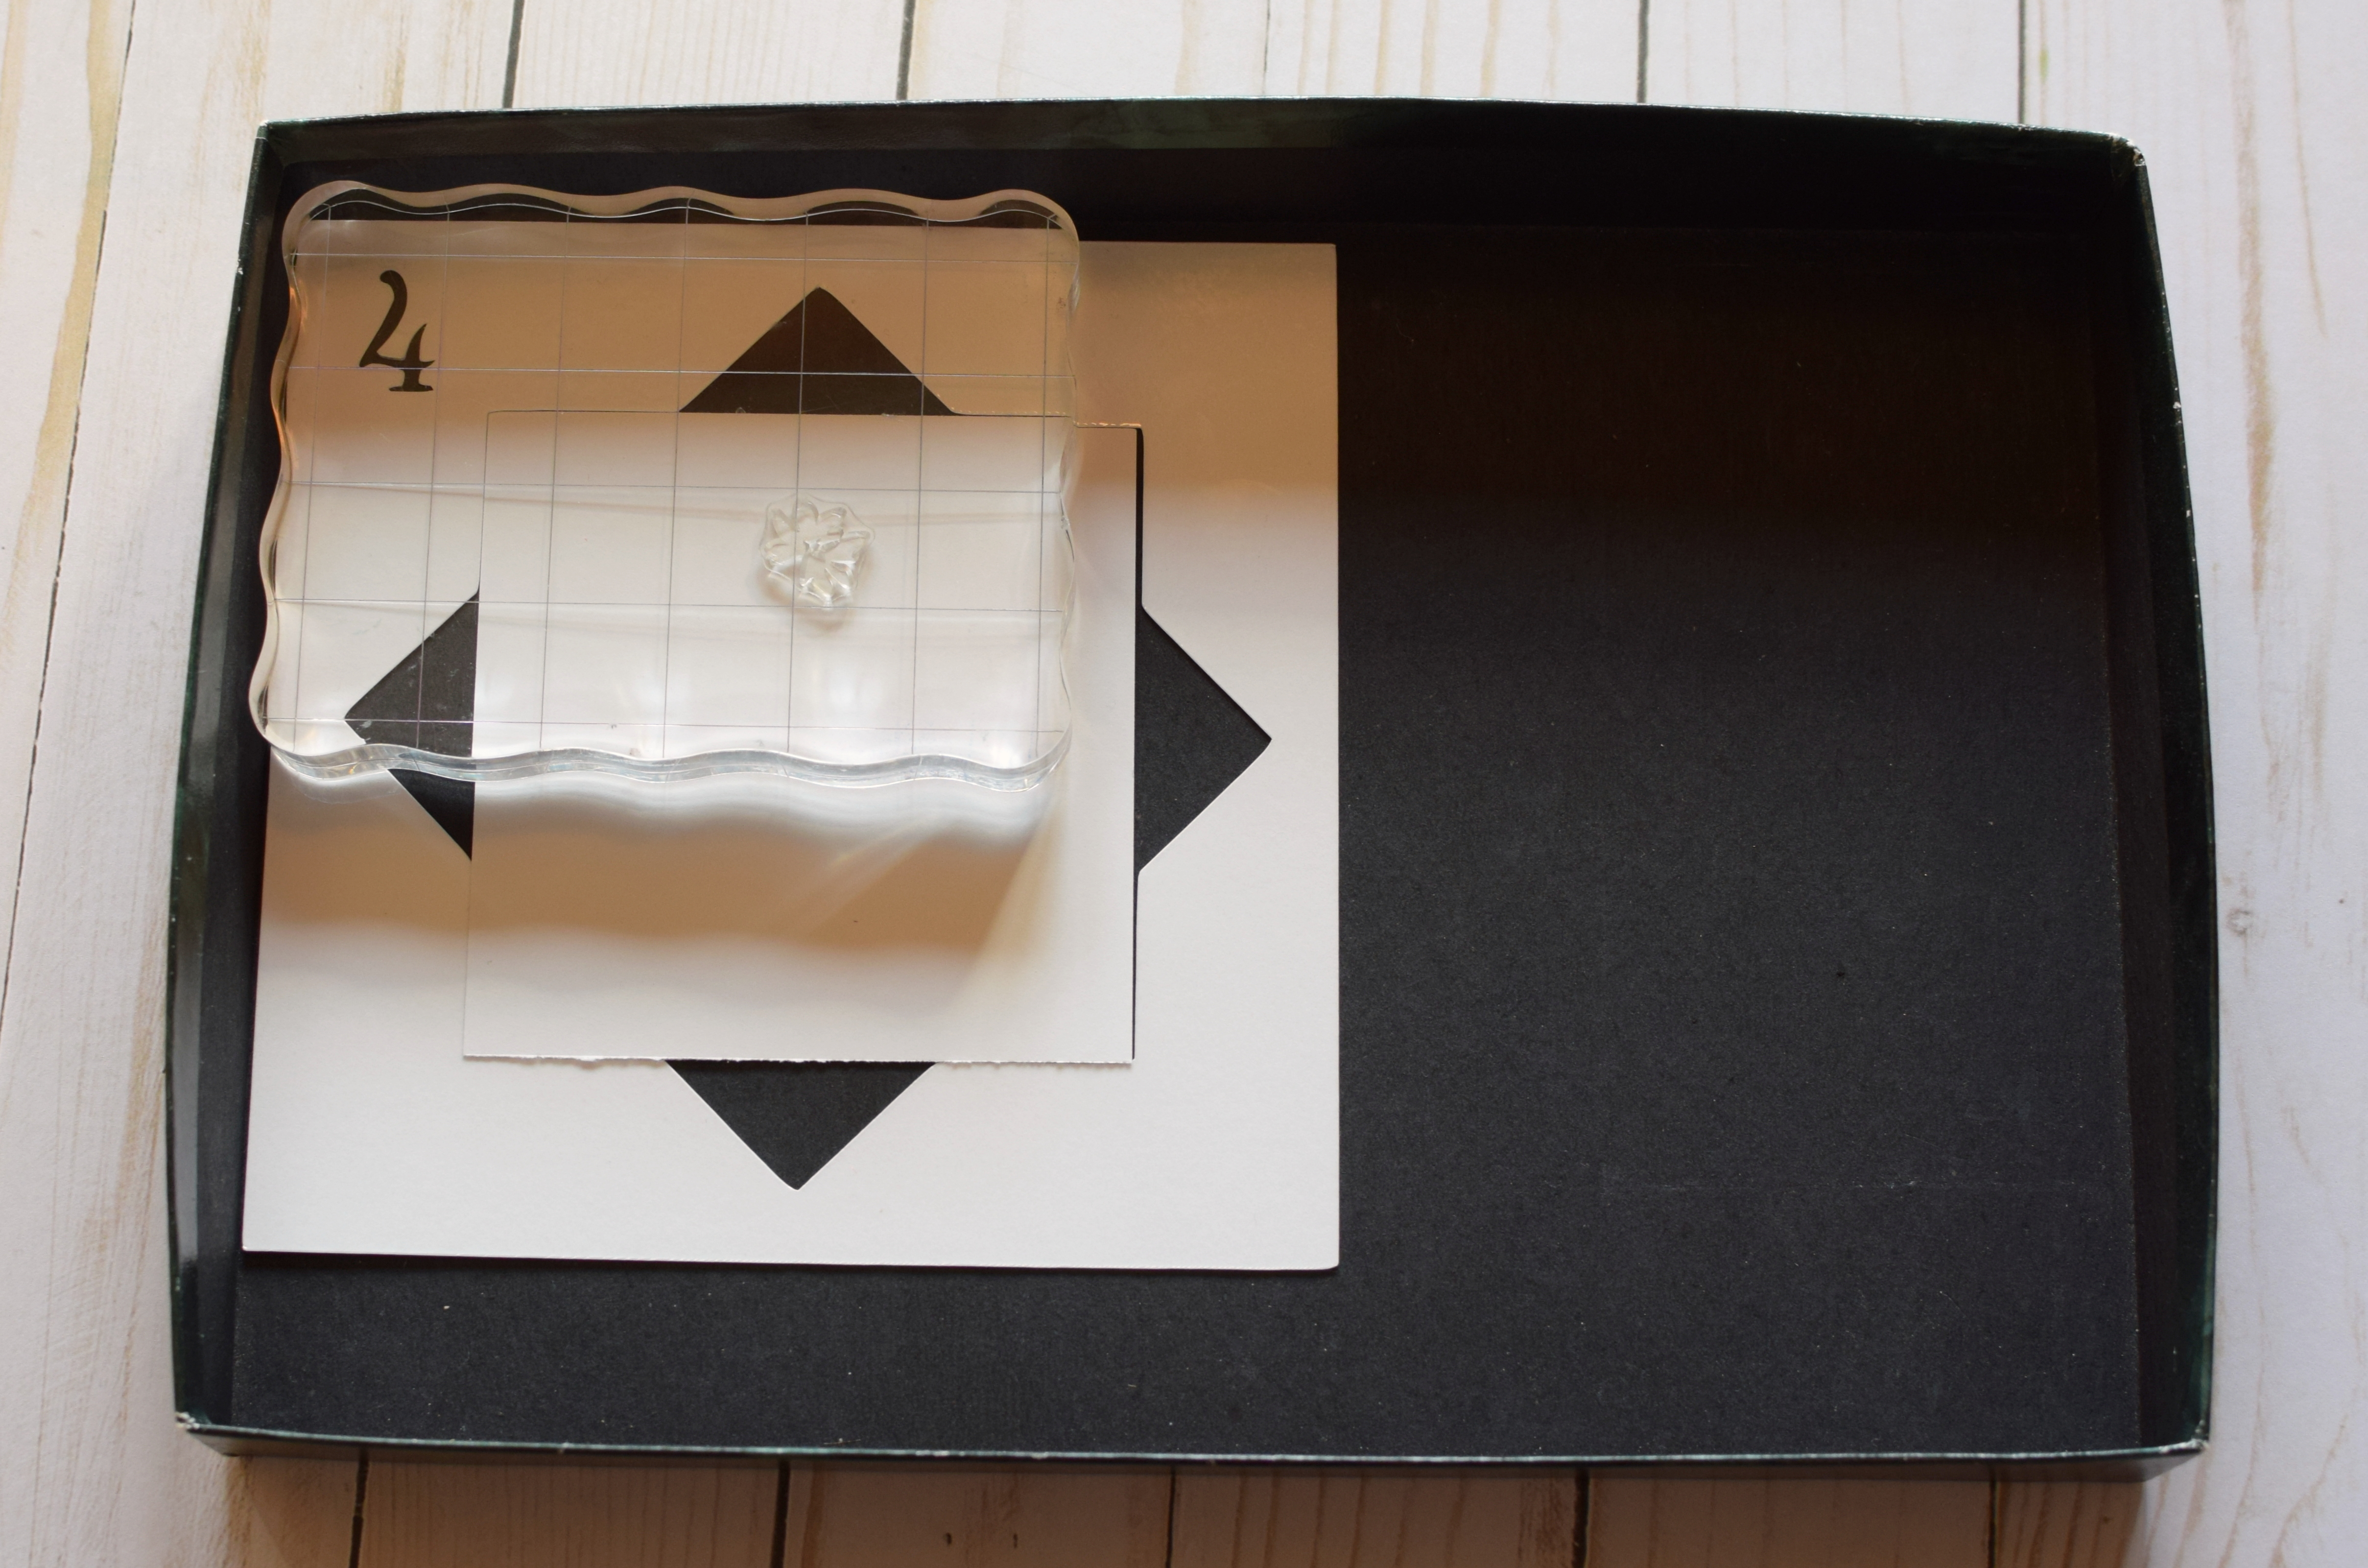
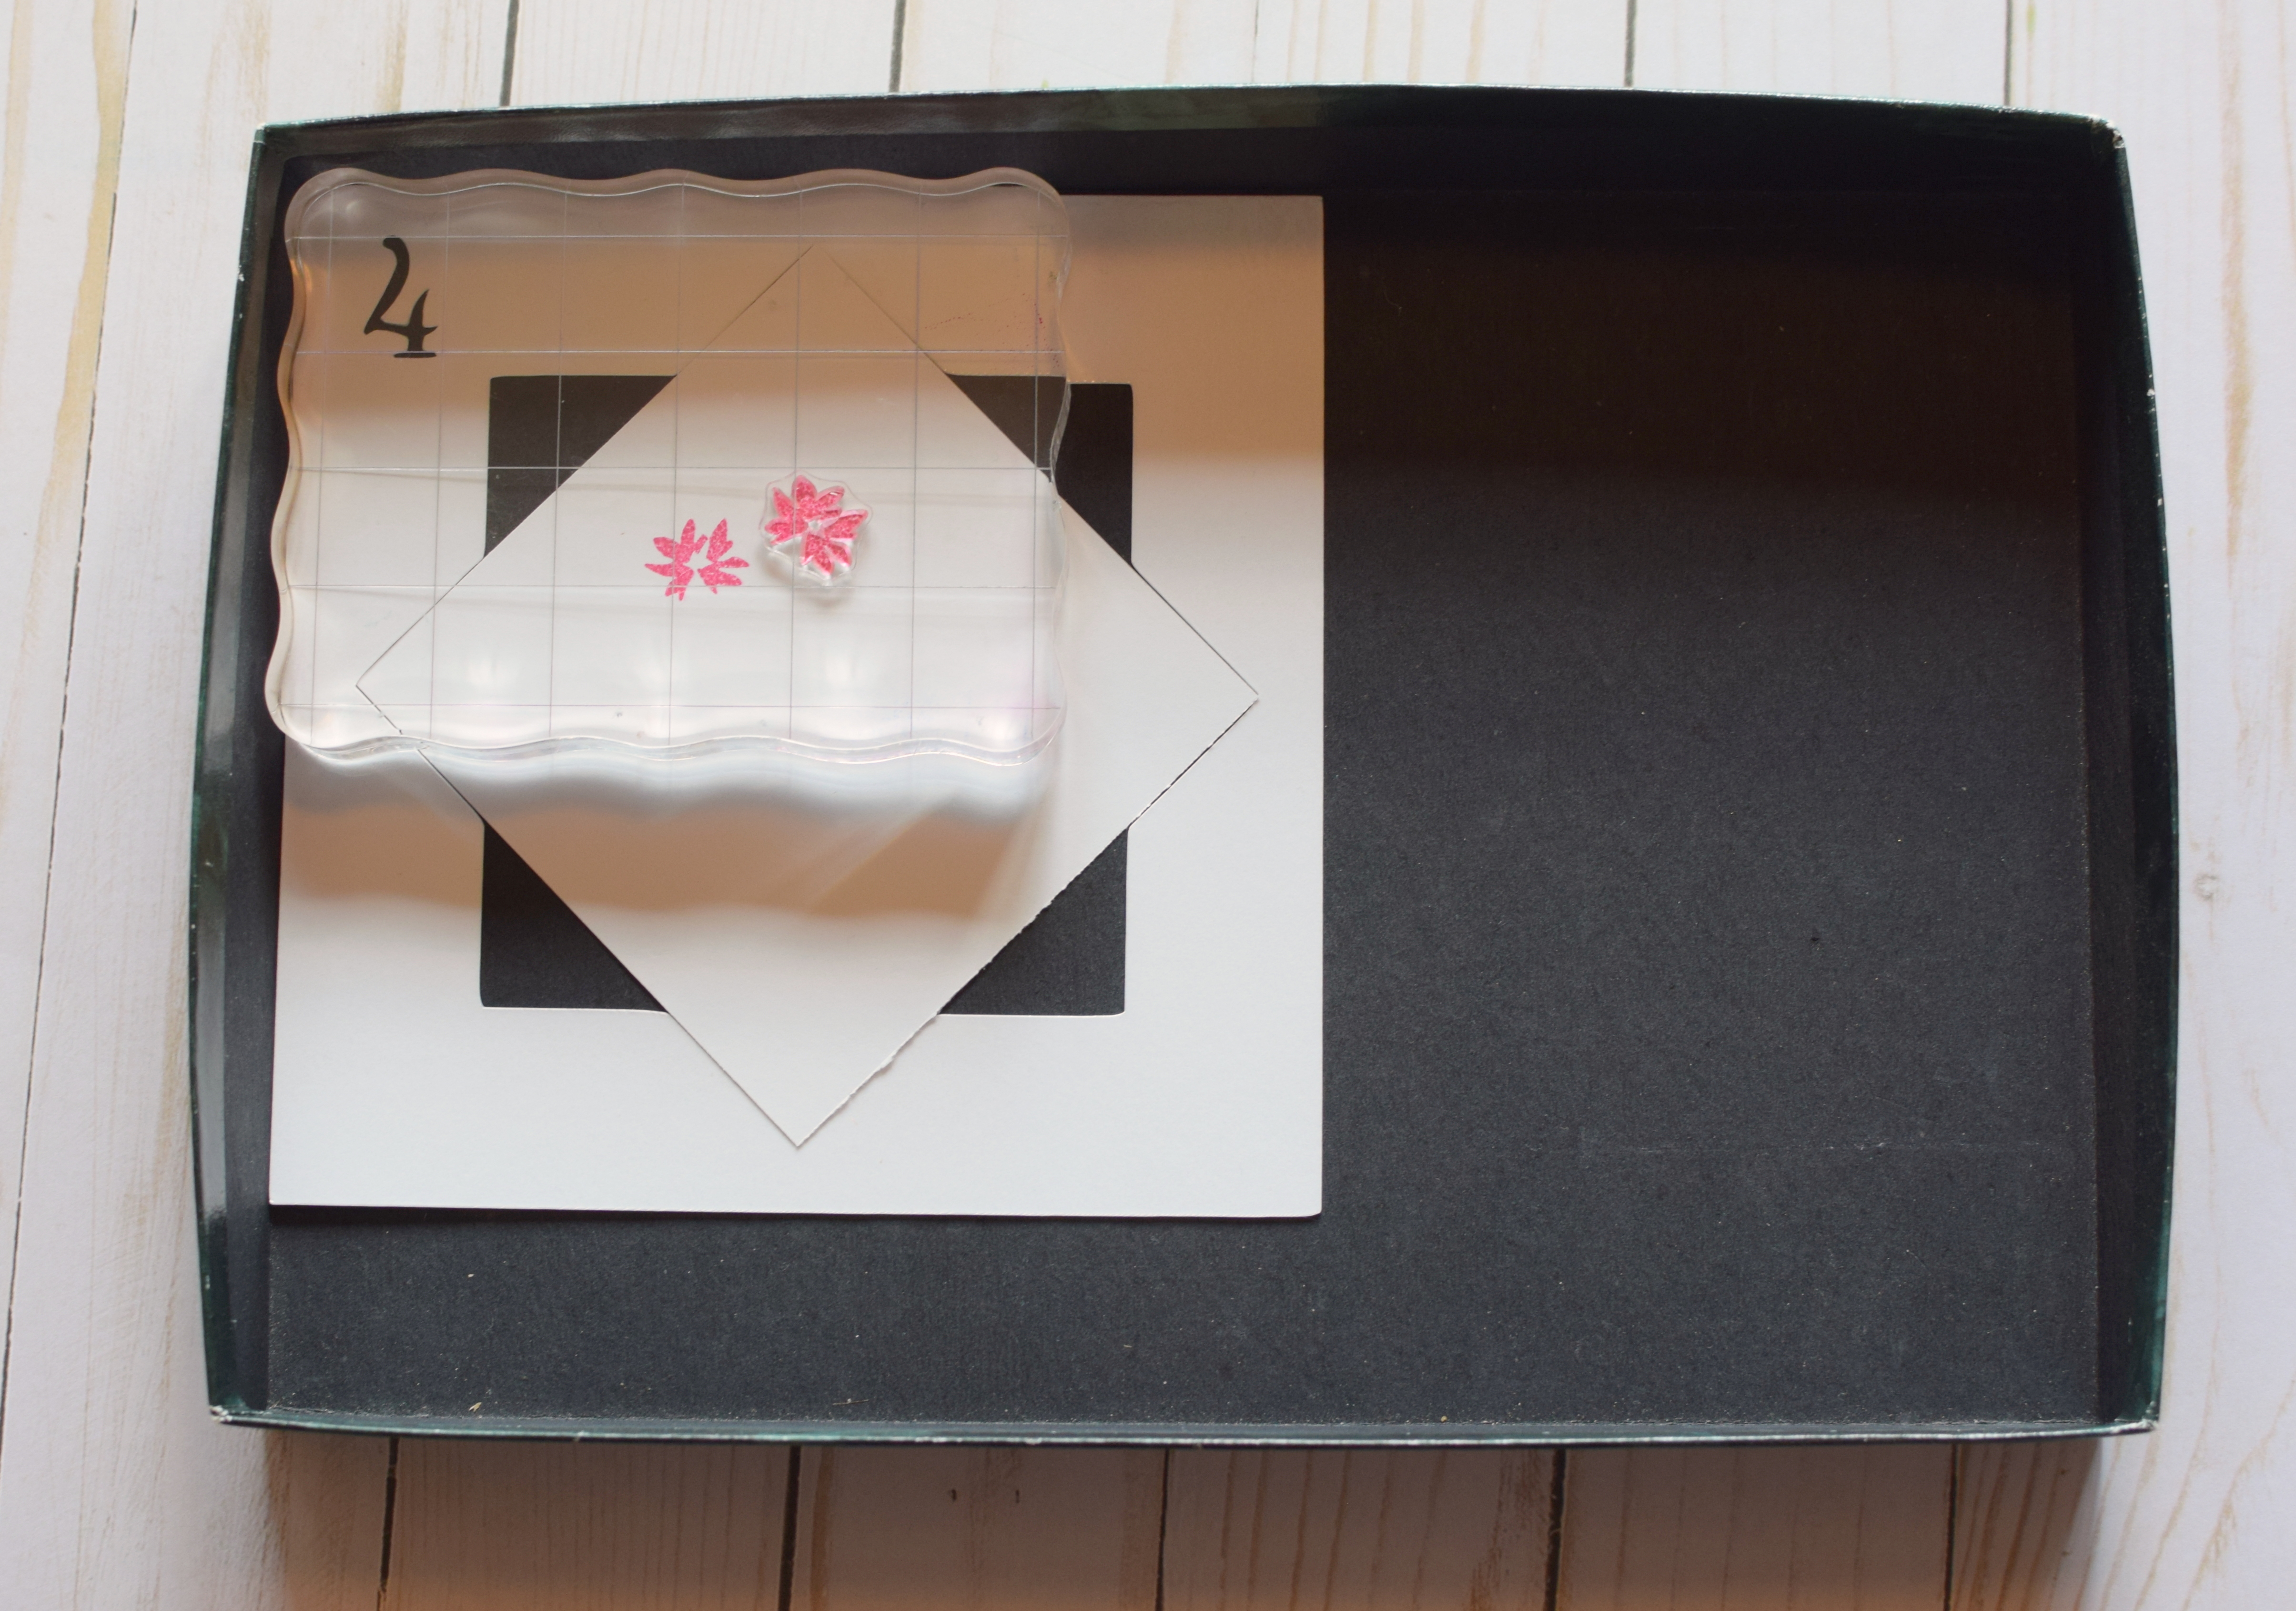
2.  With your acrylic block squared/wedged in the corner of the box top, carefully lower the block to pick up the stamp.  It is important to keep the two sides of the block touching/wedged in the corner/two sides of the lid.

002 DSC_0436

*

3.  Remove the acrylic block with the stamp, and ink it up as desired.

0025 DSC_0452

*

4.  With your acrylic block and inked stamp squared/wedged in the corner of the box top, carefully lower the block onto the card panel to stamp the image.  (Again, it is important to keep the two sides of the block touching/wedged in the corner/two sides of the lid as it was when you first picked up the stamp.)

003 DSC_0437

*

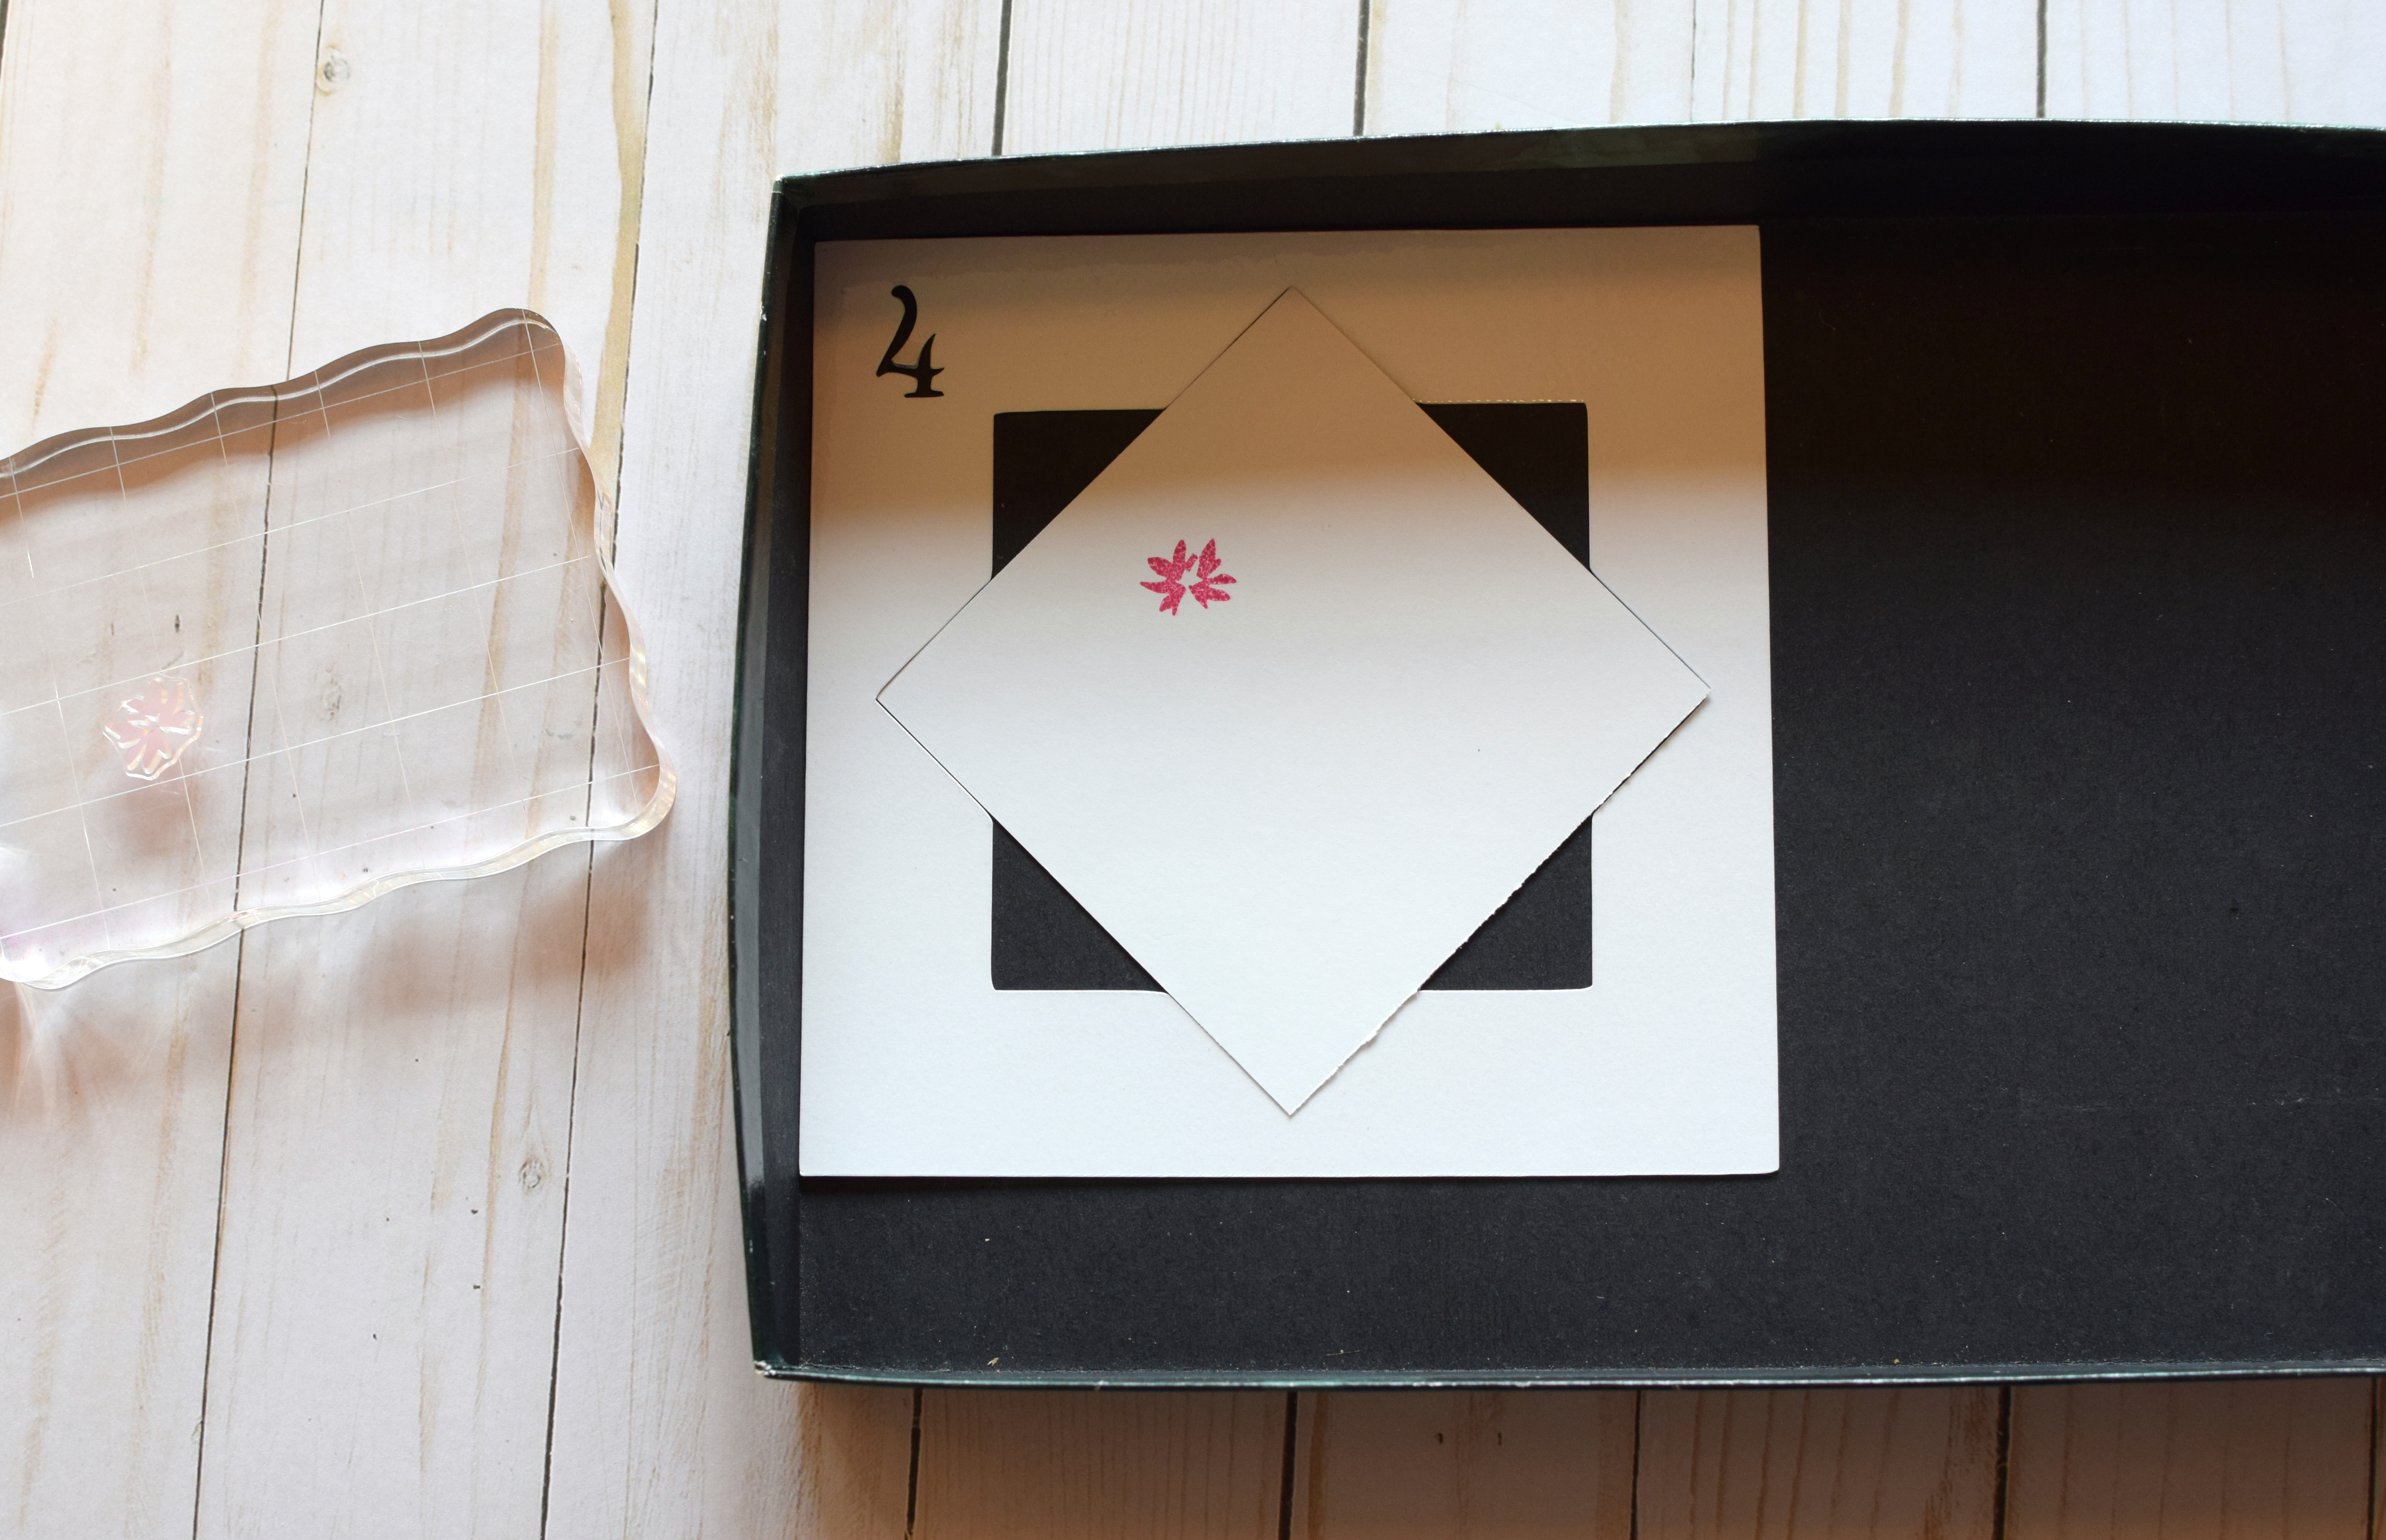
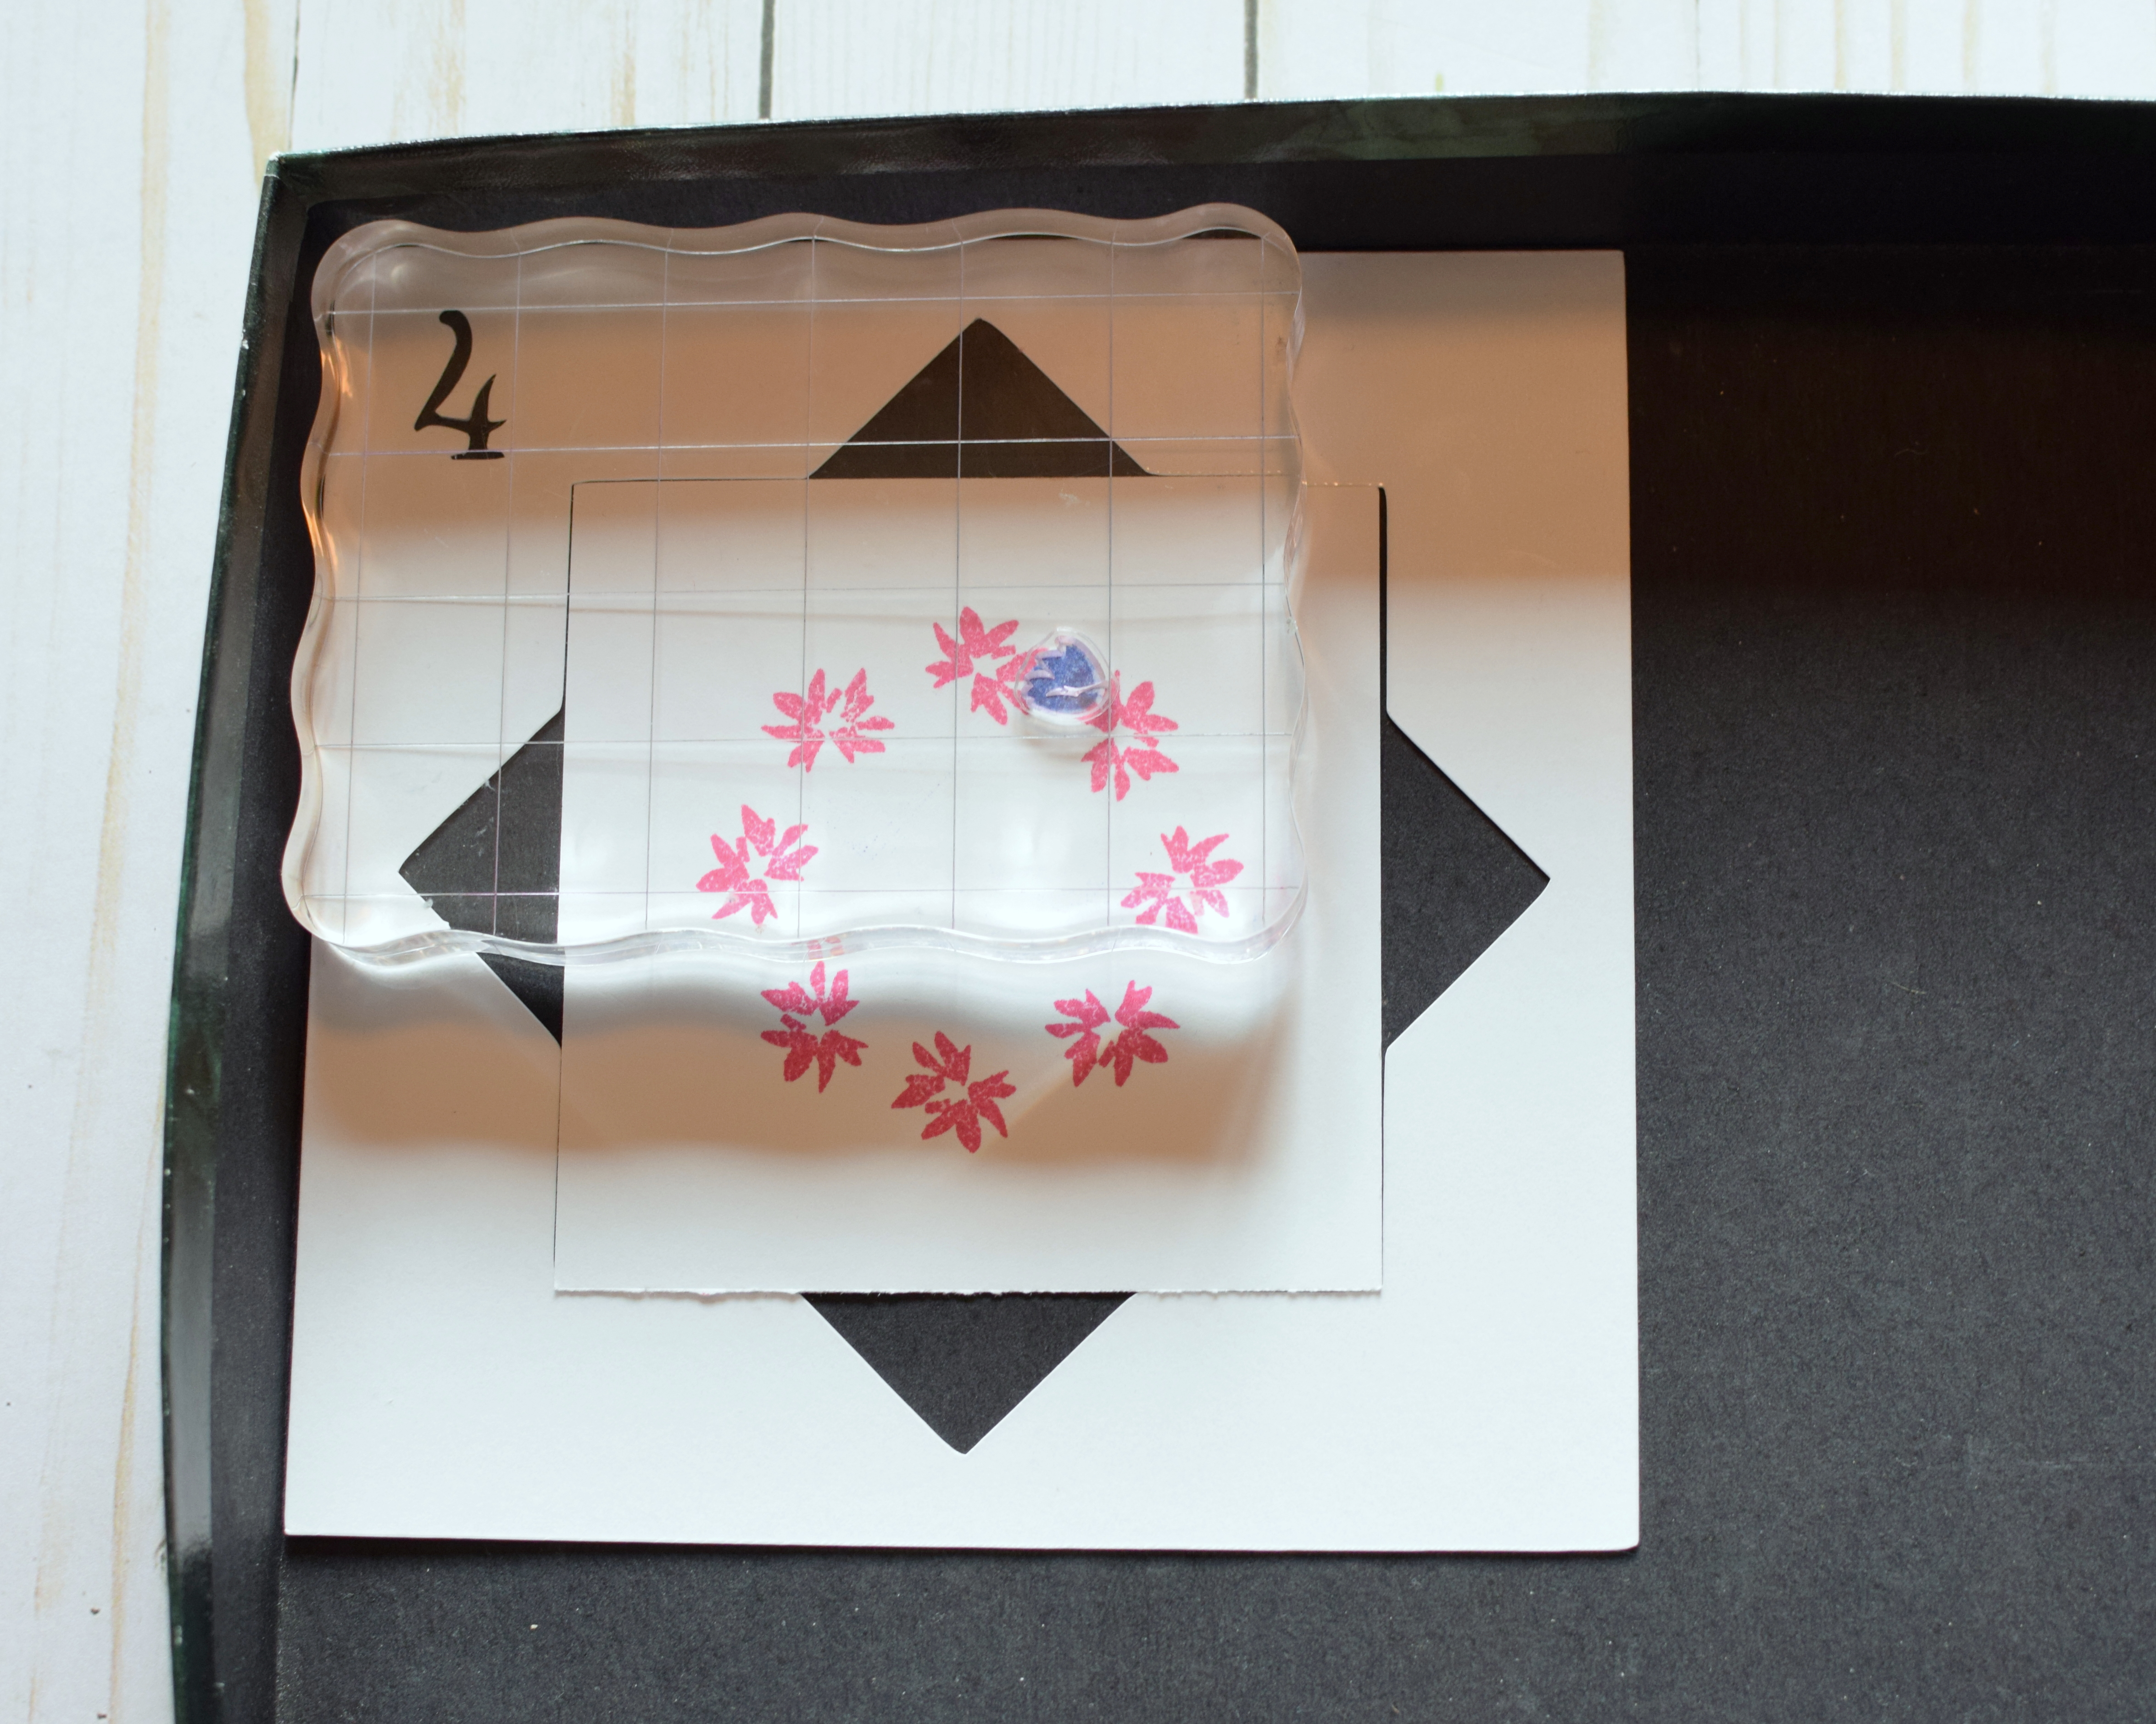
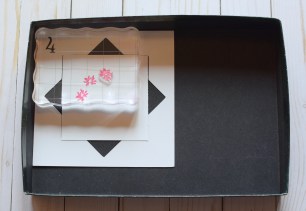
5.  Lift/remove the block. Rotate the card panel into the next position on the template.  (It’s now in the diamond orientation.)

004 DSC_0439

*

6.  Ink up the stamp again, and repeat the stamping.

005 DSC_0440

*

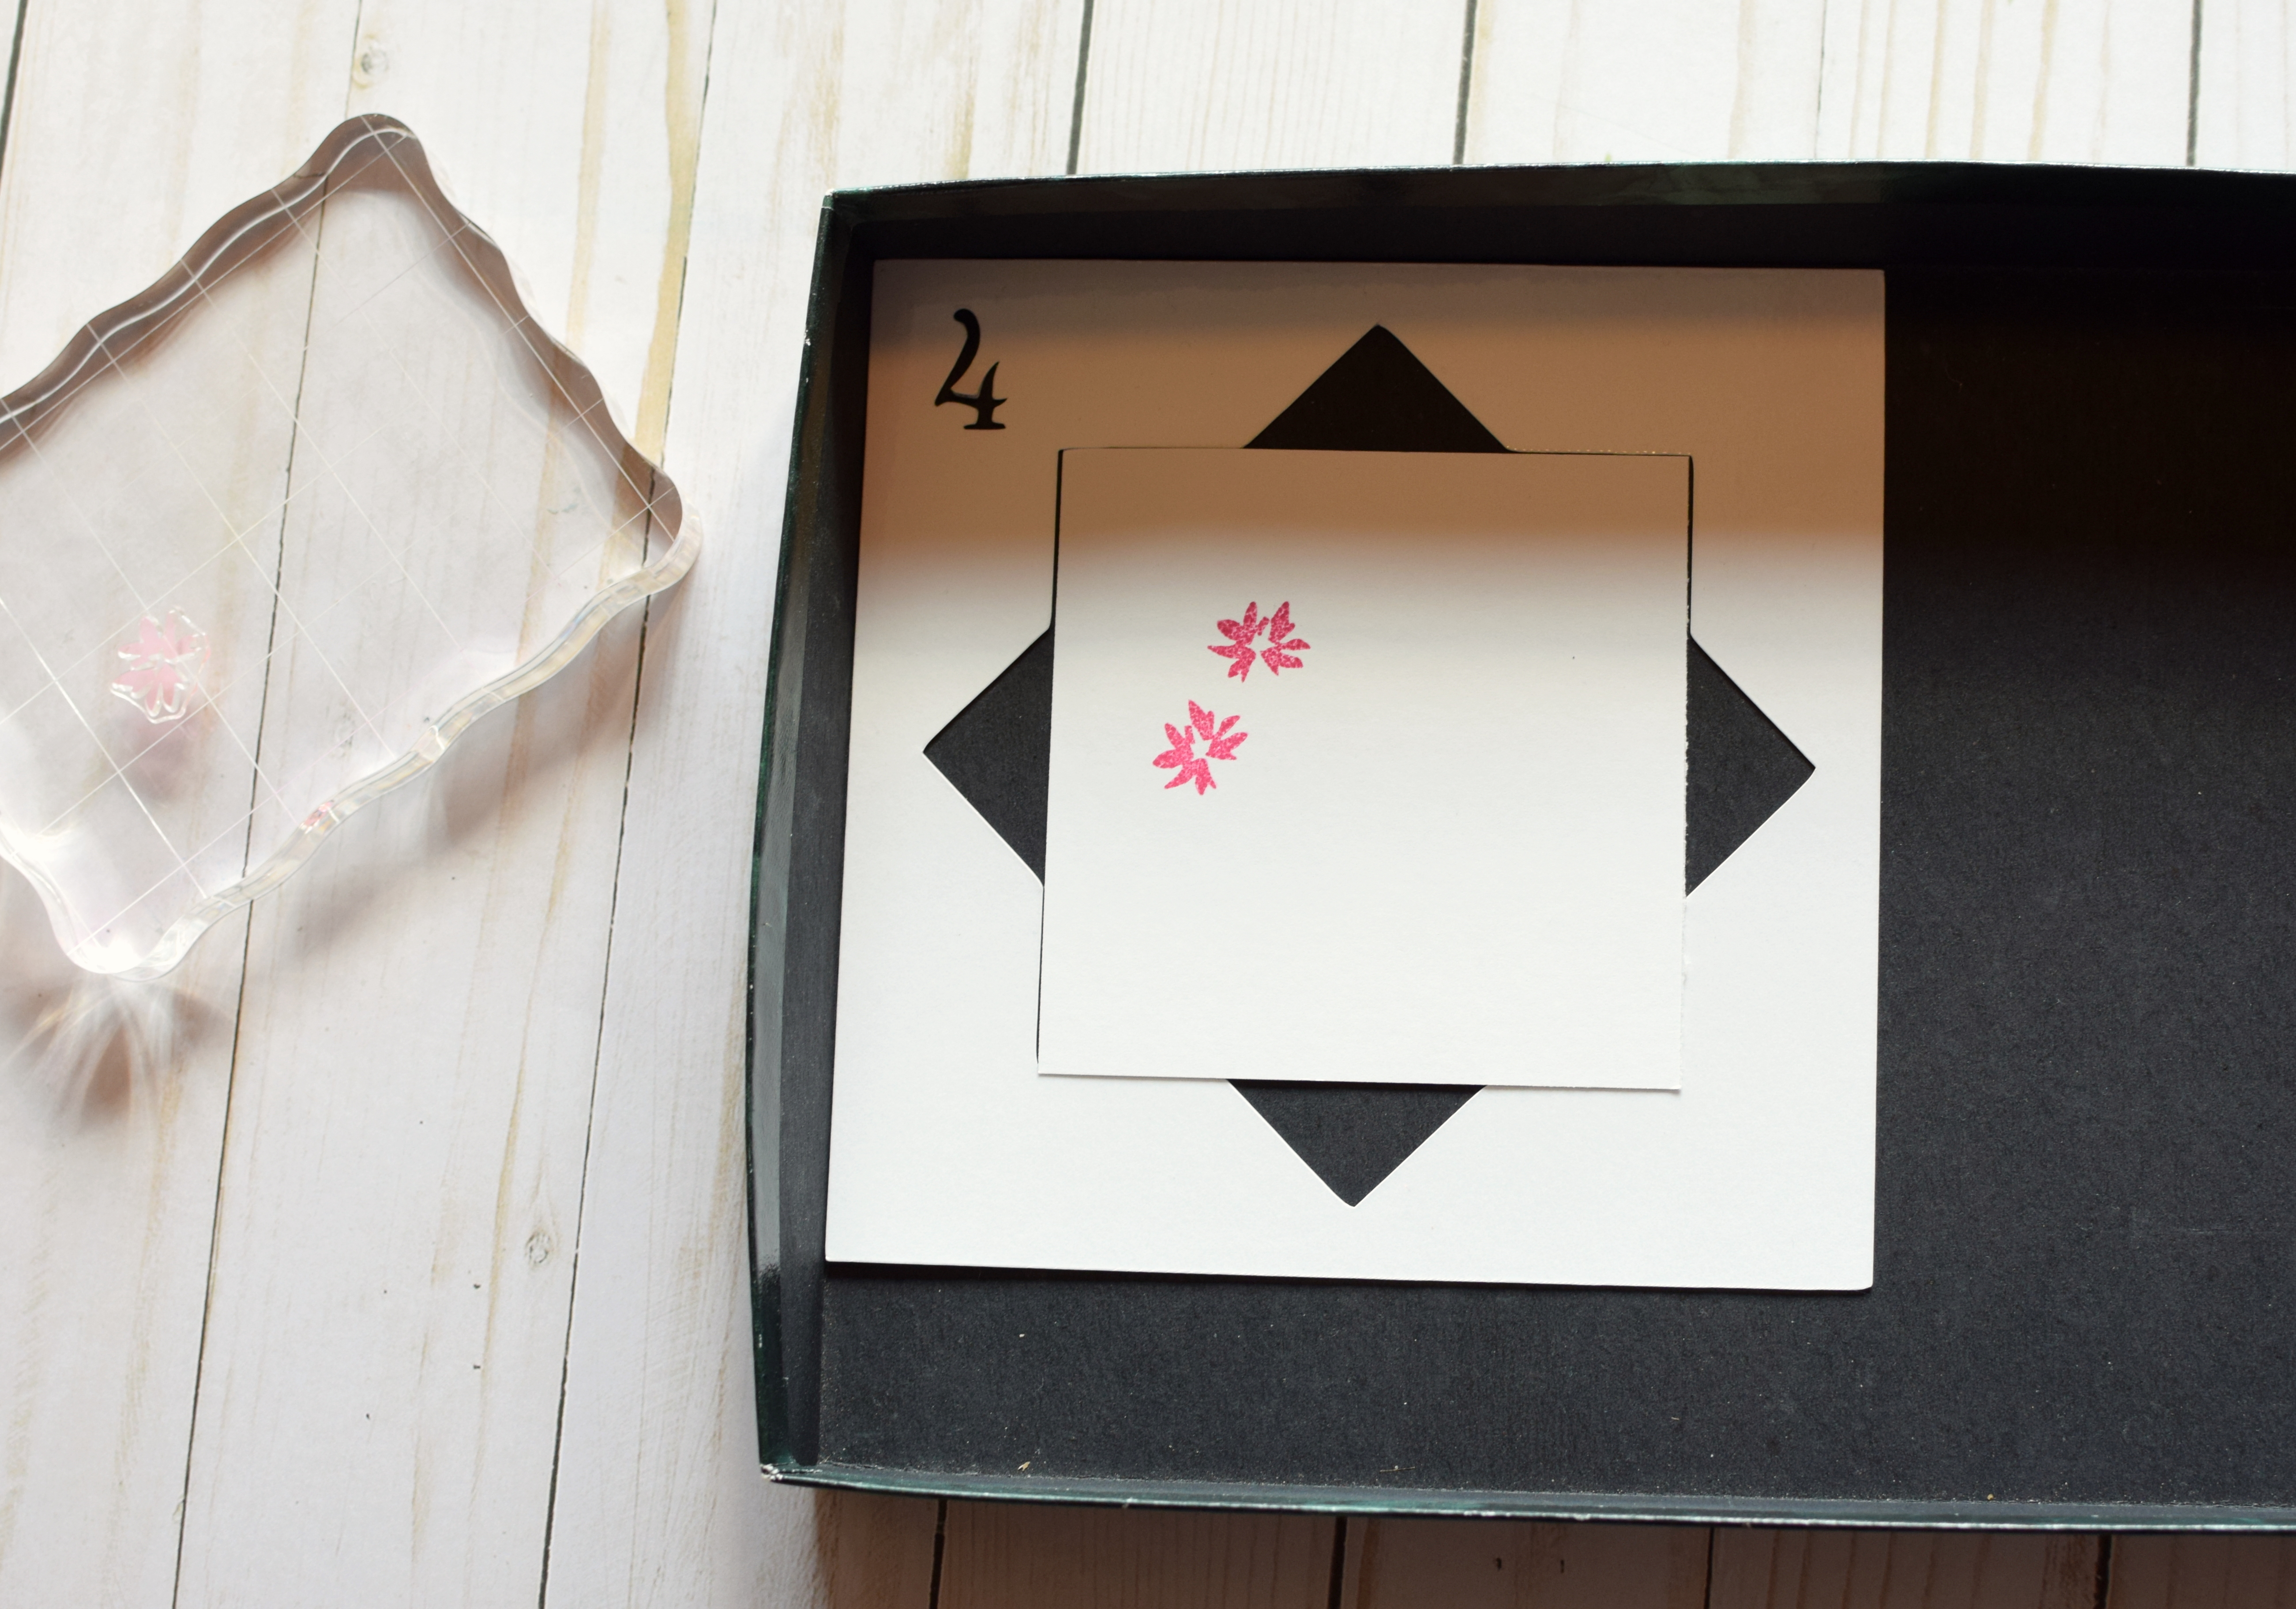
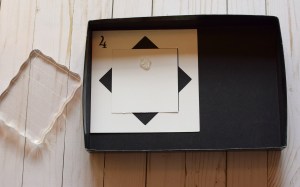
7.  Continue rotating the panel (now in the square orientation) and stamping the image…

006 DSC_0441   007 DSC_0442

…until you’ve done it 8 times in each of the positions on the template.

008 DSC_0443

*

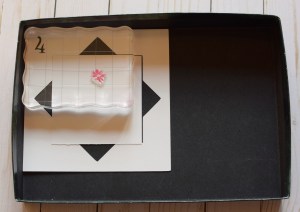
8.  Remove the stamp from the block, add another stamp, and continue adding images to your panel as desired.  (Always start in square orientation when adding another stamp.)

010 DSC_0450

* * * * *

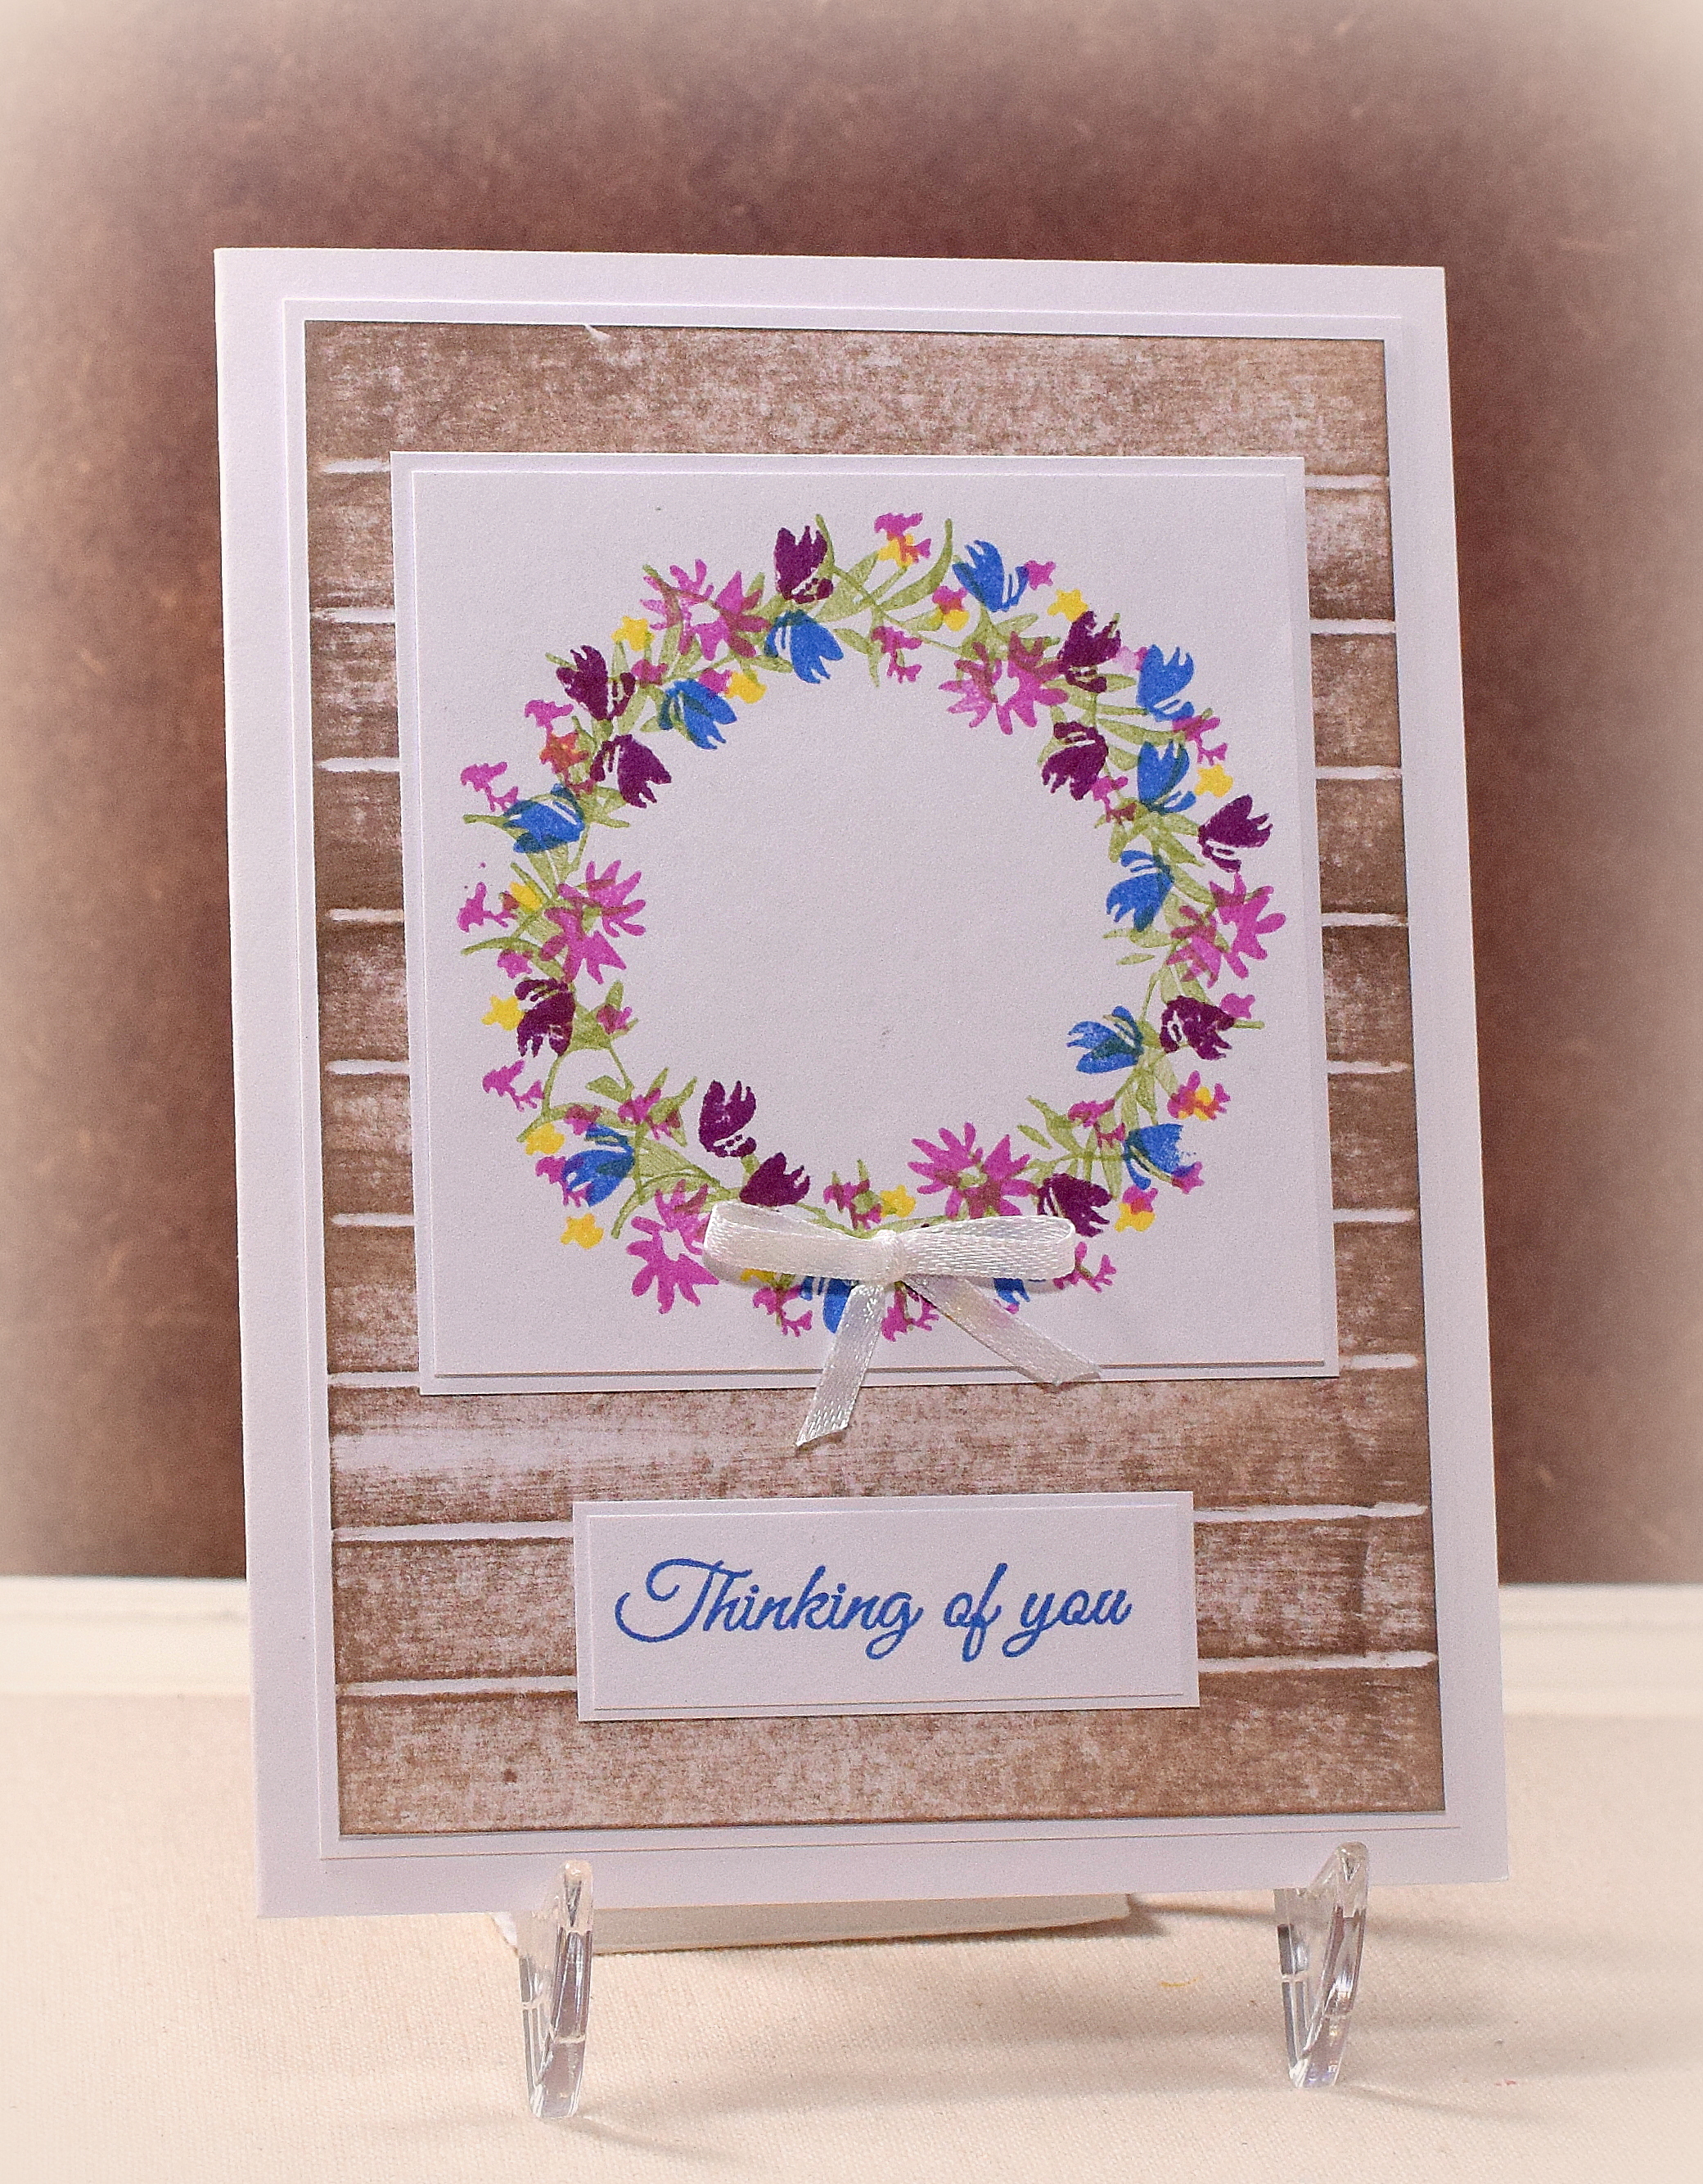
As I said, it is easier to use a stamp positioner, but if you don’t have one, you can still create beautiful wreaths with a wreath builder template.

(The stamps used to create the wreath on the card above are from the “Wildflower Garden” stamp set from Altenew.)

Thanks for checking out my tutorial.


CAS Silver Embossed Hanukkah Card

CAS Silver Embossed Hanukkah Card

wwDSC_0296.jpg

This clean and simple (cas) card features stamps from the “Seasonal Sentiments” set by Gina K Designs and the “Festival of Lights” mini set by Papertrey Ink.  Both were stamped with versamark ink and heat embossed with Gina K Silver fine detail embossing powder.  The star was stamped/embossed on a separate scrap of card stock and fussy cut since I was having trouble centering it perfectly when I tried to stamp it directly onto the card front. (User error I’m sure!)  The card stock was Gina K In the Navy and white.

Thanks for checking out my card project!

This content uses referral links as described in the disclosure policy on my sidebar.