“Perfect Layers”

“Perfect Layers”

*Updated 7/18/20 – I’m not sure if this company is still in business.  We R Memory Keepers is now making these Letter Guides (which appear to be the same thing?).

*

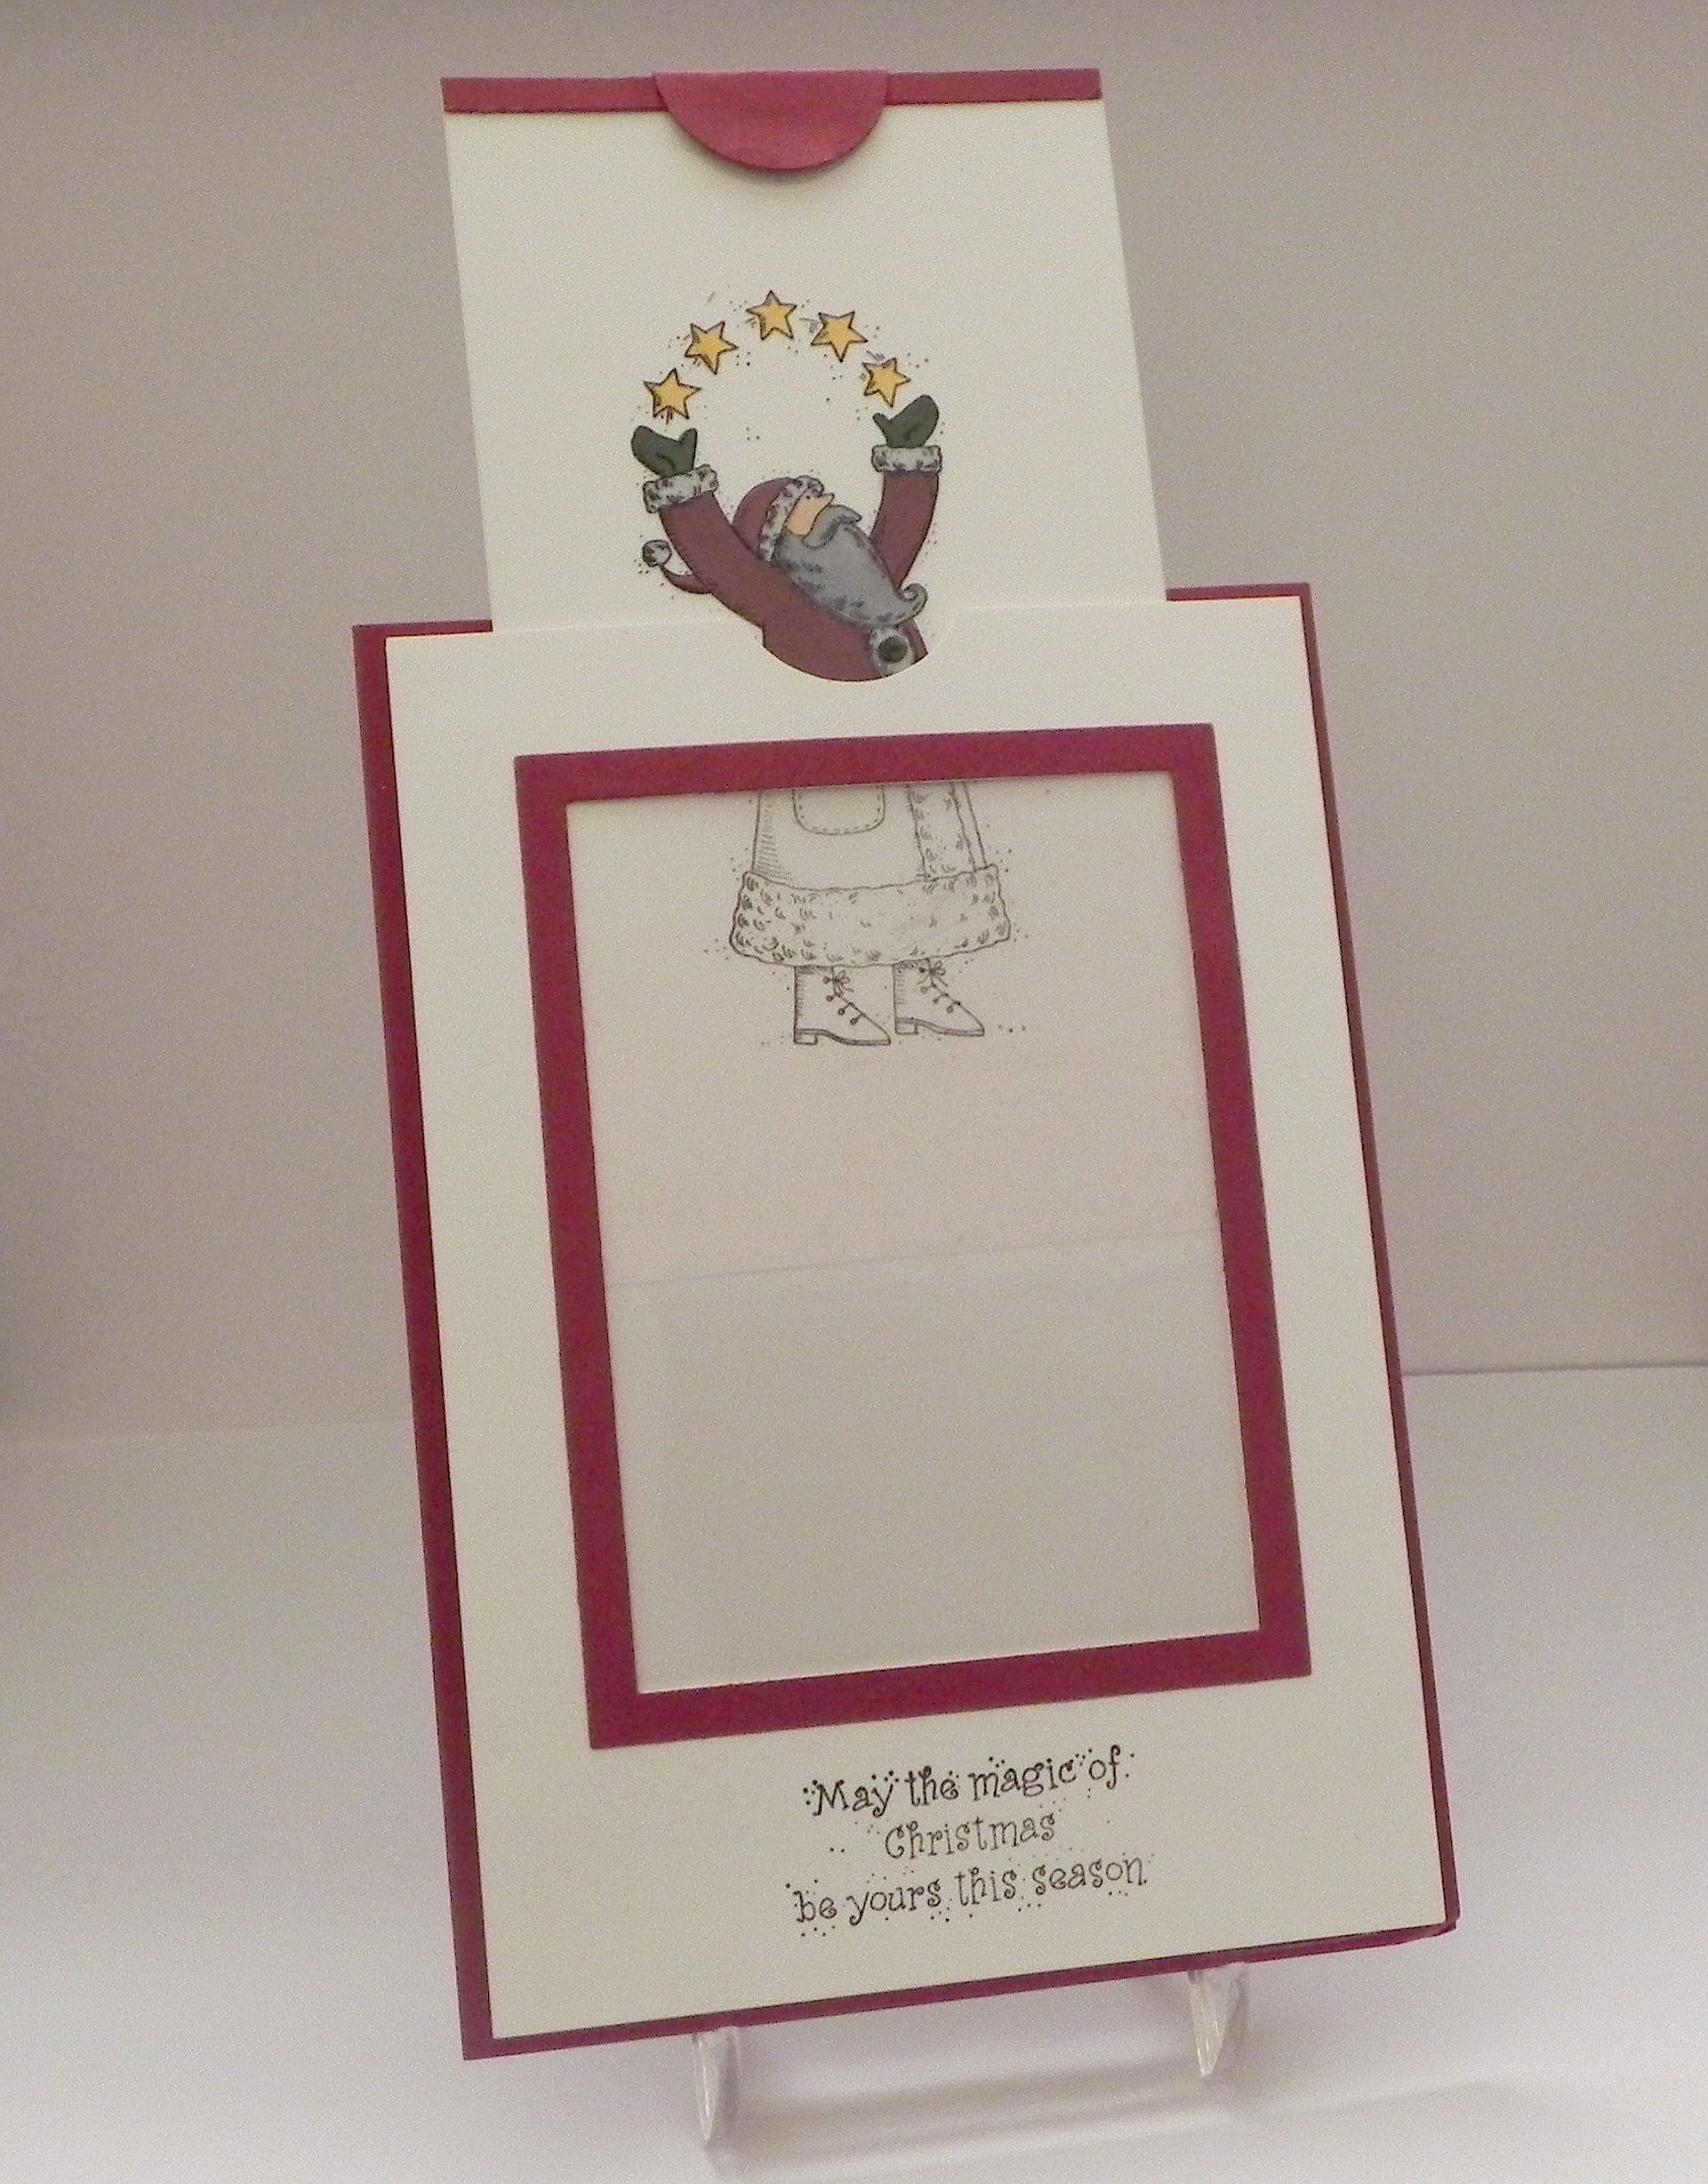
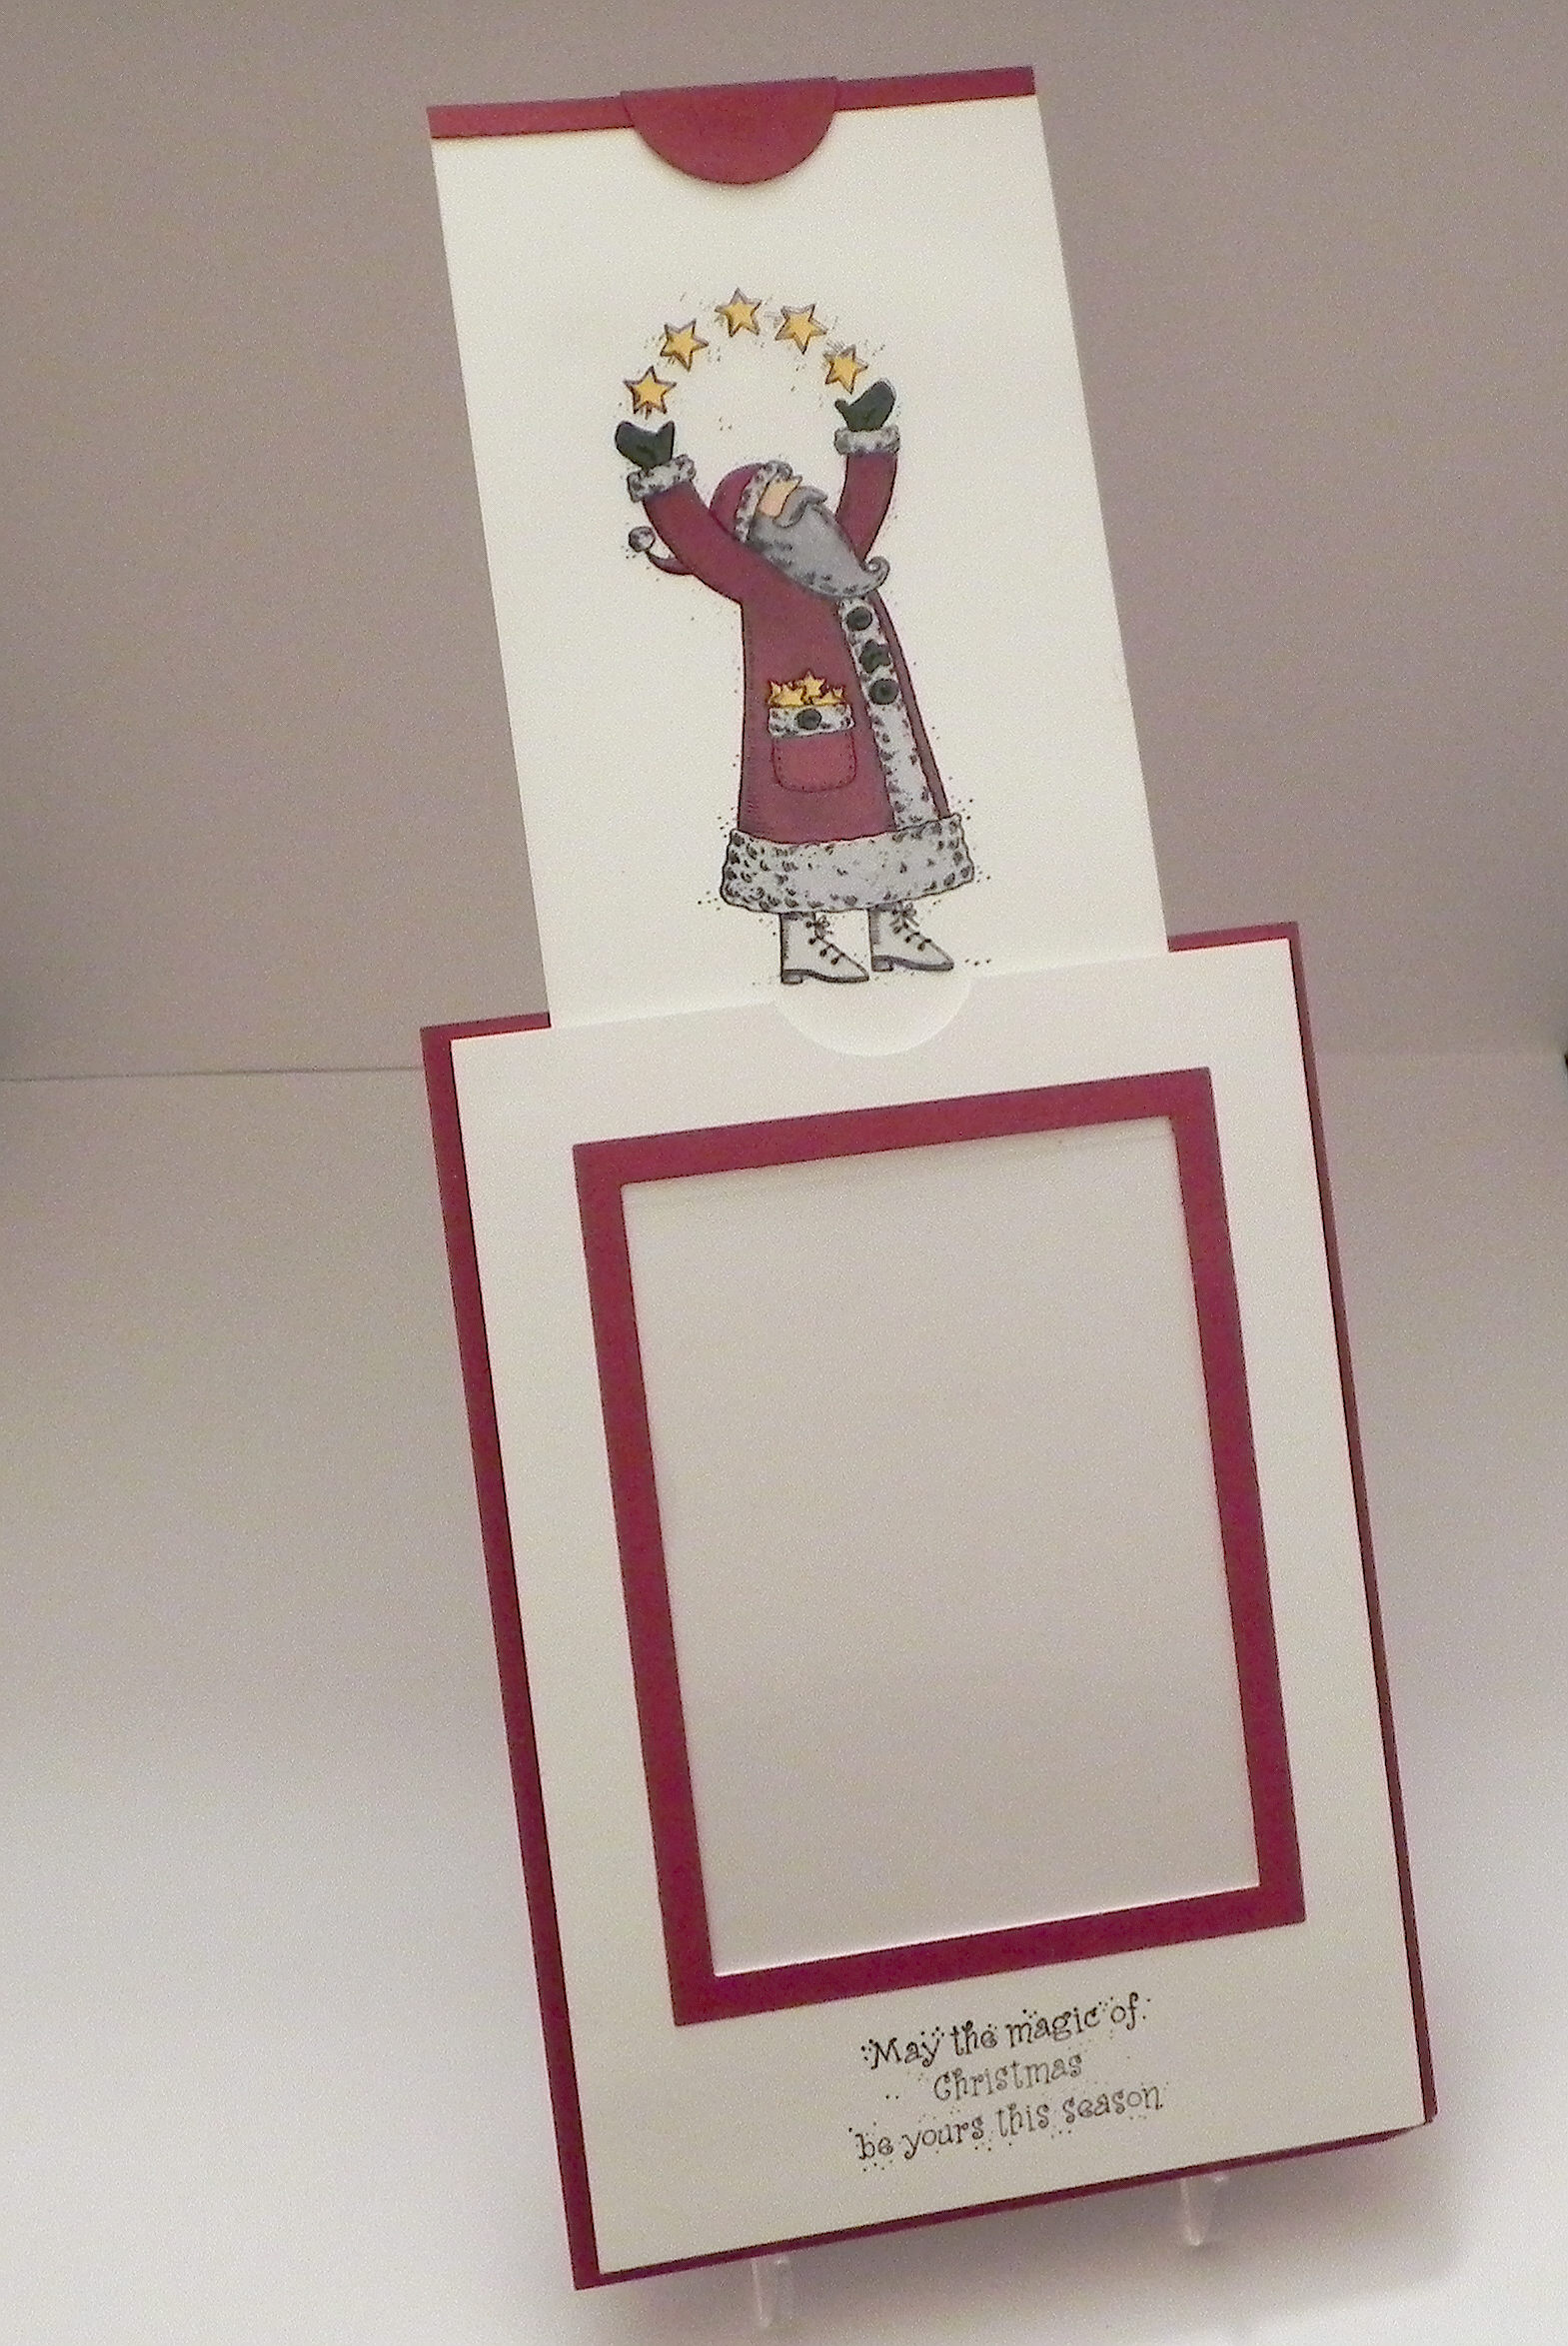
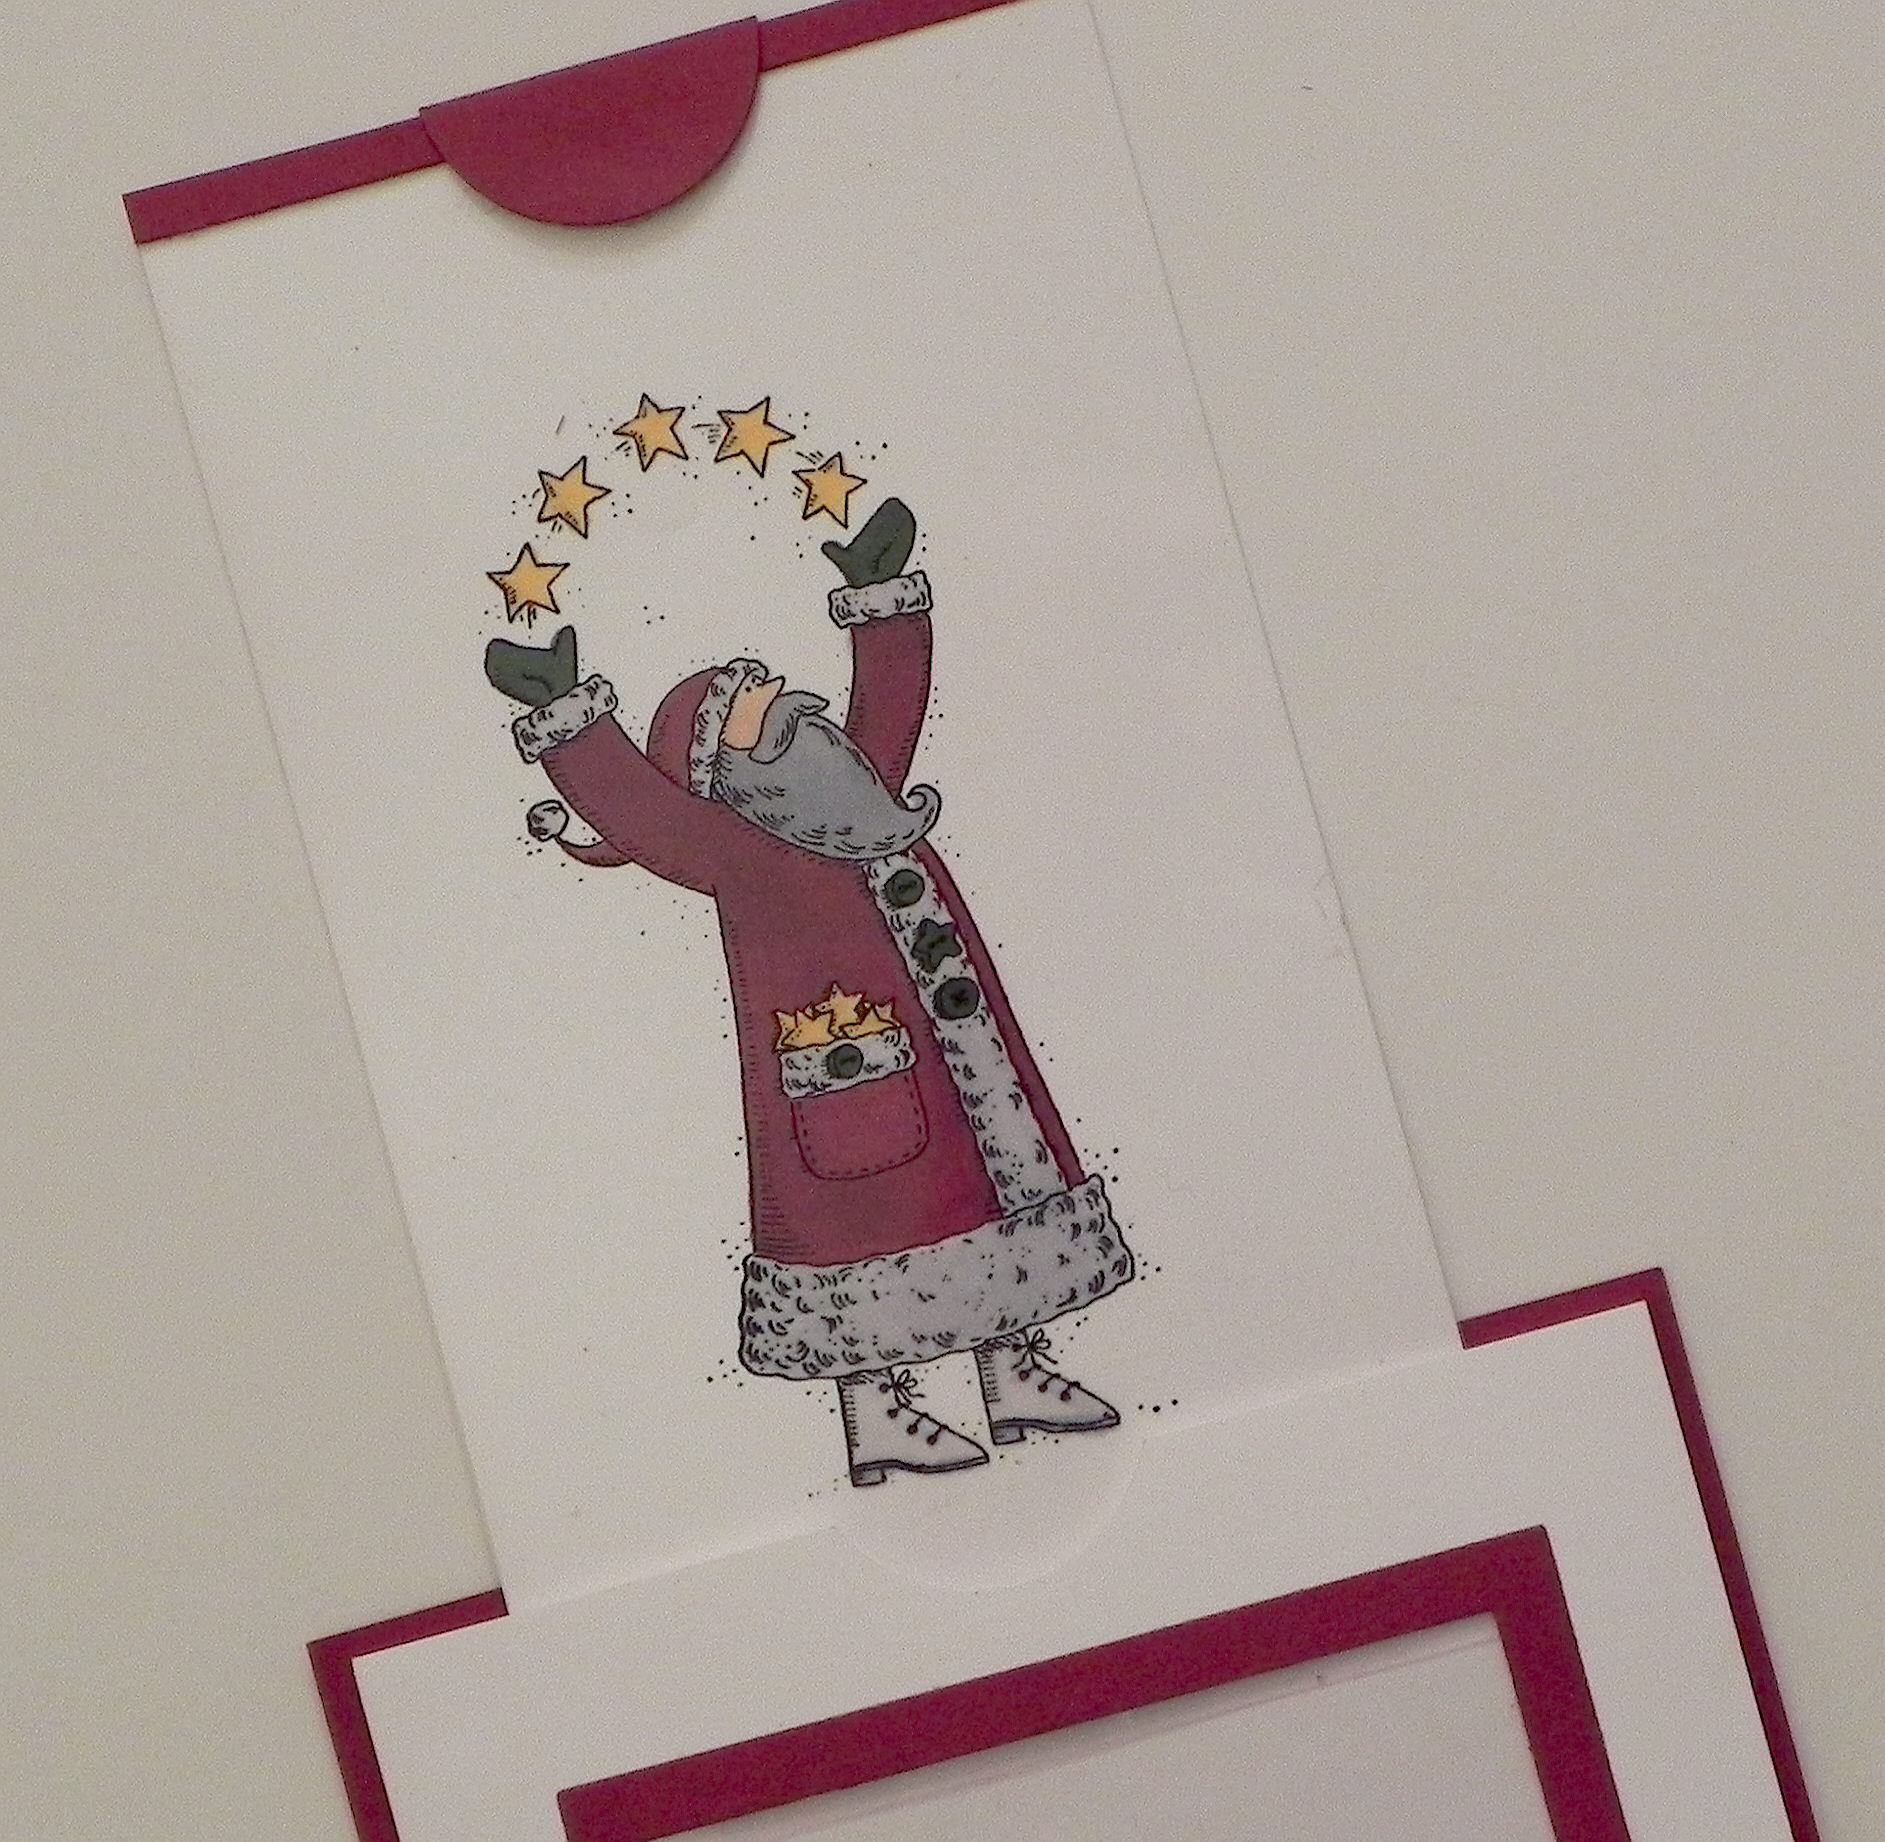
I want to share a product I discovered that I think is great for creating borders/mats for your projects. It is called “Perfect Layers” which you can find at perfectpapercrafting.com or here on amazon.com.

(click on photo to see larger image)

cDSCN9137

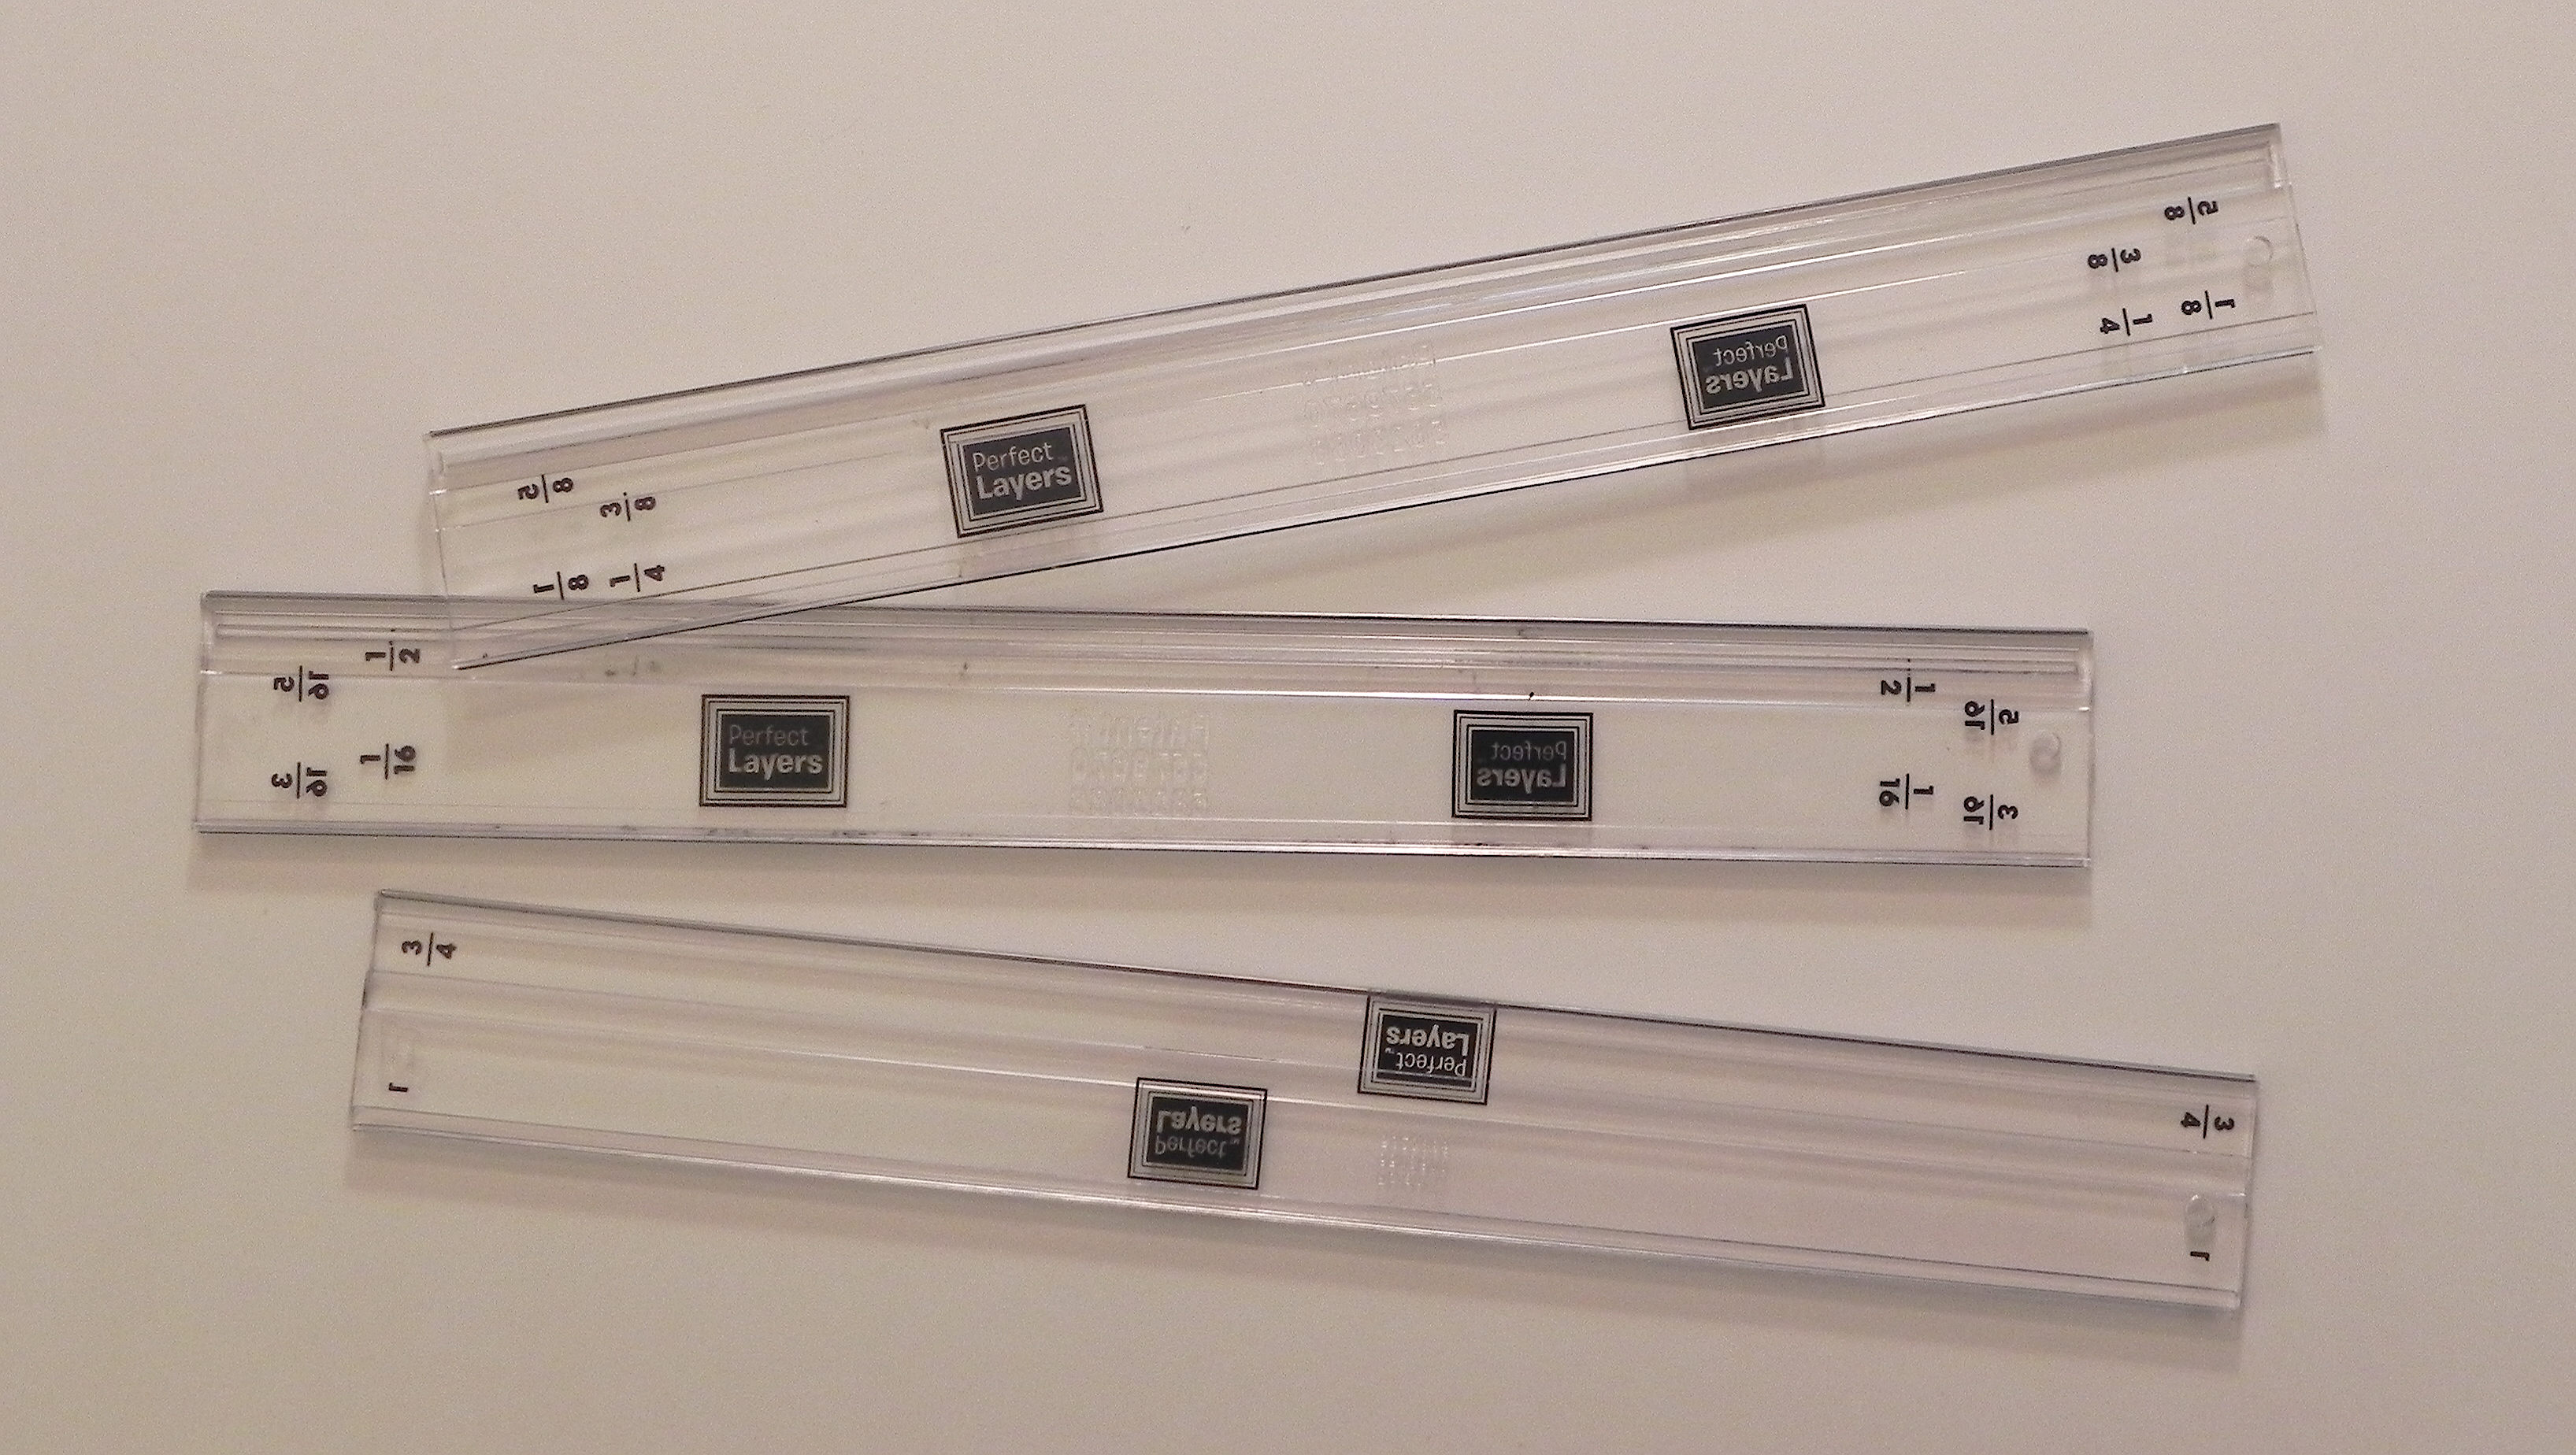
Cutting a mat, especially a thin one, is sometimes tough for me because occasionally, when I trim a panel for a card or a photo for a scrapbook page, it is not cut at a nice round measurement. (Either I was off a tiny bit when I measured or I cut the panel or photo without measuring.) “Perfect Layers” are designed to help you create borders in a bunch of sizes without needing to measure!

perfect mini

(This photo is from their website.)


Here’s how they work:

Each tool has a “catch lip” on the underside of the tool that corresponds to the size mat you wish to create.

DSCN9138


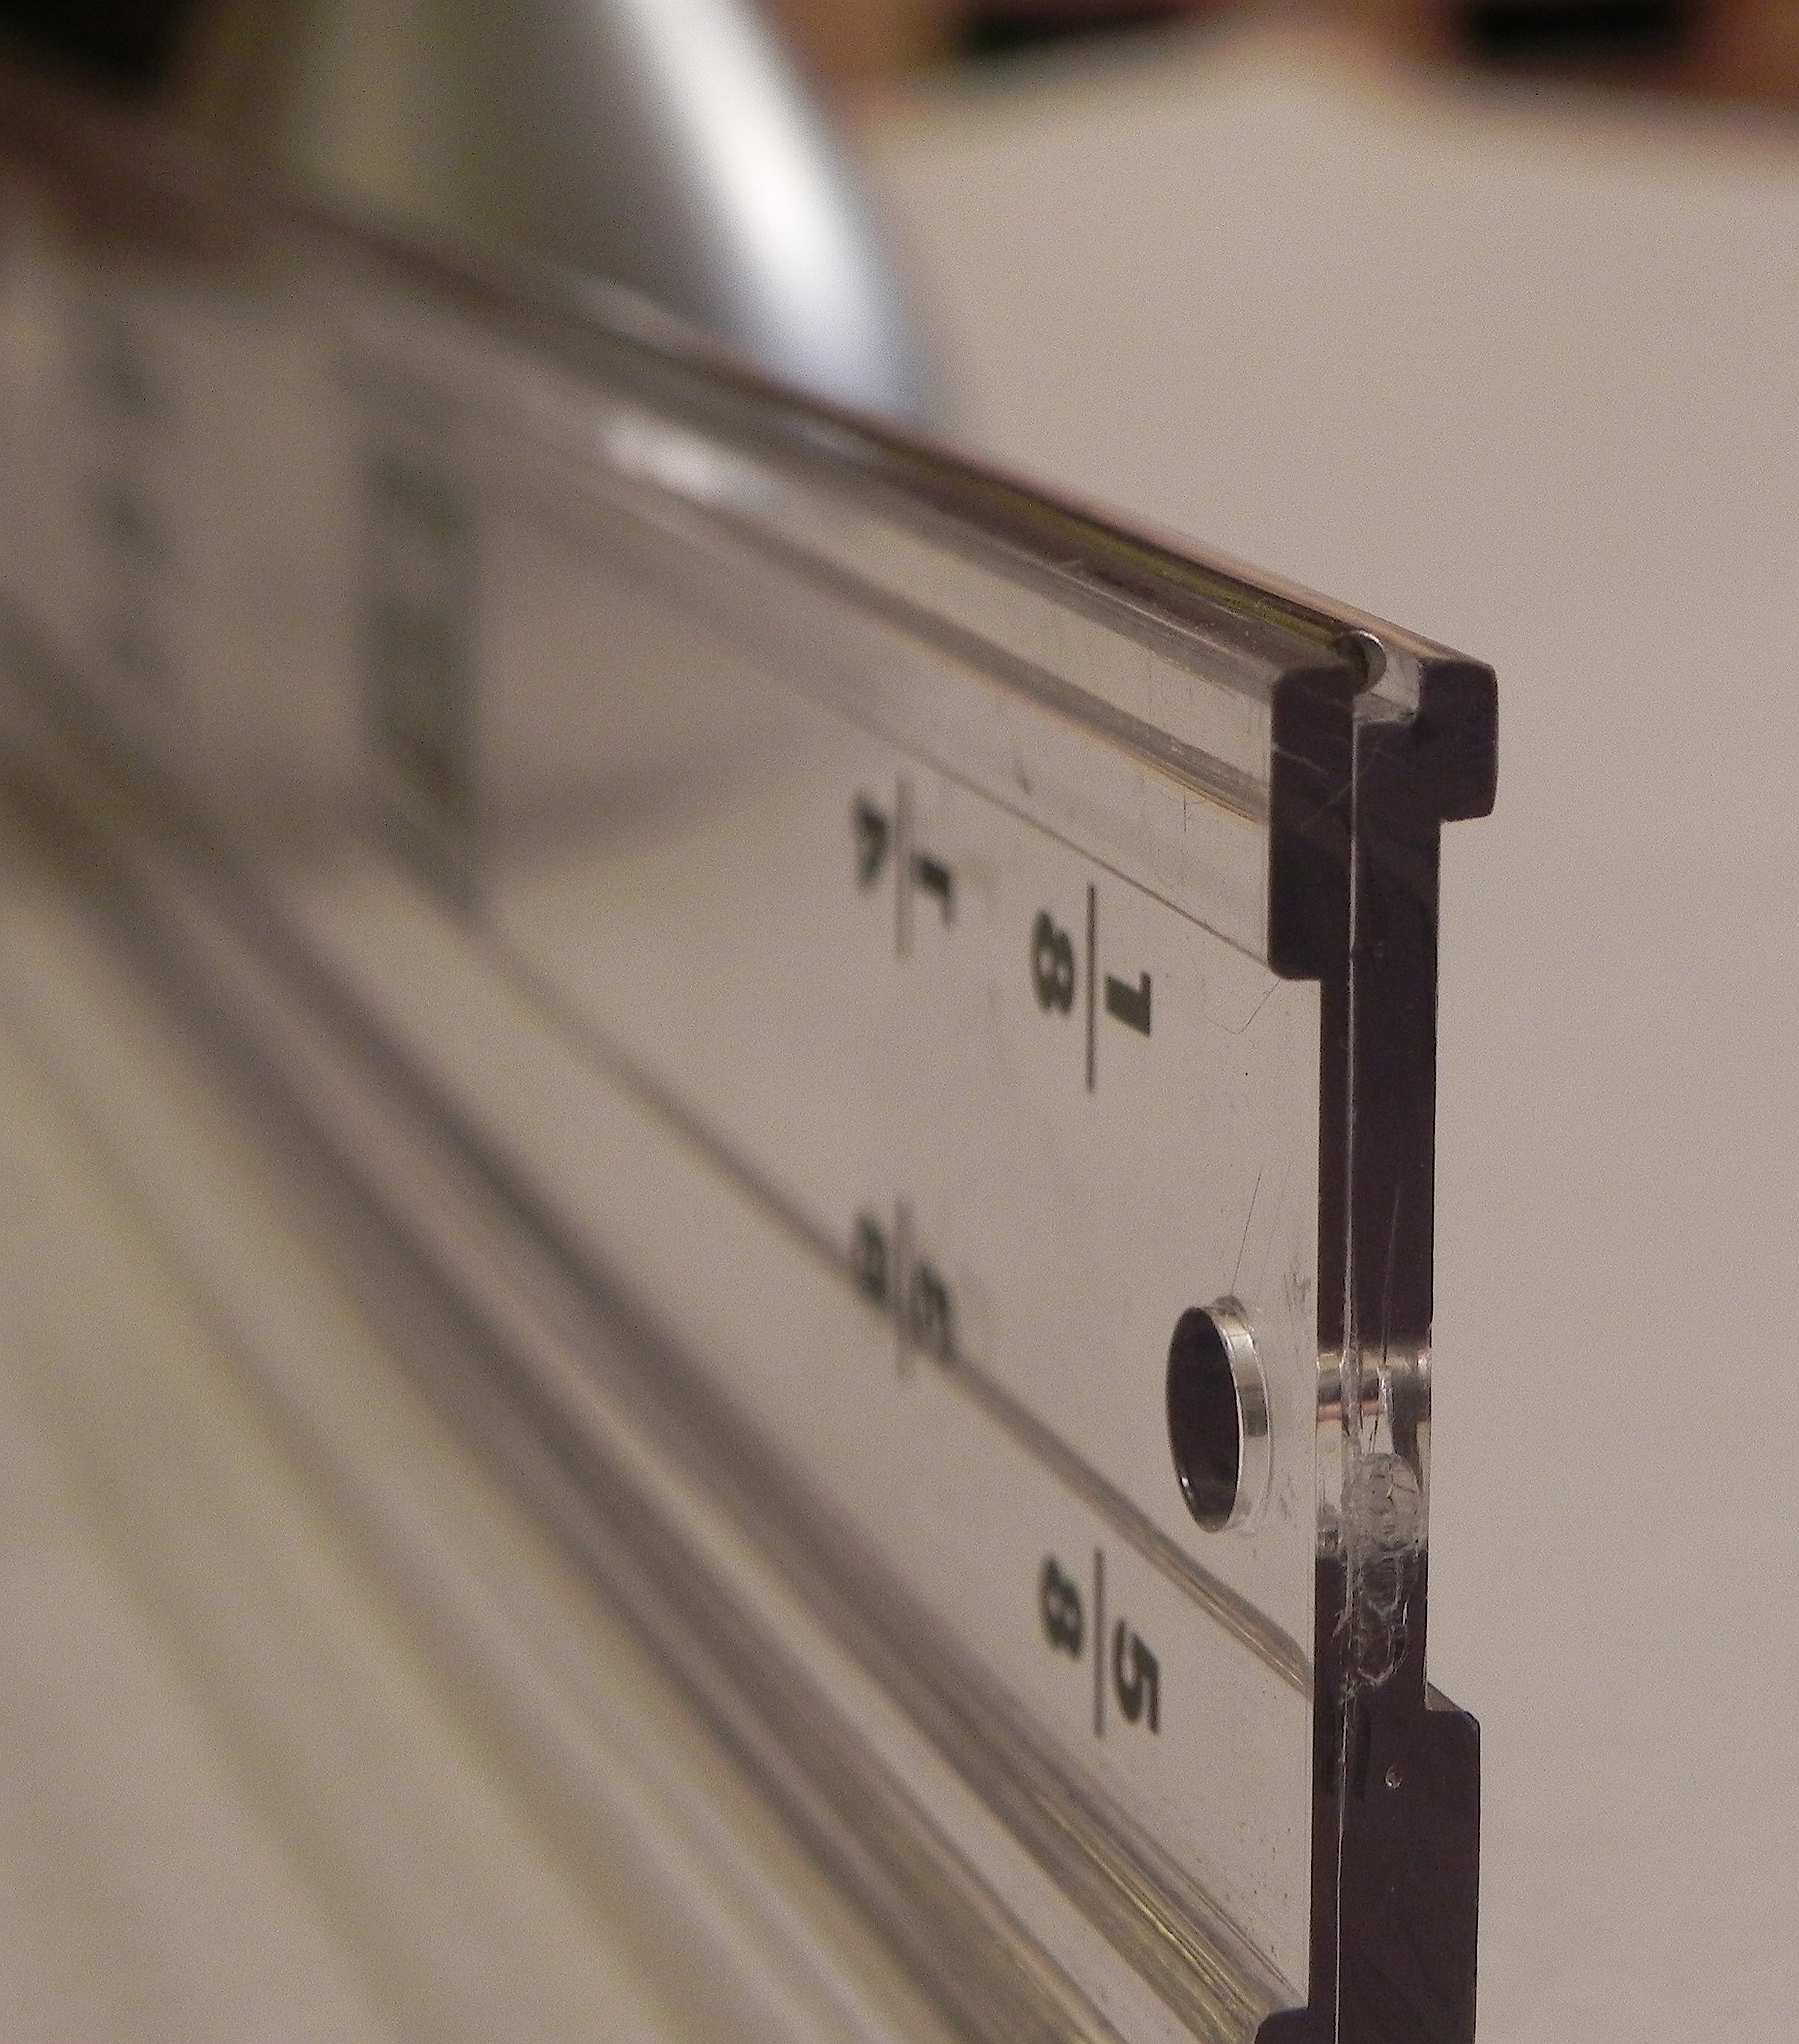
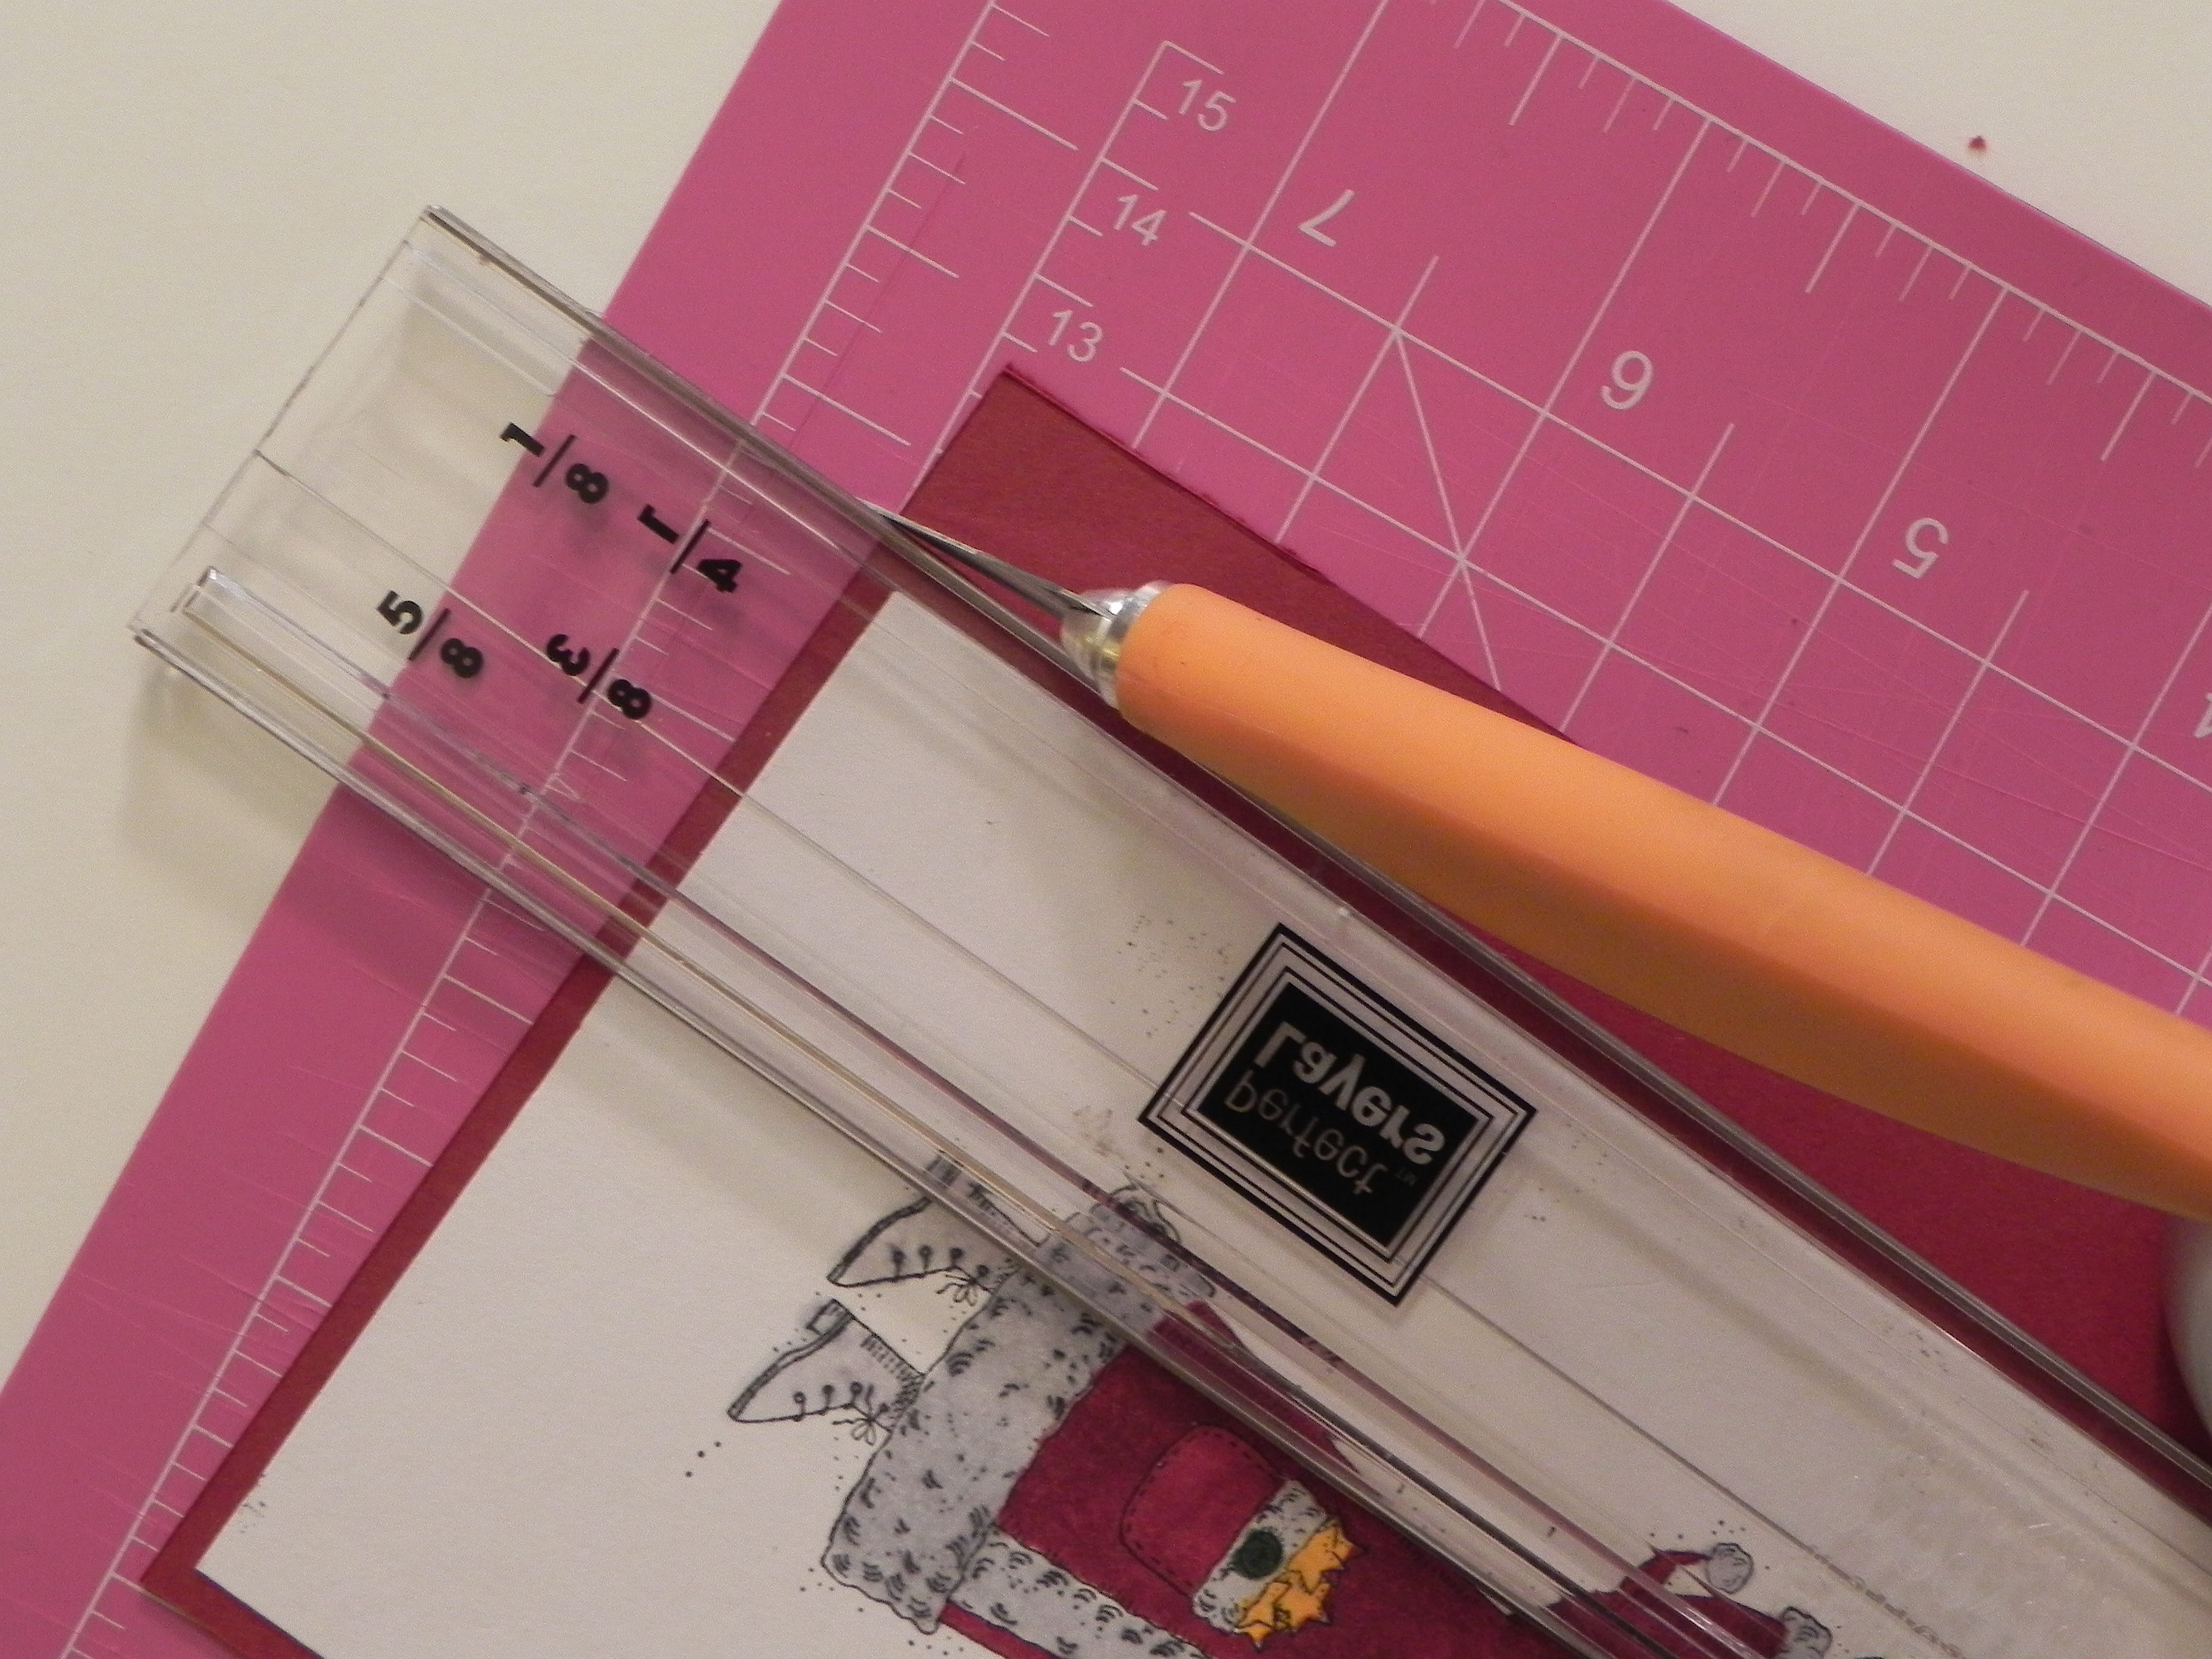
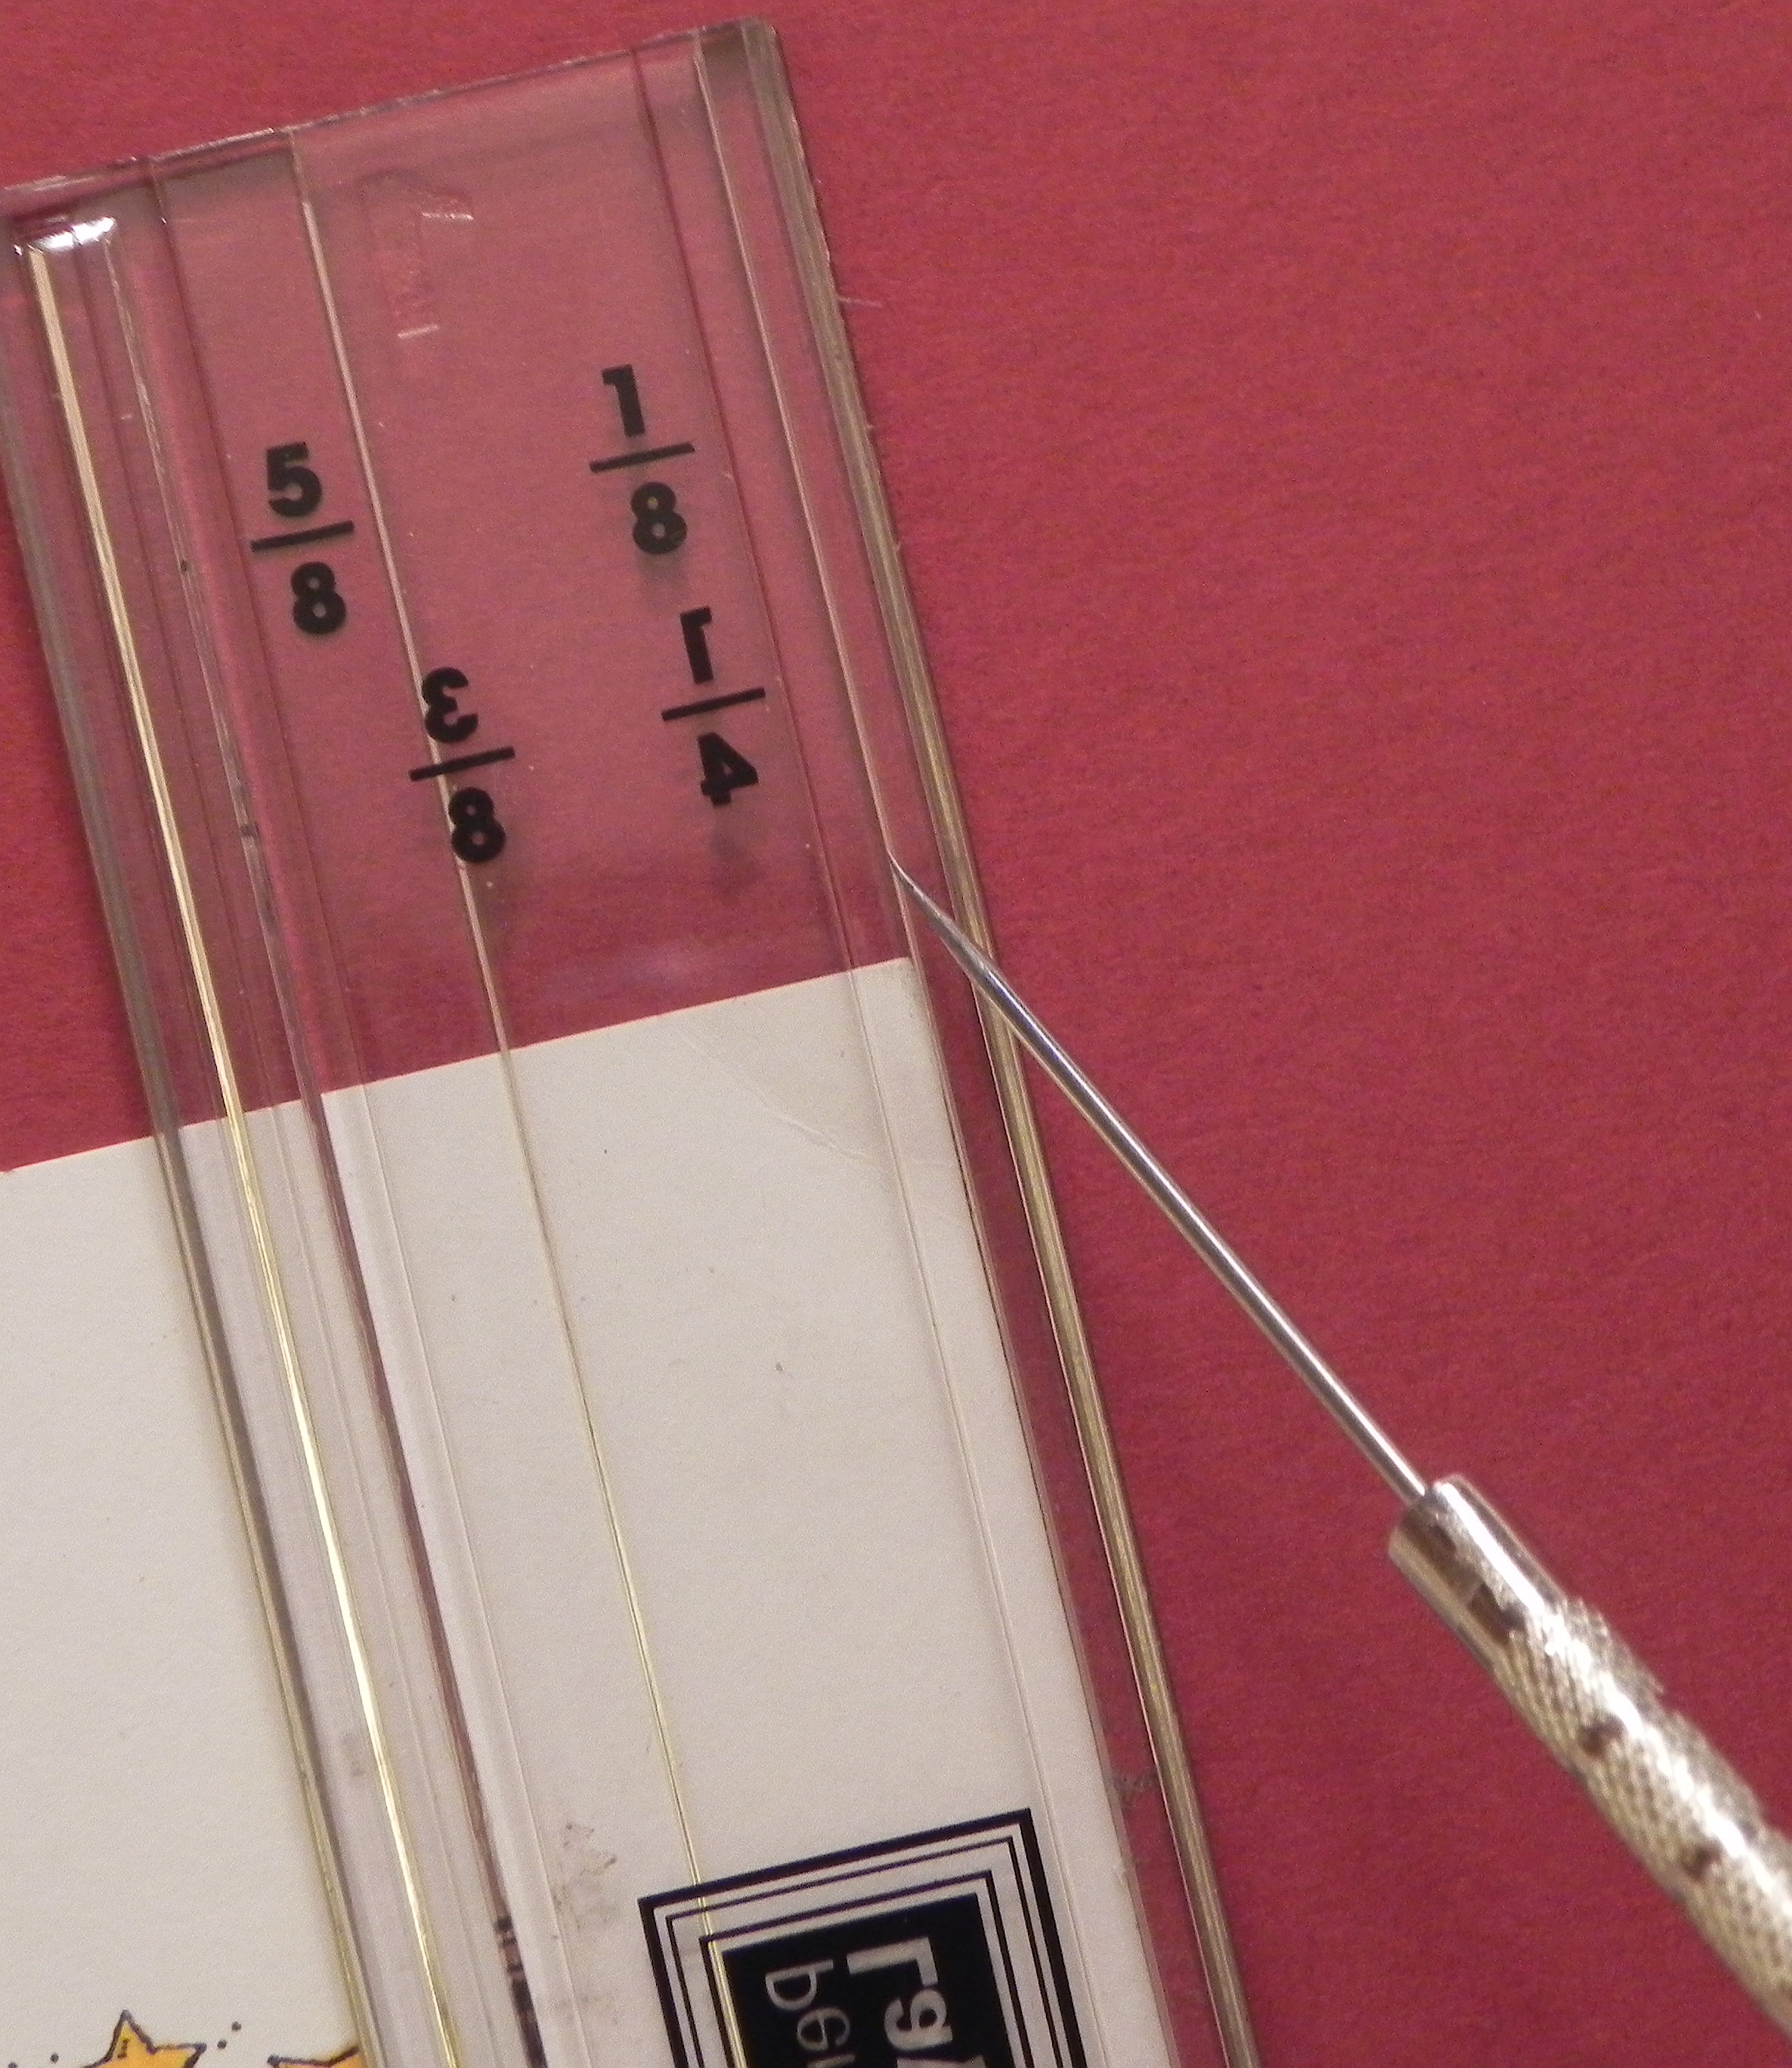
This “catch lip” rests against the edge of the item for which you wish to create a mat. You choose which tool to use (and which side of the tool) based on the size of the mat you wish to create. For example, if I wished to create a mat with a 1/8 inch border, I’d use this tool with the side that has 1/8 (facing the correct way) against my panel. (The 1/4 is backwards because you need to flip the tool over to cut a 1/4 inch border.)

 cDSCN9142


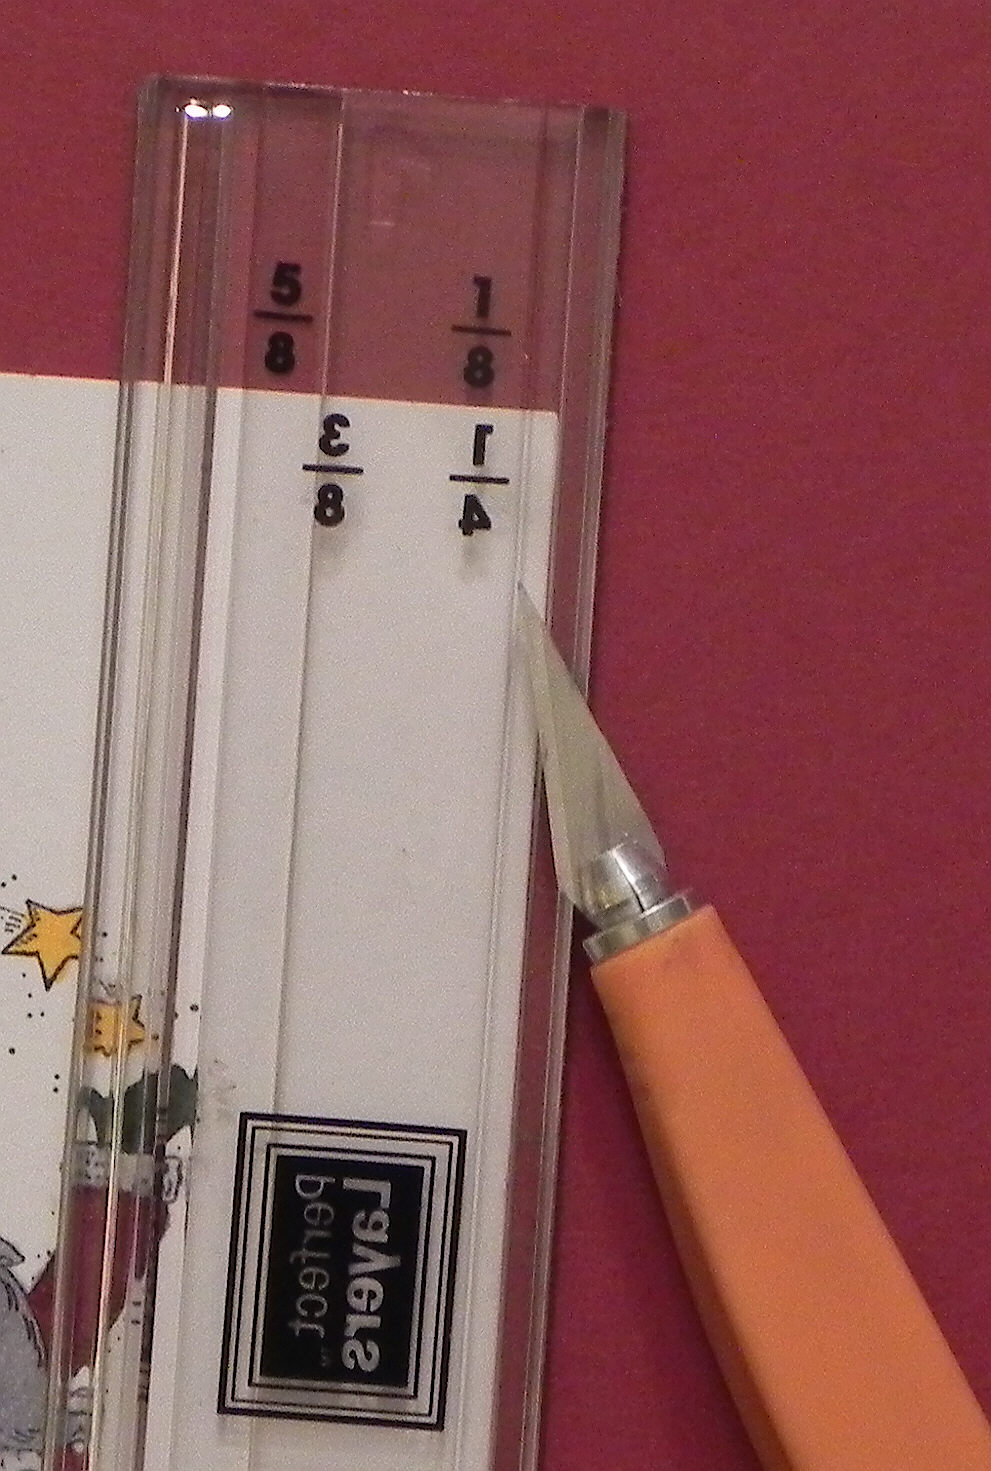
Position the tool by wedging the “catch lip” against the panel. Then use a craft knife to cut the card stock along the tool’s edge, doing this for all four sides. (Work on a self-healing cutting mat to protect your work surface.)

cDSCN9145

cDSCN9150


Because the ” catch lip” needs to catch the edge of your panel, these tools work best when using a thicker, nice quality card stock or photo paper. This seems to provide a nice edge for the “catch lip” to catch and stay put. However, I’ve used these tools with really thin card stock before by eyeballing where the “catch lip” should be by lining up the “catch lip” line on the ruler with the edge of my panel and then holding it firmly in position while cutting.

cDSCN9147


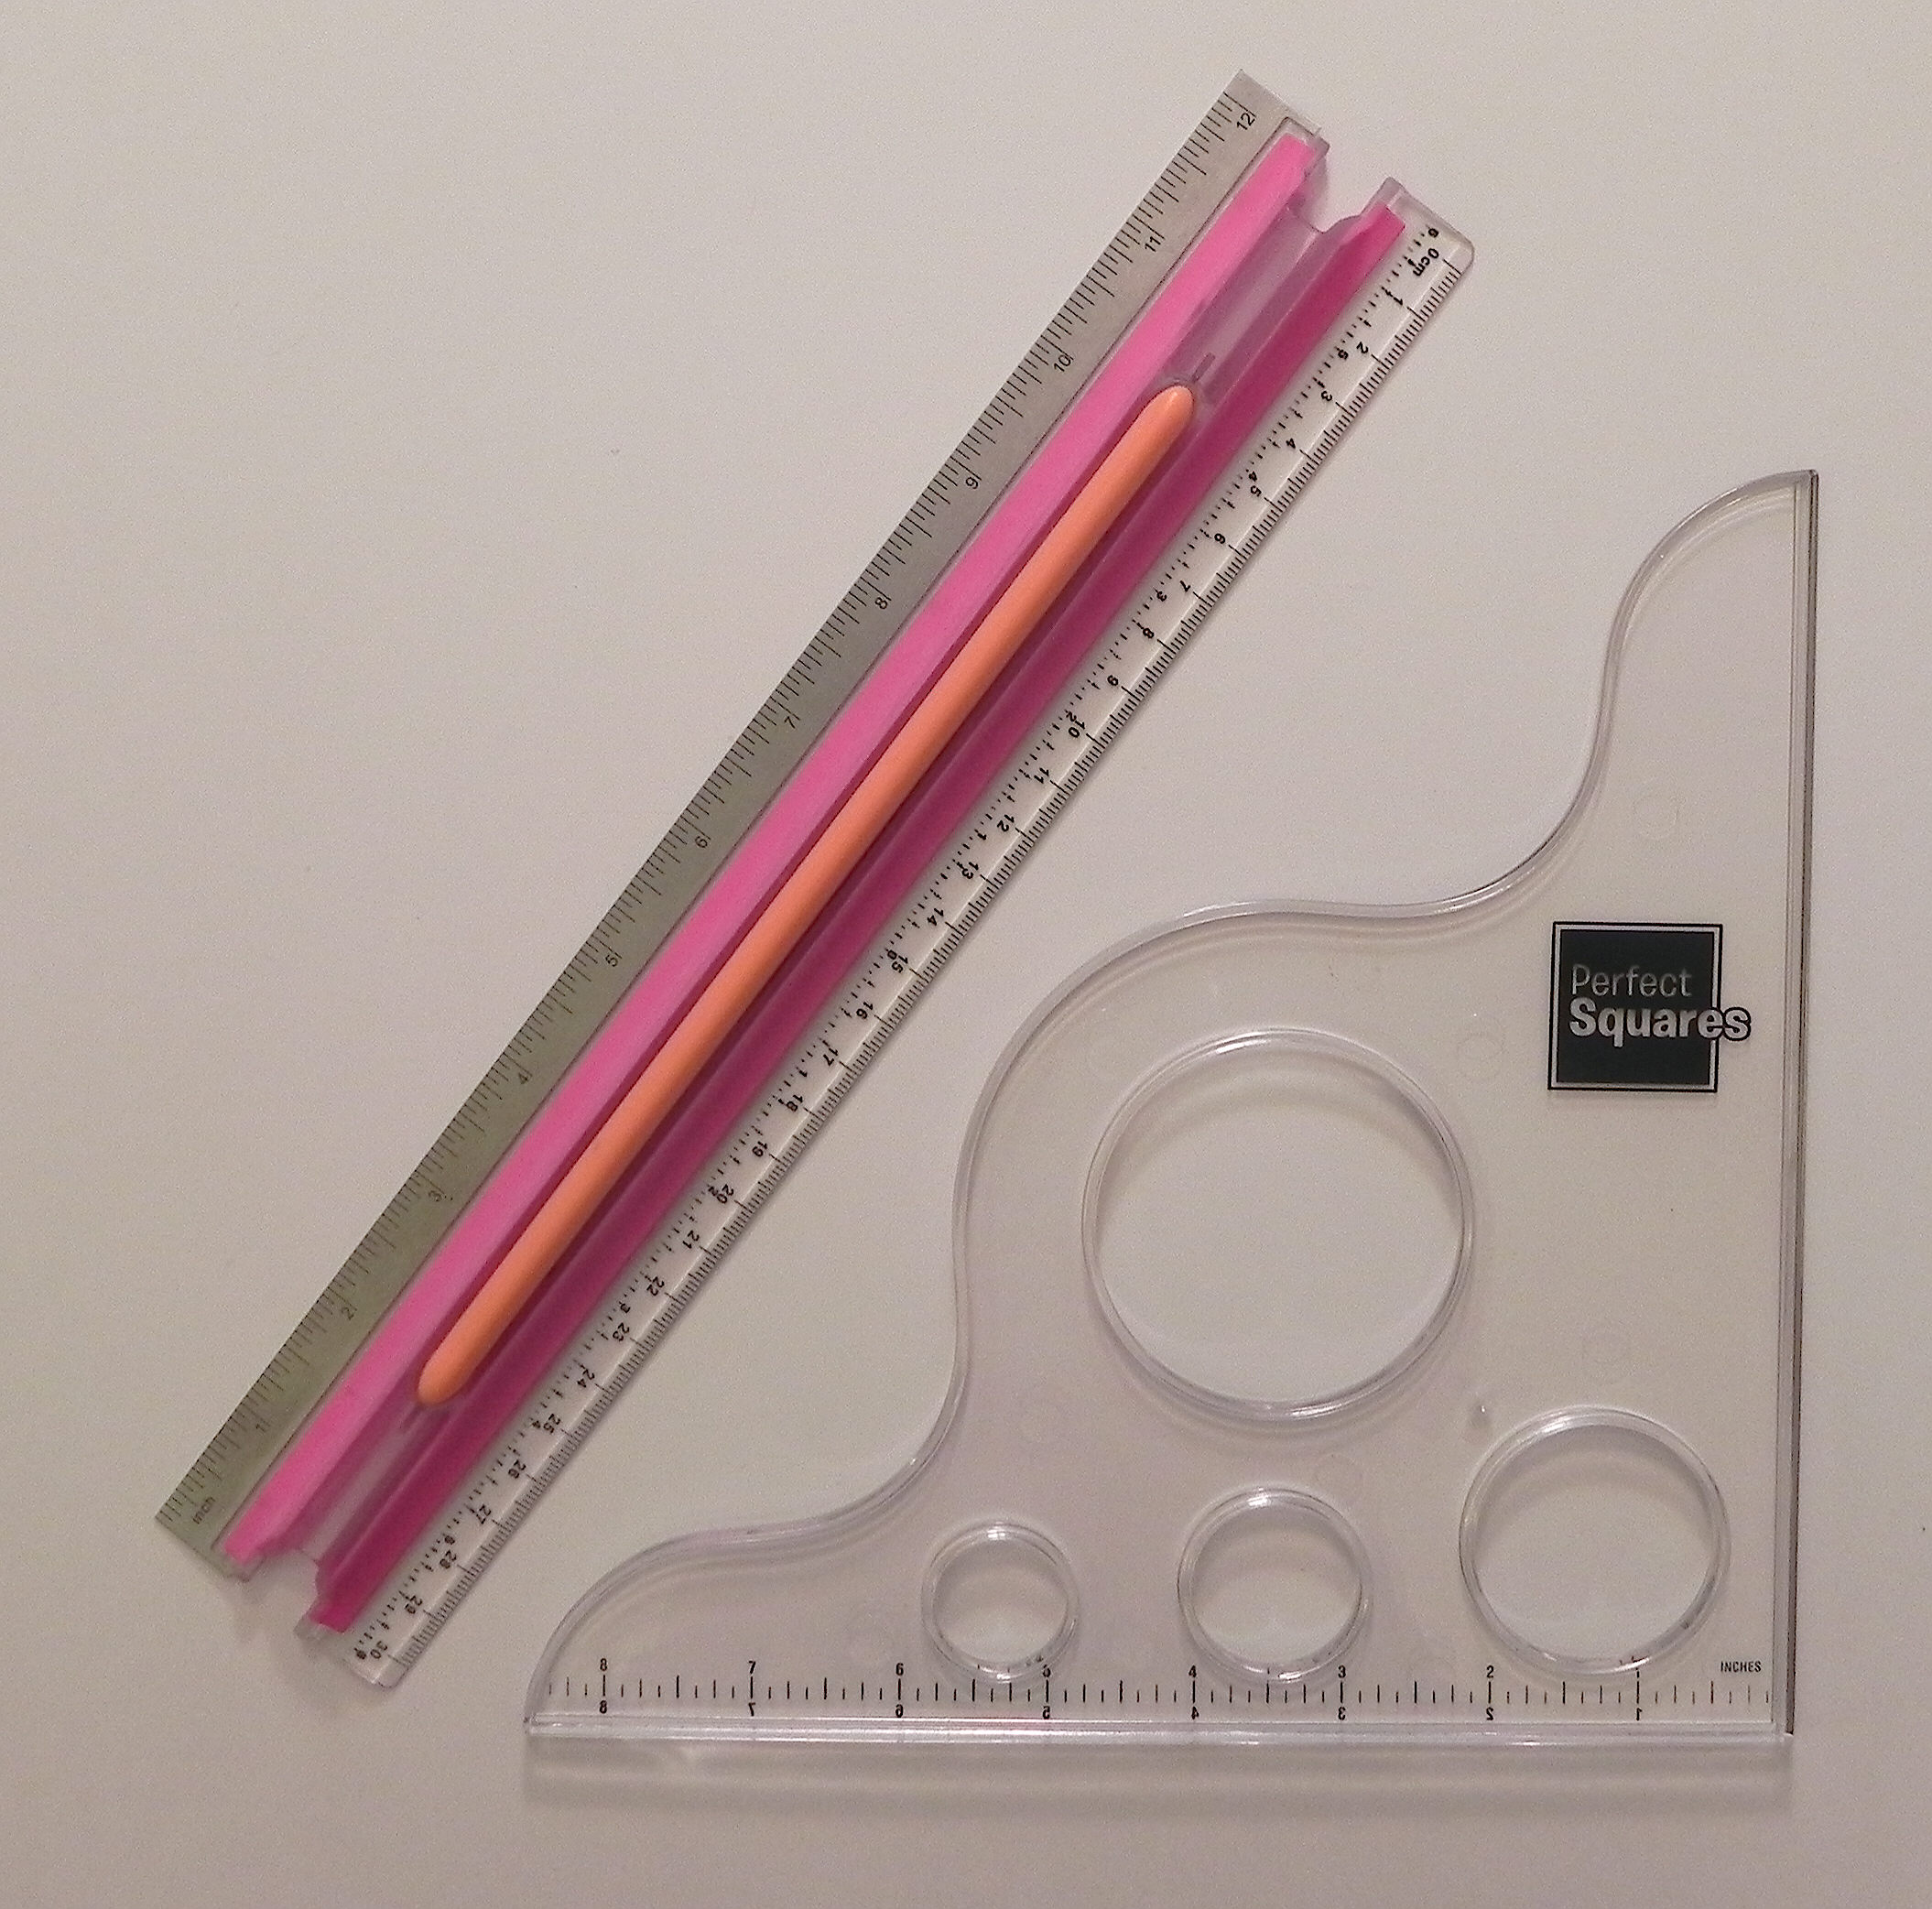
A ruler designed not to slip when using it to draw lines, and a tool designed to cut a perfect square/rectangle are a few of the other products they offer.

cDSCN9153


They provide videos to show exactly how to use these tools.


Thanks for checking out my post.

This content uses referral links as described in the disclosure policy on my sidebar.

“The Magic of Christmas” Magic Card

“The Magic of Christmas” Magic Card – Tag and Card Project

the magic of christmas final

This tag was made for the Mod Squad Challenge “Tag It!” where we were to create a tag. We could make just a tag, any size, or attach one by using a little pocket on the card.   (Sadly, this site is no longer active.)

I’ve included a picture of the tag, the card itself (with the tag hidden inside the pocket), and various pictures of what the card looks like as you pull the tab on the tag.  Below are larger photos of each individual shot above.

Detailed instructions can be found HERE under my “Tutorials” tab.

The stamps I used for this project are from the Stampin’ Up “Star Santa” set.  I used Stazon black ink for the image and greeting.  Copic markers (R59, G29, Y17, E53, R20, N0, C1, and C3) were used to color the image.  Cardstock used was white and Gina K Cranberry Tart.  I used Spellbinders A2 Matting Basics A dies (4th and 5th from center) and a Creative Memories circle punch.

A card posted by David Maynard on StampTv and a You Tube video called “Magic Card With Dawn” inspired me to make this card. (Thank you David and Dawn!)

aDSCN0112

bDSCN0125

cDSCN0194

eDSCN0135

fDSCN0221

gDSCN0164

hDSCN0232

Thanks for checking out my tag and card project!

This content uses referral links as described in the disclosure policy on my sidebar.

Magic Card Tutorial

Magic Card Tutorial

the magic of christmas final

I recently saw a card posted by David Maynard on StampTv that he called a magic card. I tried (and tried!) to figure out the trick and finally ended up asking him! He was nice enough to share the name of a You Tube video called “Magic Card With Dawn” which shows how it was made. (Thank you David and Dawn!)

The stamp I chose to use for my card was much larger than theirs, so I needed to modify the instructions a bit. I’ve included them below. (This is my first attempt at making a step-by-step tutorial for a card project (from start to finish). Hopefully, it is clear!)  There are 4 basic parts: the unit that contains the sliding stamped image, the folder it slides in and out of, the framed panel on the front of the card, and the card base itself.

(For those of you who just want to know how it worked, the magic happens in step 24!) Continue reading

Stamp Out Cancer Challenge #7 – Joyce E’s Shaped Card Challenge WINNER!

Stamp Out Cancer Challenge #7 – Joyce E’s (No Rectangles or Squares) Shaped Card Challenge WINNER!

StampTV SOC Challenge Winner

StampTV SOC Challenge Winner

(October 14, 2014)

You Are So Beautiful Purse Card

Click HERE to see the winning post.  (Sadly, this site is no longer active.)

Click HERE to see the original challenge post.  (Sadly, this site is no longer active.)

Click HERE to see the original post for this project.

Thanks for checking out my post!

“Courage” Tag with Card

“Courage” Tag with Card

bbDSCN0014 lighter

Courage Tag with Card b

This tag was made for the Mod Squad Challenge “Tag It!” where we were to create a tag. We could make just a tag, any size, or attach one by using a little pocket on the card.  (Sadly, this site is no longer active.)

I wasn’t sure if the tag had to be attached to the card using a pocket, or if it could be attached to a card in any way and the pocket was just how Cat decided to do it as an example. In any event, I included a picture of the tag by itself, and of it attached to a card base.

This is also being entered in the Perfectly Rustics Design Challenge No. 33 – Colour Combo.  For this challenge, we were to use three Stampin’ Up! colours (shown below) to create our project. Equivalent colours in different products are allowed! (http://perfectlyrustics.com/2014/10/06/prdc-no-33-colour-combo/)

color challenge 2

I did not have these stampin’ up products, so I used equivalent colors that I had on hand.


The inks I used to try to match the required colors are:

  • Pistachio Pudding – Copic Marker B72 in airbrush  (The B72 looks like pistachio pudding when airbrushed and more blue when just coloring.  A closer match to the pistachio pudding is G21 when writing/coloring straight from the marker.)
  • Soft Suede – Copic Marker E44 in airbrush and Gina K warm cocoa ink
  • Early Espresso – Copic Marker E79 and Gina K dark chocolate ink

The card stock I used was white (inked with varying amounts of Gina K warm cocoa ink), Gina K dark chocolate, and a manila tag.

I hope they are close enough matches.  I don’t know exactly what the colors are supposed to look like, and am trying to match them from my computer screen which is not always accurate when it comes to colors!


For the background, I sponged warm cocoa ink over the entire panel.  I then stamped the Hero Arts “Old Letter Writing” over it in warm cocoa ink.  The whole panel was sponged again with a Tim Holtz “Harlequin” stencil and warm cocoa ink.  This panel was mounted on a dark chocolate card base.

The center panel was sponged with warm cocoa ink and mounted on a dark chocolate base.

I used the ABS Monoprinting Technique to cover the whole tag with the “pistachio pudding” color.  This technique is done with the Copic Airbrush System (ABS) (or use gun with compressor) which creates a marbleized background.  The Copic Markers I used were B72 and E44, along with colorless blender solution in a mini mister (spritzer), and the manila tag.  The ink was airbrushed in spots on my craft mat and then spritzed (with a mini mister) with the colorless blender.  Once the ink started to pool or formed puddles, I put the tag, face-down, onto the craft mat into the ink puddles. I twisted the tag slightly when picking it up and then placed it in the ink again, and again until I covered my panel.  This works best with glossy card stock, and since I was using a plain tag, I got a lot of spots that weren’t covered when I was done.  I ended up airbrushing a light coat of the B72 directly over the whole thing to fill in the parts I missed before.

Next, I used a mask from the Tim Holtz Idea-Ology Masks-Borderline set and airbrushed over it using Copic E44.

I then stamped a bunch of images in dark chocolate using the Hero Arts “Musical Collage” stamp, the stems from the Tim Holtz “Flights of Fancy” set, and several images and the sentiment from the Tim Holtz “French Memories” set.

To make the leaves, I inked paper using warm cocoa ink and cut the leaves using the Tim Holtz tattered leaves die.  I used a stamp from the Tim Holtz “Falling Leaves” set with dark chocolate ink to add some detail to the leaves.  This stamp does not really fit these die cuts, but I stamped them somewhat randomly to cover them.  I inked the edges with dark chocolate ink and also used this to fill in areas that weren’t covered by the stamp.

The sheer ribbon was heated with my heat tool to crinkle it up a bit.

The tag was mounted on dark chocolate card stock and round clips were added.

Thanks for checking out my tag and card project!

This content uses referral links as described in the disclosure policy on my sidebar.