Water Gel Card Tutorial

How to Make a Water Scene Using Hair Gel

cDSCN6313

This cool water panel is very easy to make.


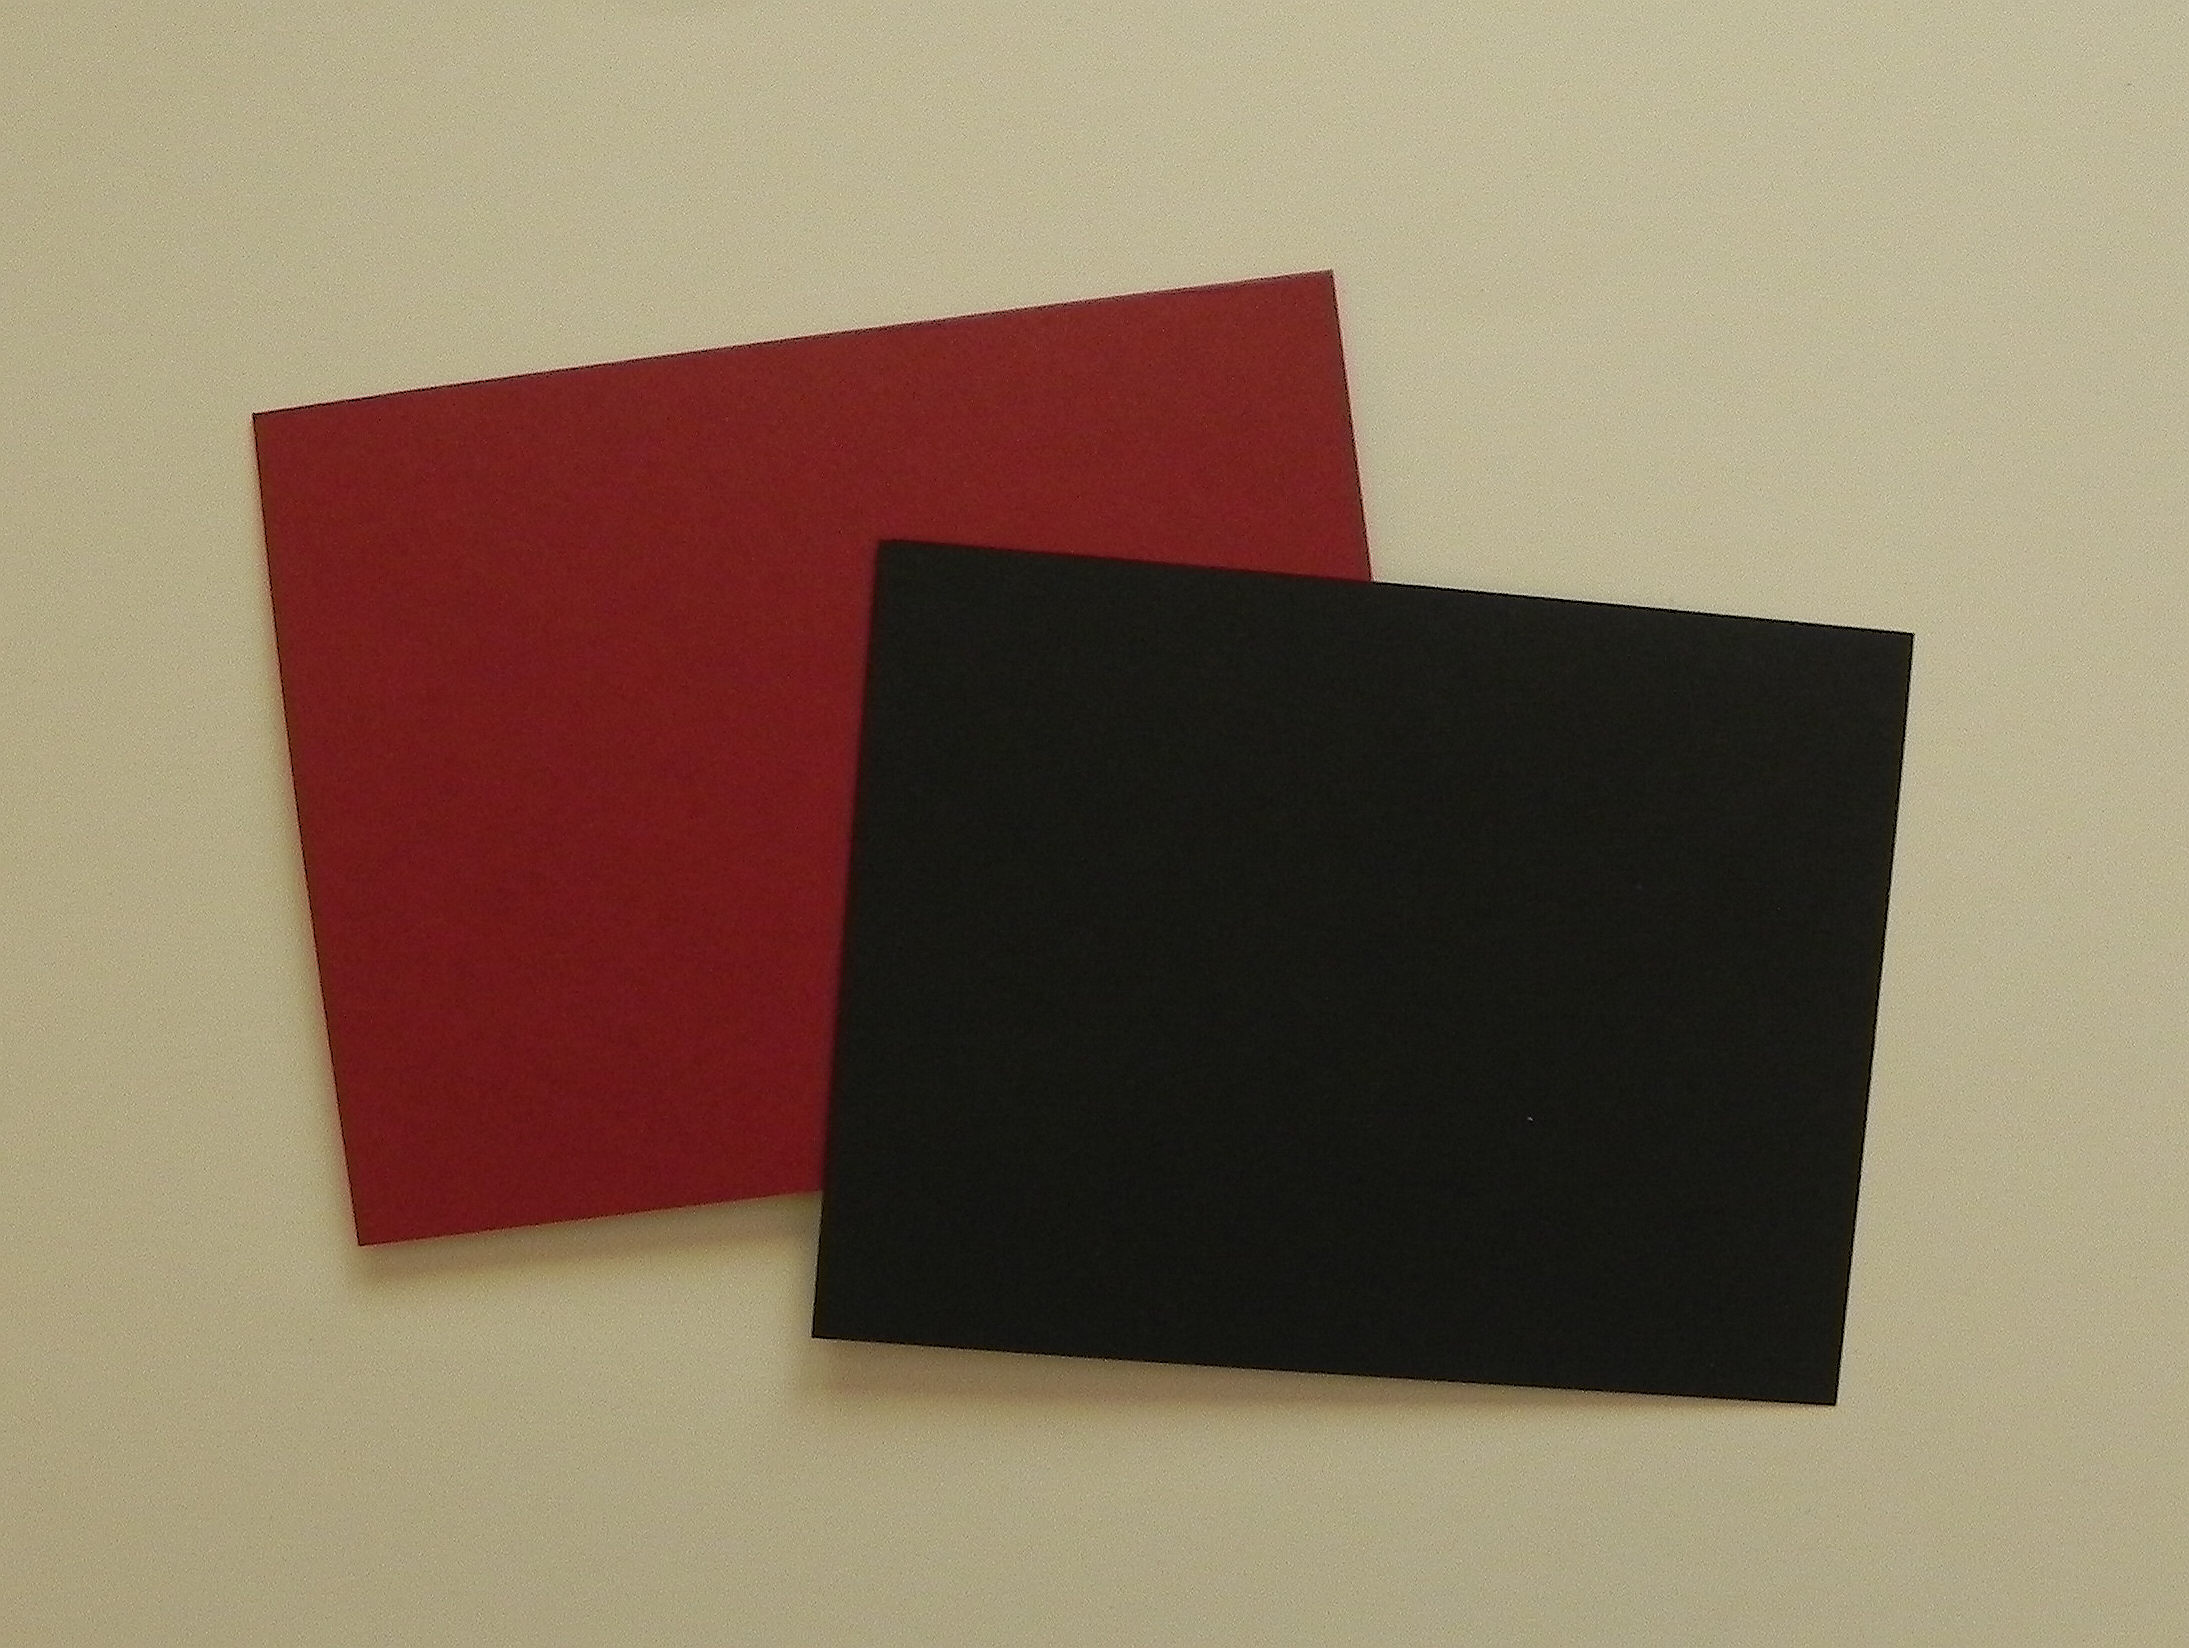
First, choose the card stock you wish to use for your card base and top panel.  This card gets a little heavy, so a good, heavy weight card stock works best.  (On my sample above, I used a light weight printed paper on top, so I did a double panel with heavy weight card stock underneath to give it support.)

aDSCN6332


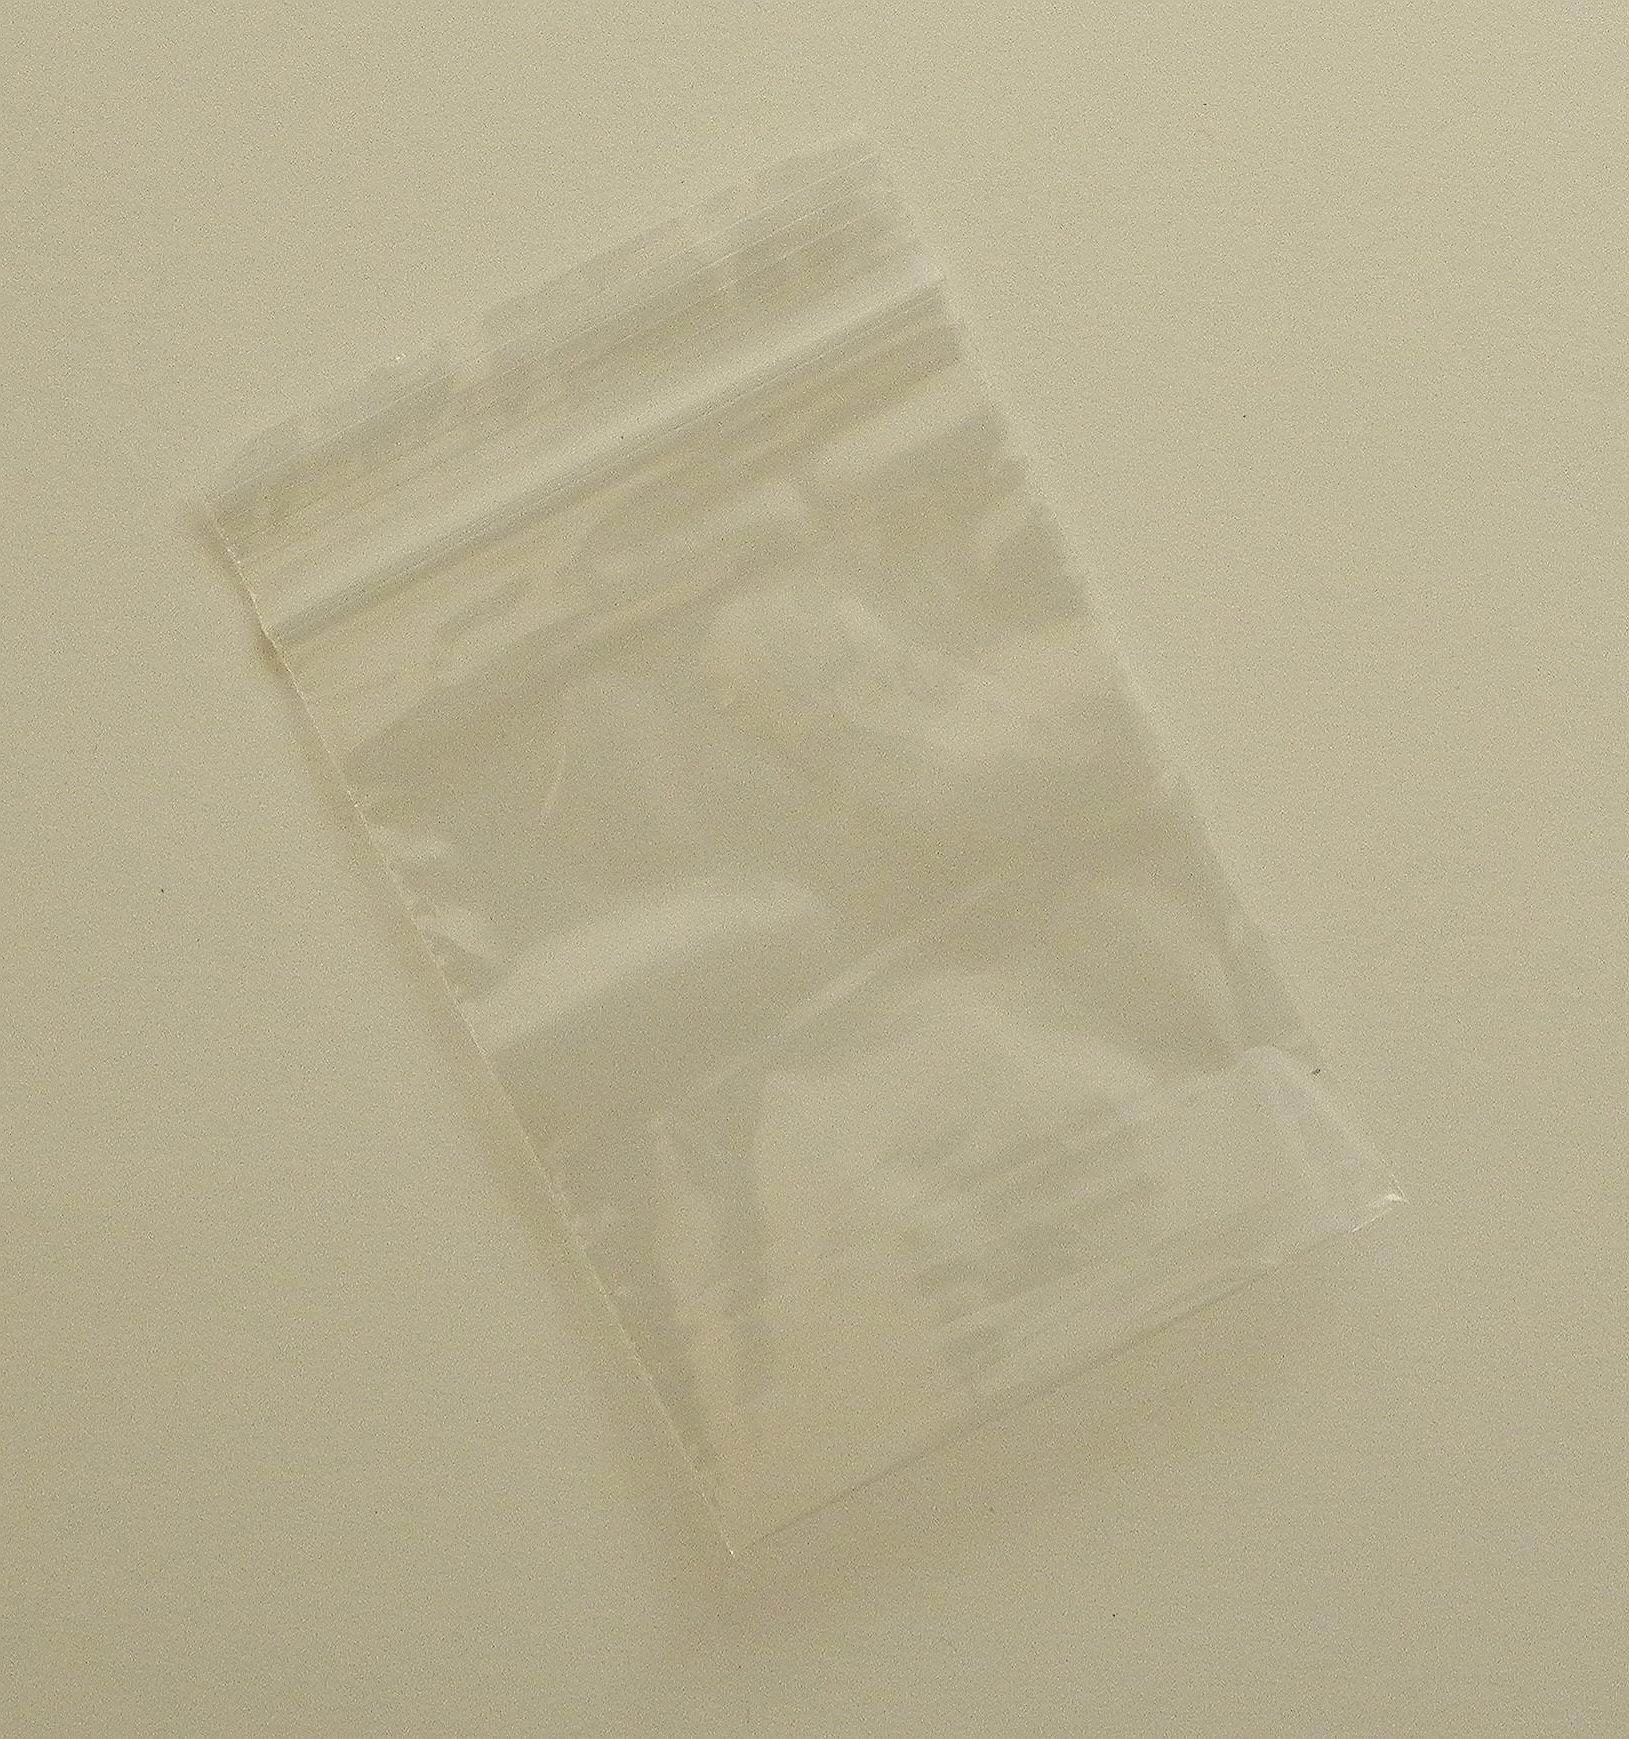
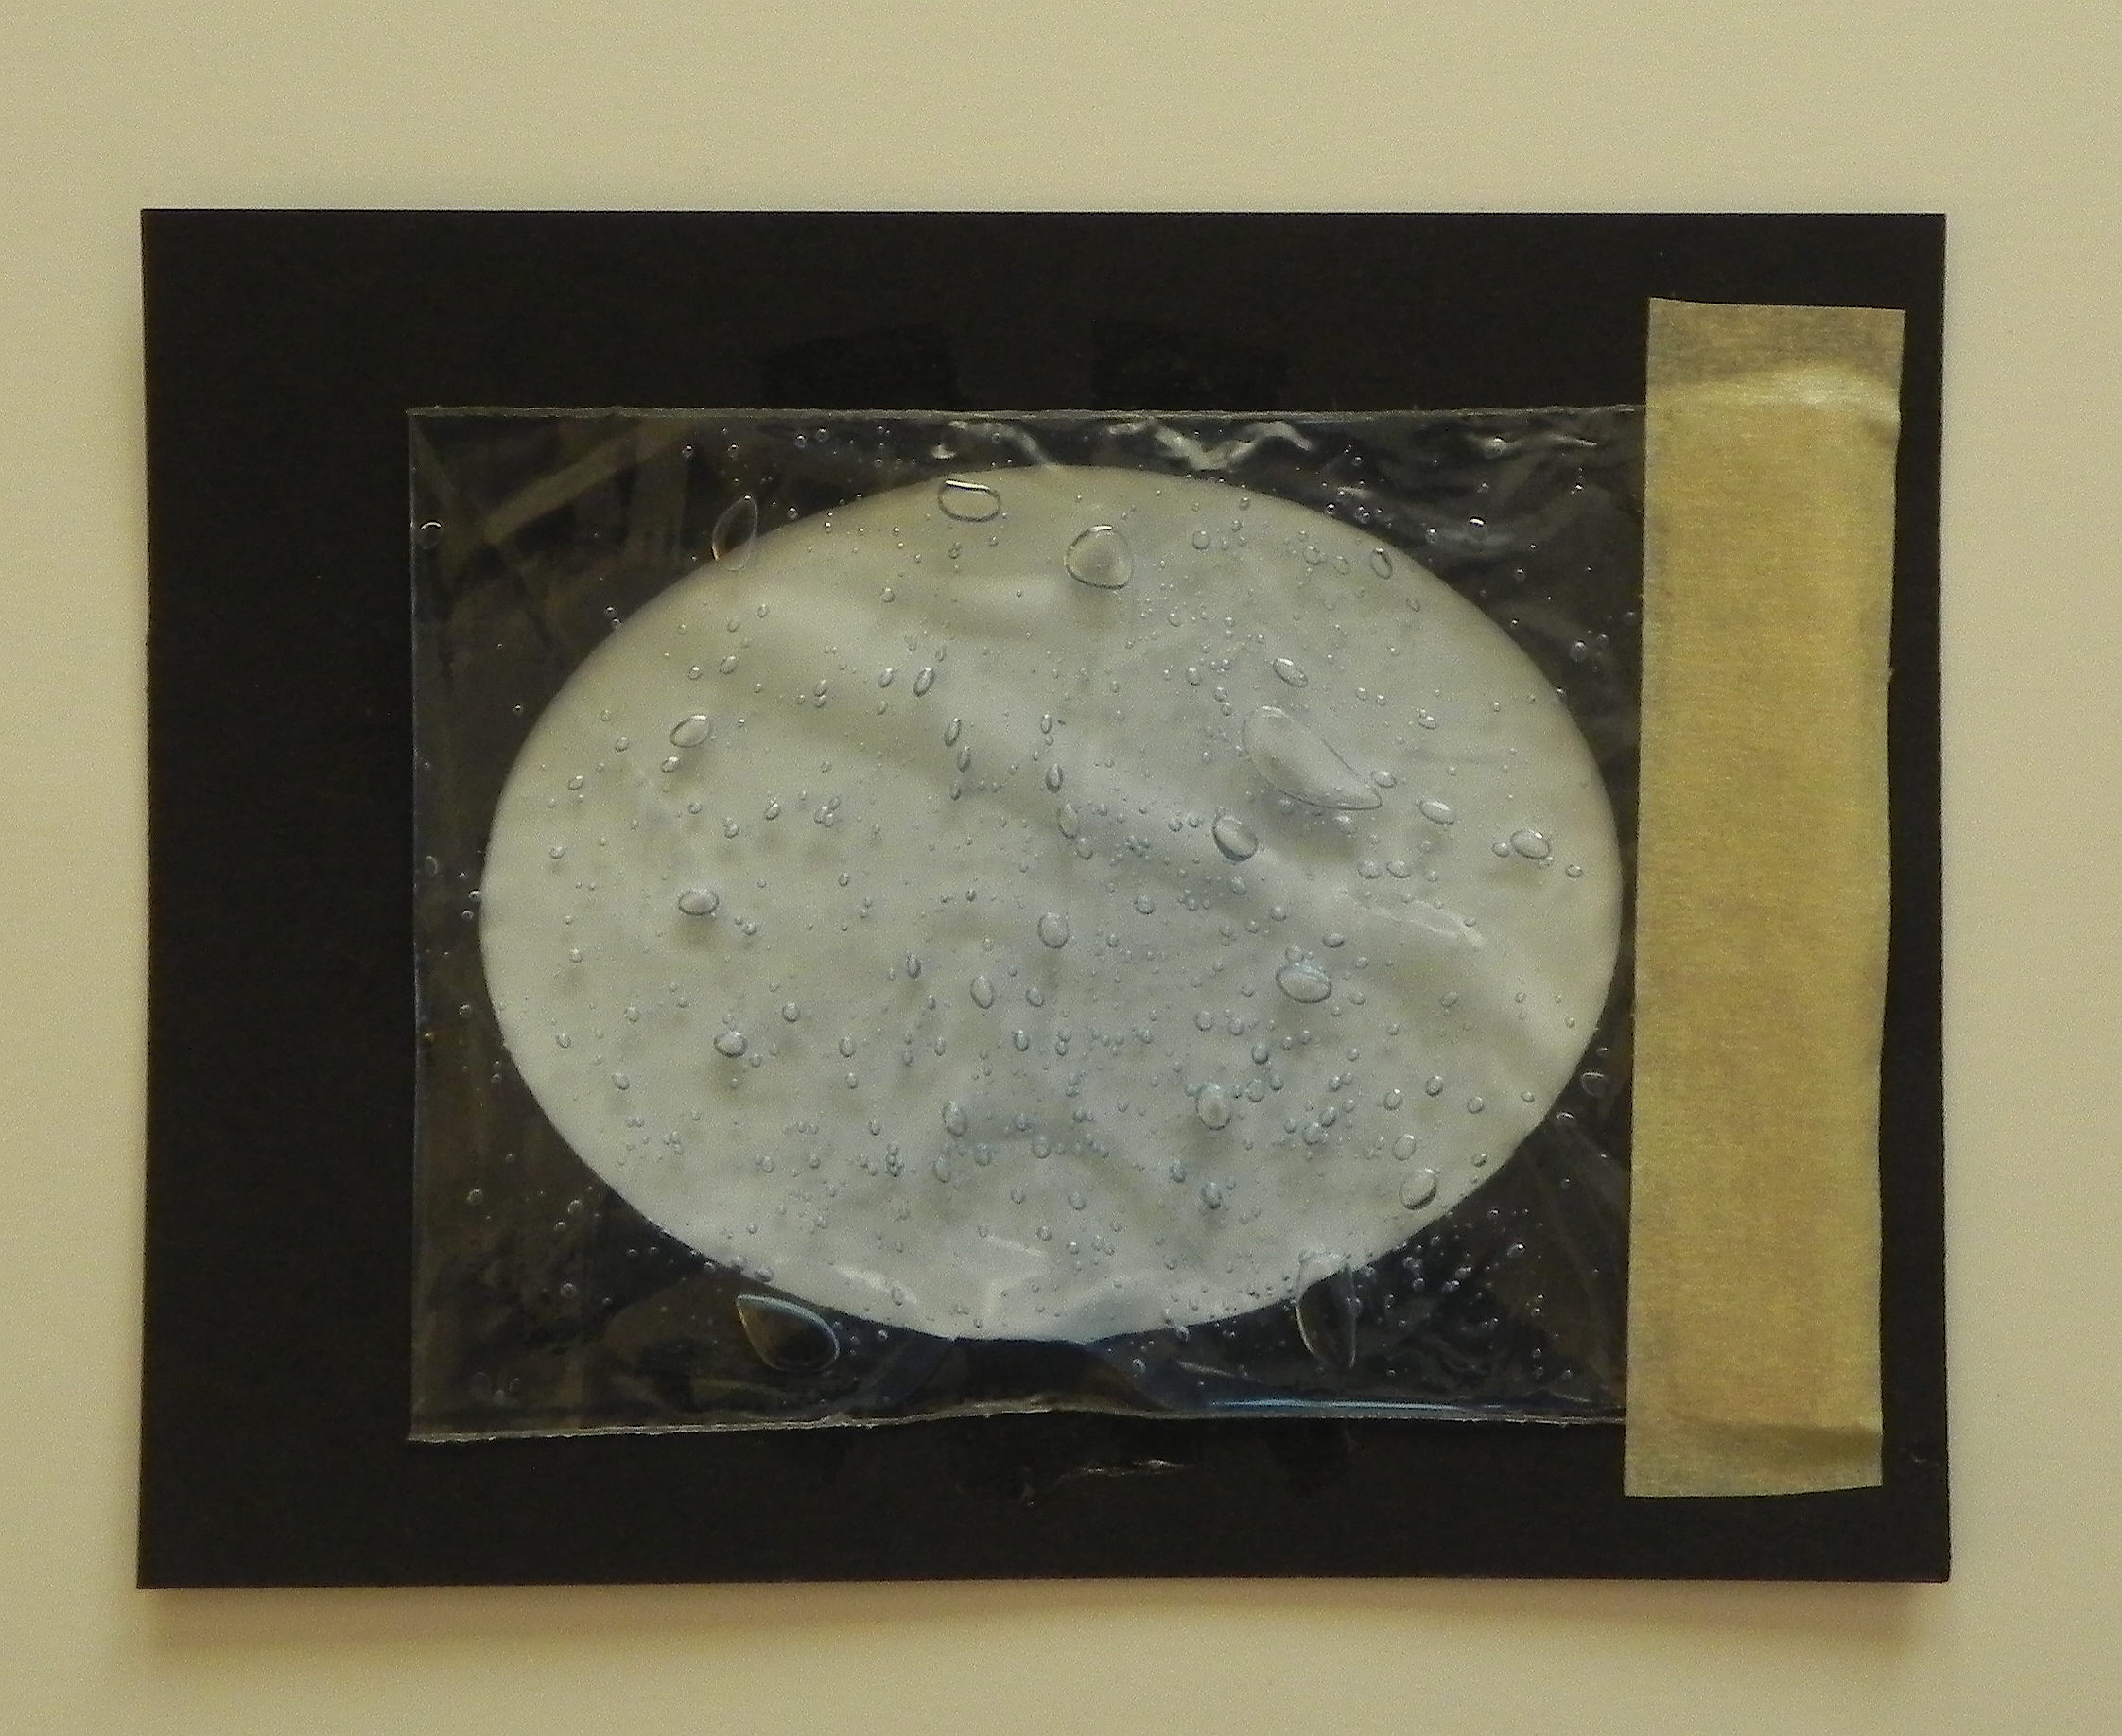
In addition to the card stock, you will need hair gel (blue is my personal preference, although any gel will work) and a small plastic ziplock bag.  (The size of the bag depends on the size of the card stock you use on the front of your card and the size of the frame you cut out.  I’ll explain more on this in a moment.)

aDSCN6325  aDSCN6331


Next, decide what you wish to put behind the water/framed panel.  You may use printed paper, solid paper, or a background scene you create yourself.  (Place your bag of gel over the image to see how it looks!)

aDSCN6349   aDSCN6352

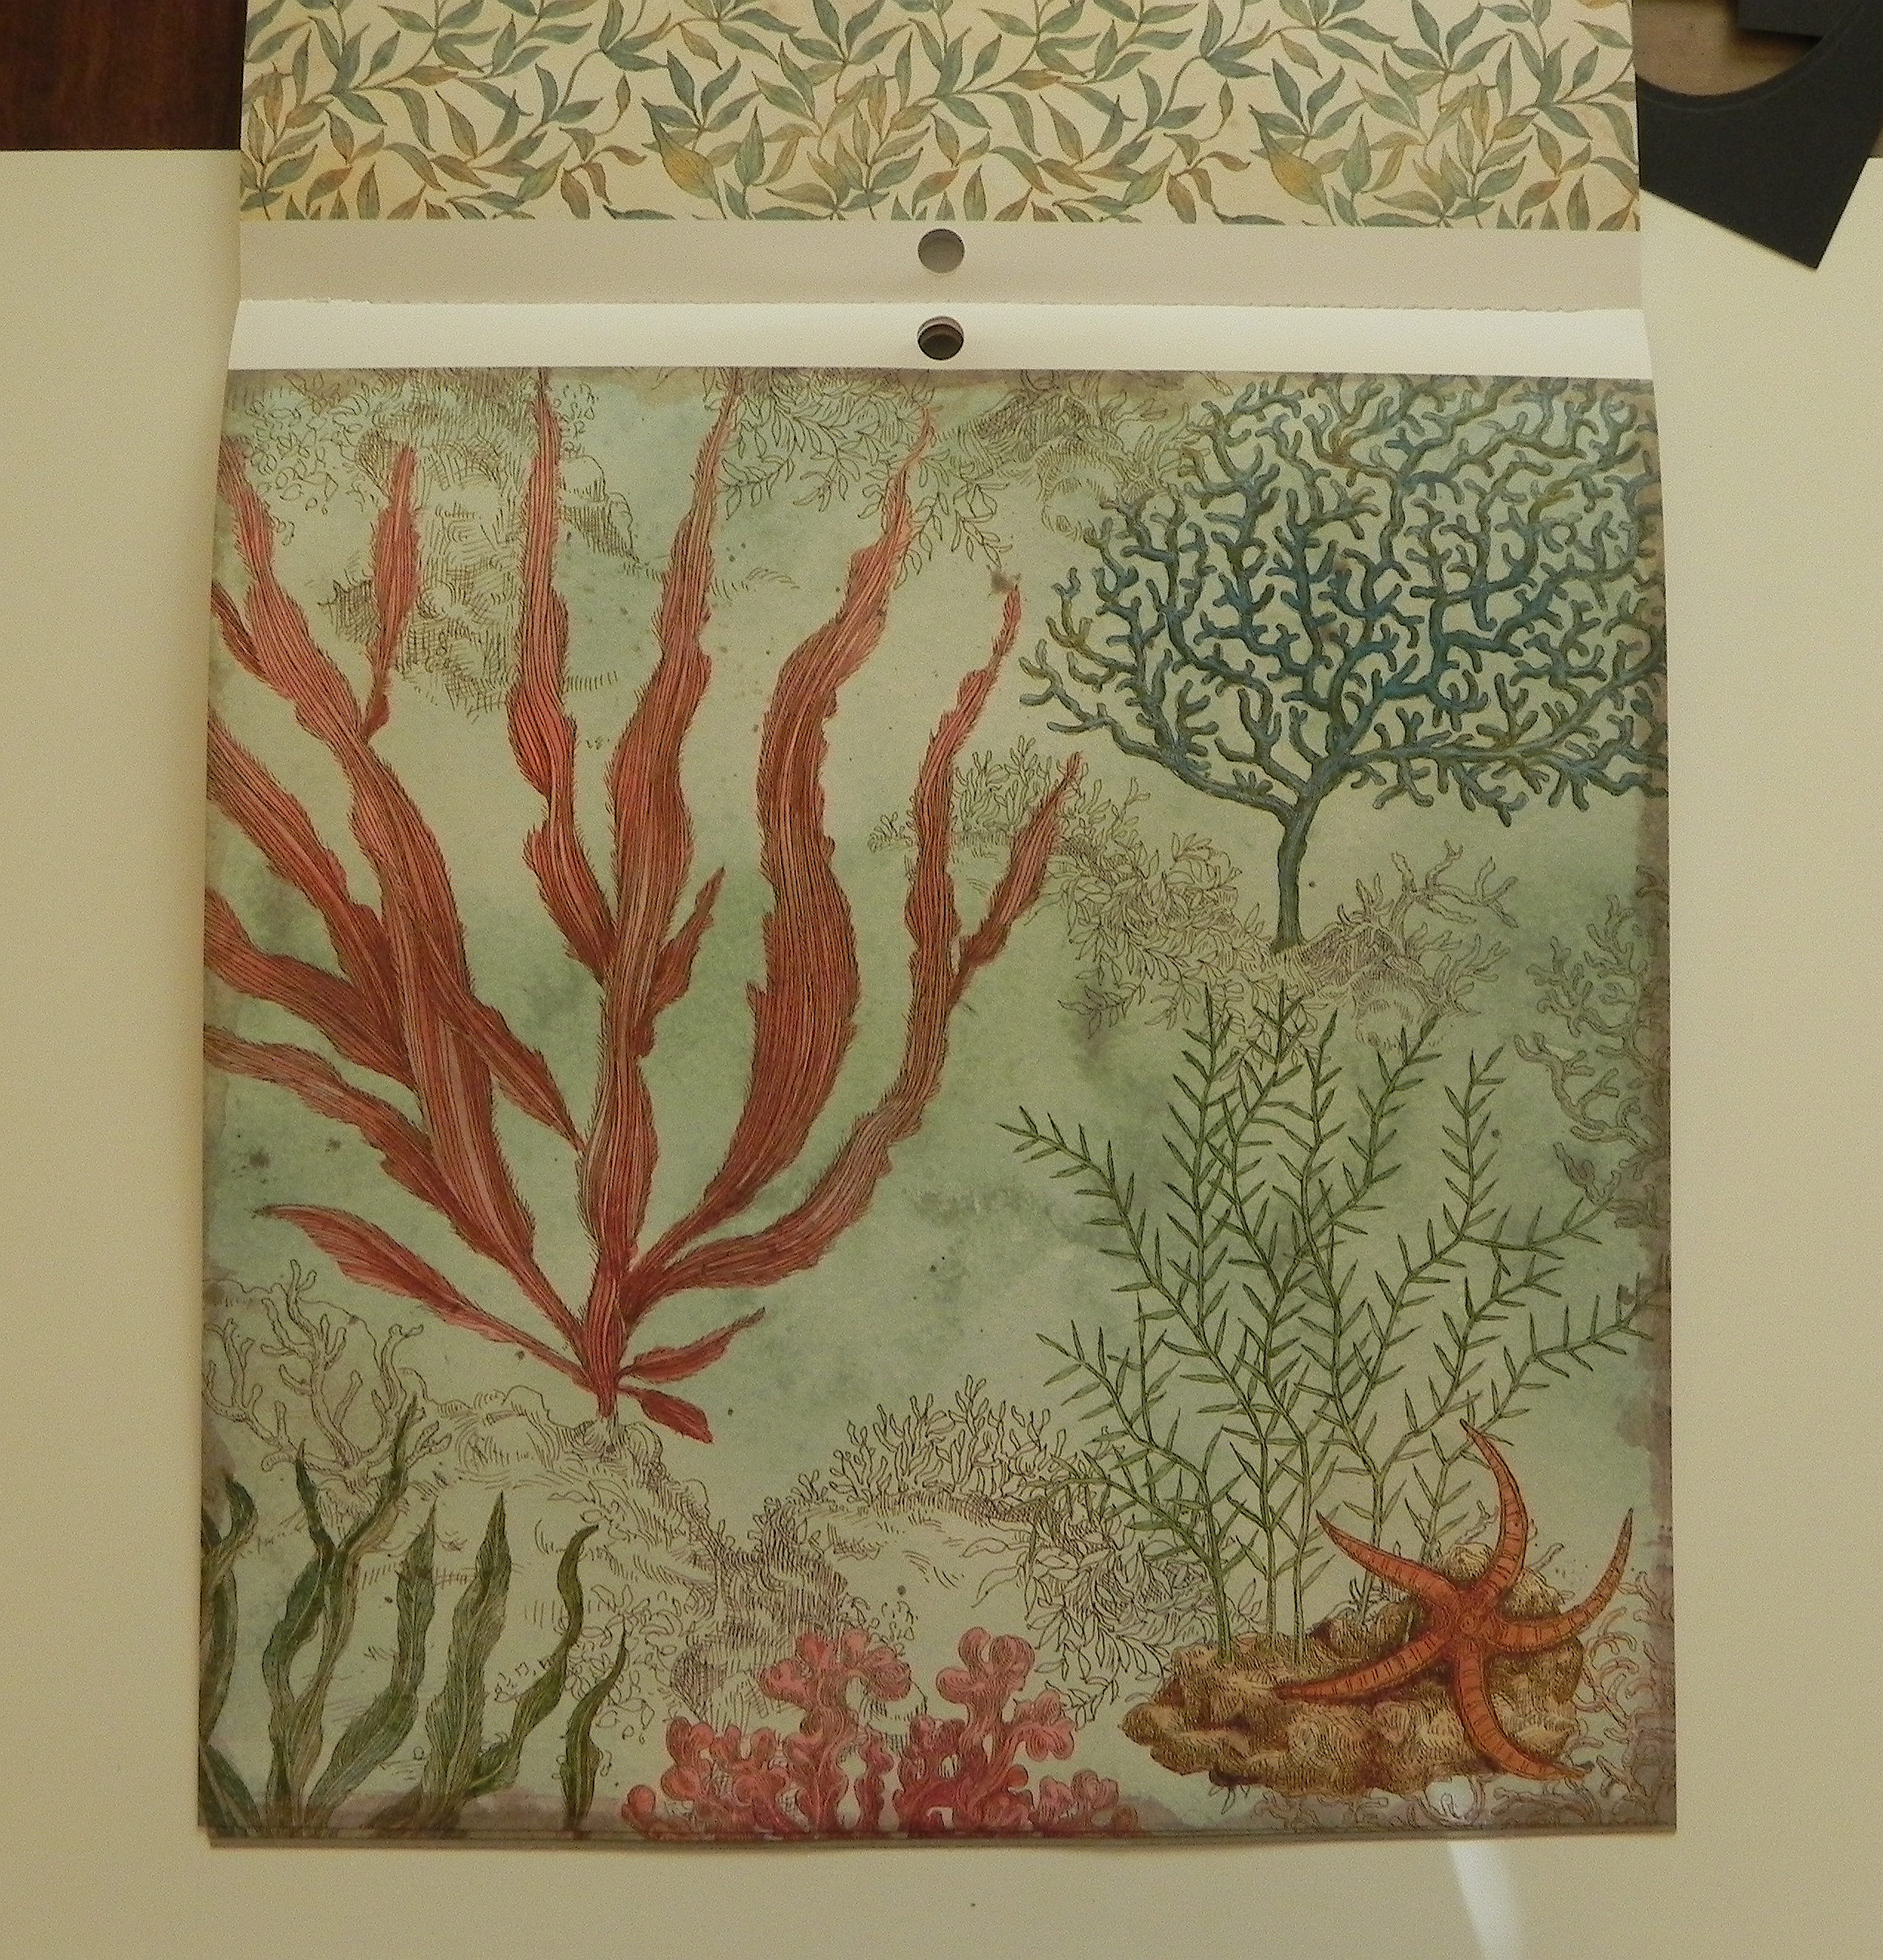
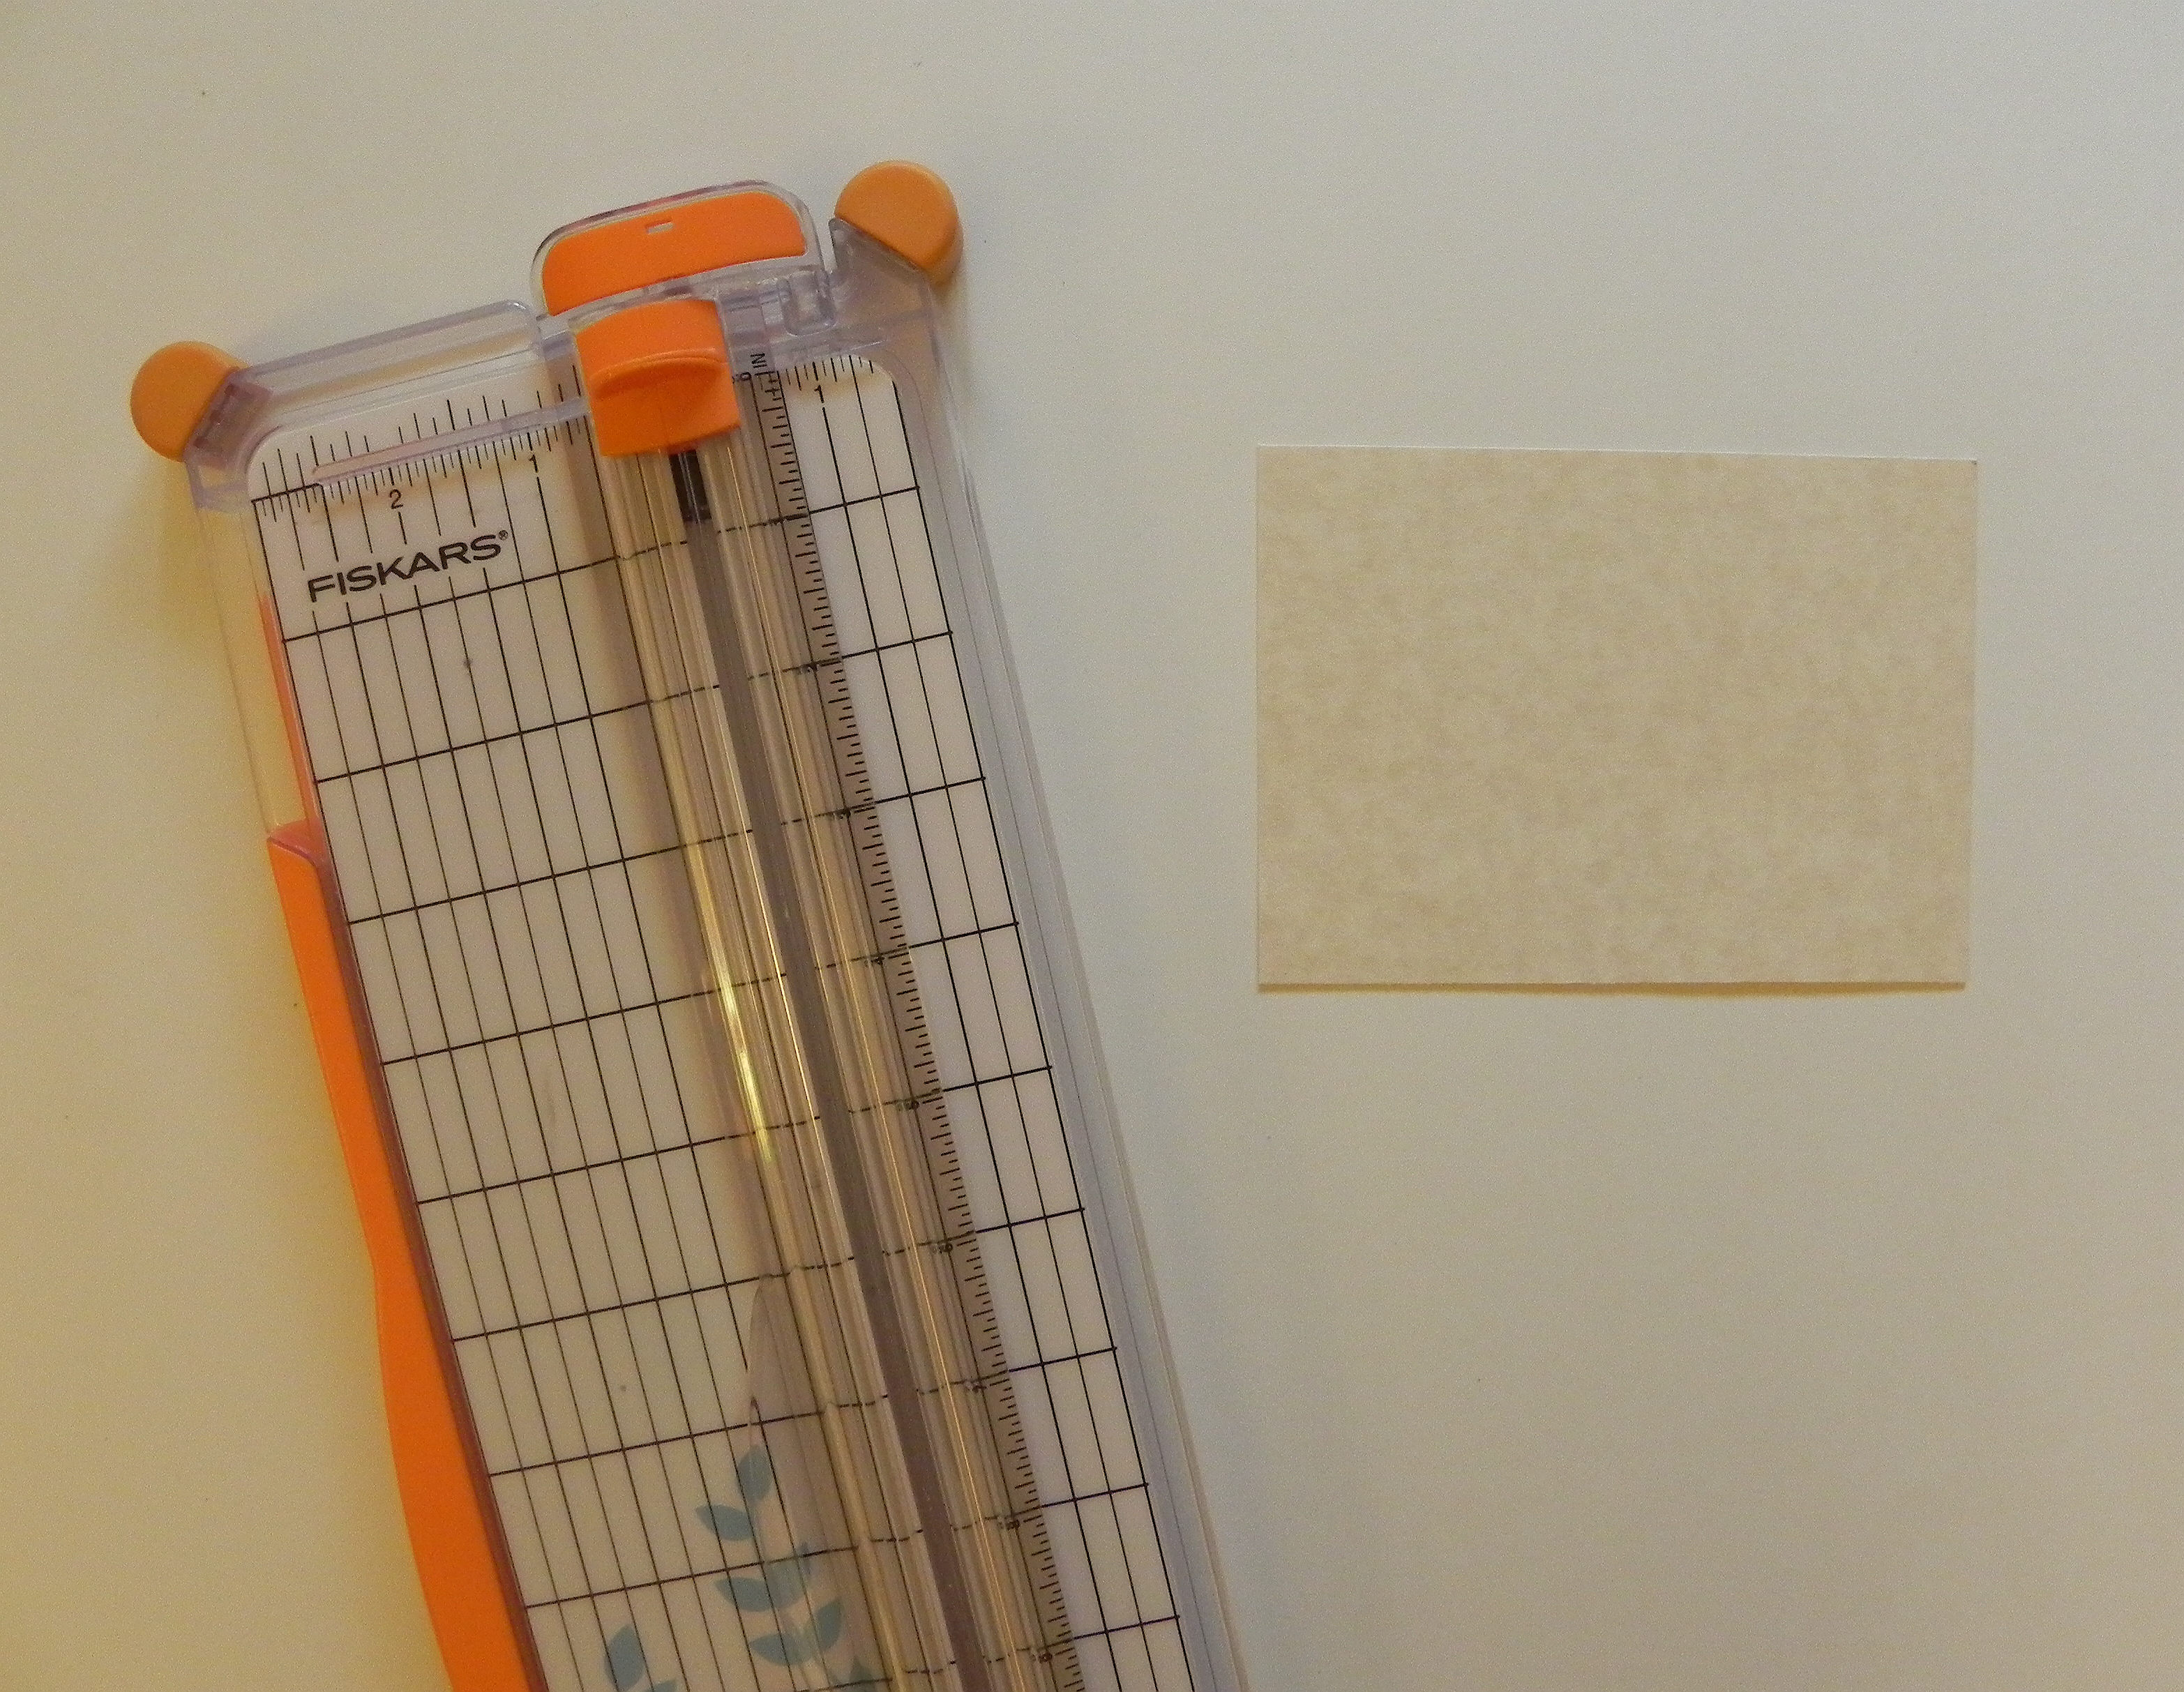
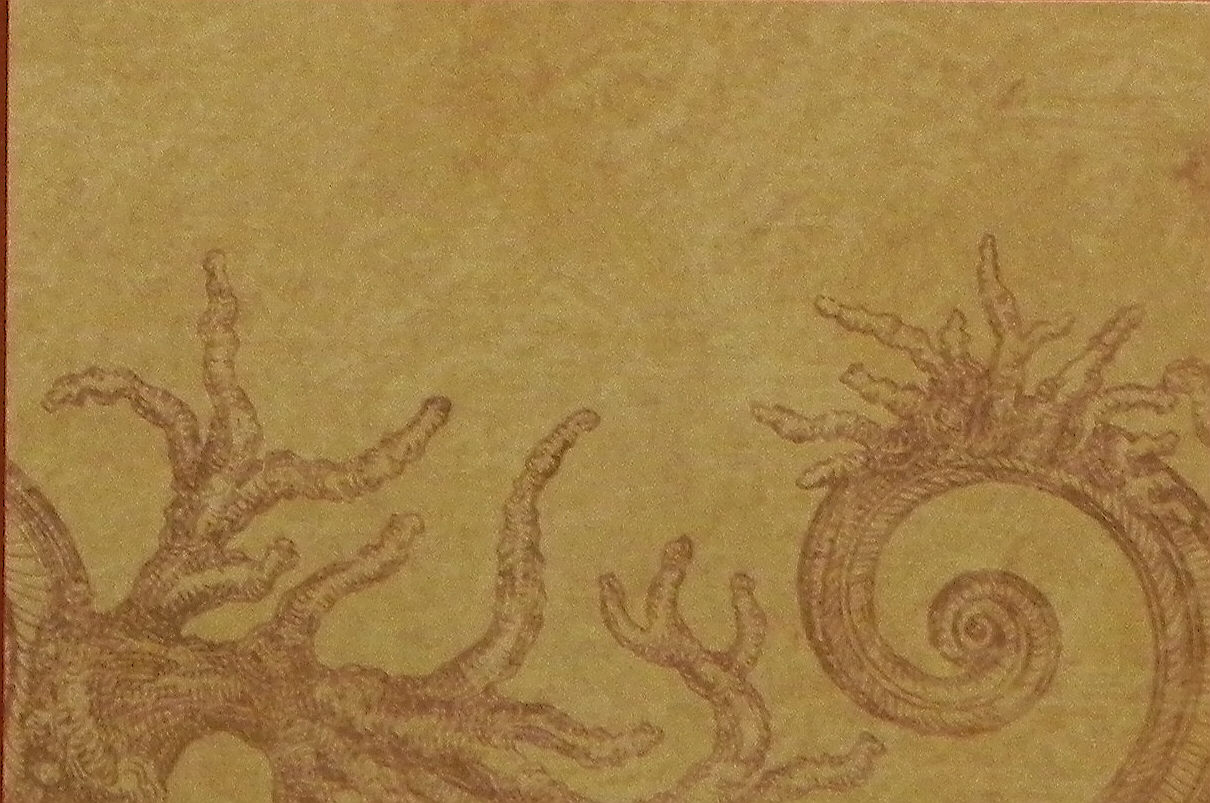
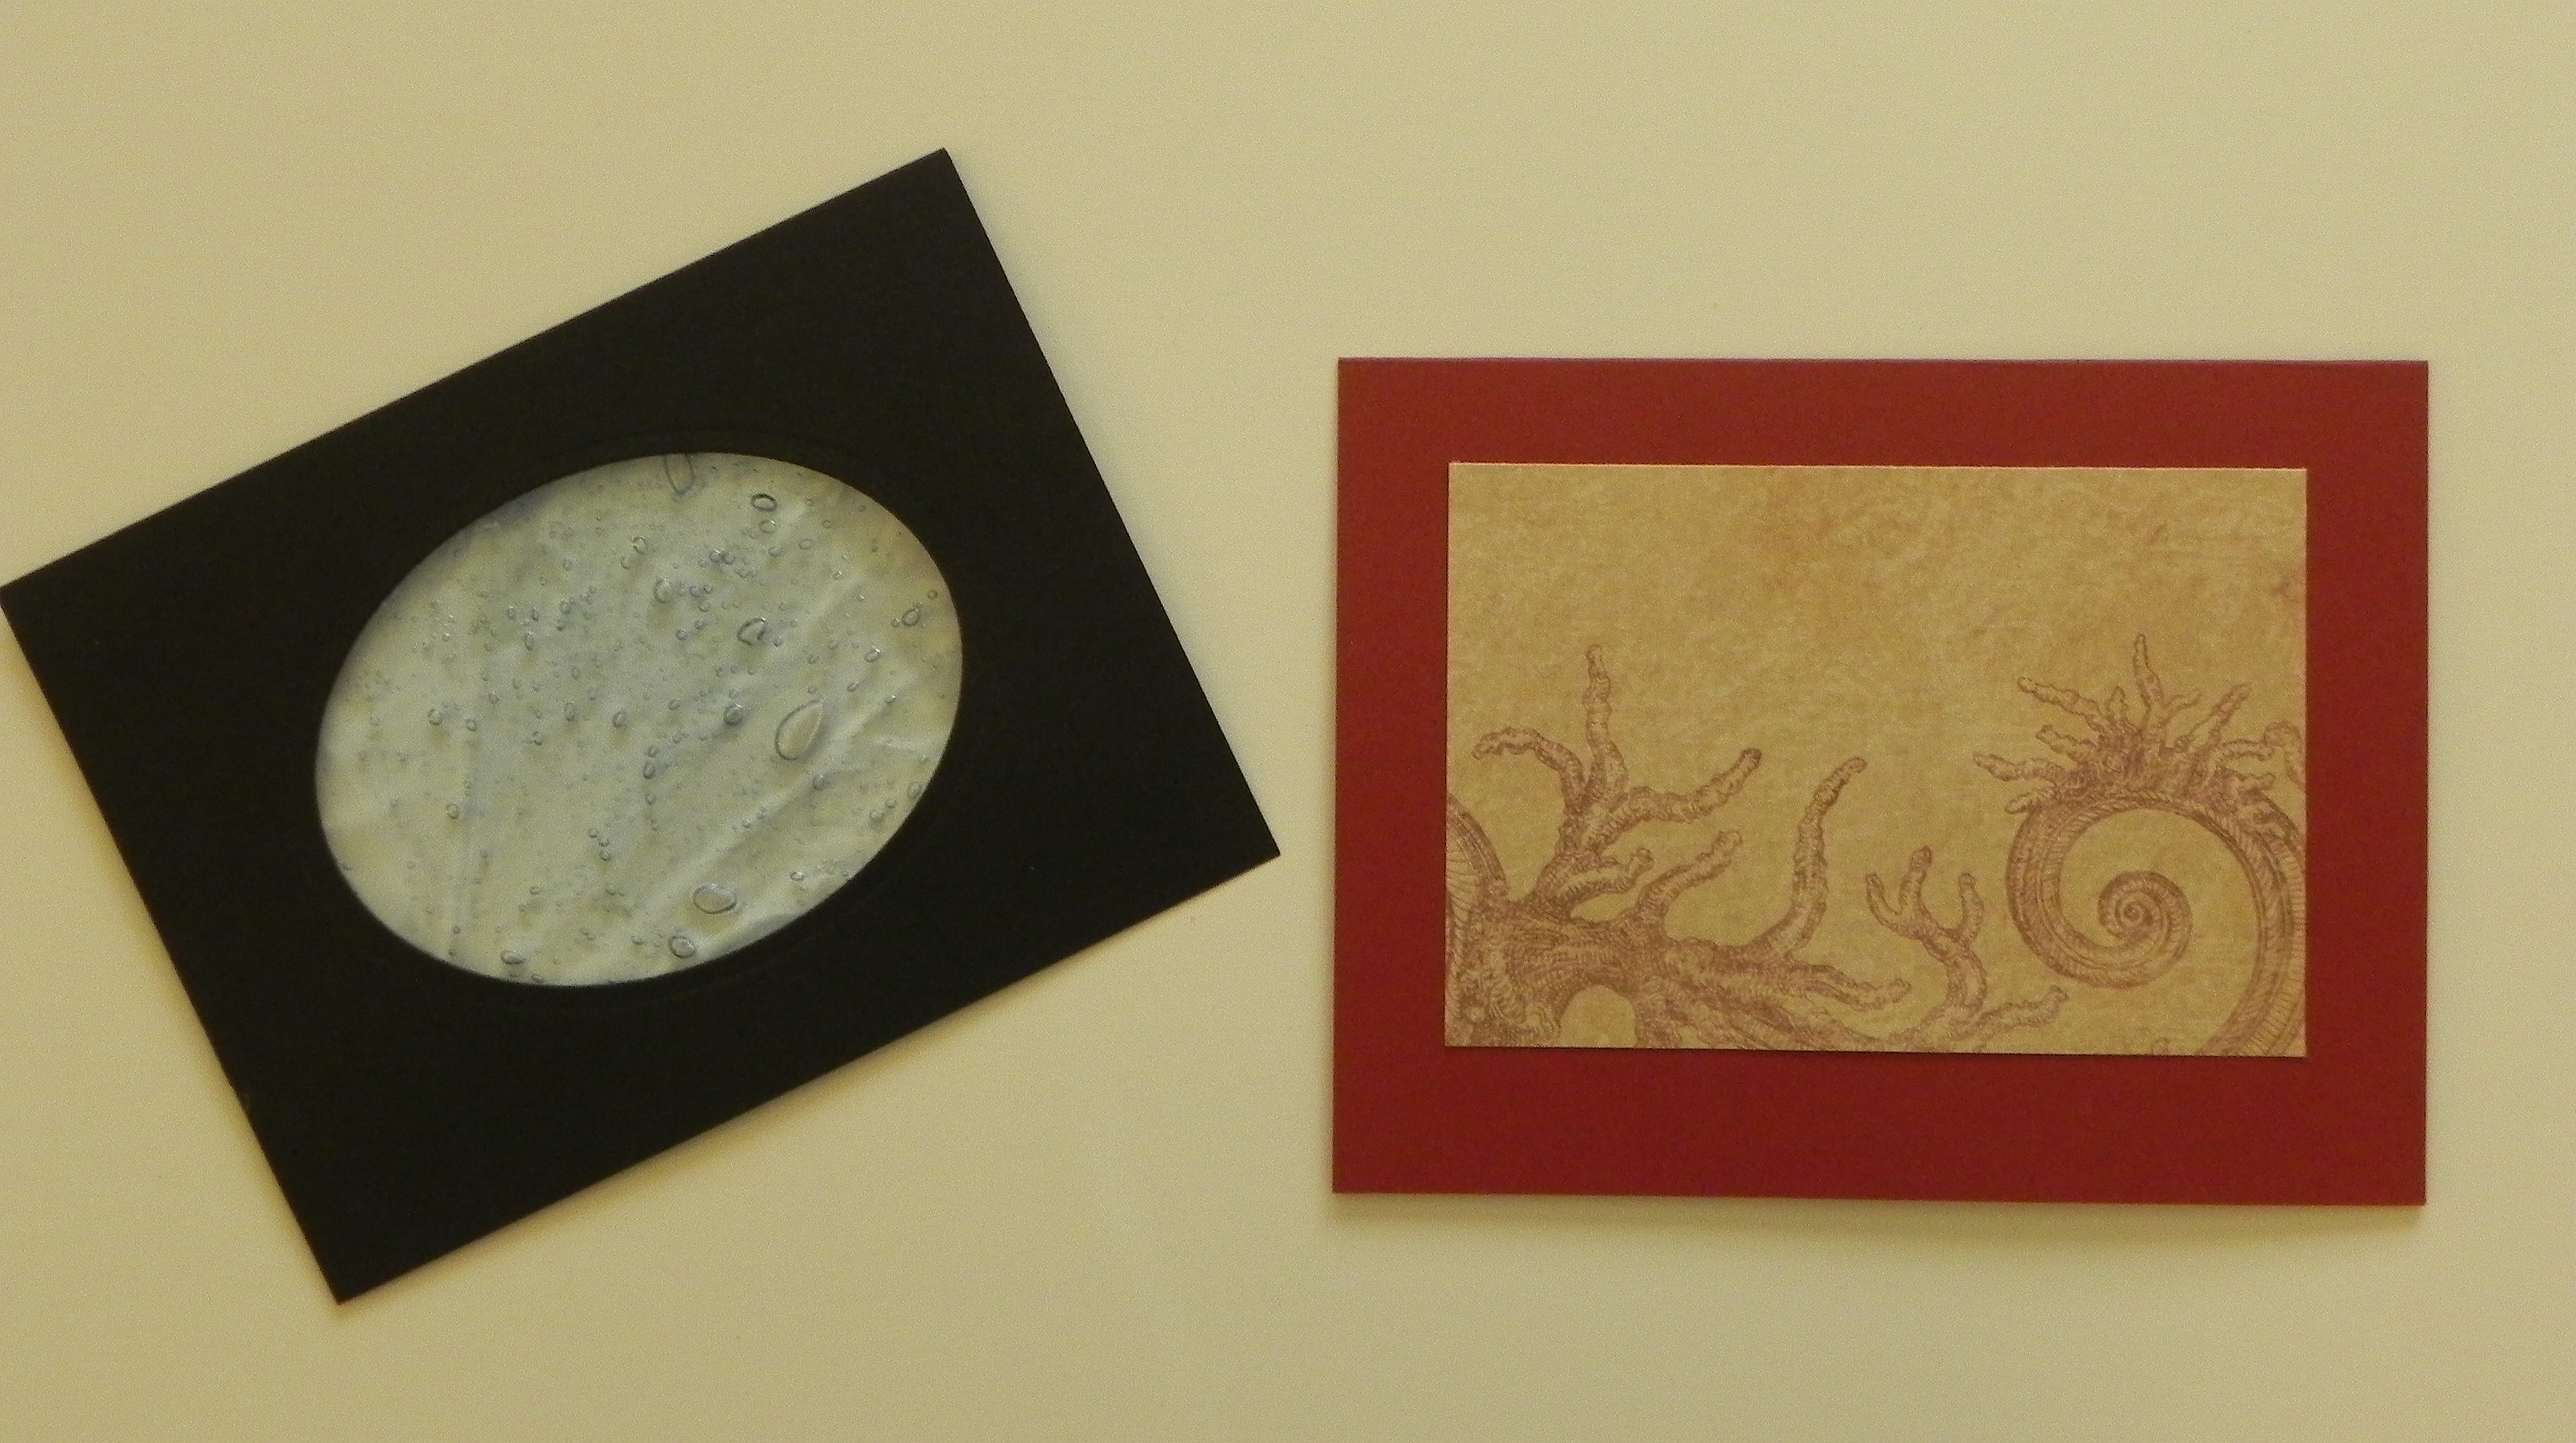
The following is the sample I used in my instructions (see below).

bDSCN6383

Decide if you wish to add any other images to your scene (either on the background panel or the top panel).


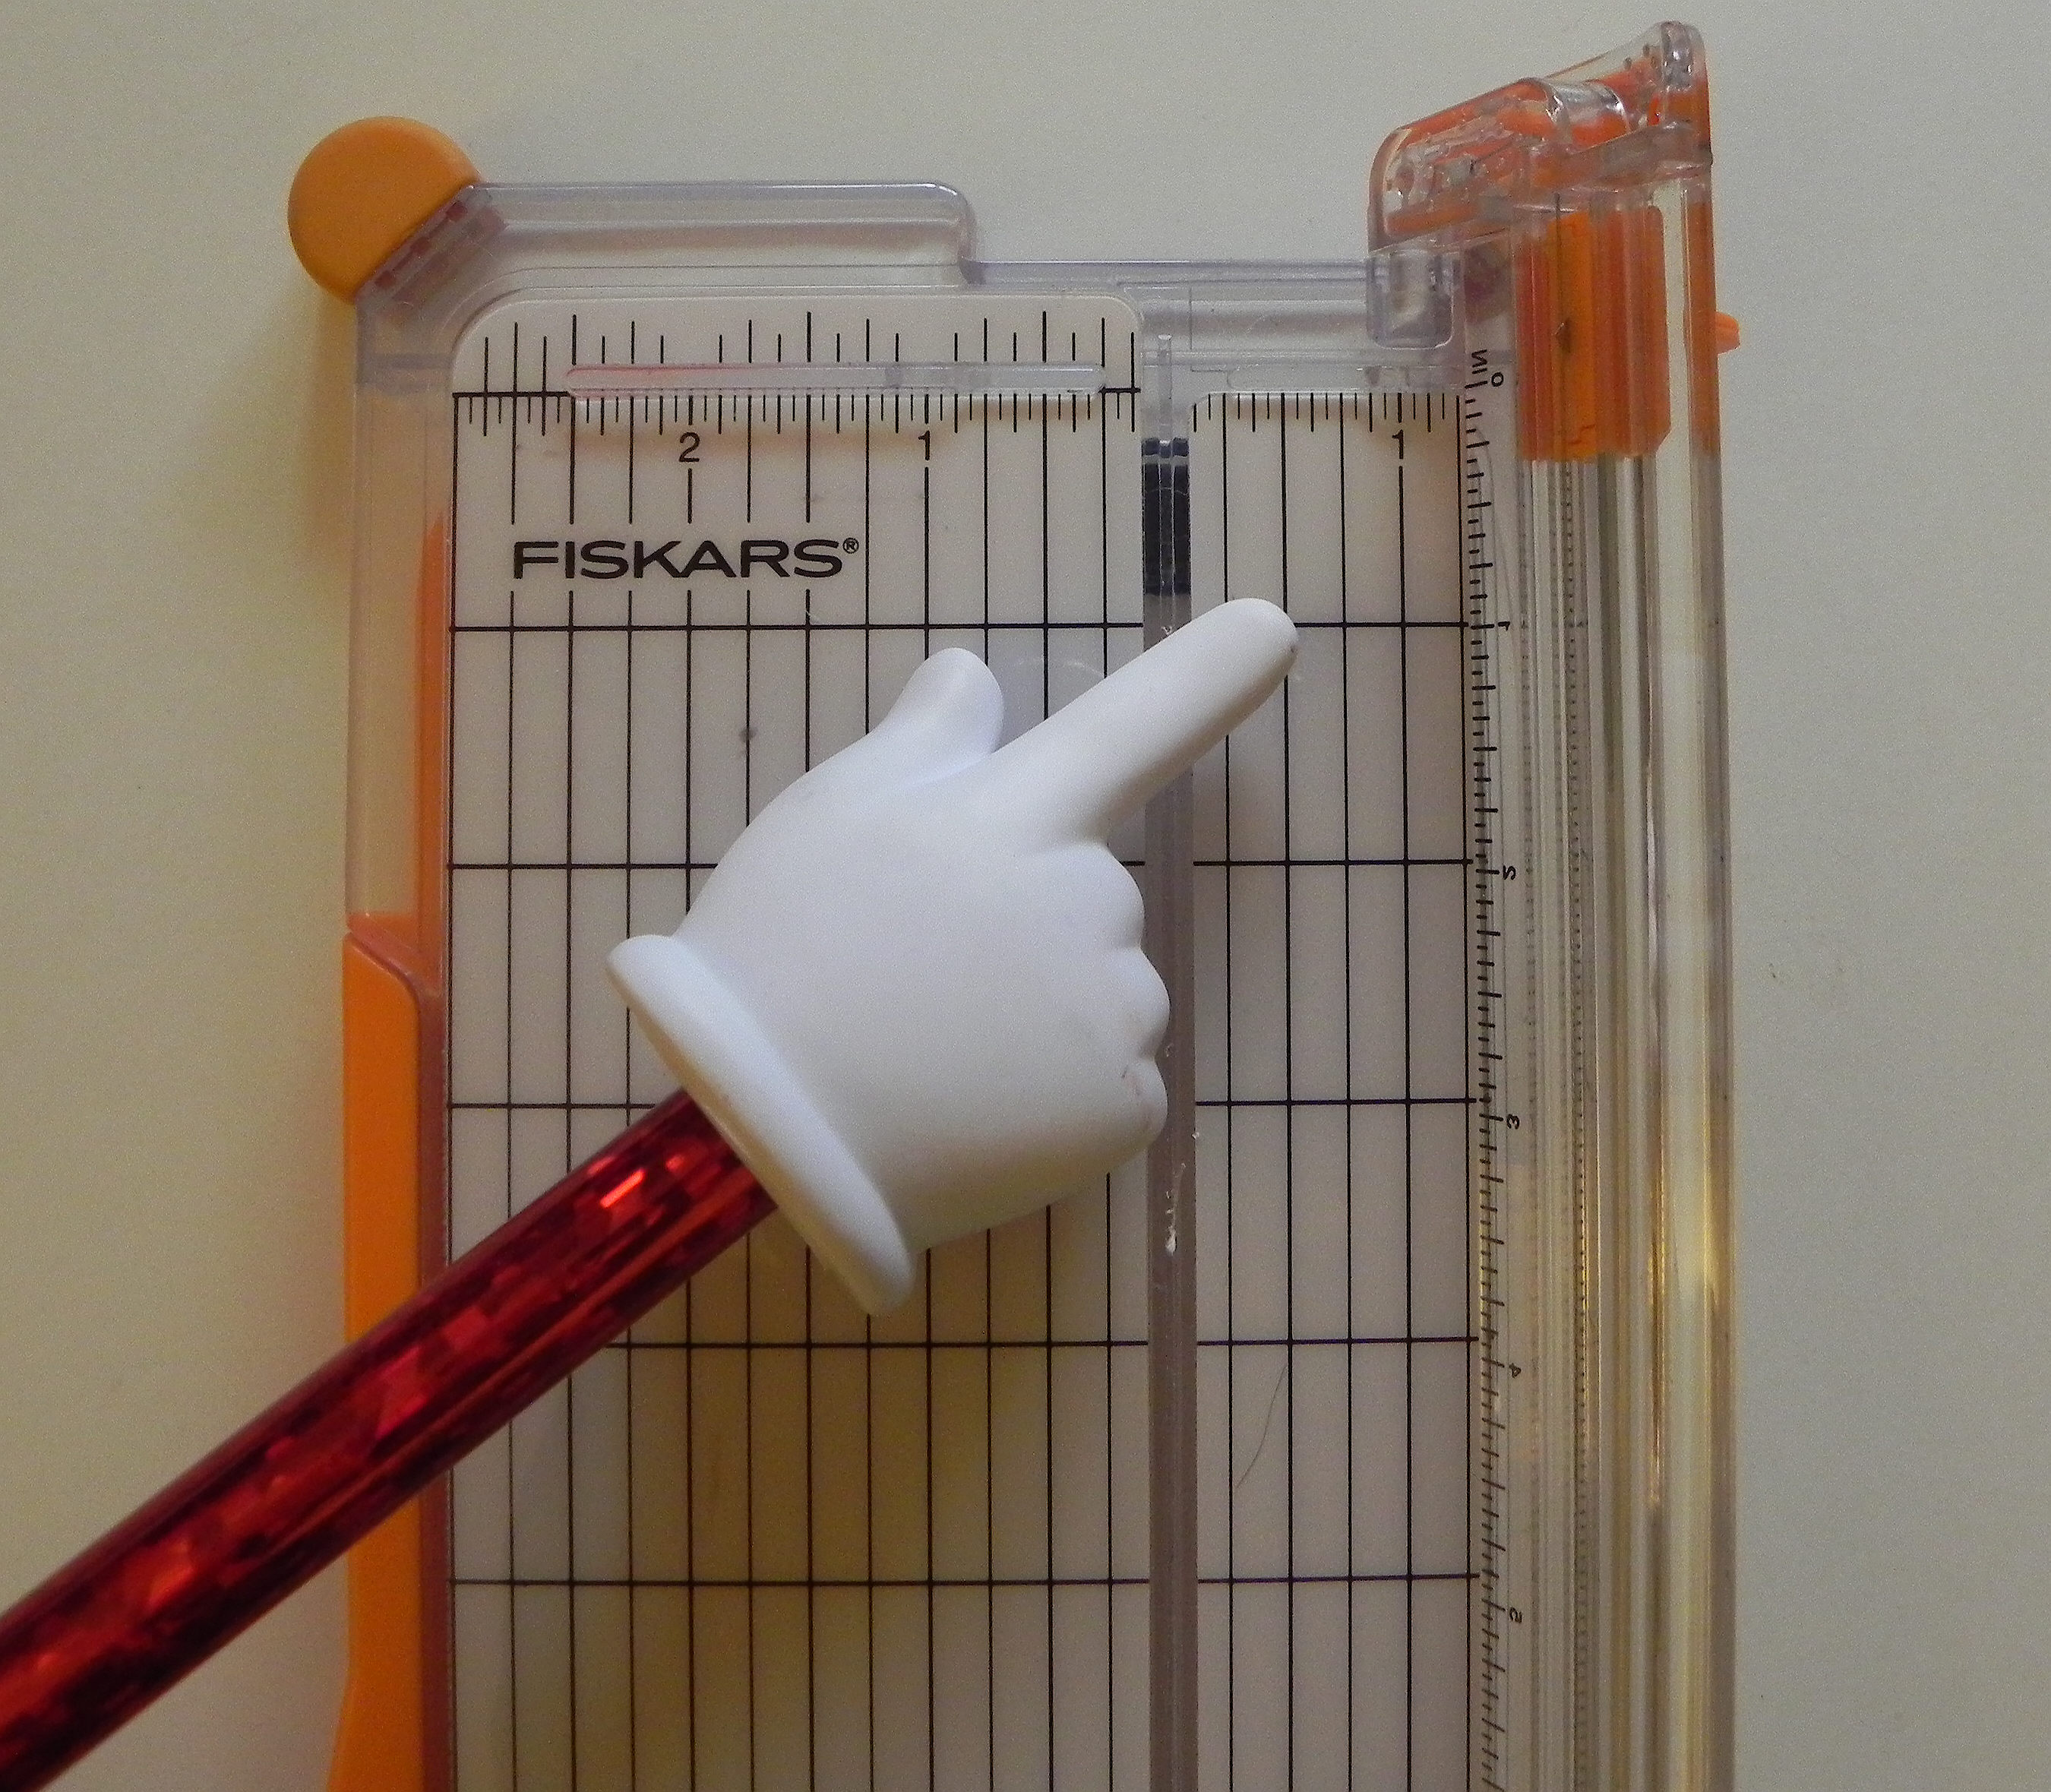
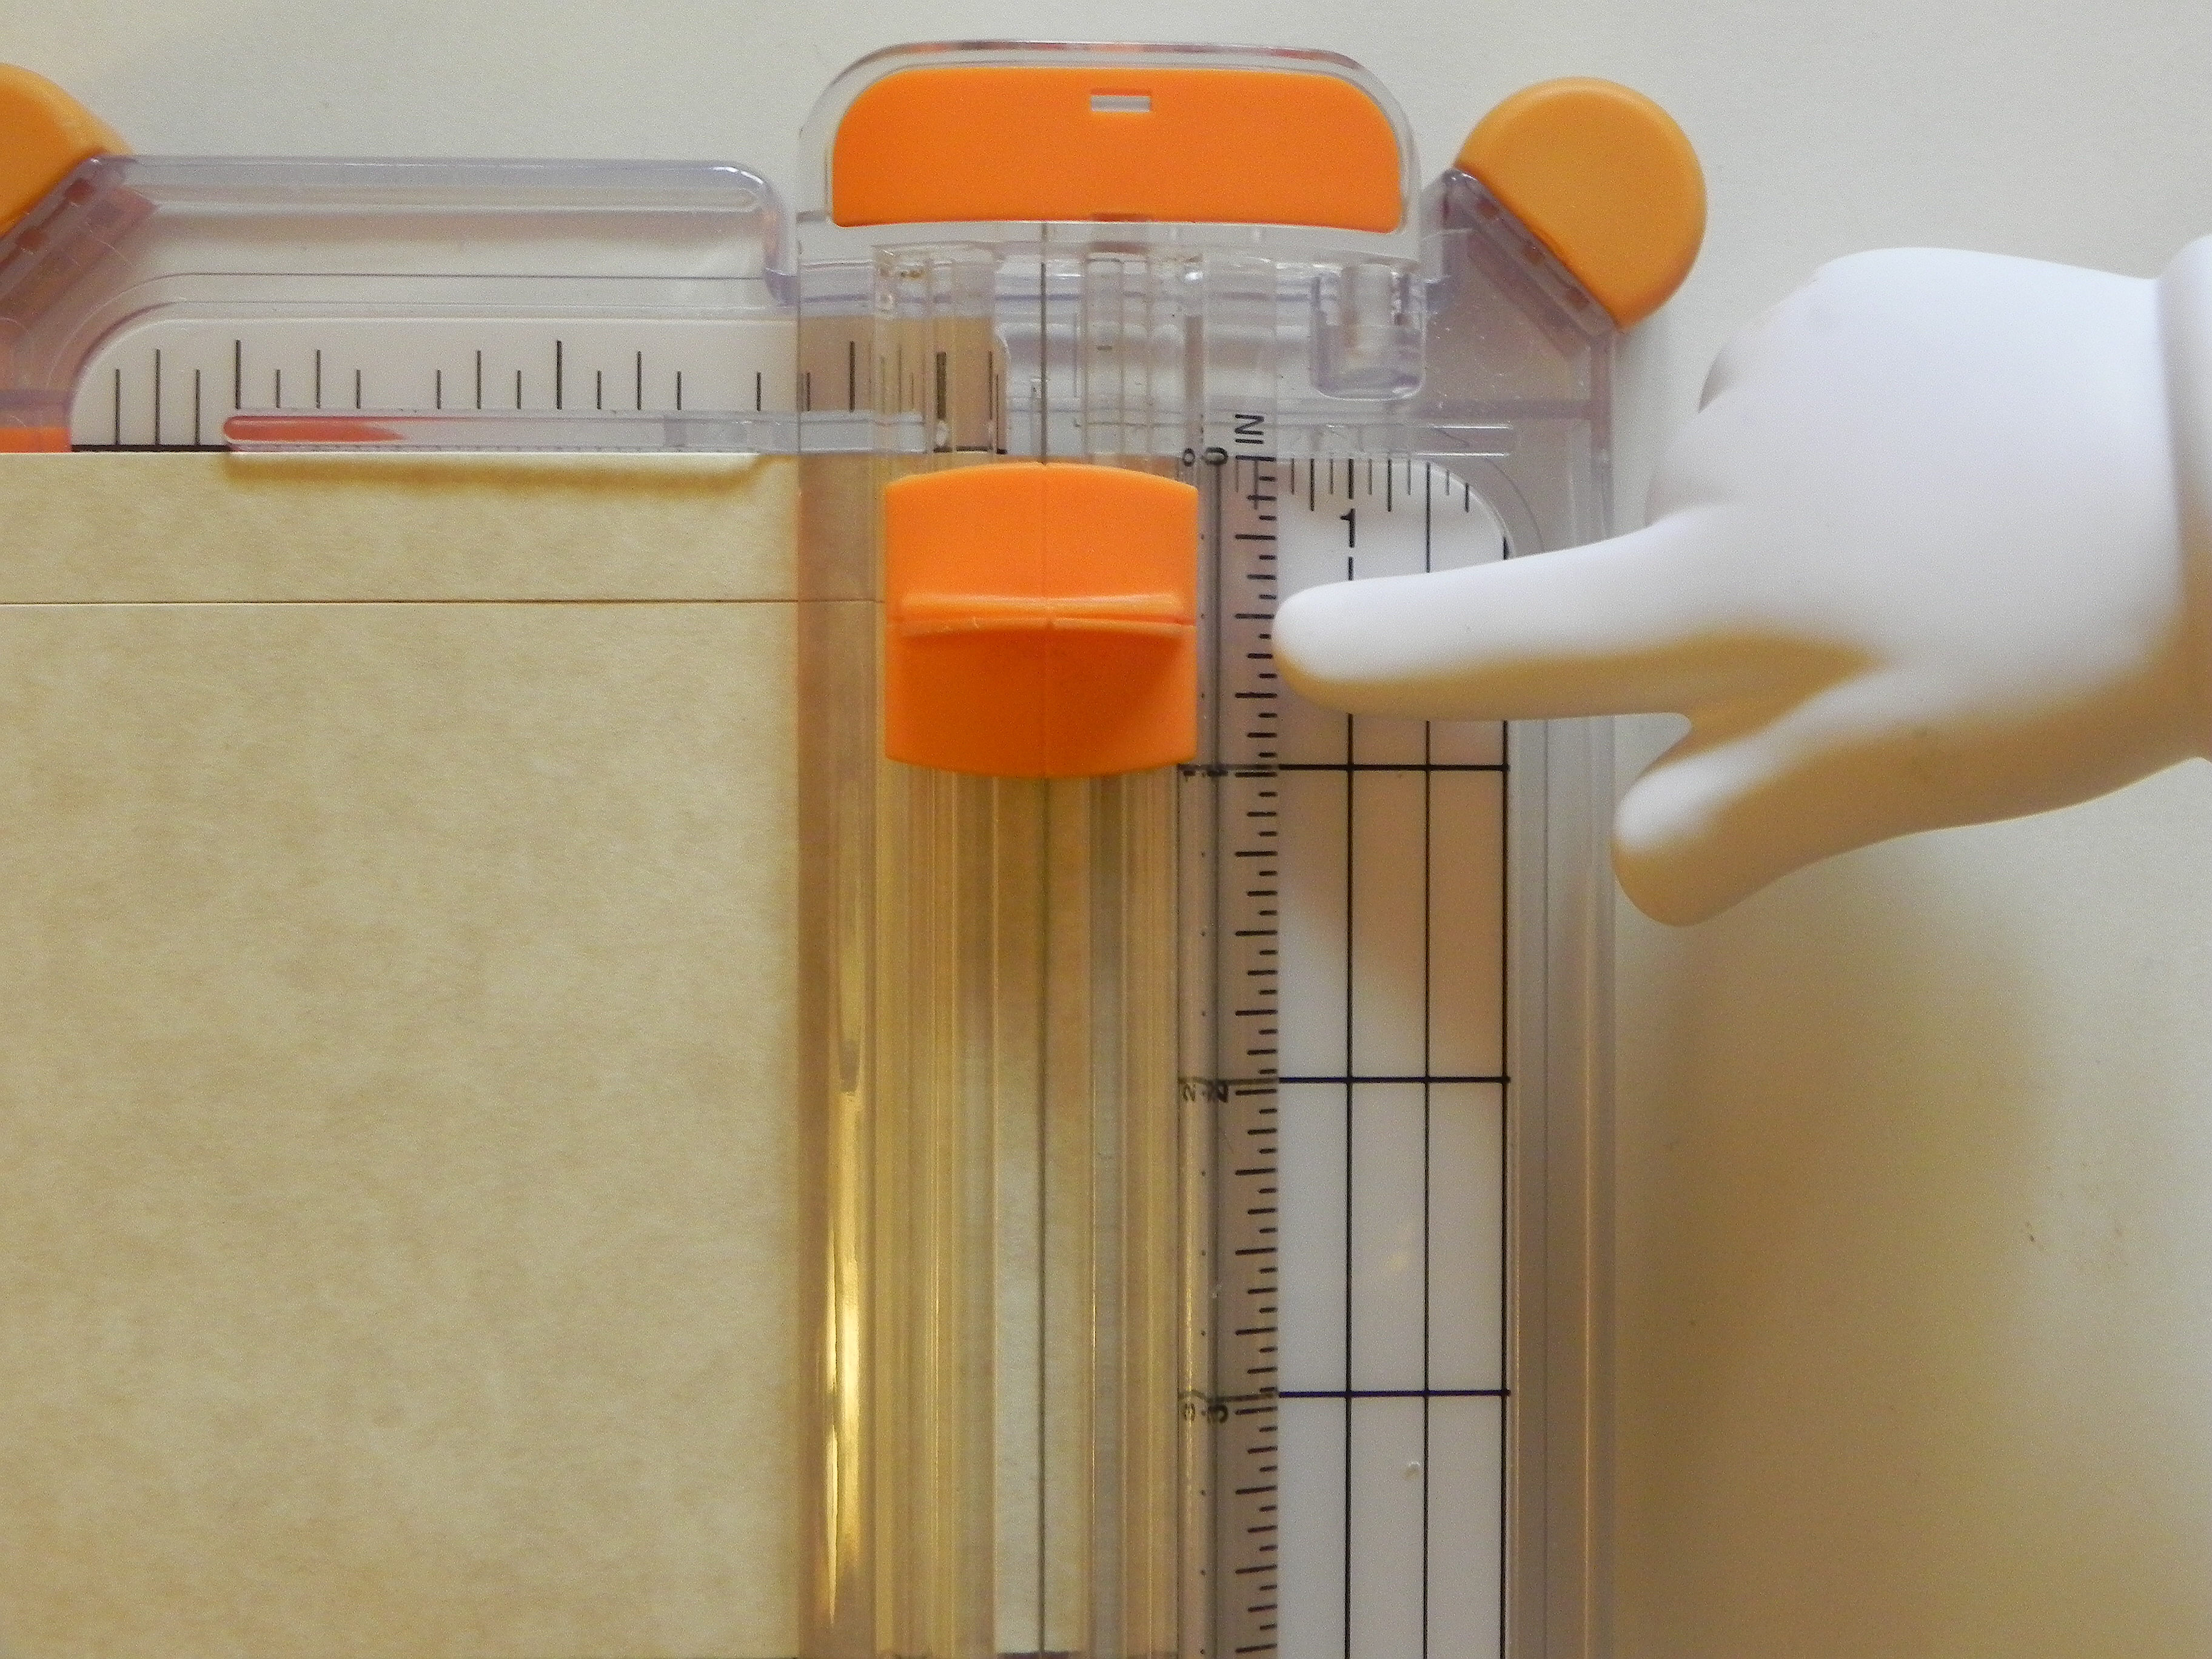
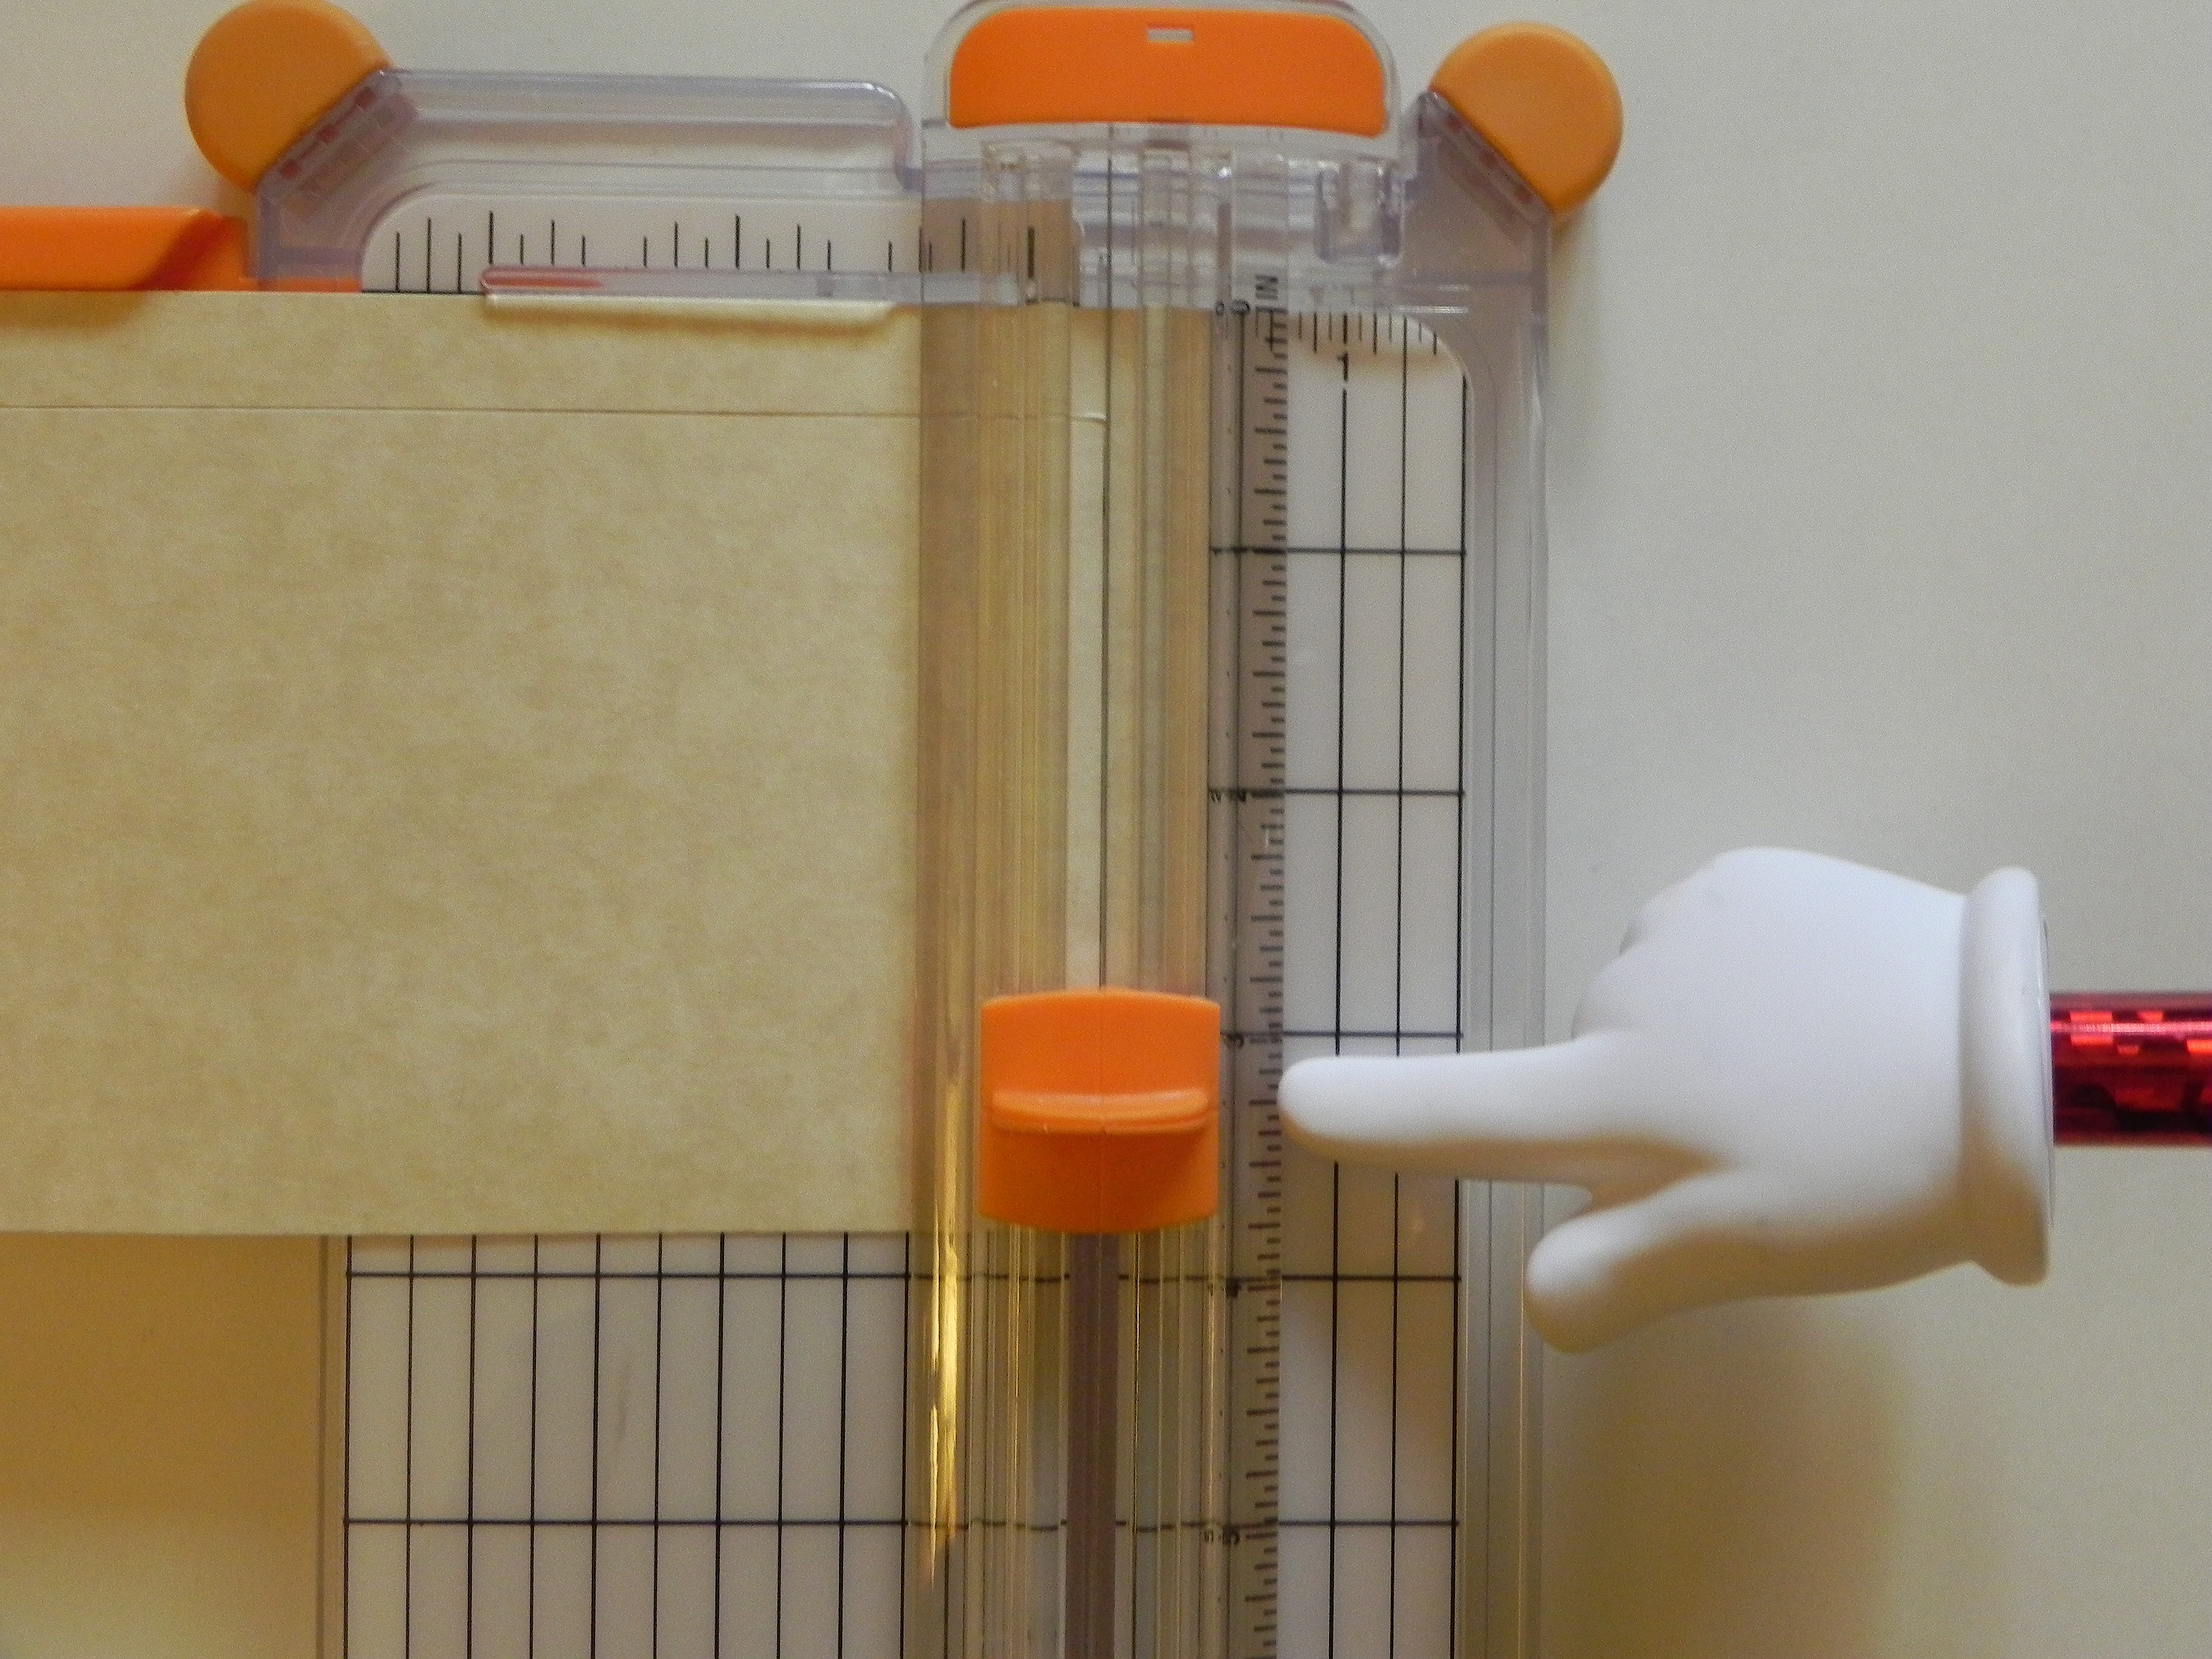
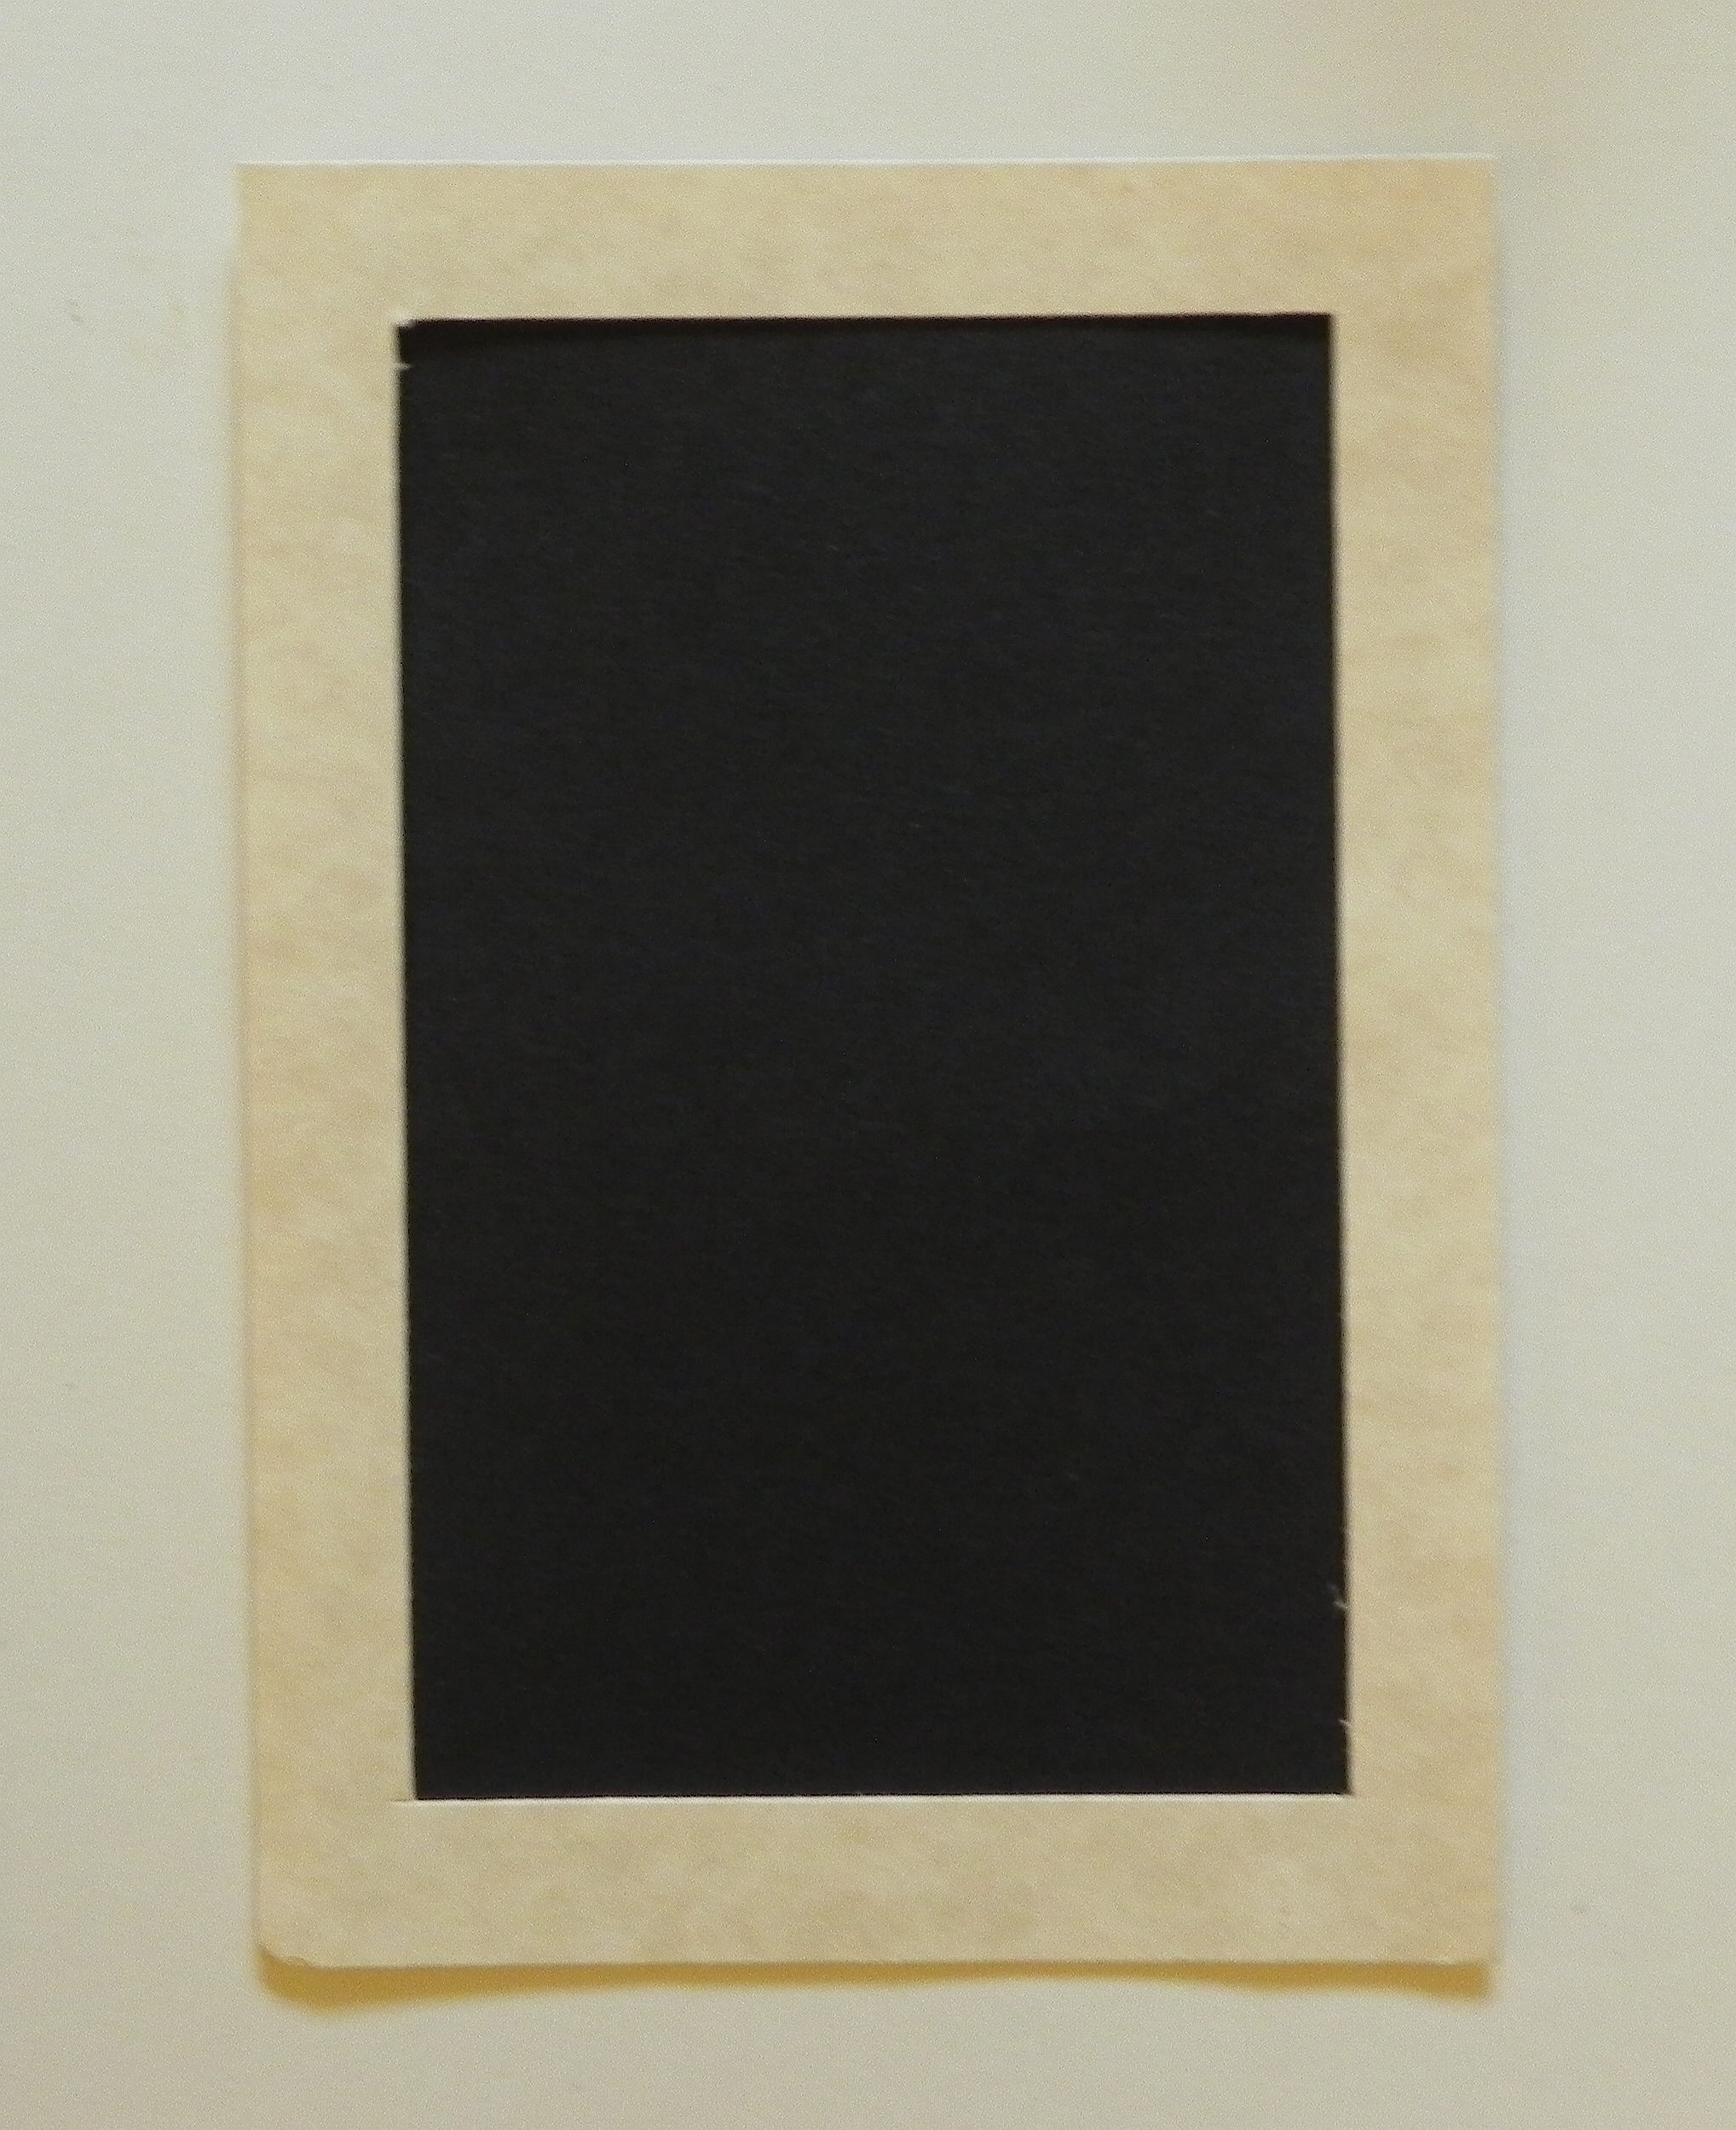
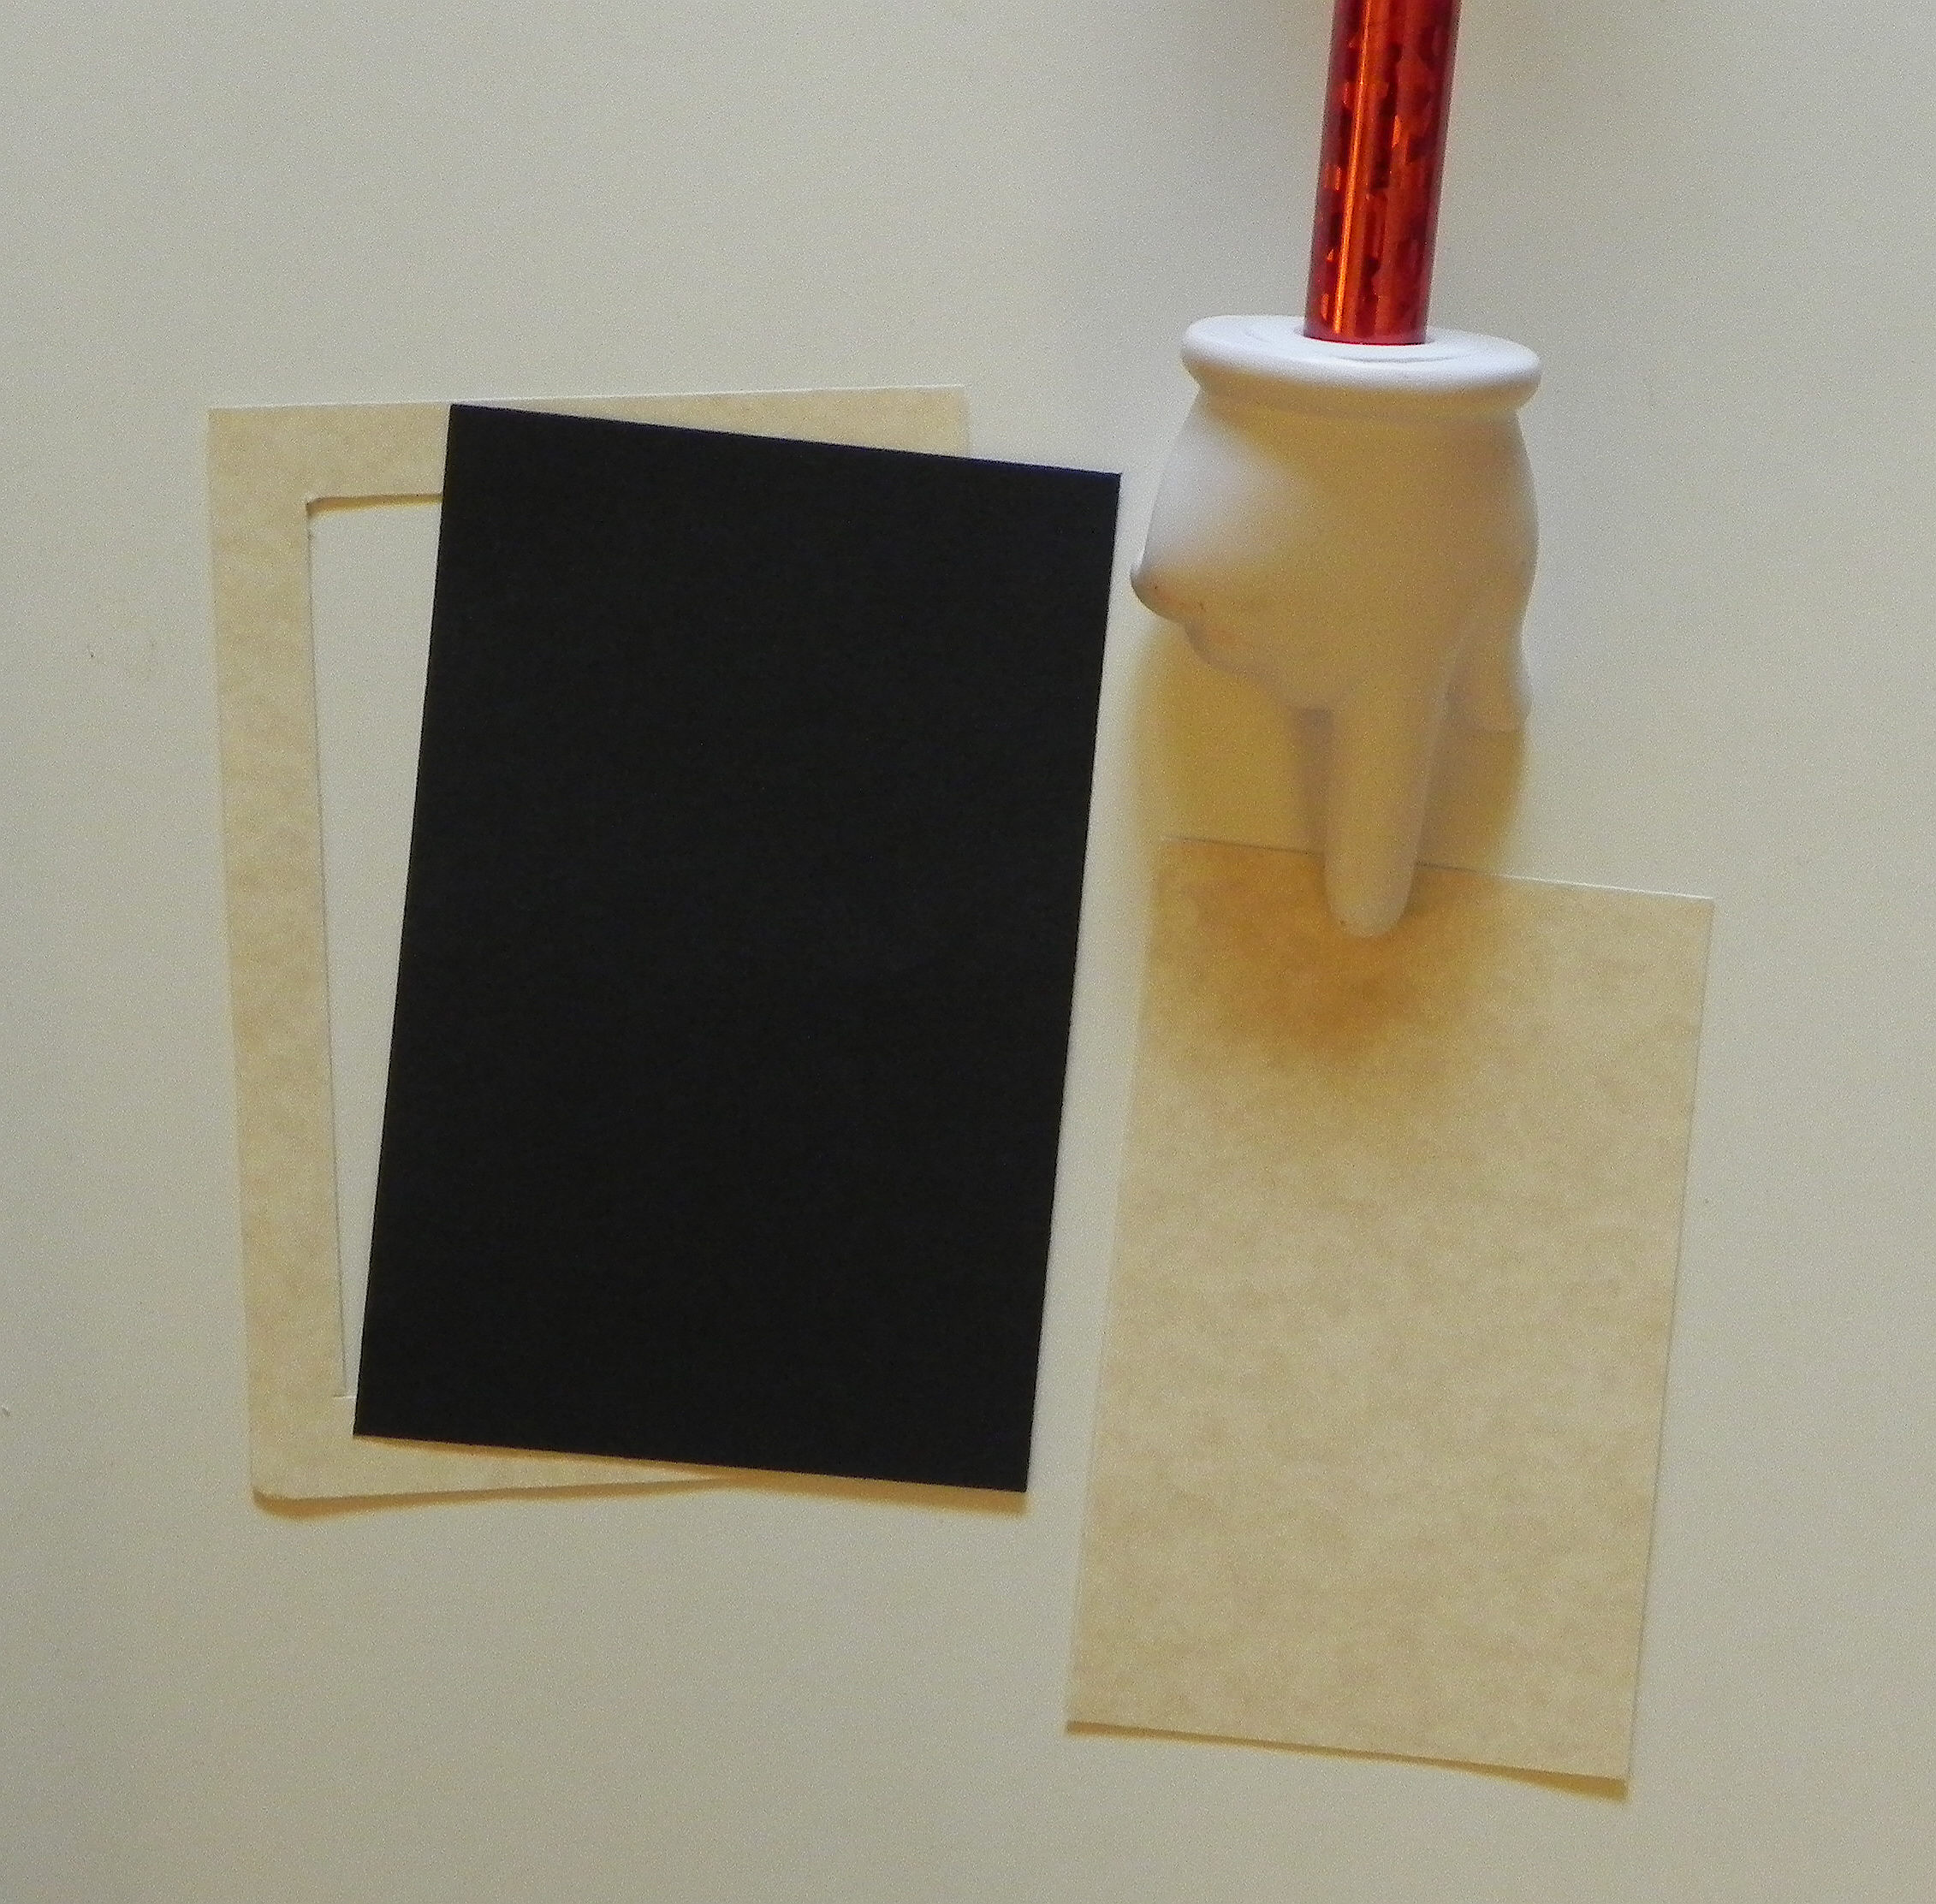
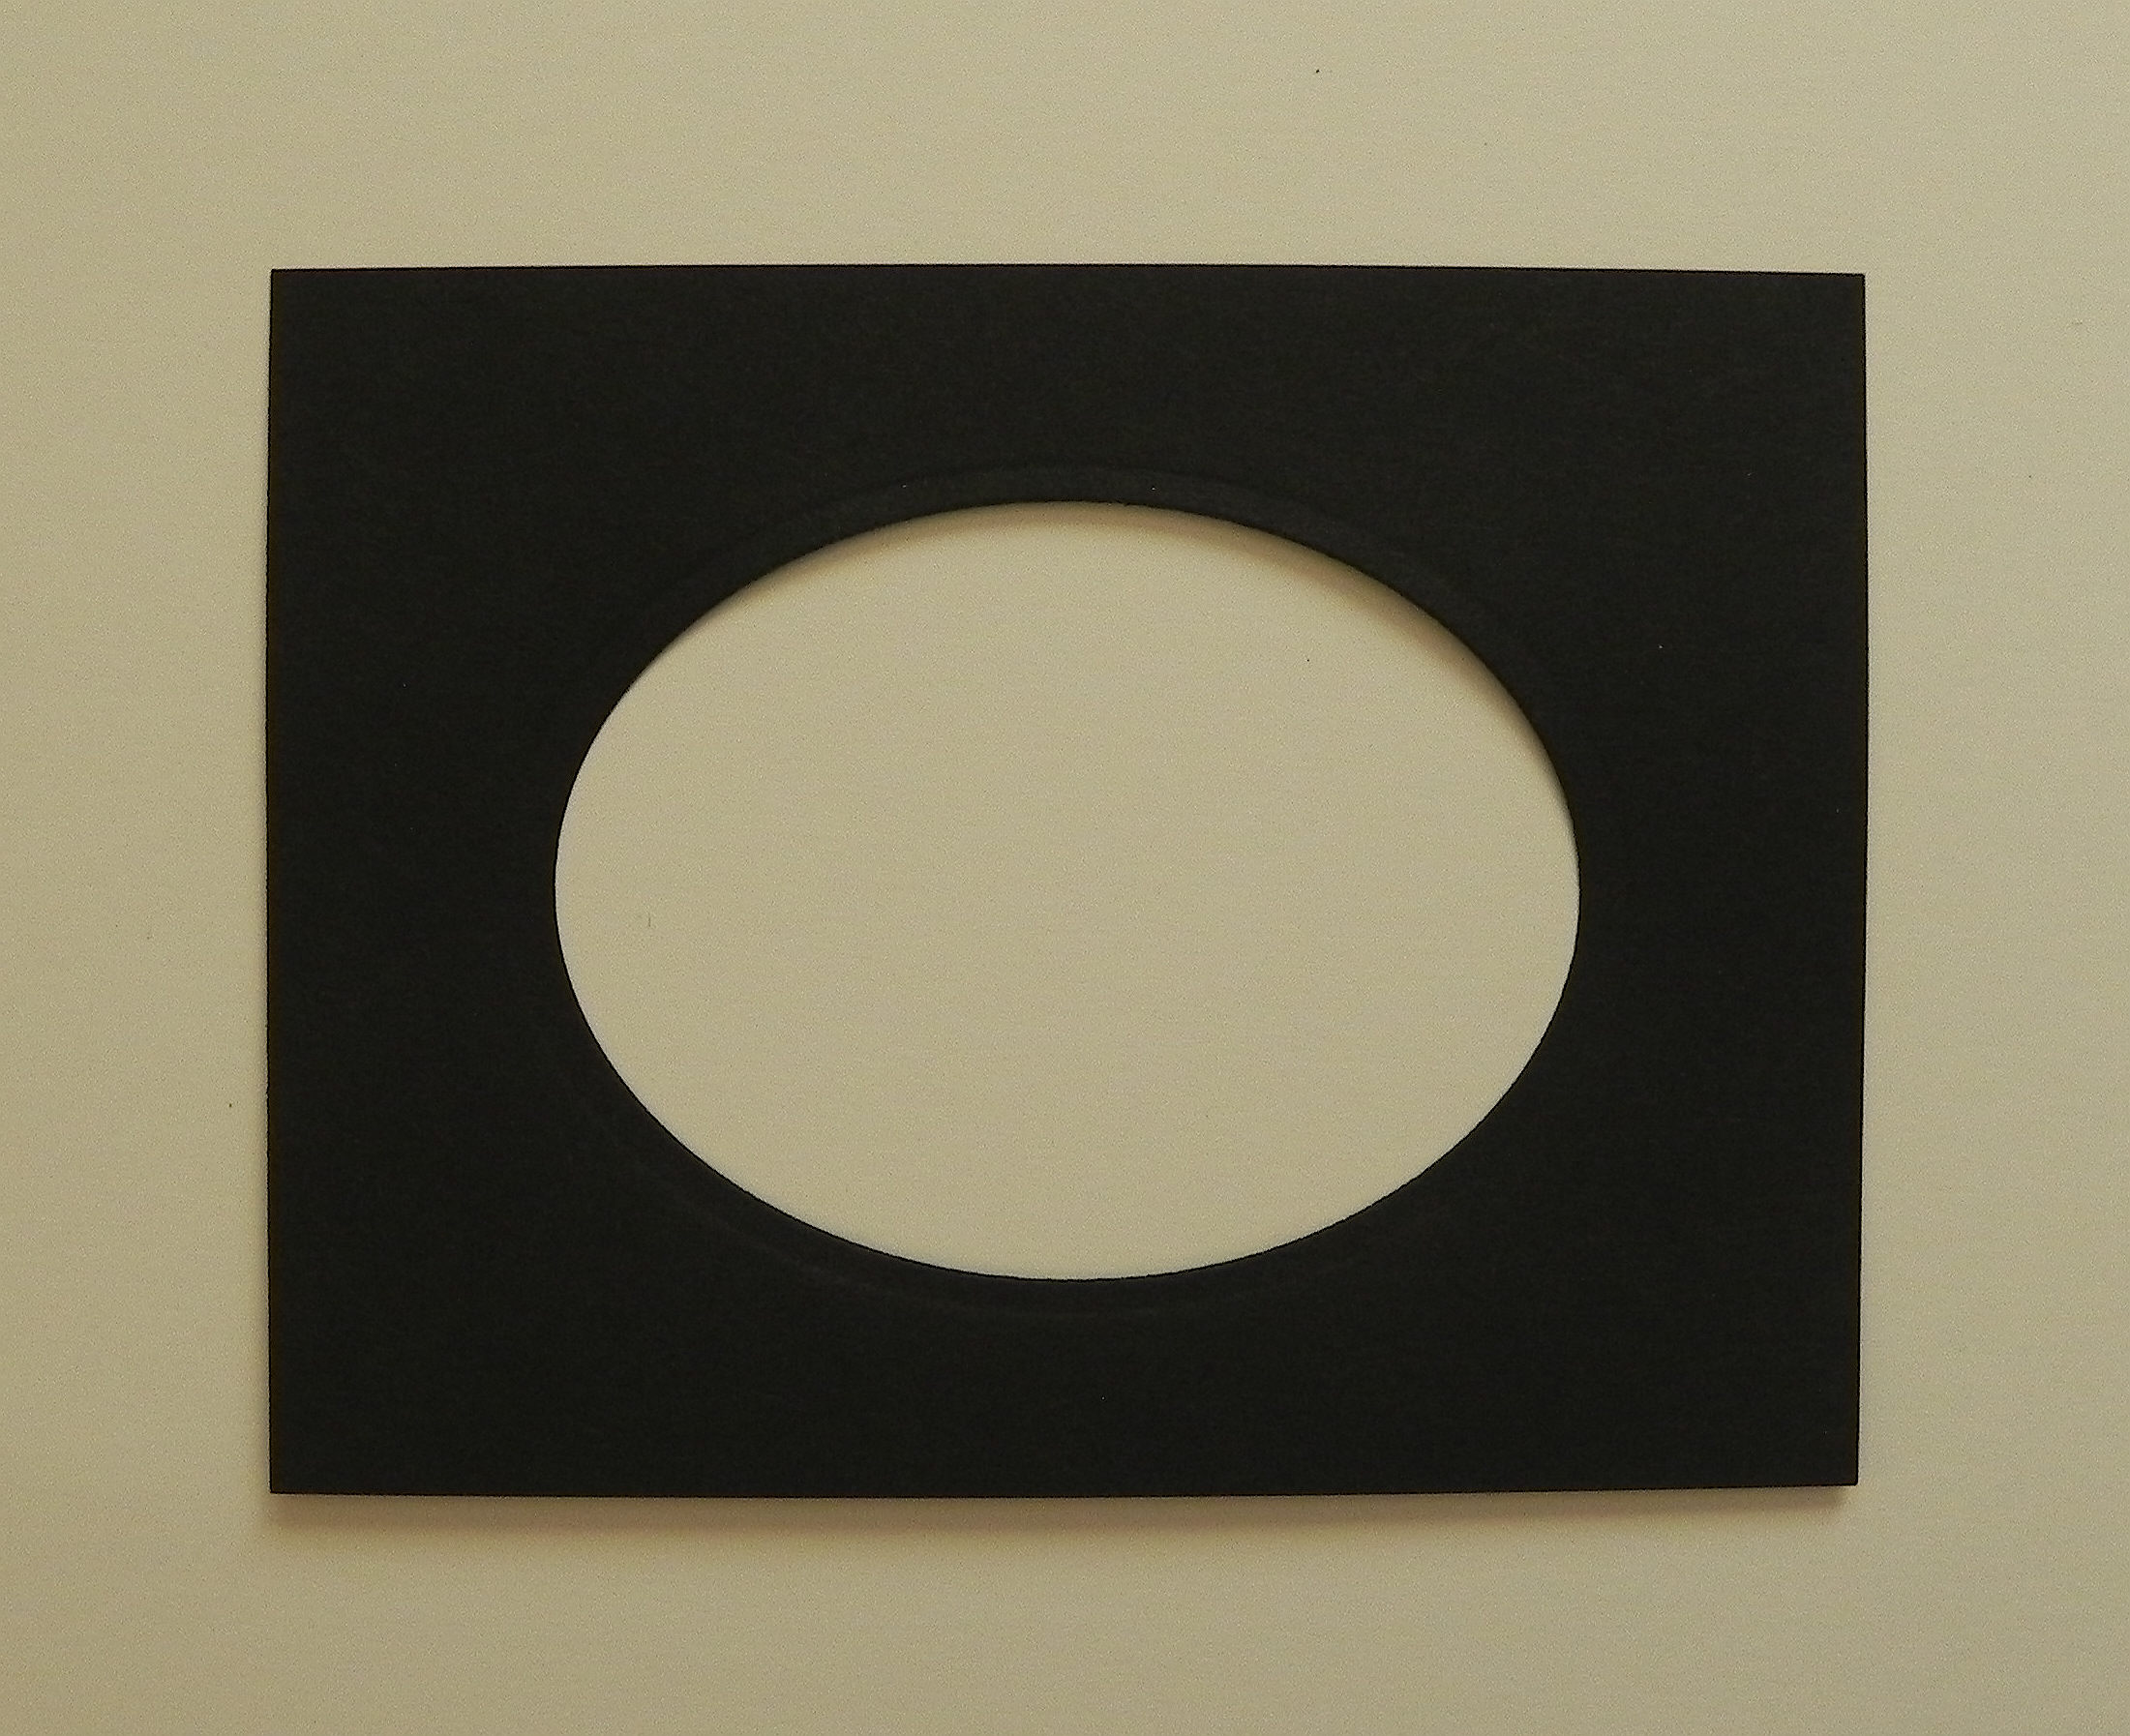
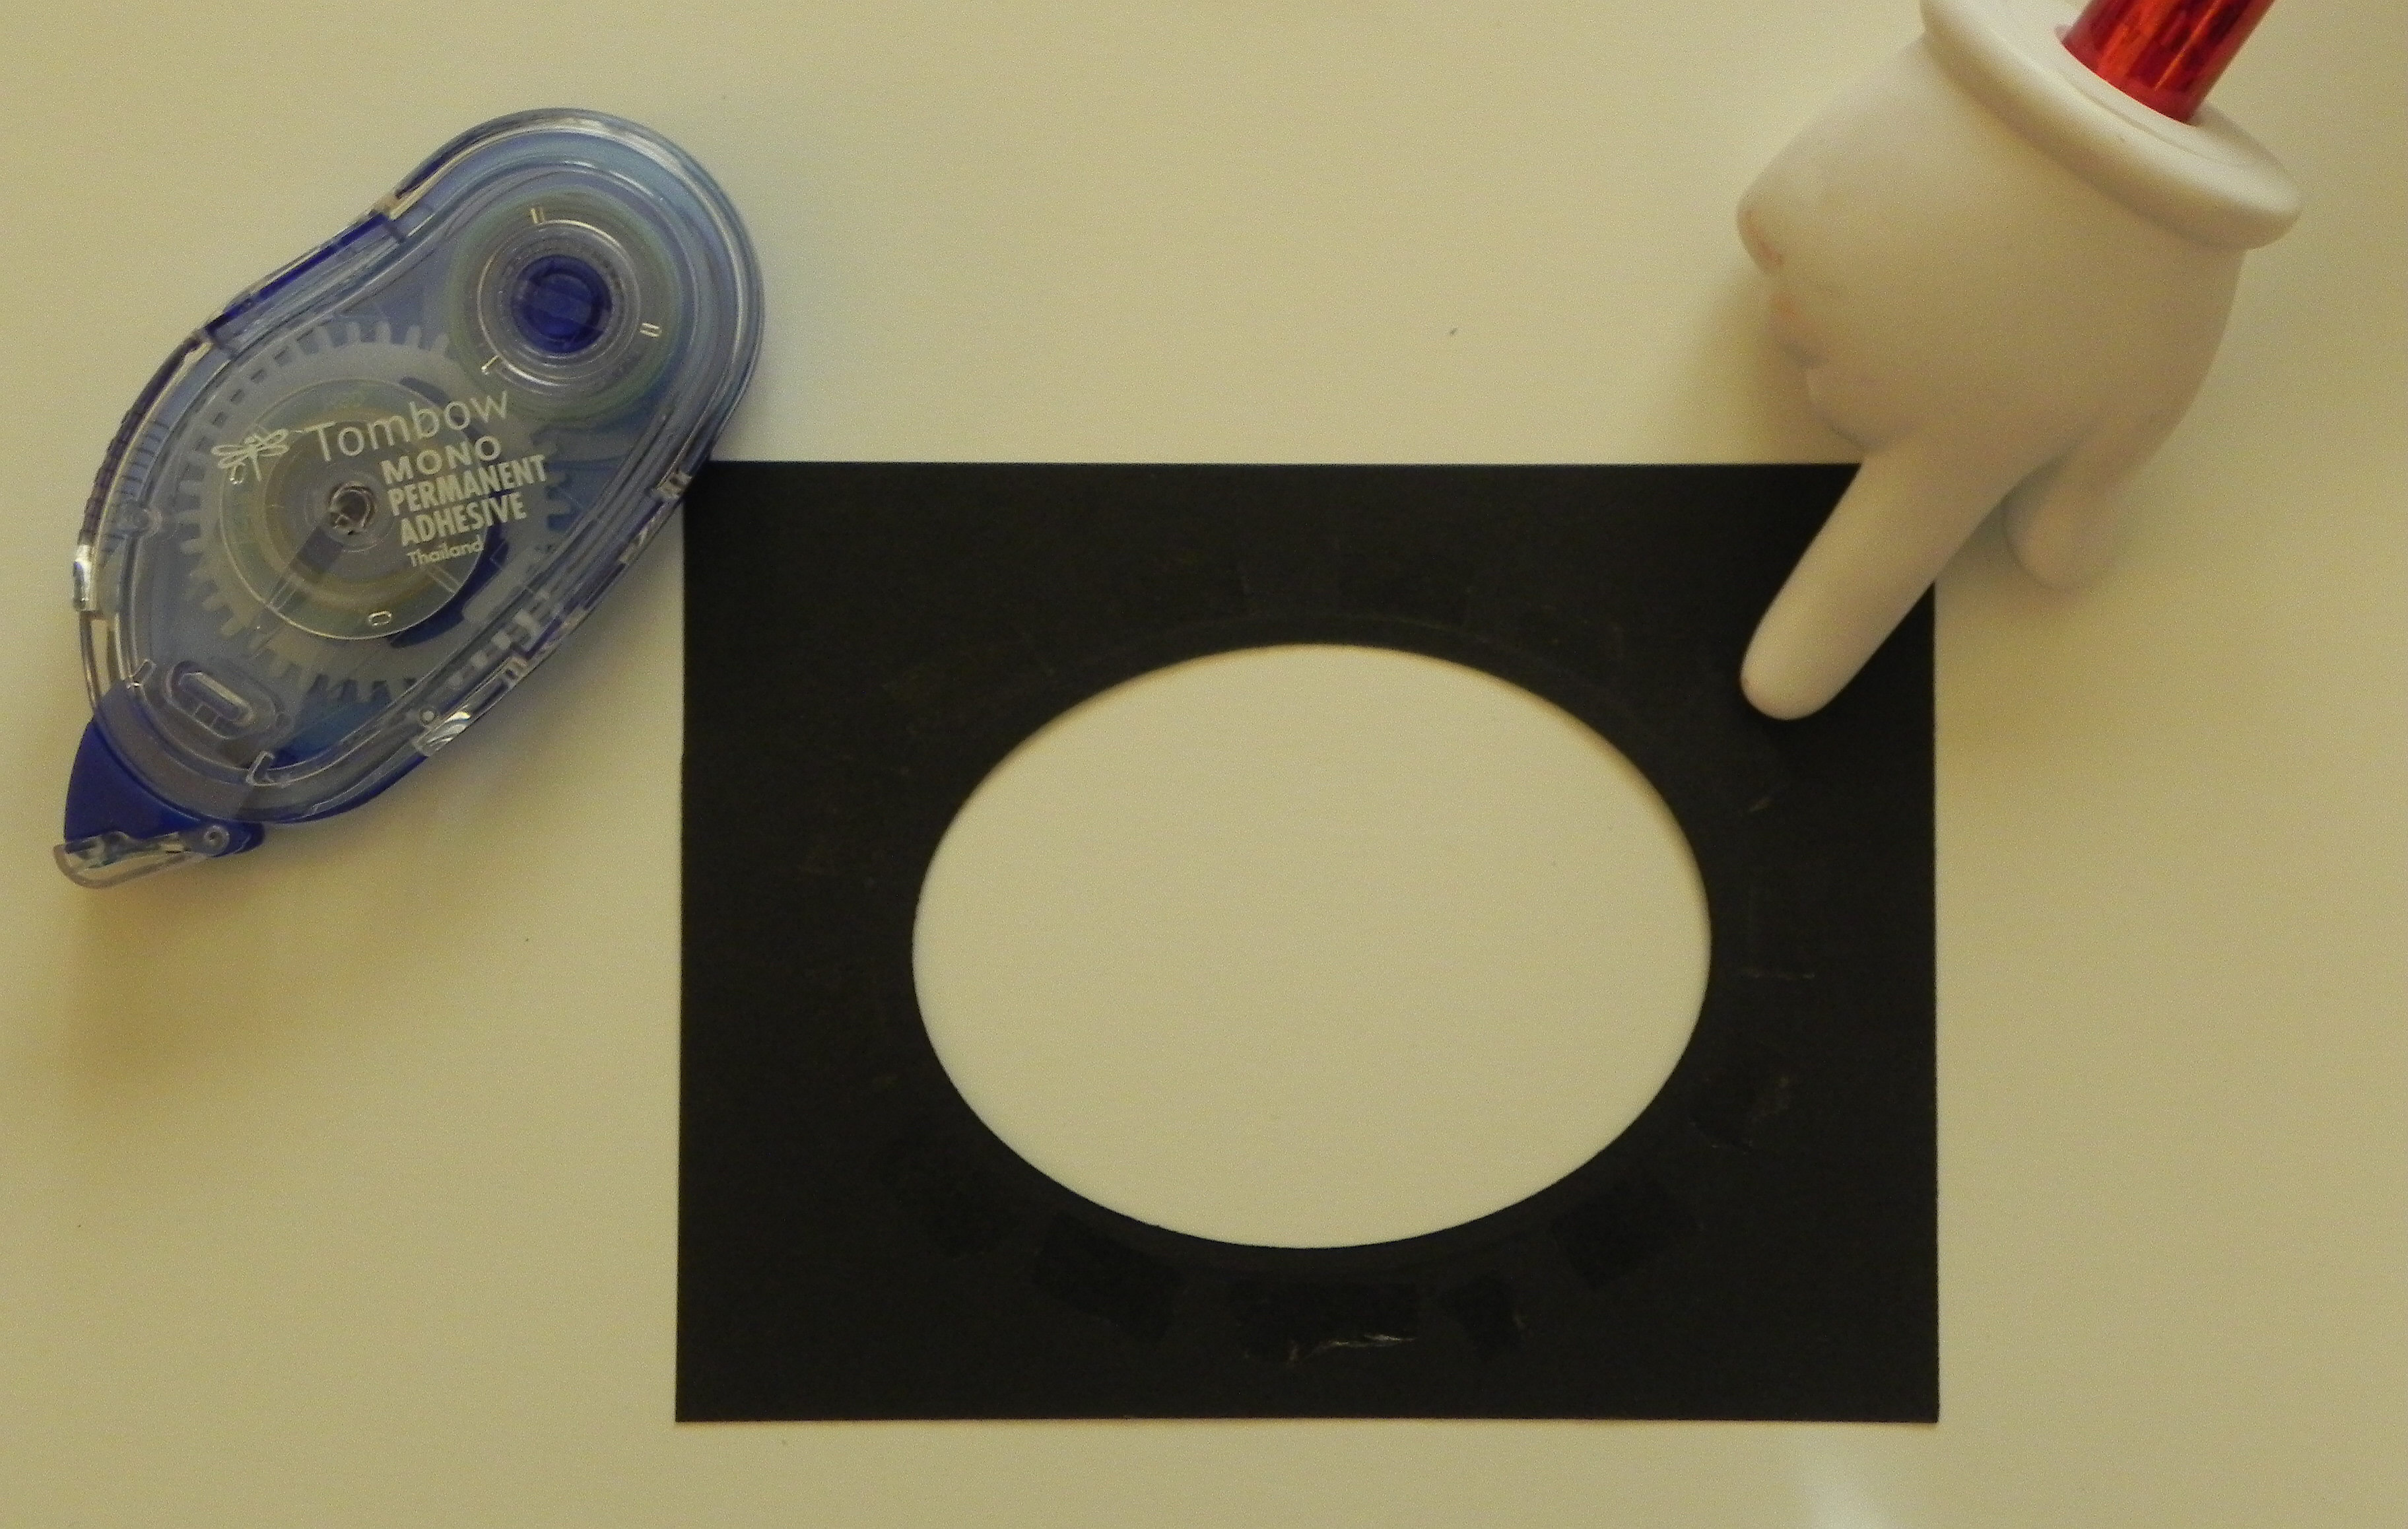
Cut a mat in the top panel.  I used a Spellbinders die, but you can use a paper trimmer, a punch, an electronic cutting machine, or you can cut it by hand.

aDSCN6336


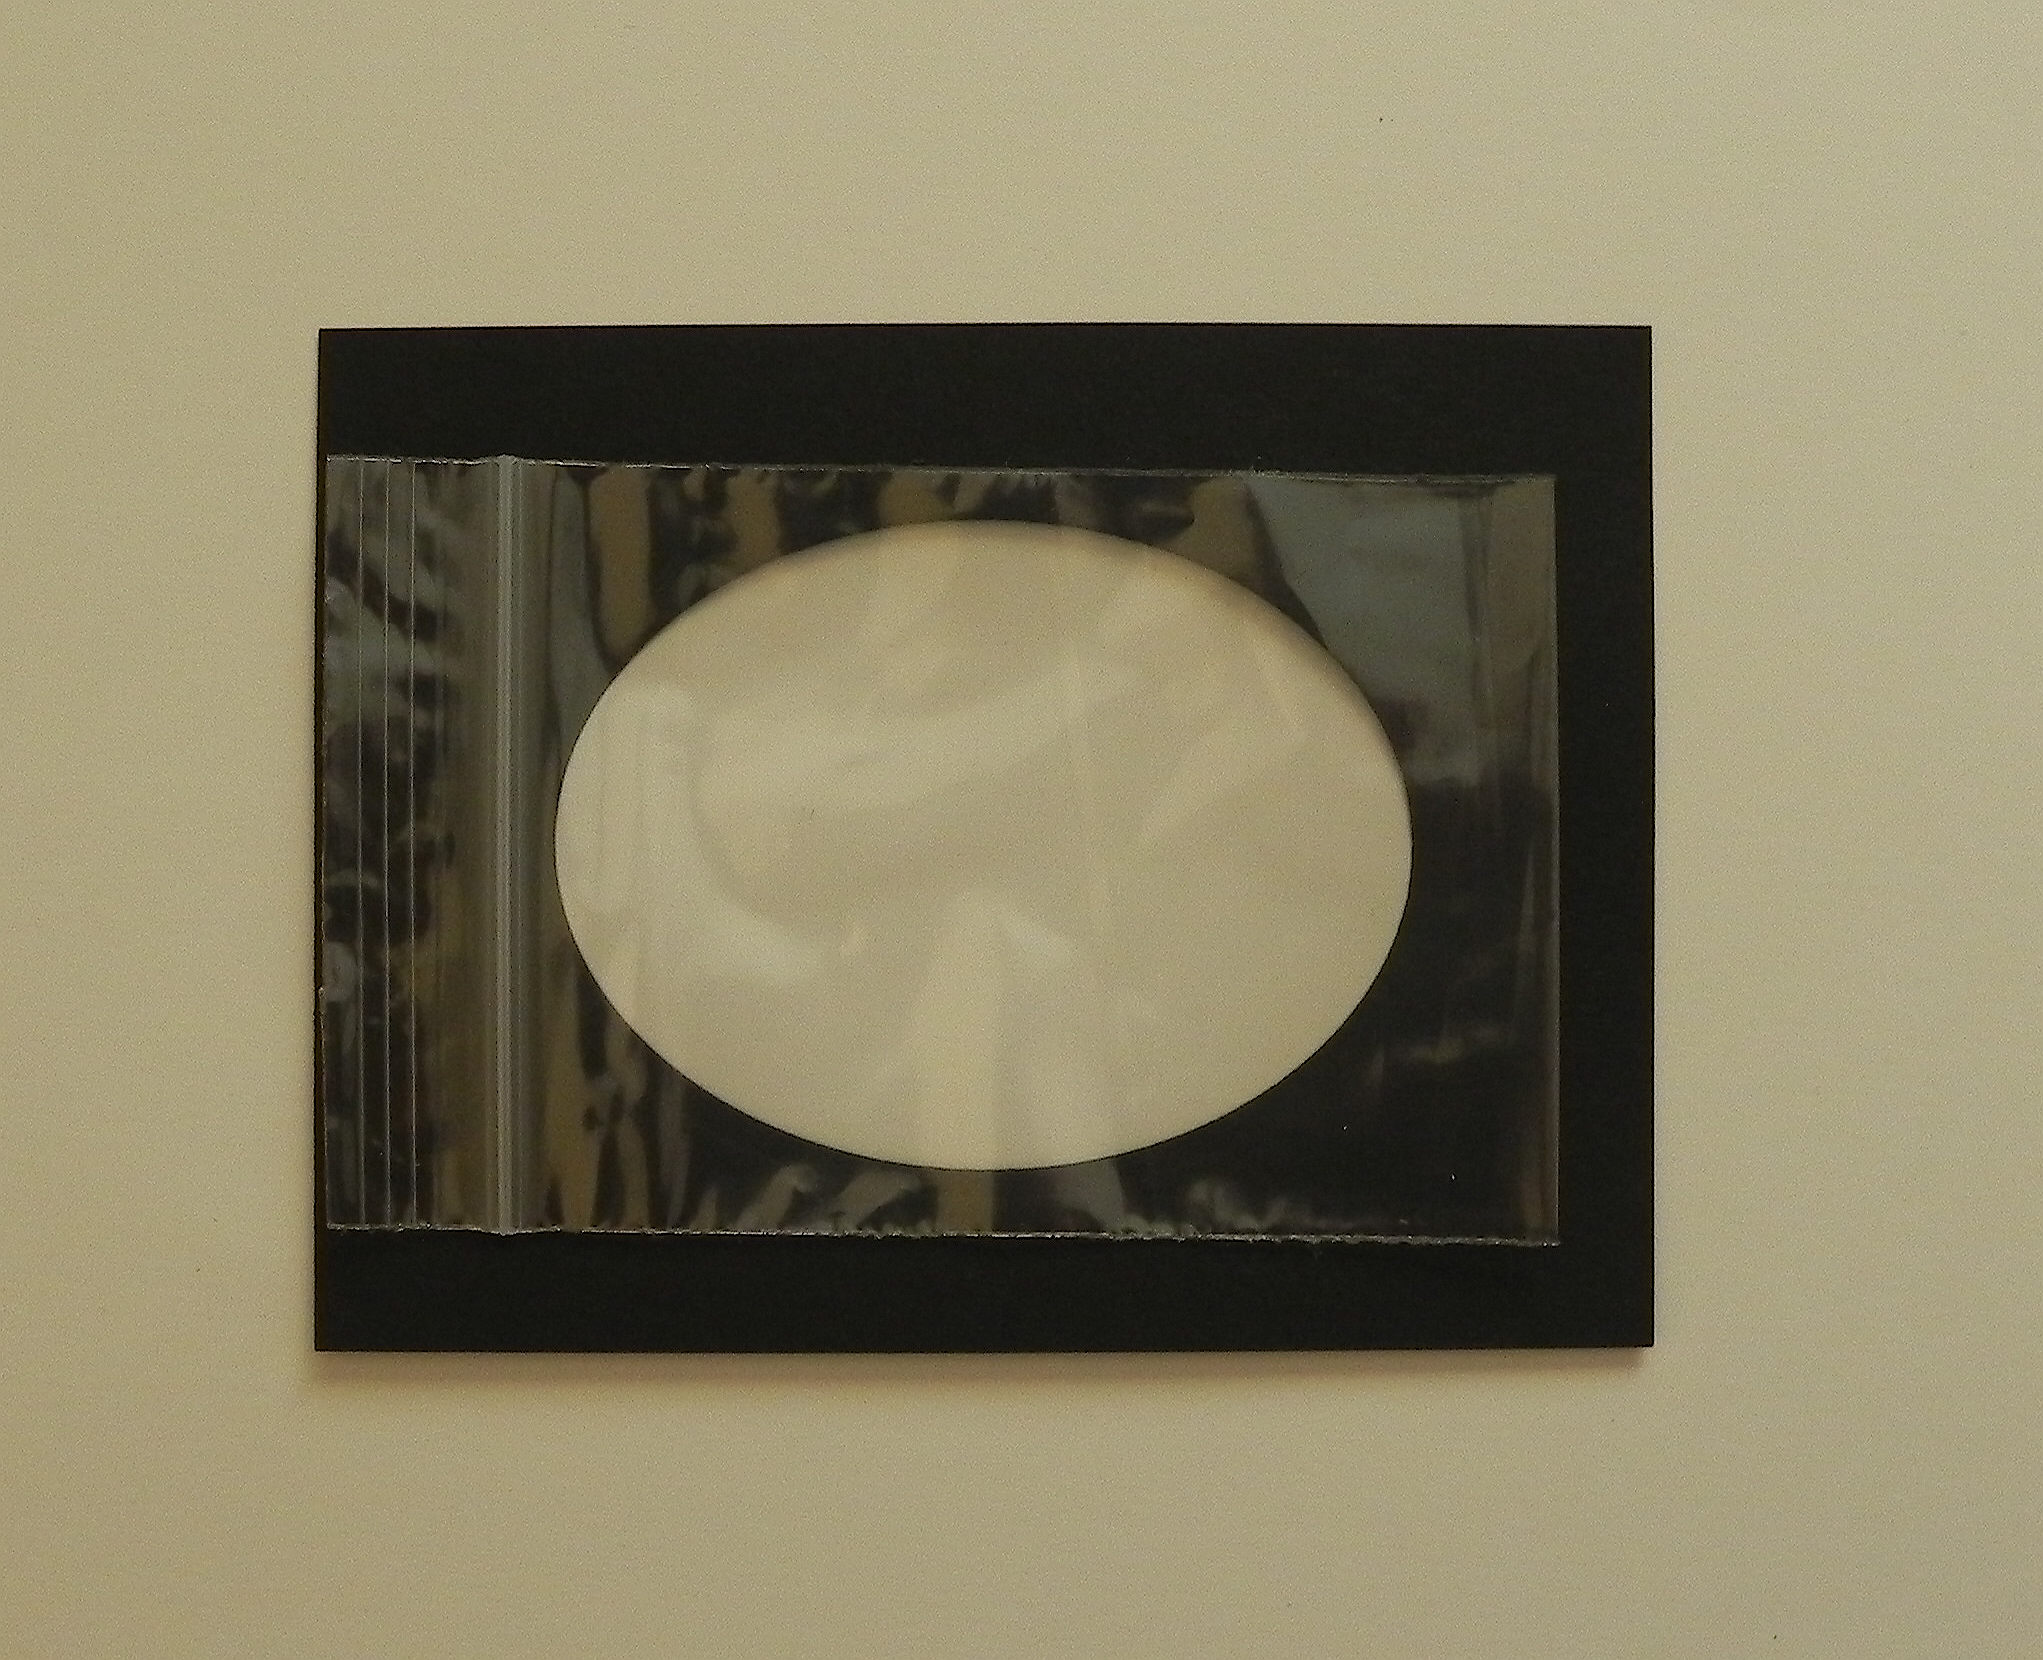
The bag you choose to use needs to be bigger than your cut-out frame but smaller than the card stock panel.

aDSCN6341


Put gel in the bag so it just covers the entire inner surface of the bag when it is closed and flattened. Remove large air bubbles at this time by pushing them to the top before sealing the bag.  (Small bubbles are fine and desirable.) Make sure the gel stays in the bag when flattening or removing air bubbles!

aDSCN6327  aDSCN6343


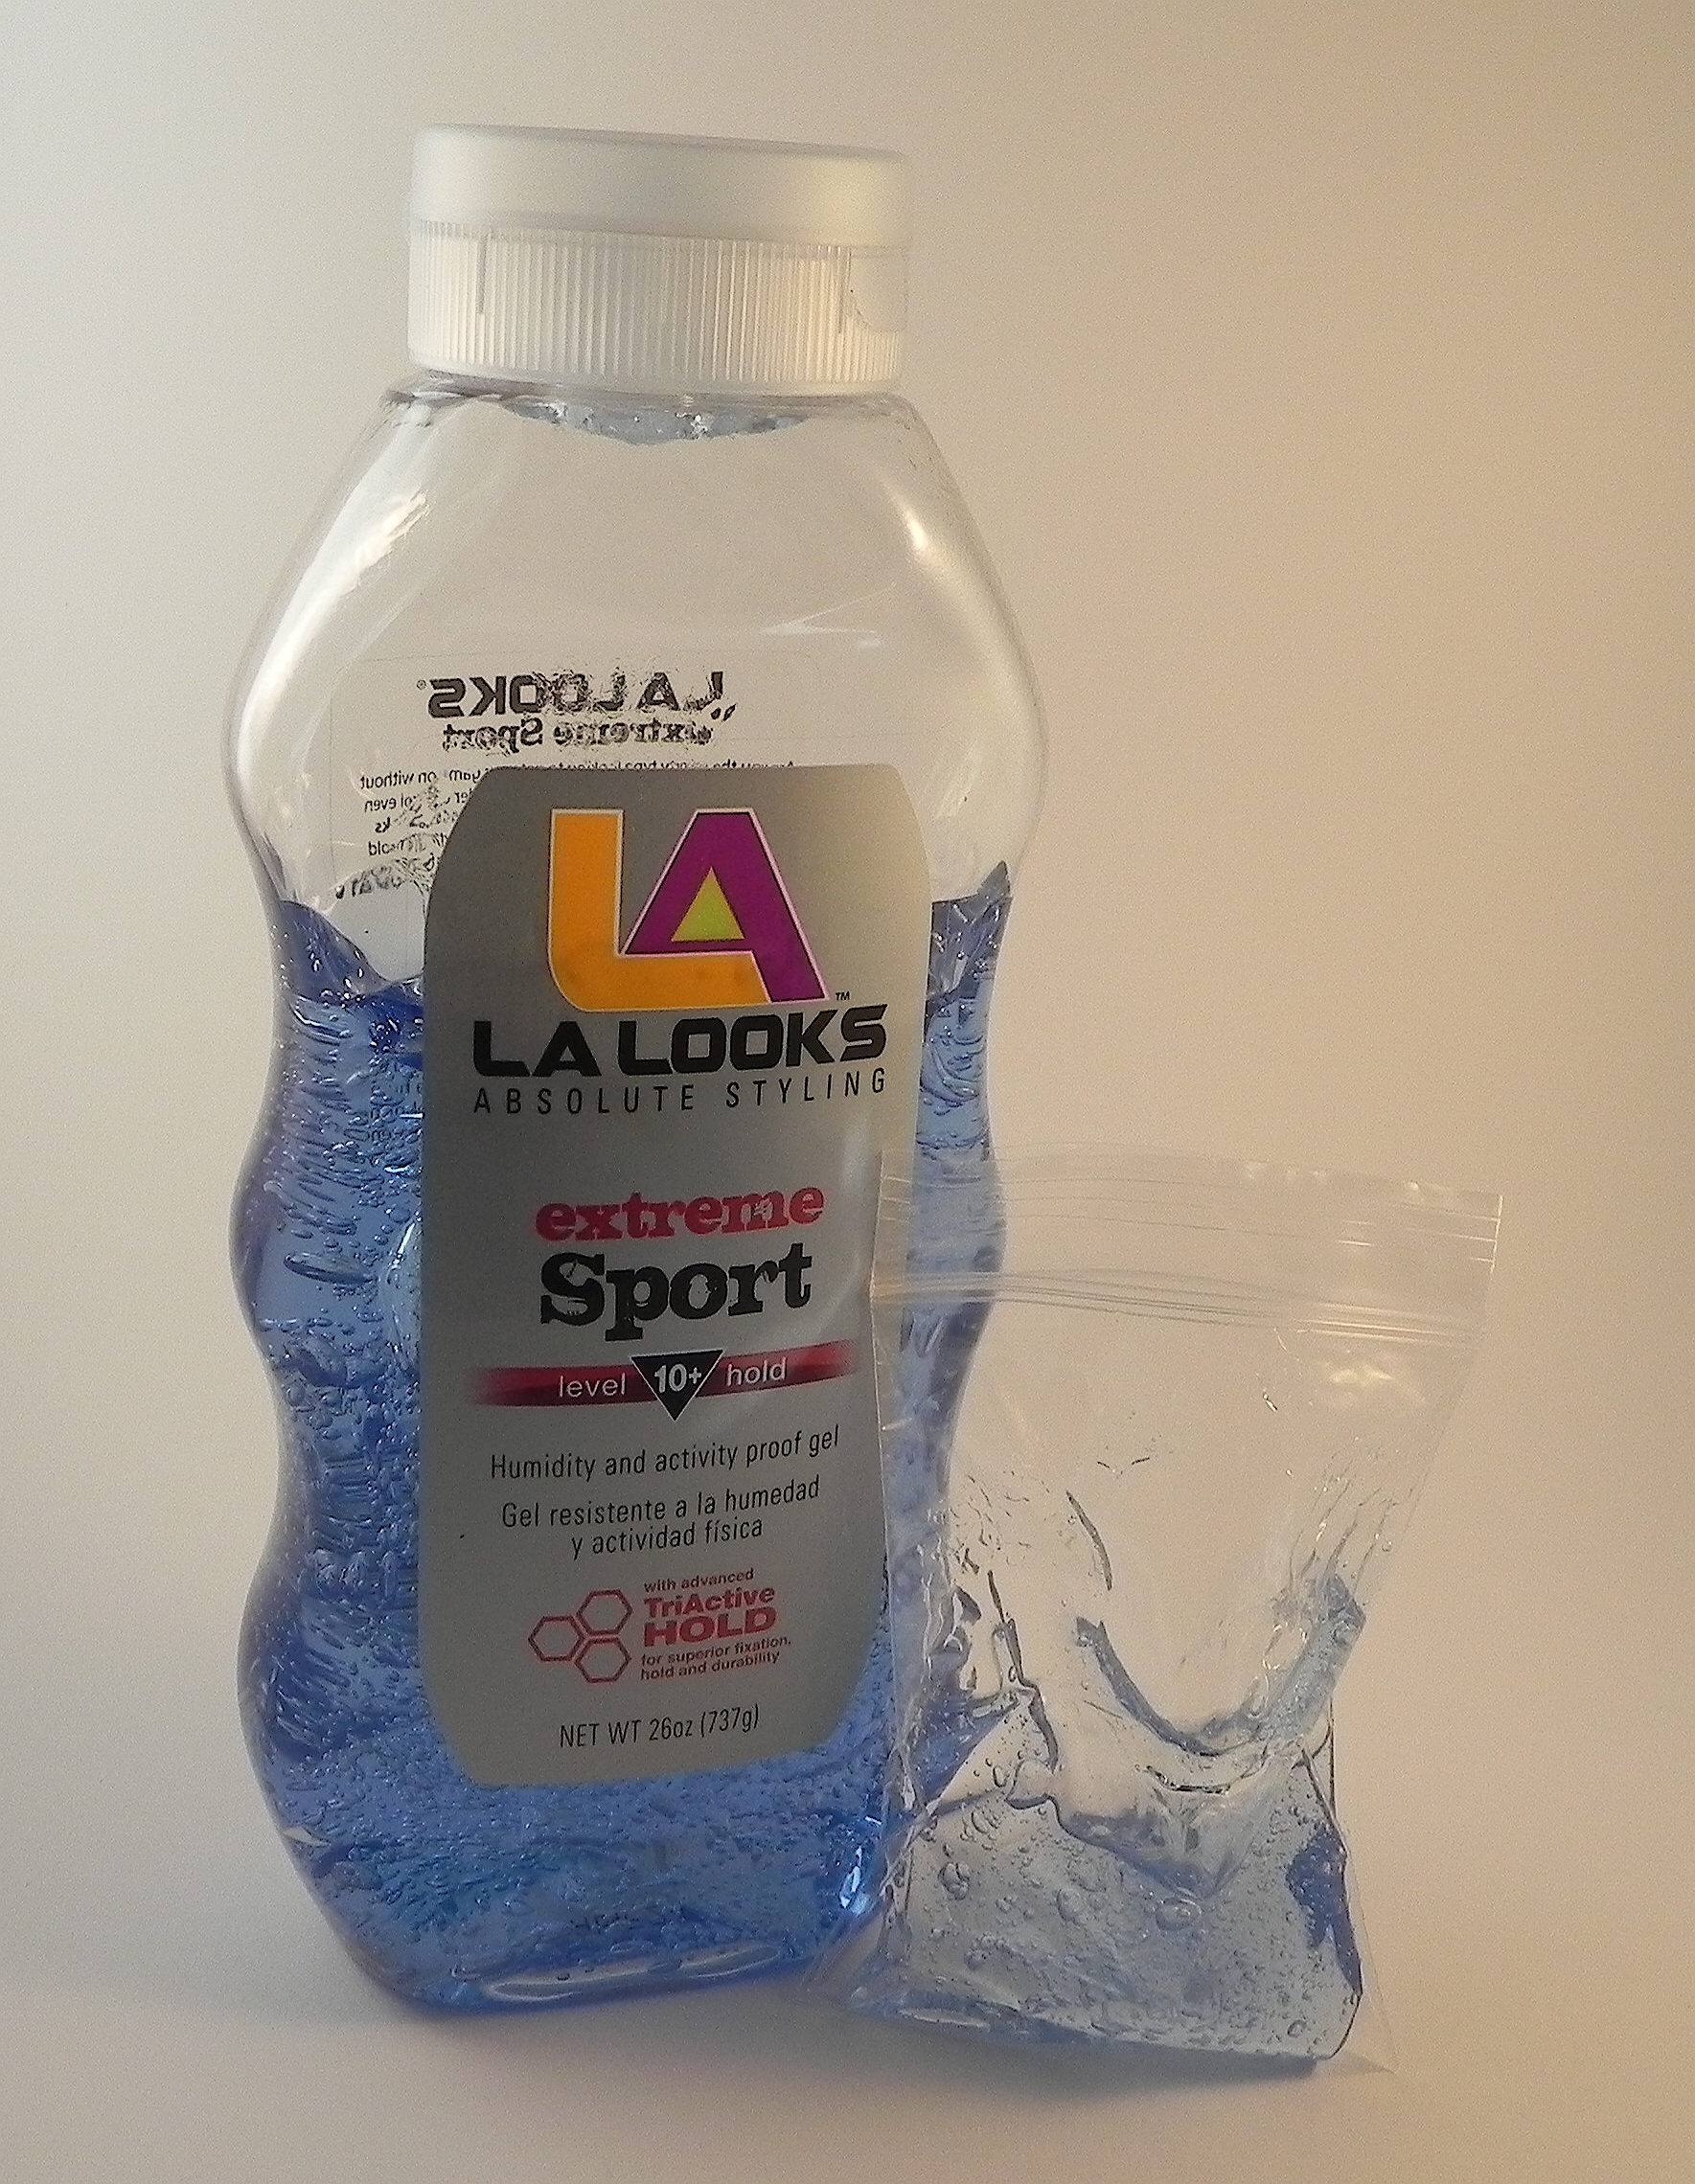
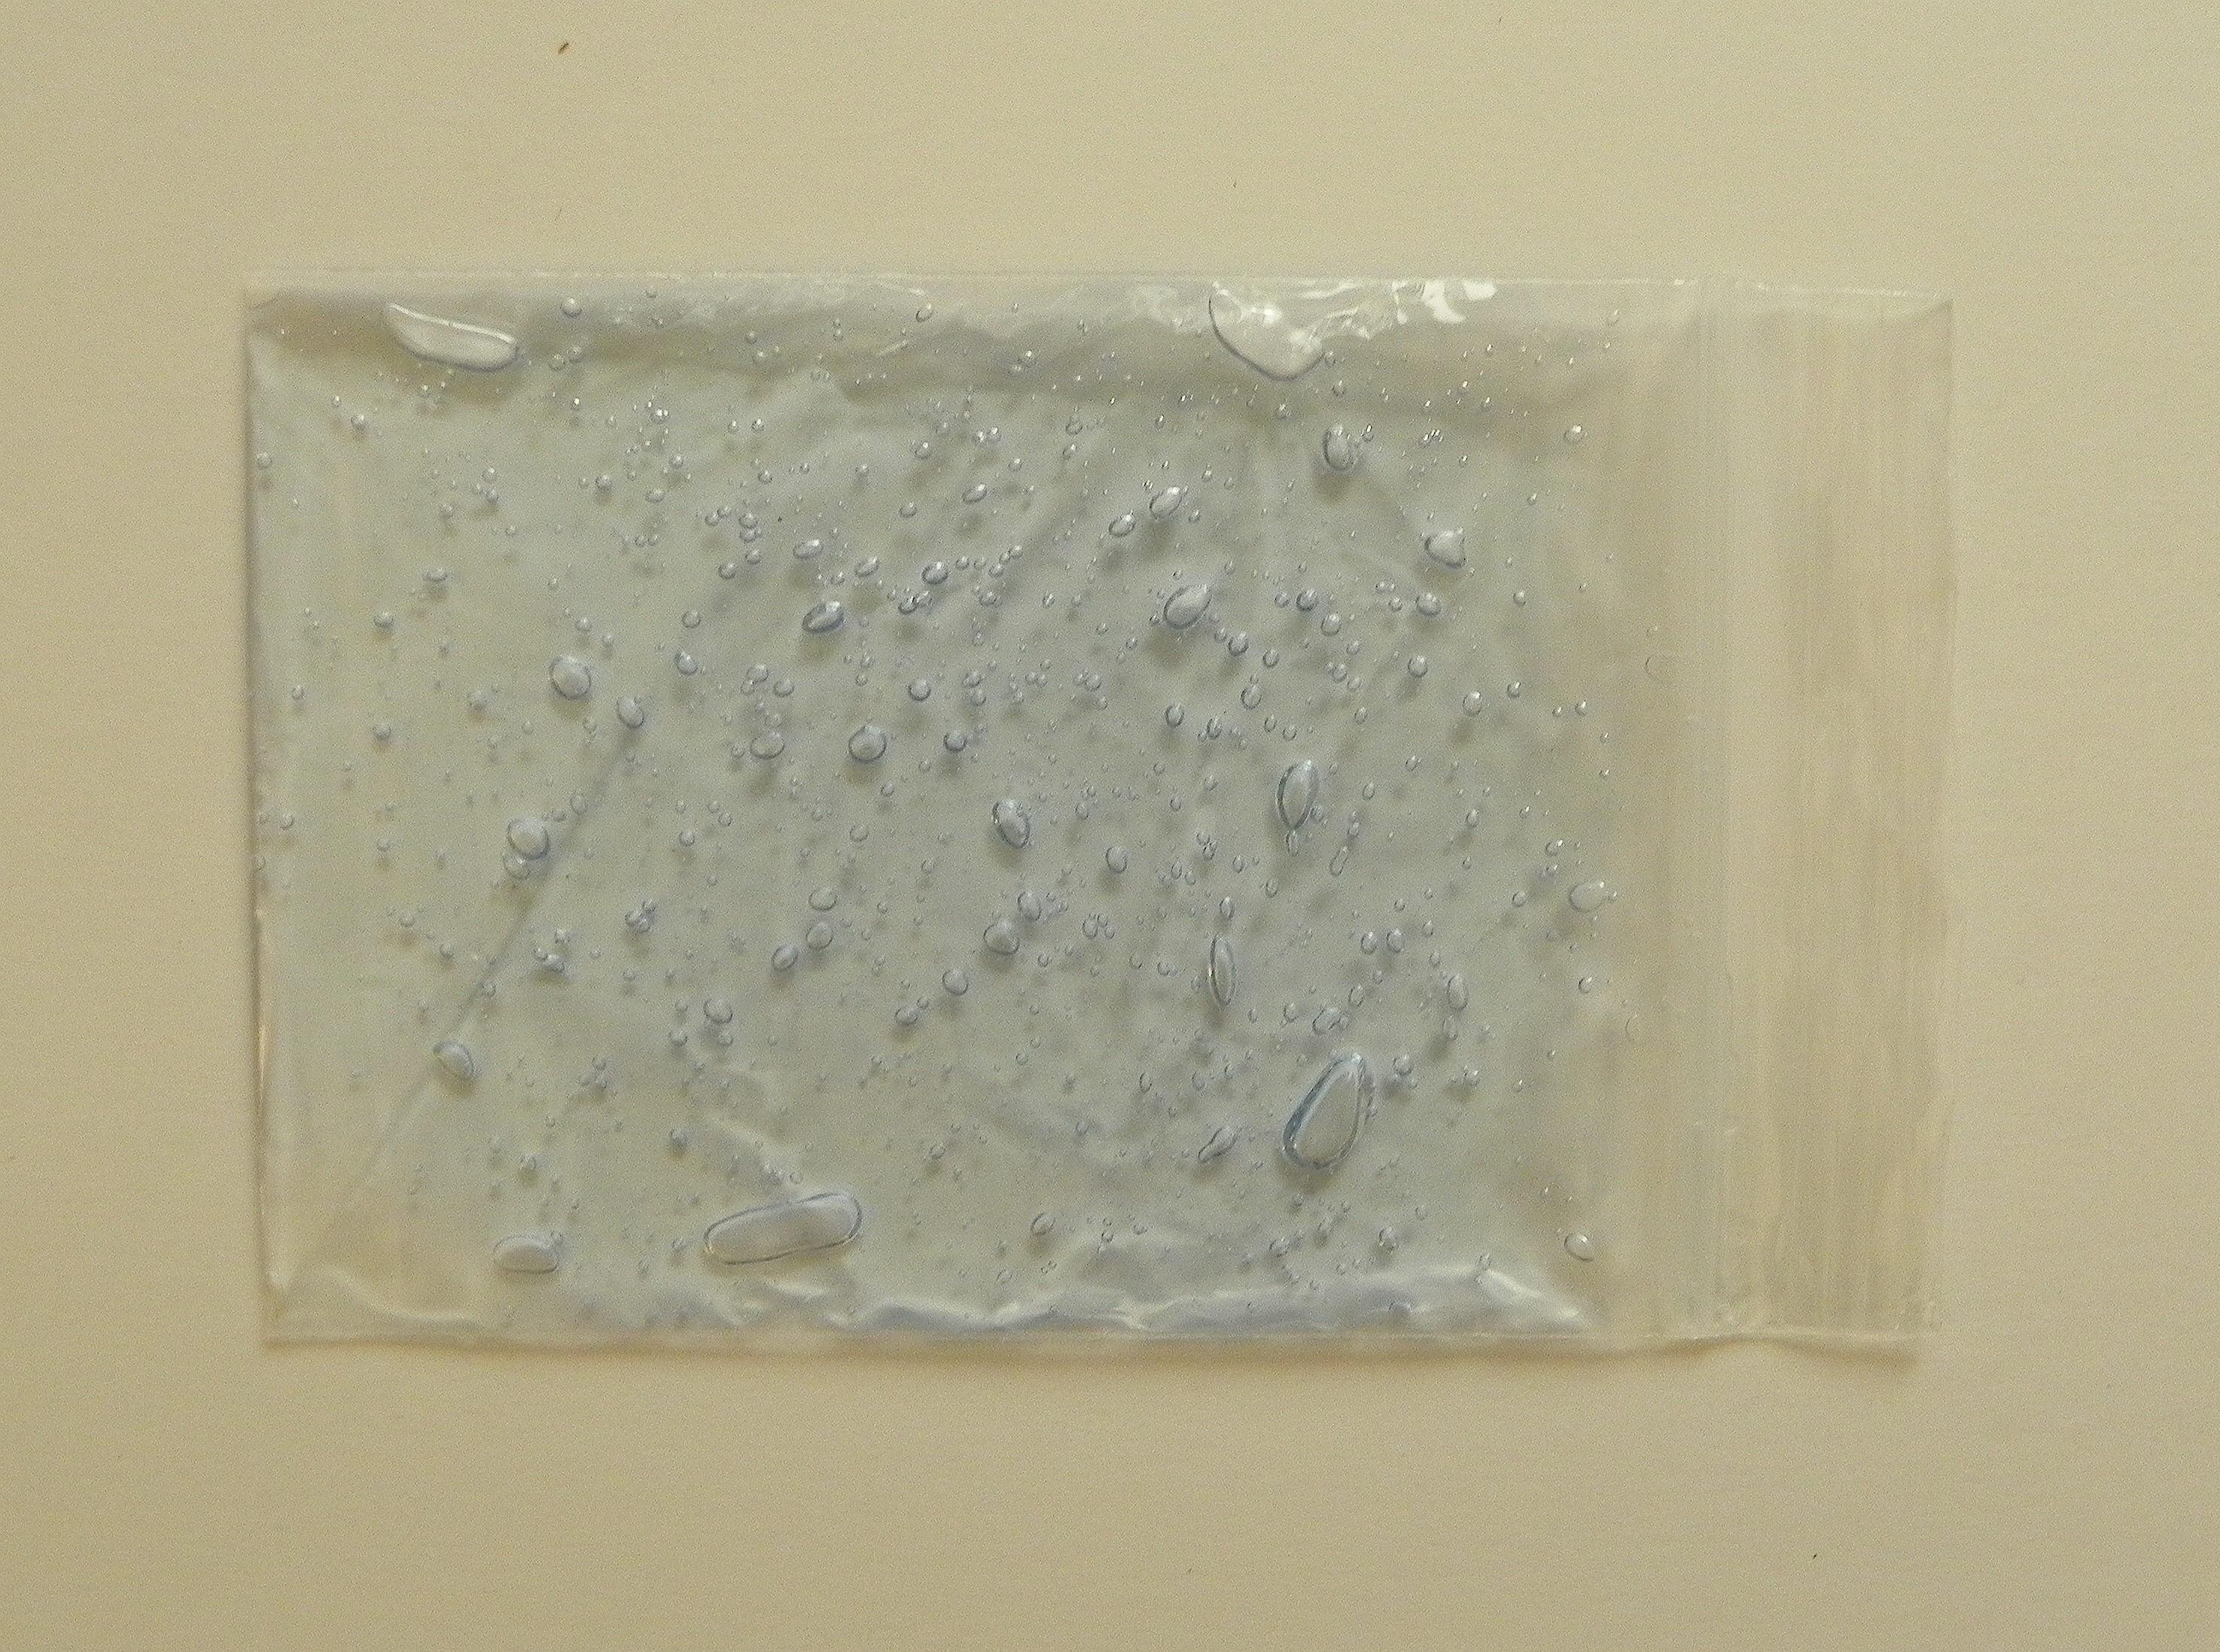
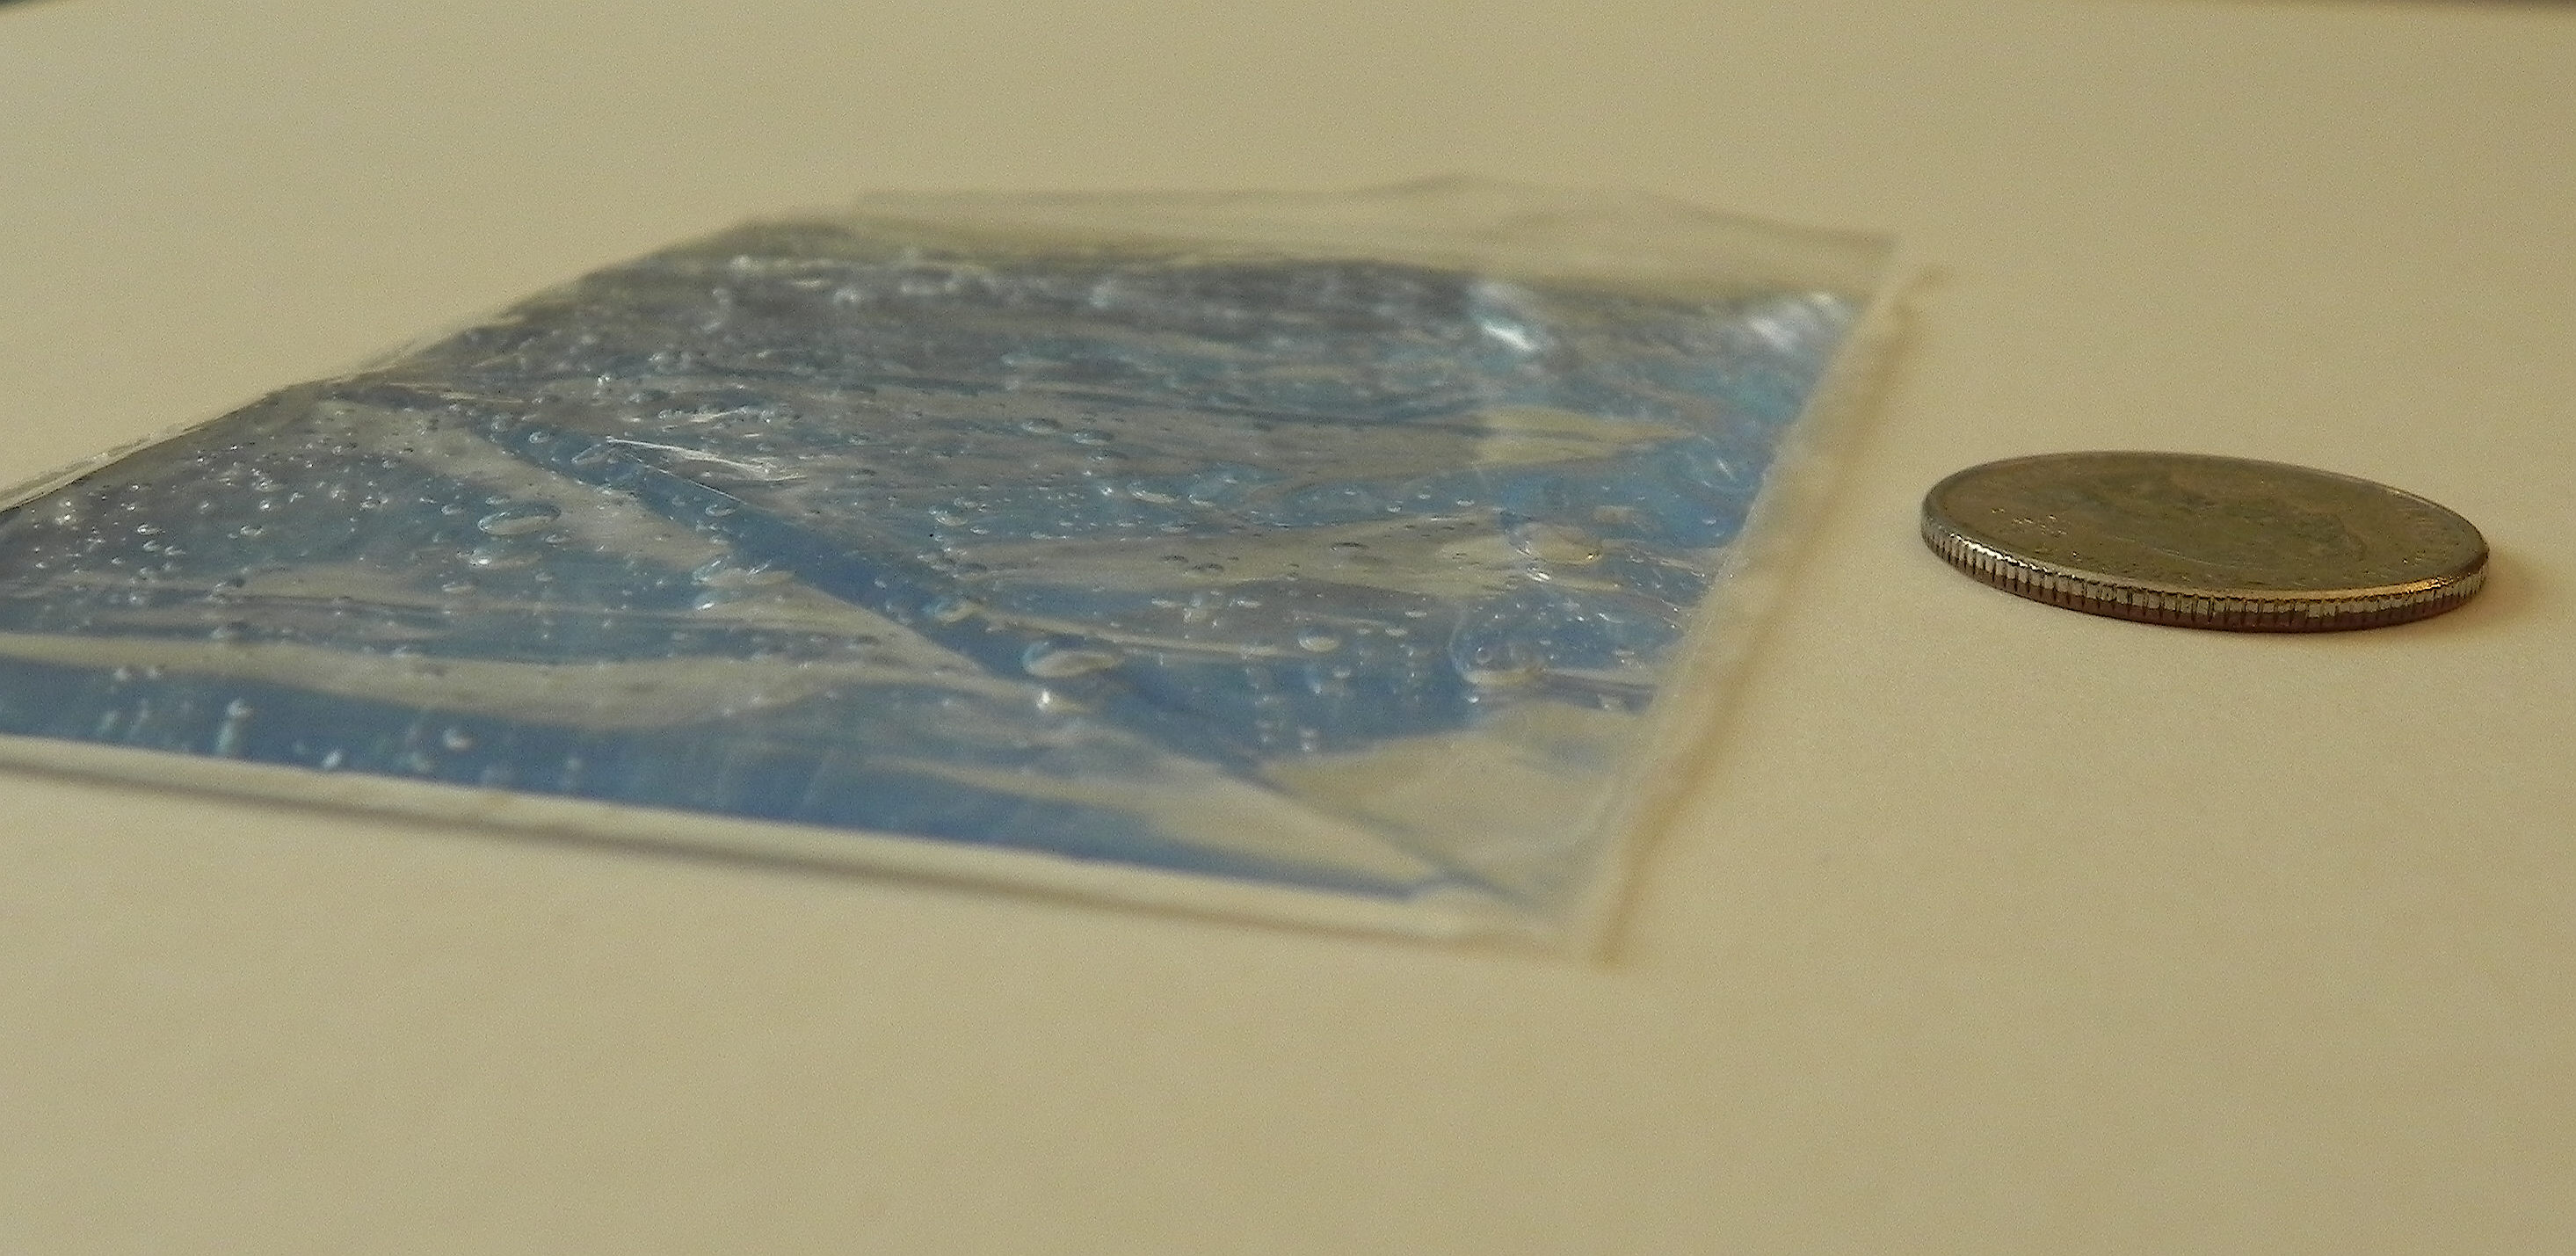
You want the gel layer to be as thin as possible while covering the entire surface.  My bag was about as thick as a quarter when it was filled and closed. If you put too much gel in, it is harder to see through it to the background.

aDSCN6346


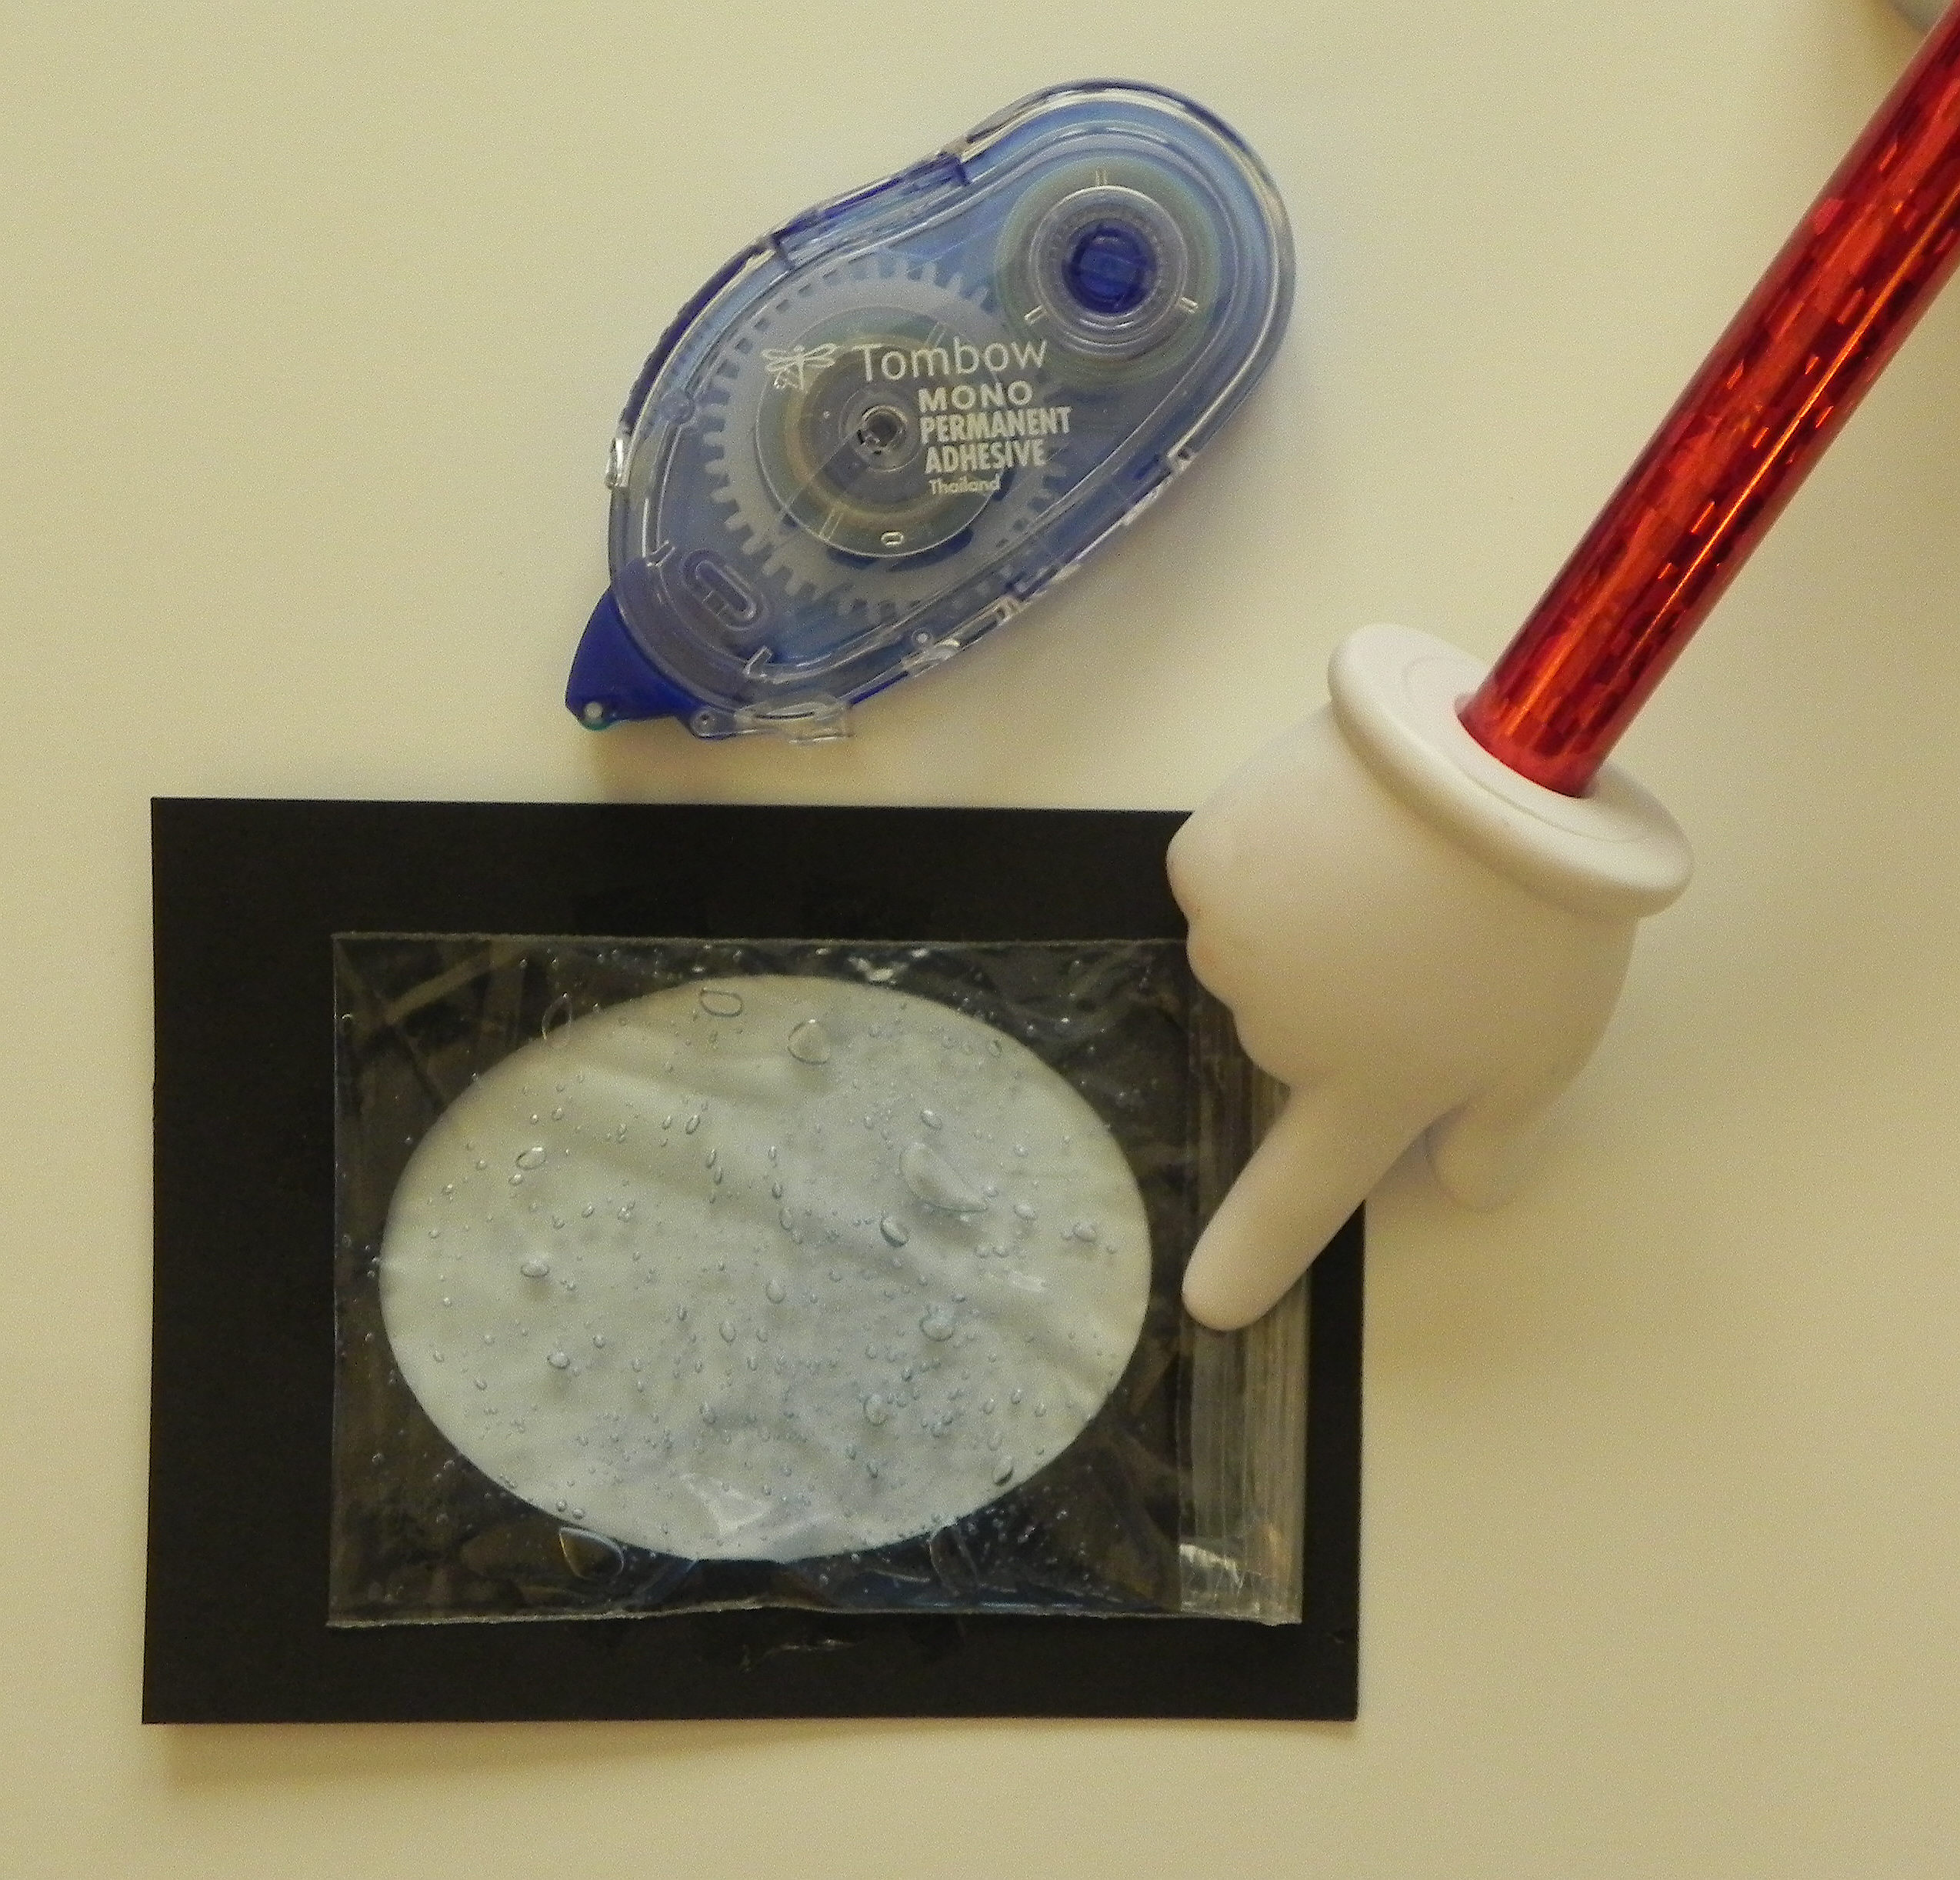
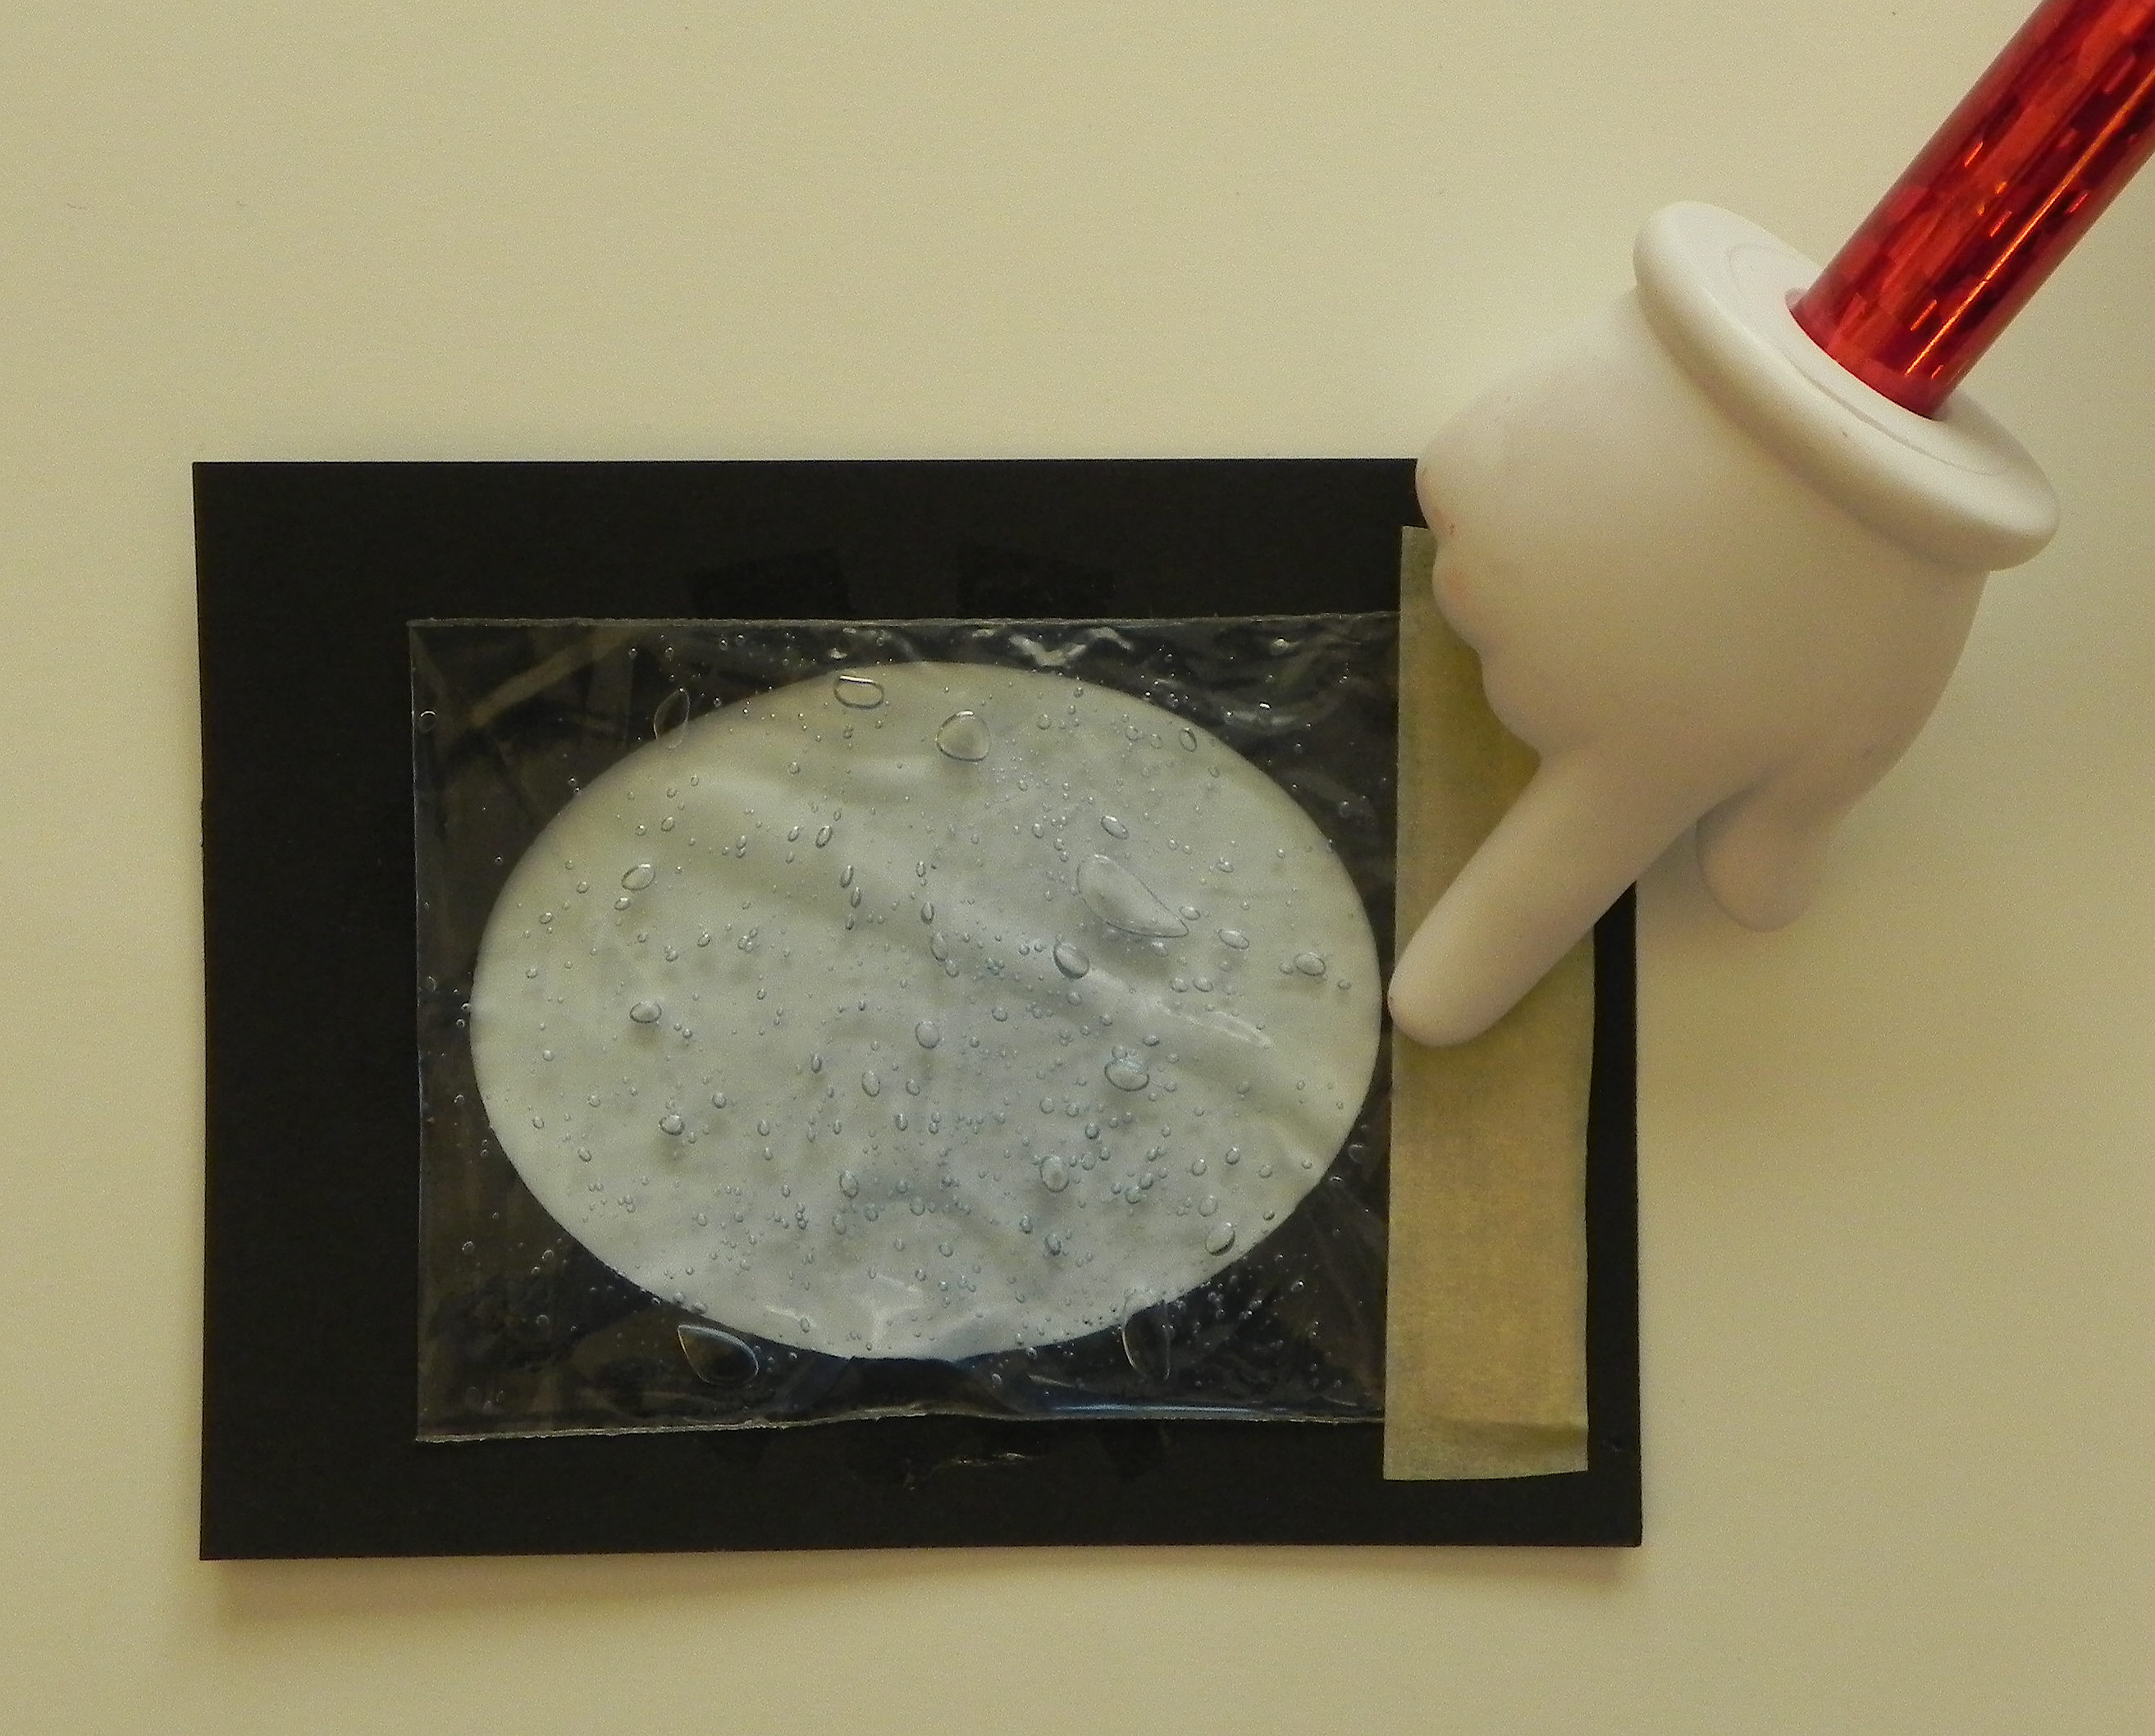
Next, put some adhesive on the back of the top panel around the edge of the frame opening.  I used Tombow monoadhesive, but any 2 sided flat tape will work well here.

aDSCN6365


Place the bag filled with gel over the frame opening and on the adhesive you just applied.  At this point, it is ok if the sealed side hangs over the edge of the card.  You will fix that in a moment.  All the other sides should have no overhanging parts of the bag.

aDSCN6371


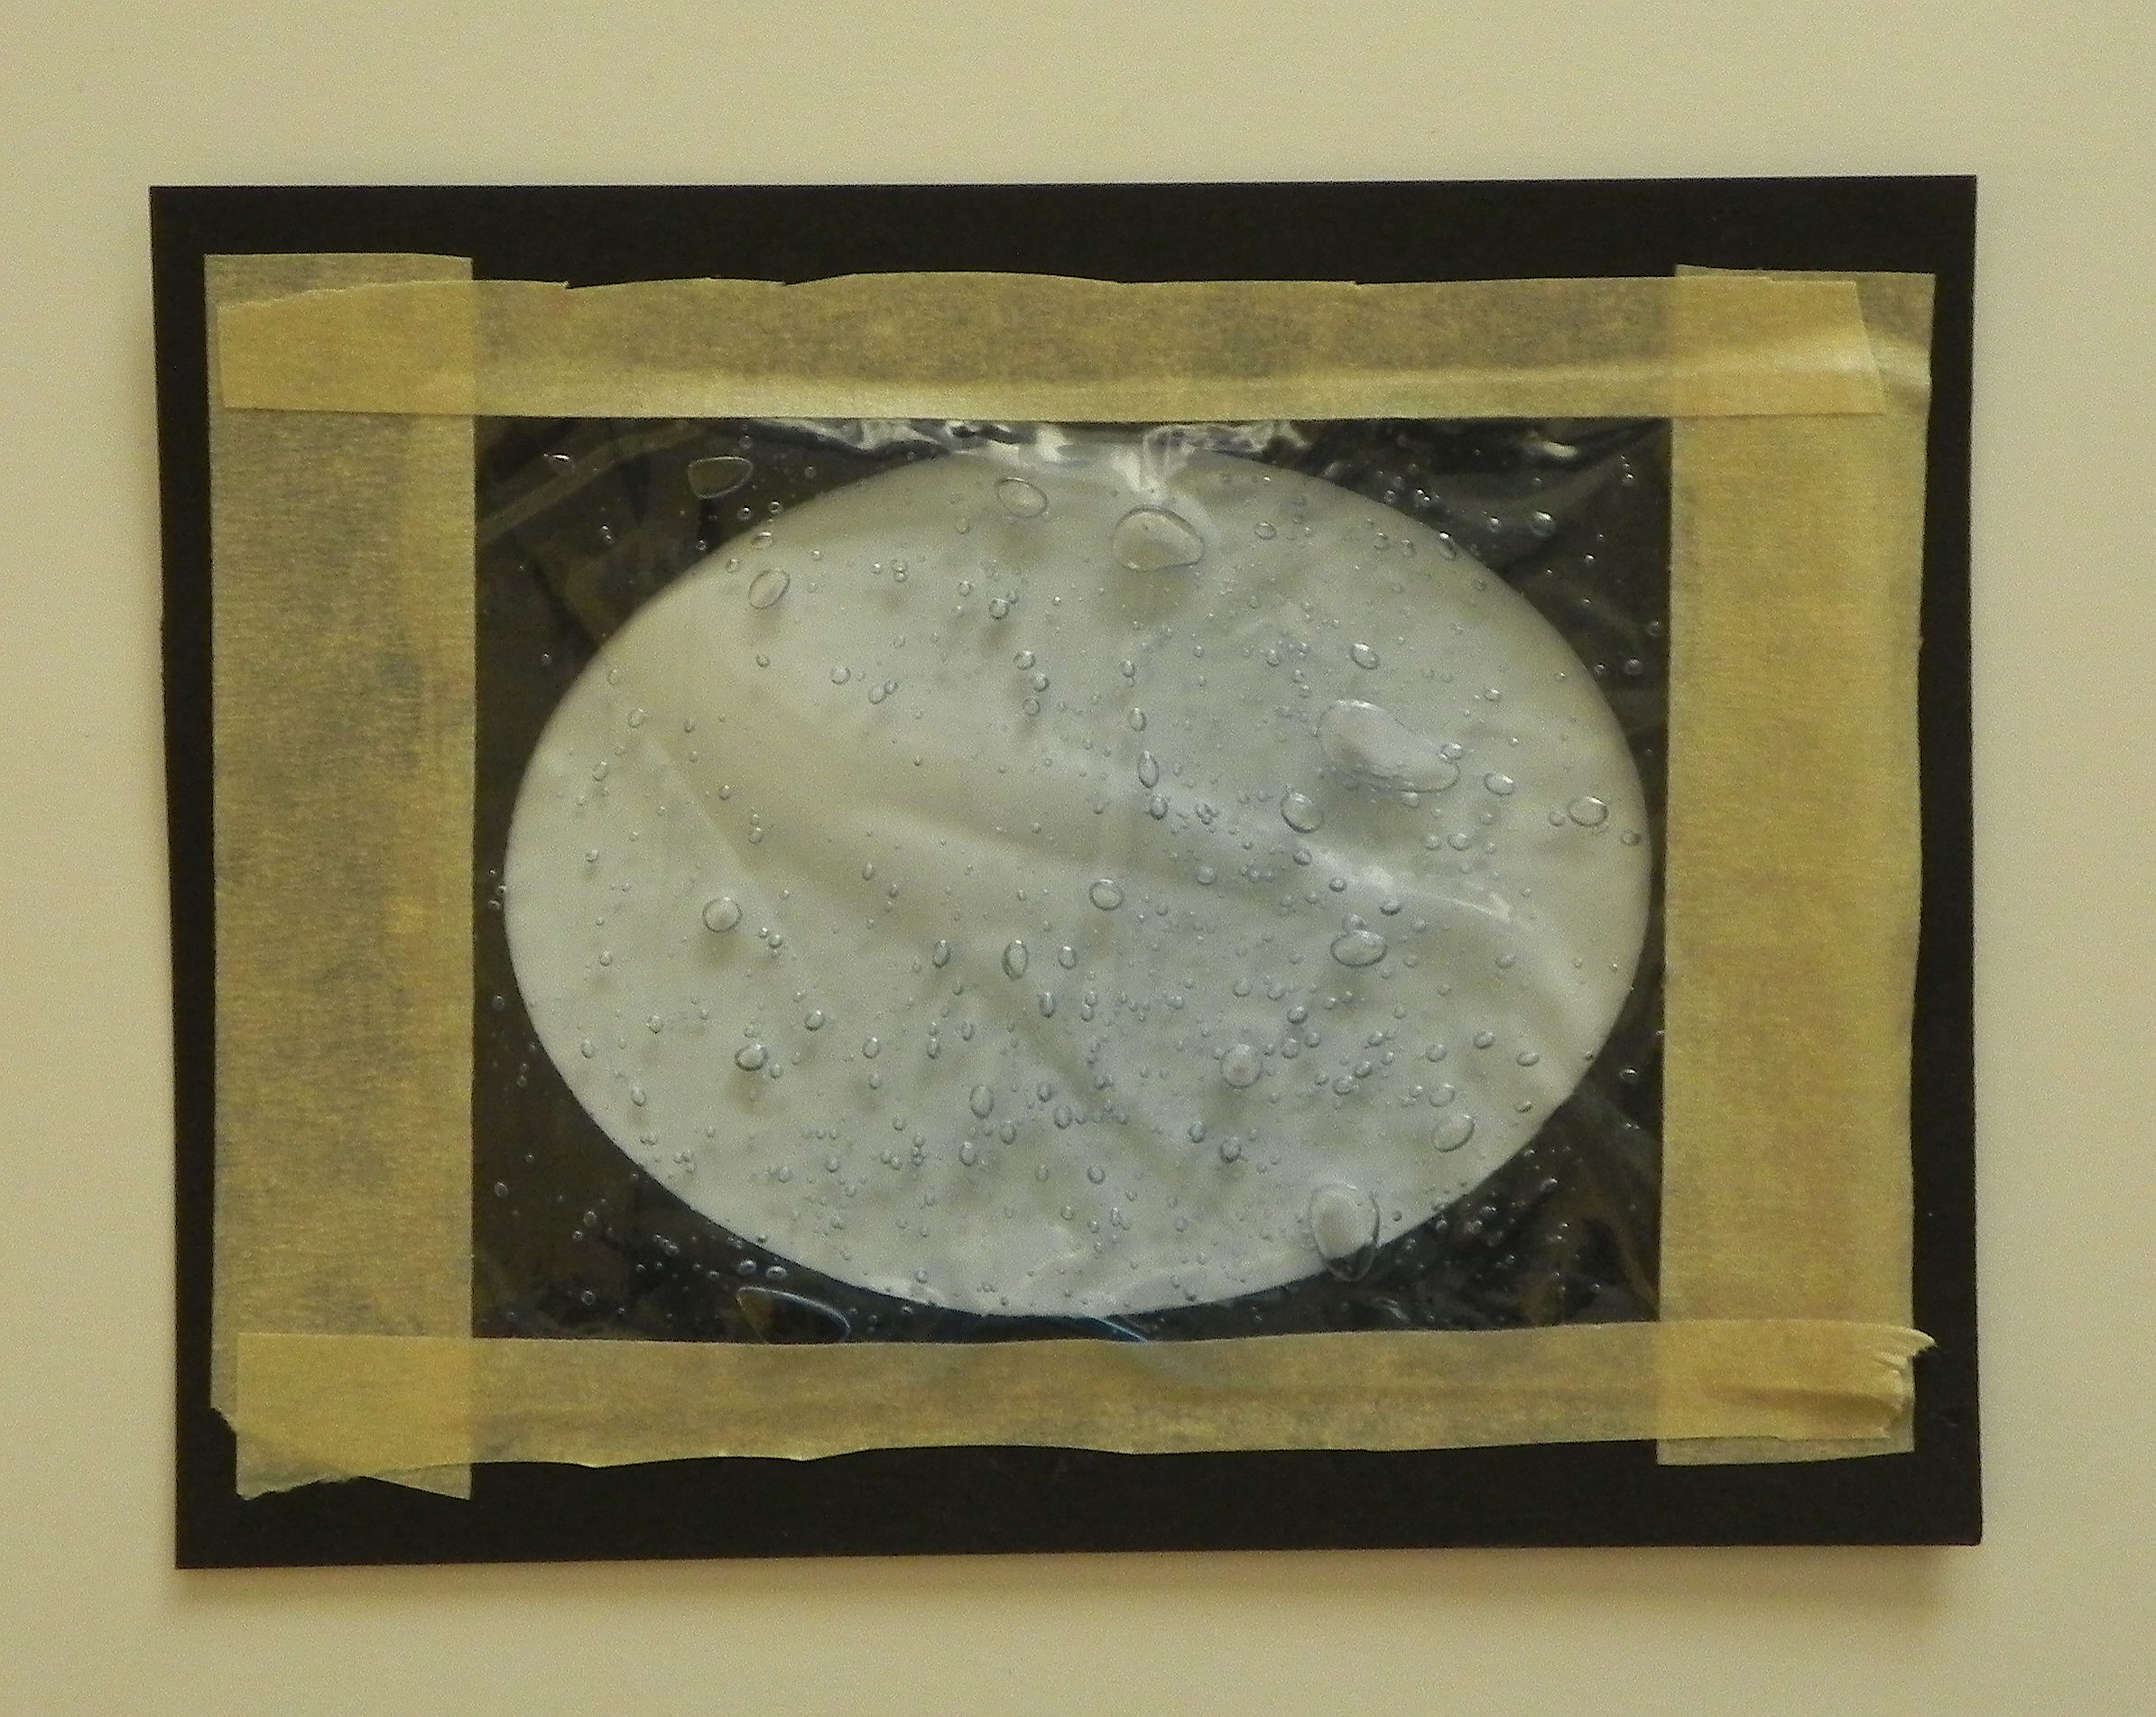
Turn the sealed edge over and tape it so it no longer hangs over the edge, but make sure it doesn’t hang over the frame opening either.

aDSCN6372

aDSCN6377   aDSCN6375


Continue taping the bag to the back of the framed panel with masking tape.  I needed to cut my tape in half so it fit on the top and bottom parts without hanging over the edges or into the frame opening.

aDSCN6379


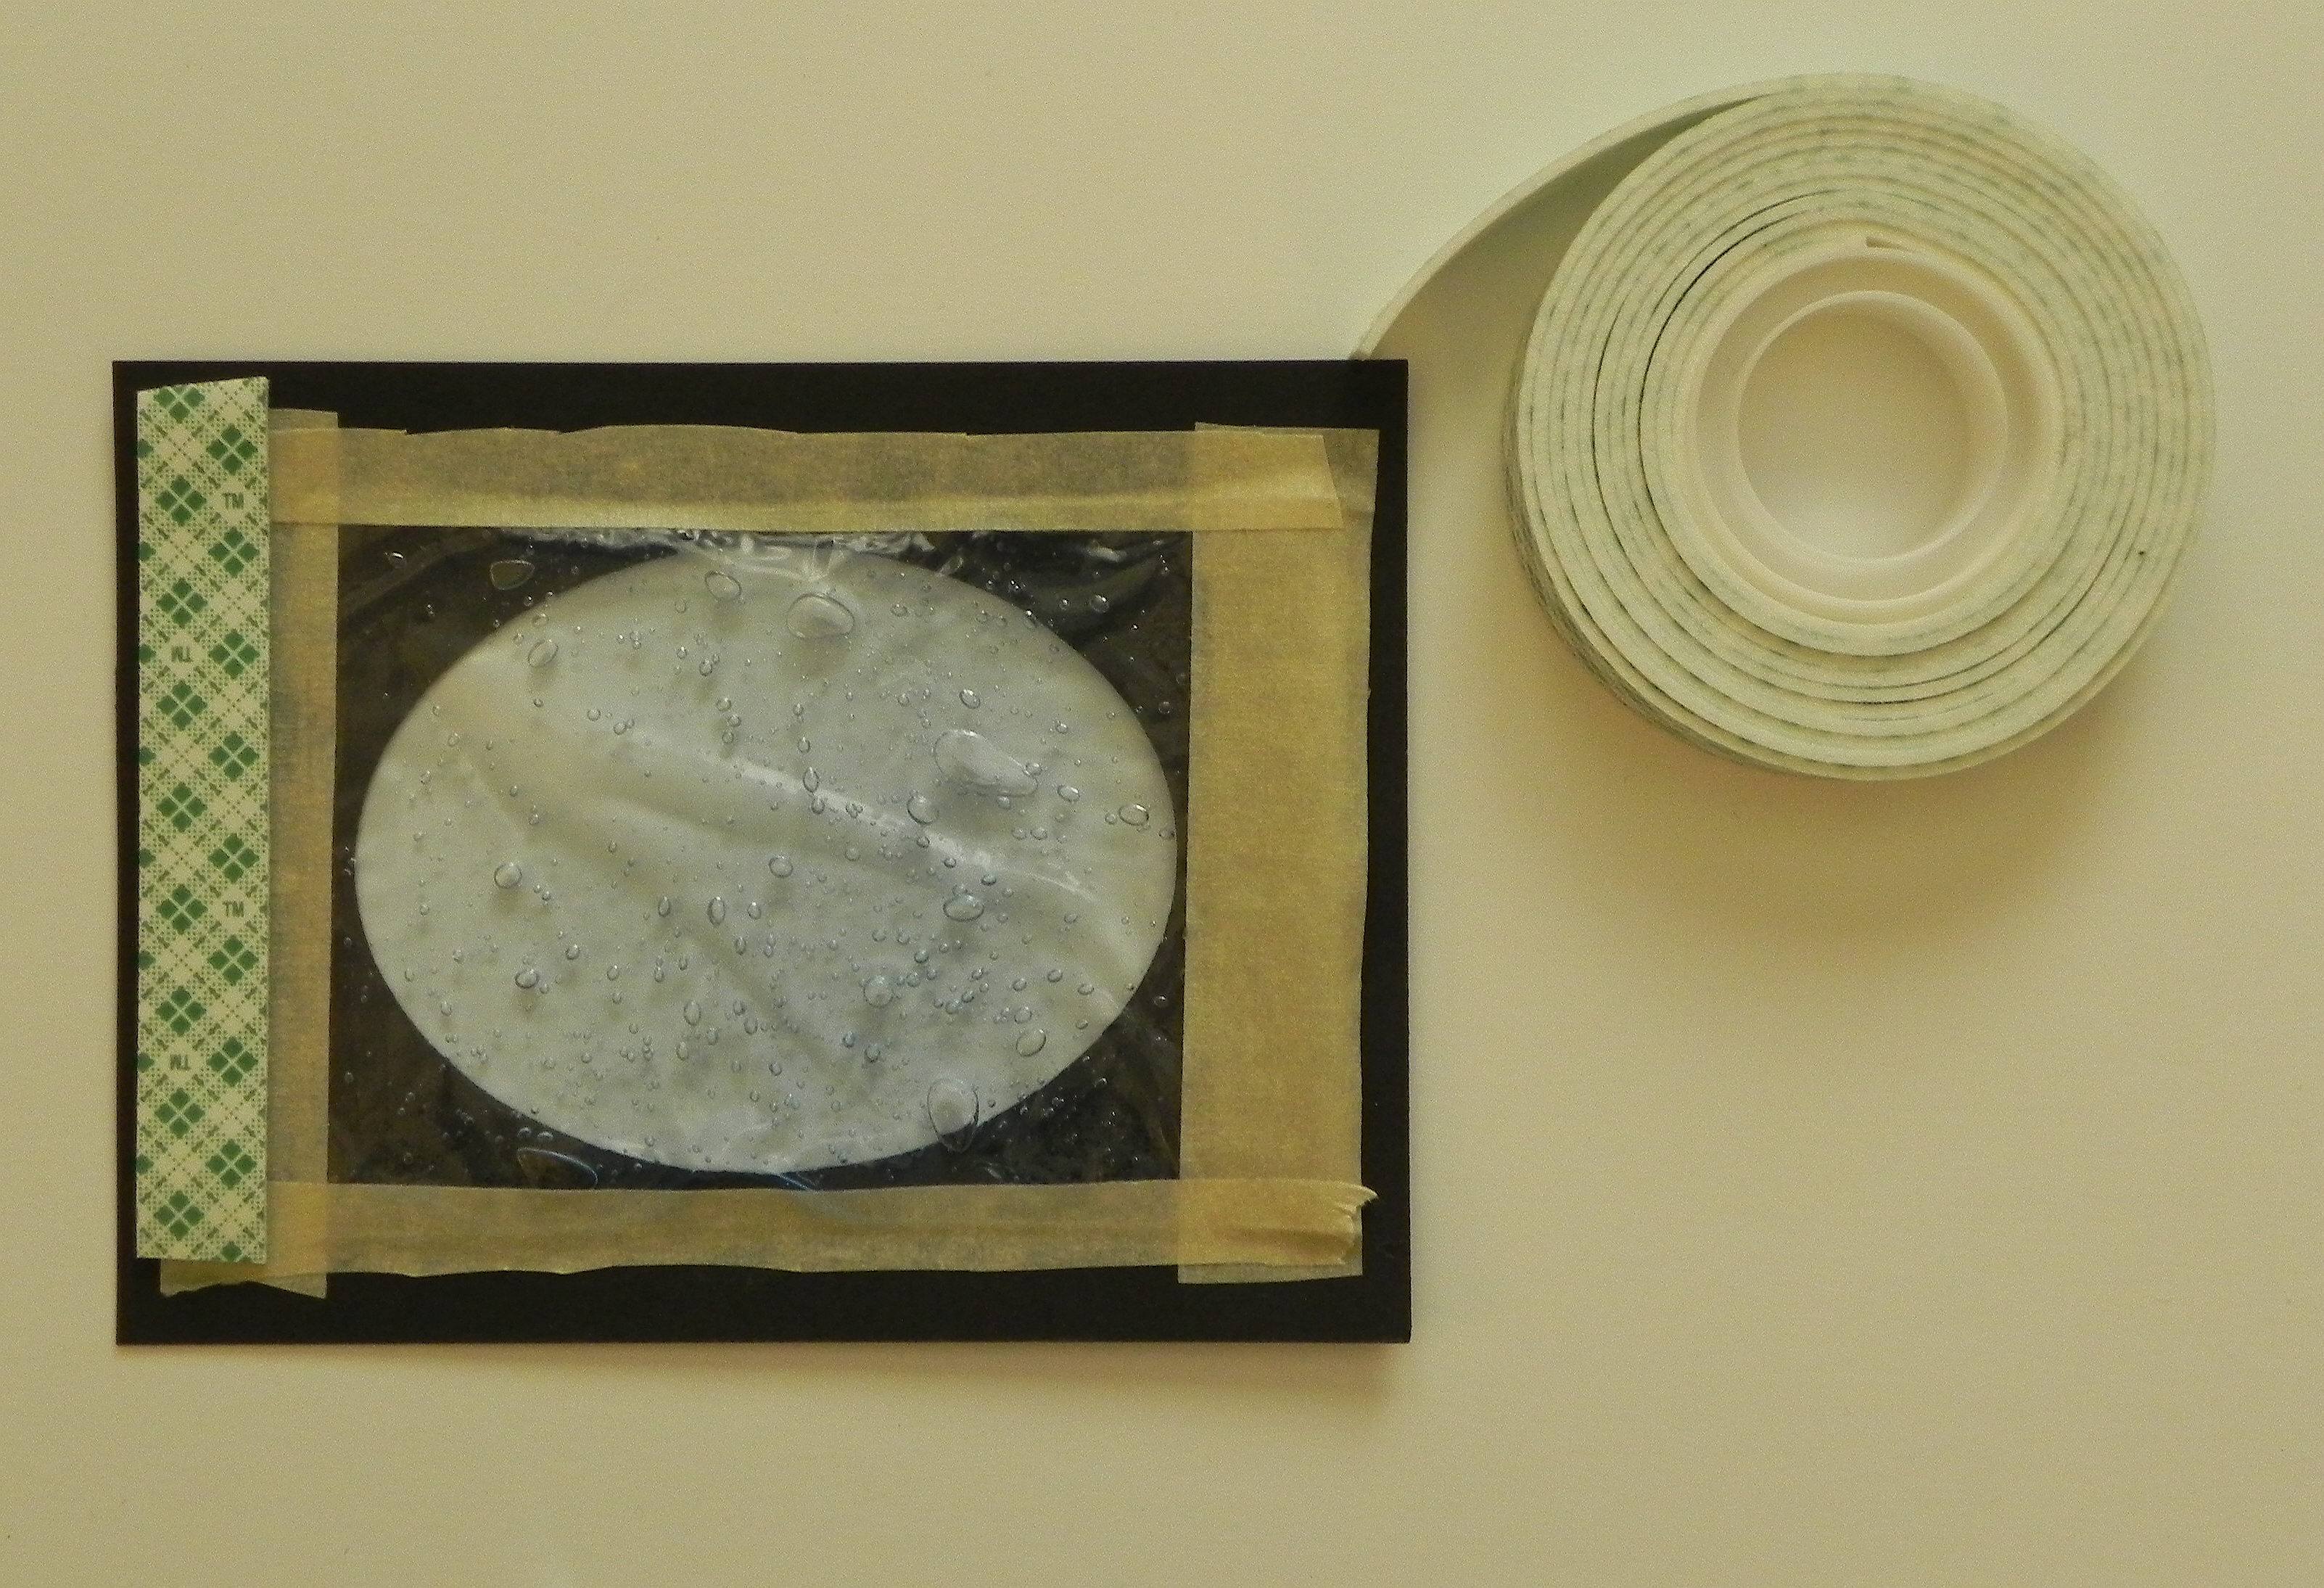
Next, use pop dots or foam tape around the outer edges of the frame panel.  I used a double layer of foam tape (one piece on top to the other) to make it thicker.  You want to raise the panel up off of the card base enough so it lies flat.  The thicker the bag with gel, the thicker the foam adhesive needs to be.  (Pictured is just one completed side.  Put foam adhesive on all 4 sides.)

aDSCN6381


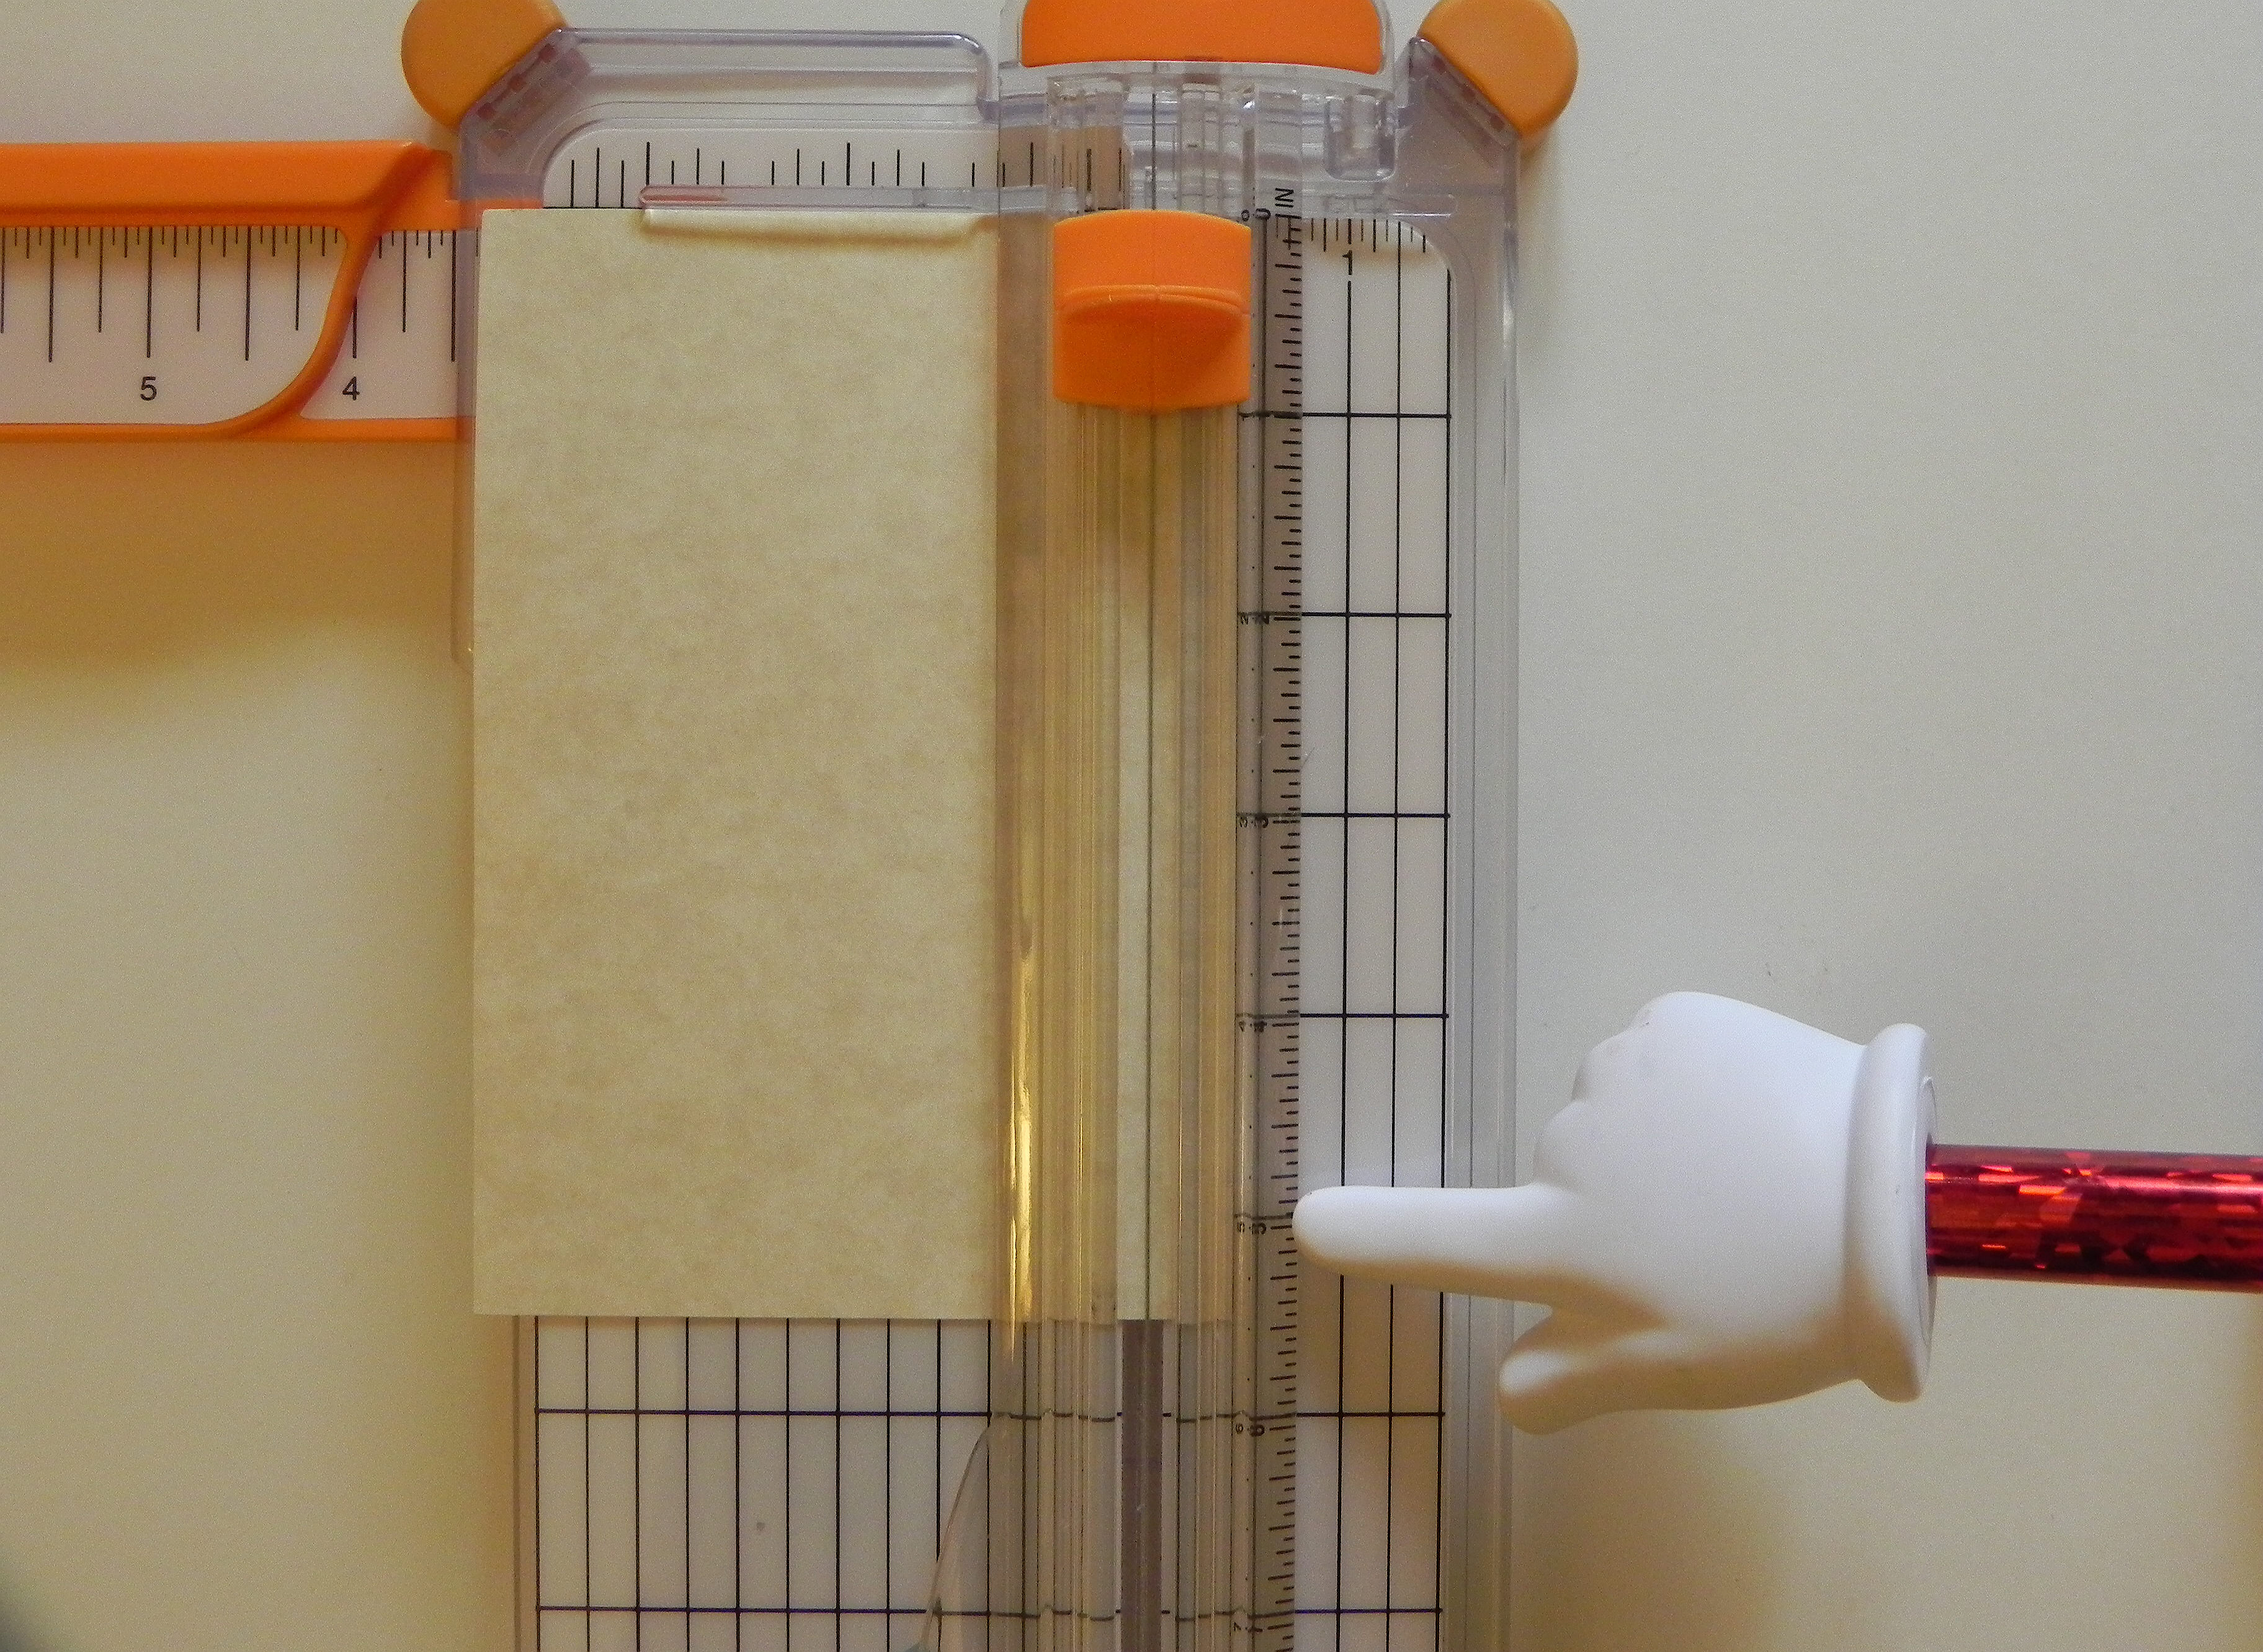
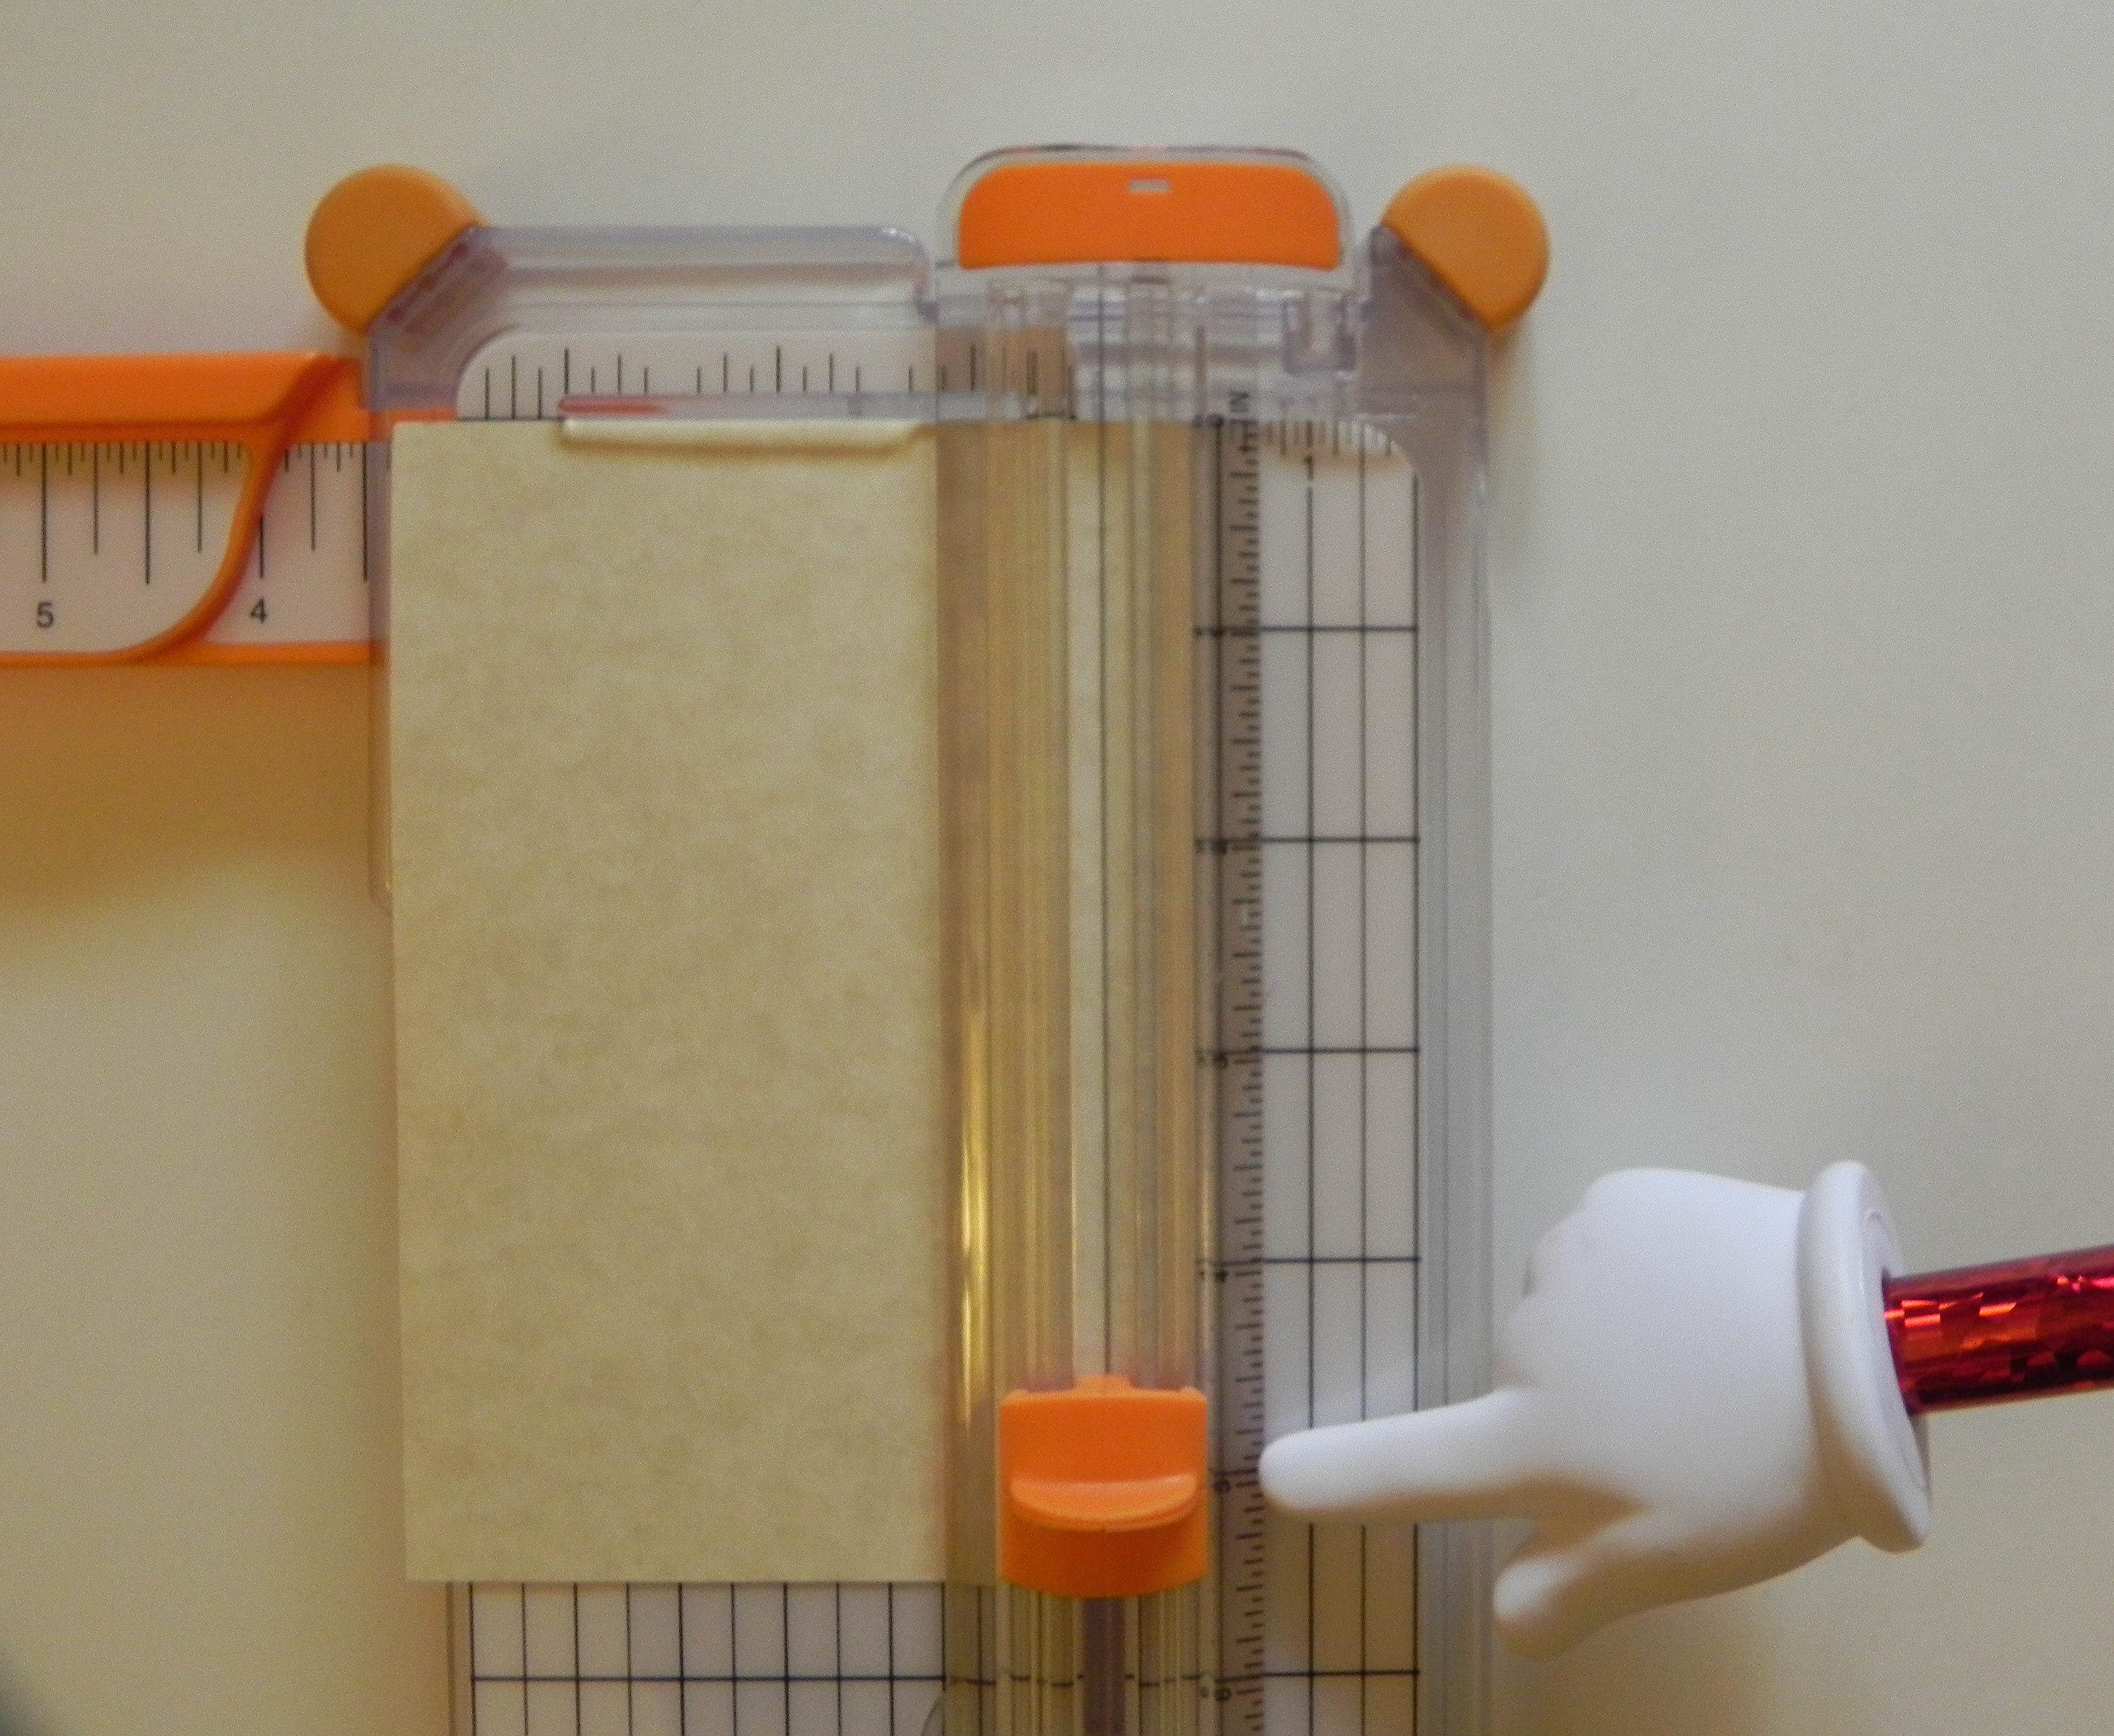
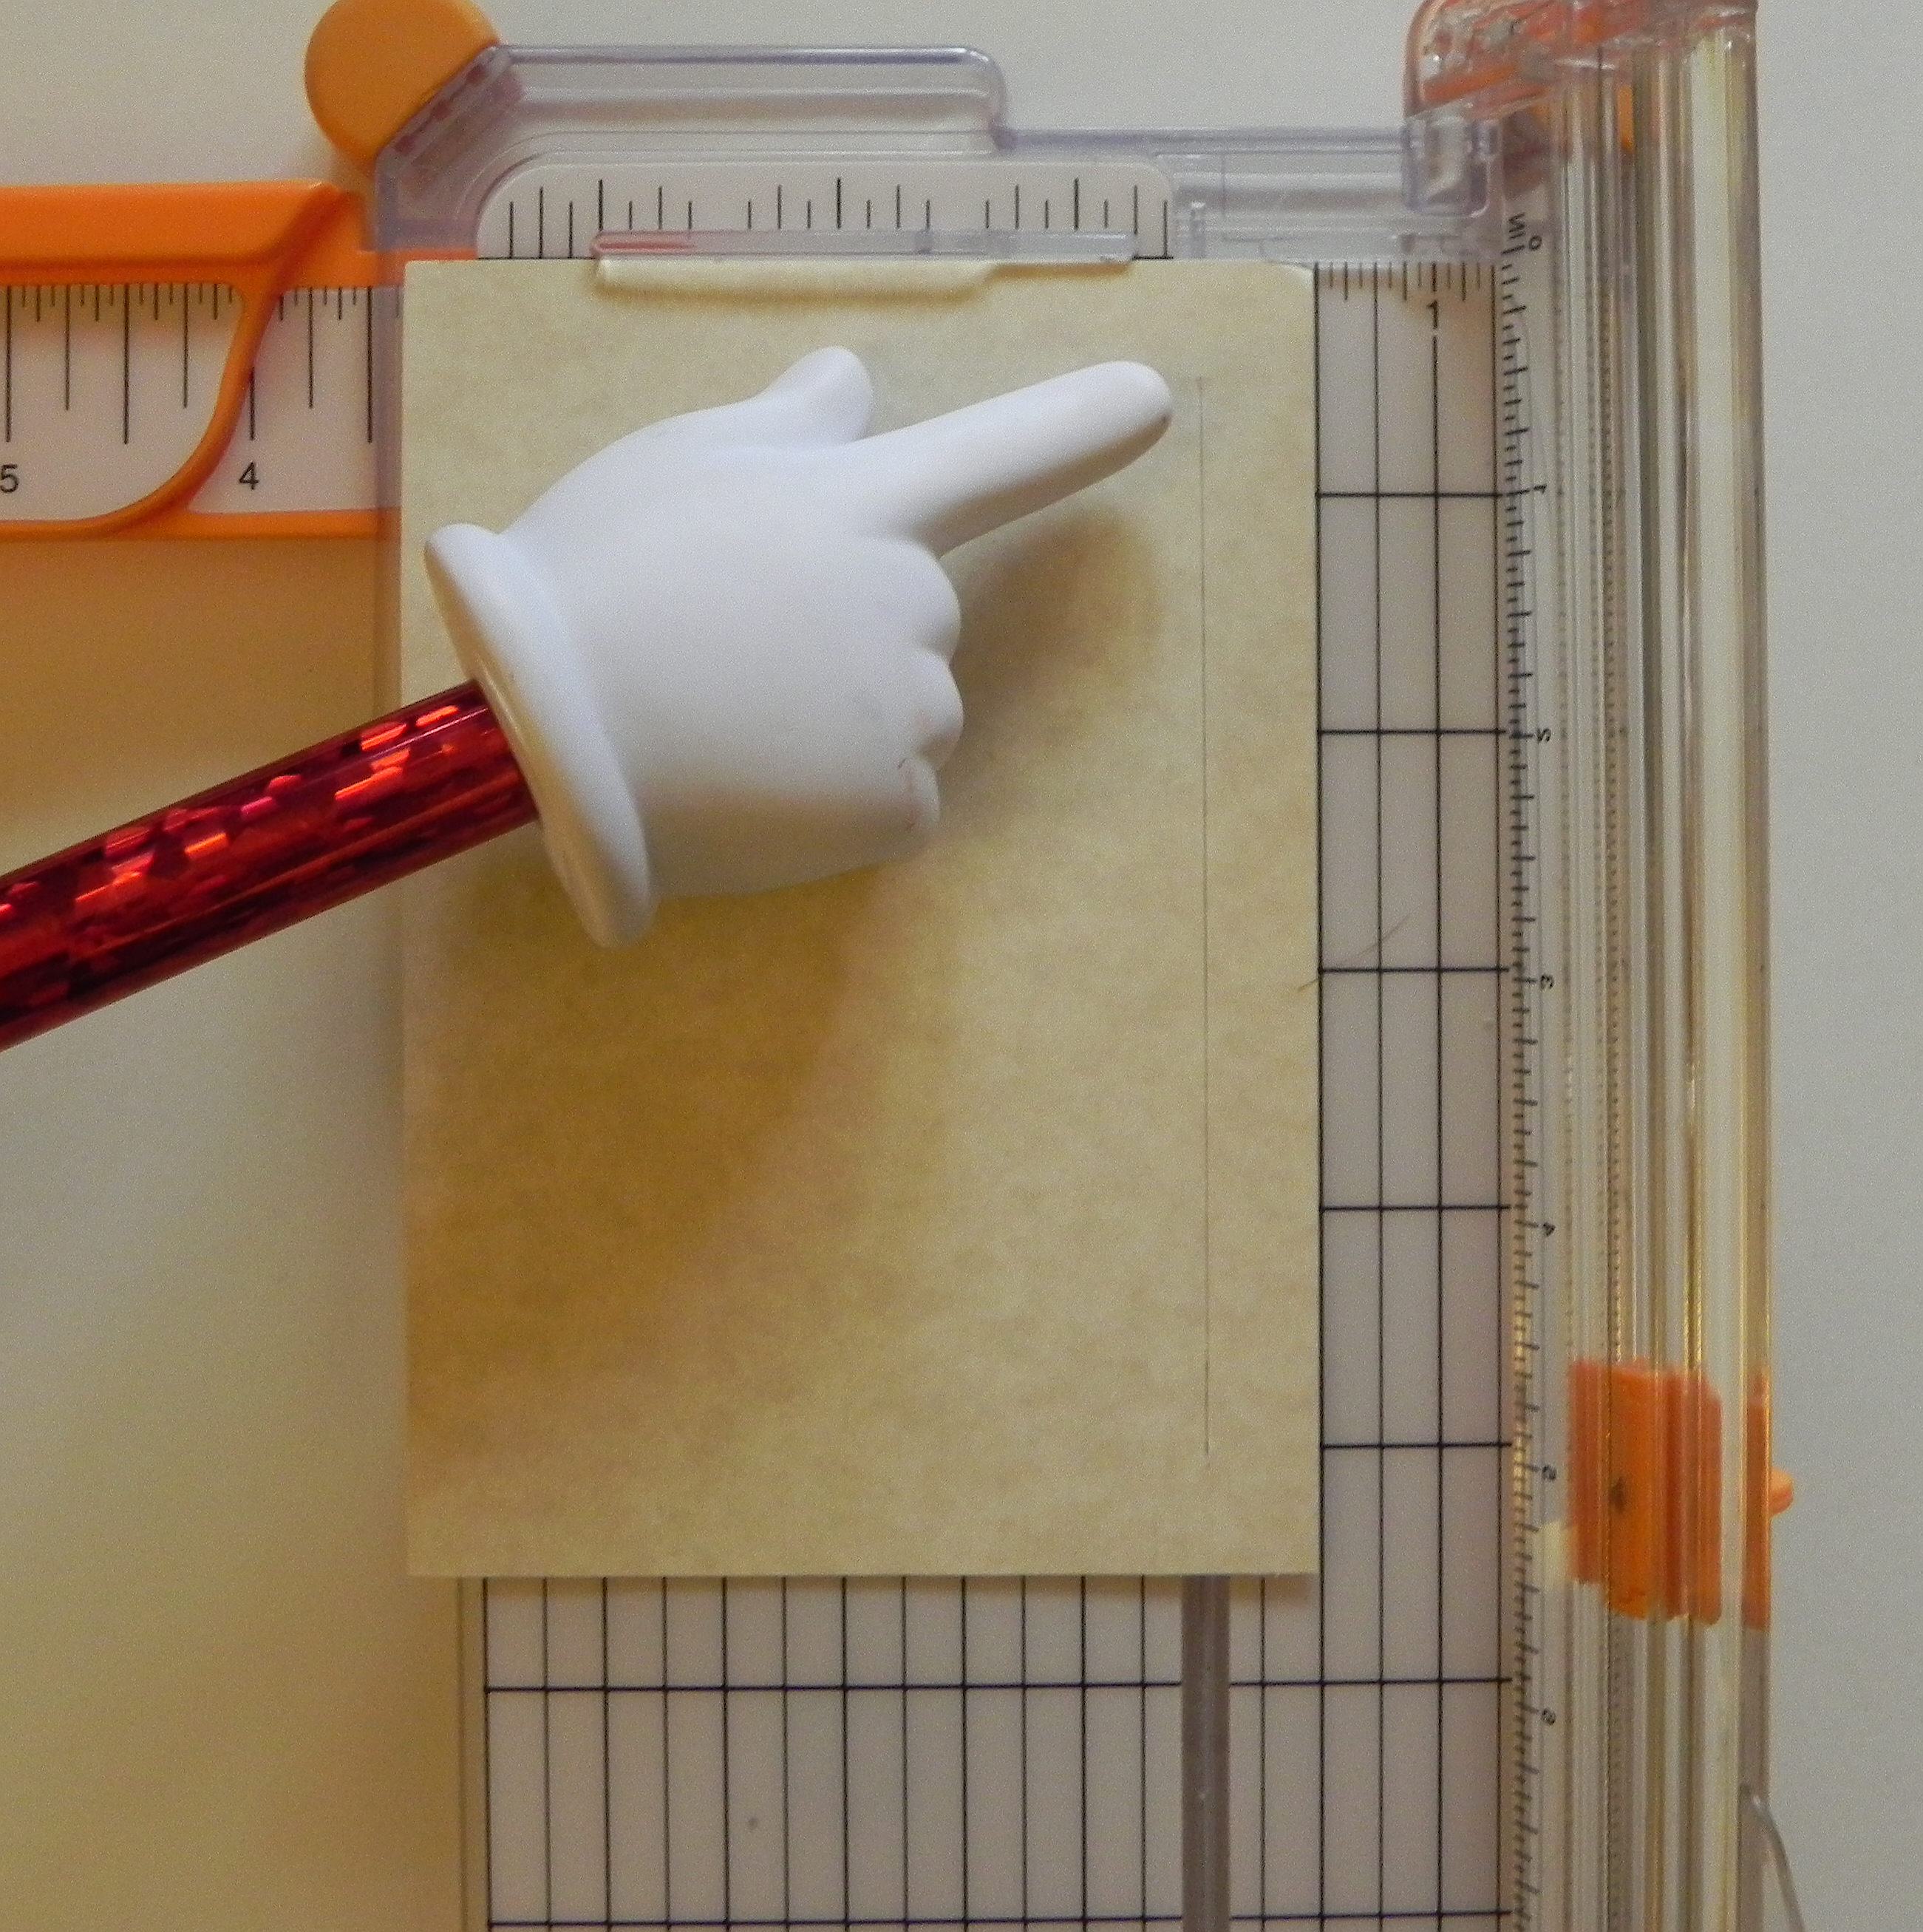
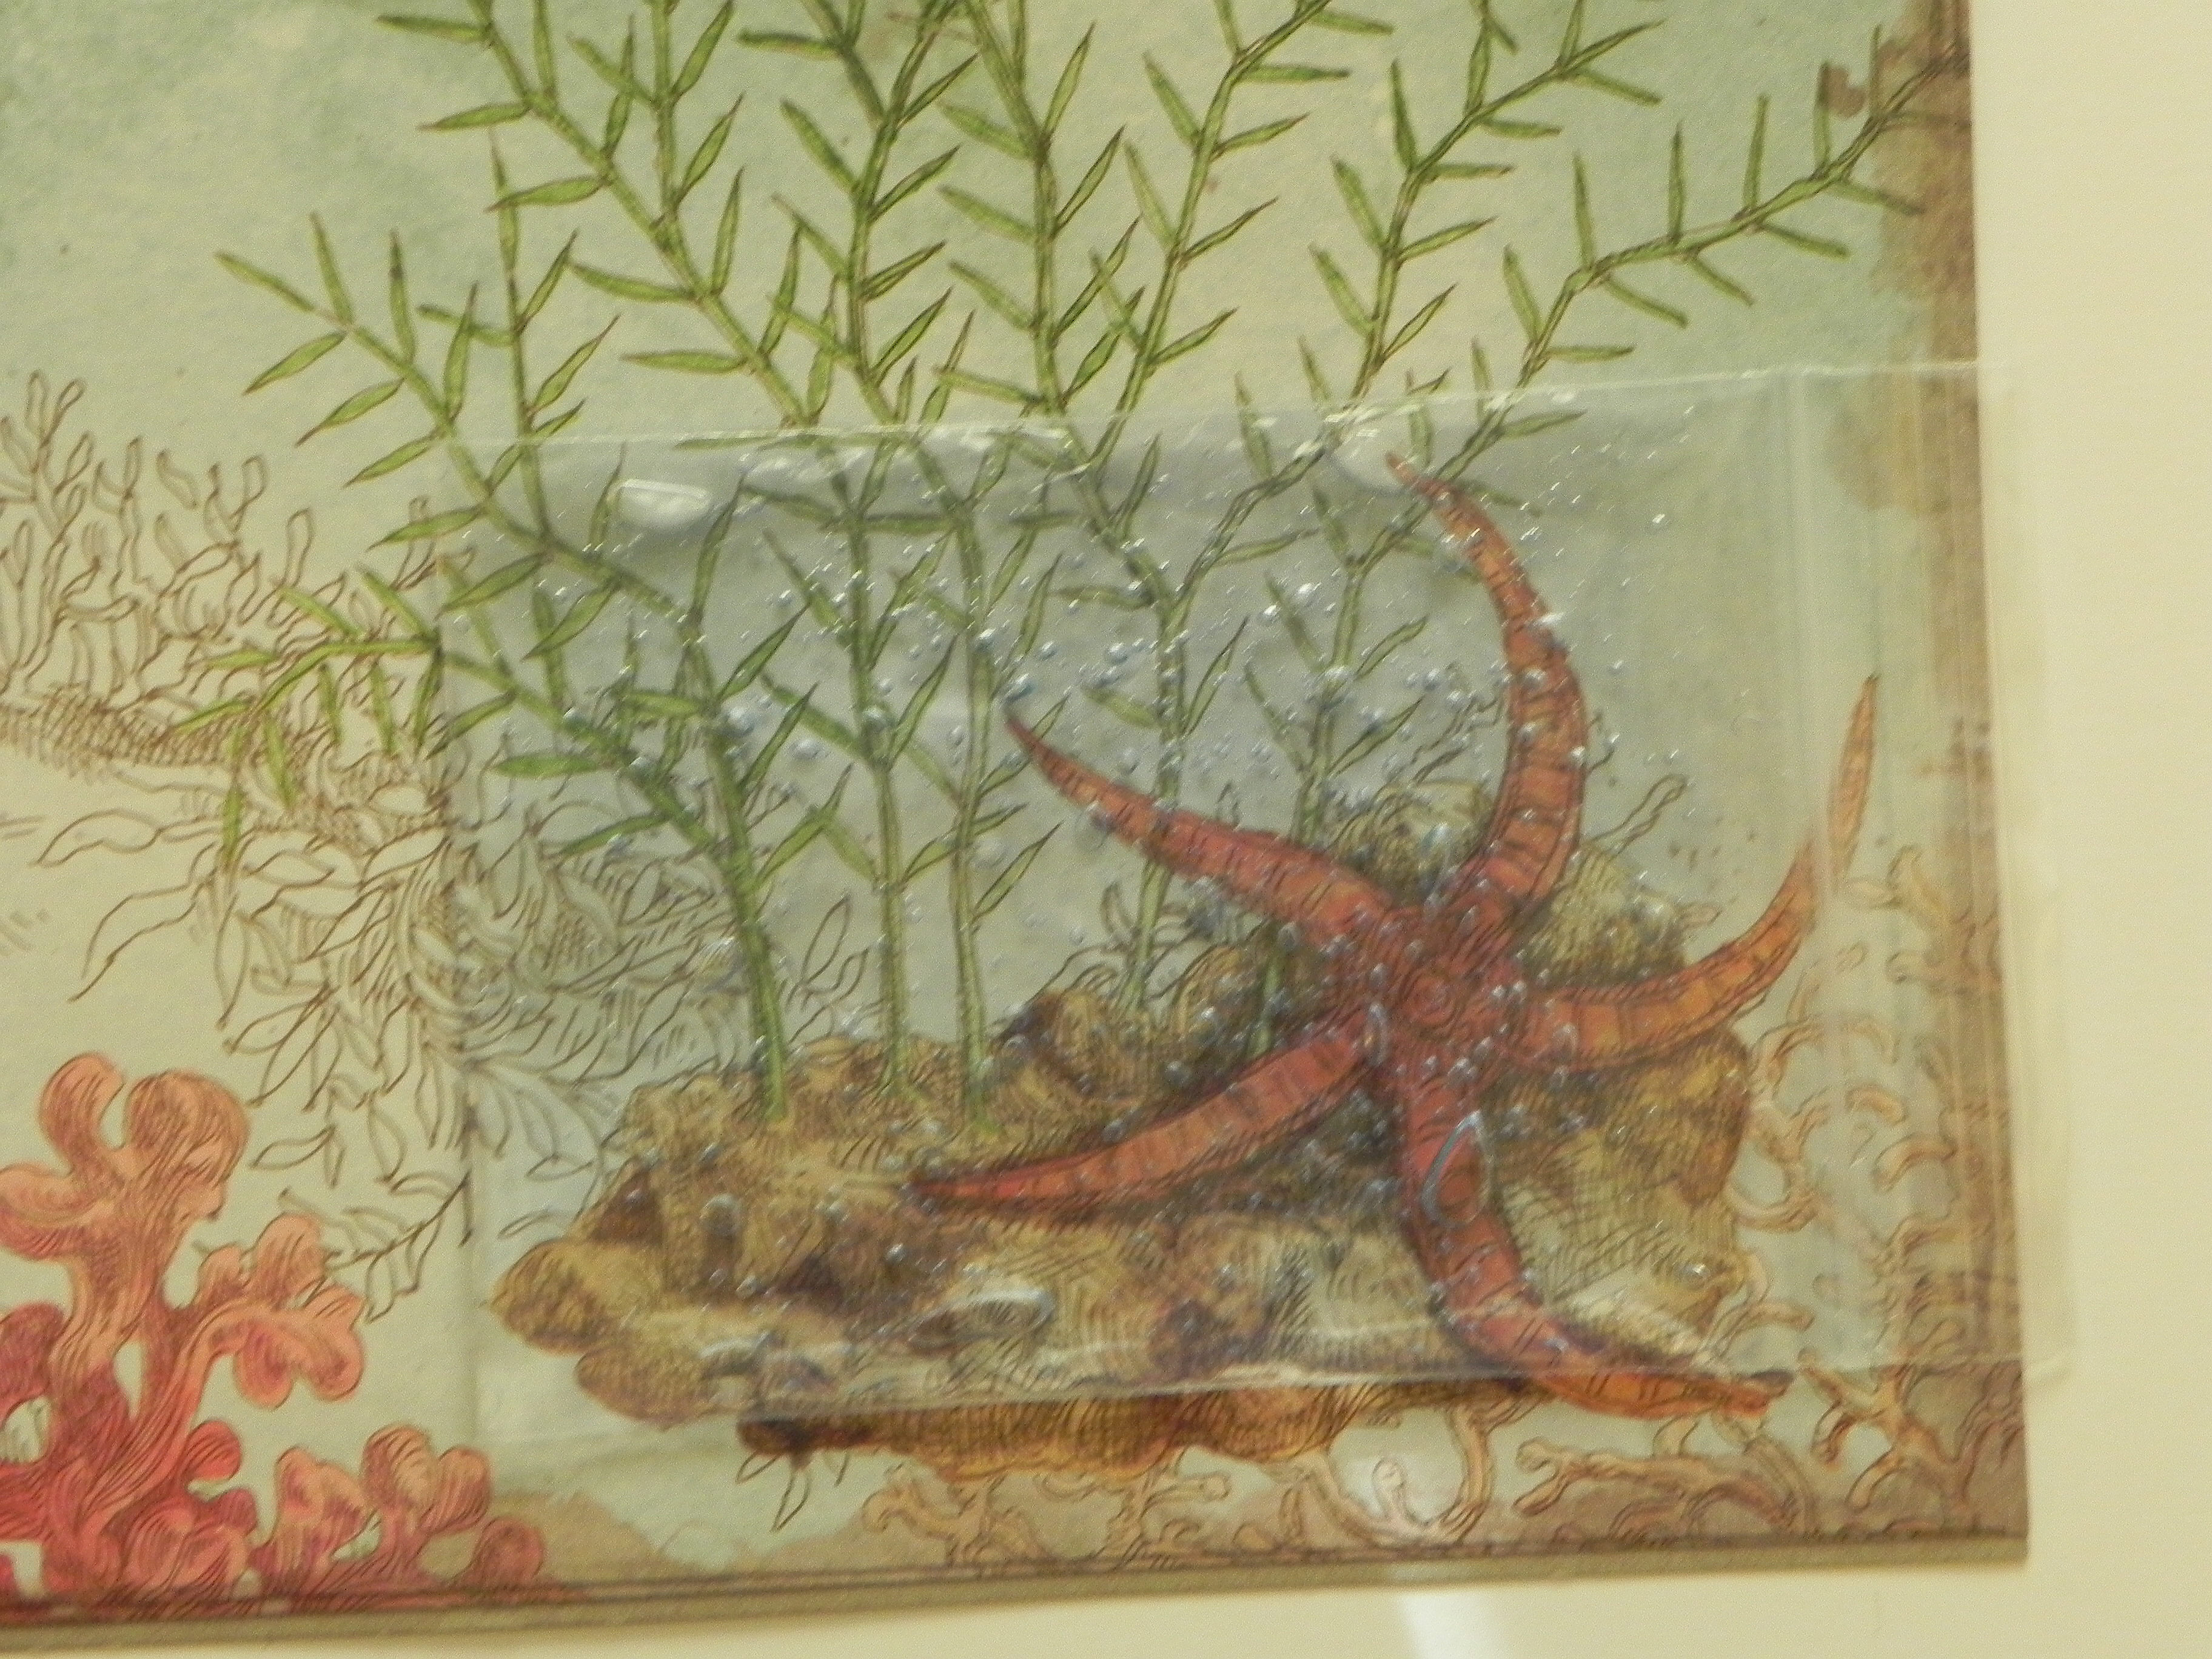
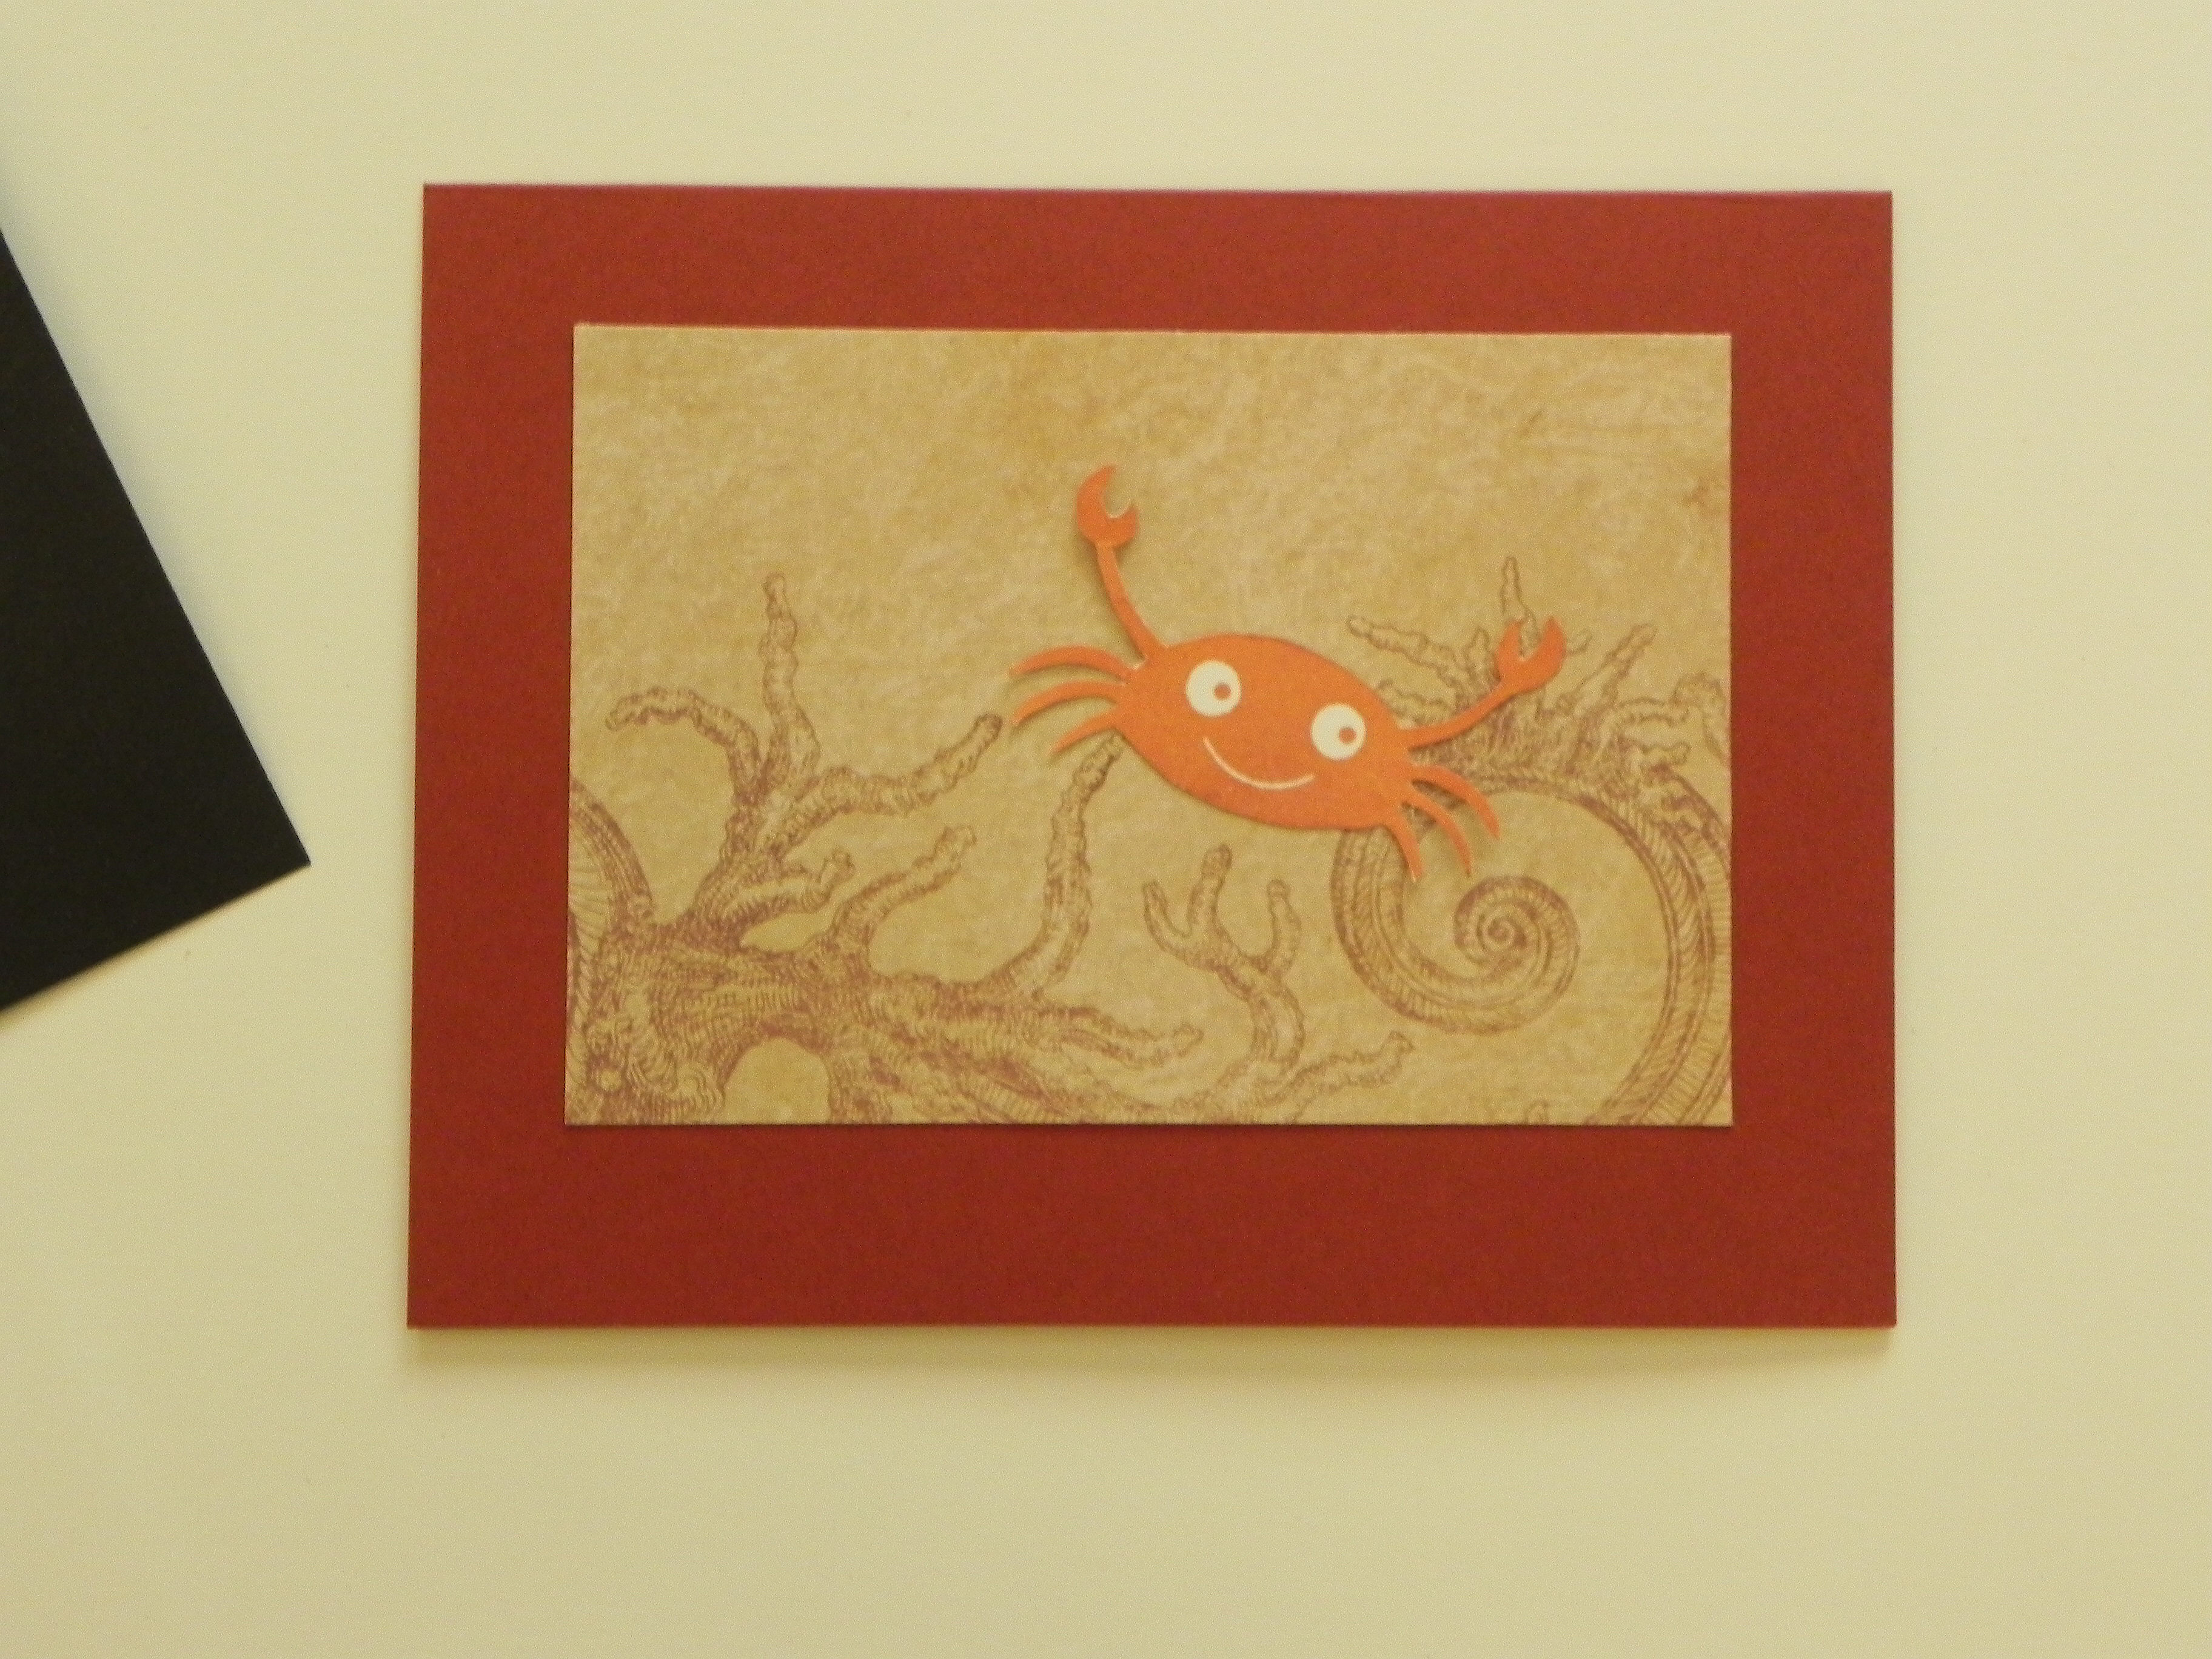
Trim your background panel so it shows in the frame as desired.  (It should be large enough to be in the frame completely, but small enough so it fits behind the top panel without sticking out on the sides.)  (I added a stamped crab image to my background here.)  Position it as desired with respect to your frame, and adhere onto your card base.

aDSCN6383  aDSCN6385

aDSCN6387


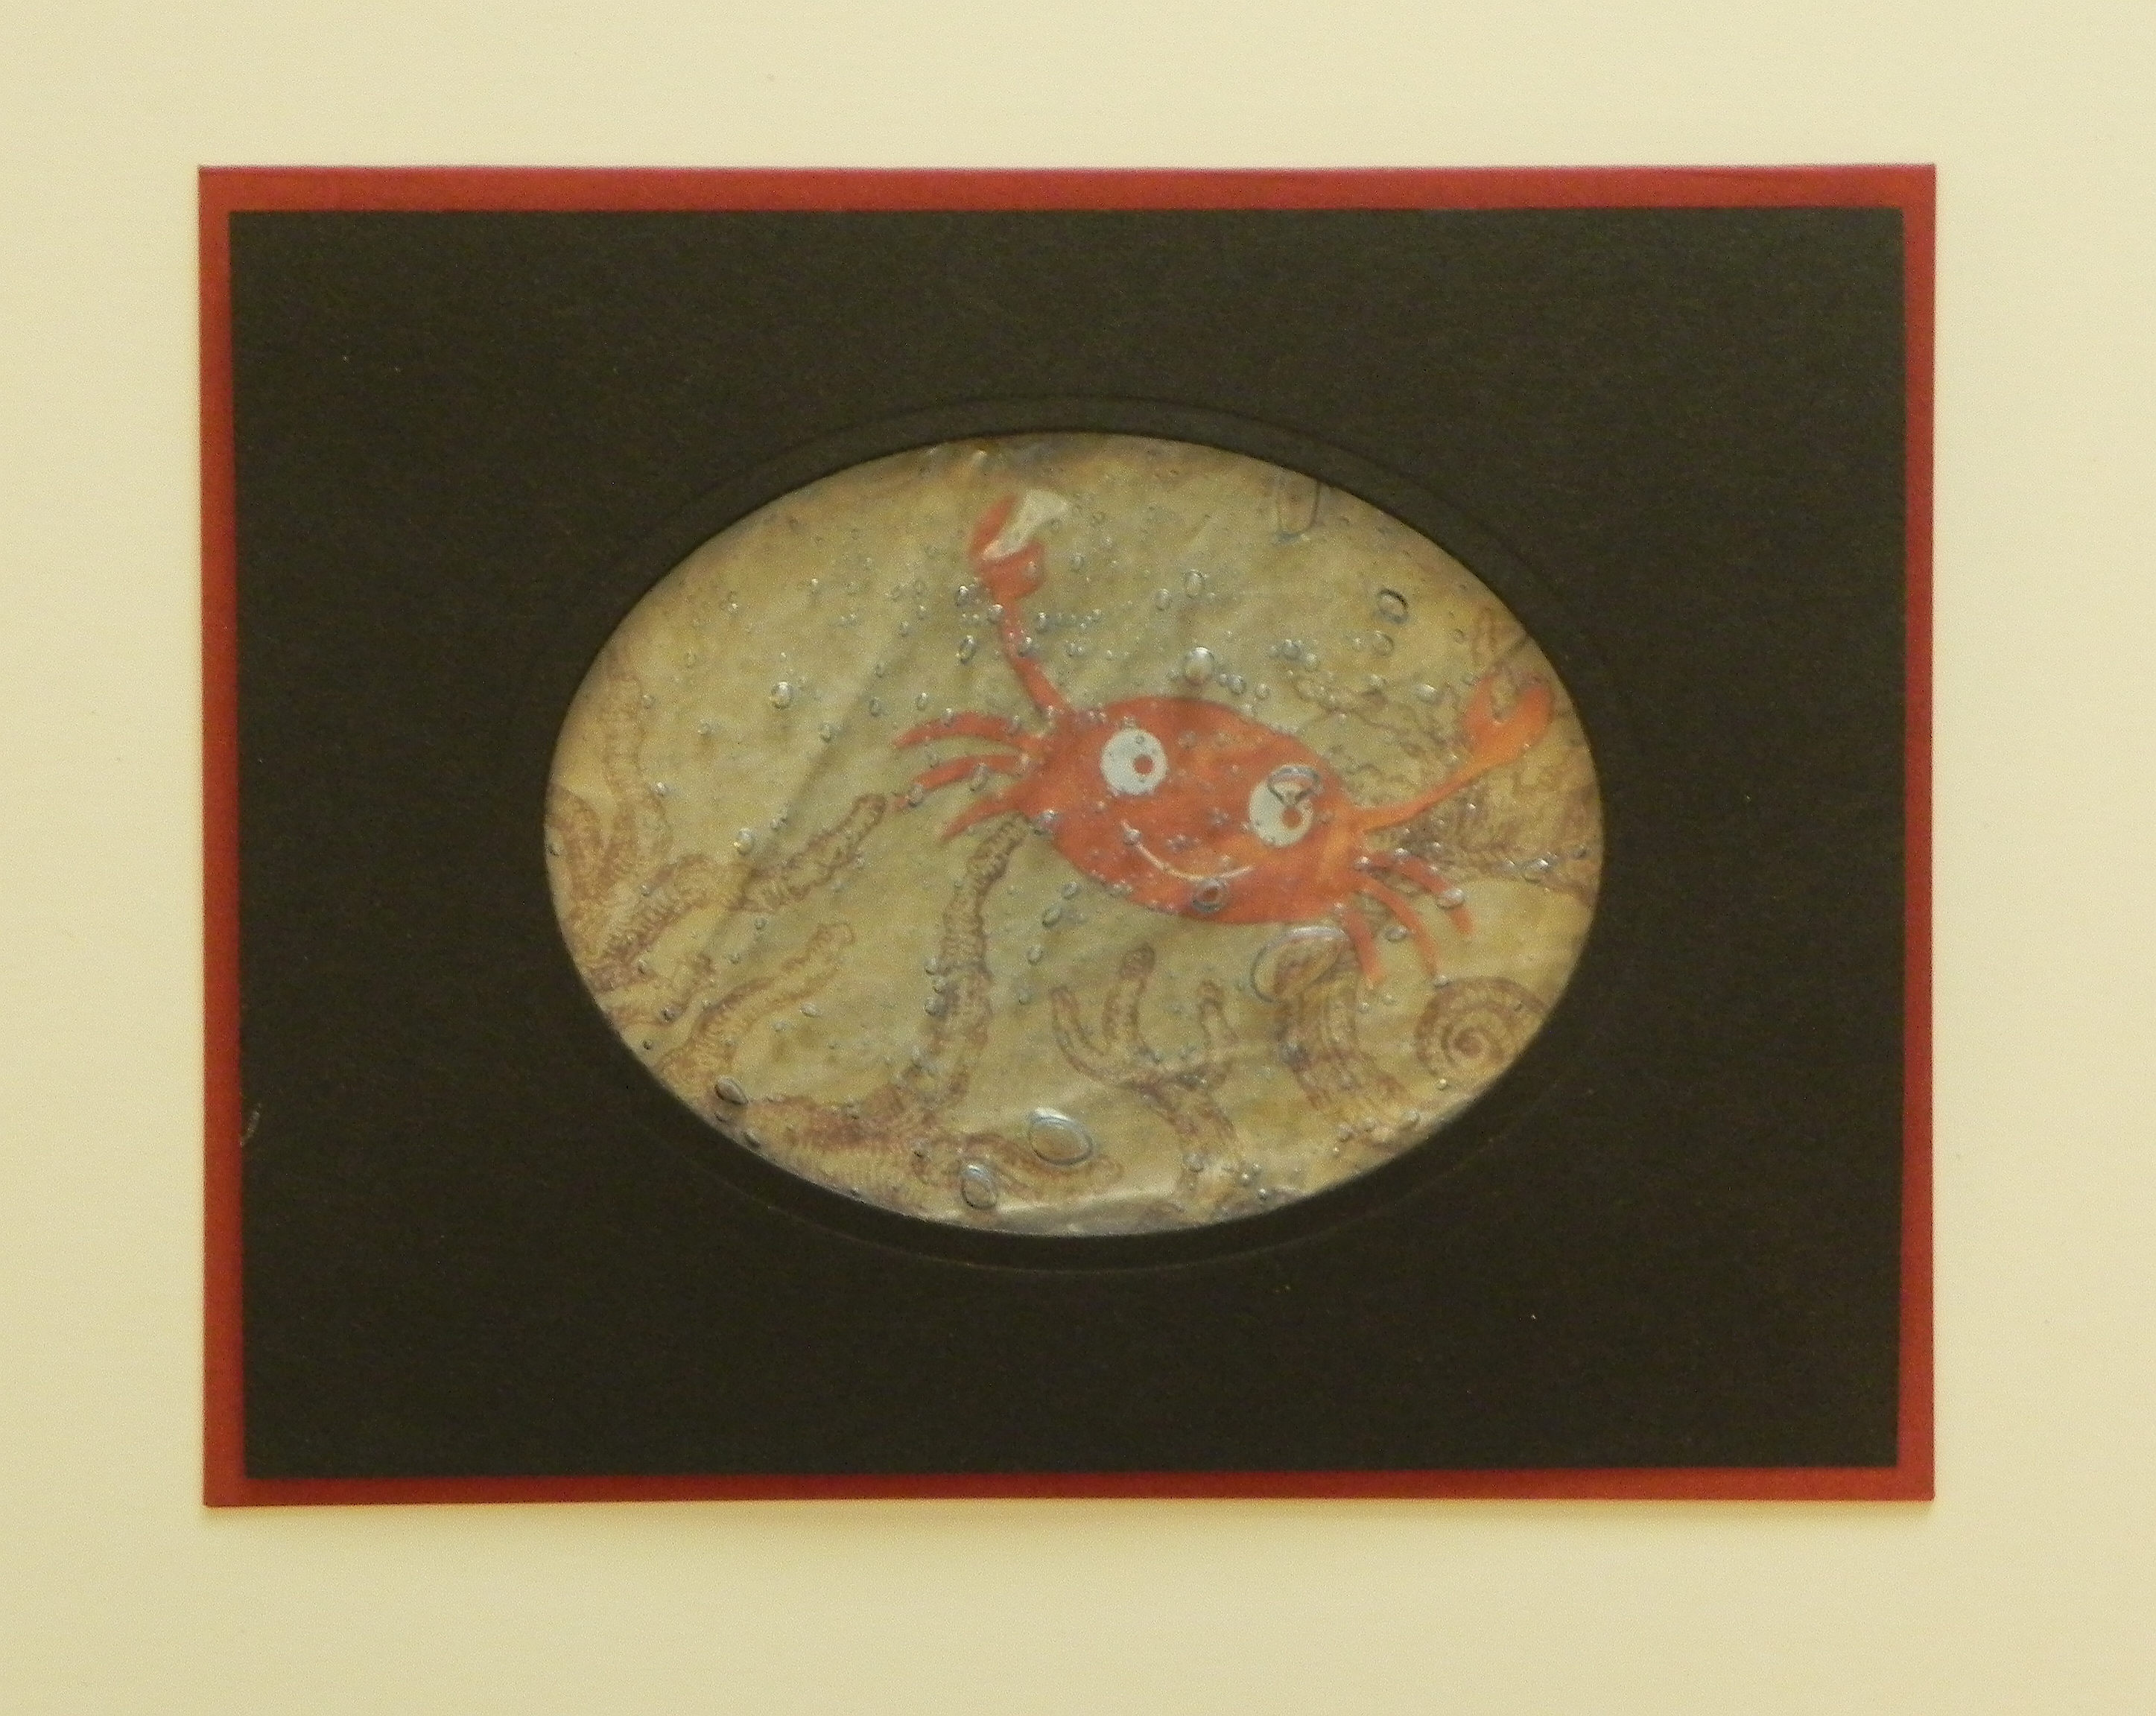
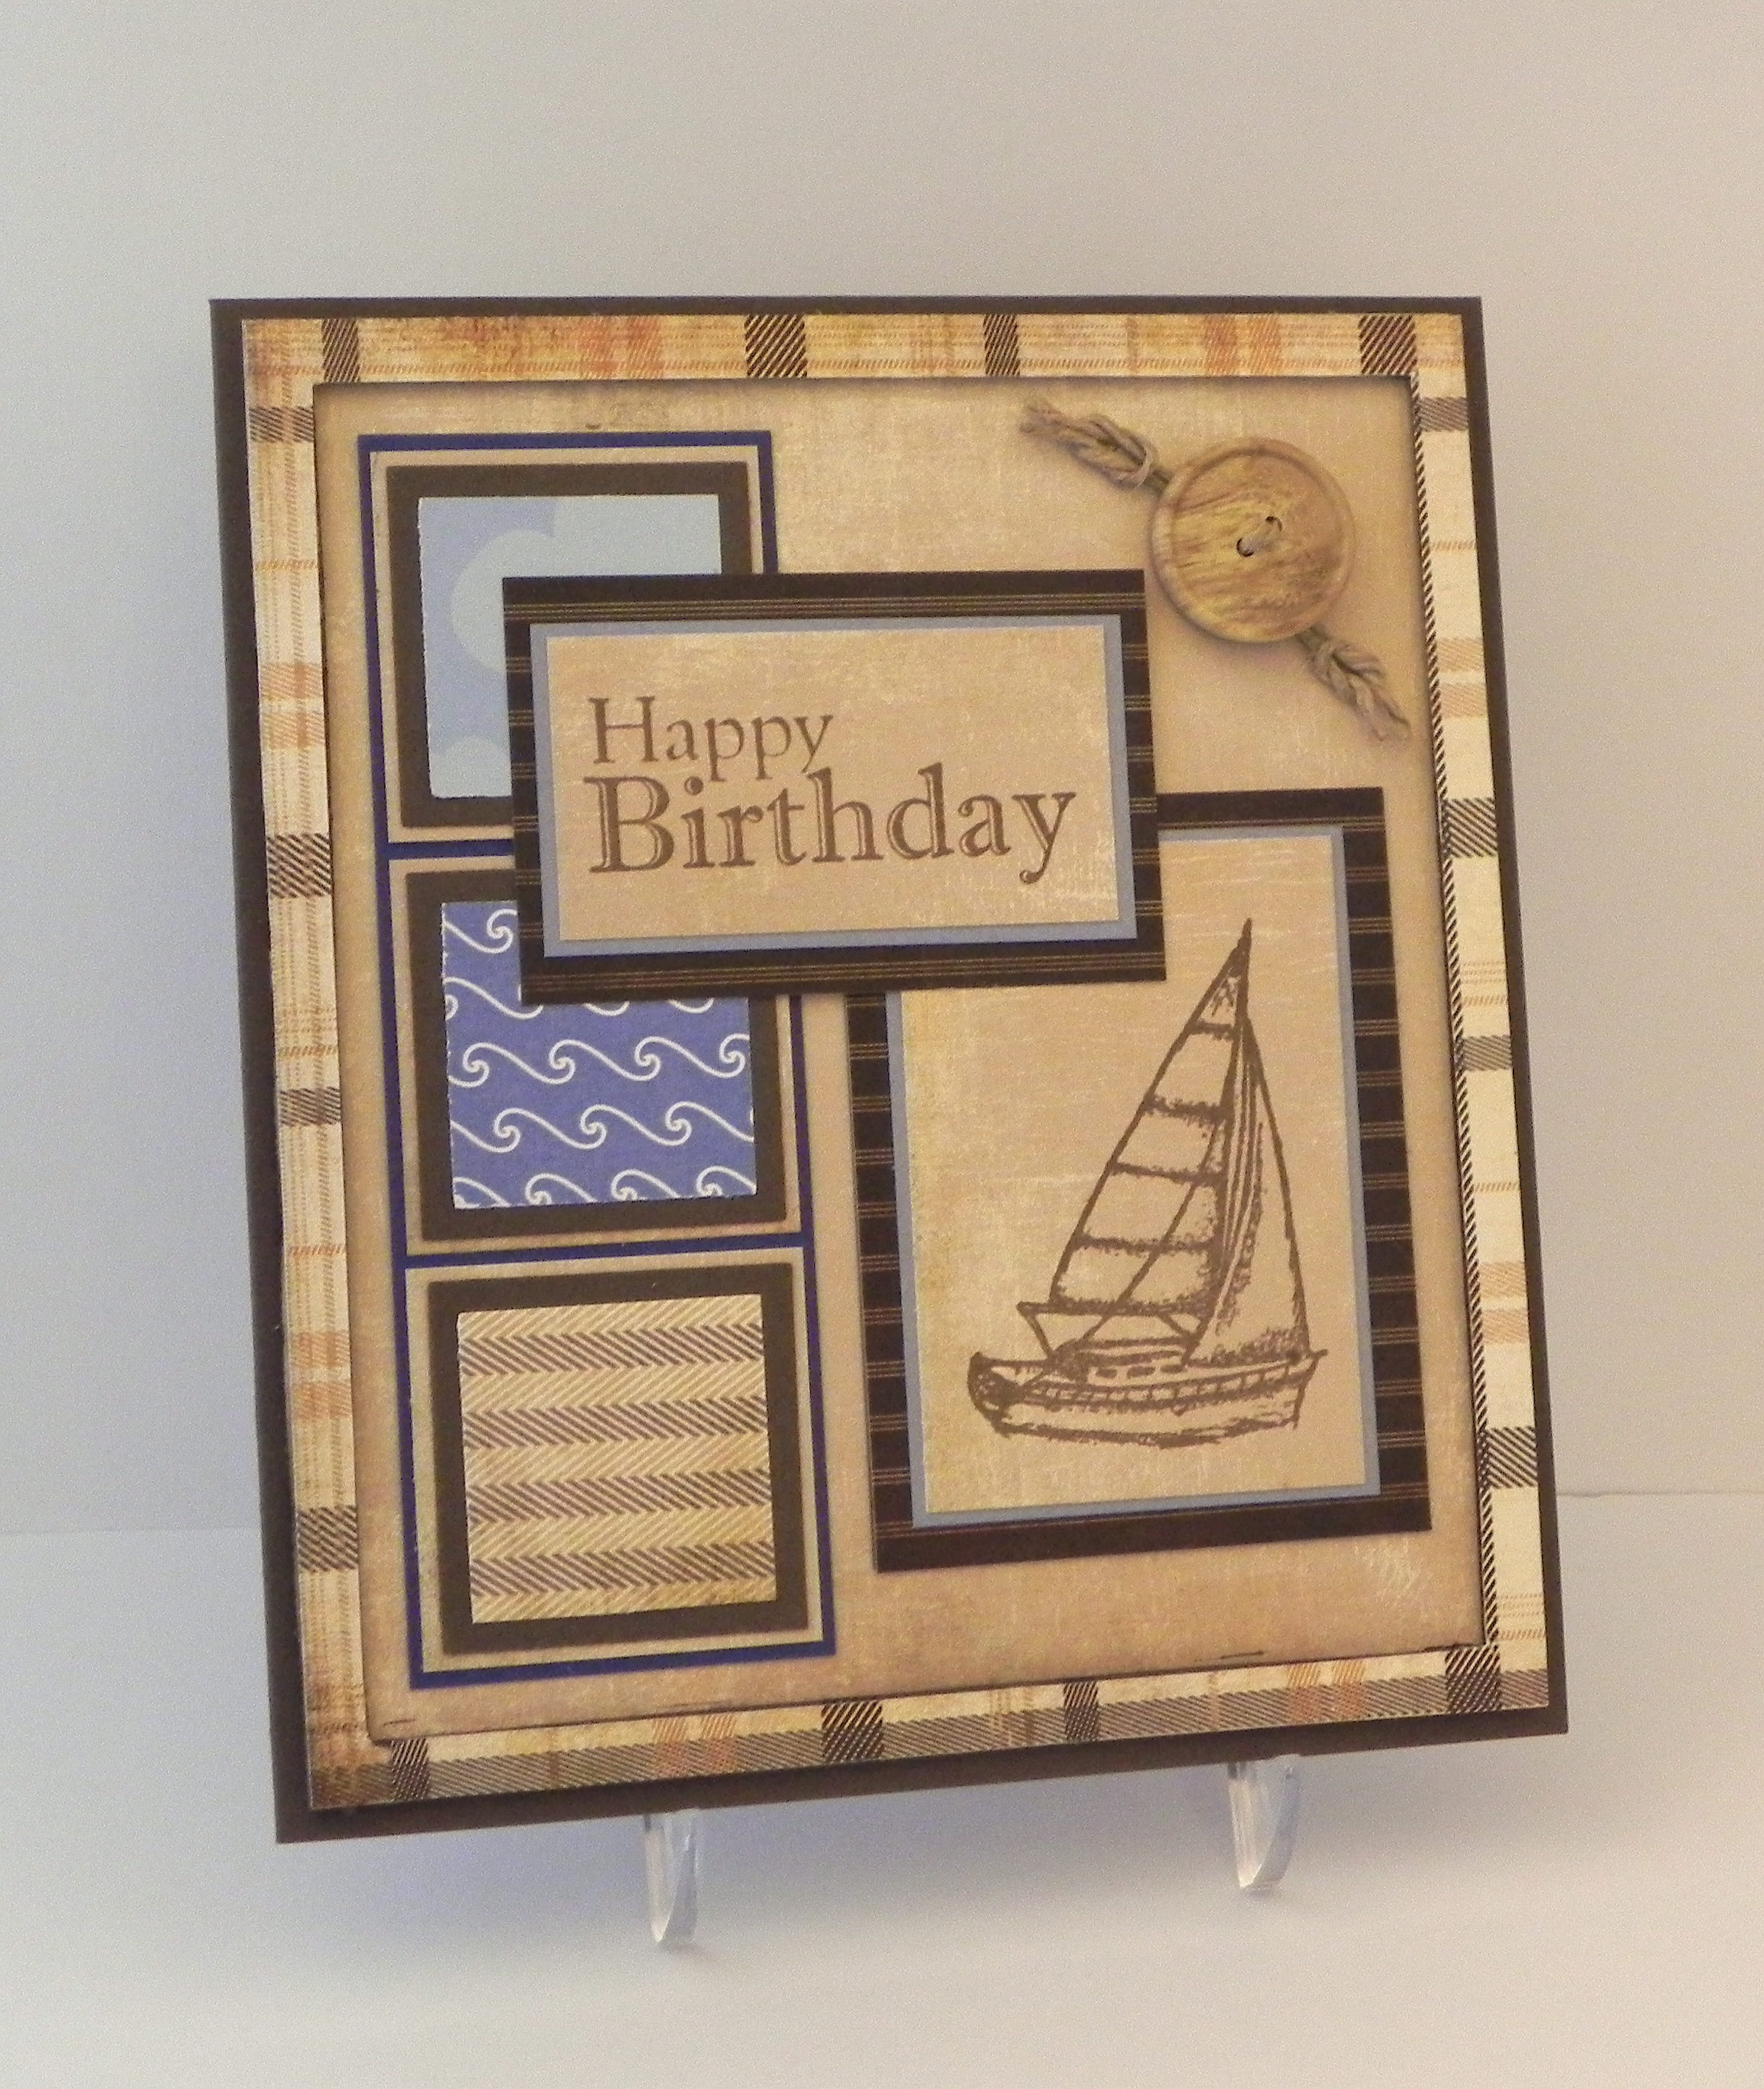
Here is my card project using this technique.

Shore Grateful Thank You Card bbDSCN6307


Click HERE to see the post for this card.


Thanks for checking out my tutorial!

This content uses referral links as described in the disclosure policy on my sidebar.

How to Make a “Tea Bag Fold” Christmas Tree

How to Make A “Tea Bag Fold” Christmas Tree

 tutorial tea bag fold


To make this Christmas tree, you need 3 squares of paper; a 3″ x 3″ square, a 2 1/2″ x 2 1/2″ square, and a 2″ x 2″ square.  Card stock will work, but it is much easier to fold paper.  Also, you will only see one side of the paper when you are done folding each piece so it does not have to be printed on both sides.  In my paper above, the back of the plaid paper is white.


Start with any one of the squares you cut.  You are going to make 4 folds.  You can either fold it by hand or use a scoring board.

First, fold the square in half.  (For this fold, it is easier later if you fold the paper in both directions – fold it once, then open it up and fold it back the other way.)

010 DSCN5732   020 DSCN5740   025 DSCN5740


Unfold it.  Turn it a quarter of the way around and fold it in half again.  (For this fold also, it is easier later if you fold the paper in both directions – fold it once, then open it up and fold it back the other way.)

030 DSCN5730   040 DSCN5742   045 DSCN5742


Unfold it.  Now fold it from corner to corner on a diagonal.

050 DSCN5733   060 DSCN5743


Unfold it.  Do the same with the other corners.

070 DSCN5736   080 DSCN5745


When you are done, you should have these folds.

090 DSCN5747


Pinch each of the corners so it looks like this.

100 DSCN5748


You want to push in the sides labeled 1 & 2 in while flattening sides 3 & 4 as shown standing up in the overhead view.  (It is easy to push in sides 1 & 2 if you folded the first fold both ways as instructed above.)

numbered sides to pinch and fla   110 DSCN5750 with numbers


This is what it should now look like, lying flat on the table.  (I’m including a photo of the printed paper I used on my sample from this point on to make it easier to see the folds.)  From this point, it is much easier to work with it lying on the table.

 120 DSCN5751 with numbers  125 DSCN5760


Take the top panel (on either side) and fold it to the center.  Look at the third photo before you fold it to see how this fold looks when it is done.  (You are lining up the outside, diagonal edge with the middle line.)

130 DSCN5763   140 DSCN5770   150 DSCN5765


Do the same with the other side.

160 DSCN5773


This piece is complete.  Do the same with the other two squares you originally cut out.  Then arrange them into a tree by tucking the points of each into the slightly smaller piece and attach with a bit of adhesive.  Make a trunk from a scrap if desired.

tutorial tea bag fold


Here is the gift tag I made using this technique.

final Tea Bag Christmas Tree Tag DSCN5886.jpg

(Click HERE to see the original project post with this tree.)


Thanks for checking out my tutorial!

How to Make a Frame with a Paper Trimmer

How to Make a Frame with a Paper Trimmer

I made this tutorial to answer this specific question asked by a member on StampTV:   “I want to frame designs without using a whole sheet of the framing paper under the stamped object. Basically, just a frame with no inner paper. How is this done?  Unfortunately, most dies do not always fit the stamped design. I would like to find a way to use a paper cutter to achieve the results.”


I recently used my paper trimmer to make the plaid frame on this card:

Nautical Birthday

 (Click HERE to see original card post.)


Here’s how I did it:

I’m using a Fiskar’s trimmer, although any trimmer with a sliding blade will work basically the same way. (Click on a photo if you need a closer view.)

010


Notice the lines on the blade handle.  These lines indicate where the blade is “hiding” underneath.  Since you cannot see the blade when it is down, you use these lines to position the blade where you want to make a cut.  (If your trimmer does not have lines, you can use a Sharpie to make a mark on the edge of your blade handle that lines up with your blade.)

015  020


Notice the place on the trimmer where the blade actually makes the cut.


030


Let’s say you want to make a half inch frame.  You want to find the mark on the trimmer that is 1/2 inch from the place where the blade is cutting.  On my trimmer, you could go a half inch to the right or left.  I am going to use the half inch mark on the right of the cut line.

050


Line up the edge of your paper from which you plan to cut the frame at the 1/2 inch mark indicated in the previous step.

060


You want to line up the marks on the side of the blade handle with the 1/2 inch mark (from the top of the paper) on the ruler where the blade slides back and forth.  DO NOT drag the blade into position; it will cut your paper.  Lift the blade off the paper to position it.  Then put it on the paper.  The blade positioned here on the ruler is going to start cutting 1/2 inch from the top.

080

(Just a quick note – The lines on the side of the blade handle usually start all the way at the top or zero mark on the ruler and the blade will cut from the edge of the paper when in this position.  This in NOT where you want it for the frame!)

011


Before you drag the blade down the paper to make your first cut, note where you will be stopping which will be 1/2 inch from the bottom of the paper.

090


Now drag your blade down to the point you noted (1/2 inch from the bottom.)

100


Here’s your first cut.  Notice that it is an interior cut that does not go off the top or the bottom.  It starts 1/2 inch from the top and stops 1/2 inch from the bottom.

110   120


Now turn your paper a quarter of the way around to make your second cut.  Again, make sure it lines up with the 1/2 inch line on your trimmer like before.

130


Again, line up your blade 1/2 inch down from the top of the paper using the ruler where the blade slides up and down.  (DO NOT drag it on the paper to get it in position.)

140


Before cutting, note where you will stop, 1/2 inch from the bottom of your paper.

150


You will do this for all 4 sides.  When you are done, you will have a frame and a rectangle from the center.  You can use this rectangle to make another smaller frame or for whatever you want!

160


Once you have your frame cut out, you have 2 options.  You can either put the panel you want framed (my example is the black paper) behind the frame you just cut out, and the frame will be on top.  Or you can place your image on top to use it as a mat.  Because you took the time to cut out the center, you have saved some of the paper for another use.  If you do it this way, your frame doesn’t have to be measured as precisely.

170  180

190  200


There are many ways to make a frame for highlighting an image – by using nesting dies, a craft knife and ruler, an electronic die cutting machine, strips of paper, etc.  Here is one way using a tool you probably have in your supplies.


Thanks for checking out my post!

This content uses referral links as described in the disclosure policy on my sidebar.

How to Make A Folded Christmas Tree (from a semicircle)

How to Make A Folded Christmas Tree (from a semicircle)

 folded christmas tree

For this tree, I used an 8 inch doily.  (Click HERE to see original card post where this tree was used.)  You can make a tree with any size (plain or decorative) circle.  If you use double-sided, printed paper, you will get alternating patterns on your tree.

a

(I’m going to include pictures of both the doily and the printed paper in my instructions.)


To make the tree:

First, cut your circle in half.  Position your semicircle as shown.  (Click on a photo for a closer view.)

011  b


Start at the upper right hand corner.  You are going to take this corner point and fold it over to the left along the top, straight edge so the point ends up approximately 3/4 of the way over.  (Mine is an 8 inch circle, so the point will end up about 6 inches over or 2 inches from end.  Adjust if your circle is a different size.)  It does not have to be exact.  Just make sure when you fold it that the top edges line up perfectly.

010  030

04  c


Next, take the corner point you just folded over, and fold it in half (on a diagonal) to the right vertical edge to form a triangle.  Make sure the edge that had been on the top lines up with the vertical edge on the right, and you have a clean point on top.

050   091

This side should be lined up after you make the fold:

080  d


Now, turn the whole thing over, and position it as shown.

100   e


Take the point you haven’t used yet.  You are going to fold it across and down to the left, forming another triangle.    Make sure the left edges line up.

120   150   f


When you flip it over, this is what you should have.

160   170   g

Fold the edges with a bone folder to make them stay flat.  Use some adhesive to keep it flat and together if necessary/desired.


Thanks for checking out my tutorial!

Magic Card Tutorial

Magic Card Tutorial

the magic of christmas final

I recently saw a card posted by David Maynard on StampTv that he called a magic card. I tried (and tried!) to figure out the trick and finally ended up asking him! He was nice enough to share the name of a You Tube video called “Magic Card With Dawn” which shows how it was made. (Thank you David and Dawn!)

The stamp I chose to use for my card was much larger than theirs, so I needed to modify the instructions a bit. I’ve included them below. (This is my first attempt at making a step-by-step tutorial for a card project (from start to finish). Hopefully, it is clear!)  There are 4 basic parts: the unit that contains the sliding stamped image, the folder it slides in and out of, the framed panel on the front of the card, and the card base itself.

(For those of you who just want to know how it worked, the magic happens in step 24!) Continue reading