How to Make Silhouette Die Cuts for Your Stamped Images – Part II (Borderless)
In my last tutorial called How to Make Silhouette Die Cuts for Your Stamped Images, I explained how I make die cuts with small borders around my stamped images using my Silhouette electronic die cutting machine and the “trace” and “offset” features in the Silhouette software. (I use the Designer Edition.) Sometimes, it is necessary/desirable to create a die cut where the lines of the stamped image go right to the edge of the die cut, with no border. This is a follow-up tutorial explaining how I create this type of die cut.
The explanation below is a bit lengthy. Before going into the step-by-step, I’ll give you the quick summary:
- trace the image
- create a solid offset
- create an internal offset which goes back to the original size of the image
- clean up the file, if needed, to match the image more closely
If you want a more detailed explanation, keep reading!
Click on the photos that I included in the steps below if you wish to enlarge them.
(The first 4 steps are the same as in the last tutorial, so refer back to that if you need more details on these steps.)
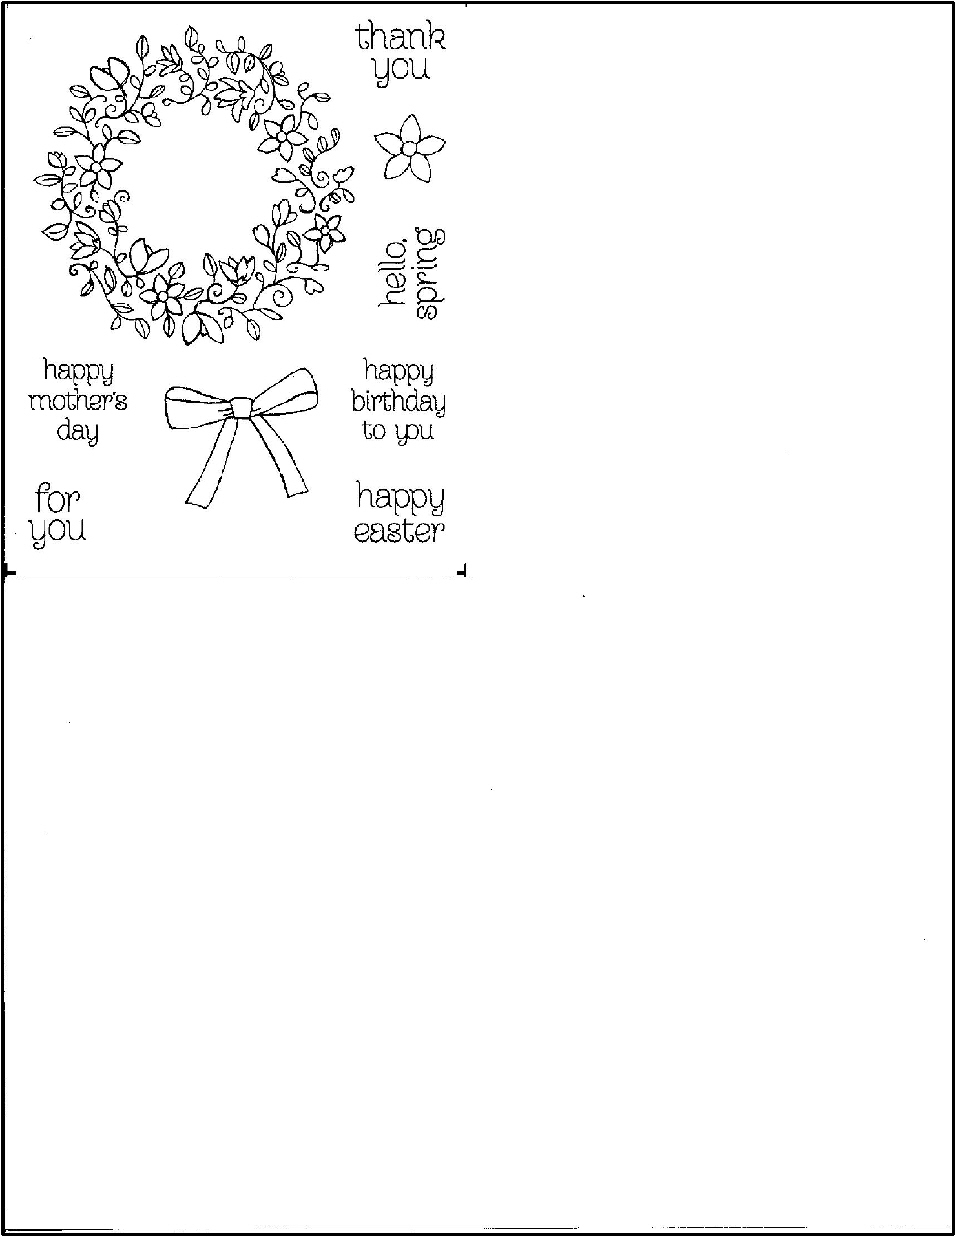
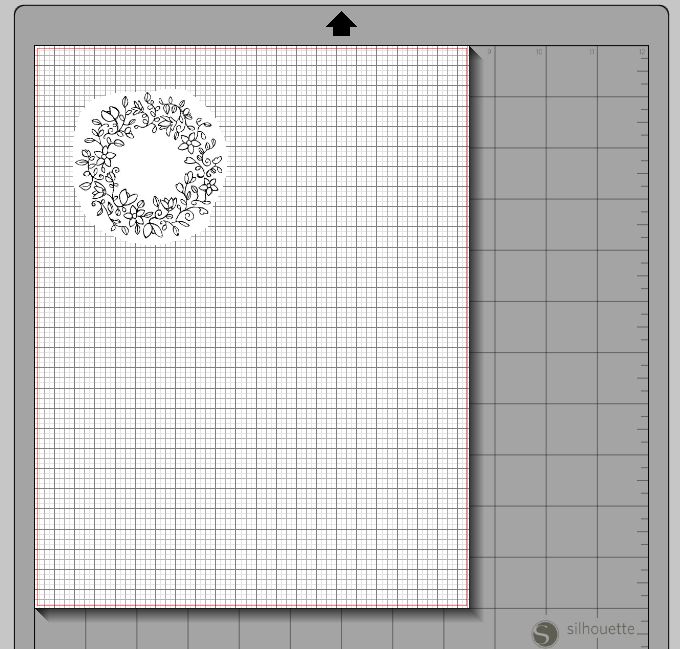
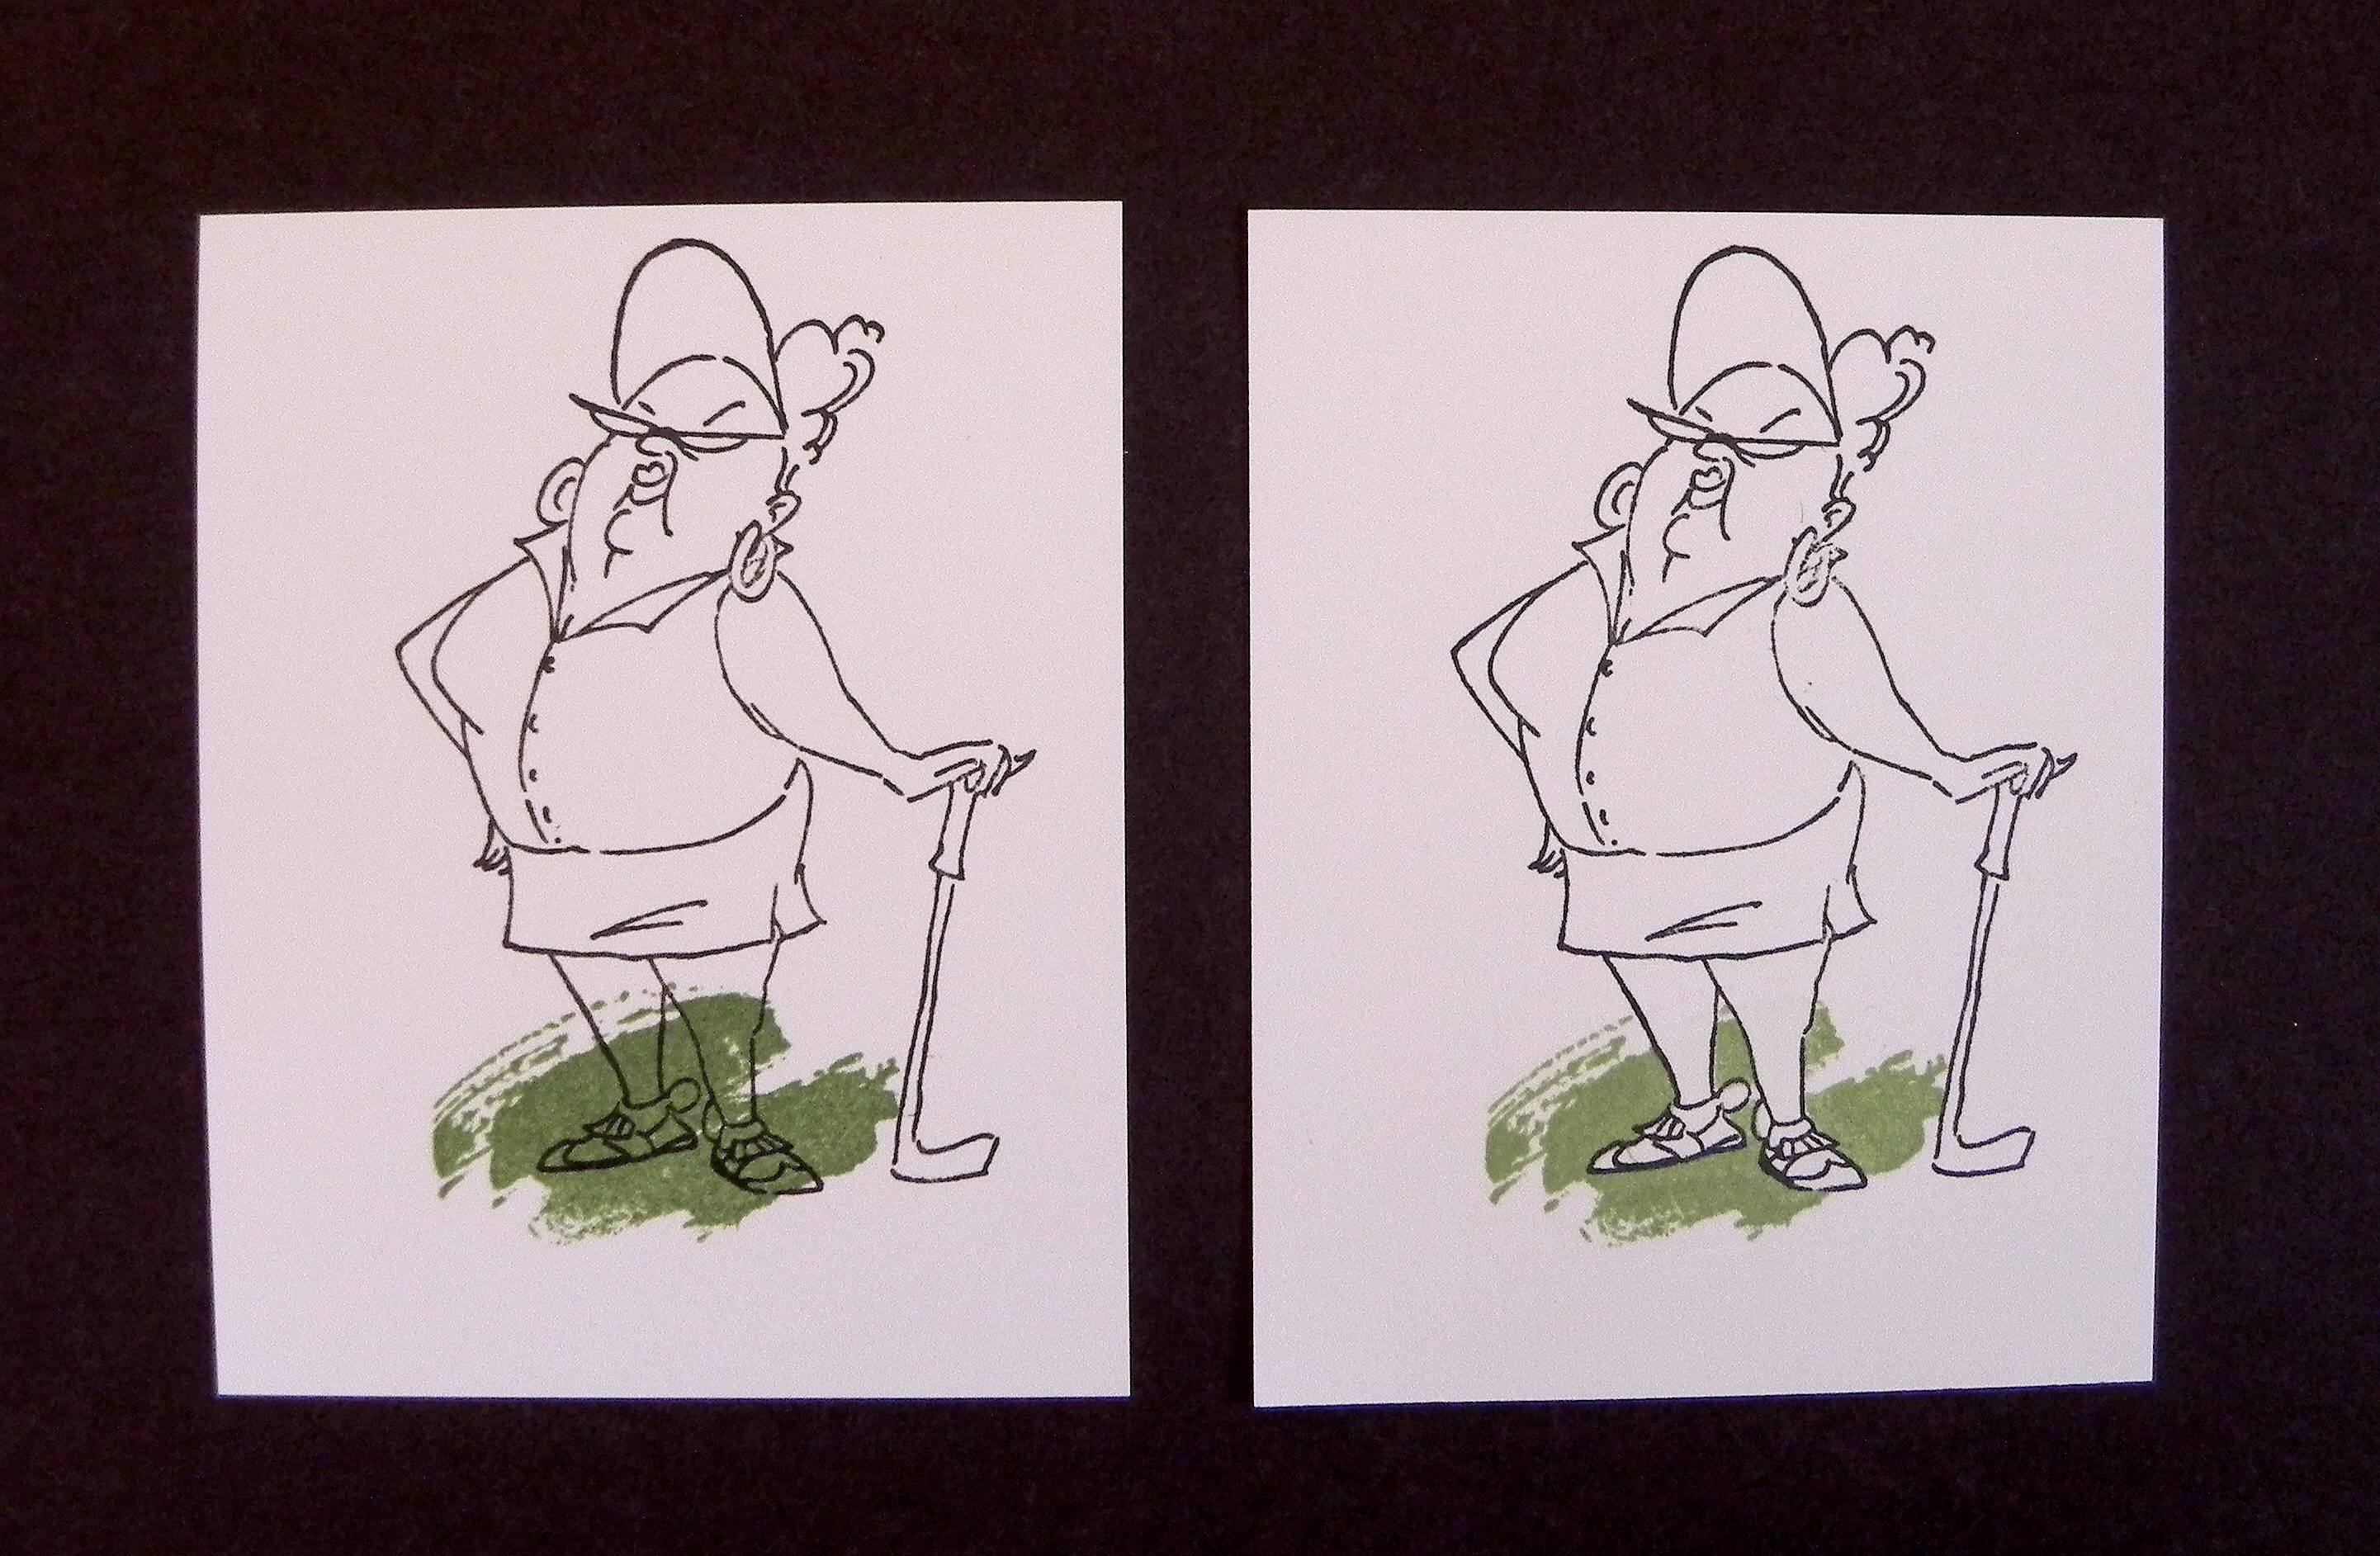
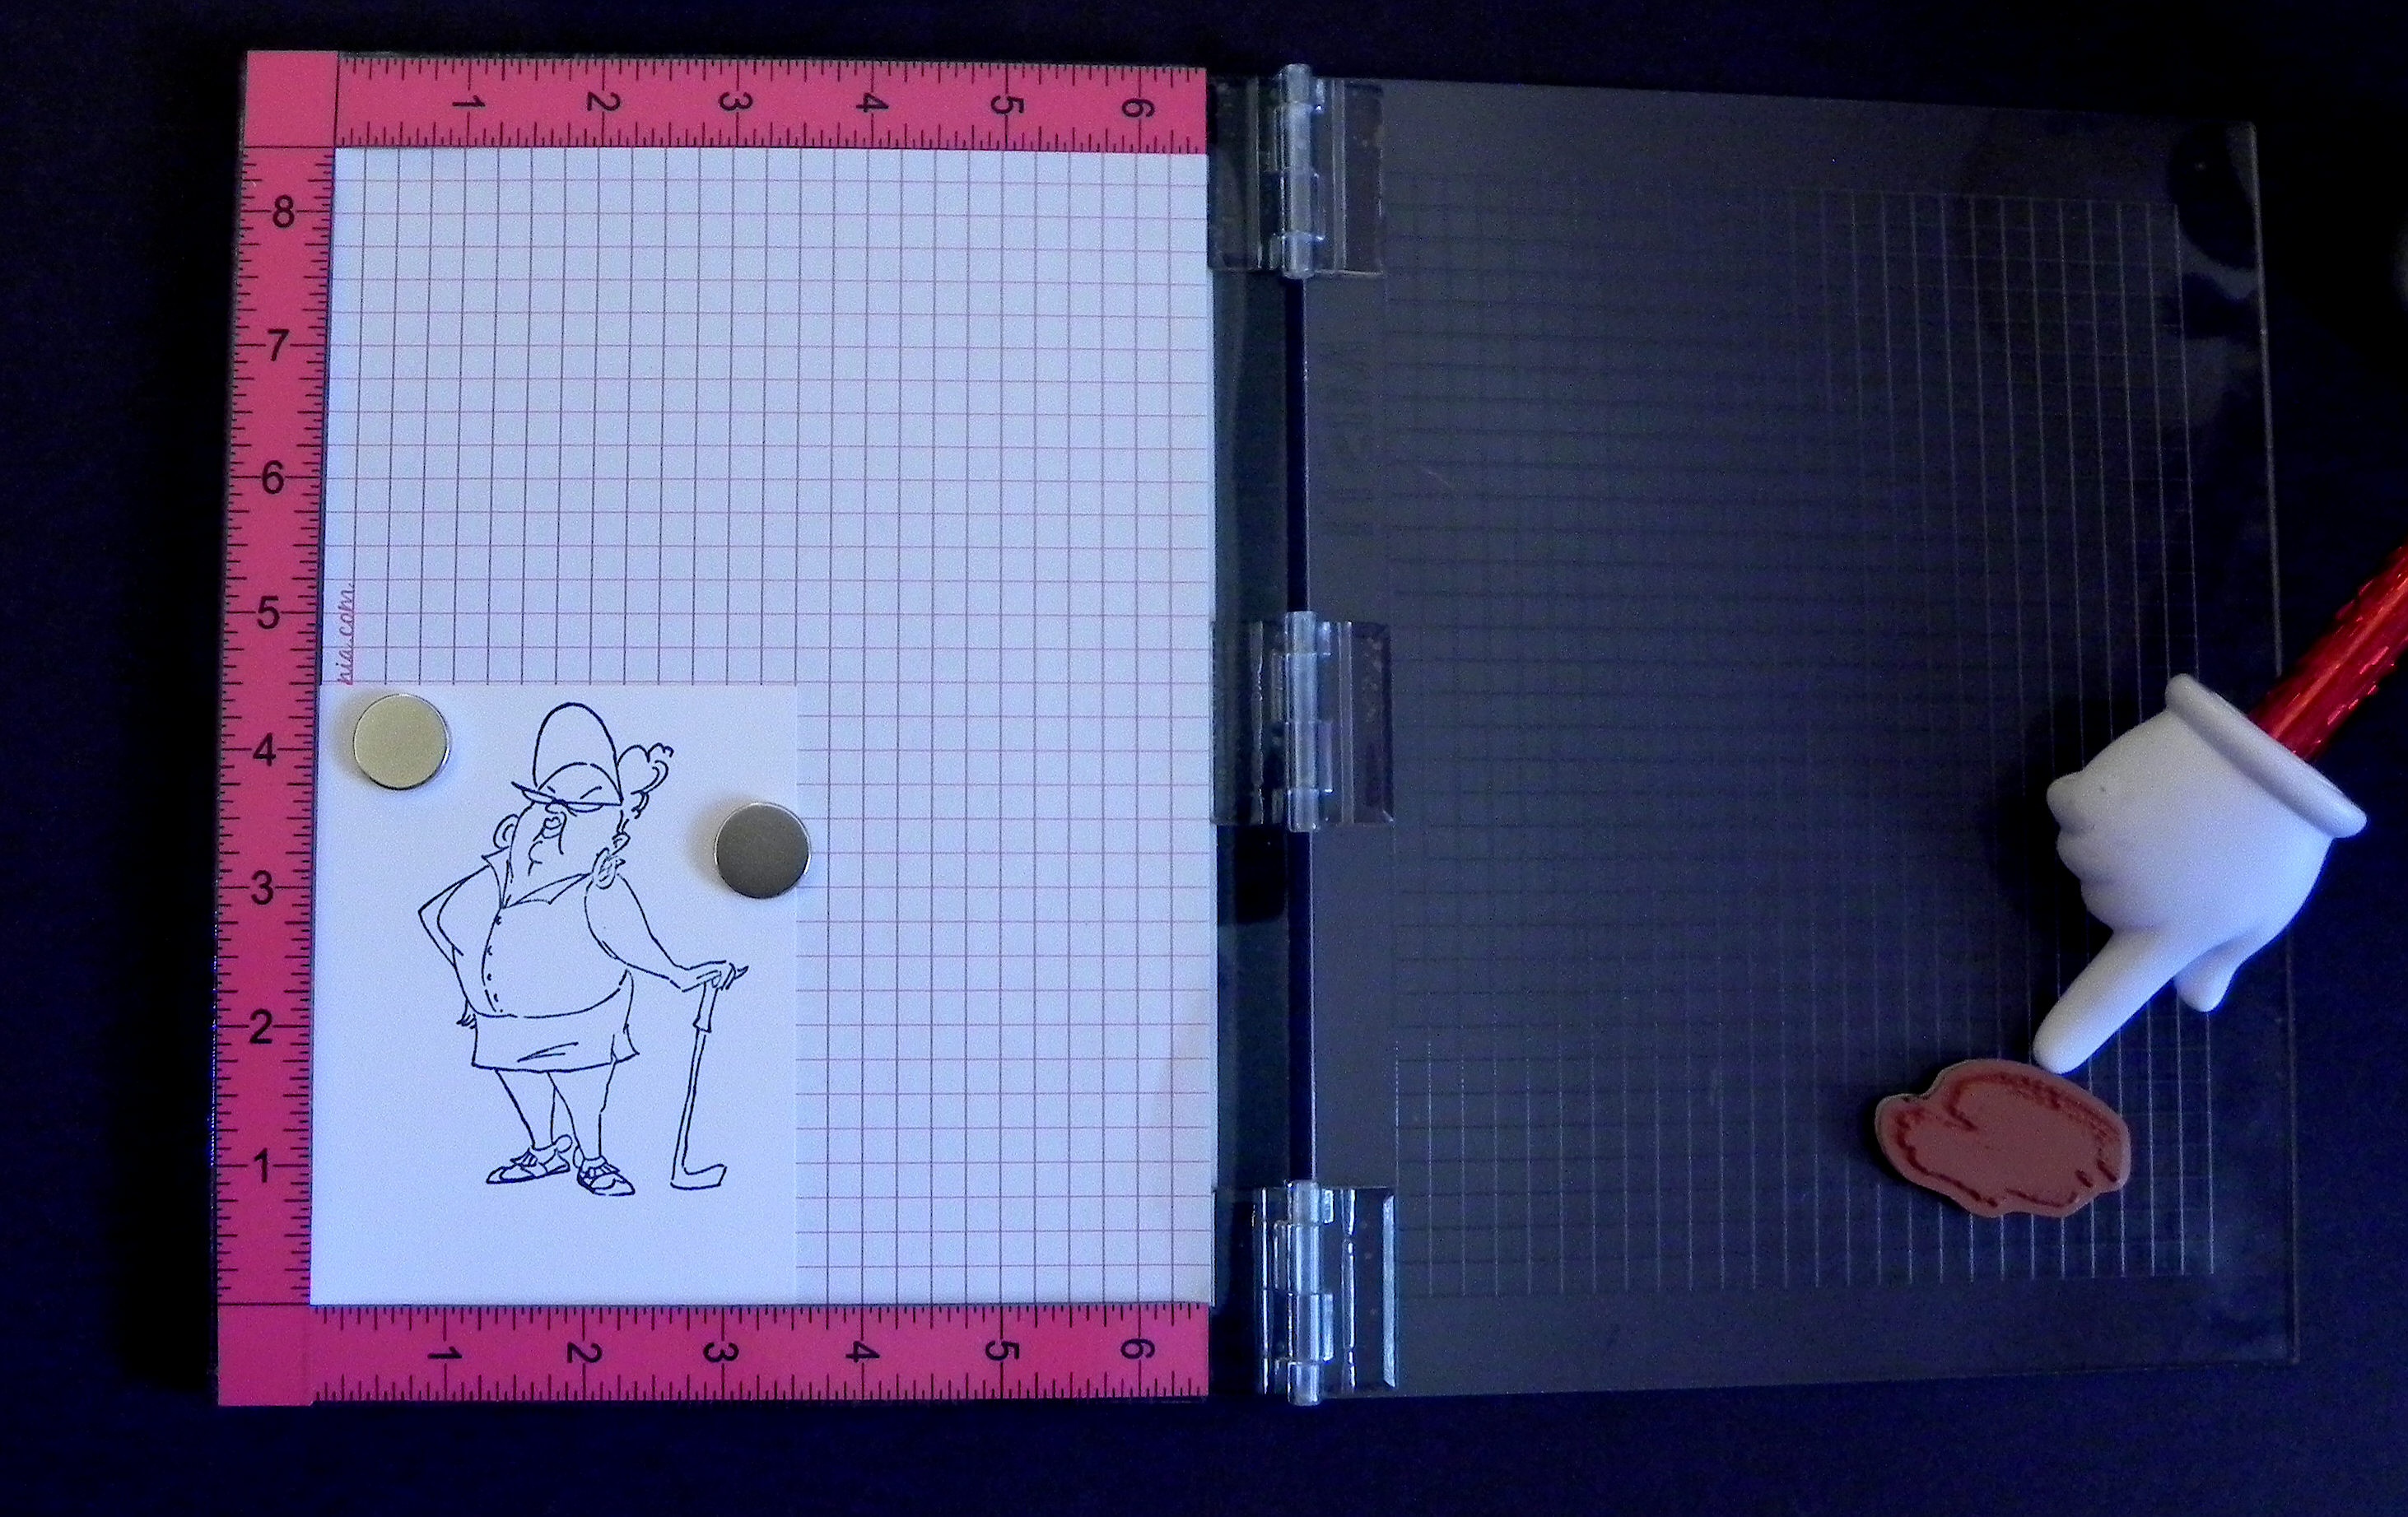
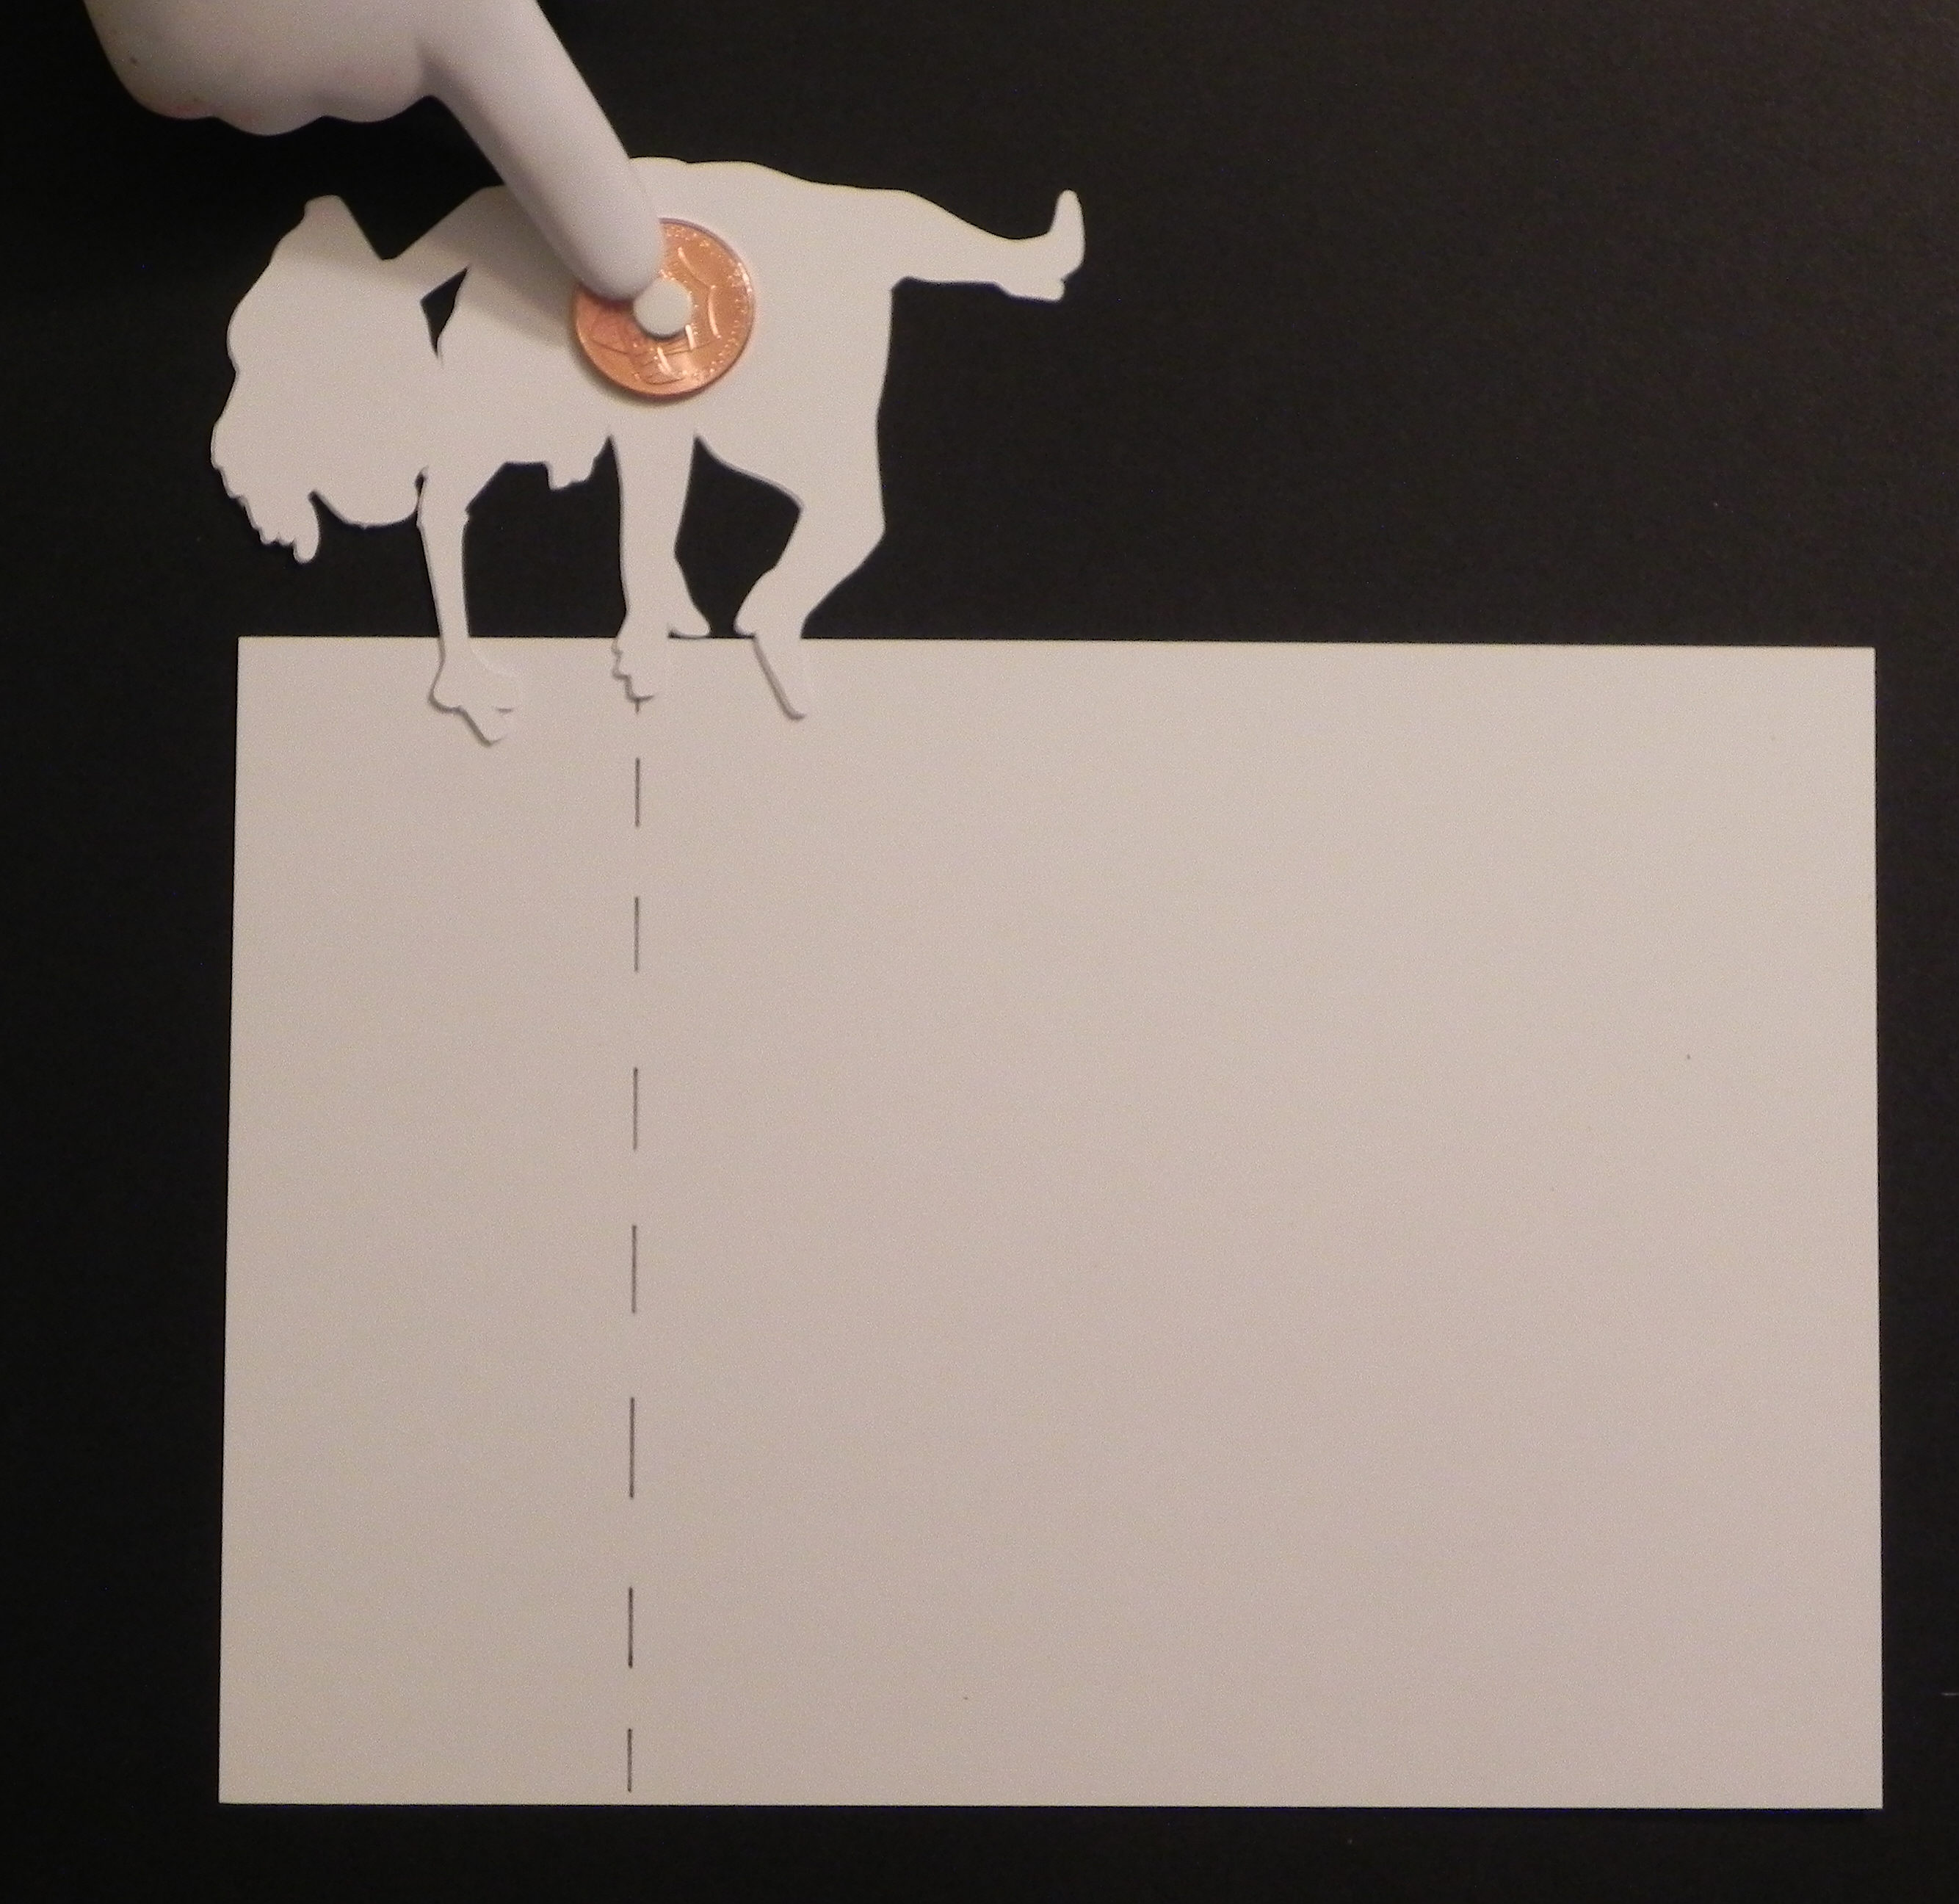
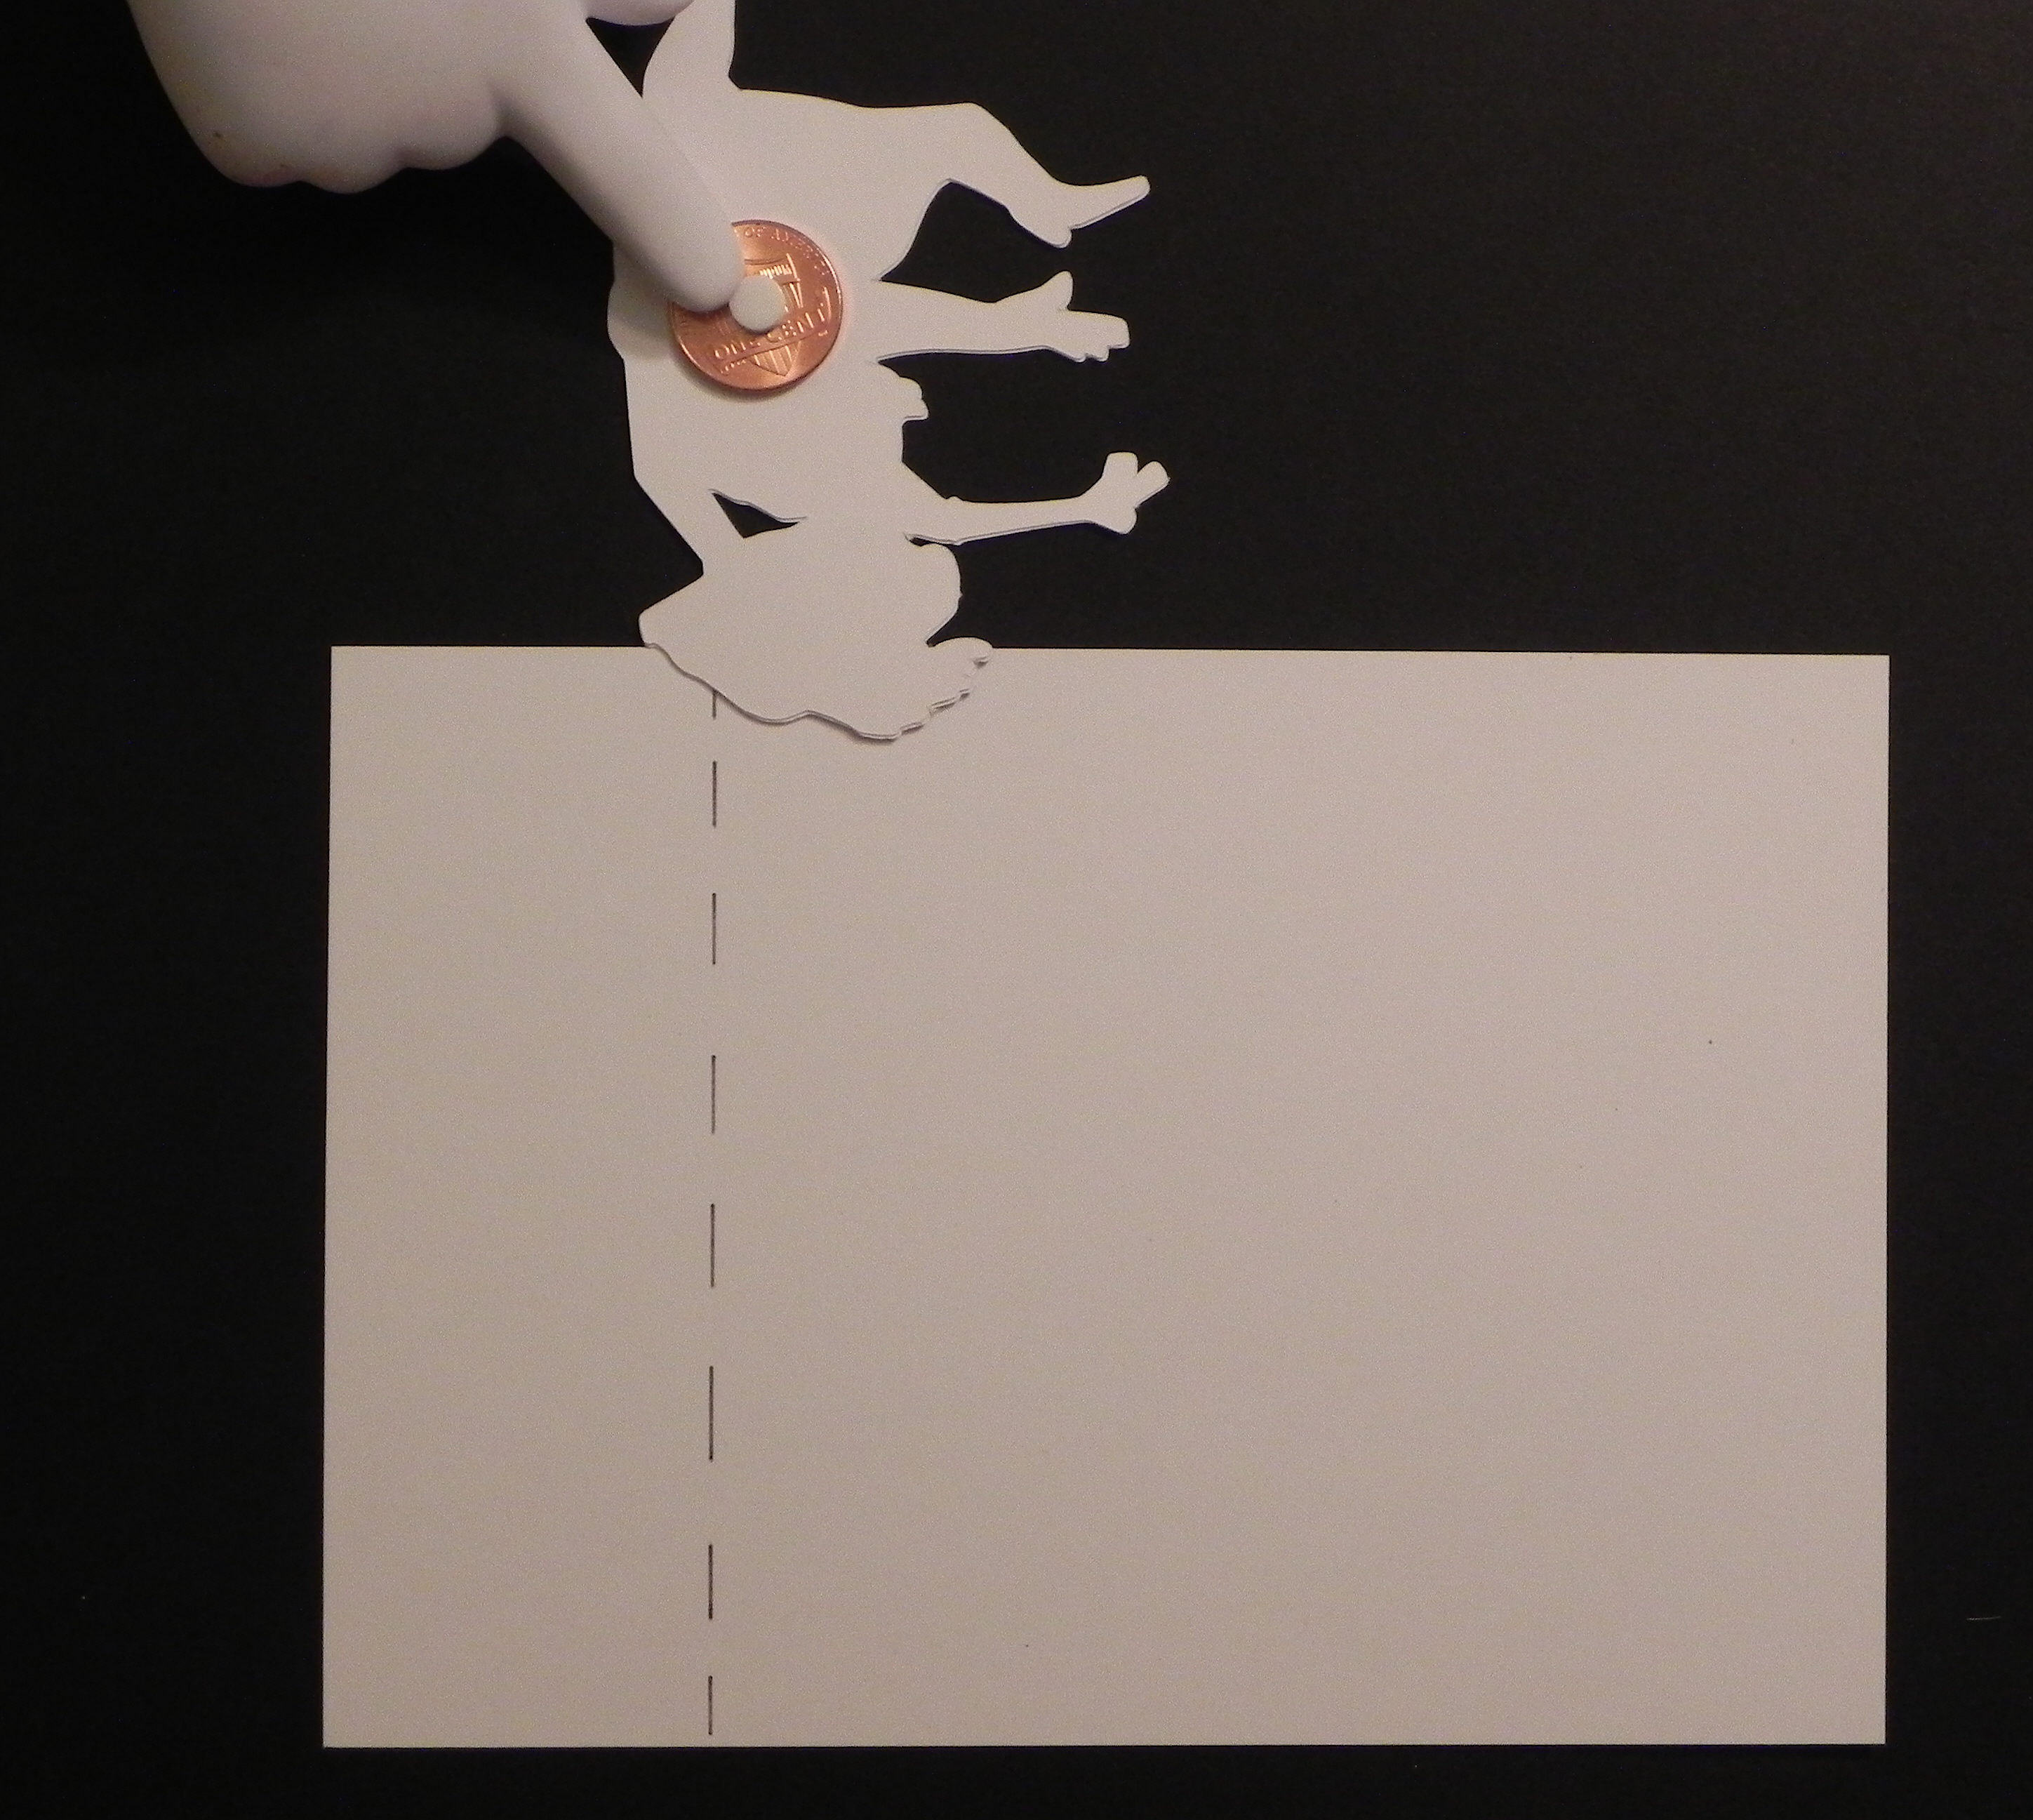
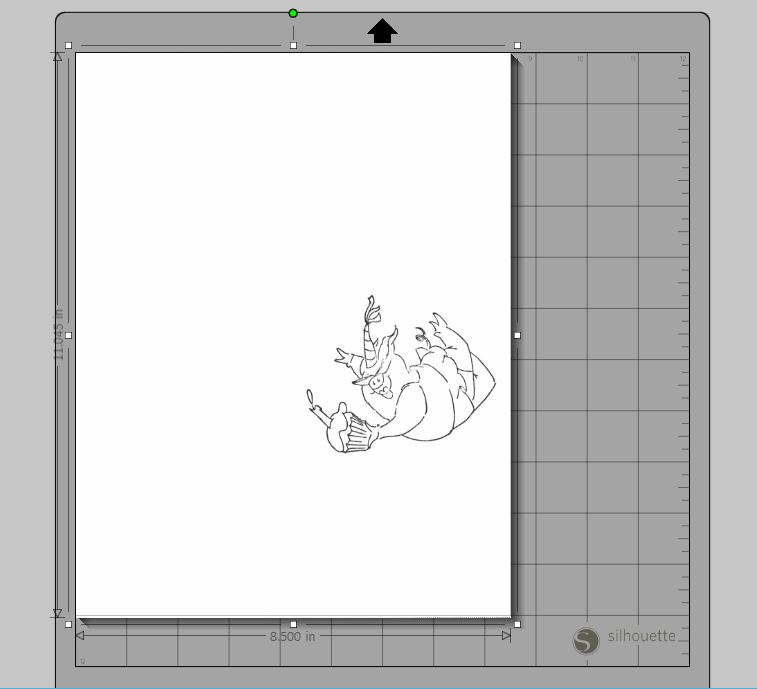
- Stamp your image.
 (stamped on 8 1/2 x 11 inch paper)
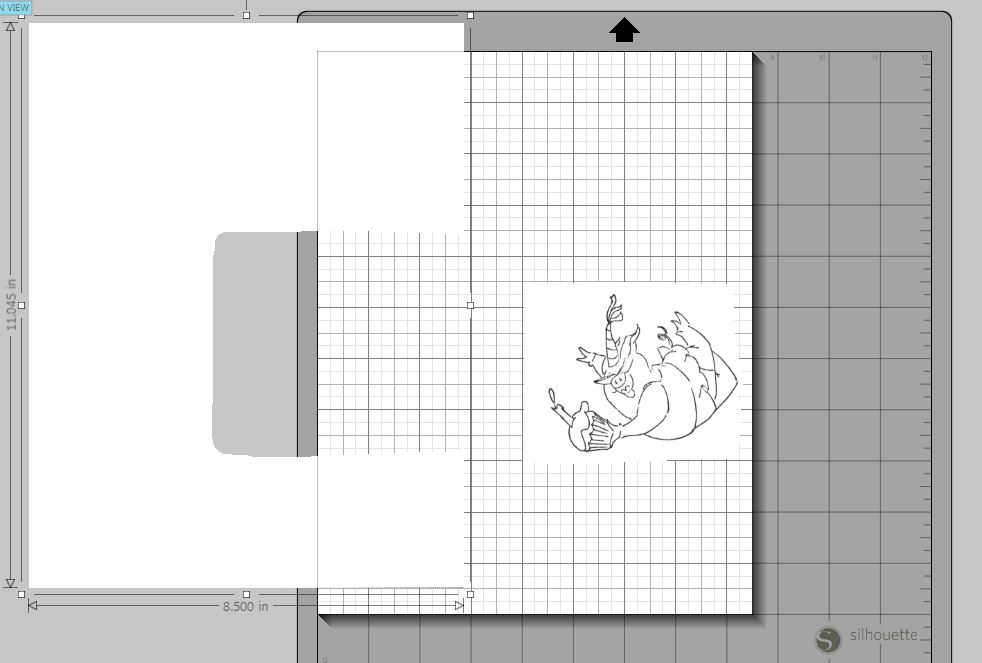
2. Scan your image.
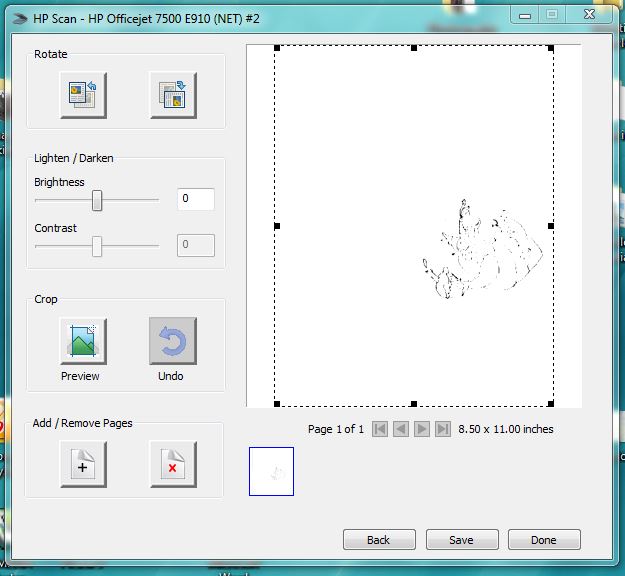
(sorry for the bad photo; scanned as 8 1/2 x 11 inch document)
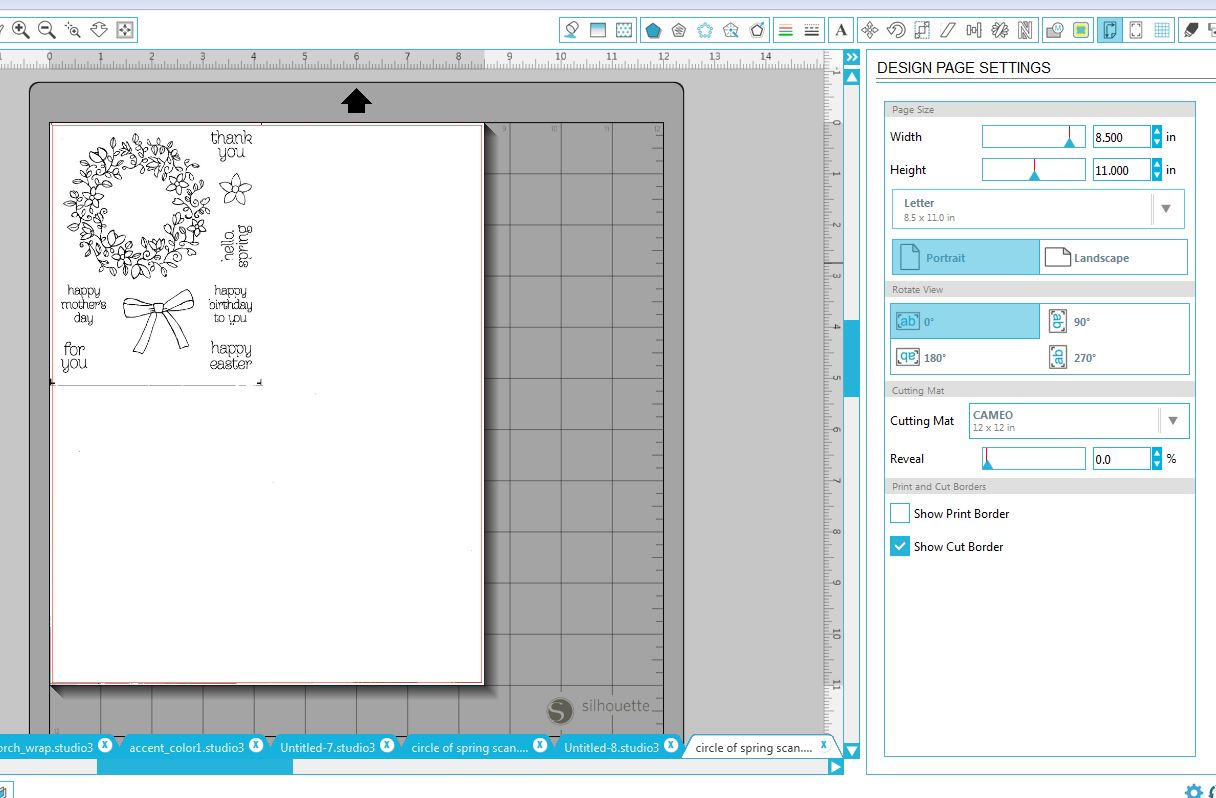
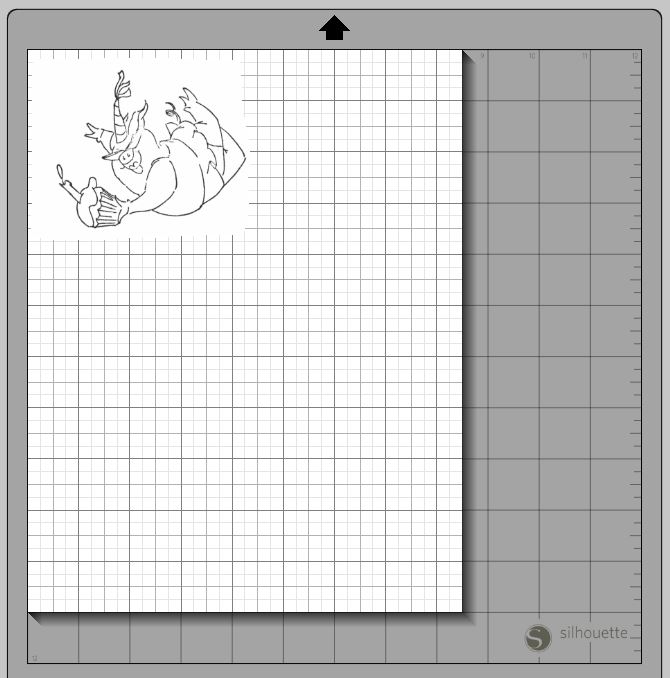
3. Open jpeg file.
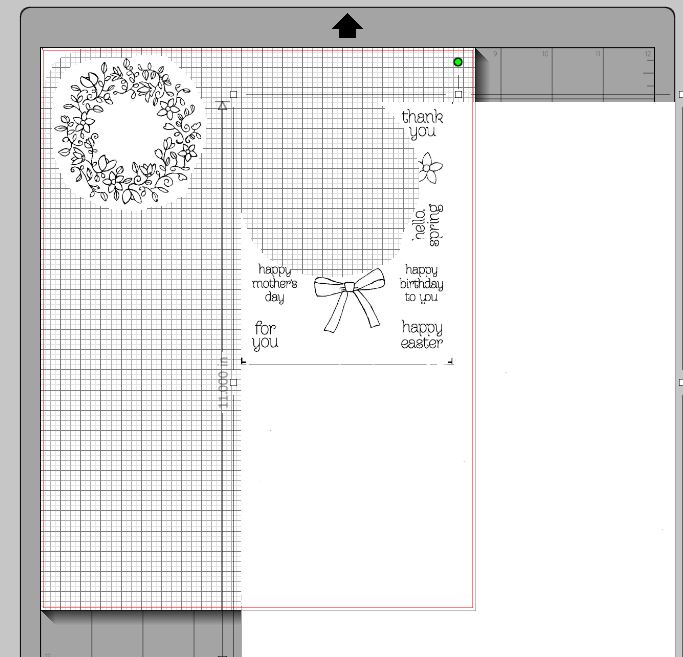
4. Optional – erase to separate.
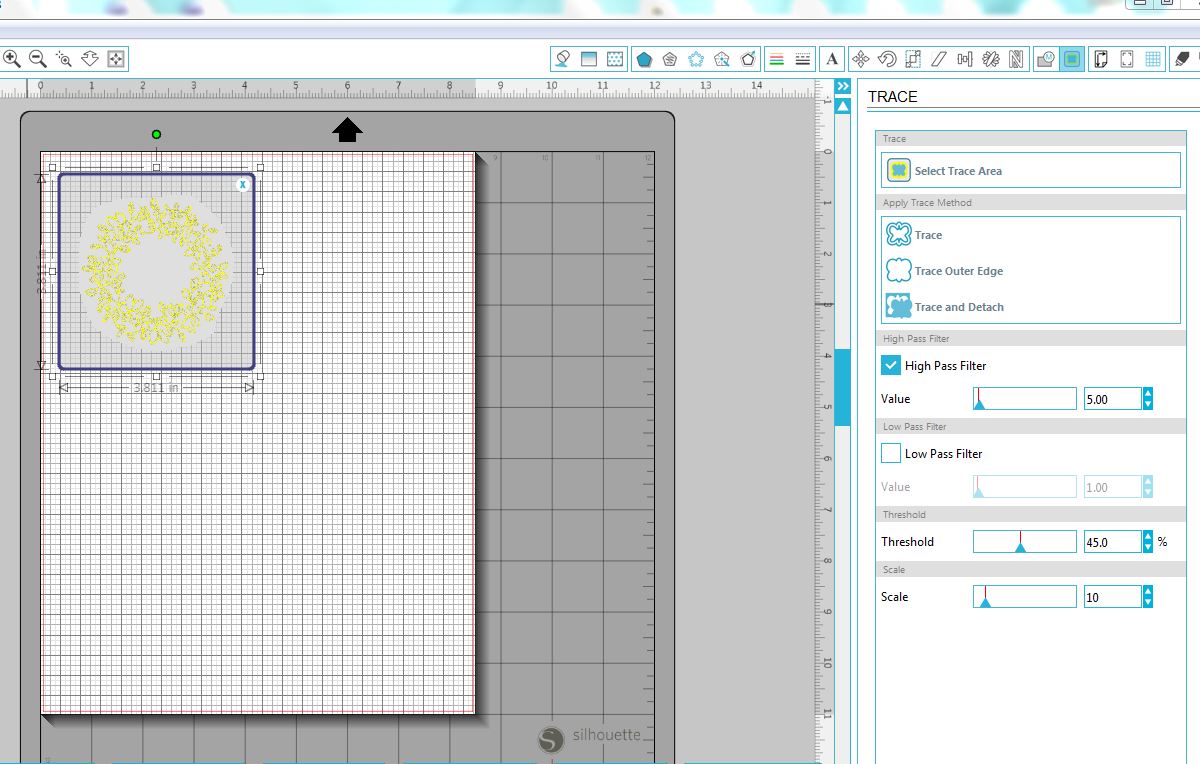
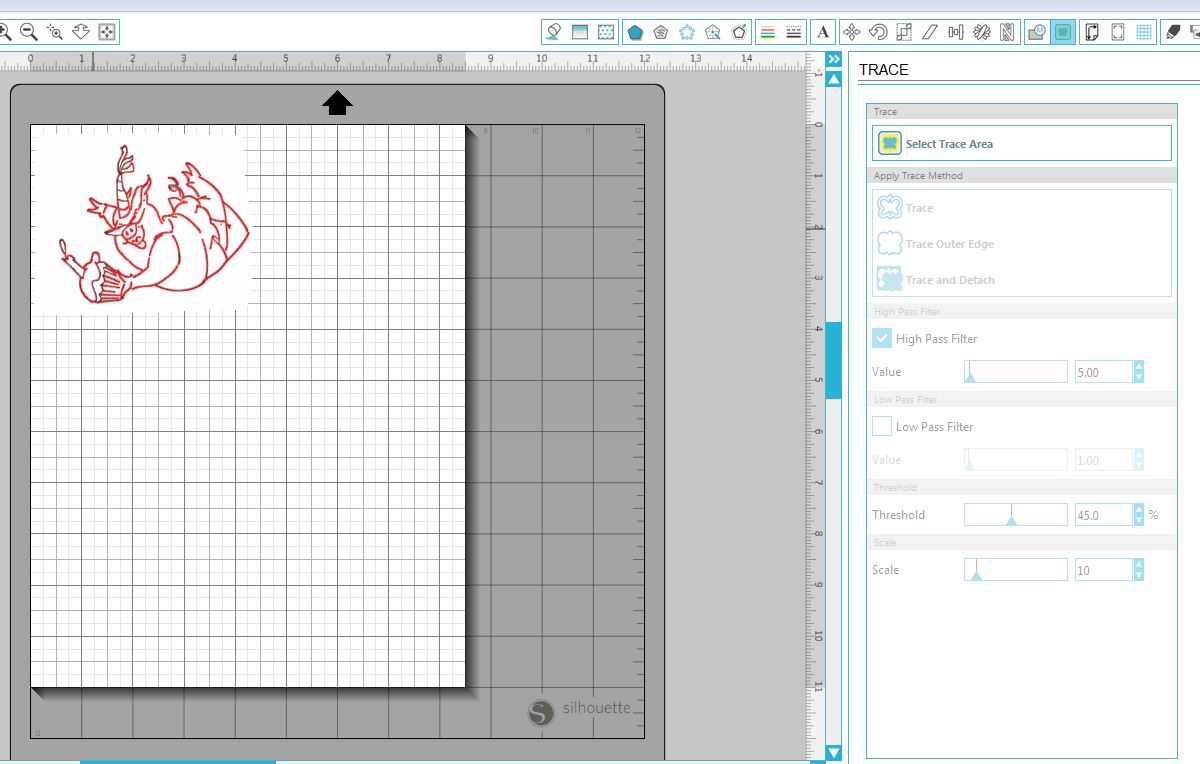
5. Trace.
a. Open “Trace” window, select “Select Trace Area,” and drag a box around the image you wish to trace.
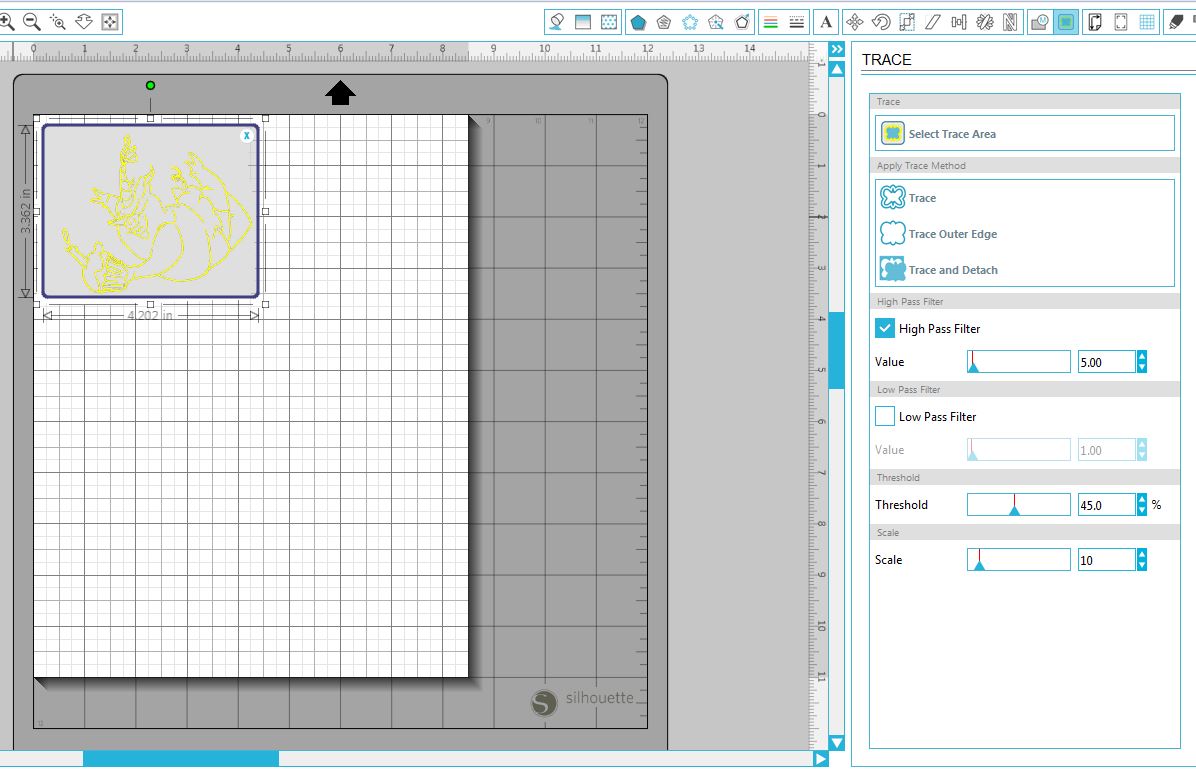
b. Select “Trace Outer Edge.” (If you need inner details cut, select “Trace.”)
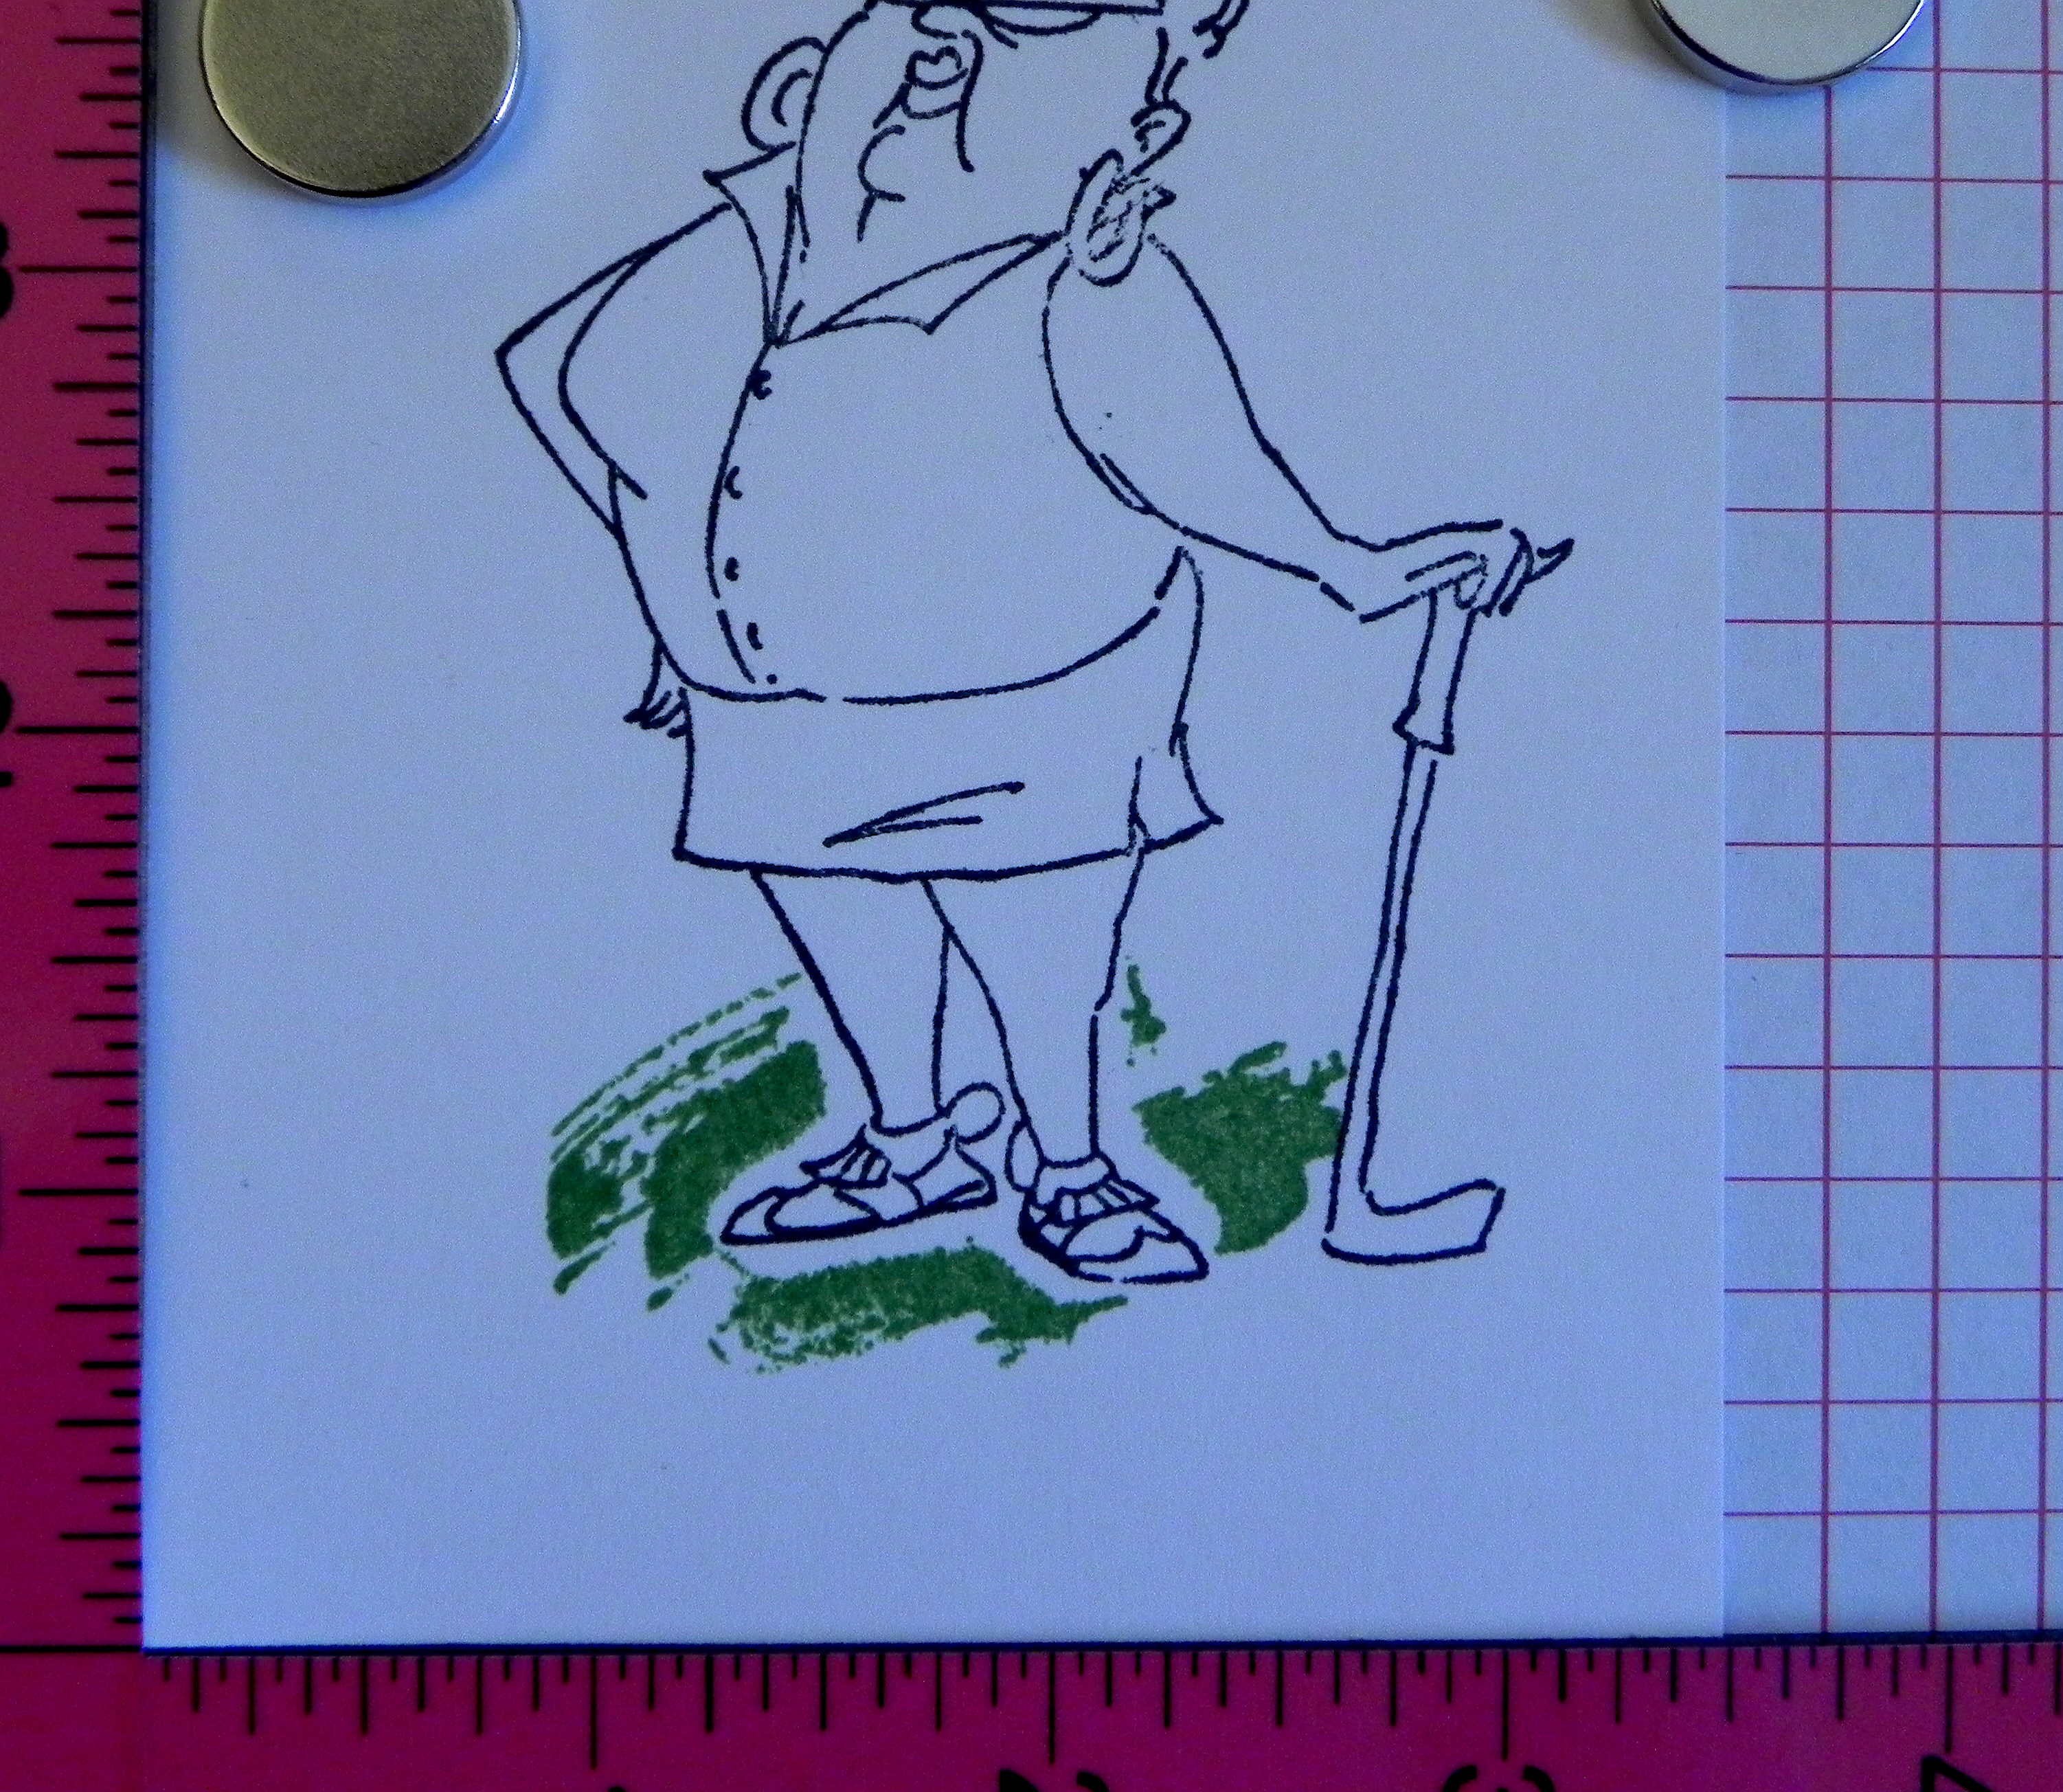
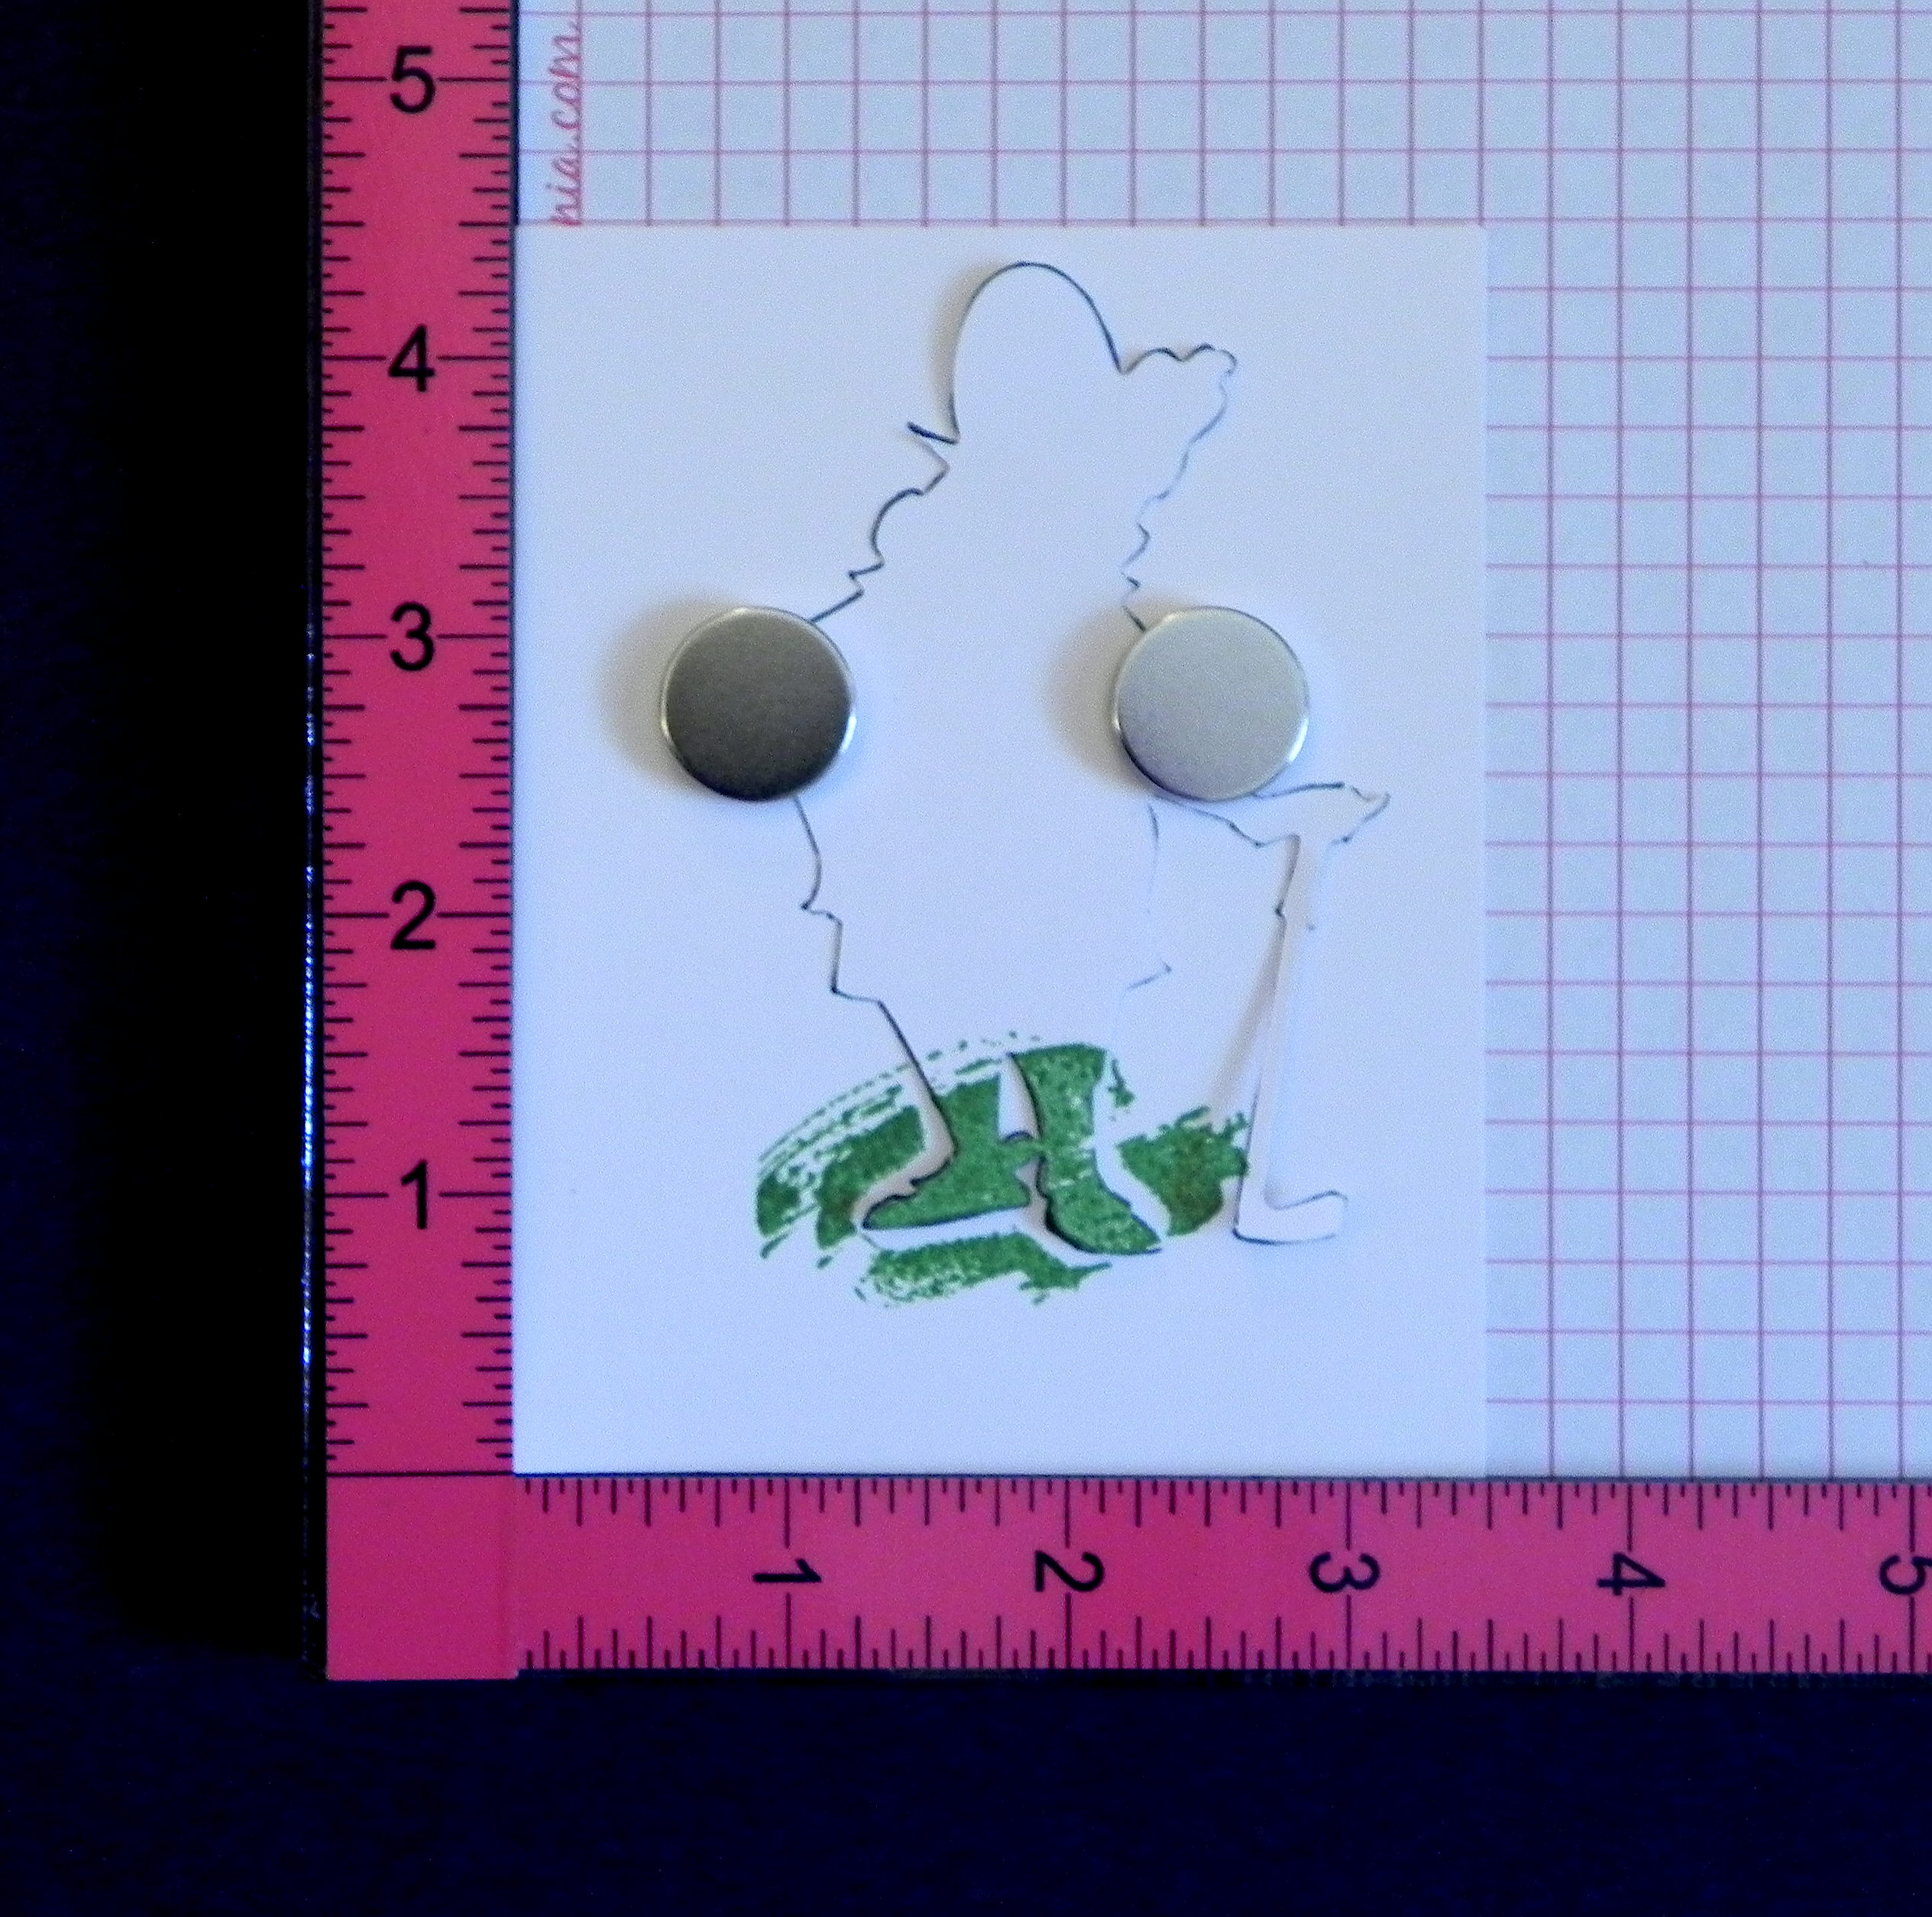
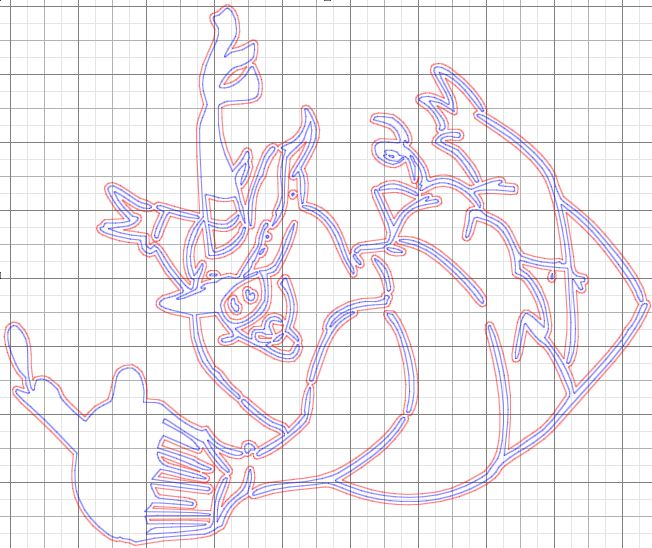
6. At this point, it is helpful to enlarge your view to make it easier to see what you are doing. (DO NOT re-size your scanned image or the trace. You need these measurements to stay true to size.) Just change your view on your computer to make it larger. Go to the “View” tab, then “Zoom” and then select your preference, or use the magnifier tool.
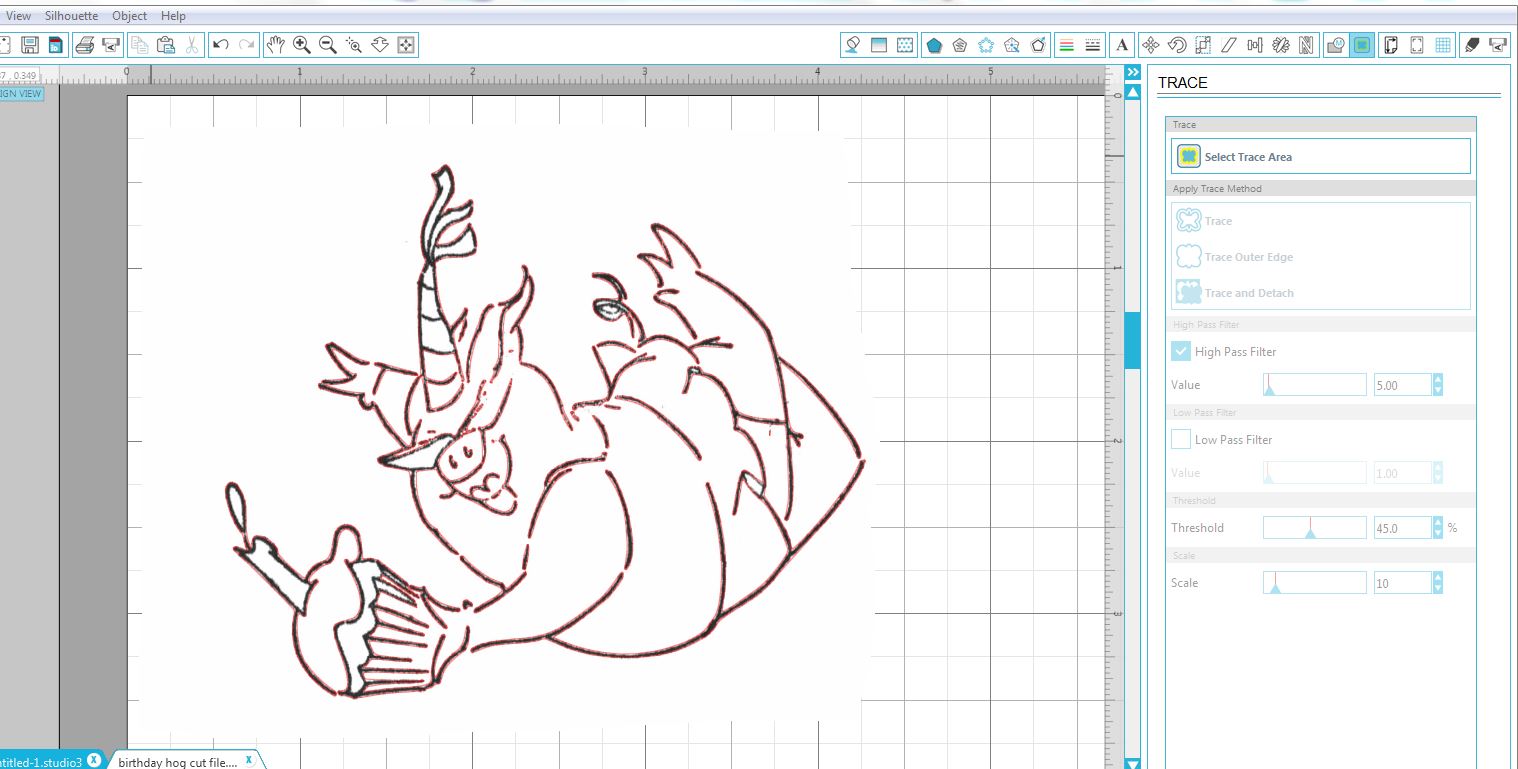
Notice that the red cut lines are not perfectly lined up with the black stamped lines of the image. In some cases, there are broken lines. (Click on the photo to see what I mean.) In order to get a die cut with a complete outline and that fits the stamped image perfectly, you need to clean this up a bit. There are a few ways to do this. I referenced a series of video tutorials in my last post called Tracing Without Tears in Silhouette Studio which I found extremely detailed and helpful in understanding the “Trace” feature of the software. (Videos 7 and 8 specifically talk about point editing.) If you don’t want to get as involved in the design process, try this:
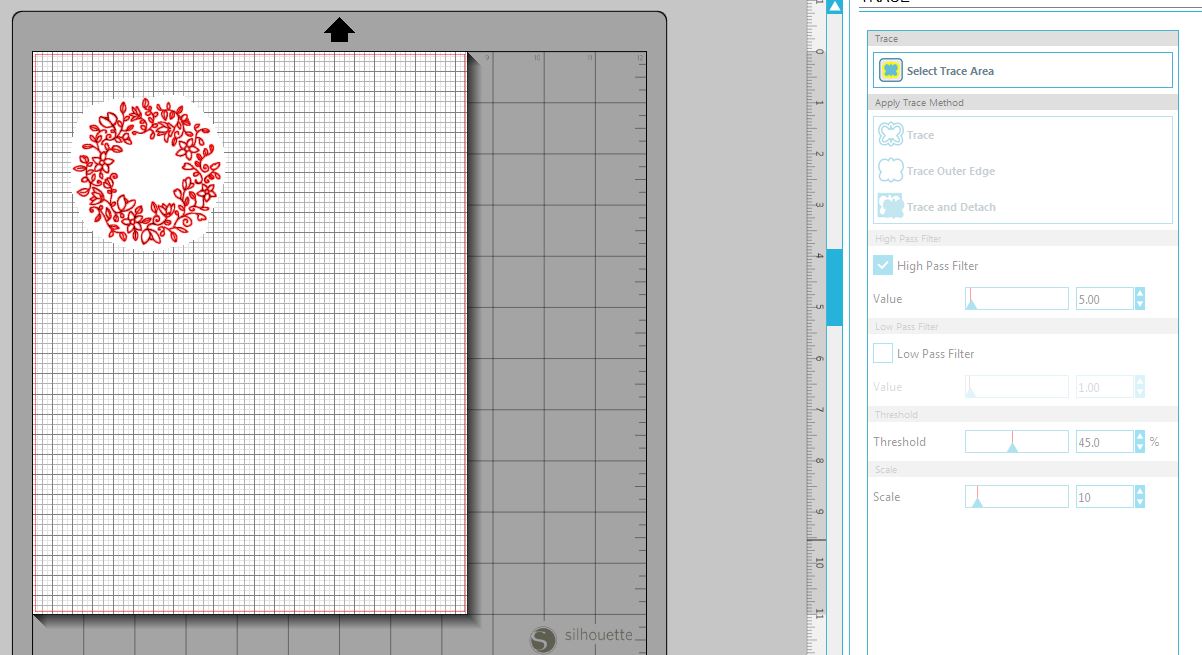
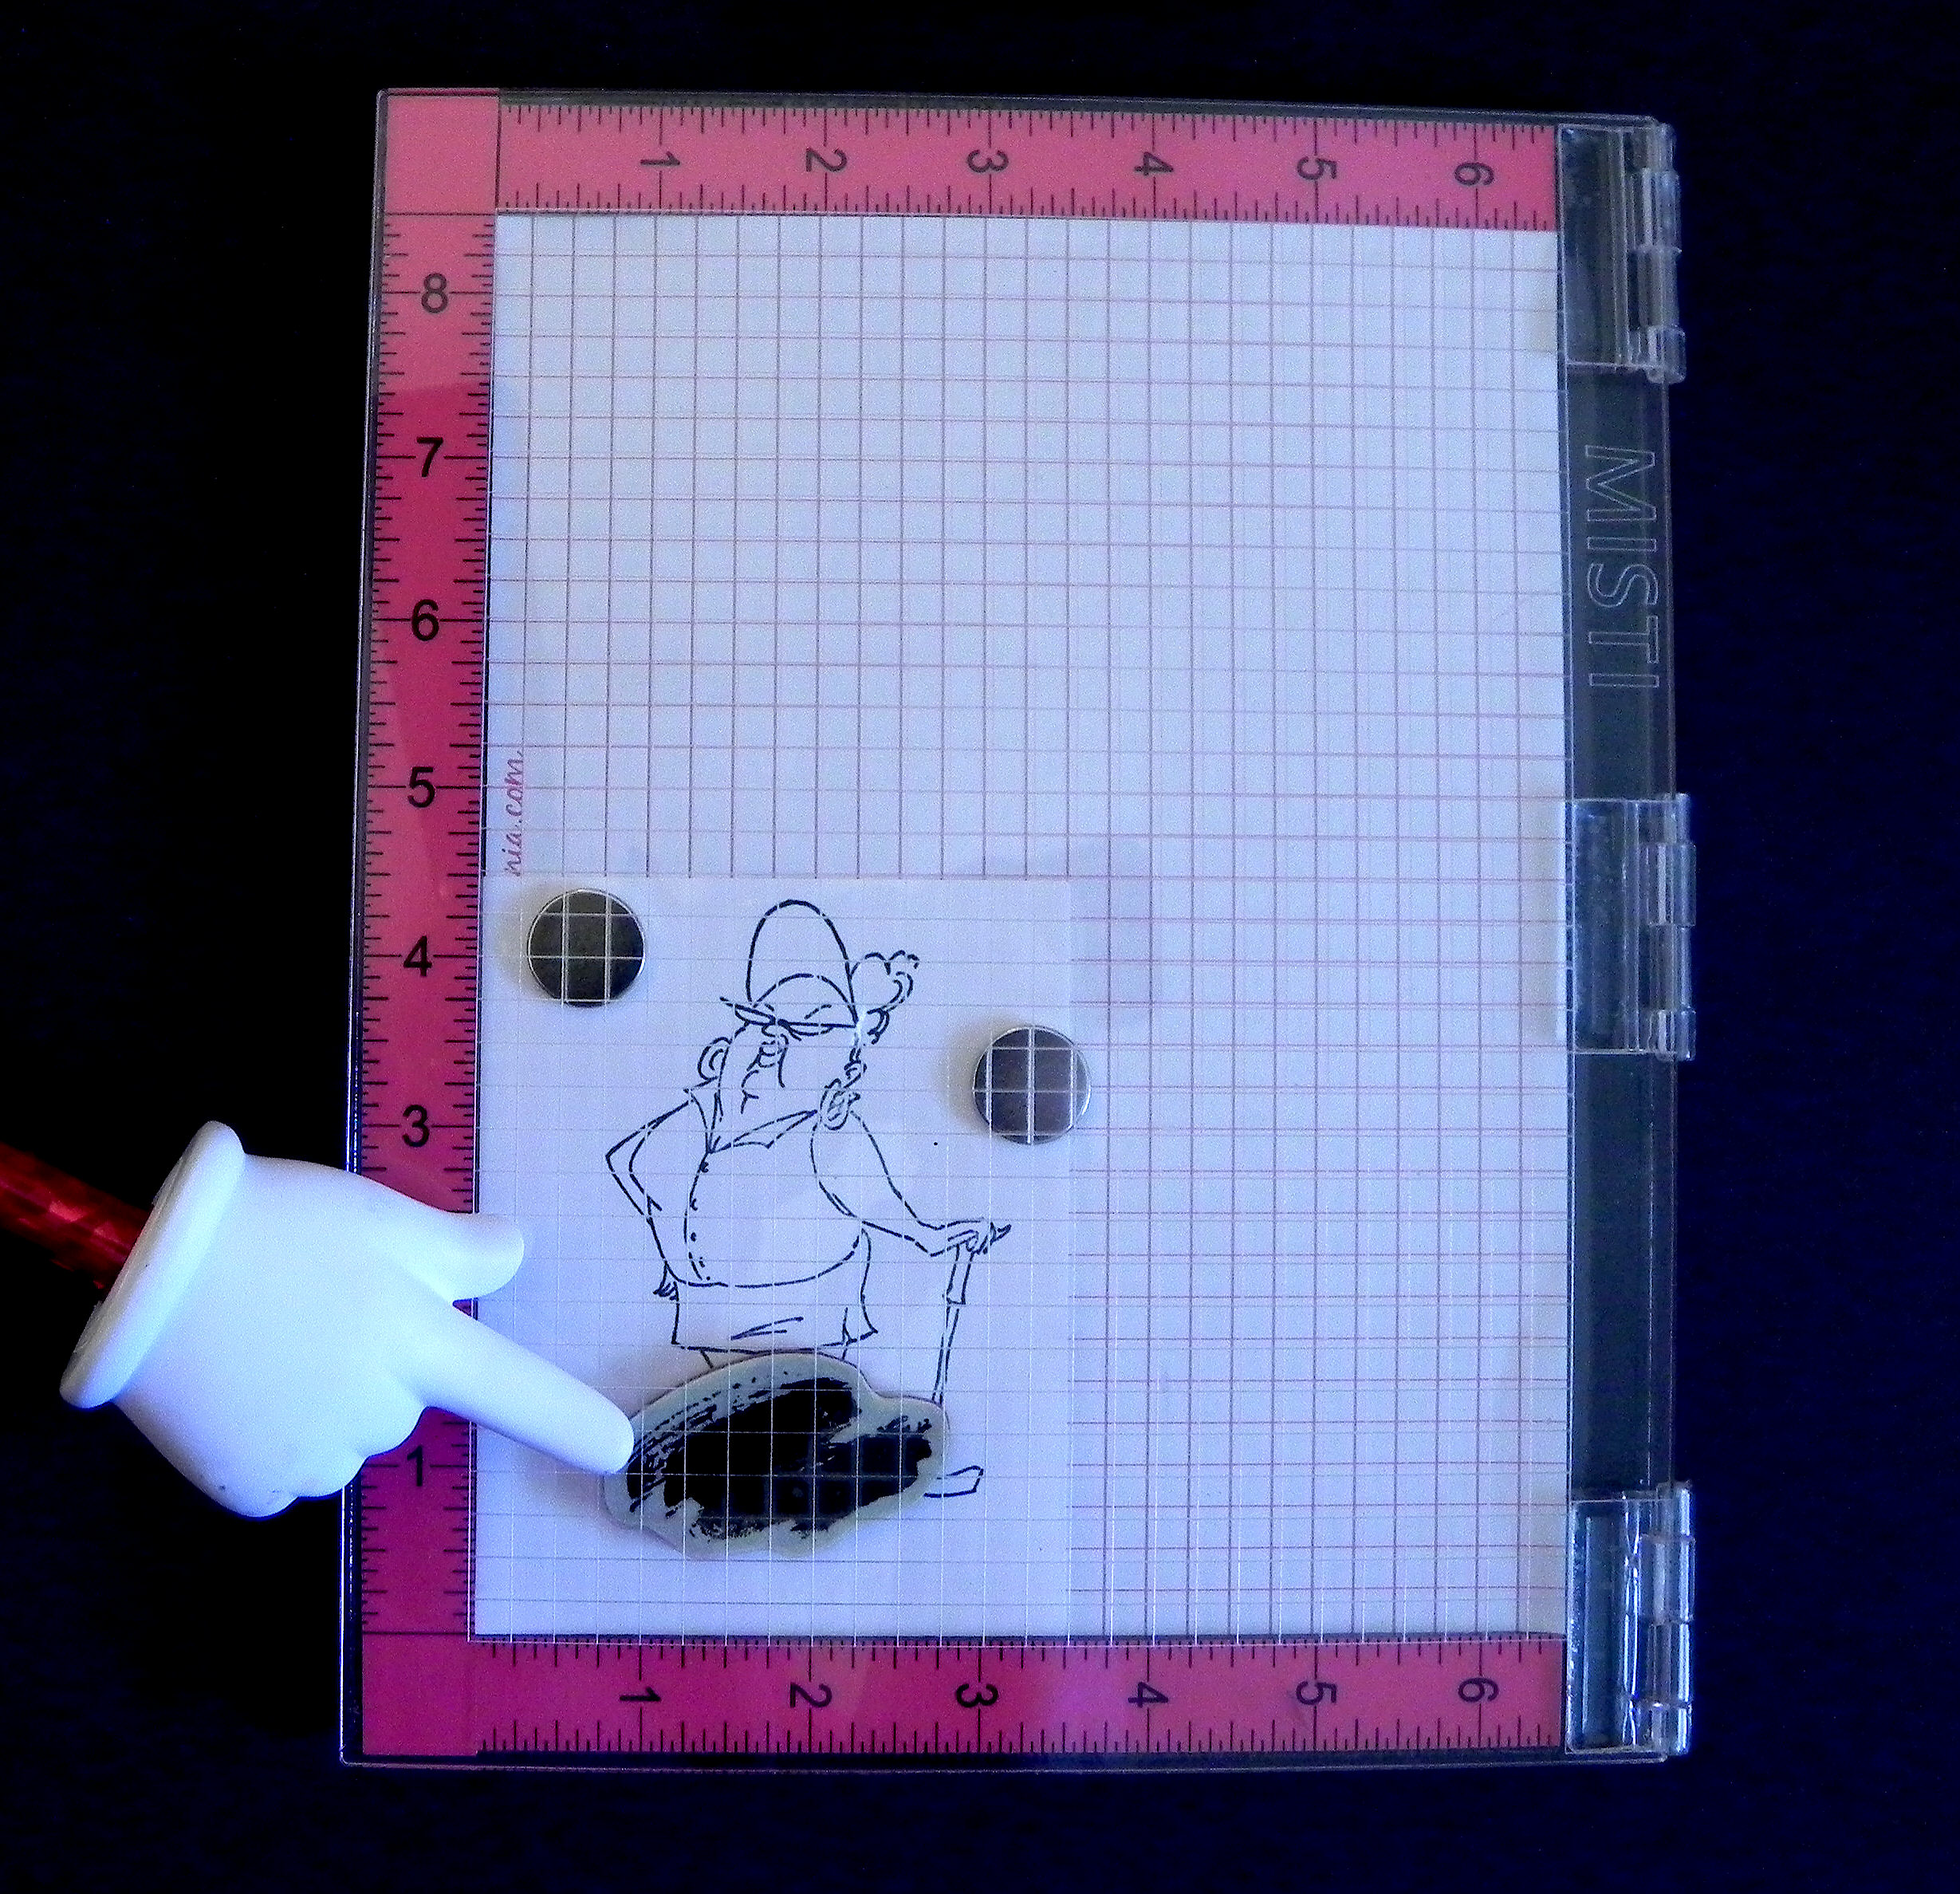
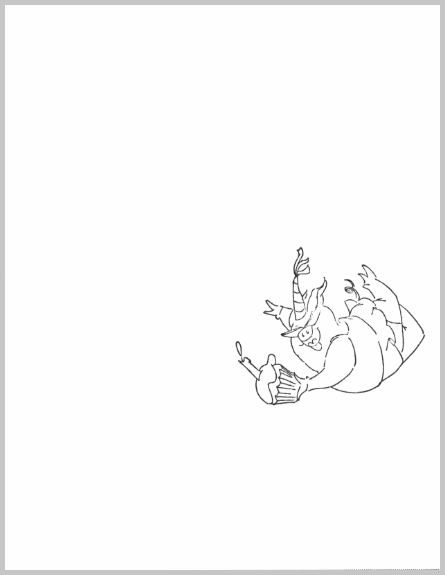
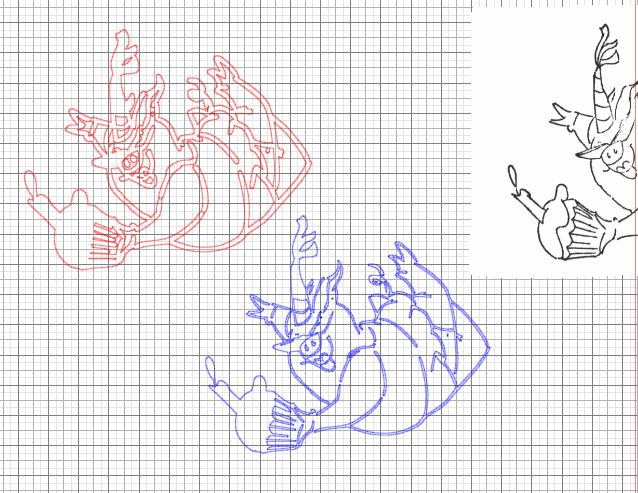
7. Move the jpeg scanned image away from the trace. Highlight the image. Under the “Object” tab, select “Convert to Path” to keep all the pieces of the trace together.
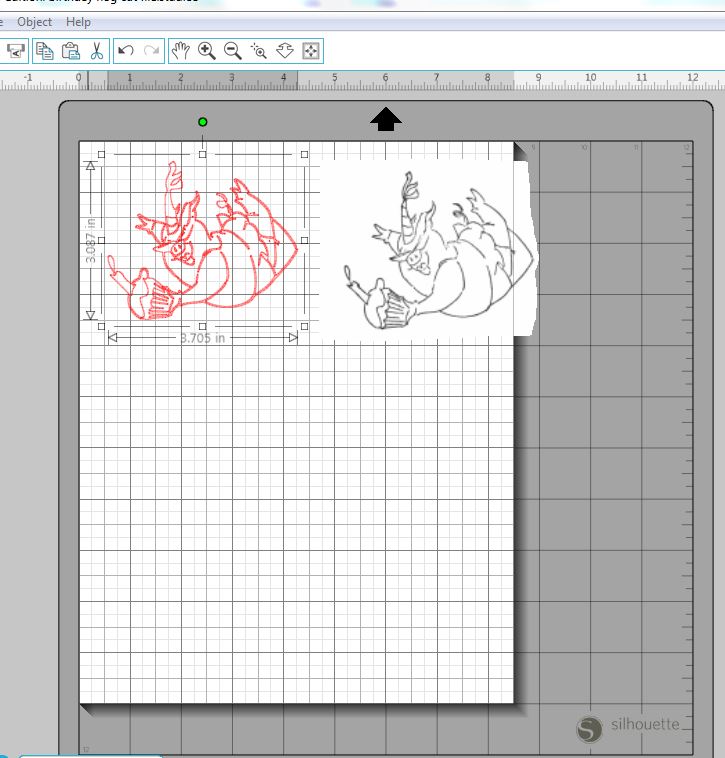
To make this easier to see in the next step, I changed the color of my trace to blue.
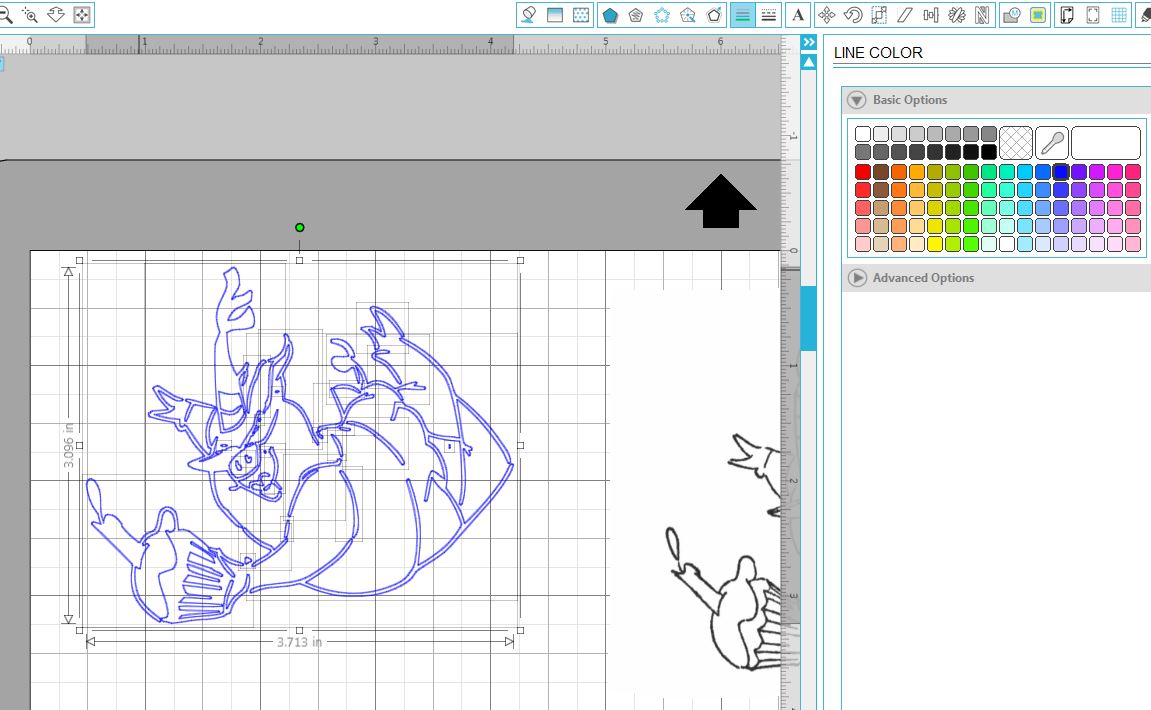
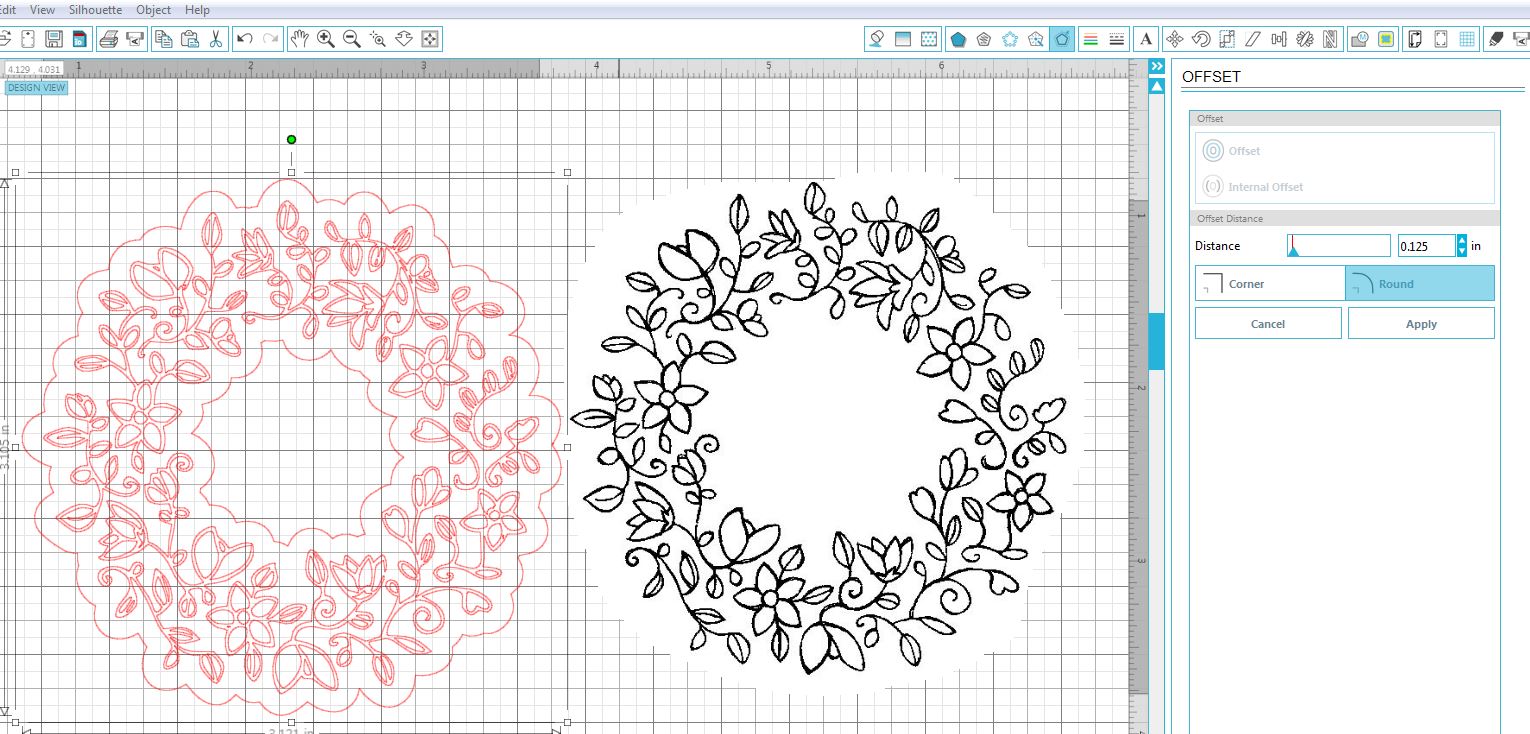
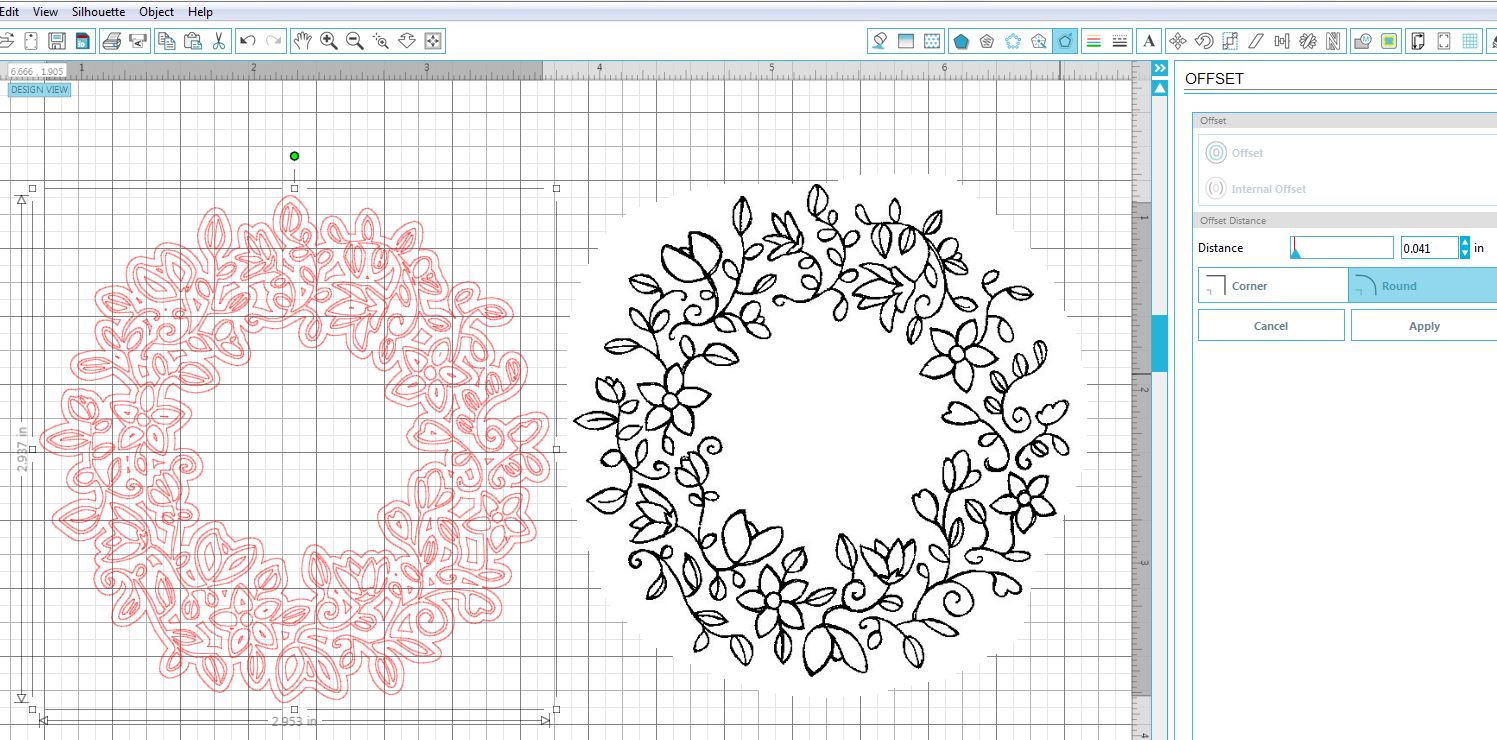
8. Open the “Offset” window, and click “Offset” which will give you a border at the default 0.125 inchs.

9. Slide the distance slider all the way to the left to zero. Then slowly slide it to the right (or use the “up” arrows) just until you have a solid shape around the outside with no gaps. On this one, I went to 0.020 inches. Make a note of the value you used. You will need this later.
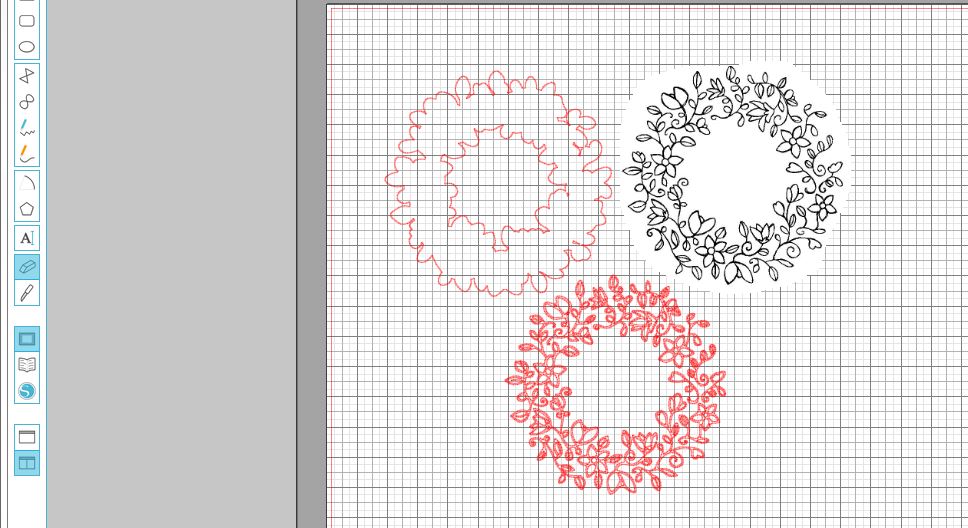
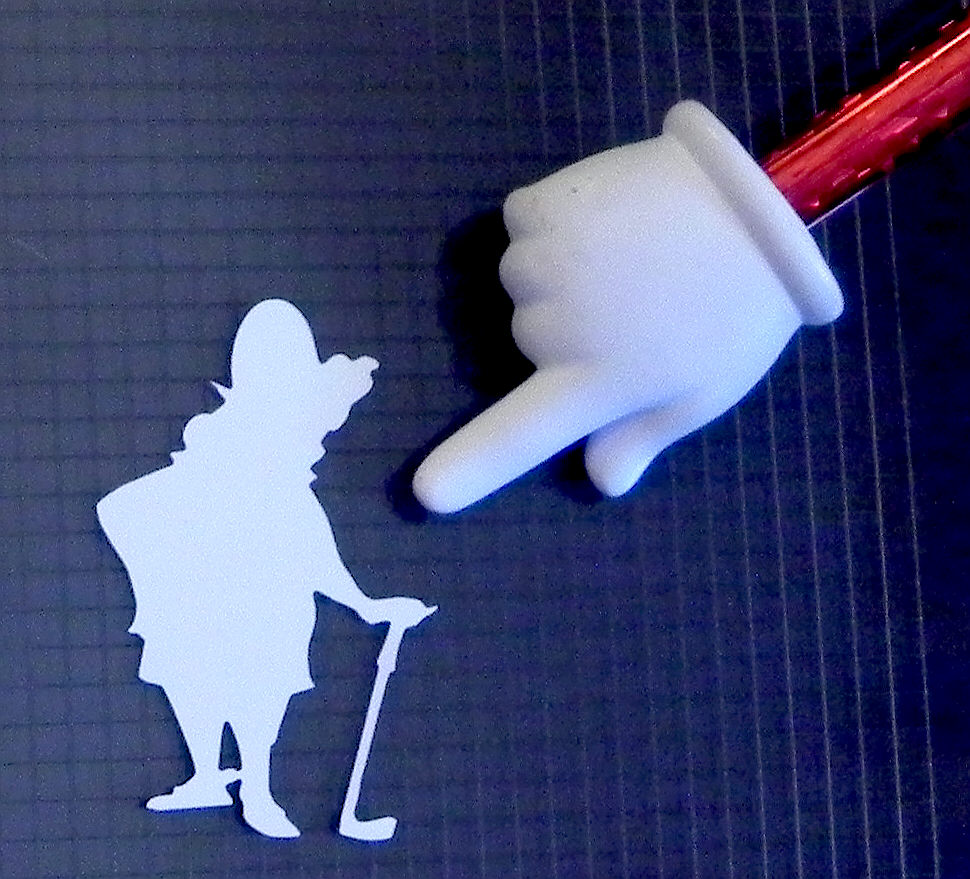
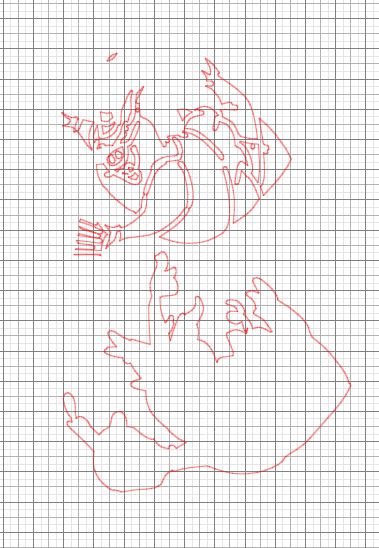
10. Drag away the “trace” which is blue on this sample.
11. Highlight the whole offset. Click on the “Object” tab and click “Release Compound Path” to separate all the parts of the offset. Then drag the outer piece (outline) away from the rest.
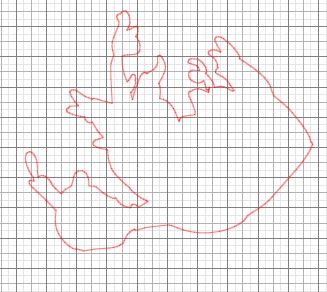
12. Delete all the extra sections and just keep the outline.
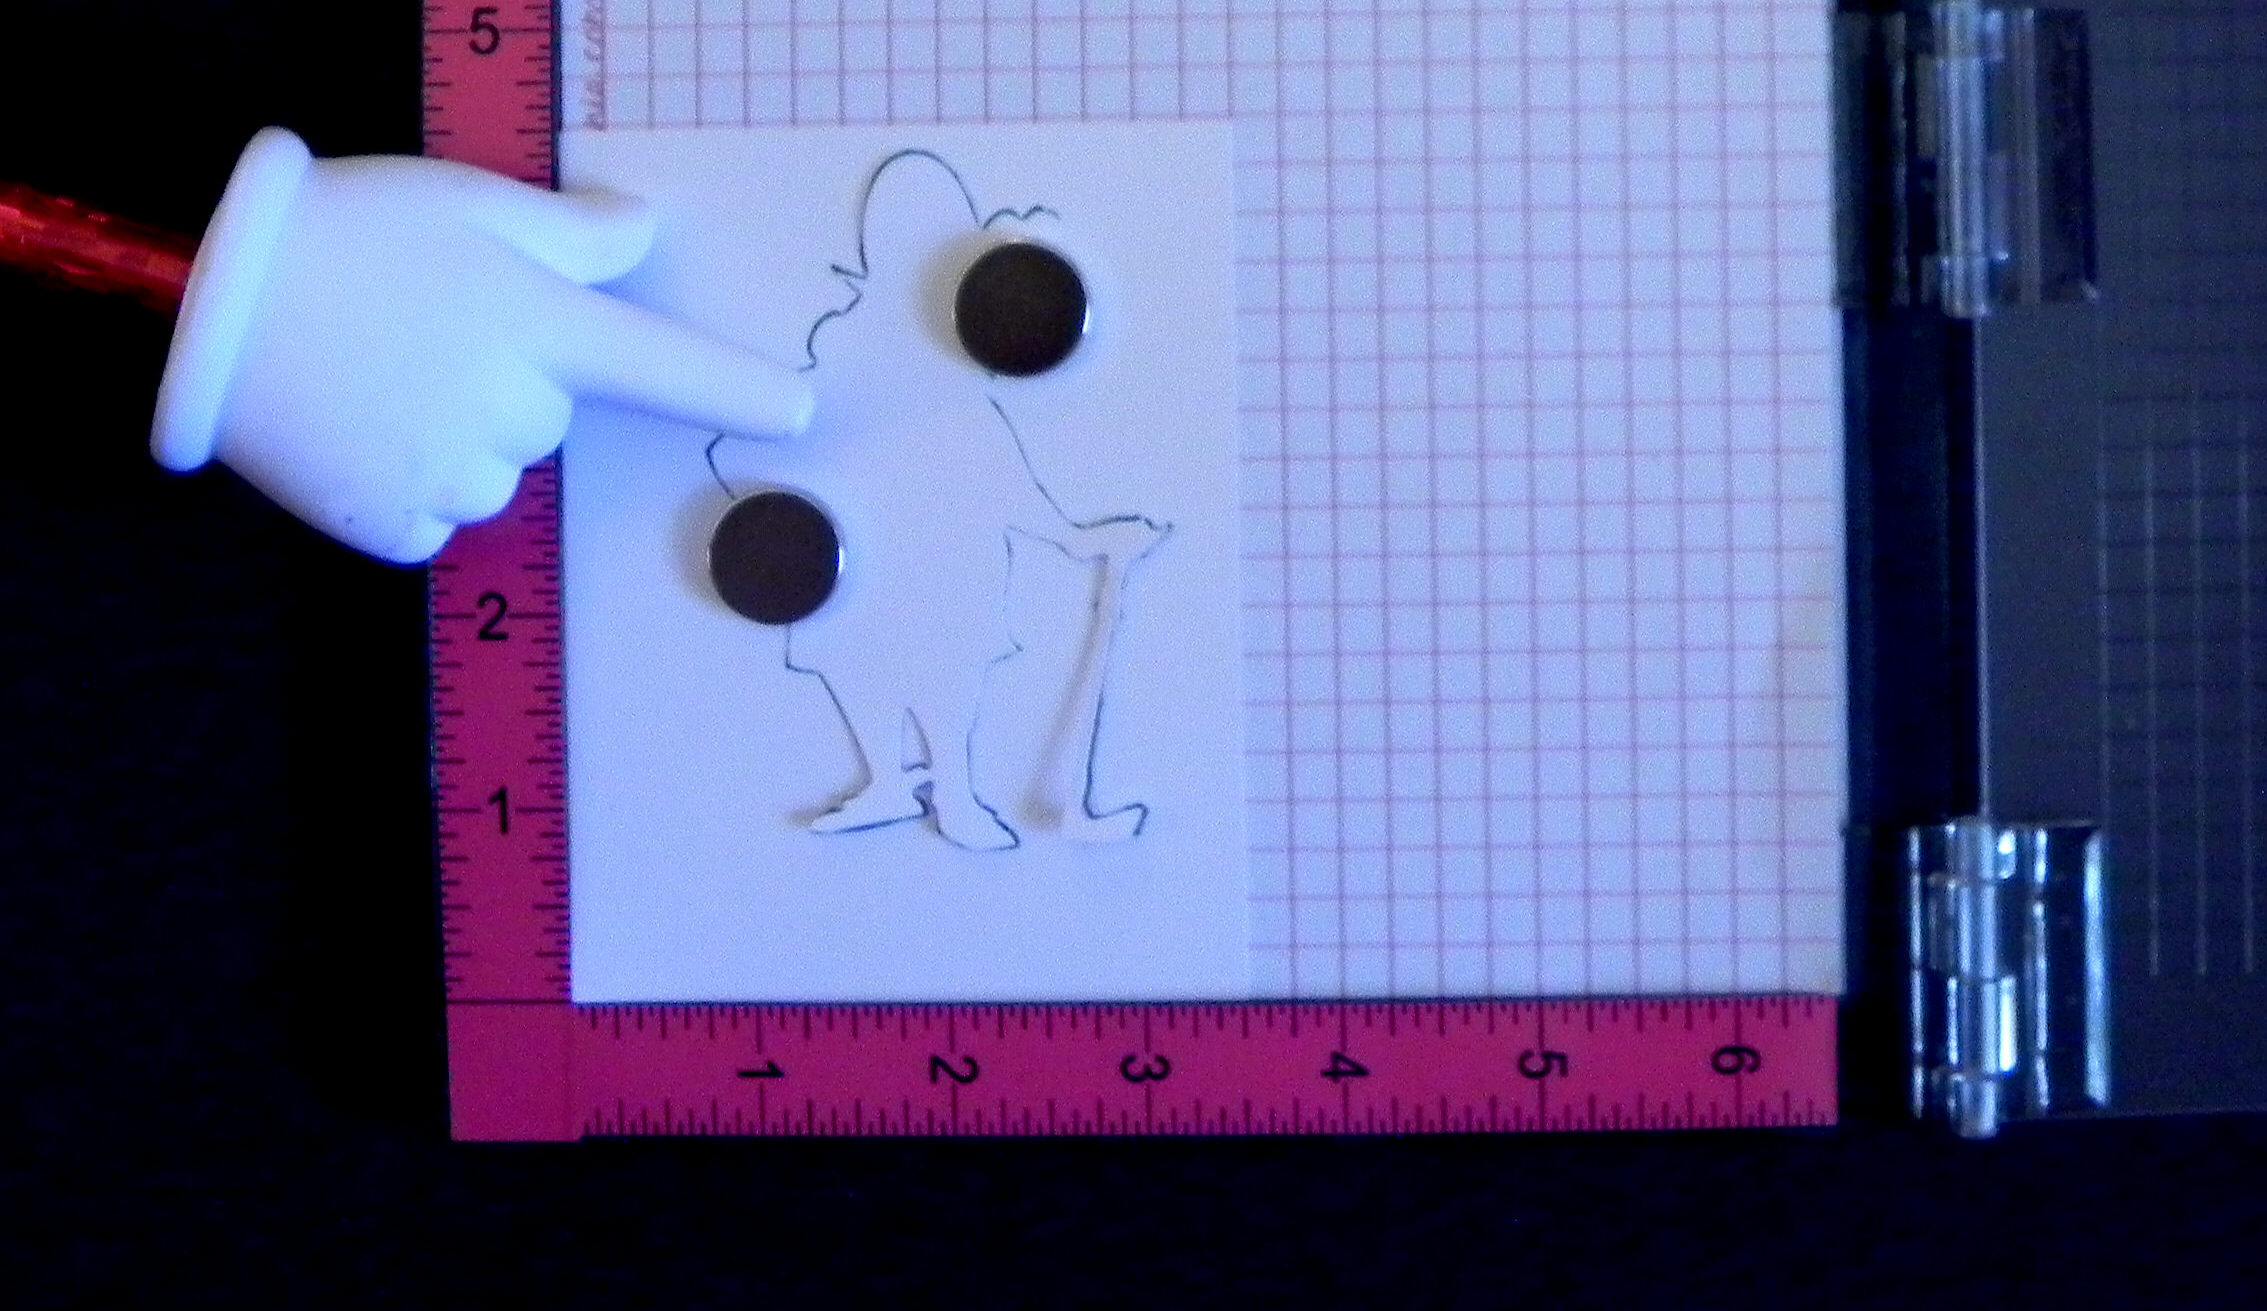
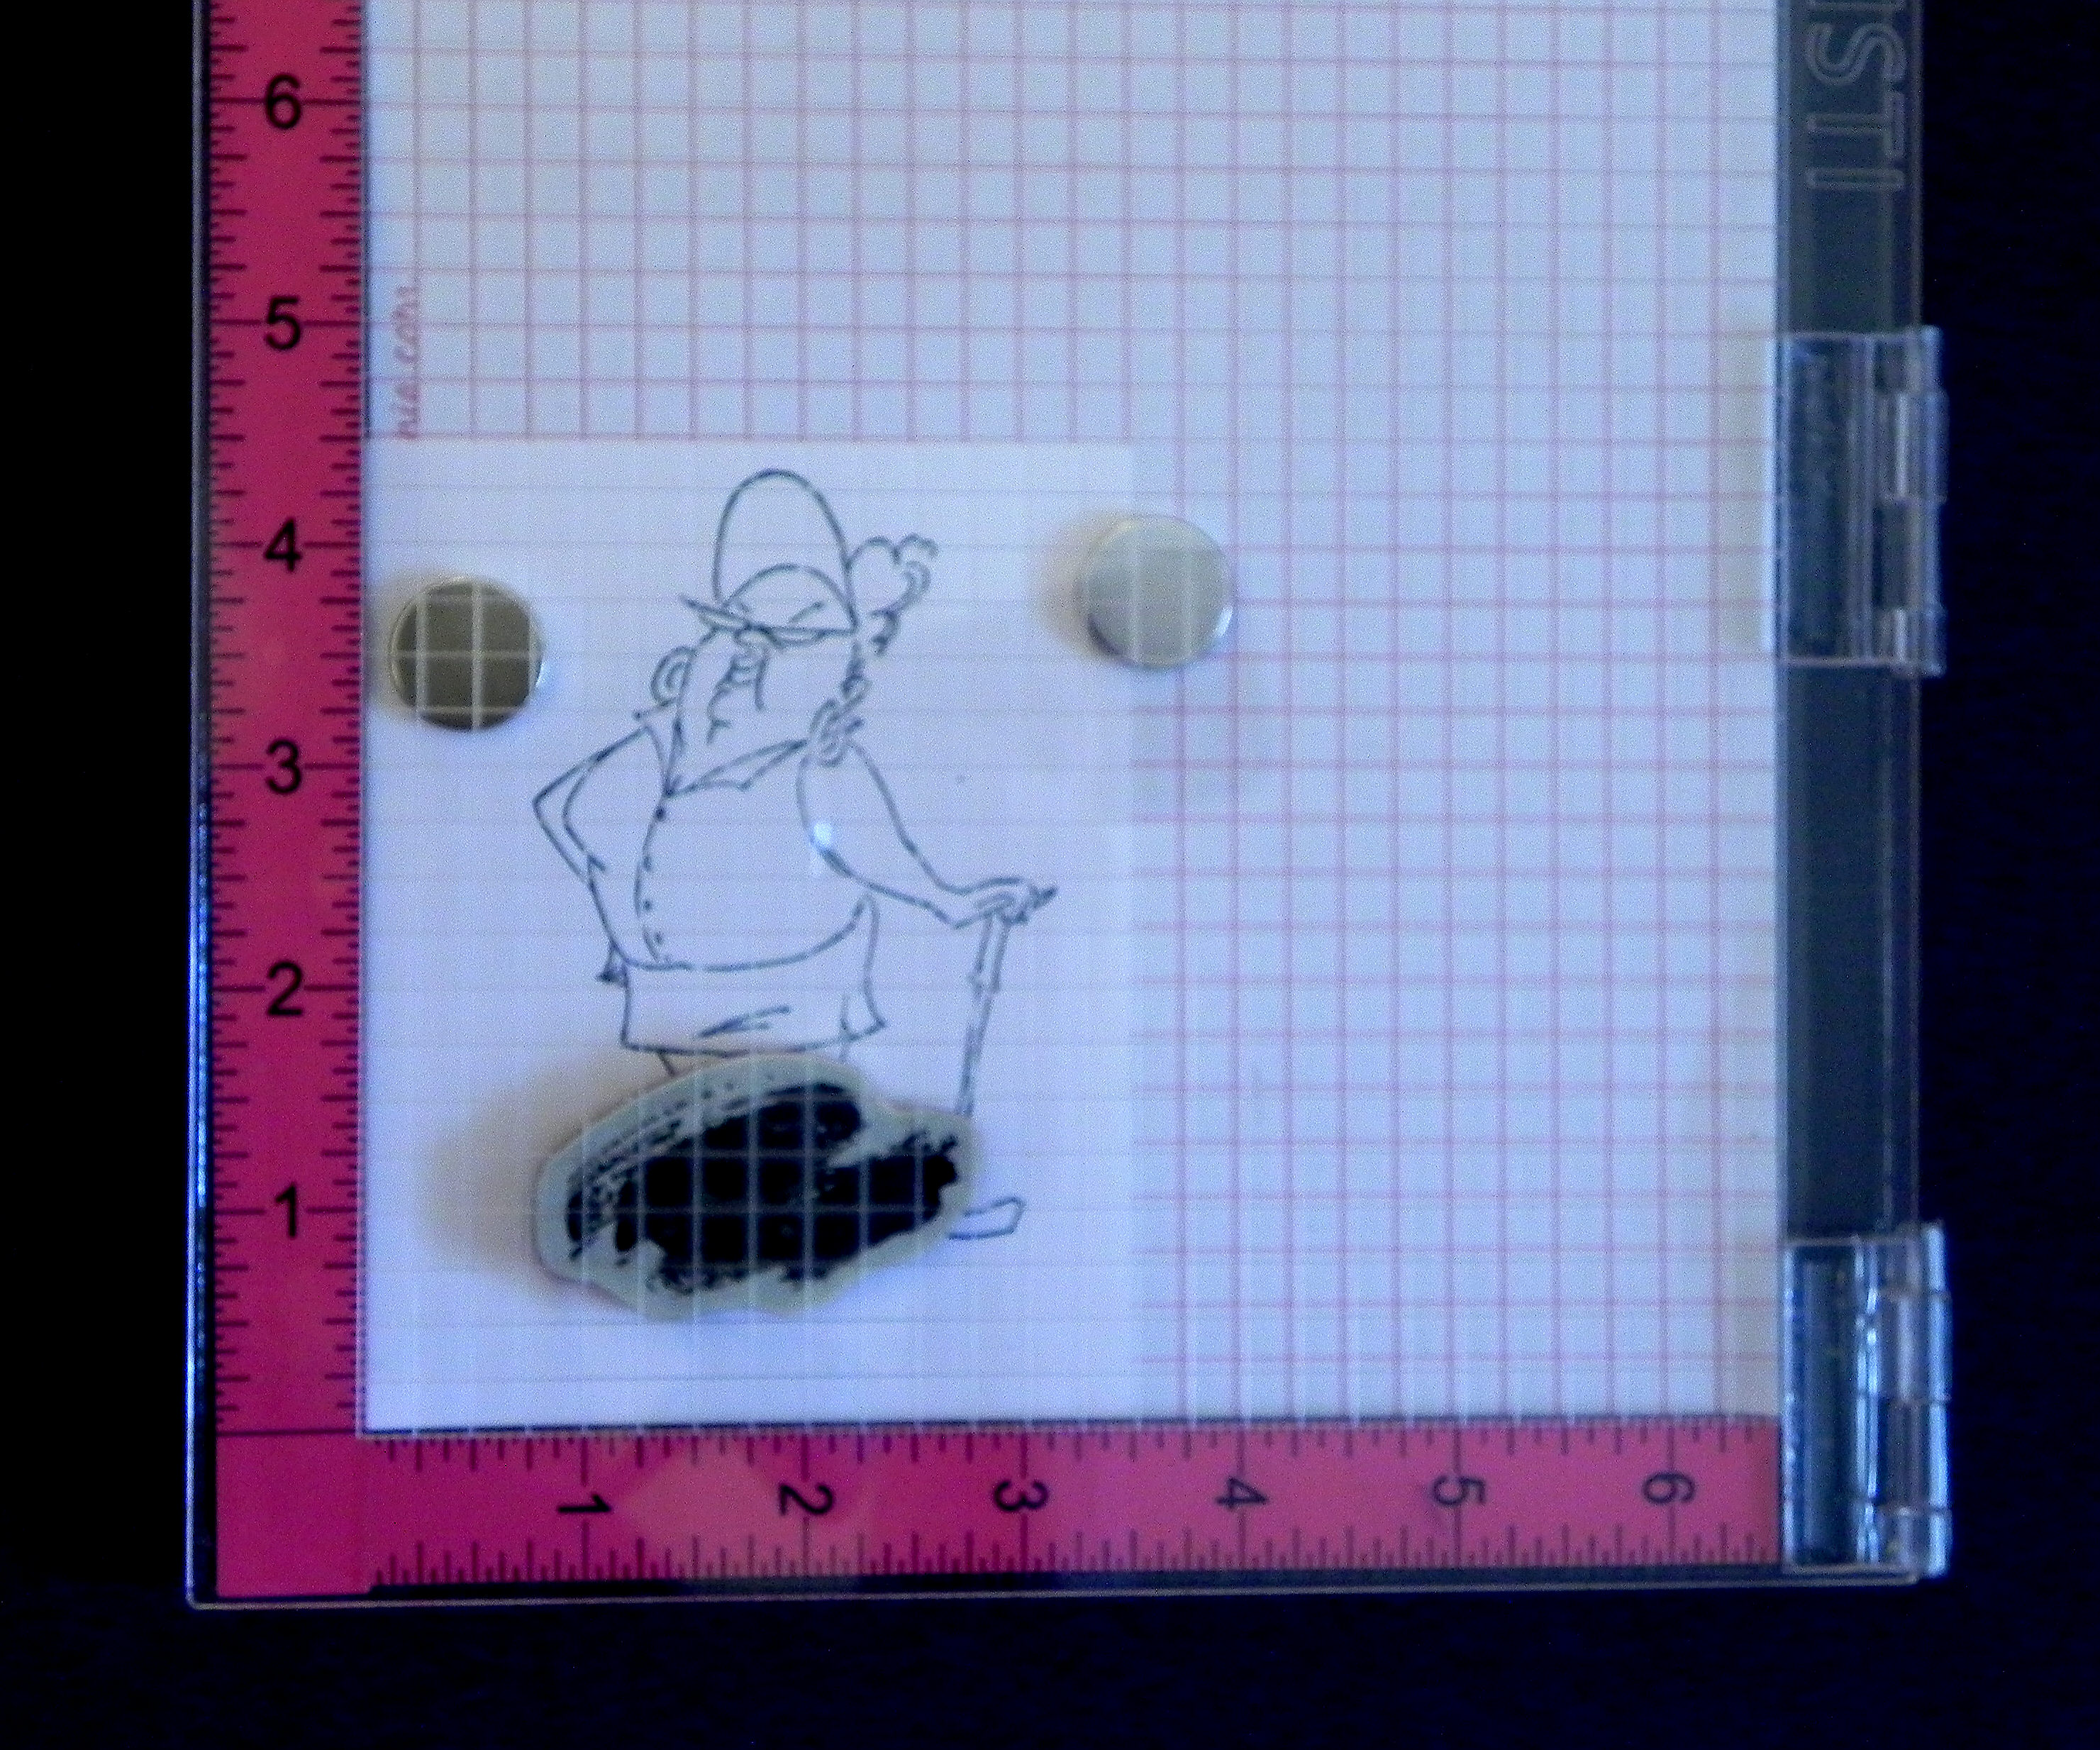
13. Highlight your offset. Open “Offset” window and select “Internal Offset” which will give you a slightly smaller shape inside your offset. The default here is 0.039.
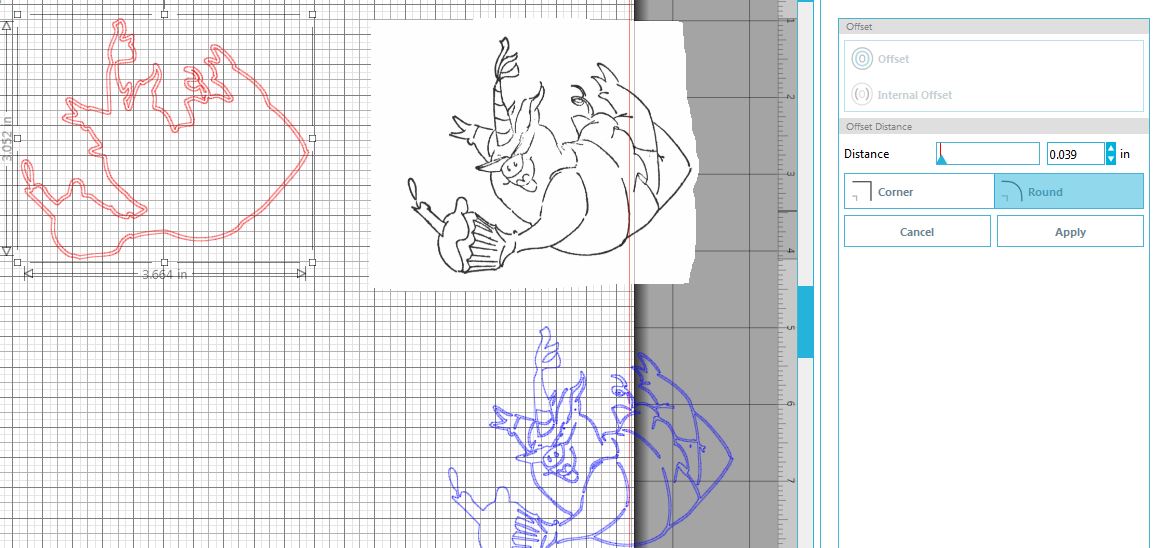
My internal offset is now green to make it easier to see here. (You don’t need to change the color!)
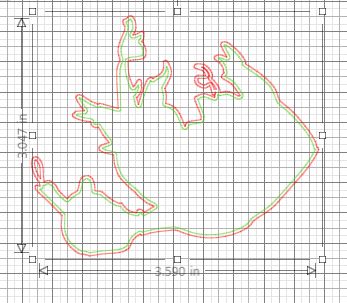
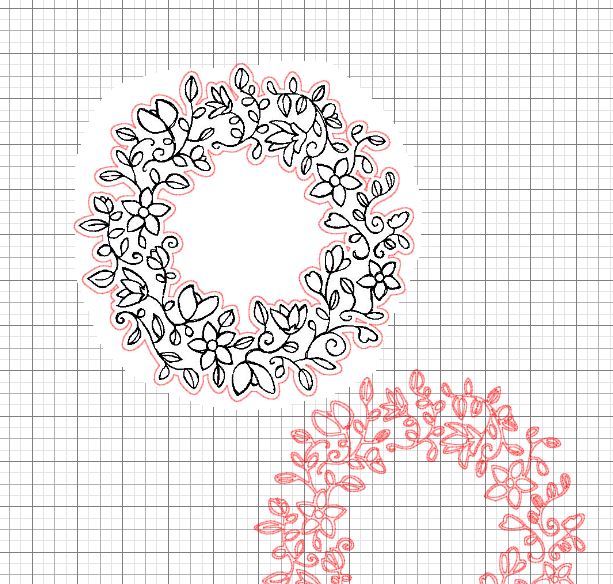
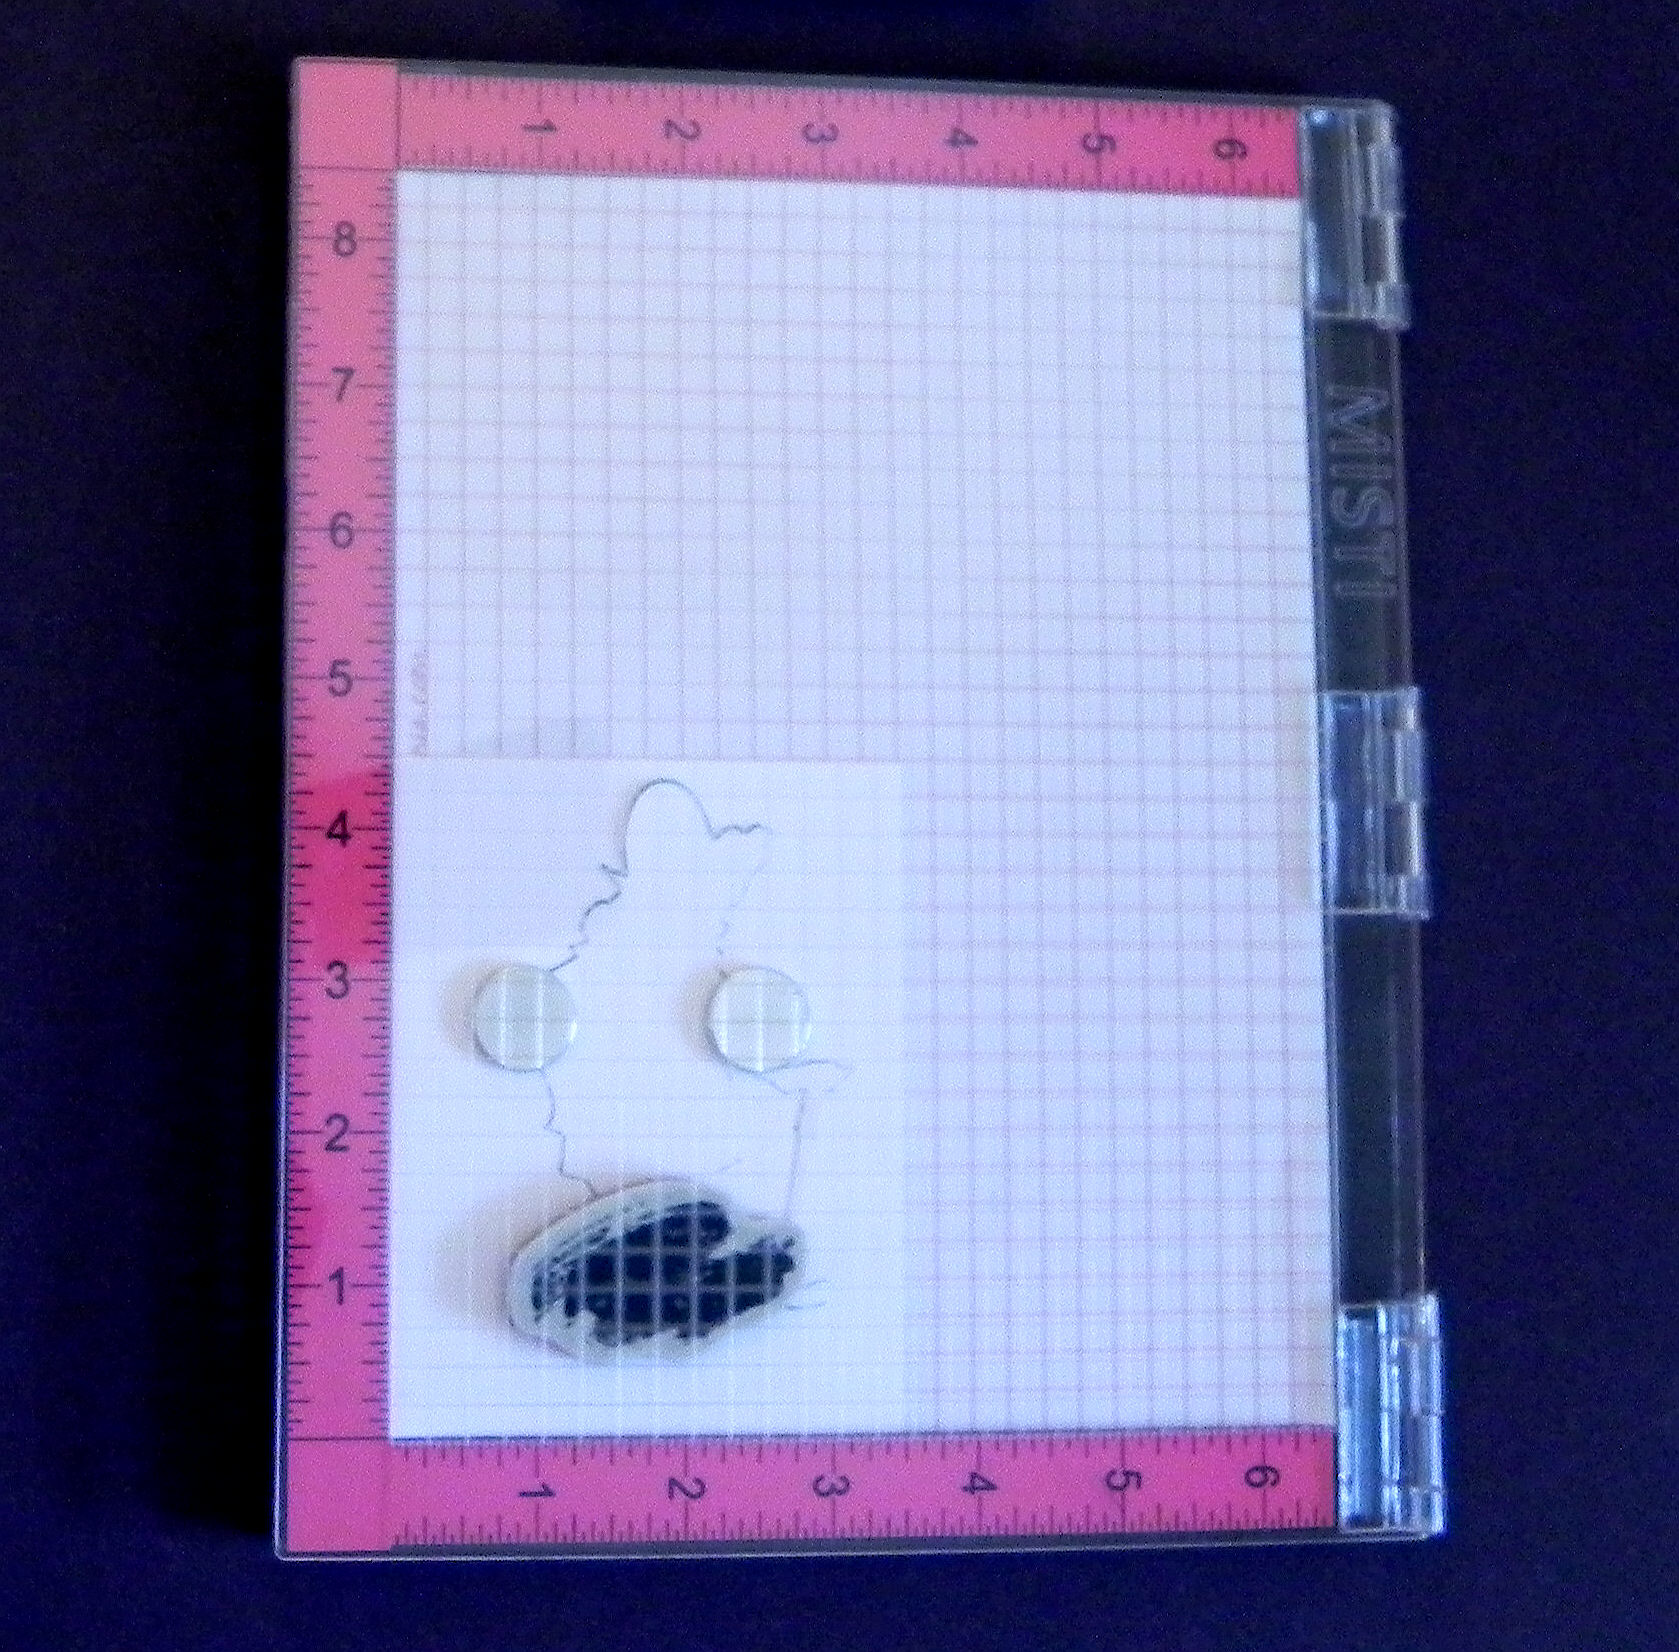
14. Change the value of the internal offset to match the number you used to get your original offset. Recall, mine was 0.020 from step 9 above. (Highlight the offset and internal offset. Click on the “Object” tab and click “Release Compound Path” to separate the two parts. Then drag the outer piece (outline) away.
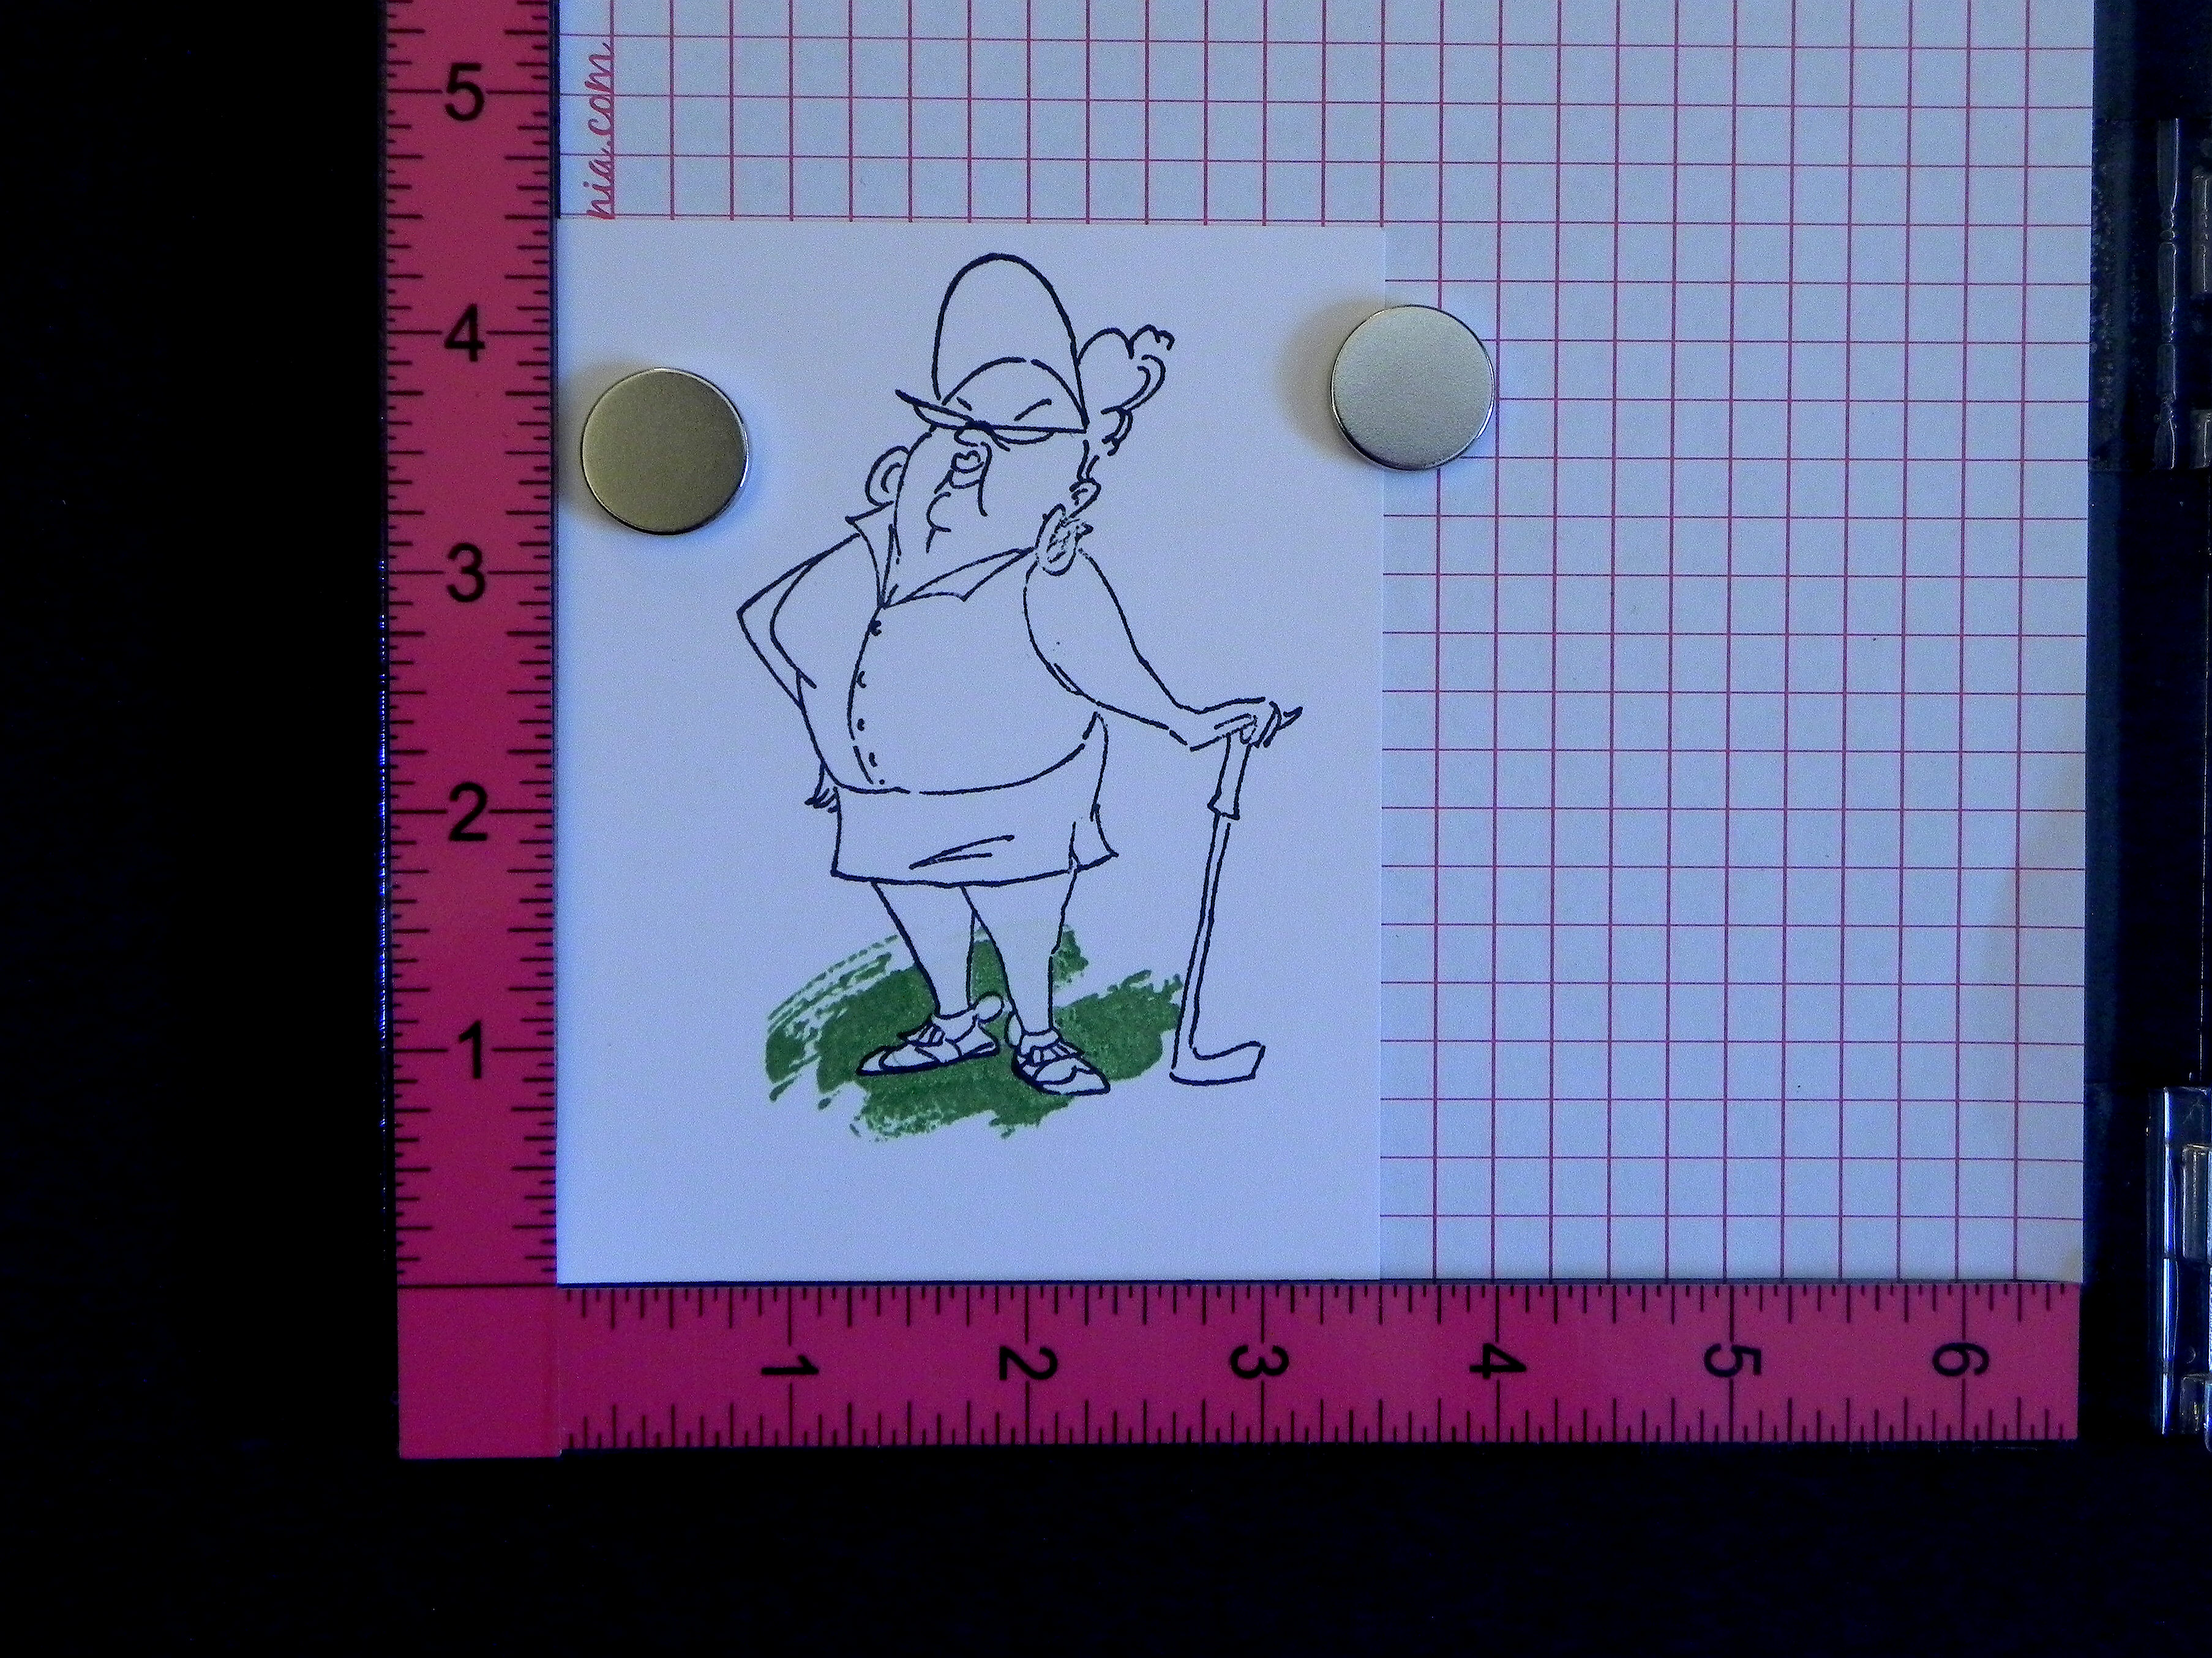
15. The inside (internal offset) should be about the same size as your original scanned stamped image, without the gaps. (I made my green lines a little thicker so you can see them easier here.)
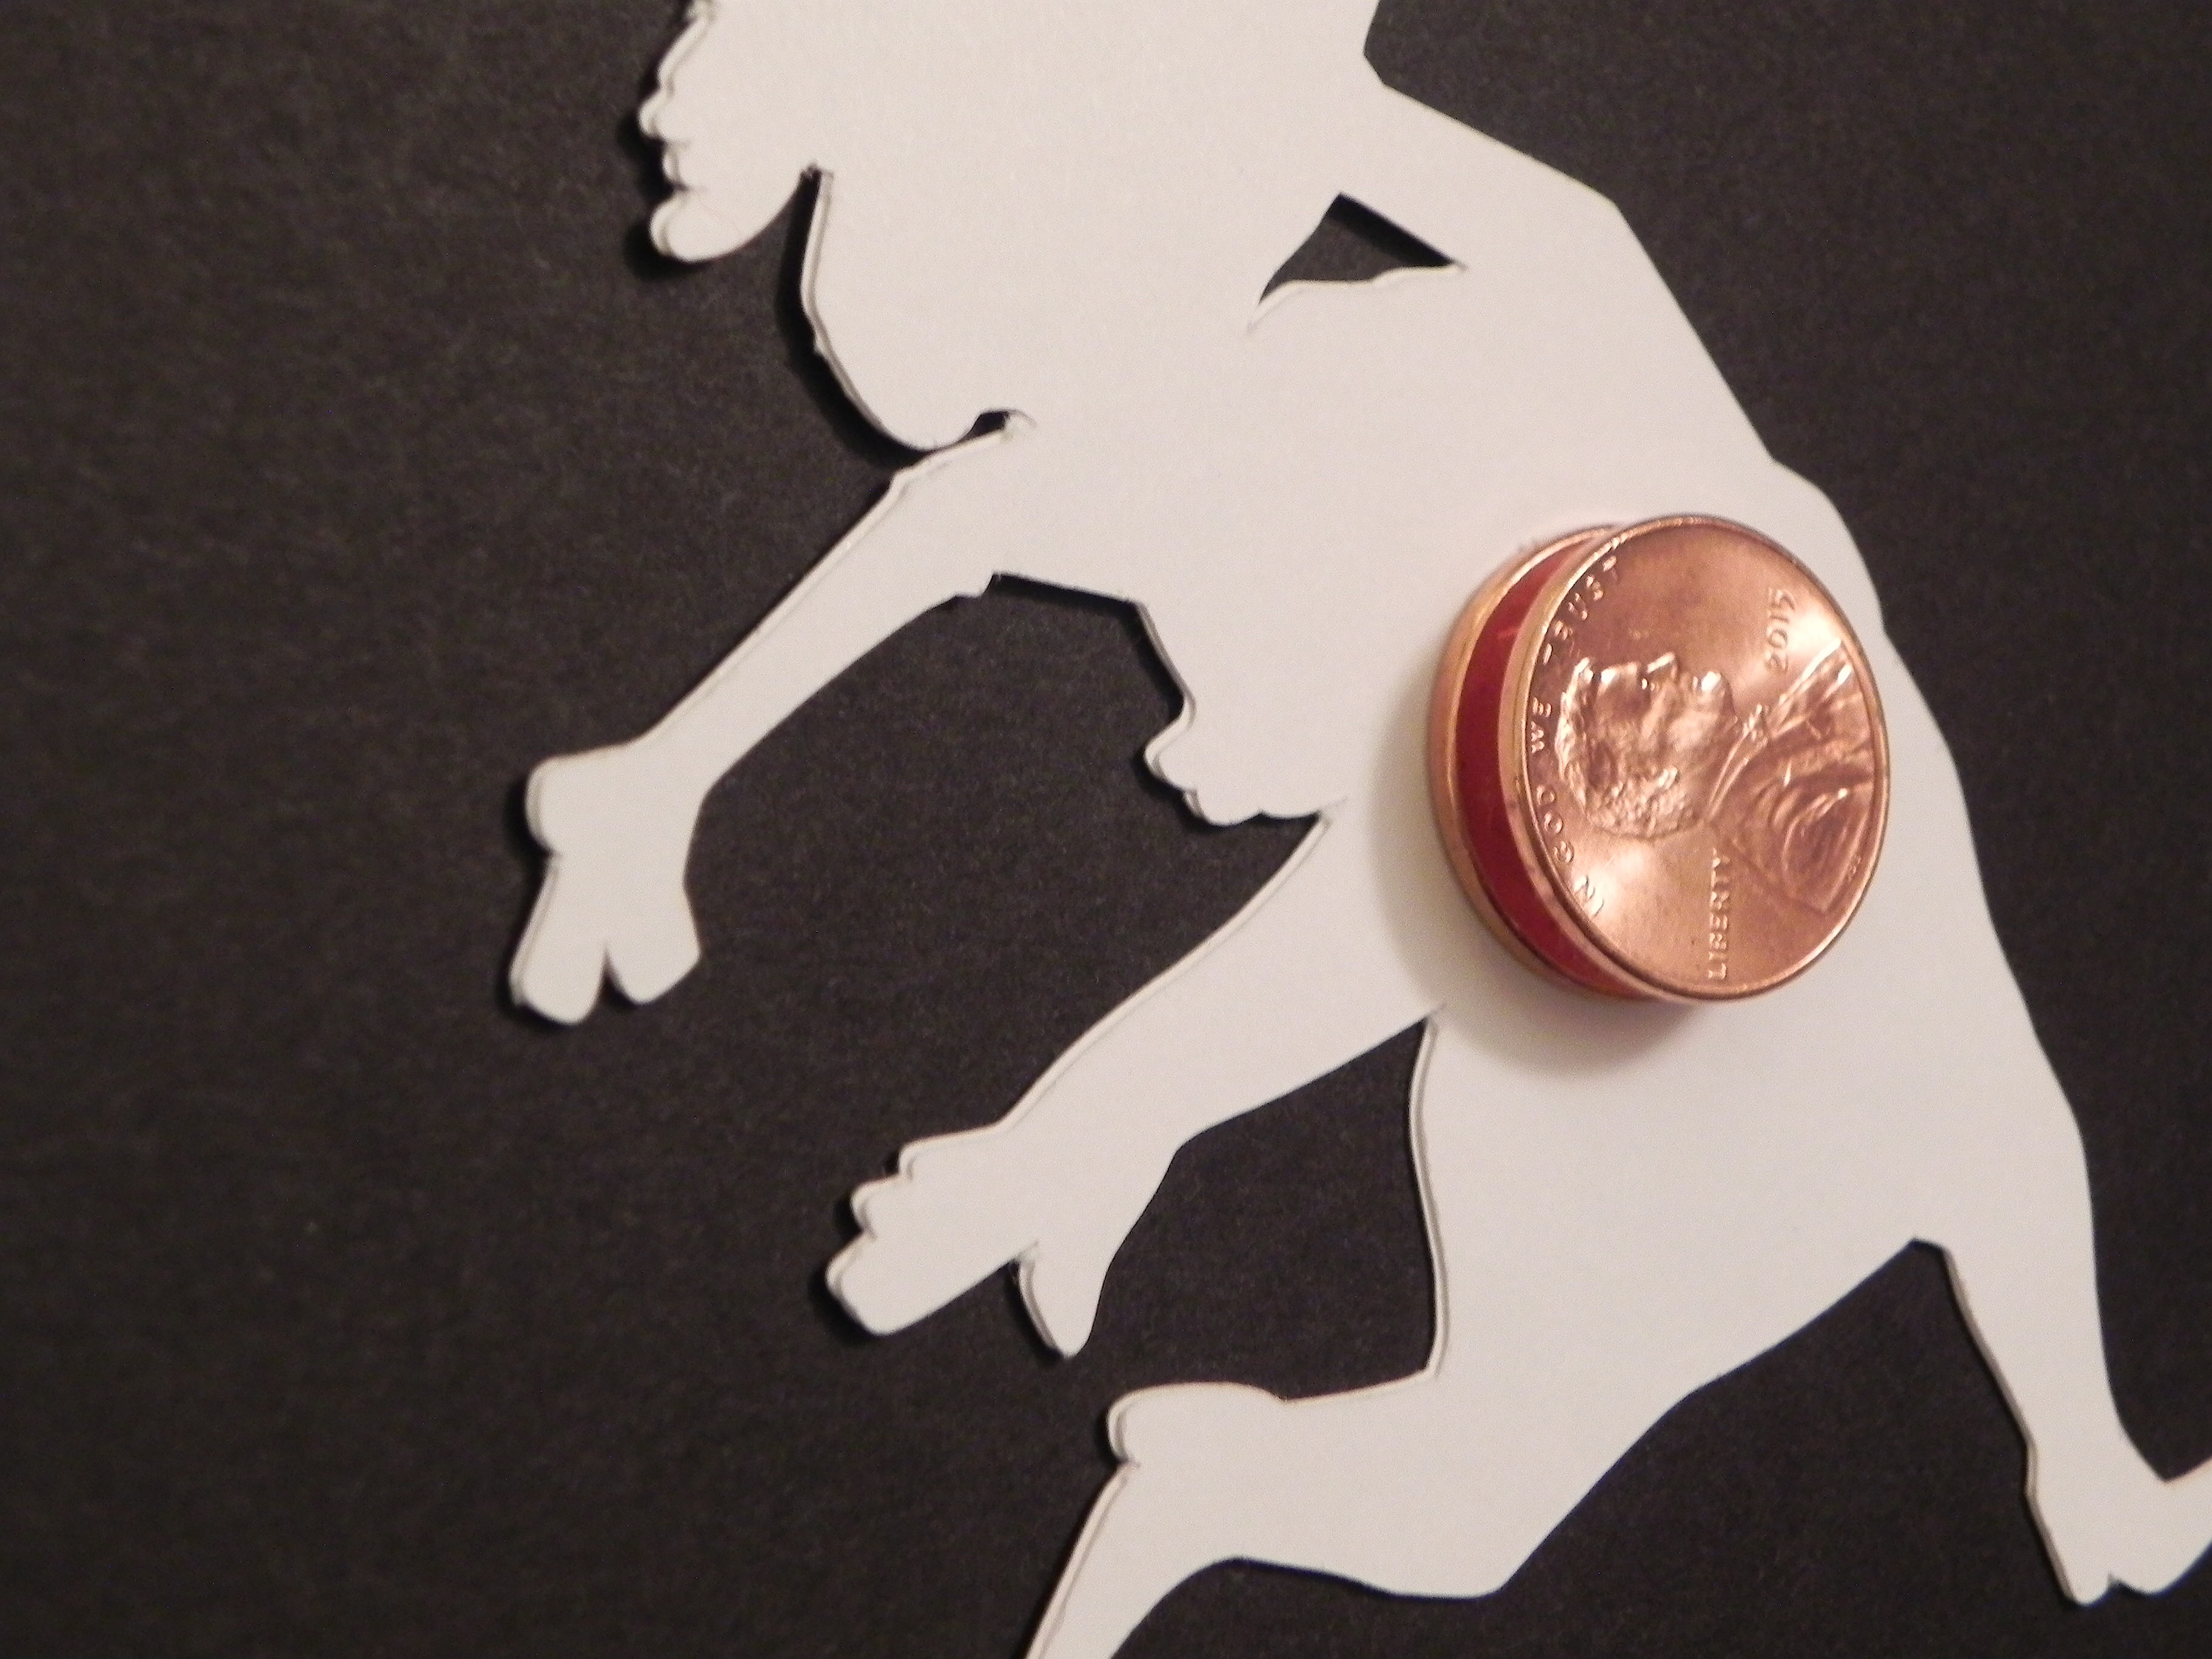
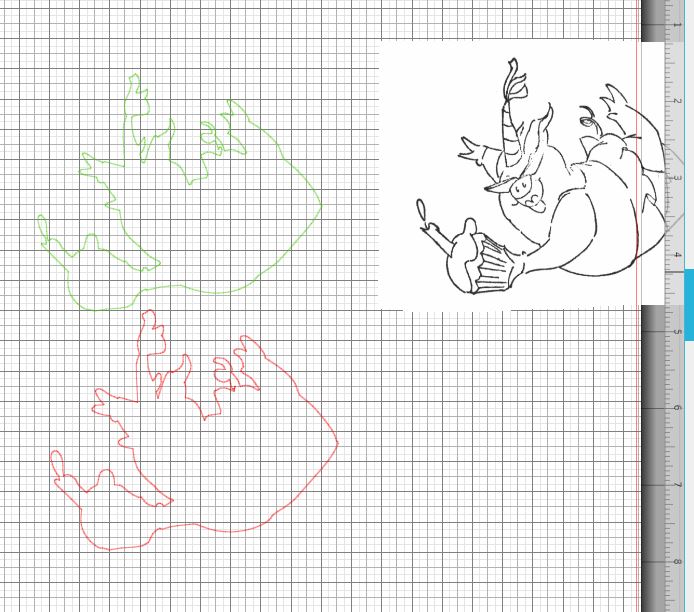
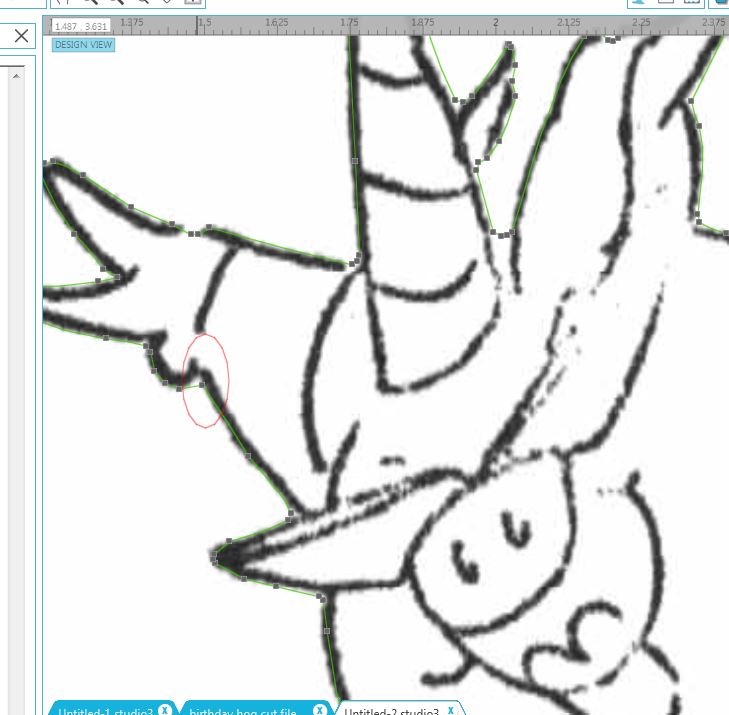
16. The above looks pretty close, but if you enlarge your view, by a lot, you will see where it is slightly off.

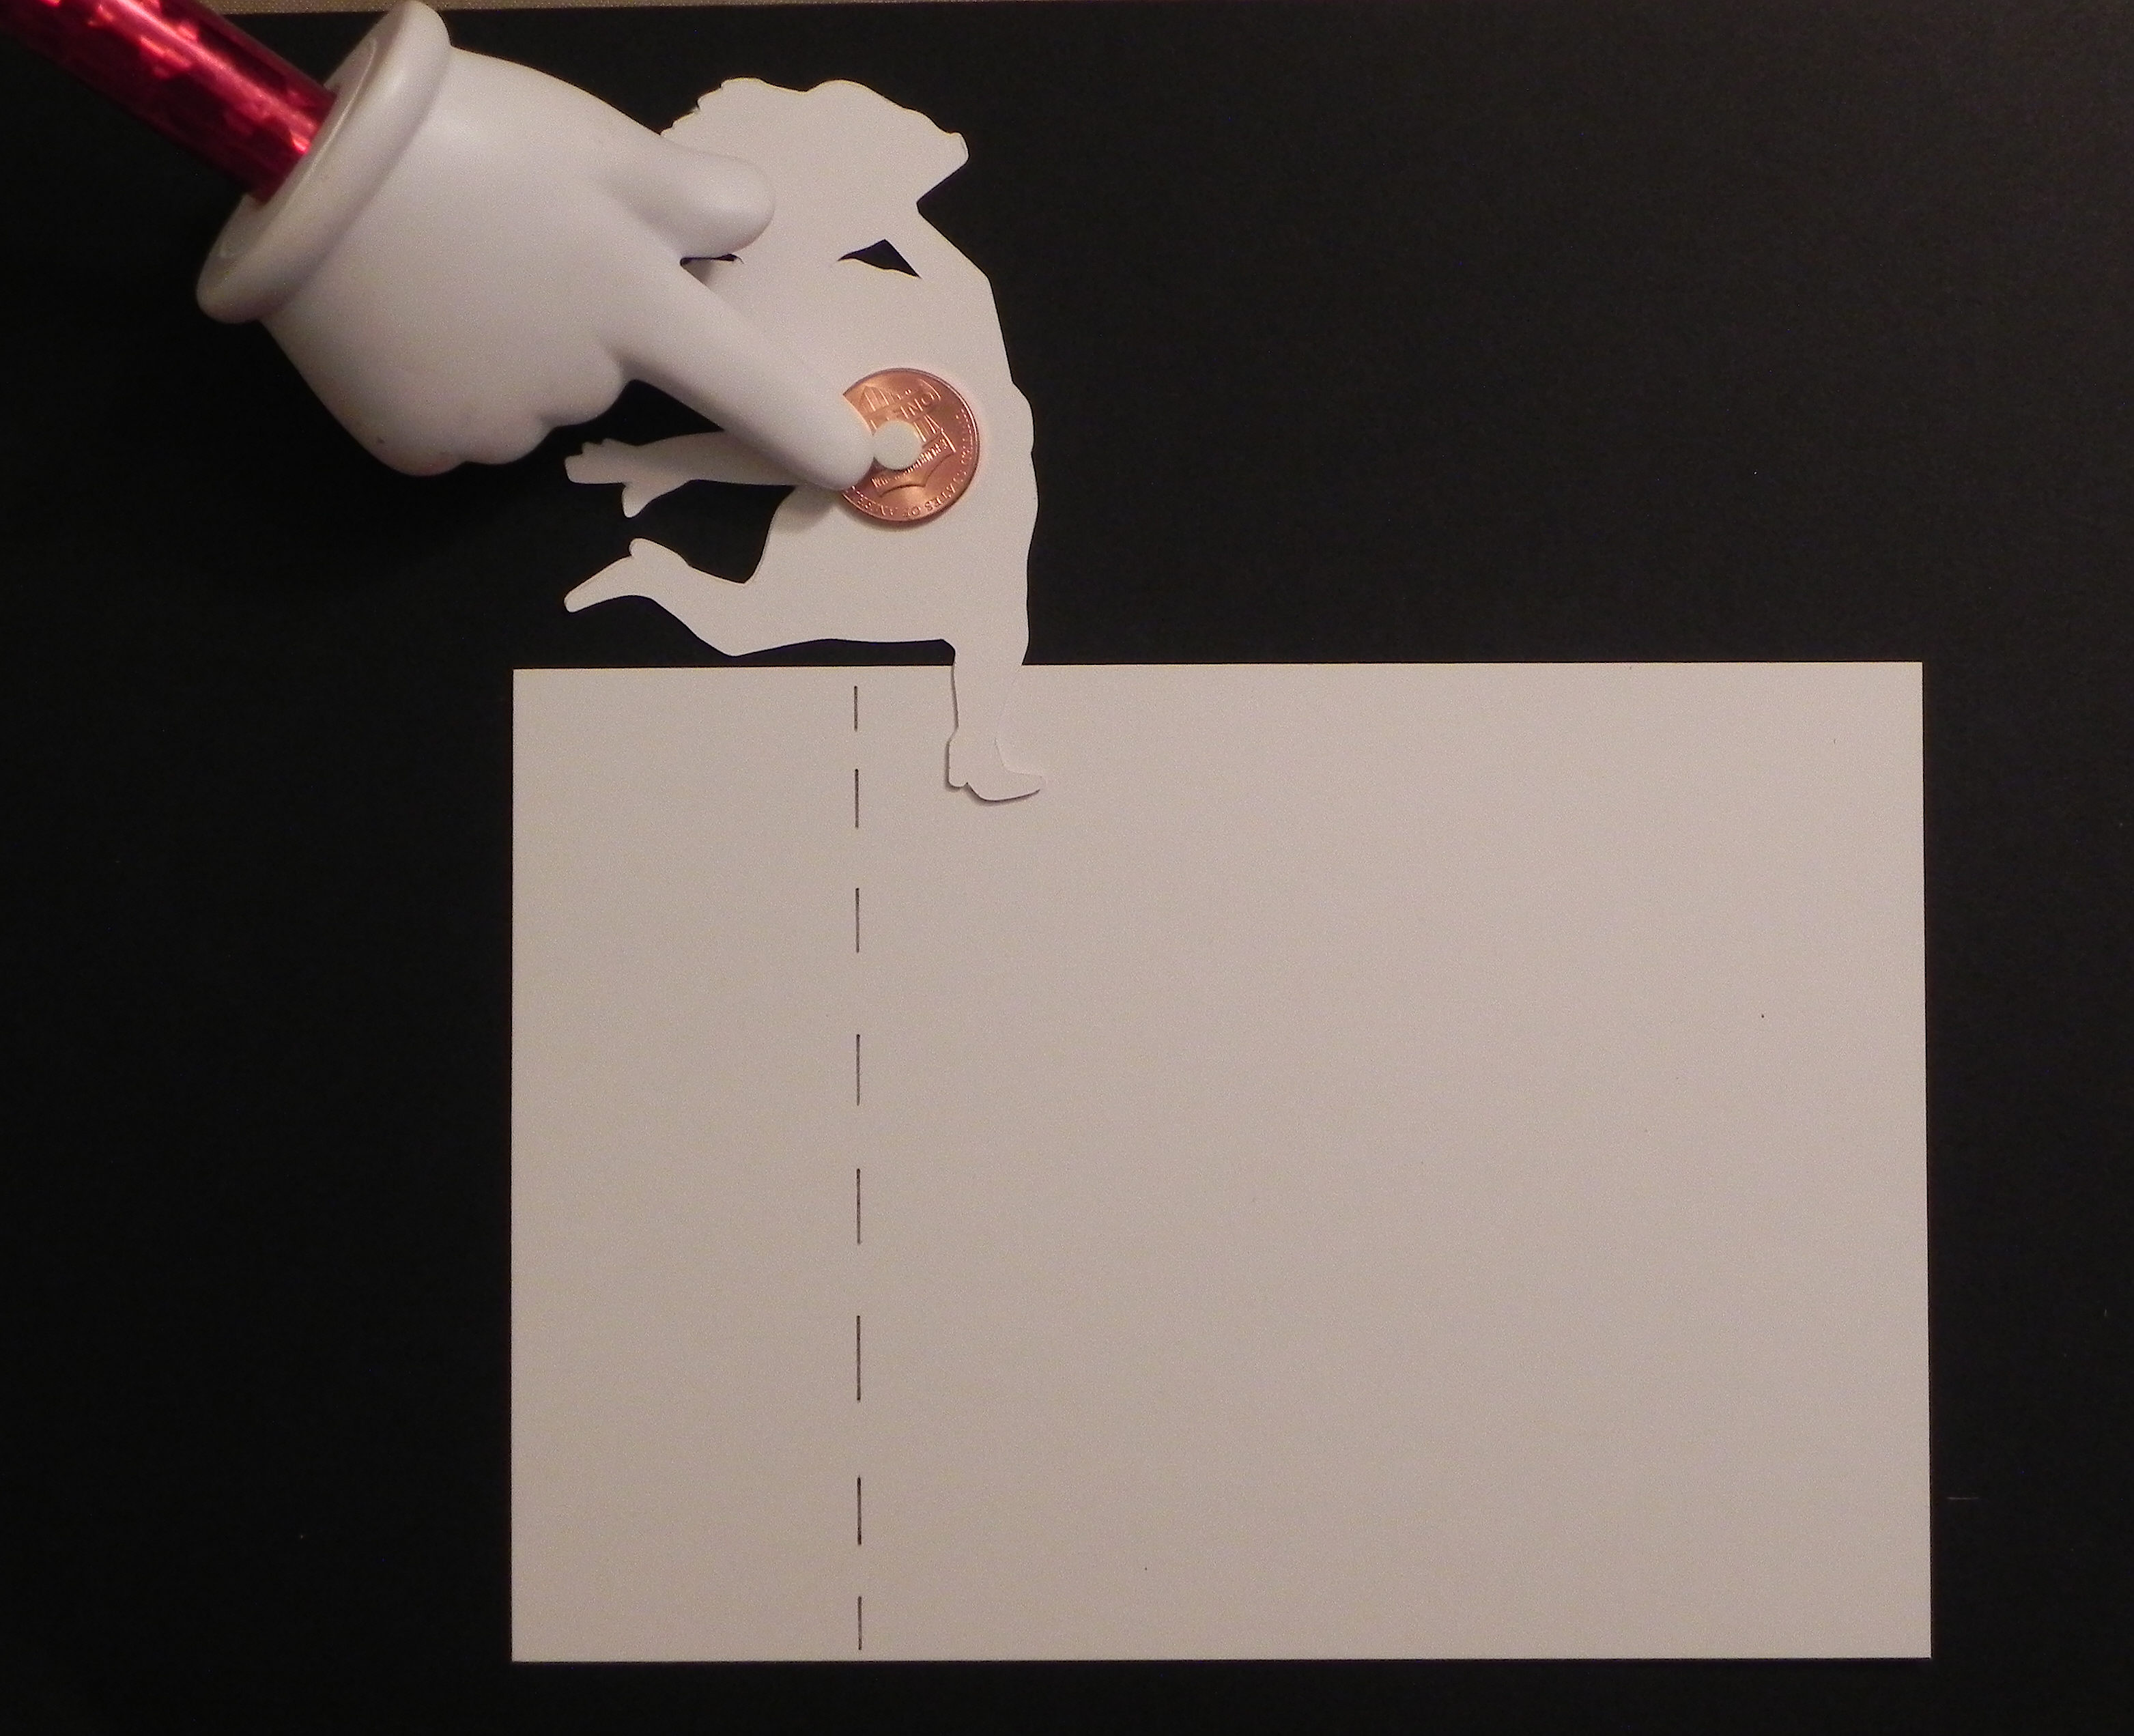
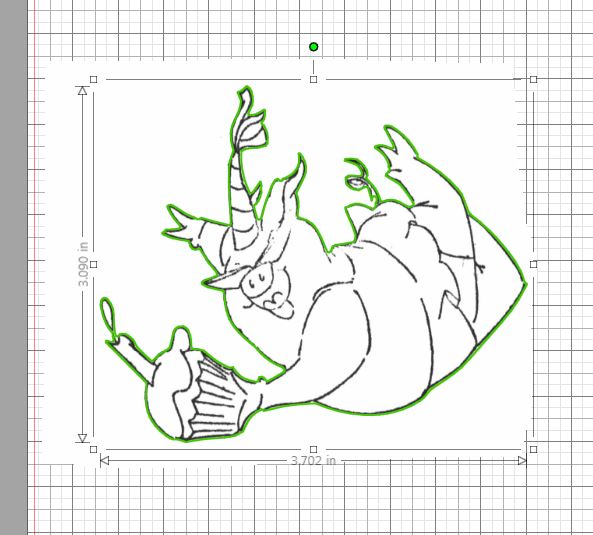
17. To make this more exact you can move the nodes a bit. Here’s how. Double click on the green outline. You will see the nodes (square “dots”) on this shape.

Put your cursor on a node. While holding down the left side of your mouse, simple move the node so it is closer to the stamped shape. Look at the node in the red oval below. The first photo shows the original position of the node. The second one shows where it is after I moved it.
(before)
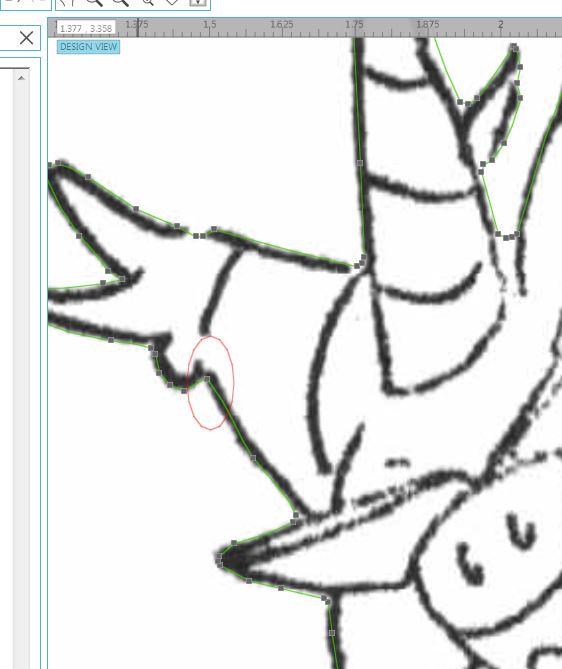
(after)
You can add additional nodes to your shape by clicking on the line where there is no node.

(before)
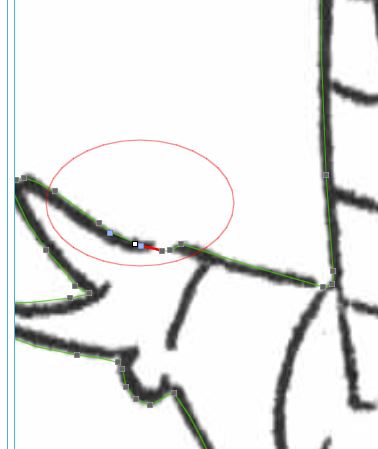
(after)
Be sure to save your work often while you work.
This is a very simplified explanation of how to clean up the cut file for your die cut. As I mentioned above, you may want to check out the video series called Tracing Without Tearsin Silhouette Studio if you want a more detailed explanation of Point Editing.
When I need an exact cut, I enlarge my view and just work my way around the whole image, moving nodes into the exact position so they are on the edge of/slightly over the black line with no white gaps. This will give you a shape that matches the stamp so you will see no white when it is stamped. Yes, it can be tedious depending on how messy your original trace was, but you will be pleased with the results if you are patient!
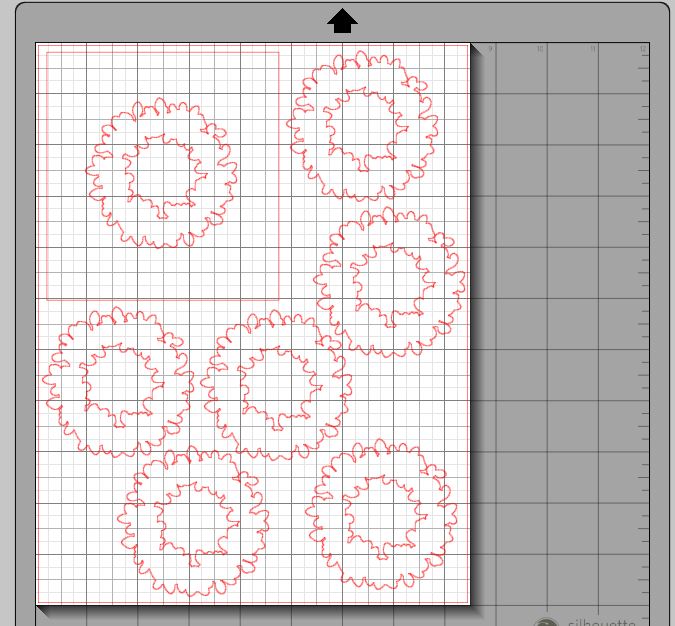
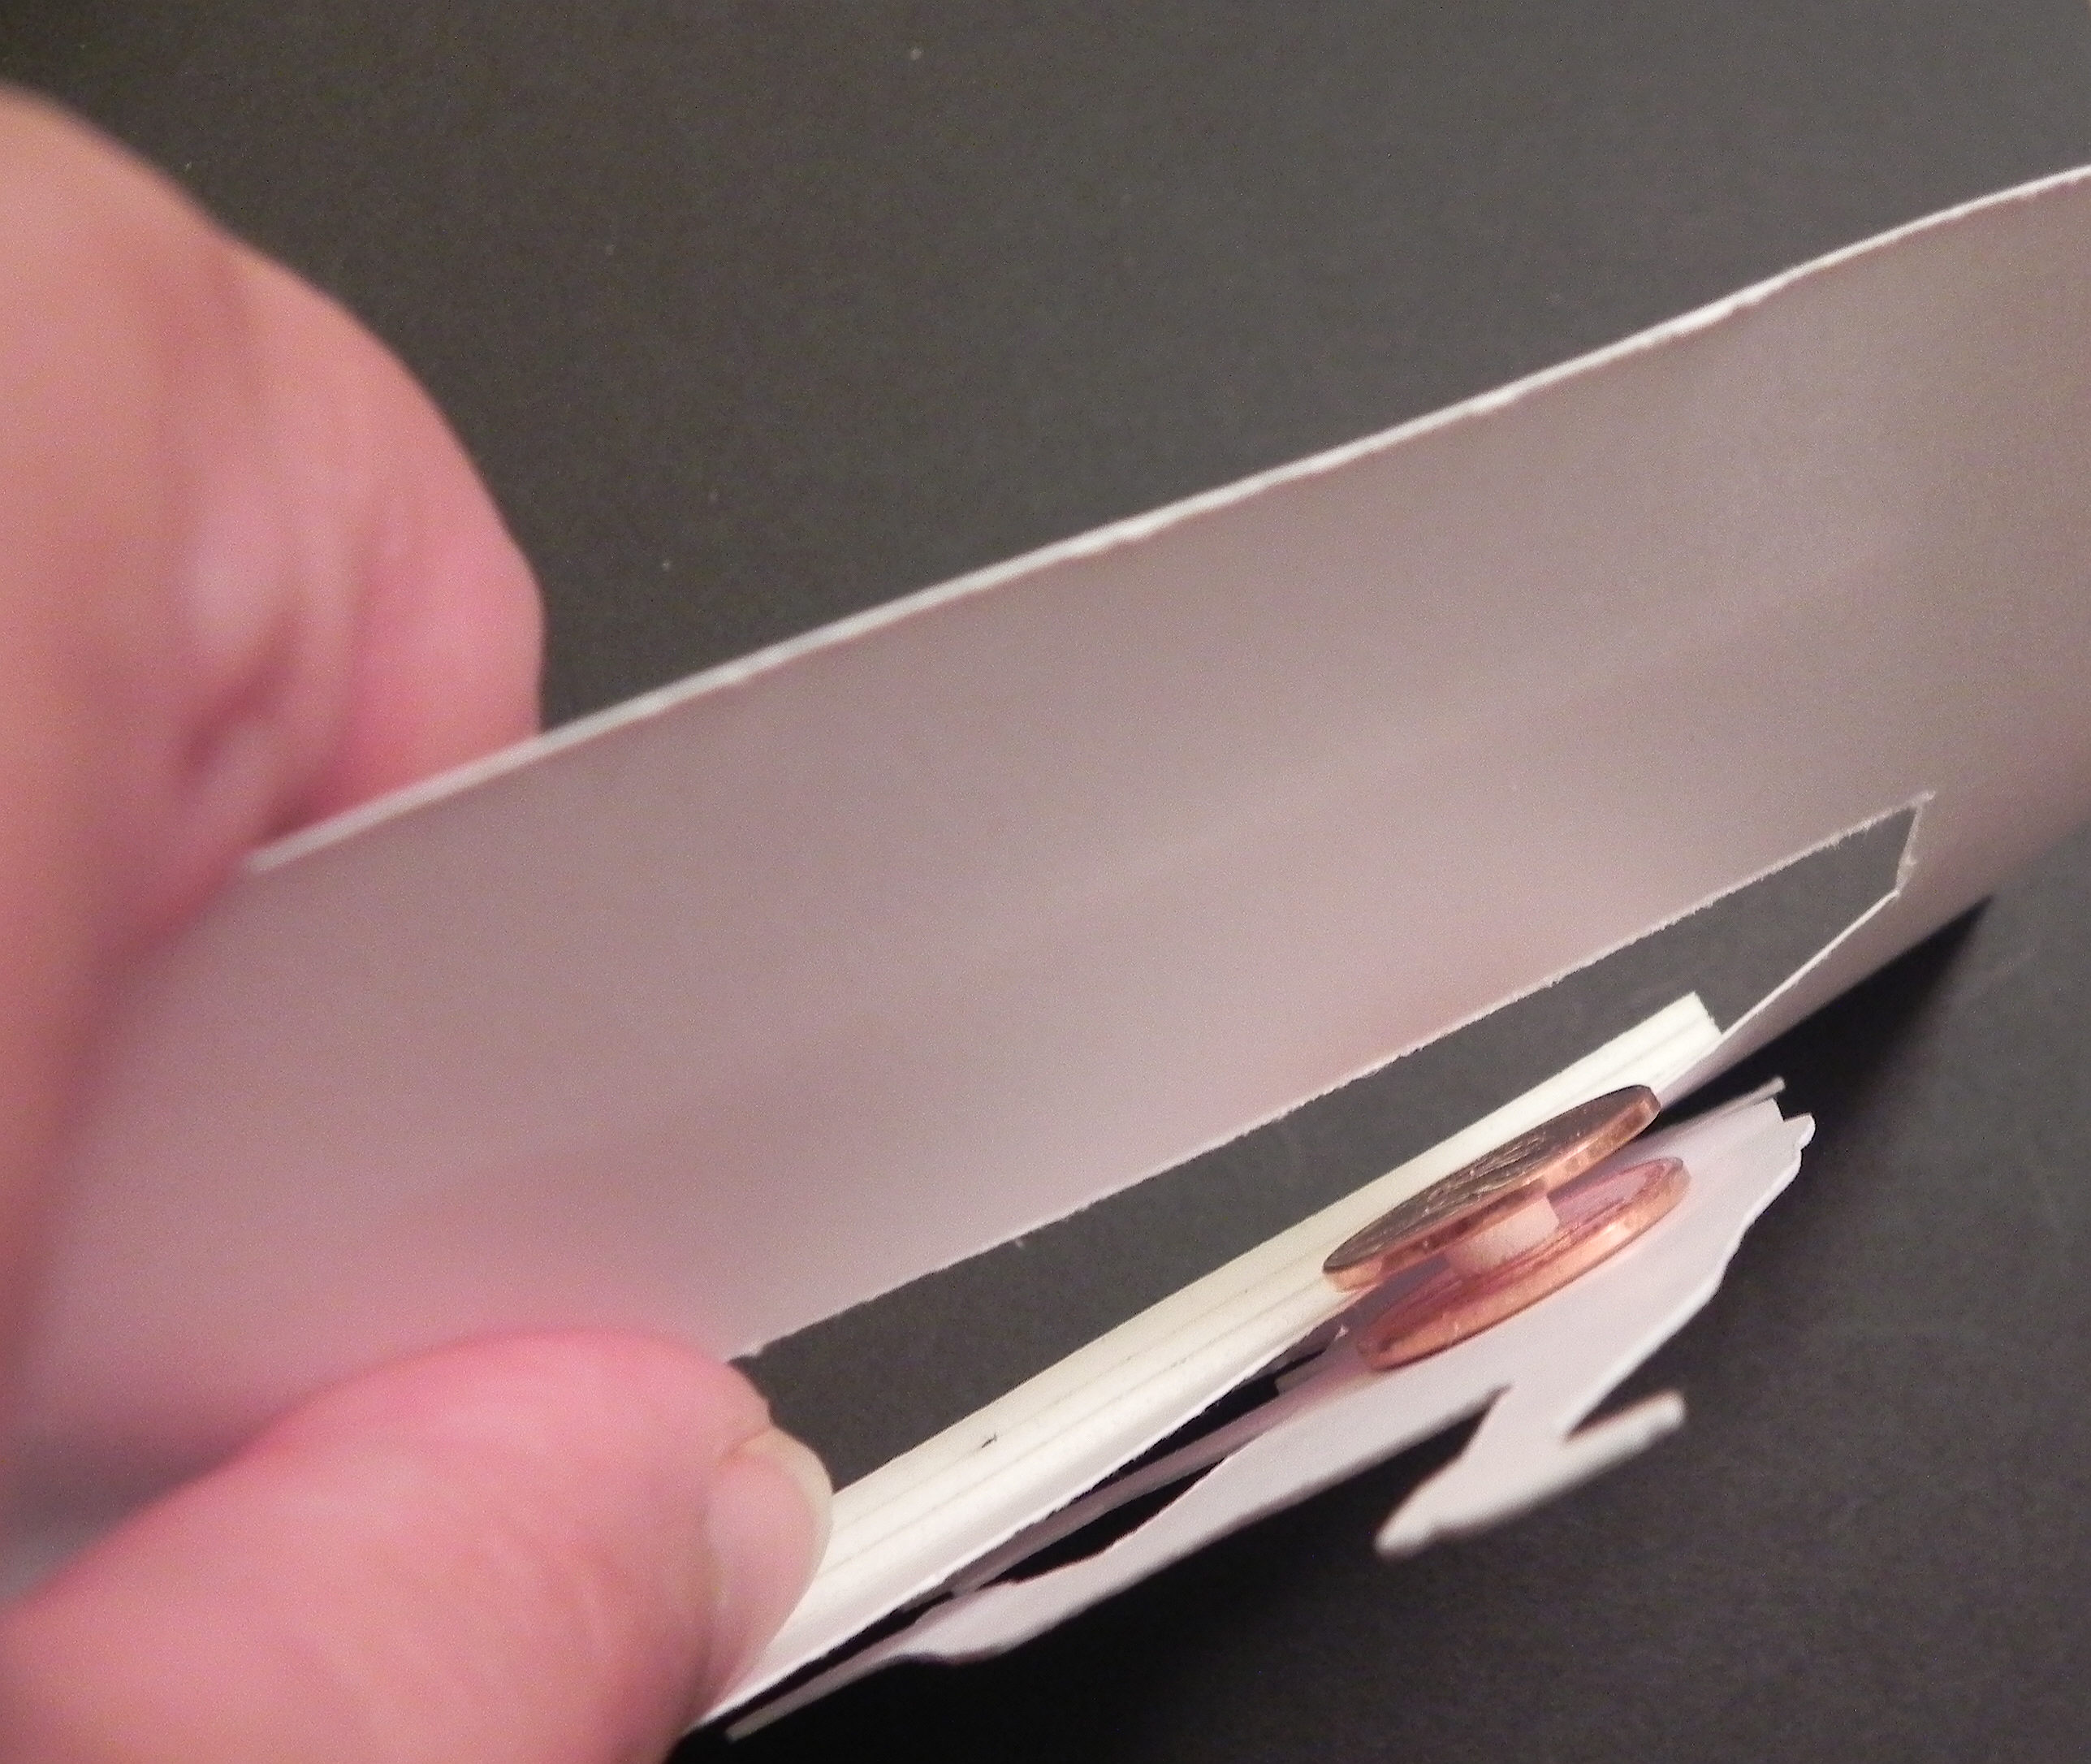
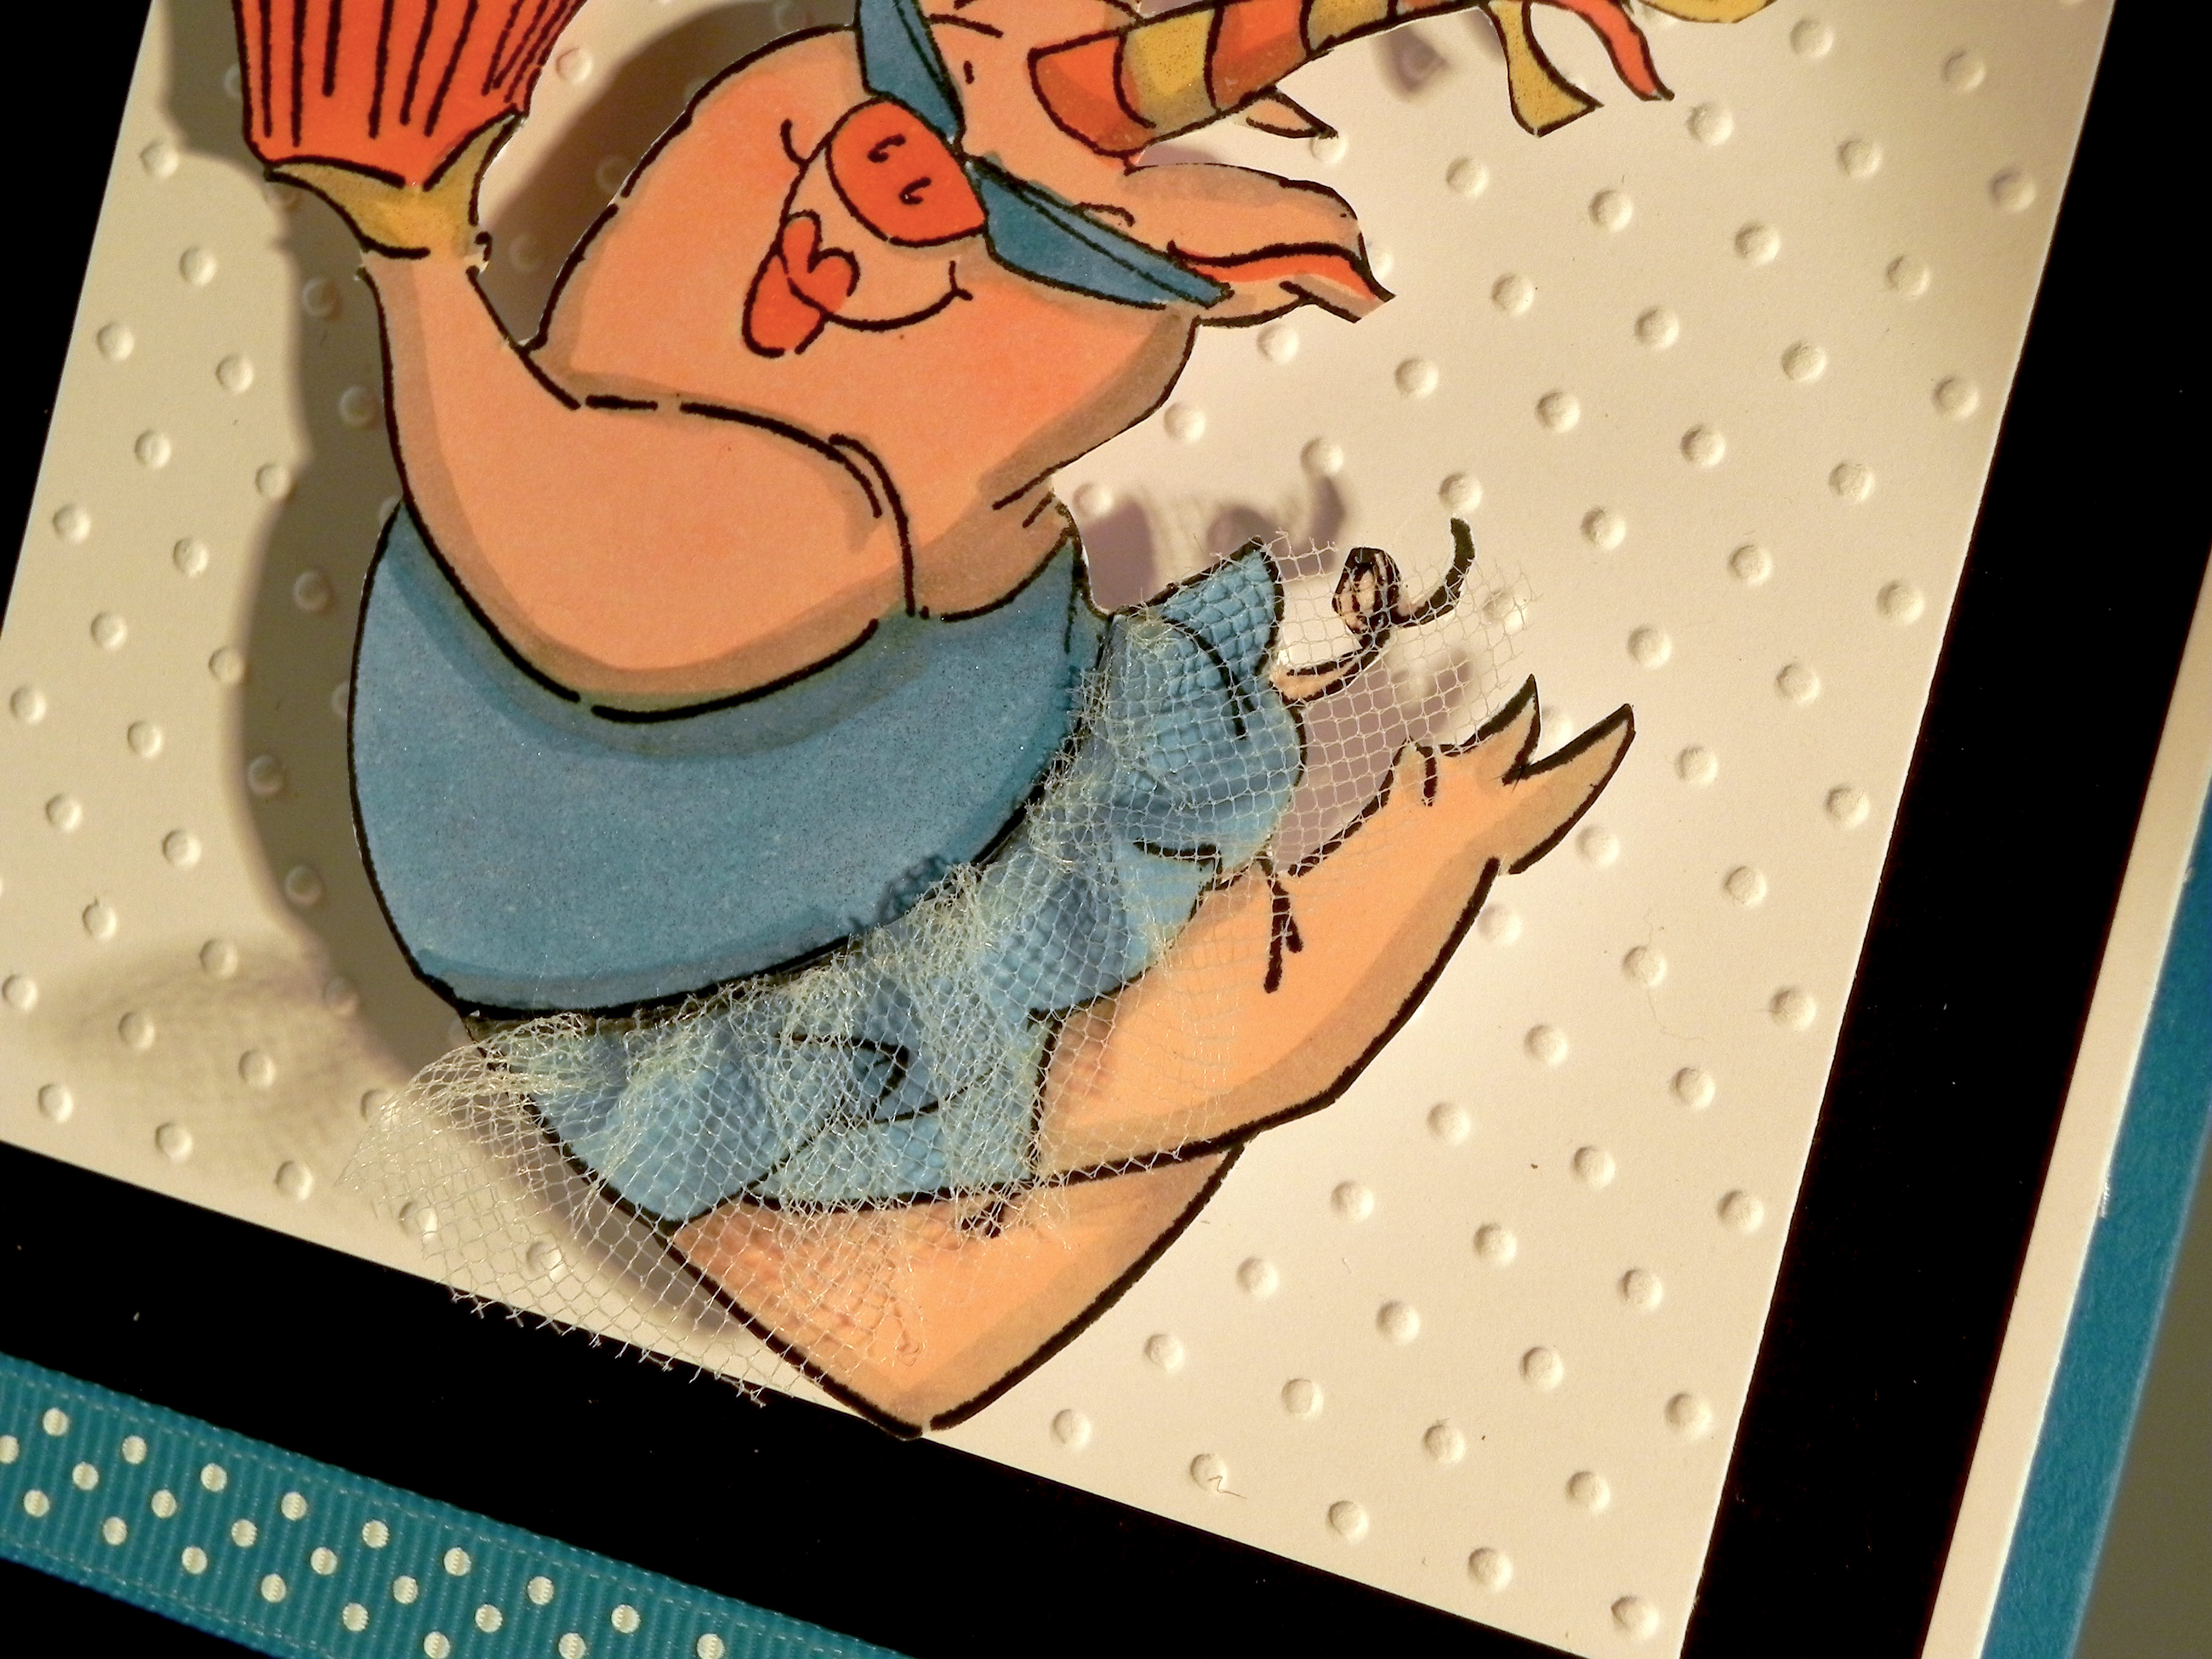
I know there are some who would be asking, “Why not just use scissors?” That is certainly an option if you enjoy and are physically able to fussy cut your stamped images. However, sometimes the images have lines that are difficult to cut with scissors. And often, I create multiples of a card design, and it is so much easier to cut many die cuts with my Silhouette than to fussy cut each one. This was the case with the card below. I was making multiple copies of this card for a craft show, and I needed to cut the stamped crab image. The claws were so thin and curvy that every time I tried to get around this portion of the image, the paper creased and/or tore. I ended up making a cut file and was able to get a clean die cut and make lots of them.

(click HERE to see original post for this card)
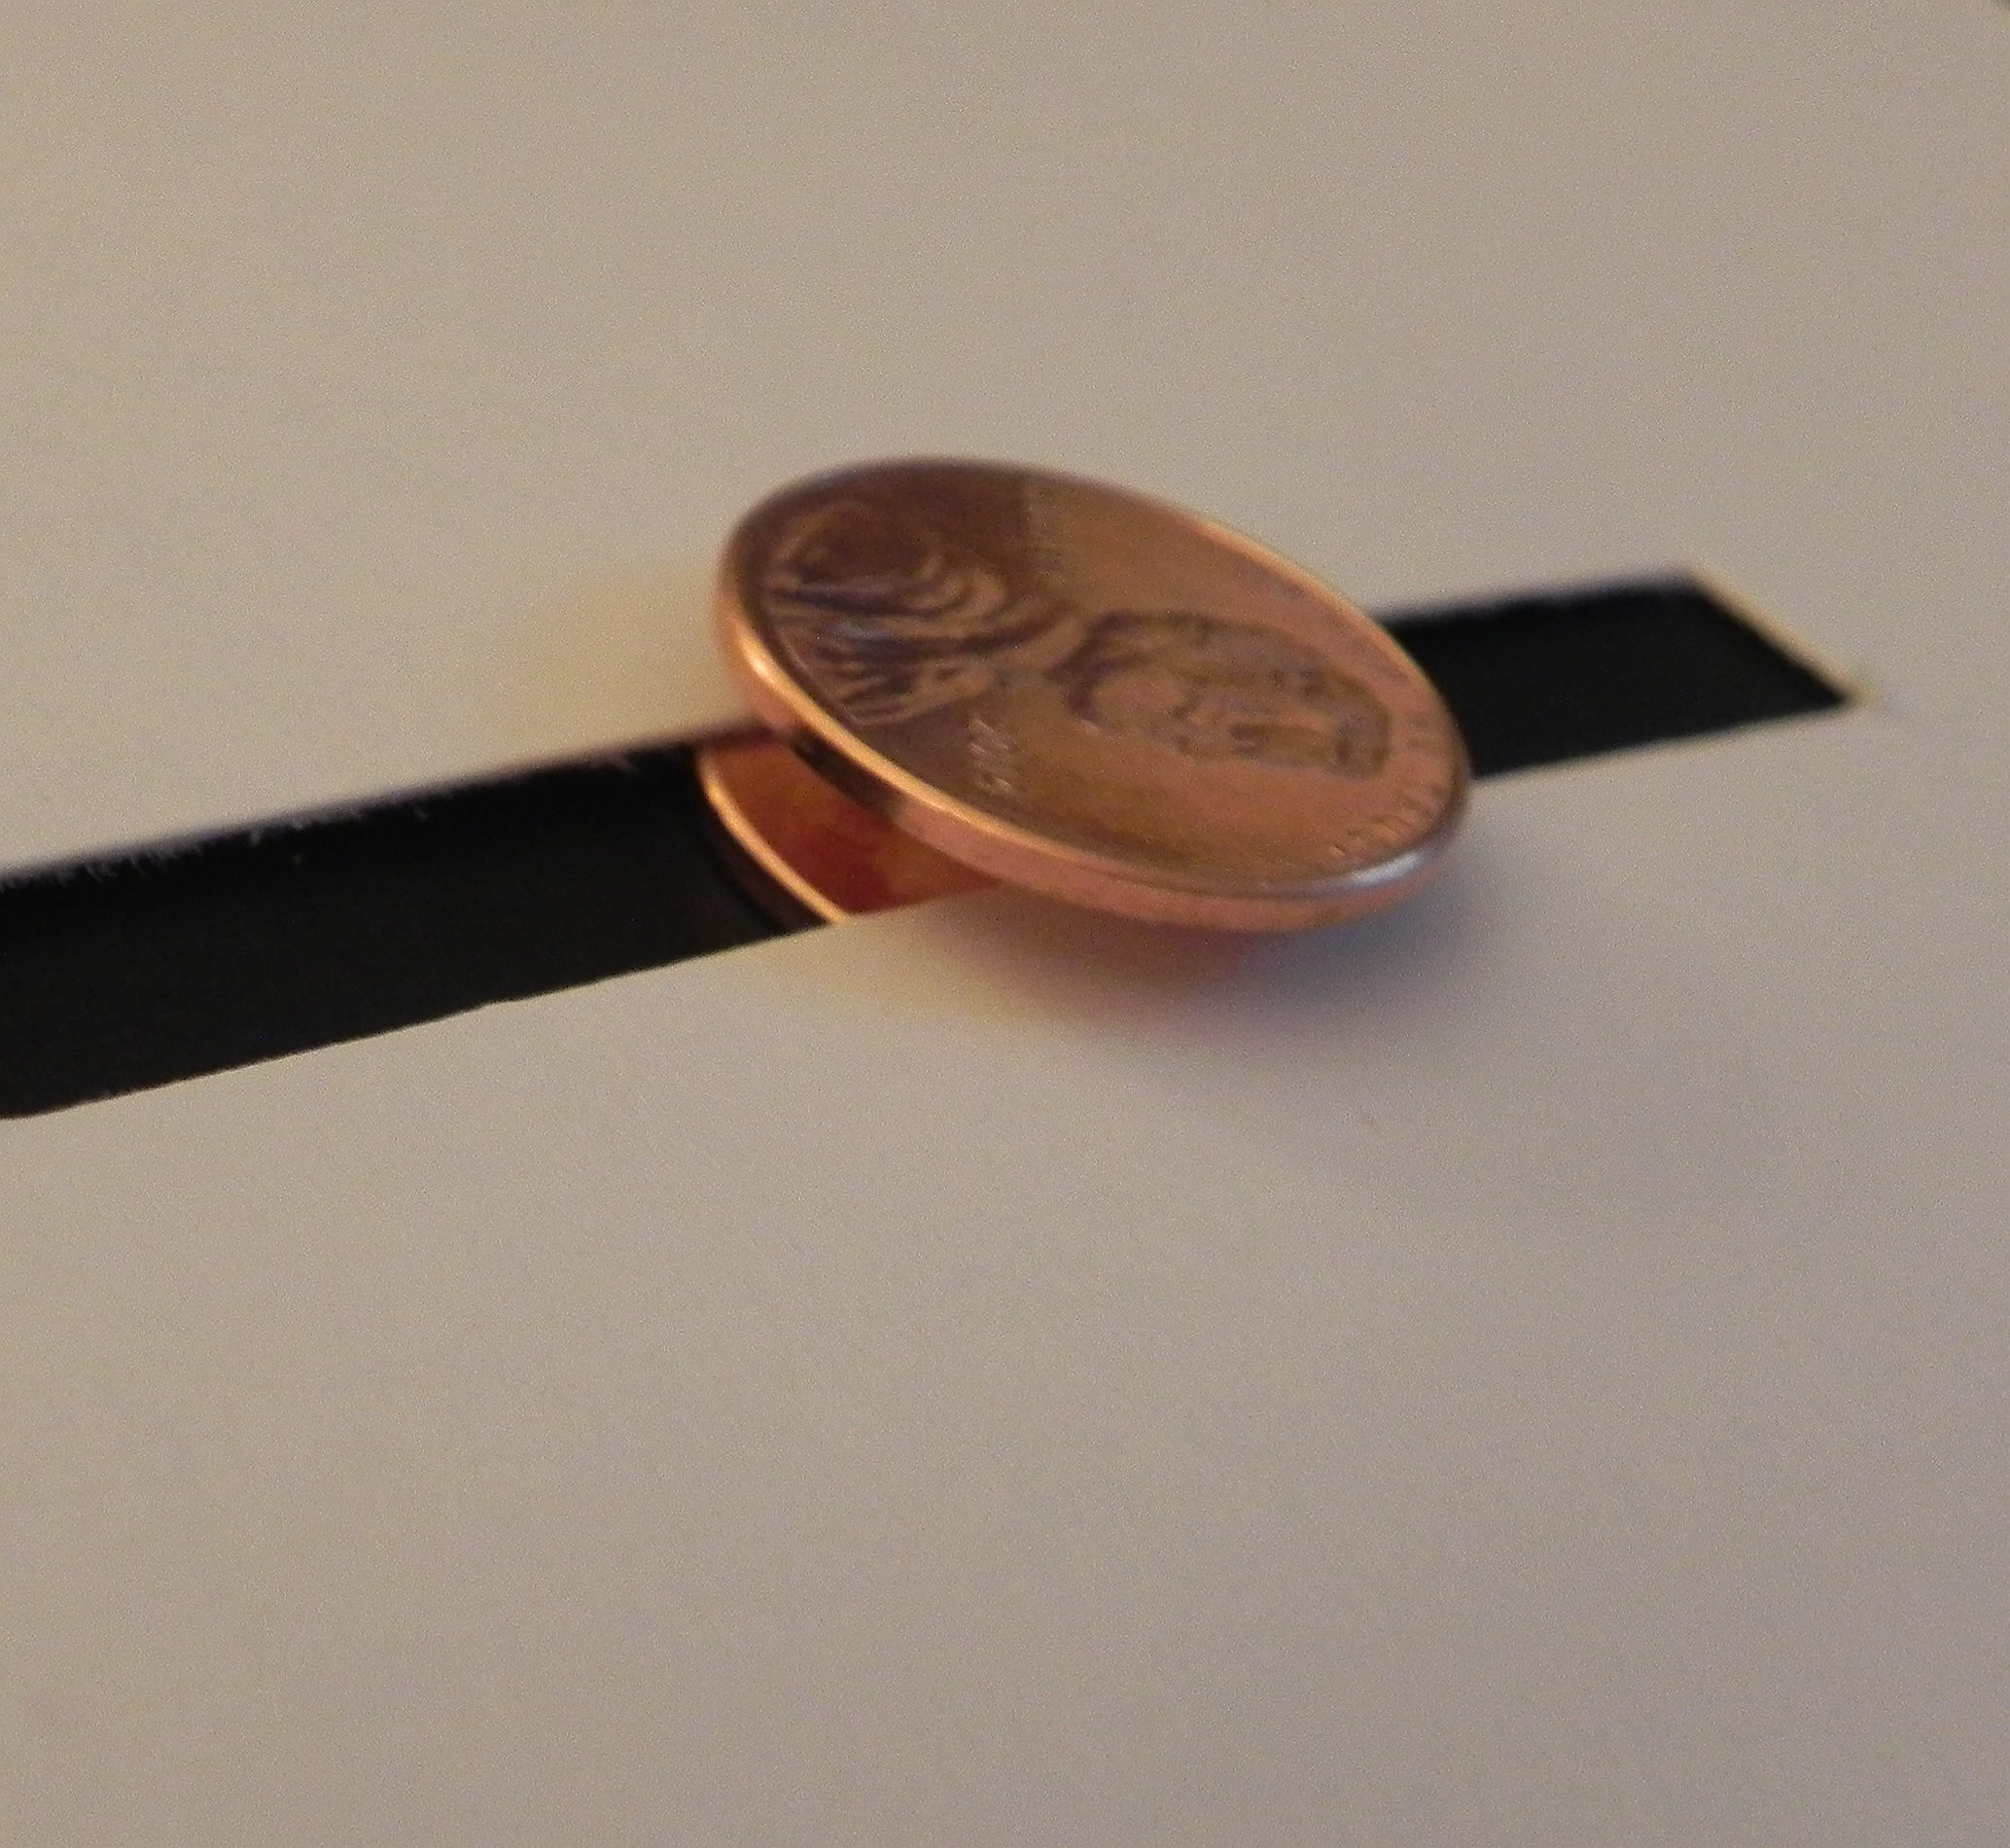
Stamping on such precise die cuts can be tricky. Check out my tutorial HERE to see how I use a positioning tool to get perfectly placed stamped images.
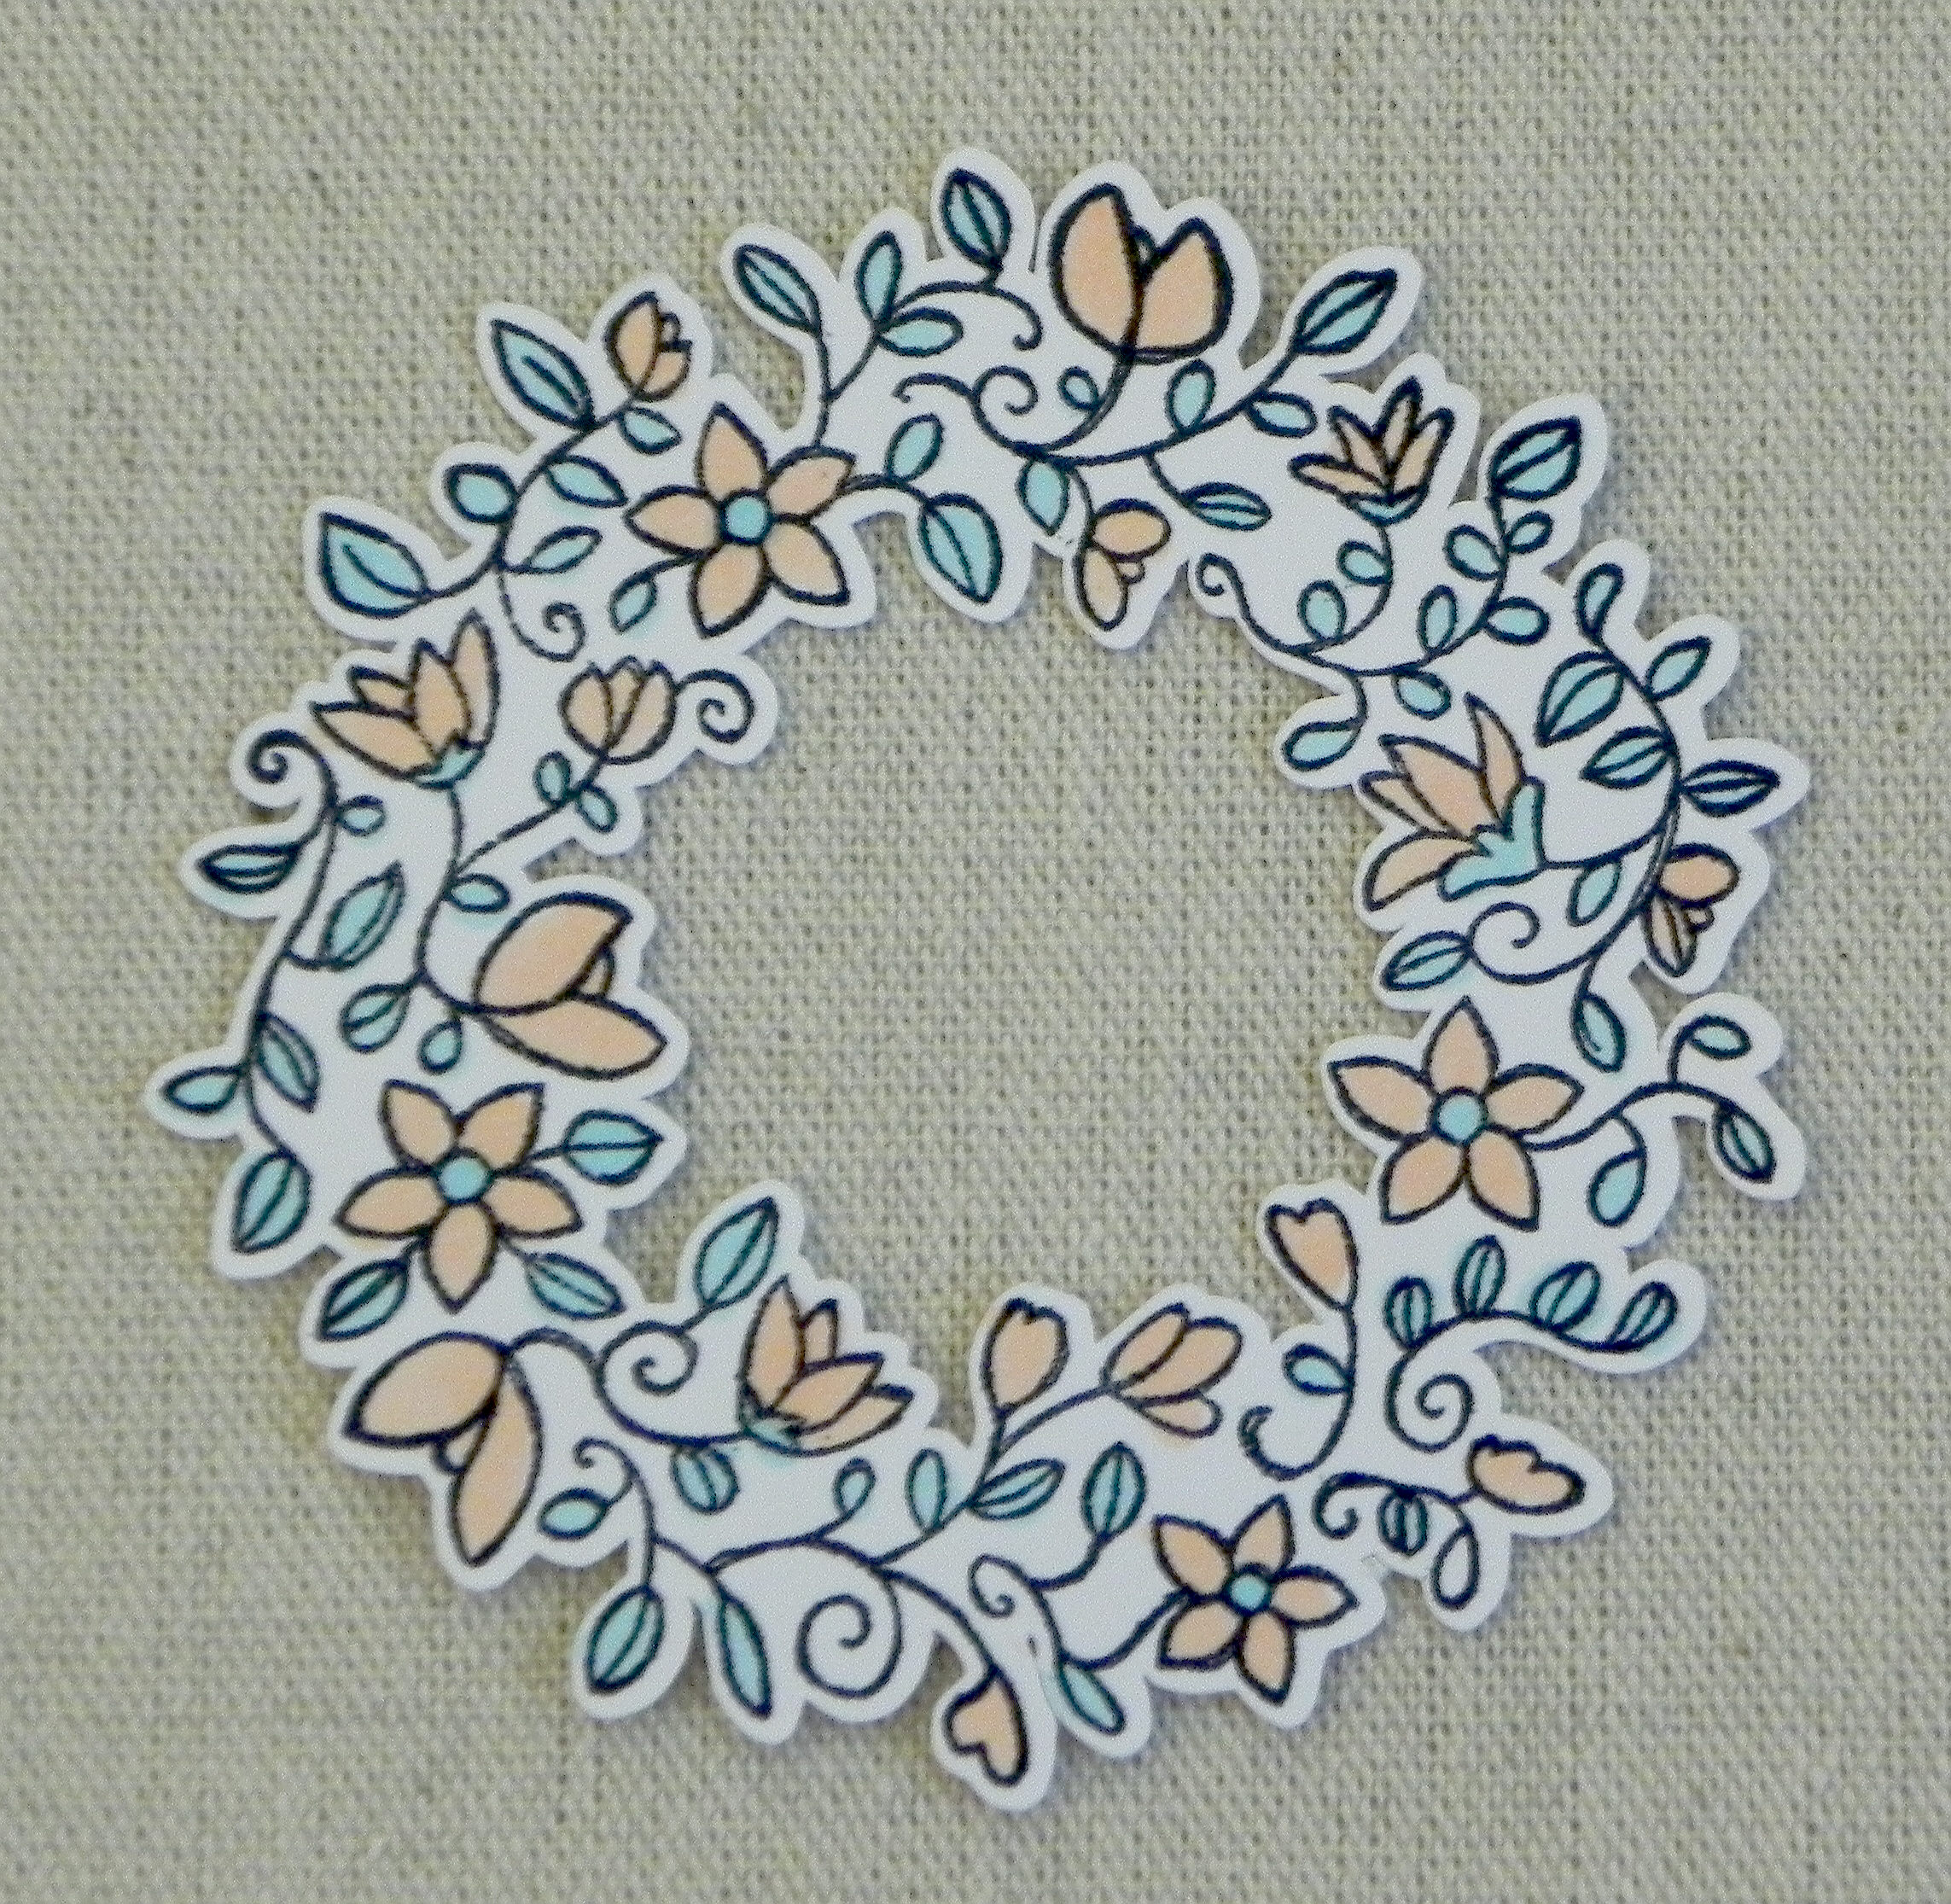
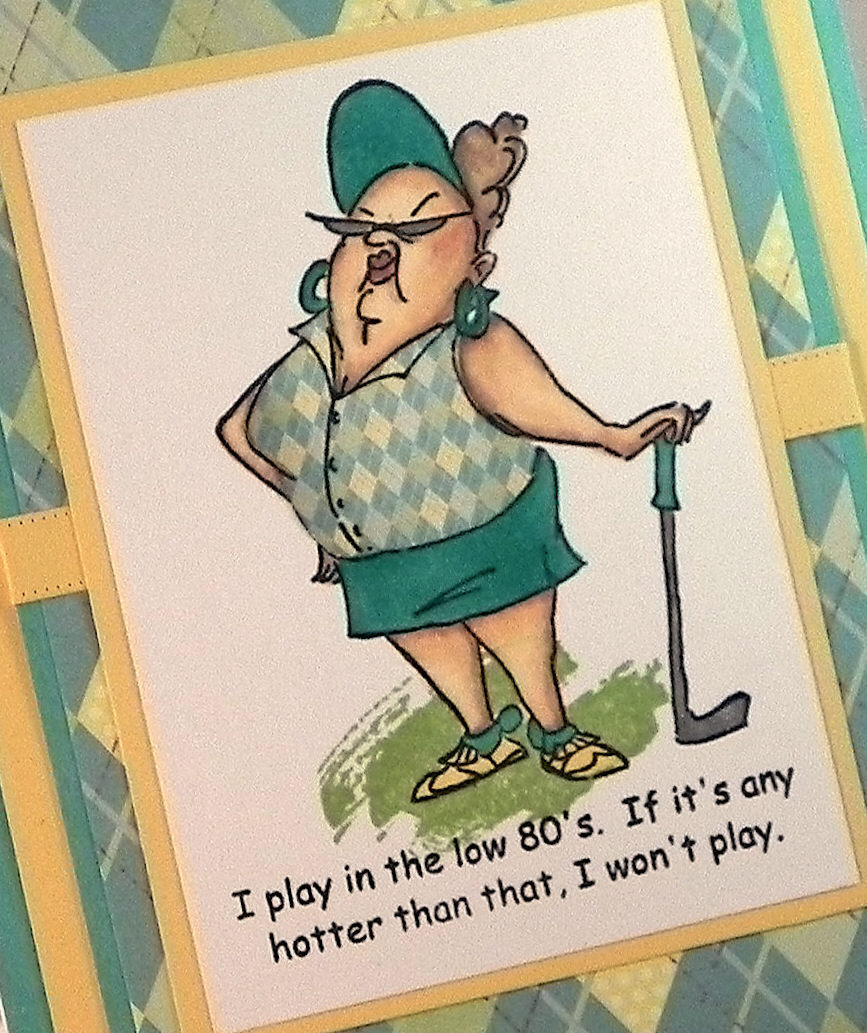
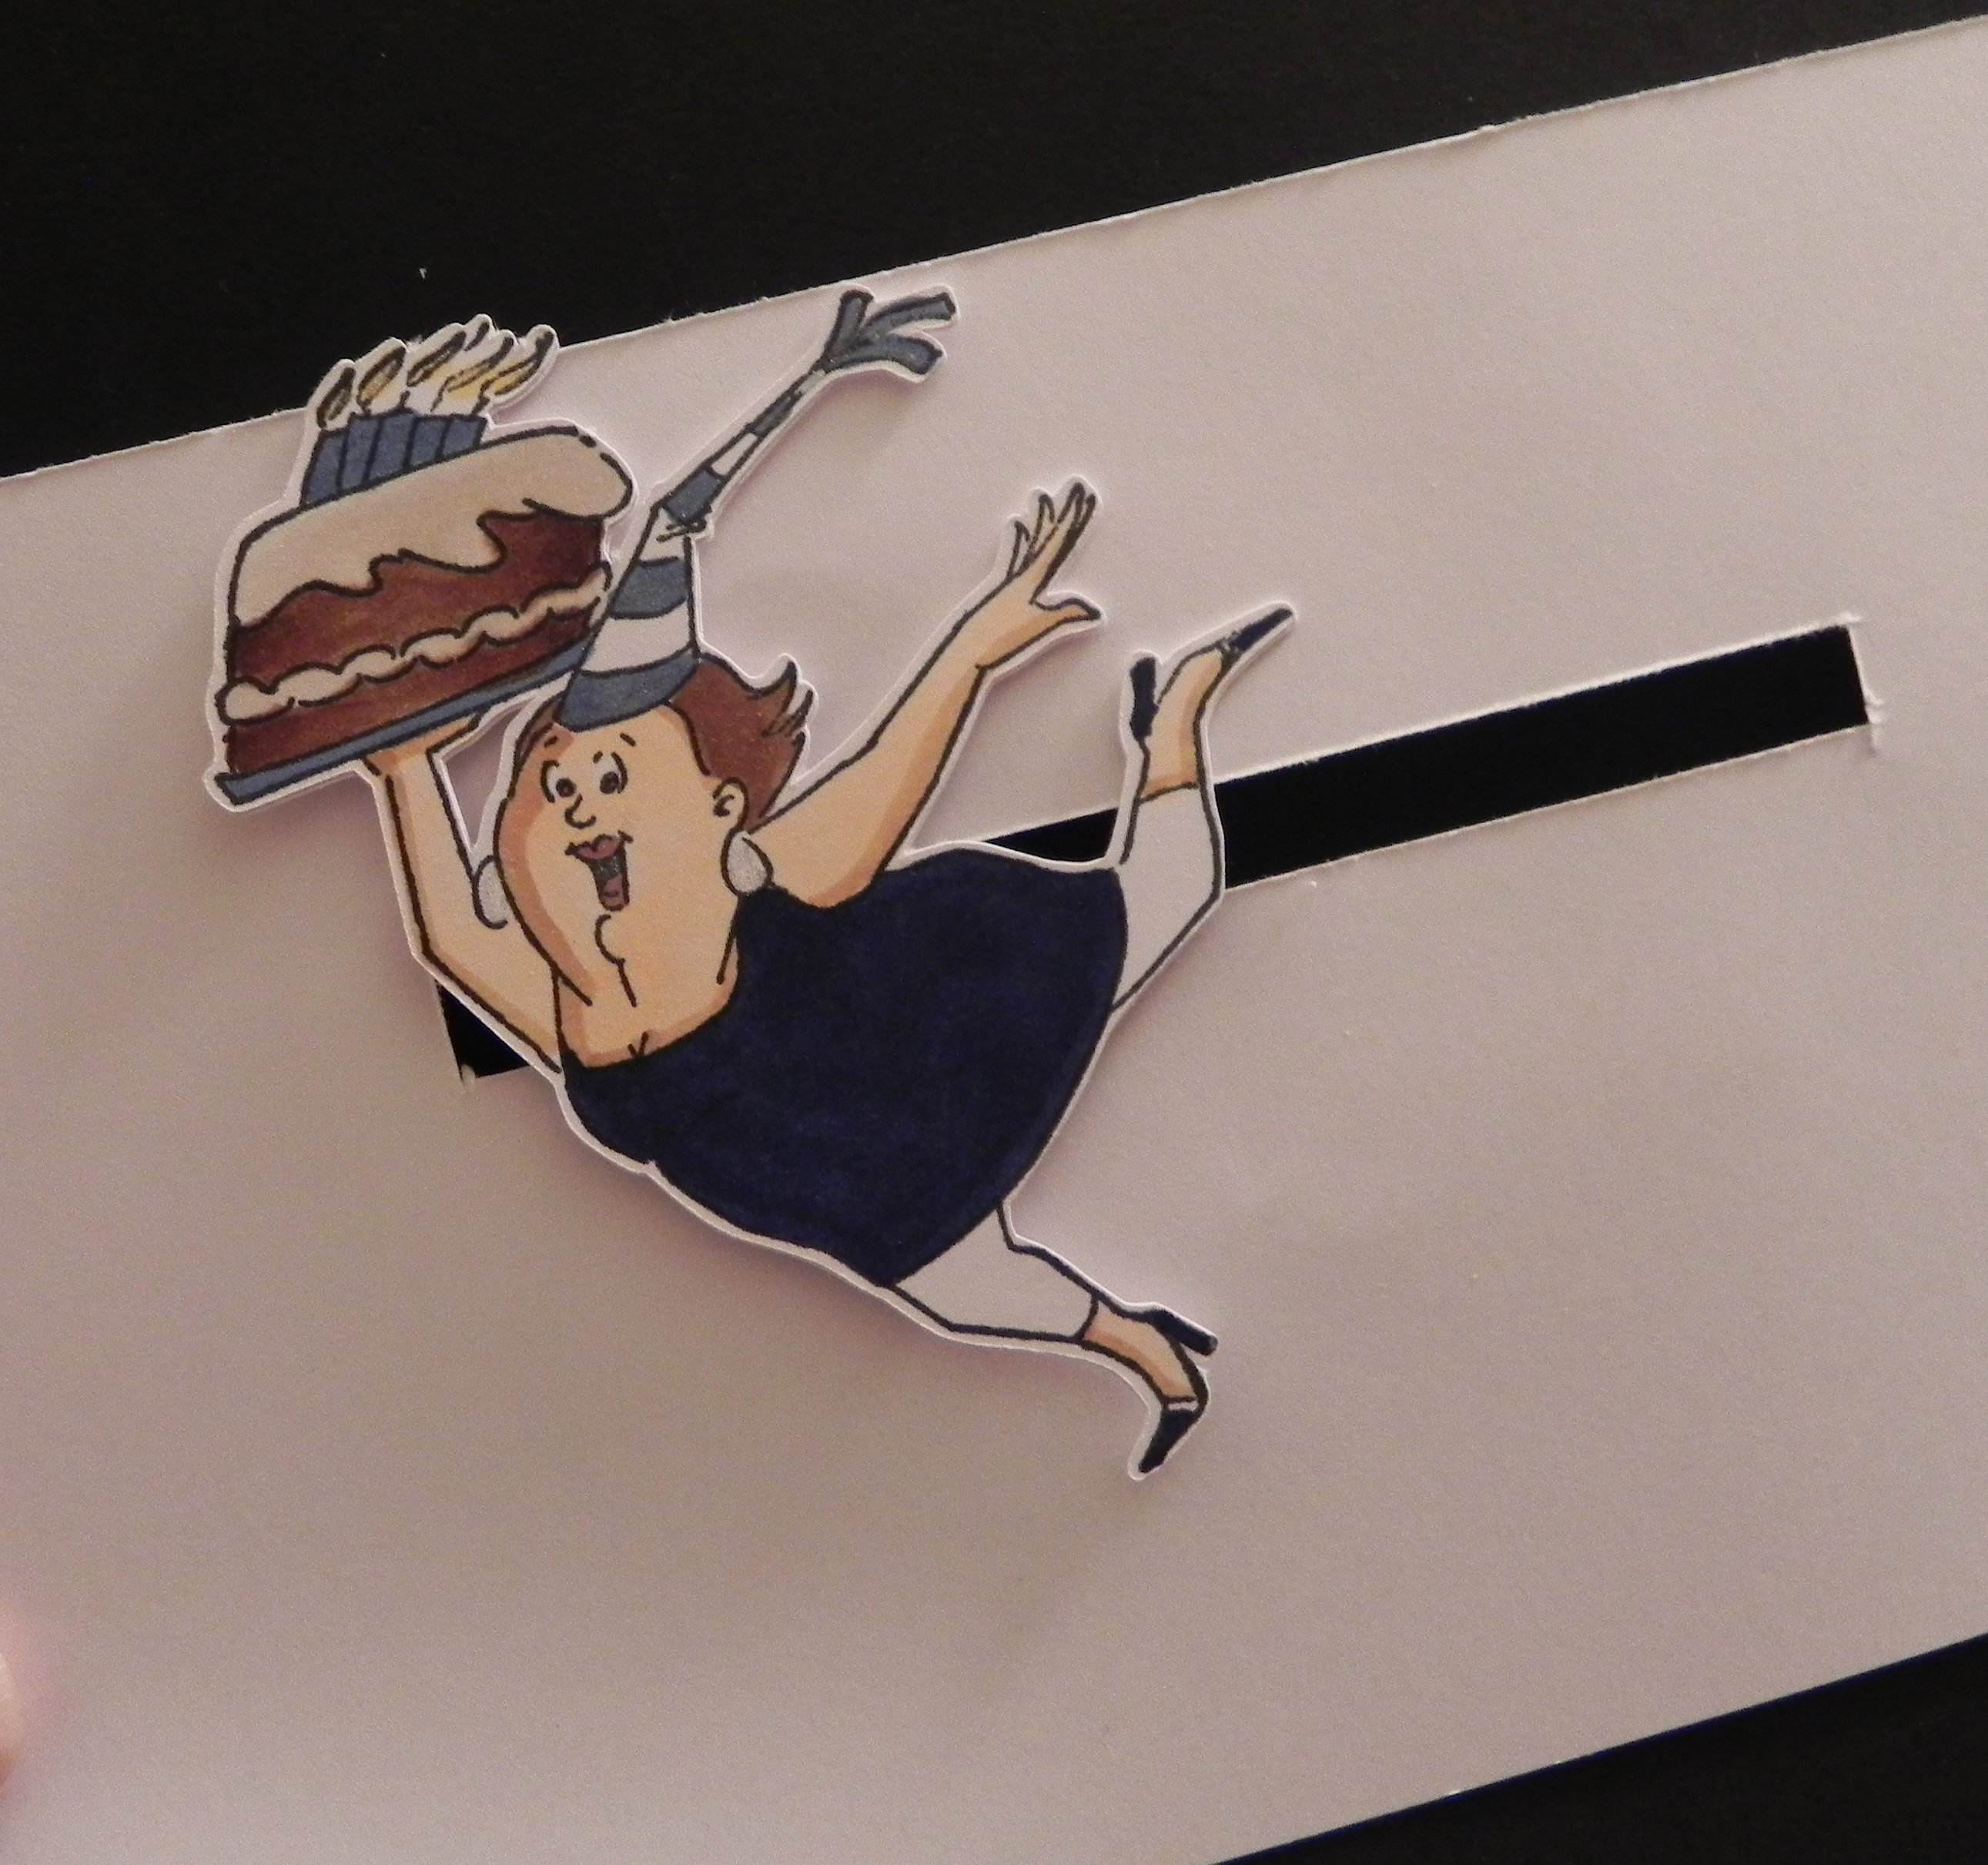
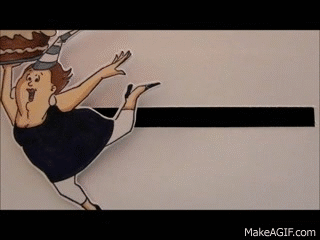
Finally, here is the card I made using the die cut I created above:
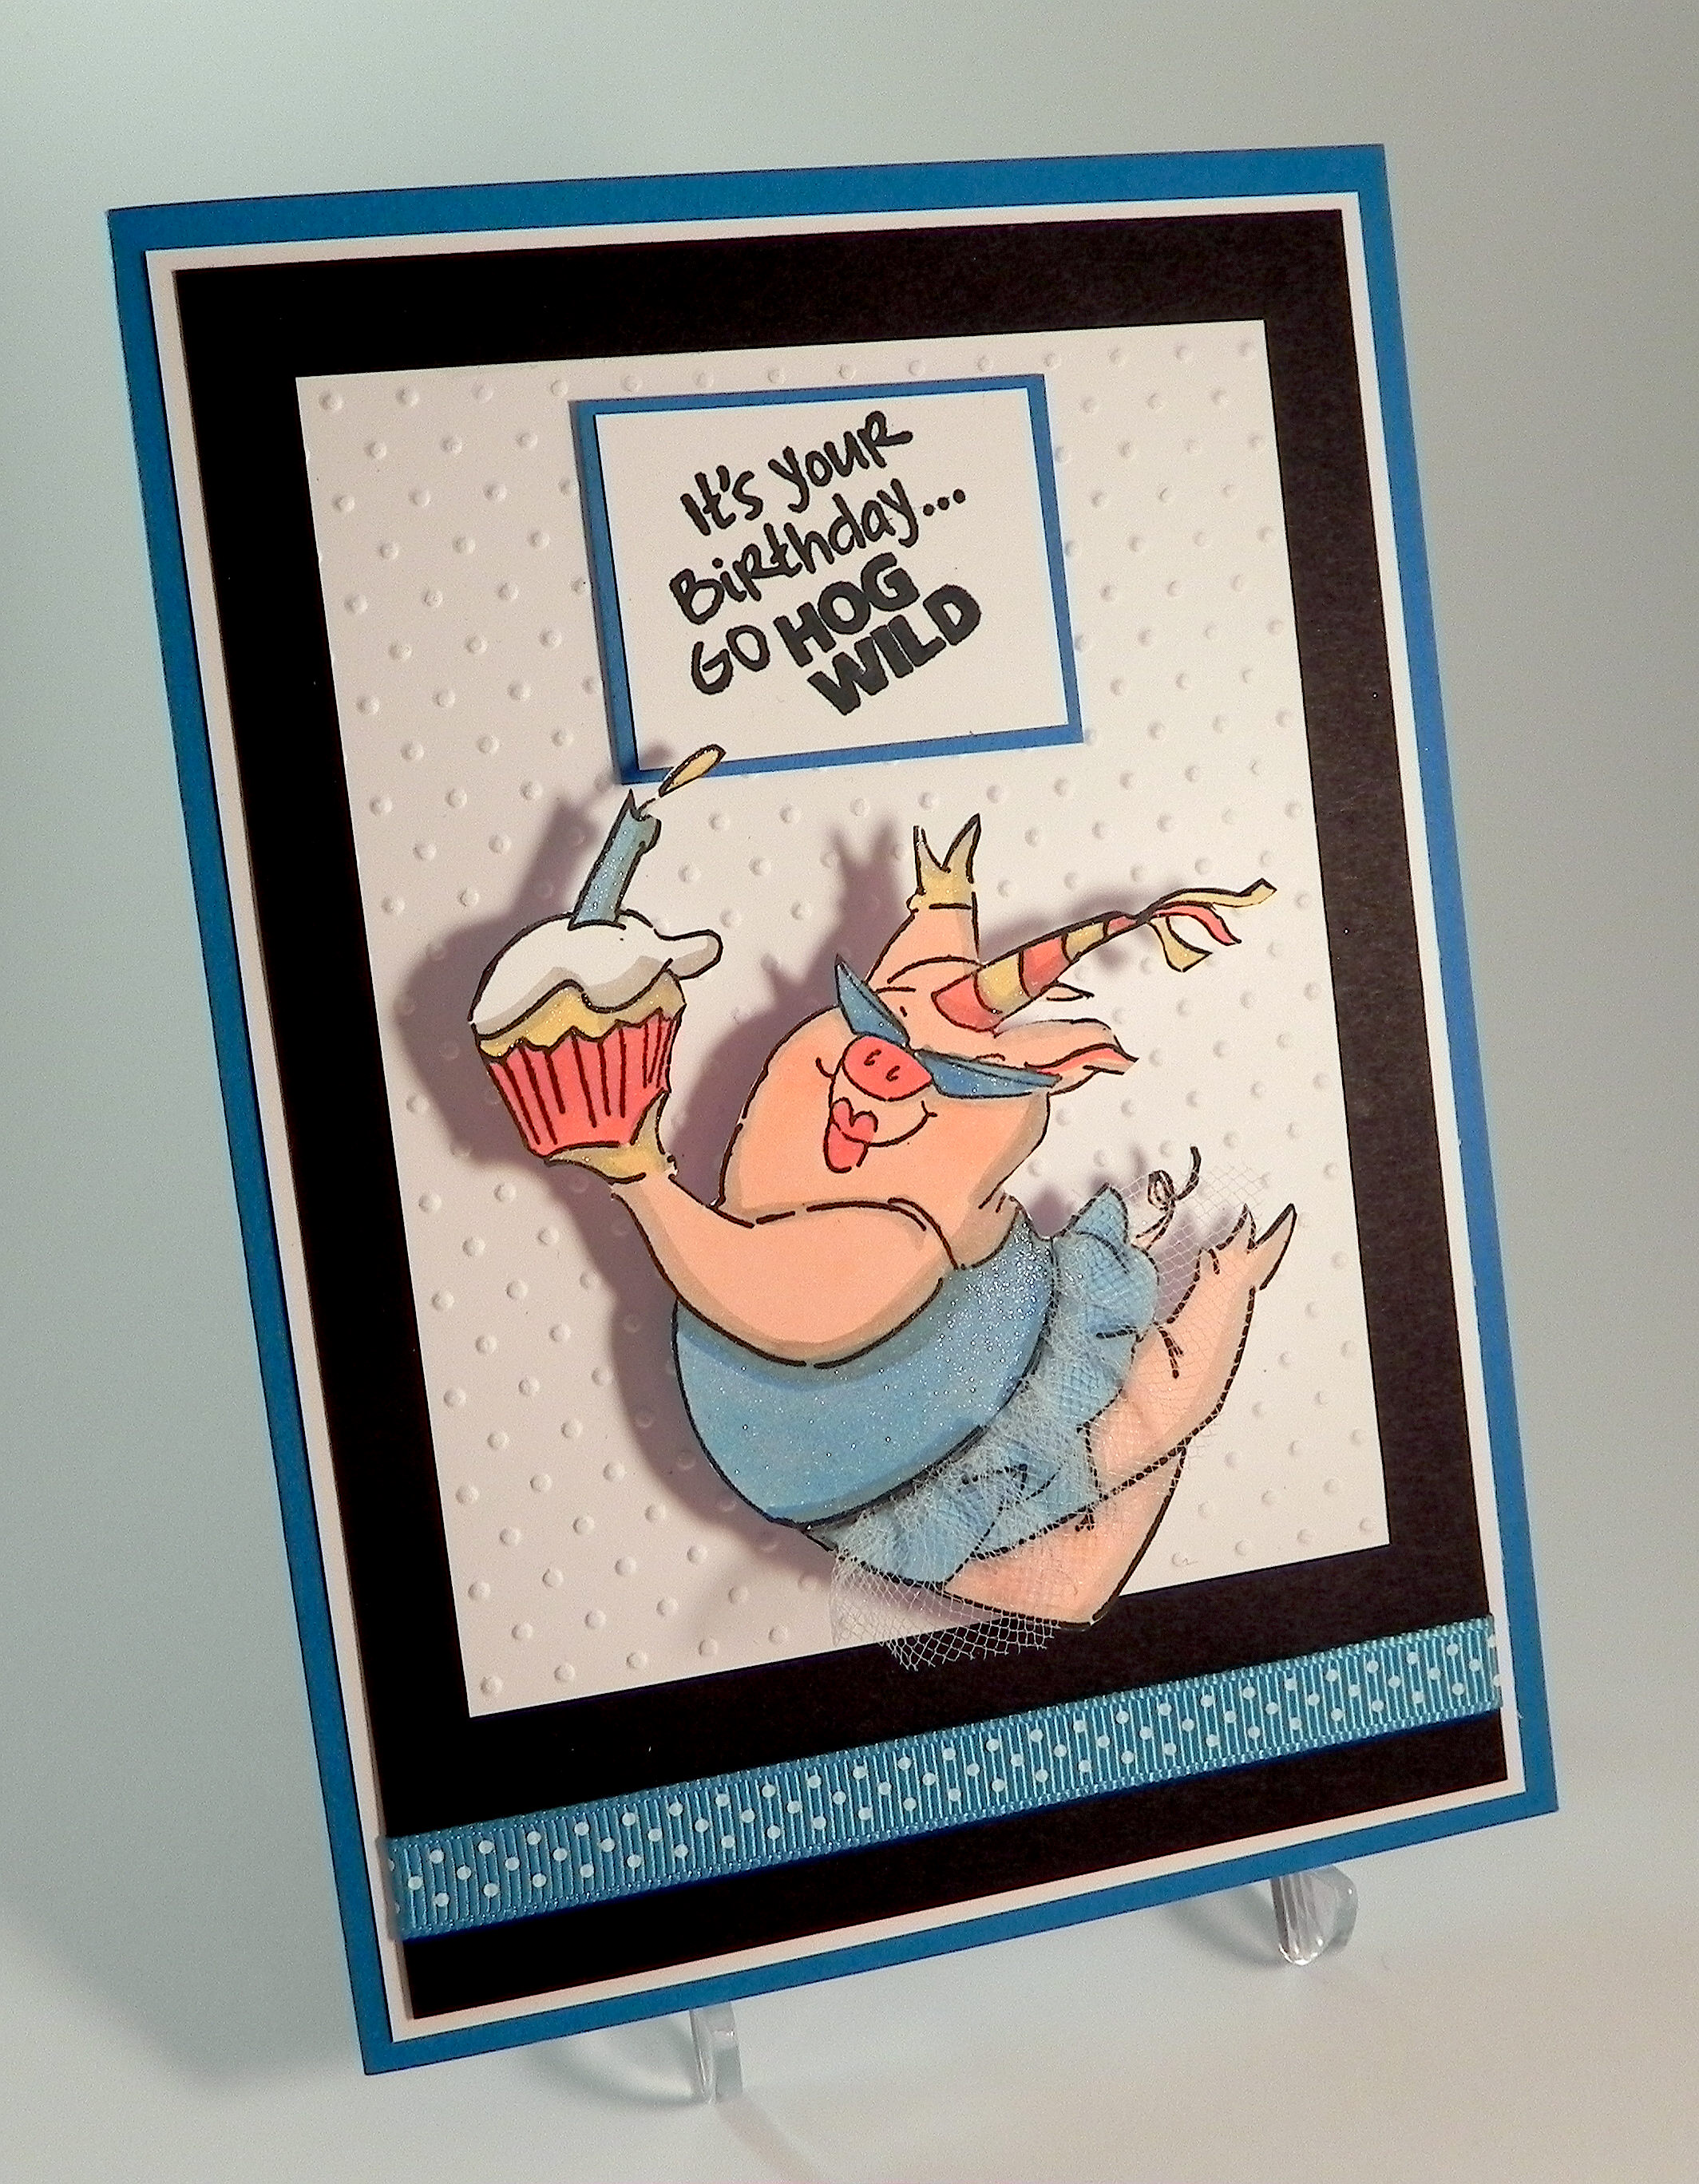
(Click HERE for the original post for this card.)
Thanks for checking out my tutorial!
This content uses referral links as described in the disclosure policy on my sidebar.