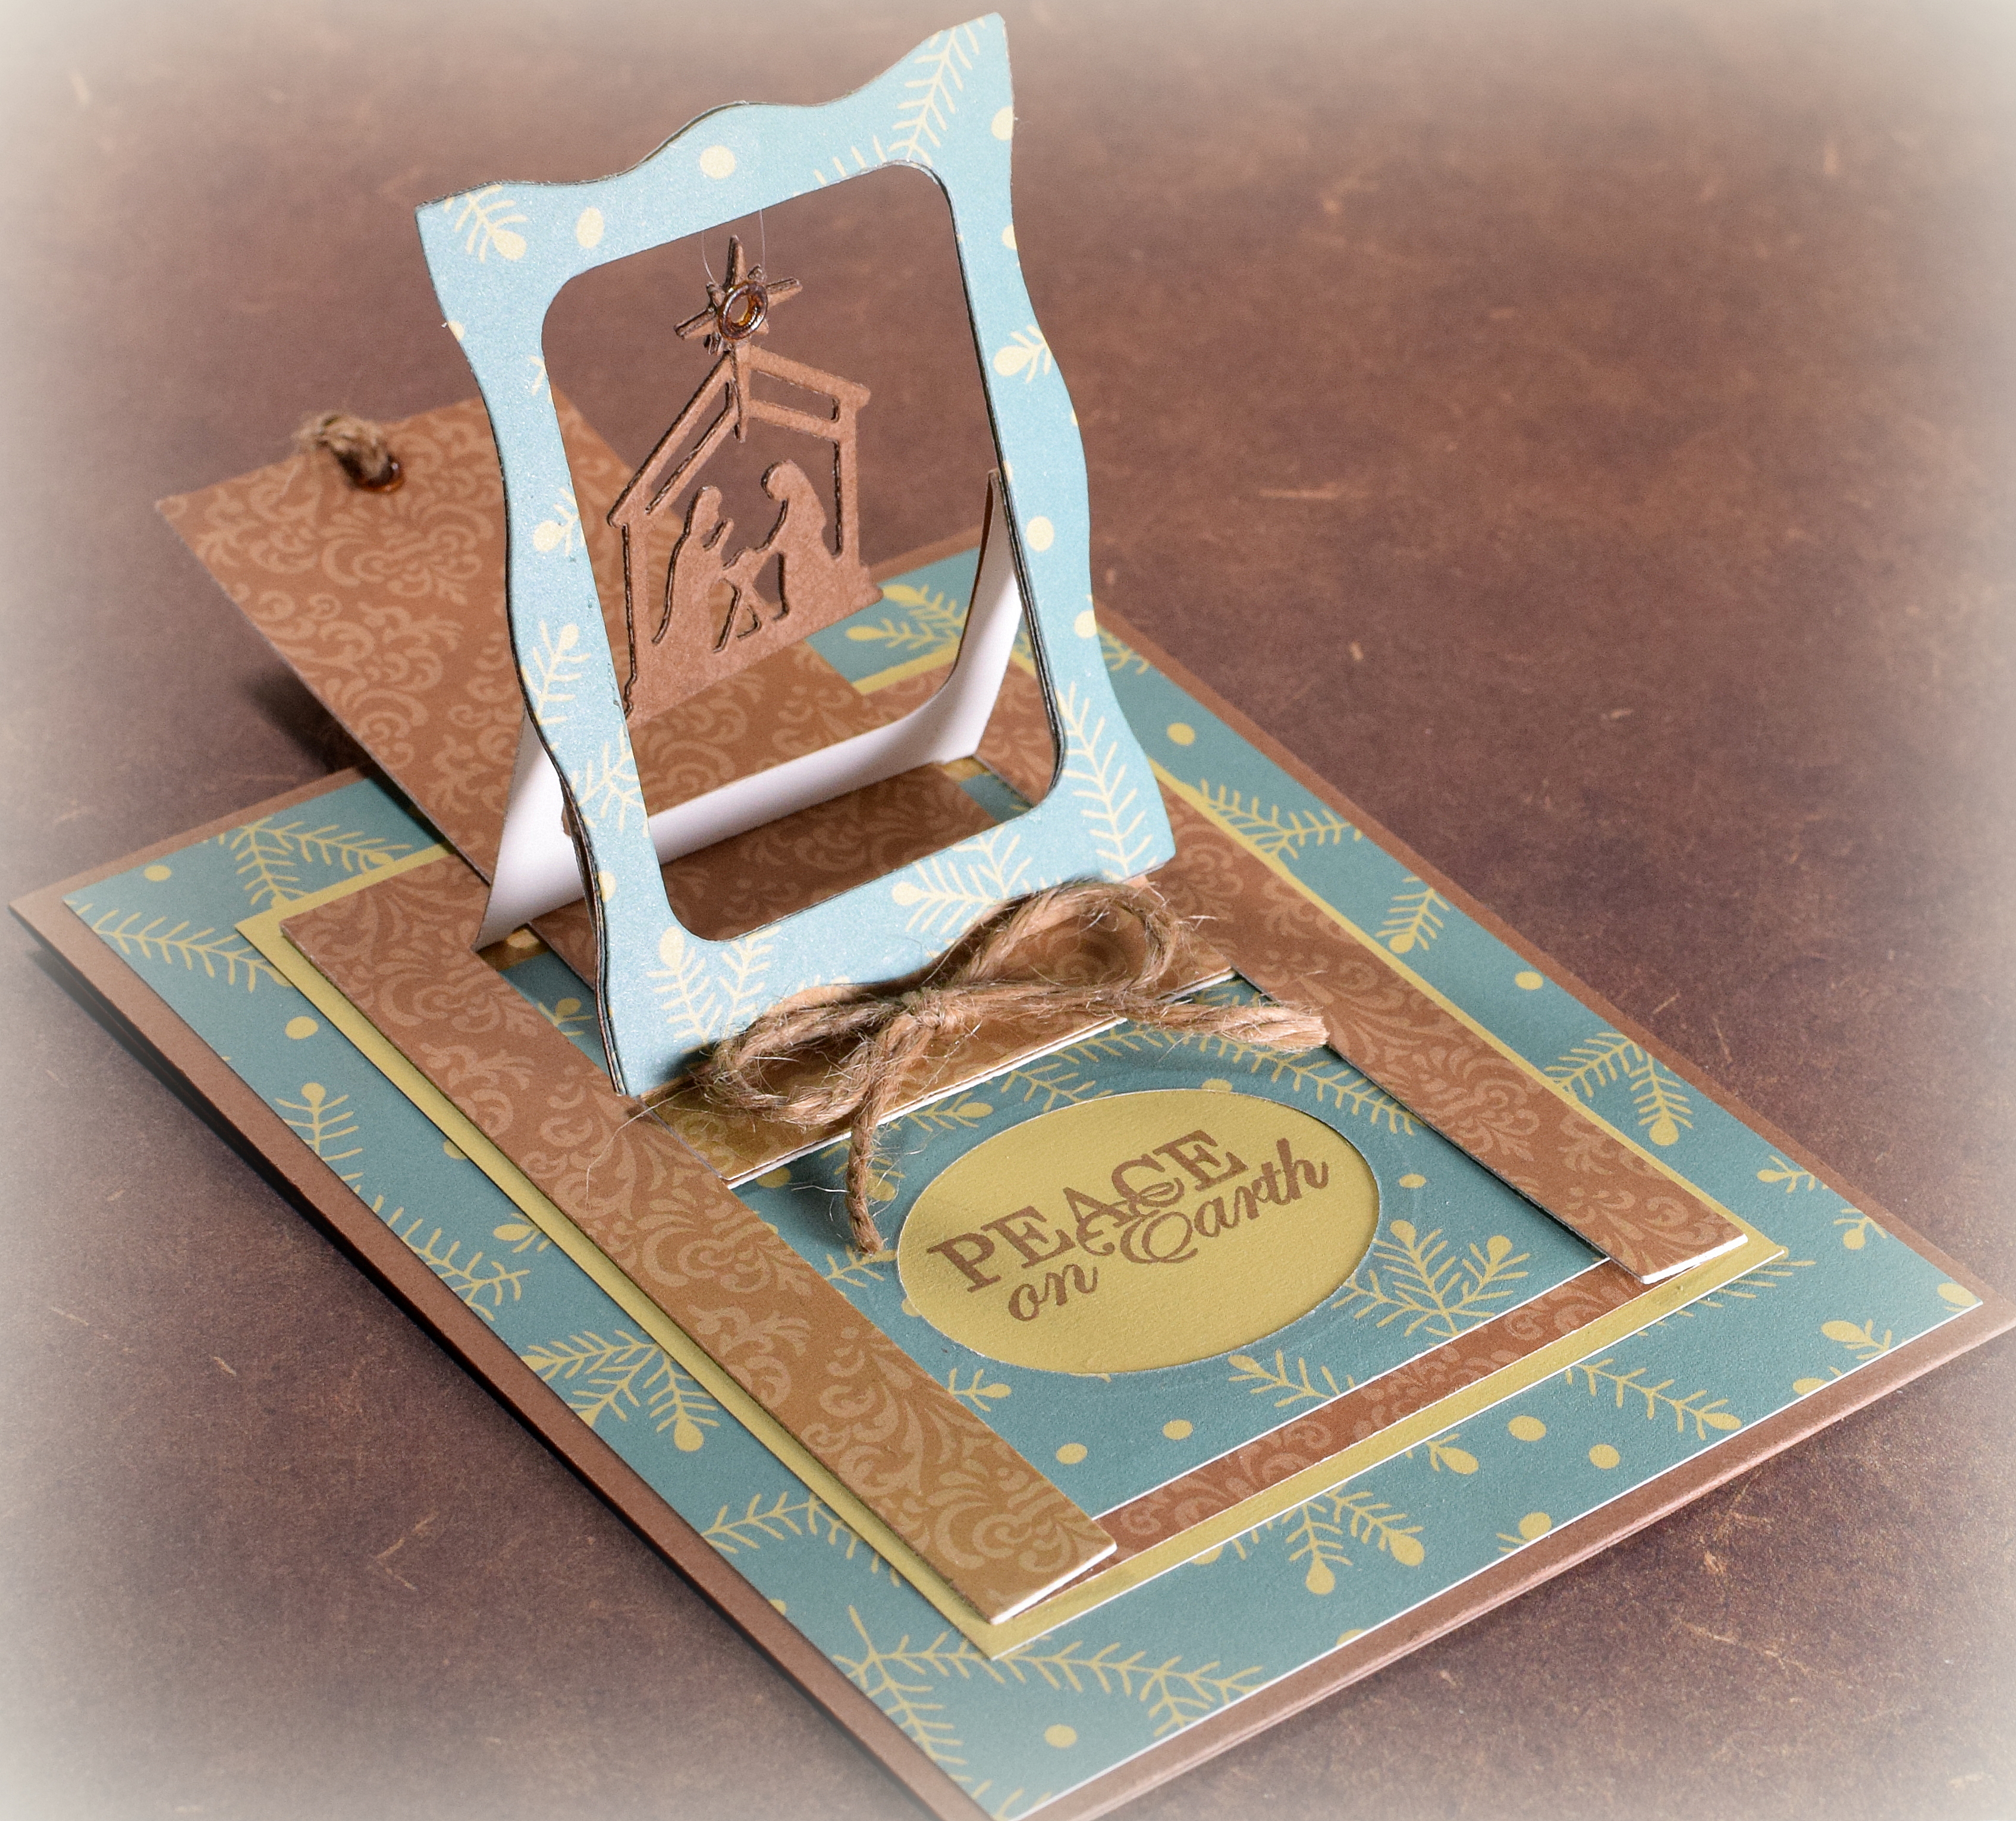
Hanging Nativity Charm Christmas Card
(inside: Wishing you a Christmas season full of peace, goodwill, and joy!)
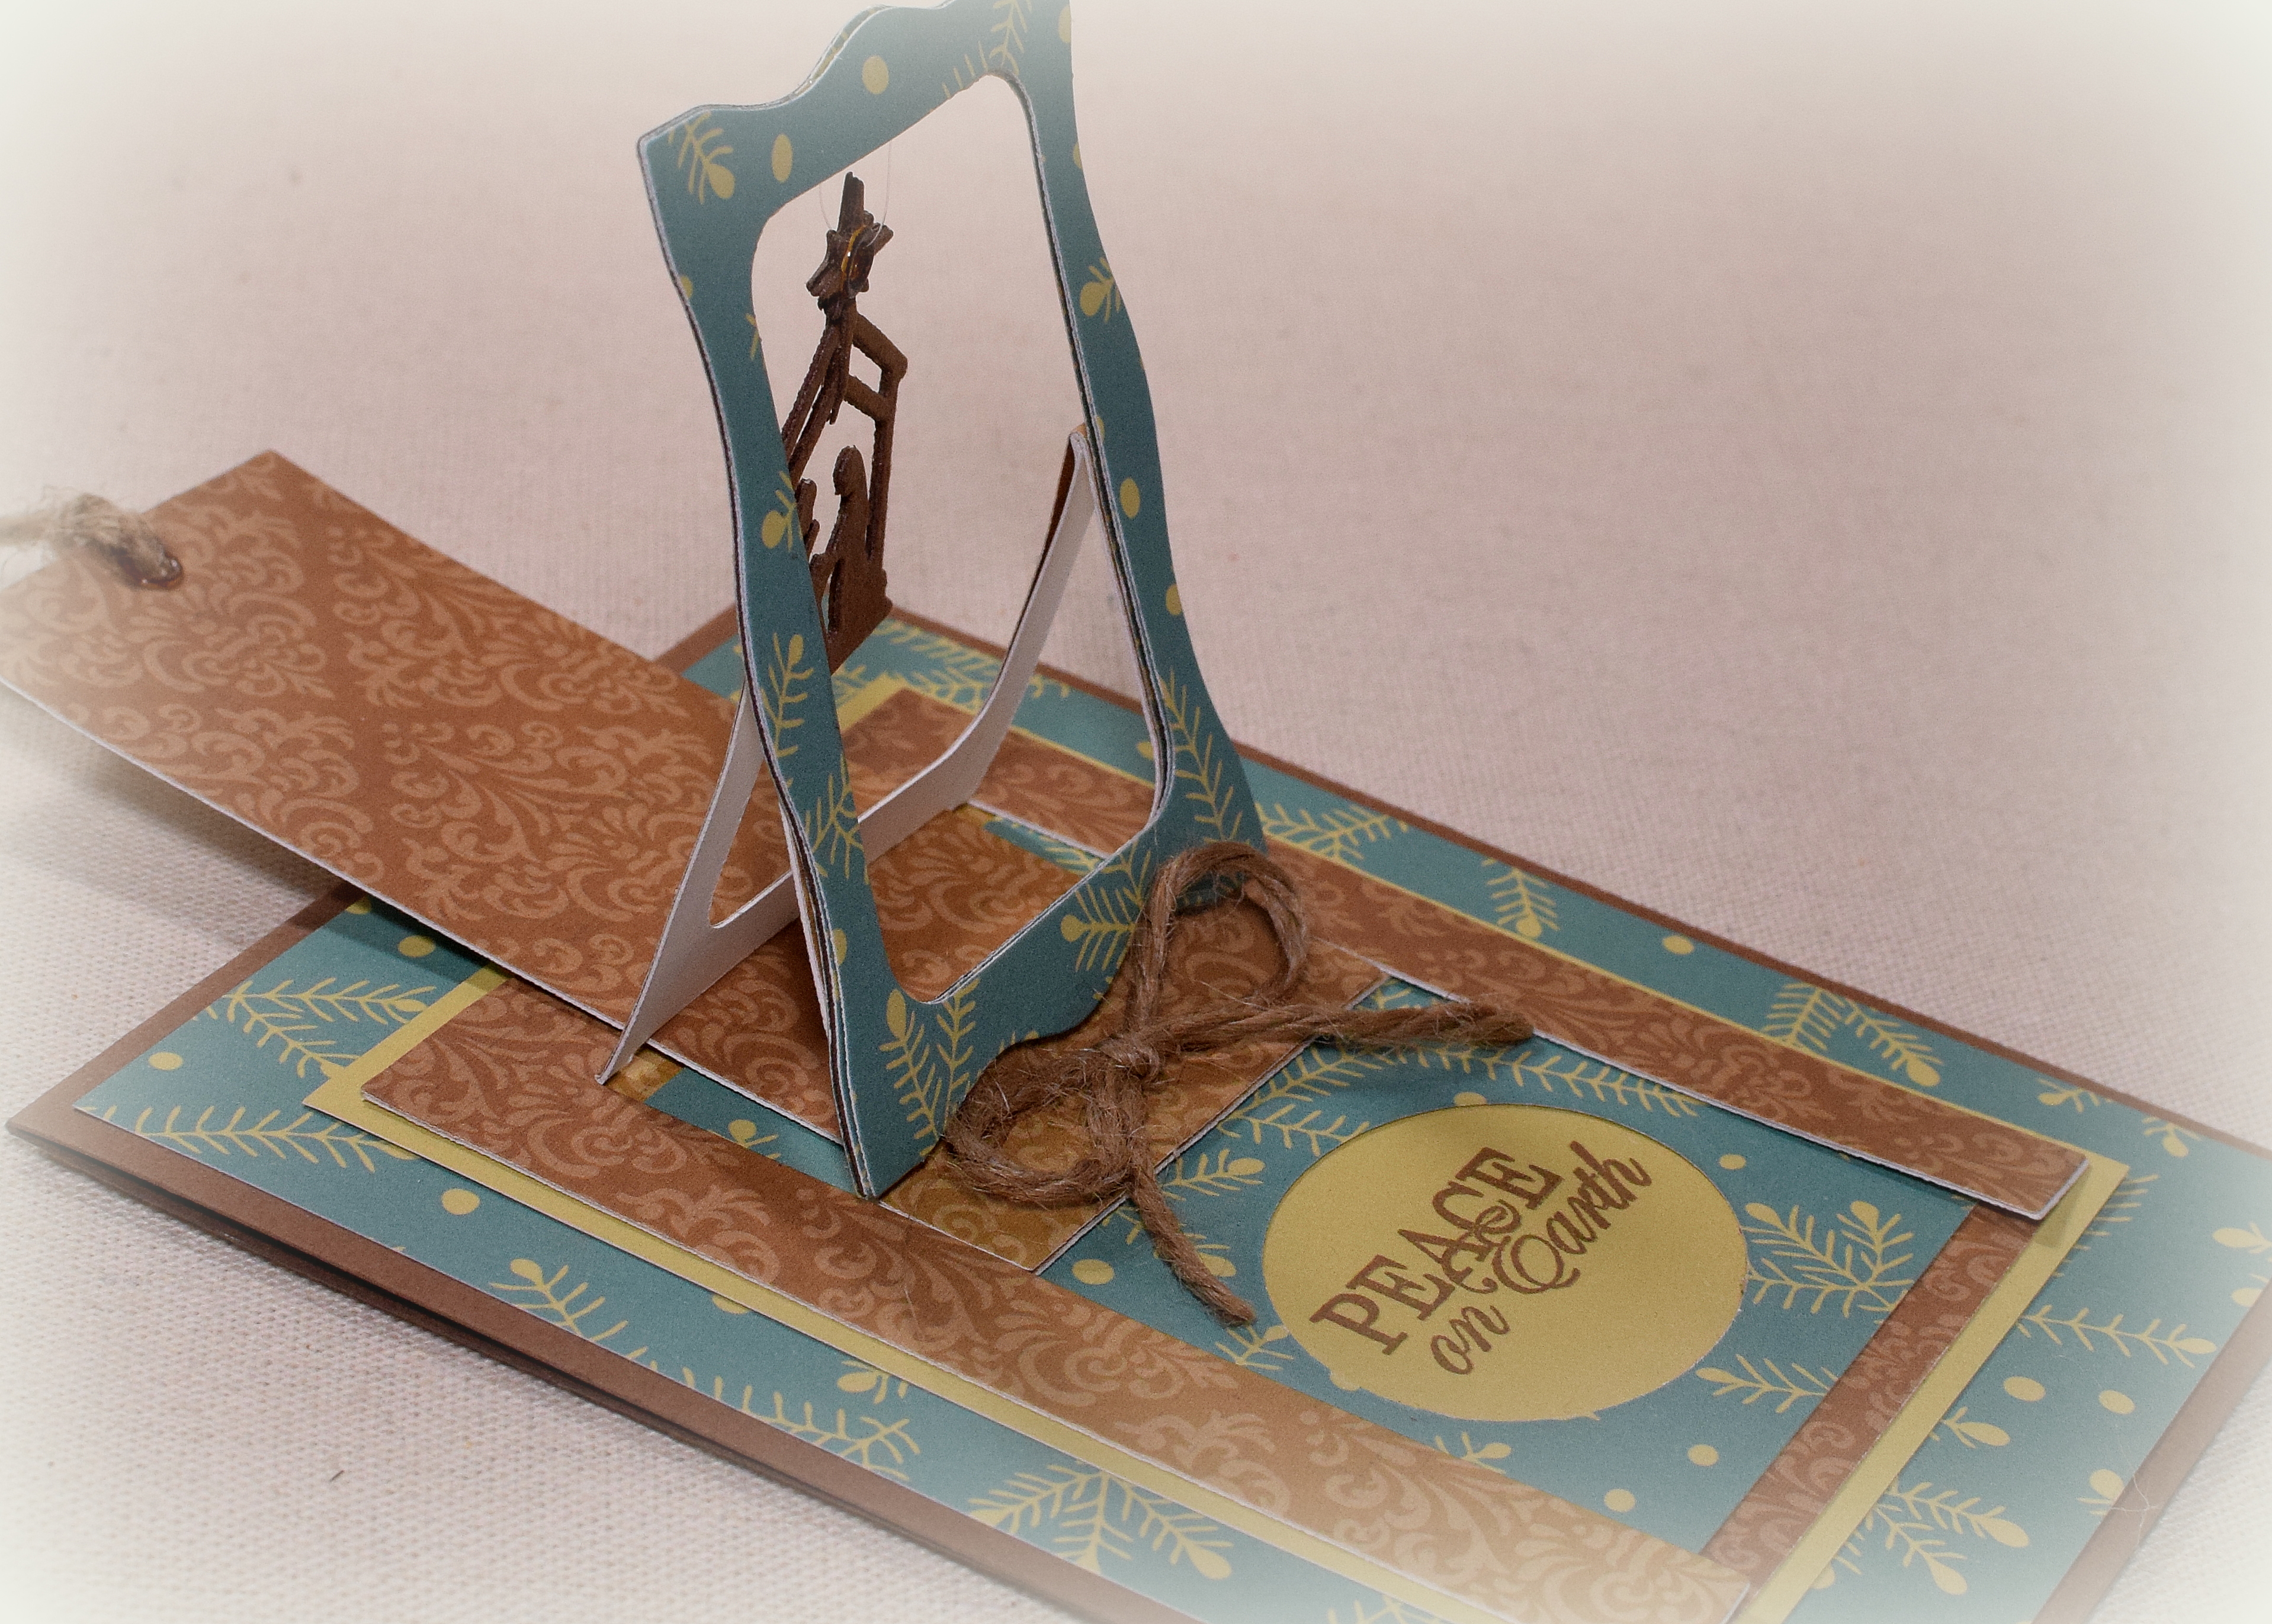
This project was made with the “Hanging Charm Pull Tab” die set from Elizabeth Craft Designs.
In addition to the pieces to create the card base, the die set also includes a few small dies to create some charms, but for this card, I found a small nativity die that fit in the frame perfectly. It is called “Little Bits Nativity Christmas Die” from Taylored Expressions. (The die measures 1 1/4 by 1 1/4 inch.)
To create the die cut, I pounced Gina K Warm Cocoa ink onto brown card stock (from the Recollections “Coffee and Cream” heavy weight card stock pack) with a leaf stamp ( from the Tim Holtz “Falling Leaves” set) and cut 2 of them so I had a thicker charm with a front and back.
This is what the card looks like before the tab is pulled:
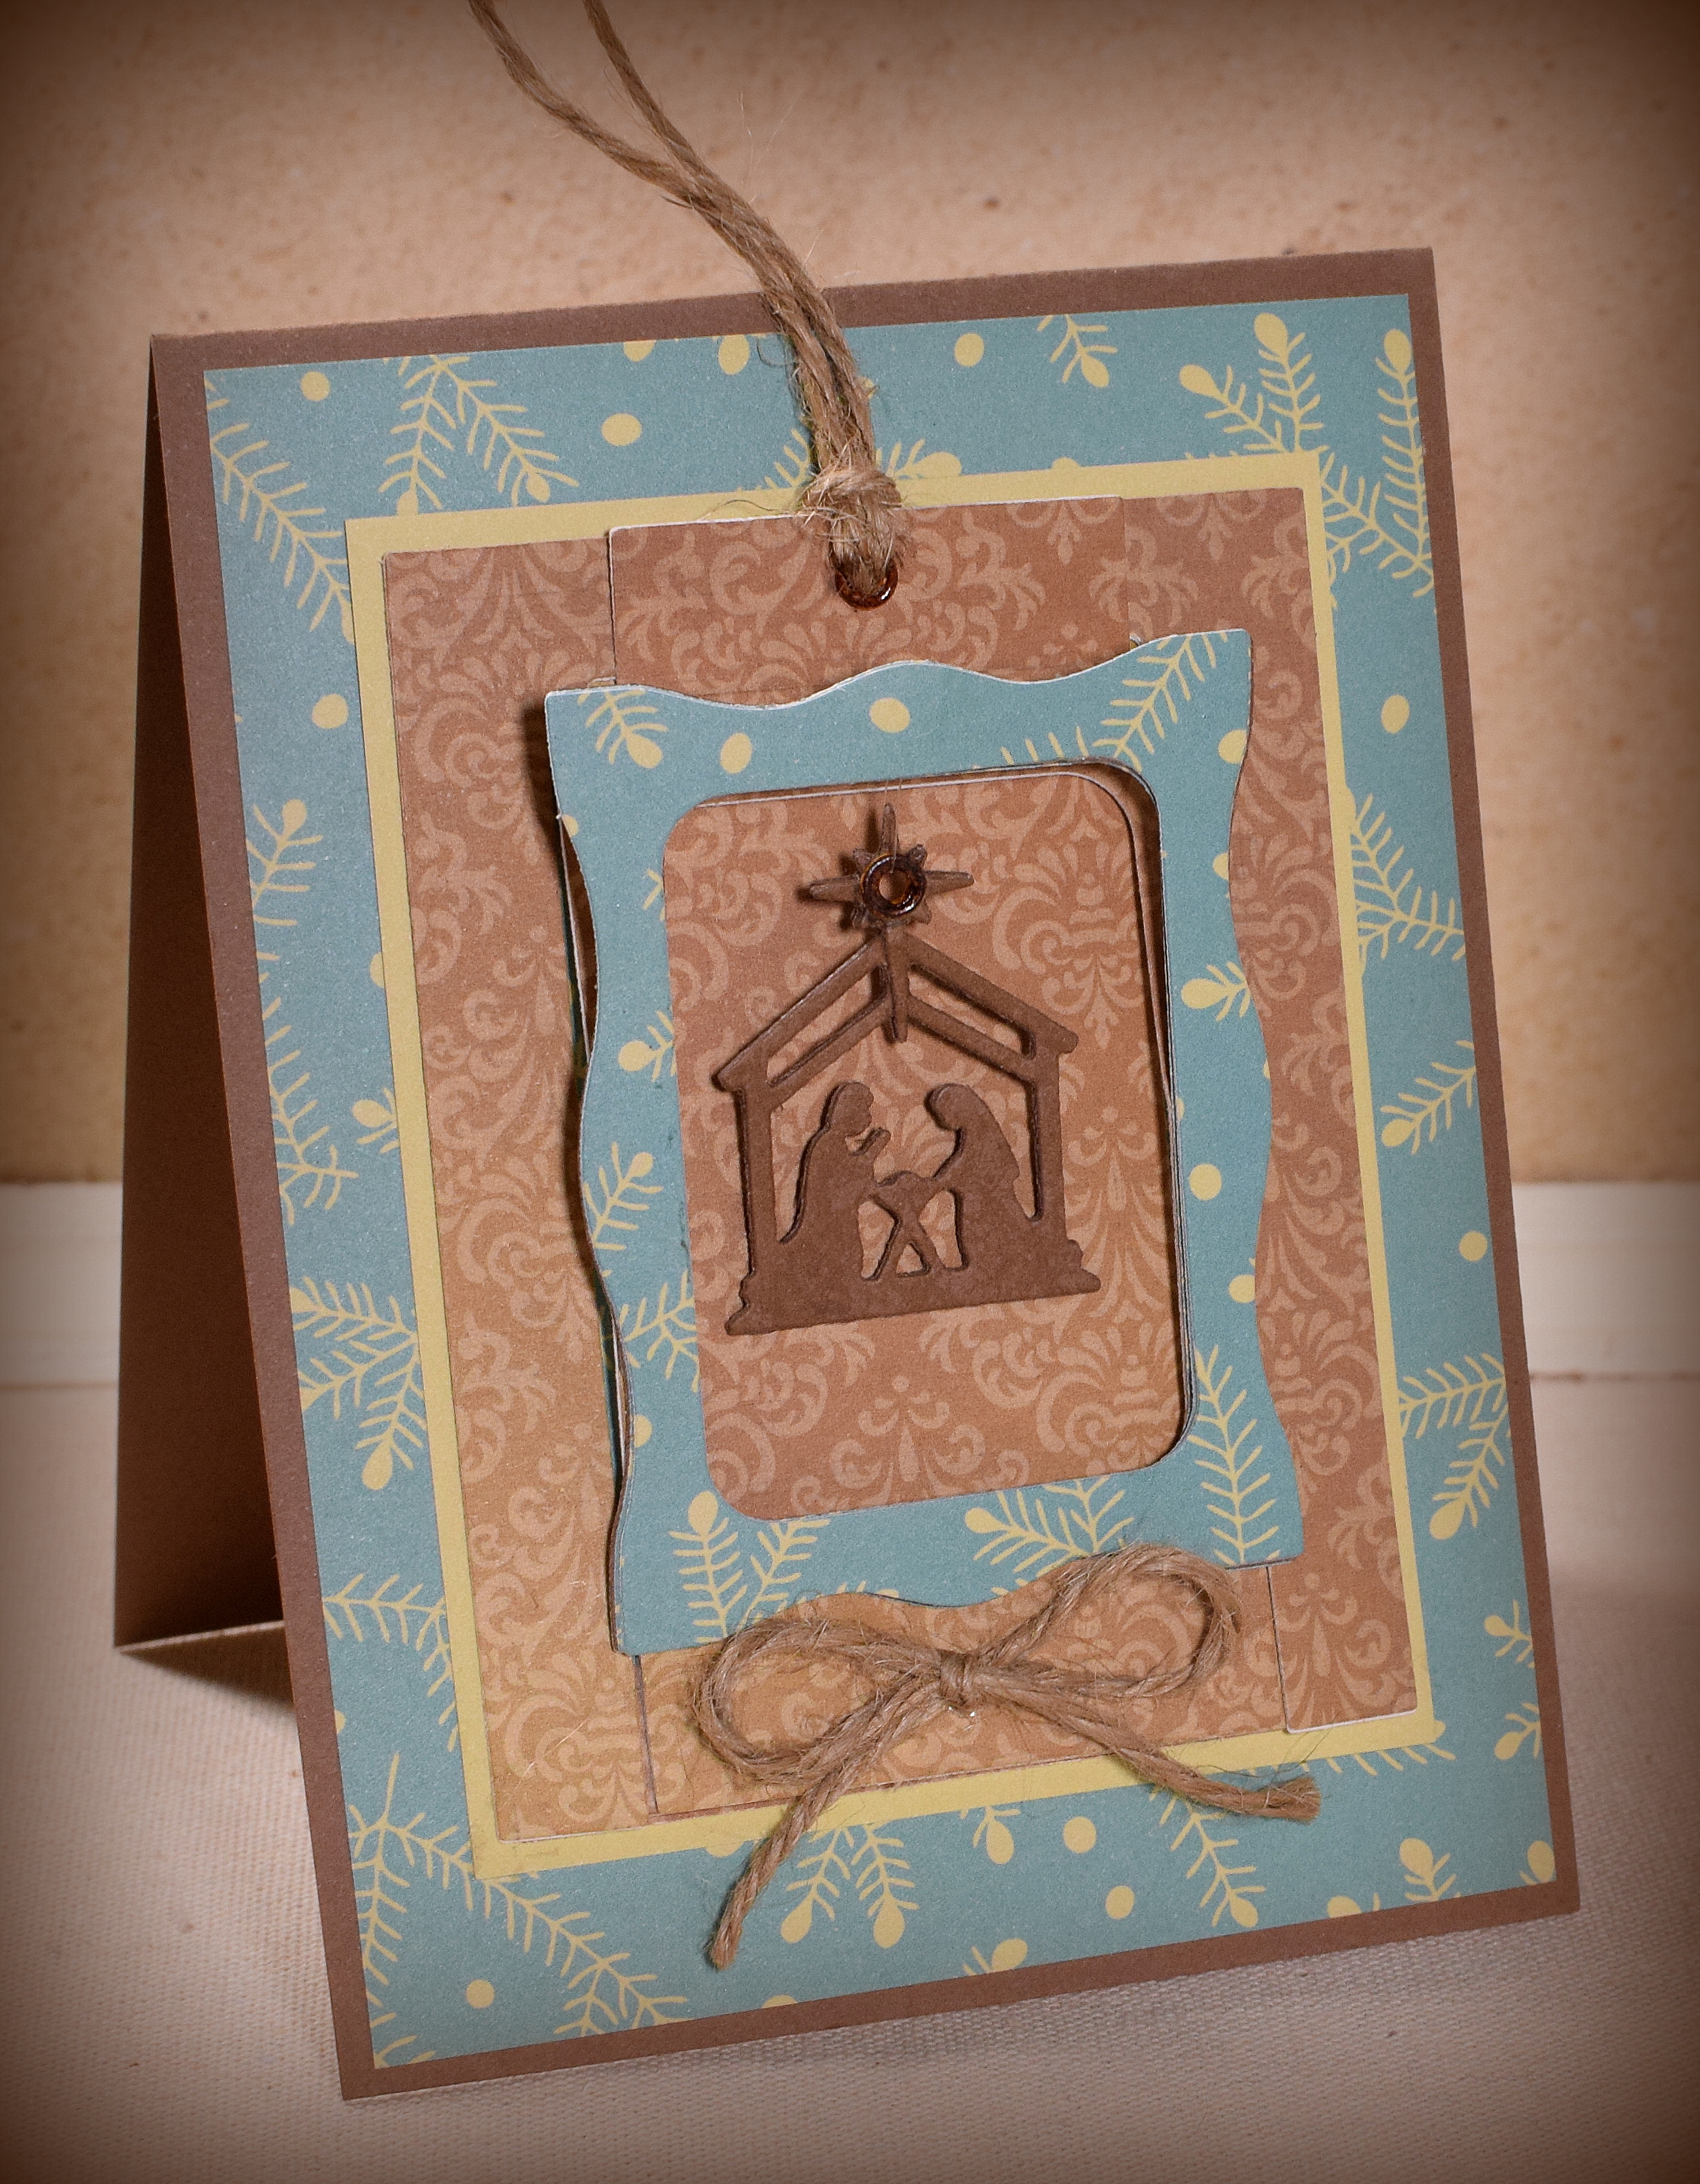
The card stock is (the back of) “A Christmas Story – Twilight Snowflake” by Reminisce, a sheet from the Love Nicole “Mistletoe & Holly” 12 x 12 paper pad, and Gina K Prickly Pear. The A2 sized card base is the same brown that was used to make the nativity die.
The greeting on the front (which is hidden until the tab is pulled to pop up the frame) is from the “Holiday Frame” stamp set by Gina K Designs, and the inside sentiment is from “Christmas Blessings” by Our Daily Bread. Both were stamped with Gina K Dark Chocolate ink. I used a Spellbinders Classic Oval die to frame the greeting.
I used my crop-a-dile and some eyelets to create the hole on the charm and for the pull tab. I accidentally grabbed 2 different tan colors for the eyelets (oops!), so I colored them with Copic Marker E47 so they would look the same. The charm was hung with clear, nylon thread. Some jute twine finished it off.
The Modsquad Challenge this week is “Non Traditional Christmas Colors” where we are to use non traditional colors on our cards; no red, green, silver, or gold. Anything else is good. (Sadly, this site is no longer active.)
Over at the Die Cut Diva’s, the challenge this month is “Winter Time” where we are invited to share our winter-themed cards and projects. In addition to the theme, all cards/projects must be made using at least one die cut or embossing folder (using any die cut machine including Cameo and Cricut machines).
Thanks for checking out my card project!
This content uses referral links as described in the disclosure policy on my sidebar.