Pop-Up Graduation Thank You Card

Pop-Up Graduation Thank You Card

xDSC_7229


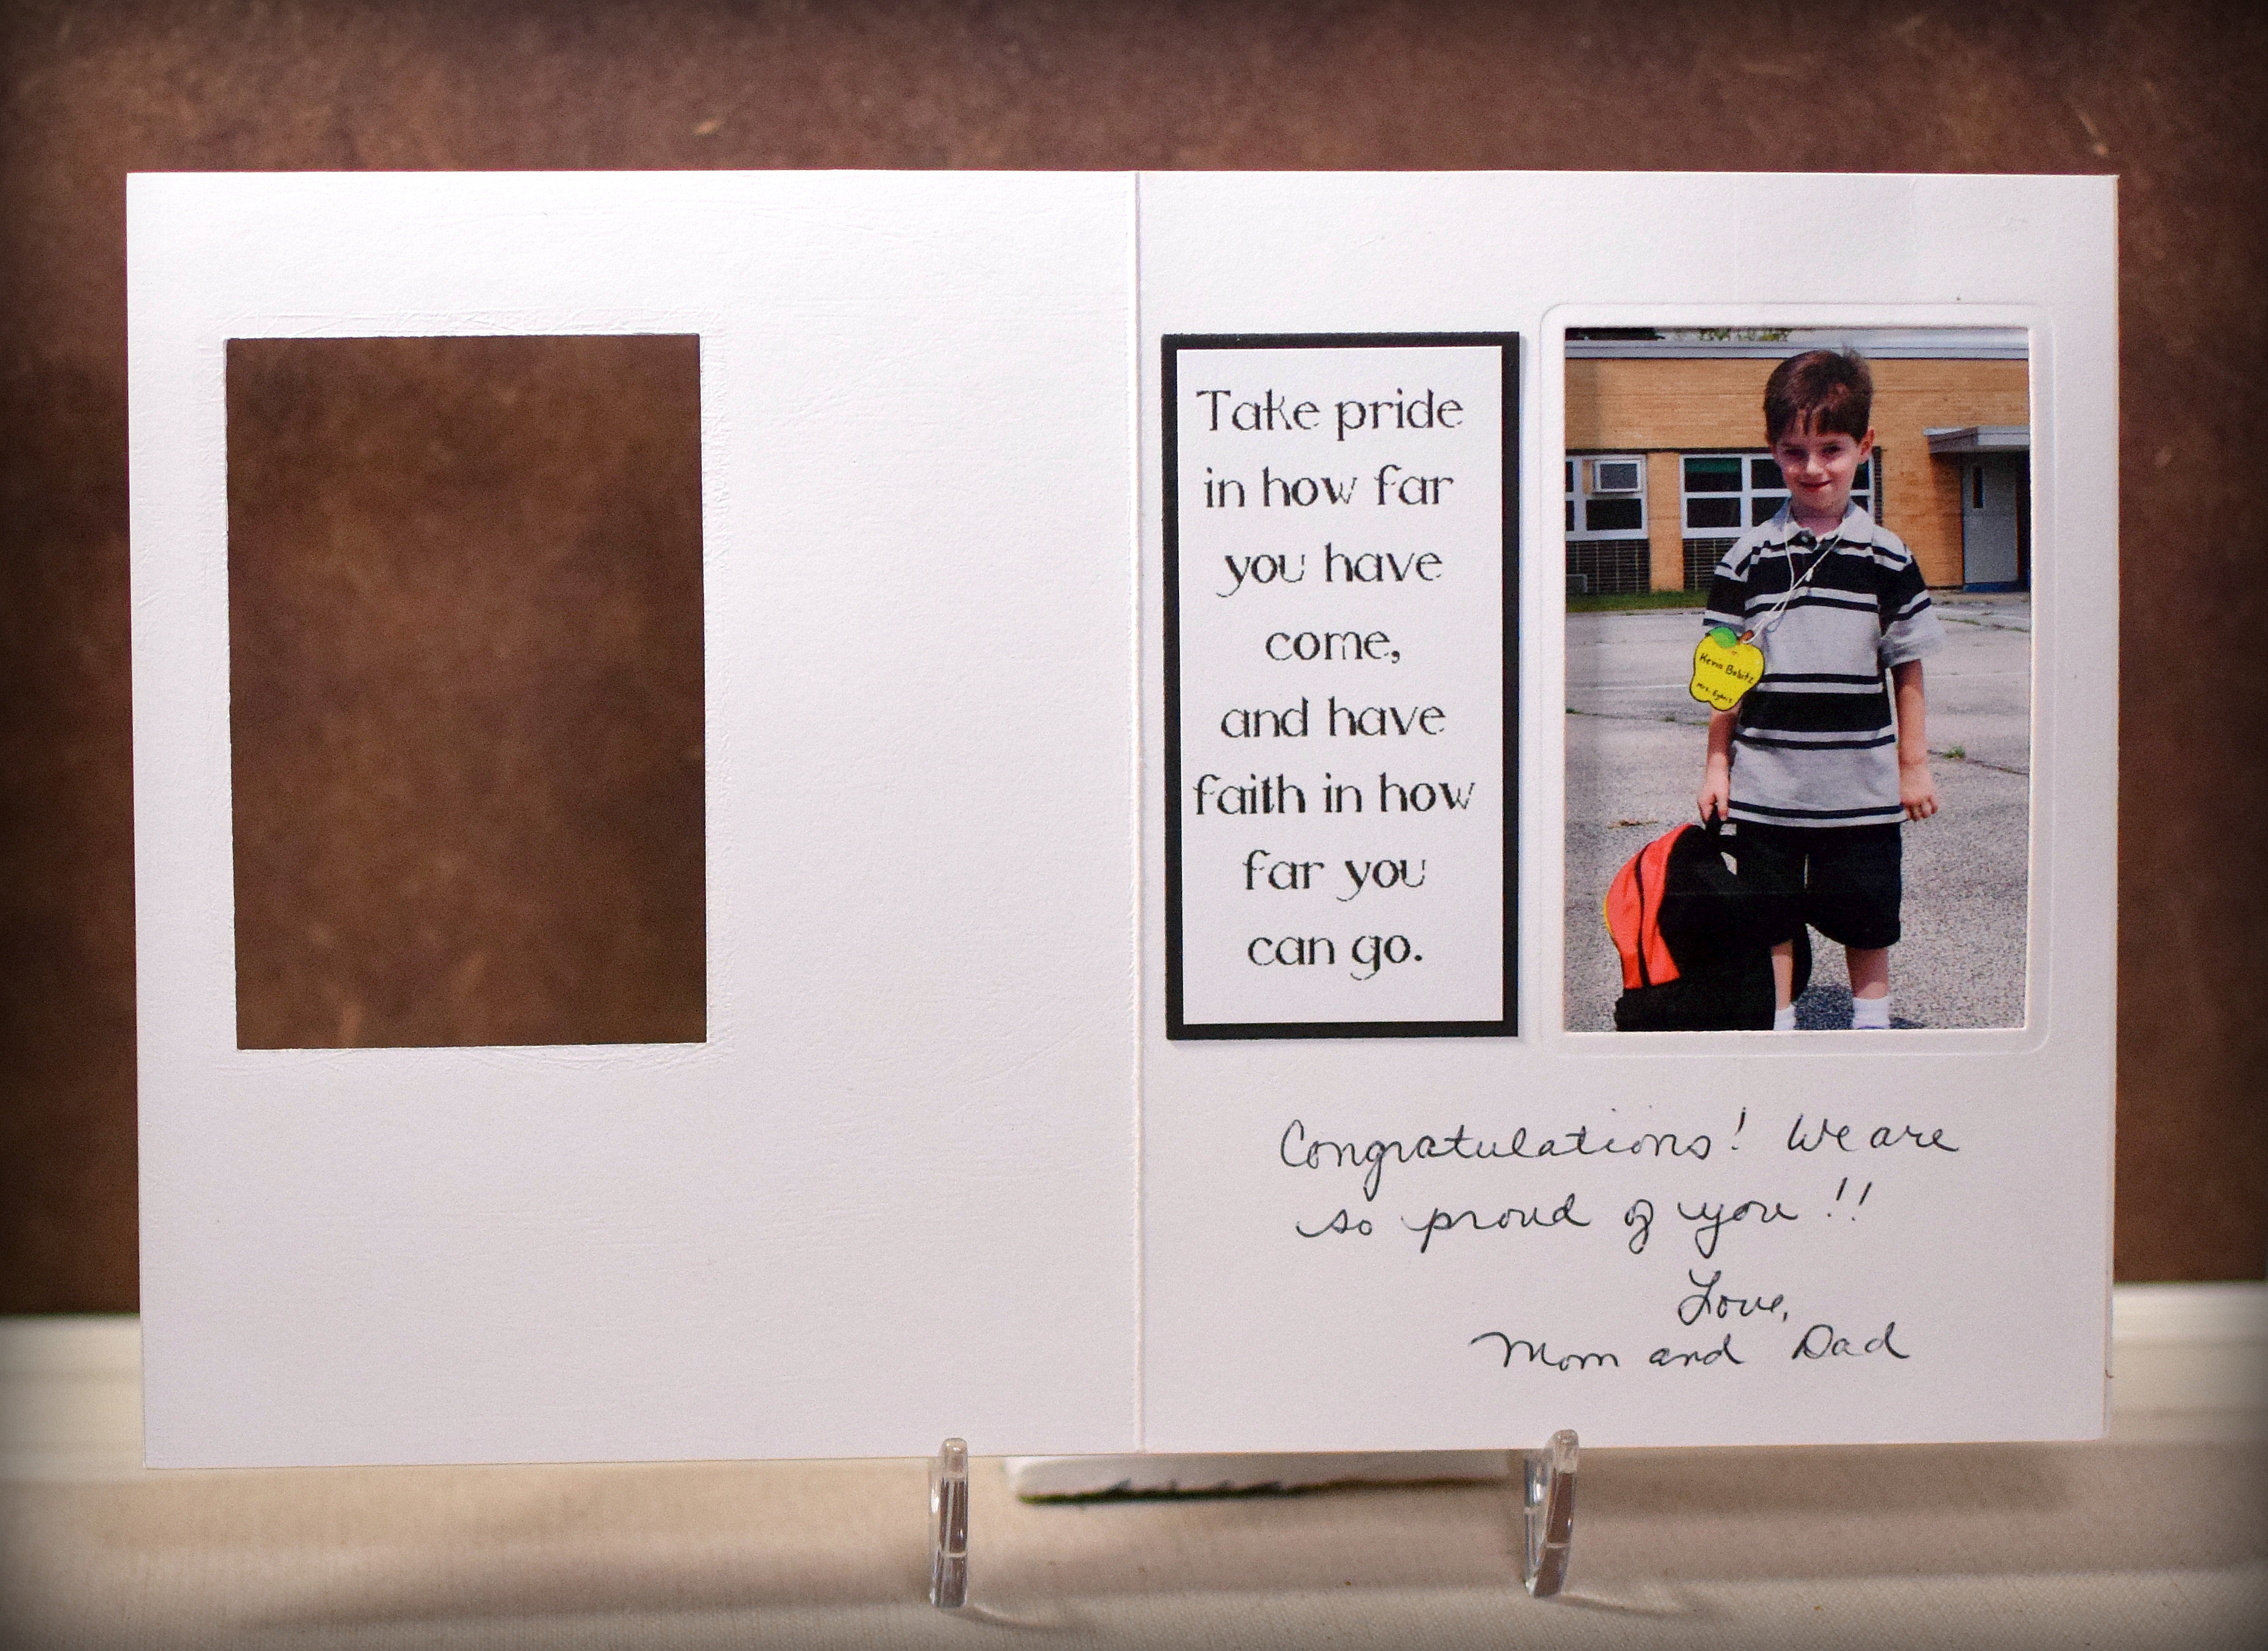
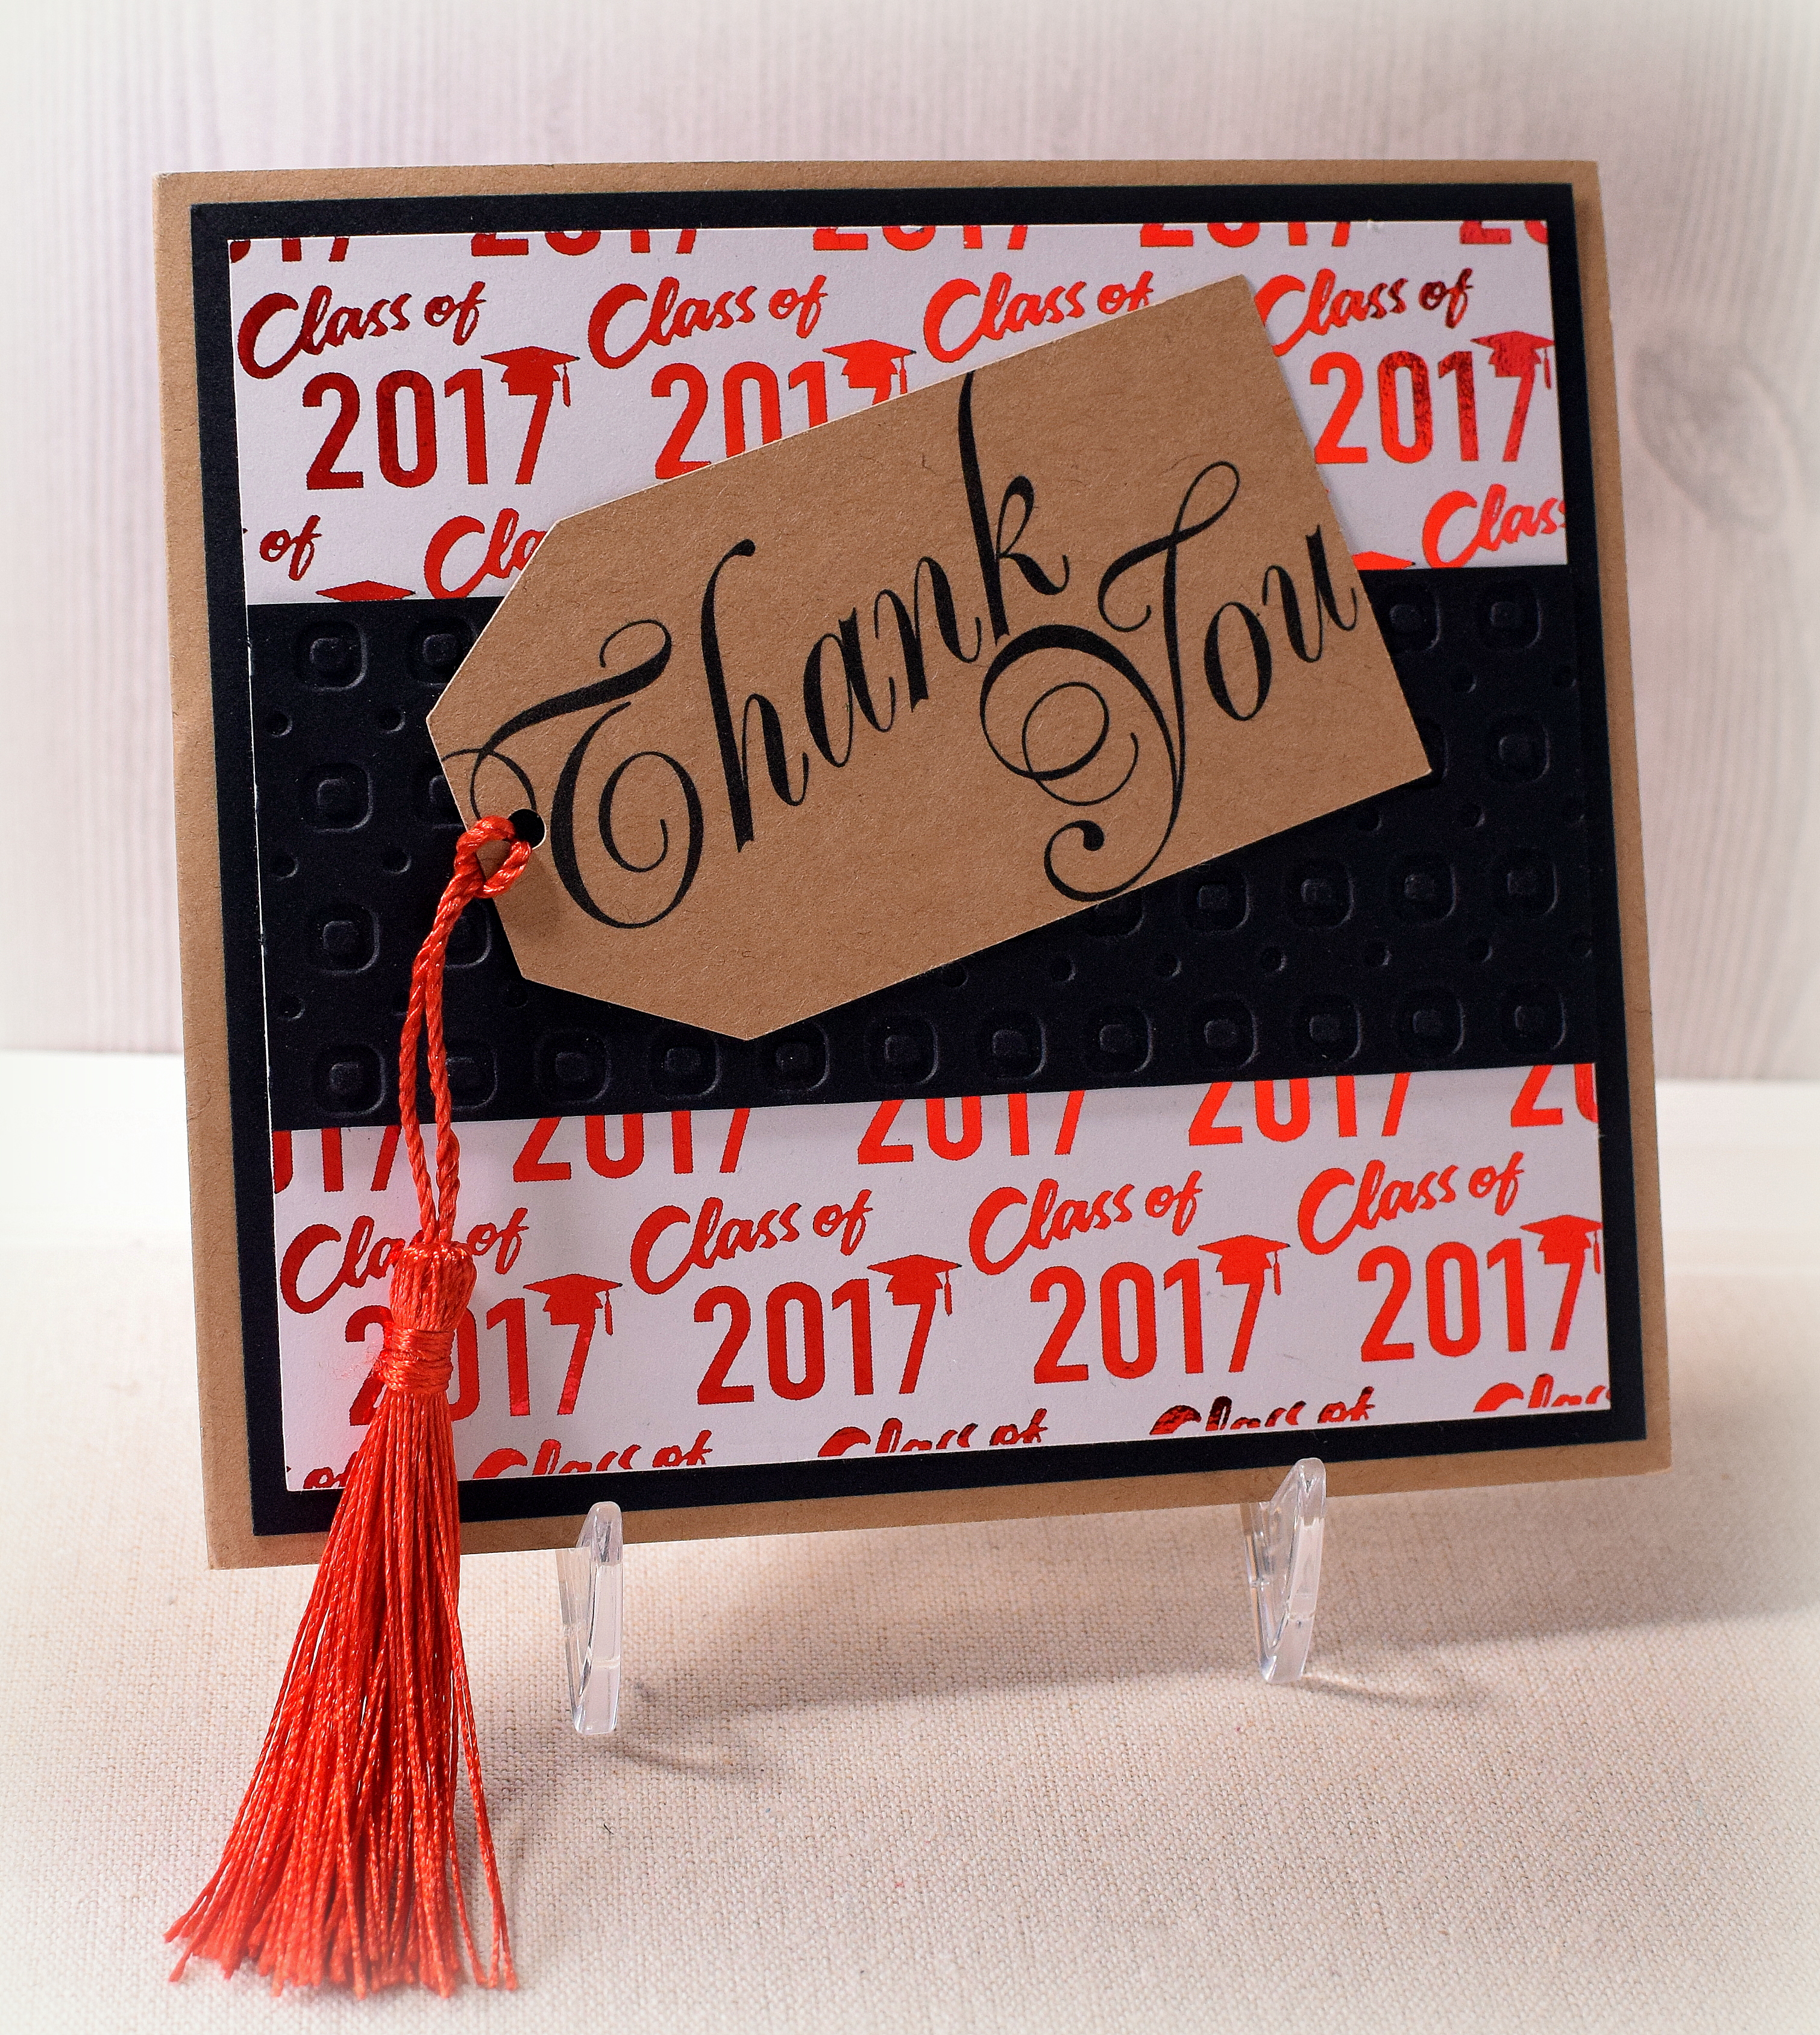
Here is the second of the three designs I came up with for graduation thank you notes for my kids.  For this one, I used the Sizzix “Platform, Spinning 3-D” Bigz Die (#656029) designed by Karen Burniston which caused the hand-written message to pop out at the recipient when the card was opened.

wDSC_7218     wDSC_7216

Because my pop-up element was kind of big, my overall card needed to be big to accommodate it.  My card, when closed, is 5 1/2 x 5 inches.  (When the card is closed, the edges of the pop-up note line up pretty closely with the decorative panels on each side.)  If the pop-up element were smaller, the card could probably fit into an A2 sized envelope.  Instead of creating a custom envelope, I ended up using envelopes meant for cards measuring 5 x 7 which allowed room to the left to carefully position the tassel so it didn’t get all wonky when mailed.

Kraft card stock was used for the card base and tag.  This tag with the greeting was downloaded and printed from a file called “Printable Thank You Gift Tags” that I purchased from Concertina Press.

I purchased the tassels (ready-made) on amazon.  The black panel across the middle was debossed with a Darice Circle Background embossing folder.

The foiled background panel was from a file from the “Graduation Digital Paper Pack” by DeerCustomDesigns that I purchased on Etsy.  It was printed on laser printer paper with a laser printer  and foiled using  Gina K Red Velvet Fancy Foils and my mini Heidi Swapp MINC foiling machine.  (A laminator can also be used.)

wDSC_7233

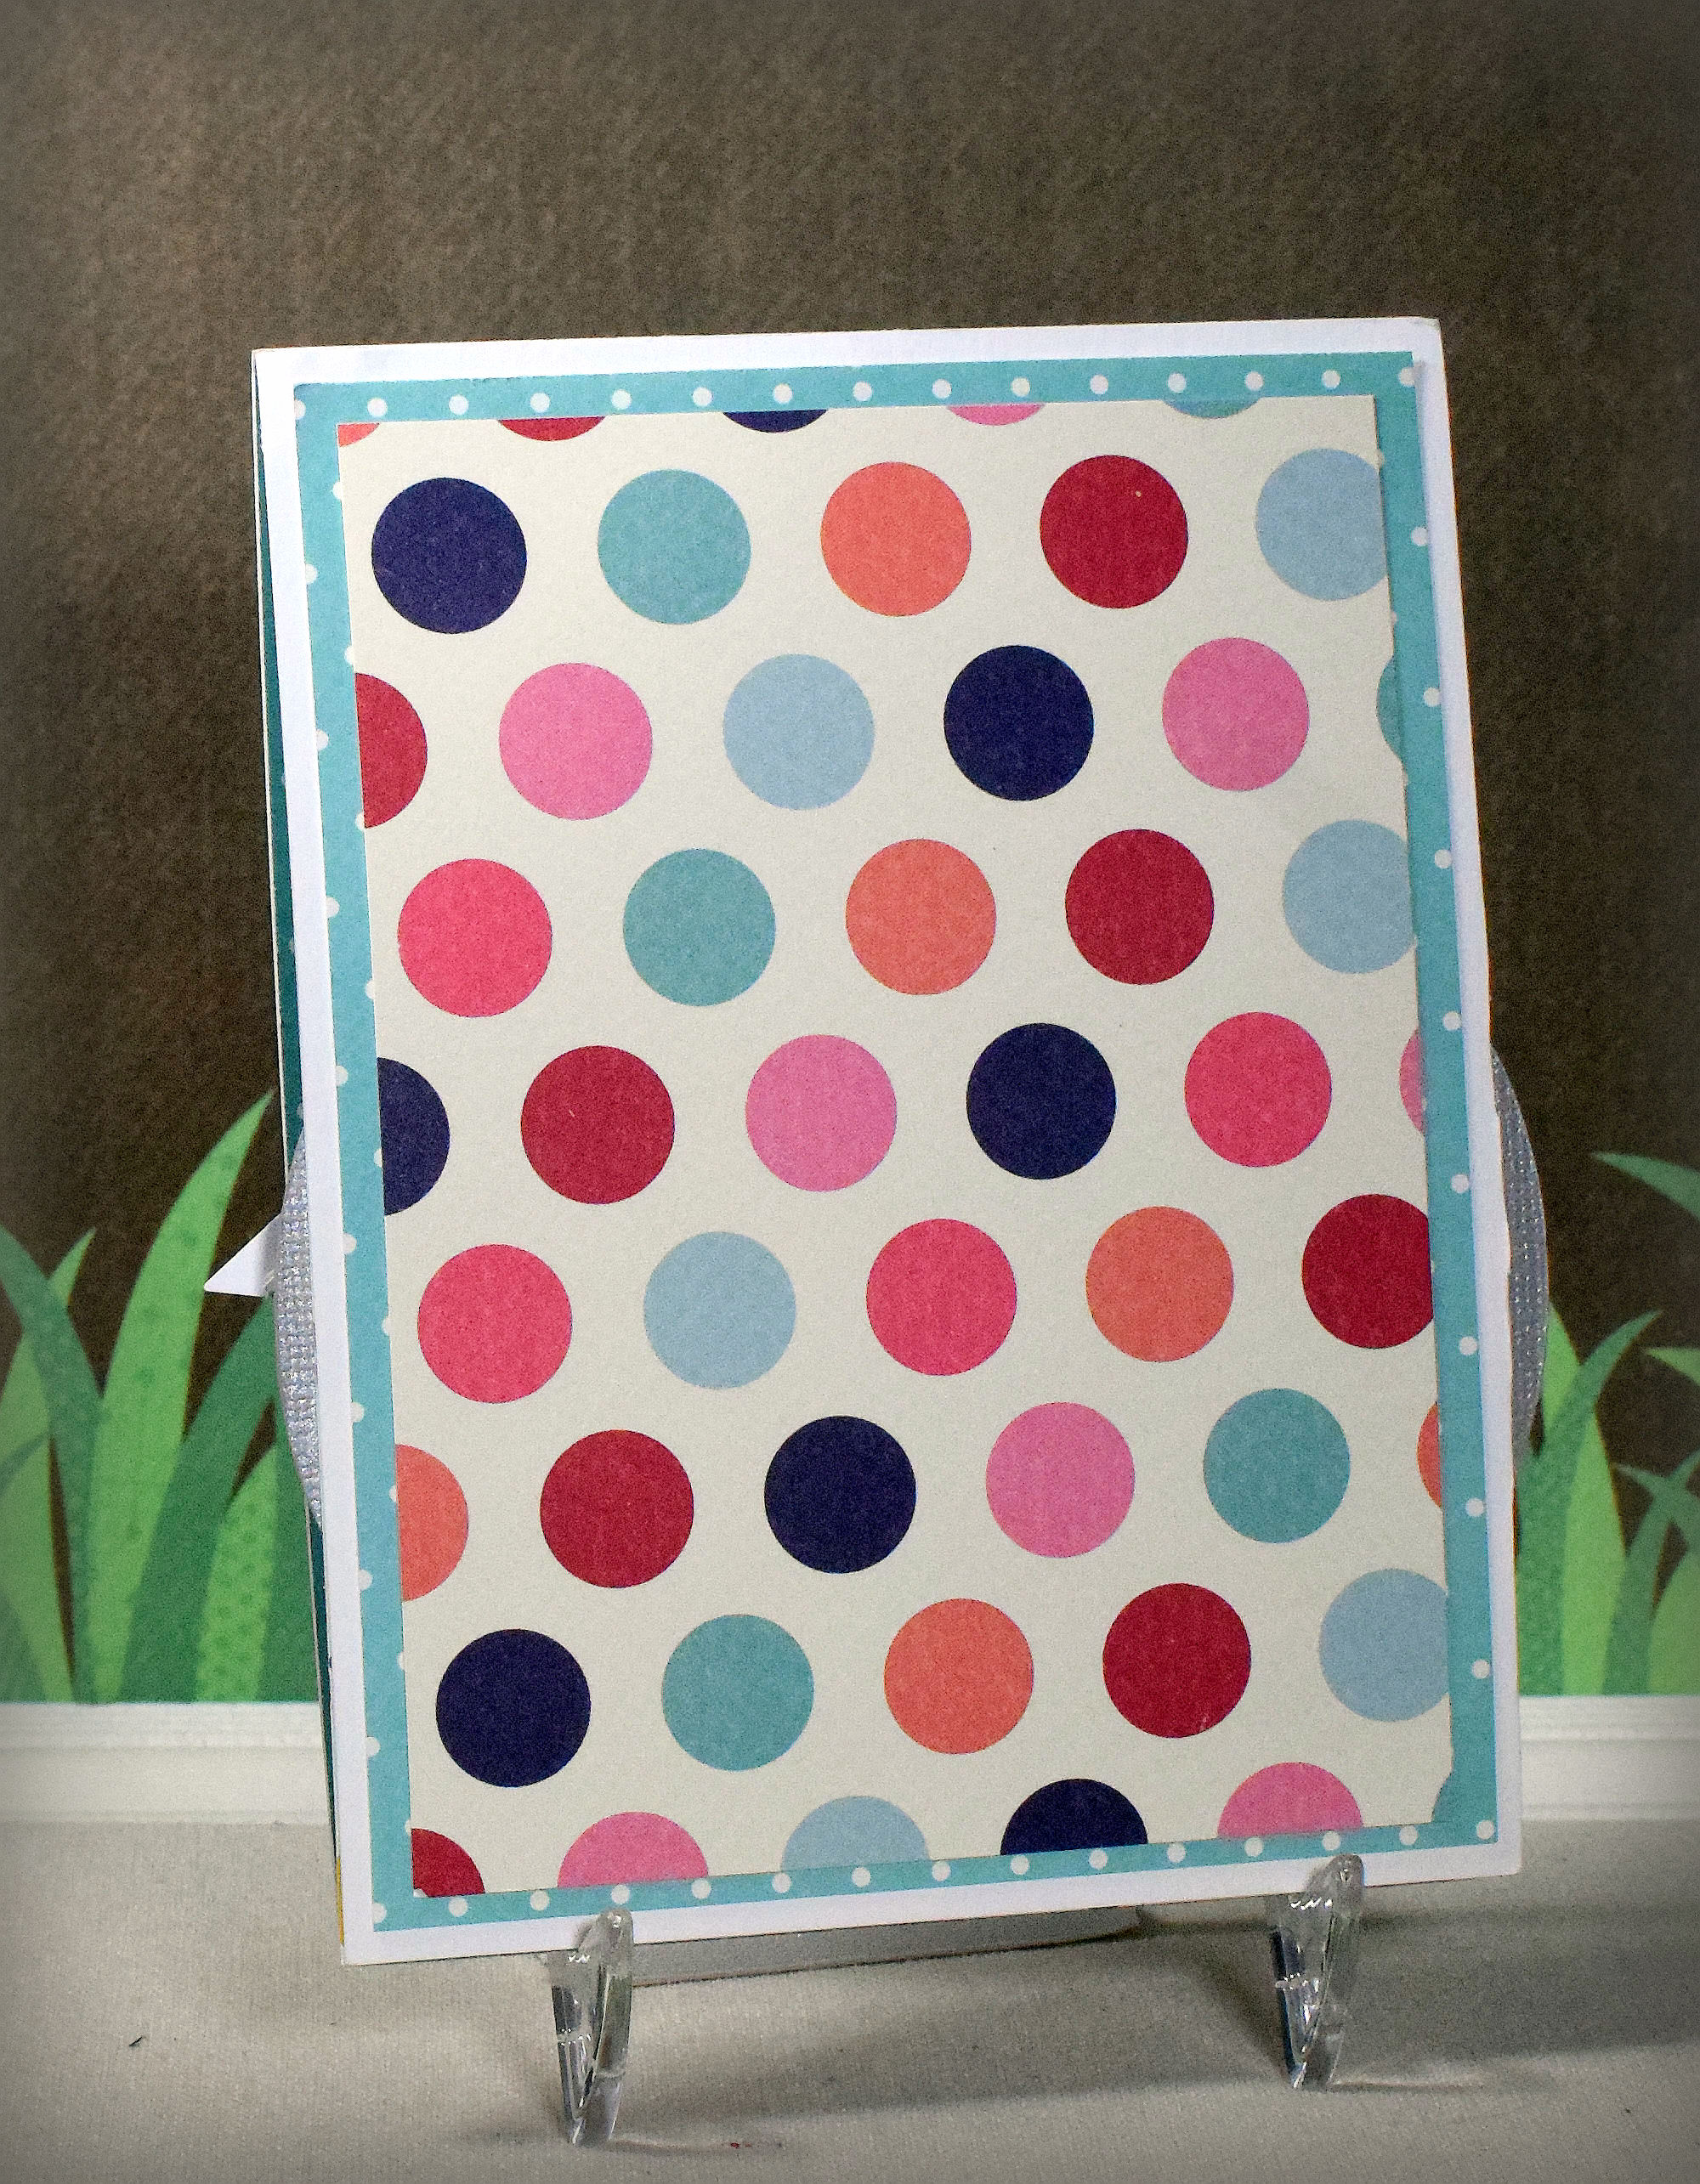
The inside panels were matted on Gina K Red Velvet card stock.  The side panels are from a digital paper pack called “Thank You Papers” by AMB Illustrations that I also purchased on Etsy.

Thanks for checking out my card project!

This content uses referral links as described in the disclosure policy on my sidebar.

Once Upon A Time Anniversary Card

Once Upon A Time Anniversary Card

wDSC_6891.jpg

I recently posted Peek-A-Boo graduation cards for my kids, and here is another one I made for my parents’ 55th wedding anniversary.  When you open the card, the wedding day image from the front “transforms” into a photo of my mom and dad now.

Once_Upon_A_Time_Wedding_Card GIF.gif

wDSC_6898

I used Gina K Lovely Lavender and white card stock along with “Fancy Swirl Foiled – Silver” card stock from The Paper Studio.  The sentiment (inside and front) was computer generated.  To create the frames and openings, I used a die from the Spellbinders “Artist Trading Cards” set (S3-208) and a We R Memory Keepers Frame Punch Board.

There is lots of shine on this card!

wDSC_6890

HERE is a video tutorial from You Tube that shows how to create this type of card.

Thanks for checking out my card project!

This content uses referral links as described in the disclosure policy on my sidebar.

Peek-a-Boo Graduation Card

Peek-a-Boo Graduation Card

wDSC_6900.jpg

I had seen a tutorial for a Peek-a Boo Card where the image on the front of the card appears to transform into a second image as the card is opened.  I thought these would make great graduation cards for my triplets who just graduated from high school.

Peek-A-Boo Graduation Card

When the cards are closed, you can see their senior portraits , and as the cards are opened, their senior portraits “transform” into pictures from their first day of kindergarten.

wDSC_6907

I used black and heavy weight white card stock.  The congratulations stamp is from the “Curly Cute” set by Stampin’ Up and was stamped with versafine onyx black ink.  The class of 2017 was a digital image I found online (although I am no longer seeing it there).  I found the same image on etsy (for 2018) HERE by createsvg4you.  The sentiment inside was computer generated.

To create the frames and openings, I used a die from the Spellbinders “Artist Trading Cards” set (S3-208) and a We R Memory Keepers Frame Punch Board.

I added a panel of acetate over the back image (the one you see when the card is closed) which helped my second image slide more easily as the card was opened.  (Unfortunately, it’s adding to the glare in the photo.)

I made three of these cards.  Same exact design; different photos.


263-104-168_86p7_176   263-104-176_3f93_101   263-104-184_7ryy_120

They grow up so fast!!

Thanks for checking out my card project!

This content uses referral links as described in the disclosure policy on my sidebar.

Welcome Little One Shaker Card

Welcome Little One Shaker Card

wDSC_6888.jpg

(Inside: Congratulations on your bundle of joy!)

Cheery Lynn Designs has a number of shaker card kits, and the one I used on this card is the Baby Rattle. The kit comes with the rattle dies, foam, acetate, and the metal fillers for inside the shaker element.  The components of the kit are also sold separately, but it was nice having everything included!  And it’s nice to know there are refills available if needed/desired.  There are instructional videos right on their site if you’ve never made a shaker card before.

The adorable papers used on this project are “Linen Door Boy Plaid” by The Paper Studio, “Betty-Ann” by Melissa Frances (the polka dotted paper), and American Crafts #320333 (elephants).  Stampin’ Up Mint Macaron card stock was also used along with the Mint Macaron ink for the inside sentiment and to color the white ribbon.

In addition to the metal “It’s a Boy” shaker elements that came with the kit, I also added some “Baby Shower Confetti” by Unique (#61842).

I used the Stampin’ Up Banner Triple Punch and a Cuttlebug Swiss Dot Folder.

The greeting inside the rattle is from the “Basket Blessings” set (retired?) by Gina K Designs stamped with versamark and heat embossed in white.  The inside greeting is from the “Rectangle Greetings” set (retired?) from Gina K Designs.

Thanks for checking out my card project!

This content uses referral links as described in the disclosure policy on my sidebar.

Pop-up Birthday Wishes

Pop-up Birthday Wishes

I made 3 interactive birthday cards inspired by THIS card that Karen Hasheck posted on her blog and THIS video tutorial posted by Maymay that shows how to make the pop-up feature.  What’s fun about these cards is that when they are closed, the are flat and look like ordinary cards…

wDSC_5550c picasa

…but when they open, the animals’ arms pop out.

These cards were for my triplets who celebrated their birthday several weeks ago.  I know they are not babies anymore (this was their 18th birthday – YIKES!!), but they are good sports and humor me when they know I am trying out a new card design.  (And they actually seemed to get a kick out of them – opening and closing them repeatedly!)

Here are the other two designs…

and

elephant wDSC_5566c picasa.jpg

and their fronts…

wDSC_5560c picasa

wDSC_5563c picasa


The animal designs were adapted from files I purchased in the Silhouette Store.  I had the most trouble making the elephant work because the head, with the big ears, was either too big for the card (the trunk got in the way of the center folds and the ears extended too far over the sides) or too small for the rest of his body.  An elephant’s body is also pretty plain so I struggled with an idea to jazz him up a bit.  The overalls finally helped him come together.

I kept my card fronts super simple by just using the designer paper I used on the insides, but obviously, you can make them as elaborate as you want.

Over at the Die Cut Divas this month, the challenge theme is “for the love of animals/pets” where our projects must include an animal and must also include at least one die cut or embossing folder.  (Die cuts made from electronic die cutting machines are permitted.)

Here are the supplies used for each of the designs:

Continue reading