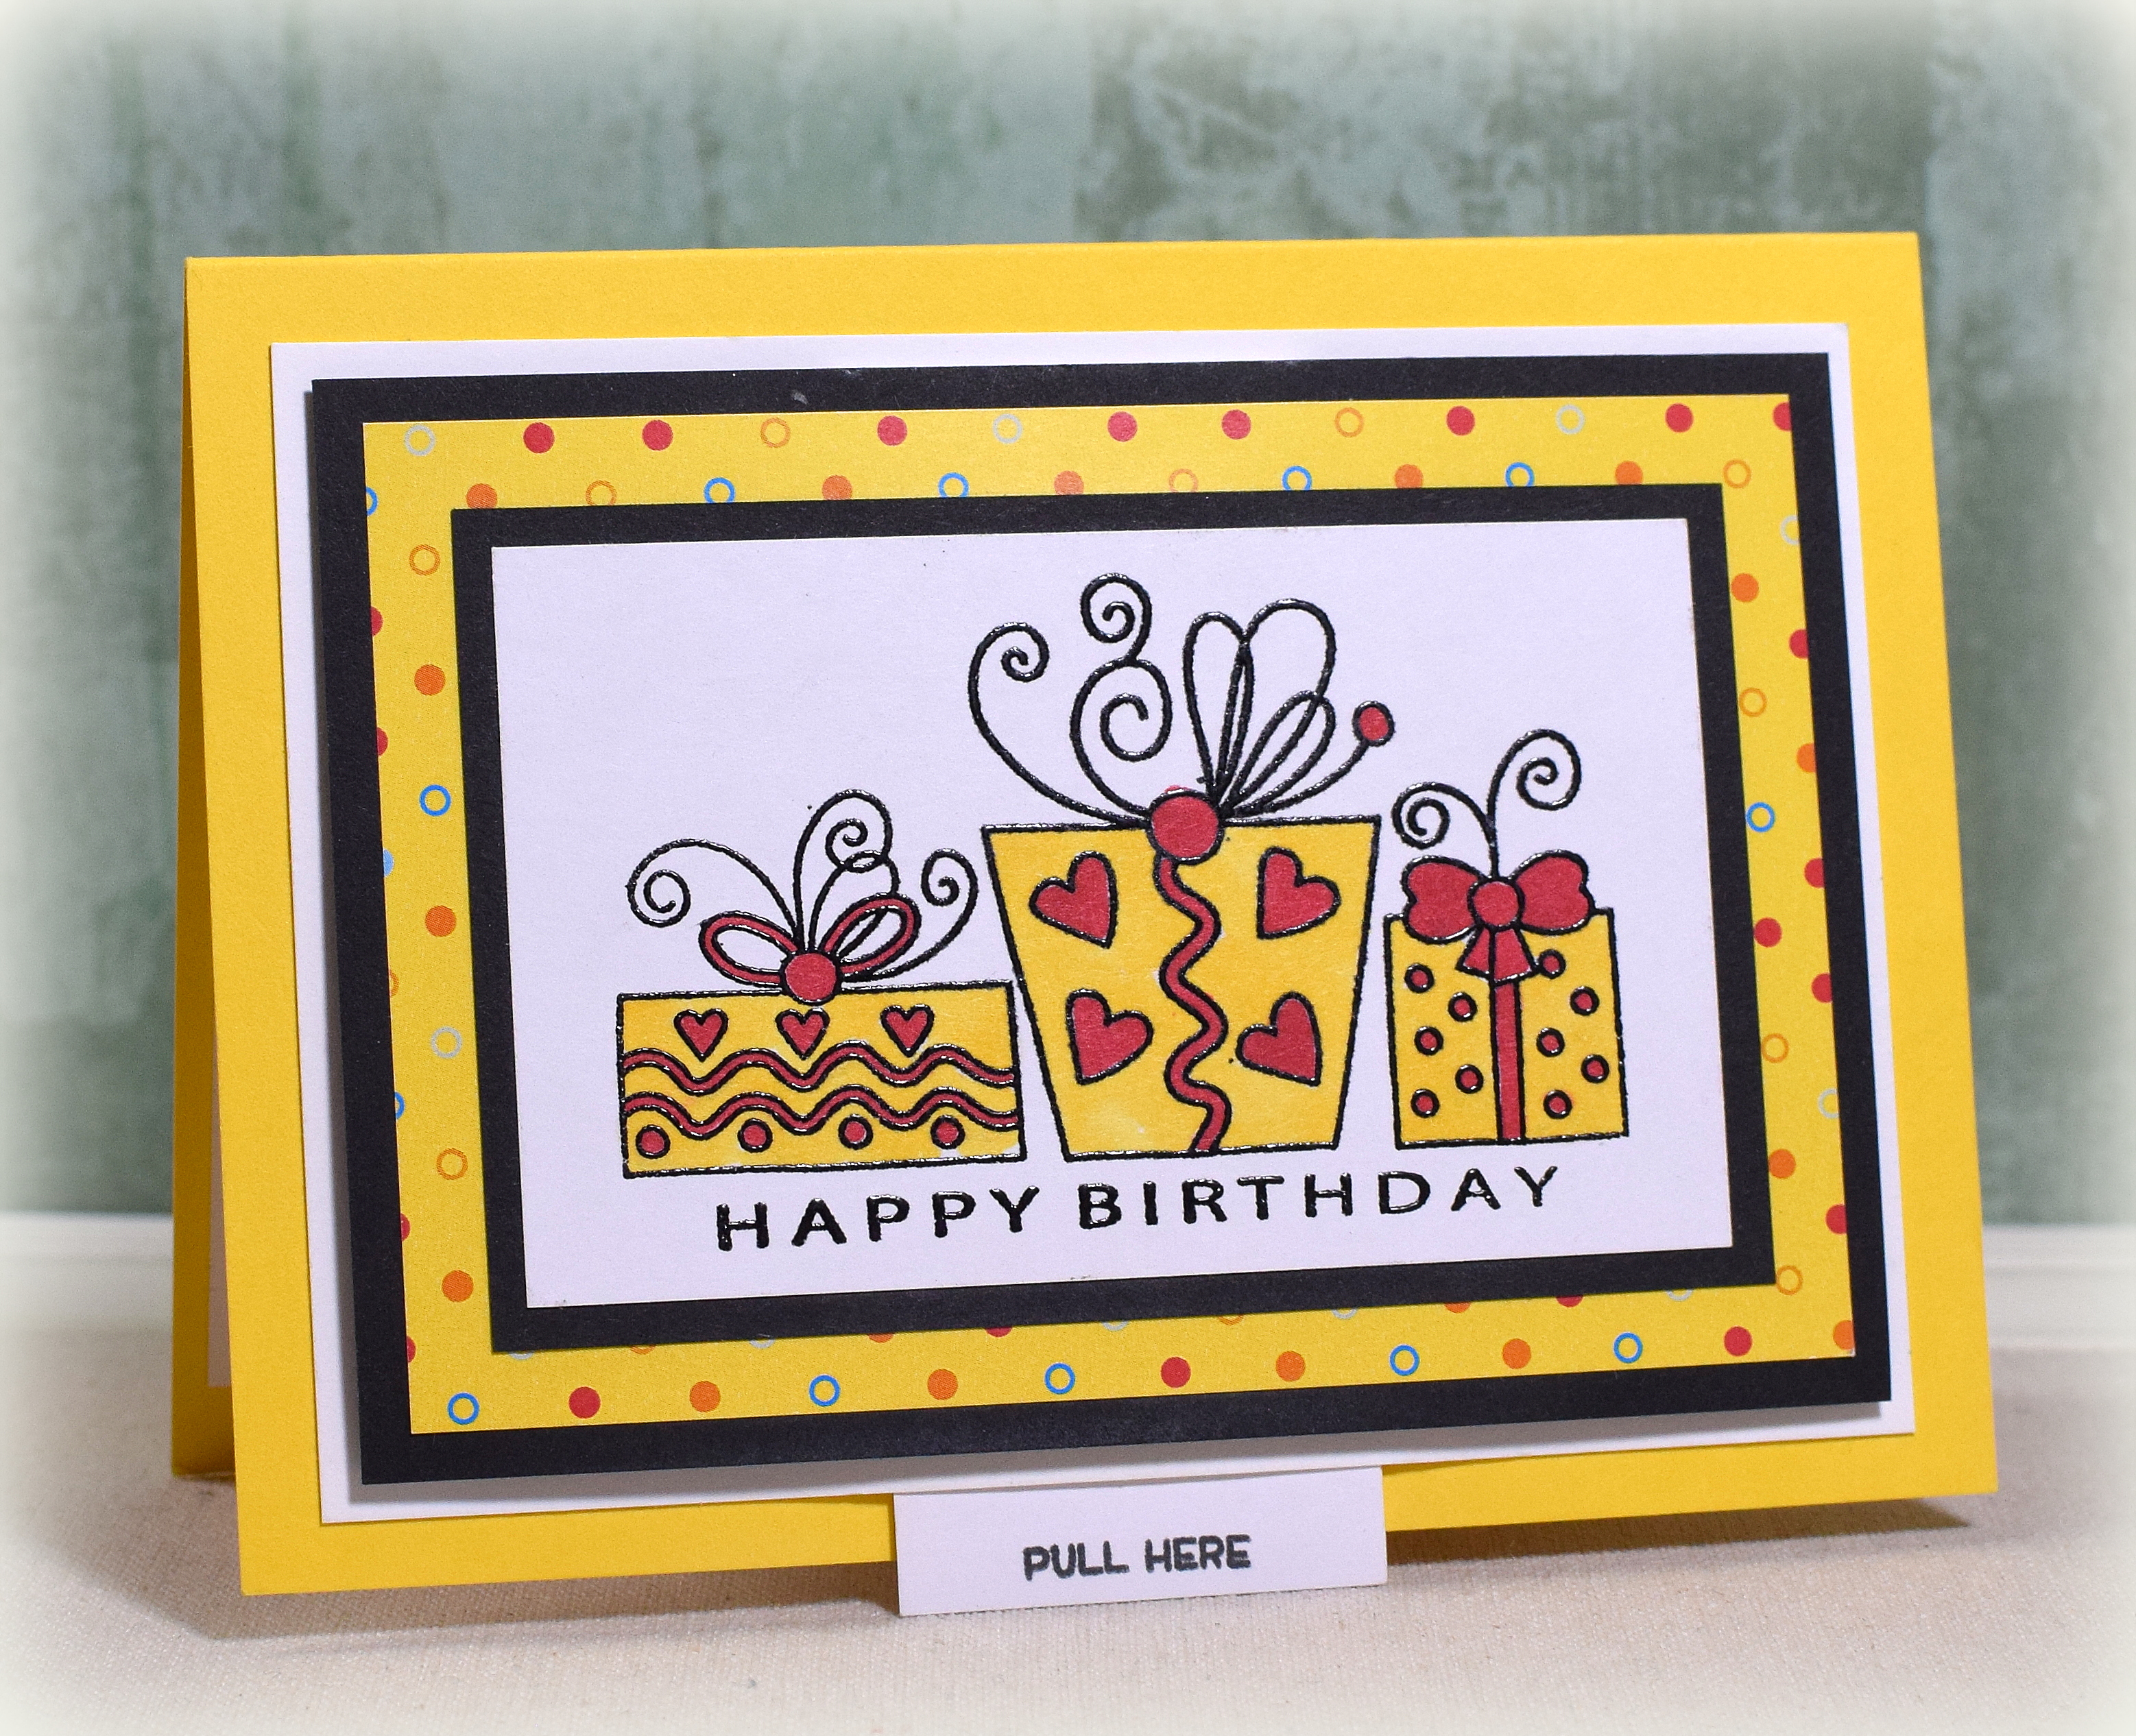
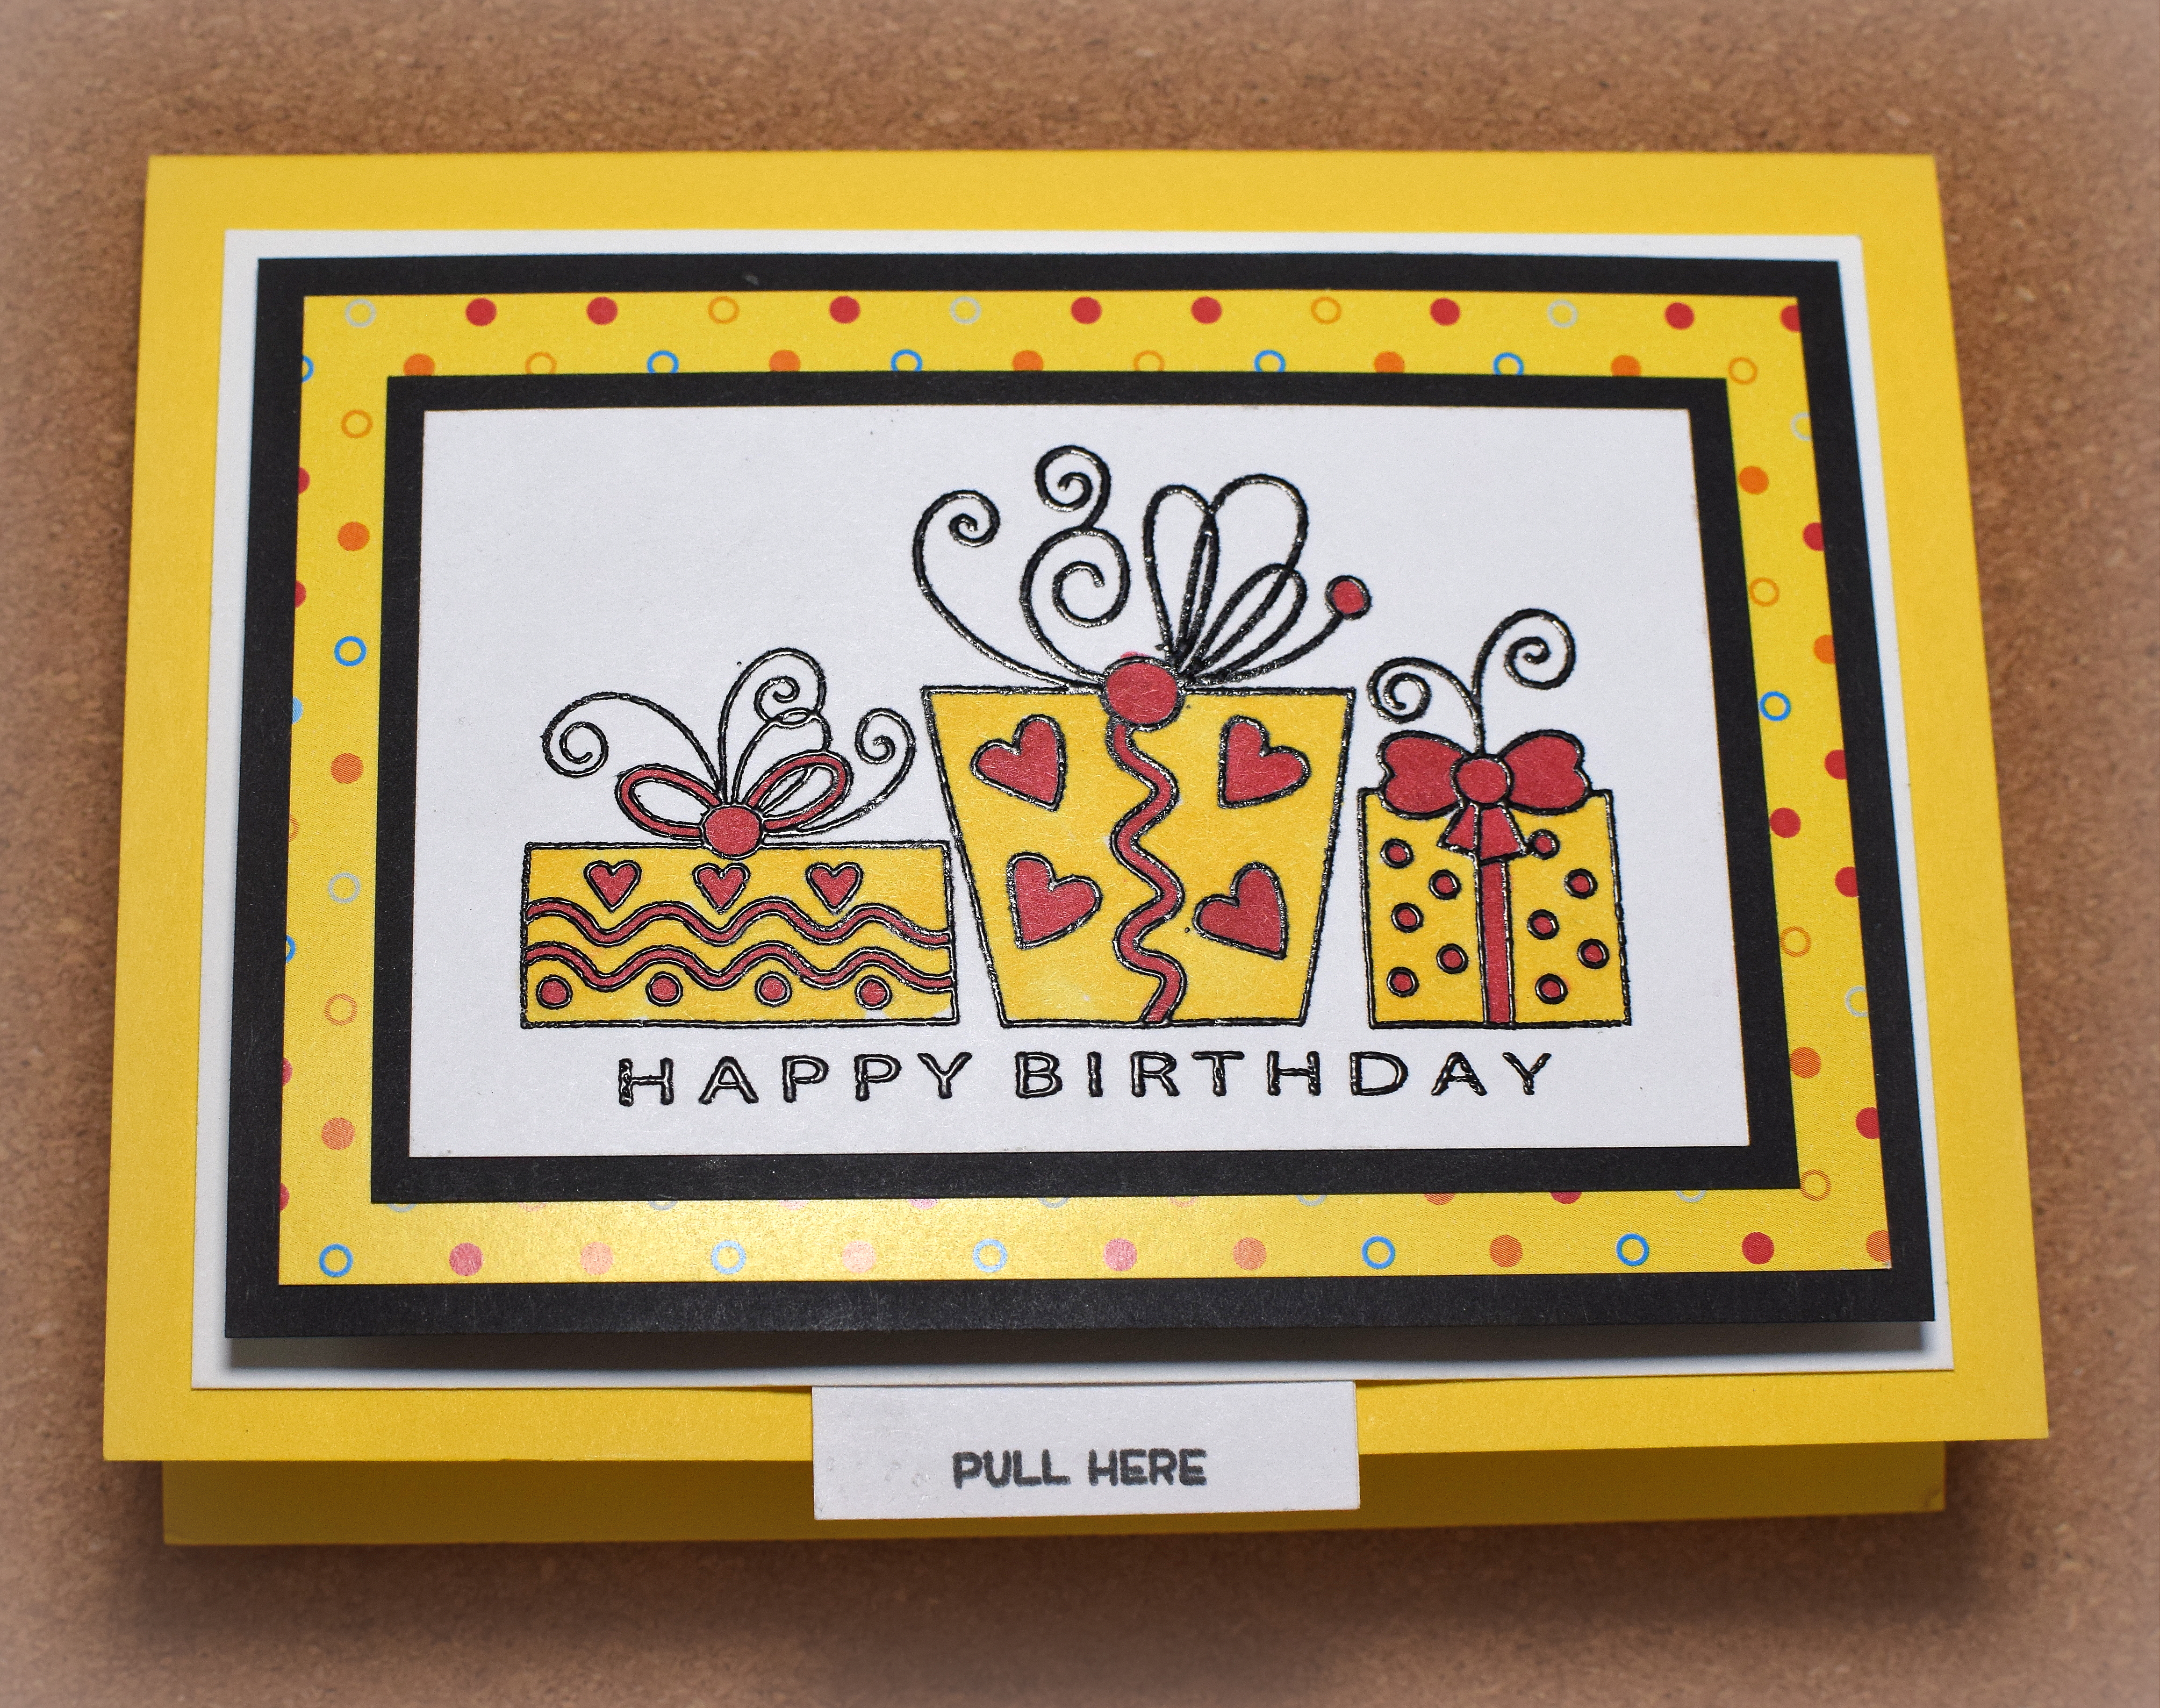
Santa Slider Window Card

I know Christmas isn’t really about the presents, but gift giving is included in our celebration…
Christmas morning looks very different in our house now that my 4 children are adults. A few years ago, we moved from piles of wrapped gifts to a few small things and a monetary gift. I stressed about what we would do in the morning with very little to open and made it my mission to come up with a different “Christmas Morning Activity” for the kids each year instead. The first year was easy. They each received 10 wrapped boxes, each containing various amounts of money, and they needed to open them all to see how much their total gift was. Then it got trickier! We did a scavenger hunt one year where I hid a bunch of envelopes containing money near various holiday decorations around the house. They each got a list of clues, and when they found each decoration, they found the money-filled envelopes with their names on them. They worked in teams/pairs and tried to see which pair could find all their loot first. Another year, I hid puzzle pieces (for 2 identical Christmas puzzles) around the house, and the same teams/pairs had to find all the pieces and build their puzzle first. This year, I found a Christmas themed home version of an “Escape Room Challenge” which the teams raced to solve. I’m amused at the friendly competition between them as they attack the challenges each year!
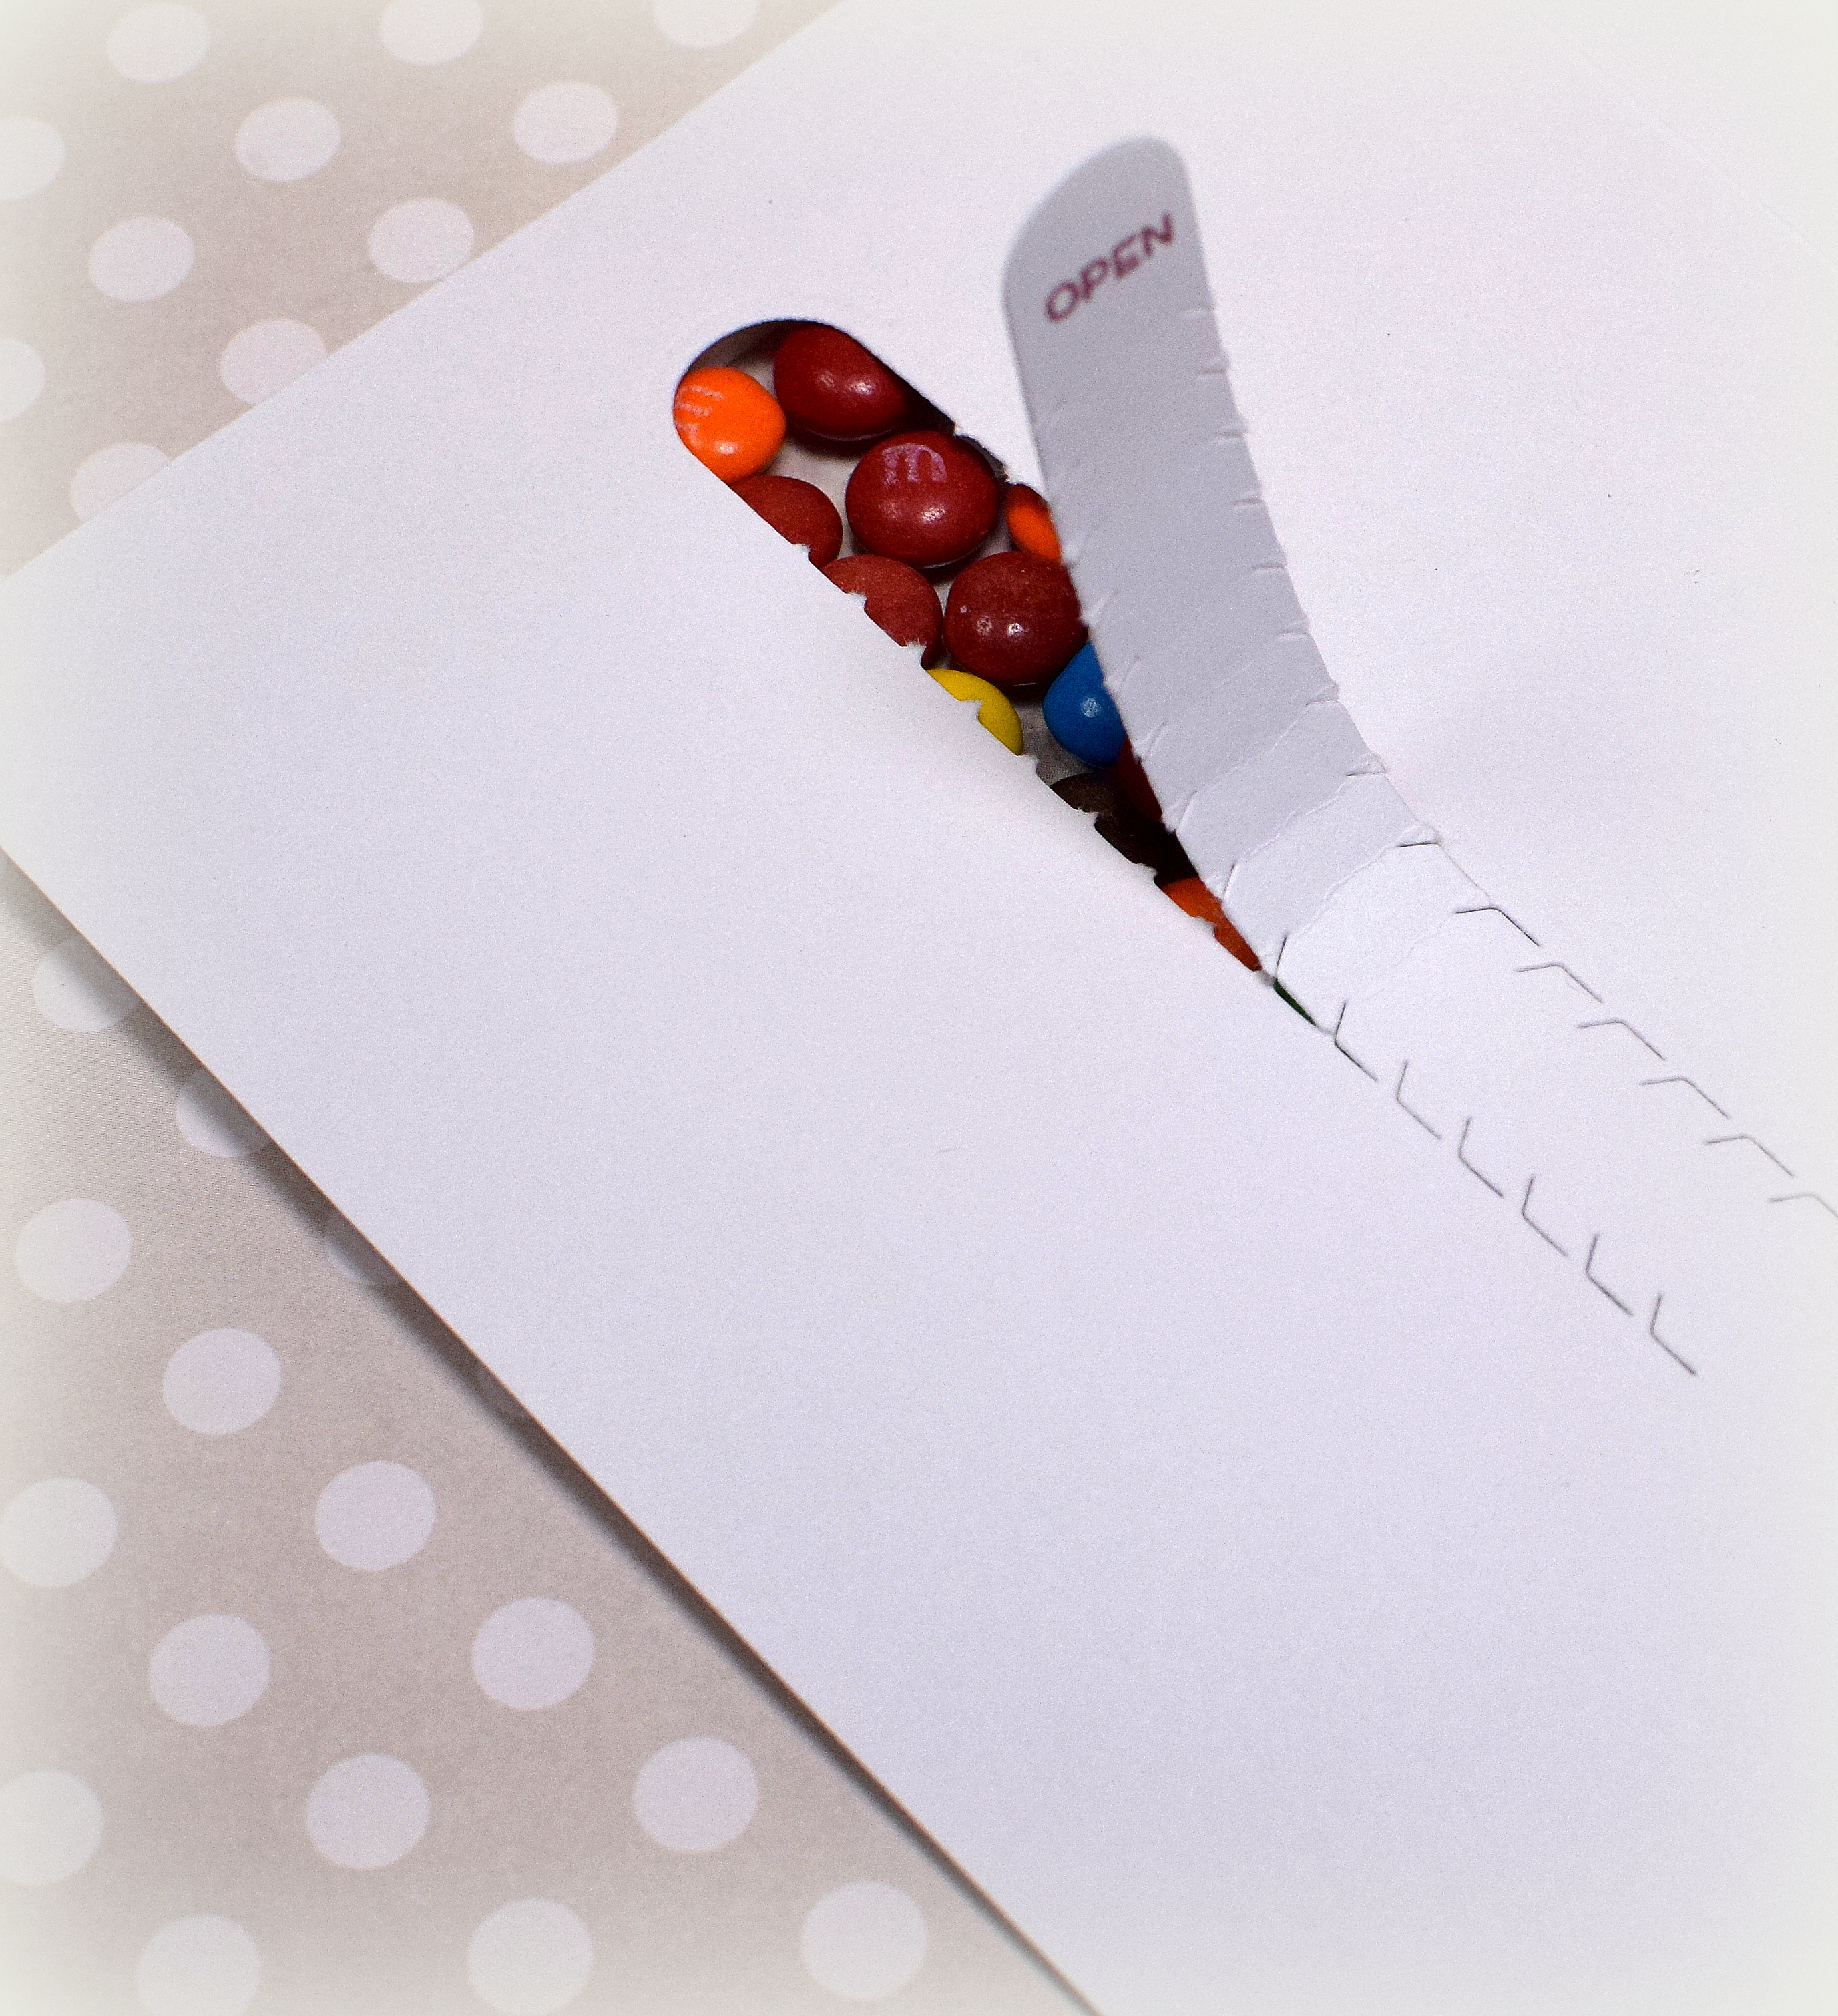
Another difference for this year was that instead of giving them cash (which required a trip to the bank to make the withdrawl and then another trip back to deposit it into their accounts), I transferred the money directly into their accounts. It felt a little weird to just tell them I transferred the money so I wanted to come up with an interactive card to “present the gift” to them. (It took me a while to get to the card project for this post, but I finally made it – lol!!)
When the ribbon is pulled, Santa slides back to reveal the gift. (Theirs actually had the amount showing!)

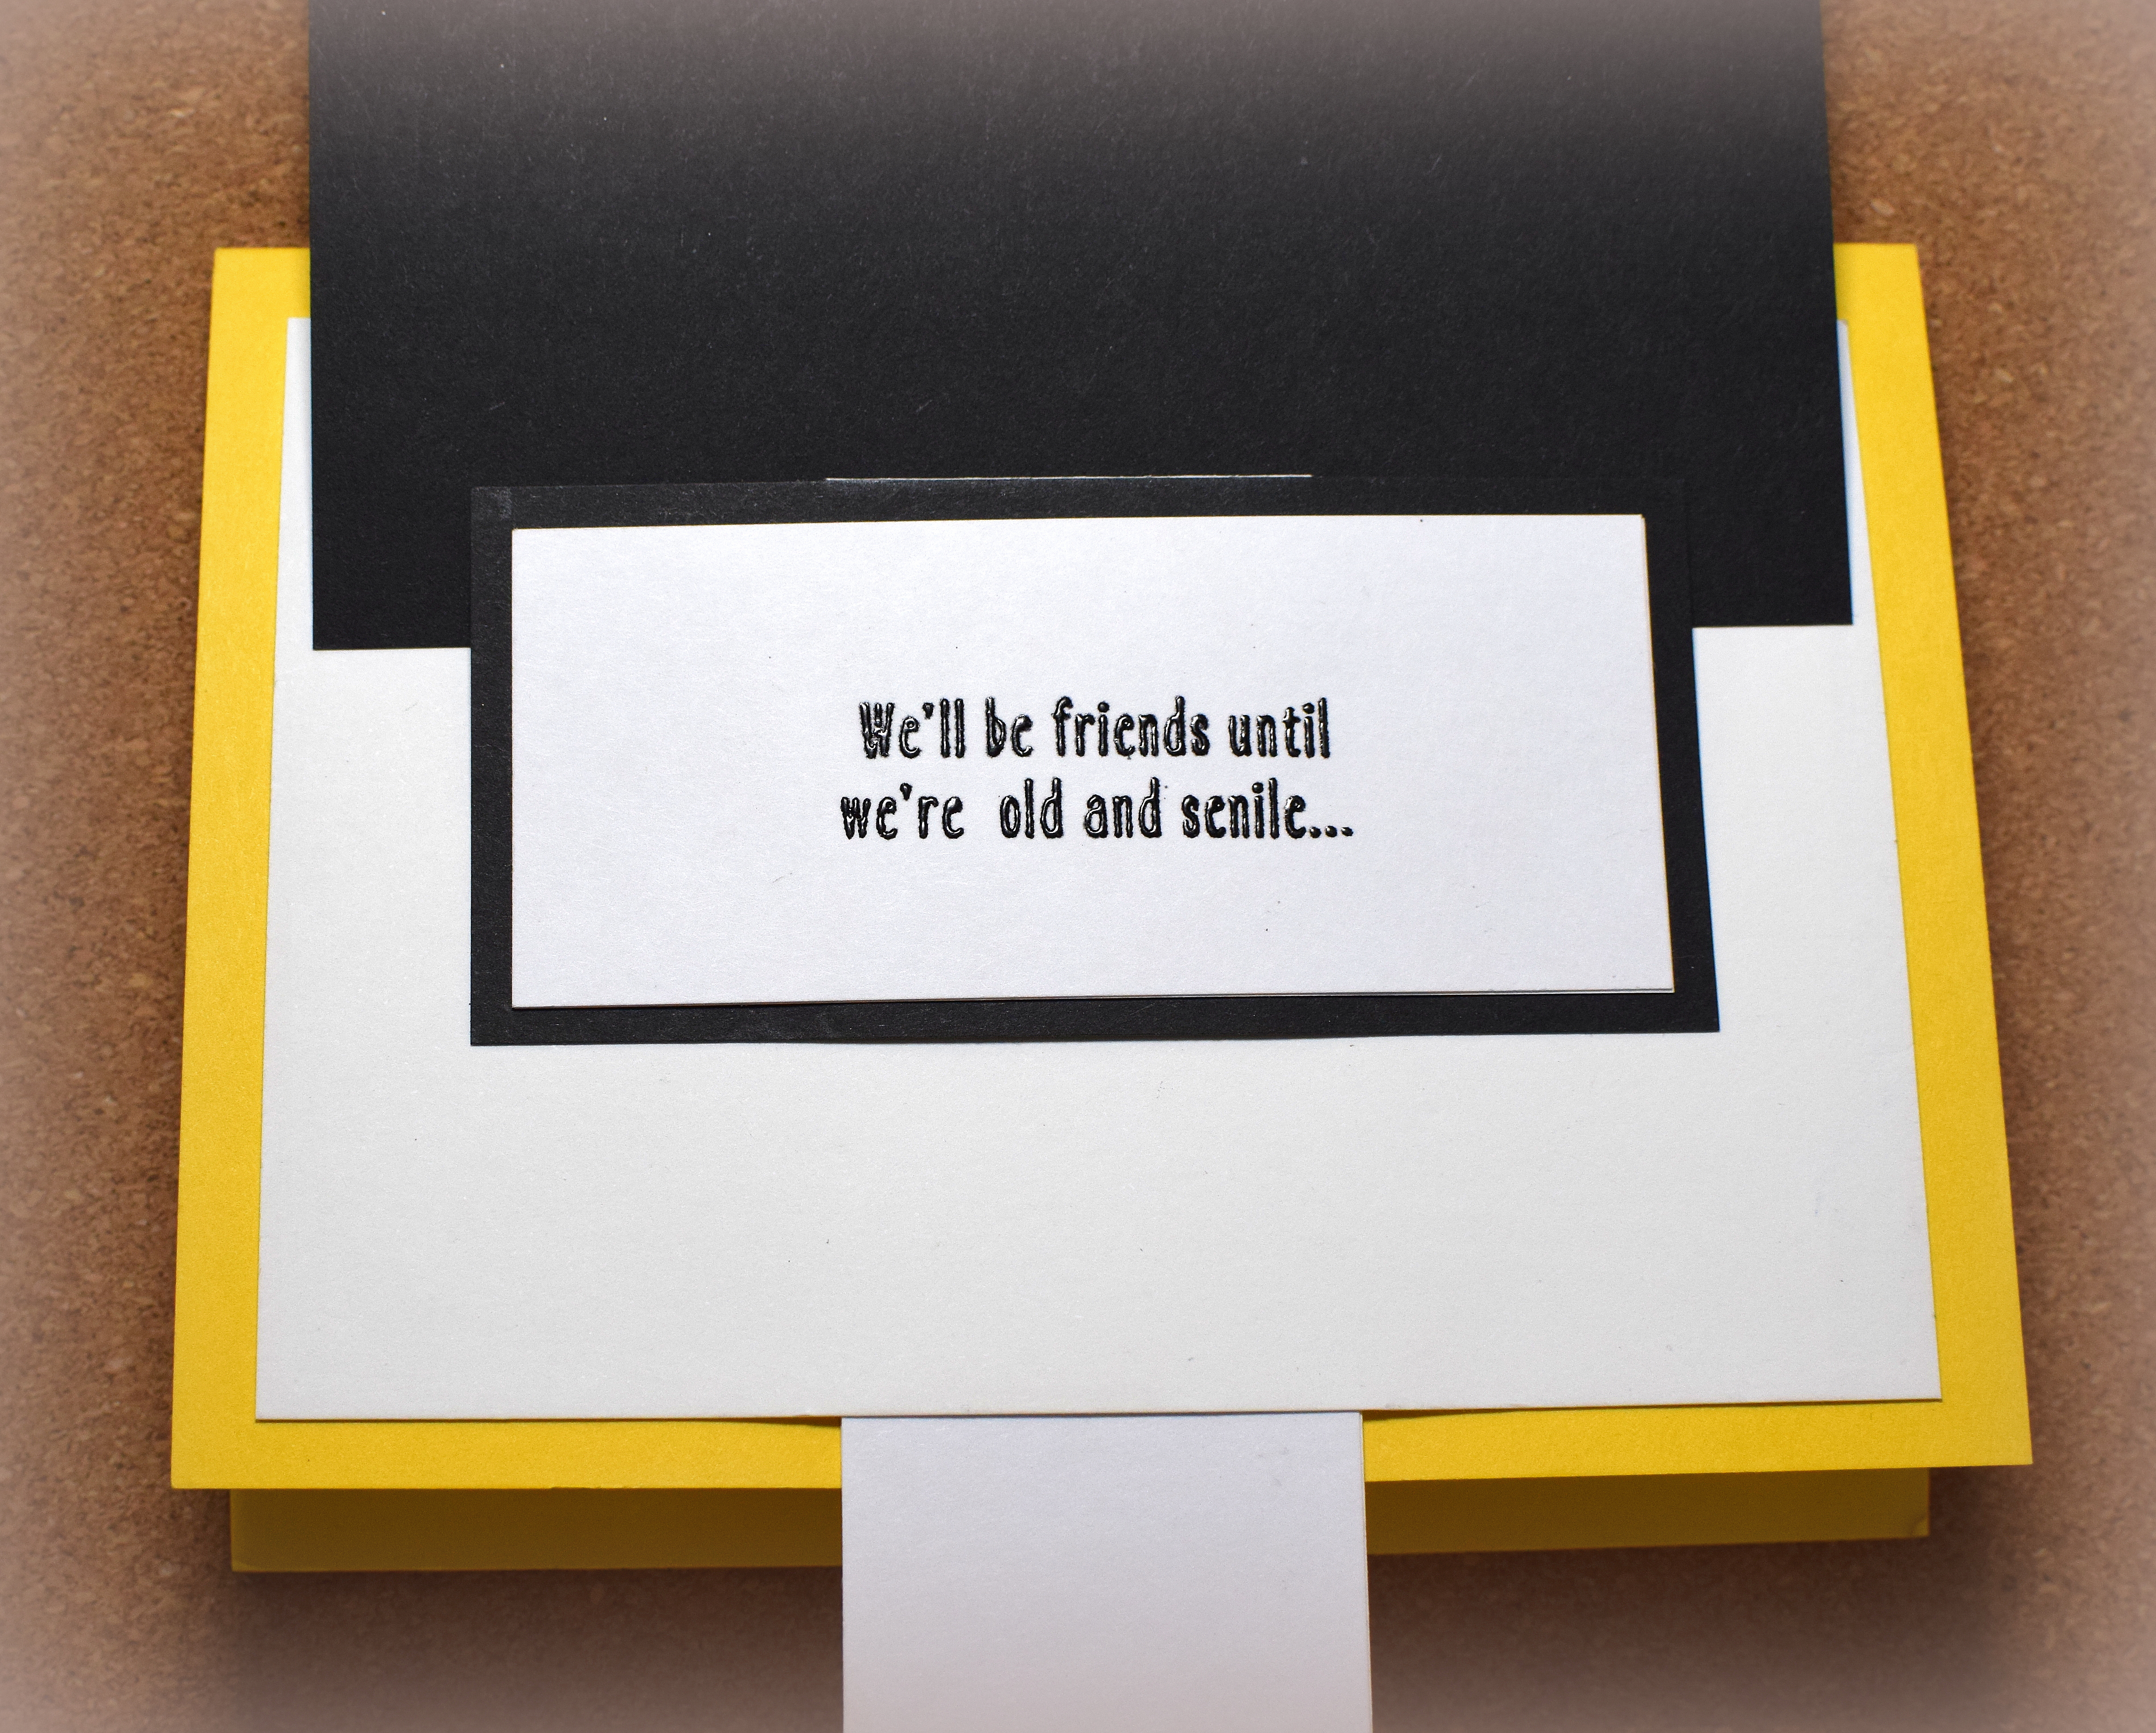
(inside: Use it to buy something fun!)
I created the Santa from a Silhouette cut file called “Santa Cartoon” (design #283758) by Sarah Bailey. The slider window card was created from another Silhouette file called “A2 Santa Slider Window Card” (design #100187) by Lori Whitlock. This file includes a Santa as well, but I had already purchased the “Santa Cartoon” file so I thought I would go with that.
The designer paper is called Christmas Cheer Peppermint by Lily Bee Designs. The card stock is Gina K Designs Cherry Red, Christmas Pine, Warm Glow, white, black and a scrap of yellow. All the text was computer generated.
Thanks for checking out my card project (and for putting up with my narrative leading to it)!