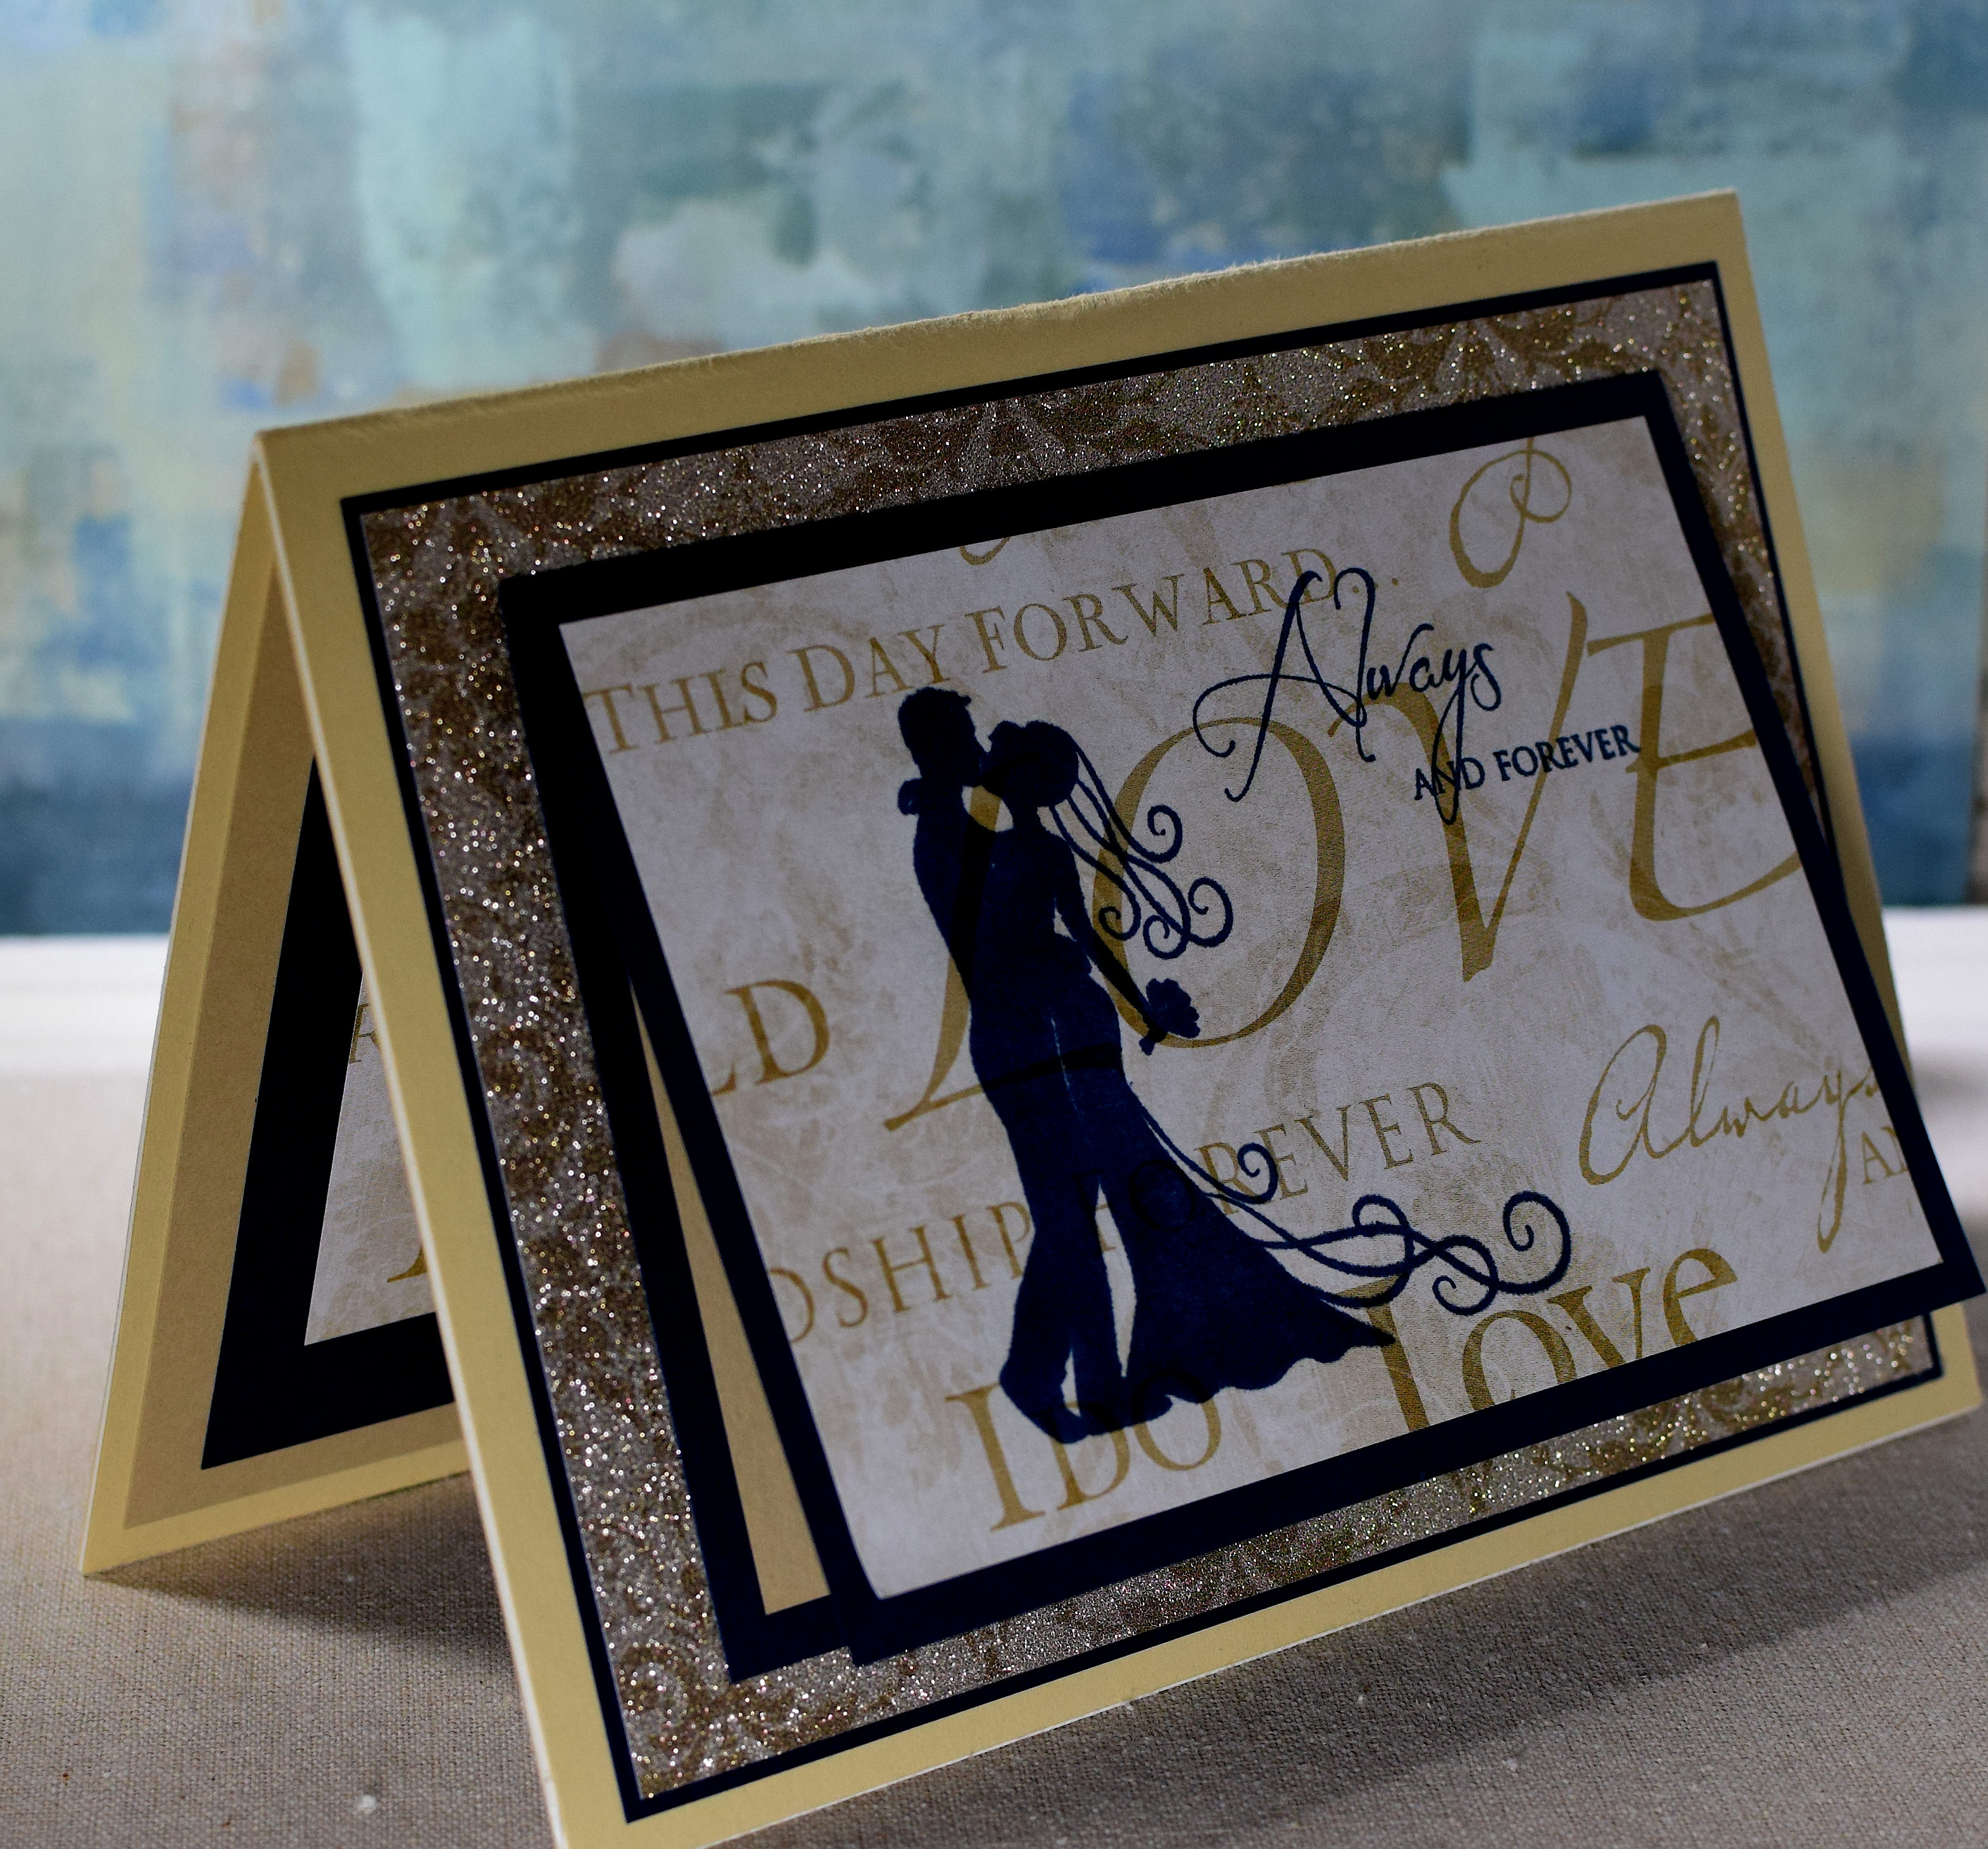
Gold Wedding Pop-Up Cake

The Mod Squad Challenge this week is called “Go For The Gold” where we are encouraged to, “Just put some gold on your project. Lots or just a little. It must be gold.” (Sadly, this site is no longer active.) I came across this glittery gold paper and thought it would make an elegant wedding or anniversary cake.
Here is the front of the card:
Ingredients:
- The Paper Studio (Hobby Lobby) “Gold Dainty Damask – Glam Glitter” (#214106) PP
- The Paper Studio (Hobby Lobby) “Gold Wedding Words” (#345207) PP
- The Paper Studio (tan open stock – no name) CS
- Core’dinations “Deep Navy” CS
- Recollections heavy weight ivory CS
- Corru-Gator paper crimper.
- Creative Memories “Mini Heart Maker” punch
- Cheery Lynn Designs Mini Fanciful Flourish Die
- Spellbinders Stately Circles die set
- Sizzix “Cake, Three Tier, 3-D” Bigz Die (designed by Karen Burniston)
- Gina K Designs “Always and Forever” stamp set (retired?)
- Gina K In the Navy ink
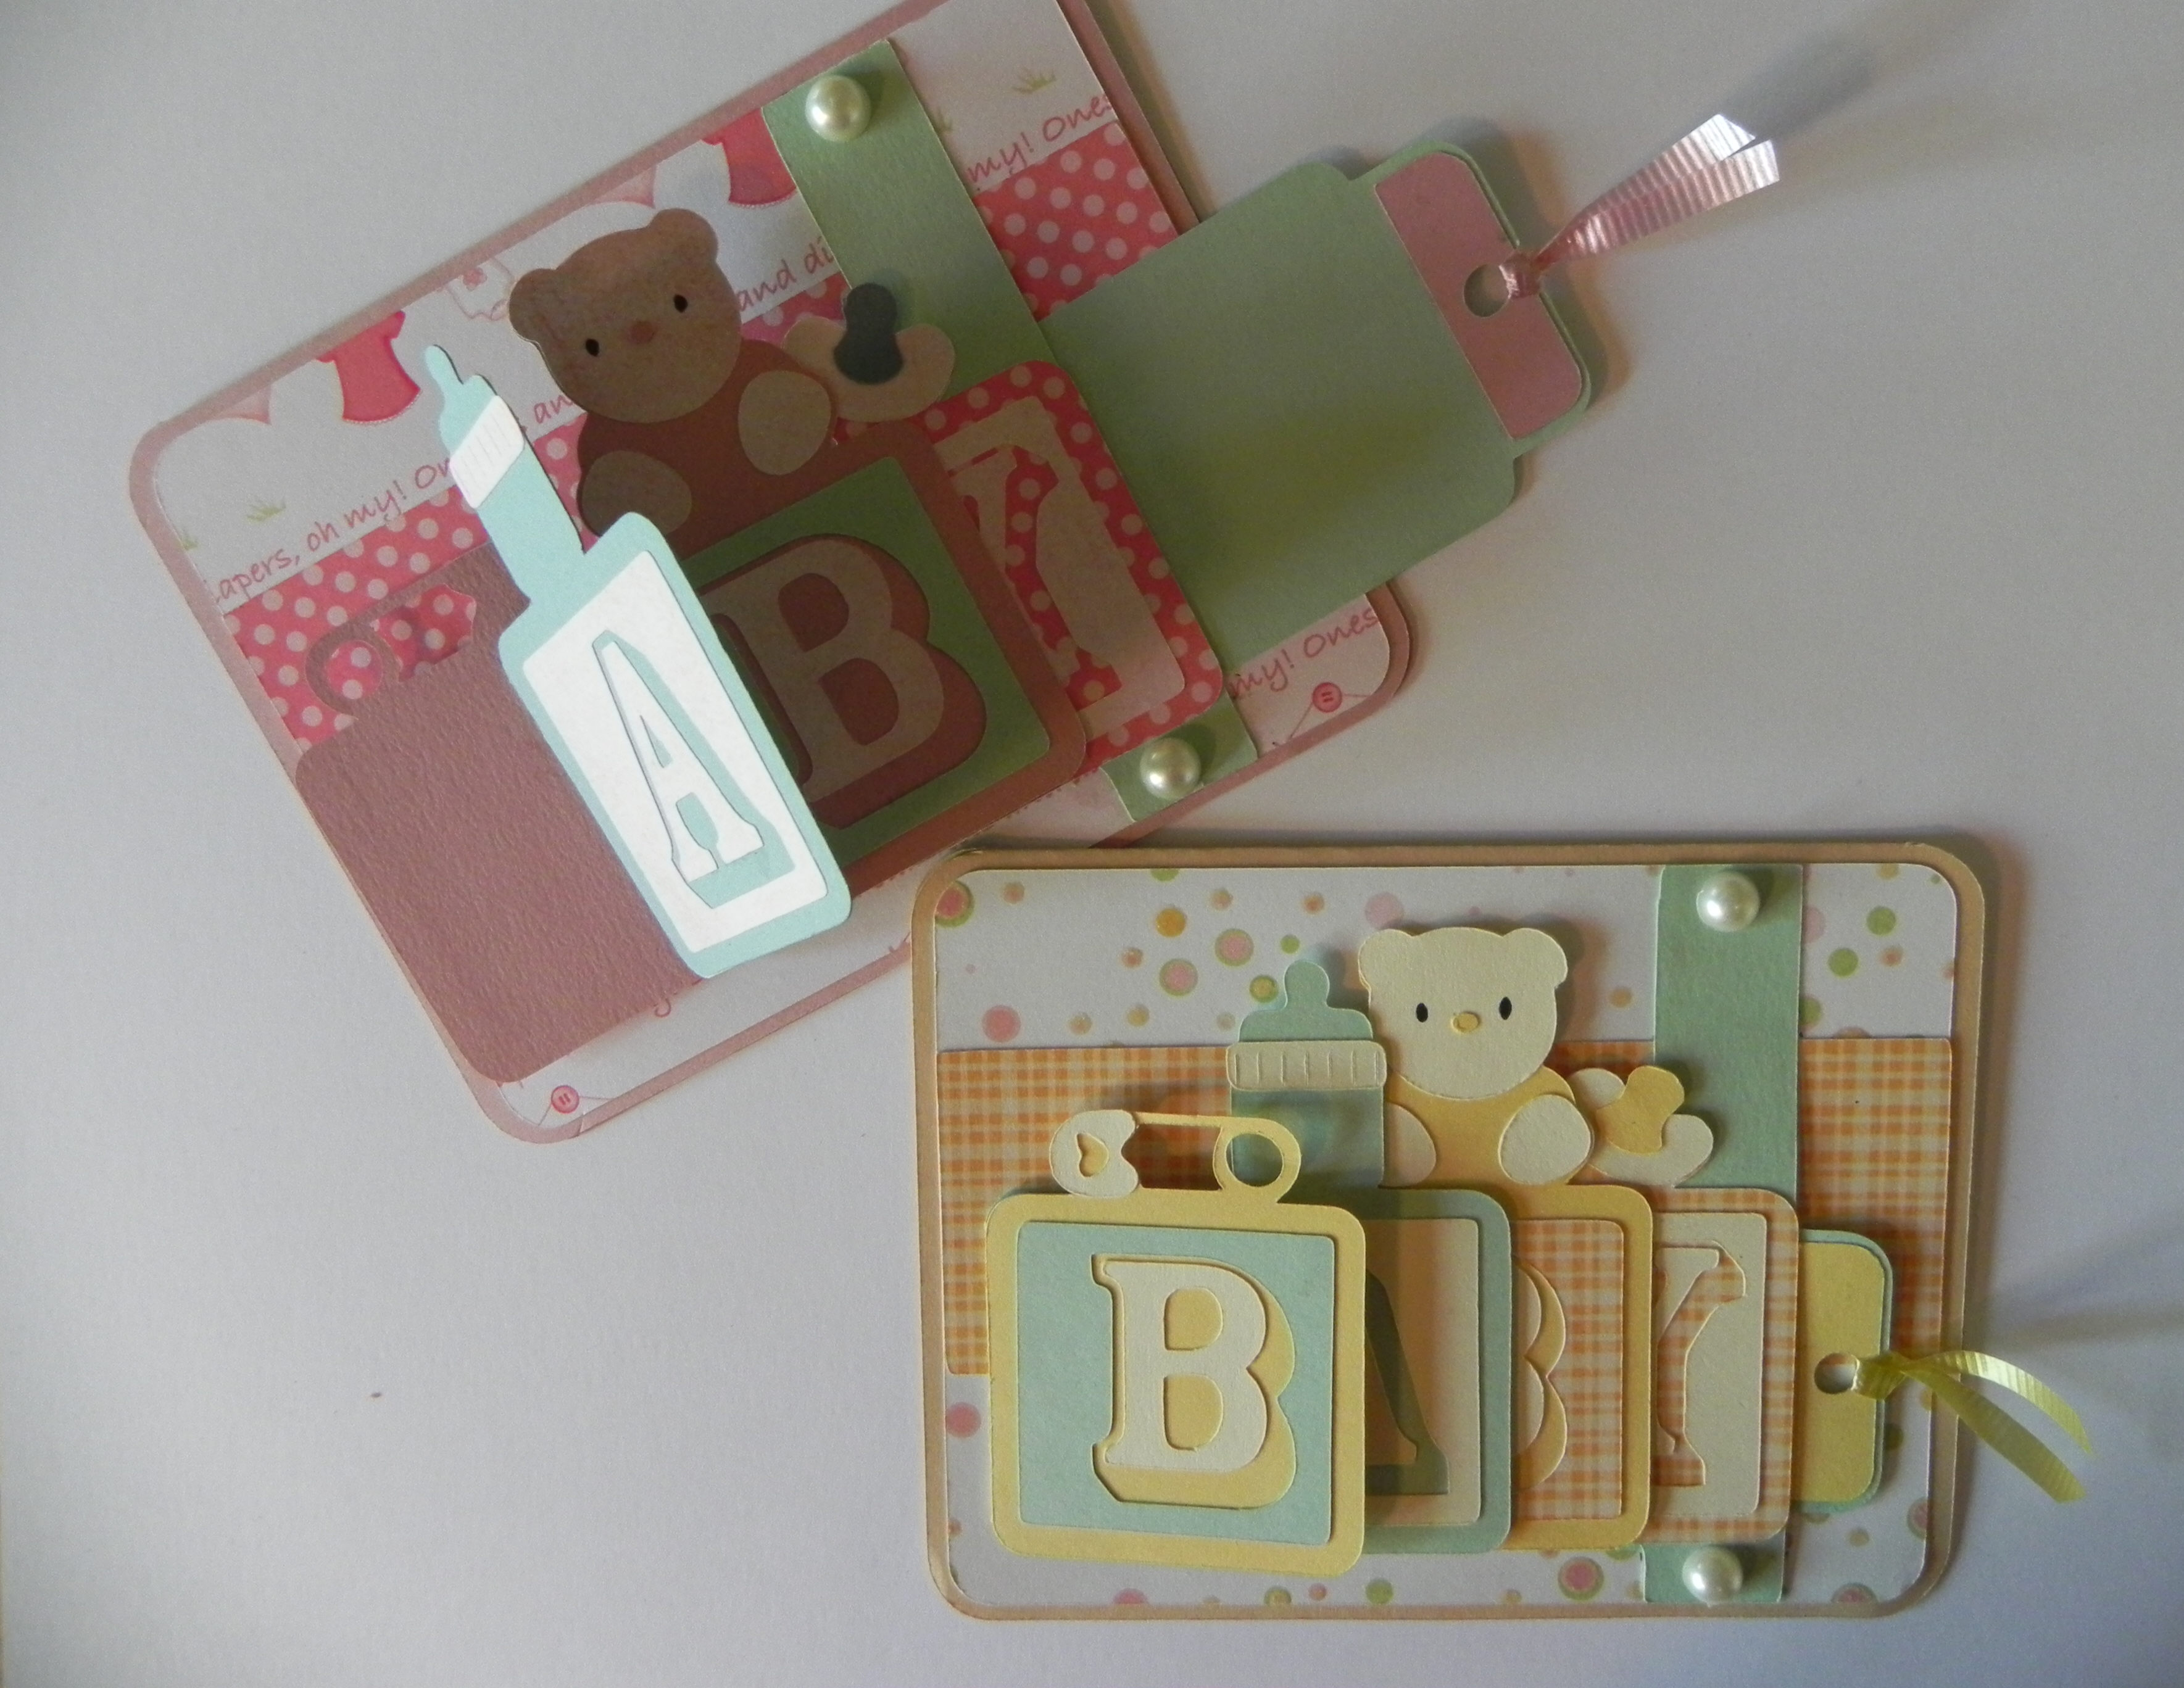
As I mentioned in my earlier pop-up cake posts, I needed to design a custom envelope (box) to accommodate the bulkiness of this card, and it will need to be sent as a package (in a mailing box). Here is the envelope I designed:

The envelope can be left plain or can be customized to match the card inside.
Thanks for checking out my card post!
This content uses referral links as described in the disclosure policy on my sidebar.