Cheers to the Happy Couple

Cheers to the Happy Couple

Cheers to the Happy Couple xxxDSC_1099 (cropped).jpg

(Inside Text: Wishing you happiness as you start your life together)

I recently needed to make a wedding card and an anniversary card, and when I discovered this gorgeous champagne glass stamp (D-21609 Bride and Groom Wedding Rubber Stamp, Champagne Glasses) by RubberHedgehog Rubber Stamps, I immediately fell in love with it!  It’s a pretty small stamp (about 1 3/4″ x 3/4″ – I’d love to see them make a larger version!), so I decided to pair it with the beautiful heart-shaped wreath image (K-20307 Floral Heart Rubber Stamp, Garland of FLowers), also by RubberHedgehog.

This is a flip card where the center panel flips over as the card is “pulled” open.

   wwDSC_1061 wwDSC_1062 wwDSC_1060

Below is the anniversary version with less formal card stock:

wwwDSC_1116.jpg

(Inside Text: Happy Anniversary)

The sentiment on the wedding card is from the “Rectangle Greetings” set (retired?), and the “Happy Anniversary” on the anniversary card is from the “All Occasion Tags” set (retired?) – both by Gina K Designs.  These were stamped with Memento Elderberry ink.

The card base and decorative panels were made with dies from the Sizzix Framelit Flip-Its “Card, Circle Flip-Its #4” set and my BIGKick die cutting machine.  I used heavy weight white card stock for the card base and paper from the DCWV “The Formal Affair Stack” paper pad for the decorative and stamped panels.  One of the sheets in the pad had a floral pattern on parts and was solid on the rest.  I used one of the We R Memory Keepers Nesting Circle Dies to create the round panels from the different parts of this sheet.  For the inside of the card, I cut the panel from the floral portion of the paper and used the solid part for the stamped panel on the front.

I stamped the images with Memento Tuxedo Black ink using my MISTI.  This allowed me to get the champagne glass image nice and dark and eliminated the need for masking.  I was also able to make multiple cards once I got the stamps positioned where I wanted them.  After the images were stamped, I “colored” them in with a Sakura Stardust Gelly Roll clear glitter pen and used an Infinity green metallic marker to add a touch of color to the leaves.  Then I added small gem stickers (Recollections) to the centers of the flowers.

The glitter and gems added to the stamped images and the shimmer and metallic parts of the paper made it very difficult to get good photos of these cards.  (I took 191 pics over the course of several days before deciding enough is enough!)  The shimmer paper looks light gray, silver, or pale purple depending on how the light hits it.  There is shiny, metallic silver detail on the paper as well.  As I mentioned above, the card base is actually white!   Below is a photo which shows the shine a bit better (although the color is completely washed out)…


aDSC_1109

(click on photo to see the shine)

This card will be entered in the RubberHedgehog 2016 card contest.

Thanks for checking out my card post!

This content uses referral links as described in the disclosure policy on my sidebar.


Love Is…

Love Is…

Love Is... yDSCN9673.jpg


The Die-Namites Inspiration Challenge this month is to create any project using love as the theme, and “as love is in the air, anything goes.”  Below is the inspiration photo for this challenge; I used the word “LOVE” on my project.

die namites feb inspiration photo

To participate in their challenge you need to use any die cut from Die-Namites and let it be the STAR of your design. You can use this combined with any colors, shapes, patrons, pattern papers, stamps, paints, stencils, etc.  (There is a required minimum of 9 different participants or entries on the challenge which was not met this month so there will be no prize given nor “Top 3 Favorites” chosen.)

I was not familiar with this challenge blog before Verna mentioned it in her blog post, nor did I own any of their dies.  I purchased the Flower Scroll die last week so I could participate in this challenge and have enjoyed playing with it the past few days. I created another 6×6 card using this die.

floral scroll die

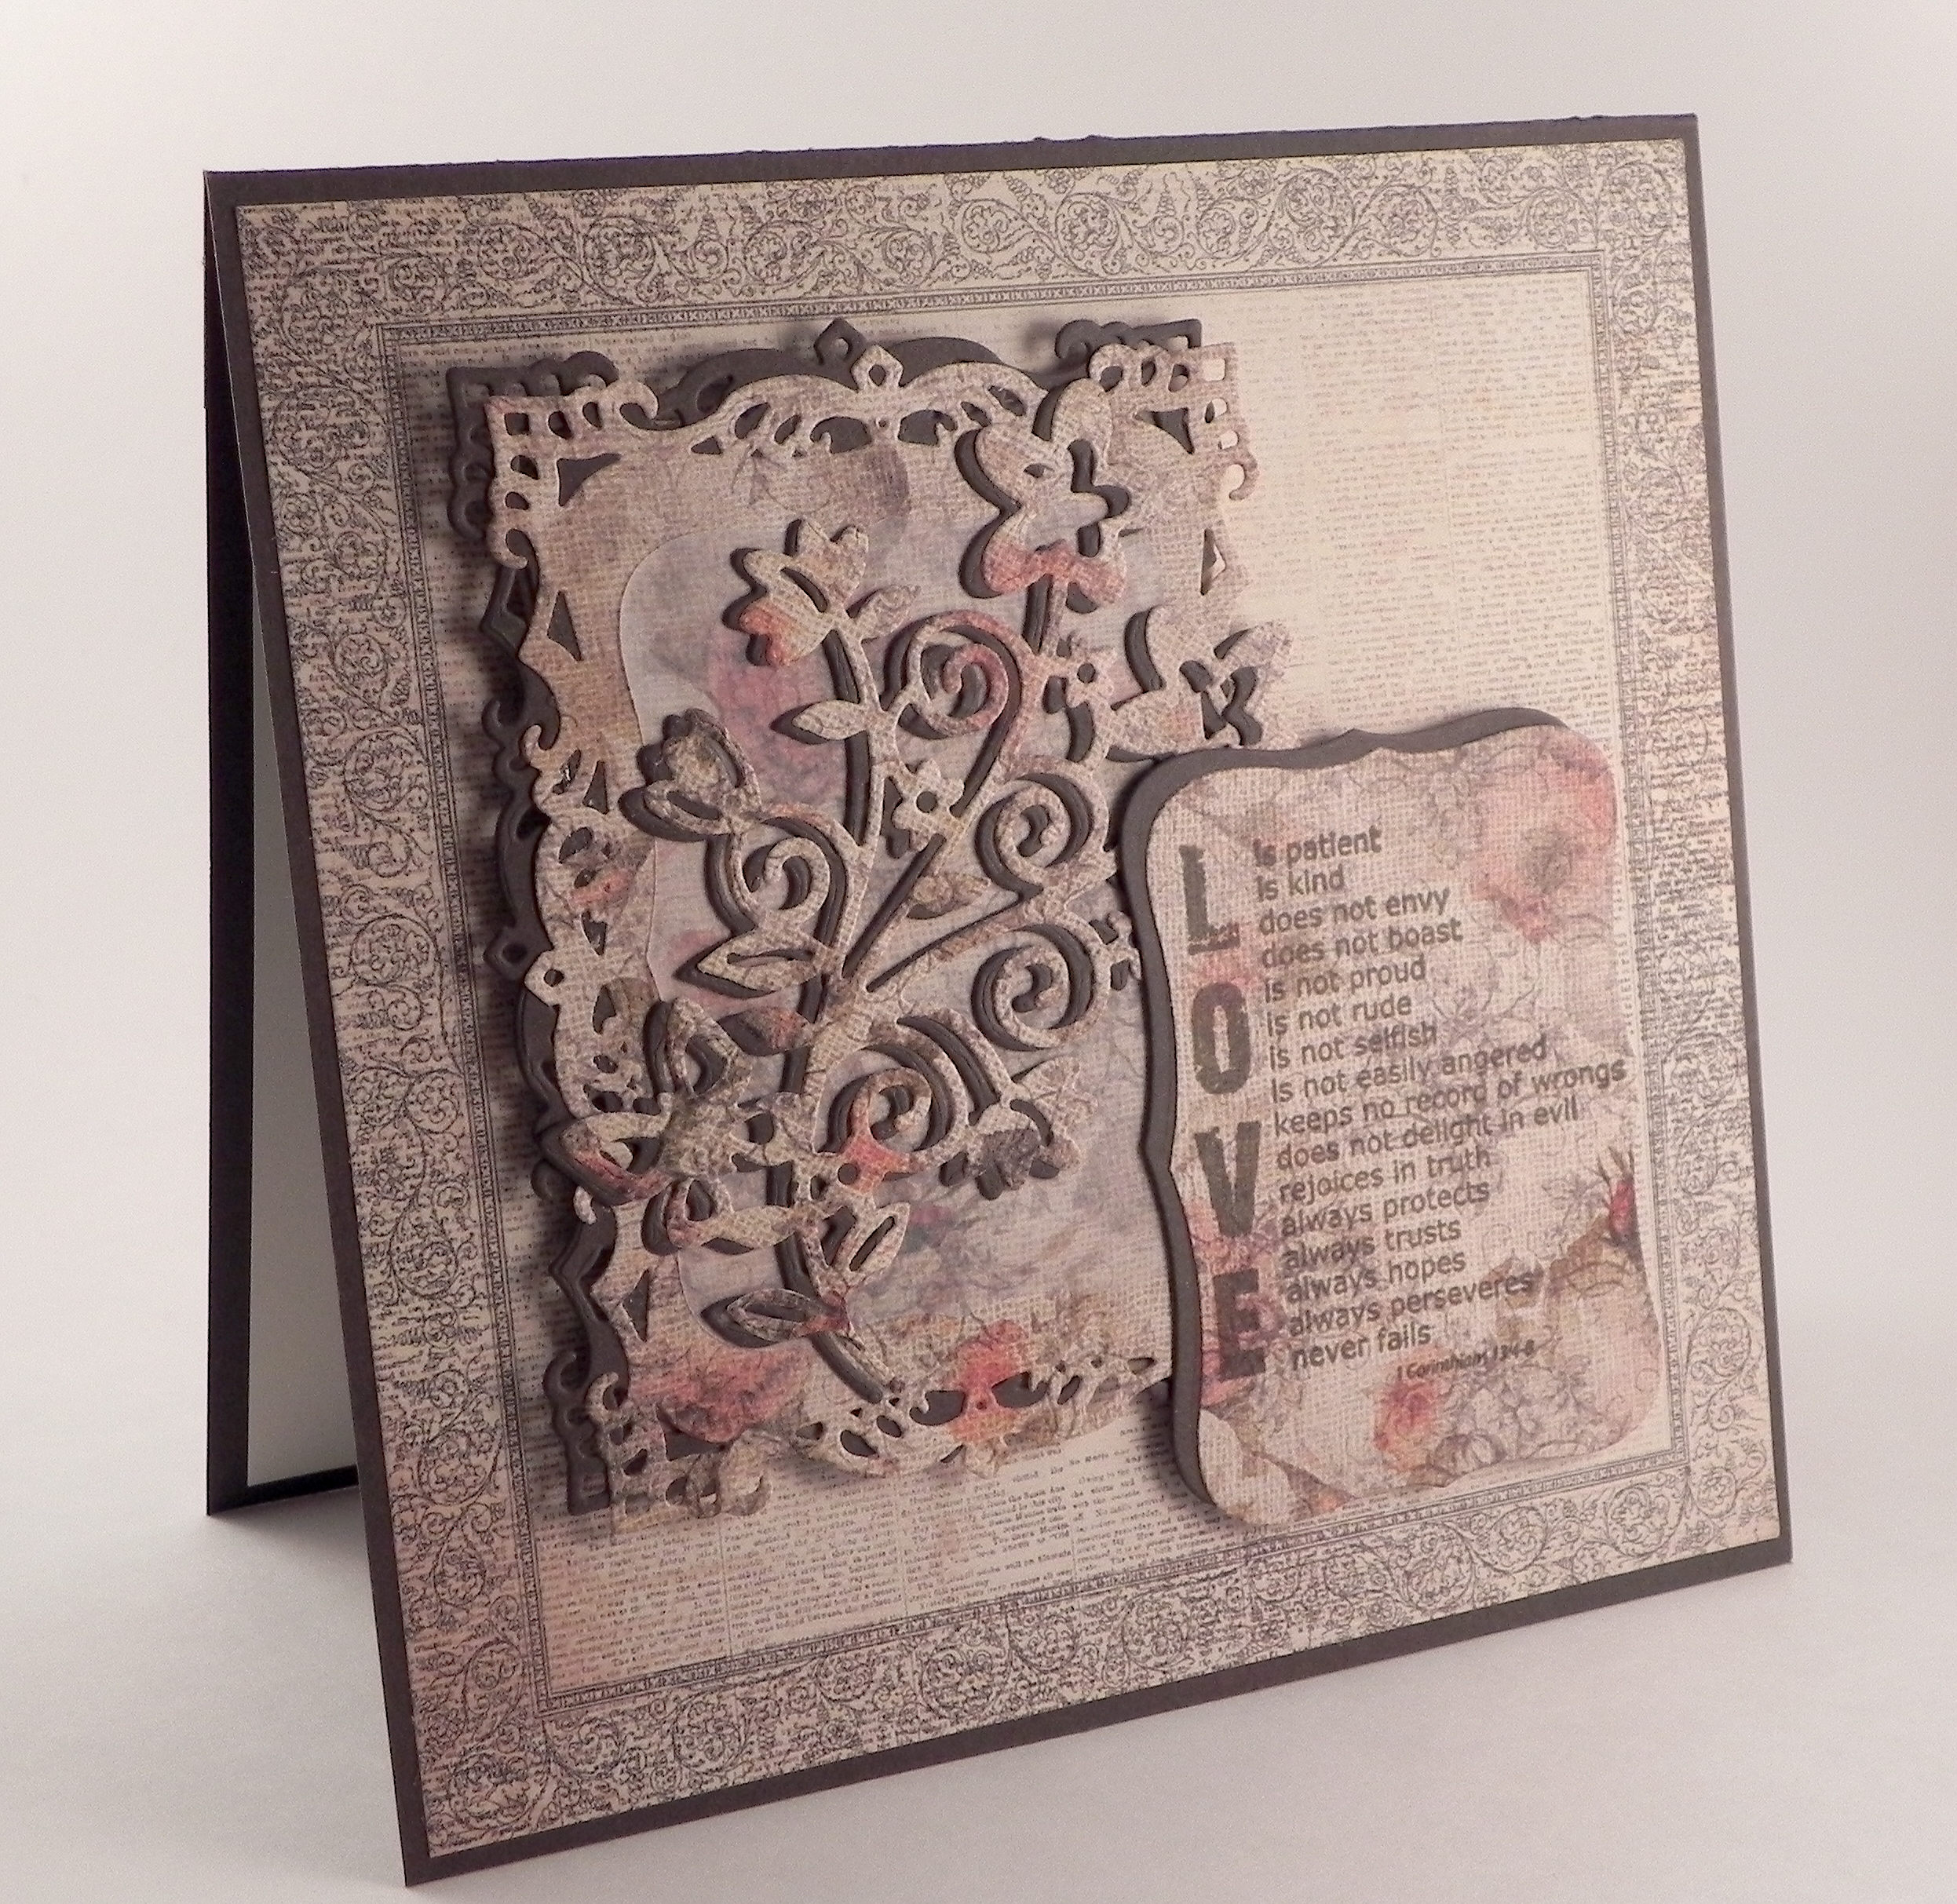
This card is also being entered in the “February Release Party Challenge – Mixing Patterns” on stamptv where we are to use at least two different patterned papers and a stamp from Gina K Designs.  You can check out the gallery of cards HERE.

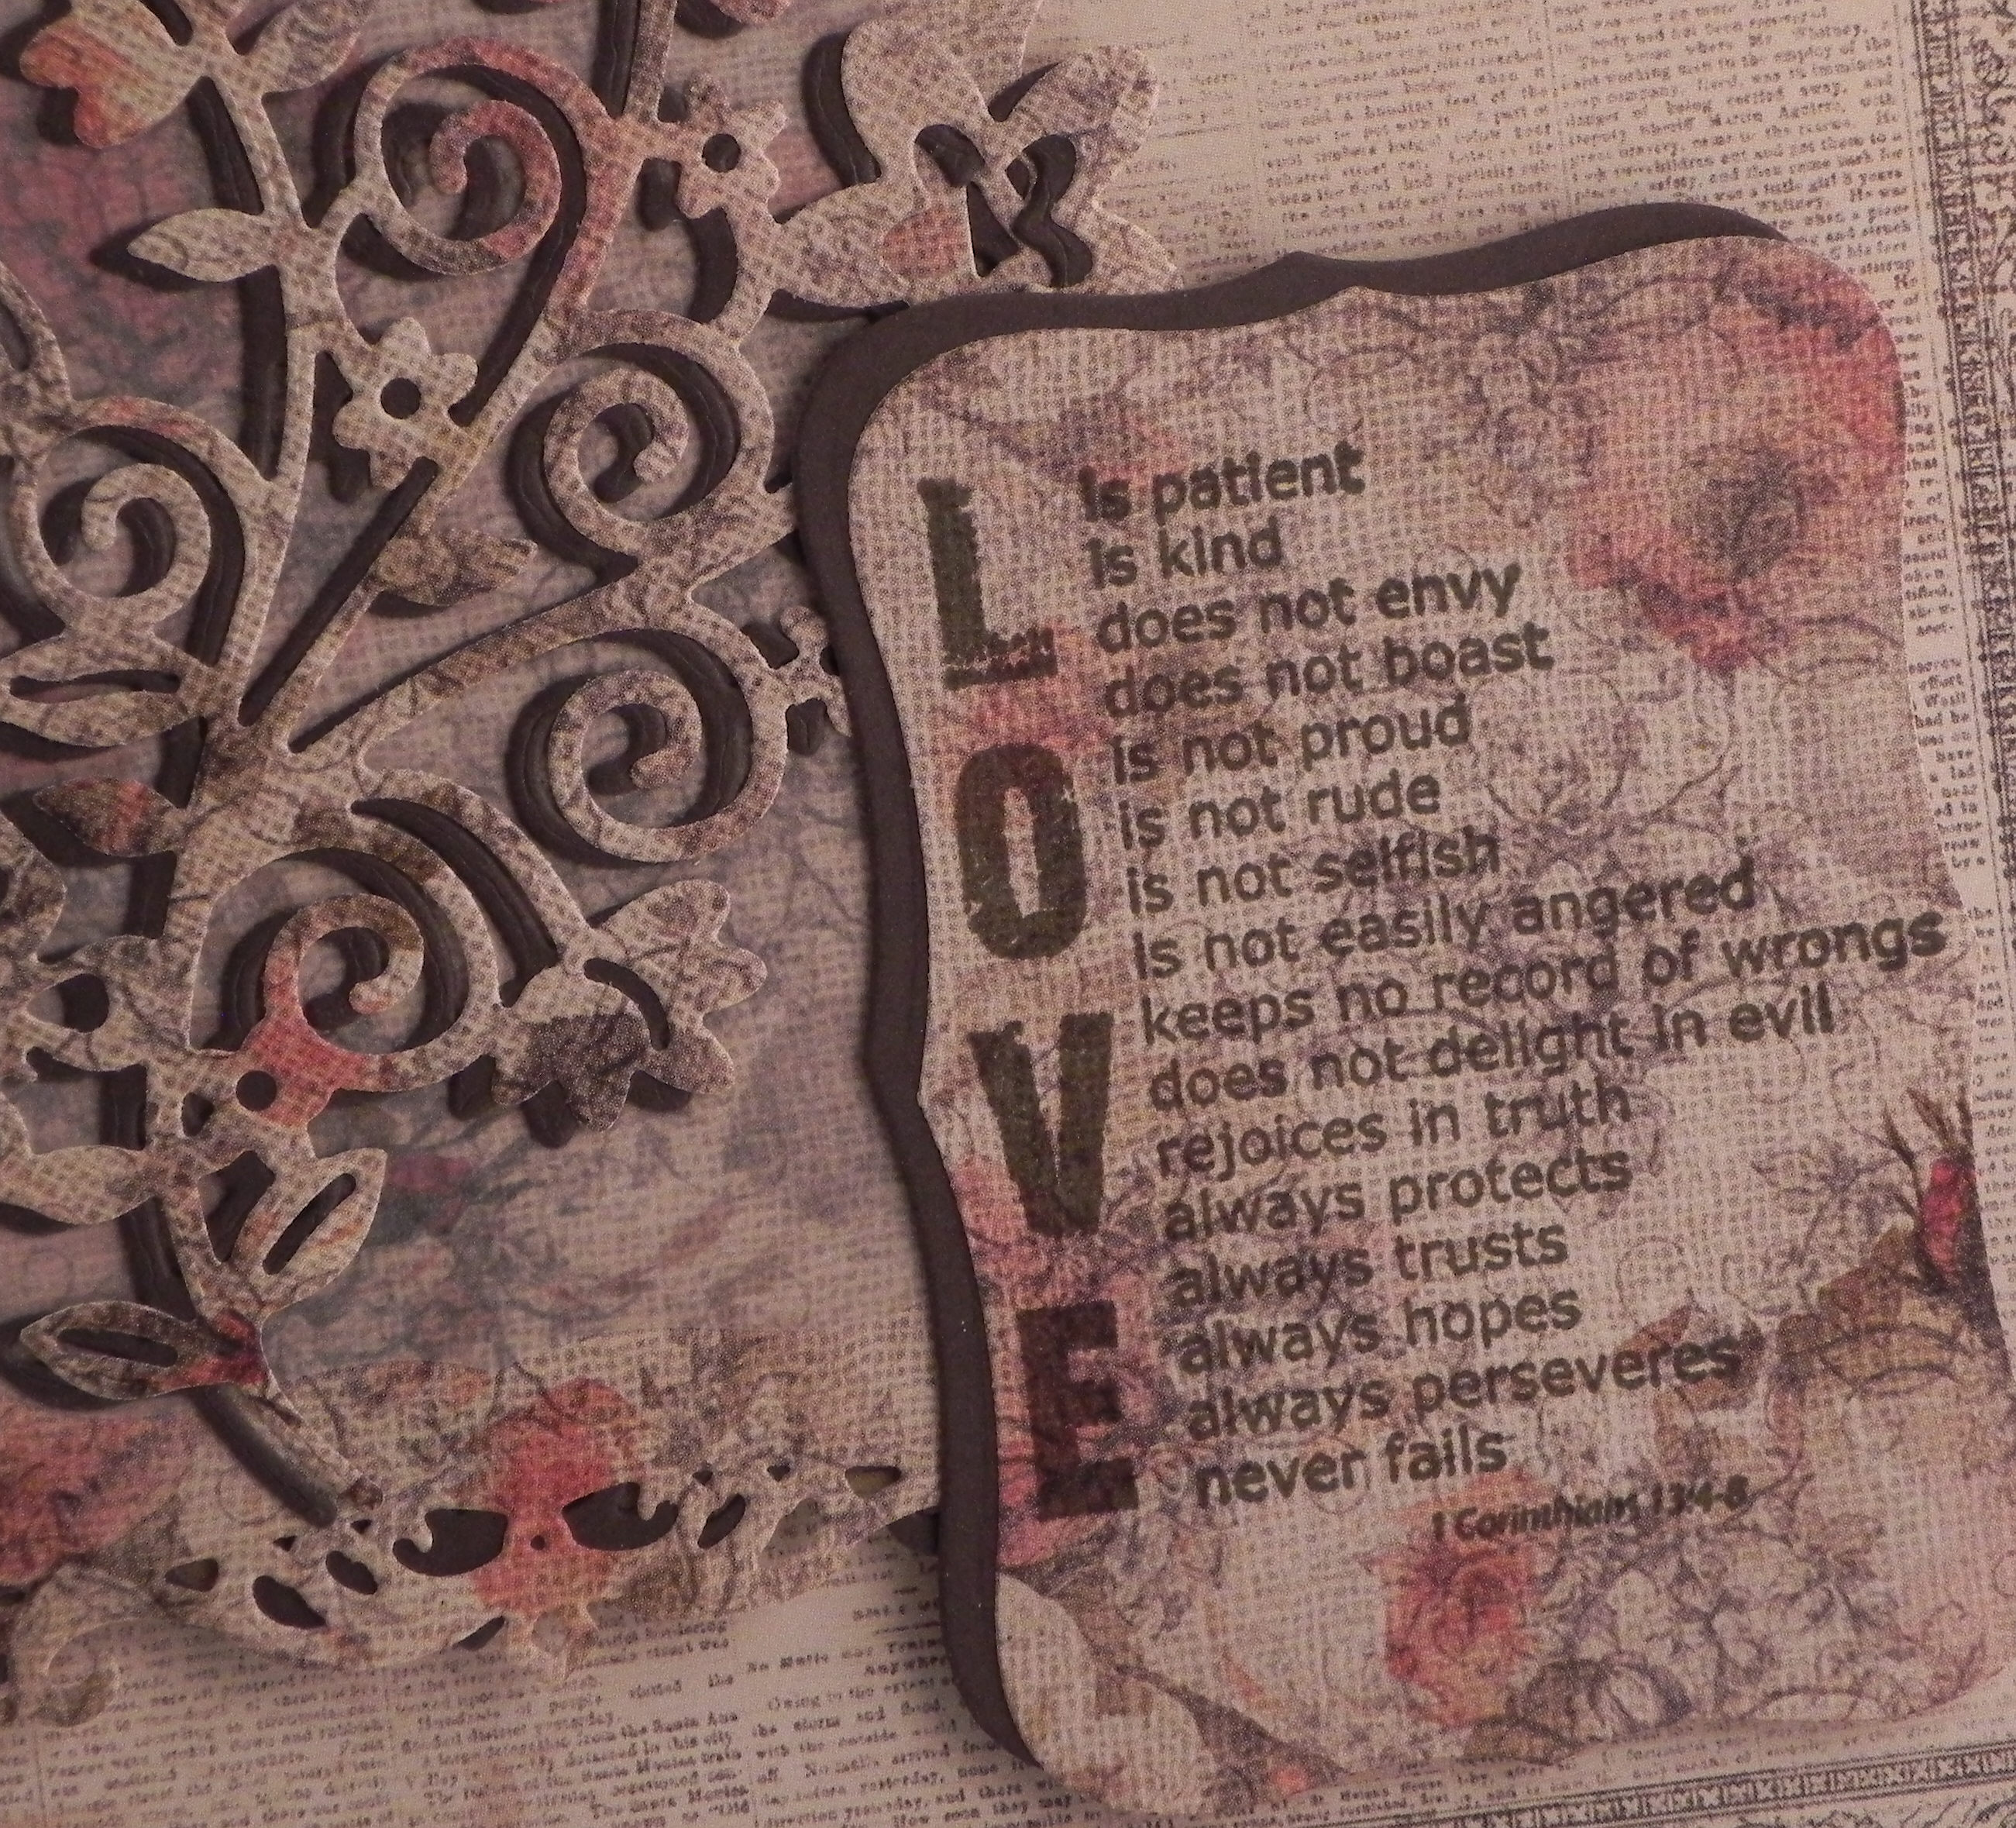
The stamp I used is called “Love Is” (an incentive stamp in Jan. 2015) by Gina K Designs and was stamped with Gina K Charcoal Brown ink.
zDSCN9693

I used two sheets of patterned paper from the “French Kiss” 6″ paper pack by Glitz.  Gina K Charcoal Brown was used for the mats and card base.  Since this card was too big to create the base by folding an 8 1/2 x 11 inch piece of paper in half, I needed to create the card base with two panels that I adhered together.  (The front panel was slightly longer and was folded over the top of the back panel.  If you turn the card over, you can see the seam.)

The panels on which the floral die cut (and its “shadow”) are attached were cut using a die from the Spellbinders Decorative Labels Eight set.  I cut a panel of vellum using a die from the Spellbinders Labels Eight set and placed it under the floral die cuts to soften the background a touch to make it easier to see the flowers.  I used the same die from the Labels Eight set for the stamped panel and its shadow piece.

Adhering vellum to your project can be tricky because most types of adhesive can be seen through the vellum.  However, I discovered that applying Stick It to the back of the vellum before it is cut (so the adhesive covers the entire die cut) eliminates this problem.  (Stick It is great for adhering intricate dies to your project as well.  Check out this video to see how it works.)

Thanks for checking out my card project!

This content uses referral links as described in the disclosure policy on my sidebar.

With Love – Floral Heart

With Love – Floral Heart

With Love Floral Heart zzzzDSCN9383.jpg

This 6×6 card features the beautiful Flower Scroll die by Die-Namites.

floral scroll die

I created two die cuts using this die and Gina K layering weight Ivory card stock.  I used one of the cuts (whole) on the right side of the heart and a piece of the second one to fill in the upper left side of the heart.  (If you follow the stem out of the top of the butterfly, that is the portion of the second one that  I added.)

The heart shape was cut using a die from the “Nesting Hearts (#100384)” set by Little B.

The peach and taupe paper is from the “Four Seasons” card stock pack by DCWV.  The printed panel is from the “French Kiss” 6″ paper pack by Glitz.

The greeting is from the “Bundle of Love” stamp set by Gina K Designs and was heat embossed with versamark ink and Liquid Platinum embossing powder by Ranger.  I purchased the pearl “ribbon” by the yard at Joann Fabric and adhered the strip to the card front with glue dots.  I also cut a few of the pearls off and adhered them to the middles of the tiny flowers in the die cut.

The Die-Namites Inspiration Challenge this month is to create any project using love as the theme, and “as love is in the air, anything goes is perfect!”  Below is the inspiration photo for this challenge; I used a large, background heart on my project.

die namites feb inspiration photo

To participate in their challenge you need to use any die cut from Die-Namites and let it be the STAR of your design. You can use this combined with any colors, shapes, patrons, pattern papers, stamps, paints, stencils, etc.  (Thanks Verna, for passing this along in your blog!)   Unfortunately, there is a required minimum of 9 different participants or entries on the challenge which was not met this month so there will be no prize given nor “Top 3 Favorites” chosen.

Thanks for checking out my card project!

This content uses referral links as described in the disclosure policy on my sidebar.
Always and Forever Quilled Wedding Card

Always and Forever Quilled Wedding Card

Quilled Wedding Card DSCN5602

This card is one of the “guest design team” cards being featured over at Die Cut Divas.  I am extremely excited and honored to have been asked to be a guest designer for the month of August!  (Thanks, Cathie, for asking me!!)  They have monthly challenges where all cards/projects must be made using at least one die cut or embossing folder.  (Click HERE to see all the challenge rules.)

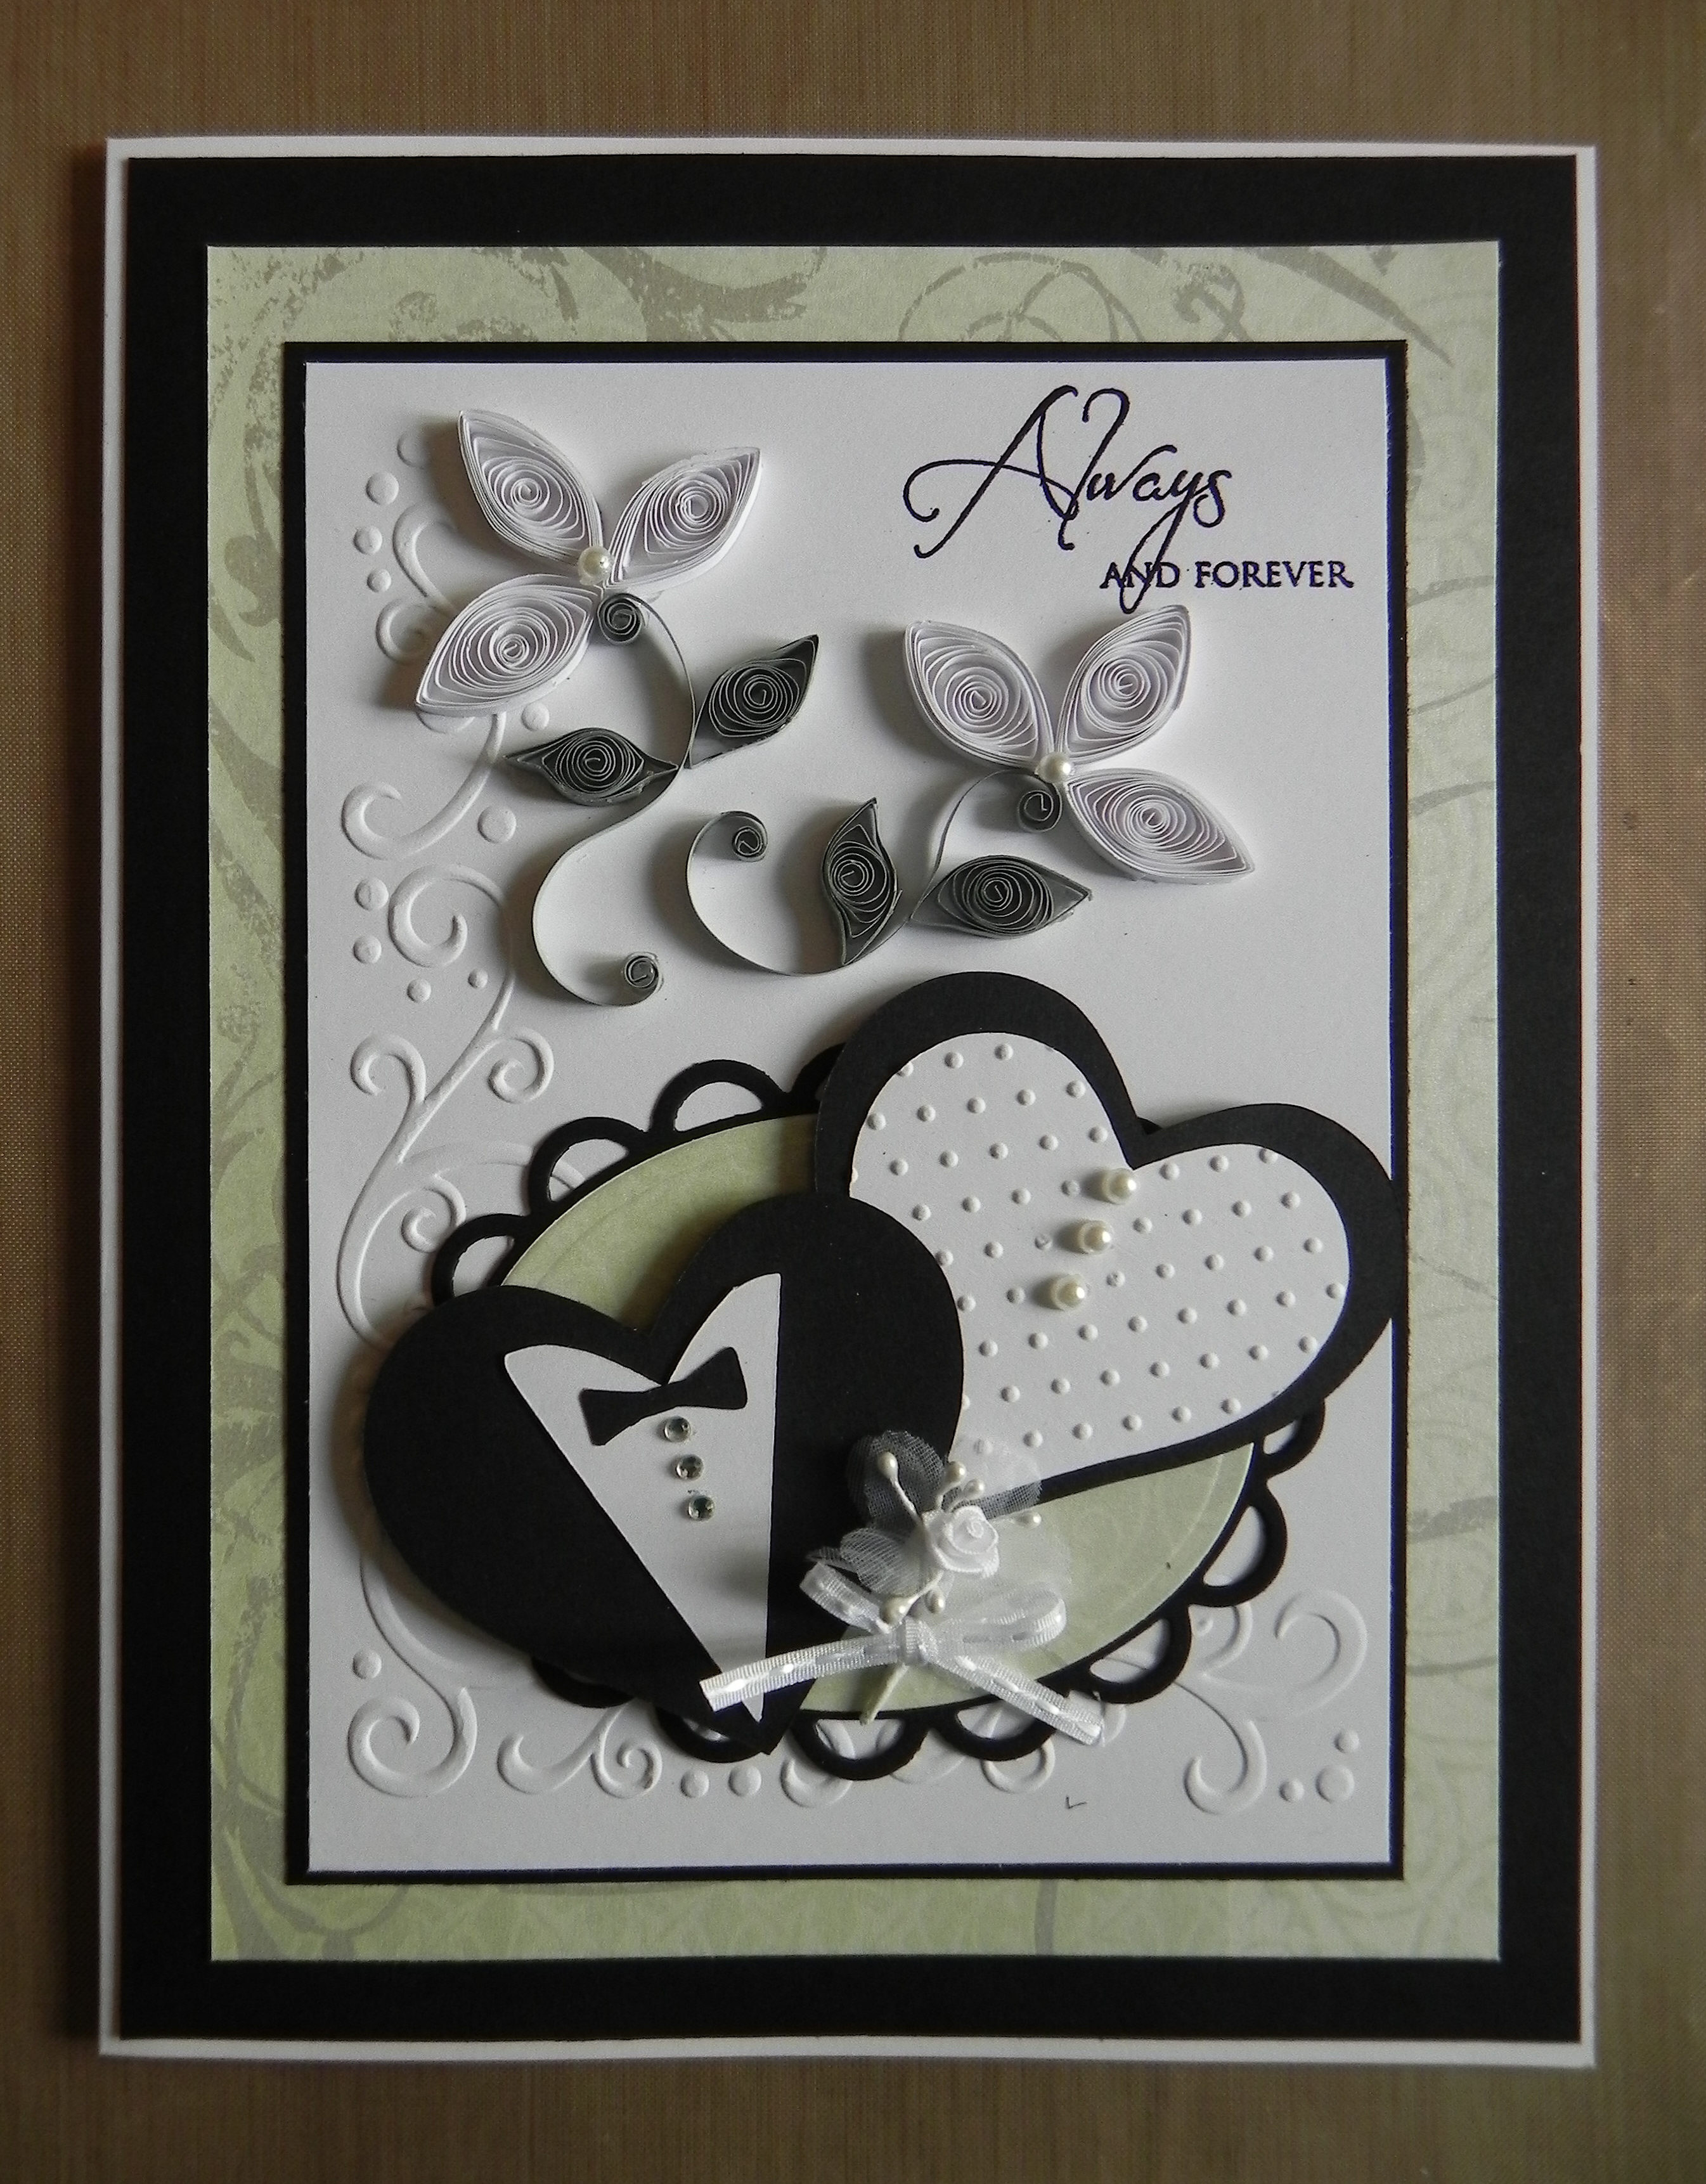
The bride and groom hearts are from the Sure Cuts A Lot 2 Basic Shapes Library and were cut with my Silhouette.  Dies from the Spellbinders Classic Ovals and Classic Scalloped Oval sets were used behind the hearts. The embossing folders used are Cuttlebug Swiss Dot and Darice Corner Scroll.  

I used a basic marquise shape for the quilled flowers and leaves.  My Quilled Iris post shows a few other cards I made where I tried my hand at quilling.

The greeting was stamped with Memento Tuxedo Black ink with a stamp from the Gina K Designs “Always and Forever” stamp set (retired?).  Recollections white and black card stock was used along with a piece of printed paper from the DCWV  “The Luxury Stack” paper pad.  Pearls, rhinestones, a flower and ribbon finished it off.

Pop on over  to Die Cut Divas and check out their current challenge – Your Favourite Holiday.

Thanks for checking out my card project!

This content uses referral links as described in the disclosure policy on my sidebar.
Happy Anniversary With Flourishes

Happy Anniversary With Flourishes

happy anniversary with flourishes xDSCN7822


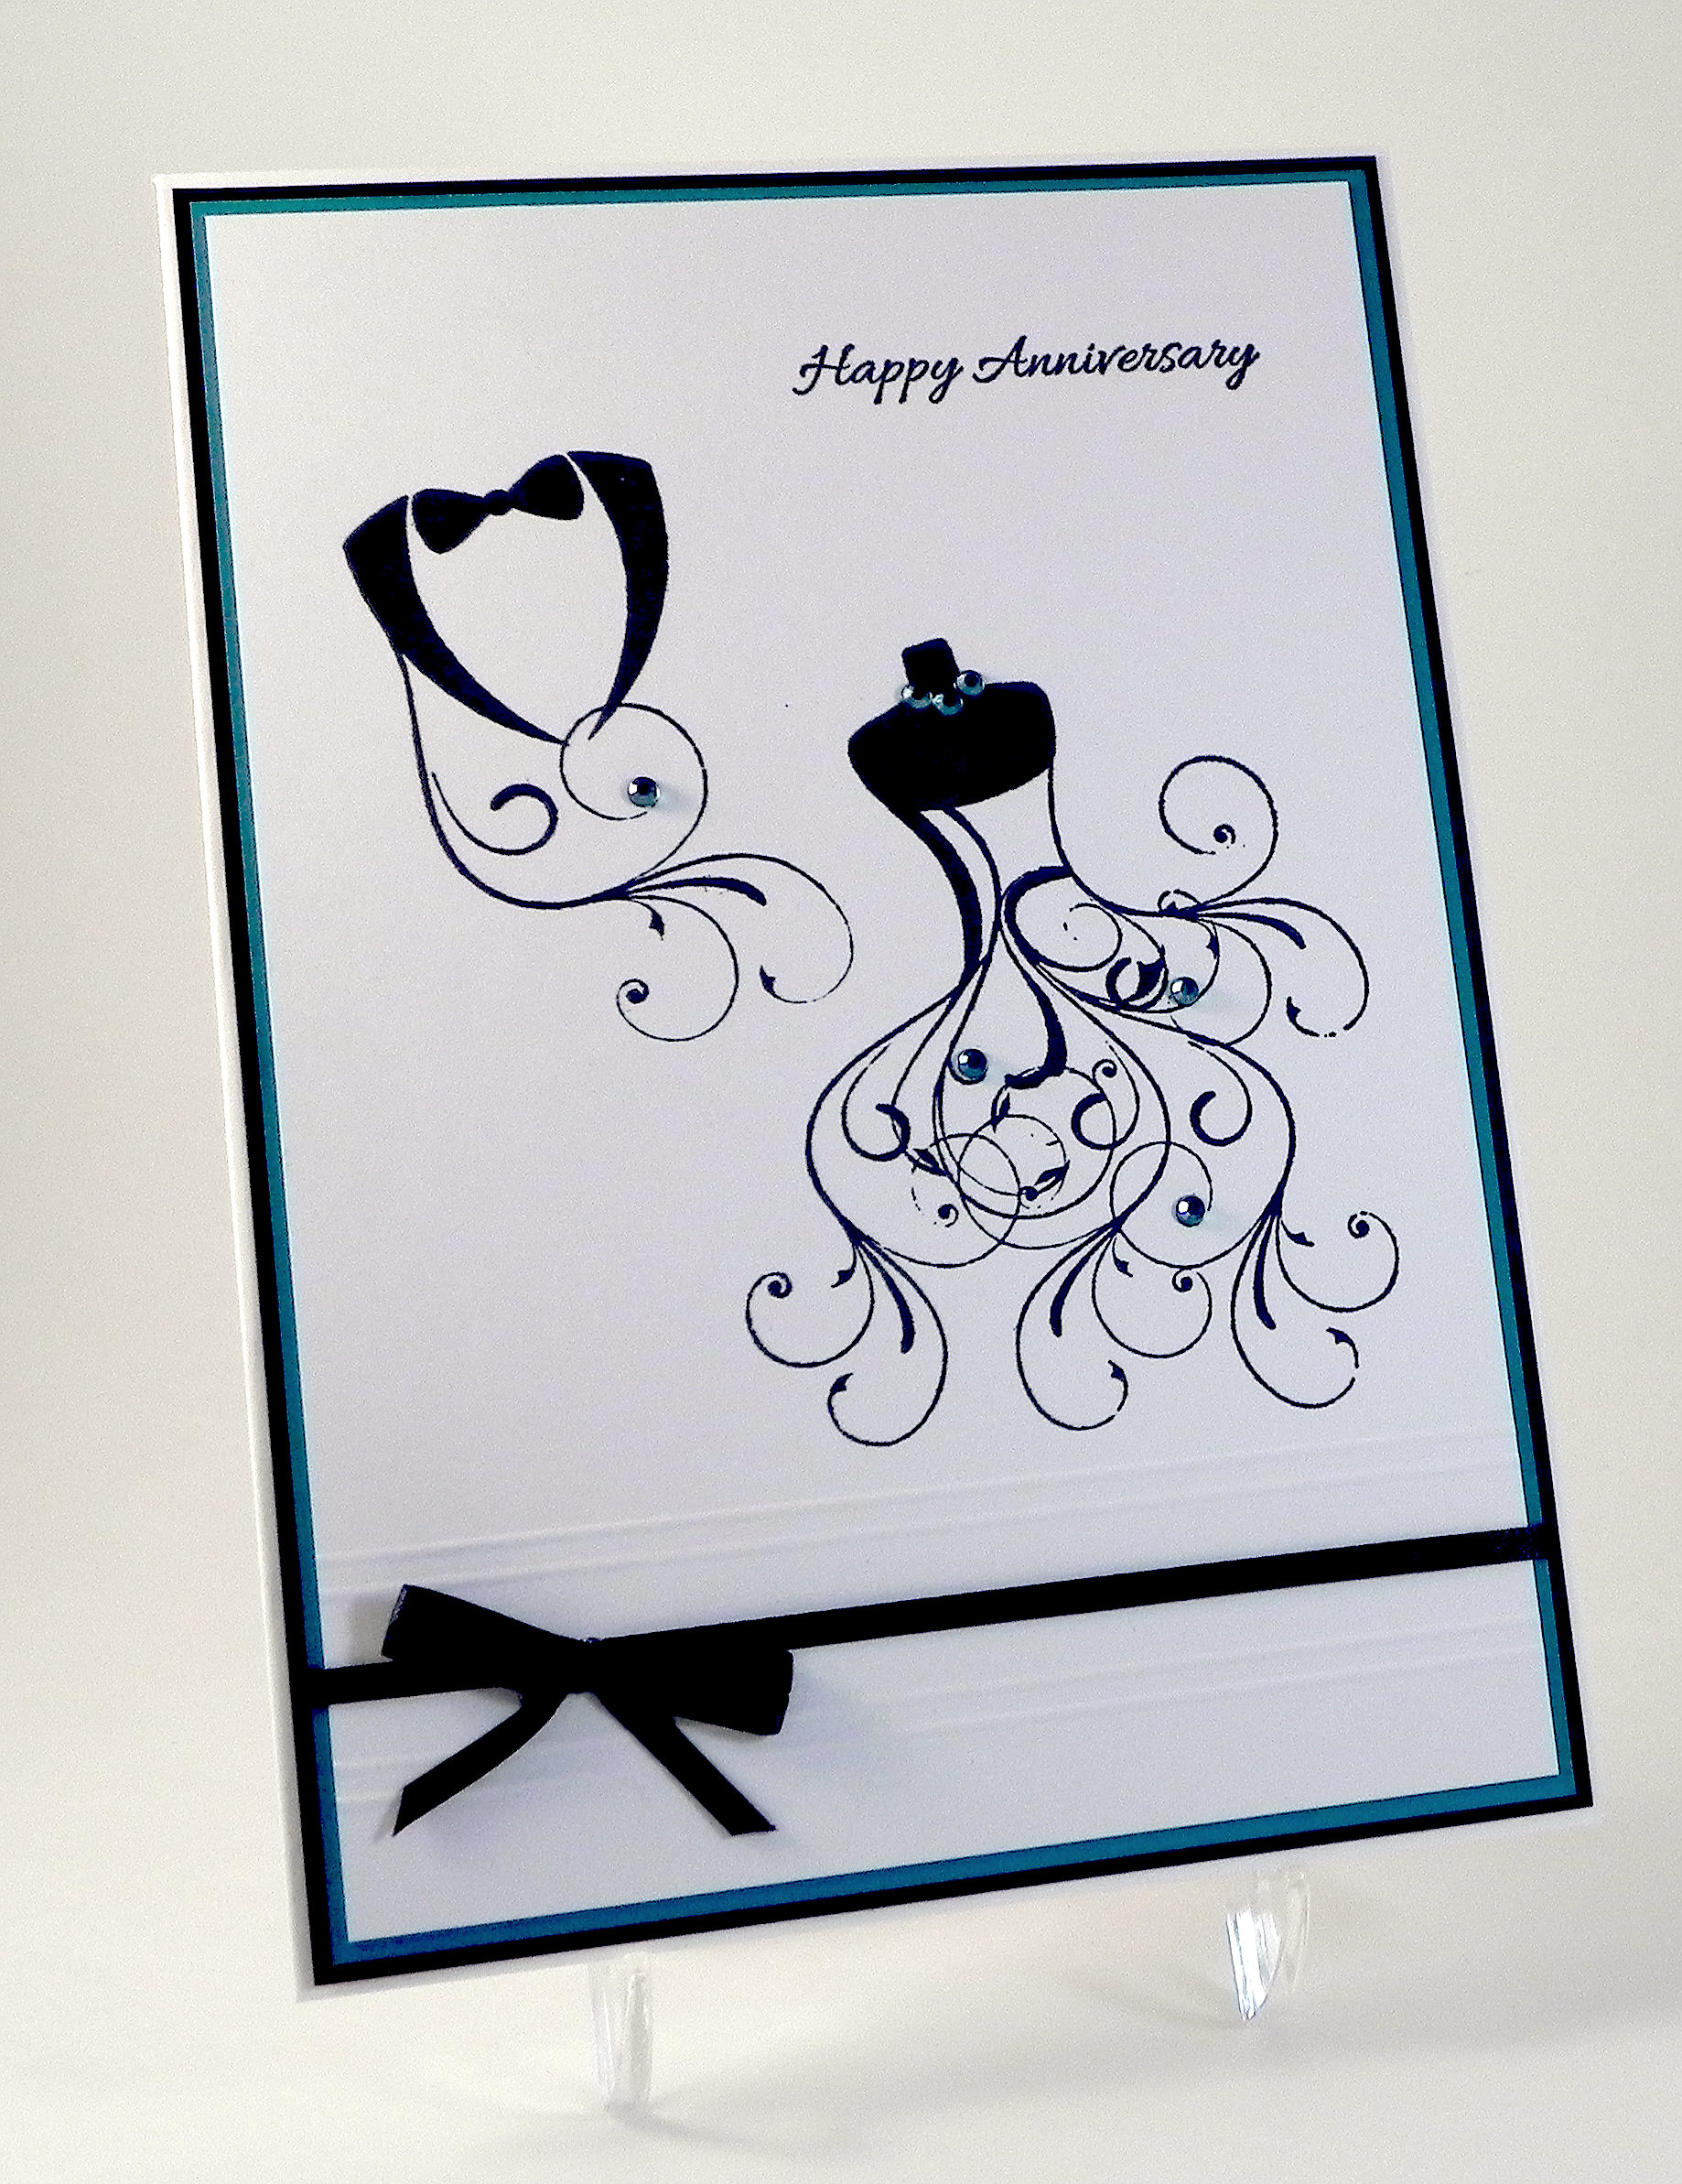
Here’s a clean and simple variation of the wedding card I previously posted.  I needed an anniversary card quickly (I lost track of where we were in July!) and was curious how these stamps would look on plain white card stock.

The stamps are called “Wedding Dress” and “Groom” by So Suzy Stamps.  (The card is 5×7; these stamps are pretty big!)  The greeting is from the Gina K Designs “Bundle of Love” stamp set (retired?).  I stamped these images with Gina K Black Onyx ink and used my MISTI so I could stamp them multiple times to get really dark, crisp images.

The mini rhinestones were airbrushed with Copic BG18.

The cardstock I used was black, white, and Core’dinations Mediterranean.  I embossed double lines above and below the ribbon with my score board.

I love CAS card designs when other people do them, but I always feel like my project is not done or is missing something when I attempt it.  I’m still trying to decide if I am happy with this design!  I do love these stamps and really like that they are the focus on such a simple card.

Thanks for checking out my card project!

This content uses referral links as described in the disclosure policy on my sidebar.