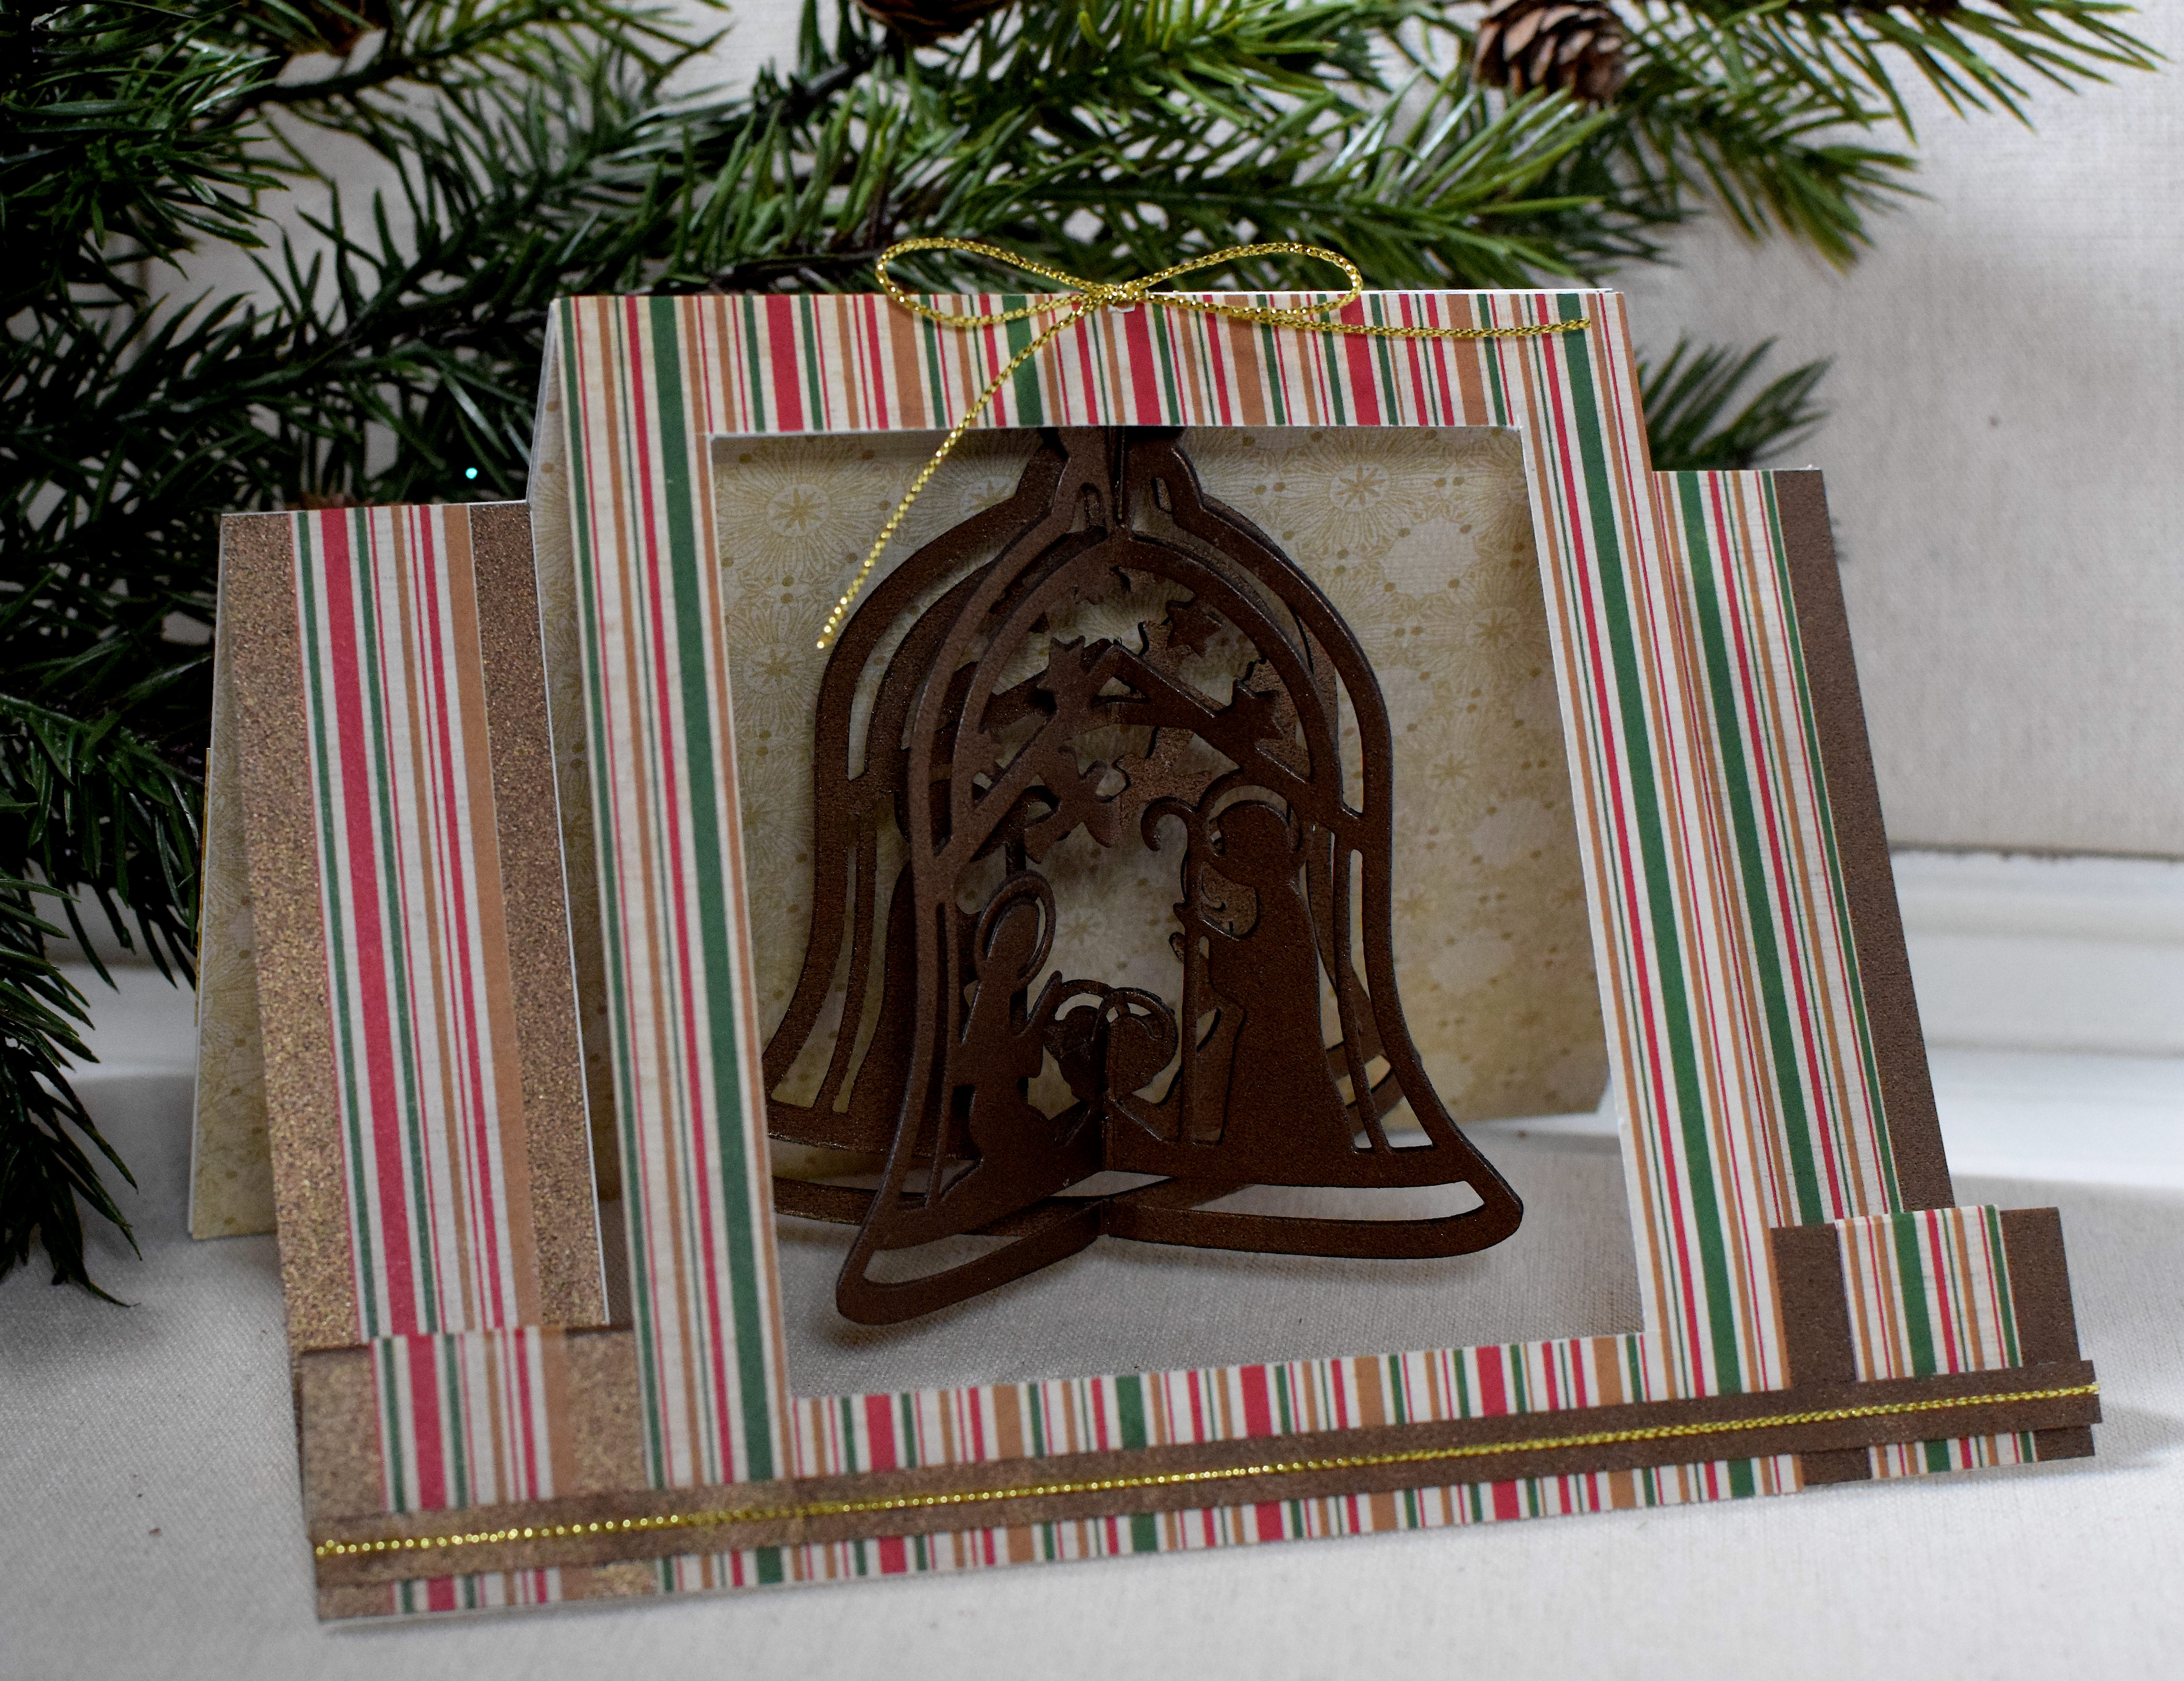
Nativity Ornament Step Card

The Mod Squad Challenge this week is called “Holiday Dimension” where we are encouraged to use dimension such as layers, popped up elements, or mixed media on our projects . (Sadly, this site is no longer active.) I purchased the Nativity Bell die by Tutti Designs back in August but hadn’t done anything with it yet, so I decided to use this die to create the dimension on my project.
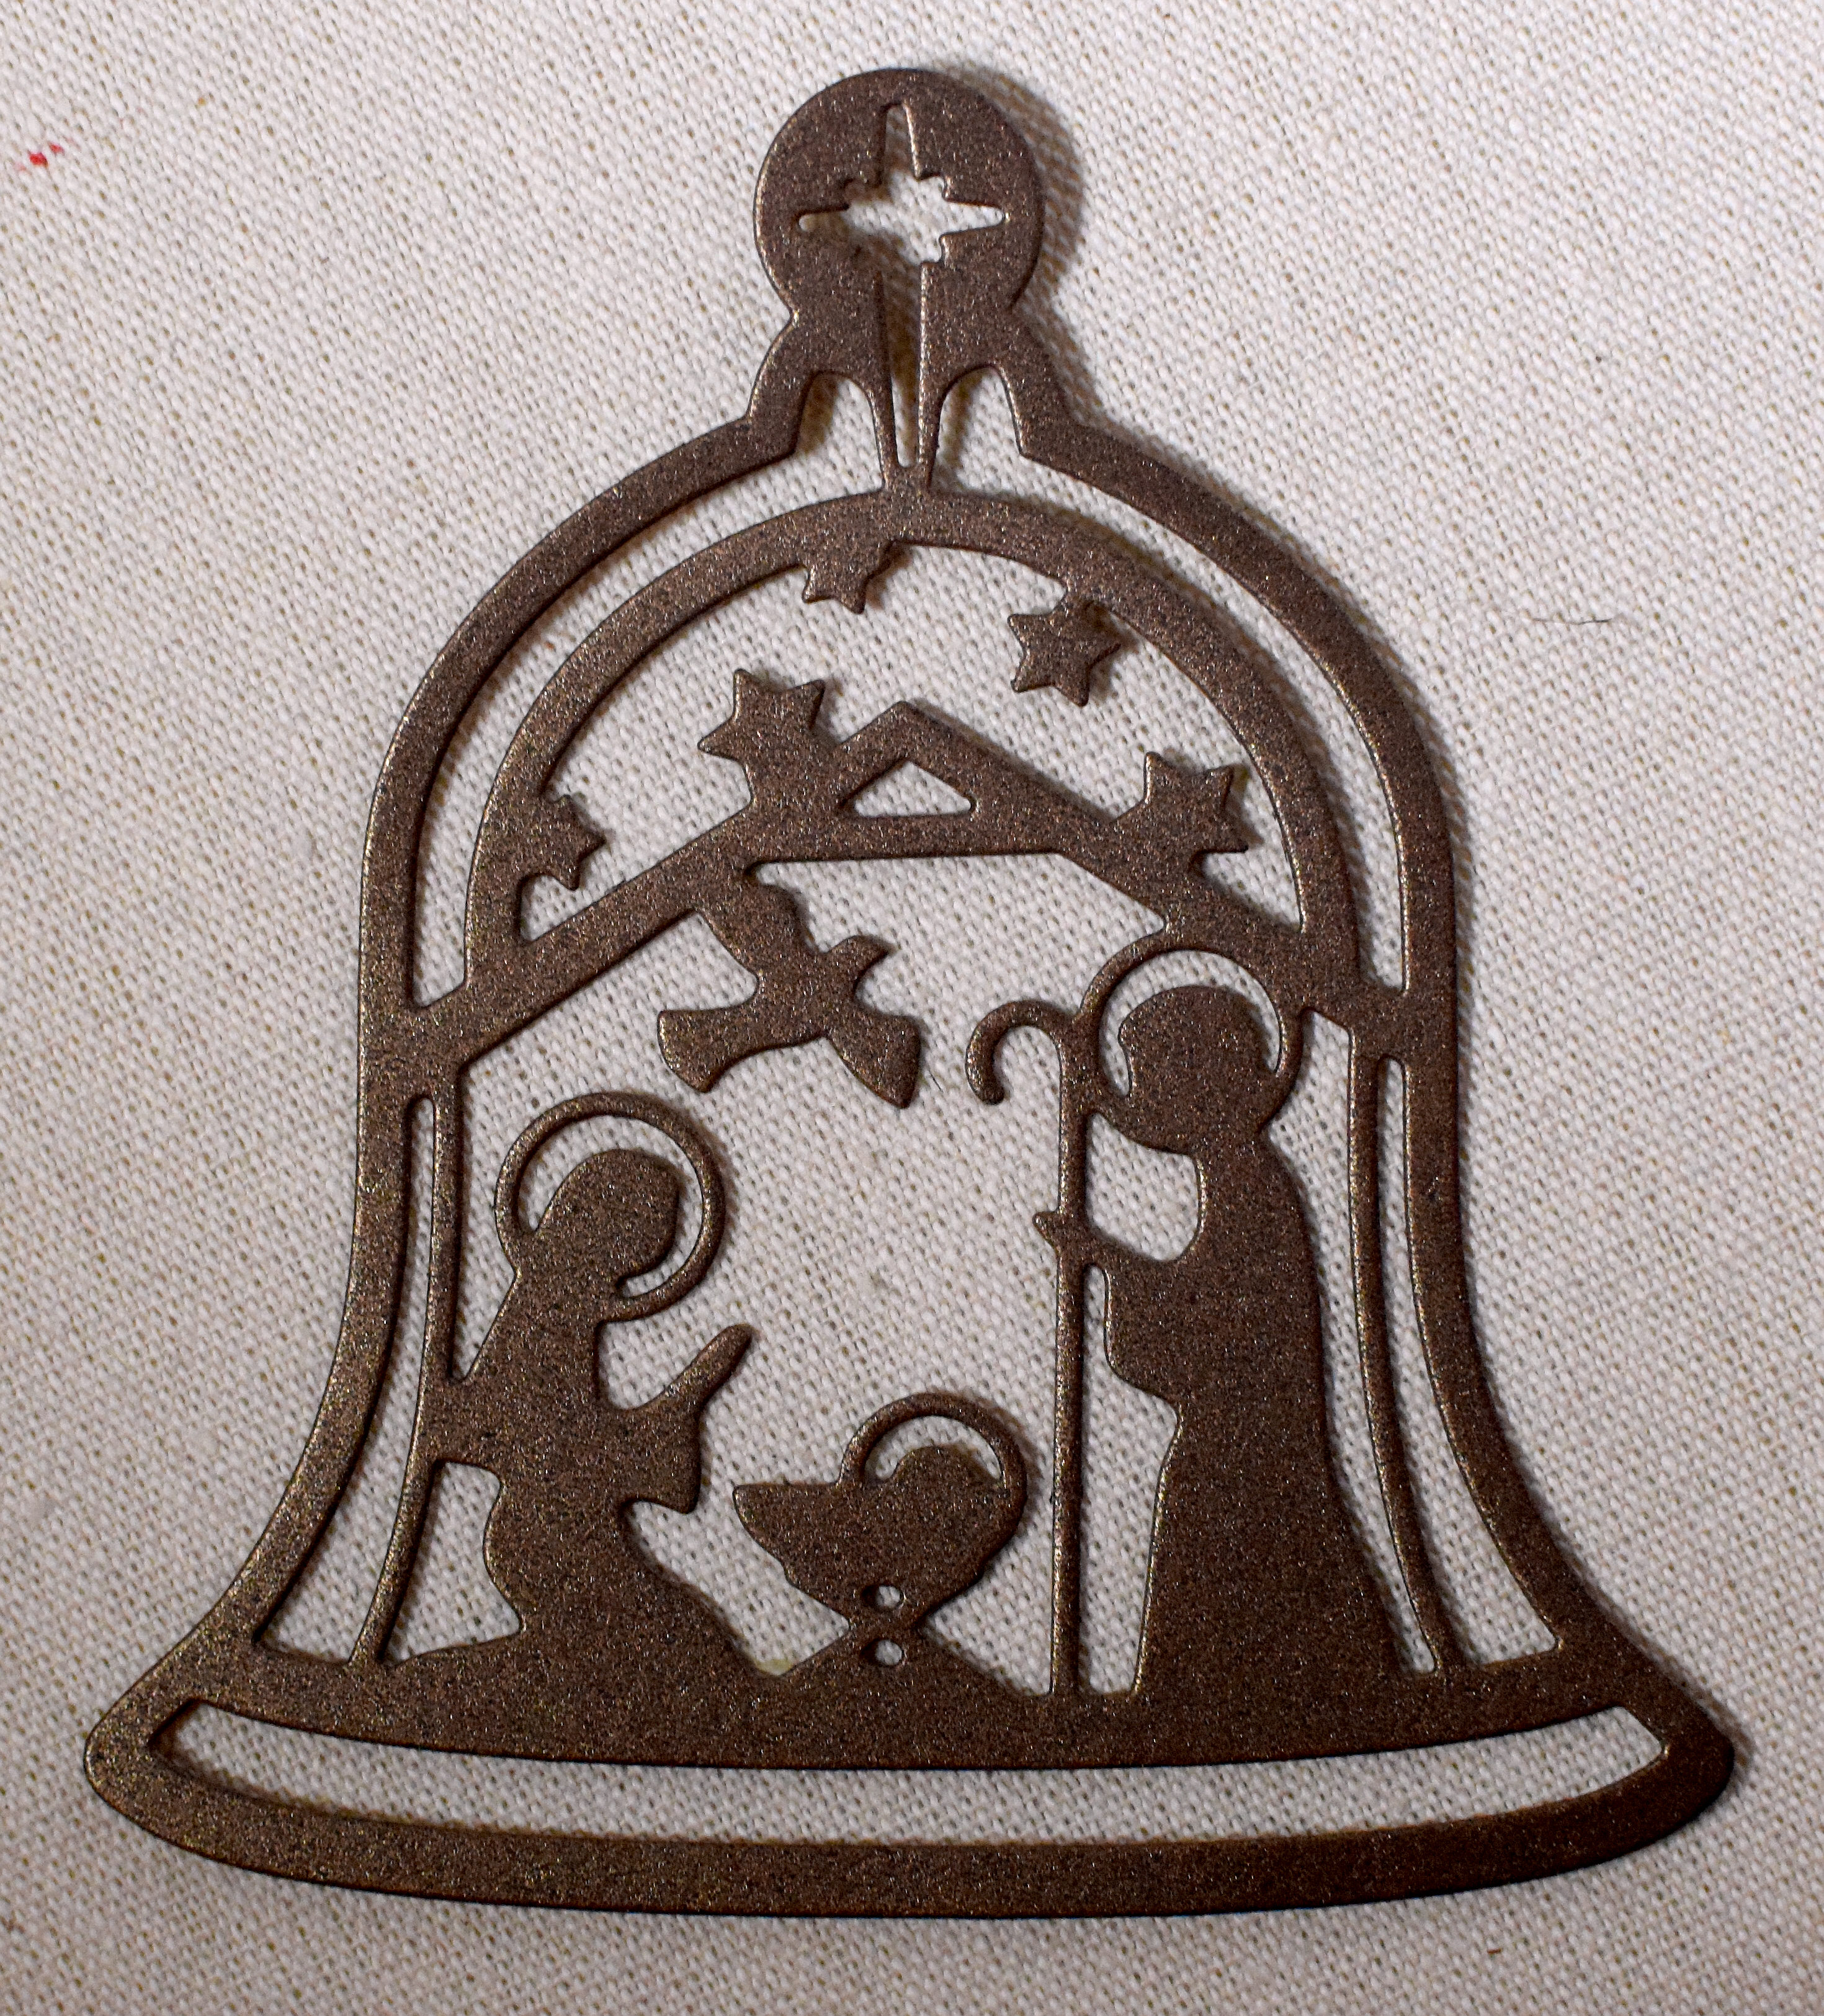
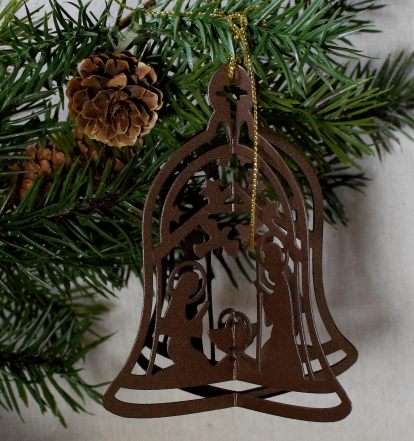
This is what the flat die cut looks like:

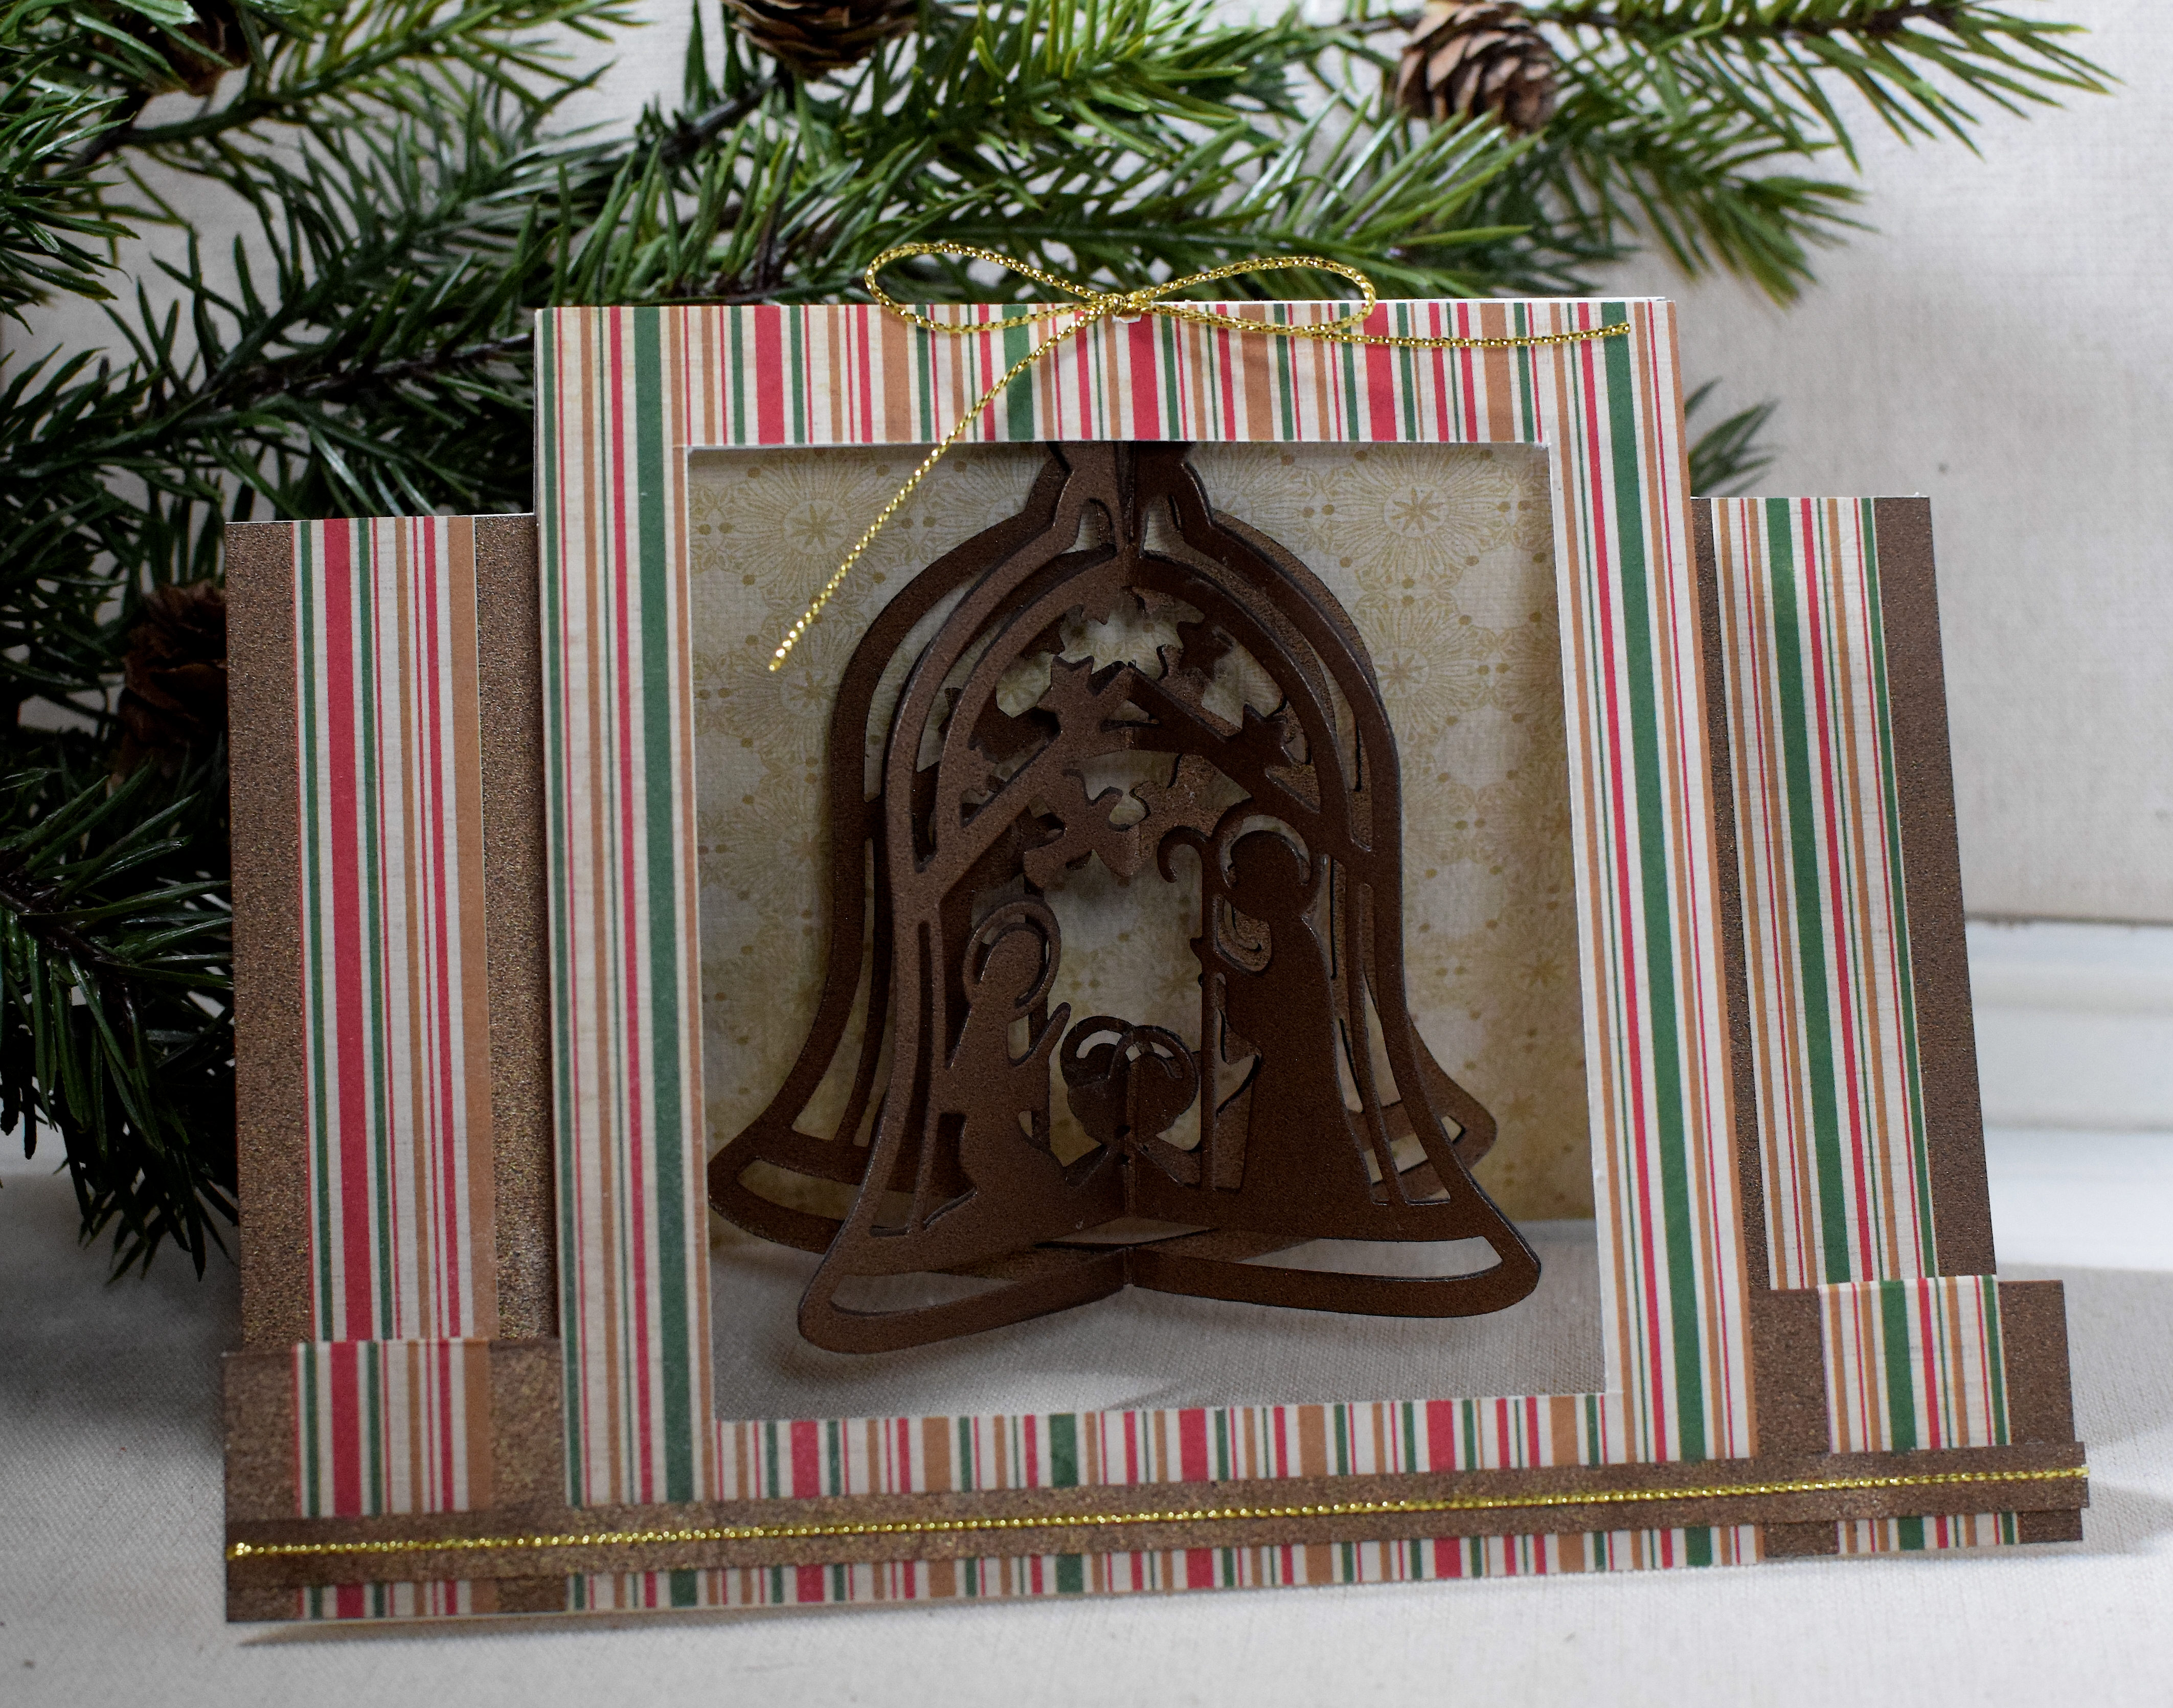
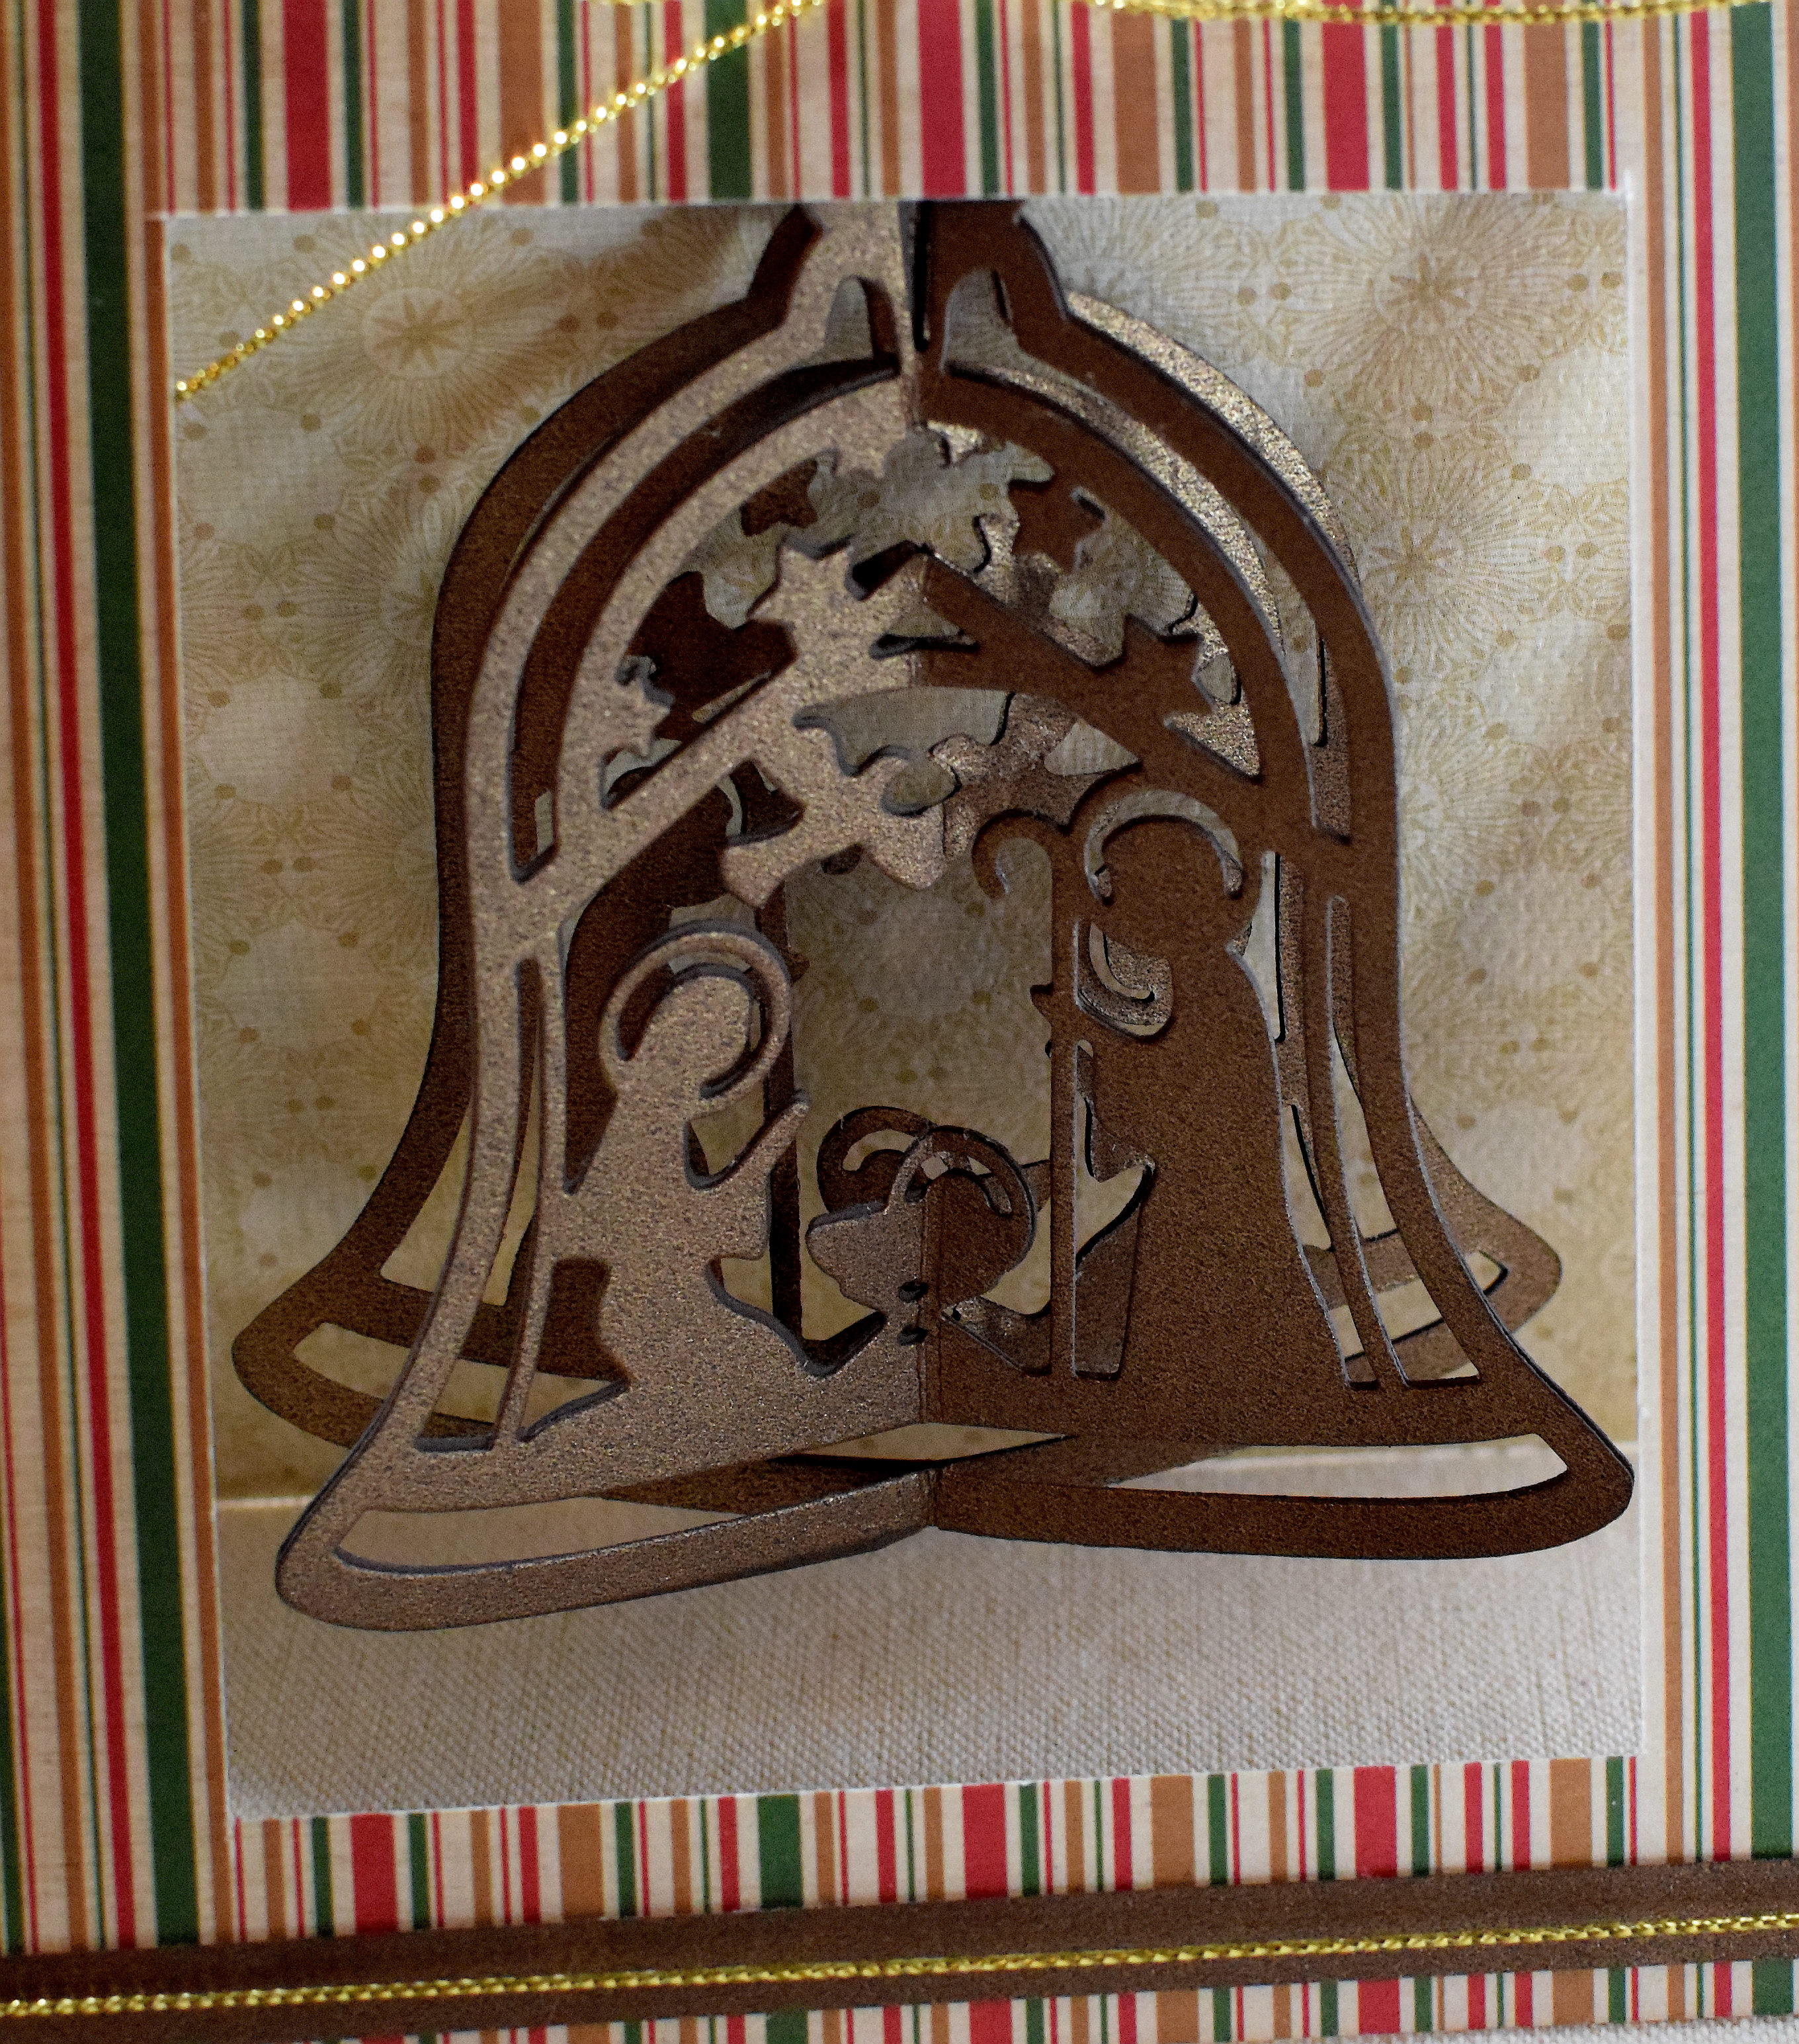
I knew I wanted to create a 3D ornament which would somehow hang from the card. I decided to go with a 5×7 step card design. The ornament hangs inside the card and is visible through a window cut out of the large panel on the front.

To create my ornament, I started by cutting 4 of the die cuts from Recollections Bronze shimmer paper and scored and folded each of them in half. I then matched up the halves back to back and glued the halves together. (It’s hard to see the bronze shimmer in the photos.)
I attached a piece of gold cording to the top of the ornament and fed it through a small hole in the fold on the top of the card. The ornament could either be displayed in the card, or it could be removed to hang on a tree.
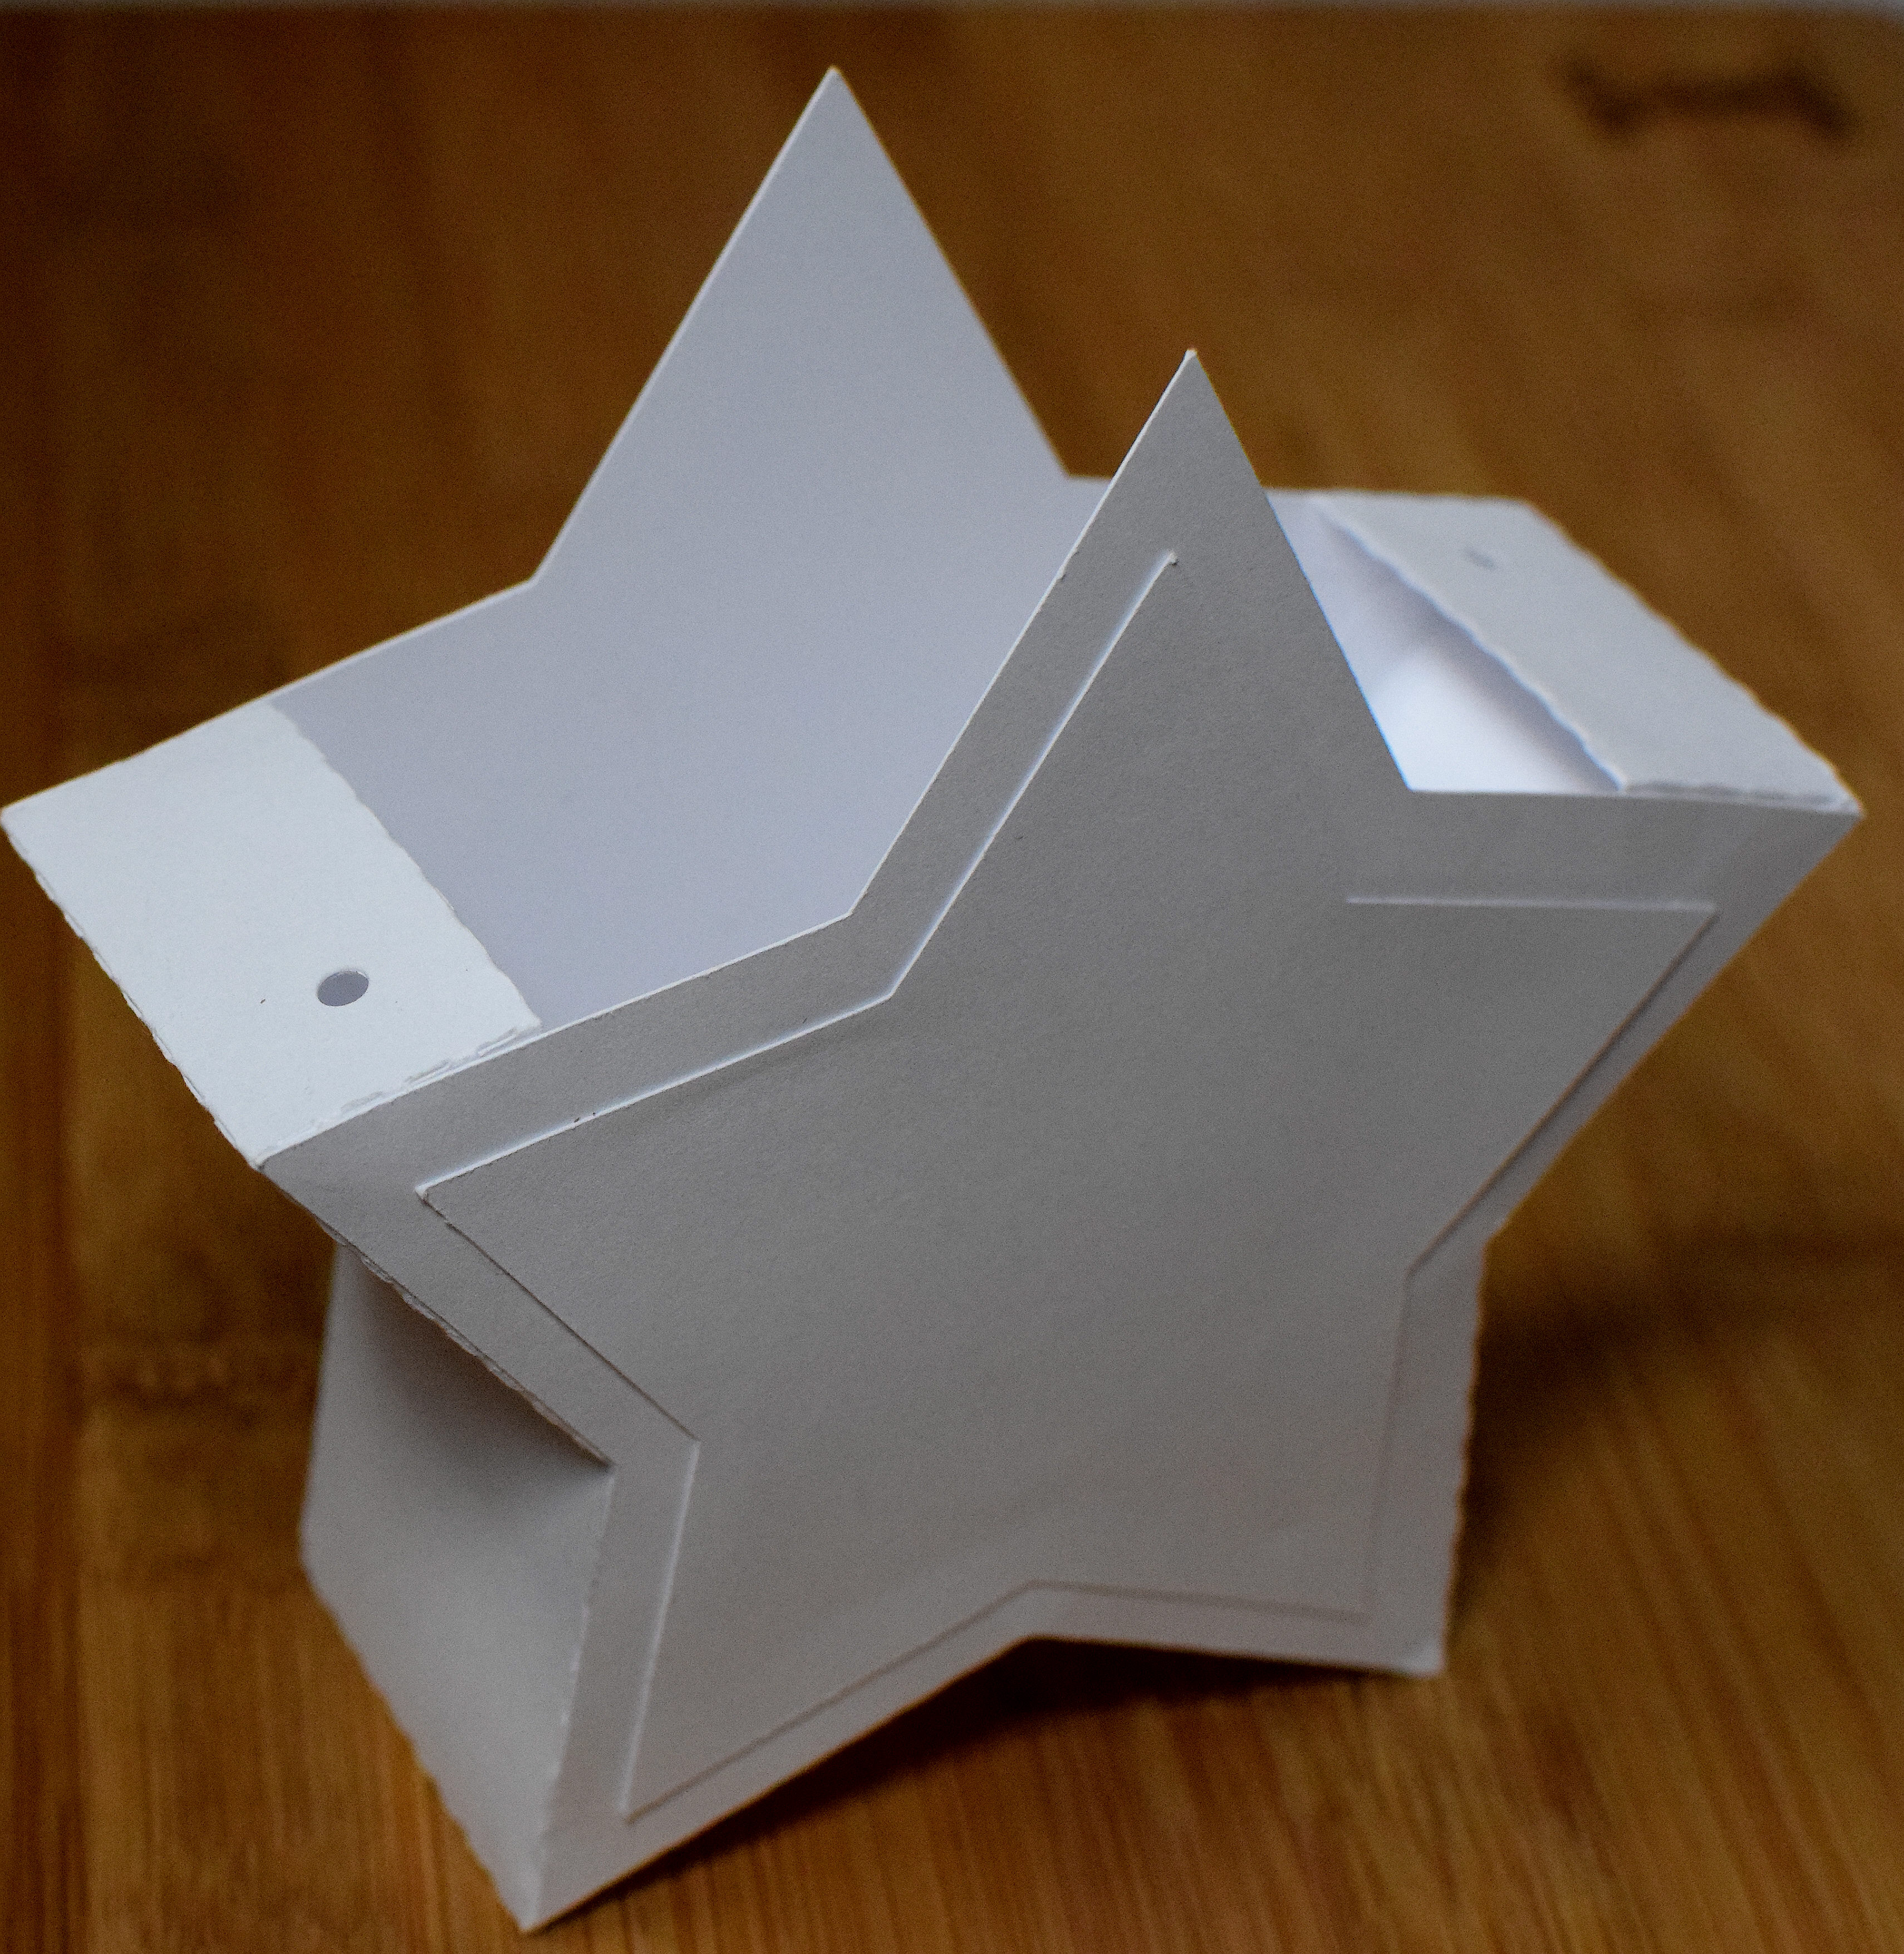
I created the step card using this template:
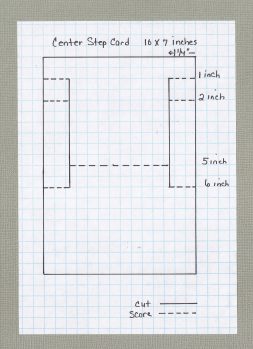
(click on diagram to enlarge)
The card base was made with a heavy weight ivory card stock and was covered with patterned card stock (Nutmeg “History” Medallions Paper by My Mind’s Eye) and paper (A Christmas Story “Christmas Stripe” by Reminisce) along with the Recollections Bronze shimmer paper and some gold cord.
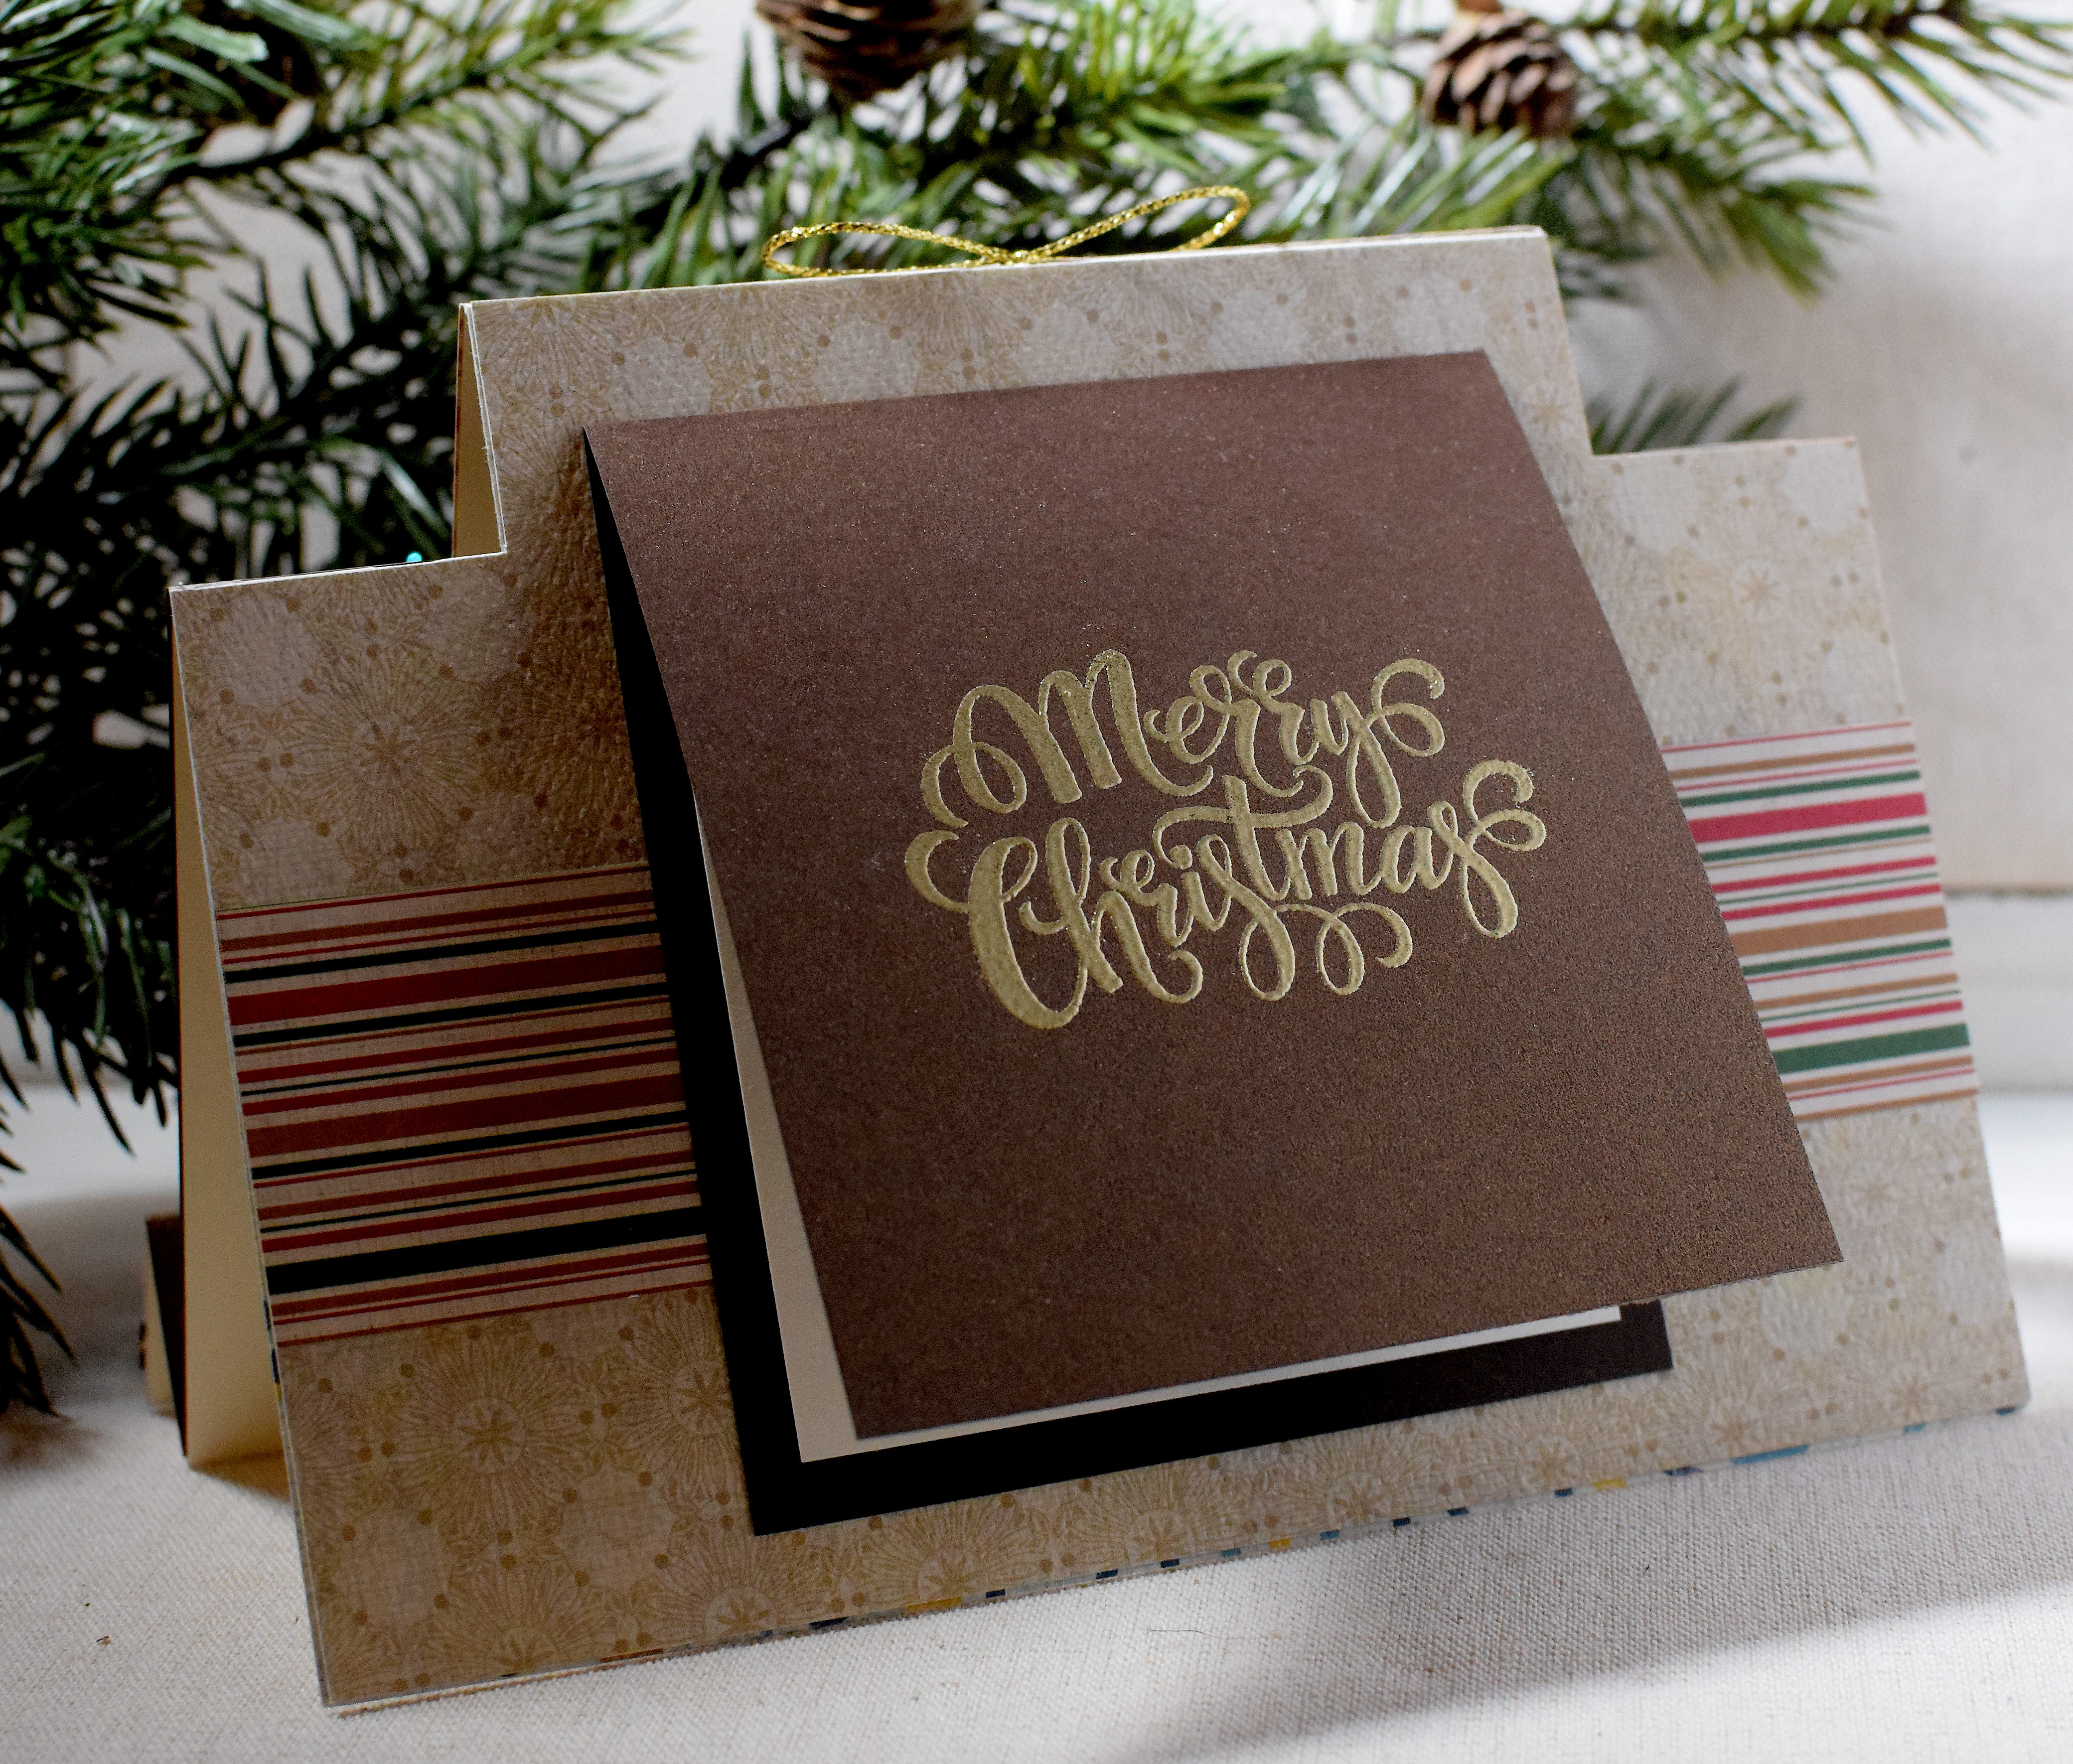
Because the ornament hangs where the inside sentiment would normally be, I created a mini card on the back.

The greeting is from a set called “Holly Jolly” by Gina K Designs and was heat embossed with versamark ink and GKD gold fine detail embossing powder.
The ornament and card fold flat and fit in a regular envelope for mailing.

Here’s a better view of the step card base:

Thanks for checking out my card project!
This content uses referral links as described in the disclosure policy on my sidebar.