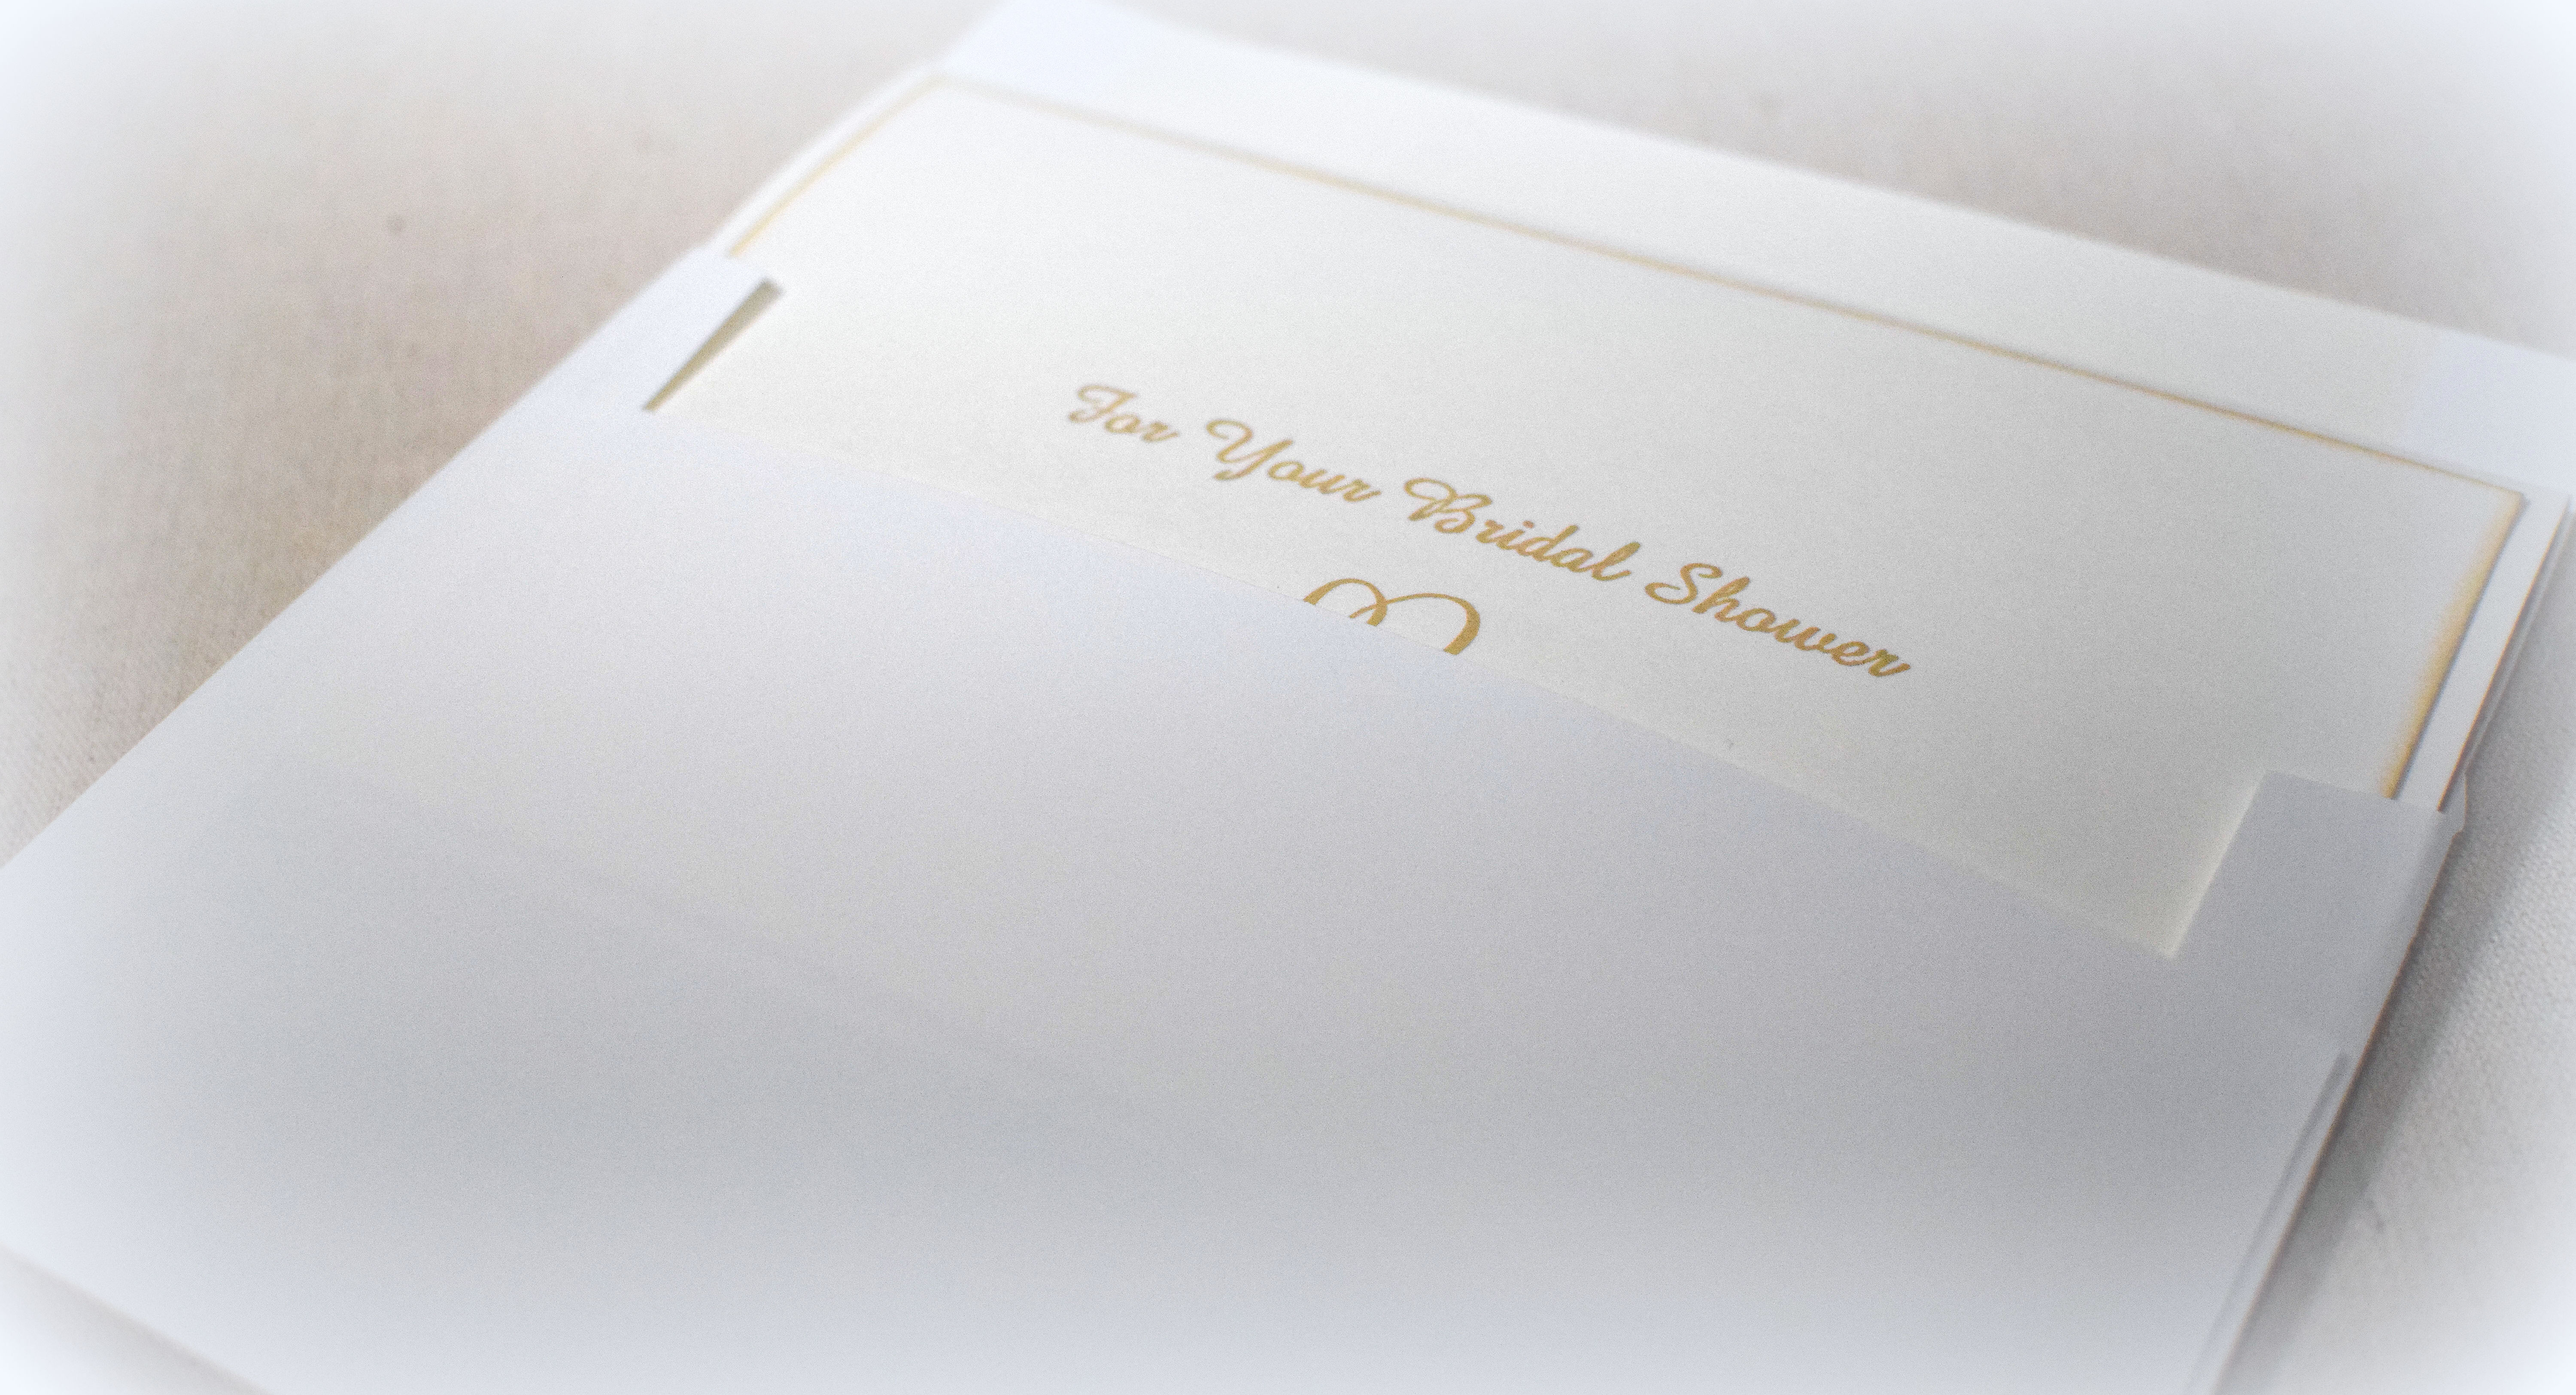
For Your Bridal Shower

Recently, I made an “inside-out card” (HERE) where the card front is pretty simple, and the inside is the more elaborate part meant to be displayed. I needed to make a bridal shower card and thought I’d go with that idea again.

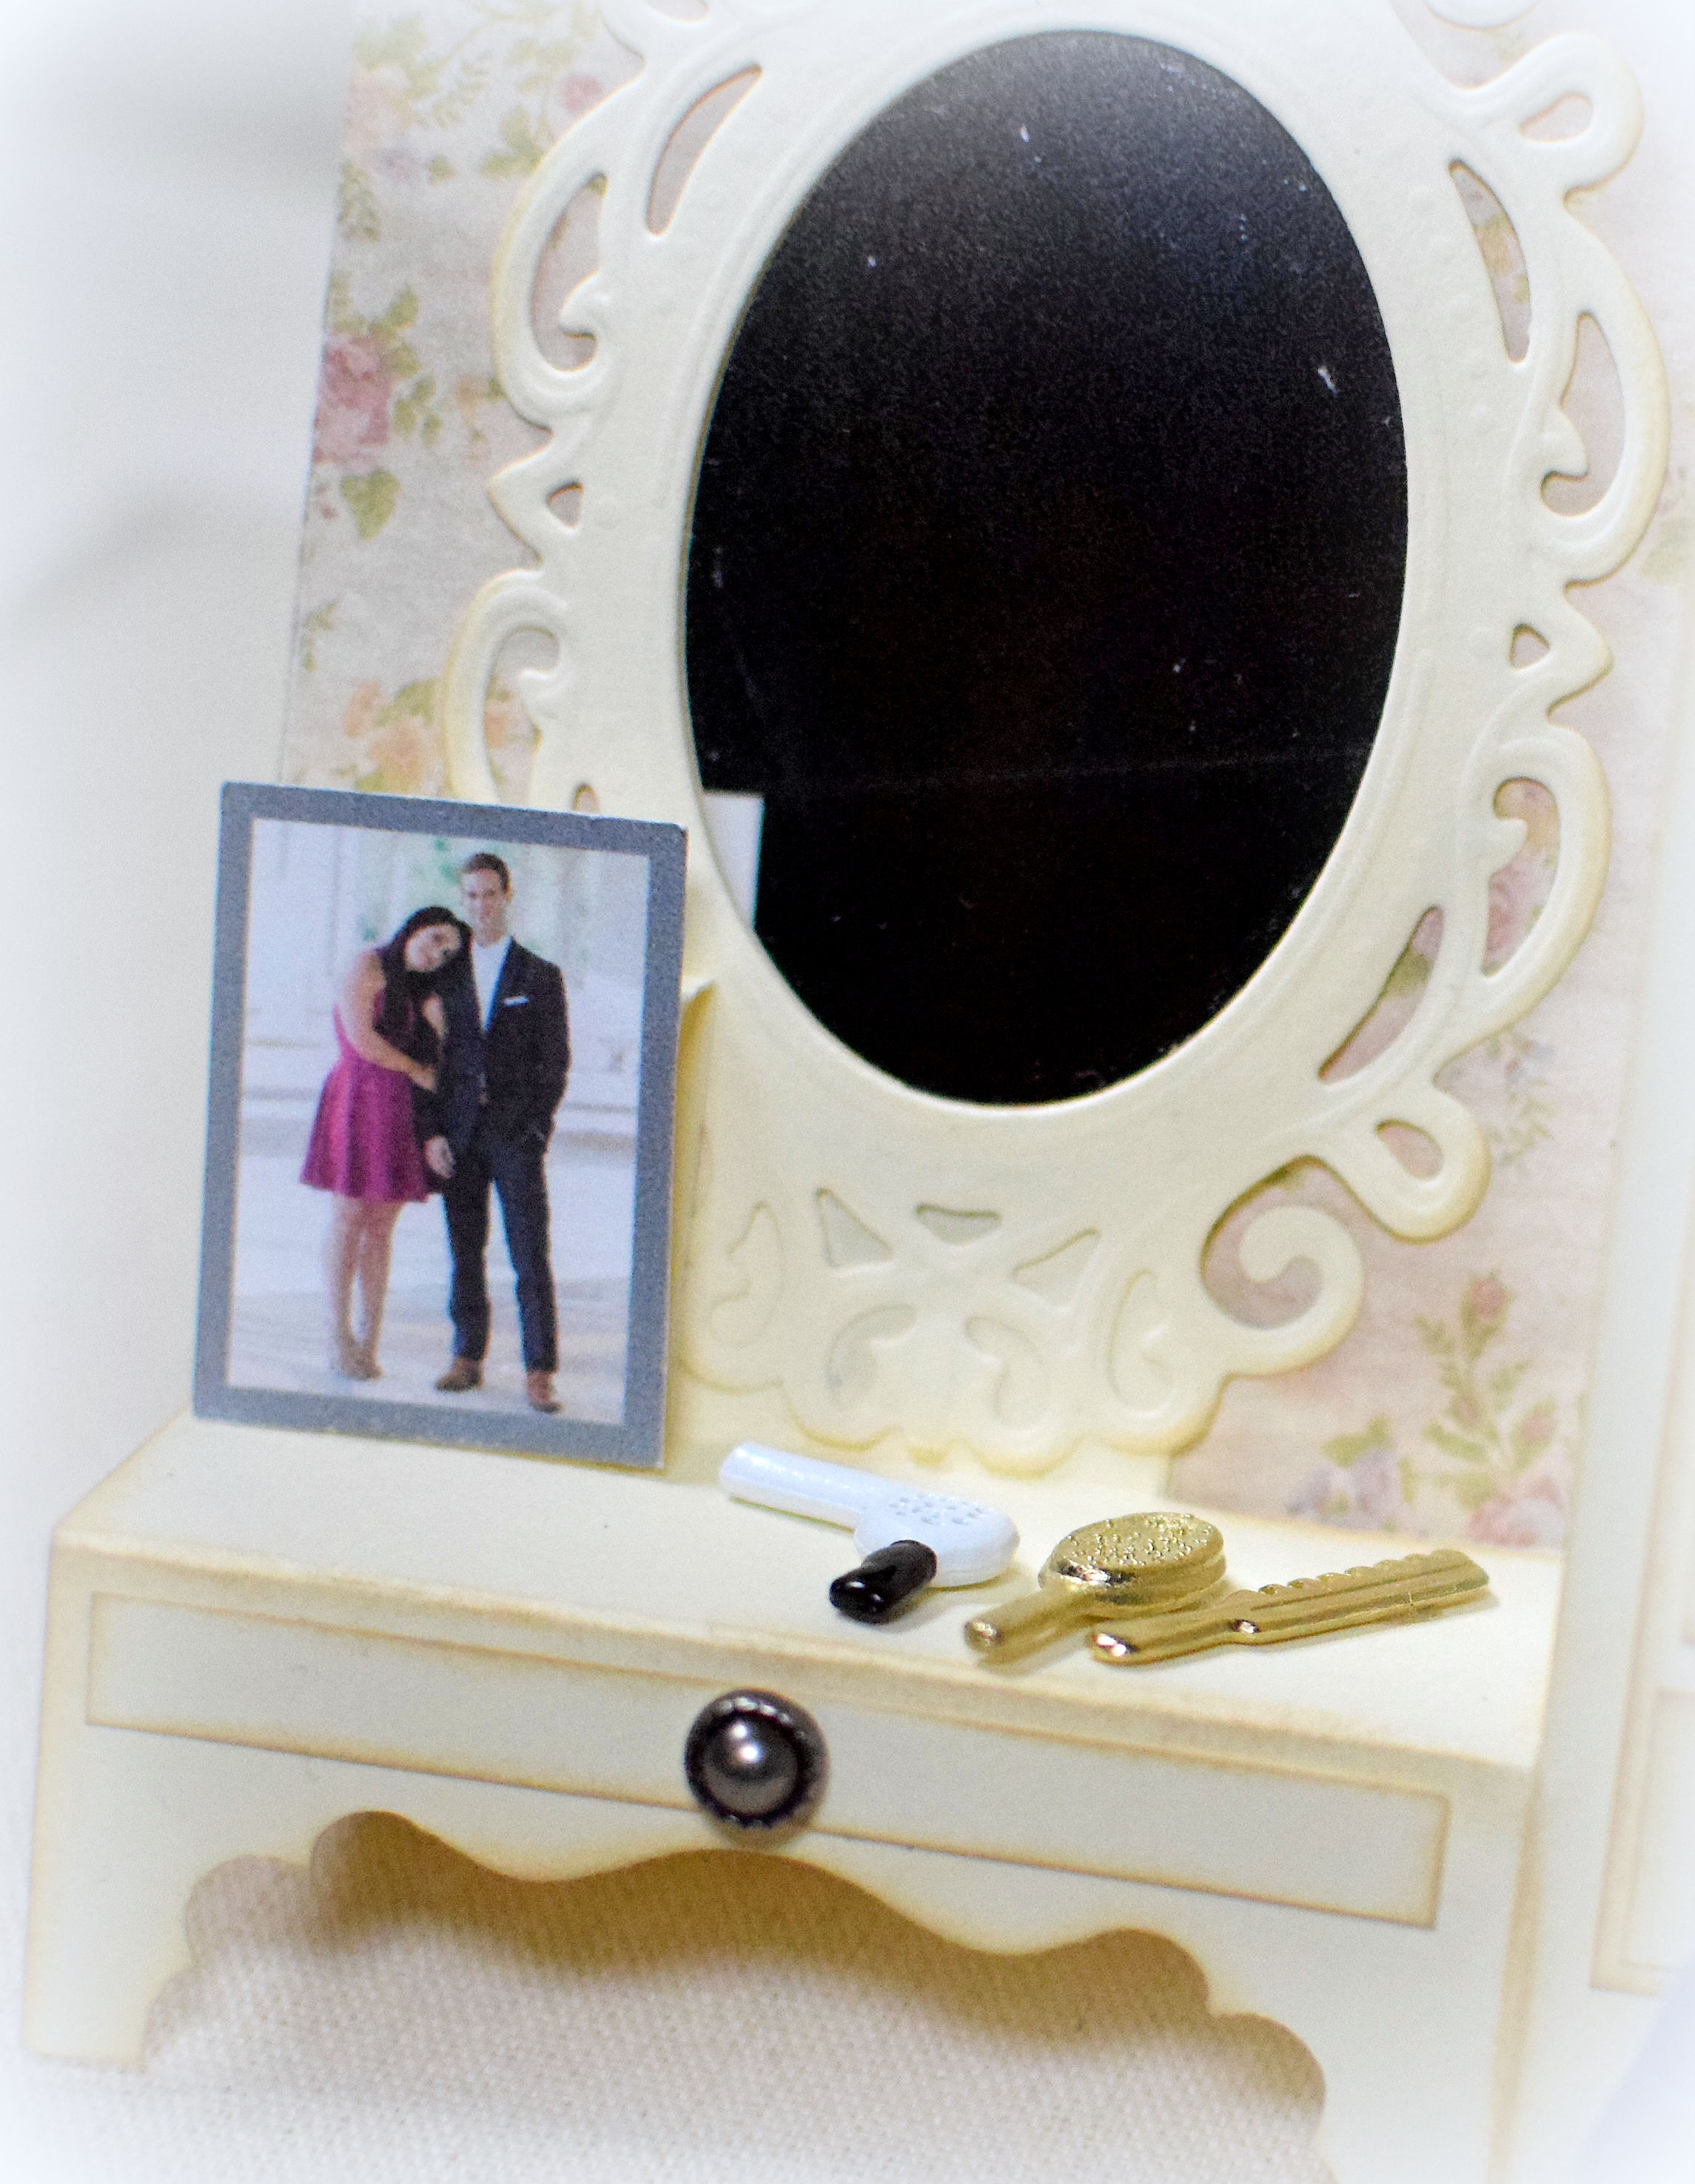
The above photos show the inside of the card after the card is opened and the front is flipped over. Below is the front of the card before it is opened:

For details on how I made this card and for more photos…
I started with heavy base weight ivory card stock for the base and front panel. The stamps are “Heart Line” (HR1016) by Stampabilities and a greeting stamp by Stampin Addict, I think. (I purchased this stamp on ebay and can’t read the name on the wood block too well). Gina K Kraft ink was used for the stamping and for inking the edges of the stamped panel.
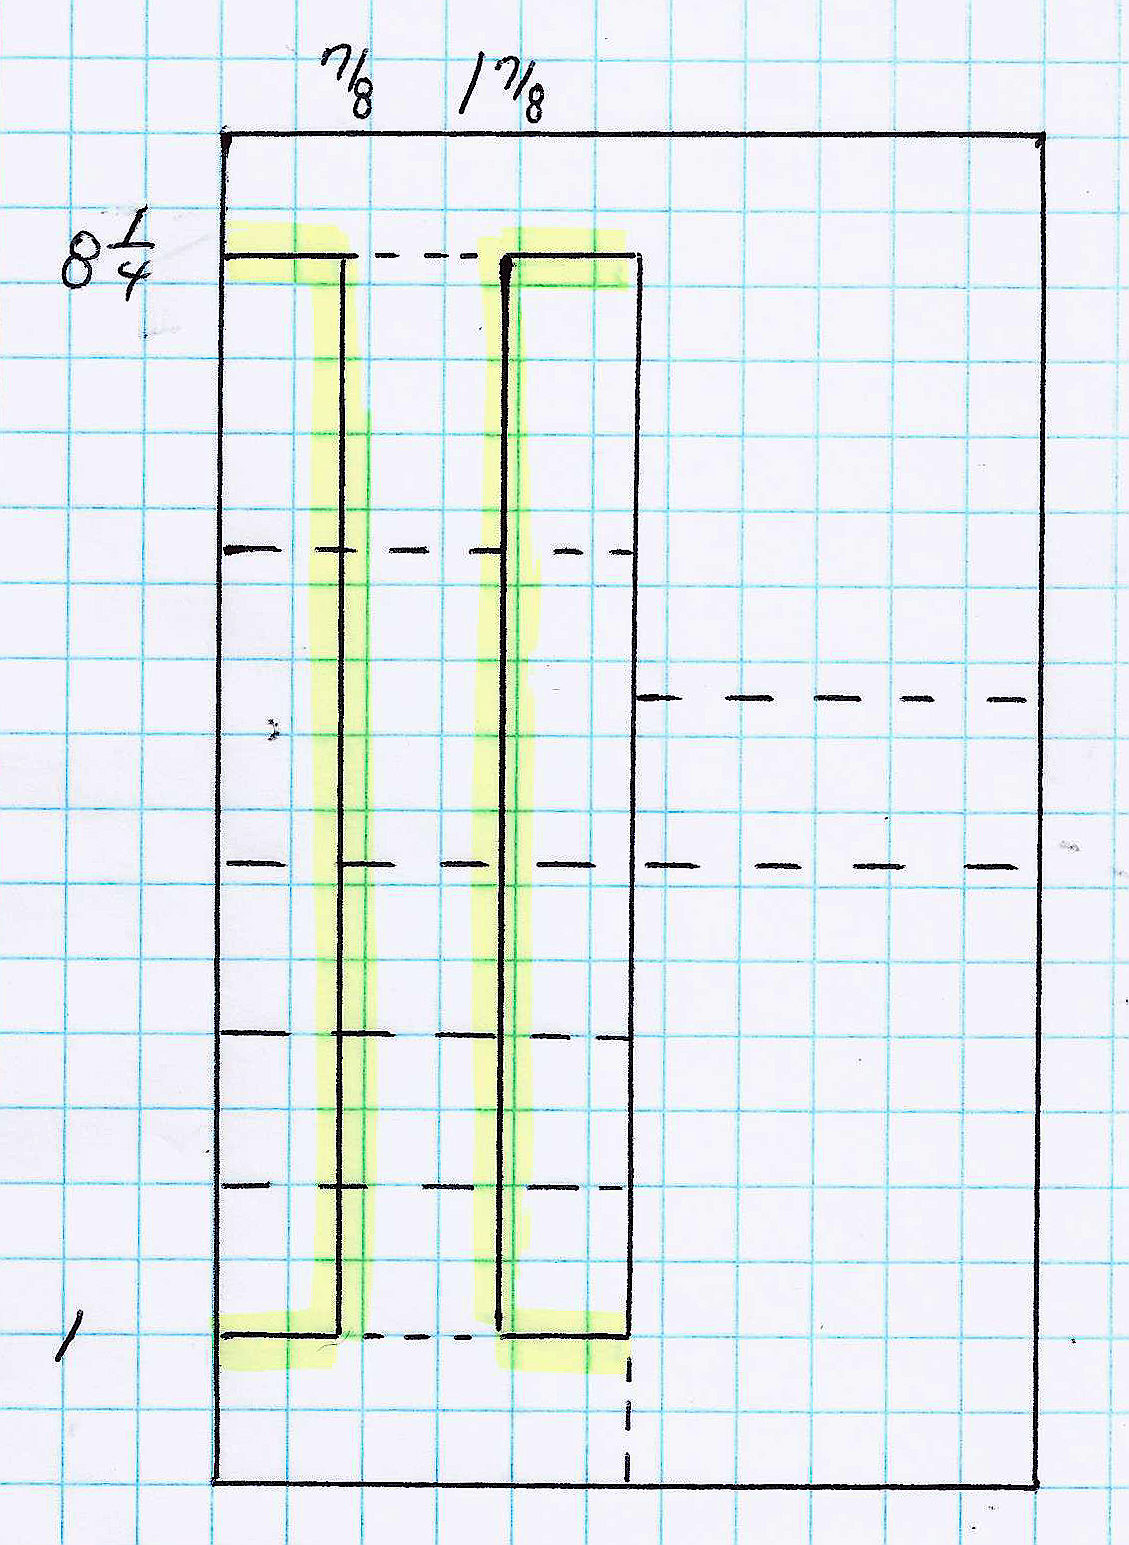
The inside of the card was lined with digital paper from the “Floral Digital Paper Pack” by AphroditaShop that I purchased on Etsy. The furniture panel was made from a modified step card design and layered on the floral background. The legs were created with the ek tool “Real Estate Sign” large punch. Here is the template I designed for the furniture panel:

(Step-by-step diagrams and instructions are at the end of this post if interested.)
Ivory panels were layered to create the doors and drawers. All the edges were sponged with Gina K Kraft ink. “Dome Studs” by 7gypsies were used for the knobs. The accessories on the vanity table are from a set called “Mayberry Street Miniatures – Hair Set” by Hobby Lobby. The “framed photo” was copied and resized from the save-the-date card I received from the bride-to-be.
The mirror was made with the “Ornate Mirror” die by Downtown Abbey/Crafter’s Companion which was cut from Recollections Ivory card stock. I used Ranger Foil Tape Sheets for the mirrored oval. I tried cutting the foil with a Spellbinders Classic Oval die, but the foil was too thick, and I ended up using the partial cut as a guide and used scissors to finish it. (Please excuse the dust on the mirror; I didn’t see it, but the camera apparently did!!)
The dress design was adapted from the “Bridal Dress” file by Jamie Koay (design #4073) that I purchased in the Silhouette Store. The card stock was “Opal Pearl” by Core’dinations, and it was embossed with the Cuttlebug D’Vine Swirls embossing folder. The hanger is by Art C/Momenta.
The clock is also a Silhouette design called “Antique Inspired Clock 4” by Samantha Walker (design #12330). Ivory, white and Gina K metallic gold card stock was used.
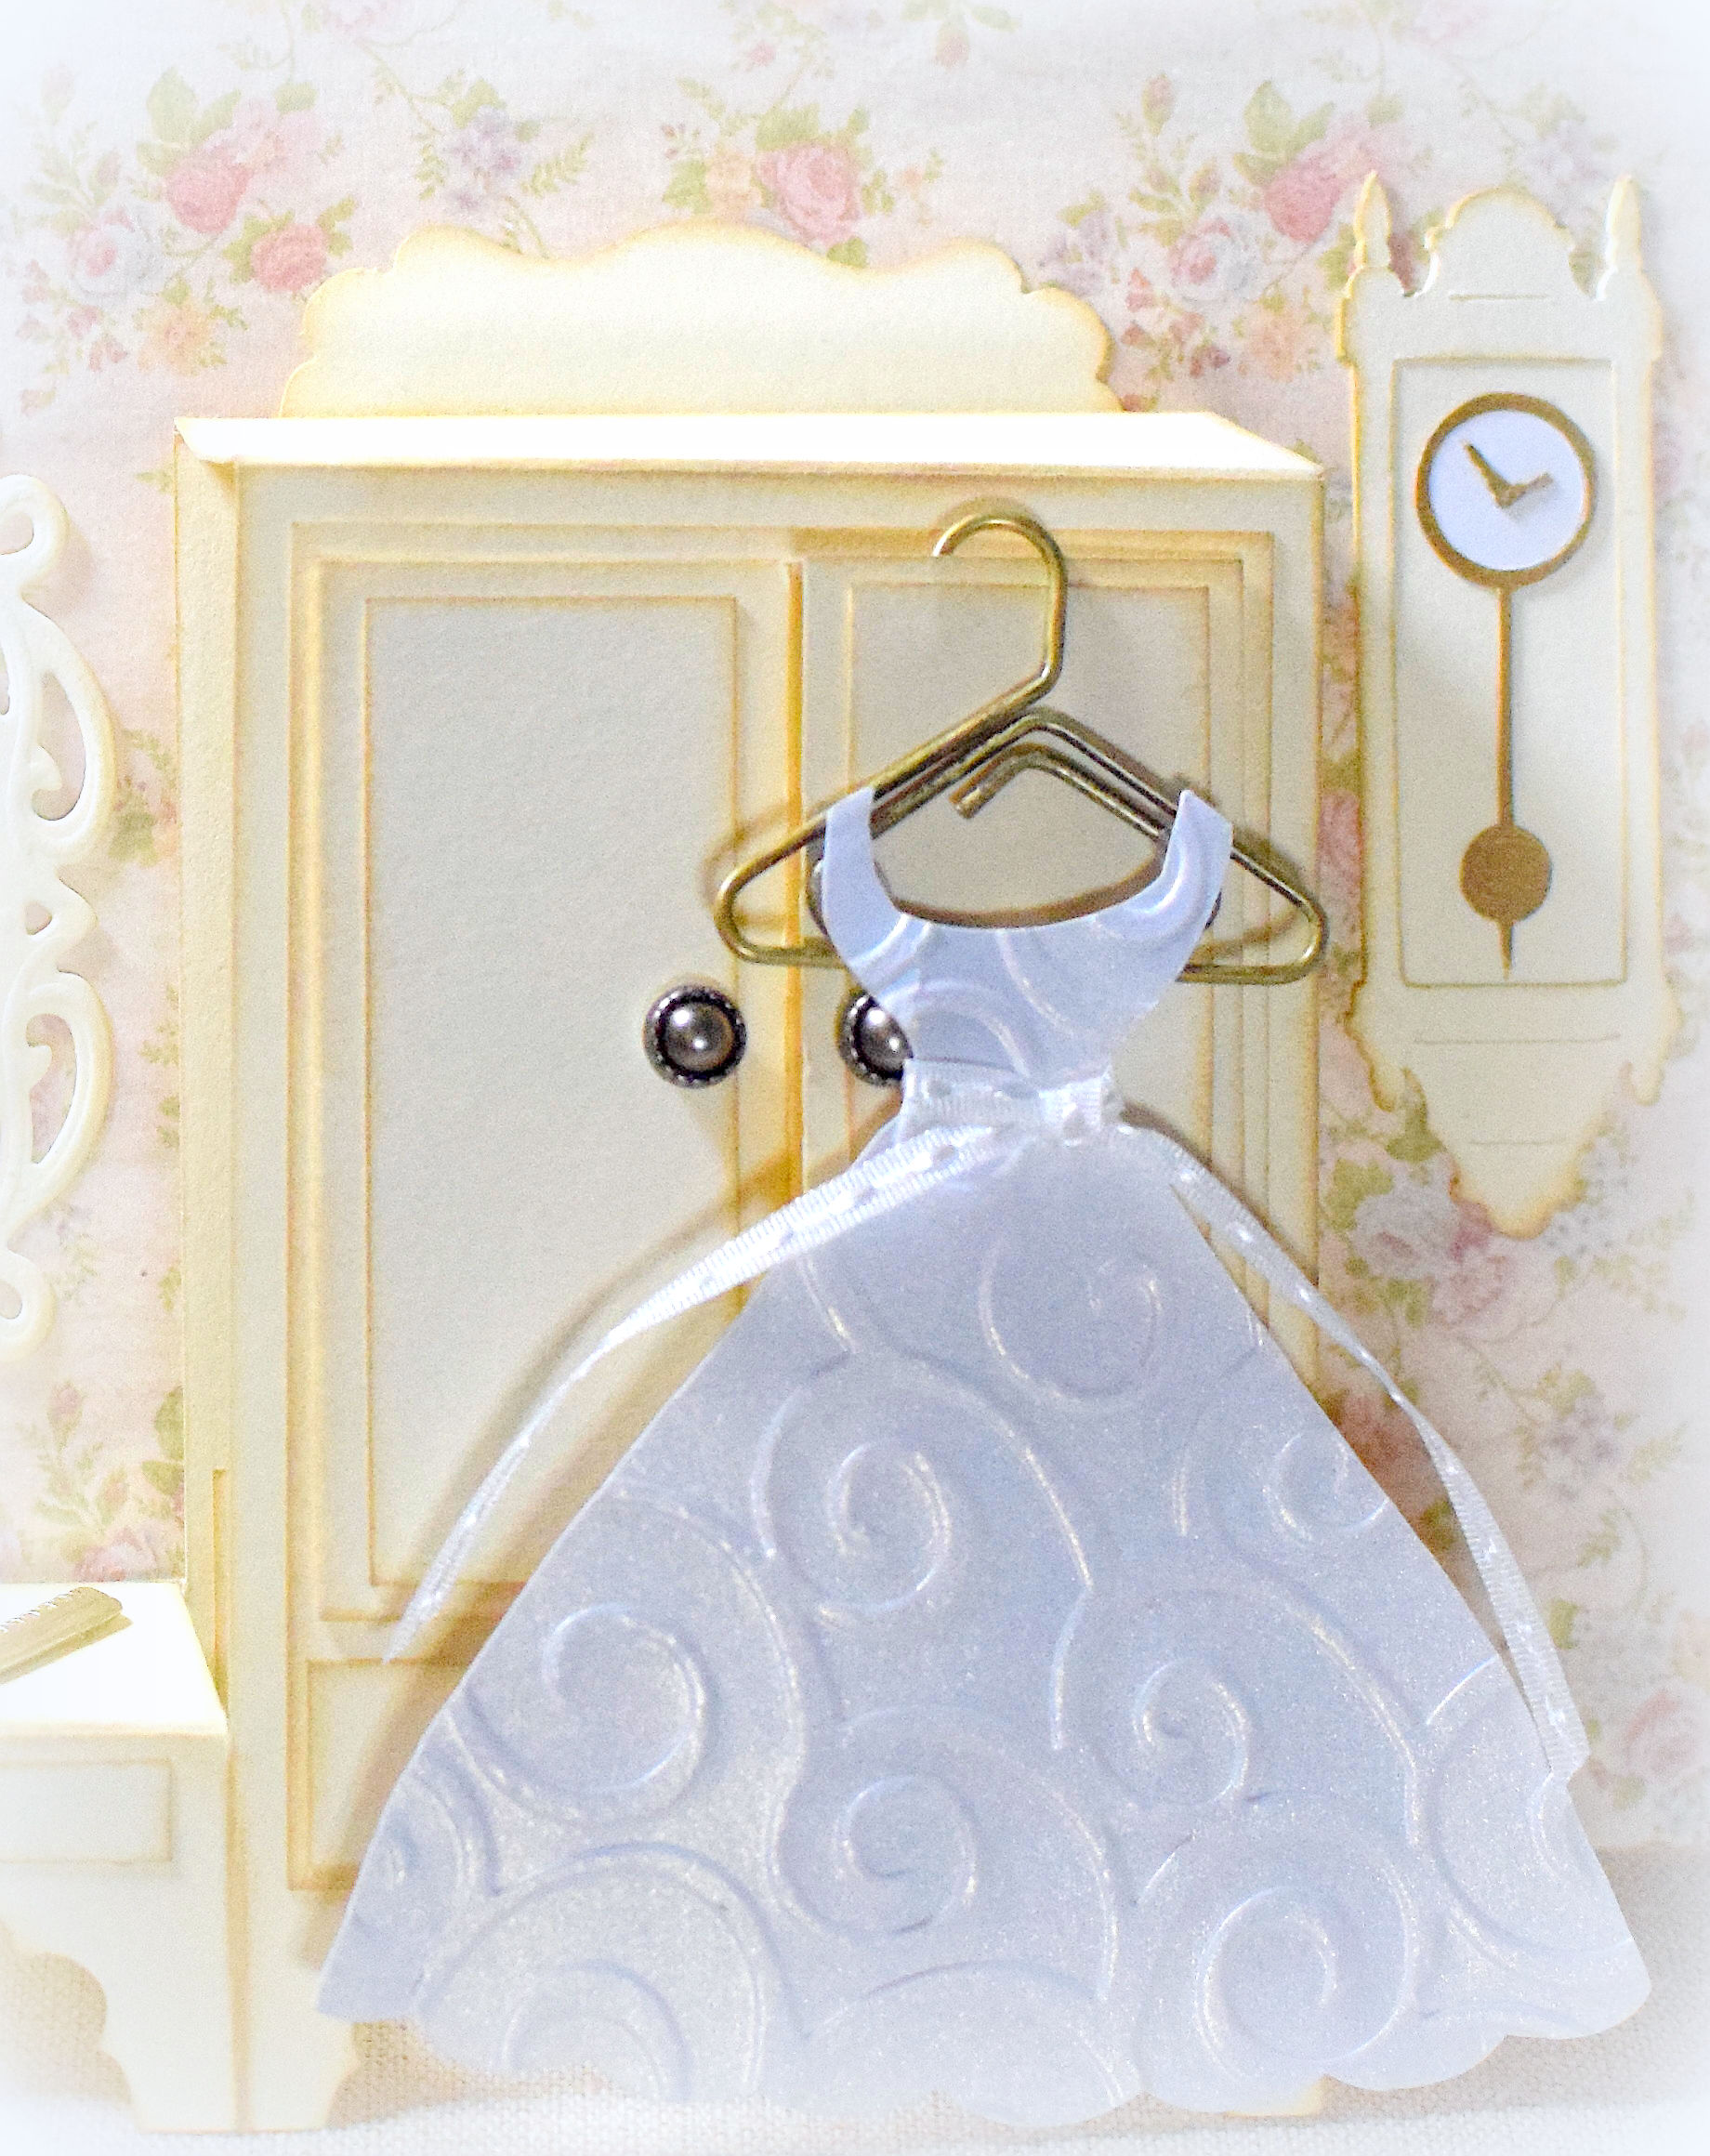
The inside sentiment is by jillibean soup/hampton art. It is visible when the card is opened but still flat. Once the furniture unfolds, the sentiment is hidden. I originally wanted to put the sentiment behind the doors of the armoire, but the dress was too wide and the right door wouldn’t open well so I ended up gluing the doors closed. (Better planning needed next time!)

This 5×7 inch card folds flat for mailing and fits in a regular envelope, but it is kind of thick with all the layers and embellishments so a trip to the post office was still required.
Over at the Die Cut Diva’s, the challenge for December is Layers or Layer It. In addition to creating a card or project that fits the theme, all cards/projects must be made using at lease one die cut or embossing folder (using any die cut machine including the Cameo and Cricut). Pop on over to check out all the great inspiration and projects in the gallery.
The Mod Squad challenge this week is called “A Little Bit of Spring” where we are encouraged to make a card or project that is reminiscent of SPRING. The delicate floral “wallpaper” is my spring element on this project.
Step-by-step diagrams and instructions for furniture template:
1. Start with a 9 x 5 1/2 inch panel.
2. Cut a 7 1/4 inch line down the center (2 3/4 inches from either edge) starting at the 1 inch mark and going to the 8 1/4 inch mark as shown below.

*
3. Score as shown below. (- – -)

*
4. Cut two more vertical lines from the 8 1/4 inch mark to the 1 inch mark – one at 7/8 inches from the left, and one at 1 7/8 inches from the left.
5. Cut small horizontal pieces (with scissors) at the 1 and 8 1/4 inch marks as shown below.
*
6. Use punch to cut out legs if desired. ({)
7. Fold as indicated below. (M=mountain fold; V=valley fold; No=no fold)
8. Glue pieces marked with * together.

*
Below are photos of the panel with the folds:


The mirror gets glued to the skinny portion sticking up on left. The little peak in the front is “extra” and gets glued to the taller peak behind it so the mirror doesn’t move around on the card.
This whole furniture panel is adhered to the inside of the card base (lined up along the bottom). When the card is folded closed, the top of the furniture piece folds up to the fold of the card base. Make sure the card can close before gluing the panel in place. Trim the bottom back if necessary.
Thanks for checking out my card post!
This content uses referral links as described in the disclosure policy on my sidebar.


You are so clever and this is so gorgeous. I am sure it will be so appreciated too.
LikeLike
Such a beautiful card. I love the inside panel display. WOW. So nice to put the instructions on your post too.
So glad you joined us at Die Cut Divas.
LikeLike
Oh my gosh, this card is beyond creative, Lisa!!! So much thought went into it, and so much work. I’m sure the recipient will be blown away!!! Great take on the challenge, thanks so much for playing along with us this week over at the Mod Squad.
Judy – Challenge Host
LikeLike
Awesome project!! Wonderful dimension and so much love goes into the process! Thanks for the tutorial, and linking up to our challenge at Die Cut Divas.
LikeLike
Hi sweetie,
take a look here: http://die-cut-divas.blogspot.de/ CONGRATS!!!!
Hope you are ok?Happy new and crafty year and all the best for 2017
Please visit my new challenge blog and play along if you want – I would be very glad! http://do-allkreatives.blogspot.de/
Hugs Doris
LikeLike
Pingback: Die Cut Divas – “Layers or Layer It” – a Design Team Favorite Winner! | I Played With Paper Today!
This bridal shower card design is incredibly creative and detailed.
LikeLike