Autumn Leaves Note Card
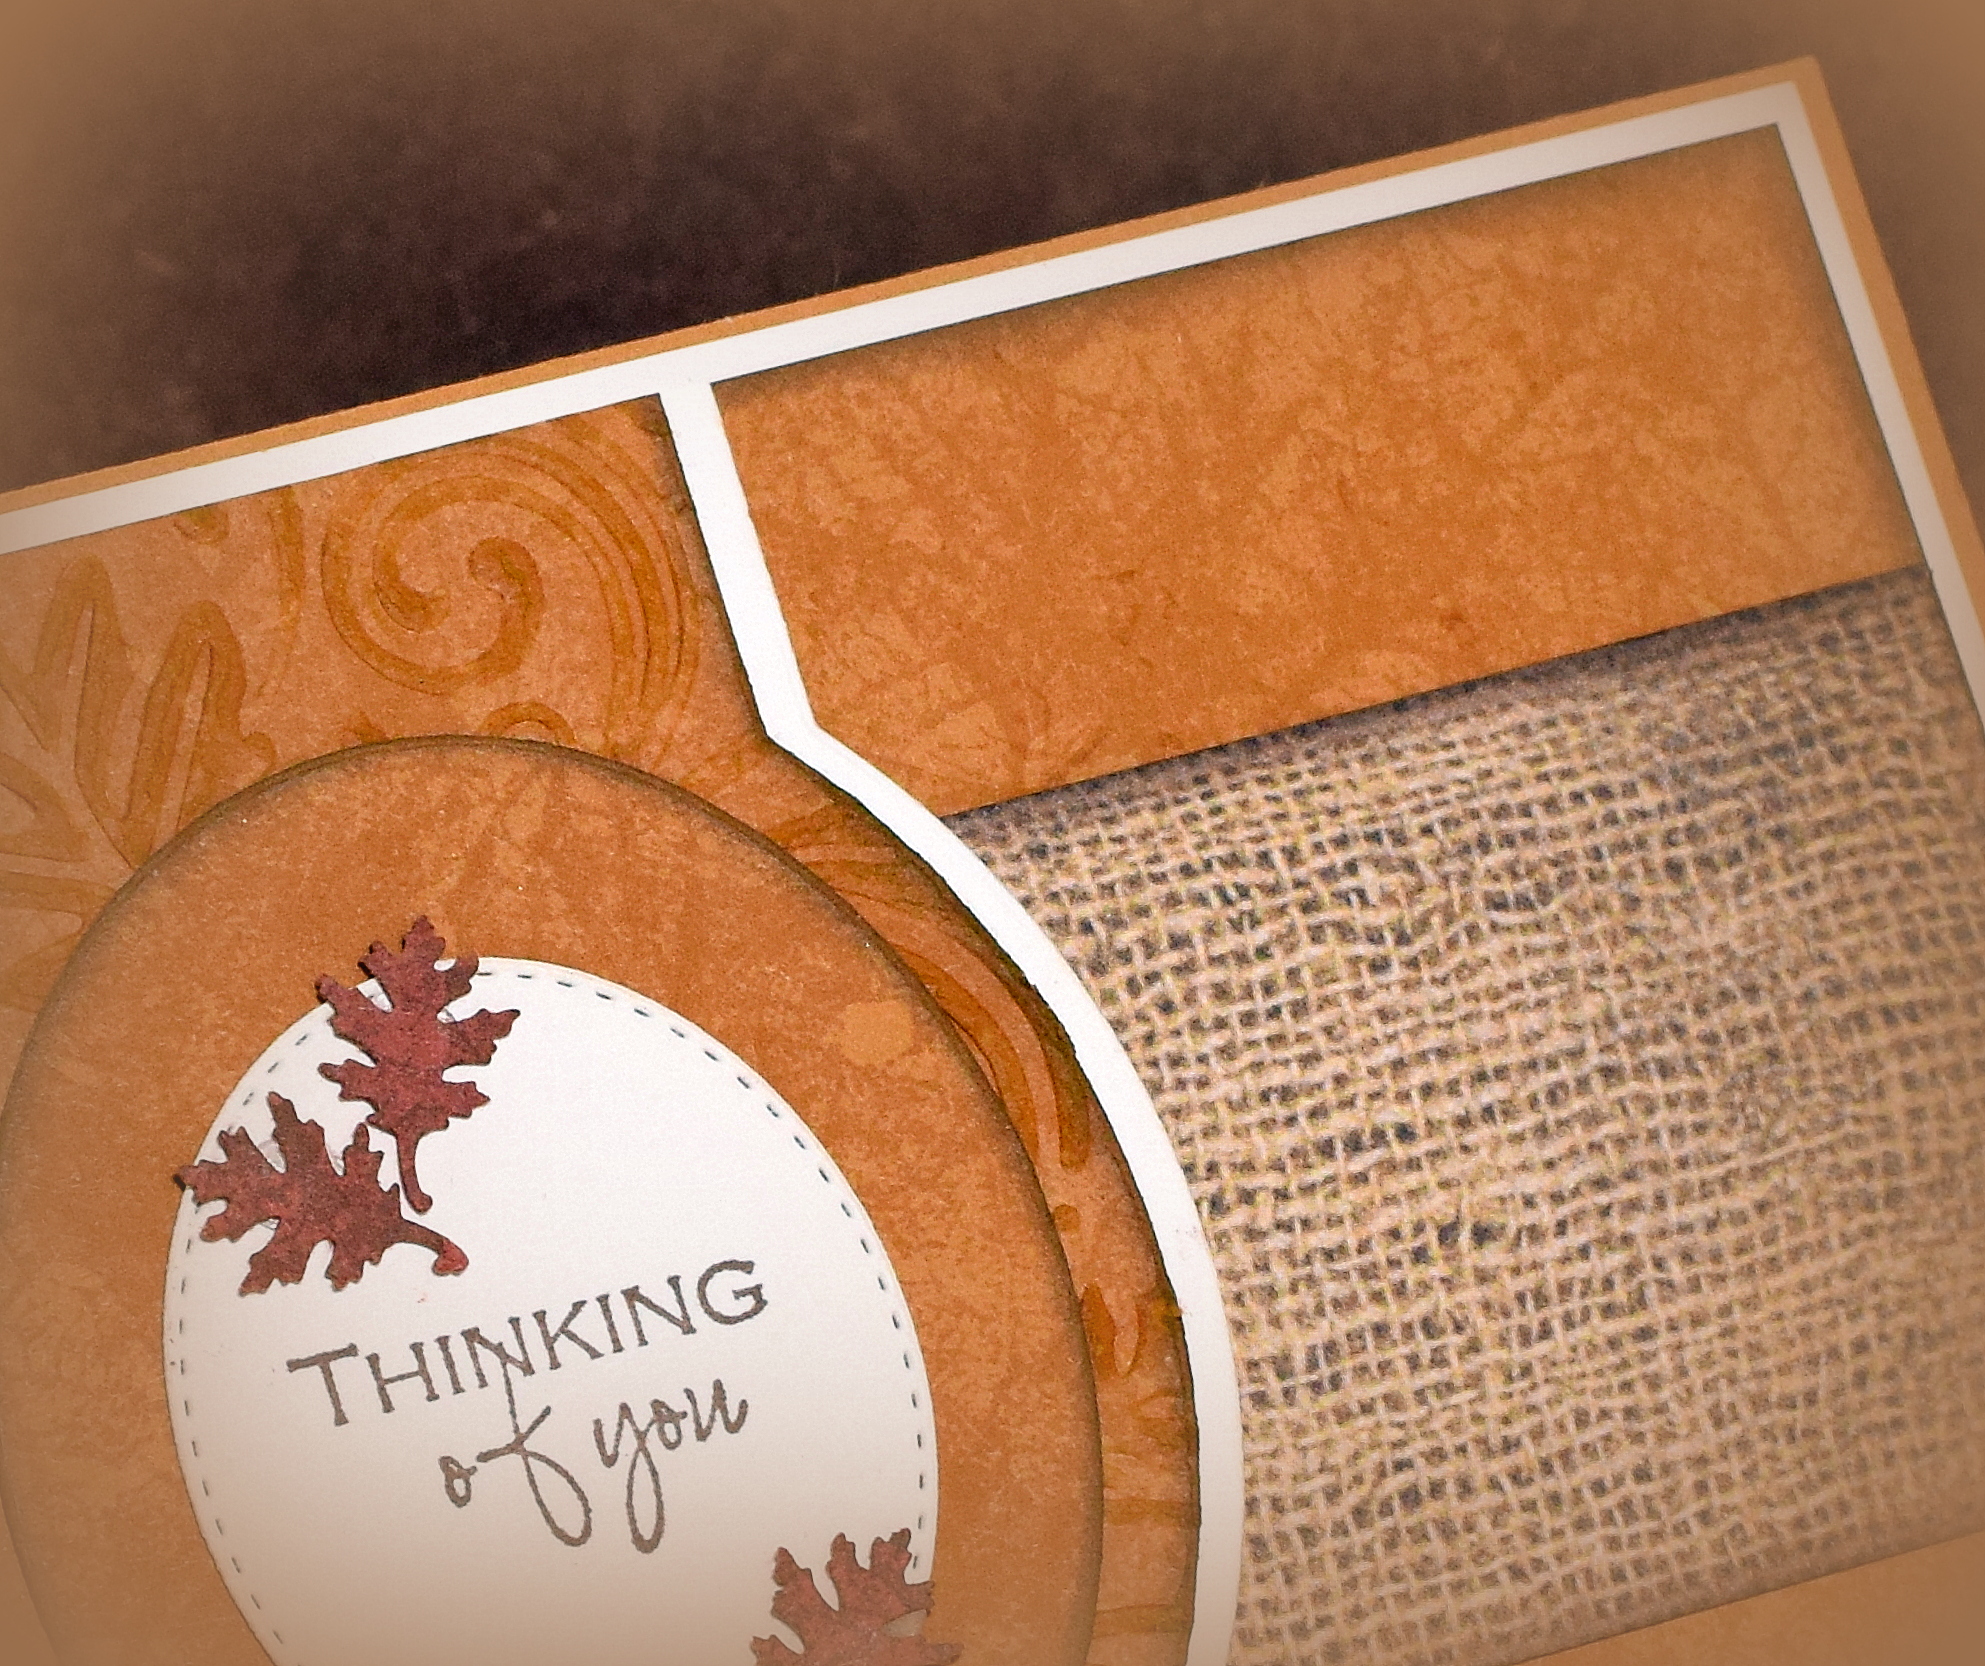
In my last post, I shared a subtle, tone on tone pattern using a leaf stamp and ink that matched the card stock. For this project, I used the same technique but stamped a different color ink on the card stock.
This time, I used Gina K Faded Brick card stock, Gina K Dark Chocolate ink, and the same leaf stamp from the Stampers Anonymous “Falling Leaves” set by Tim Holtz (shown below). As on the last card, I randomly and repeatedly stamped the image (overlapping) until the whole panel was covered. (If you overlap a lot, the card stock will get darker and the leaves will be less defined. Overlapping less allows more of the card stock color to show and allows you do see the leaf images better.)
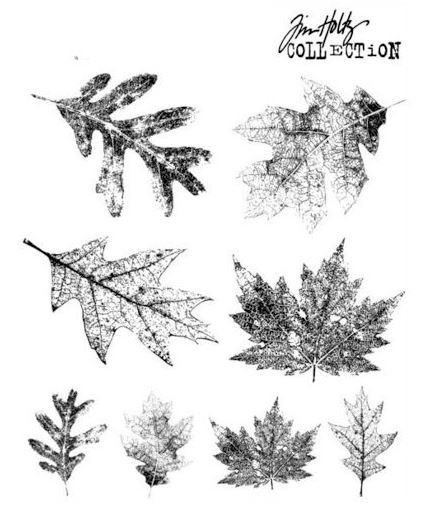
(I used the stamp on the bottom right corner.)
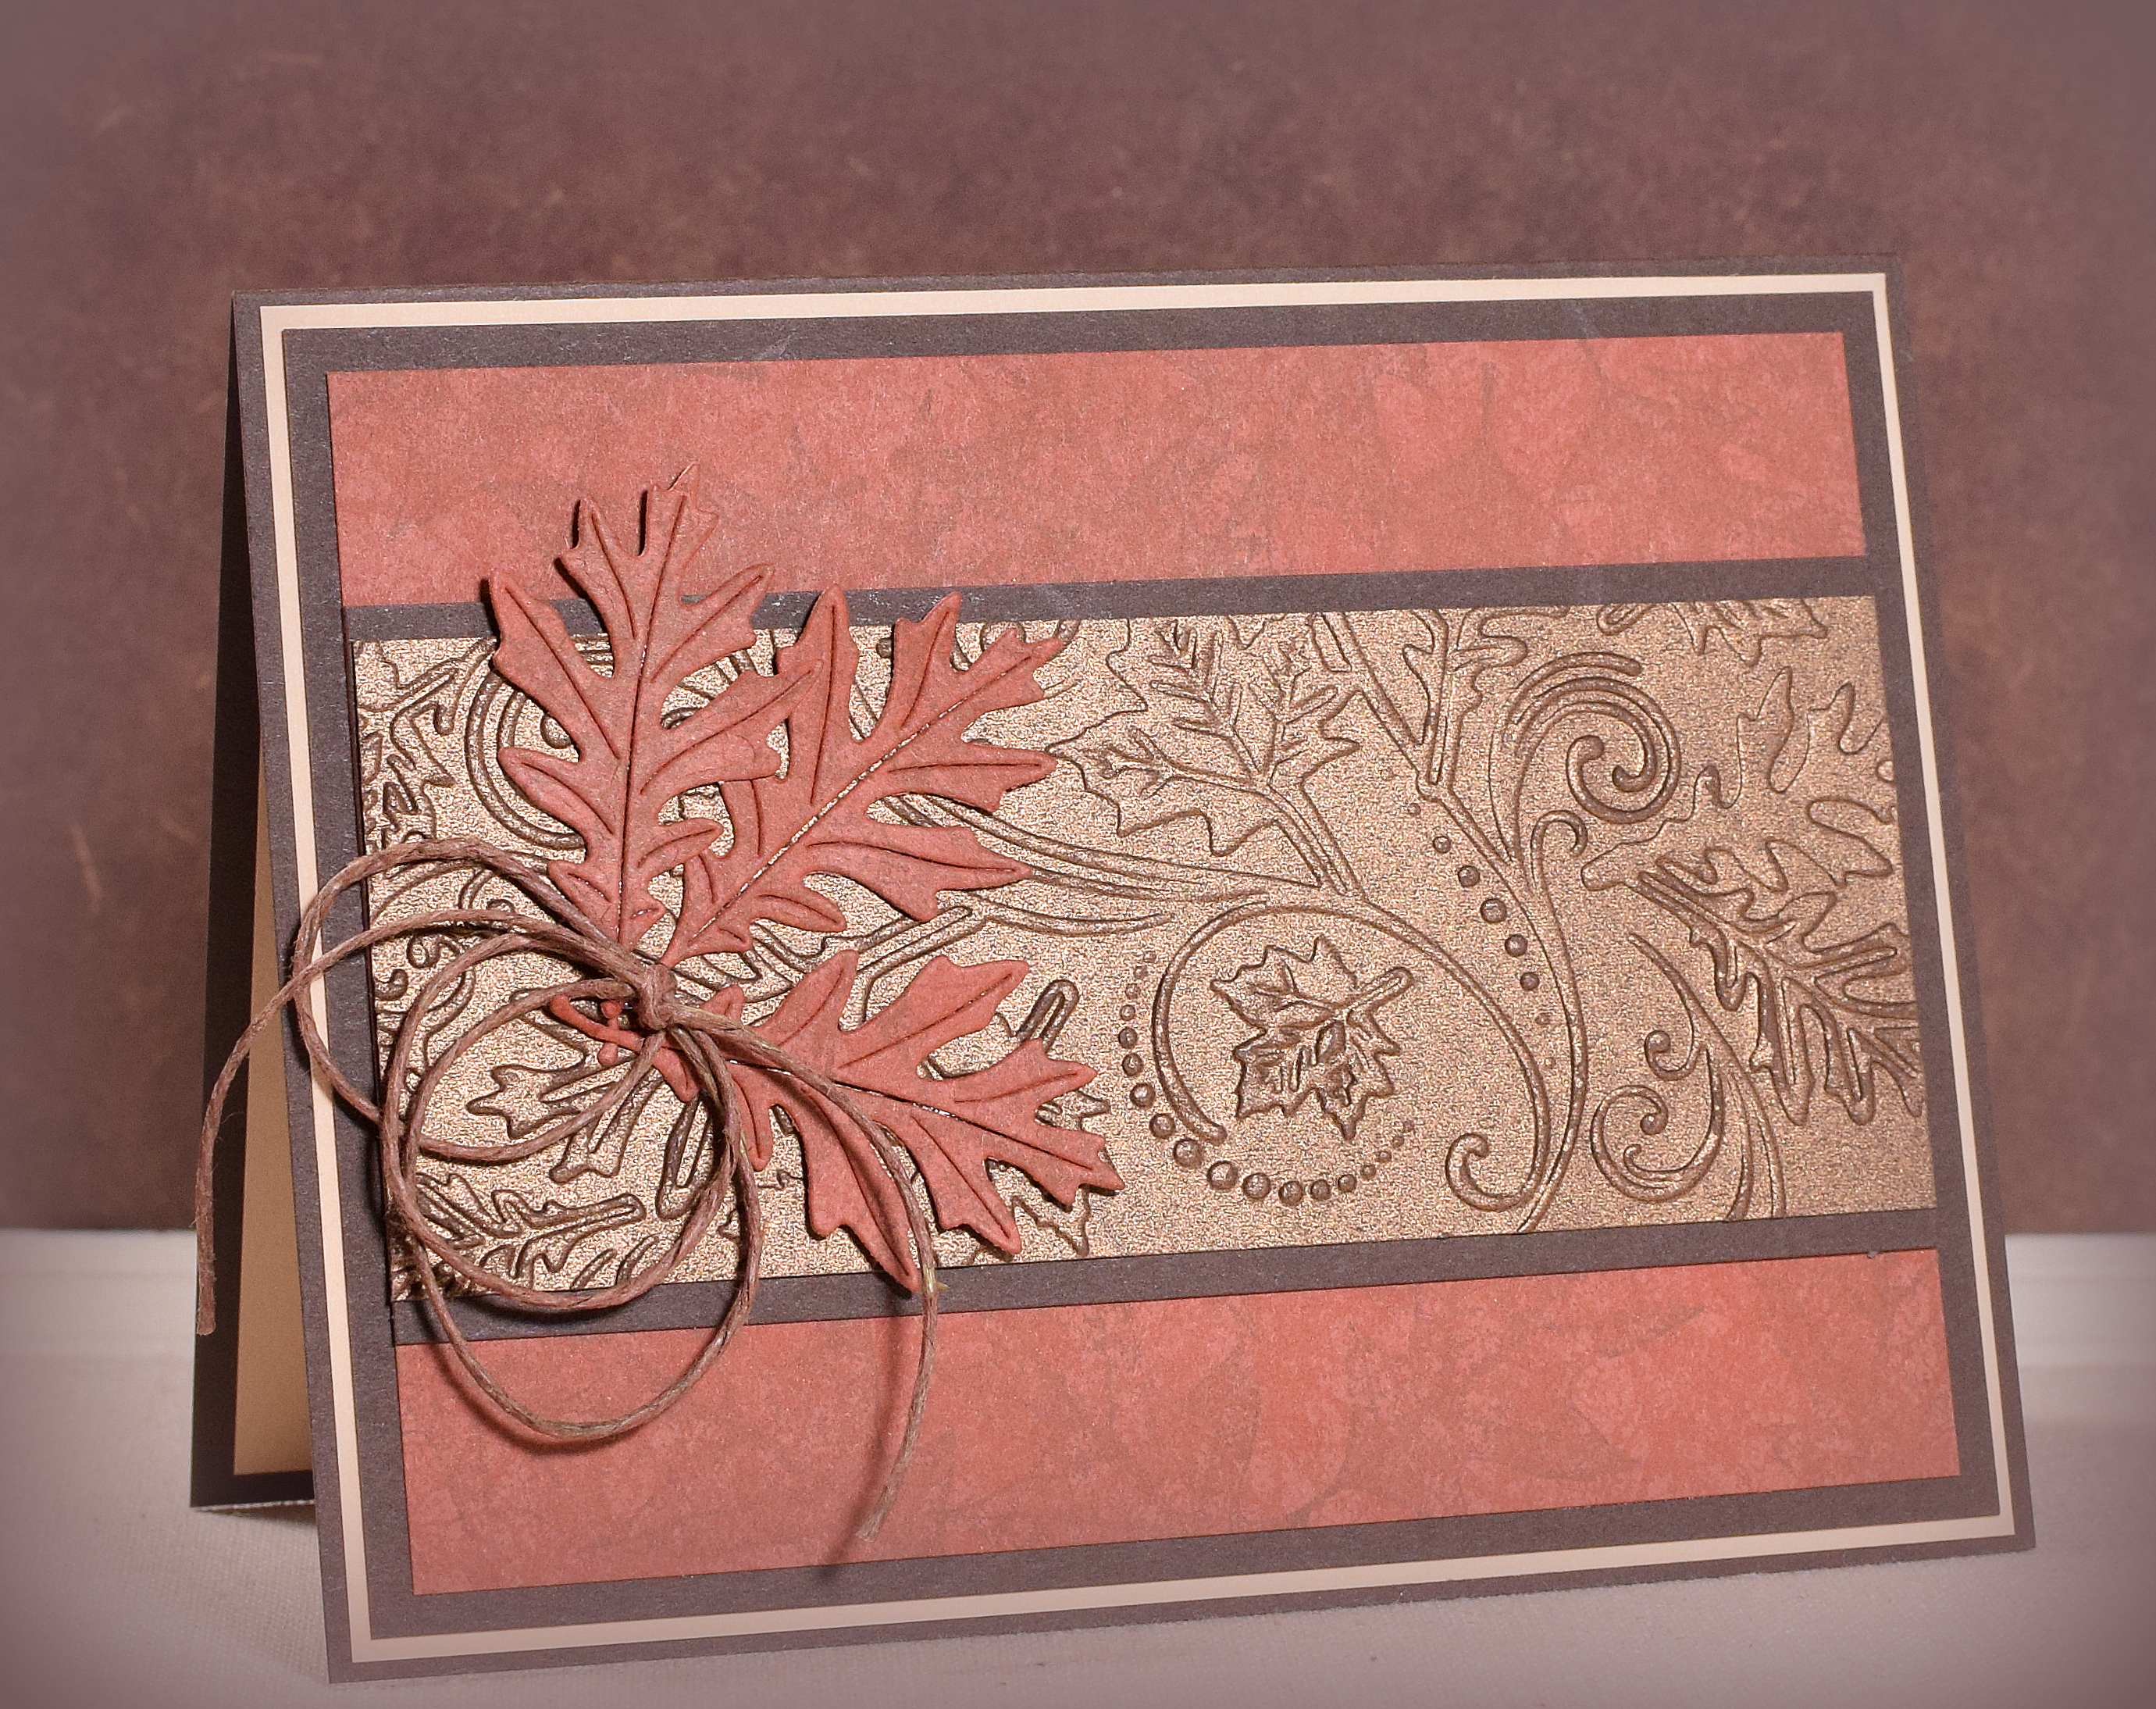
I used Gina K Dark Chocolate and Color Mates Light Caribbean Coral card stock for the mats and card base. A Strip of Recollections Shimmer Card Stock (bronze) was embossed with the Darice “Fall Leaves Background” embossing folder.
The leaves were cut from the stamped Faded Brick card stock (same as background panel) with a die from the “Oak Leaves” die set by Gina Marie Designs. I used glue dots just up the centers of the leaves so the edges could be curled up a touch.
Brown hemp was the finishing touch.
Thanks for checking out my card project!
This content uses referral links as described in the disclosure policy on my sidebar.