In-Home Card Making Workshop

In-Home Card Making Workshop

vDSC_9635.jpg

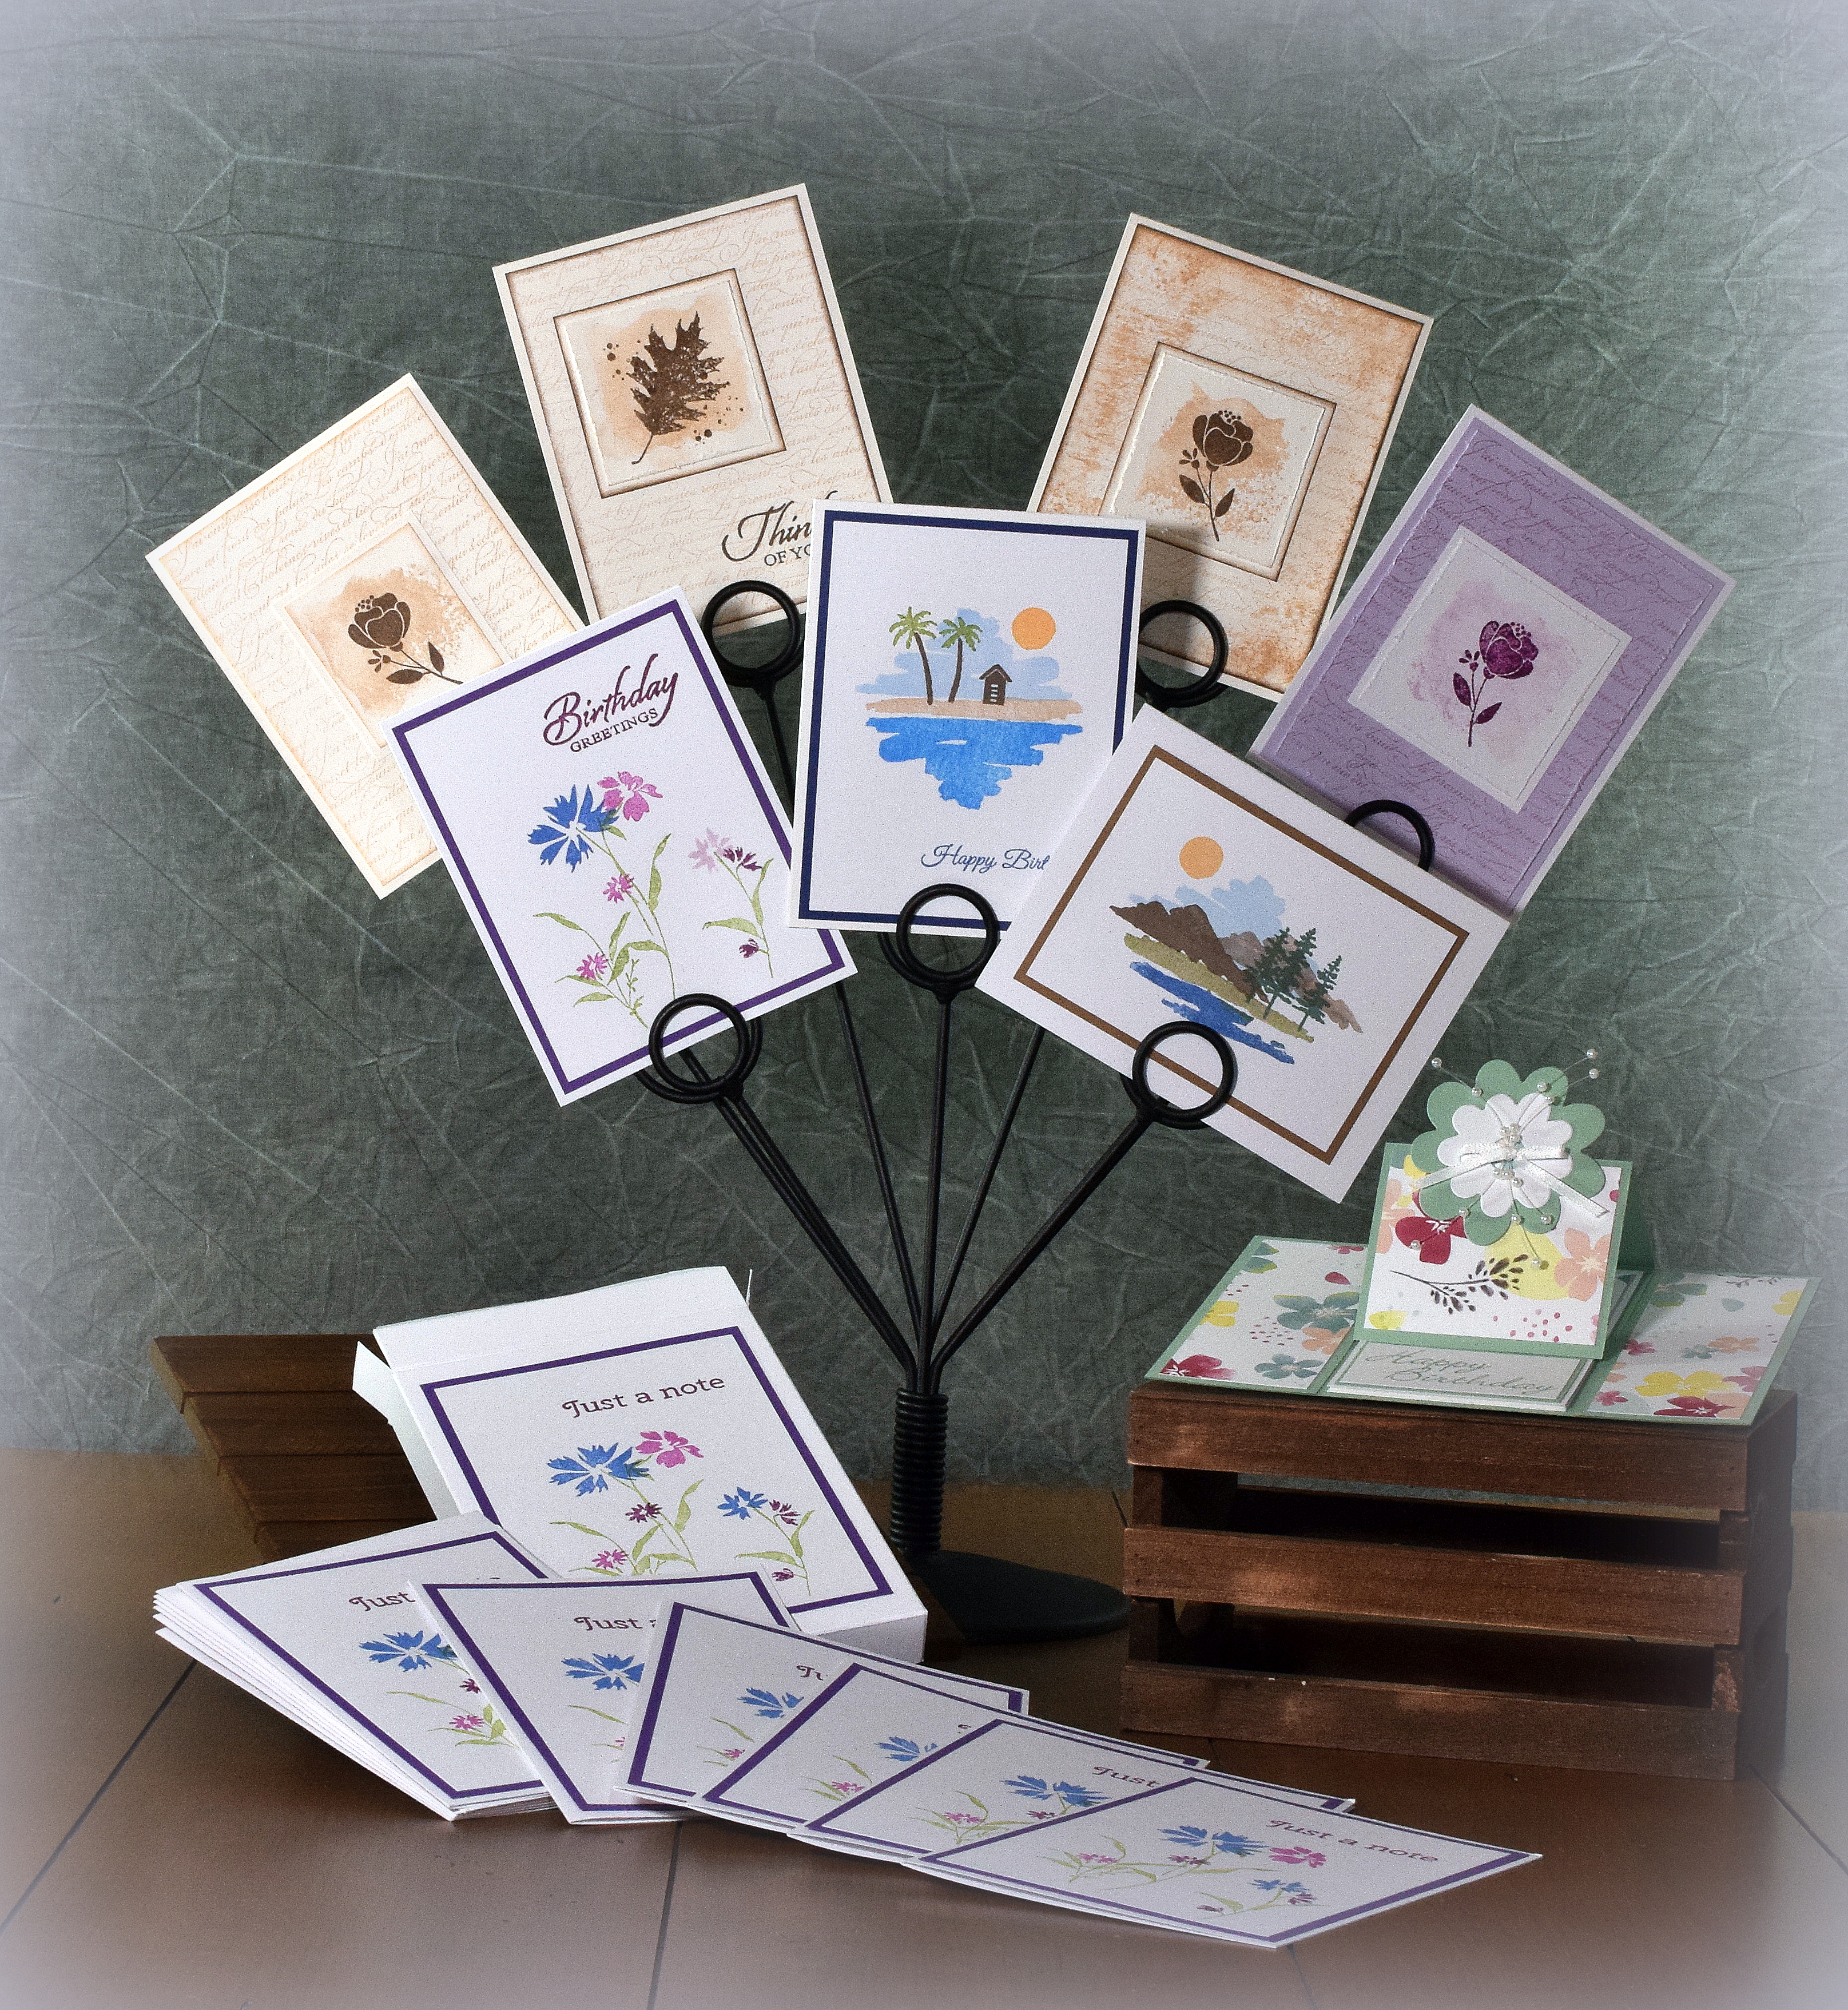
In my last post, I mentioned that I had a friend who wanted to give card making a try.  (HERE is the project we worked on together.)  I guess she really enjoyed it because she called me a few days later and asked if I would design and teach a 2-hour card making workshop she wanted to host at her house with a few of her friends.  The photo above, with the project choices, was included on the evite she sent.  I was thrilled to do it and really grateful for the opportunity.  Thanks, Cyndy!

***

wDSC_9583

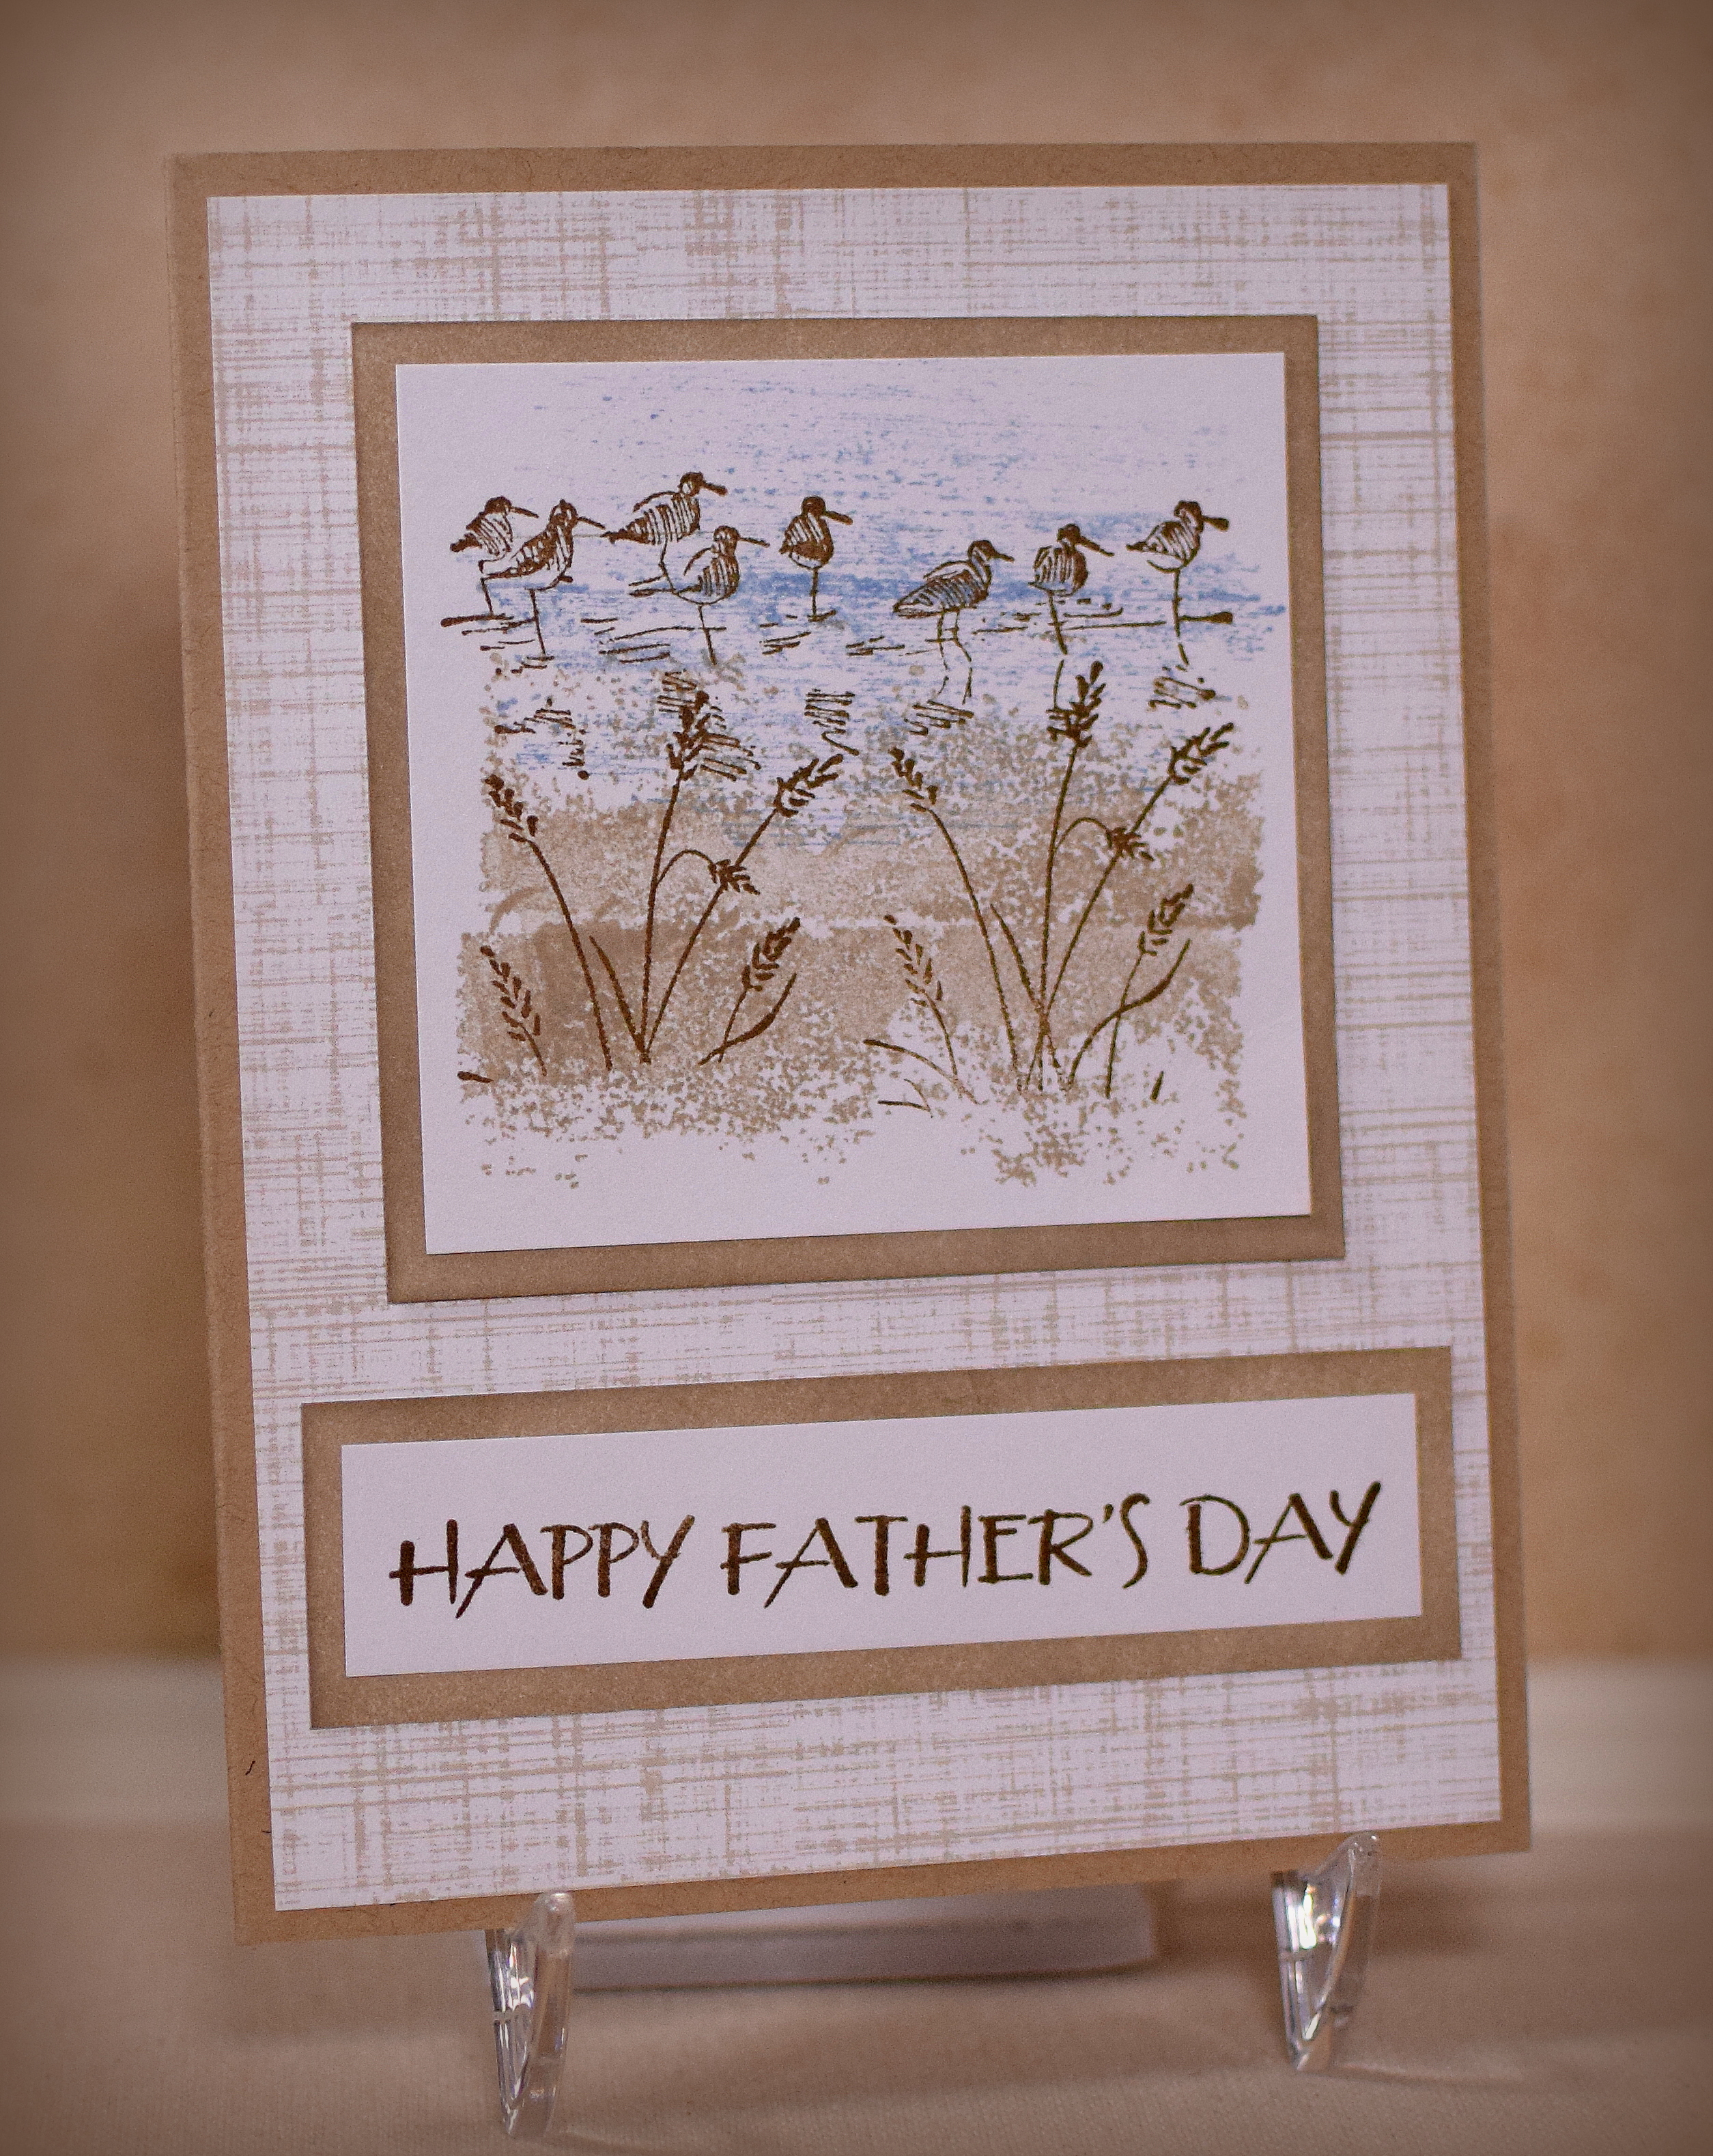
I came up with three different projects; we had time for two of them.  The photo above shows one of the lessons the ladies chose which included stamping with a large background stamp, using a stamp positioning tool, water color block stamping, and various distressing techniques.  It was fun to see how the ladies made changes to my original design to make it their own!

***

The other project we completed was a “fancy fold” card I had made a while back (HERE).  The focus on this lesson was using a trimmer and score board (which they hadn’t done before).

***

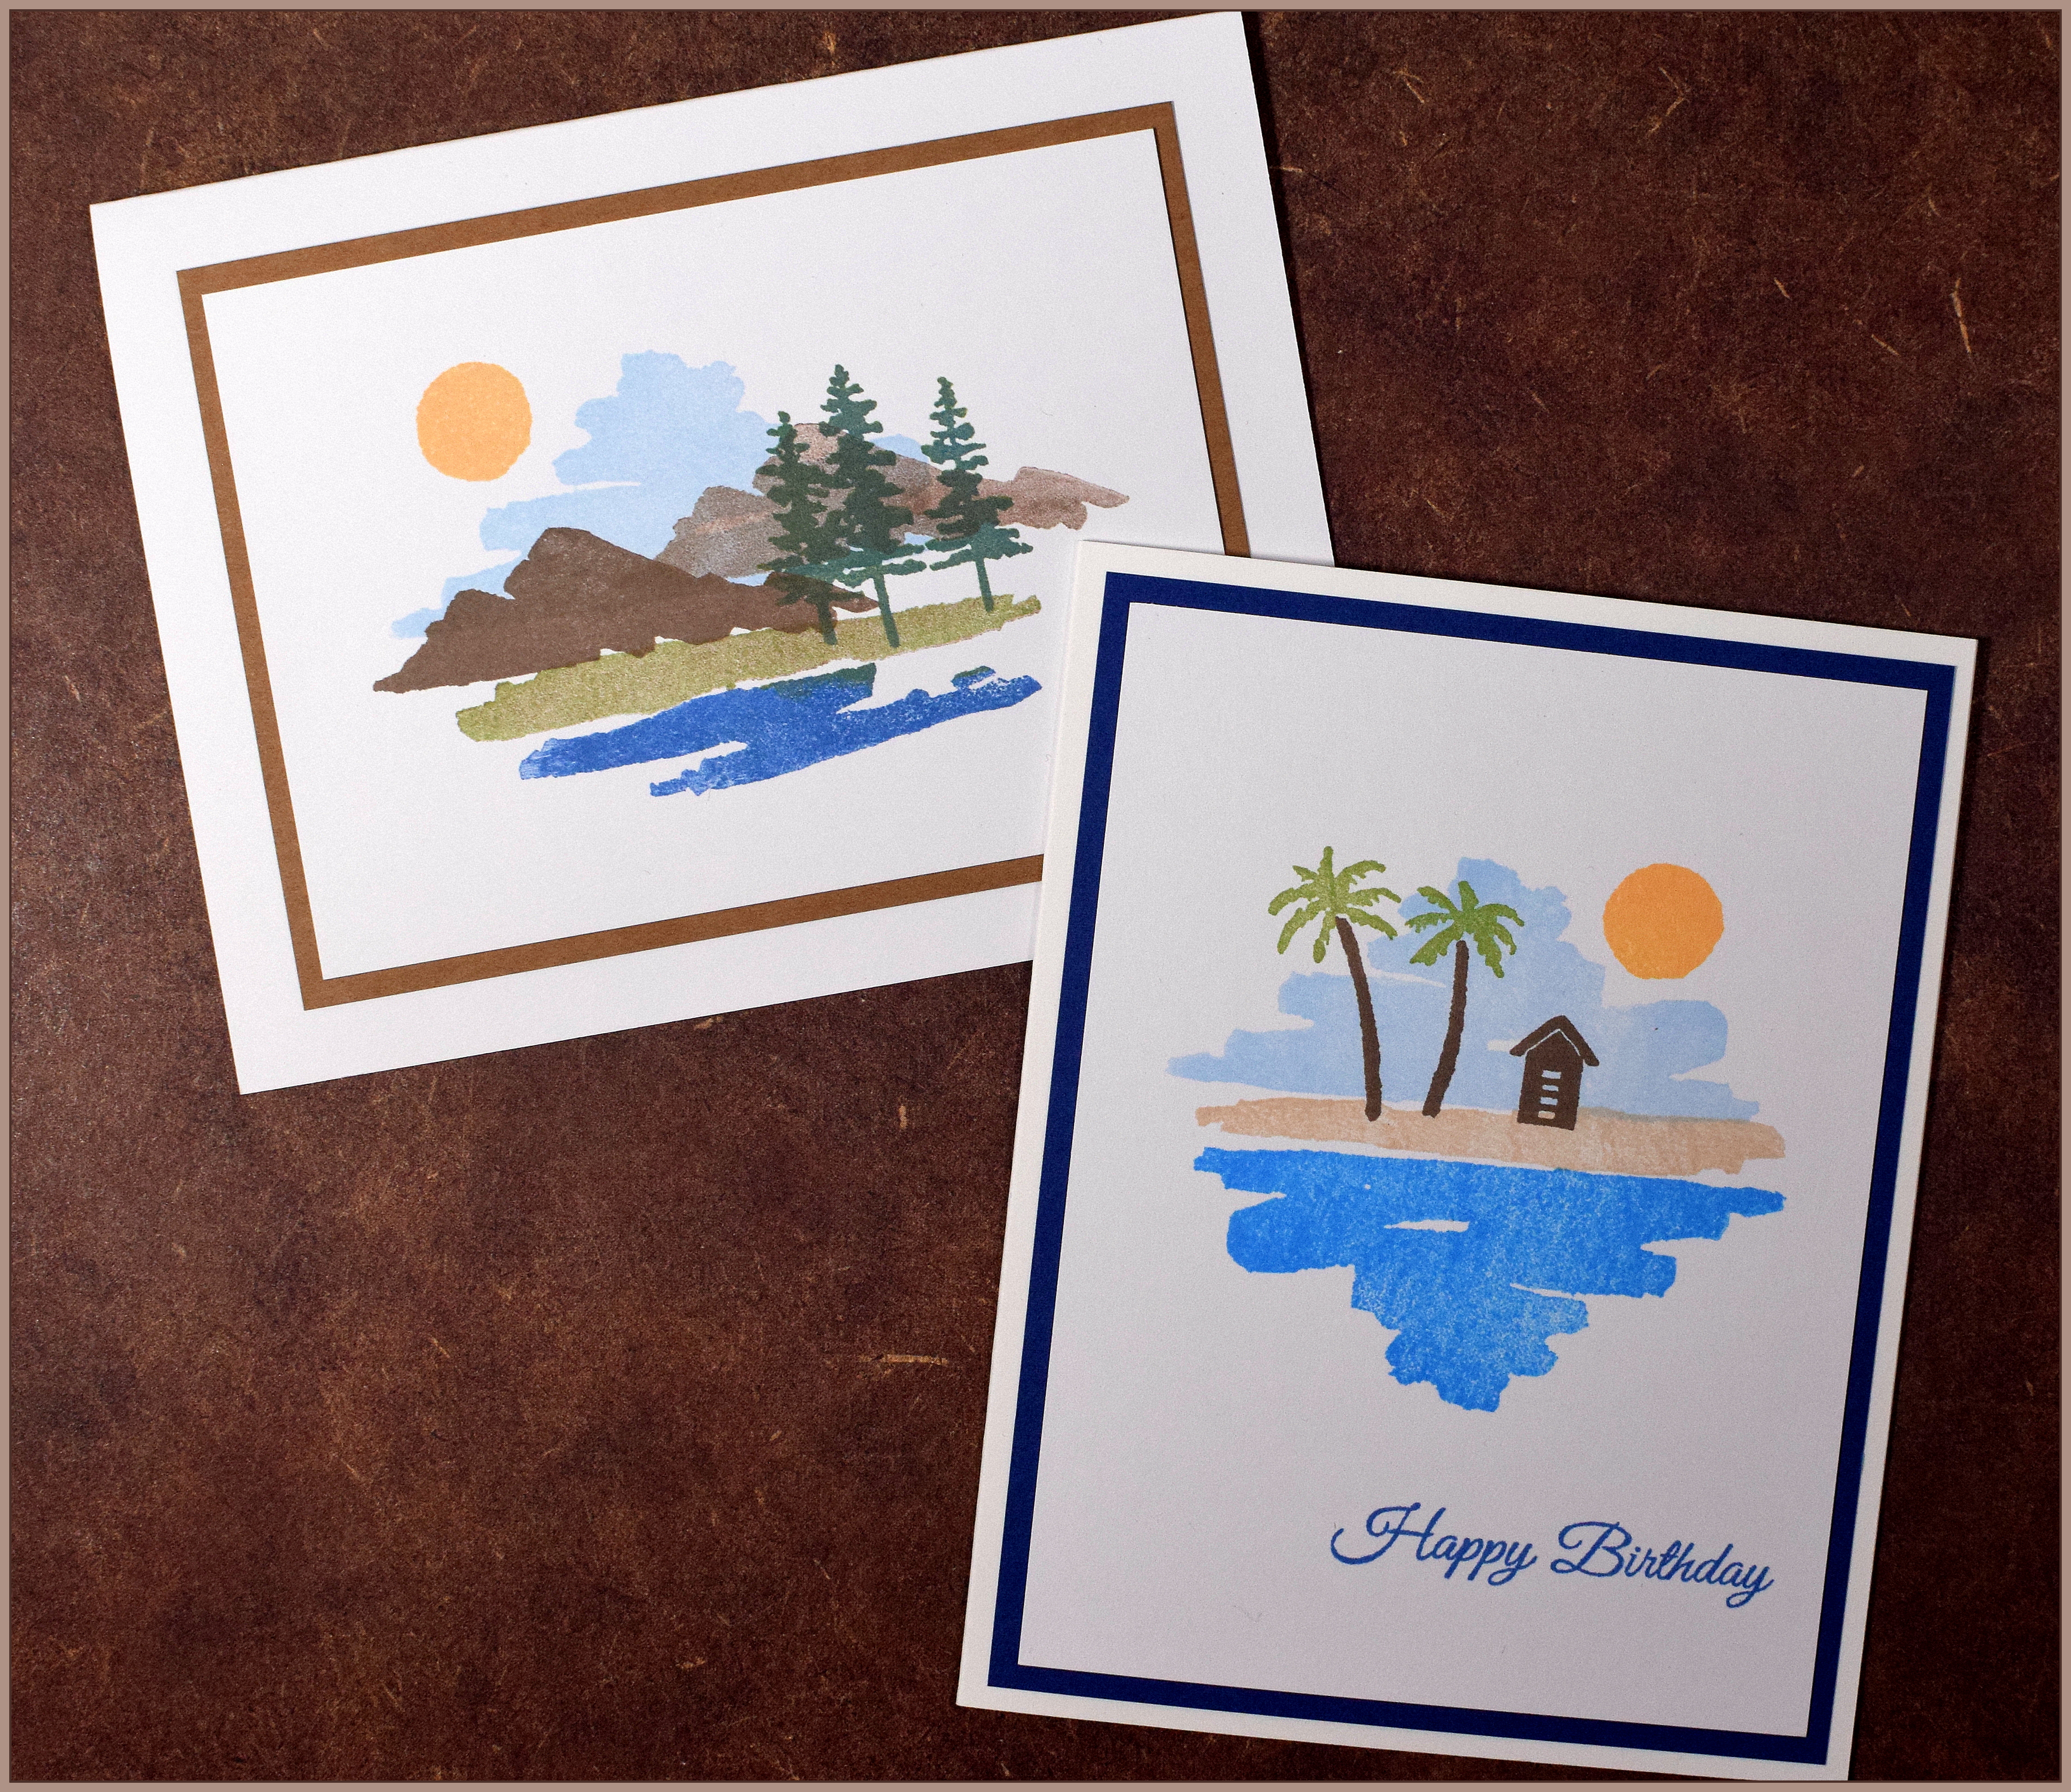
The final project I came up with was to make a boxed set of note cards using a few solid image, scene-building stamp sets.  (I was trying to avoid the need to color since time was limited.)  Unfortunately, we did not have time for this one.  Maybe next time…

wDSC_9615  xxDSC_9612

Thanks for checking out my post!

Jar of Blooms for Mother’s Day

Jar of Blooms for Mother’s Day

wDSC_9947

(My card is a CASE inspired by the card shown below.)

(This card is one I made back in the spring and am just getting around to posting now…)

As I mentioned in my “Fun Daisies” post, a friend of mine wanted to give card making a try and found a few cards online that she thought she’d like to CASE.  (This was the second sample she found.)  Since I was able to find supplies that closely matched the ones used, I copied the original design pretty closely to make my “class” sample.

Here is the original card :

P1040346_by_Mrs_Noofy

(This card was created by Mrs. Noofy and was posted on Splitcoaststampers, March 18. 2016)

Like in the original, I stamped the mason jar on vellum with and cut it out with scissors.  The jar is from the “Mason Jars” set by Inkadinkado, was stamped with Memento Tuxedo Black ink, and adhered with mini glue dots.

Score lines and faux stitching were made with my mini scoring board, a bone folder, and a dressmaker’s tracing wheel.

The flower pieces were made with a punch, and before the layers were glued together, I sprayed them with water, shaped them with my Heartfelt Creations Flower Shaping Tool Set, scrunched them up, and let them dry.  The punch I used for the larger flowers was the EK Success Hydrangea Confetti Punch.  The smaller flowers were made with the Fiskars Flower Lever Punch (small).  A sprinkle of Redland Elements was added to the centers.

I loved the leaves used on the original card but was unable to get the punch set in time for our lesson, so I used the leaves from the Spellbinders D-Lites Flowers and Stem die set instead.

The stems were from the “Tranquil Tulips” stamp set by Stampin’ Up (retired?) and were stamped with Gina K Grass Green ink before the vellum jar was added.

The greeting is from the “Happy Mother’s Day” stamp set by Studio G and Papertrey Ink Scarlet Jewel ink.

I used Gina K Innocent Pink, White, and Grass Green card stock and Papertrey Ink Scarlet Jewel for the mat.

Here is another sample (5 x 7 inch) with flowers made from the  Spellbinder D-Lites Blooms Three  set.  (I shaped the petals but did not scrunch them up on this card.)  I also stamped the larger jar image directly onto the card panel using  Papertrey Ink Soft Stone ink.  Water color paper was used for the focal panel and card base.

wDSC_9950

Thanks for checking out my card projects!

This content uses referral links as described in the disclosure policy on my sidebar.


Rolled Frame Birthday Card

Rolled Frame Birthday Card

wDSC_9920.jpg

I have been very busy (since April) planning and preparing for an 8-week card making class I just started teaching through the Haddonfield Adult School, and as a result, I have gotten VERY behind in posting projects here on my site.  Now that all the projects/lessons are complete and the class is underway, I can get back to just “playing” and posting!

The rolled frame on the card project above is a technique I previously shared HERE.  It’s a nice way to show off two-sided patterned paper and to draw attention to a die cut, focal image, object, etc.  My tutorial for creating the rolled frame can be found HERE.

This 5″ x 7″ card is a project we completed in one of the classes.  After learning to use the paper trimmer and score board for making basic cuts and folds, the students created this card where the trimmer was used to create diagonal cuts and the score board was used to create score lines that did not extend to the ends of the panel.  Die cutting was also introduced.

As you may know, I love browns and earth tones for my cards, but I know others may prefer colors (lol!), so I offered this second sample to my students as well.

wDSC_9922

And here is a final variation using silk flowers in the frame instead of a die cut.

wDSC_9925

This frame adds a lot of “thickness” to this card and requires a trip to the post office if mailing.  I used a bubble mailer to send mine.  You could also create a “box envelope” with the We R Memory Keepers 123 Punch Board if desired.

Thanks for checking out my card project!

This content uses referral links as described in the disclosure policy on my sidebar.

Wetlands Father’s Day Card

Wetlands Father’s Day Card

wDSC_6929.jpg

(Inside: Thinking of you especially today and wishing you a Happy Father’s Day)

This card was made with images from the Stampin’ Up “Wetlands” (retired) and “Timeless Textures” stamp sets and sentiments (inside and out) from the “Father’s Day Innies & Outies” set from My Sentiments Exactly.

Ink used was Stampin’ Up Soft Suede and Sahara Sand along with Tim Holtz Stormy Sky distress ink.

I used Papertrey Ink white card stock for the card base.  The printed papers were Textured Leather, Textured Slate Blue, and White Linen all by The Paper Studio.

A Spellbinders Standard Circles die was used to create the round window.  The blue and white panel and the greeting were popped up with foam tape to add dimension.

The card below was my first attempt.  I liked it, but I wanted to jazz it up a bit, so I continued playing and came up with the card above.

wDSC_6930

Thanks for checking out my card projects!

This content uses referral links as described in the disclosure policy on my sidebar.

Roses for Mother’s Day

Roses for Mother’s Day

zzzDSC_8414.jpg

This box card, designed to look like a dozen roses in a tall vase, was made with a cut file designed by Snapdragon Snippets called “Rose Bouquet Tall Valentine Box Card” (Design ID# 73758) that I purchased in the Silhouette Store and cut with my Silhouette electronic die cutting machine.  An assembly tutorial is provided HERE.  The file contains Valentine’s Day elements for the front of the vase, but I decided to create this project as a Mother’s Day card instead.  I had to laugh – after receiving this card, my mother called to thank me and to tell me she loved the flowers (not card) I sent!  🙂

I created a few additional elements that were not included with the file I purchased (a solid piece to go behind all the leaf panels because the veins were open and you could see through the “holes” in each of the leaves and the white and light gray mats on the vase).

The bow was created with my We R Memory Keepers 123 Punch Board and my paper crimper.  (It was much easier to “roll” the card stock after it had been crimped; it kept bending and creasing on me when it was flat.)

The card stock and paper used was Gina K Cherry Red, Christmas Pine, white, gray from the Recollections “Coffee and Cream” heavy weight pack, green from the Recollections Christmas pack, American Crafts #368312 (polka dots), and The Paper Studio Silver Wedding Texture (#352070).

There is room on the back for a stamped or handwritten message.

Often, box cards fold flat and fit in regular envelopes making them easy to mail.  However, this card is quite tall (about 11.25 inches) and is about 7 inches wide when folded flat.  And it was suggested in the tutorial that foam tape or pop dots be used to separate the leaf layers from the bud layers to add a bit more dimension.  As a result, the size and thickness of this card necessitated a larger envelope (I used a padded mailer) and a trip to the post office for mailing.

Thanks for checking out my card project!

This content uses referral links as described in the disclosure policy on my sidebar.