Foiled Valentine’s Day Z-Fold Card (and a few variations)

Foiled Valentine’s Day Z-Fold Card (and a few variations)

wDSC_0773.jpg

Z-fold cards display beautifully and are easy to make.  To create an A2 size z-fold card base, simply score an 8 1/2″ x 5 1/2″ panel at 4 1/4″ and 2 1/8″ and fold like a Z.  Z-fold cards fold flat for mailing, and this one (with these dimensions) fits in an A2 size envvelope.

wDSC_0779

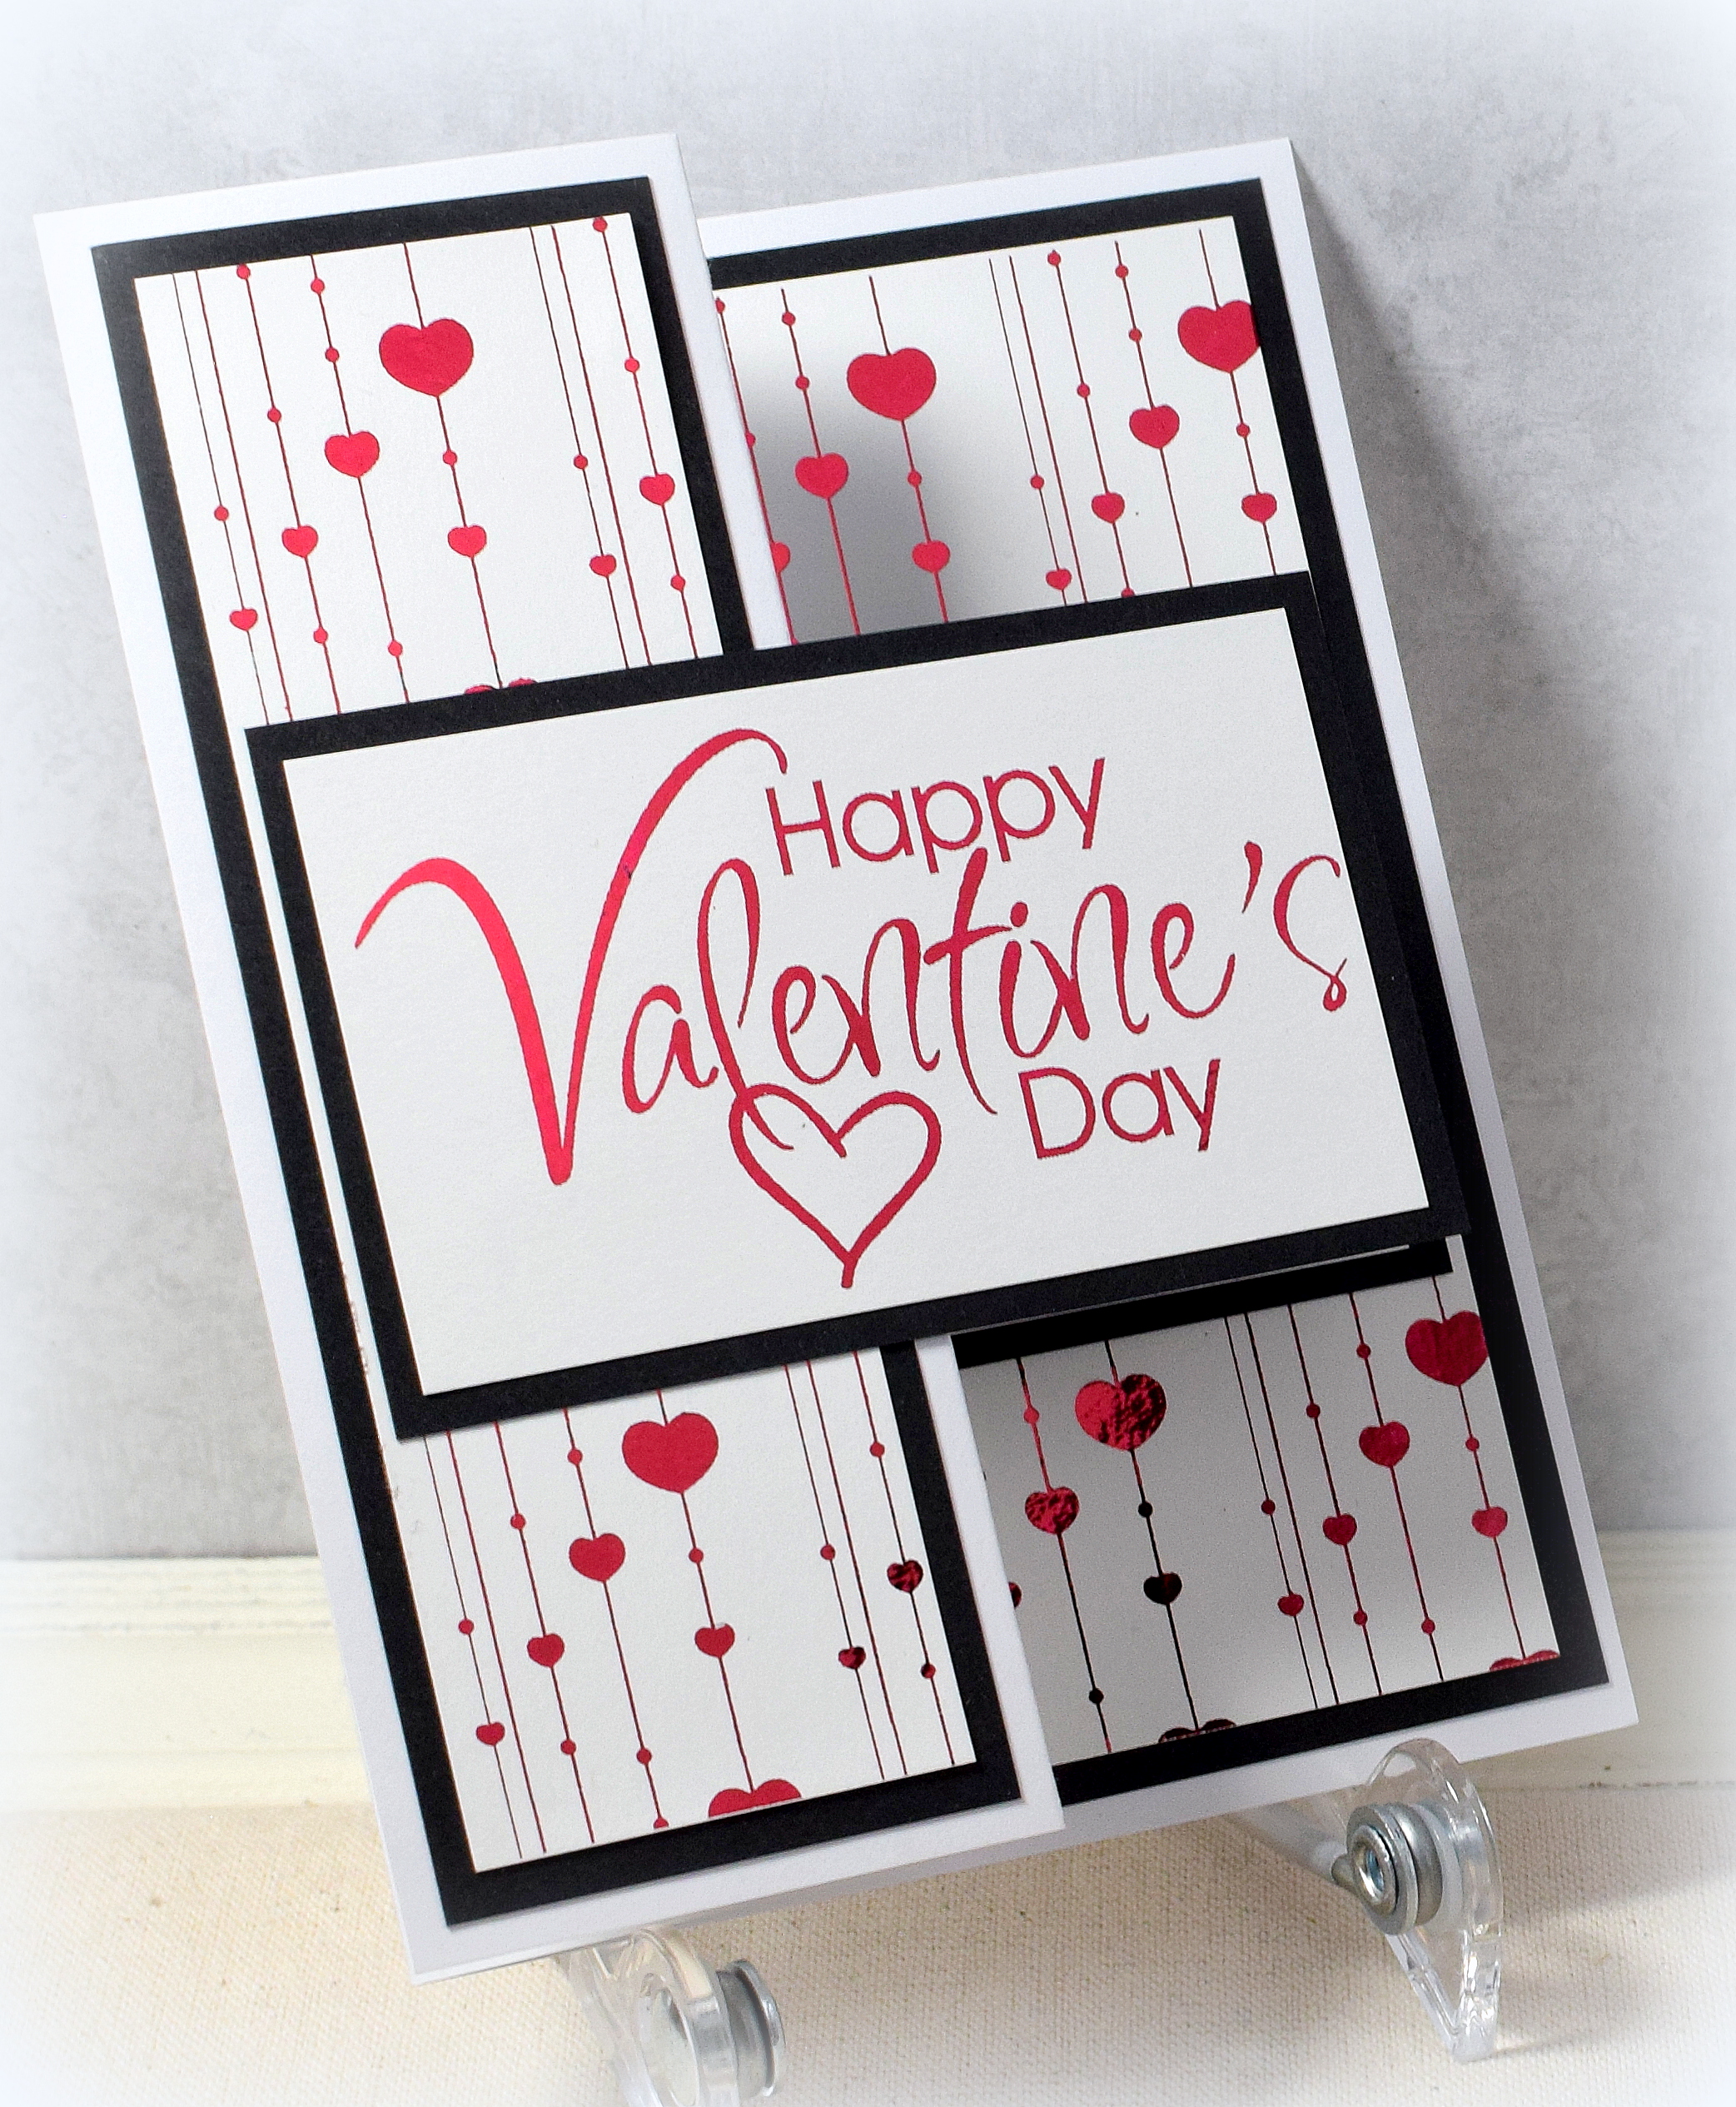
The Valentine’s Day greeting I used is a digital clip art image I found at clipground.com, and the background pattern (part of a Valentine’s Digital Paper Pack) is from an Etsy shop called  Printkits Designs.  After printing both with my laser printer on white card stock, the panels were foiled with Gina K Designs Red Velvet fancy foil and my  Mini Minc foil applicator.

One of the great things about using digital images is that they can be sized to fit any project.

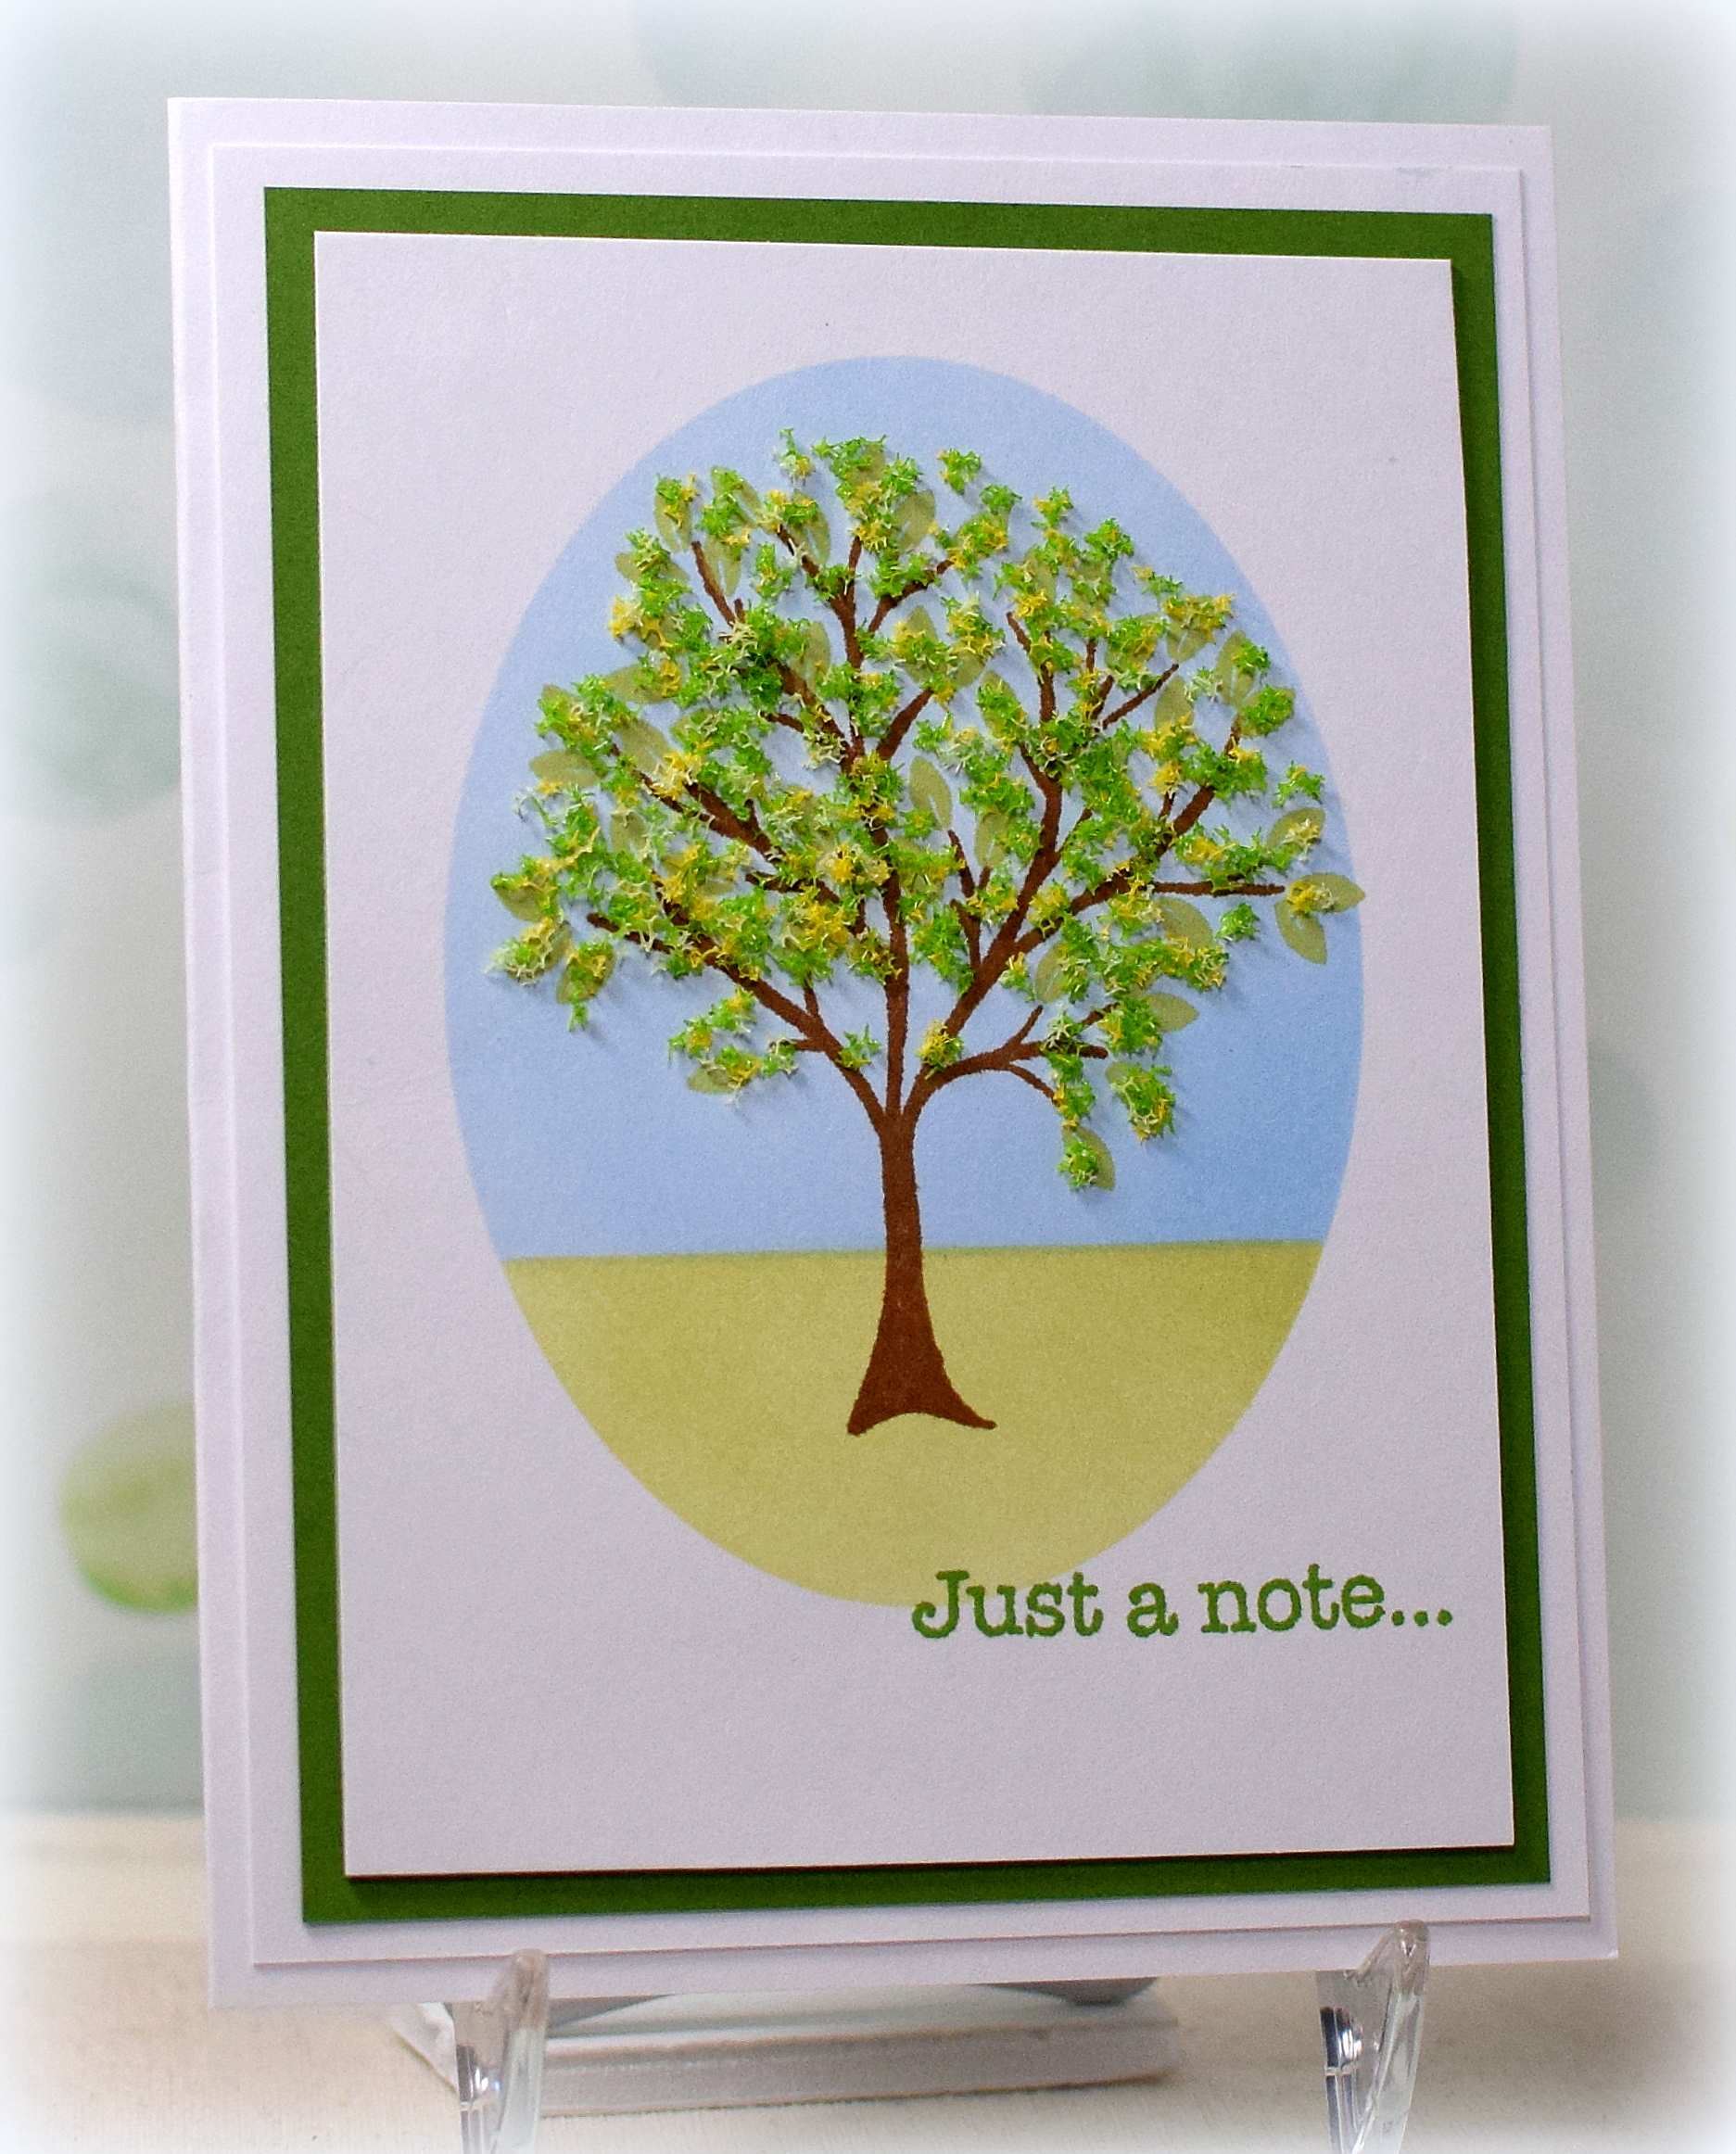
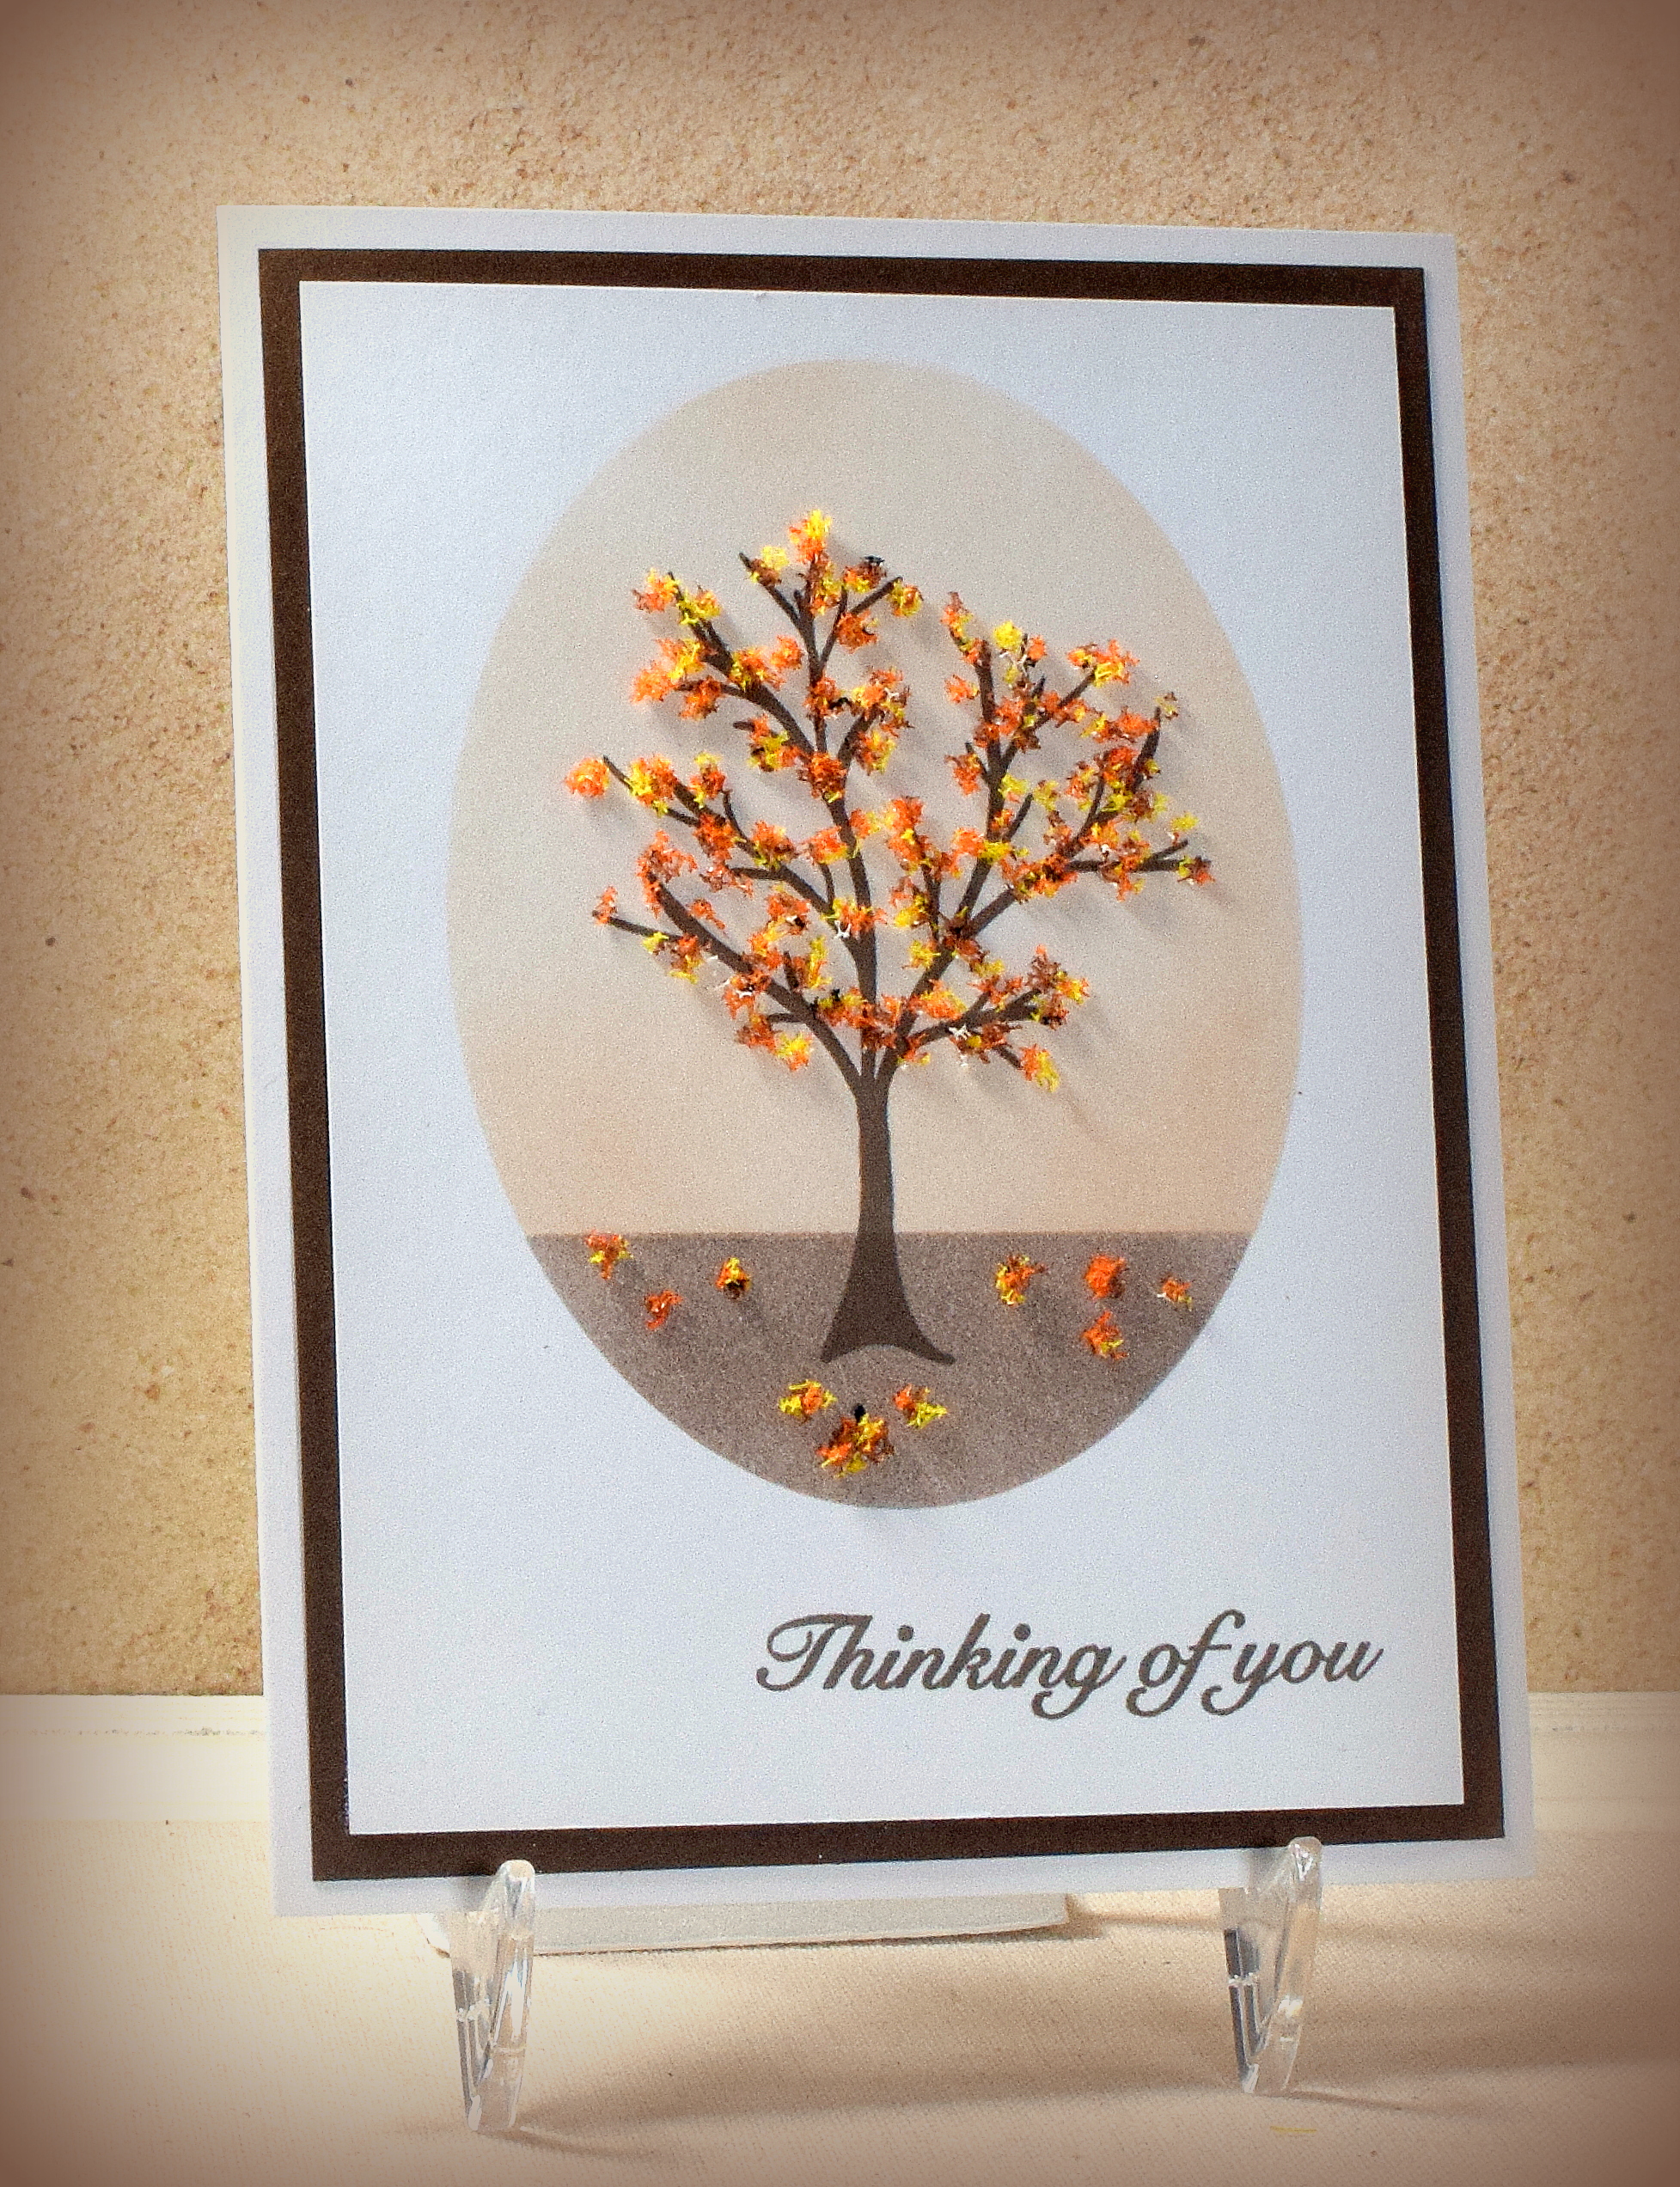
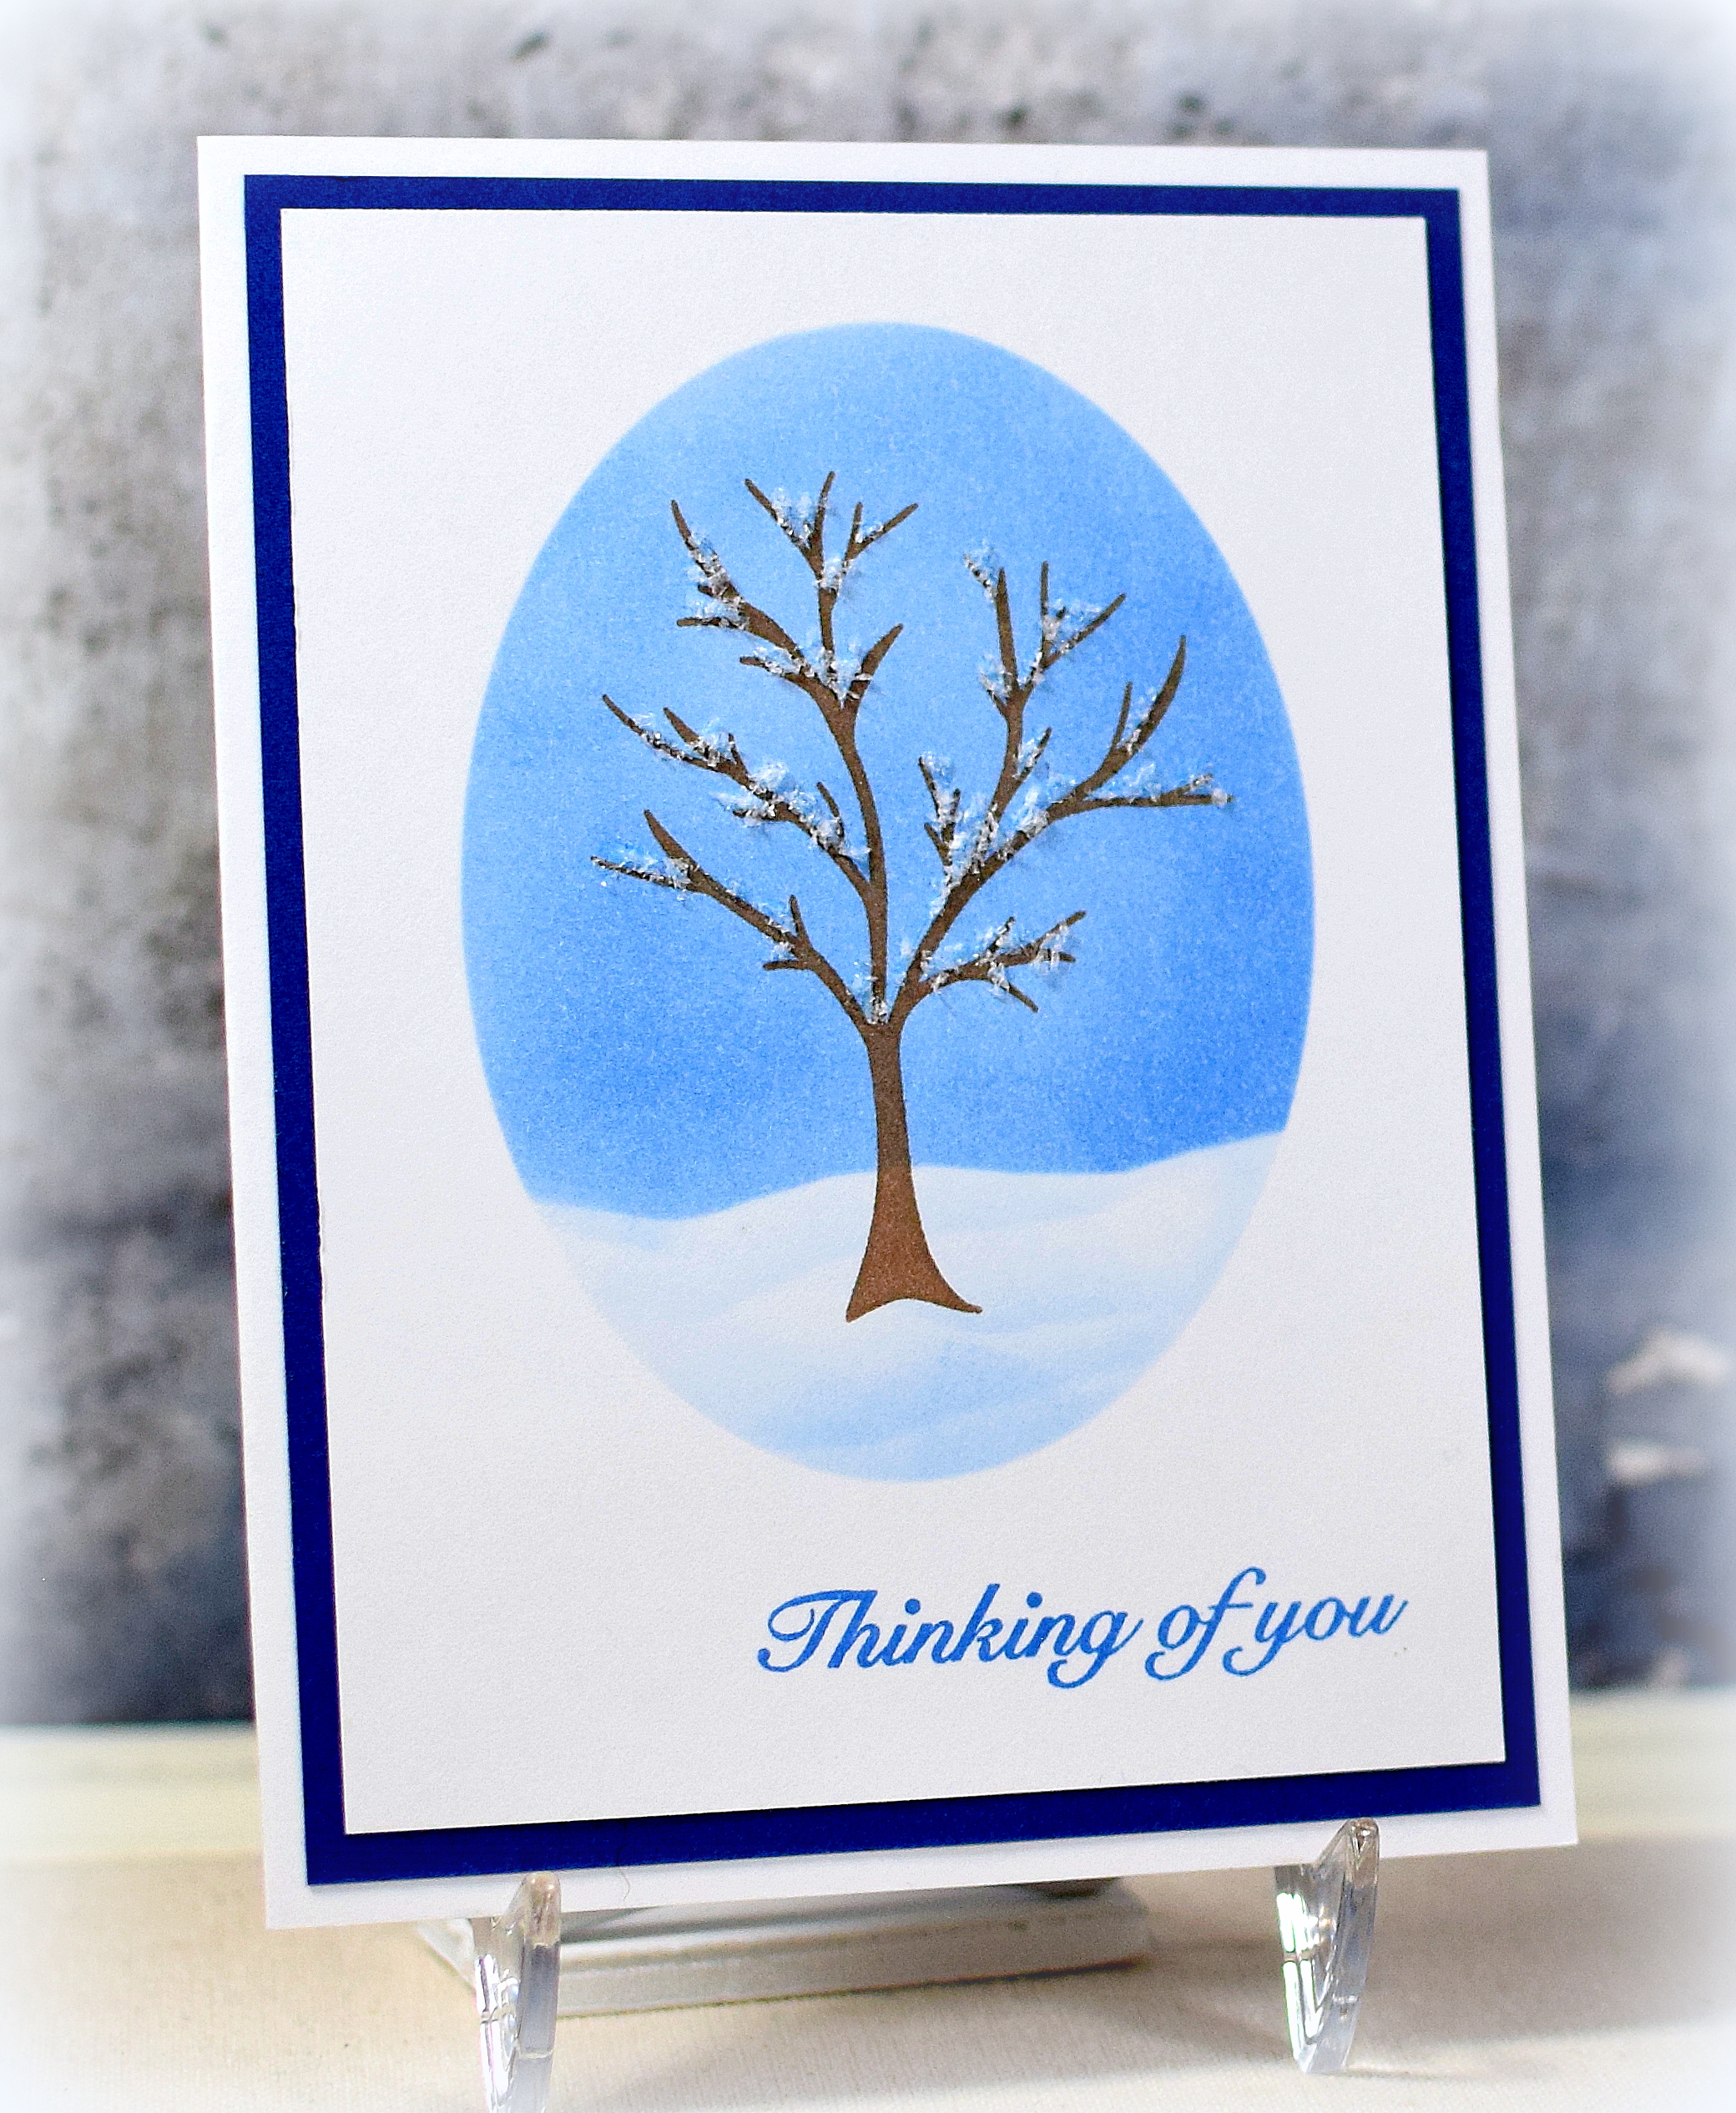
Here are a few simple variations:

WDSC_0763

and

wDSC_0805

The Mod Squad Challenge this week is called “Foiled Fun” where we are encouraged to use foiling on our cards.  (Sadly, this site is no longer active.)

Thanks for checking out my card projects!

This content uses referral links as described in the disclosure policy on my sidebar.

Spring Tree Note Card (and a few variations)

Spring Tree Note Card (and a few variations)

wDSC_0811

In my last post, I shared a project I created to demonstrate die cutting, masking, and sponging for the Card Making Class I am teaching.  I also created some spring themed cards as options.

Here is one with slightly different colors:

wDSC_0807

For both these samples, I used “Meadow” Flower Soft to add a bit of texture and dimension.

We had done this same card design in the fall using “Autumn” Flower Soft and fall colors:

wDSC_9958

I also tried a sample using “Polar White” Flower Soft as snow, although I think I’d like it better if the “snow” were whiter/brighter.

xDSC_0822

Thanks for checking out my card projects!

Winter Napkin Card

Winter Napkin Card

xDSC_0835.jpg

Here is another card I made using my Mini Minc Foil Applicator to adhere a decorative paper napkin to card stock to use as a background panel.  The napkin creates a textured panel that looks and feels like cloth, and there are so many different napkins (prints) from which to choose!  (HERE are a few samples I made earlier with a Santa napkin.)

To adhere the napkin to a piece of card stock, you first separate and discard the one (or two) plain layers from the top printed layer of the napkin.  Then, you sandwich a piece of cling wrap between a piece of card stock and the top layer of the napkin (all trimmed to the same size), and run it through your Minc (on the highest setting).  The panel can then be trimmed to fit your card project.  (HERE is a video showing you how this technique is done.)

I added a die cut greeting and some yarn, gold cord and a metallic snowflake charm to the panel to finish it off.

Thanks for checking out my card project!

This content uses referral links as described in the disclosure policy on my sidebar.

Snowflake Frame Thank You Note

Snowflake Frame Thank You Note

wDSC_0563.jpg

This clean and simple thank you note features the Hero Arts “Snowflakes and Ornament” fancy die (#DI528), a thank you die from Gina Marie Designs (retired?), and Recollections printable glitter card stock.

You can see the sparkle better in the photo below:

wwDSC_0573

This die set also comes with an ornament die that can be used alone or “around” the snowflake frame.  You can see a pretty sample of the ornament die cut combined with the snowflake frame HERE (halfway through Darnell’s post).

die pic

Thanks for checking out my card project!

This content uses referral links as described in the disclosure policy on my sidebar.