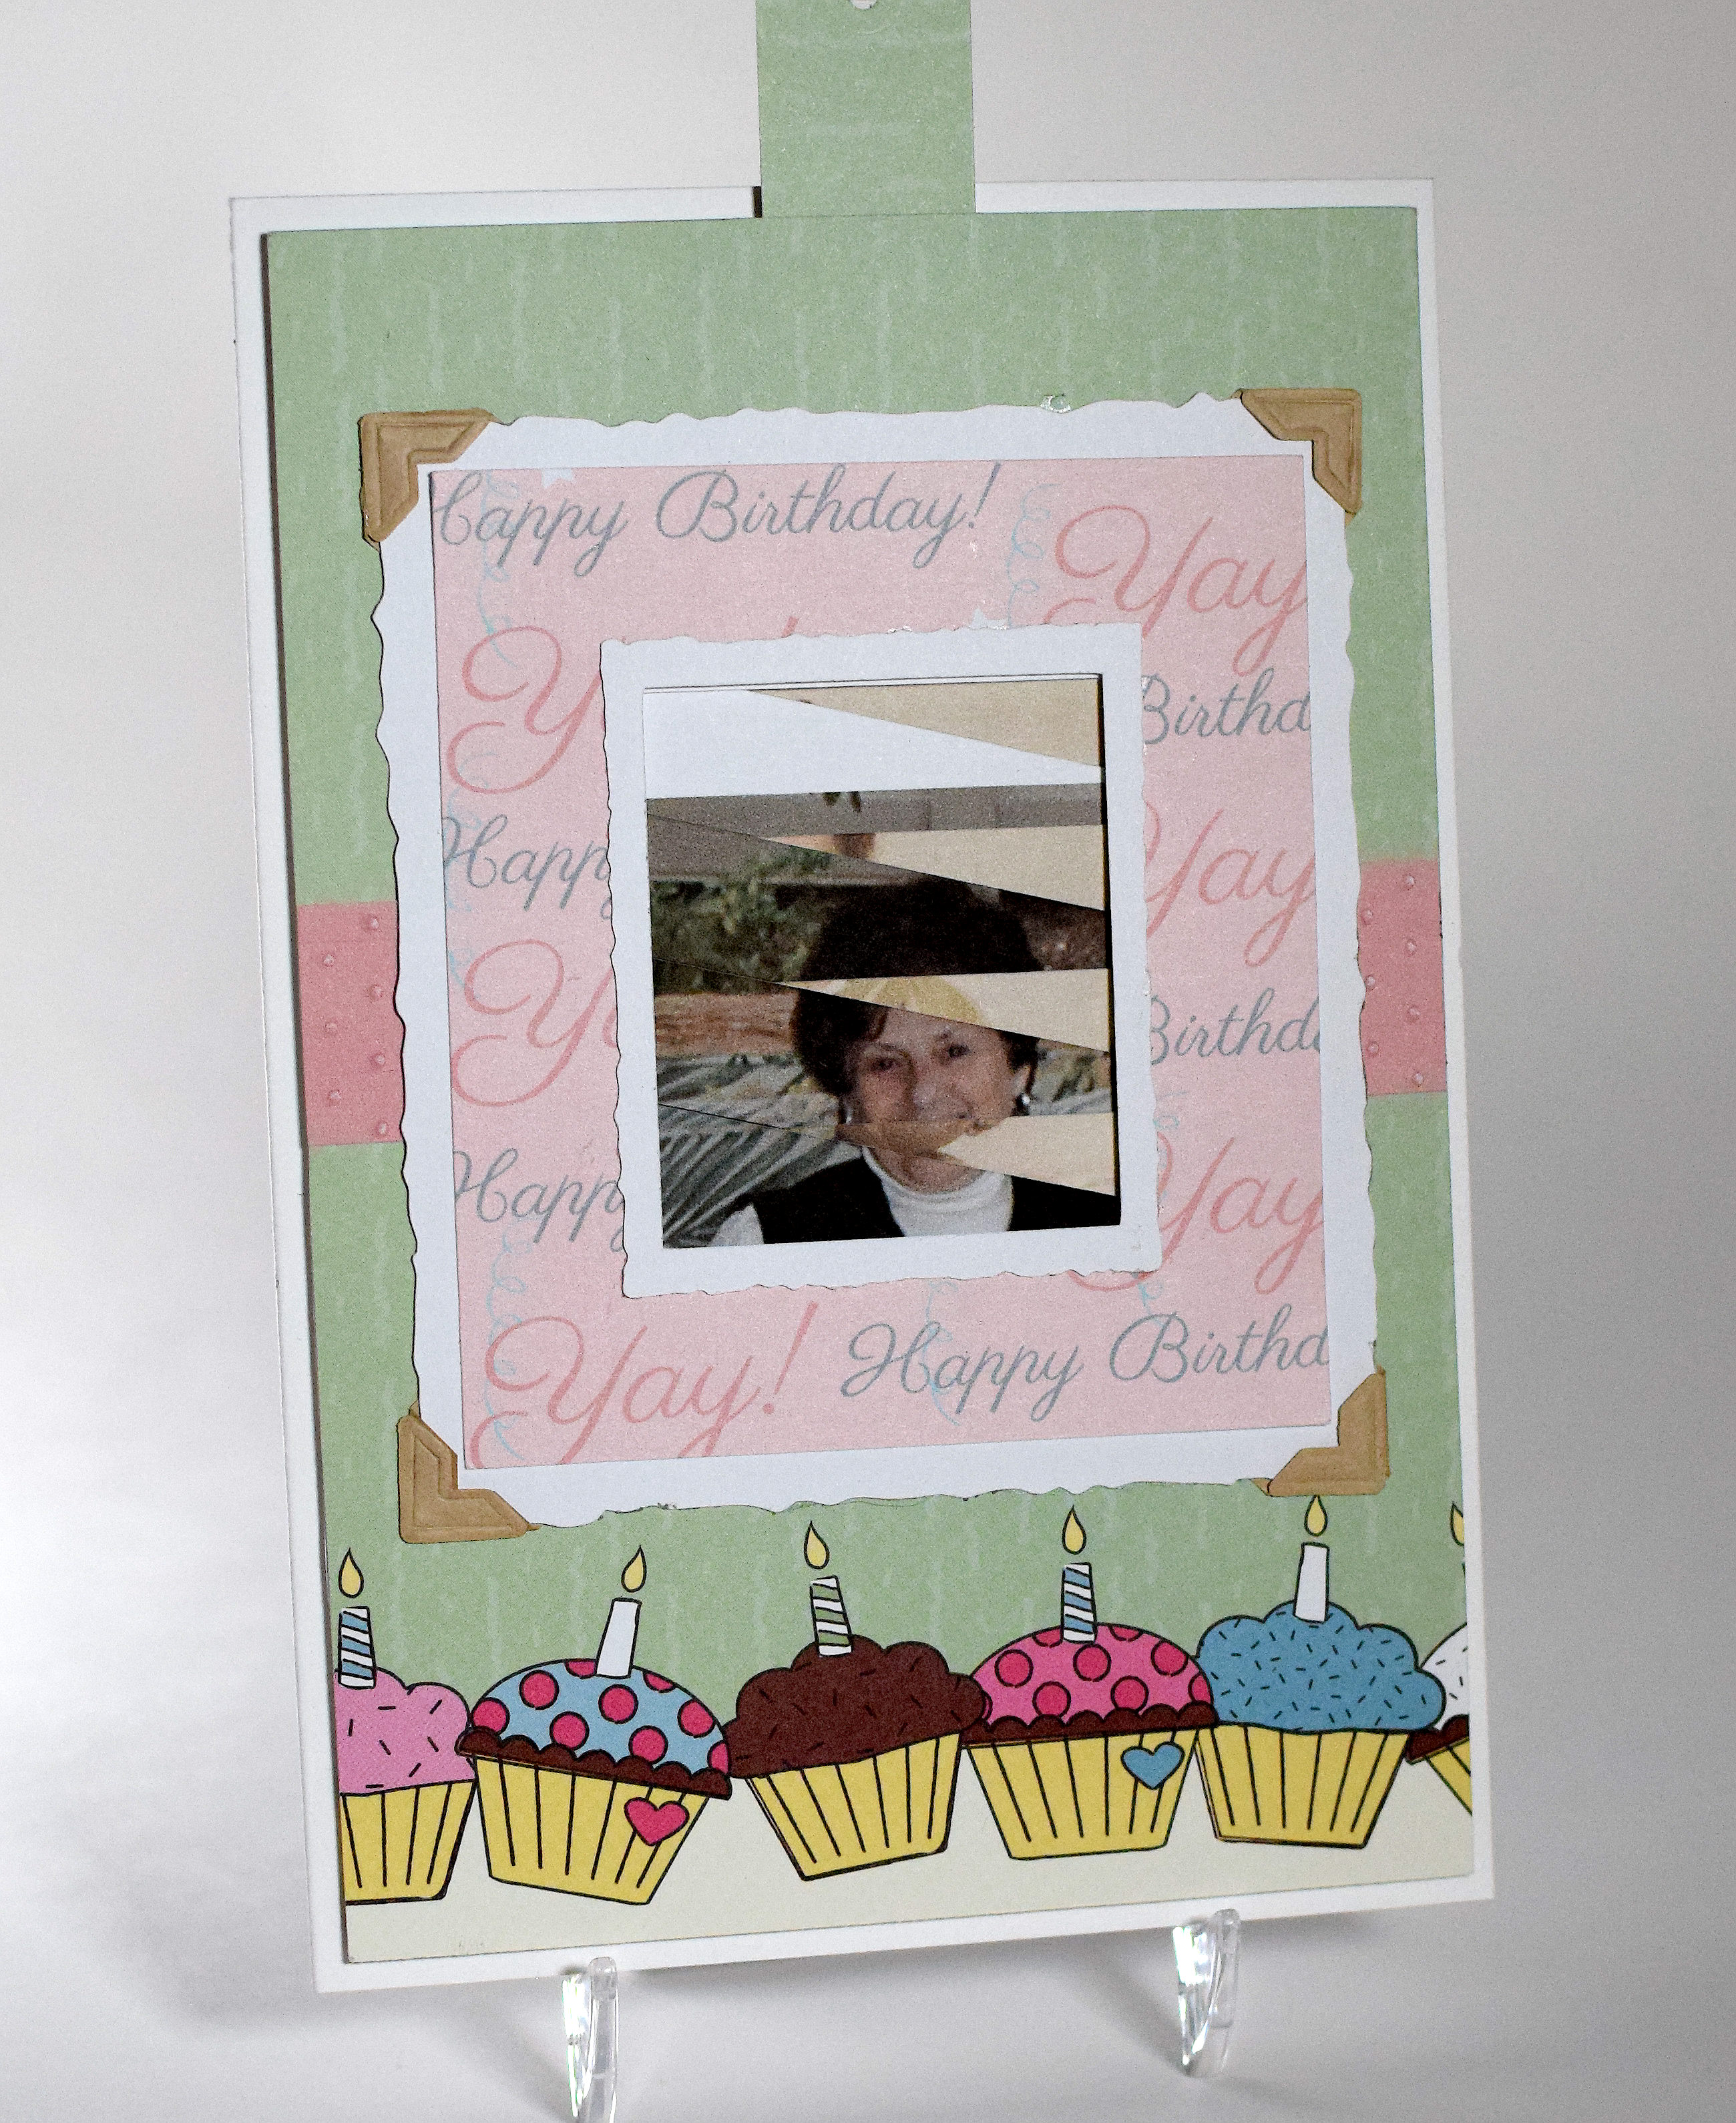
Tropical Birthday Shaker Card

(Inside Text: May your birthday be filled with sunshine, smiles, laughter, love and cheer!)
Wow, it’s been a while! Great to finally have some time to get back in my craft room…
Our family has several men who celebrate summer birthdays, so I thought I’d design a card with a tropical theme. I ordered the stamps for this card just before I went on vacation with my family to Ocean City, NJ. While sitting on the beach, I thought about what I would do with these images when I got home and came up with the shaker card idea. I brought the shells and sand from the beach home with me!

The image stamps are called “Tropical Island (L-24219)” and “Birthday Flamingo (J-29905)” and are from RubberHedgehog Rubber Stamps. The birthday stamp is from the “Happy Birthday To You” set, and the sentiment on the inside is from the “Happy Birthday Duo” set, both from Gina K Designs.
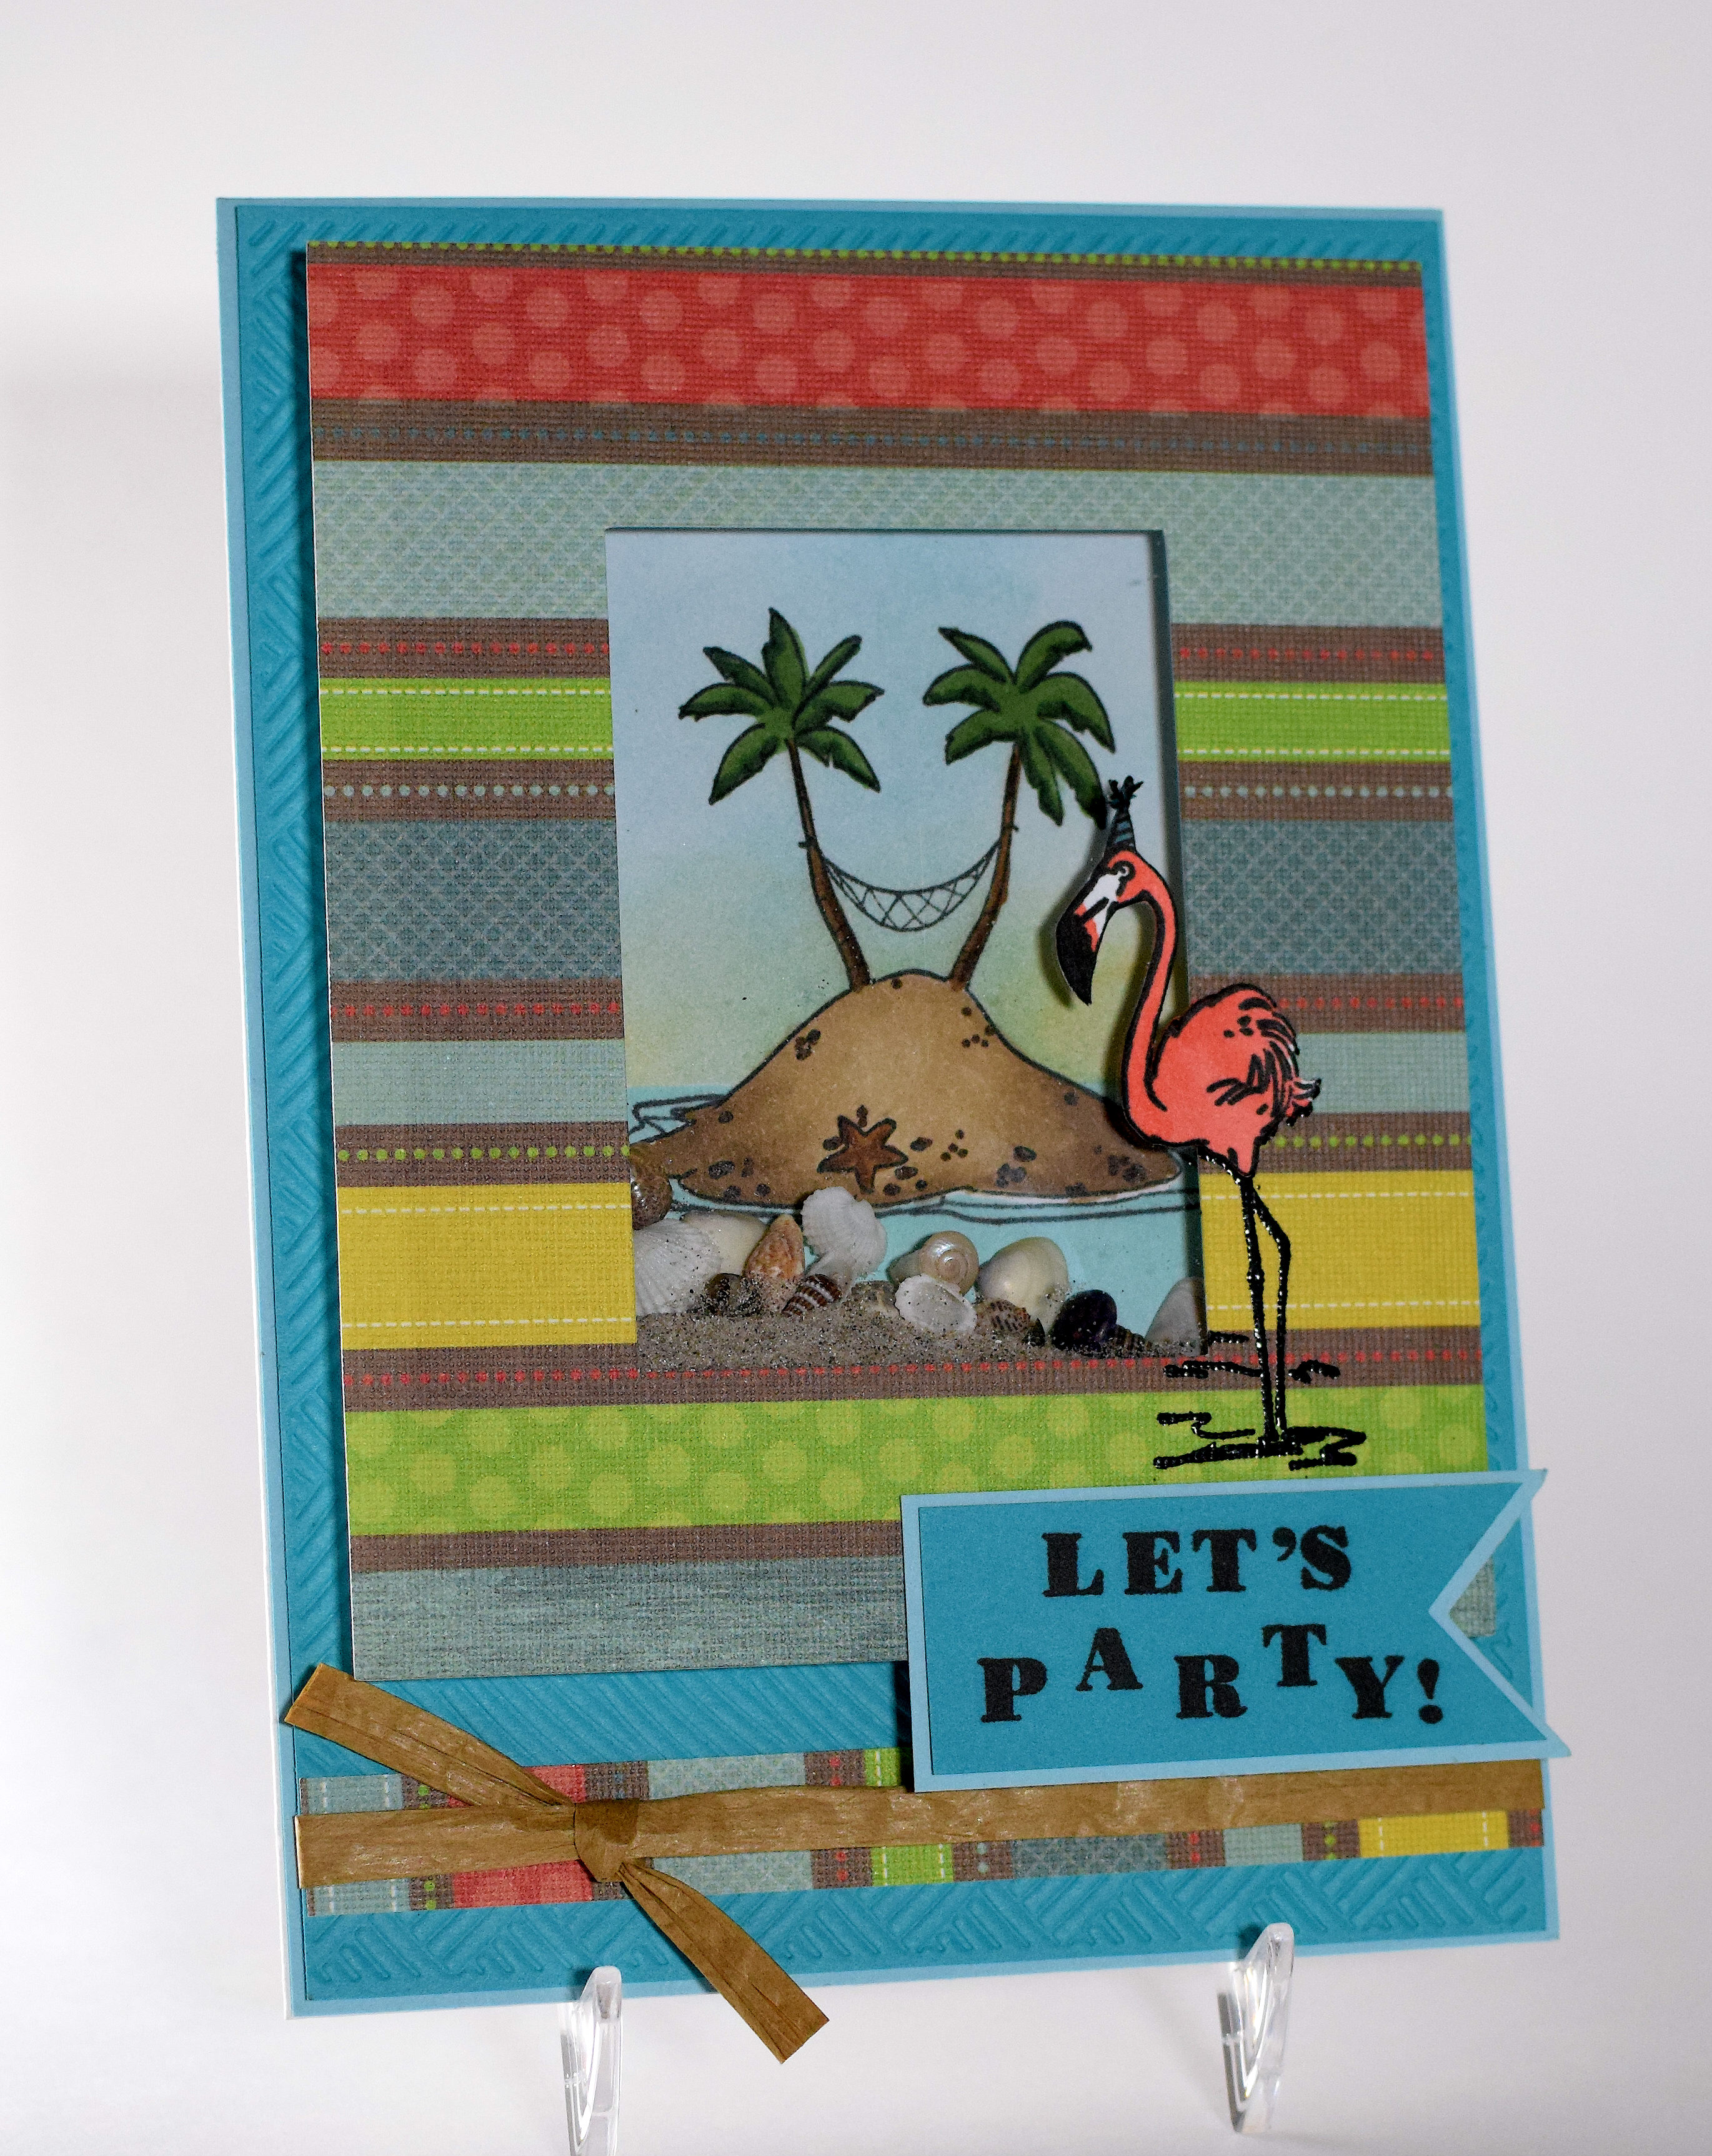
I made another version of this card with the “Let’s Party (G-9610)” stamp from RubberHedgehog Rubber Stamps. I love this stamp for a party invitation as well as a birthday card.

The tropical island image was stamped with Memento Tuxedo Black ink on white card stock and was colored with Copic Markers (G24, G28, E55, E57, E59, E42, E43, and E44). I masked the colored image and inked the background with Gina K Powder Blue, Sweet Mango, and Ocean Mist ink.
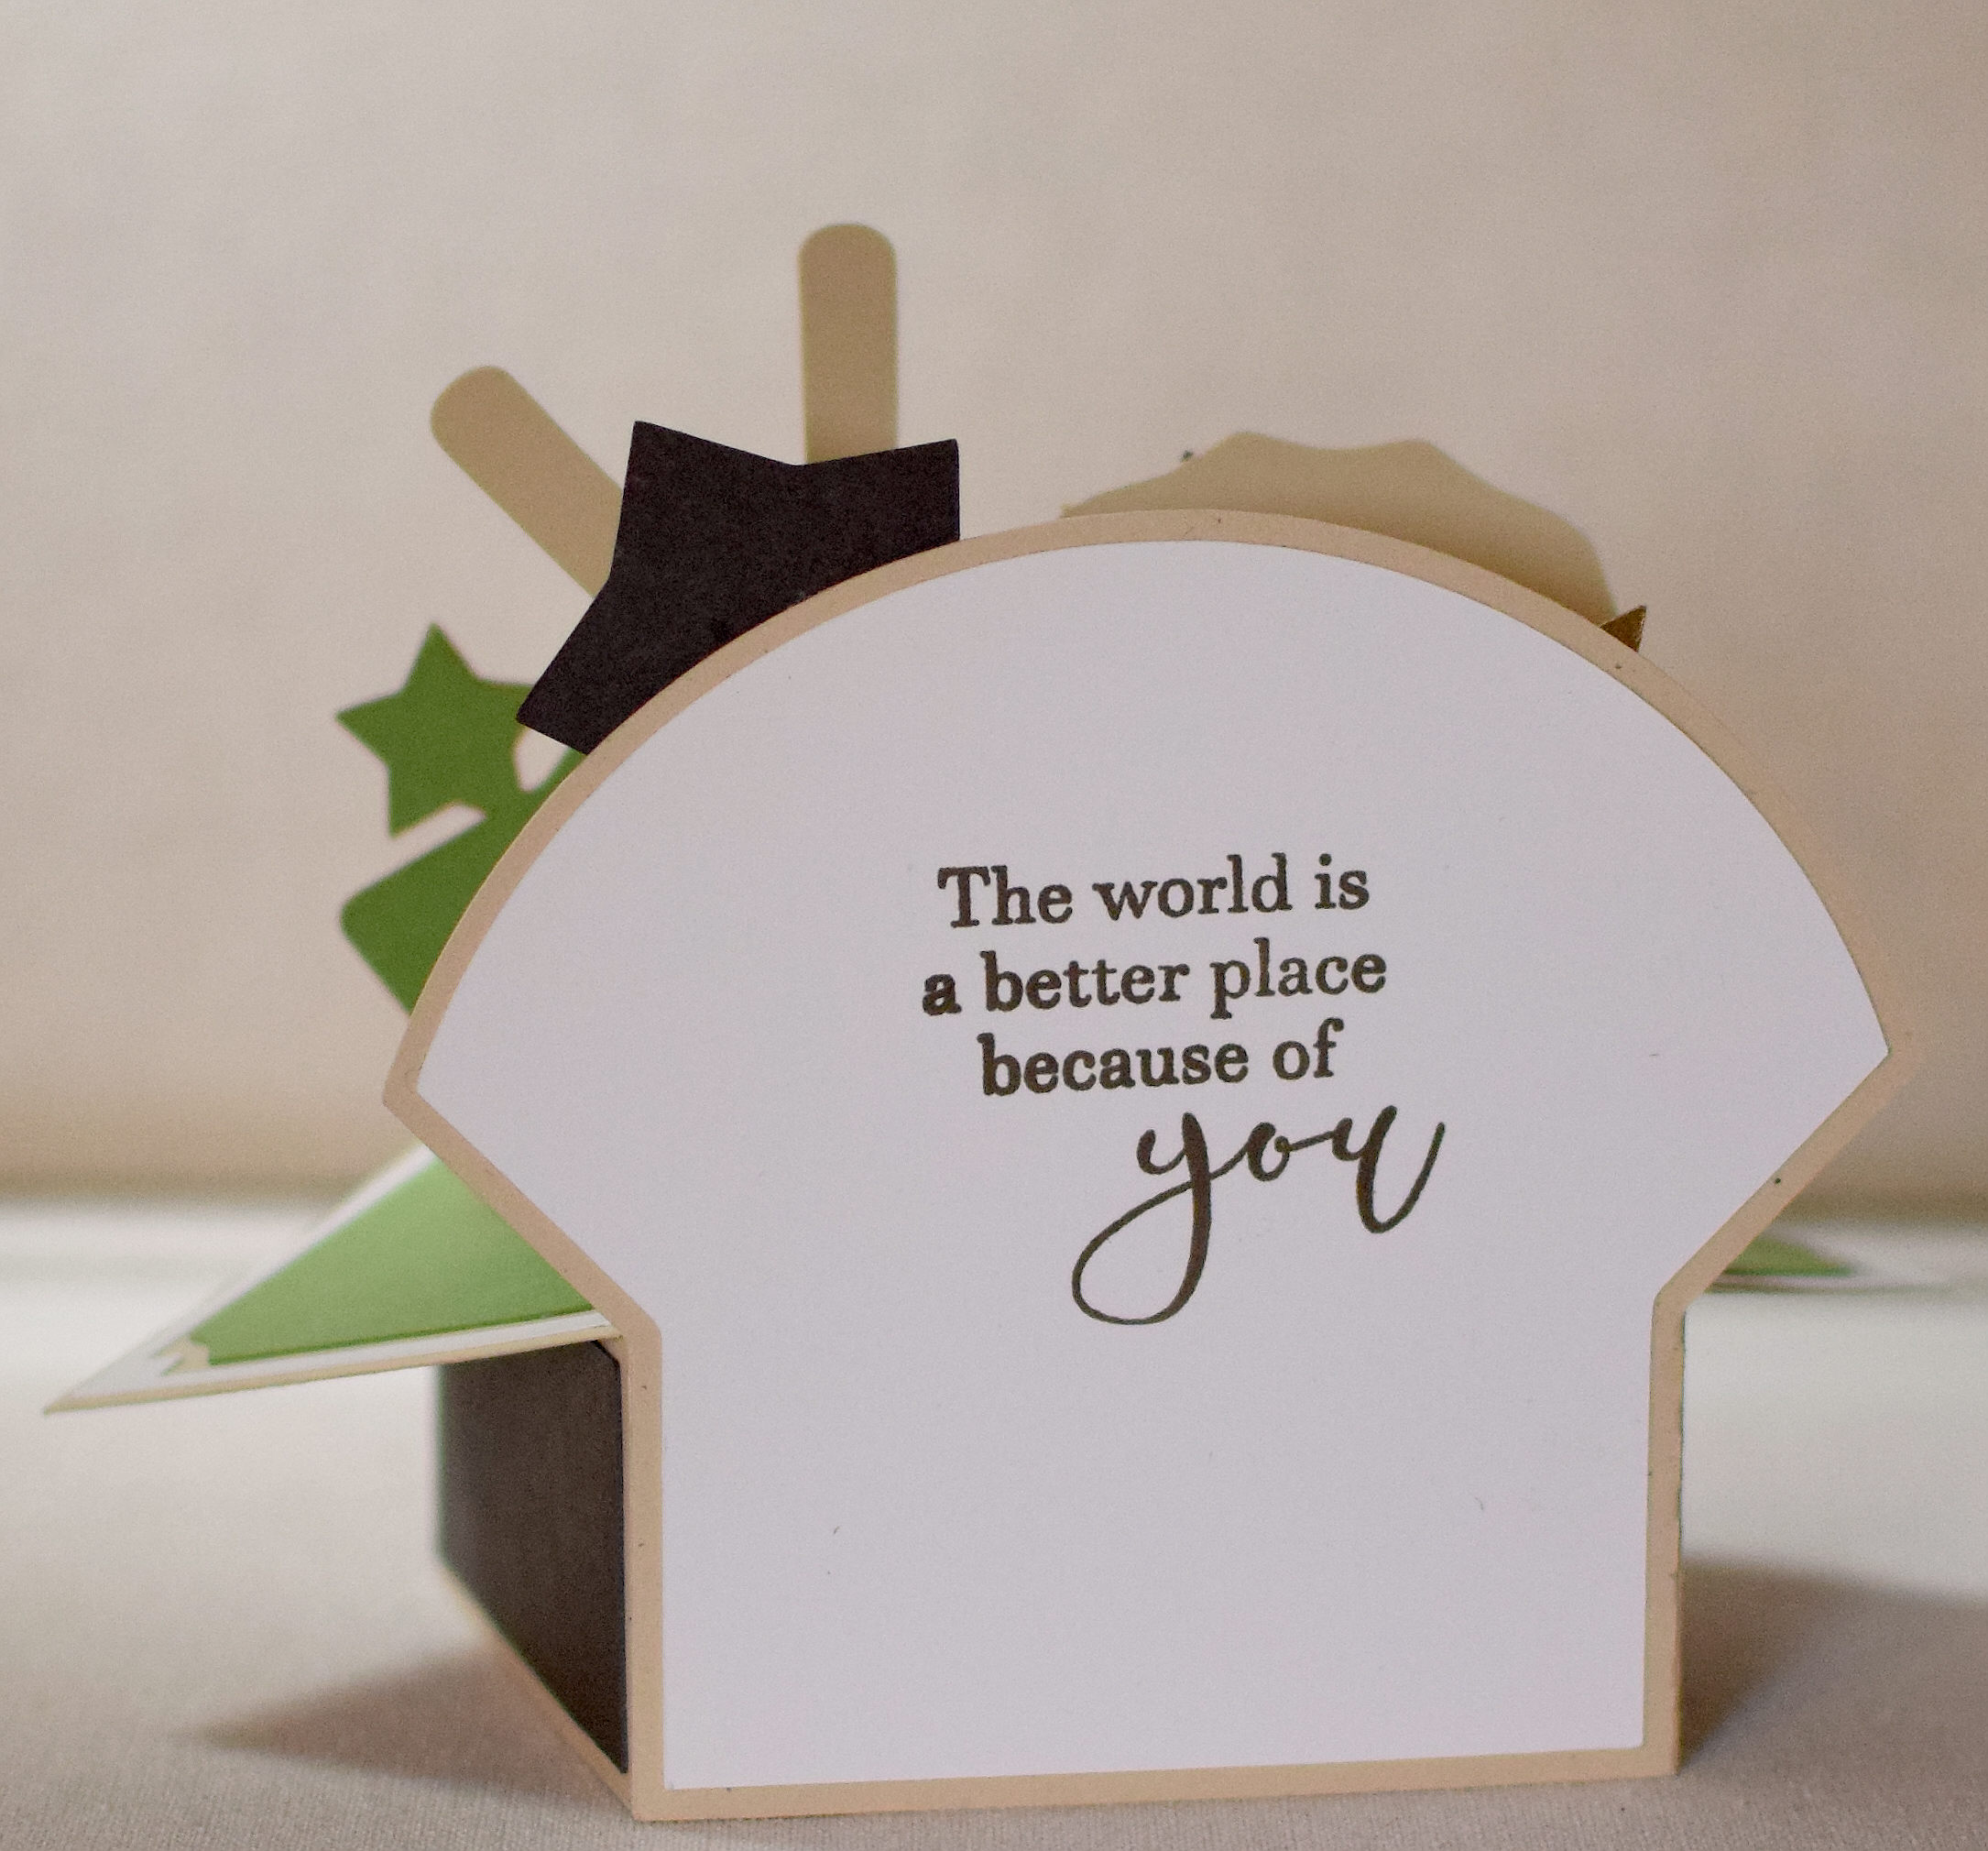
The flamingo was stamped on the frame with Versamark ink and embossed with Ranger black embossing powder. (A portion of the image was lost when it was stamped over the cut-out portion of the frame.) I then created a cut file and die cut with my Silhouette Electronic Die Cutting Machine for the body of the flamingo so it could hang over the shaker window. I stamped the body onto this die cut with Memento Tuxedo Black ink (click HERE to see how) and colored it with Copic Markers (R14, R29, and BG18). Then, to make it bolder to match the embossed legs better, I stamped over the colored image with Versafine Black Onyx ink. I was able to stamp over the image because I used my MISTI for all my stamping so it was easy to line up the image to stamp it a second time. The colored die cut was lined up over the embossed image on the frame.
The greeting was also stamped with the Versafine Black Onyx ink.
The solid card stock is Gina K Blue Lagoon and Ocean Mist, and the patterned paper is DCWV Green Woodland Stripe. The background panel was embossed with a Darice “Basketweave” embossing folder to add some texture.
I cut the printed frame with my Silhouette, and I used a sizzix die (38-0163 Frame Rectangle) to cut fun foam (3 layers glued together) that I used to raise the frame up to create the pocket for the shaker window. This window needed to be pretty deep to accommodate the thickness of the shells. (Here’s a video showing you how to create a shaker pocket with fun foam.) I also used a small piece of thick acetate for the shaker window, and raffia ribbon to finish it off.
The Mod Squad Challenge this week is “Lazy Days of Summer” where we are encouraged to create a project that makes one think of the lazy days of summer. Lying on a hammock on the beach…ahhhhh! (Sadly, this site is no longer active.)
The “Let’s Party” card will be entered in the RubberHedgehog 2016 card contest.
Thanks for checking out my card post!
This content uses referral links as described in the disclosure policy on my sidebar.