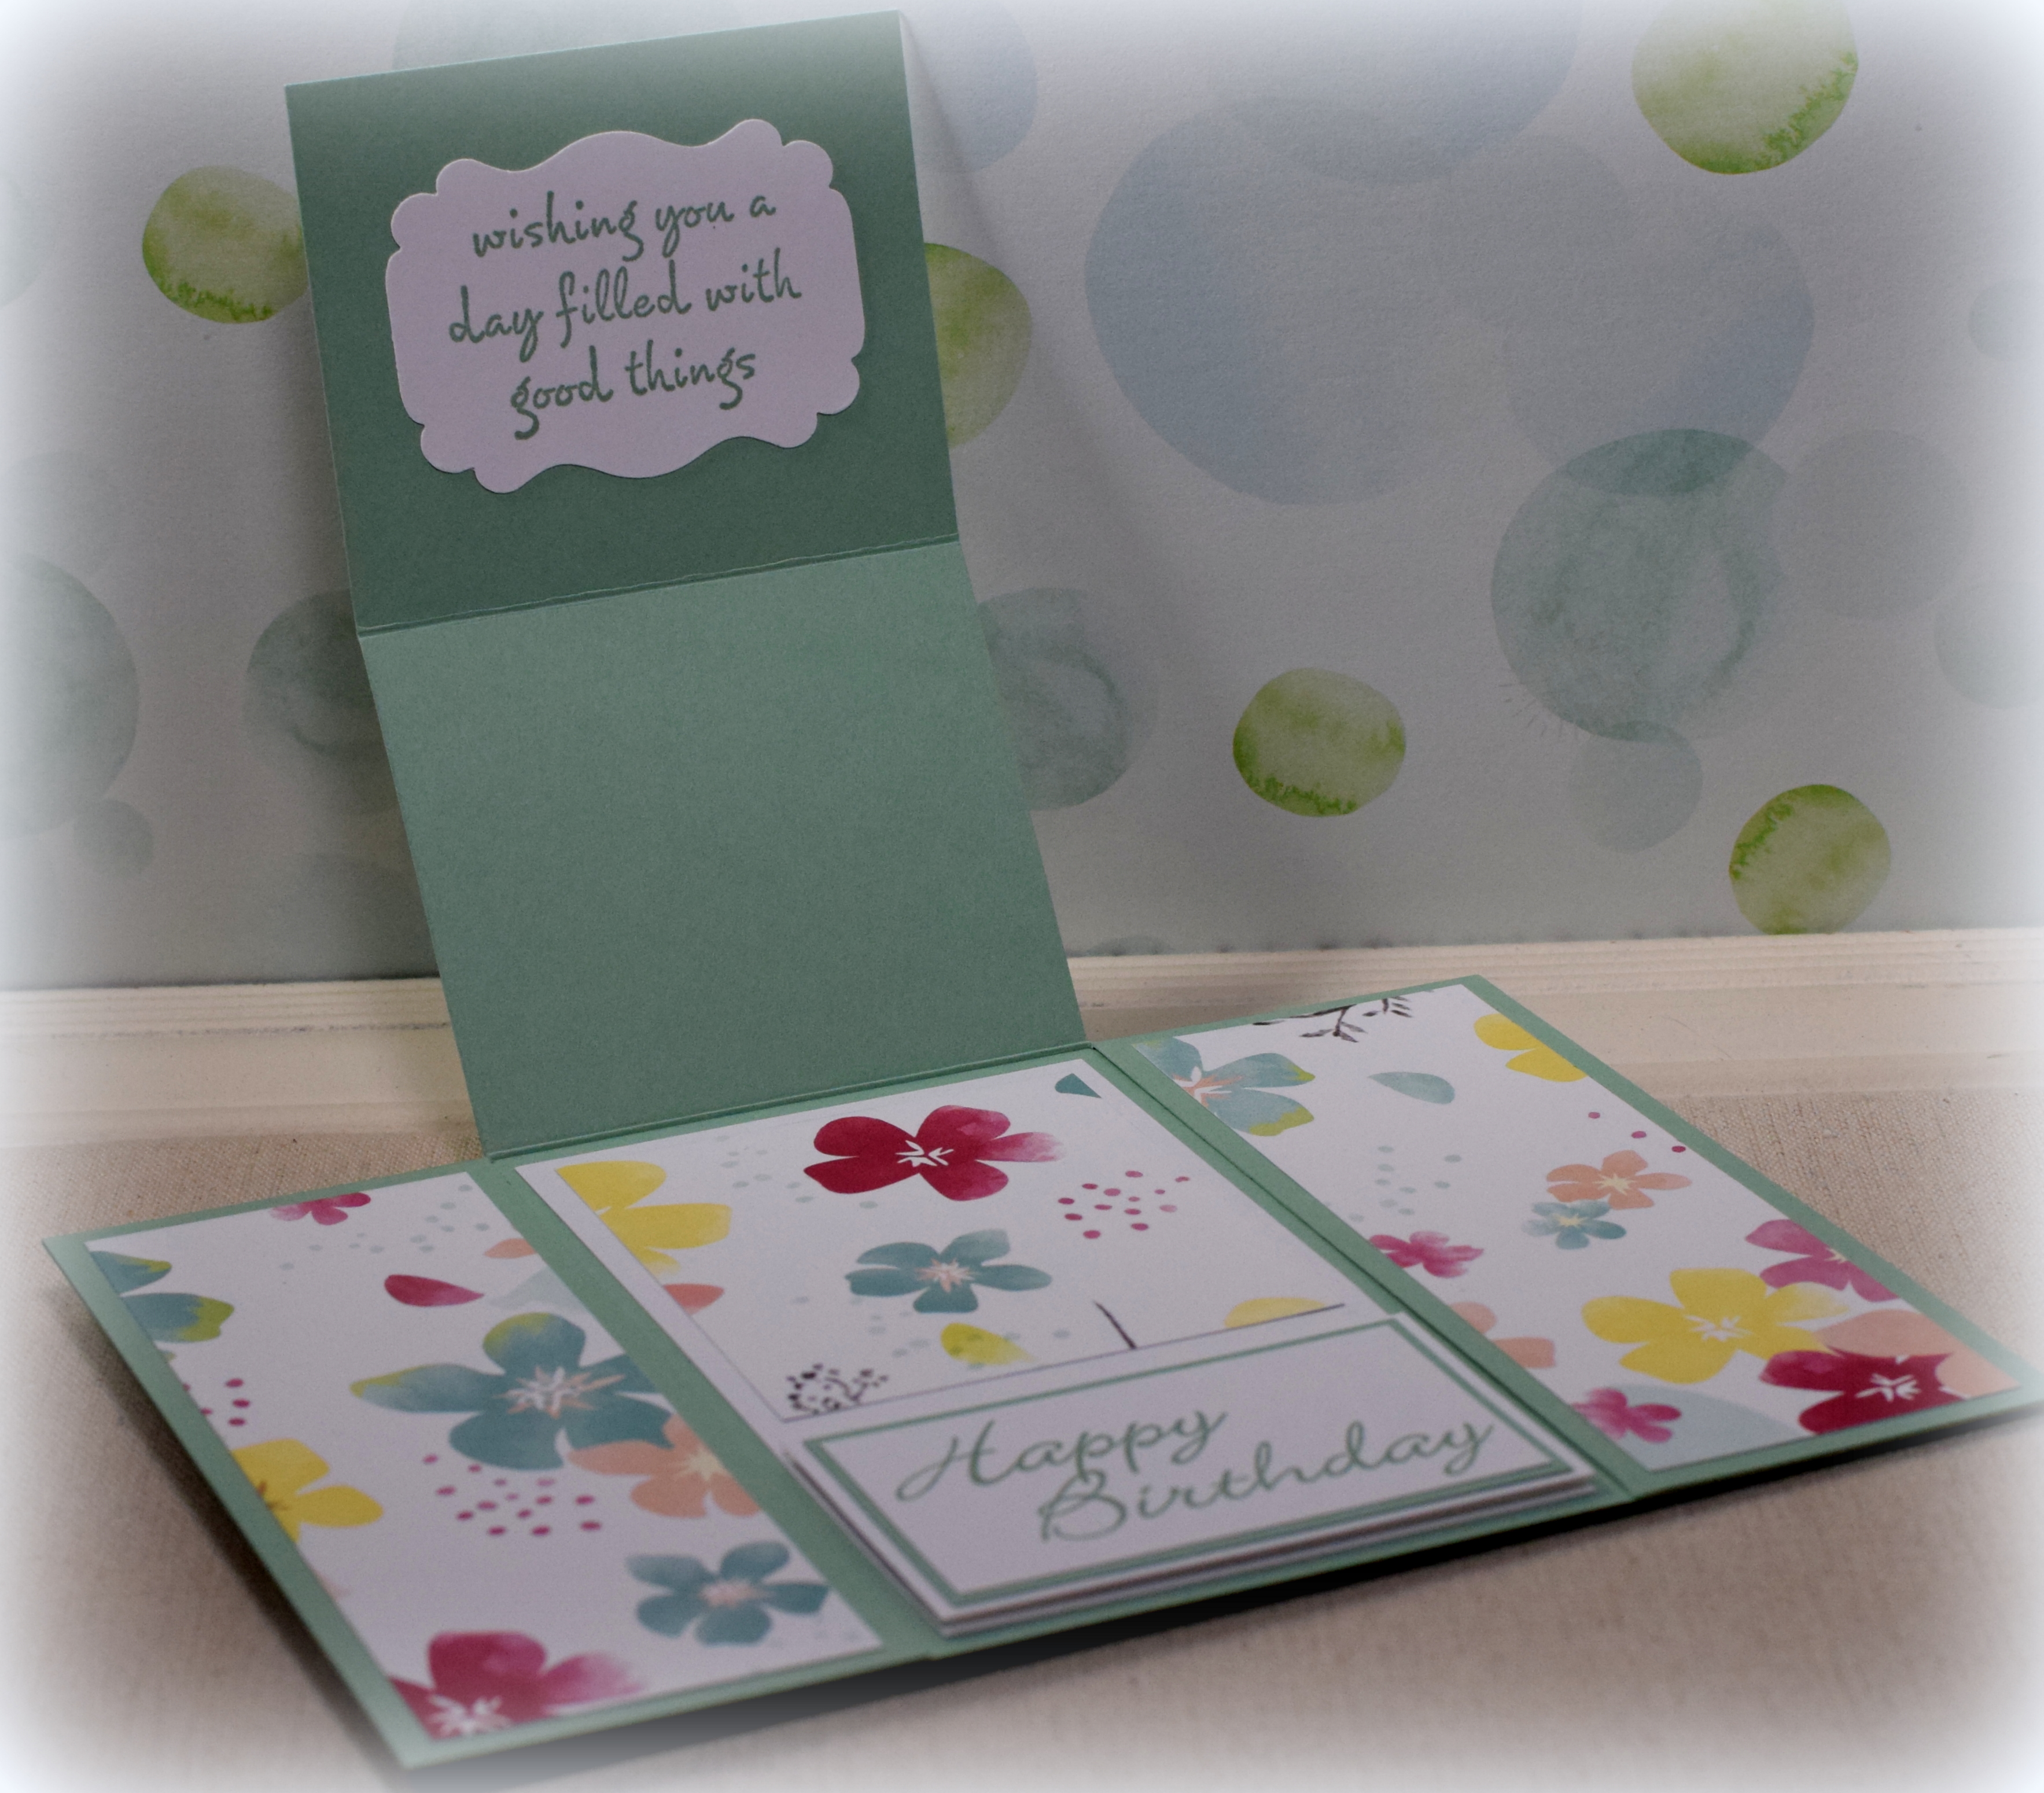
Center Easel Birthday Card

(Inside: wishing you a day filled with good things)
I know it’s September, and I’m feeling like fall colors and patterns are more appropriate, but as I mentioned in my last post, I am “a bit” (big time understatement!) behind with posting so I have a card to share today (finally!!) that I made in the spring….
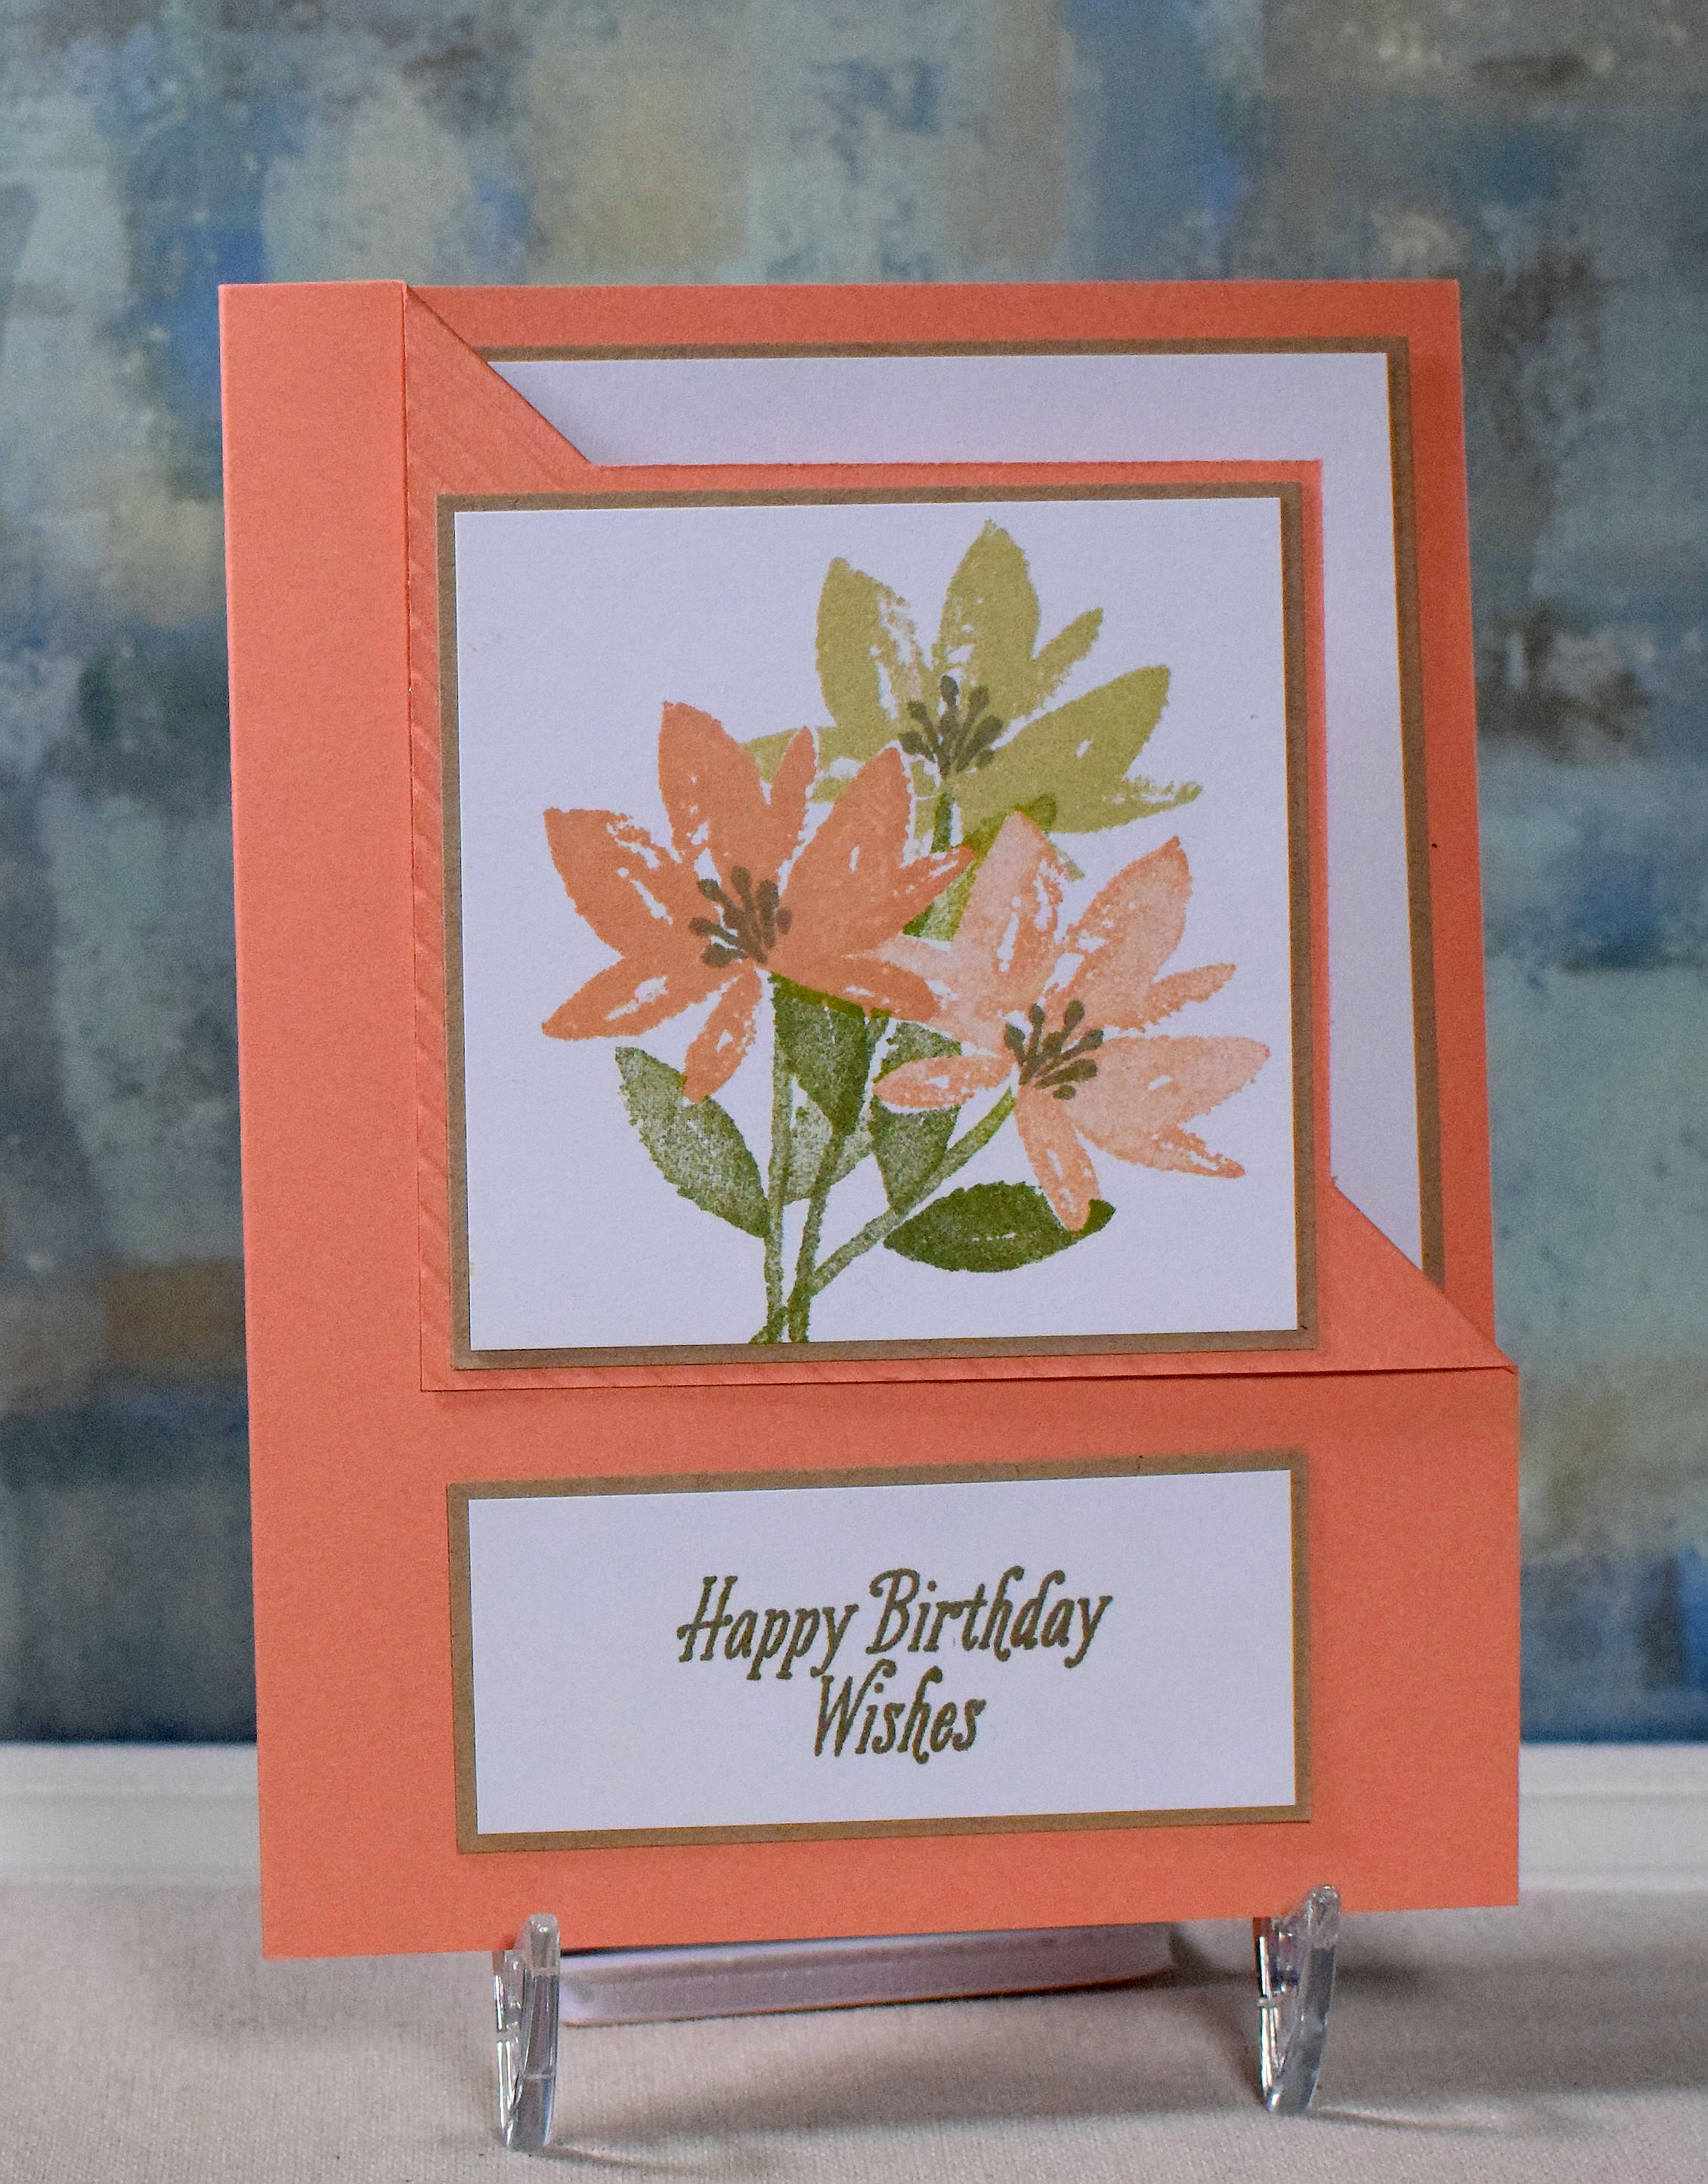
This card has a panel that props up like an easel to reveal the greeting. It’s a great design for showing off beautiful printed paper (either store bought or handmade). The card is flat when “closed” for easy mailing.

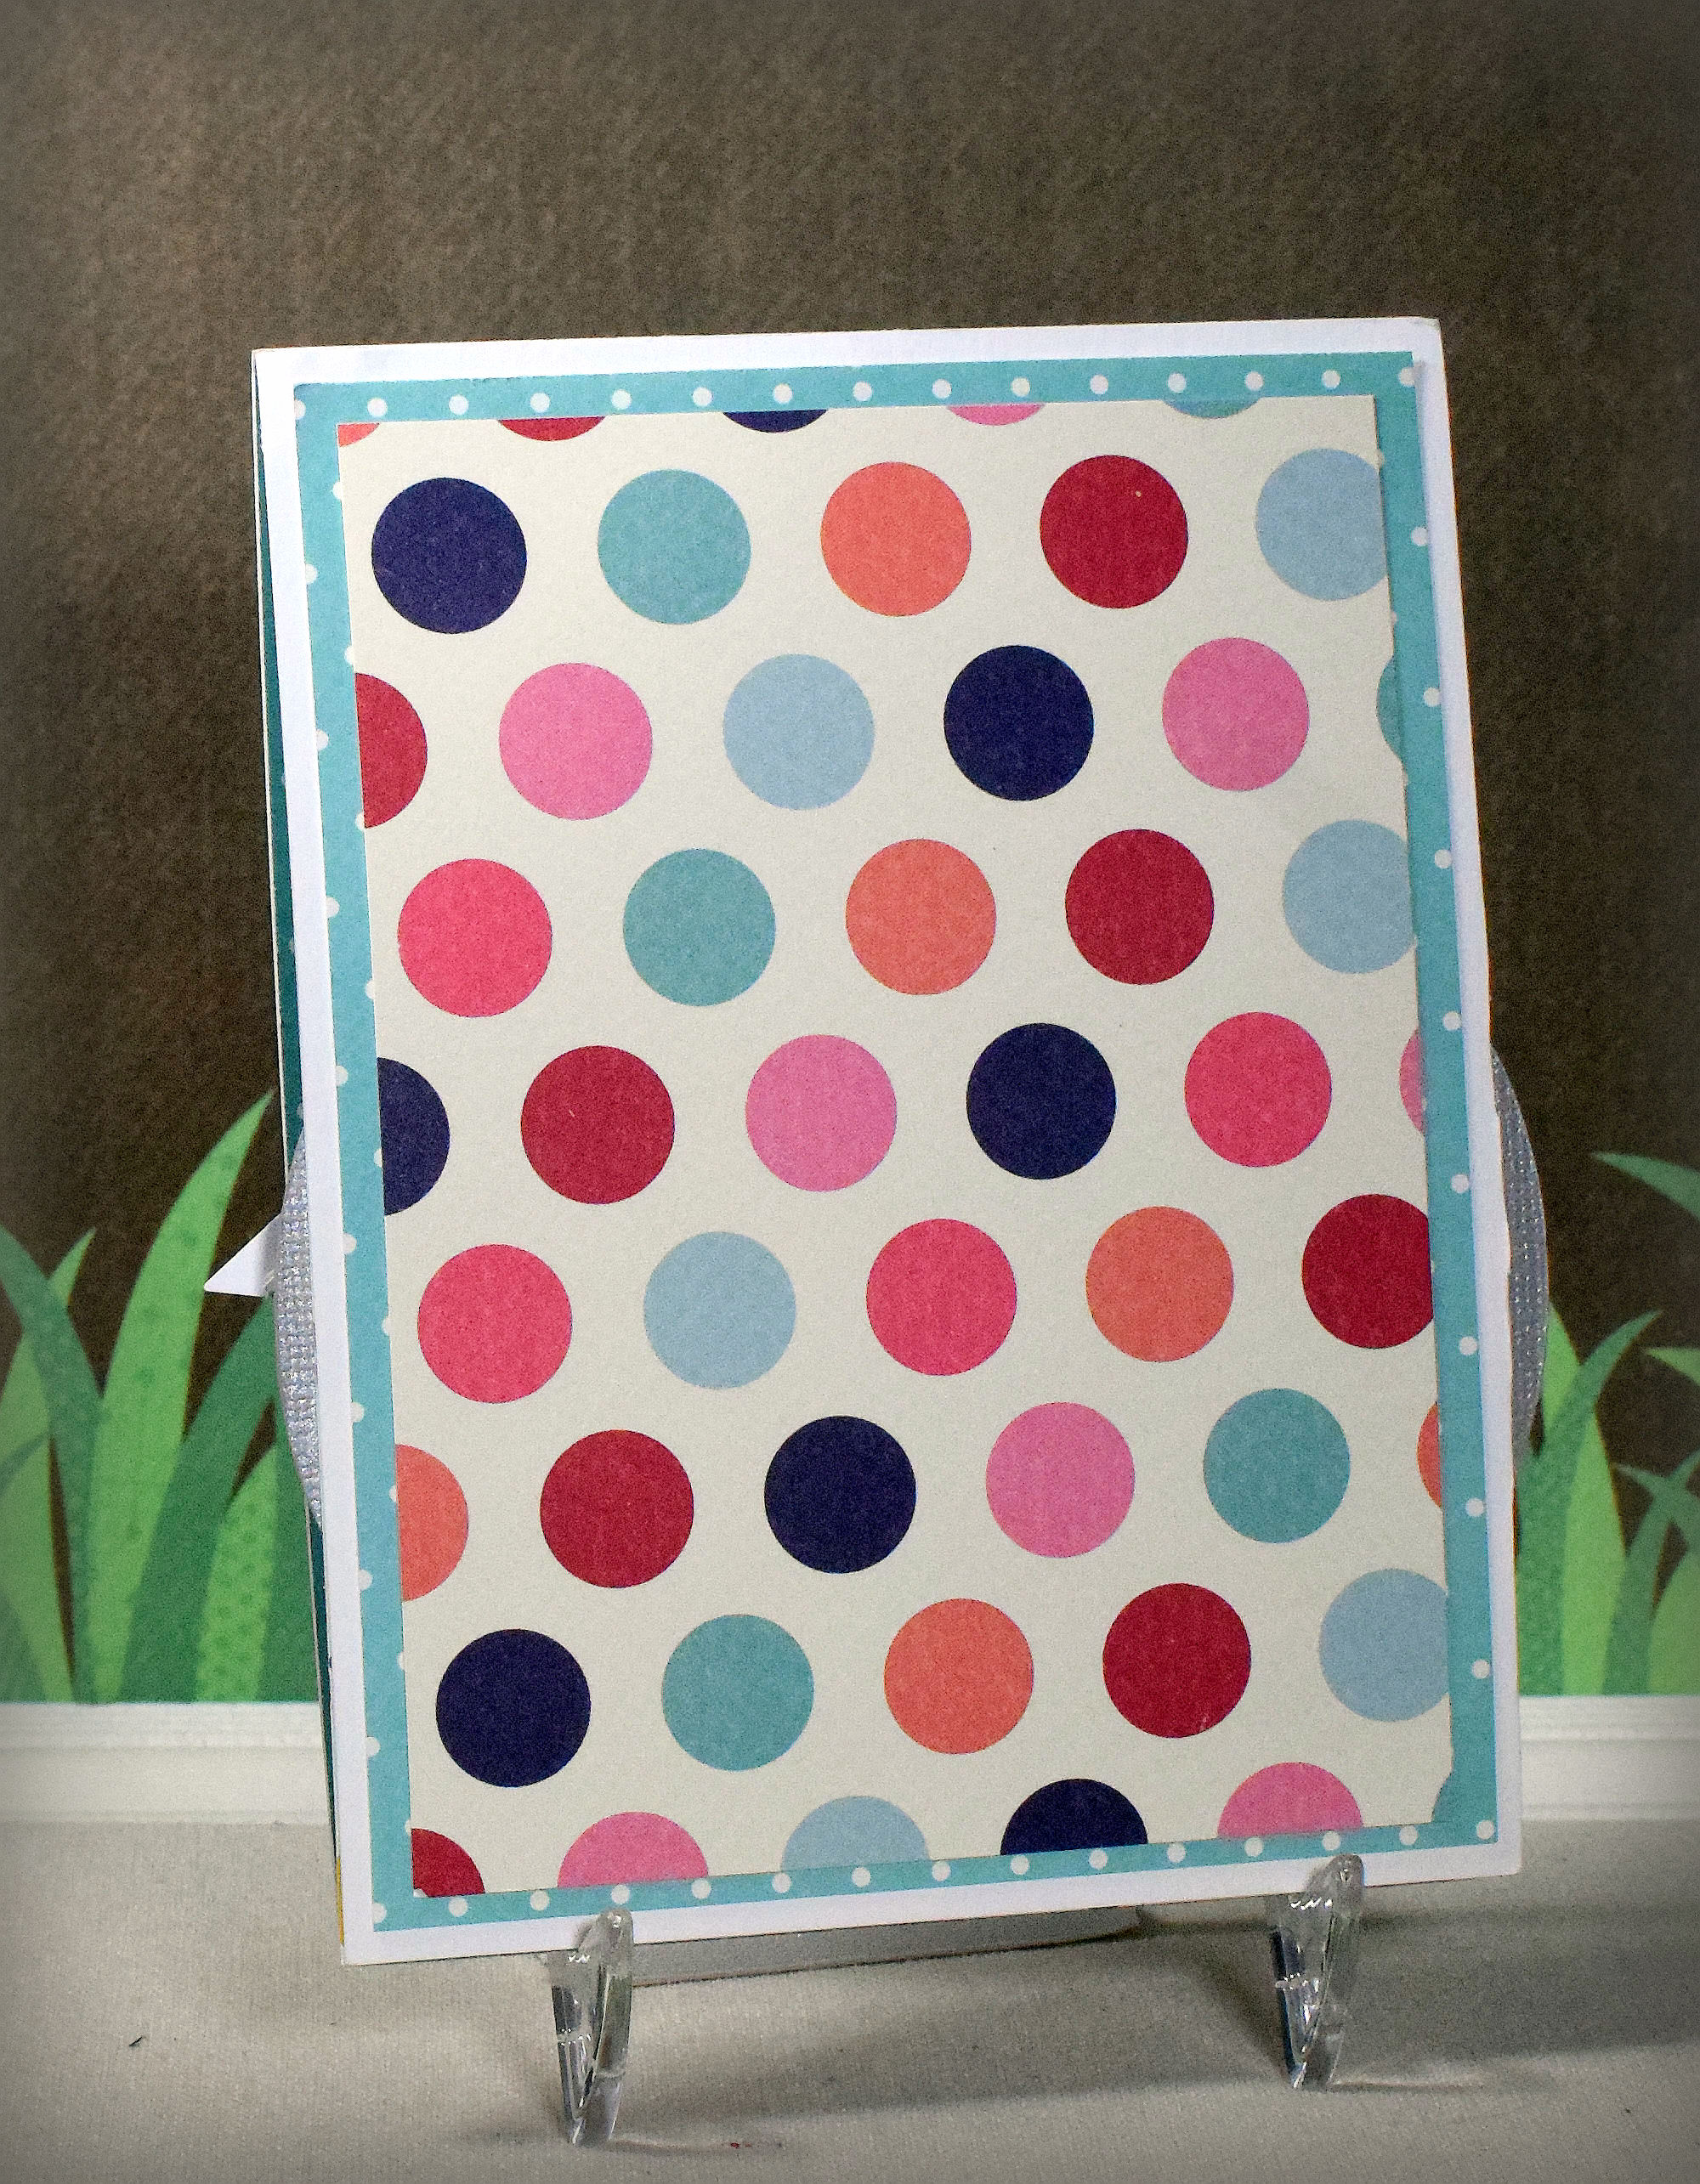
My card features printed paper called “Blossom” by American Crafts (#340303) along with Stampin’ Up Mint Macaron and white card stock. The flowers were cut with a Sizzix Originals die called “Flower Layers #3” and embellished with some thin, white ribbon and some pieces of a small pearl spray I purchased at Hobby Lobby (DIY Wedding Department).
The greeting stamp is from the “Frame & Flowers 2” set by Gina K Designs. The inside sentiment is by Hero Arts and was stamped on a panel cut with the EK Success “Real Estate Sign” label punch. Both were stamped with Stampin’ Up Mint Macaron ink.
Here is a template for a 5×7 card base. (Click on diagram to make it bigger.) You can adapt the measurements to make an A2 sized card if desired.

You can see a tutorial HERE on You Tube.
Thanks for checking out my card project!
This content uses referral links as described in the disclosure policy on my sidebar.