How I Store And Catalog My Dies

I have always stored my wafer thin dies on magnetic sheets in binders, but I needed a way to better keep track of what I have and where to find them. So, after weeks of work, here is how I (now) store and catalog my dies…
*
(CLICK ON ANY IMAGE TO ENLARGE)
EVERY DIE HAS ITS PLACE
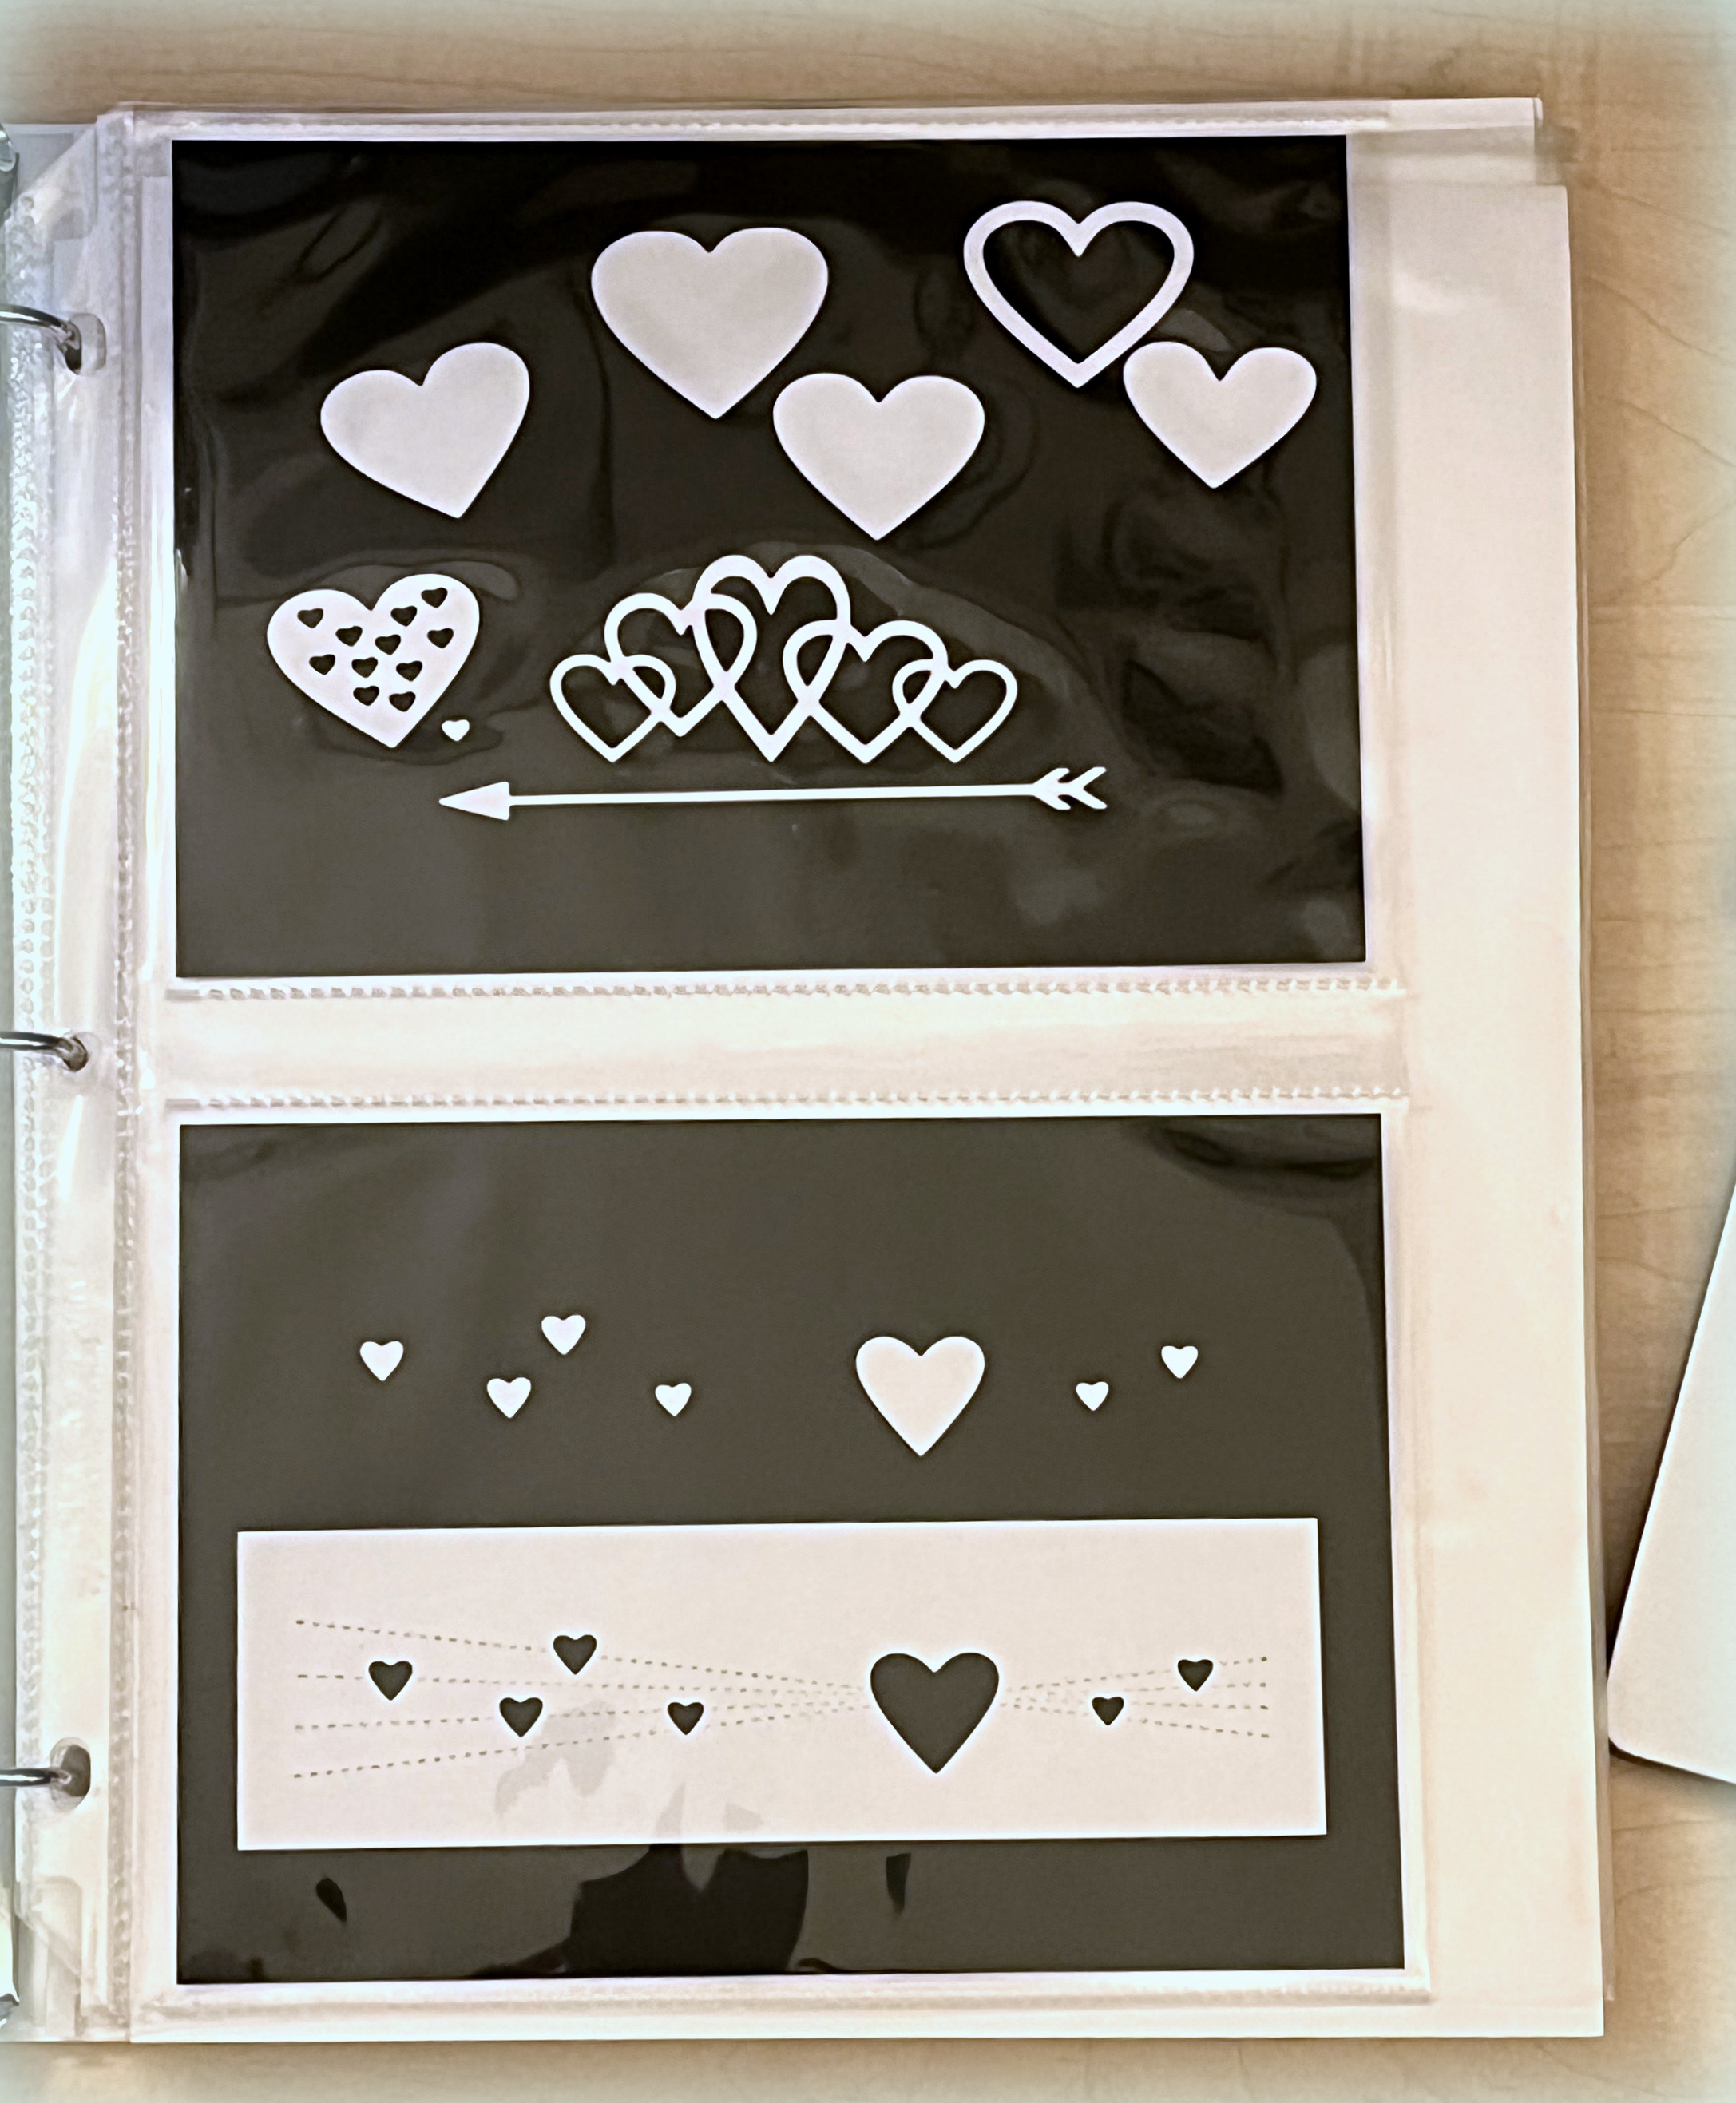
My dies are (still) stored on magnetic sheets in binders. Binders are easy to store on shelves and are easily expandable as I acquire more dies (either by adding pages to existing binders or by adding additional binders). I use sheet protectors (and a piece of card stock) to hold the magnetic sheets/dies.

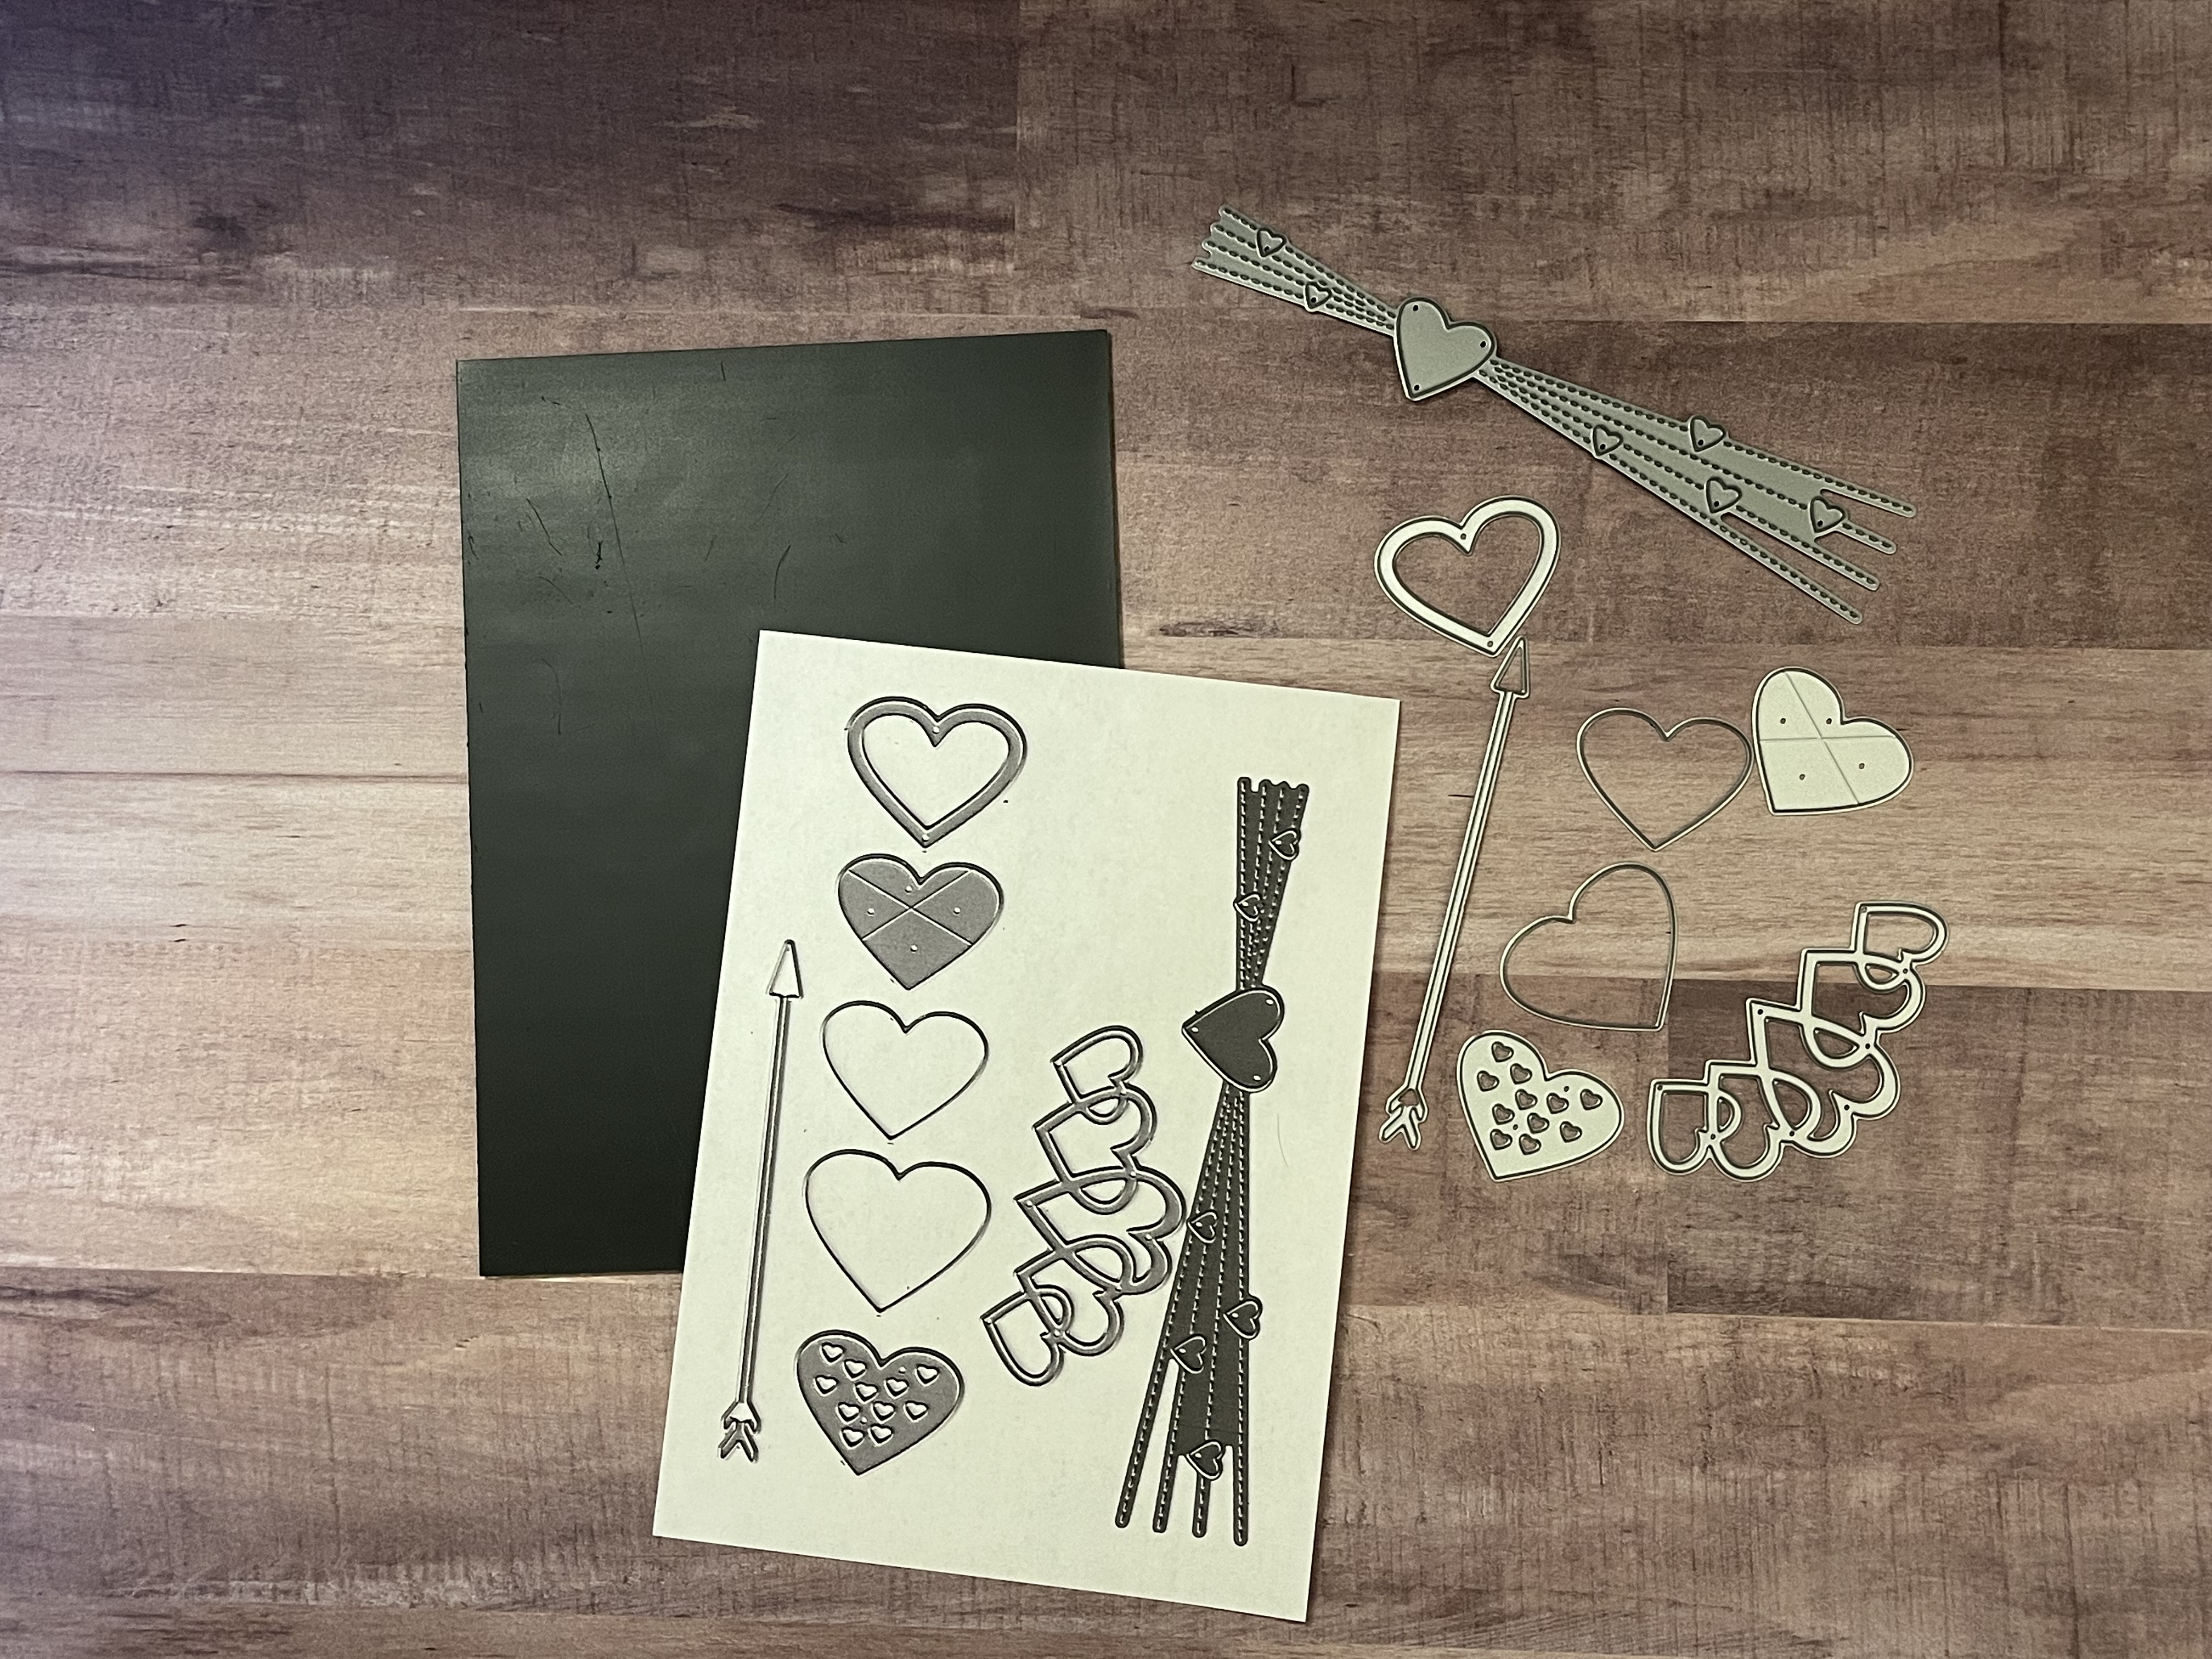
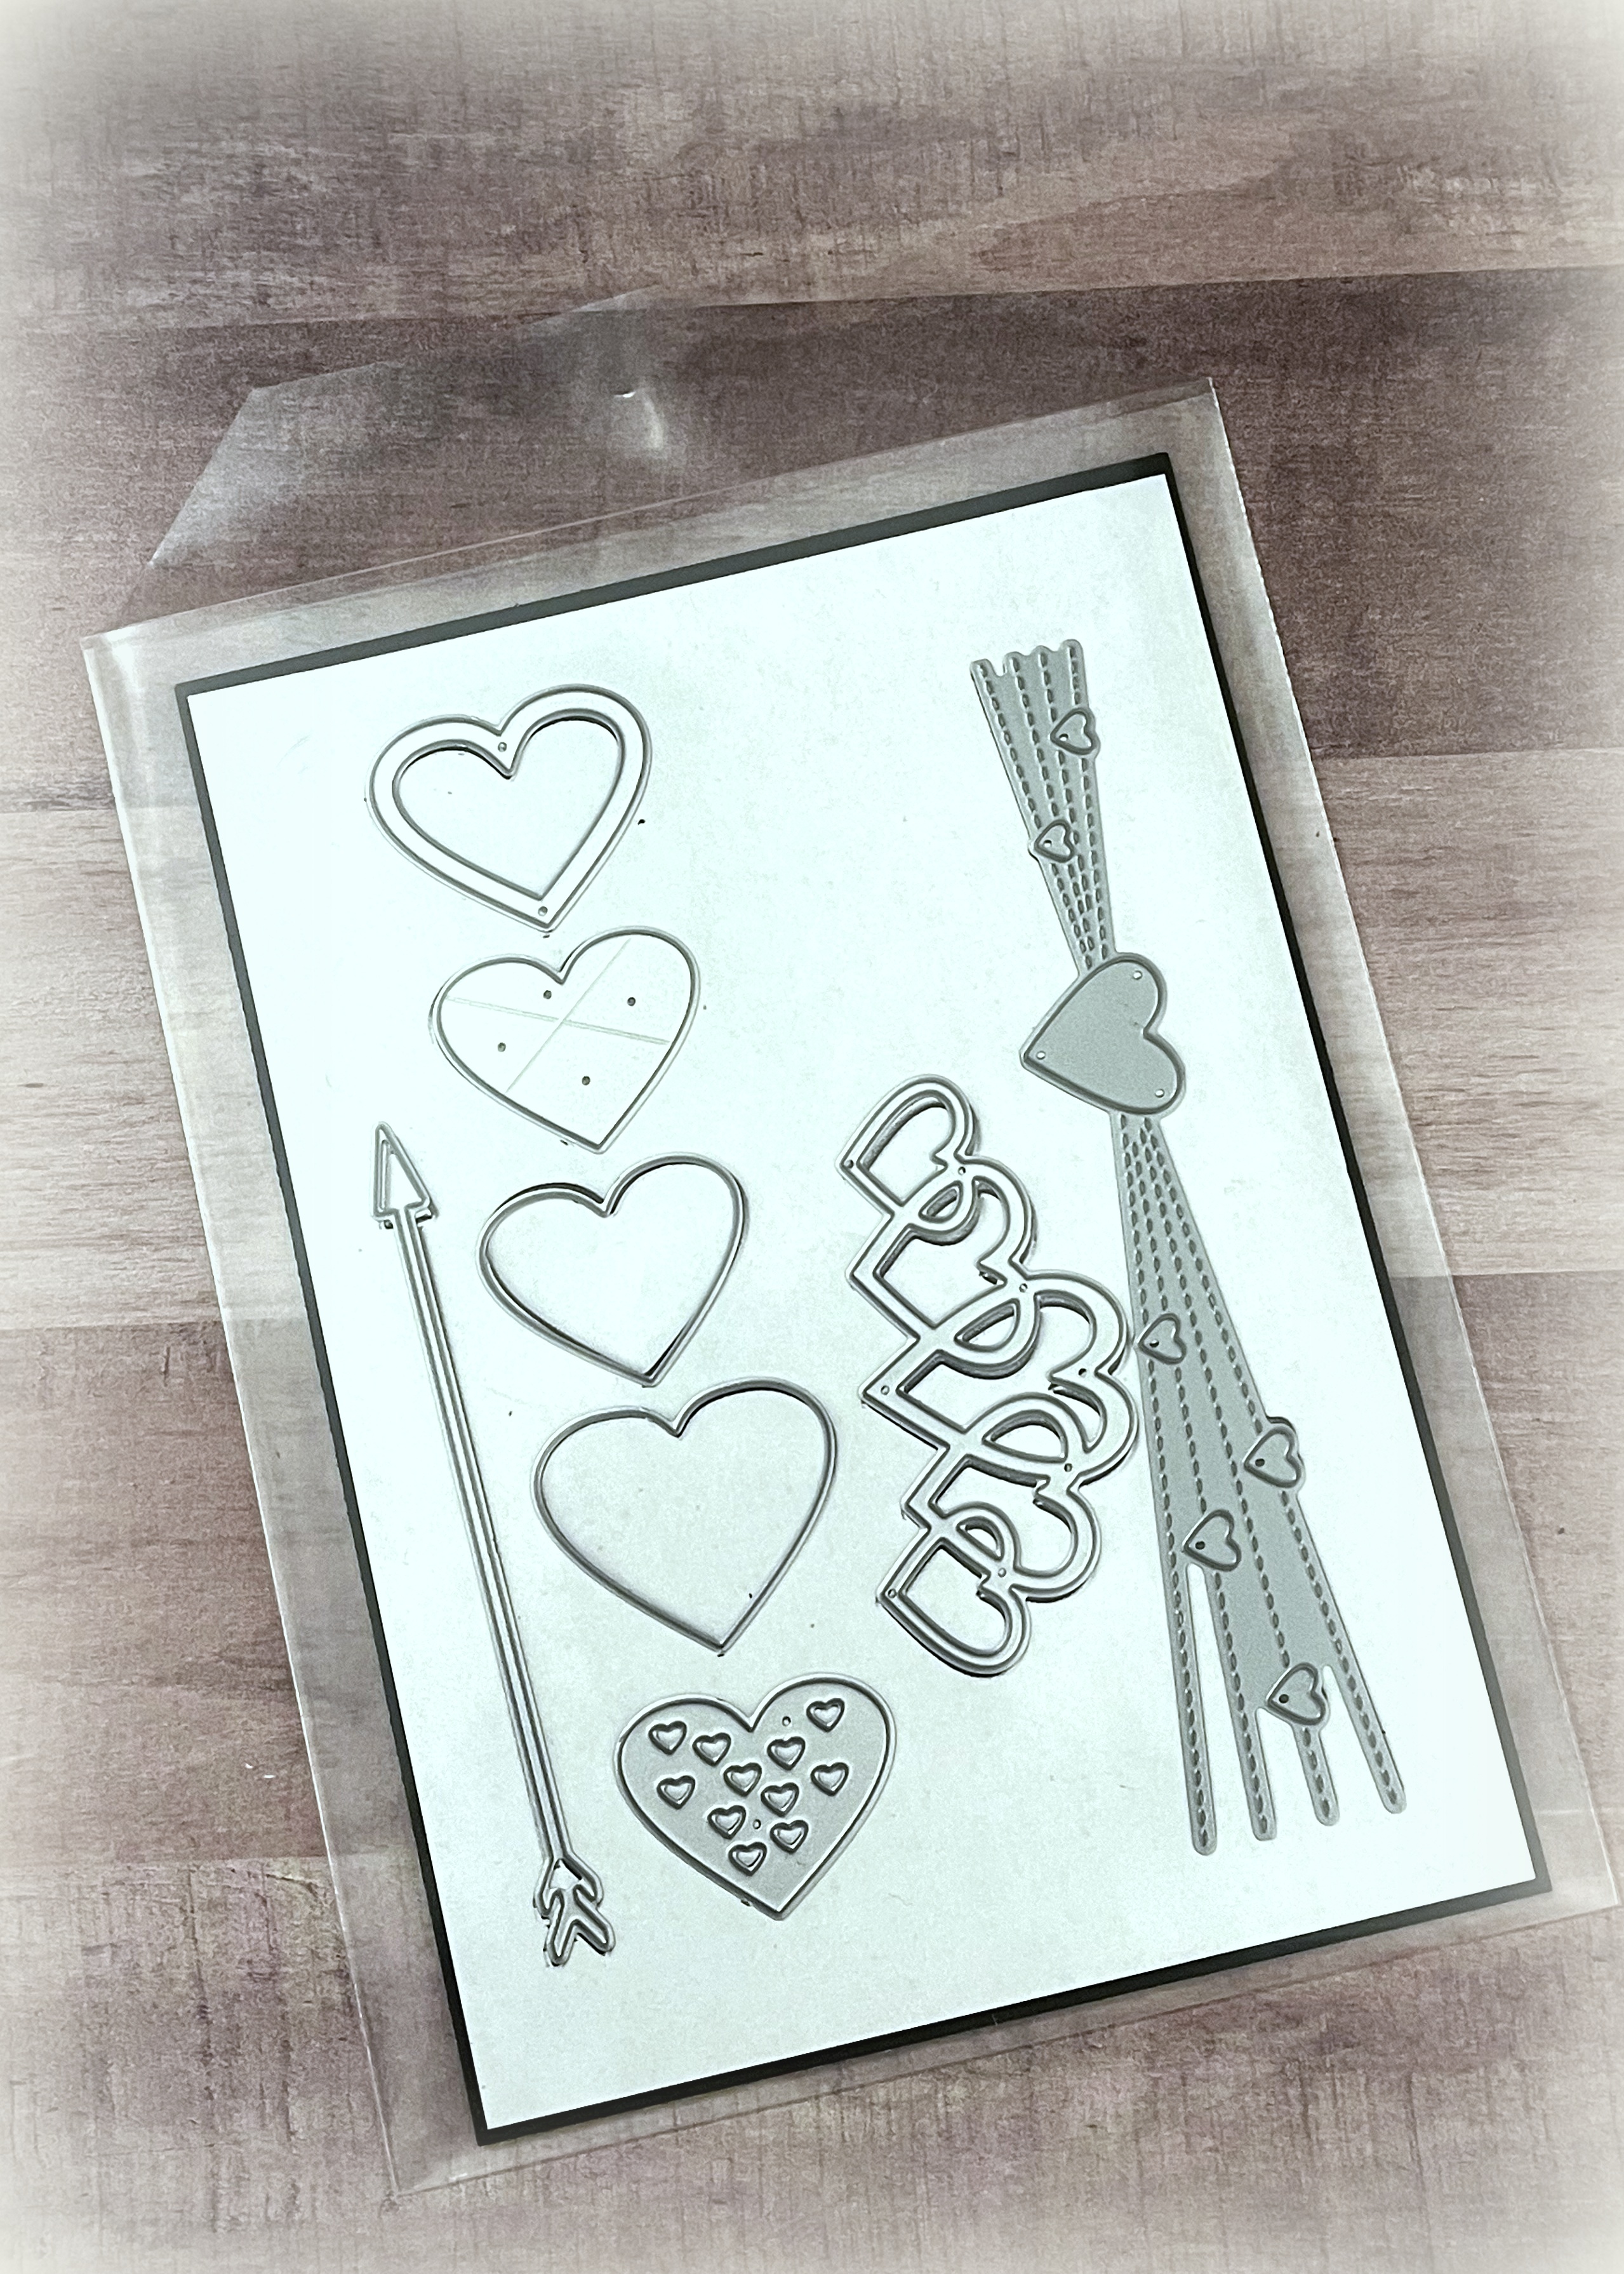
Each magnetic sheet is topped with an image sheet and then the corresponding dies.
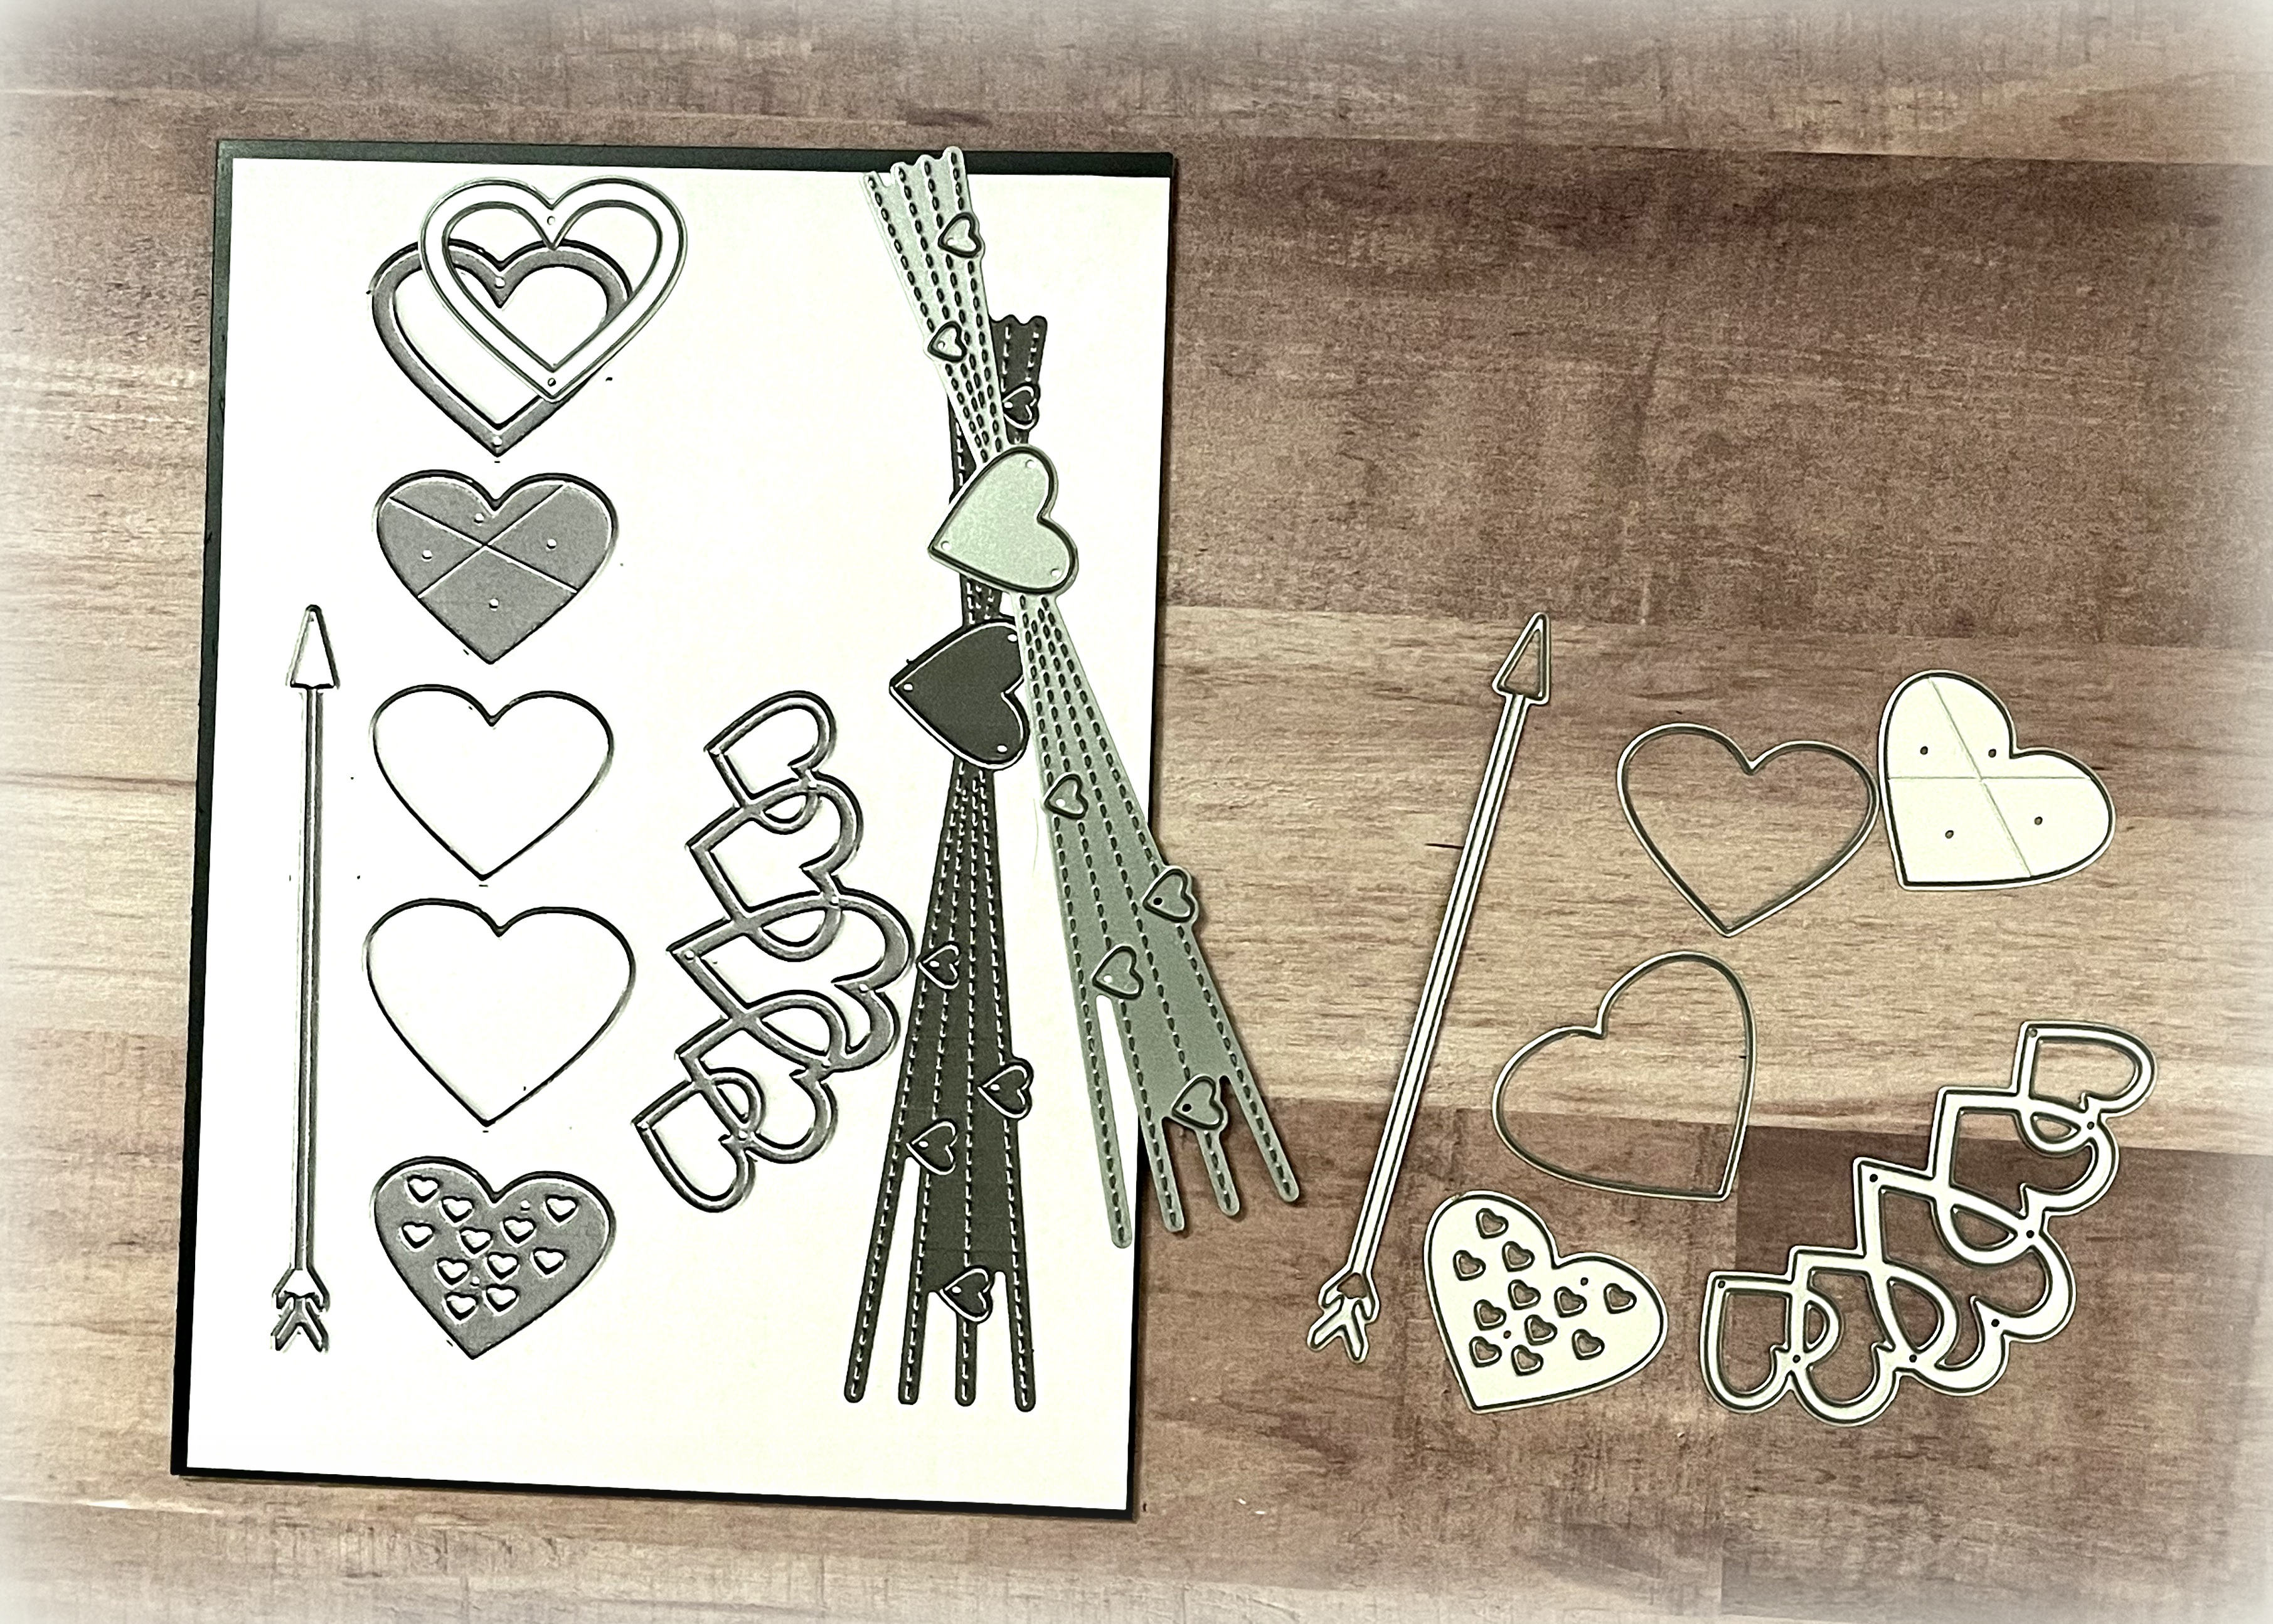
To create the image sheet, I place the dies on the magnet and copy it. I then trim the printed image sheet to match the size of the magnetic sheet and place it between the magnet and dies.
Tip – If using black magnets, temporarily place a piece of plain, white copy paper on the magnetic sheet (to make the magnet white) before adding the dies and copying . When you print it, you won’t be wasting a ton of black ink. Only the images of the dies (on the white background) will print.


How do the image sheets help? If you have multiple dies out from multiple sheets, the image sheets show which dies go where, and they help you to see that all the dies are back on the magnetic sheets before they are returned to the binder(s).
*
Each magnetic sheet is placed in a plastic envelope to keep all the dies on the sheet together in case they fall off.
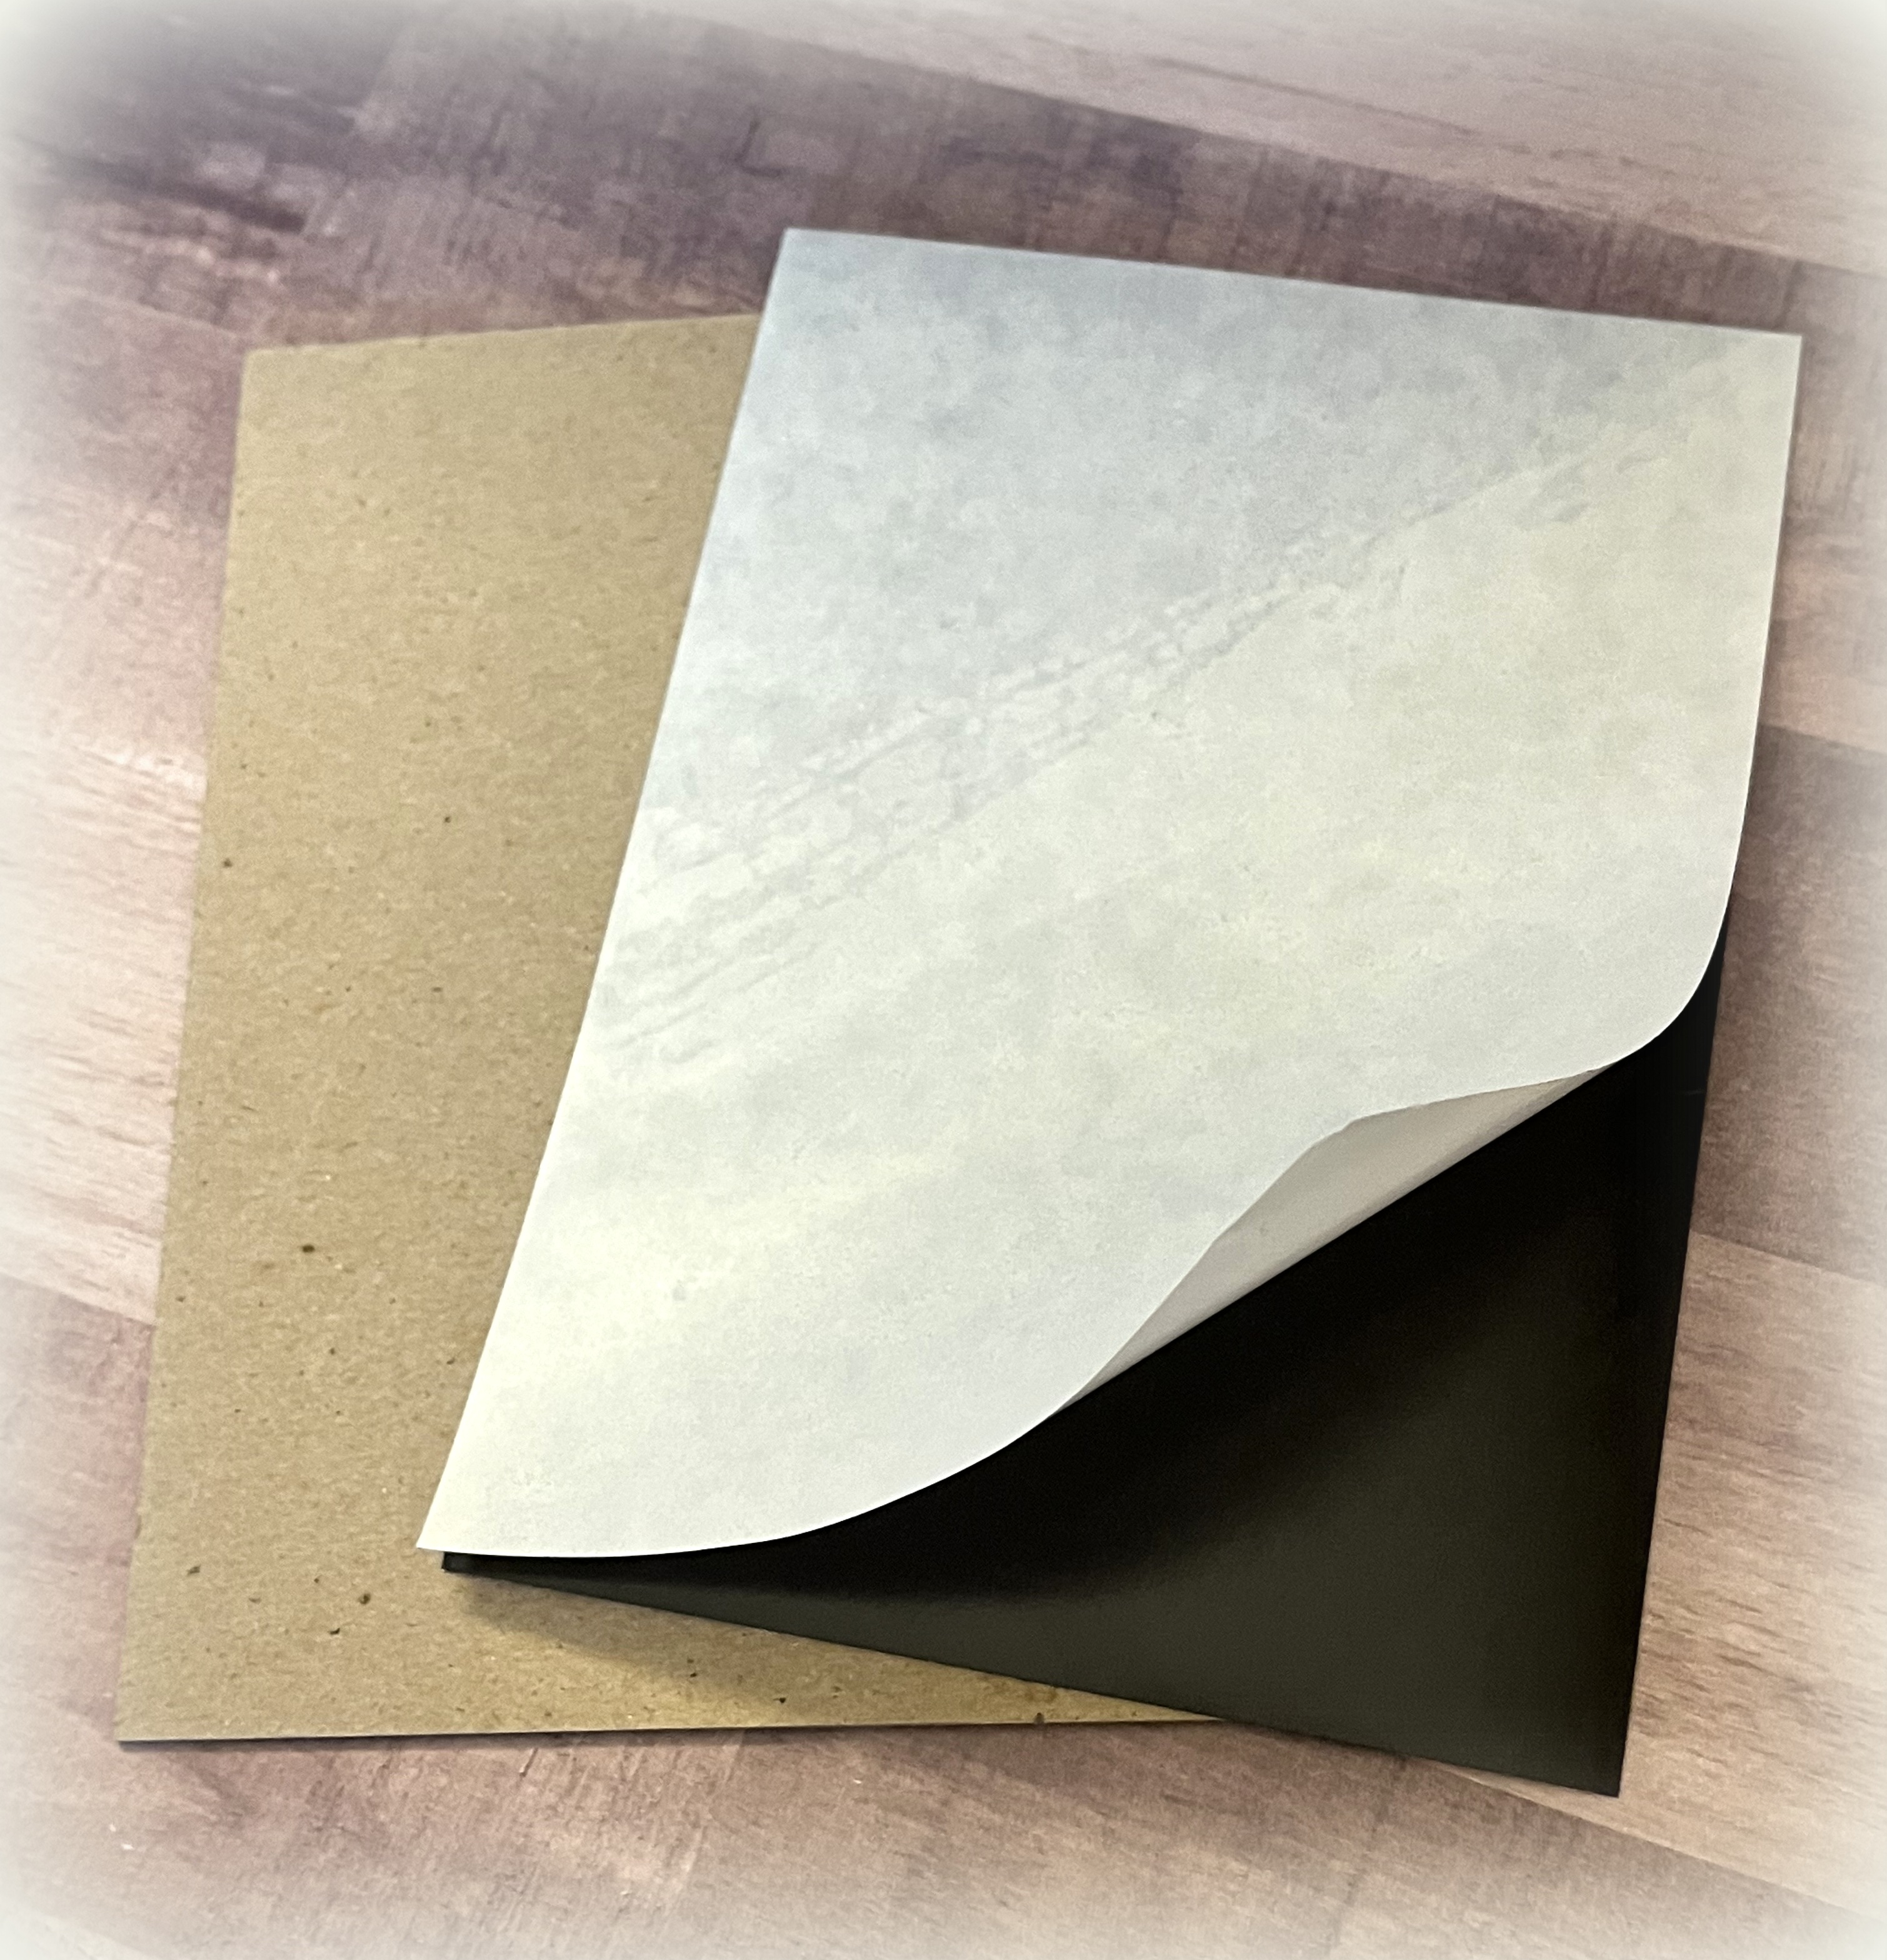
The magnetic sheets I use have adhesive on the back so I can back them with chipboard if I want/need a sturdier magnet.
*
WHAT DO MY DIE CUTS ACTUALLY LOOK LIKE?
I cut a sample of each die cut from plain white sticker paper and adhere the die cuts to either 3.5×5 or 5×7 pieces of card stock.

A single die cut is placed on a card by itself. Die cuts that are part of a set are grouped together on a card. On the back of each card is the name of the die or die set and the manufacturer. (More on this later.) These cards are placed in photo storage pages (either 3.5×5 or 5×7) and inserted in the binder in front of the magnetic sheet that contains those particular dies. I also place the original product sheet in the pocket with the corresponding die(s) for future reference.


How does this help? I (or others) can easily see what the die cut will actually look like, and I can also quickly see the product info when creating my blog posts. The sticker paper is very thin and does not add much bulk to the binder, and the adhesive makes it easy to stick the die cuts on the cards.
*
HOW DO I SELECT AND FIND DIES FOR A PROJECT?
I currently have 20 binders (ranging from 1 inch to 3 inches in size) and have labeled them with categories (where I would logically look if I had to guess/remember where I stored my dies).

However, I do not always remember in which binder I chose to store them – lol! And I also recognize that some dies could be stored in several categories. For example, nesting heart dies could be stored in either the “Nesting Dies” binder or the “Shapes – Hearts…” binder. So…
In order to know exactly where all my dies are stored, I have cataloged/referenced all my dies/die sets on my computer. I am sure there is a more efficient way of doing this, but…
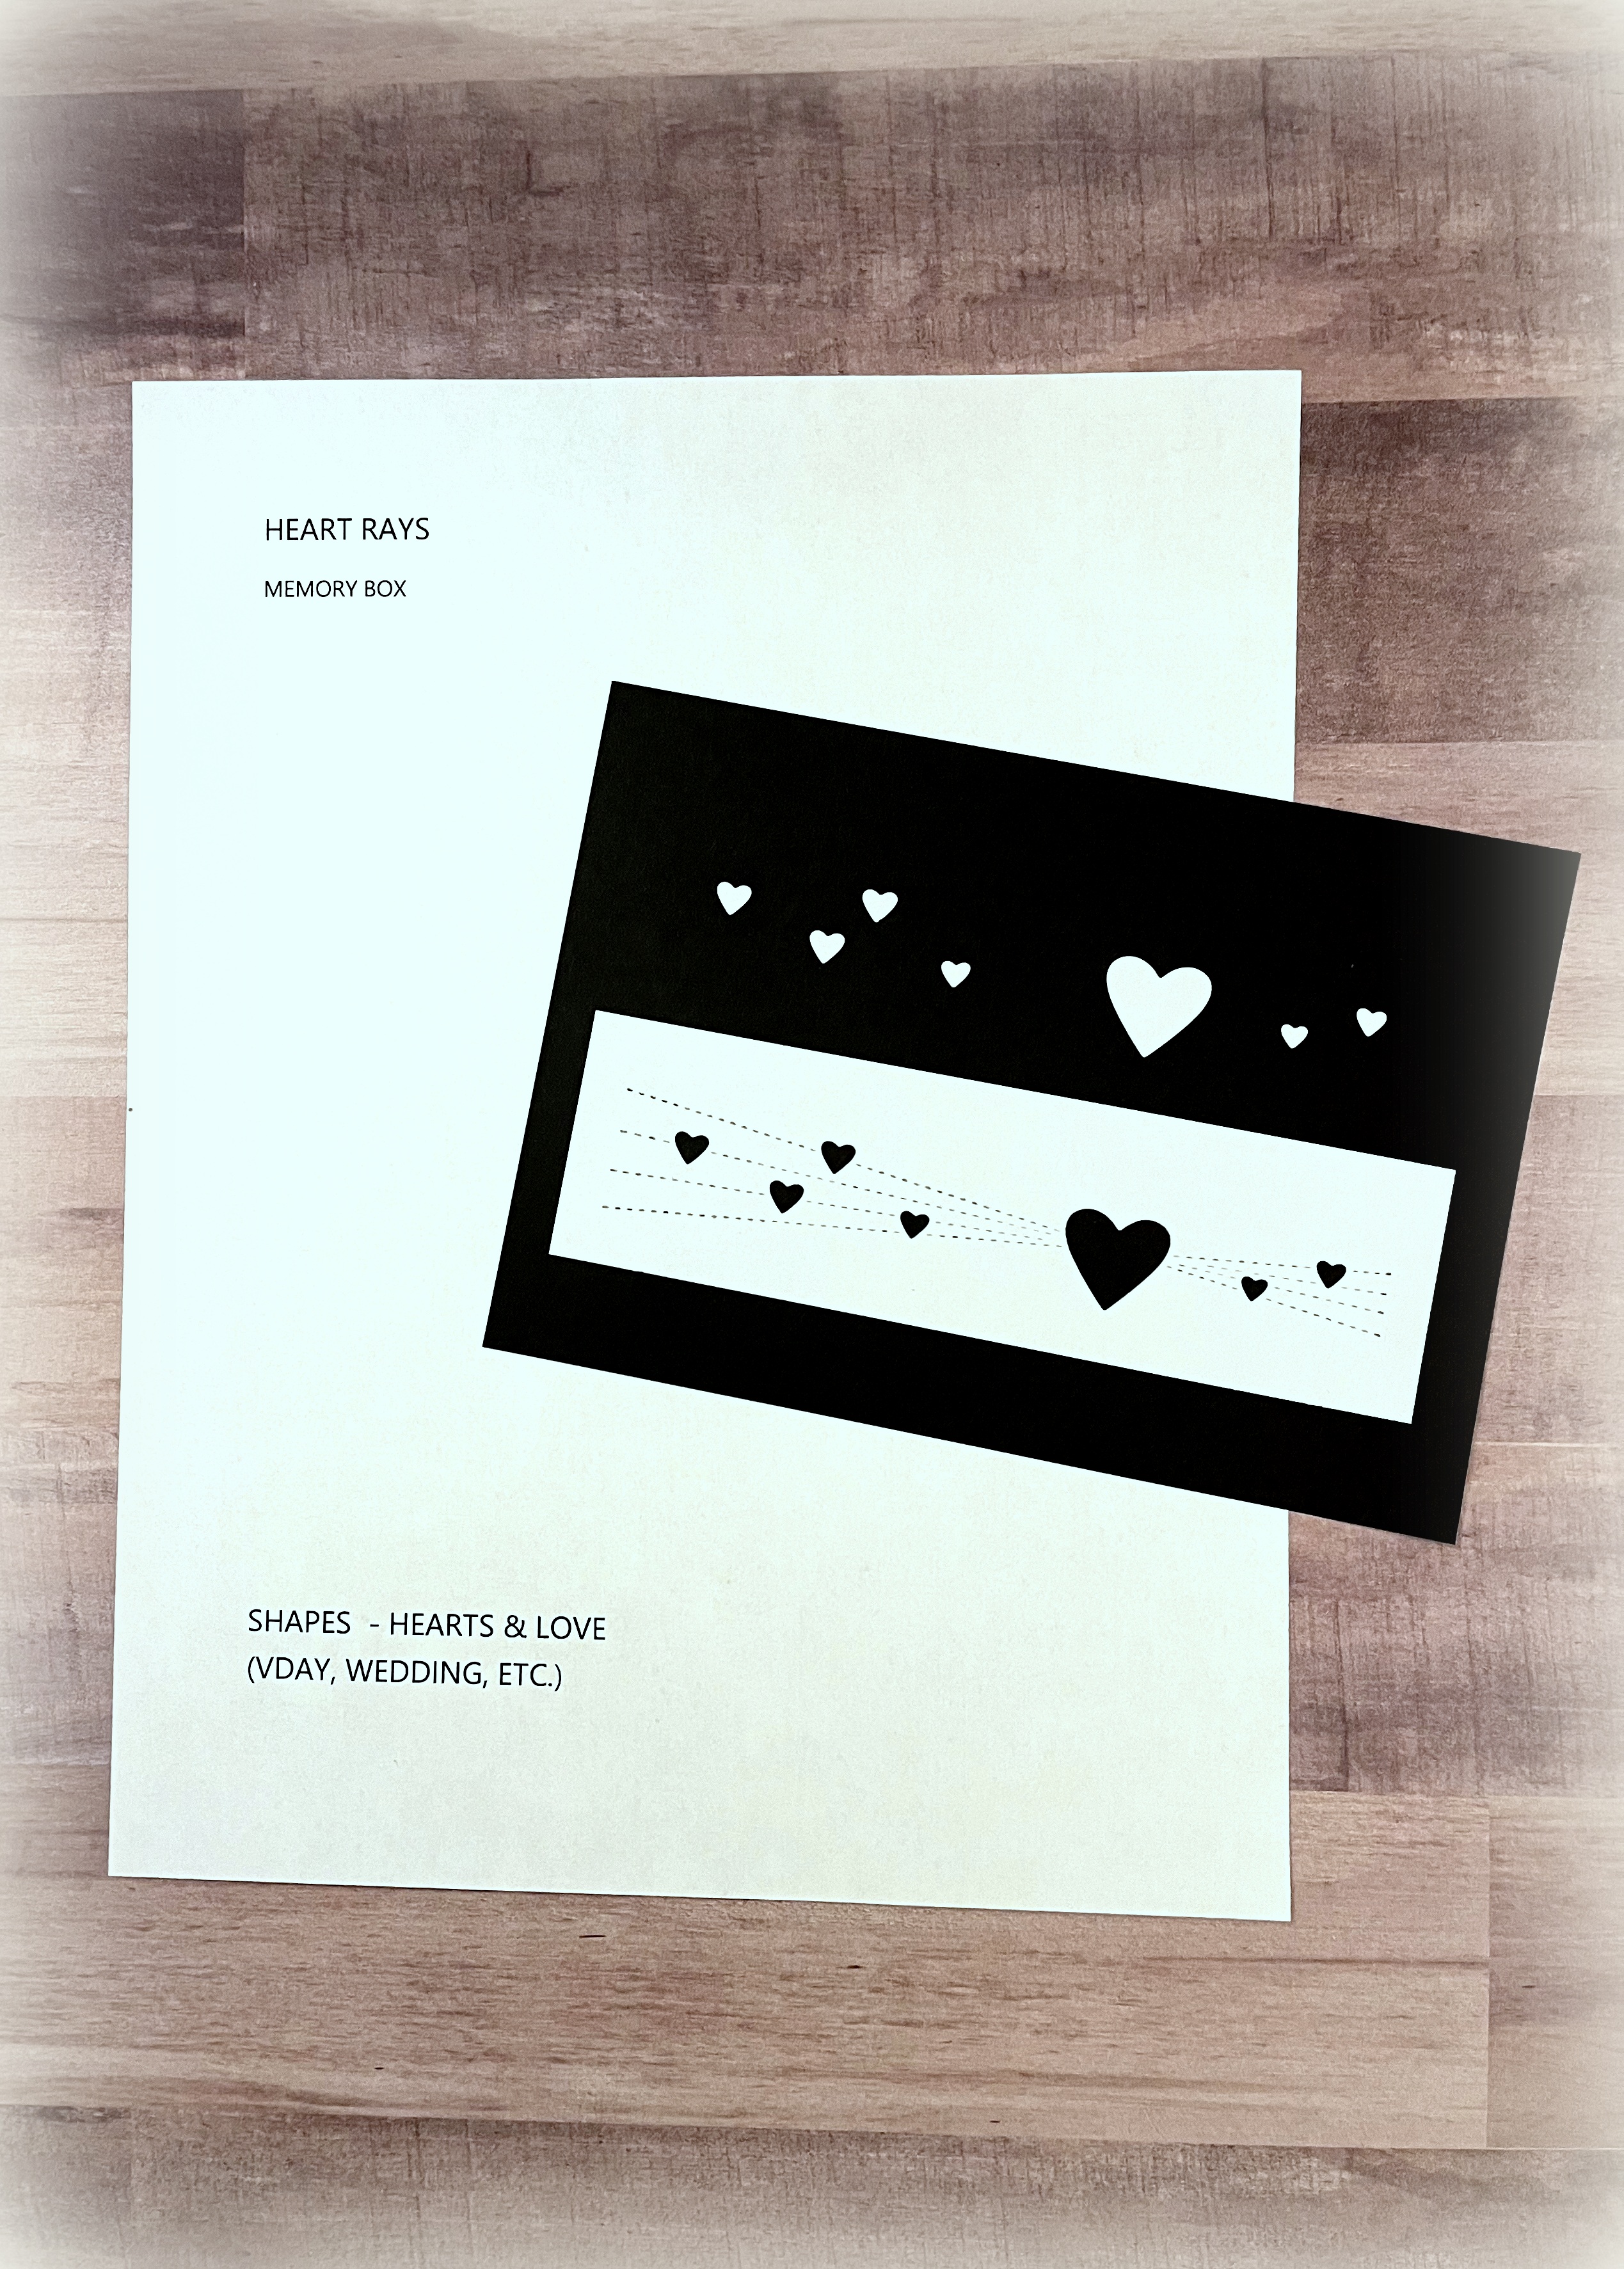
I create a “page” for each die/set that includes the name of the die/set, the manufacturer, an image of the die cut(s), and the binder in which it is stored. Once completed, the “page” is scanned and saved as a jpeg. The page shown below was created for the die called “Heart Rays” and shows that it would be stored in the “Shapes – Hearts & Love (VDay, Wedding, etc.)” binder.

I also created category folders on my computer.

Each jpeg “page” is “placed” or saved in any/all appropriate category folders.
For example, the above page/file for the die called “Heart Rays” is saved in the following folders on my computer: ALL DIE SETS, HEARTS & LOVE, HOLIDAYS (NOT CHRISTMAS), STITCHED; PIERCED, VALENTINE’S DAY, and WEDDING; ANNIVERSARY.
This is what the contents of the VALENTINE’S DAY folder looks like:

You can see a thumbnail of all the dies that I own that would be appropriate for Valentine’s Day projects including the “Heart Rays” die discussed above. (To see larger images, you can change the view from large thumbnails/icons to extra large, or you can click on each for a full-size view.) If I were making a Valentine’s Day card, I could look at the contents of this folder, click on the file icon for a die I’d like to use/find, and see the binder in which it is stored.
Why did I do it this way? First, the “pages” are saved as jpeg’s because I can see the image of the die cut(s) on the thumbnail of the files. Thumbnails of word docs or pdf’s do not show the images (at least not on my computer). The category folders are my primitive search tool – lol! I manually have to organize the pages by saving them to the various folders, but then I can click on the folders and see all the appropriate die cut choices at a glance.
*Just a note here – The images on these “pages” are actual die cuts adhered to card stock and then adhered to the printed page containing the text. These will eventually become the sample cards (described above) that are included in the binders with the dies. After each was scanned, I removed the card and cut the text to add to the back of the sample card. I very easily could have skipped the step of making the sample cards and just used scanned images of the packaging or something like that. The bottom line is I needed an image (digital or physical) of my dies/die cuts on these “pages” so I could “search” them as images and not just as file names. And making them a bold black and white made the images on the thumbnails easier for me to see on my computer.

*
I’D LIKE TO THINK I’M NOT CRAZY – LOL!!
Obviously, not all the components are necessary for all people, but I’d like to think there was a method to my madness! With the digital “pages” saved in various folders on my computer, I can browse my “folders” to see what dies I own and might want to use without flipping through 20 binders. And I can see exactly where each of my dies are stored; no more wild goose chases. Students and friends can easily browse my die collection and choose dies to fit their own card ideas as well. My “All Dies” folder (having them all listed in one place alphabetically) allows me to find dies I may have forgotten to save in a particular folder and also prevents duplicate purchases. The sample cards make it simple to see what a die cut will actually look like and make it easy for me to reference the dies when posting my projects on my blog. And the image sheets make it easy to put dies away when I done with them. And finally, I personally work better in an organized environment, and I actually enjoy the process of organizing things!
By the way, my Die Cut Station was originally my son’s changing table from 1995 – lol!


Thanks for checking out my (long) post!
This content uses referral links as described in the disclosure policy on my sidebar.


You shared a lot of detail. Thanks!
LikeLike
Changing table to die storage is brilliant. I too do better in an organized environment and enjoy the process
LikeLike
You are amazingly organized. Thanks so much for sharing your work space and tips. Love that you started on the baby changing table for your space. We do what we need to do and love that you do you!! I’m always inspired by your cards and kindness to others.
LikeLike
WOW!! You are one amazingly organized lady. That’s one thing I will never be.
LikeLike
Some great ideas here and they are appreciated. I haven’t catalogued my dies yet. Maybe I’ll get to after reading this post. Thanks for sharing.
LikeLike
Amazing!! Wish I had the time or inclination to be this organized!! I will use some of your methods. Wished I has seen this when I first started crafting. Thank You!!
LikeLike