Bow Making Tutorial
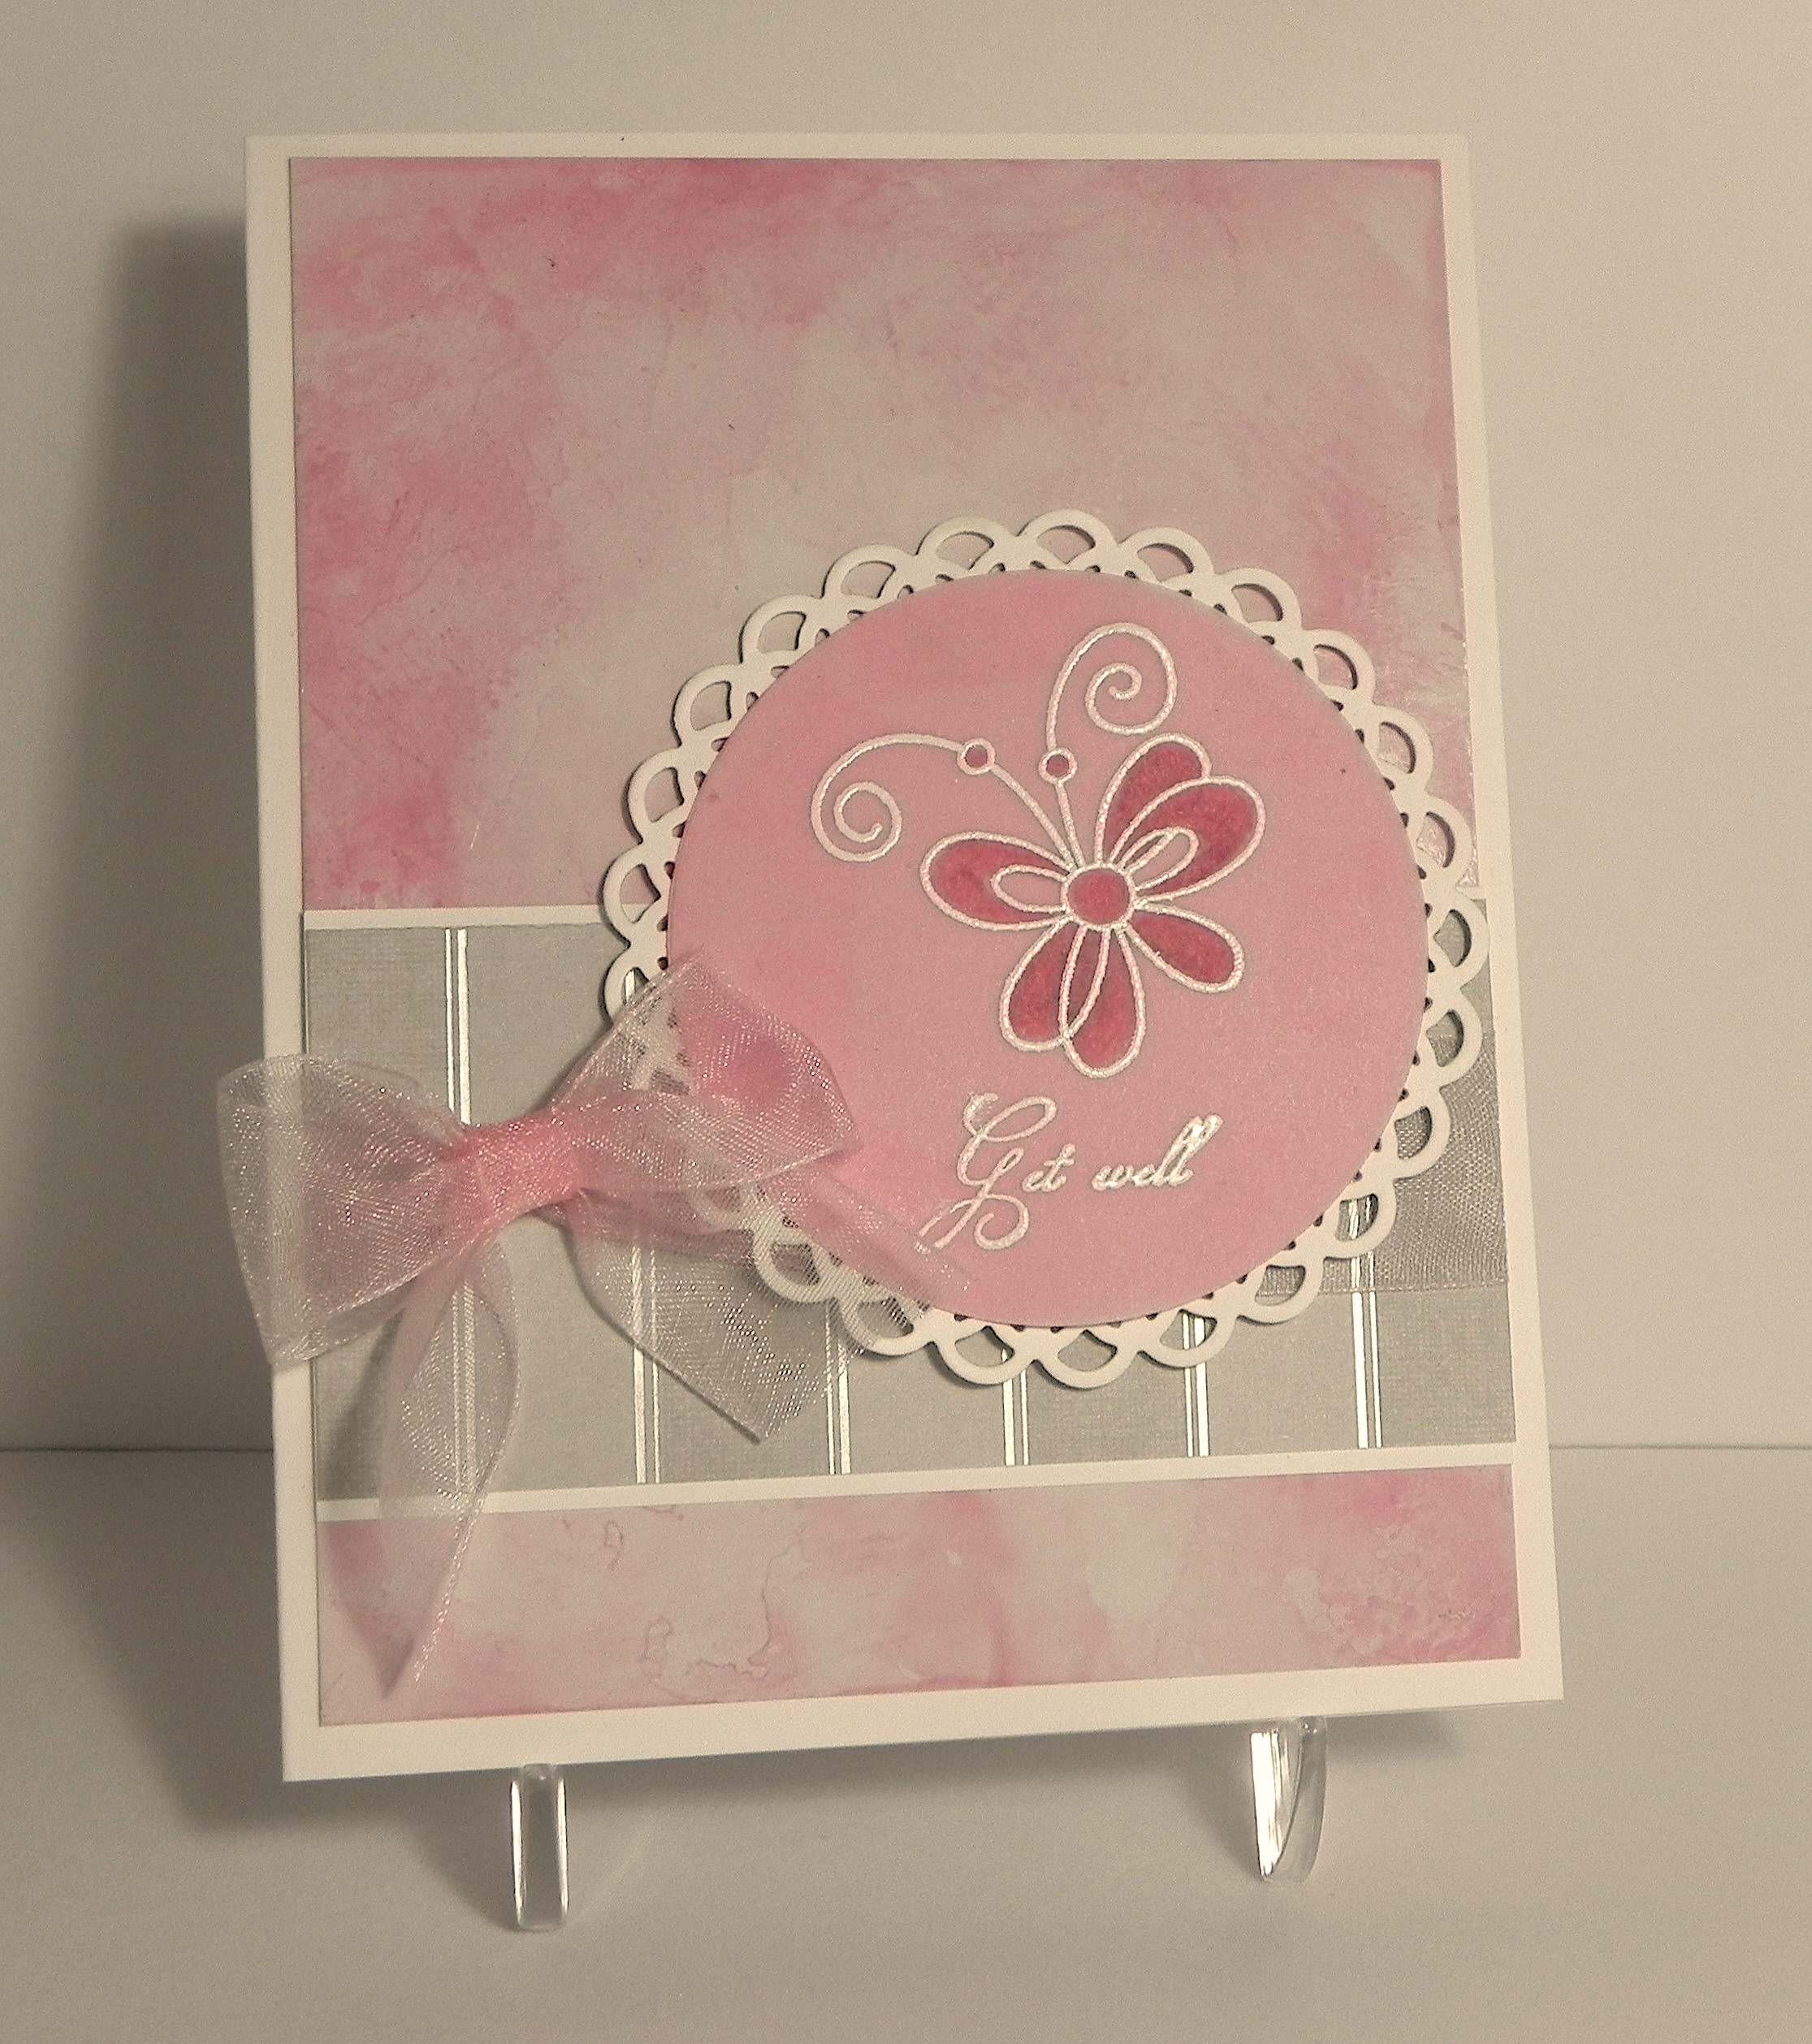
(Click HERE to see original card post.)
Making the “perfect bow” for your project is easy to do, and you don’t even need fancy tools to do it! While there is a variety of bow makers on the market, I’m going to show you how to make a beautiful bow using something I am sure you have plenty of in your home – cardboard or chipboard.
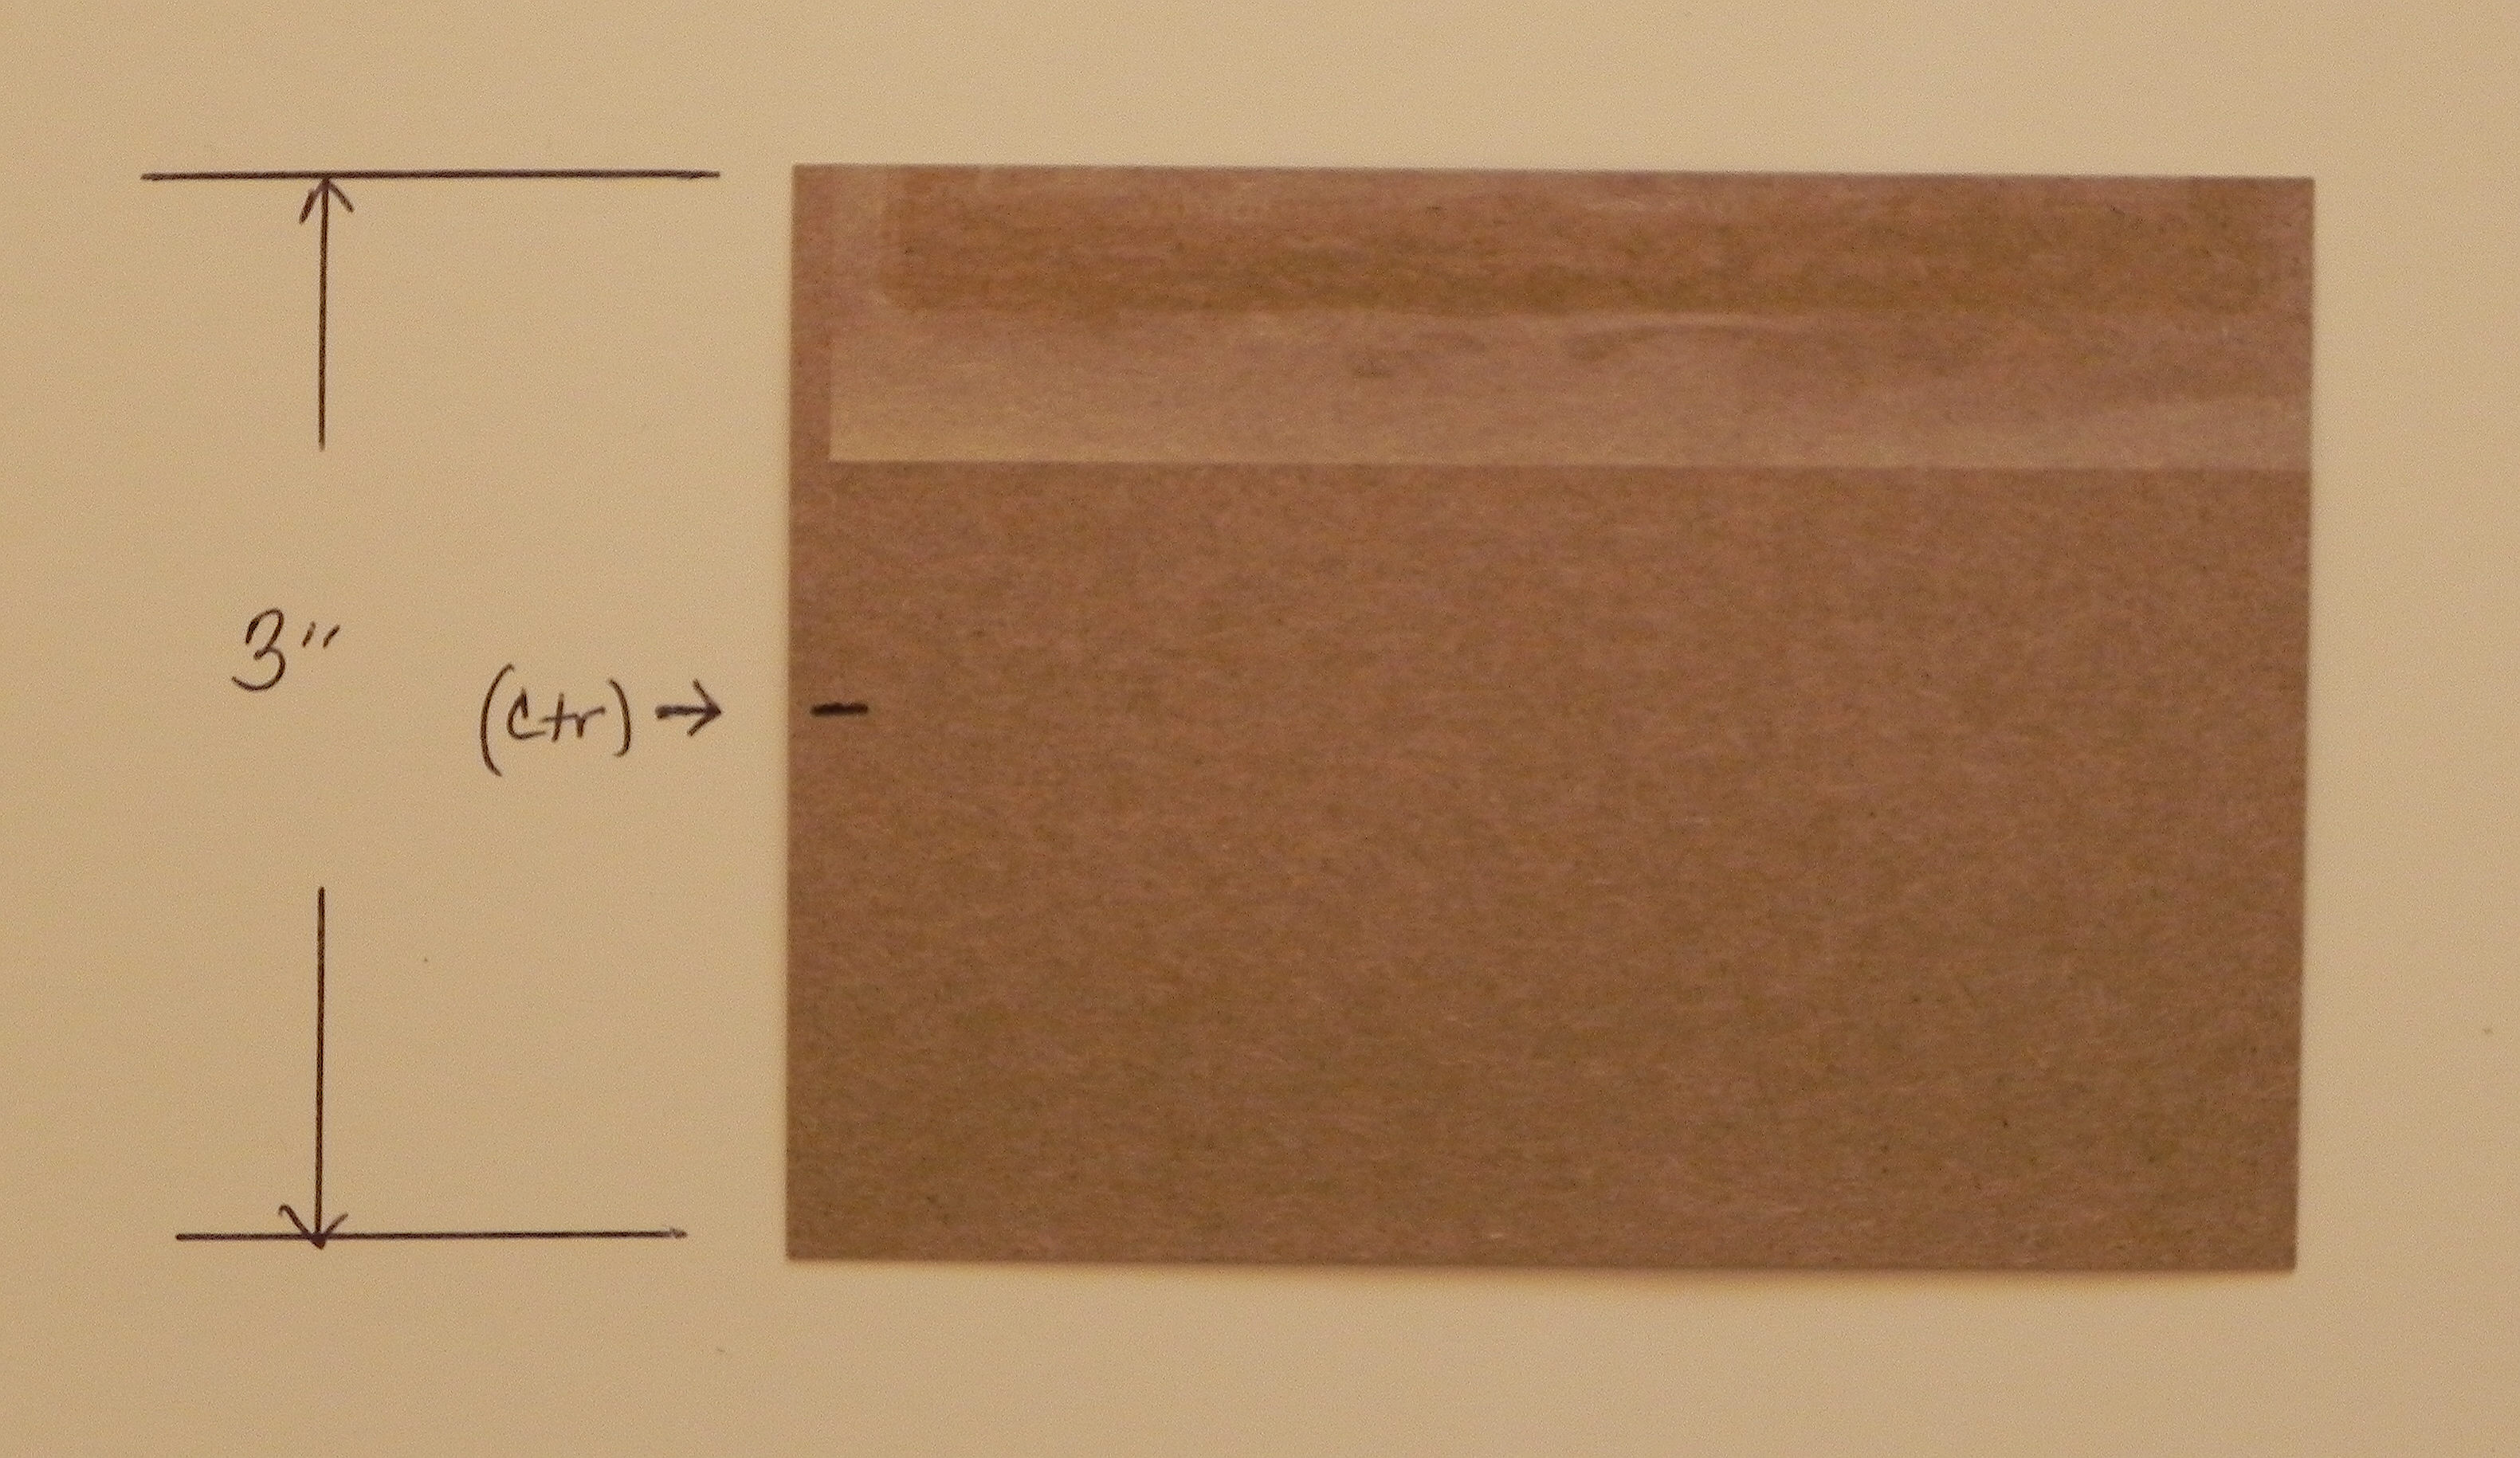
First, you need to make your tool:
For my demonstration, I used a scrap of a pasta box. Any piece of sturdy cardboard or chipboard will do.

I trimmed the chipboard to 3 inches wide since I wanted to make a bow that was 3 inches wide. (If you wanted to make a 2 inch bow, trim your chipboard to 2 inches, etc.) It doesn’t really matter how long it is; it just needs to be big enough to hold it and work with it as you will see below.

Find the center, and cut a slit about a quarter inch wide and longer than the width of your ribbon. (I find it much easier to work with the tool when this slit is long – the longer the better!)

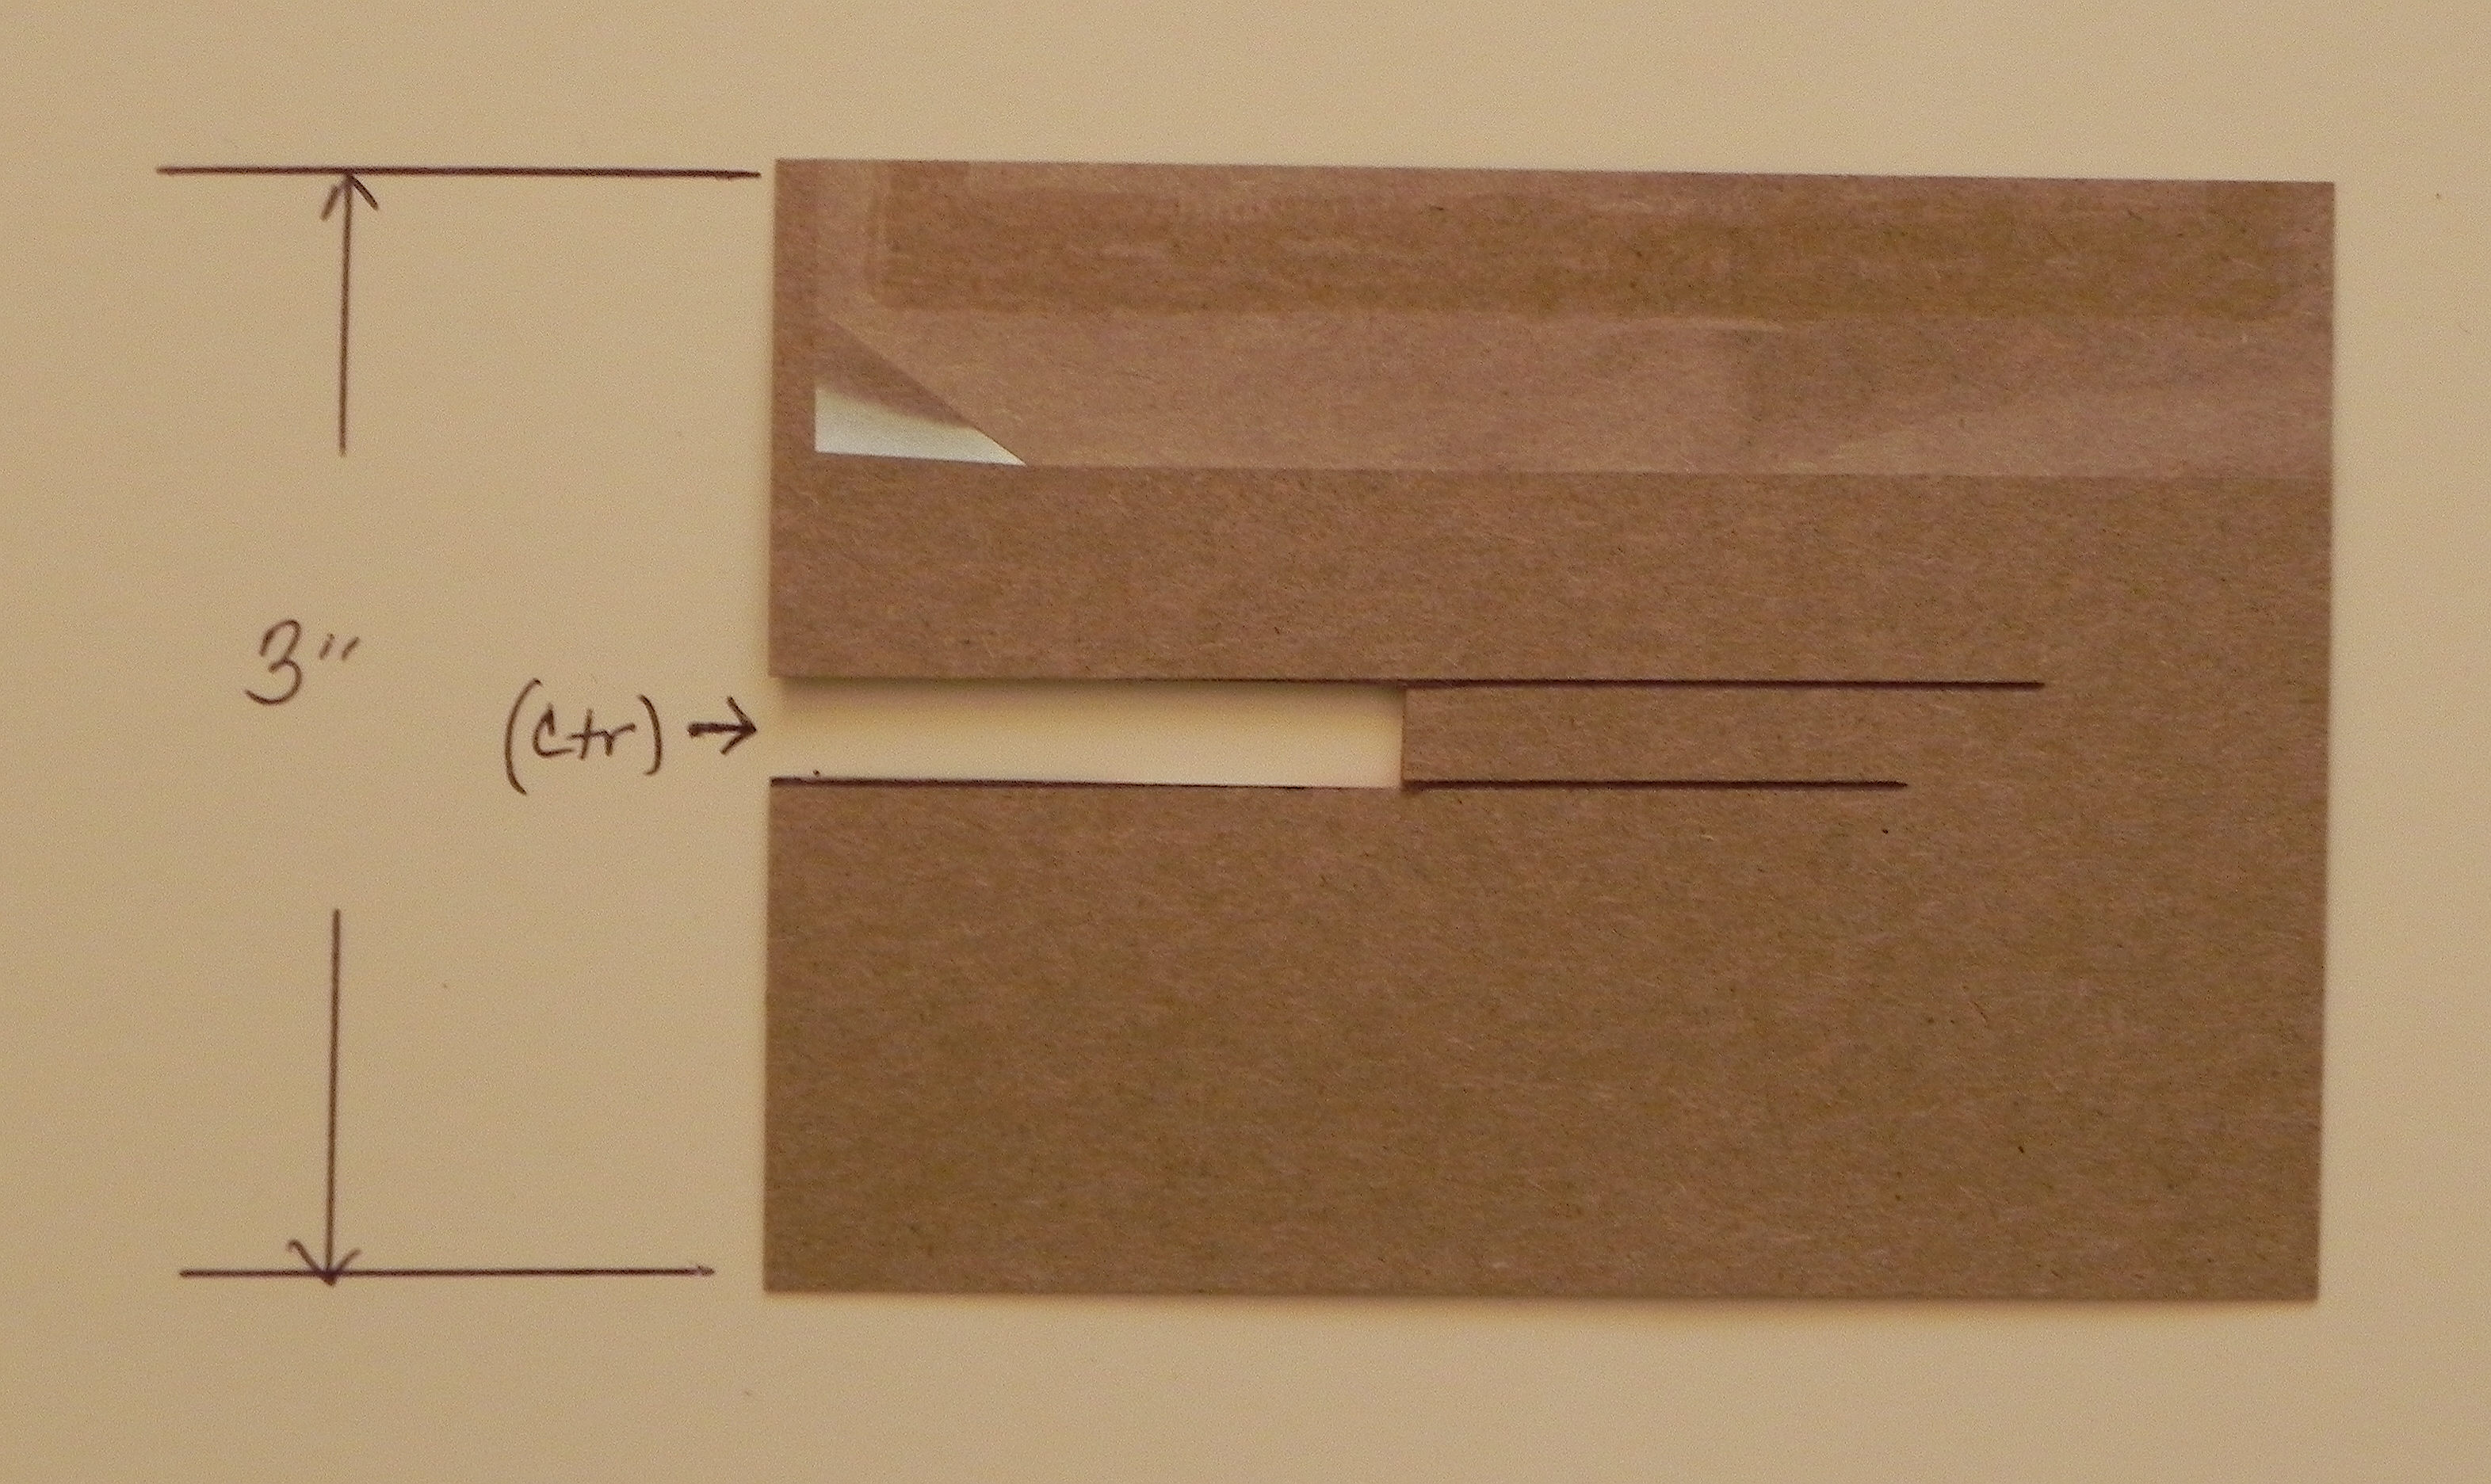
That’s it! You have a bow making tool. You can make a number of them in different sizes to have on hand, or you can make them as you need them!
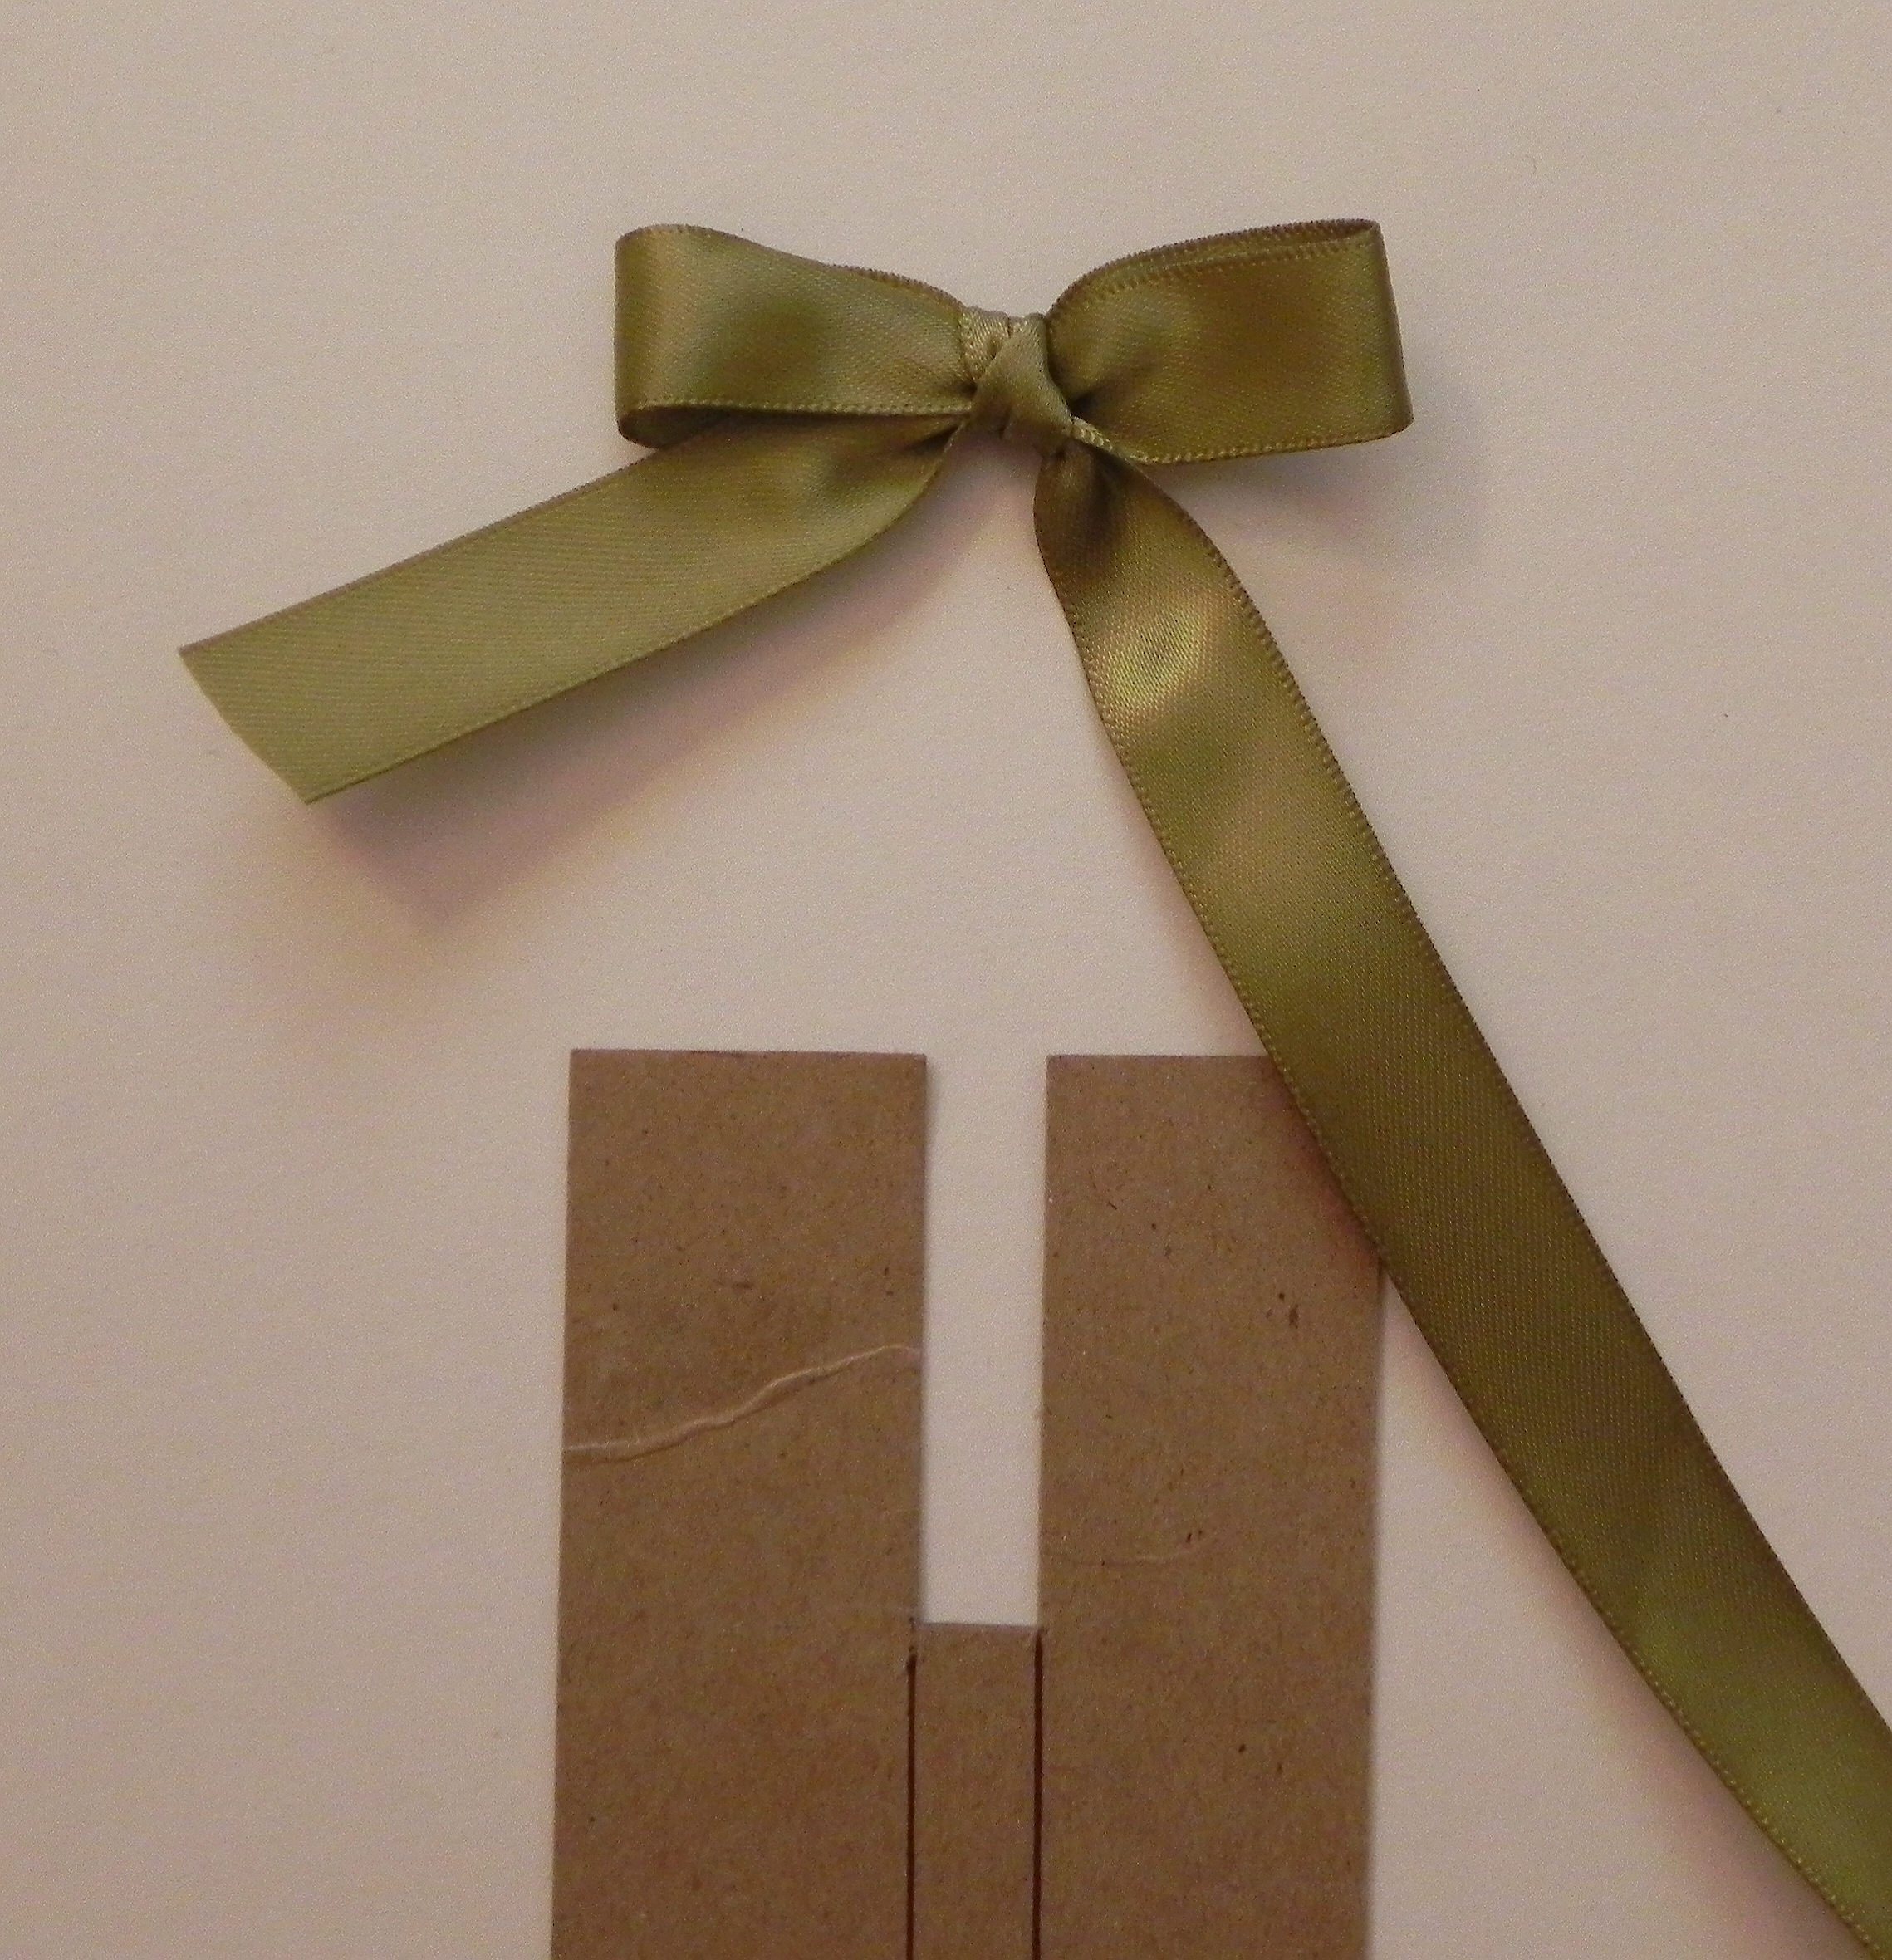
Here is your tool in action! (Pictured below is a double looped bow.)


And here is how you use the tool to make a bow:
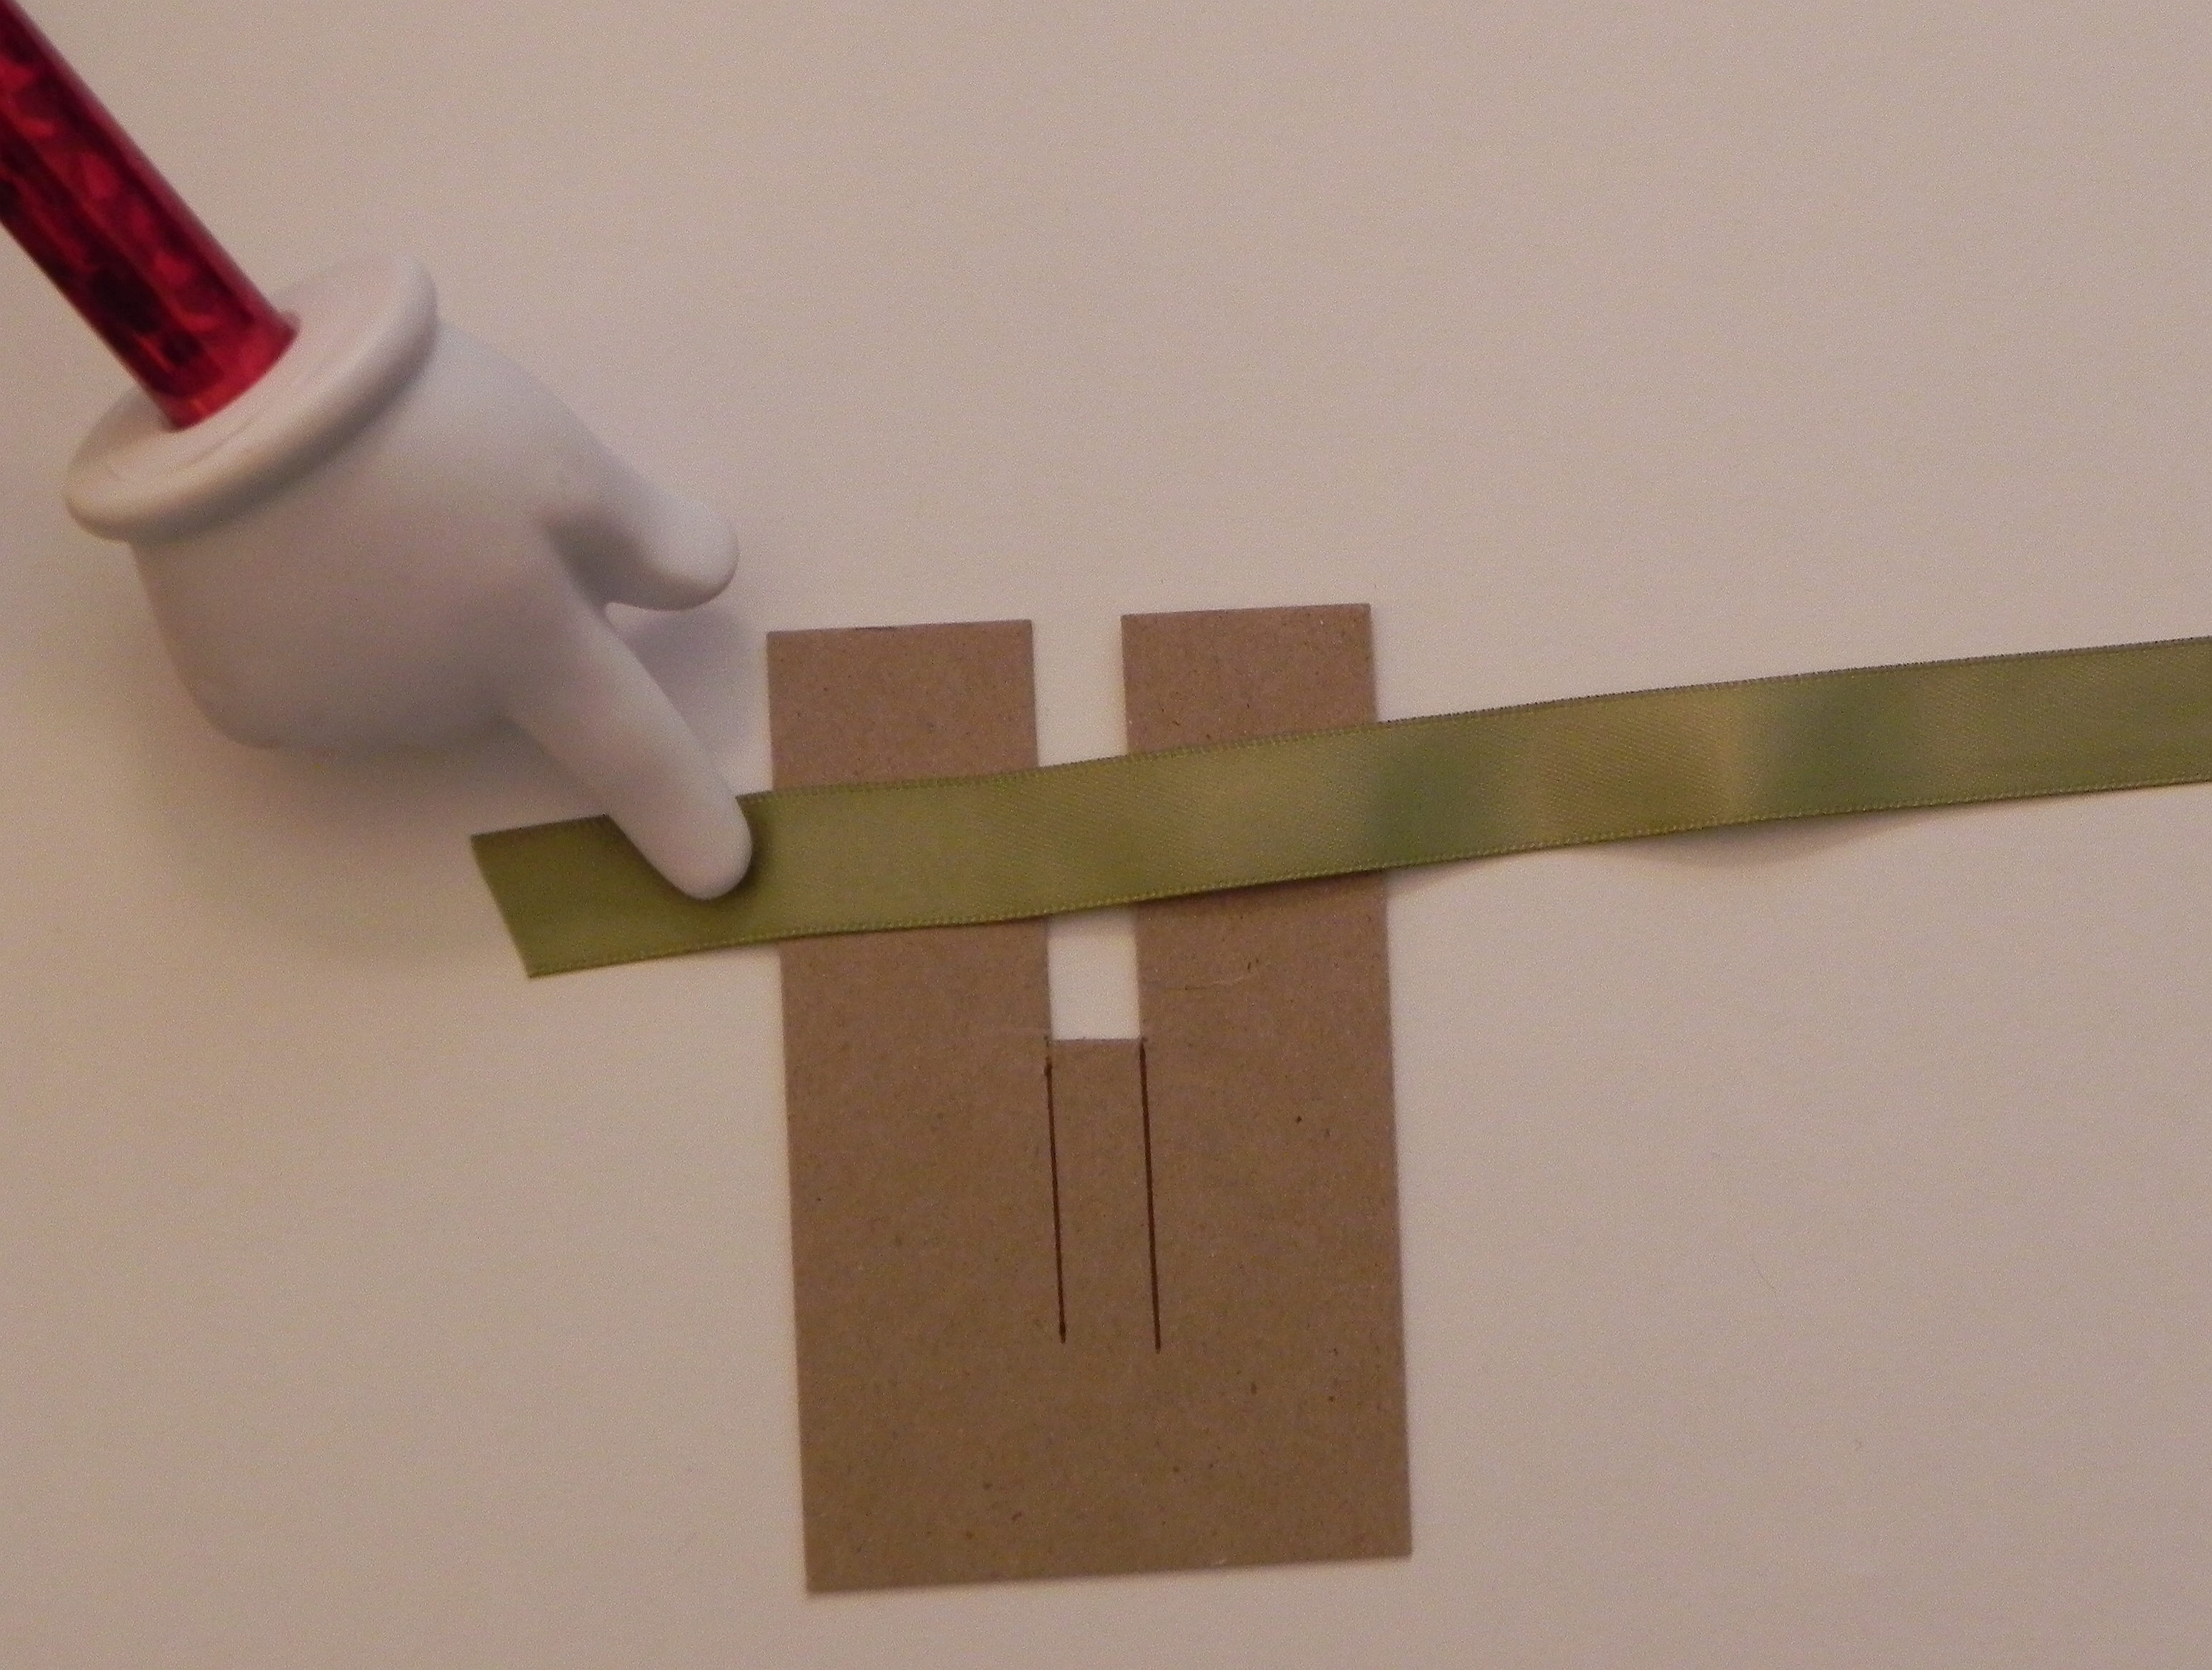
(For purposes of this tutorial, I made my bow with the tool and ribbon on the table so you could see each step without my hands in the way. It is much easier to hold the tool and ribbon while you work. I’m right handed, so I start with my ribbon on the left and hold the ribbon in place against the tool with my left hand. My right hand does all the moving and looping.)
1. Start with one end of the ribbon, and place it on the left side of the tool. This end will not really move at all while you create your bow.
2. Working with the other end of the ribbon from this point forward, wrap it around the tool over the front and to the right and bringing it around the back and to the left.
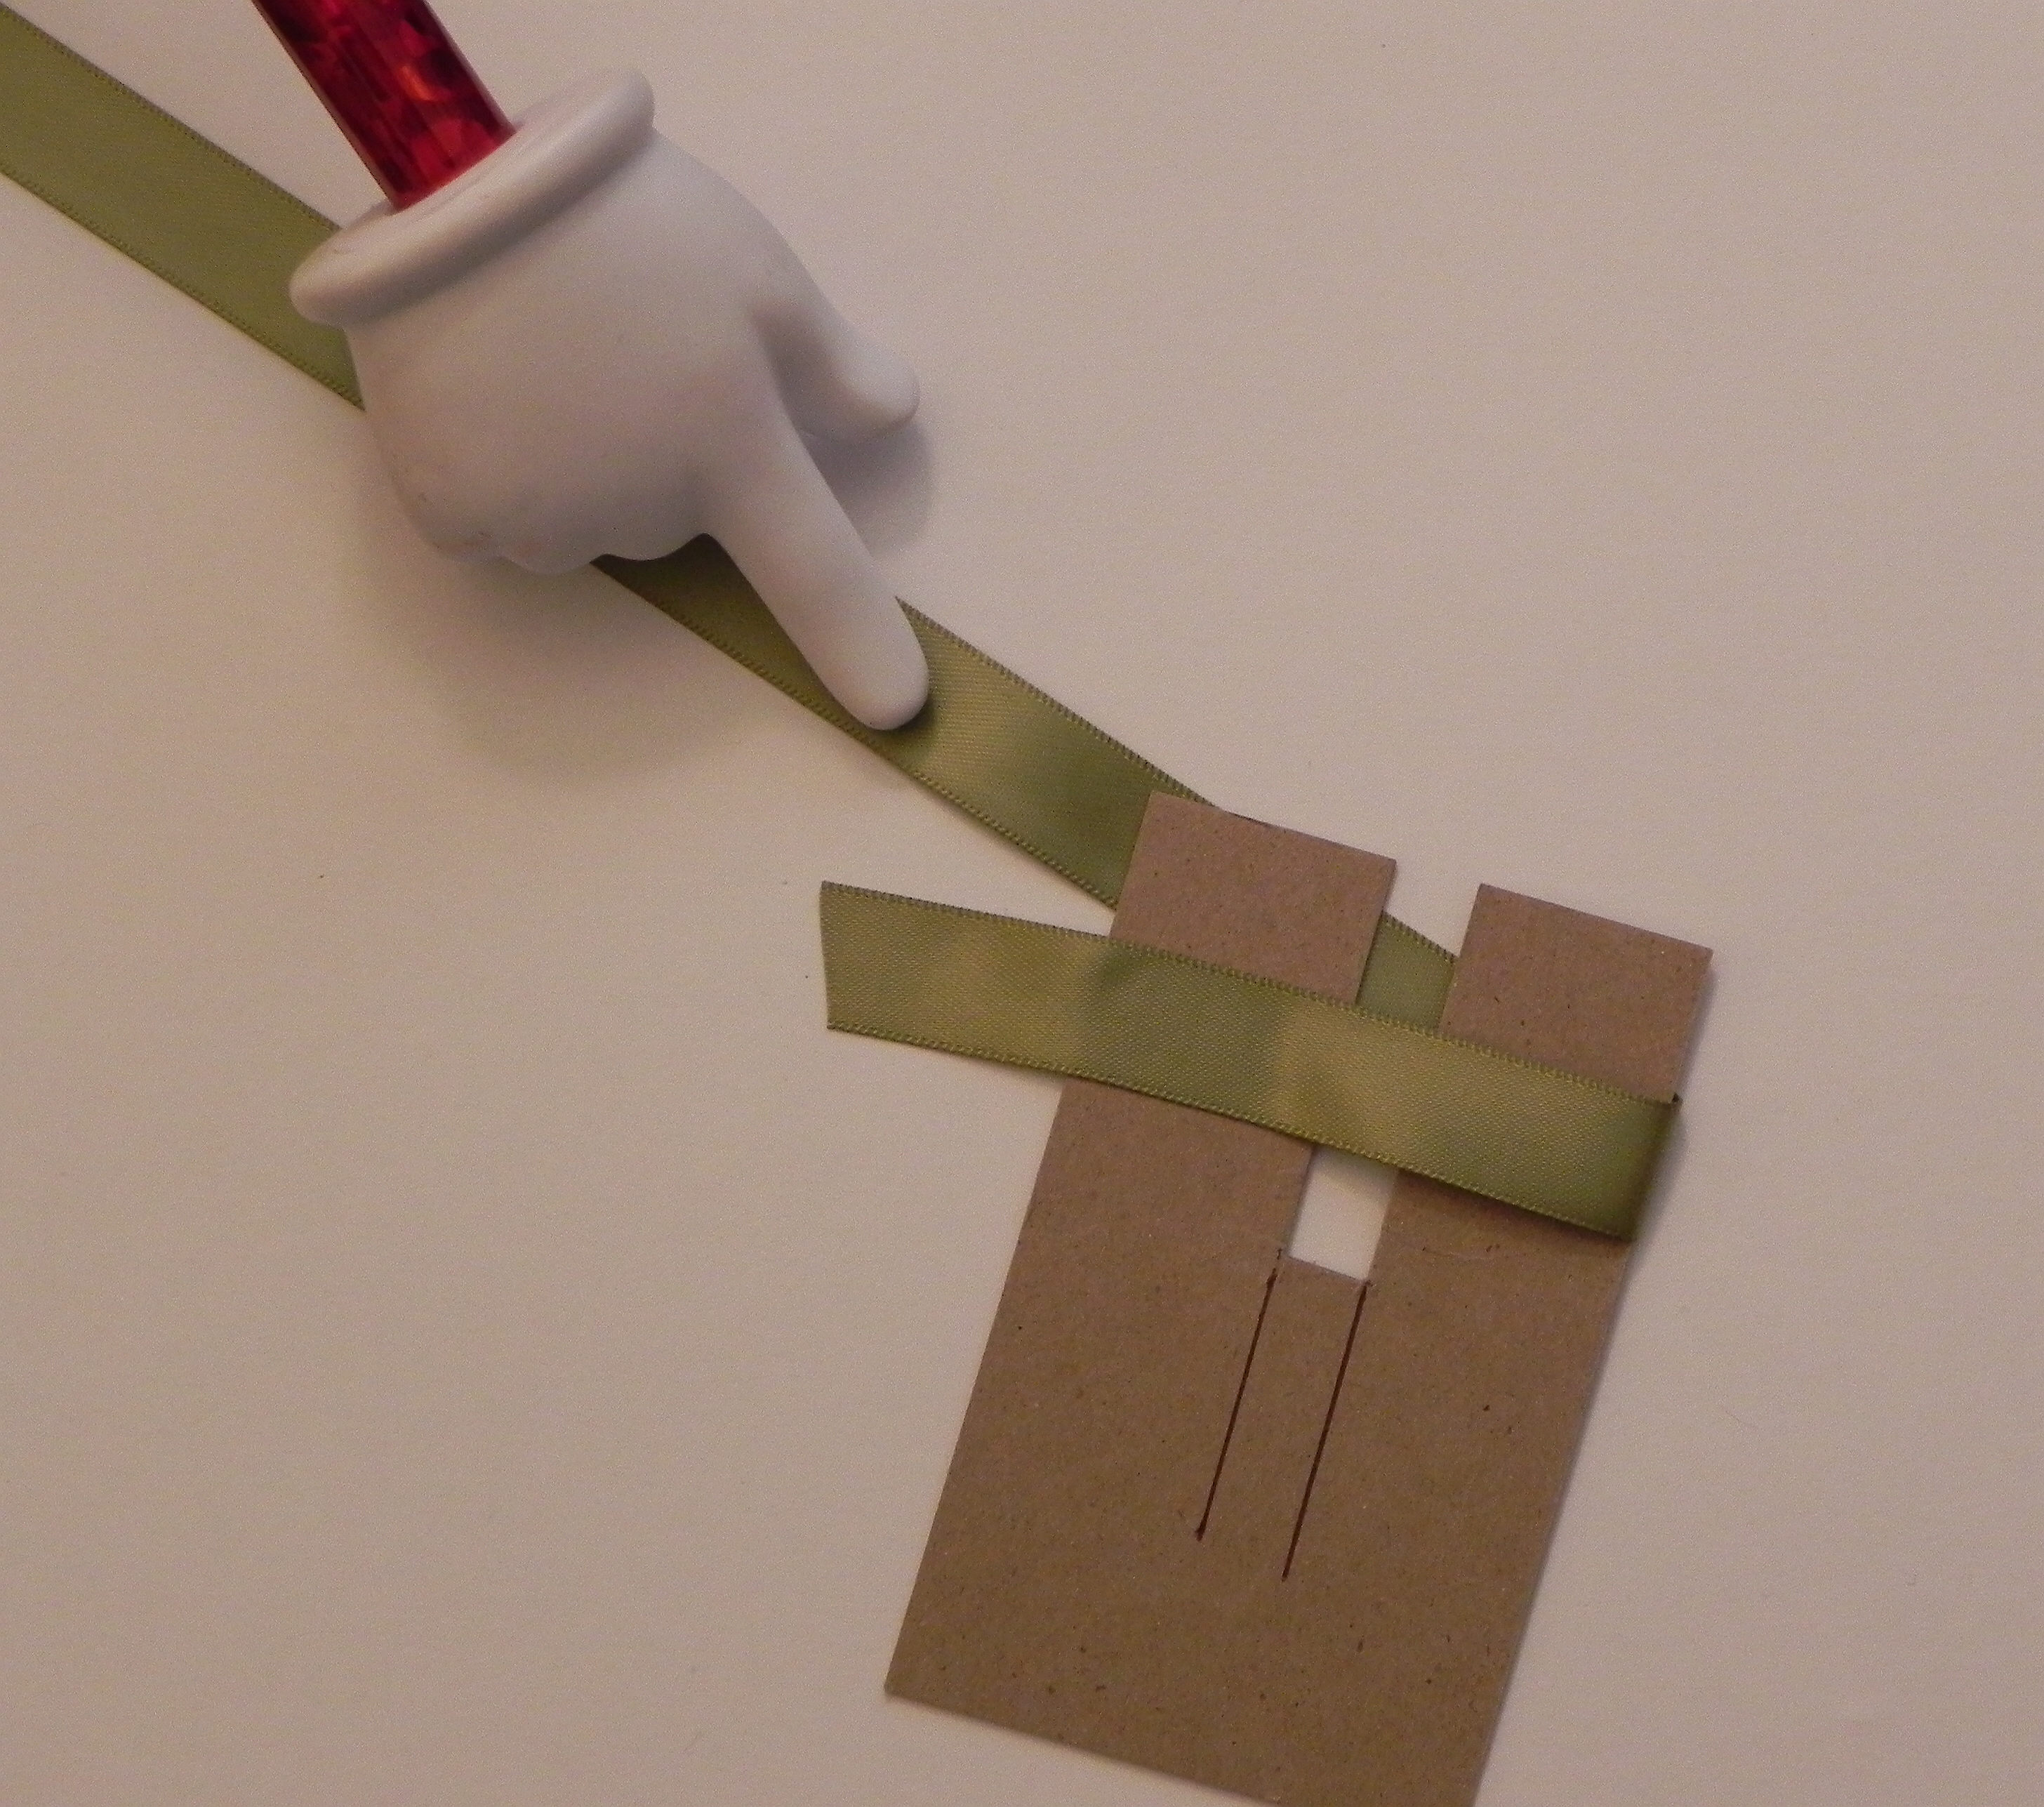
3. Then bring it back to the front (toward the right side).

(To make the double bow pictured above, wrap ribbon around a second time – ending up in the same place pictured above – before moving on to next step.)
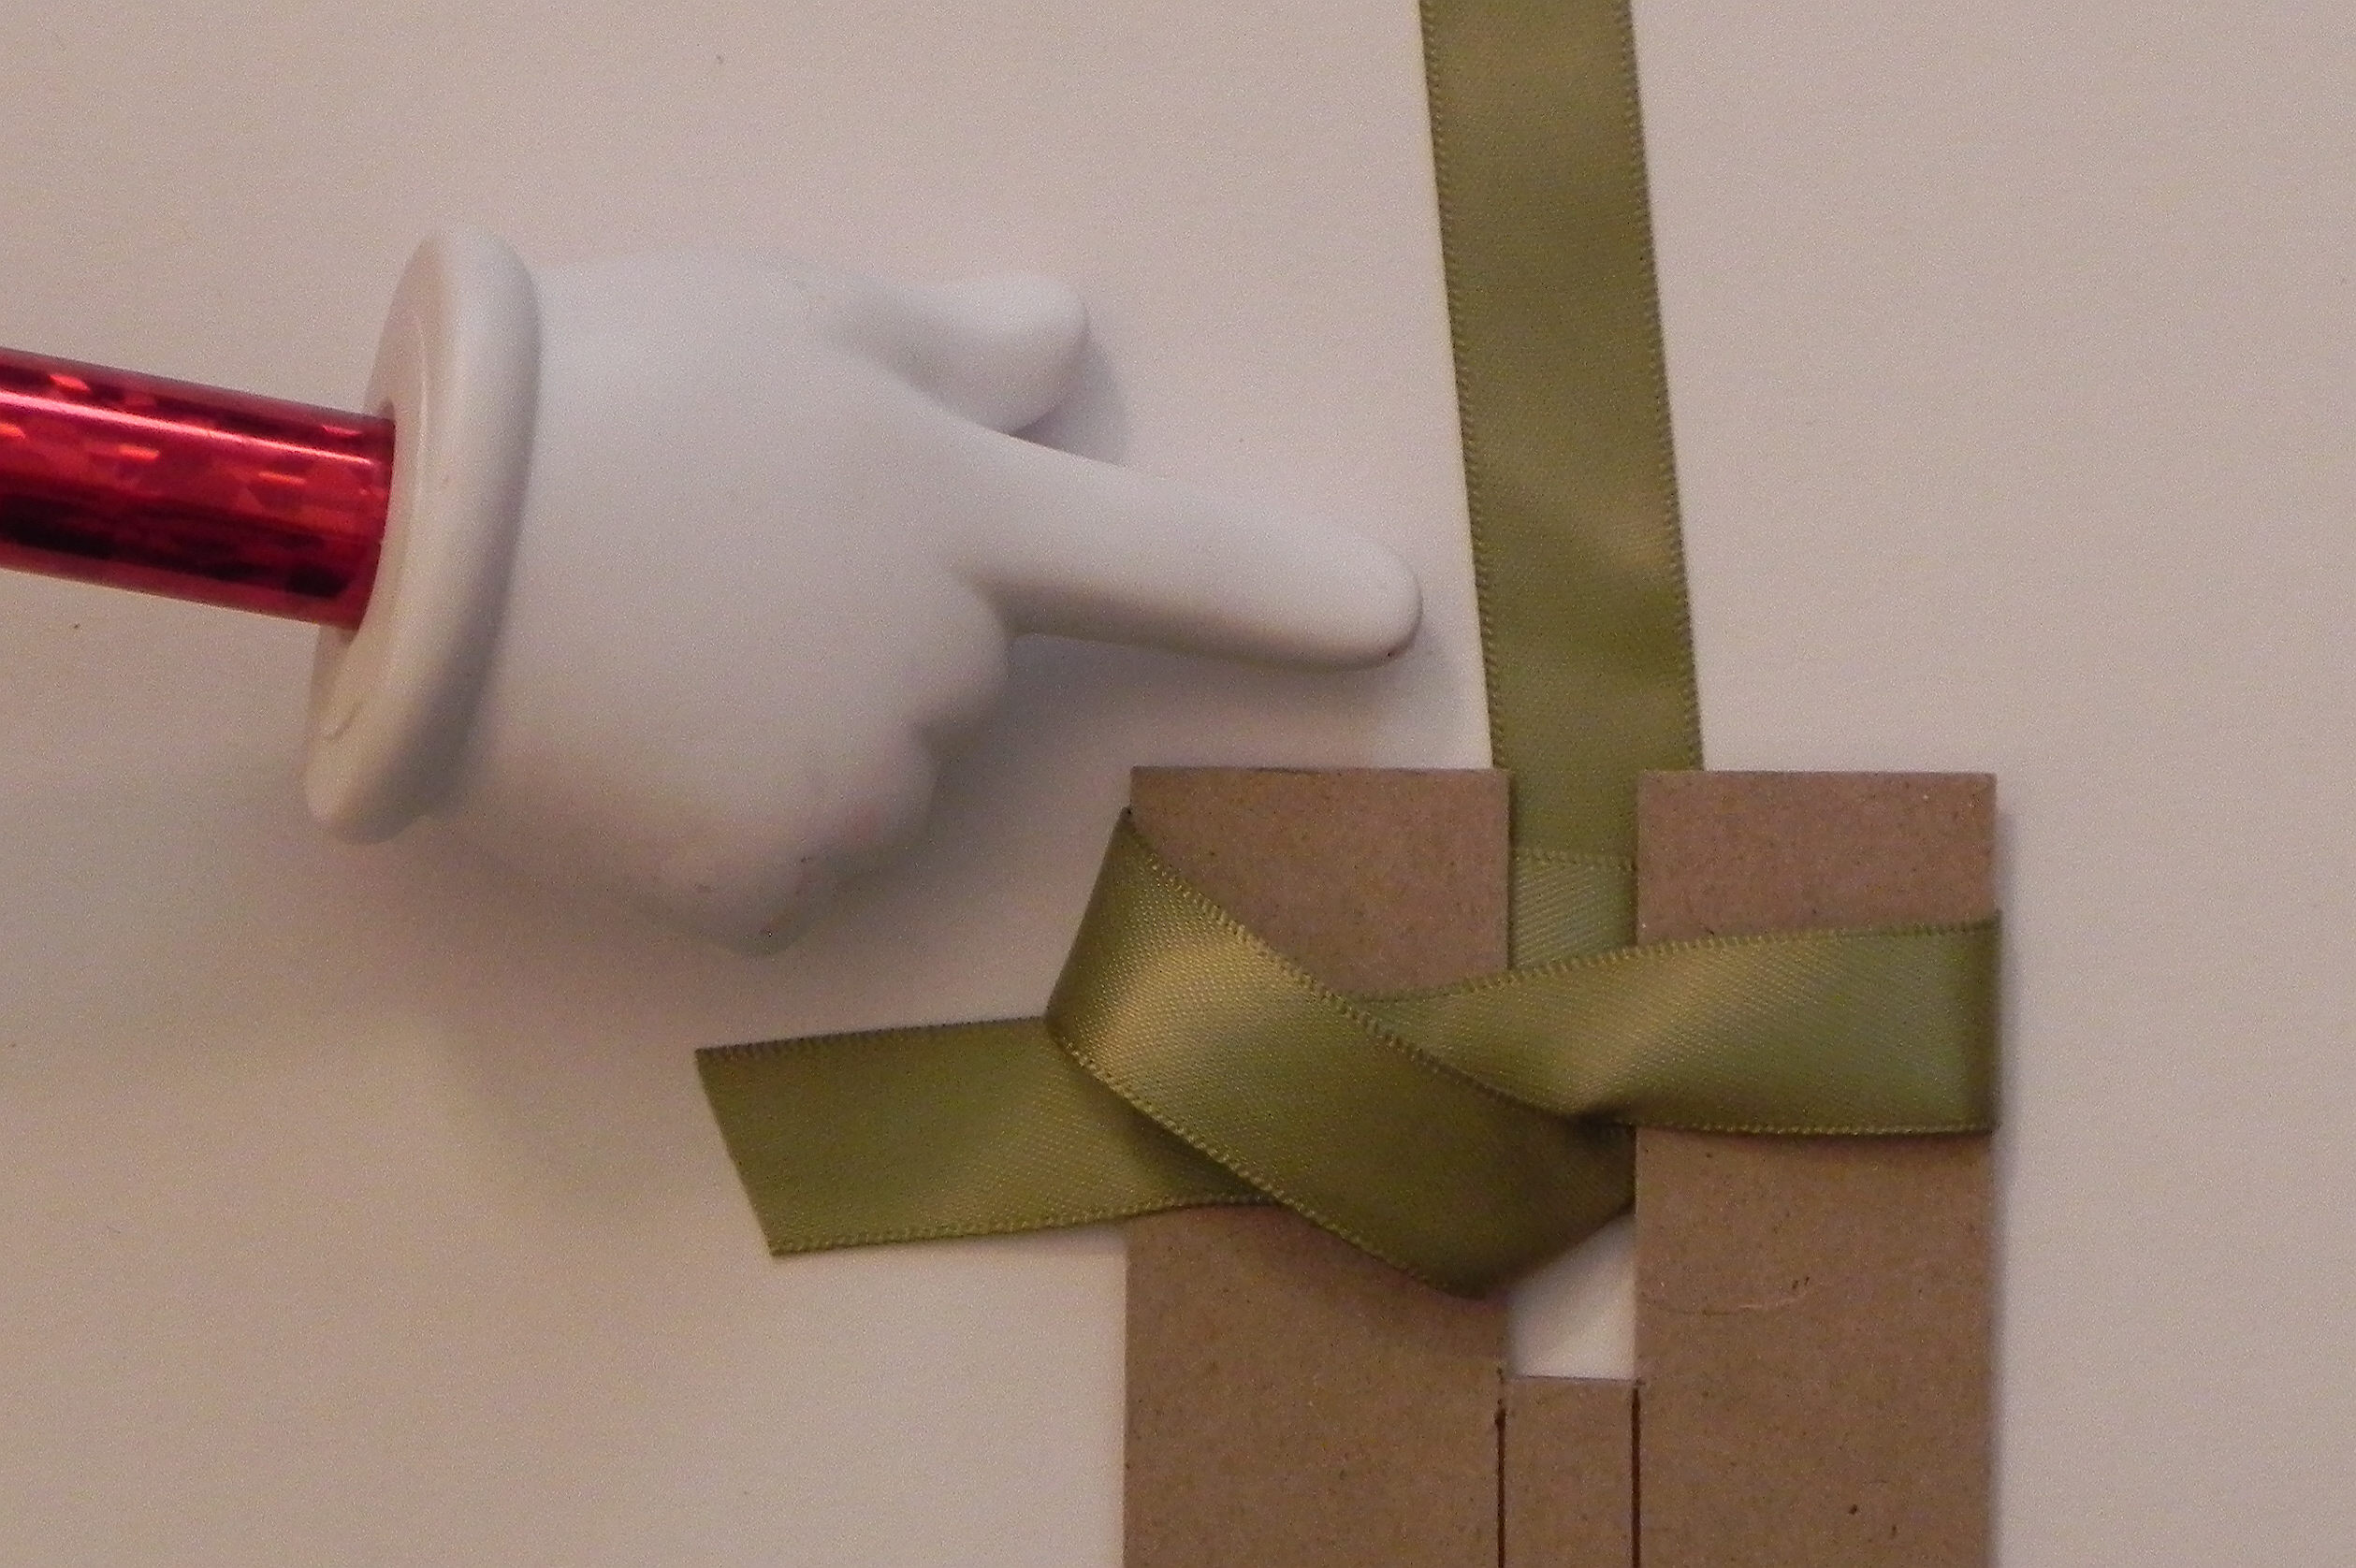
4. See the opening at the bottom of the slit?

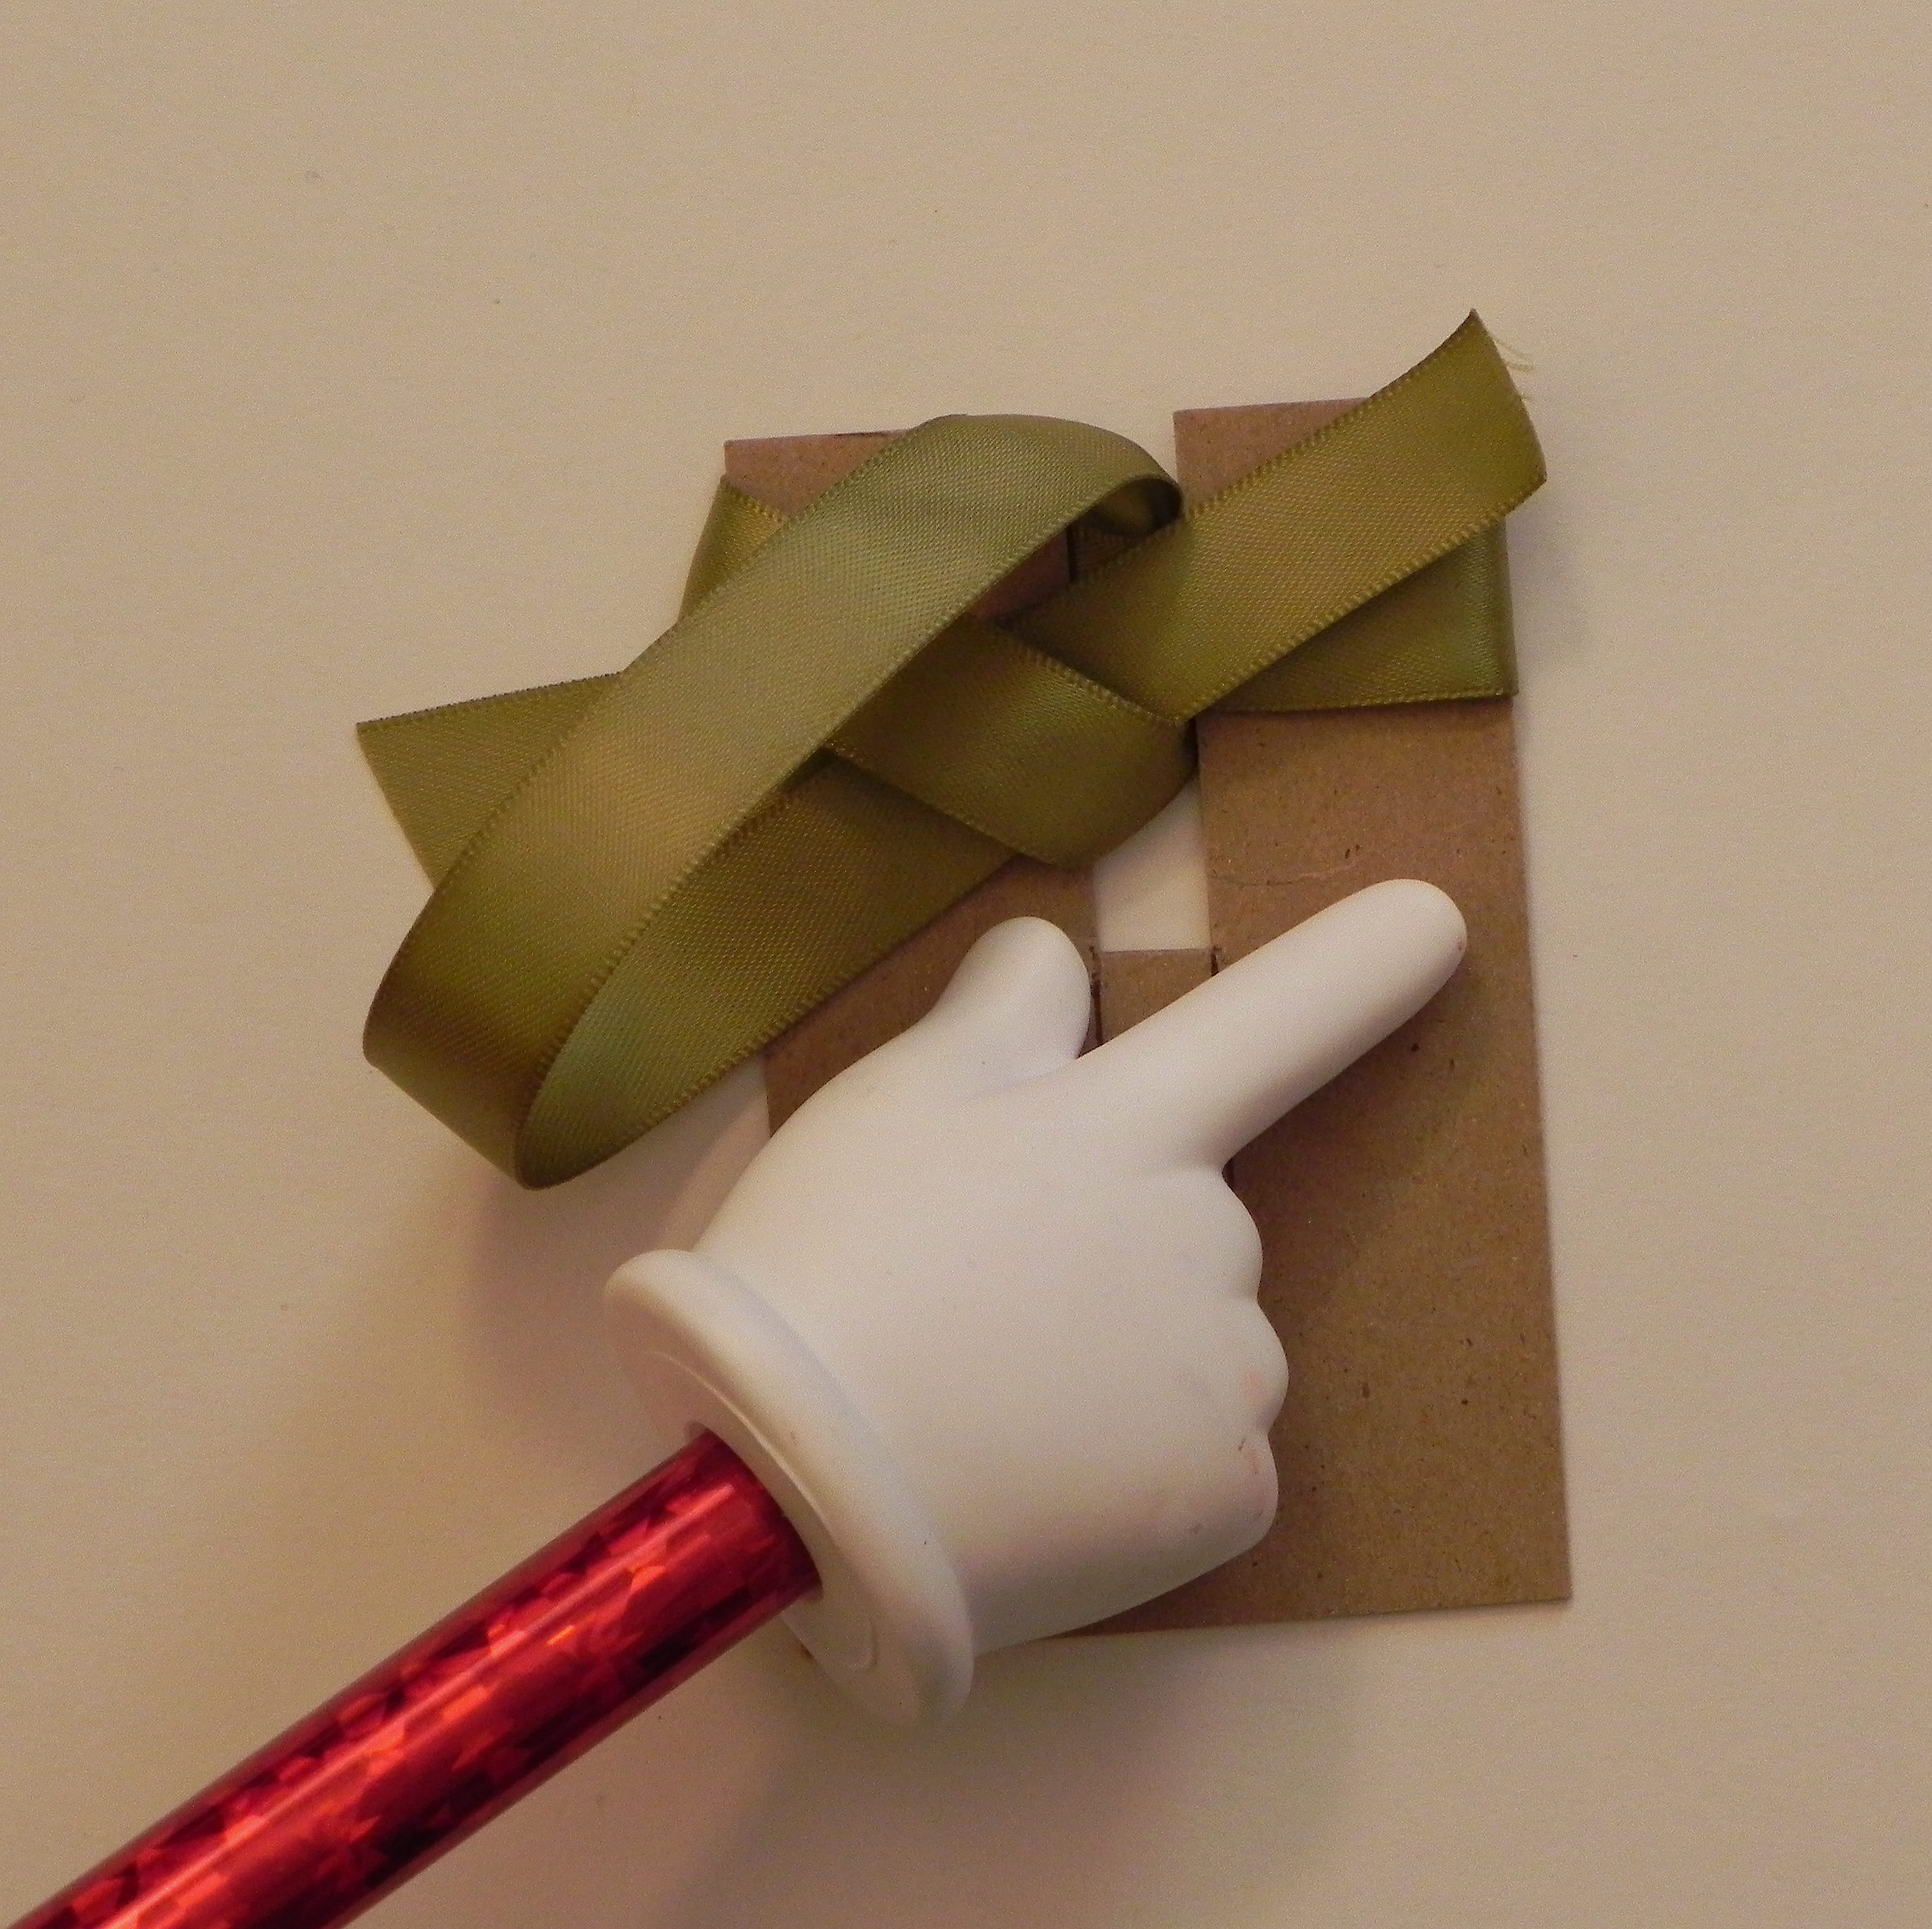
5. Take the end of the side you’ve been wrapping, and insert it in the slit, below your wrapped ribbon.

6. With the ribbon still behind the tool, bring it straight up so it lines up with the slit.
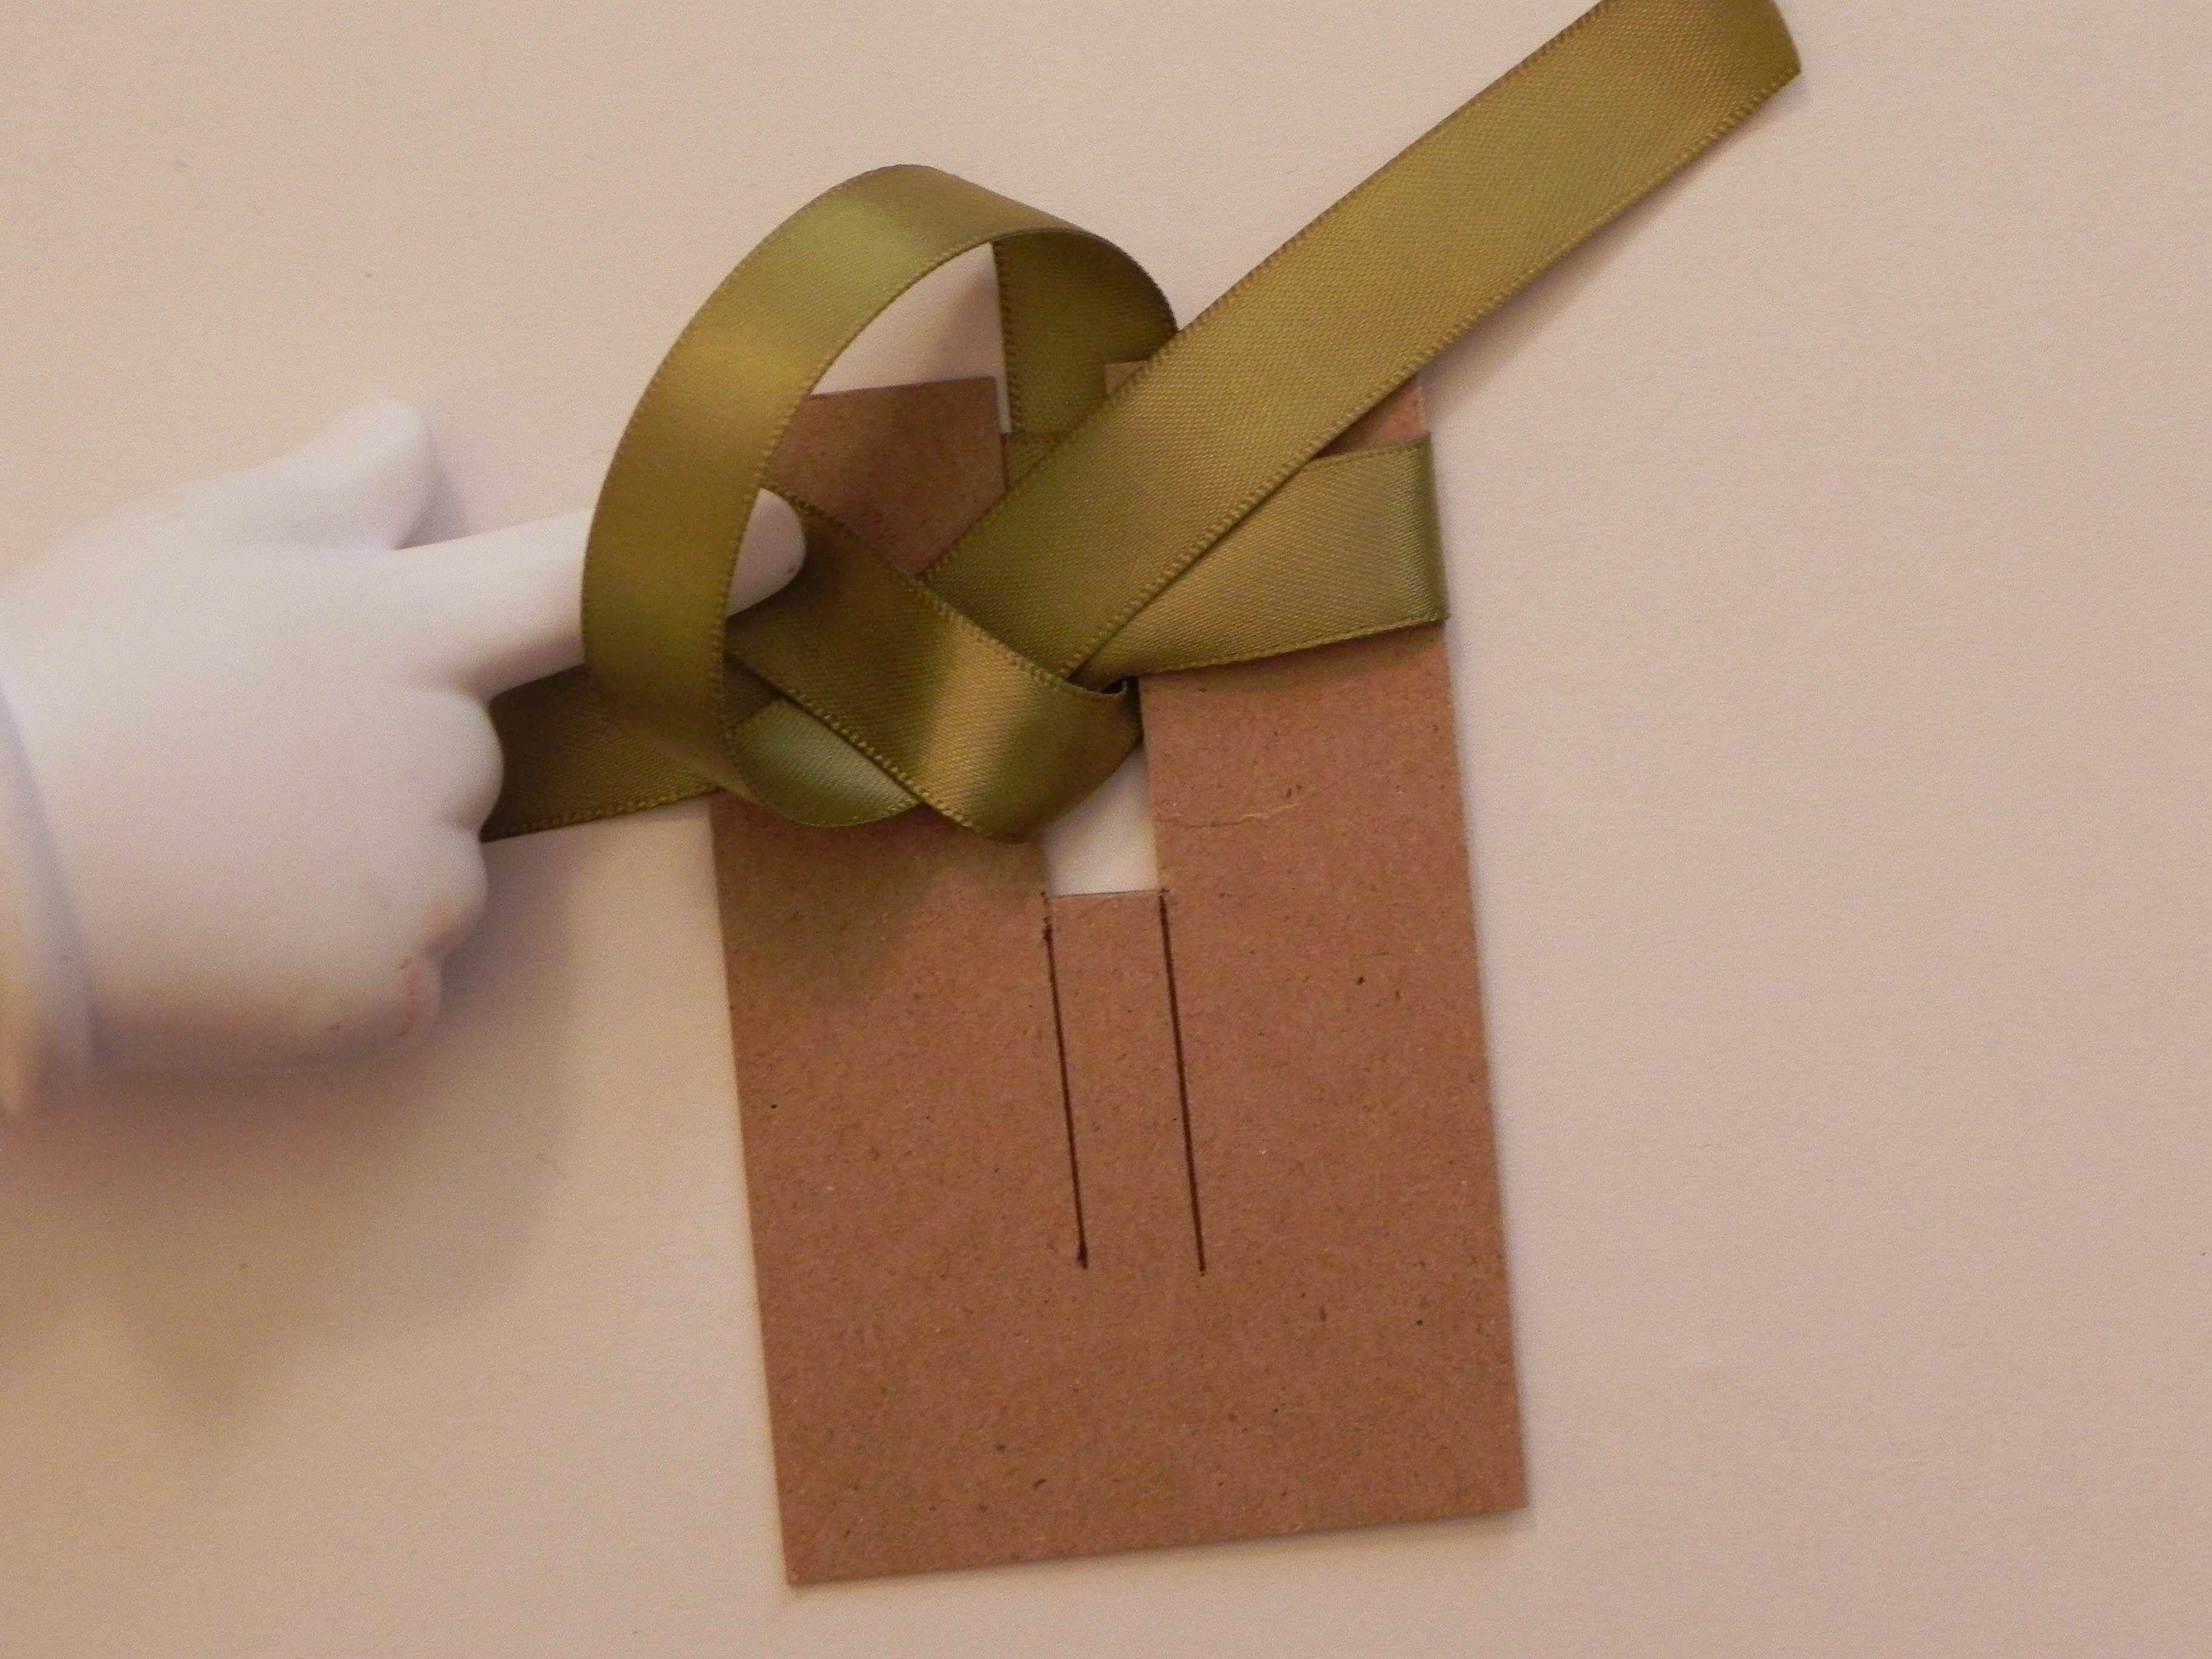
7. See this loop here?

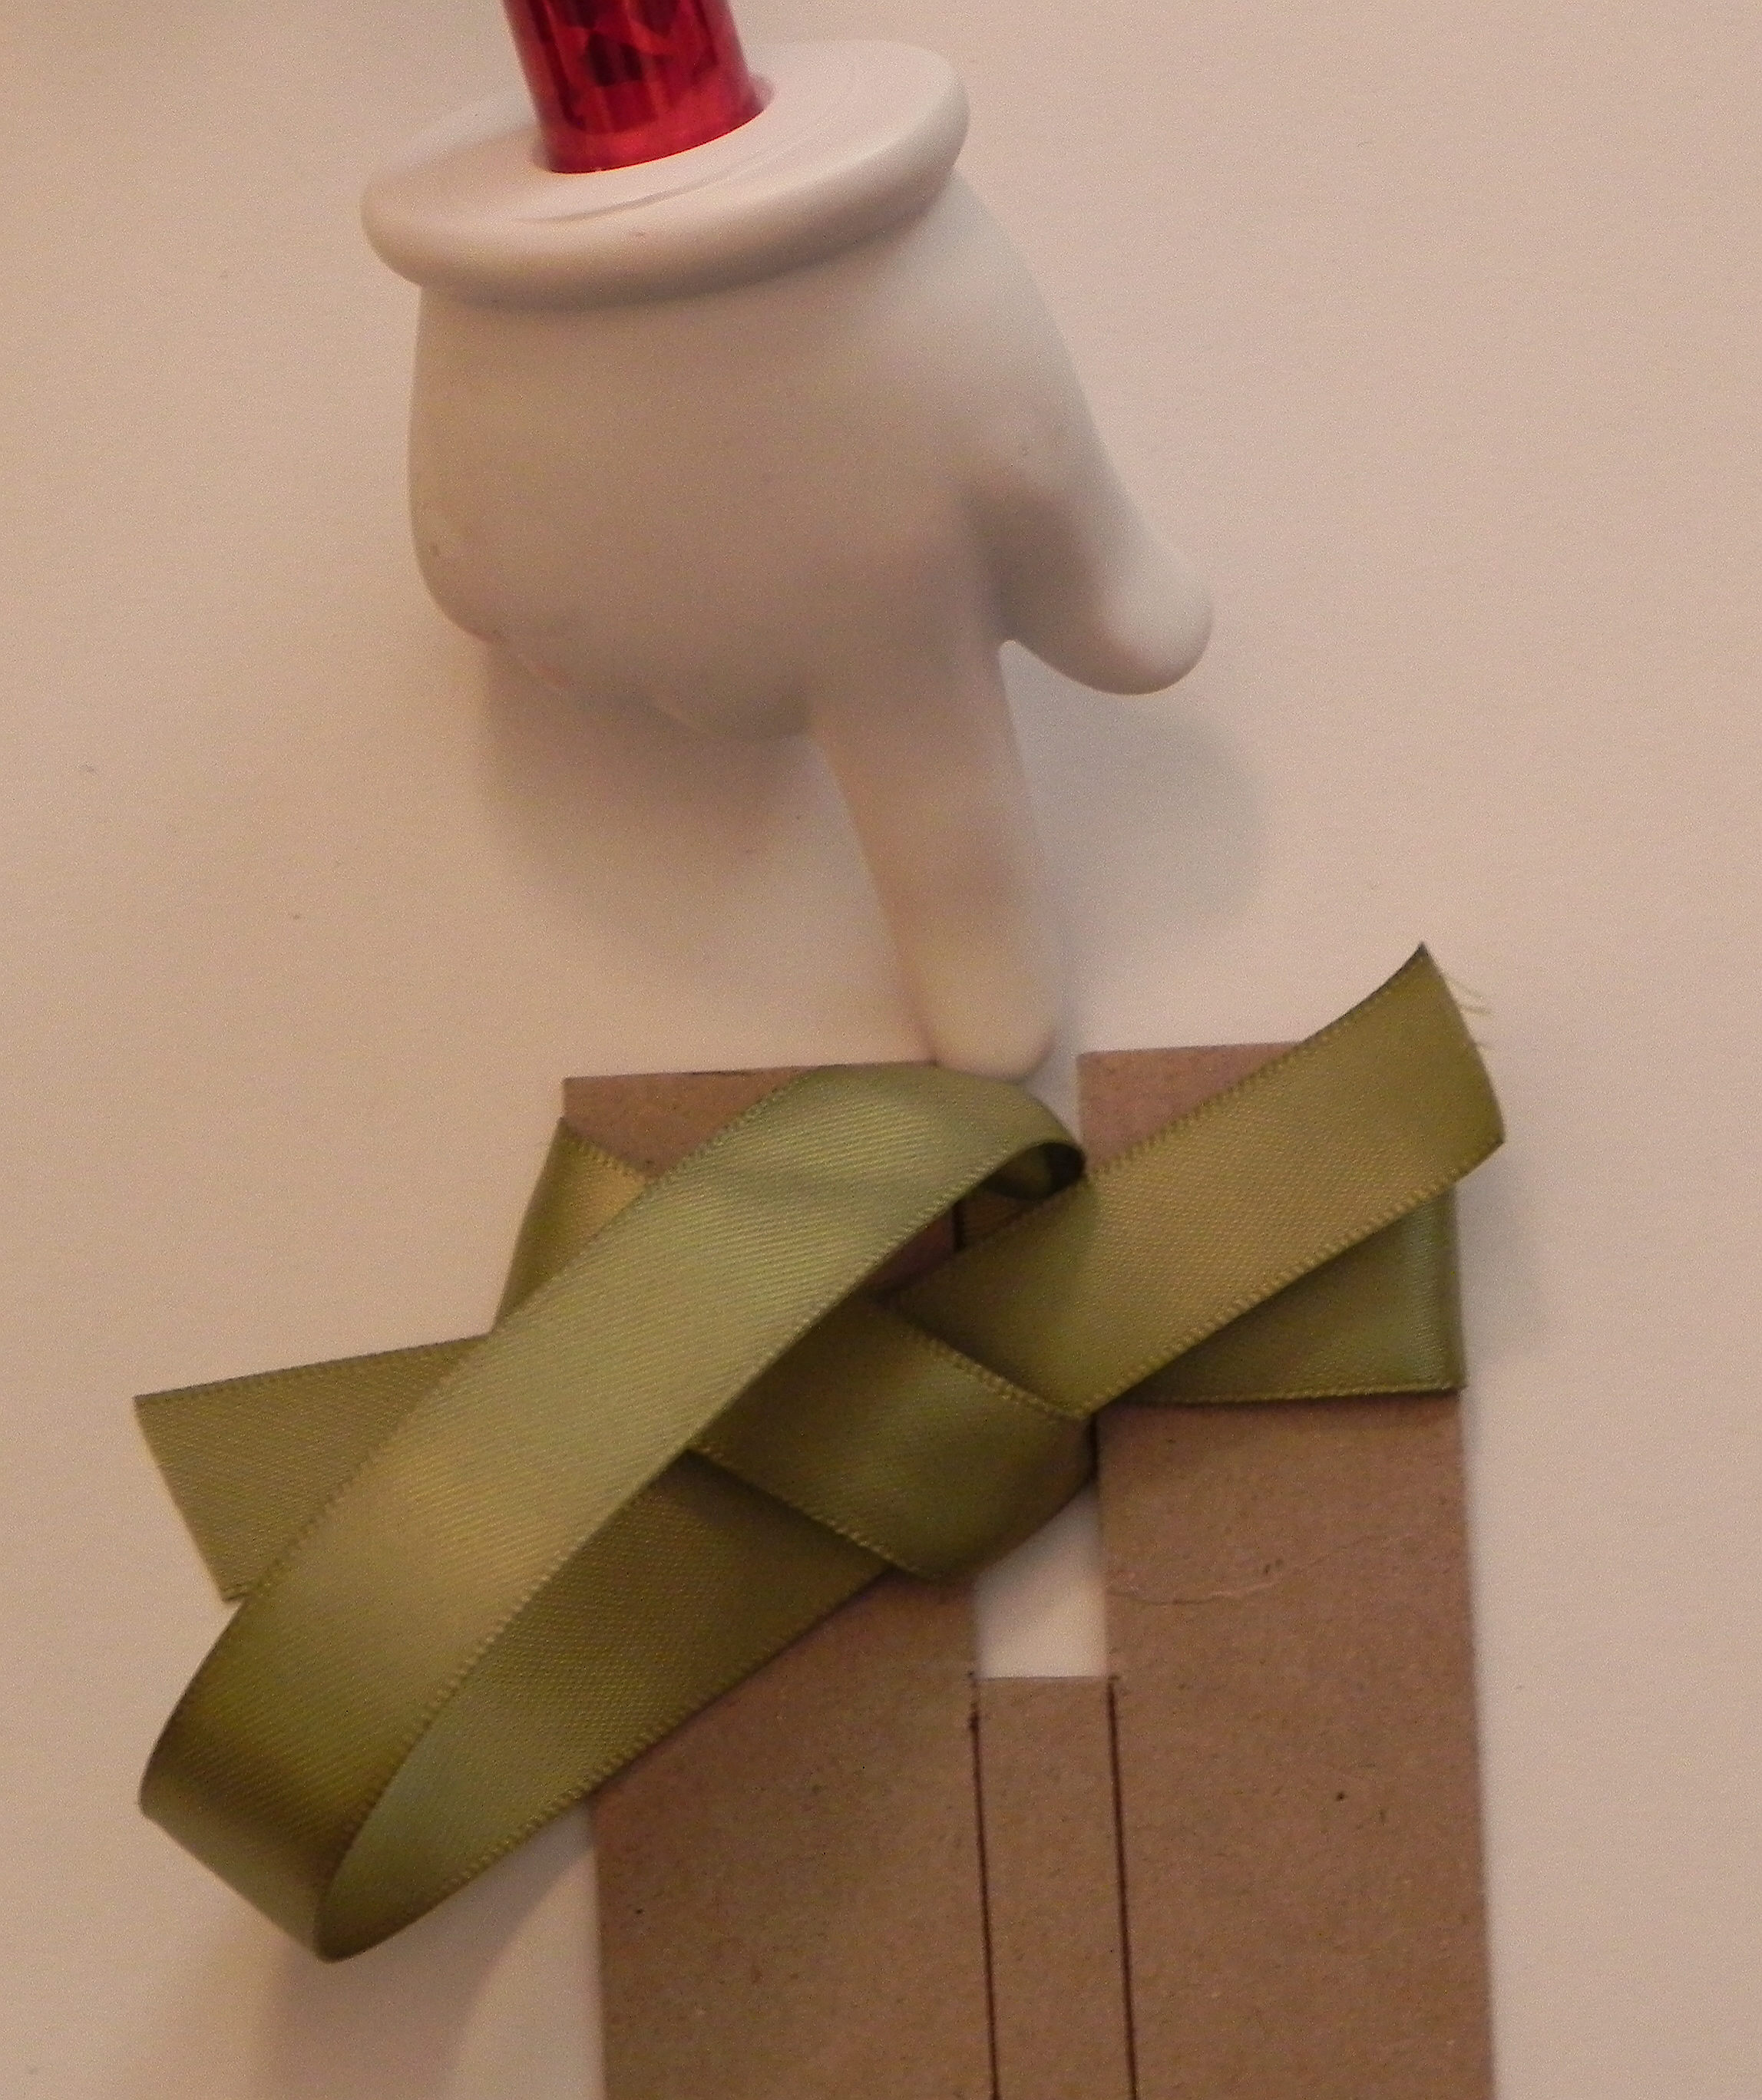
8. Hold this loop down on left.

9. (Here’s where it gets a little tricky to explain!!) Bring the ribbon forward, and feed the end under the loop you are holding (from bottom/left side to top/right side) and staying to the right of the top loop by the slit.
Important: Make sure you pull through in this direction:
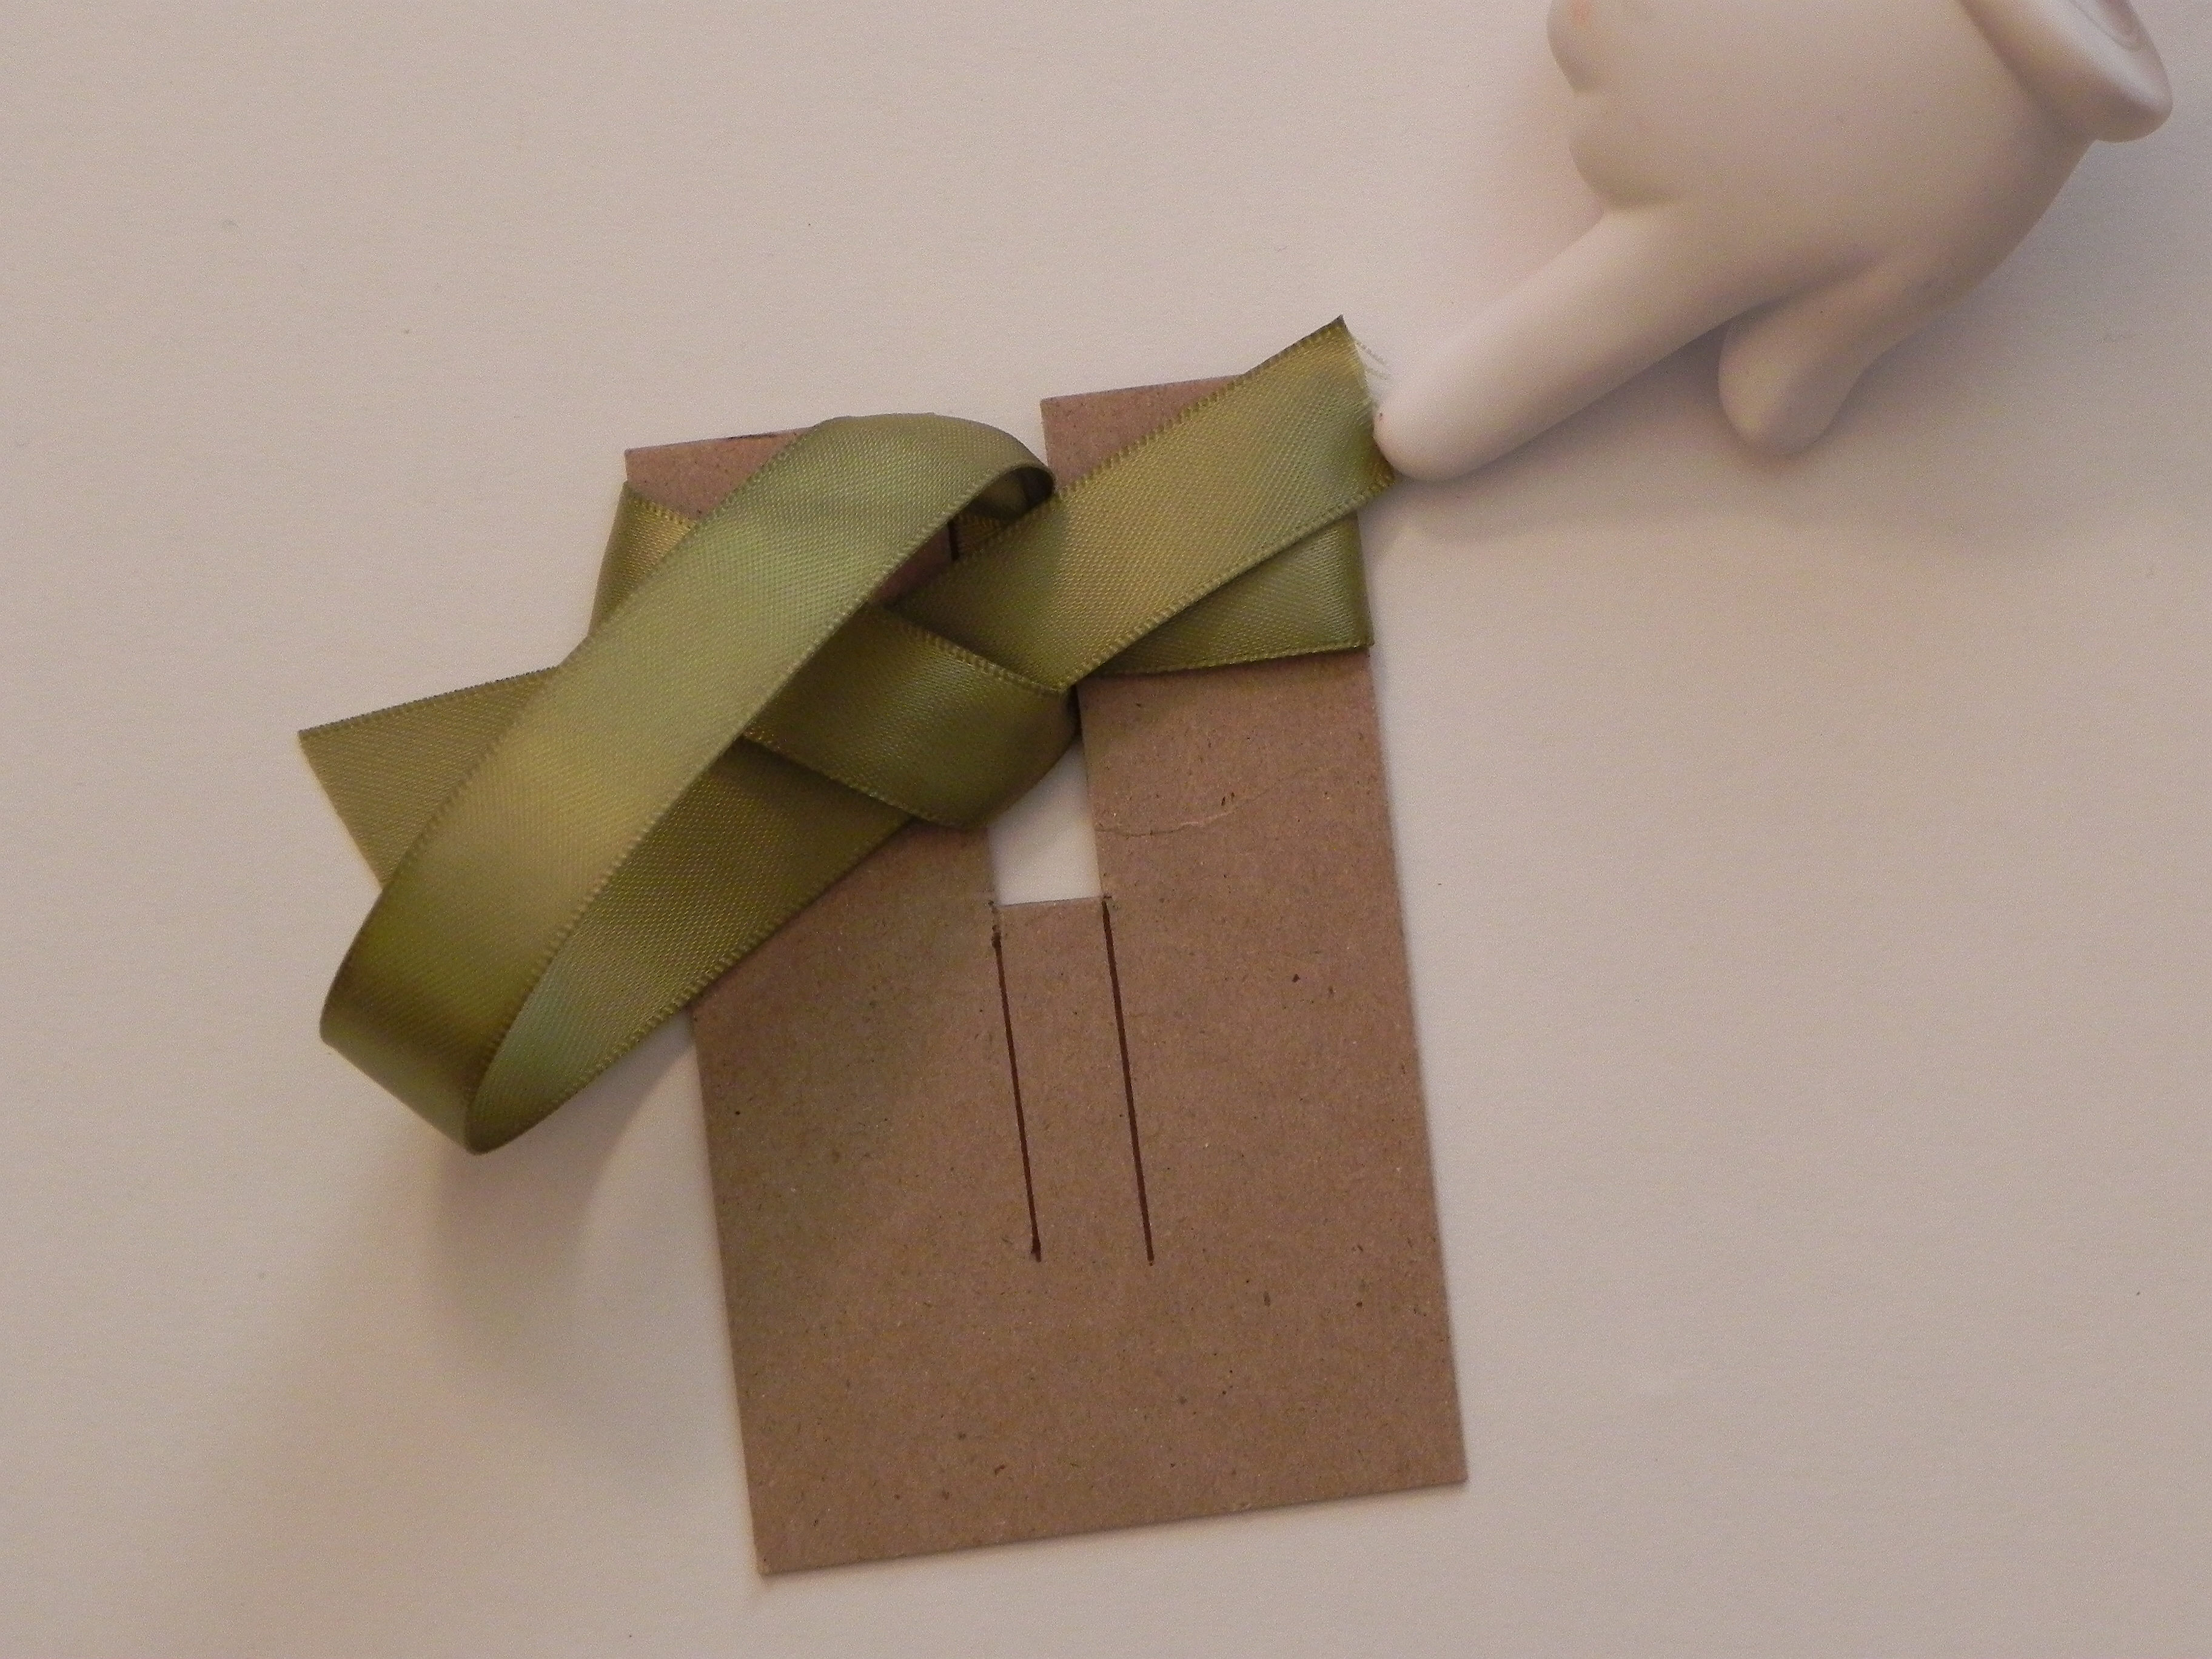
10. Make sure the ribbon stays in the slit from this point forward.
11. Pull the end of the ribbon you’ve been working with tight. The best way to do this is to pull it straight up toward you, perpendicular to the tool. When you are done, the photo below shows what it should look like. This is the back of the bow.
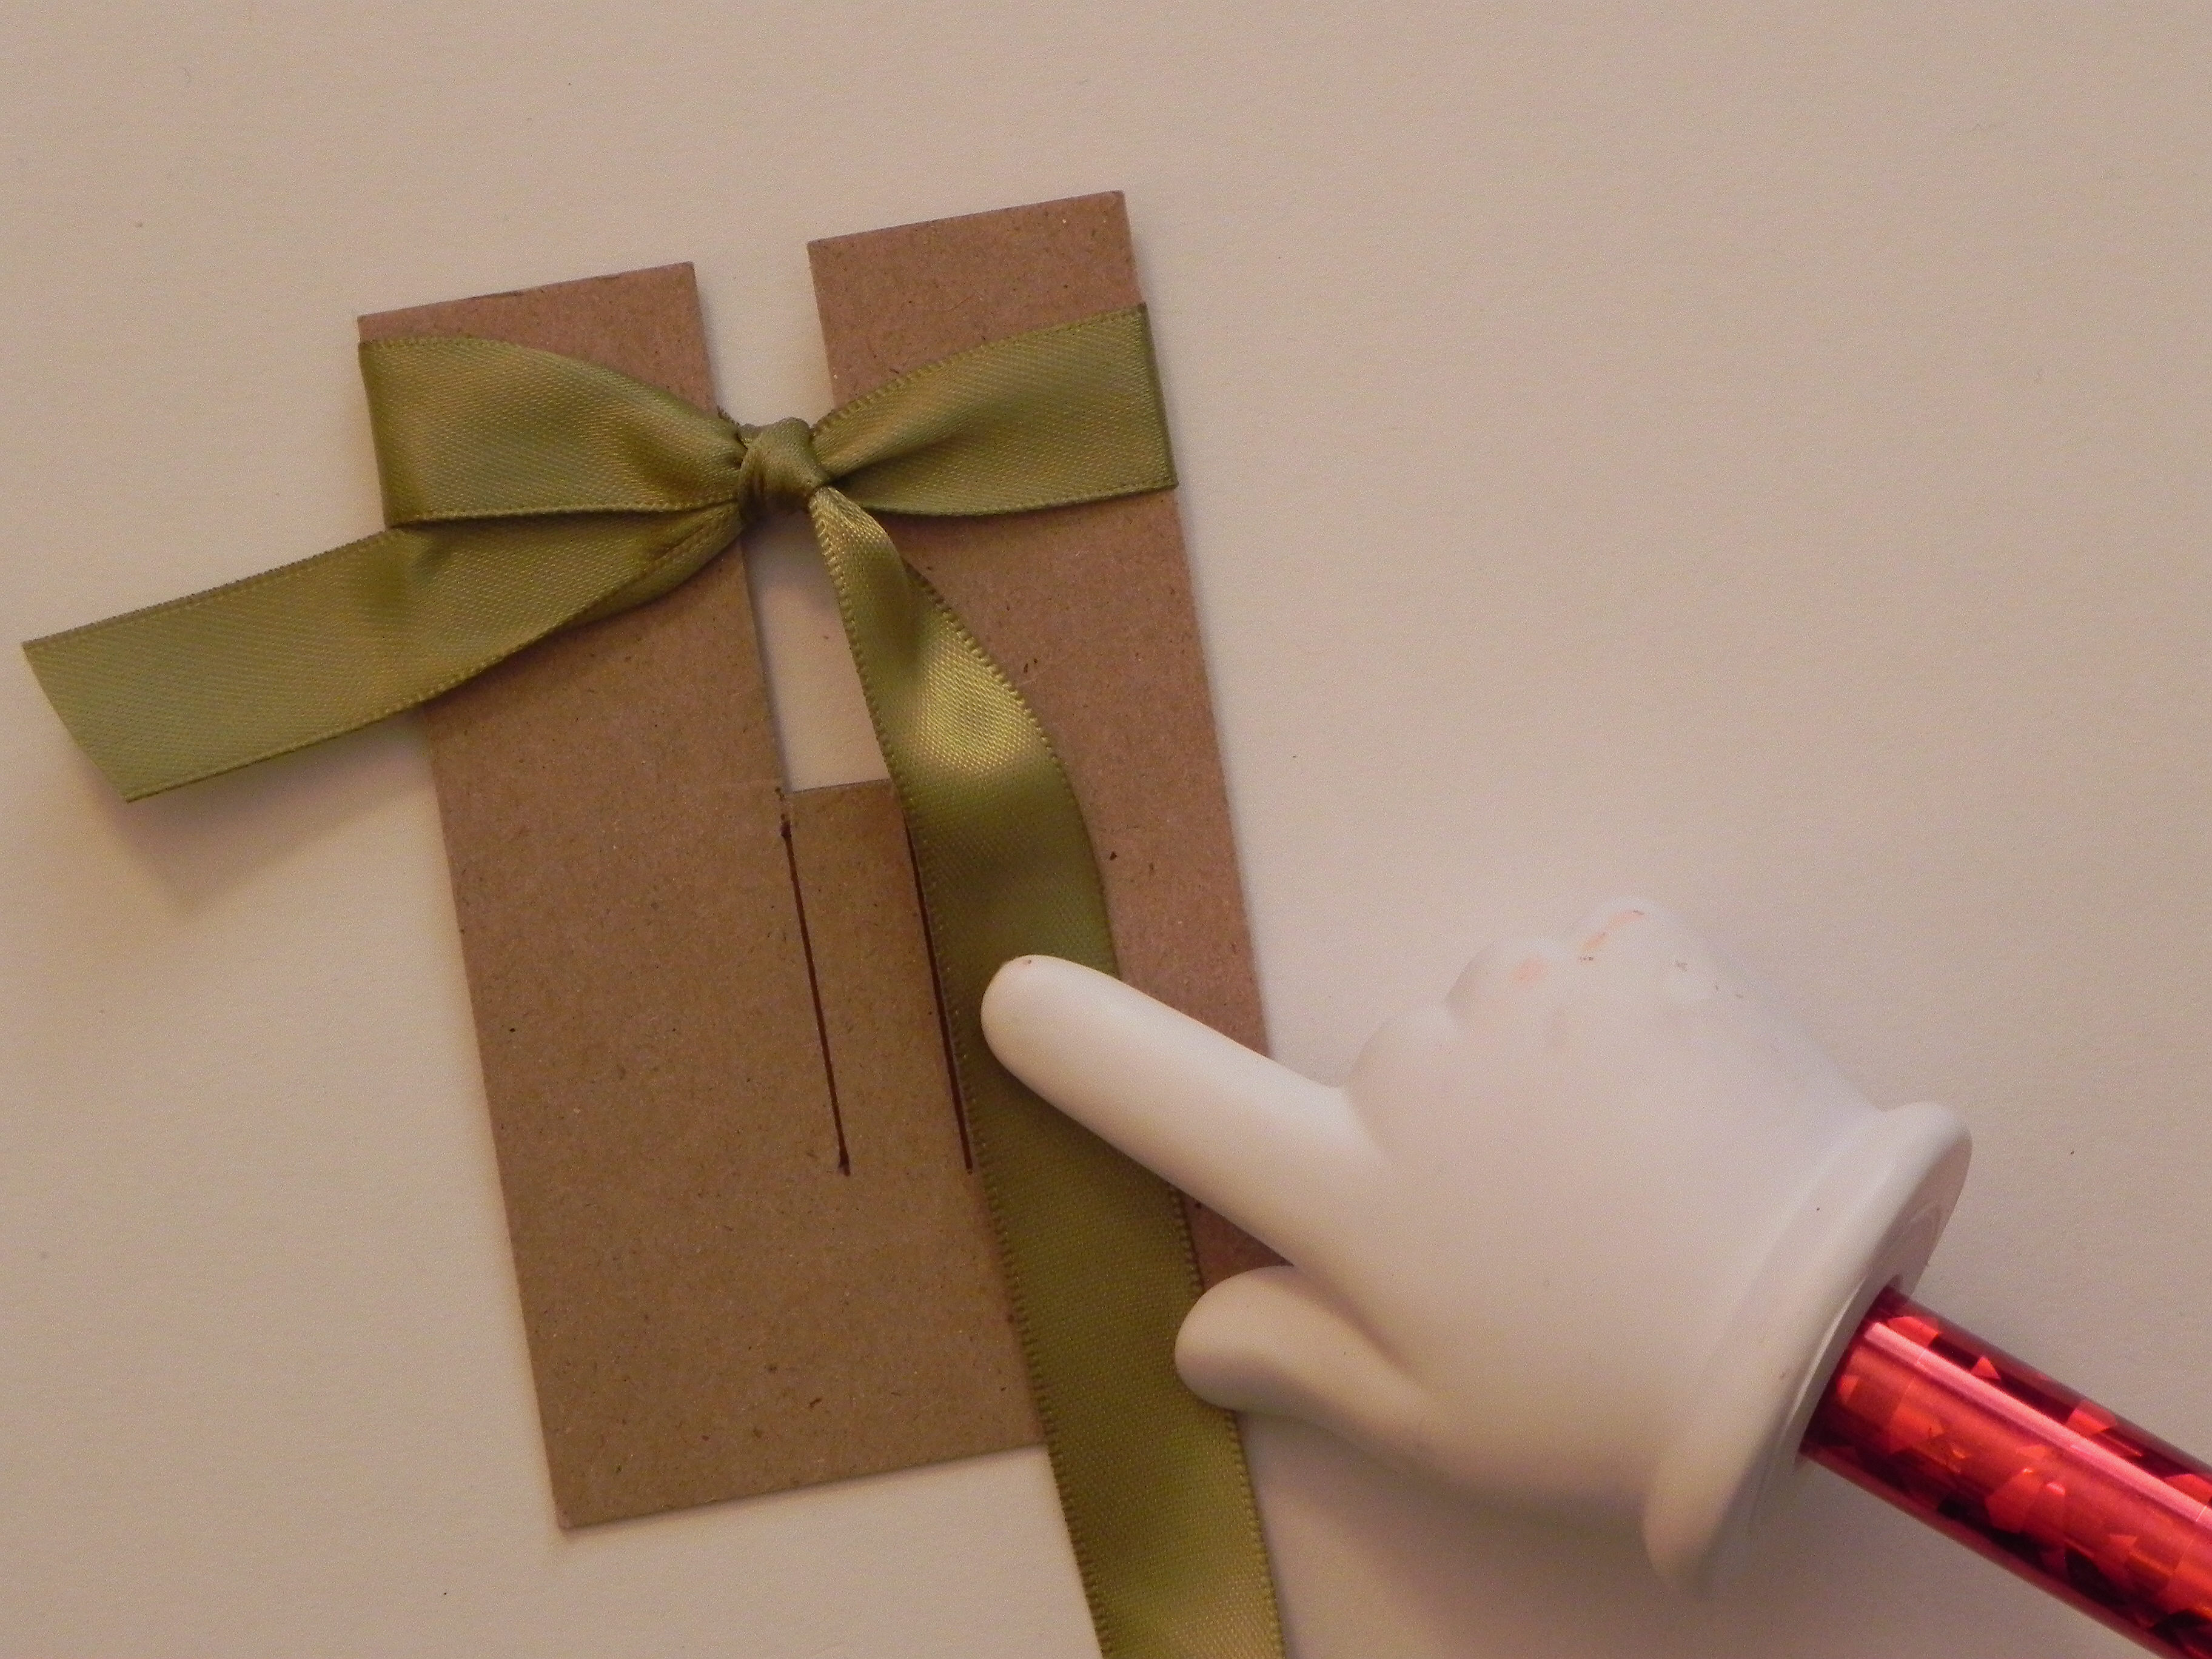
12. If you turn the tool over, you will see the front of your bow. Make any adjustments to the bow (making tighter or looser, straightening out the ends or bow center, etc.) while the bow is still on the tool.

13. Once you have everything the way you want it, slide the bow up and off the tool.
Here’s the back:
&
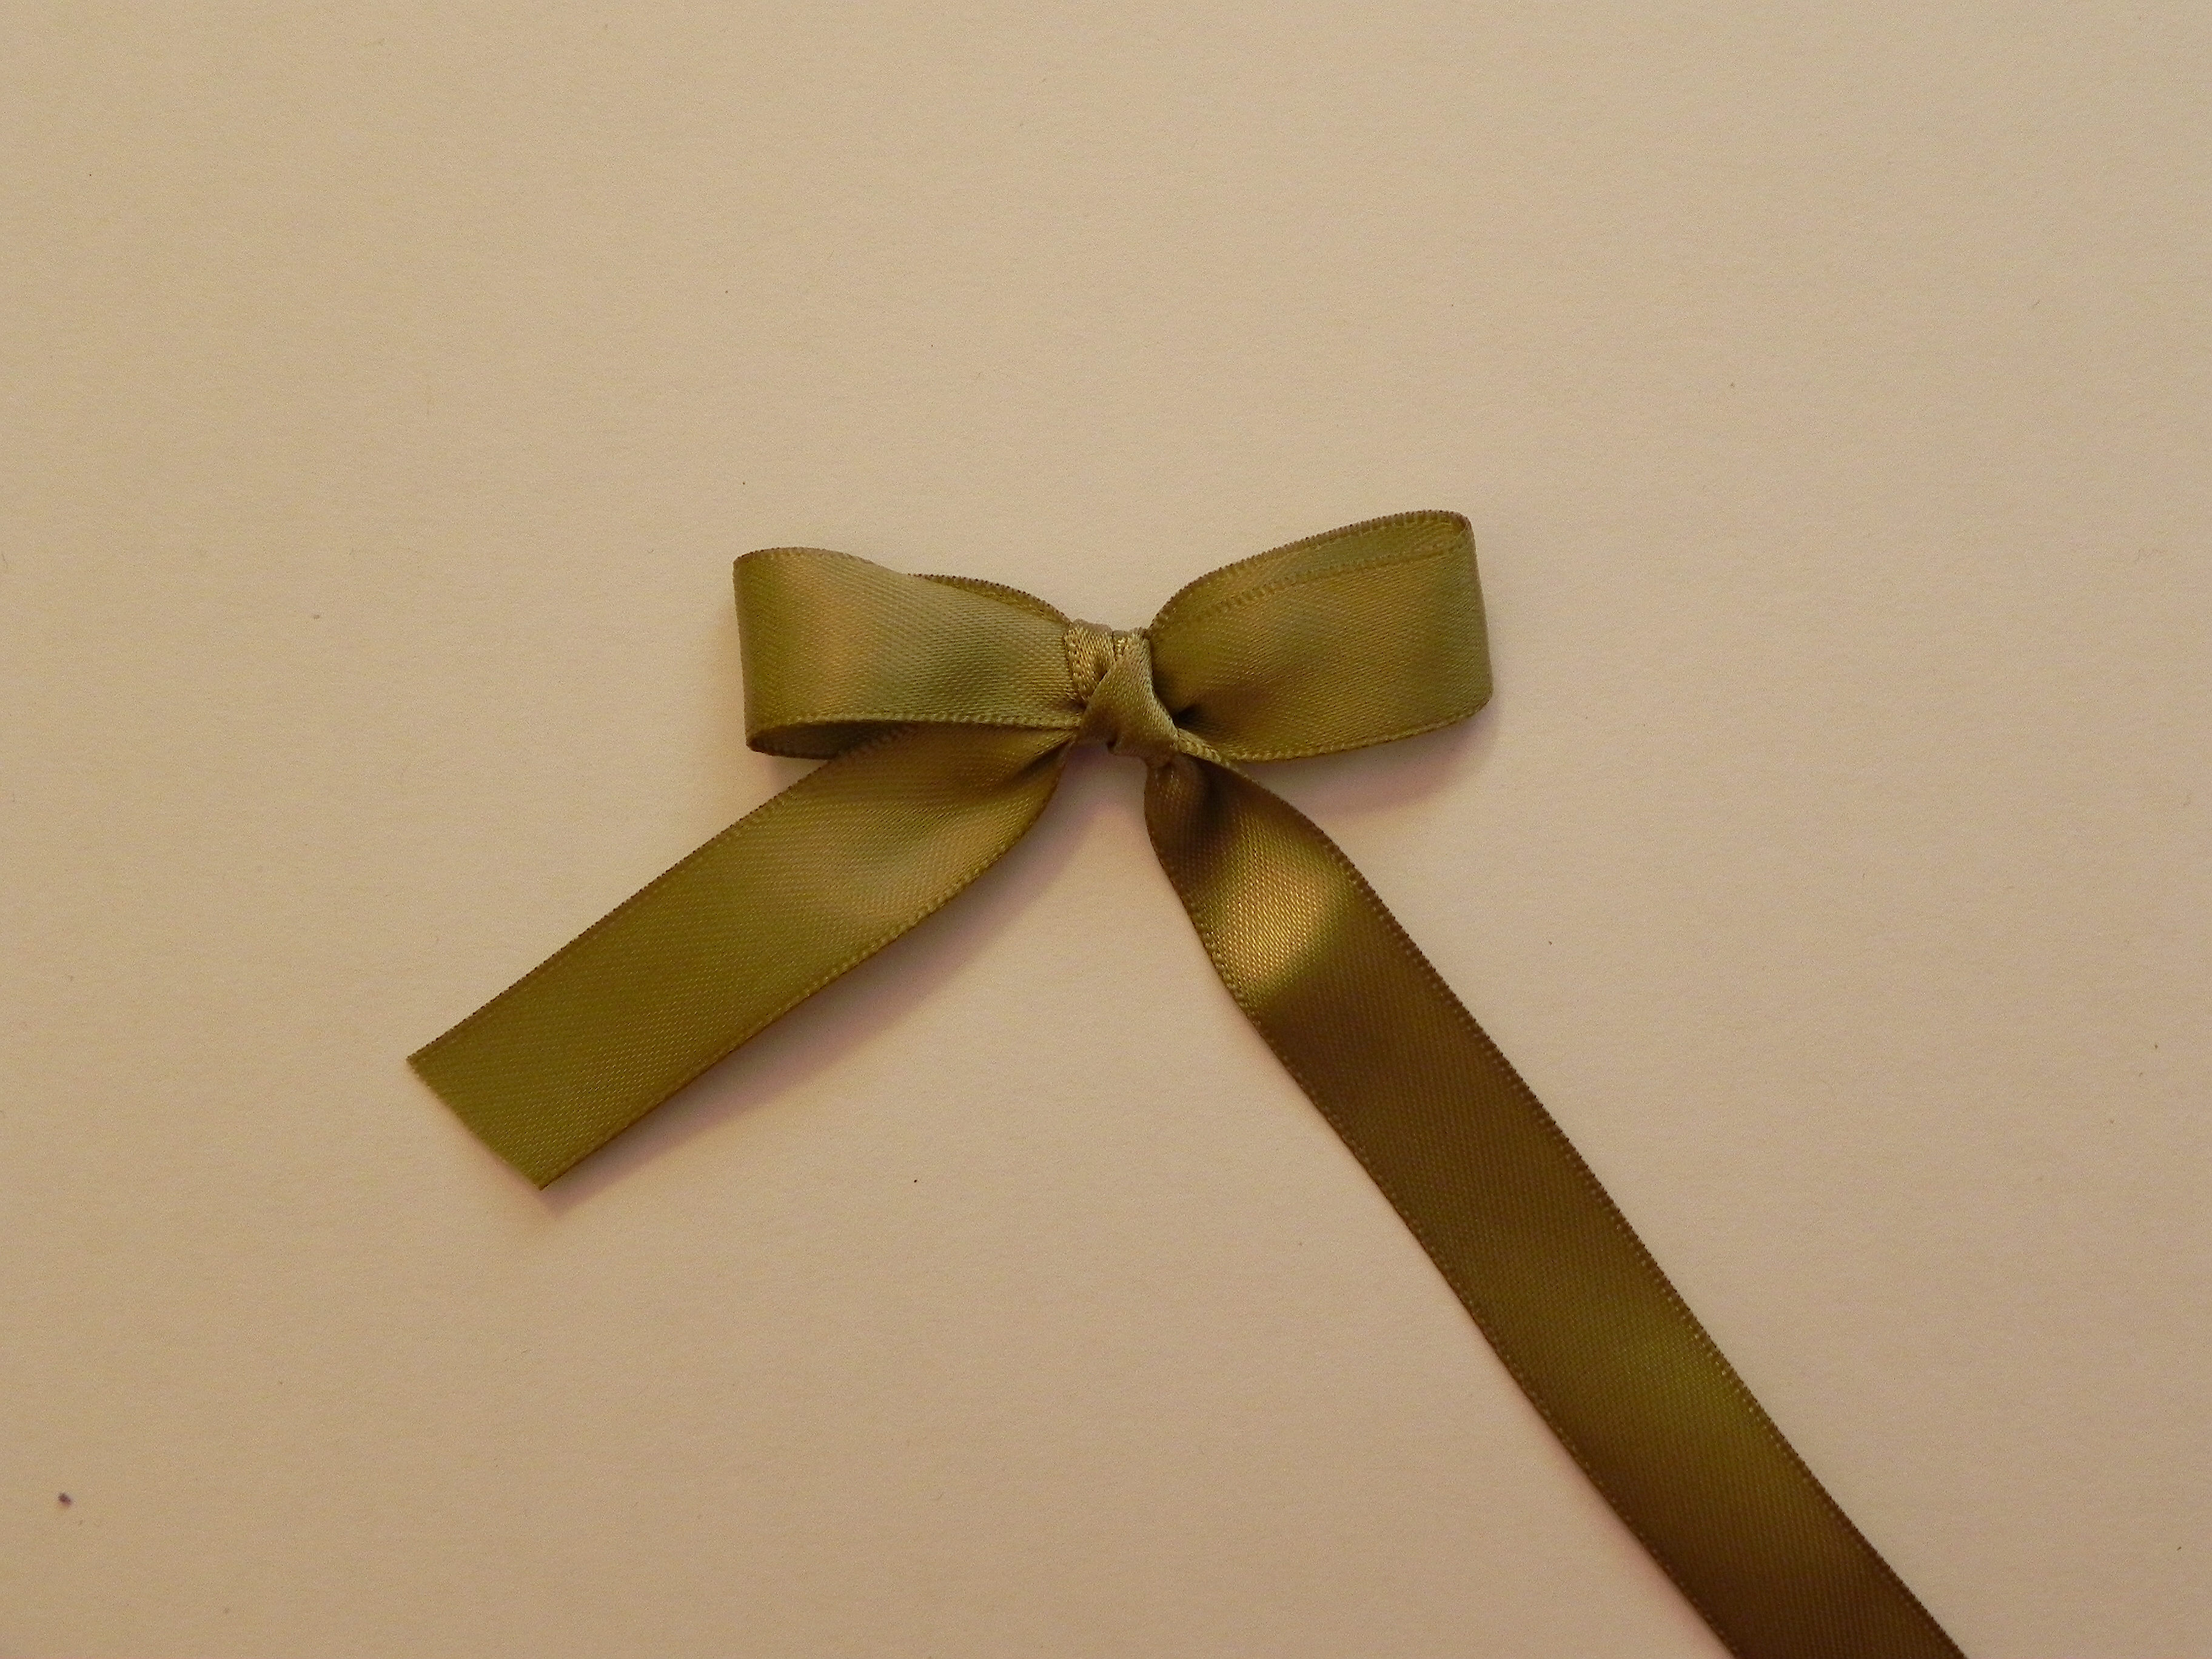
Here’s the front:

Thanks for checking out my tutorial on how to make a bow making tool and on how to use it!


Aren’t you clever! If I didn’t already have a bow making tool, I would certainly try this.
LikeLike
You certainly did a wonderful job on explaining this! I too bought the bow easy quite some time ago but this will work for sizes different than that will make.Thanks so much this should help a lot of people out that don’t have a bow maker.
LikeLike
Lisa thank you for the awesome tutorial. I tried making my own and wasn’t very successful, but I will certainly give this a try. Your very detailed step by step photos are a huge help. Thanks for all your work in doing this and for the great inspiration.
LikeLike