Masculine Thinking of You

Masculine Thinking of You

Masculine Thinking of You zzDSC_5512c picasa.jpg

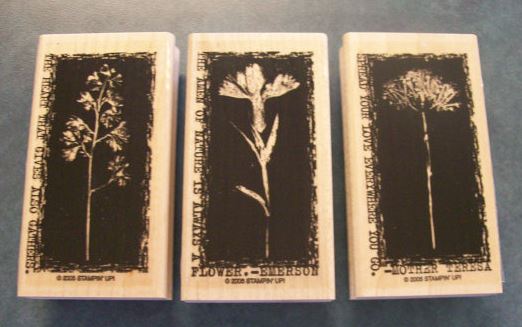
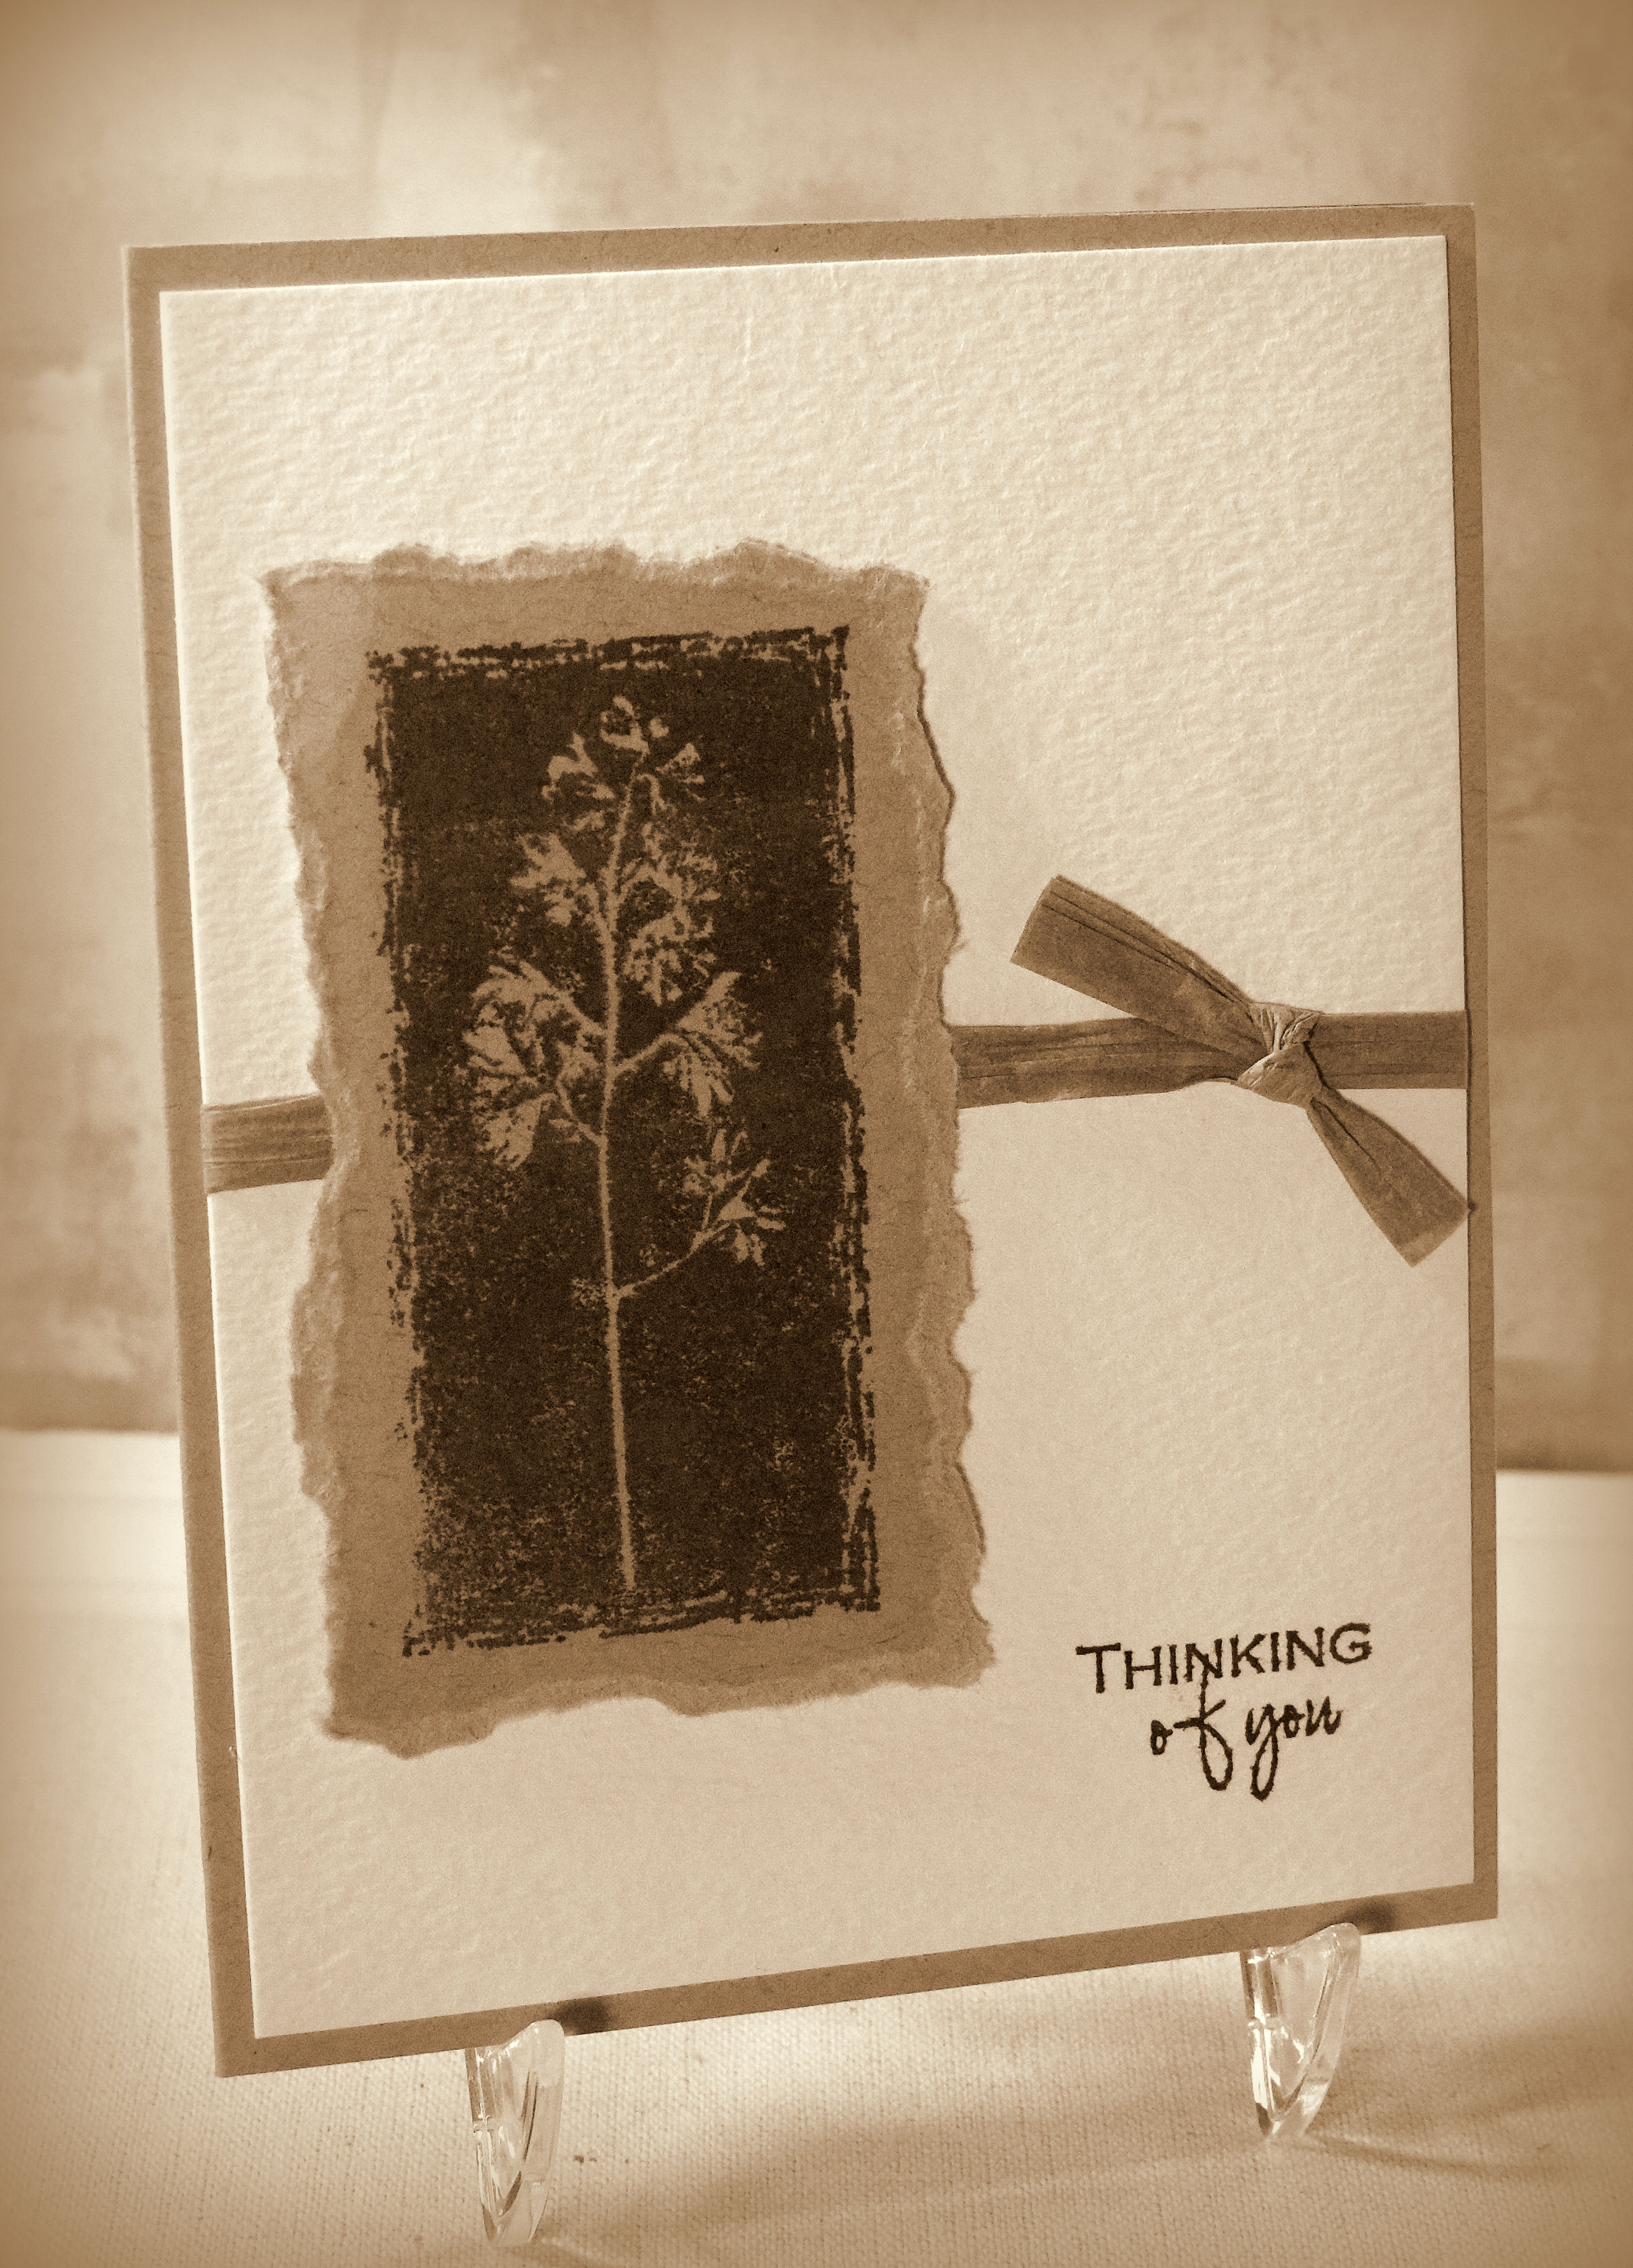
This CAS card features a stamp from the “Reverse Prints” set (retired) by Stampin’ Up.

SU Reverse Prints

It was stamped on Recollections kraft card stock with Stampin’ Up Tip Top Taupe ink.  (There was a quote along the left side of the image that I masked off.)  Once stamped, the edges of the card stock were hand torn, and then it was adhered to a piece of watercolor paper with foam tape.  Raffia ribbon was added, and then the panel was attached to a kraft card base.

The greeting stamp is from the “Framed Greetings” set by Gina K designs and was also stamped with Tip Top Taupe ink.

Thanks for checking out my card project!

Corner Flip Birthday Card

Corner Flip Birthday Card

wDSC_5502c picasa

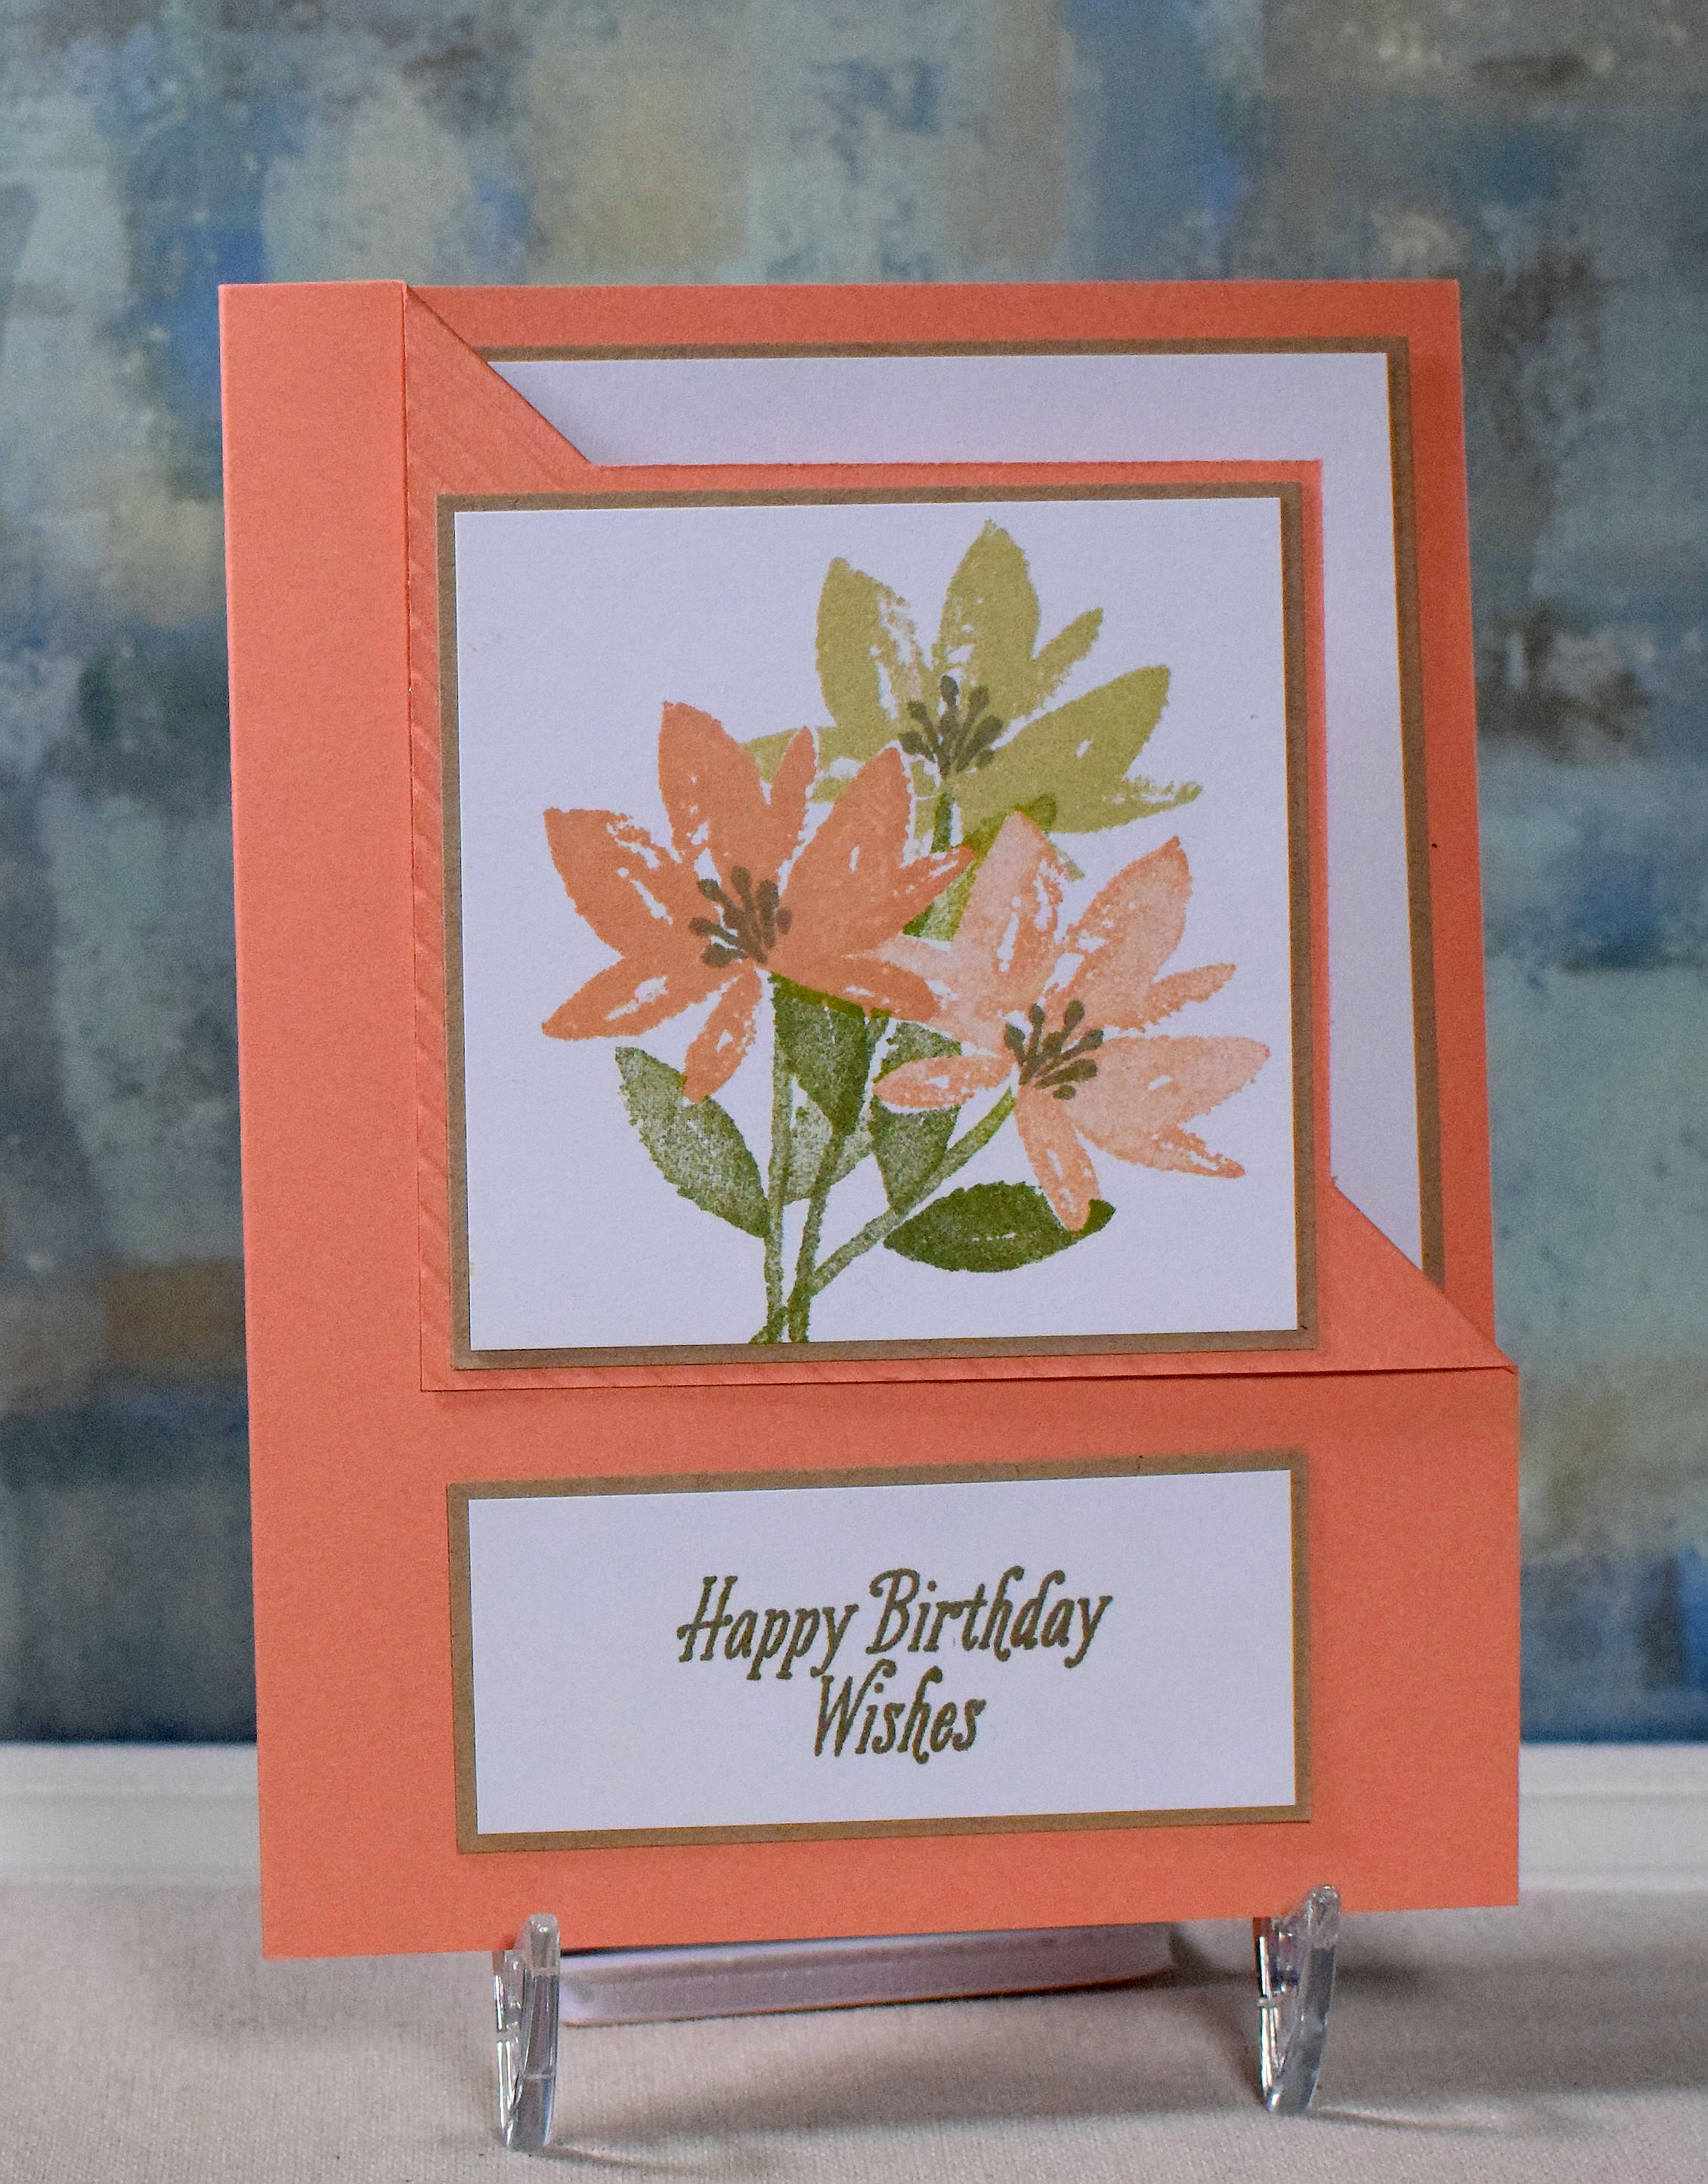
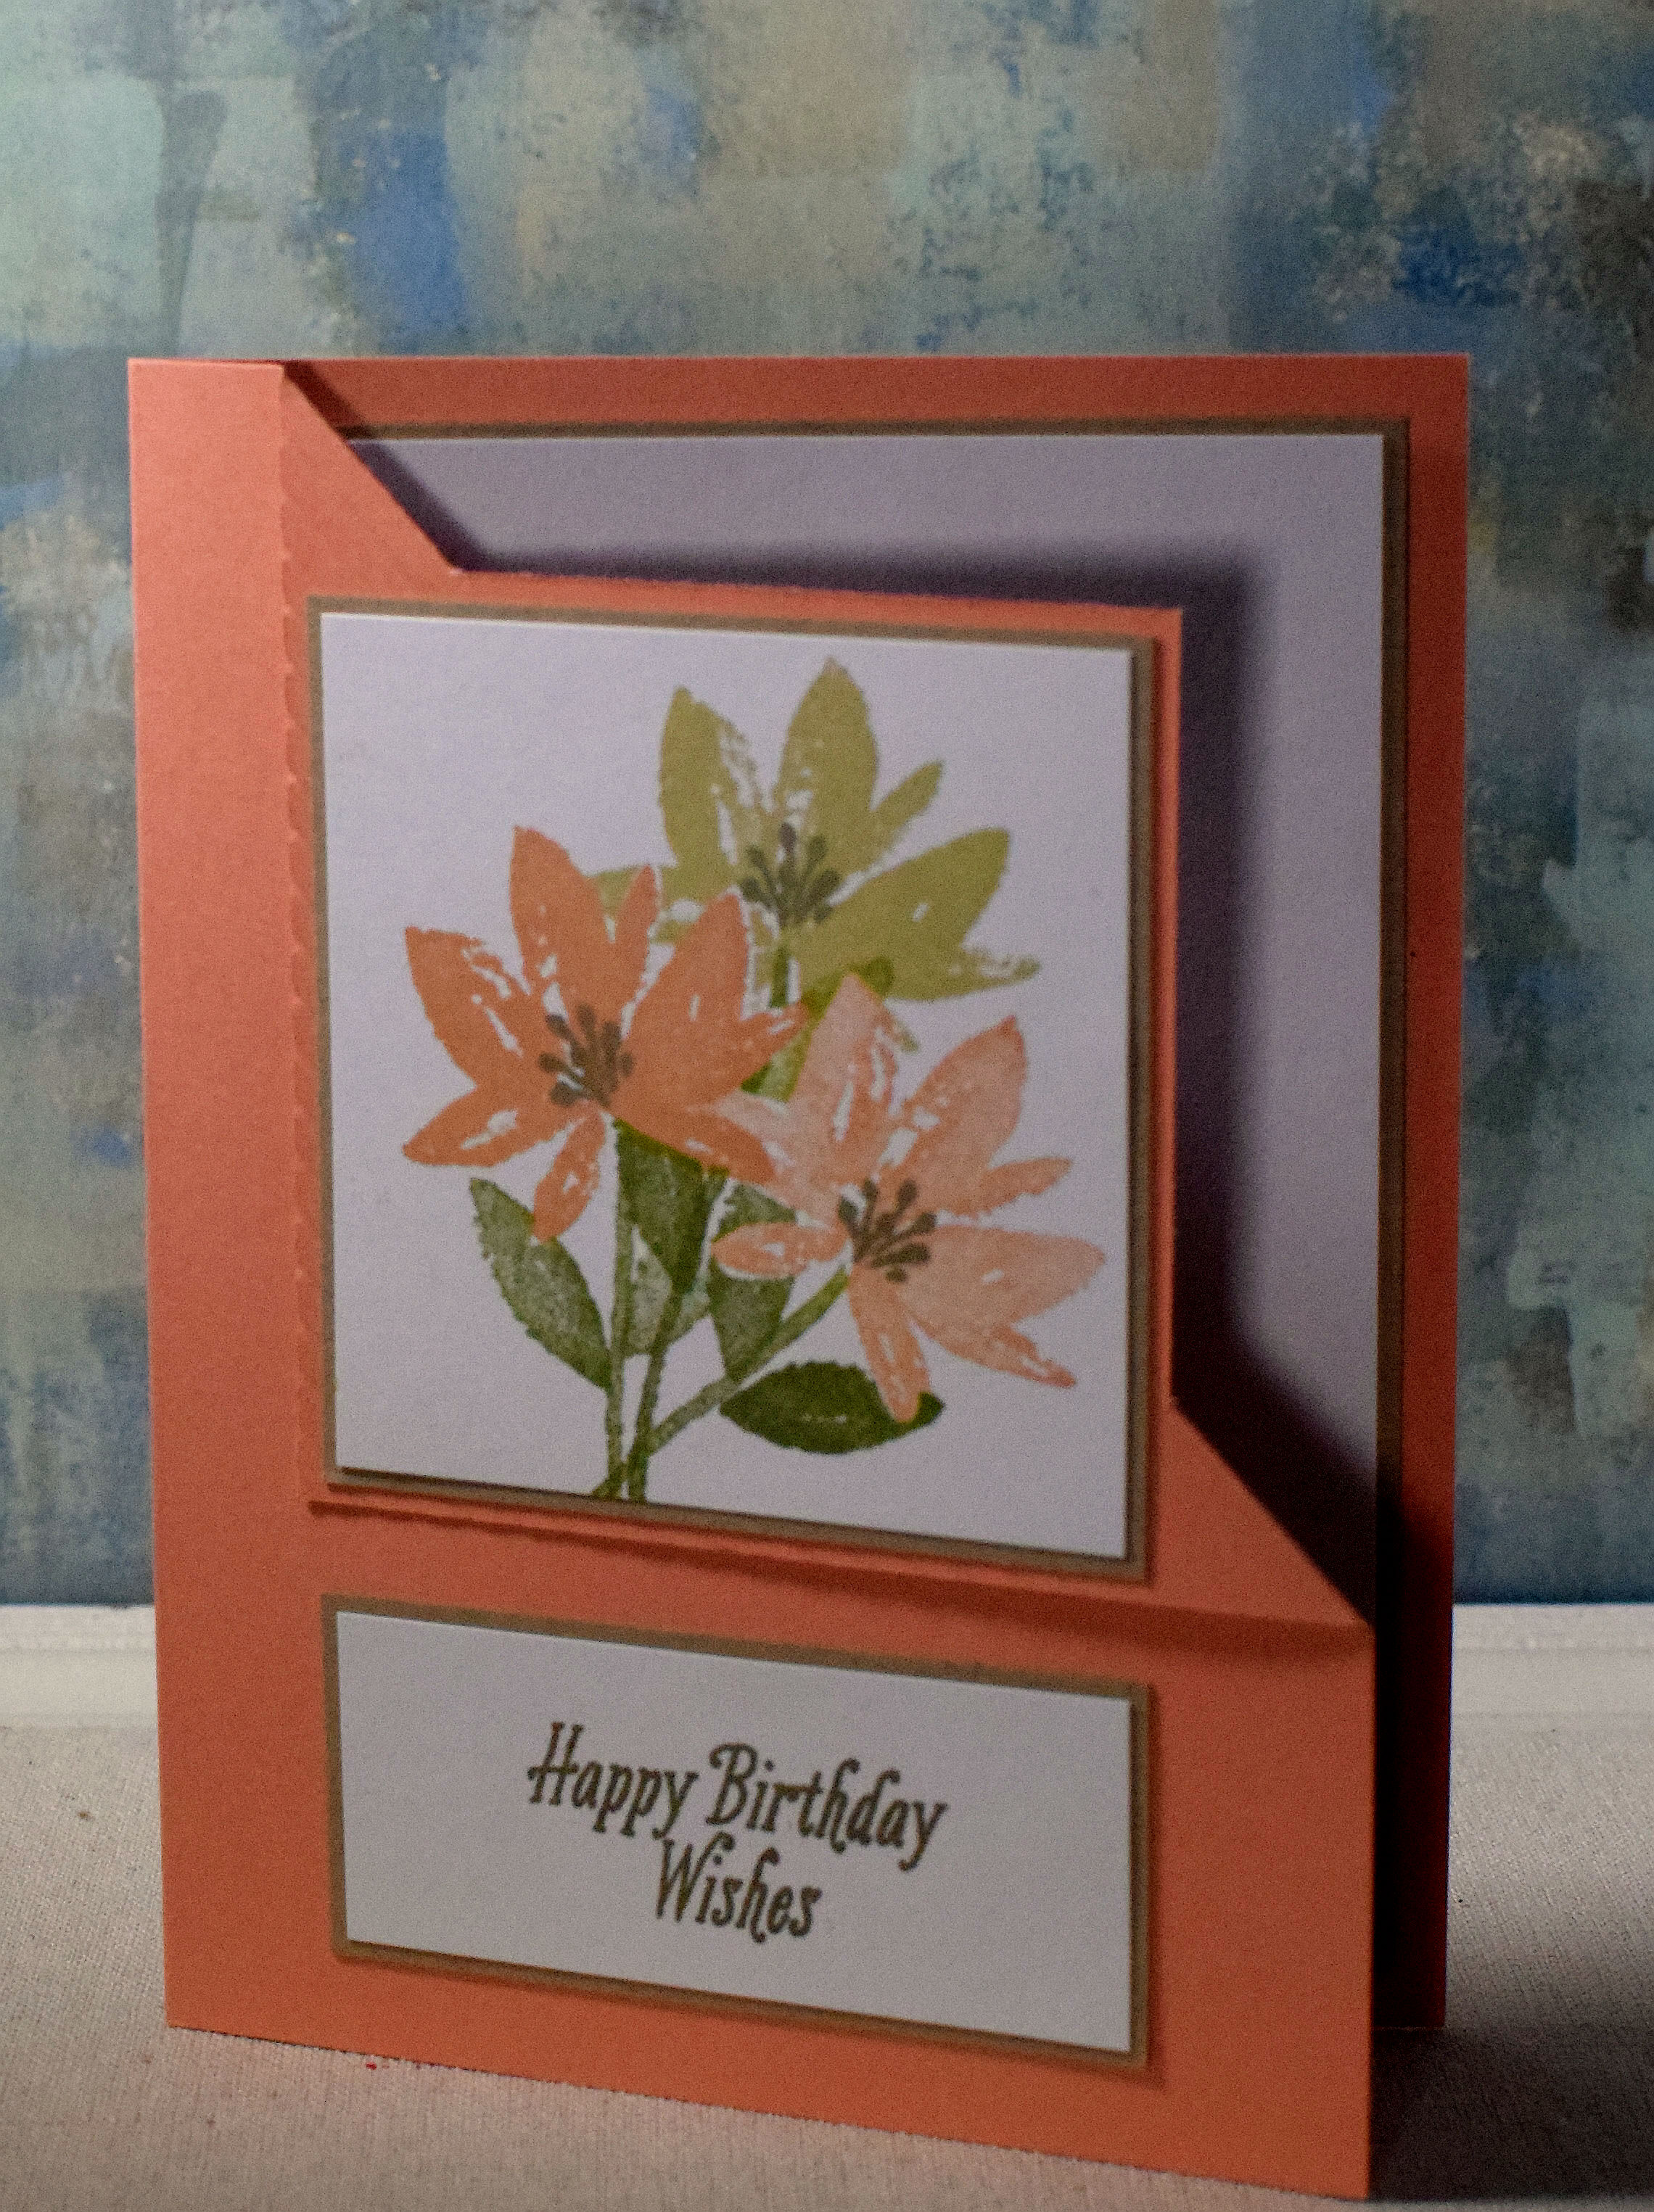
I saw this video for a “Corner Flip” card HERE and thought I’d give it a try!  I love the interesting angle created behind the simple stamped panel, and I also love how the inside panel is visible and offsets the stamped panel so nicely.  Here’s another angle of the corner.

wDSC_5504c picasa

The stamps I used for this card are from the “Avant-Garden” stamp set by Stampin’ Up. It was a free set with a $50 purchase (and retired after March 31, 2017).  The inks I used are SU Crisp Cantaloupe and Tip Top Taupe and Gina K Kraft and Fresh Asparagus.  I did generation stamping (stamping off) to get the two shades of peach and did some masking to keep my layers clean.  Card stock used is Gina K Peach Bellini, Kraft, and white.

I made repeating diagonal score lines on my corner before flipping.  I’d like to say I came up with the idea as part of my design plan, but the truth is, I had made a mistake trying to score the corner before flipping it. I either had to keep scoring or get a new piece of card stock and start over.  I kind of like the way my mistake turned out!  (It’s not really even necessary to score before folding; it folds pretty easily without a score line.)

Thanks for checking out my card project!

Banner Triple Punch by Stampin’ Up

Banner Triple Punch by Stampin’ Up

triple banner punch

I really like the look of fishtail banners on cards.  Sometimes they are large and are used to add texture and color to a design.  Sometimes they are smaller and are used to highlight the greeting.  I tend to like my greeting panels matted, so I was very happy to discover that Stampin’ Up makes one punch that will create three different sized banners that nest together perfectly.  It is called the Banner Triple Punch and is designed to create banners that are 1 inch, 1.5 inches, and 2 inches wide.  Because the punch just cuts the fishtail end, the length of the banner can be whatever you want.

triple banner punch sample

Basically, you cut a piece of paper/card stock to the desired width (and length).  Then you slide the strip into the punch making sure the sides fit inside the grooves that match your width.  The grooves keep the strip straight and centered so the notch cut from the end is perfect.

Dawn Olchefske does a great demonstration of this punch in this video (at the 4:30 mark).  She even discovered a trick to making a 3/4 inch banner in addition to the three sizes Stampin’ Up intended!

I found a helpful post HERE where Bekka gives measurements for how long your card stock needs to be so your finished banner is the size you want.

Thanks for checking out my post!

(Photos used in this post are from the Stampin’ Up website/catalog.)

Hello, Baby…Baby Bear Card

Hello, Baby…Baby Bear Card
wwDSC_5518c picasa

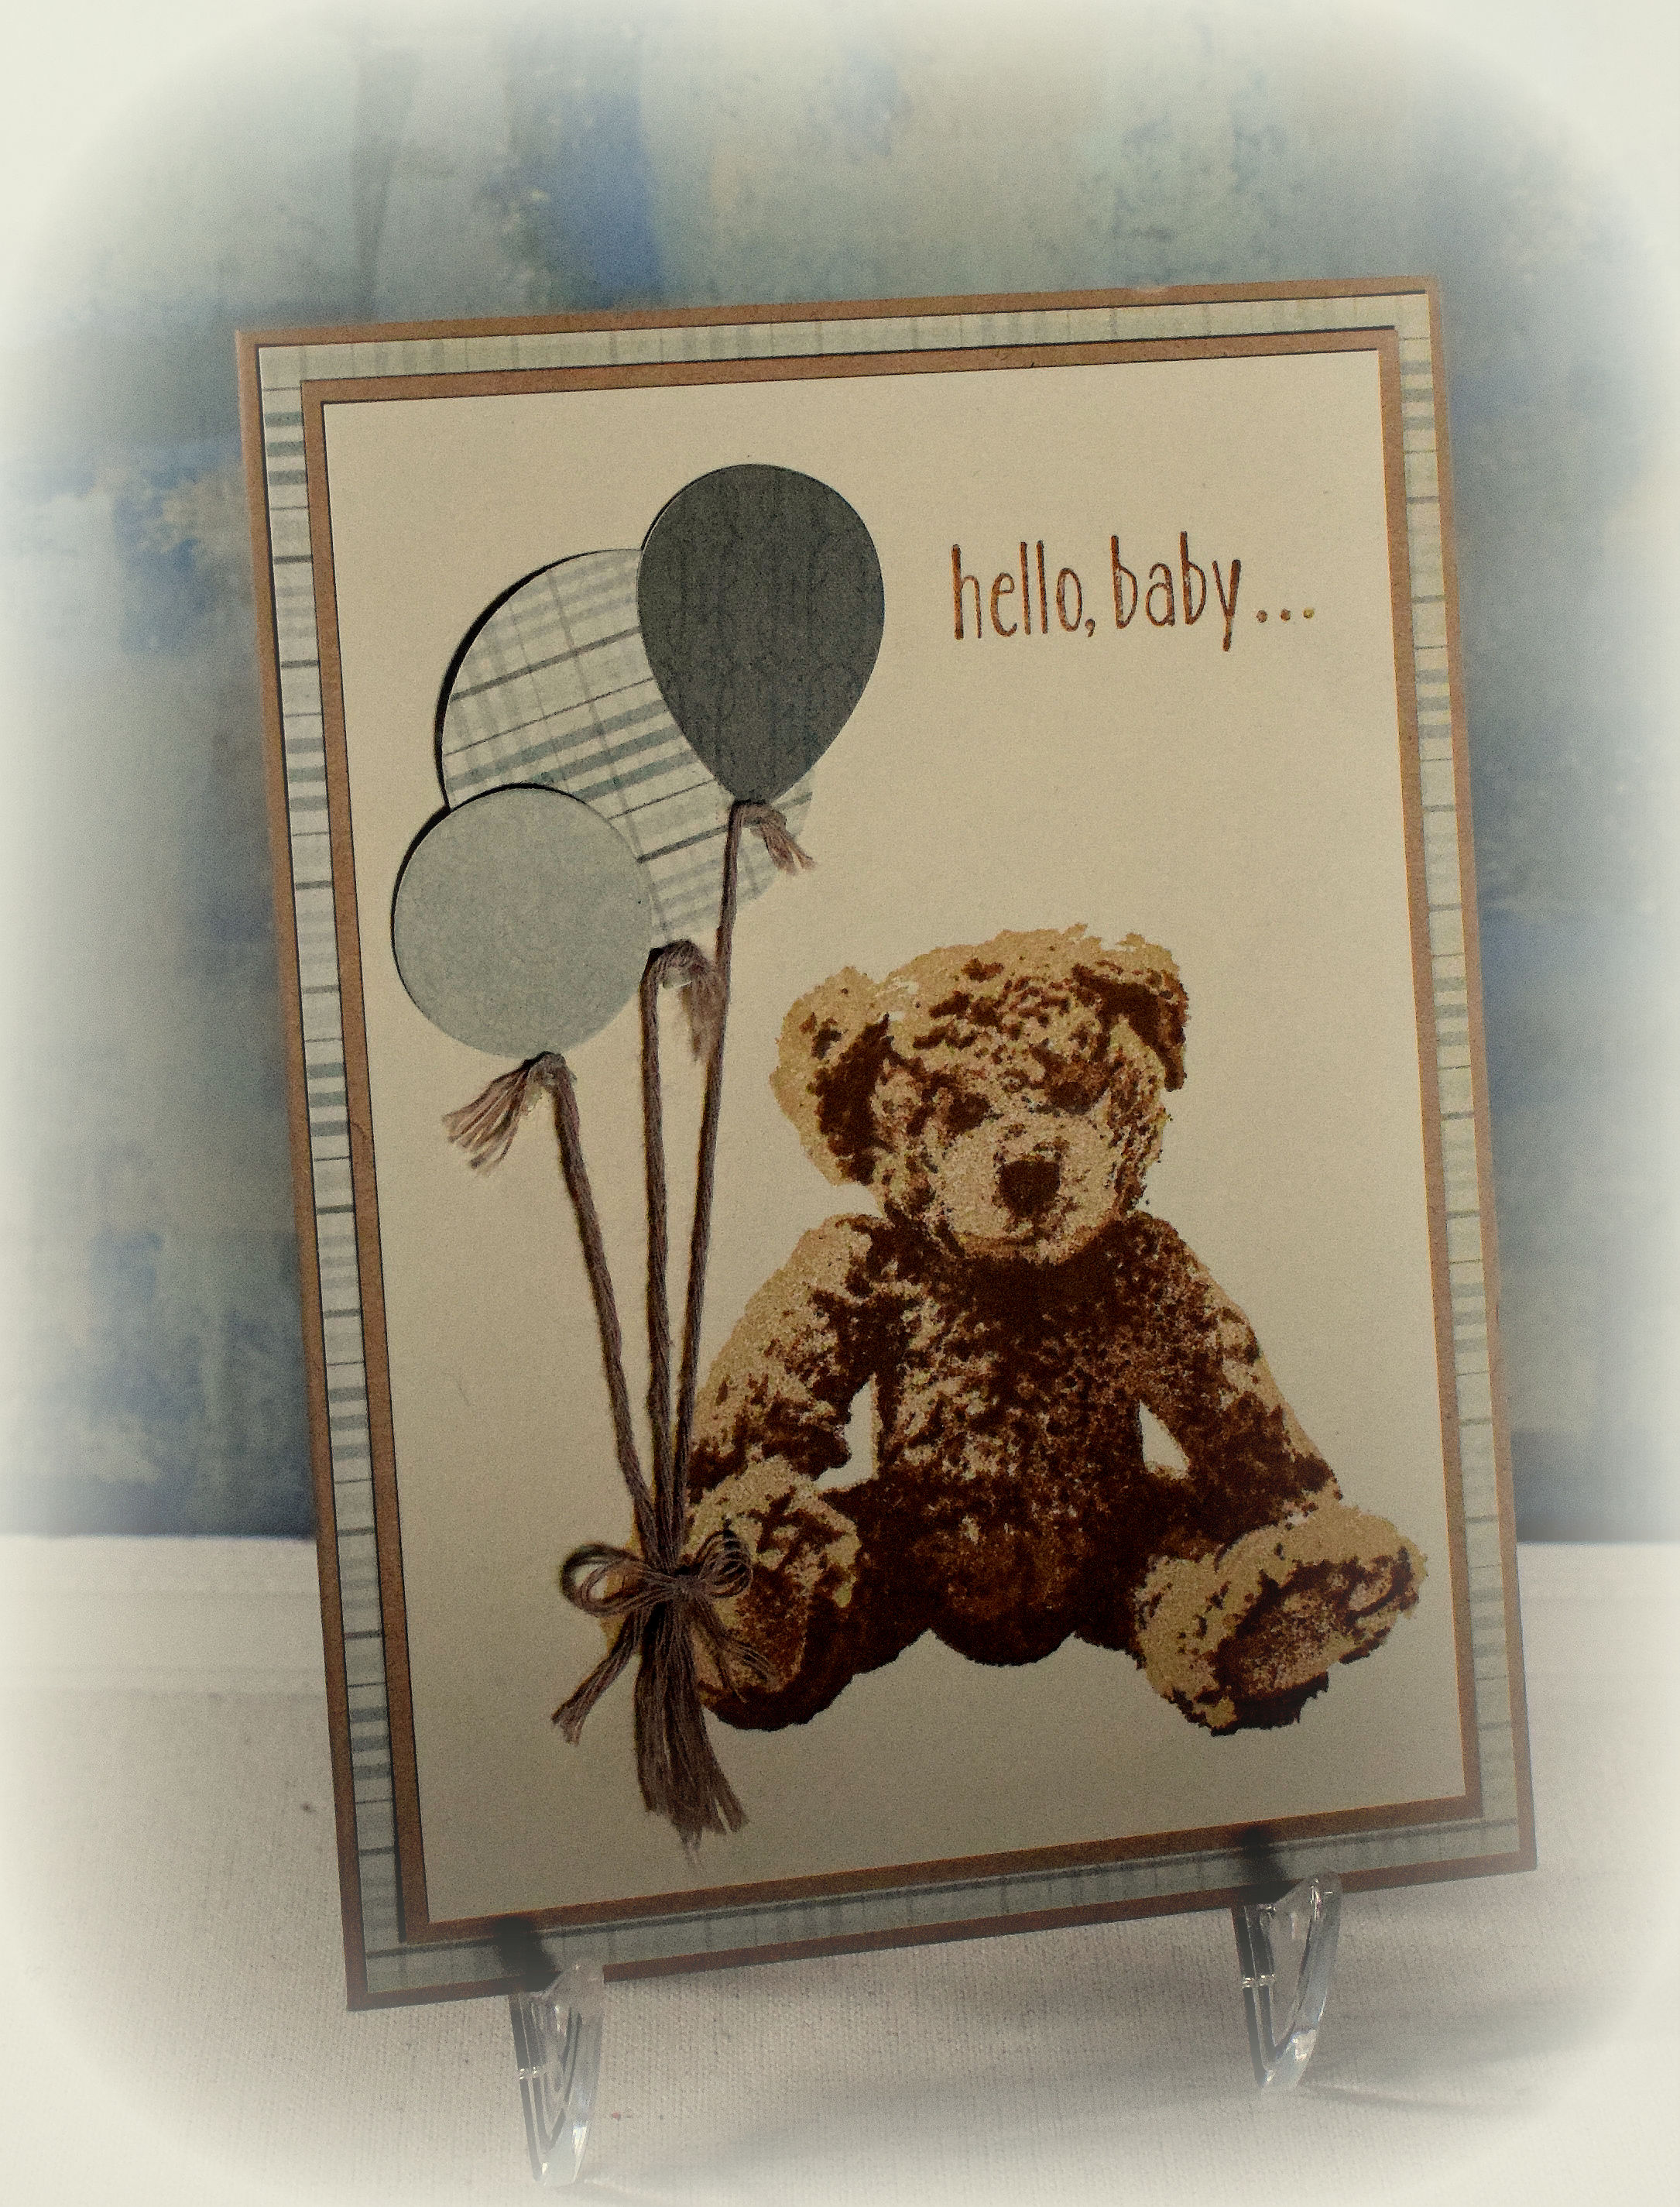
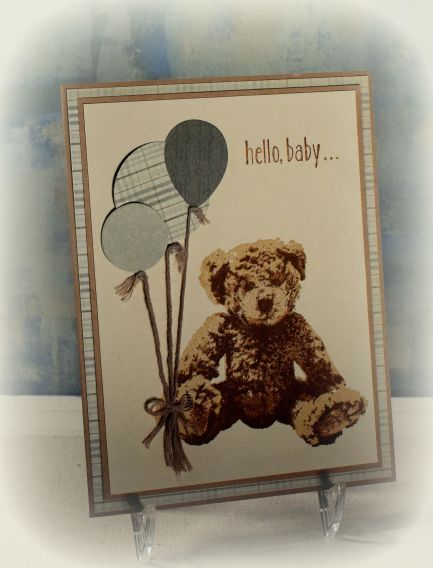
I LOVE, LOVE, LOVE this bear from the Stampin’ Up “Baby Bear” stamp set.  The bear image is created with 3 stamps that are layered on top of one another to add such realistic detail with no coloring needed! For this card, I used Gina K Kraft ink for stamp #1 (the most solid of the three stamps/lightest ink), Gina K Warm Cocoa for stamp #2, and Stampin’ Up Tip Top Taupe for stamp #3.  The greeting is also from the “Baby Bear” stamp set and was stamped with Gina K Kraft ink.

The image sheet that comes with the set has the numbers by the stamps/images, but the numbers are not on the actual stamps themselves, so I wrote the numbers on the stamps with pen before removing them from the image sheet so I could easily tell which stamp/layer was which.  Another little tip I had seen online is to line up the bottoms of the 3 stamps instead of trying to line up the heads.  The details on the head do not go all the way to the top which makes it really hard to line up the images that way.

The balloons were cut with the Paper Smooches “Balloons” dies from paper from the MY Mind’s Eye “Cowboy” patterned paper pad and a scrap from the My Mind’s Eye “Stella & Rose – Mabel” pad .  The plaid paper for the background mat was from the MME “Cowboy” paper pad.  Recollections kraft and cream card stock was also used.

The string for the balloons is a piece of yarn I had in my stash.  It was too thick, so I untwisted the threads and retwisted them into 3 skinnier pieces.

Over at the Die Cut Divas this month, the challenge theme is “for the love of animals/pets” where our projects must include an animal and must also include at least one die cut or embossing folder.

Thanks for checking out my card project!

This content uses referral links as described in the disclosure policy on my sidebar.
Be Back Soon


Be Back Soon

It’s been a little while since I’ve posted anything here on my blog.  I go through “busy periods” where it seems like I have a bunch of card needs with short deadlines, and I actually start to feel stressed about getting everything done.  I also get caught up trying to “out-do” my previous projects which can tend to get very time consuming and expensive.  I really do enjoy pushing myself to try new techniques and to make cards/projects with interesting twists, but that also adds to the stress.  Strange, I know, since this is supposed to be a hobby!

This past month has been a “slow period” with very little that needed to be done.  Luckily, my mojo stuck around, and I found myself in my craft room a lot.  I decided to pull out some stamp sets that I have had for a while but have not had time to play with yet.  I forced myself to be “ok” with creating some simpler card designs.  And I must say, I have thoroughly enjoyed this past month of “low key” card making. Very relaxed, very fun, and very productive.

I guess the problem is that I had also decided to take take a little break from blogging so now I have a lot of catching up to do!  I hope to start posting again soon….


Thanks for checking out my post!