Bordering Blooms Birthday Wishes

Bordering Blooms Birthday Wishes

xDSC_3326

(inside: may your birthday be filled with love, laughter and everything that makes you happy)

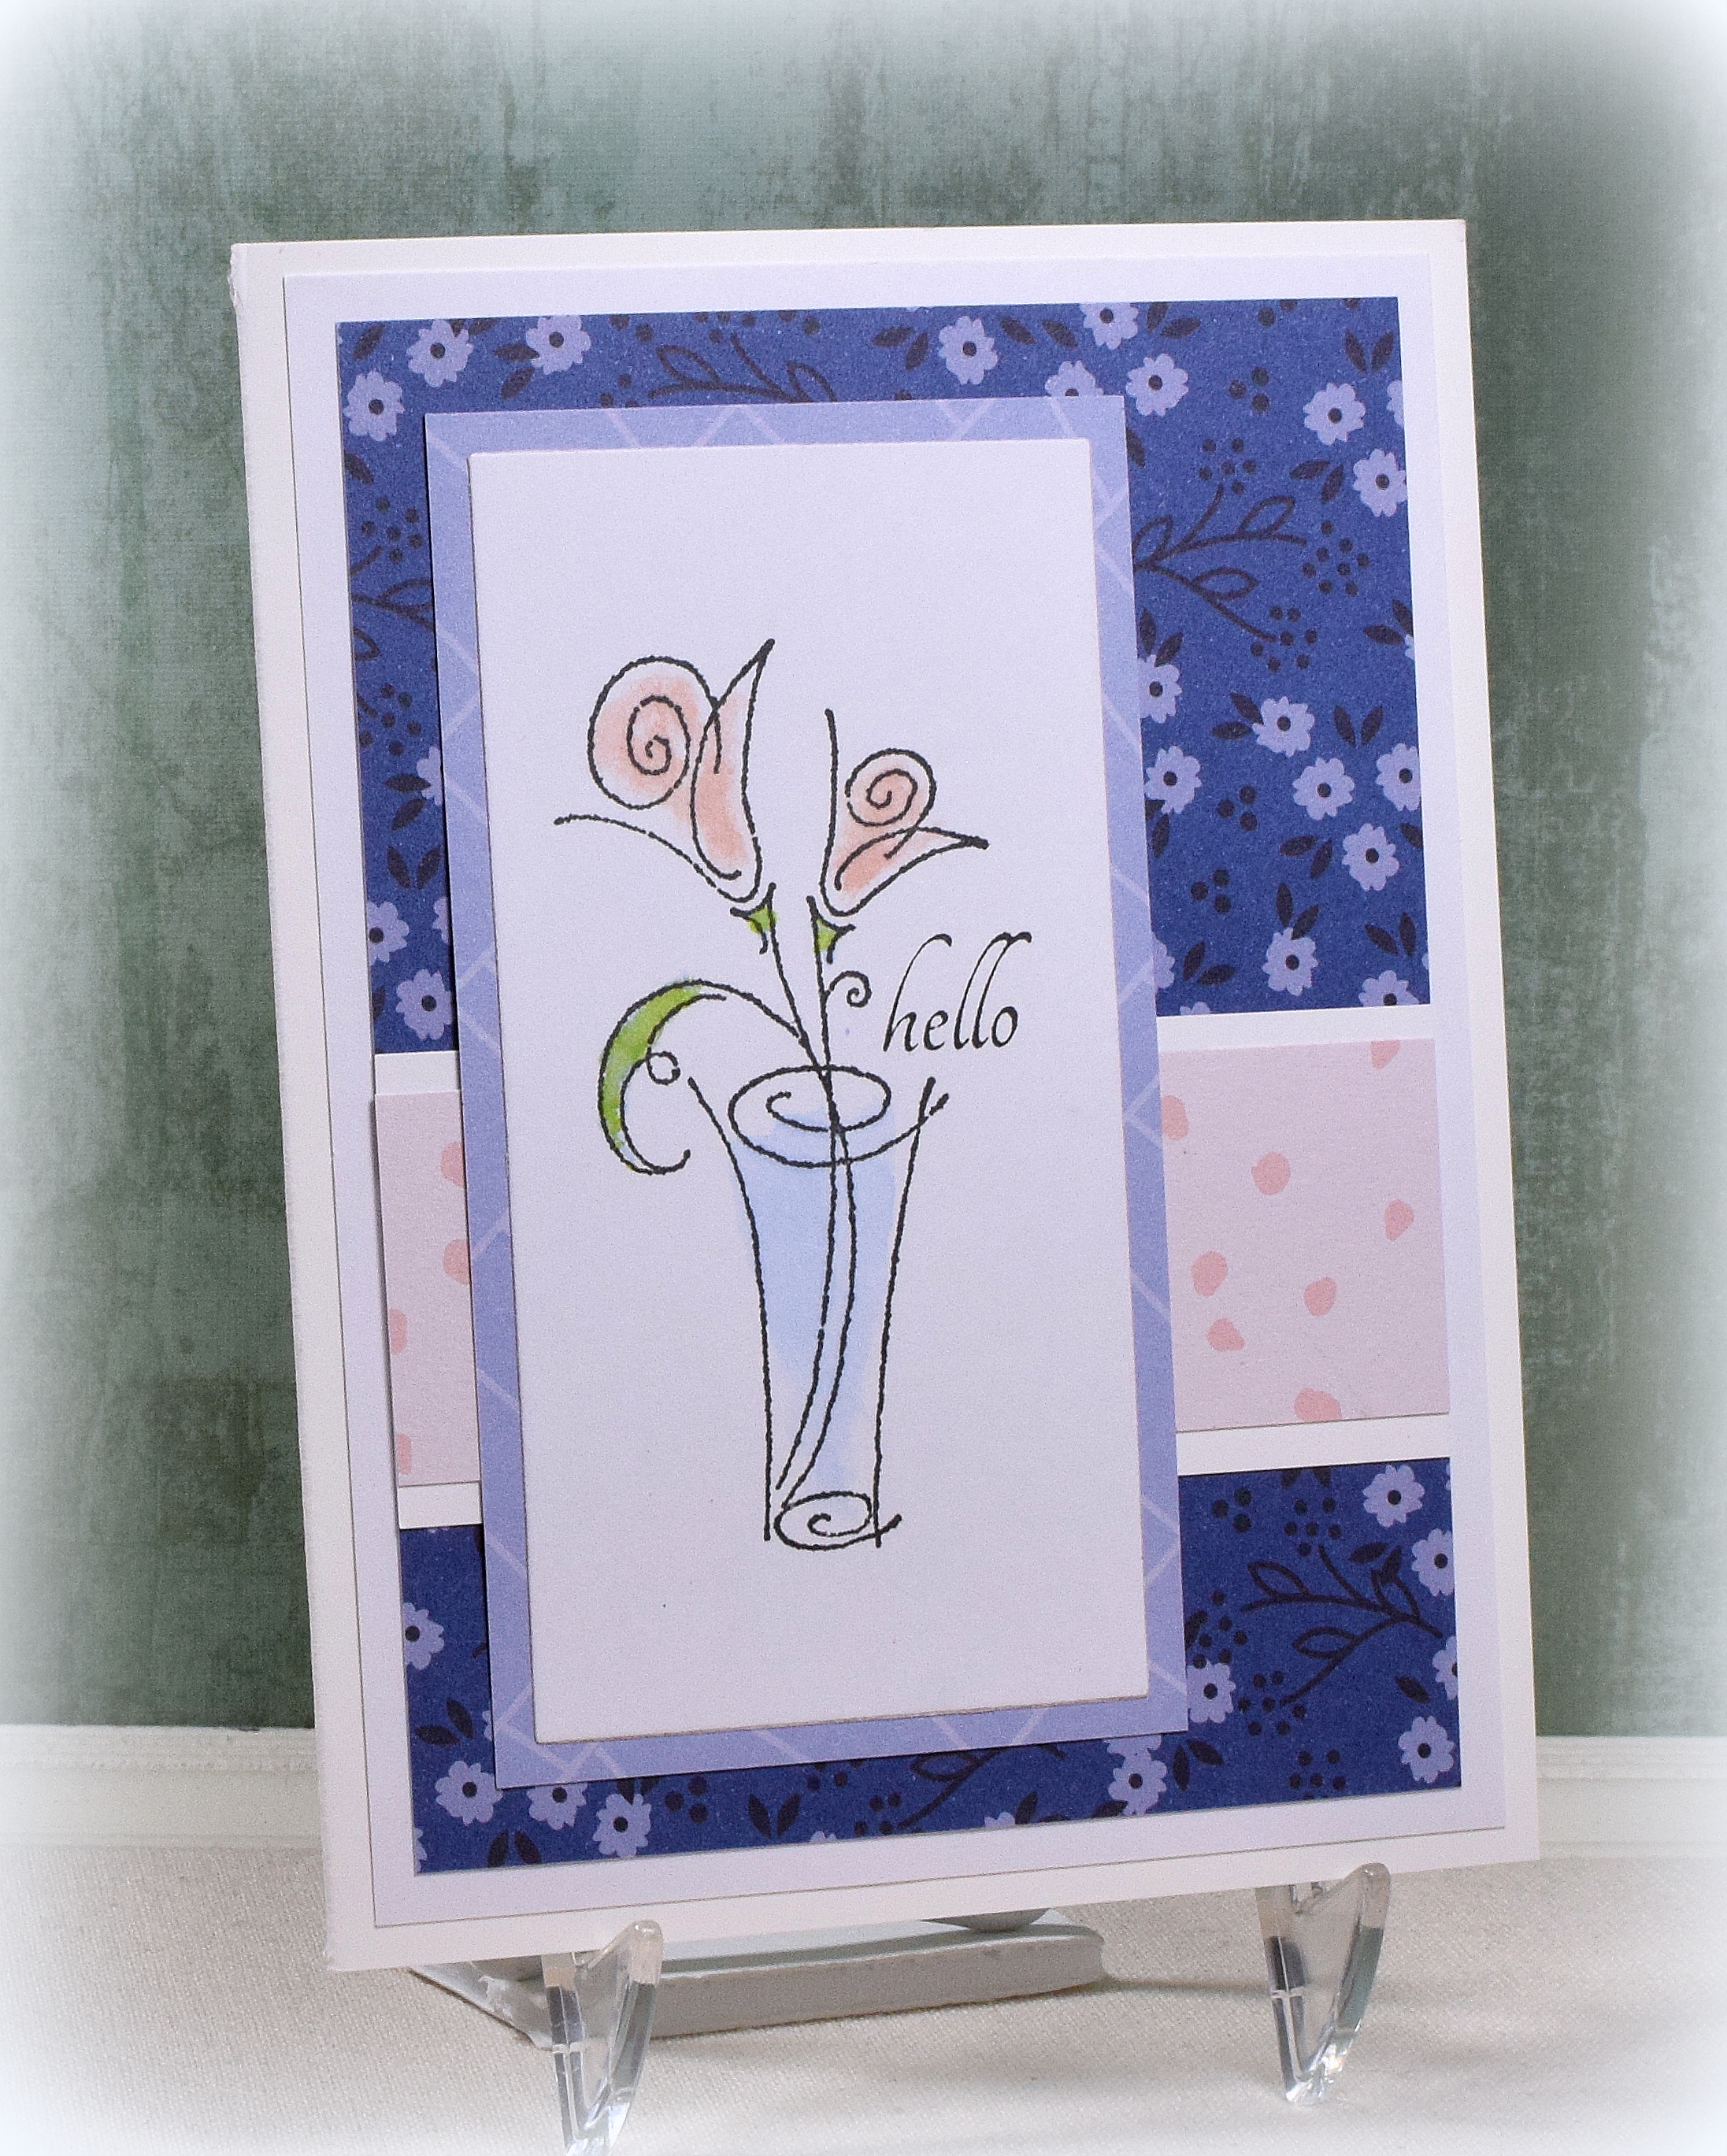
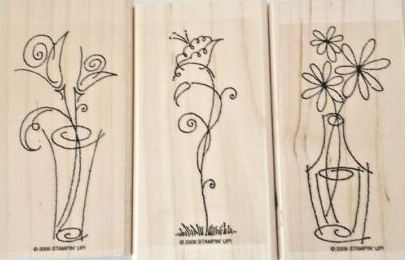
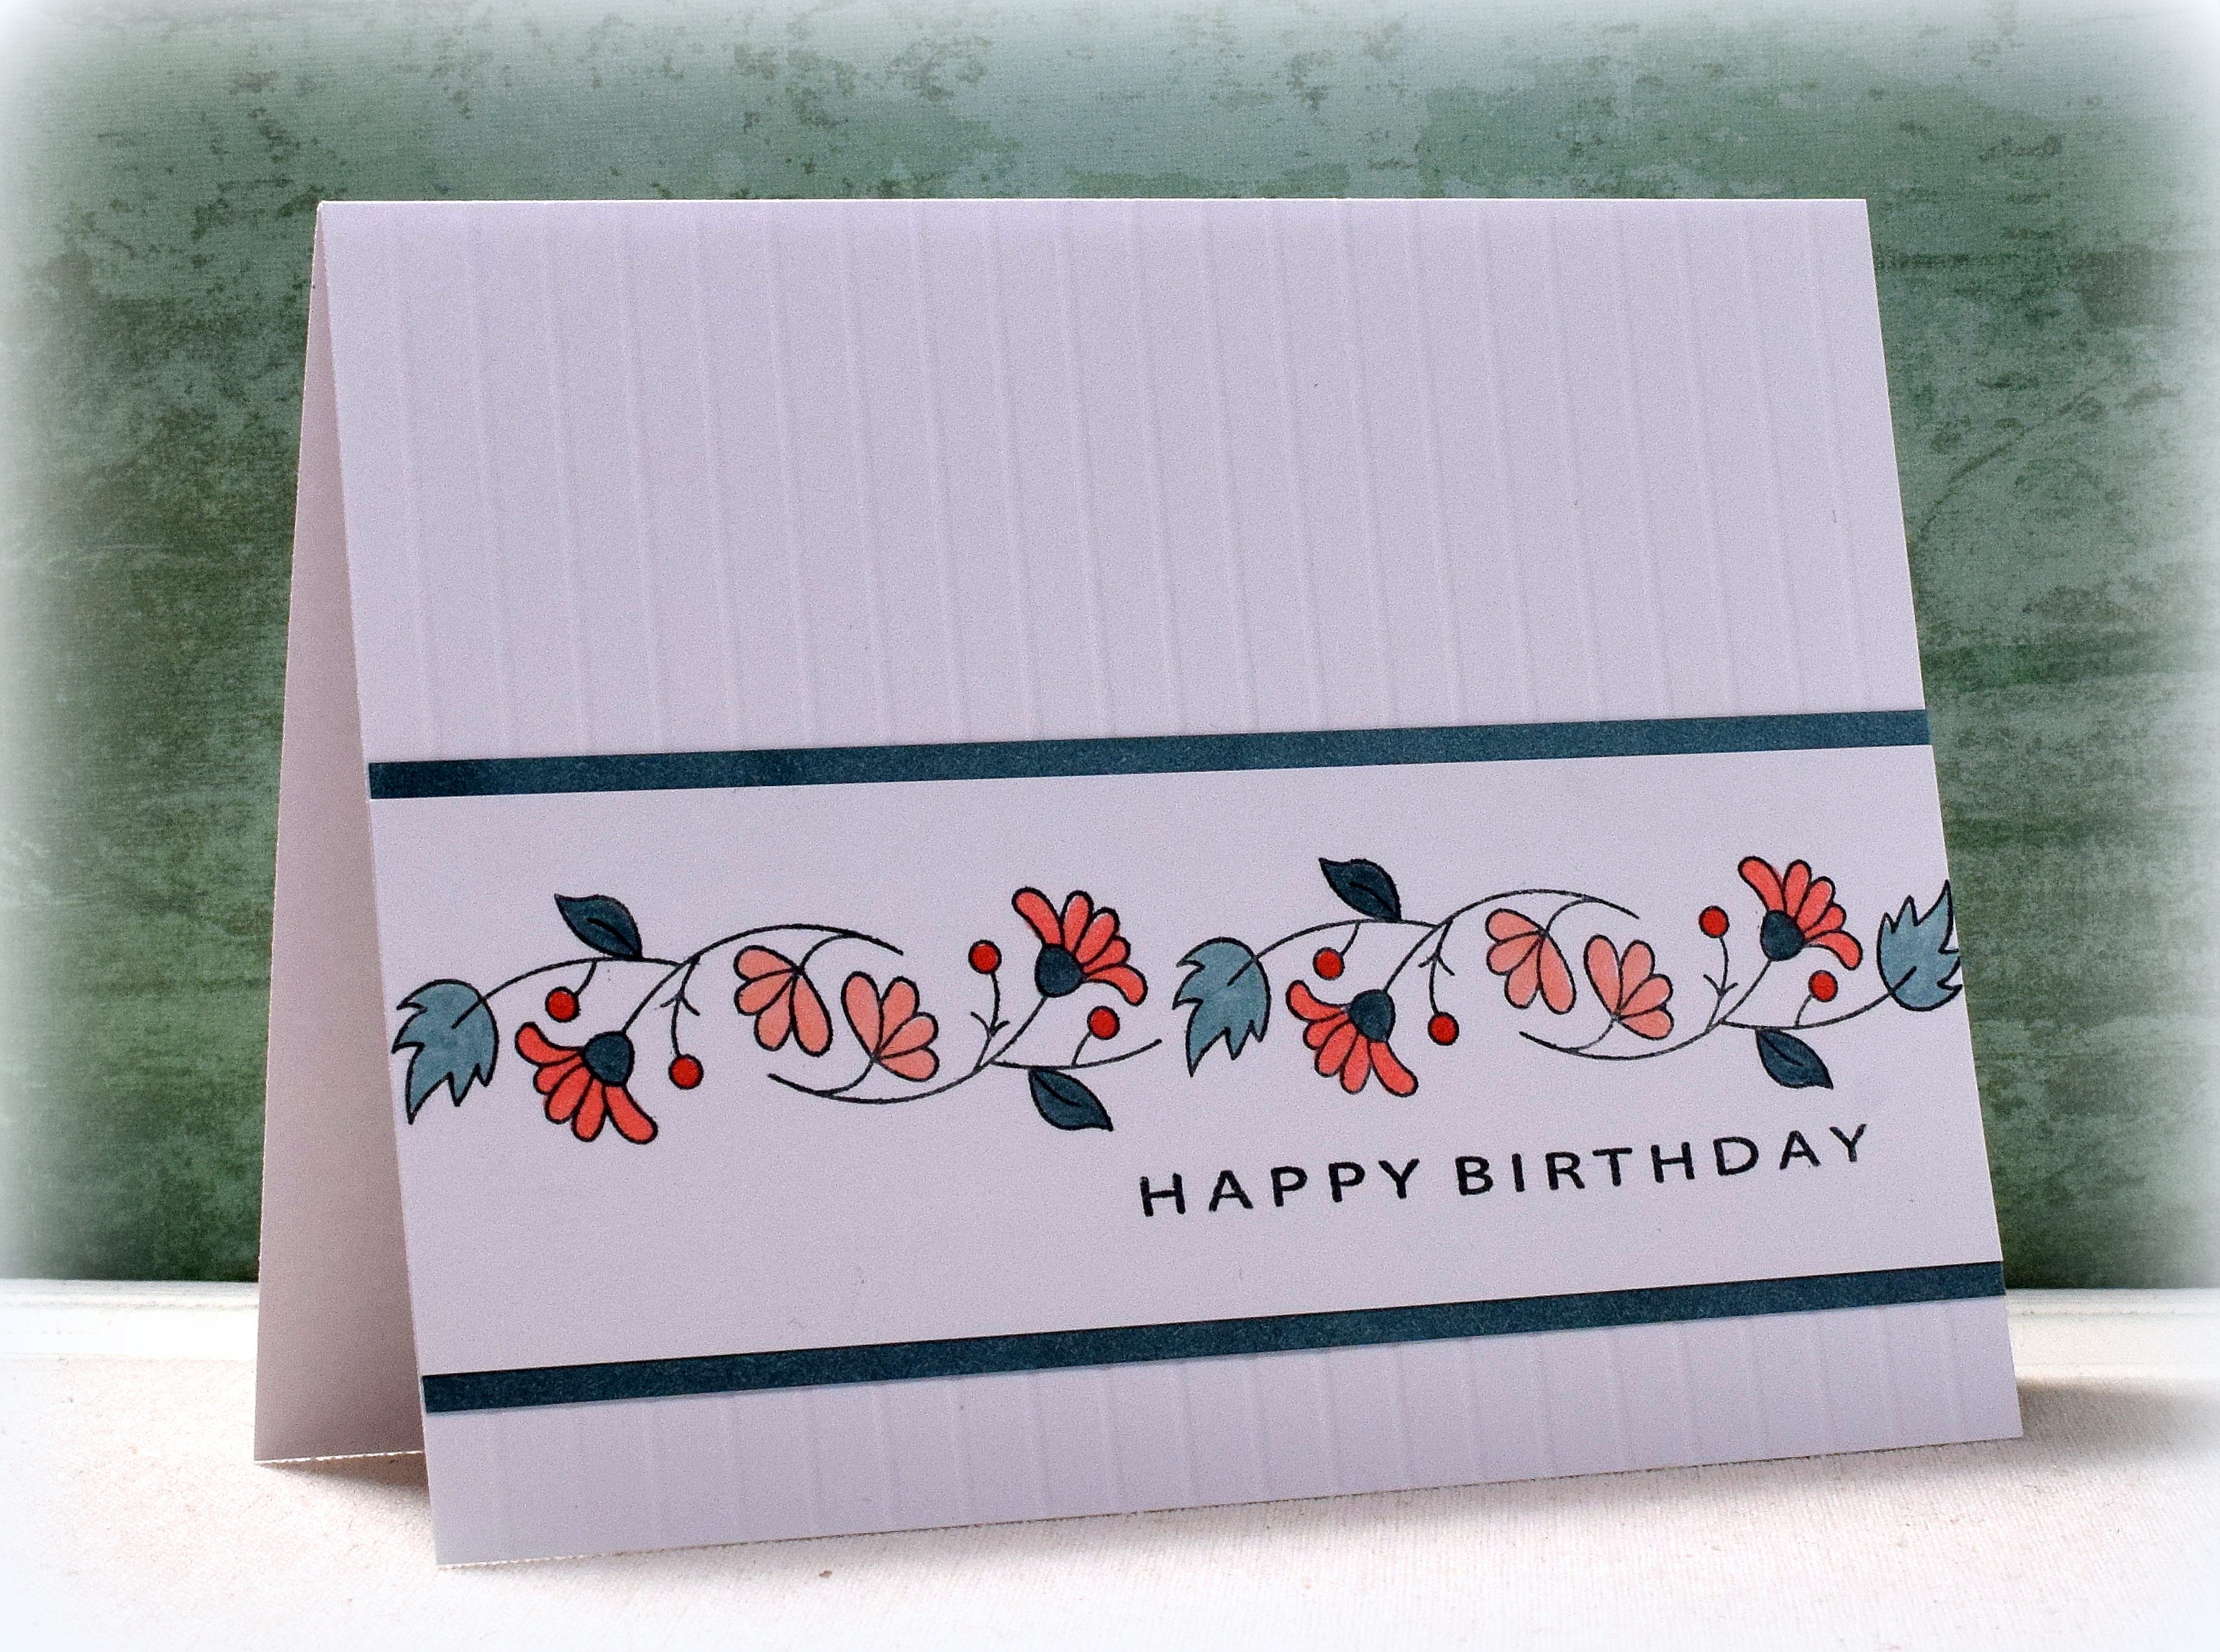
I love the fine lines and whimsical style of the flowers and leaves on this stamp from the  “Bordering Blooms” set from Stampin’ Up (retired?).  This stamp is 5 1/2 inches long and fits across an A2 size card.

I stamped the image with Memento Tuxedo Black ink and colored it with Copic markers (BG75, BG72, R24, R22, and R21).  I used the BG75 marker to create the mat as well.

The greeting and inside sentiment are from the “Happy Birthday to You” set from Gina K Designs.  I used my score board to deboss the stripes on the background panel.

Thanks for checking out my card project!

This content uses referral links as described in the disclosure policy on my sidebar.

Boxed Set – Simple Floral Thank You Cards

Boxed Set – Simple Floral Thank You Cards

zzDSC_3299

This CAS card design features stamps from “The Art of Life” stamp set from Stampin’ Up and a greeting from “Various Verses” from Gina K Designs (both retired?).

The images were stamped on Recollections Cream card stock with SU Blackberry Bliss and GKD Kraft and Dark Sage inks.  (I needed to mask the flowers and the stems to get the two colors as this is all one stamp.)

I did not have any Blackberry Bliss card stock for the mat, so I repeatedly stamped one of the solid “shading” stamps from the Stampin’ Up “Dressed to Impress” set with Blackberry Bliss ink around the edges of the mat panels.

IMG_9229

su dressed to impress

The stamped panel was embossed with the Stampin’ Up “Subtle” 3D embossing folder to add a bit of texture. (It is recommended that you use Stampin’ Up’s Specialty Plate with their 3D folders.)

The darker card stock all came from the ”

I used my MISTI stamp positioner to create 7 of these stamped panels – 6 for the cards and 1 for the front of the homemade box.

zDSC_3304

Thanks for checking out my card project!

This content uses referral links as described in the disclosure policy on my sidebar.

A “Sassy Stems” Hello

A “Sassy Stems” Hello

wDSC_3296

(inside: sending hugs)

This card features a stamp from the “Sassy Stems” set from Stampin’ Up (retired) and a greeting from the “Fleur de Lis” set from Gina K Designs.  I love the illustration style of the stamps in this set and how the font of that greeting follows the lines of this image so nicely!

su sassy stems set

The images were stamped on white card stock with Gina K Designs Jet Black amalgam ink and “loosely” water colored with ink from peach, peacock blue, and bud green Spectrum Aqua markers (that I scribbled on a piece of acetate and then added a bit of water with a brush).

The printed card stock came from the DCWV Peri & Peach Premium Stack.  The inside sentiment is from the “Ever So Much” set from Papertrey Ink (retired?).

Recently, a fellow crafter requested “Thinking of You” or “Hello” cards for her 95 year old friend who is in a care home and is feeling lonely and blue.  This is the card I made to send to her.  If you wish to send a card, the information is at the end of her post HERE.

I also needed a birthday card so I changed up the greeting using a stamp from the “Fabulous Flowers” set from Gina K Designs.

wDSC_3298

Thanks for checking out my card projects!

This content uses referral links as described in the disclosure policy on my sidebar.

Goodbye Winnie & Walter – Two Note Cards from One Die Cut

Goodbye Winnie & Walter – Two Note Cards from One Die Cut

wDSC_1385

I have two “Clean and Simple” cards to share…

I usually just use scraps when cutting with dies, but with some pre-planning and careful placement, you end up with a “negative” on a panel that could be used to create another card.  Bold word dies like the Winnie & Walter “In A Word: Thanks Cutaway” die work well for creating project-ready die cuts and negatives.  (Sadly, I just learned that Winnie & Walter closed shop at the end of 2019.)

wDSC_1380

First, I used my airbrush and Copic marker (C5) to create the splattered dots on a white panel sized for the front of my card.  Then I centered the die on the panel and ran it through my die cutting machine.  It’s important to keep the scraps from the die cut (for this one – the piece between the “k” and “s” and the inner pieces of the “a” and by the “n”) because these need to be glued back into the negative space.  By airbrushing first, the dots are on these scraps and match the panel nicely.  In order to position the scraps properly, I temporarily place the die cut back into the “hole” and then glue the scraps into the areas of the die cut from which they came.  Once the scraps are positioned and adhered, the actual die cut can be removed and used on a second card.

wDSC_1383

Because I airbrushed my dots before cutting, they are also on the die cut for the second card – bonus!!  The embossing folder is “Honeycomb” by Darice.

Thanks for checking out my card projects!

The New Normal

The New Normal

IMG_9232c


As is the norm at the moment, everyone in my family is now home – either working or “attending classes” remotely.  As a result, my craft room has become an additional “classroom” for two of my sons (who share a room) when they have live or simultaneous online classes and need privacy/quiet.  This will go on for the remainder of the semester.

hall

I’ve not been feeling very creative lately, and with reduced access to my room and supplies, it will be even more challenging to get back on track so if it seems like I am missing in action, that is why.  I am hopeful that this will change as I adjust to (and work around) their class schedules and settle in to this new normal.  Until then, I am enjoying the projects you all are posting and appreciate the inspiration.

I am feeling very thankful that my family is healthy and can be together during this difficult time.  Praying for an end to this health crisis and that you and your families are all well.

Thanks for checking out my post.