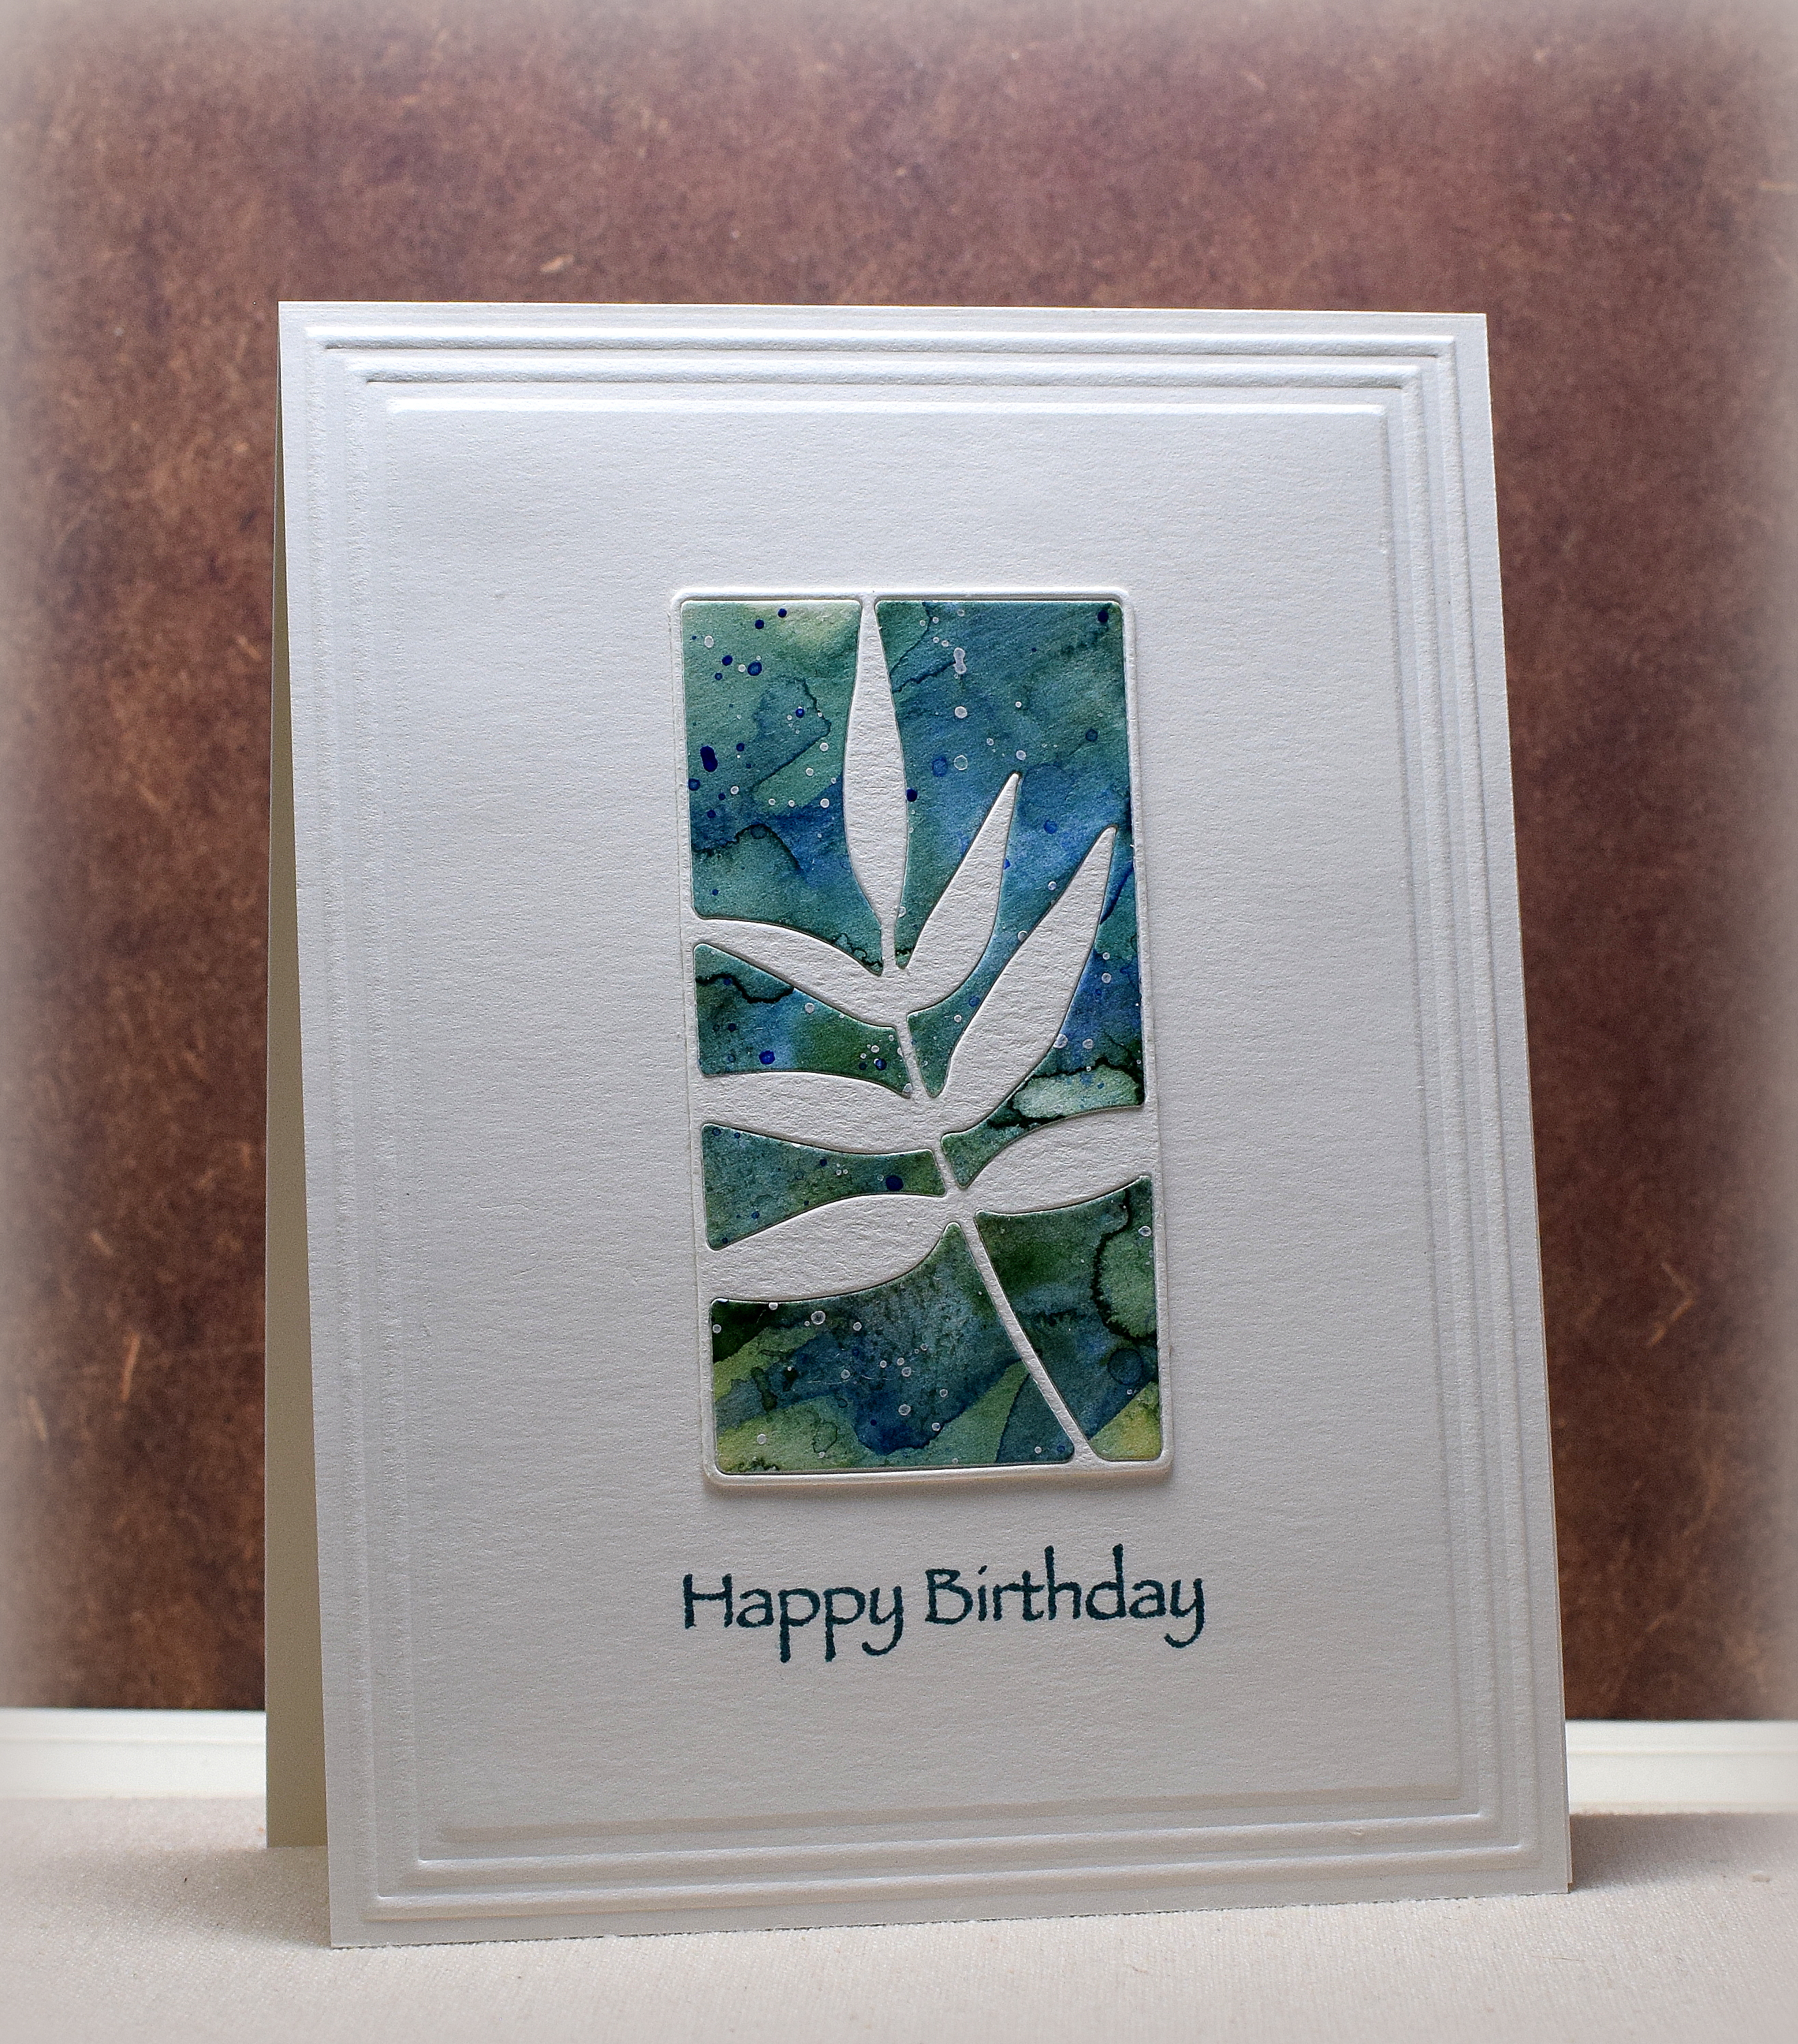
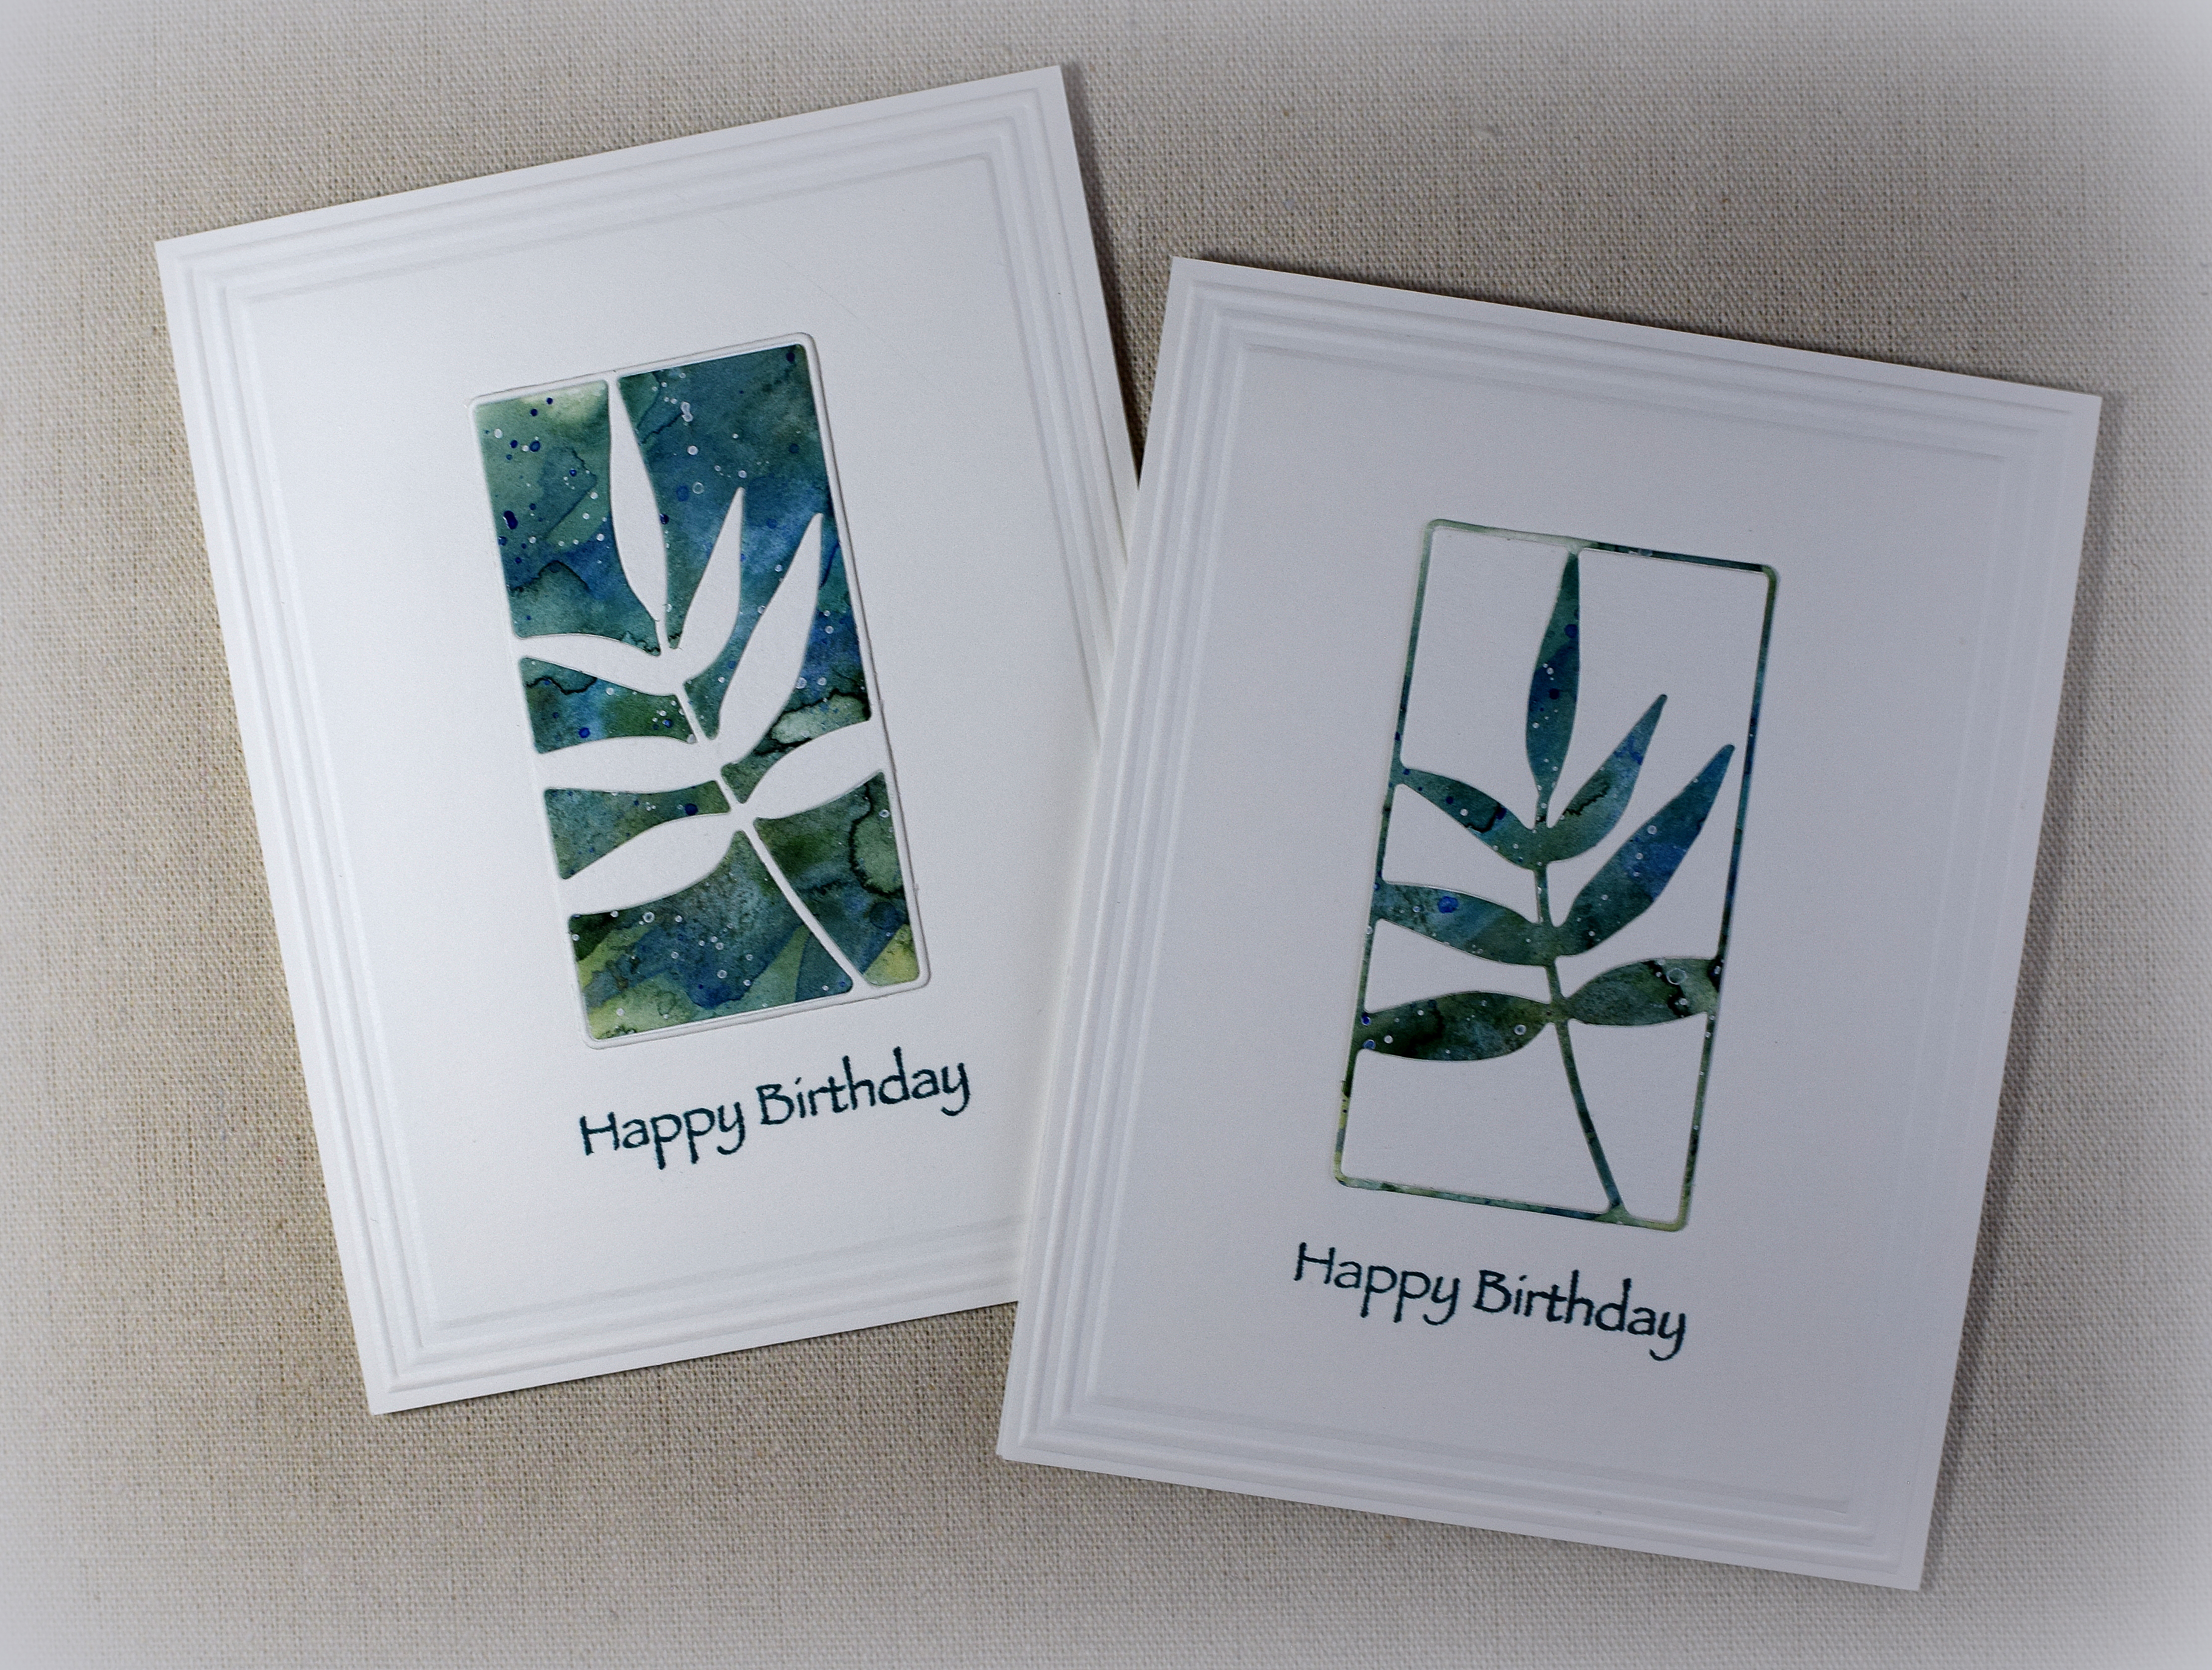
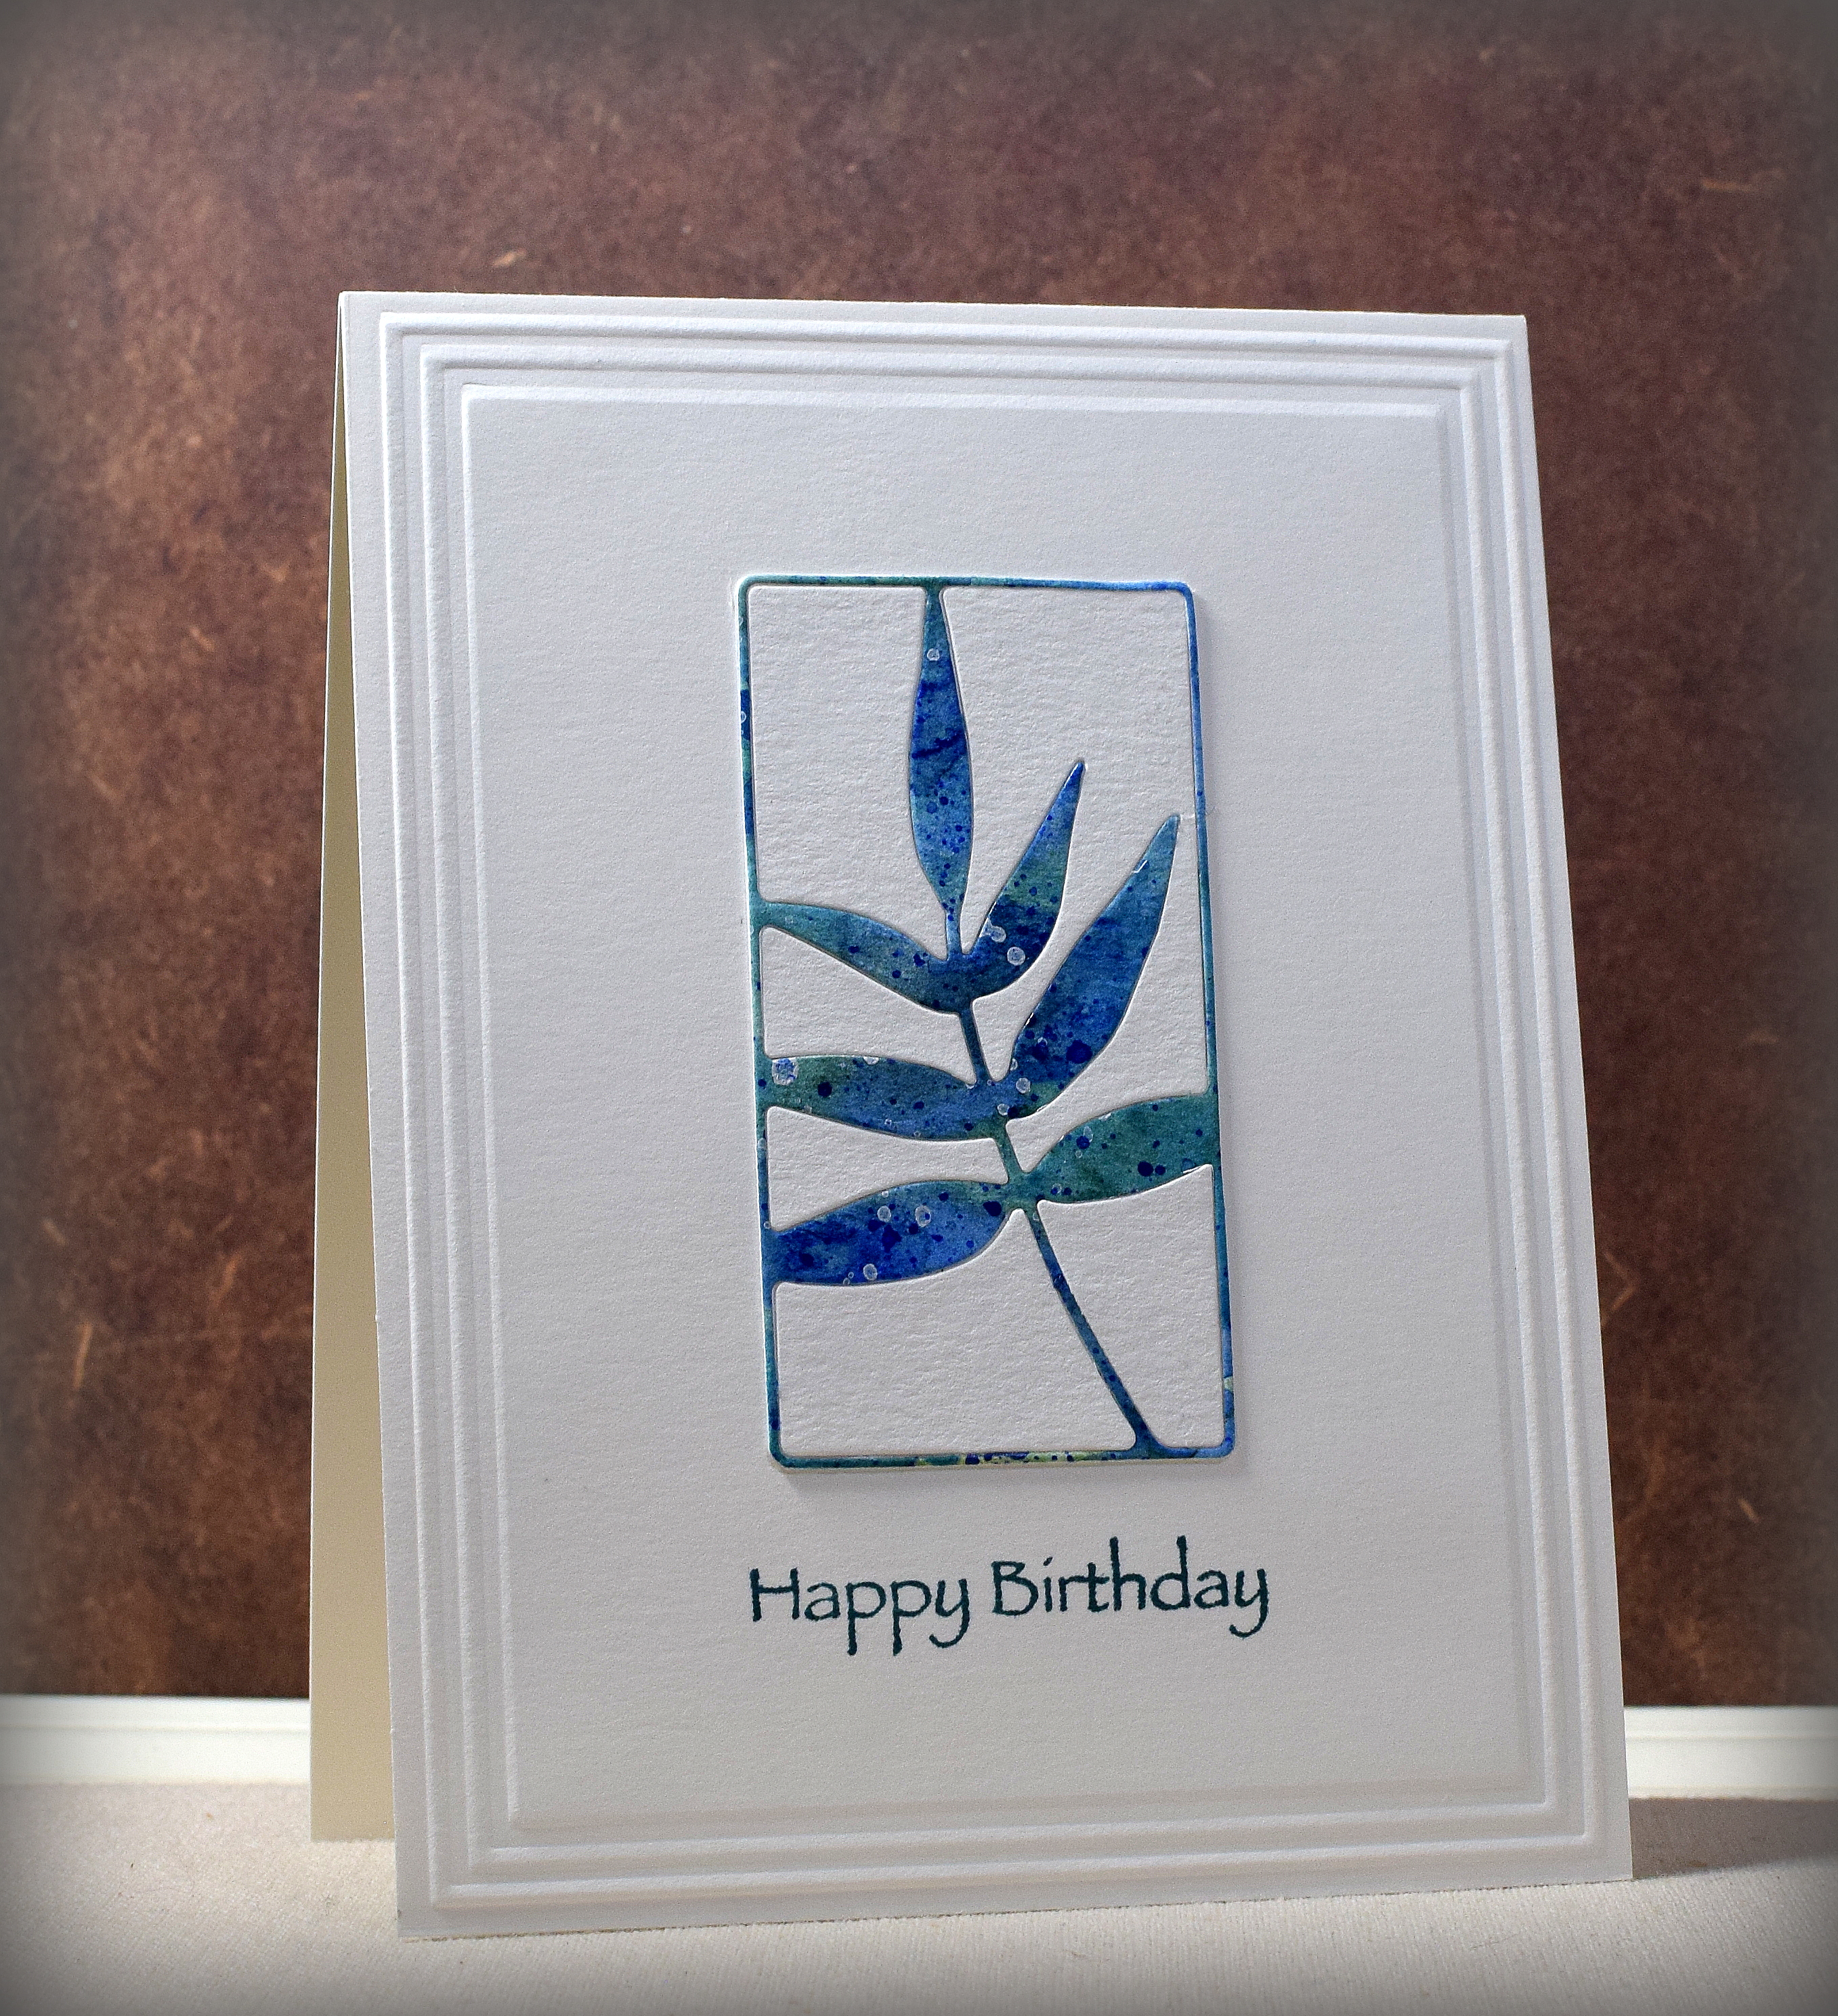
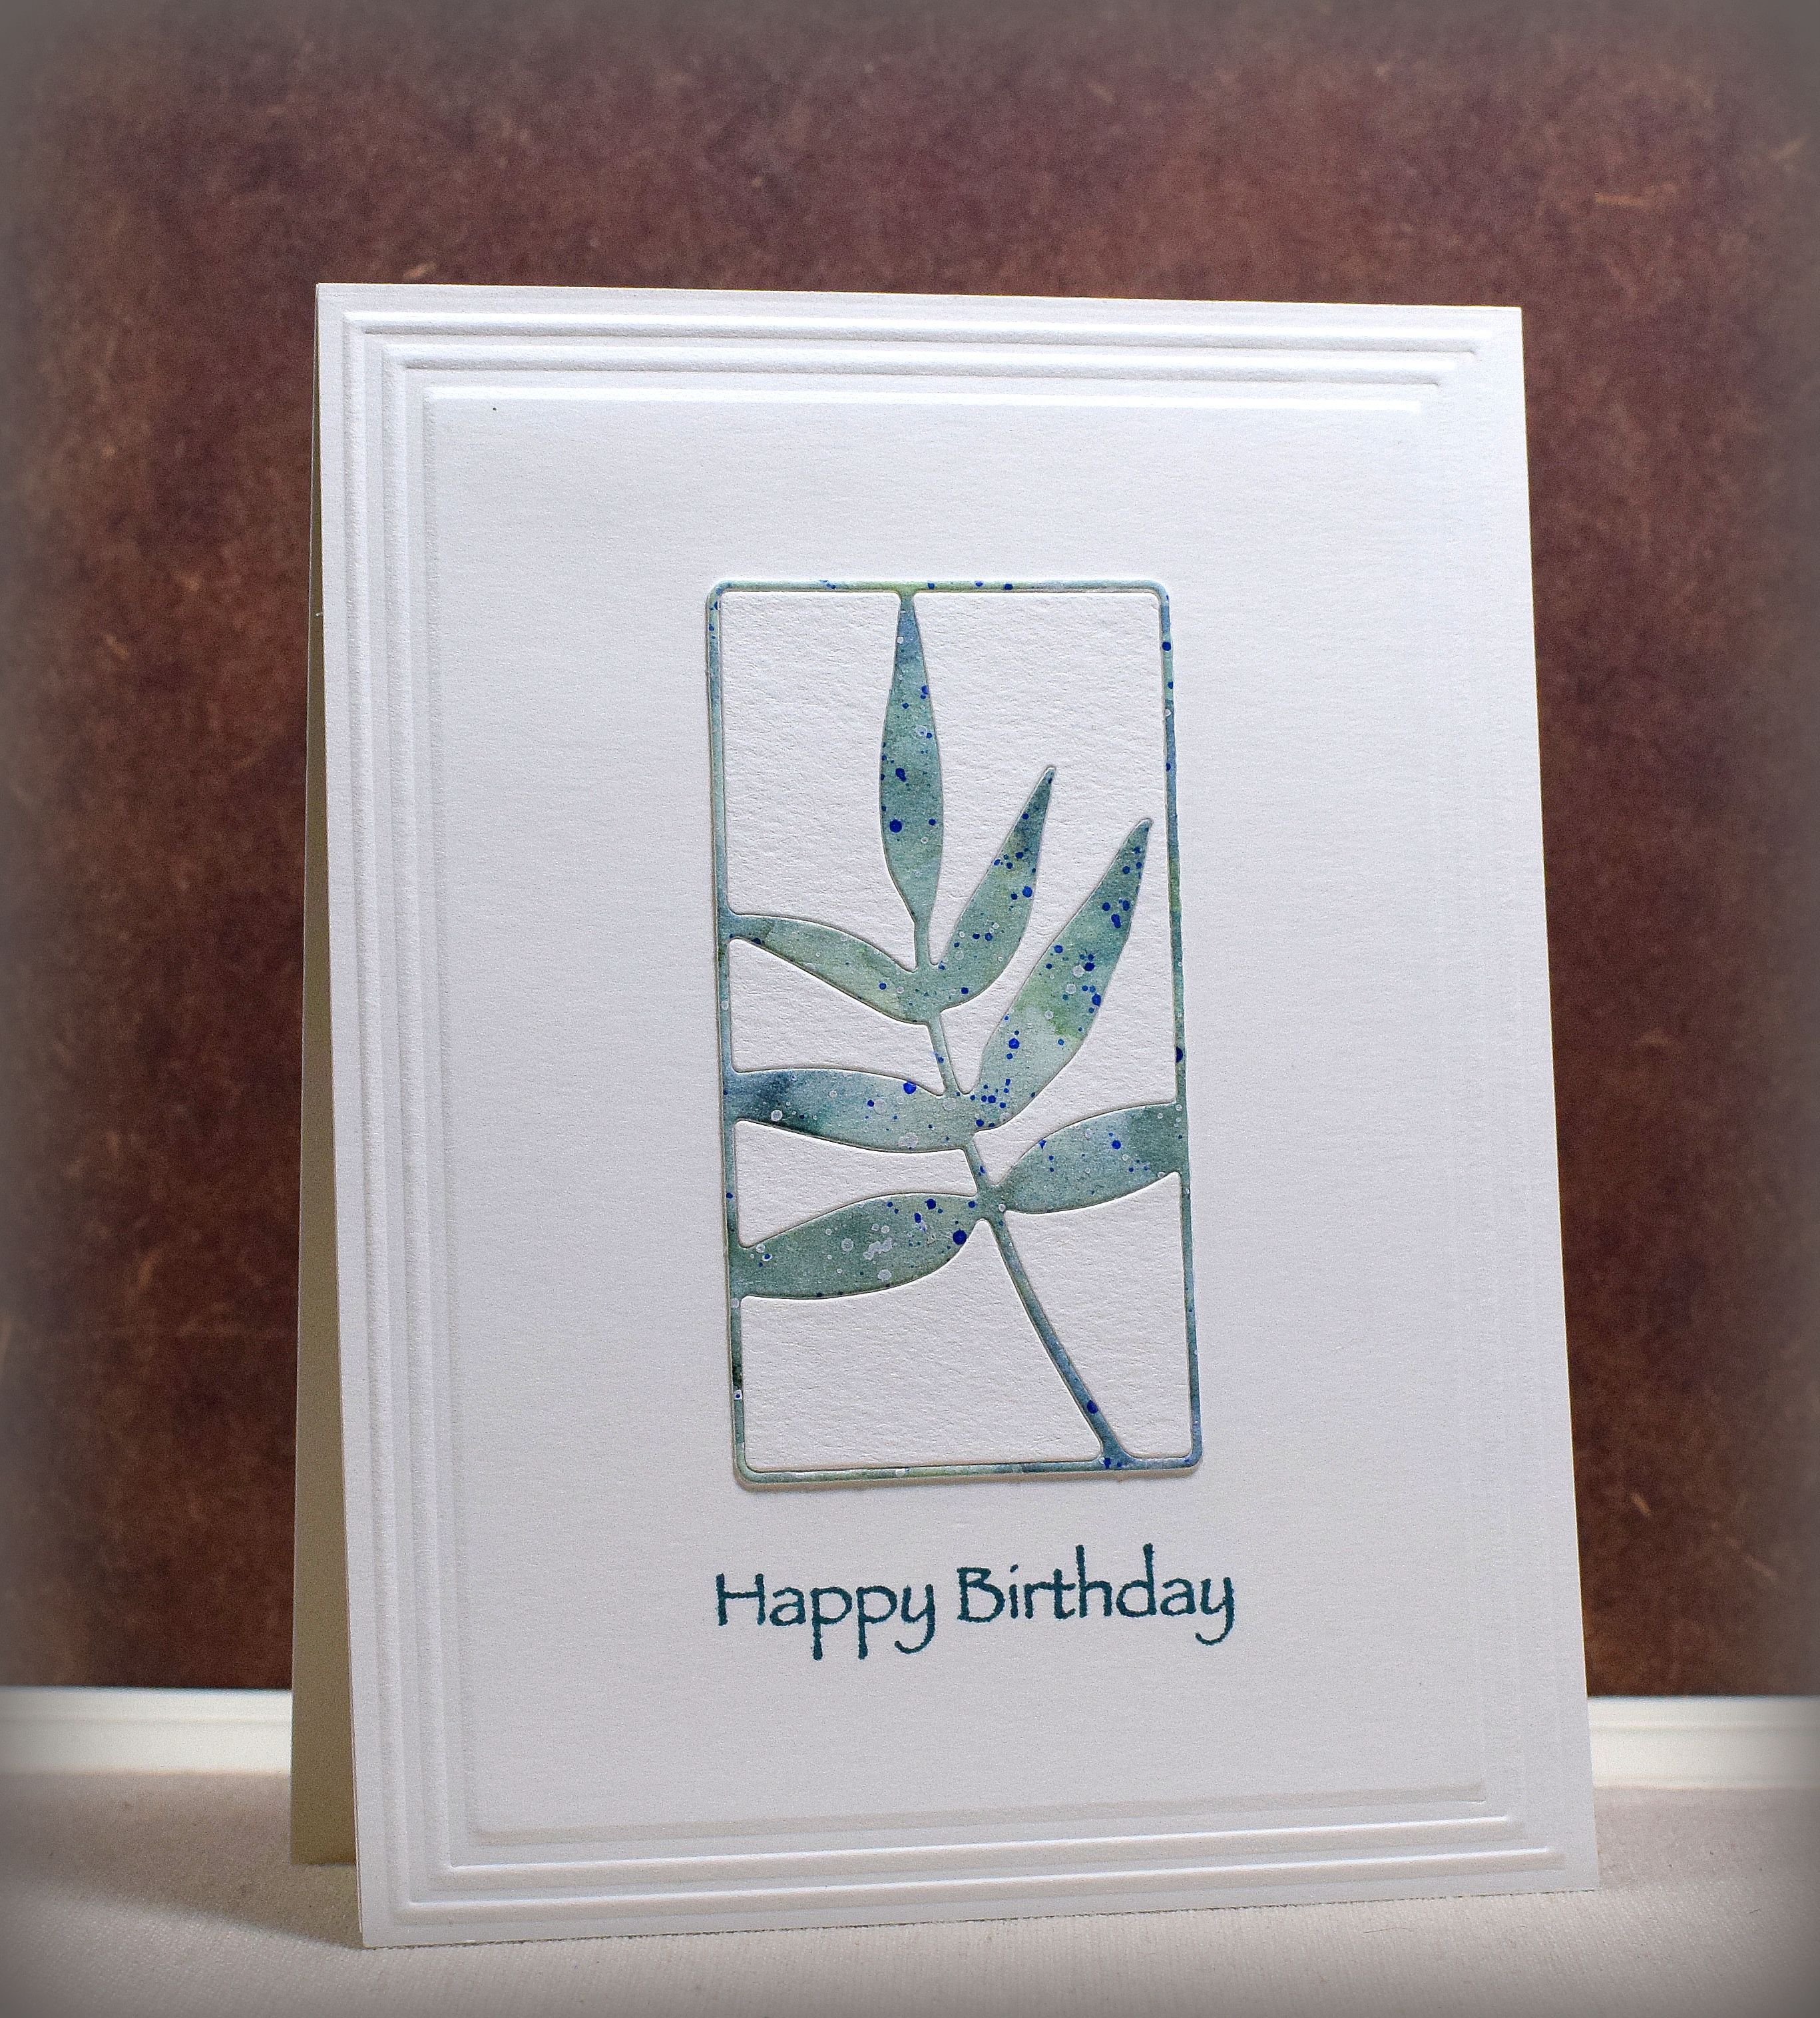
Masked Christmas Tree

The first class of the “Simply Watercolor Christmas” course (from Online Card Classes) covered simple masked shape cards, and this is a CASE of the card Jennifer McGuire shared. (Kristina Werner shared some fun cards as well using masked squares as gift boxes.)
I used water color paper, Kuretake GANSAI TAMBI Water Colors (# 56 and 58) and some masking tape to create the tree and then added some shapes punched from “Copper” card stock to embellish it. The star was an unmarked punch I’ve had forever, and the circles for the ornaments were made with the “Bubbles Border Punch” by Fiskars. The painted panel was adhered to a copper card base.
The greeting is from the “Peace and Joy” set from Gina K Designs and was stamped with Hero Arts Copper embossing powder.
I did have a problem with my first attempt that I wanted to mention. I used a heat tool to dry the different sections as I worked. However, in addition to speeding the drying process, the heat also weakened the adhesion on the masking tape a bit so I ended up with spots where paint seeped under the tape as I continued to work on the different sections. It’s important to make sure ALL the tape is secured well (I used a bone folder) after EVERY application of heat.
I don’t usually have much success water coloring images without using stamps, but this technique (with great instruction) made it easy and a lot of fun! I am excited to try this technique again with different masked shapes.
Thanks for checking out my card project!
This content uses referral links as described in the disclosure policy on my sidebar.