“Shore” Grateful Thank You Card

“Shore” Grateful Thank You Card

Shore Grateful Thank You Card bbDSCN6307


This thank you card was made for friends who took my sons with them to their shore house for a weekend.  While there, they went crabbing which they really enjoyed.

This card is being entered in the Perfectly Rustics Design Challenge No. 37 – Sentiment (Not Birthday). The focus of this challenge is the sentiment on the card, but NO HAPPY BIRTHDAY sentiments are to be used in this challenge!  They want us to think outside of the standard (most commonly used sentiment) and come up with something different than Happy Birthday.  My card is a thank you card with “I’m Shore Grateful!” as the sentiment to reflect the shore theme of the card and the actual purpose of the note. (http://perfectlyrustics.com/2014/12/01/prdc-37-sentiment-not-birthday/)

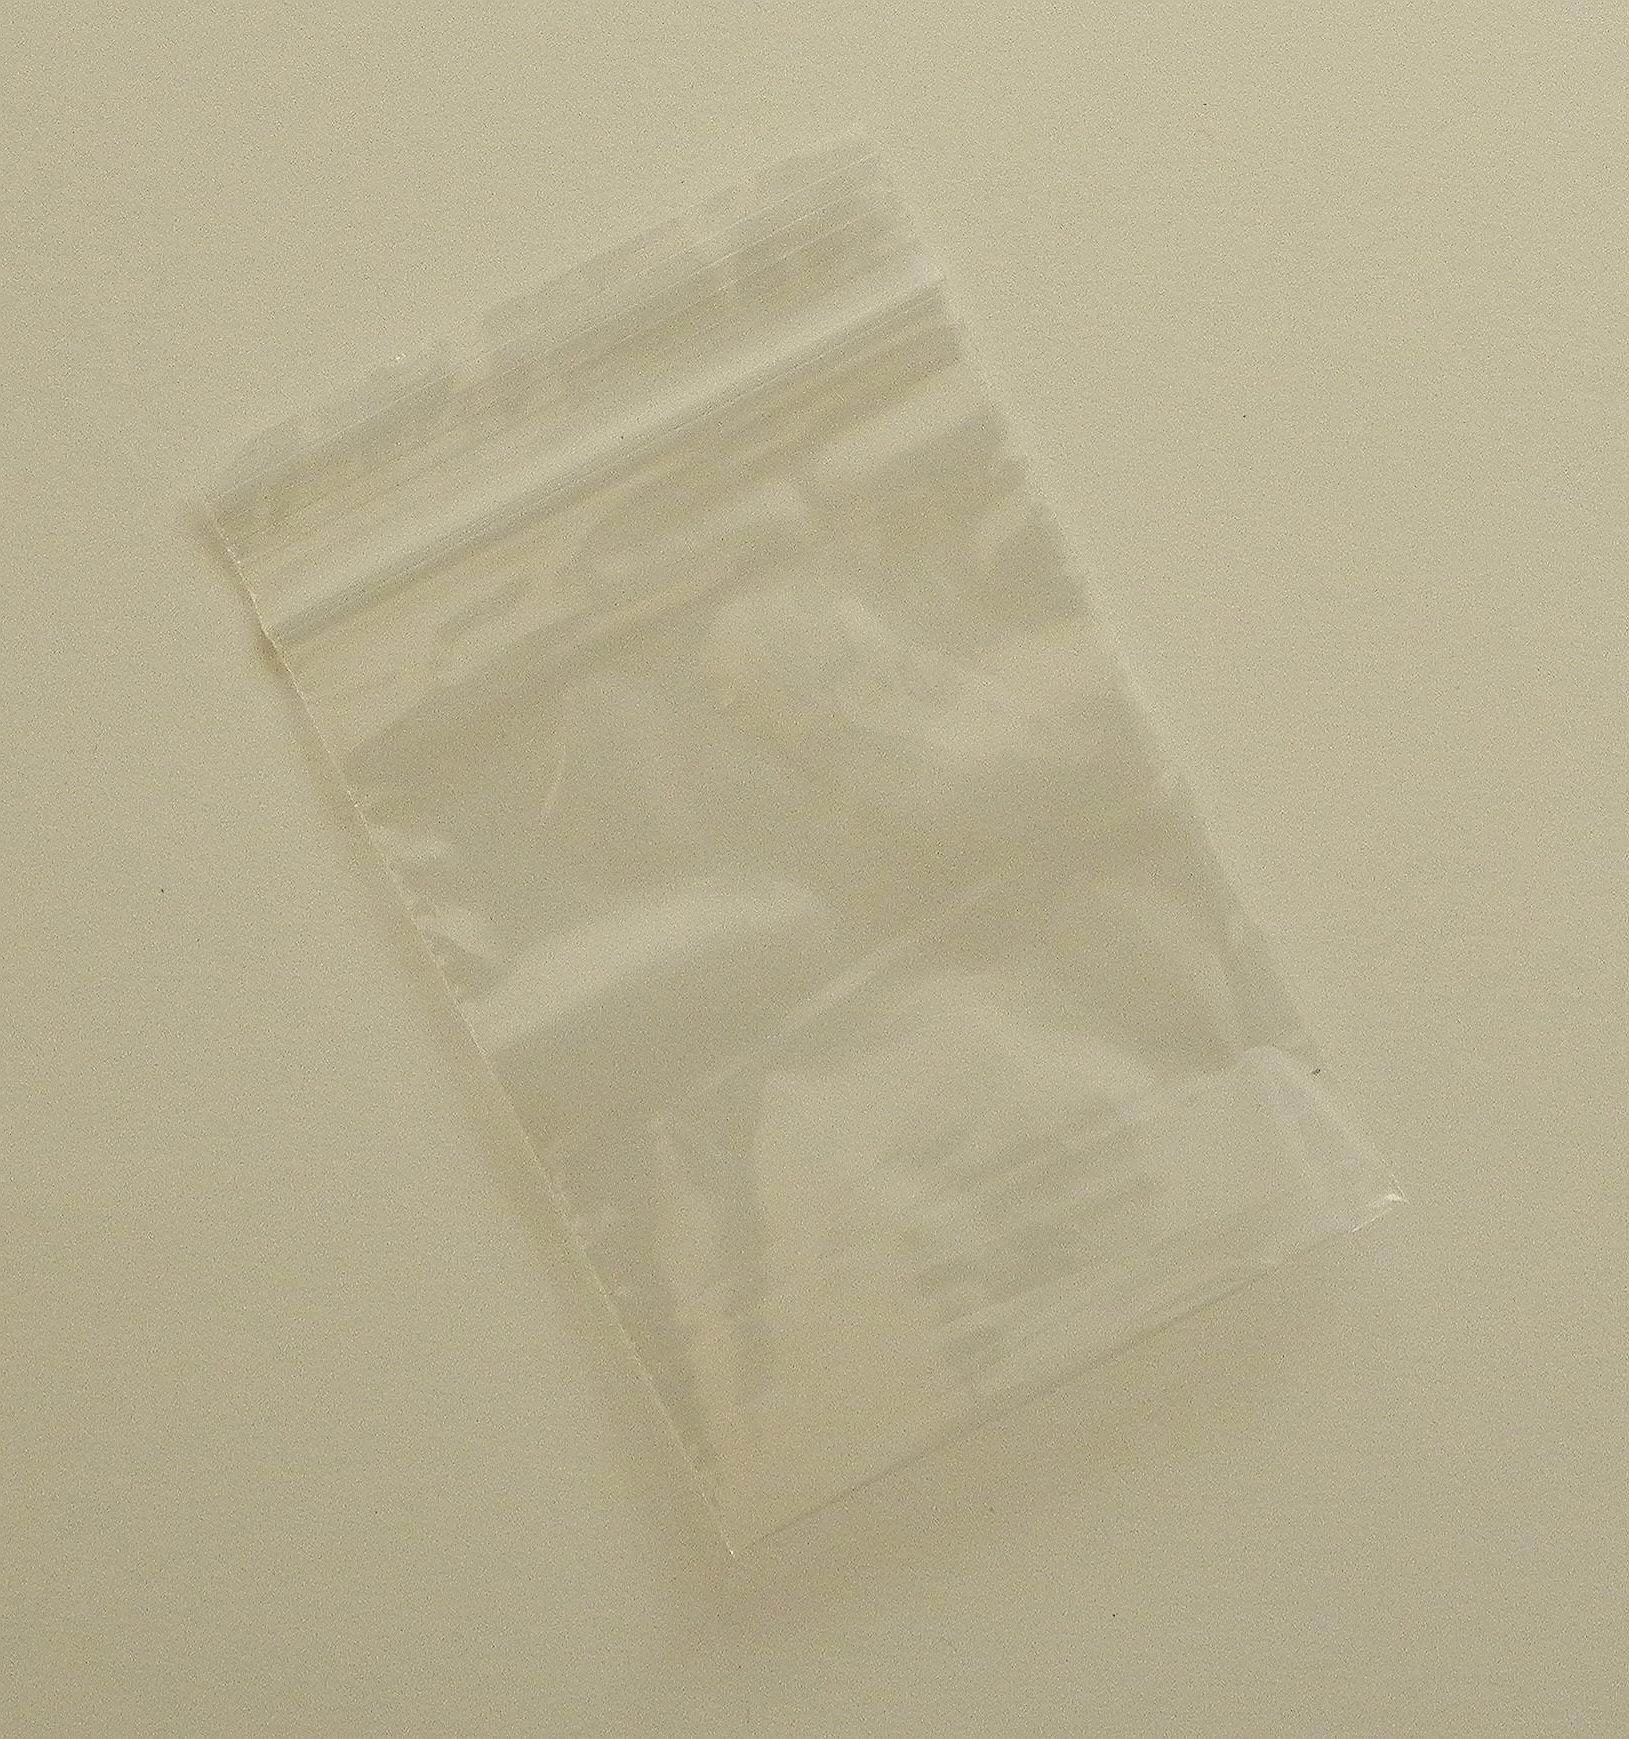
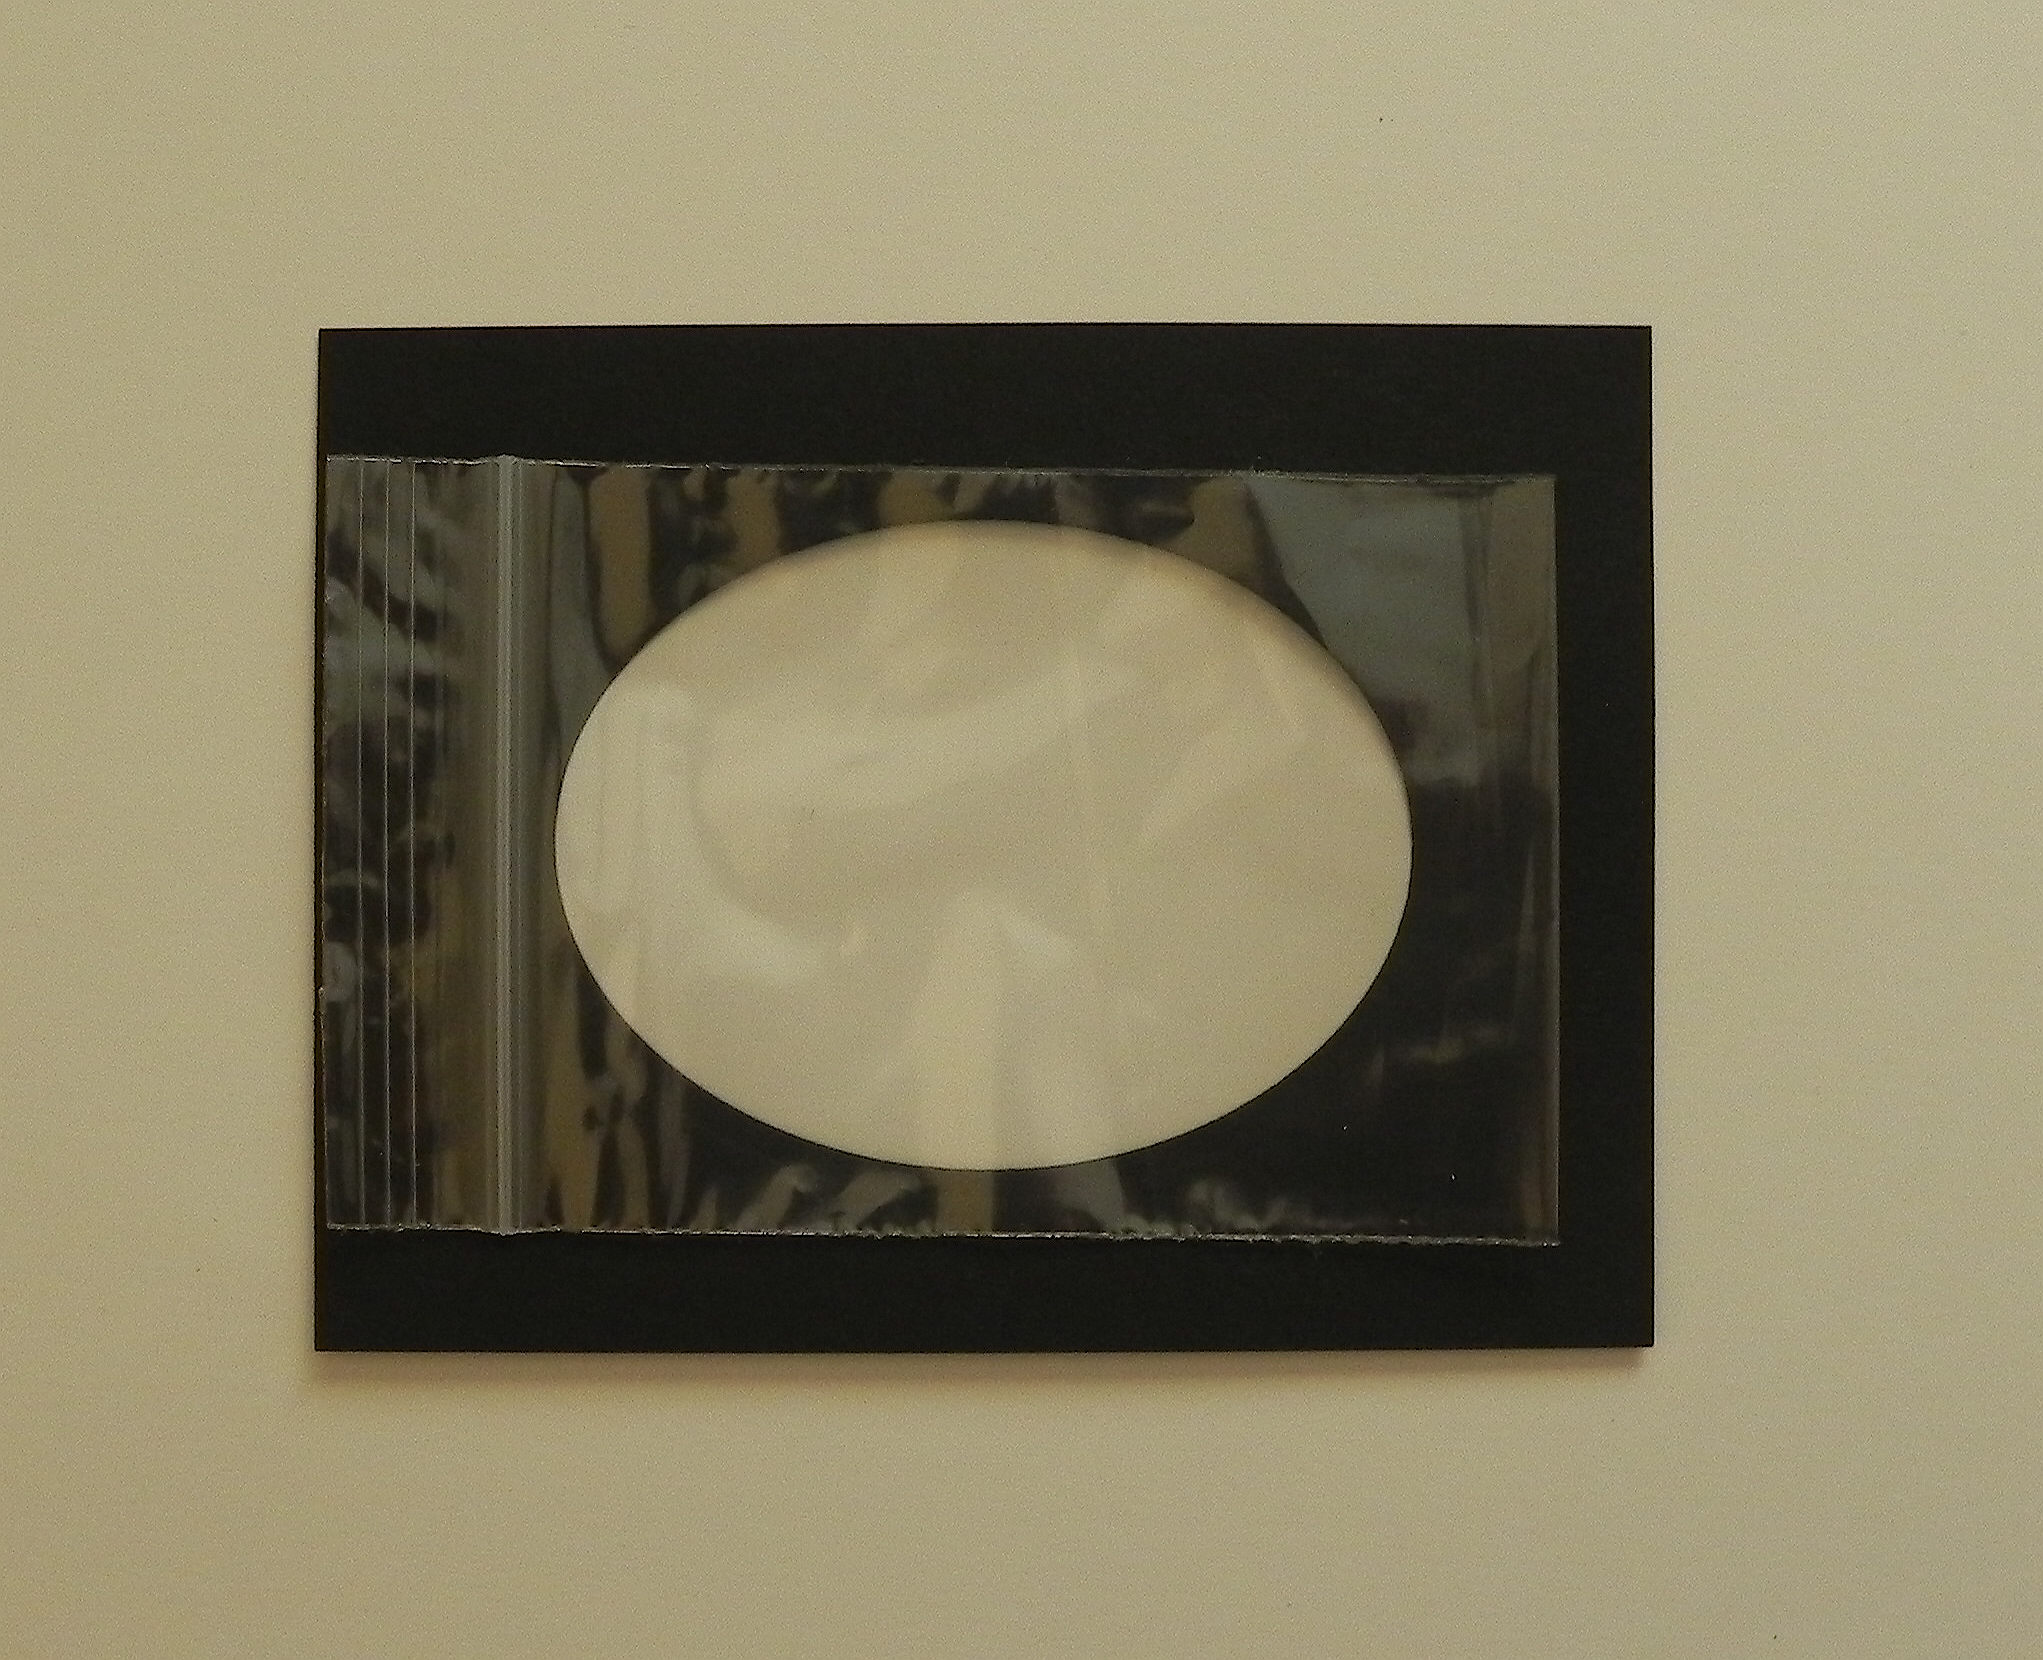
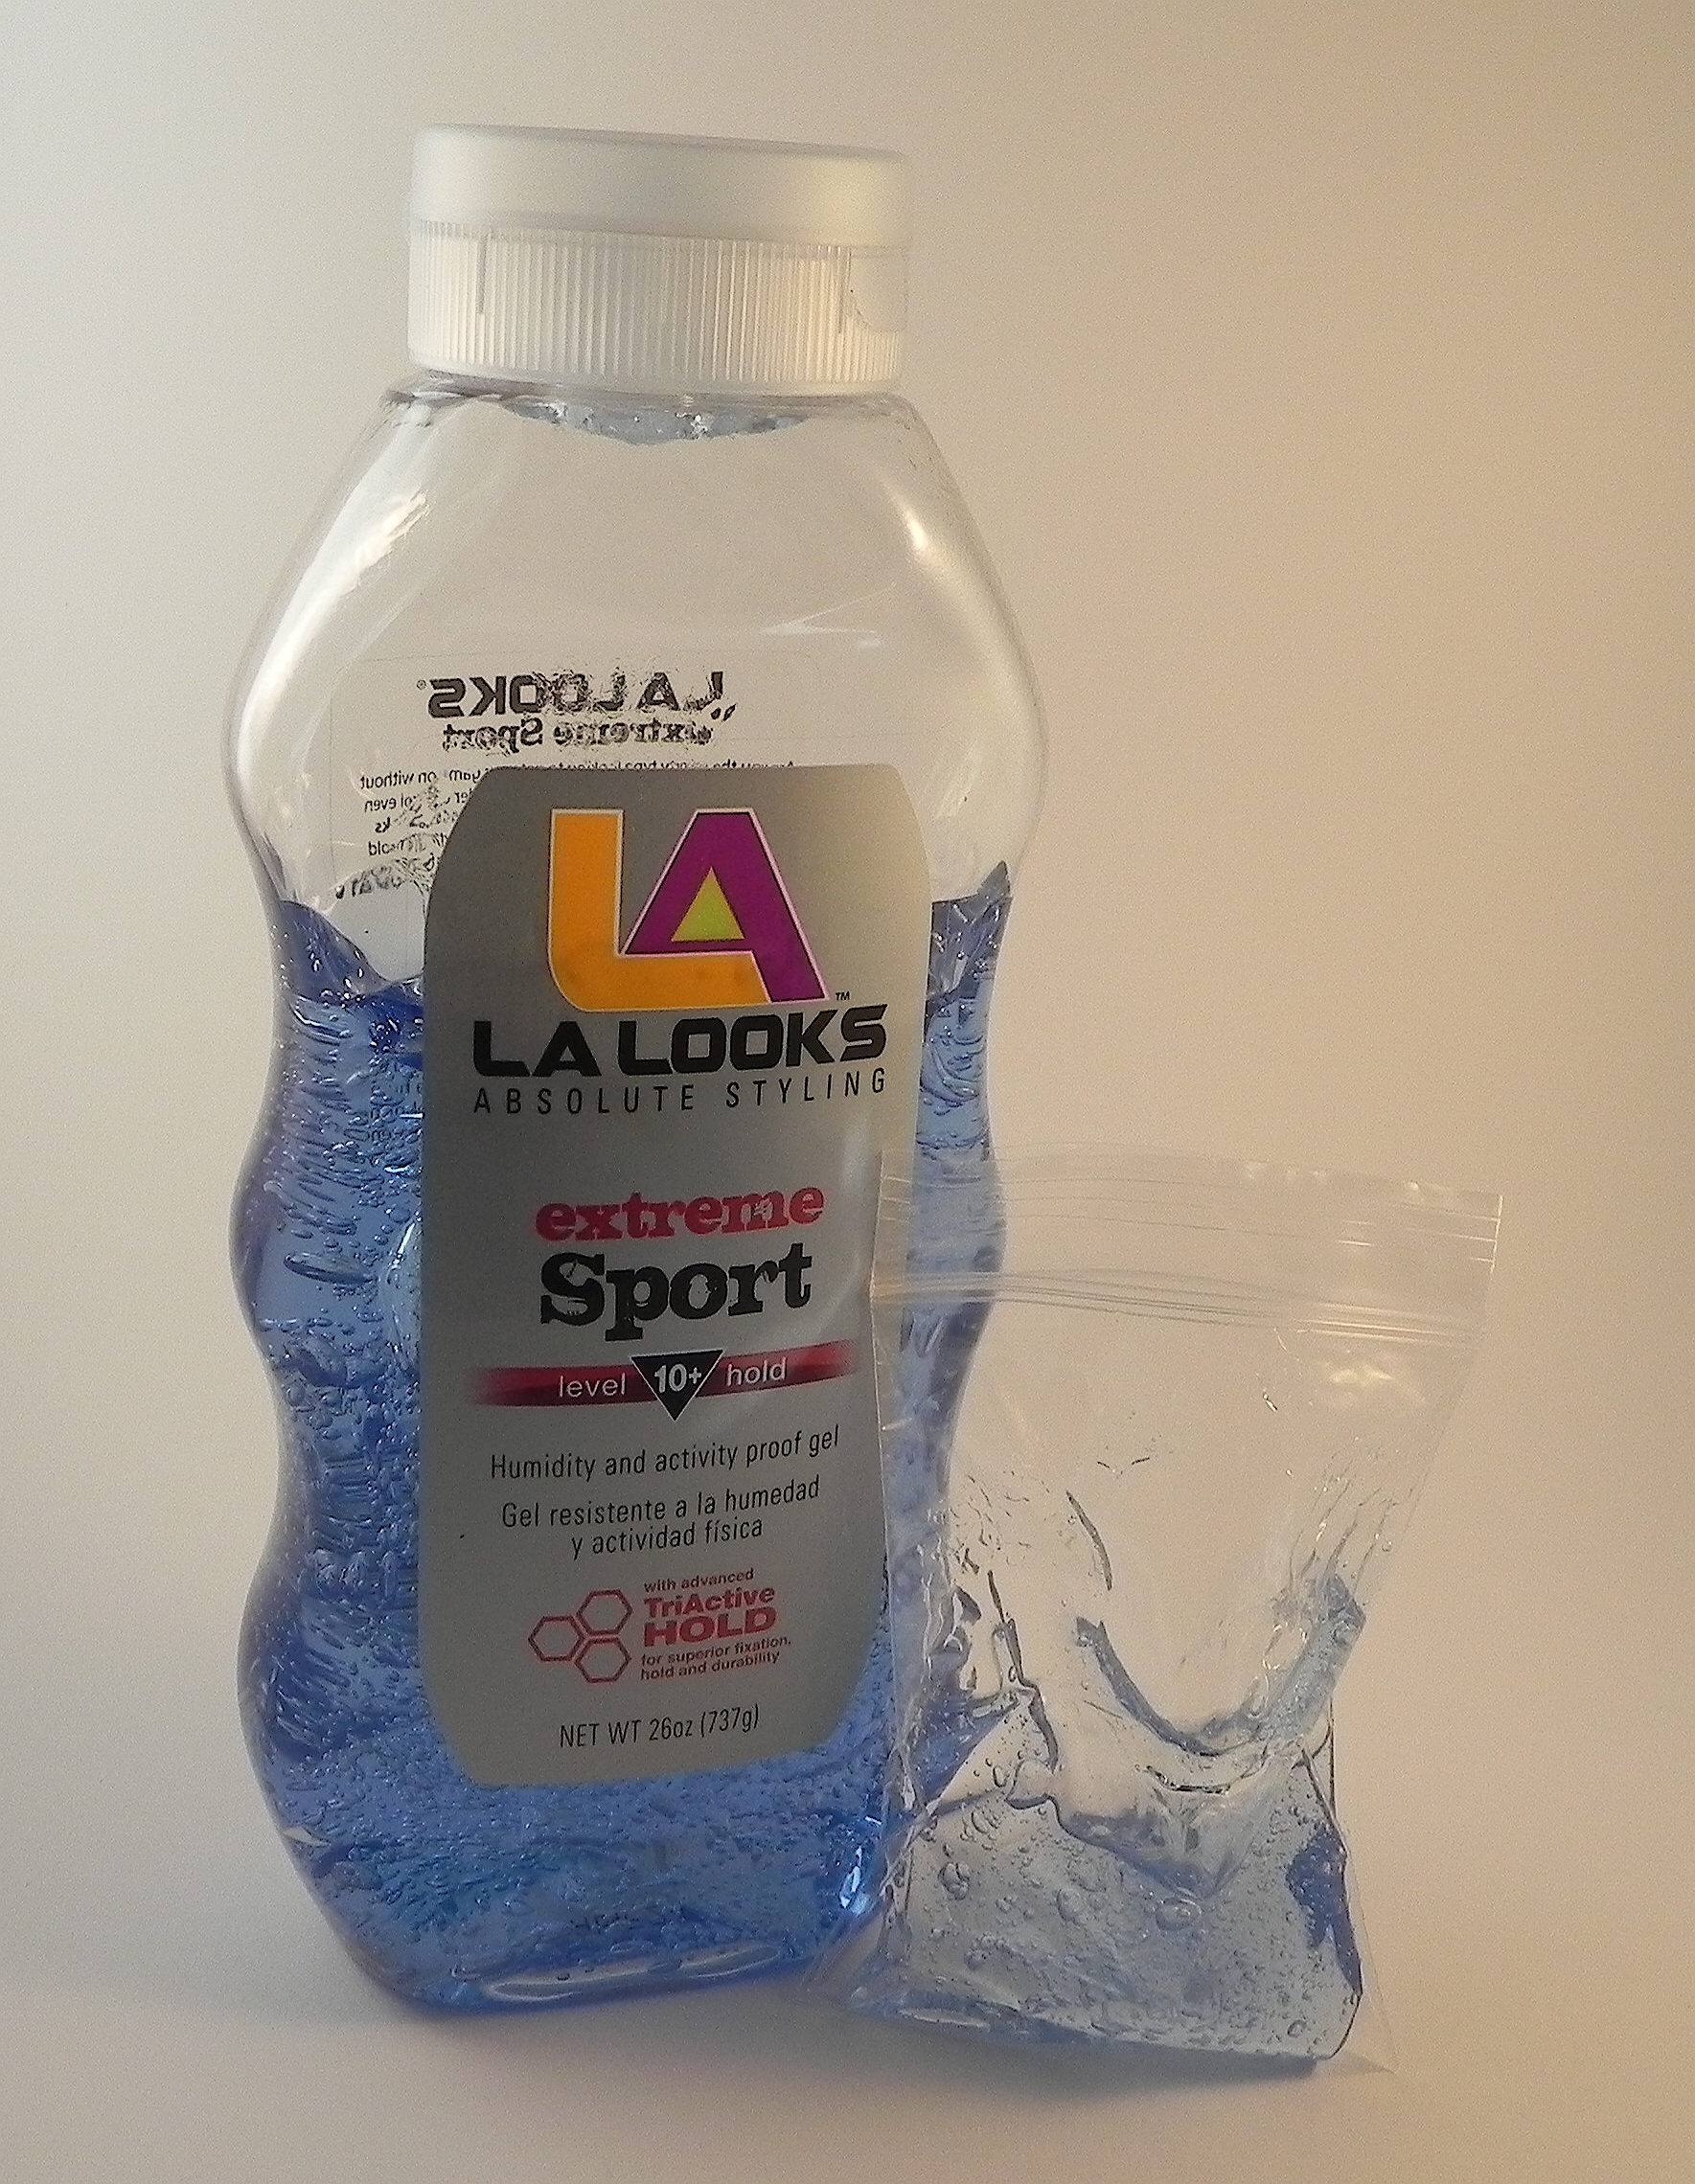
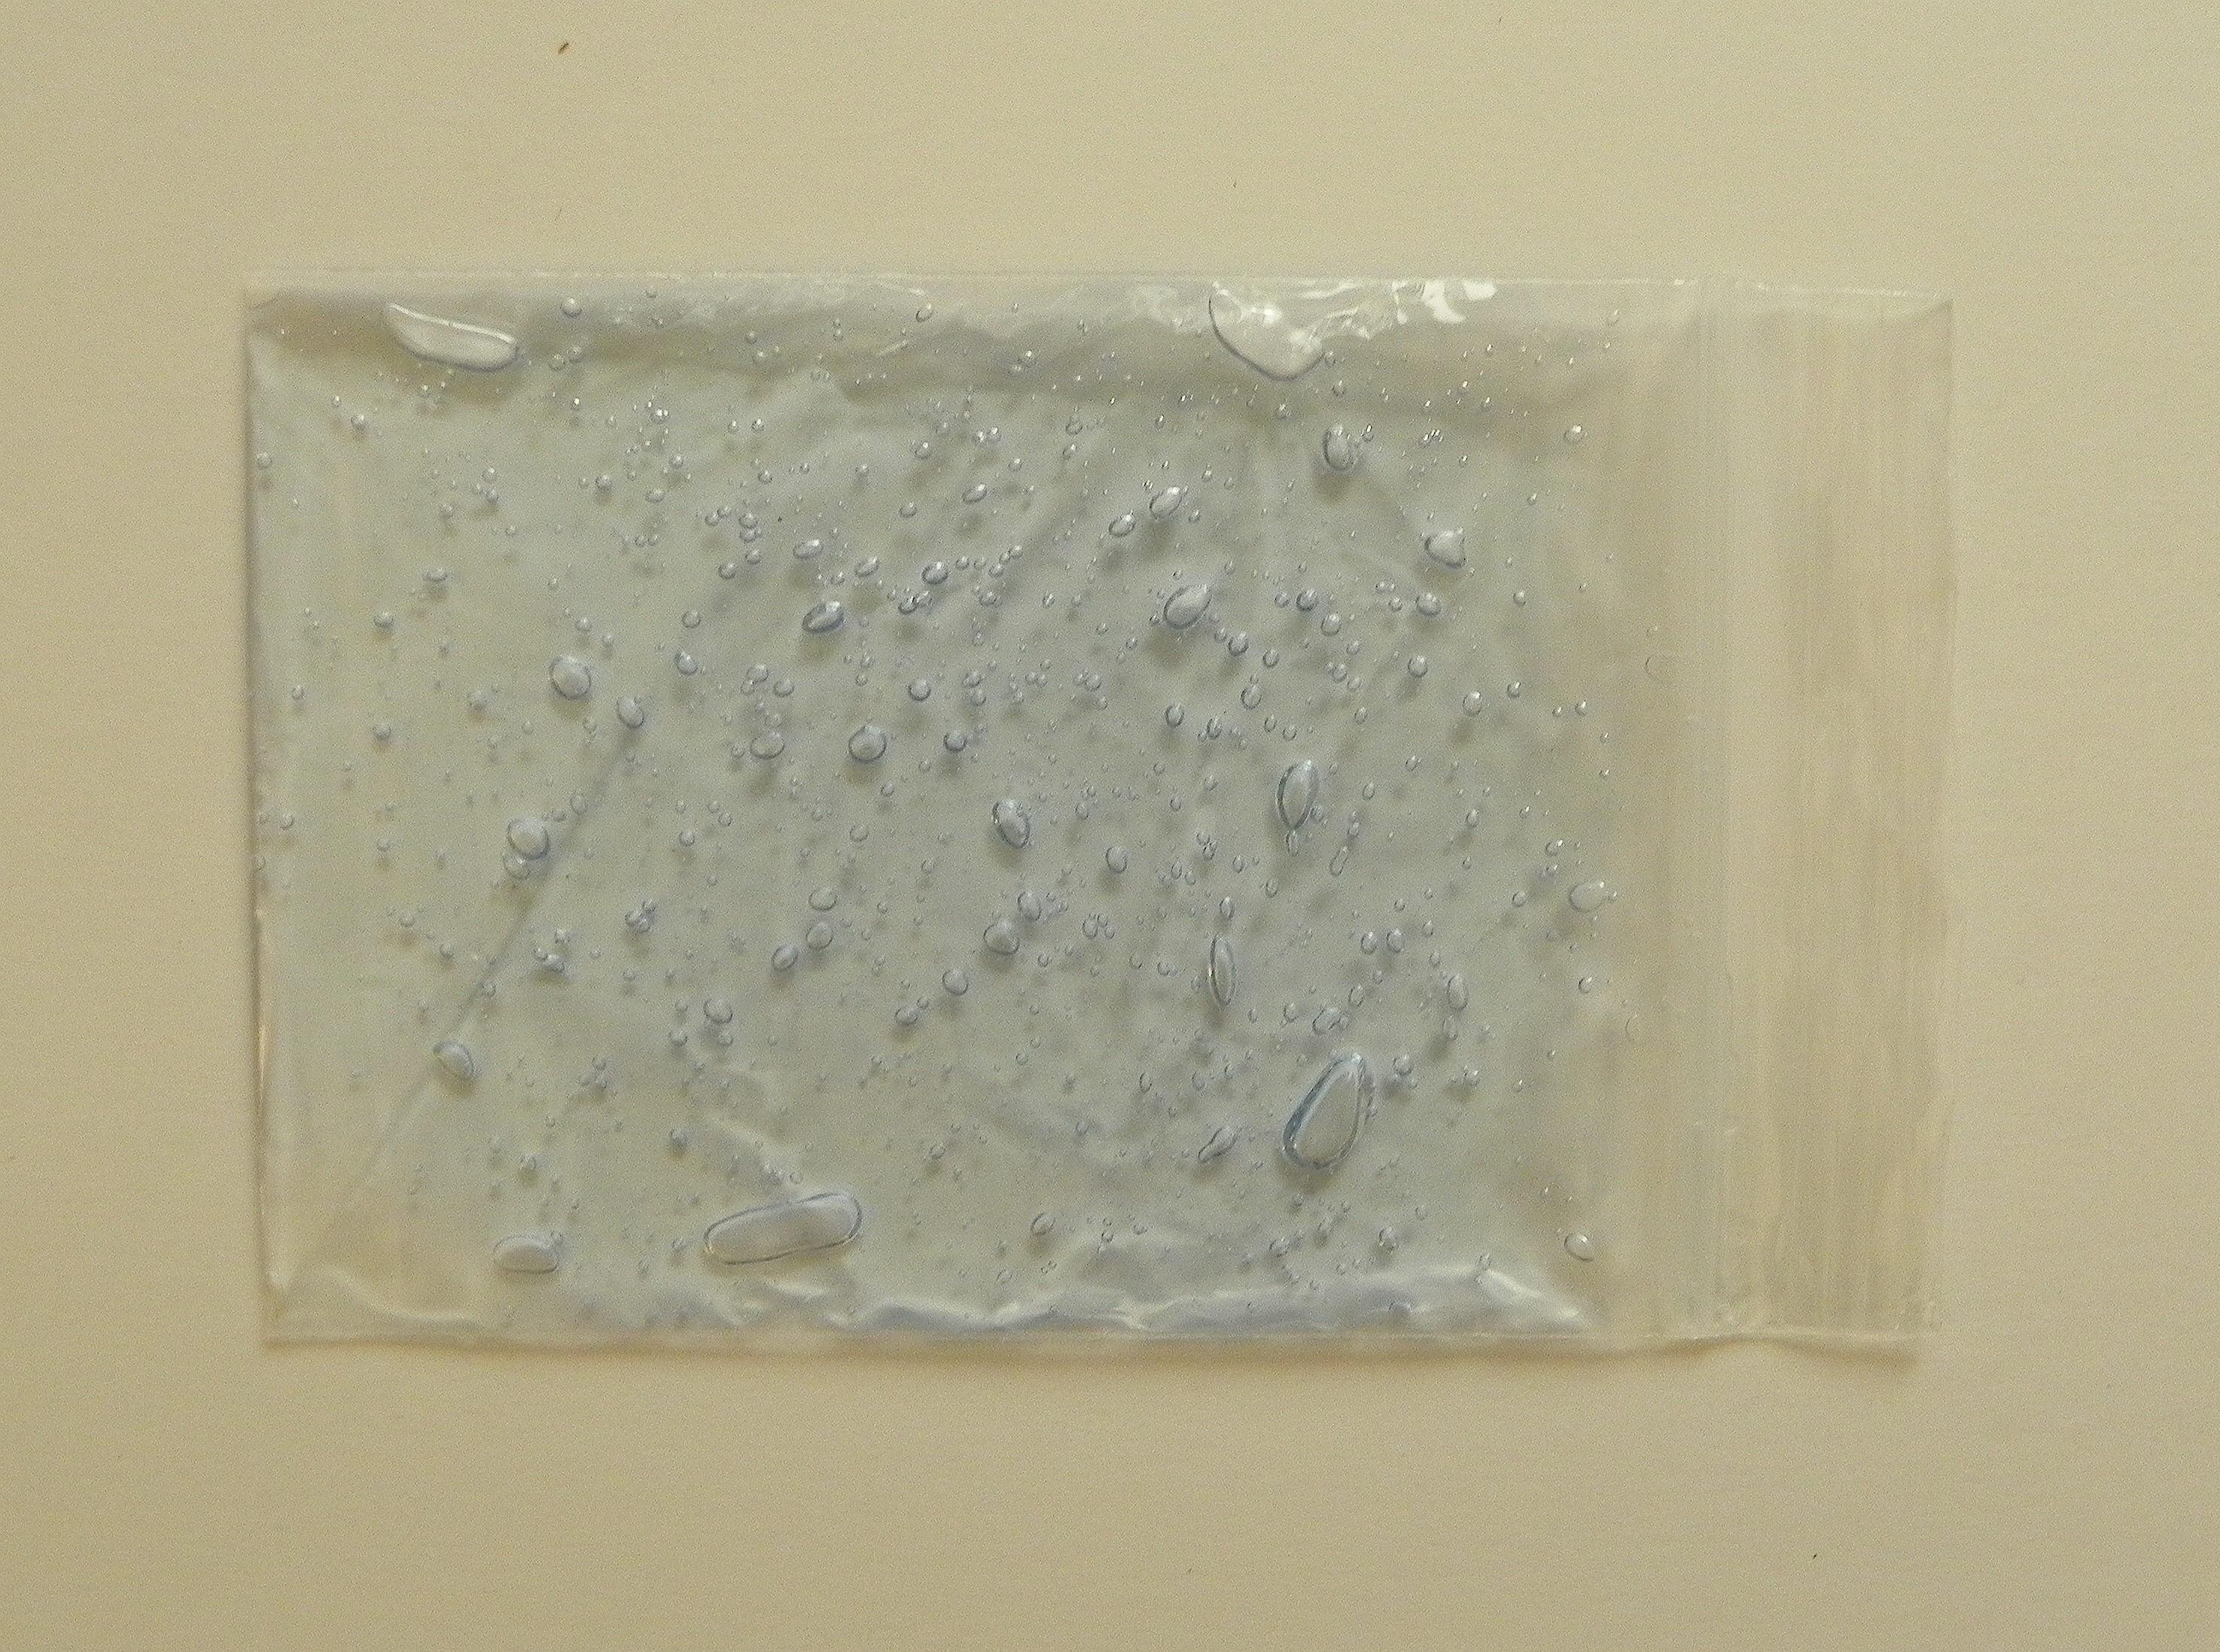
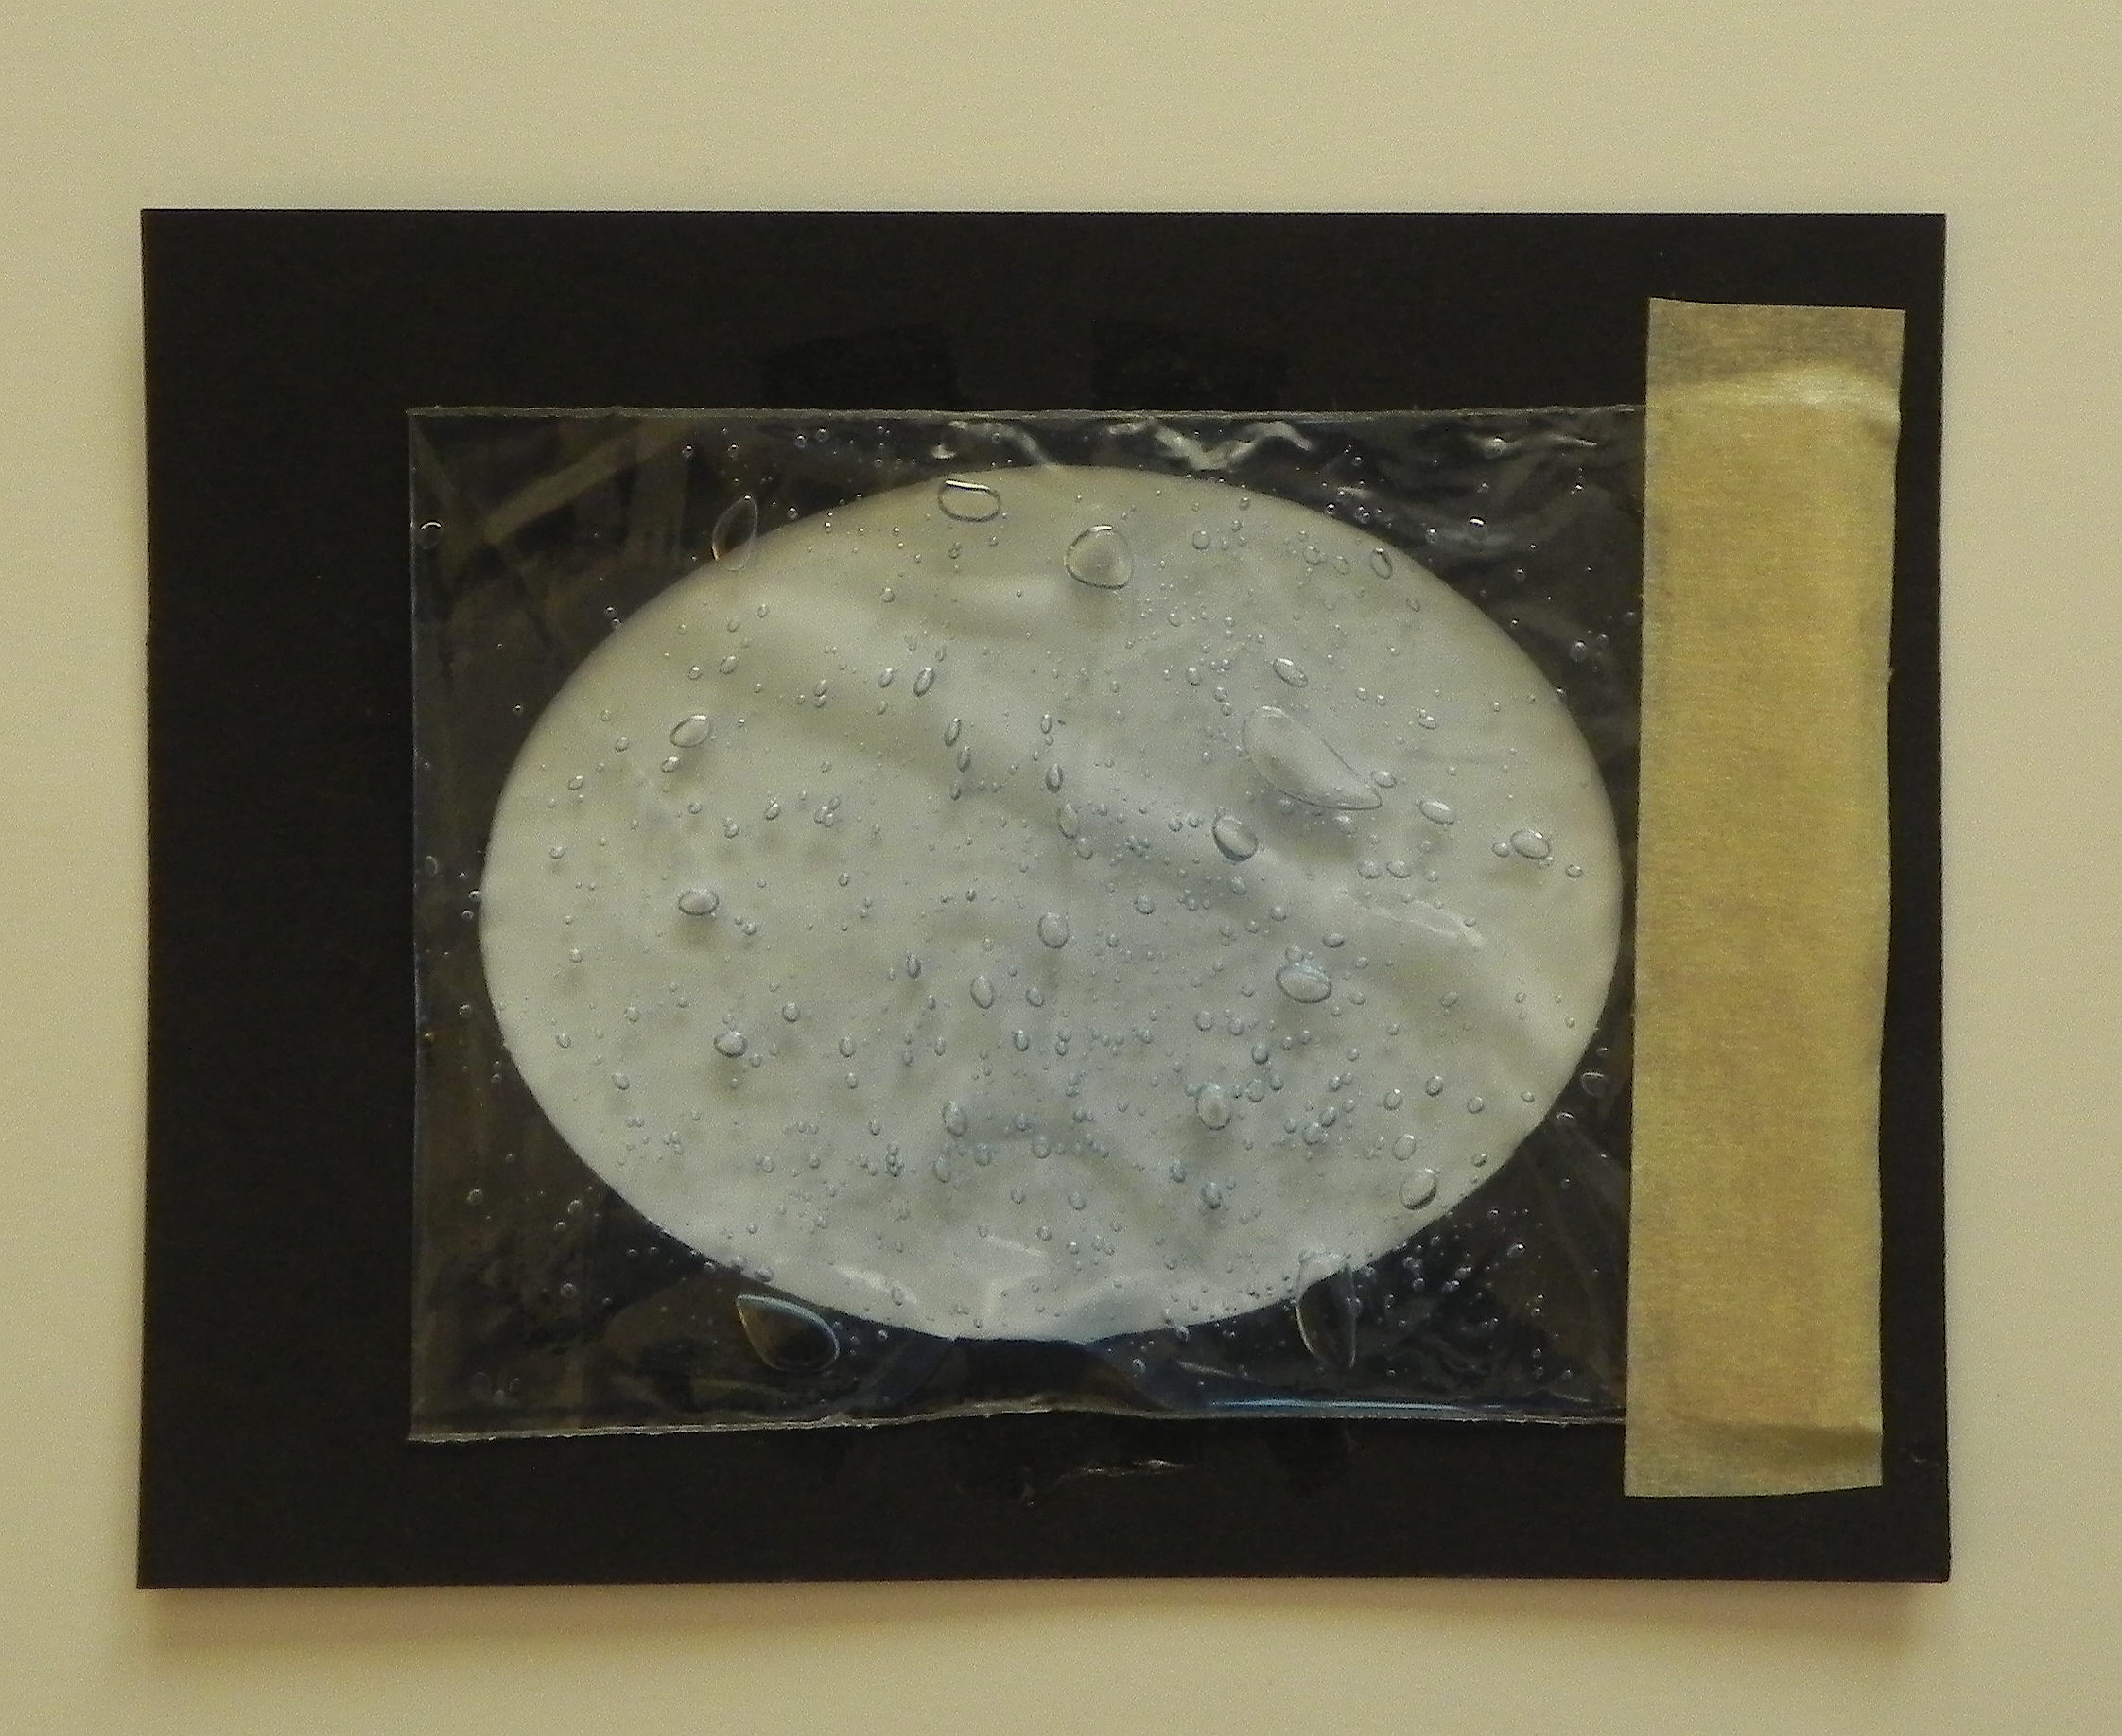
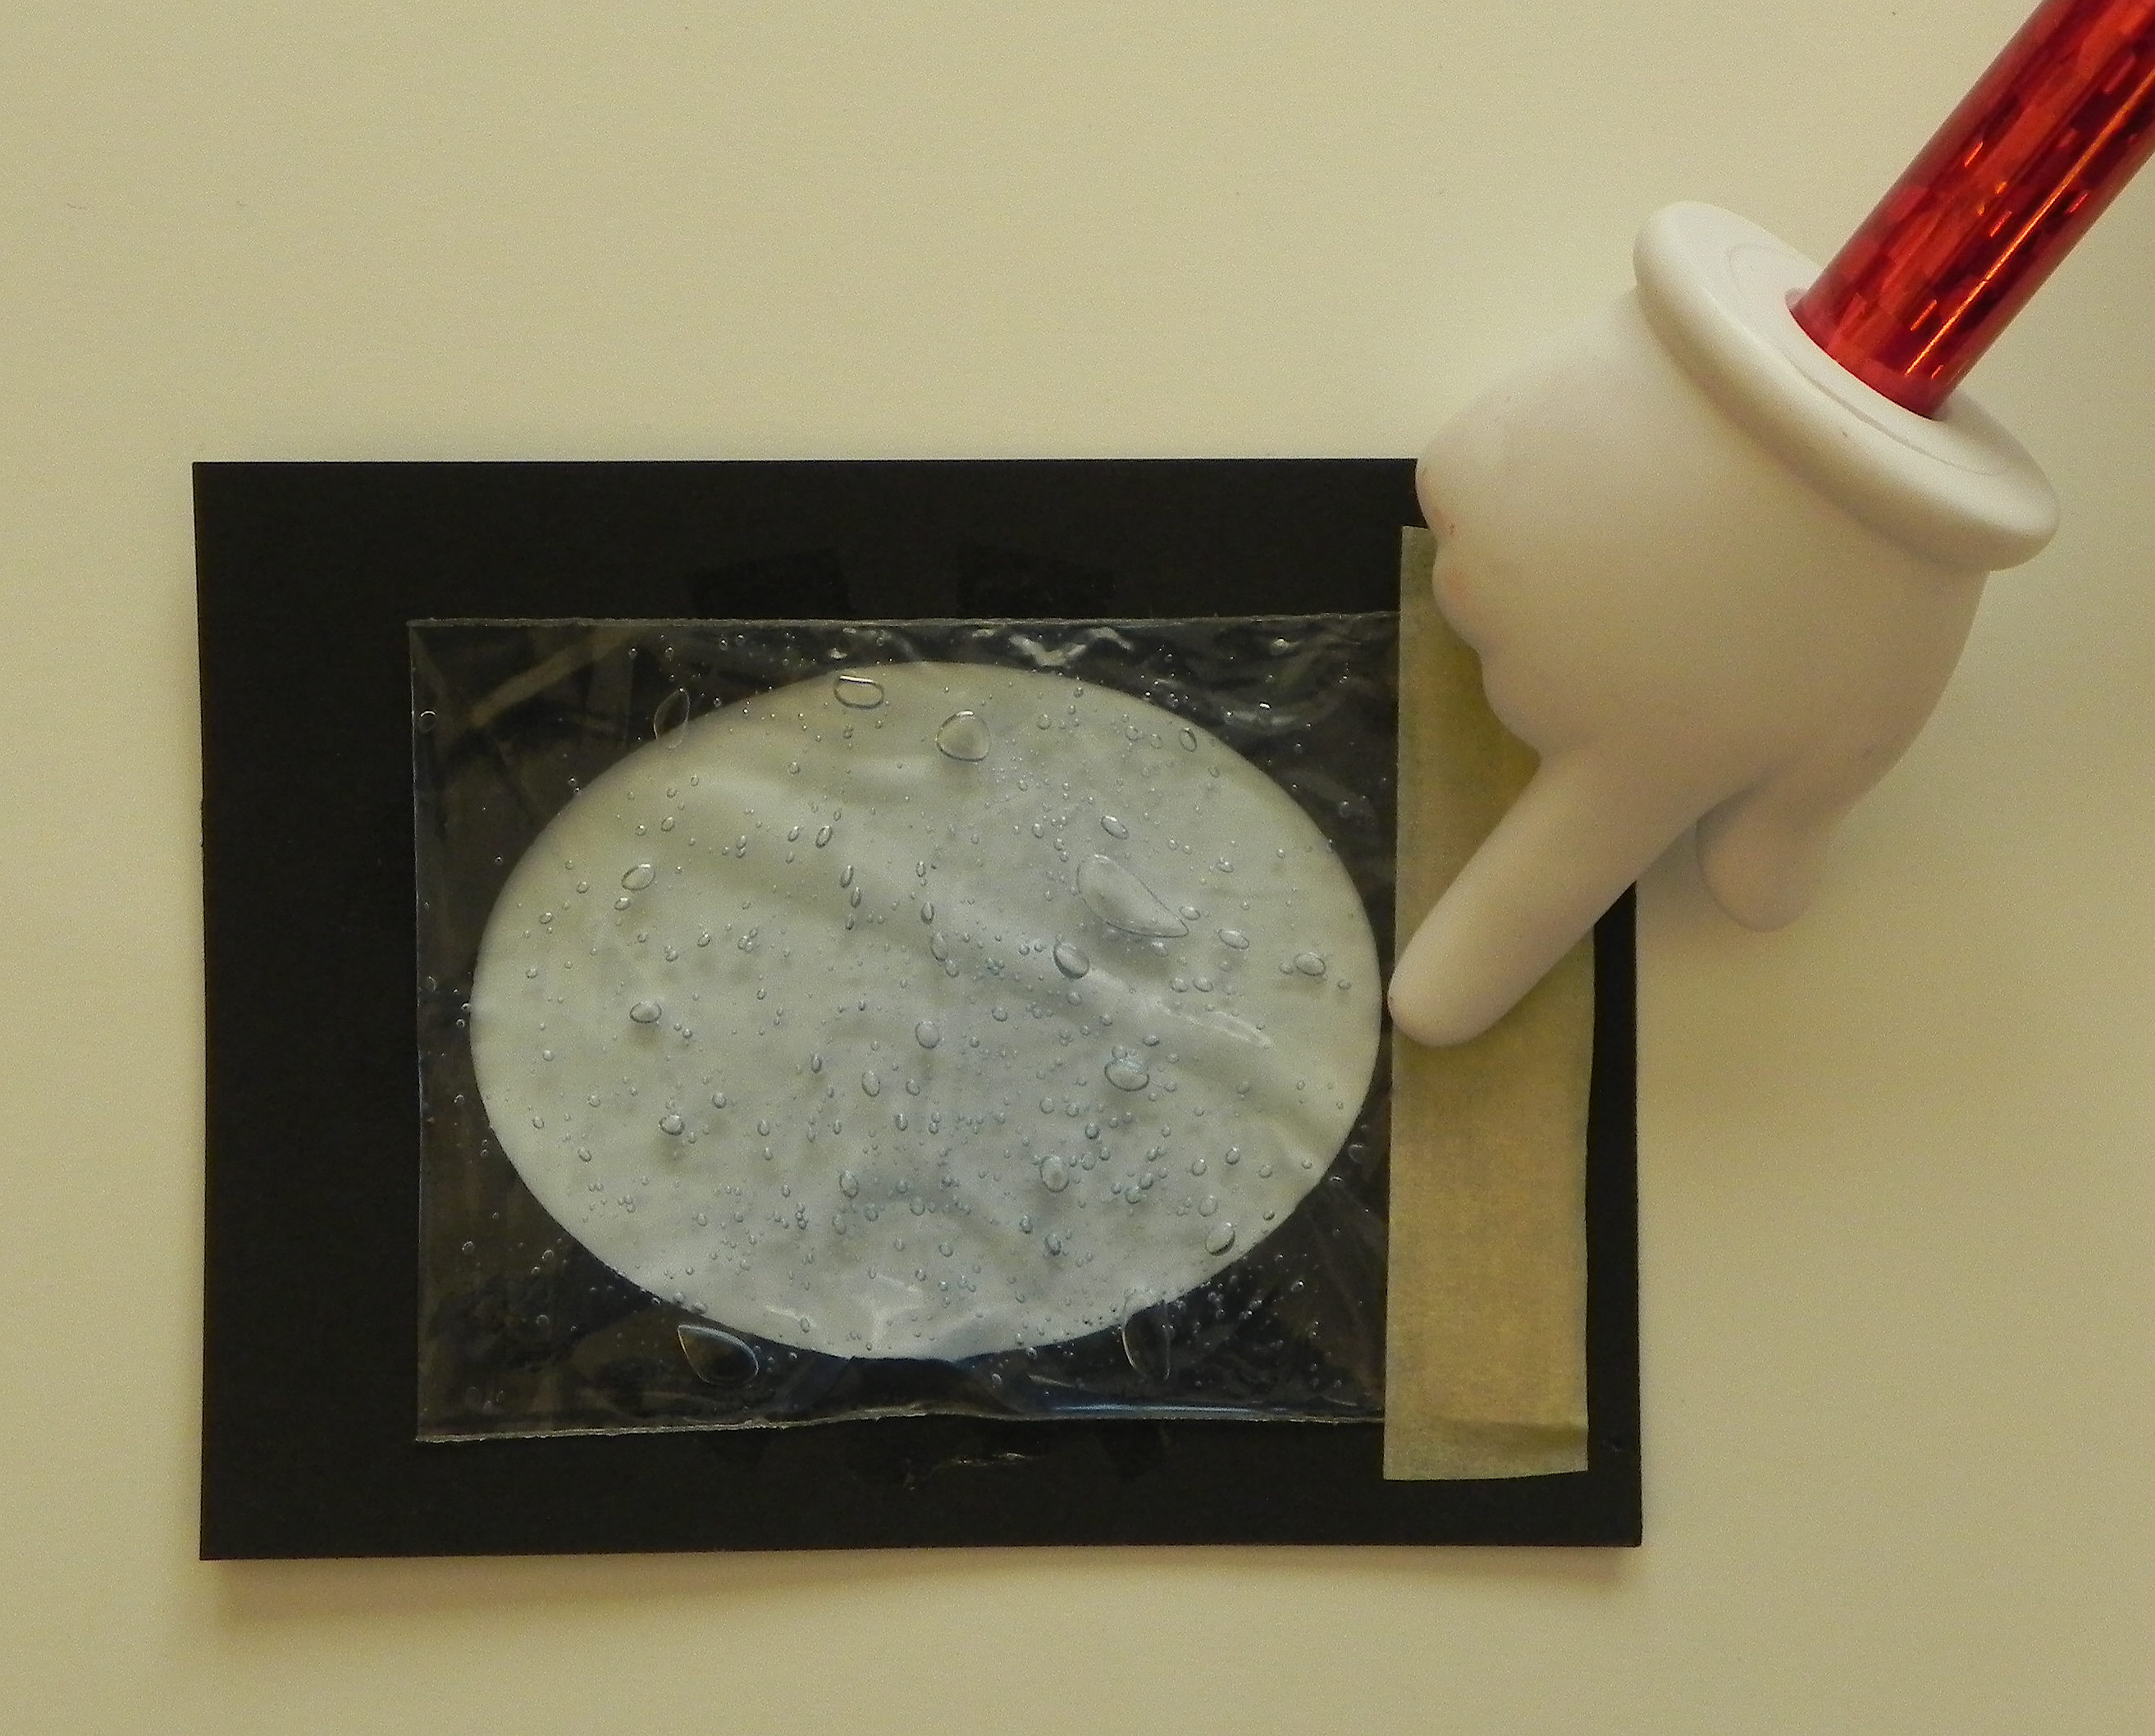
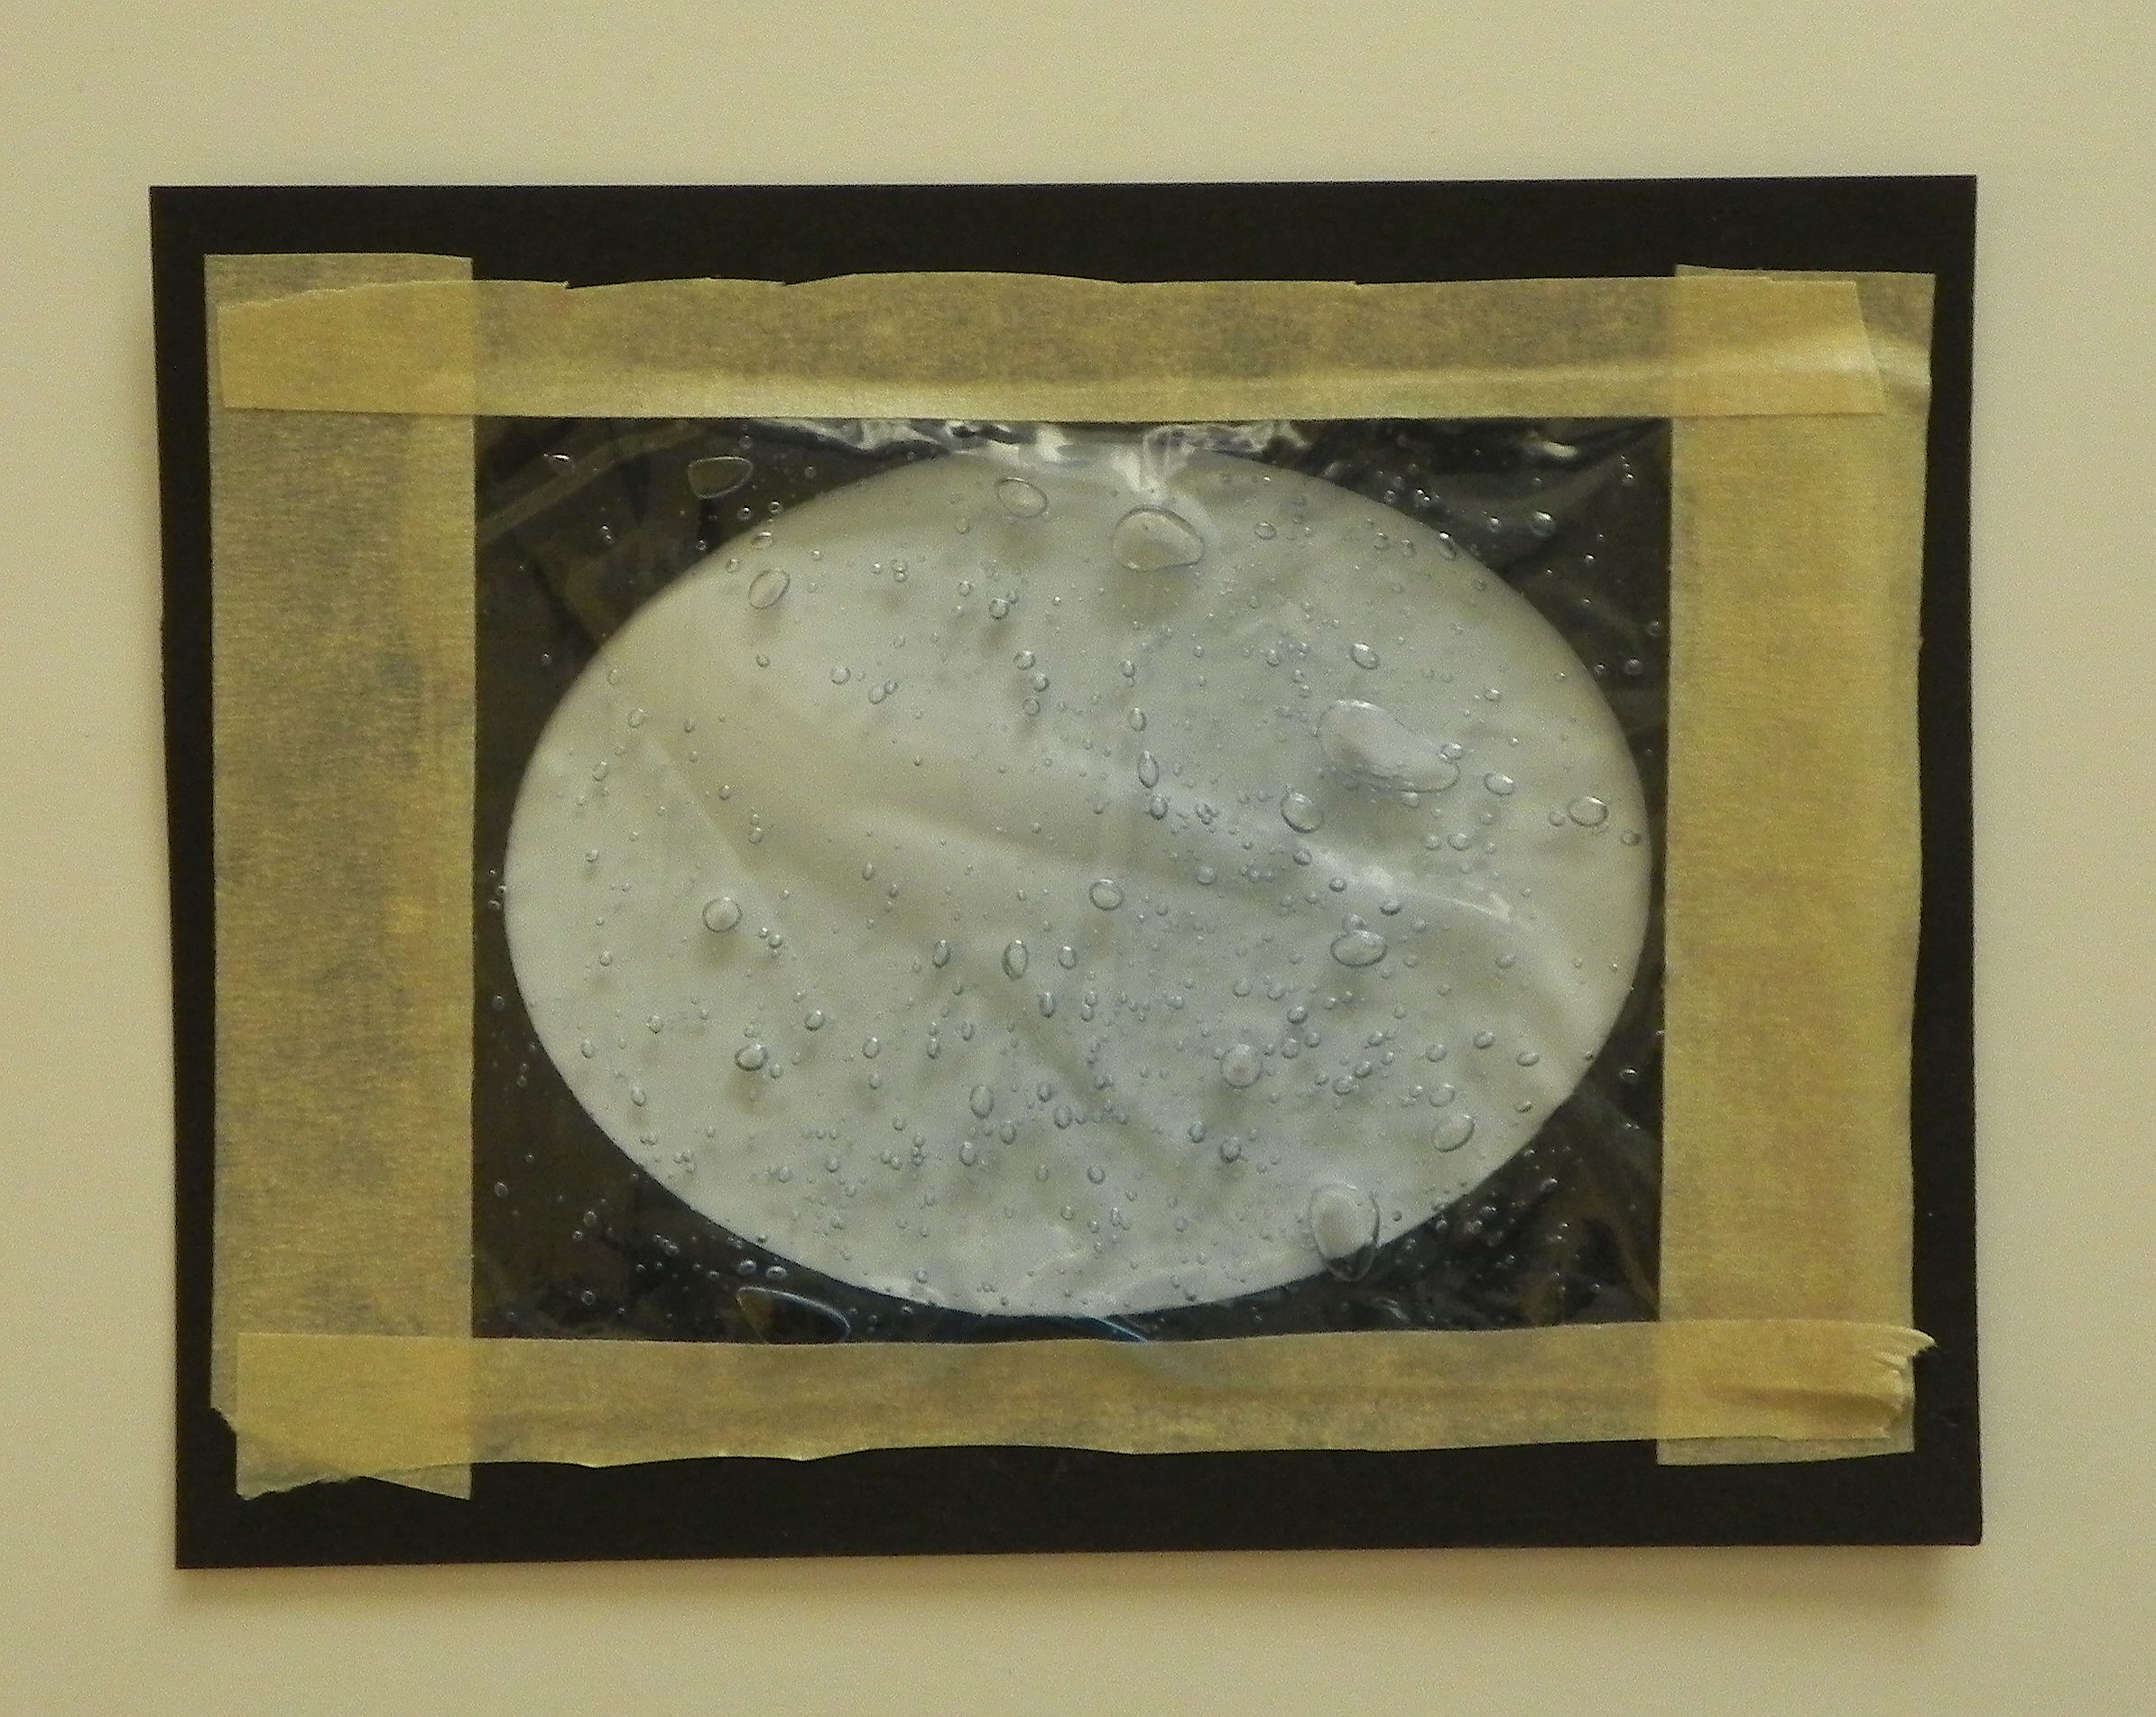
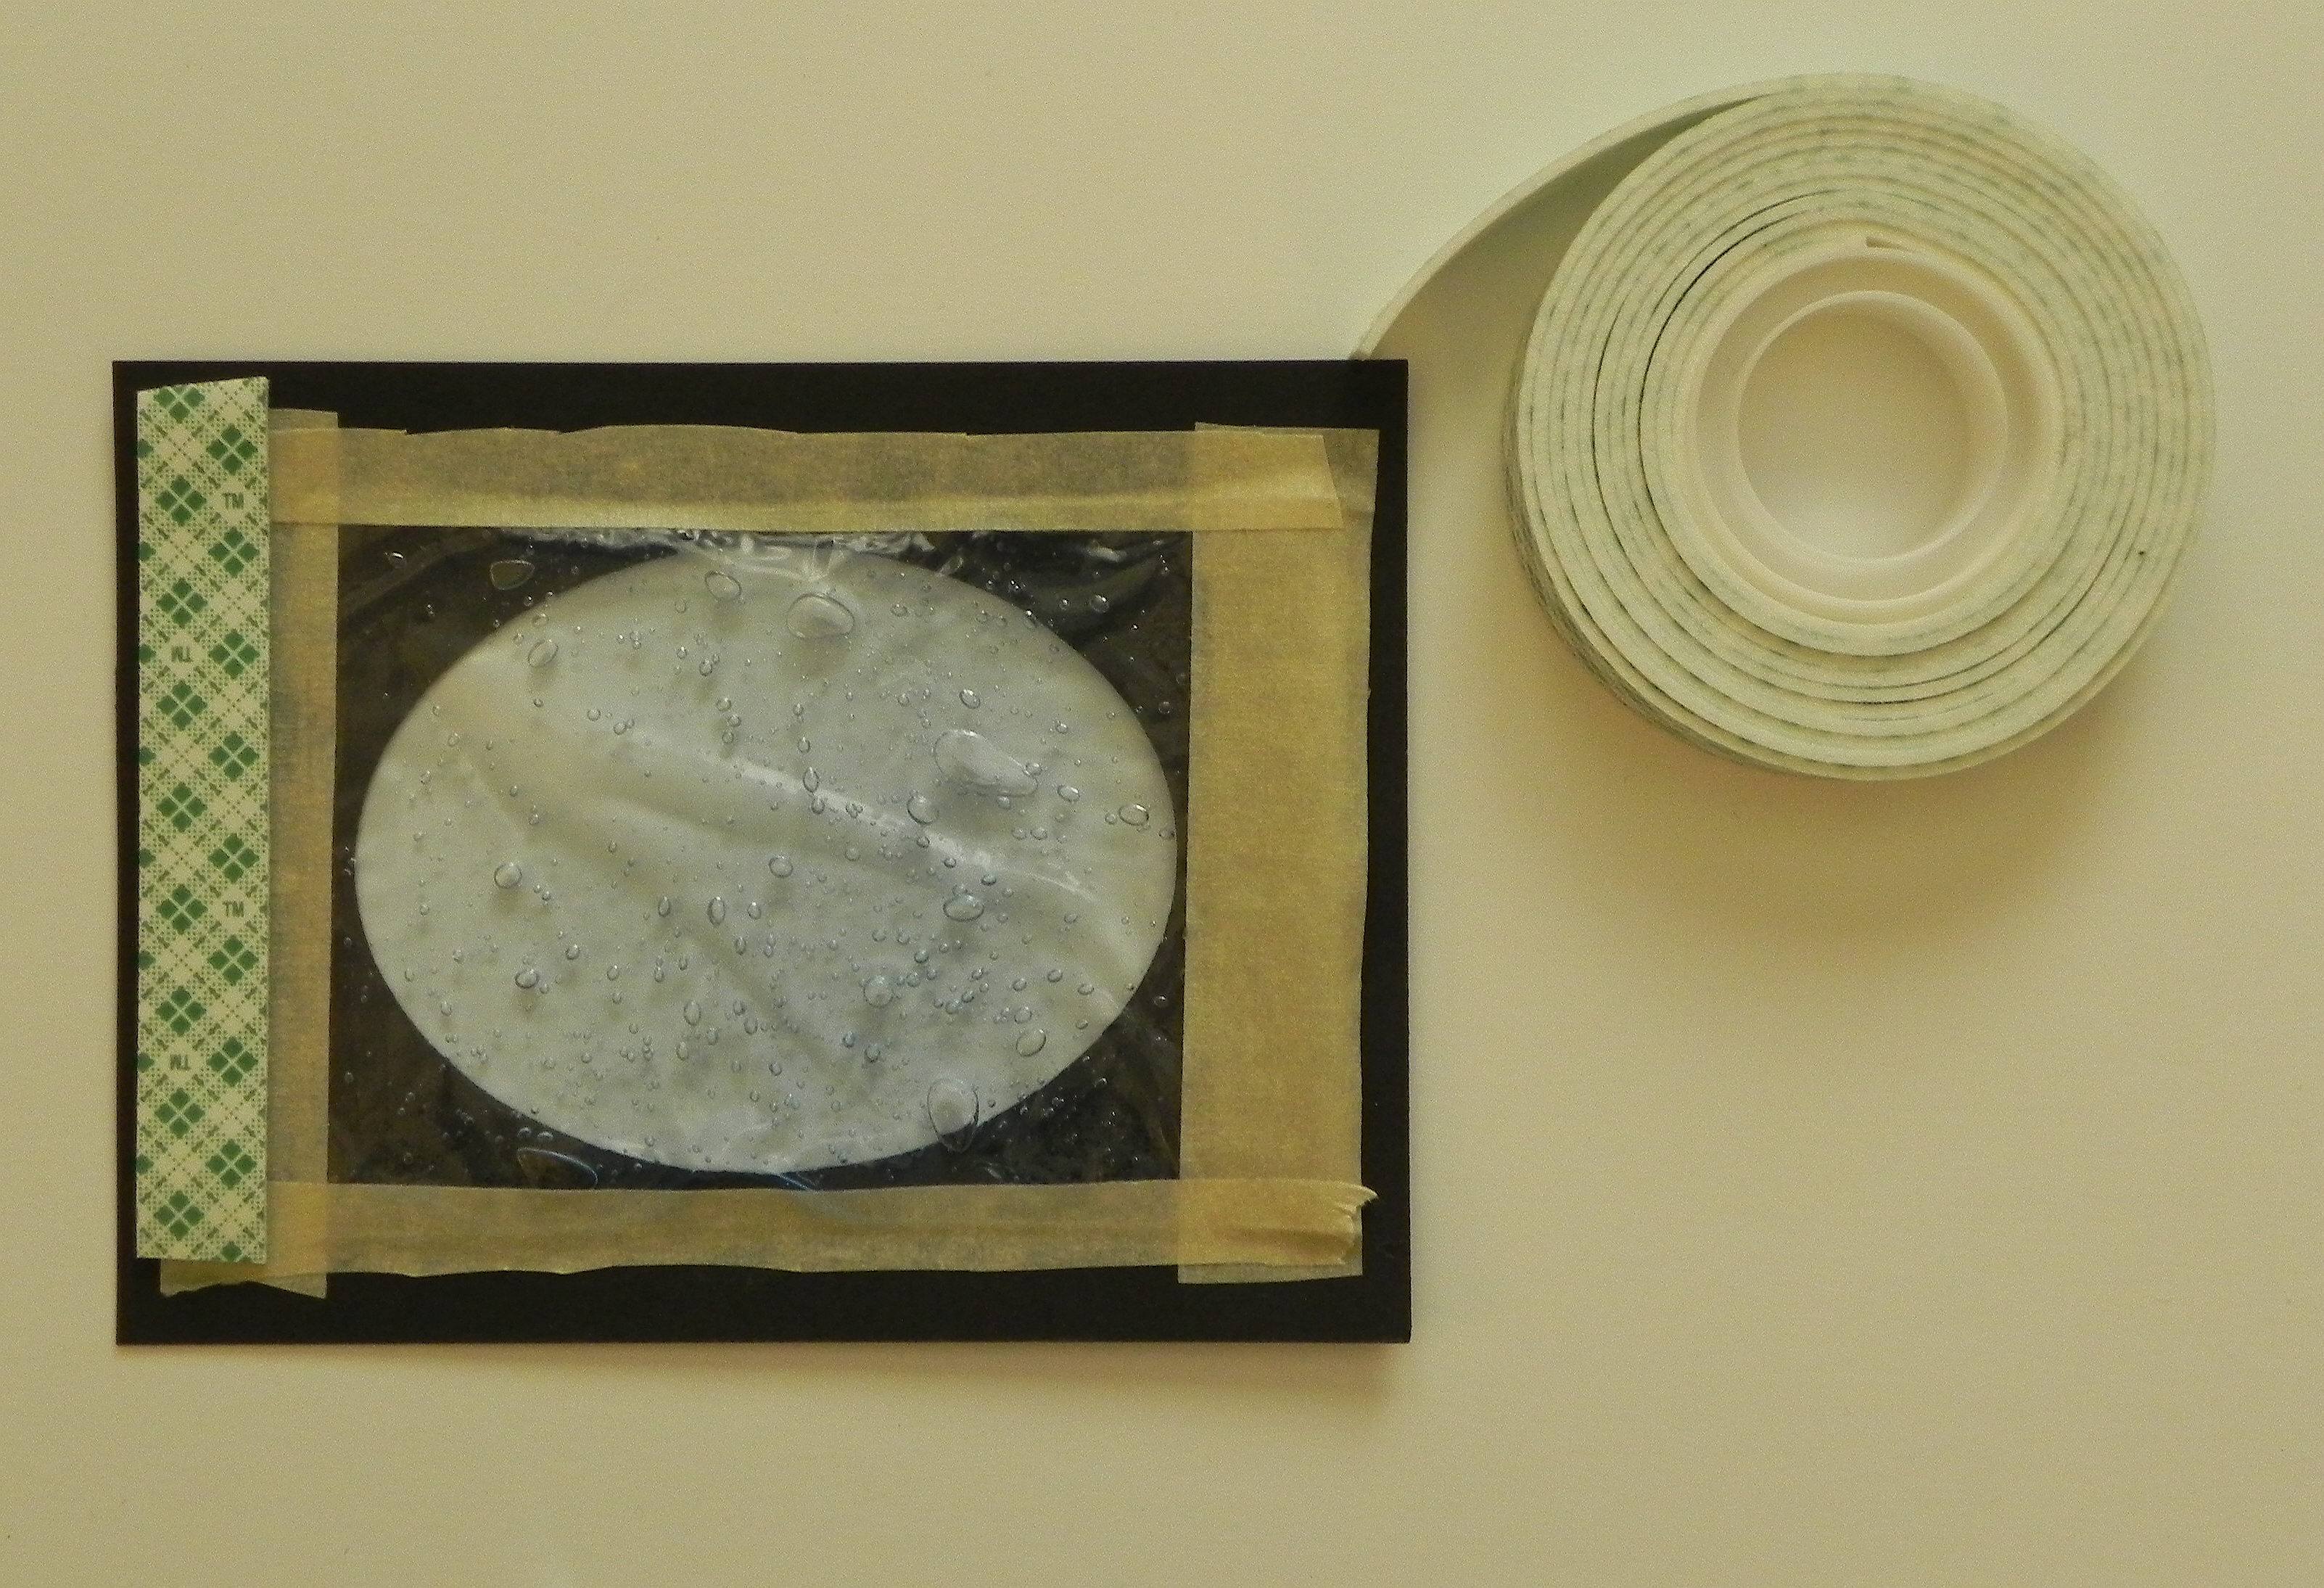
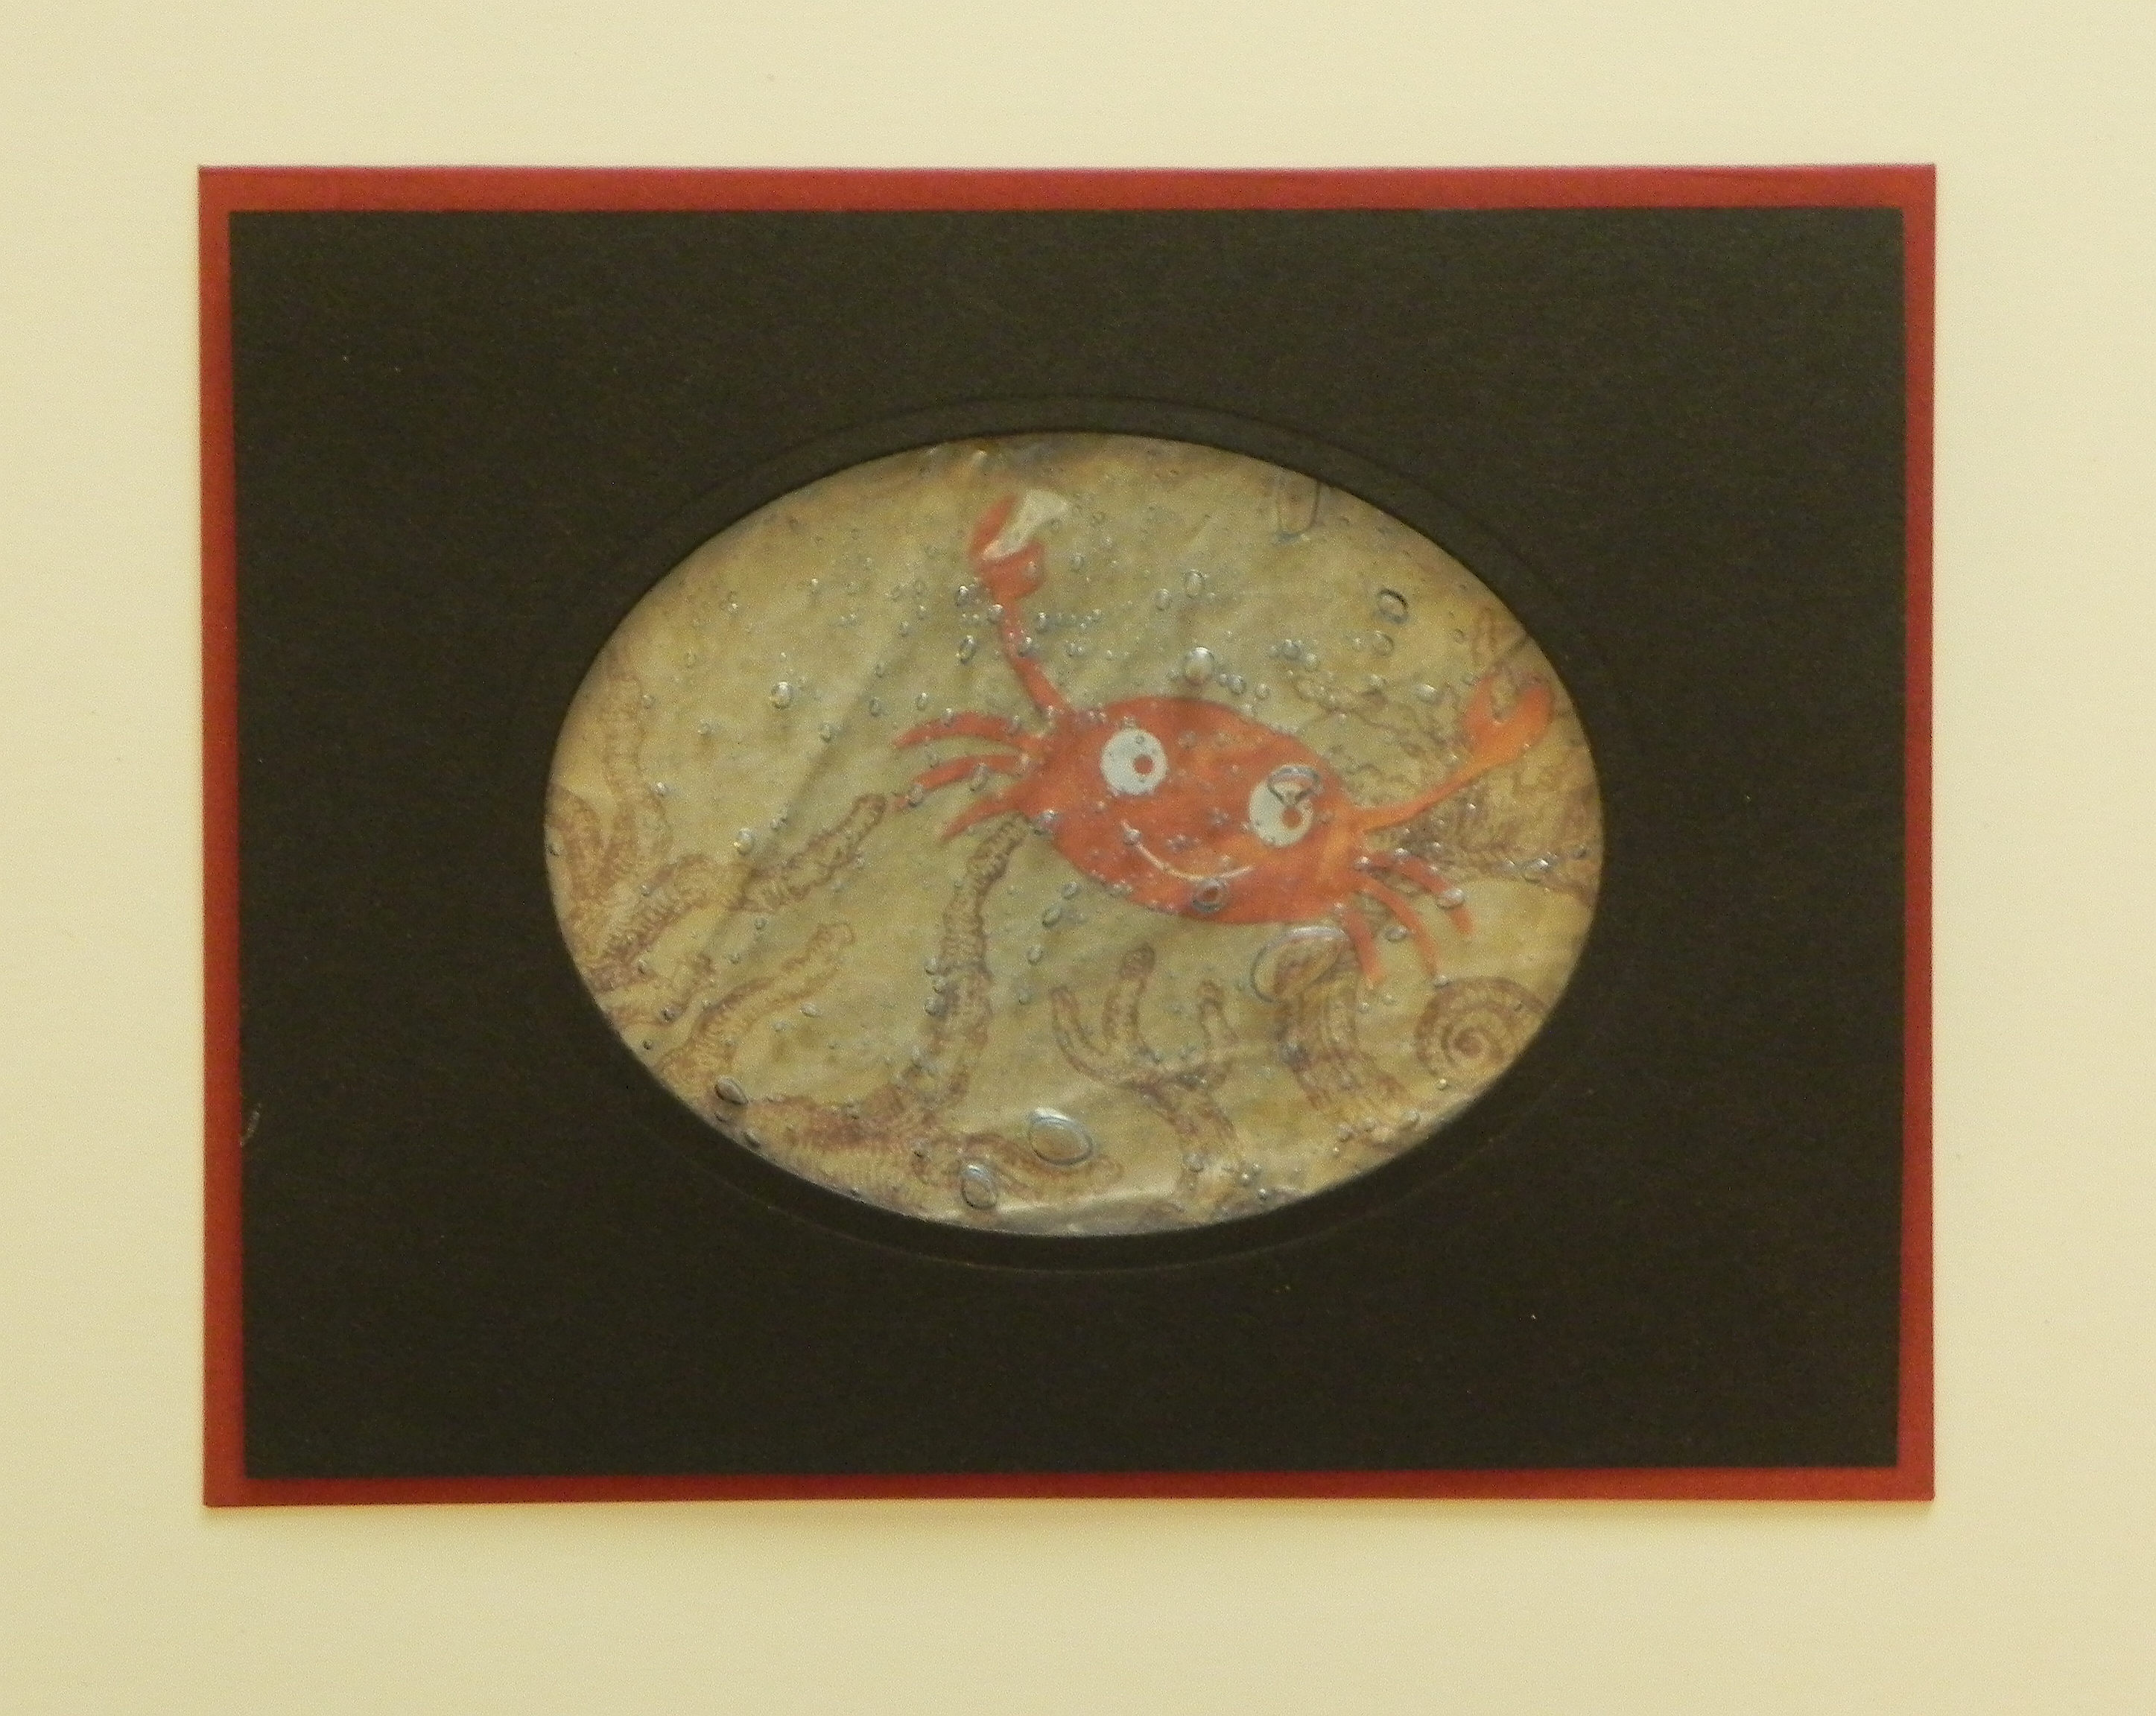
I had seen a card done by Carole Renneker with this technique to create the look of water, and I was excited to try it for this project.  Click HERE to see how it is done.

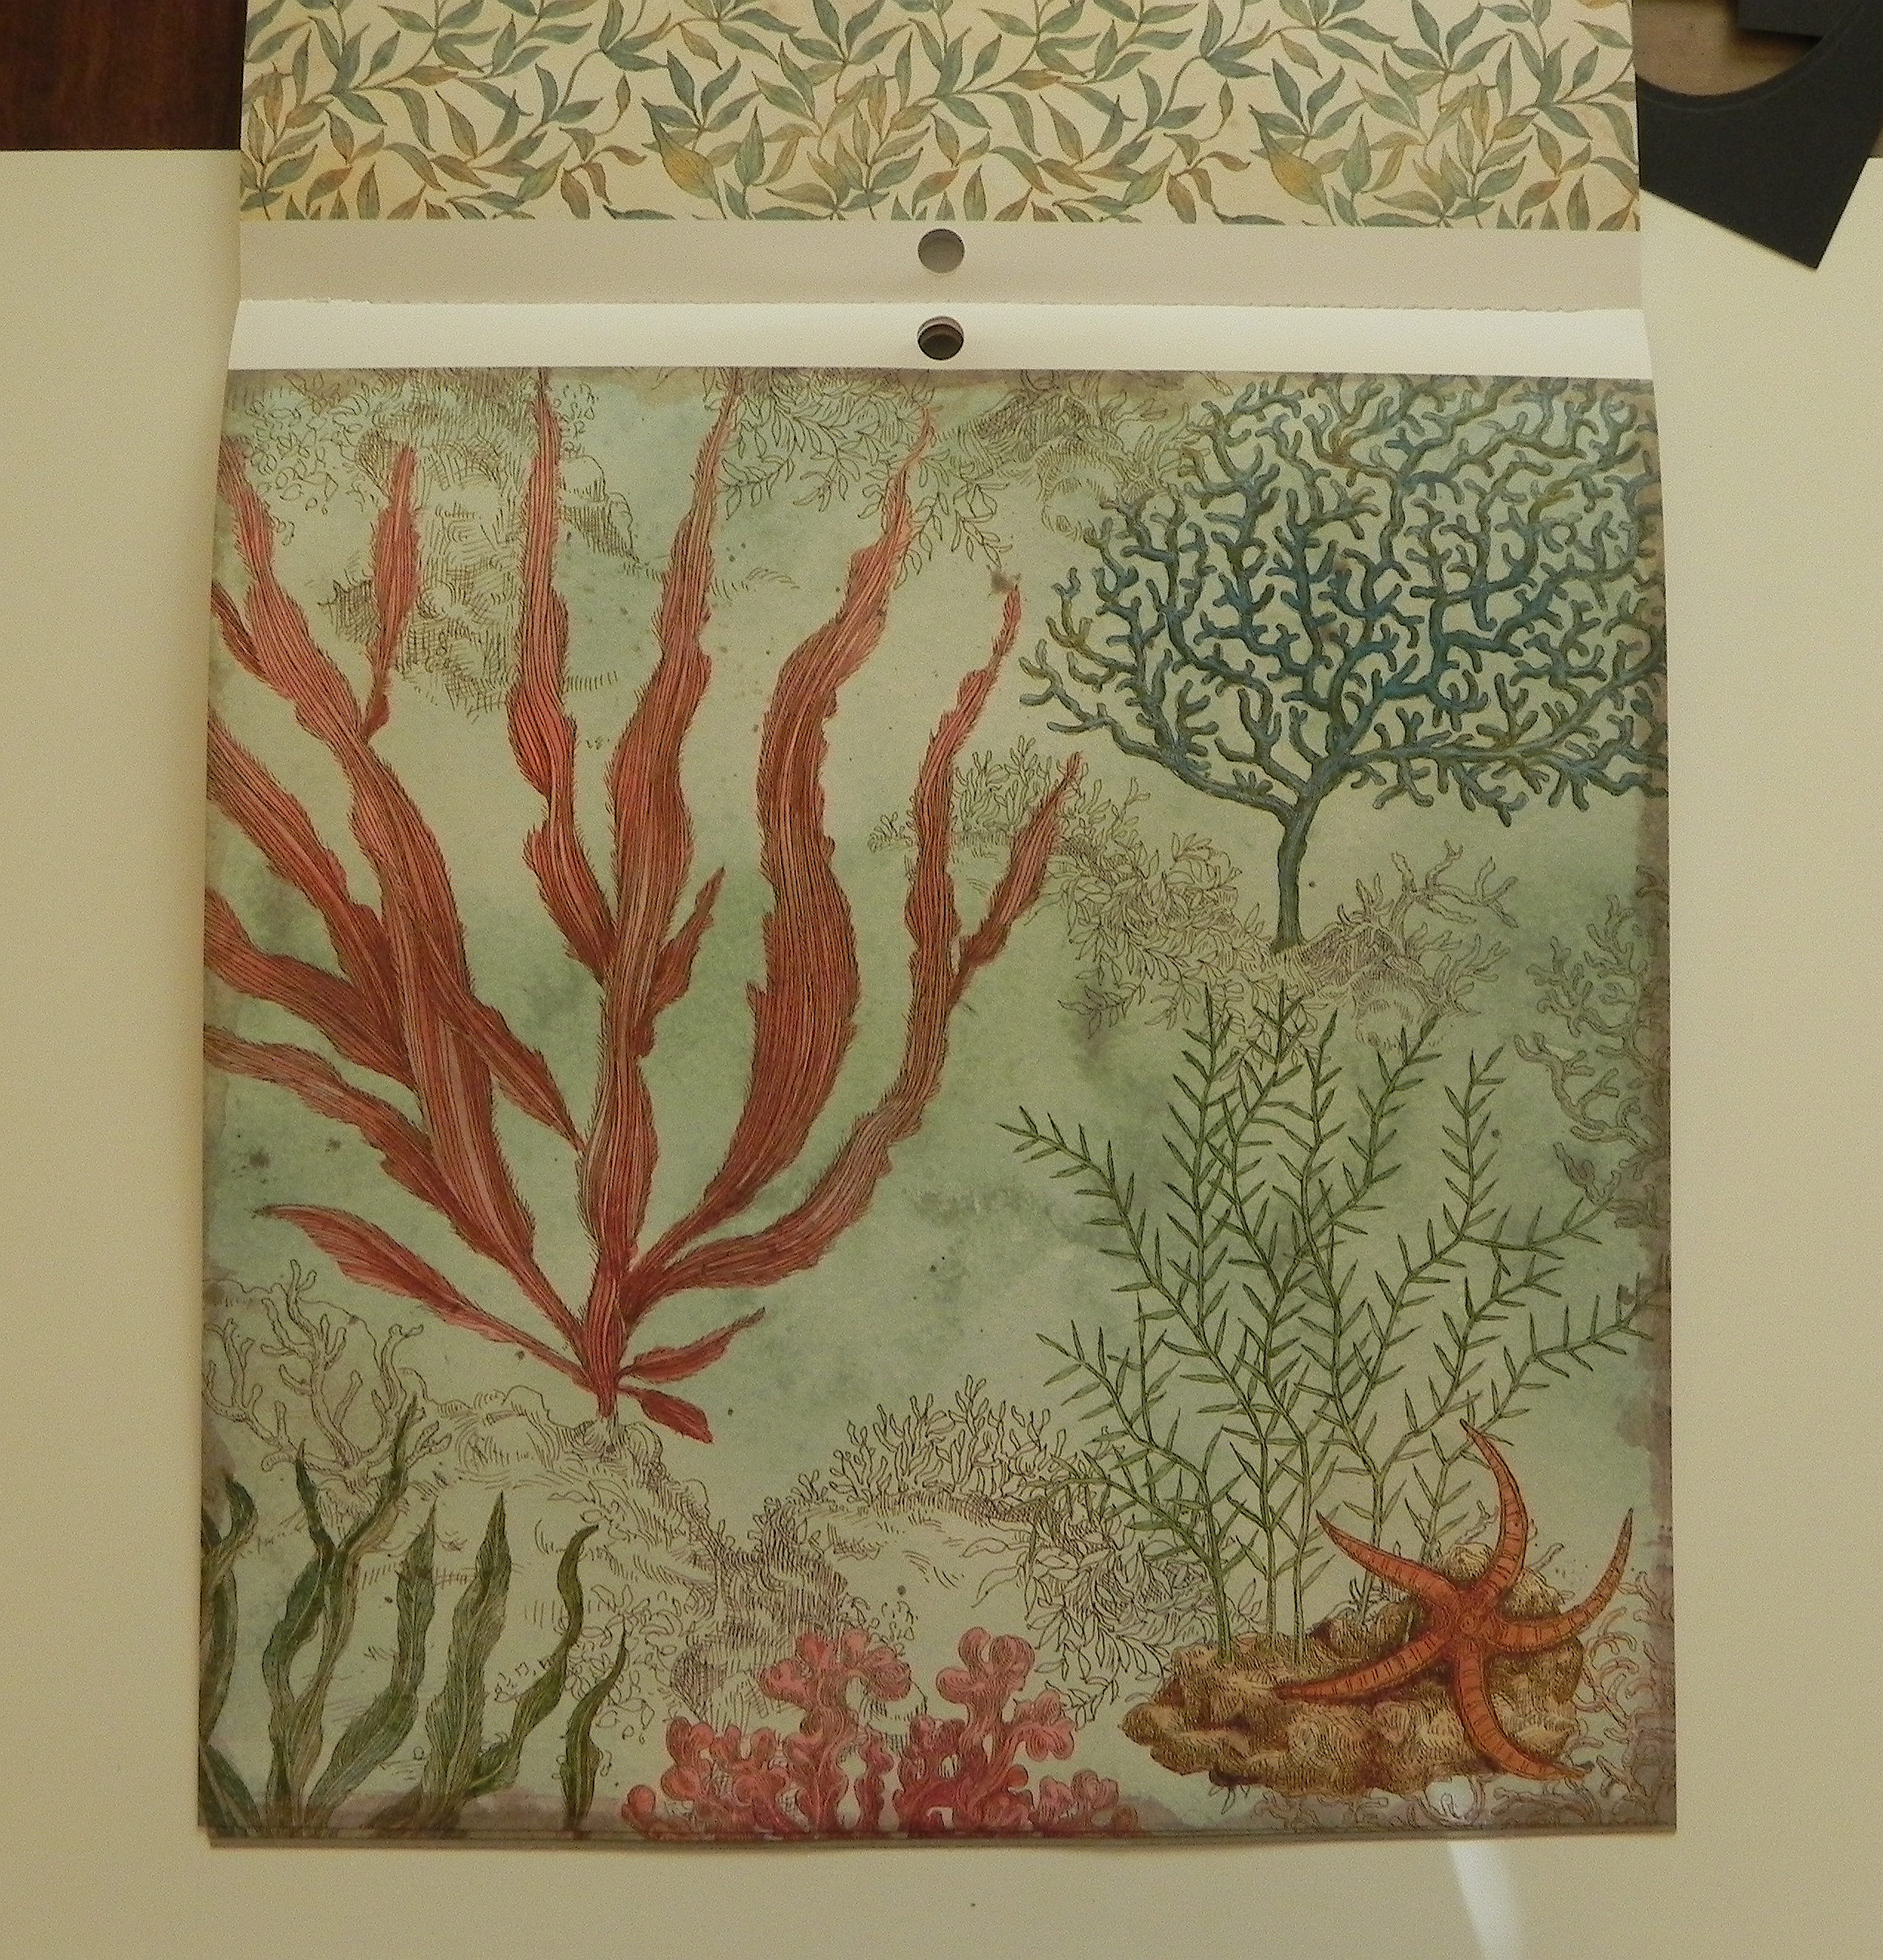
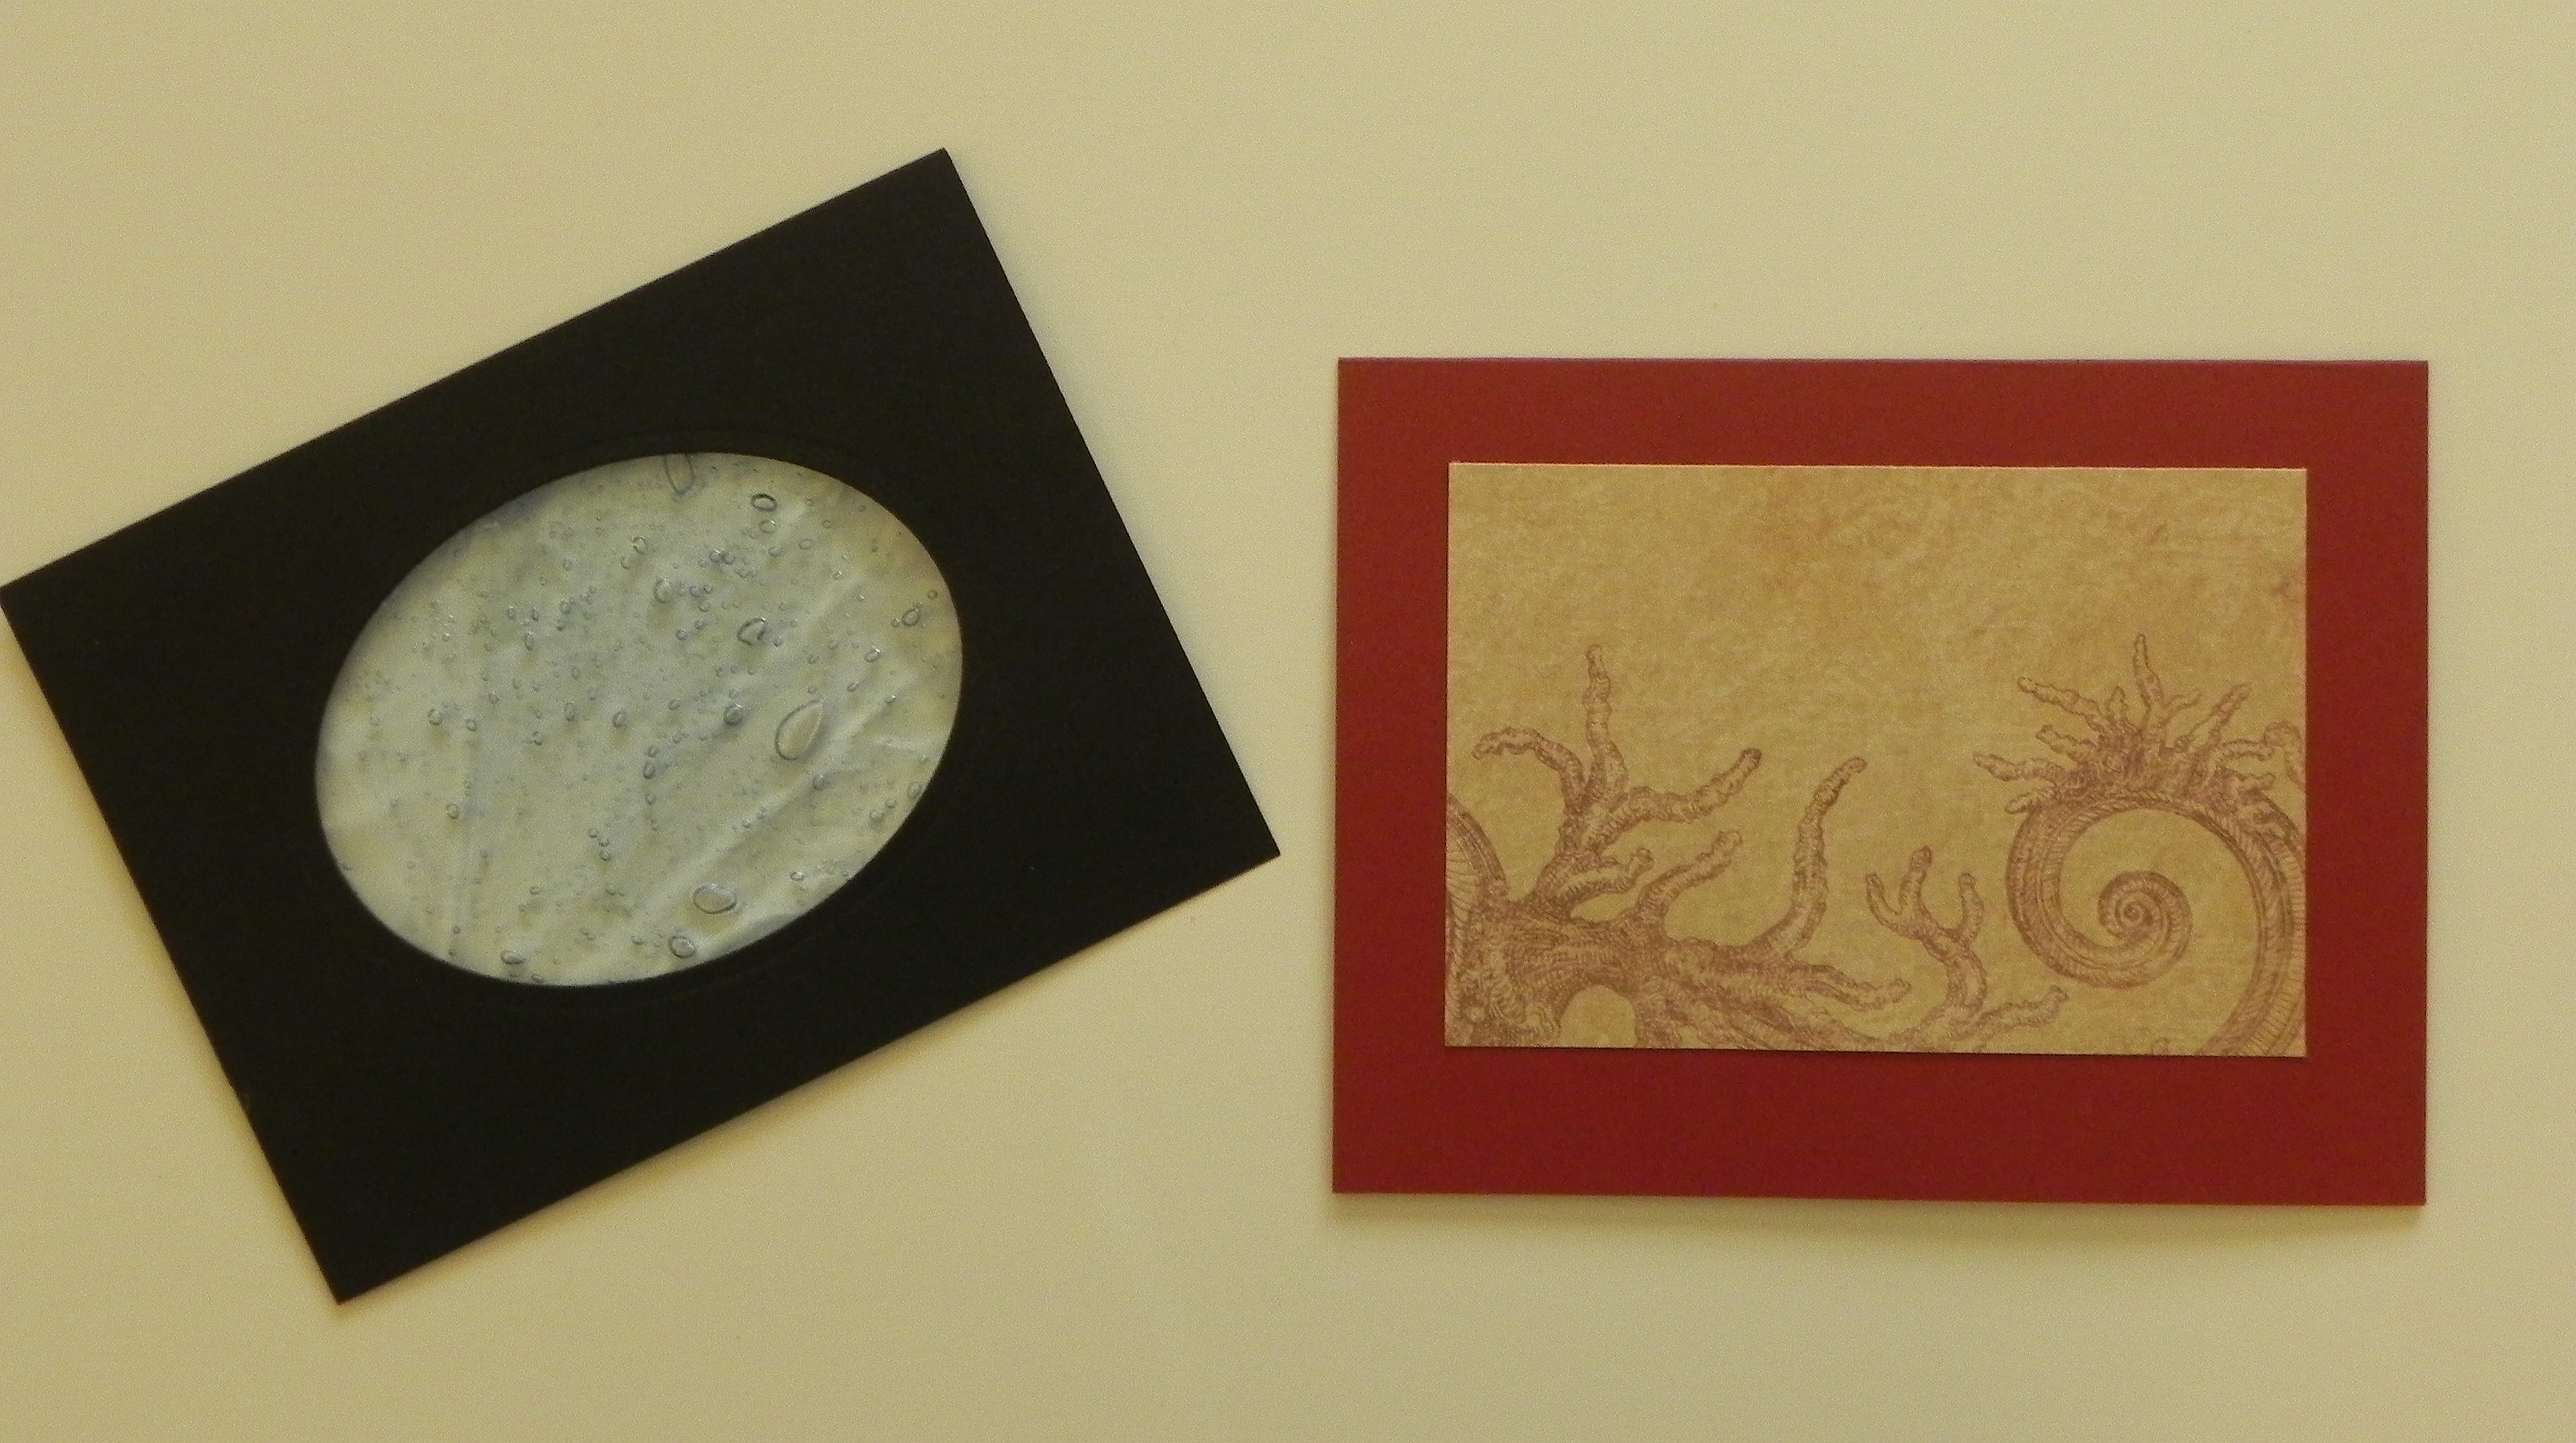
The paper I used for the card front and the panel behind the “water” is from the K&Company paper pack shown below.  The name of the pack (TC Travel Specialty Paper) is in really small print in the lower right hand corner.

aDSCN6329

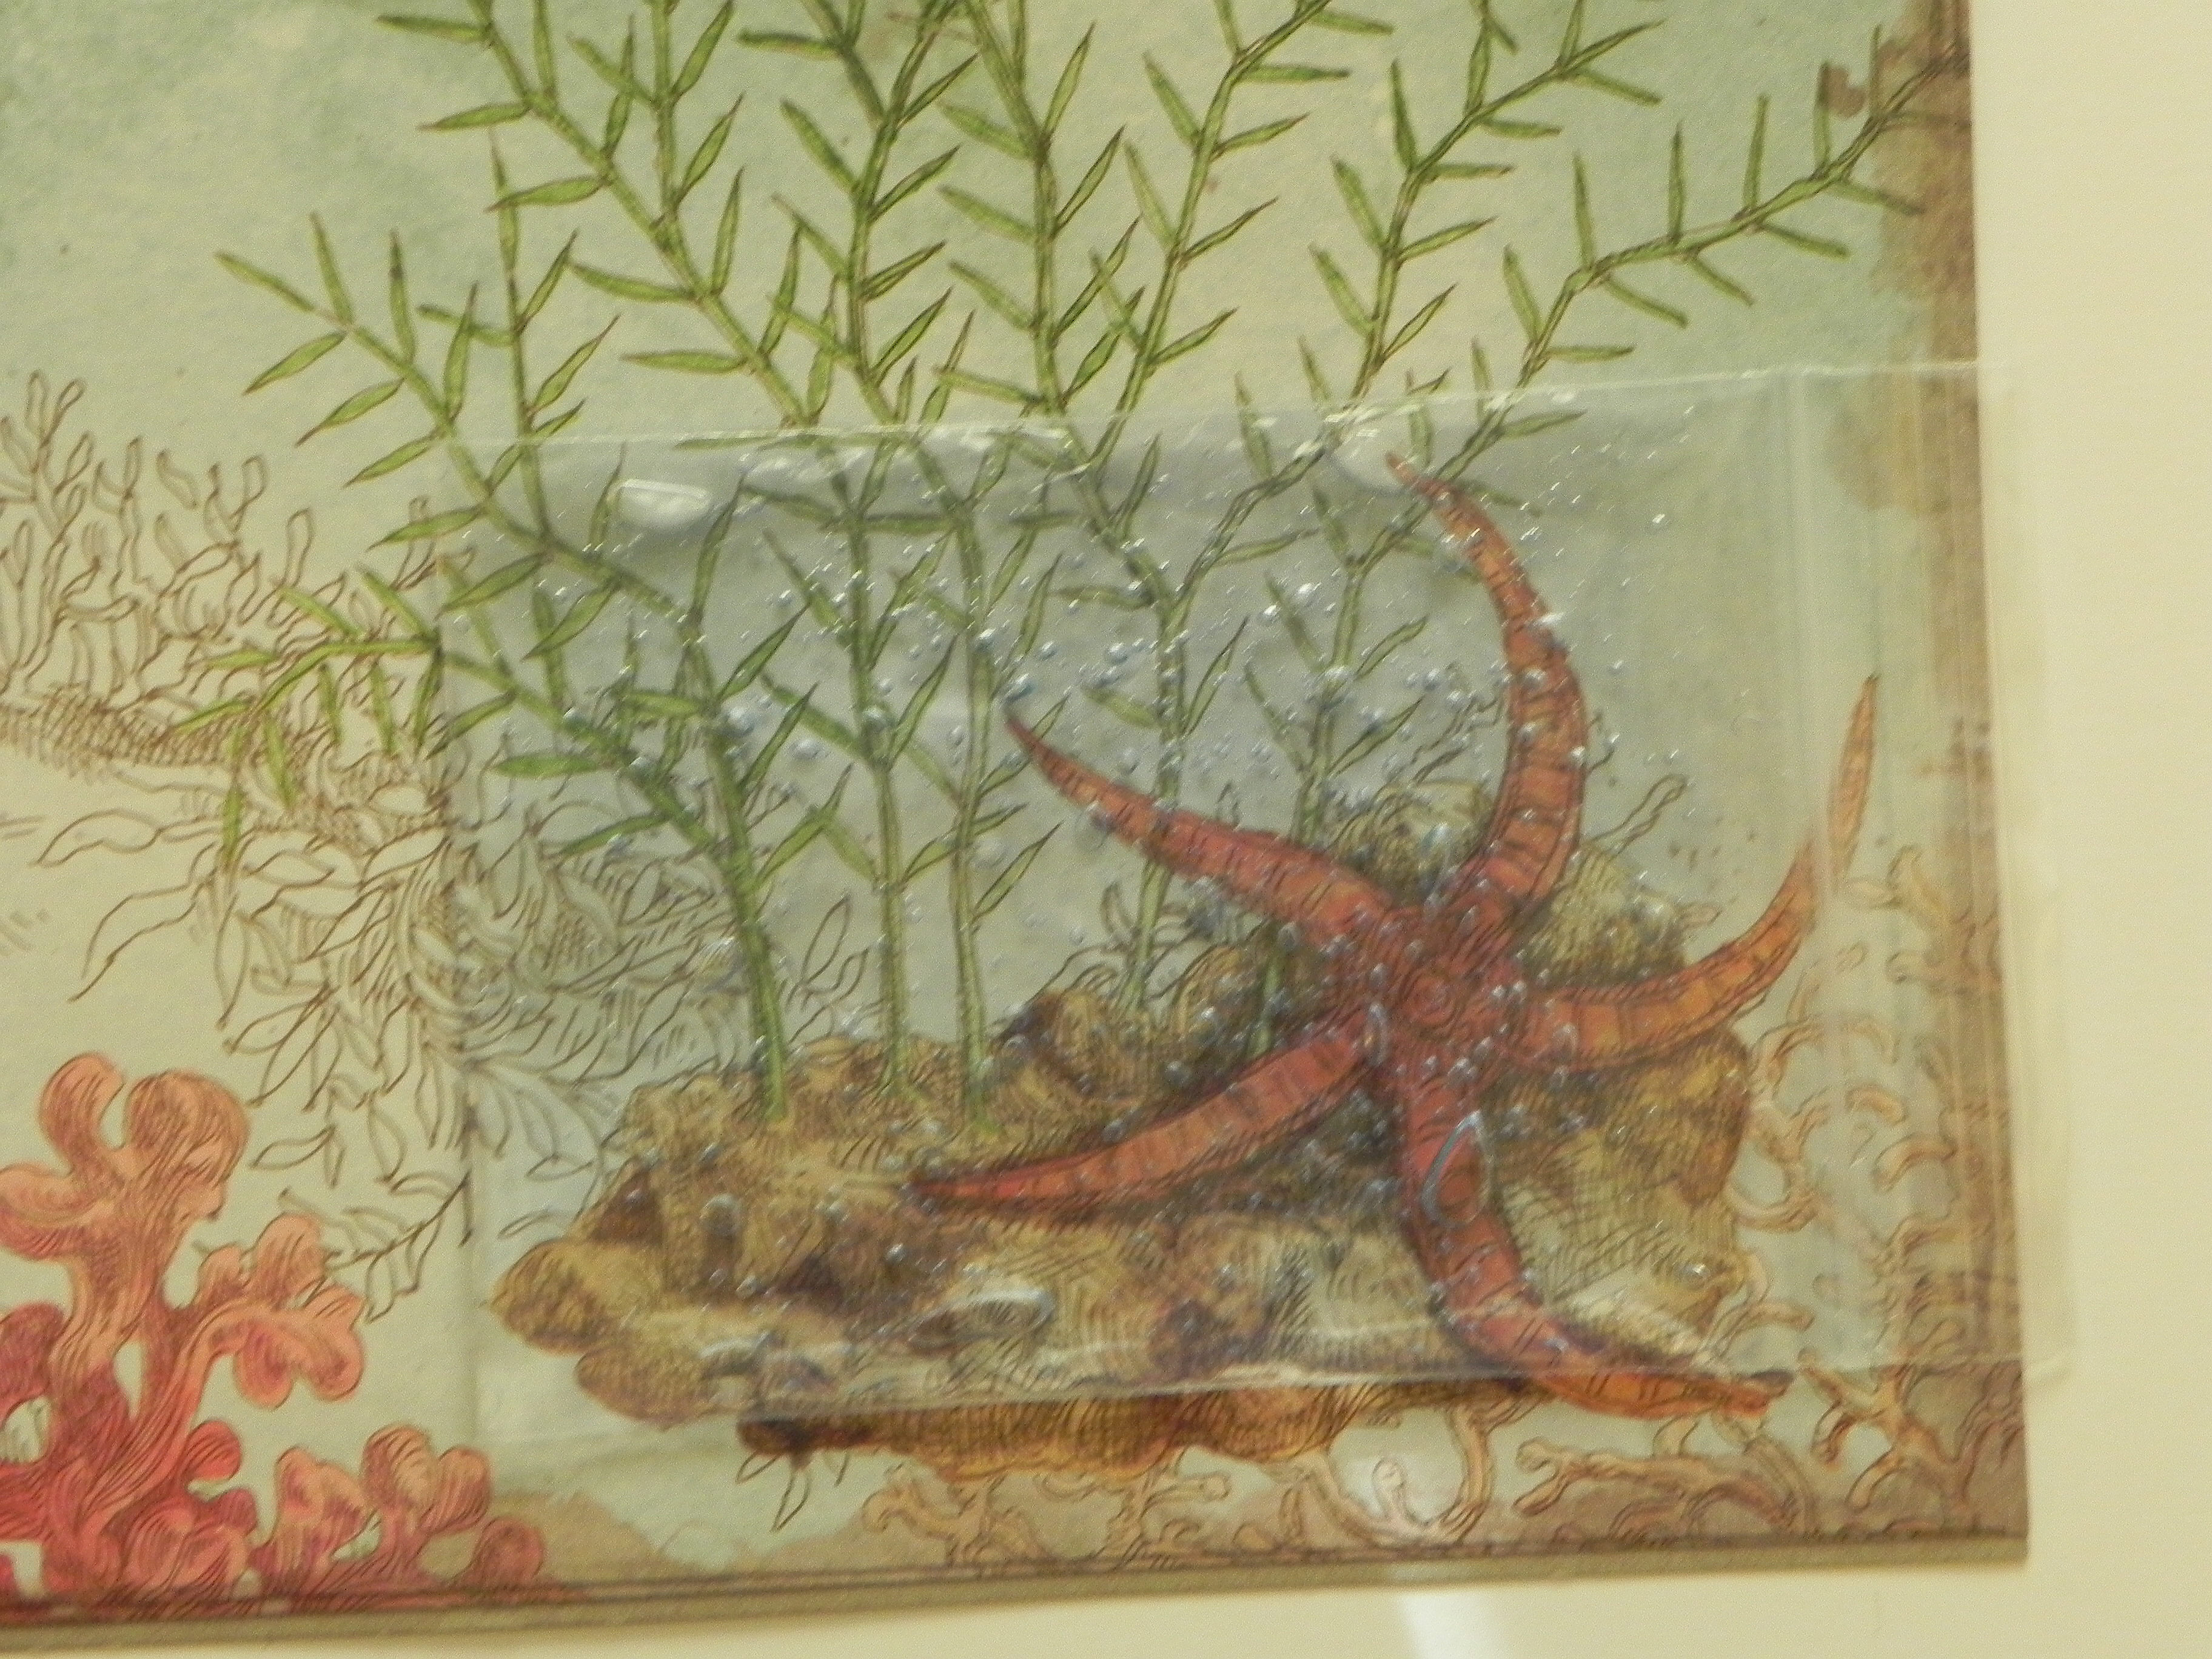
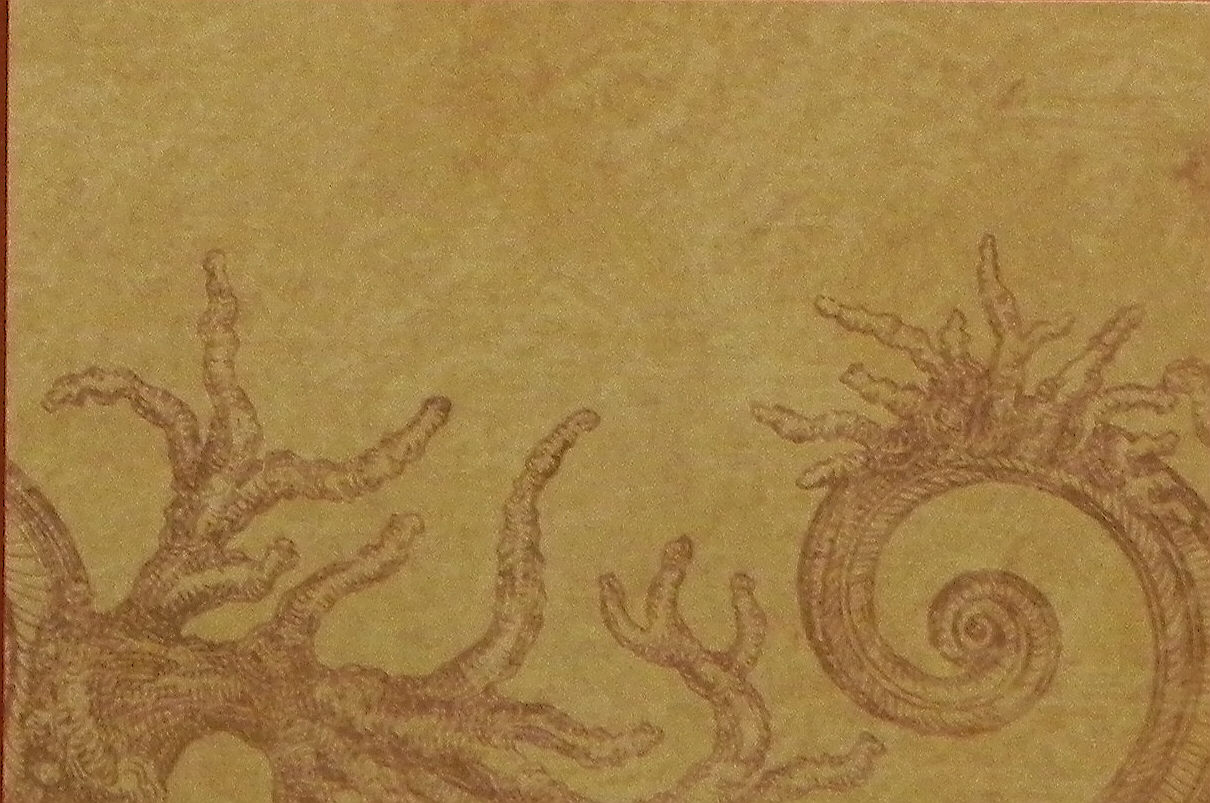
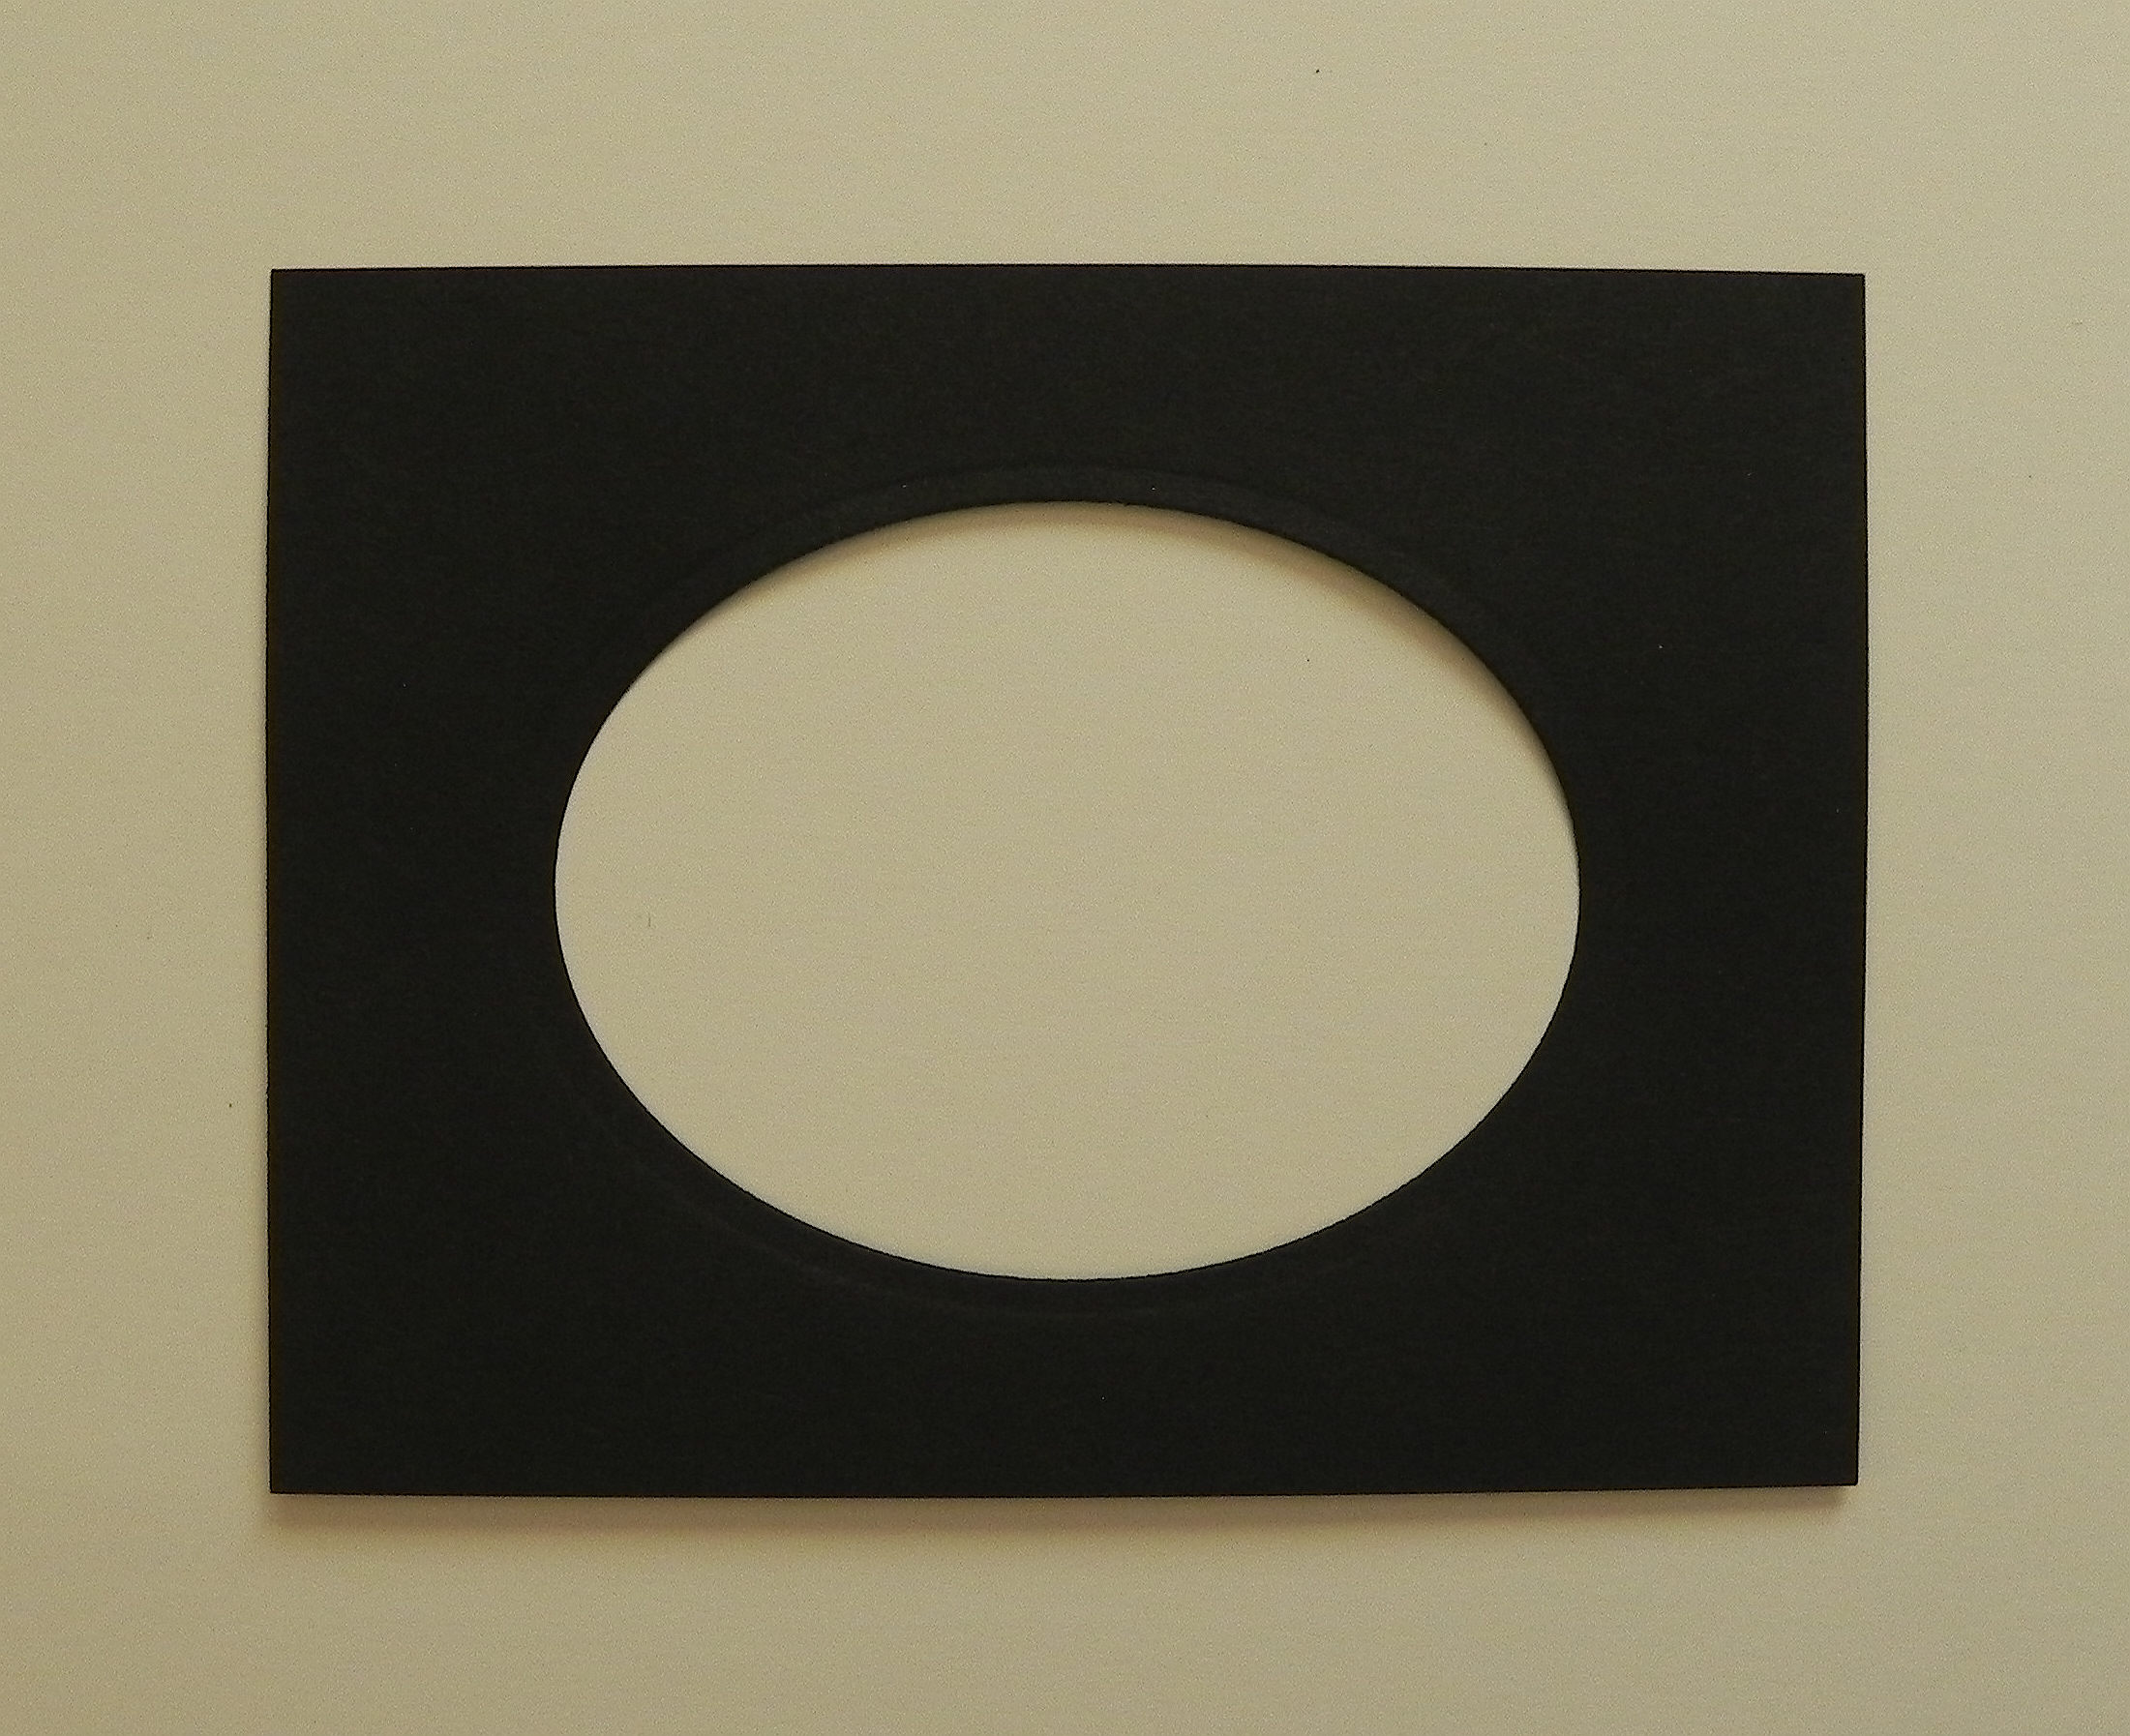
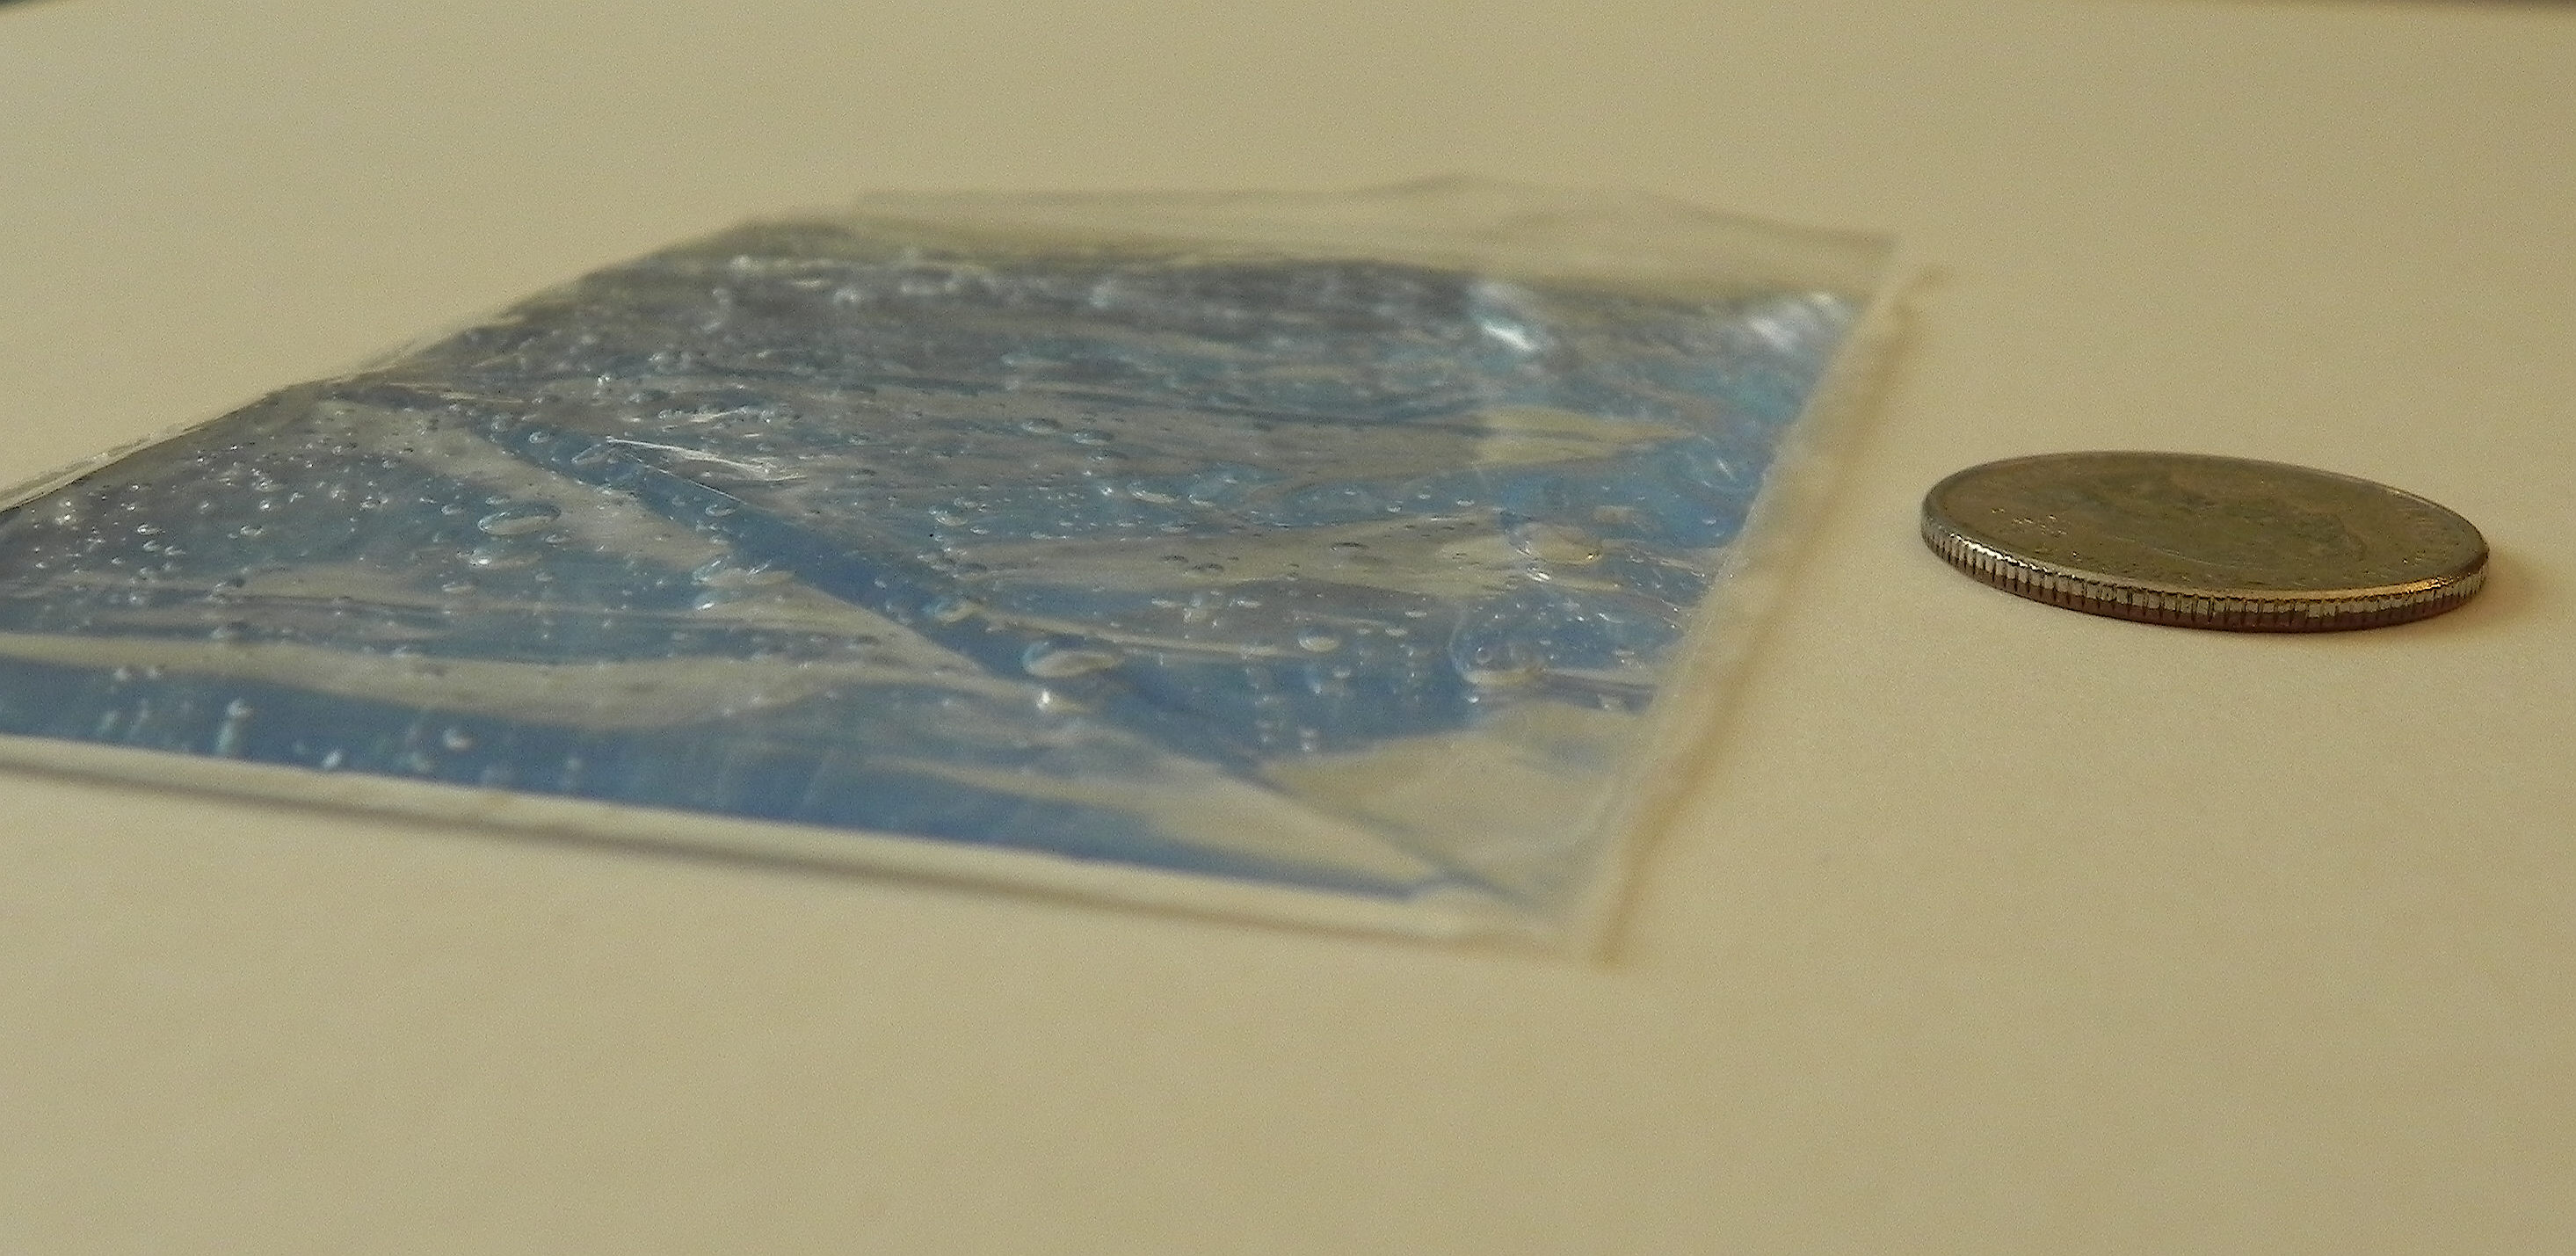
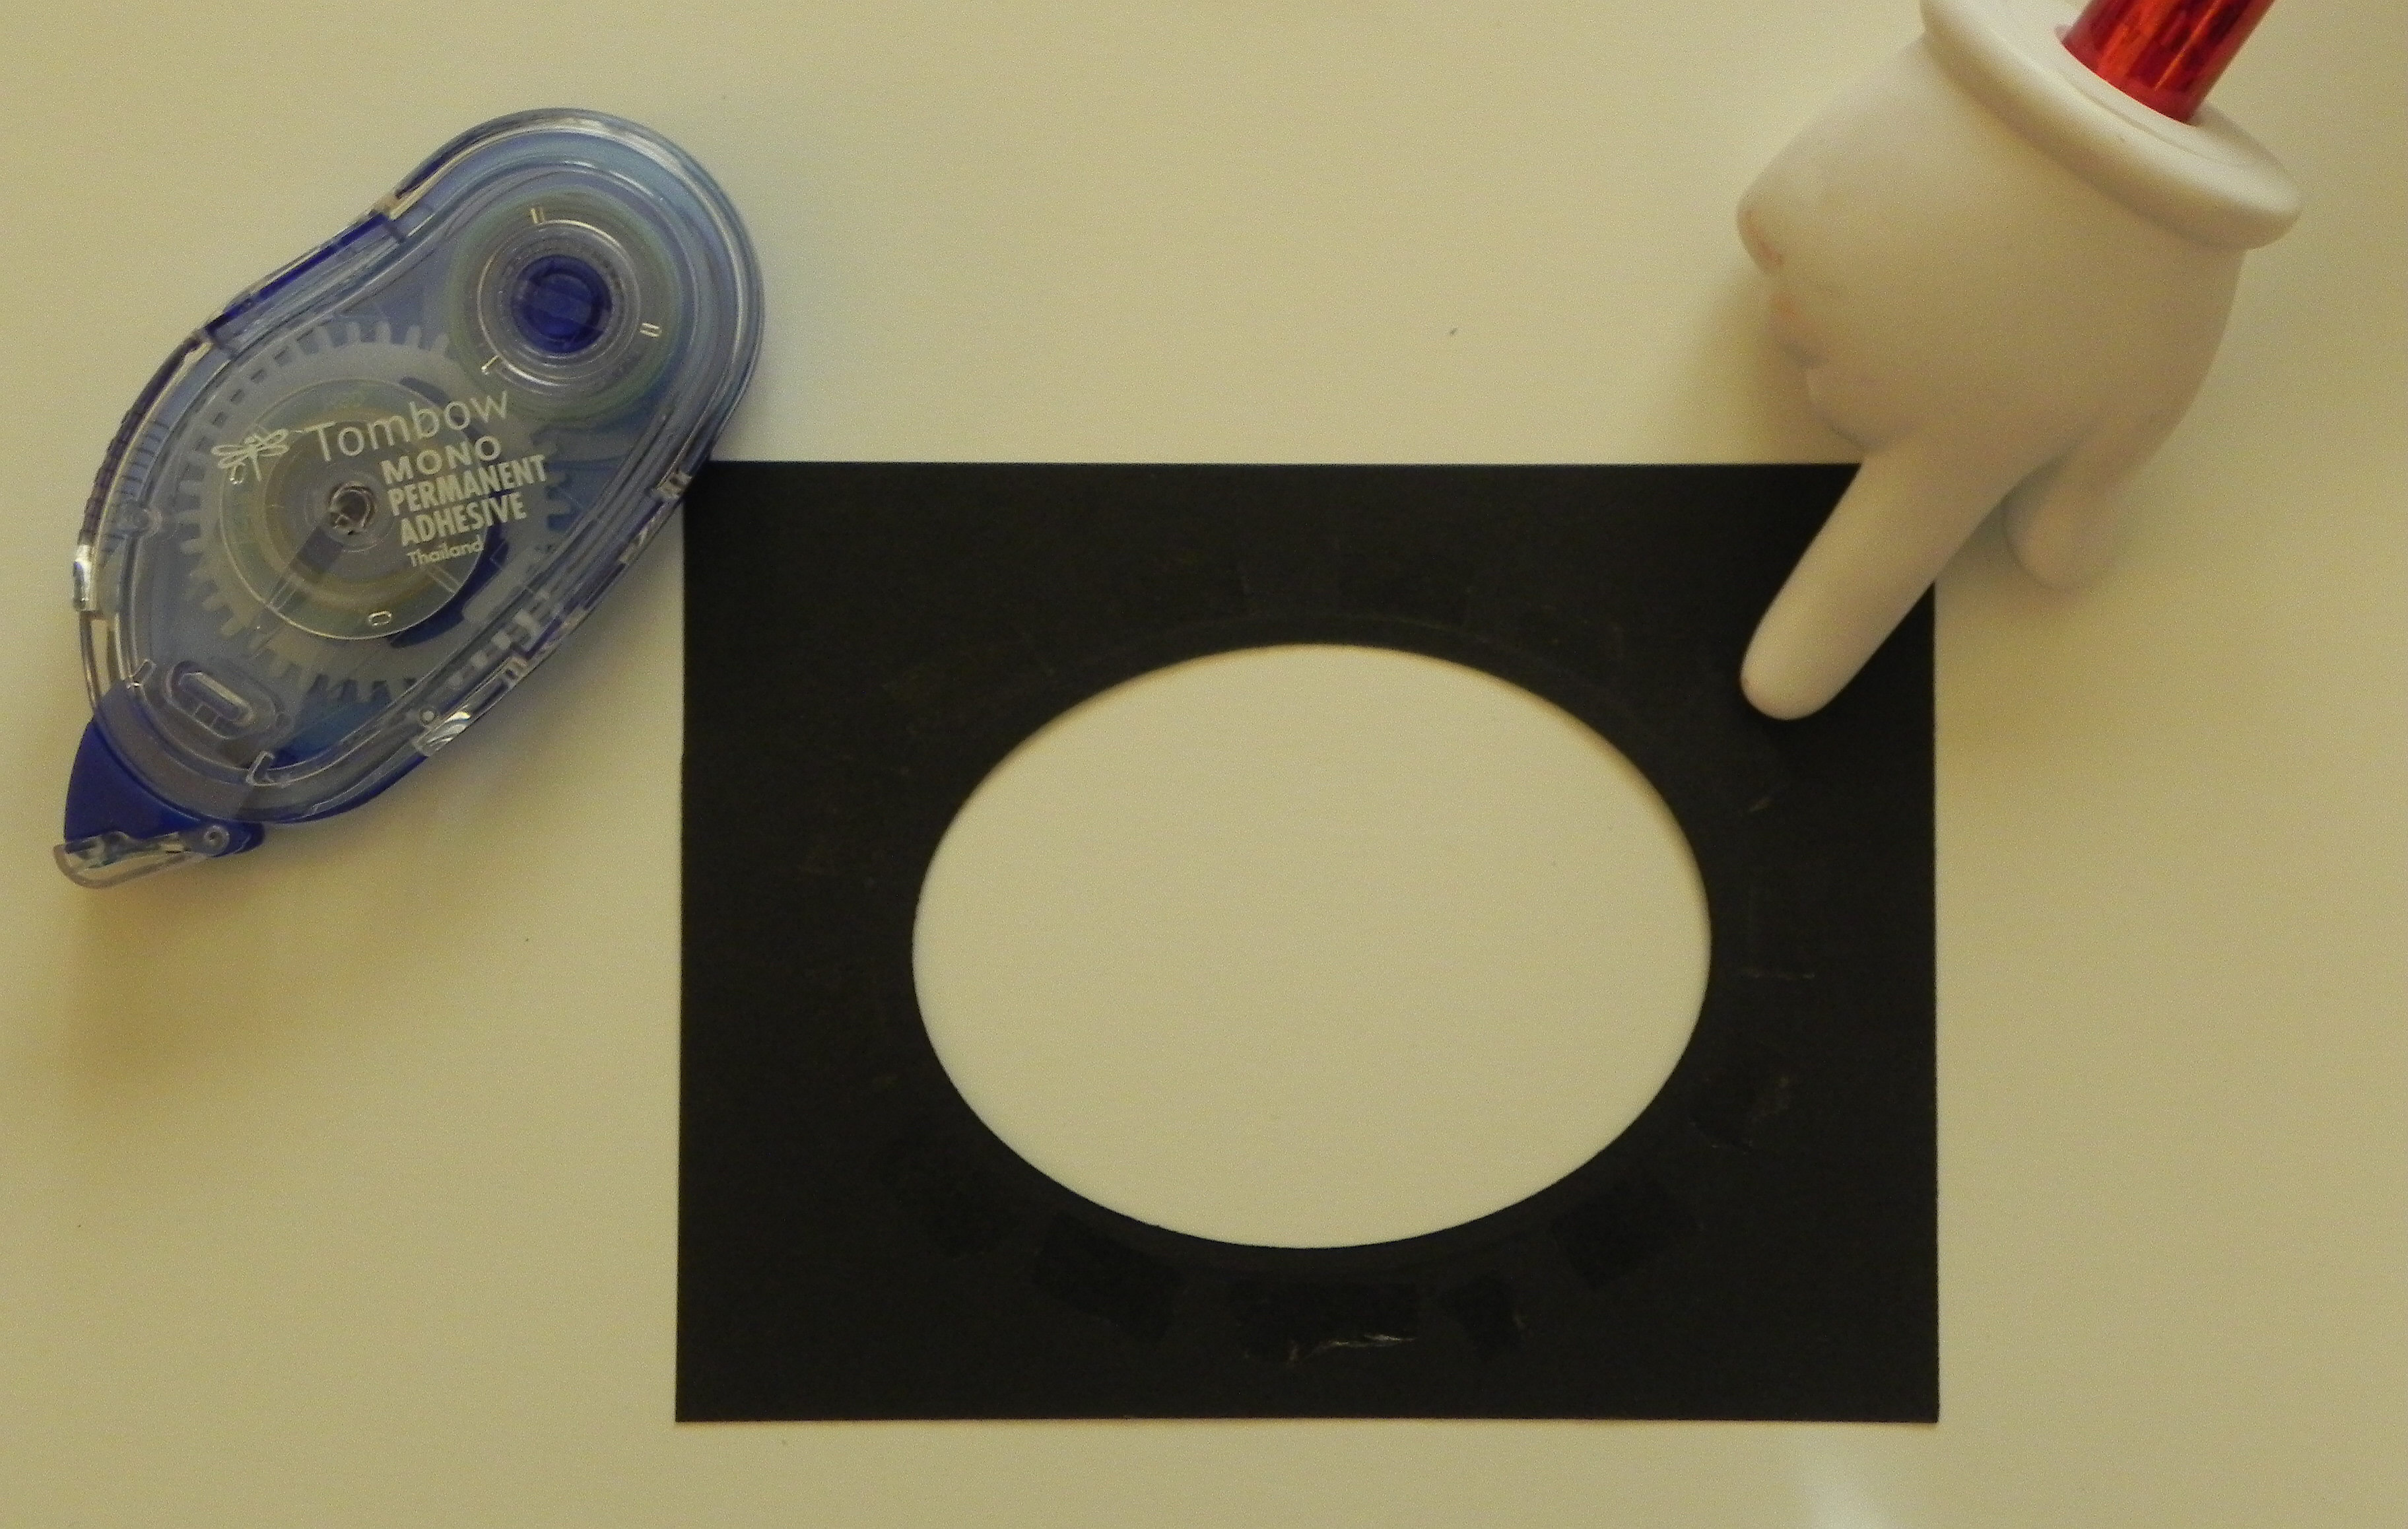
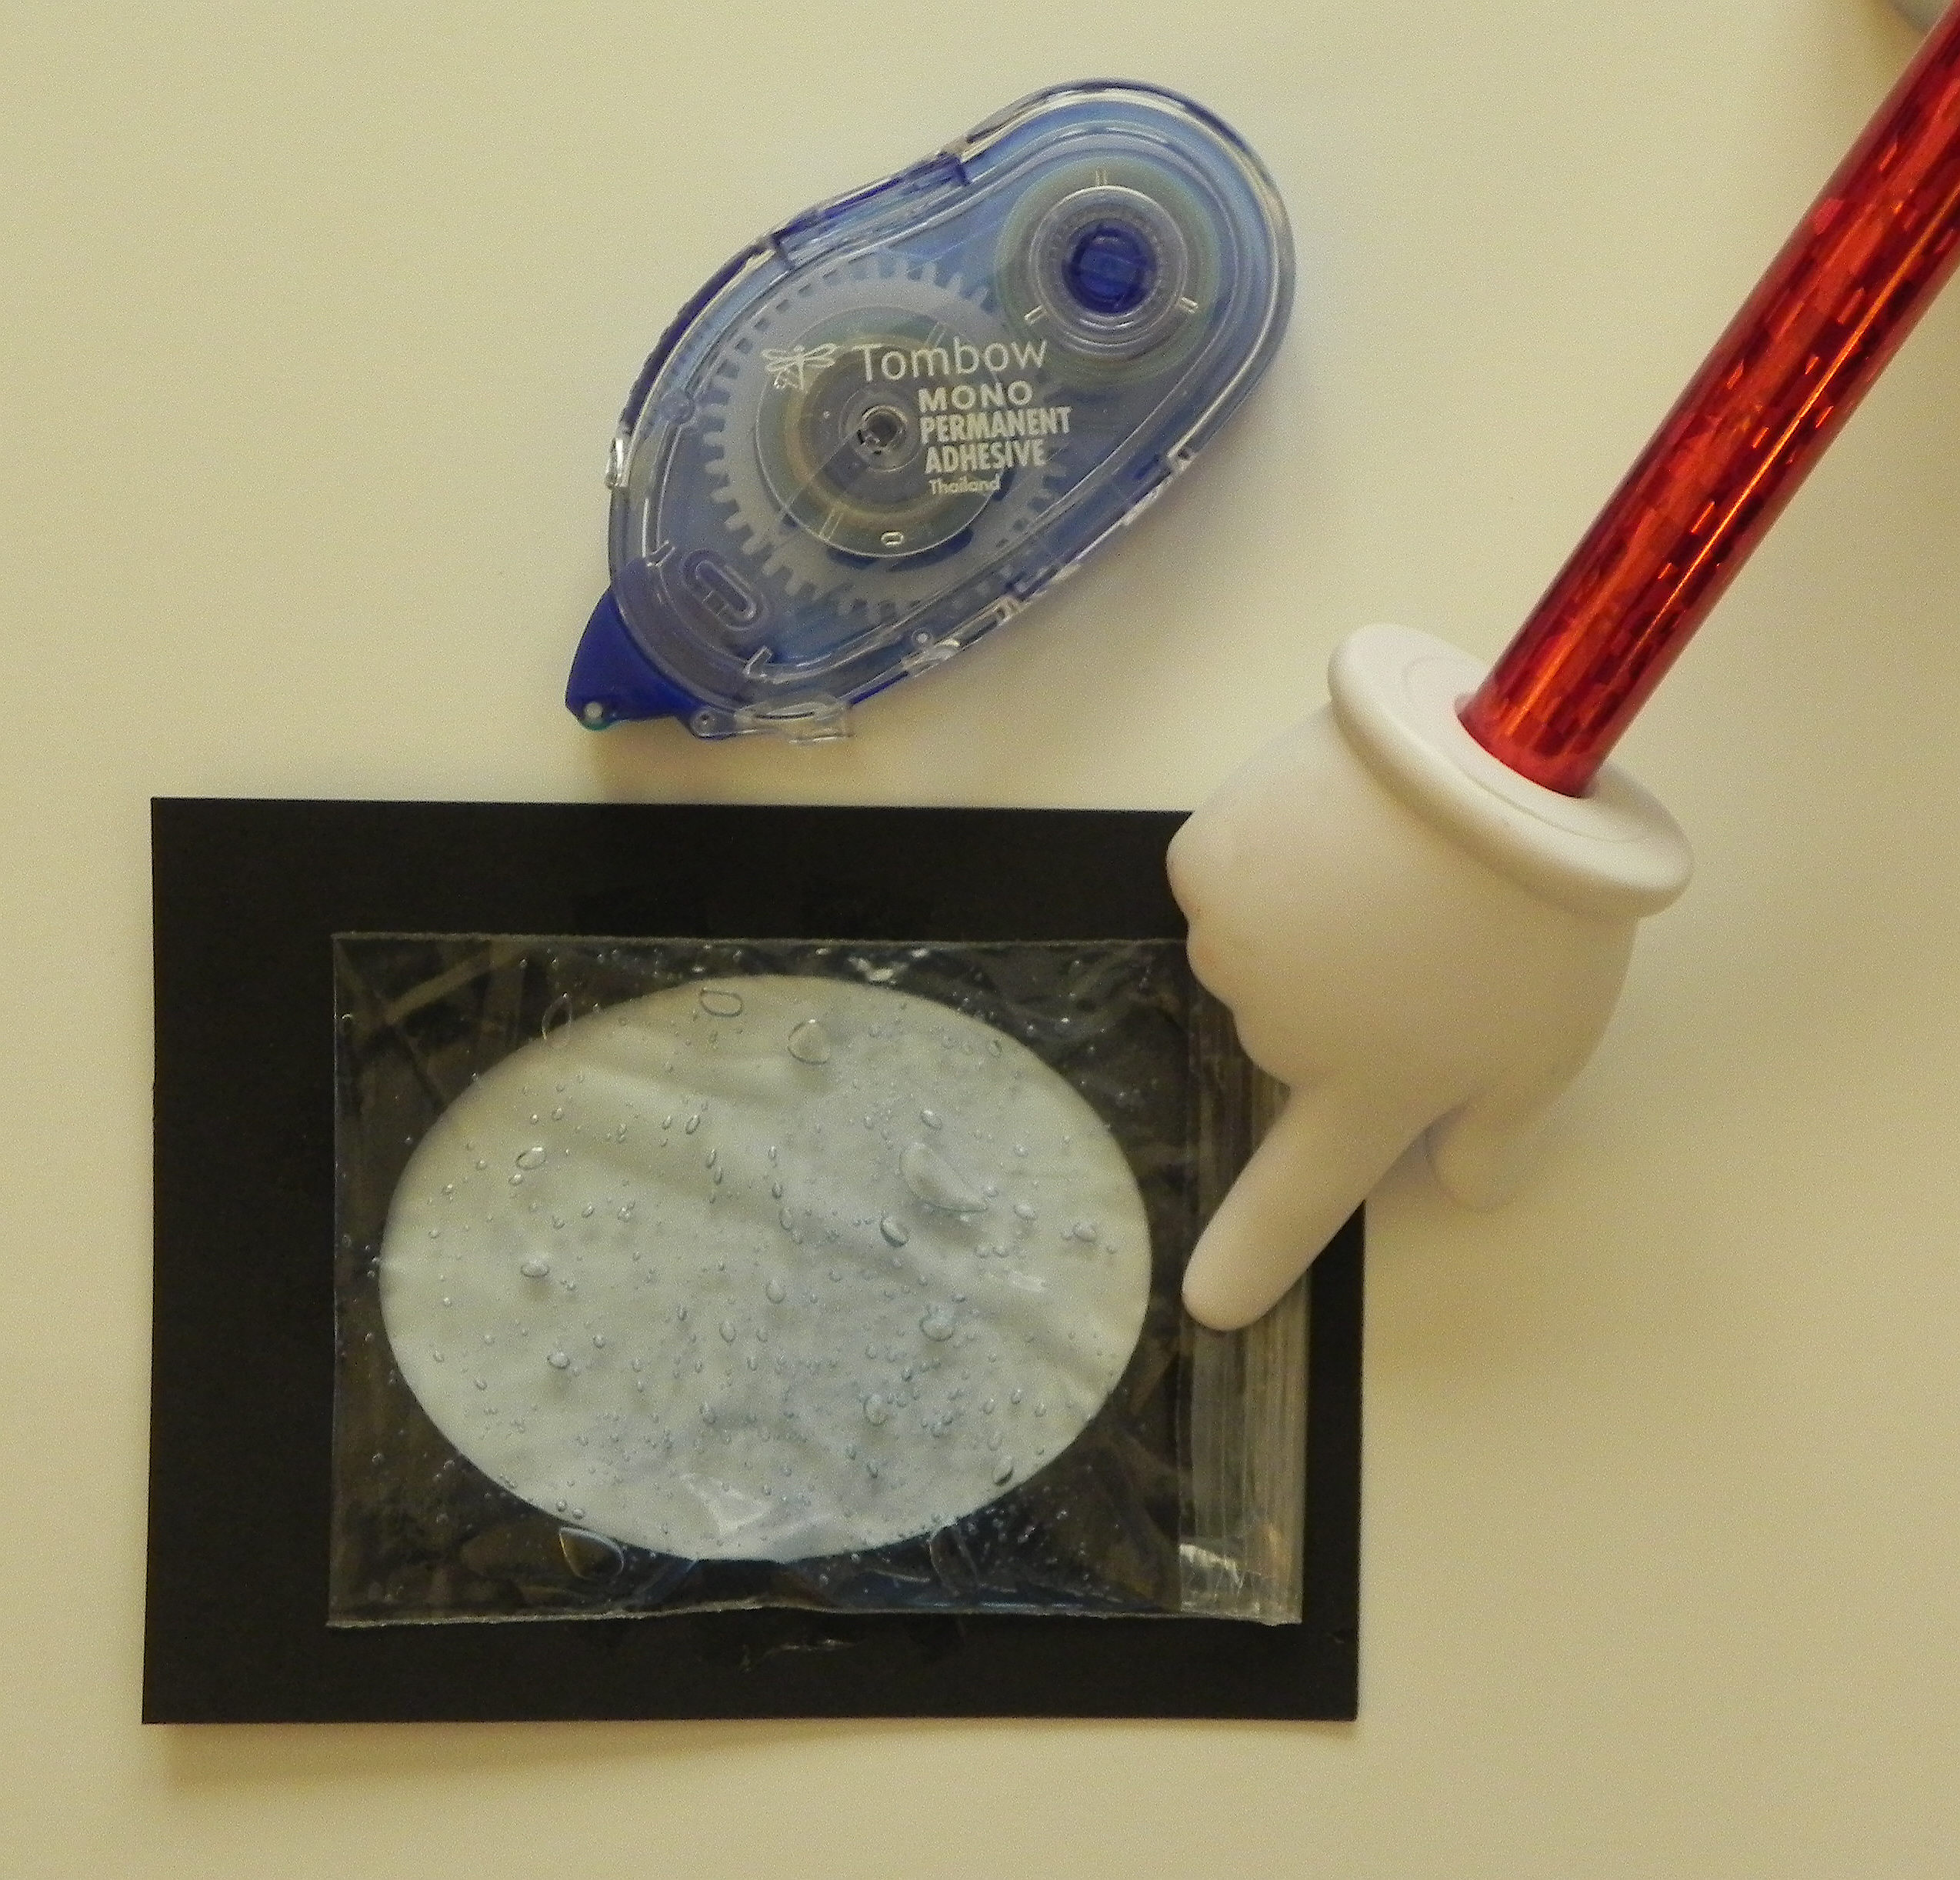
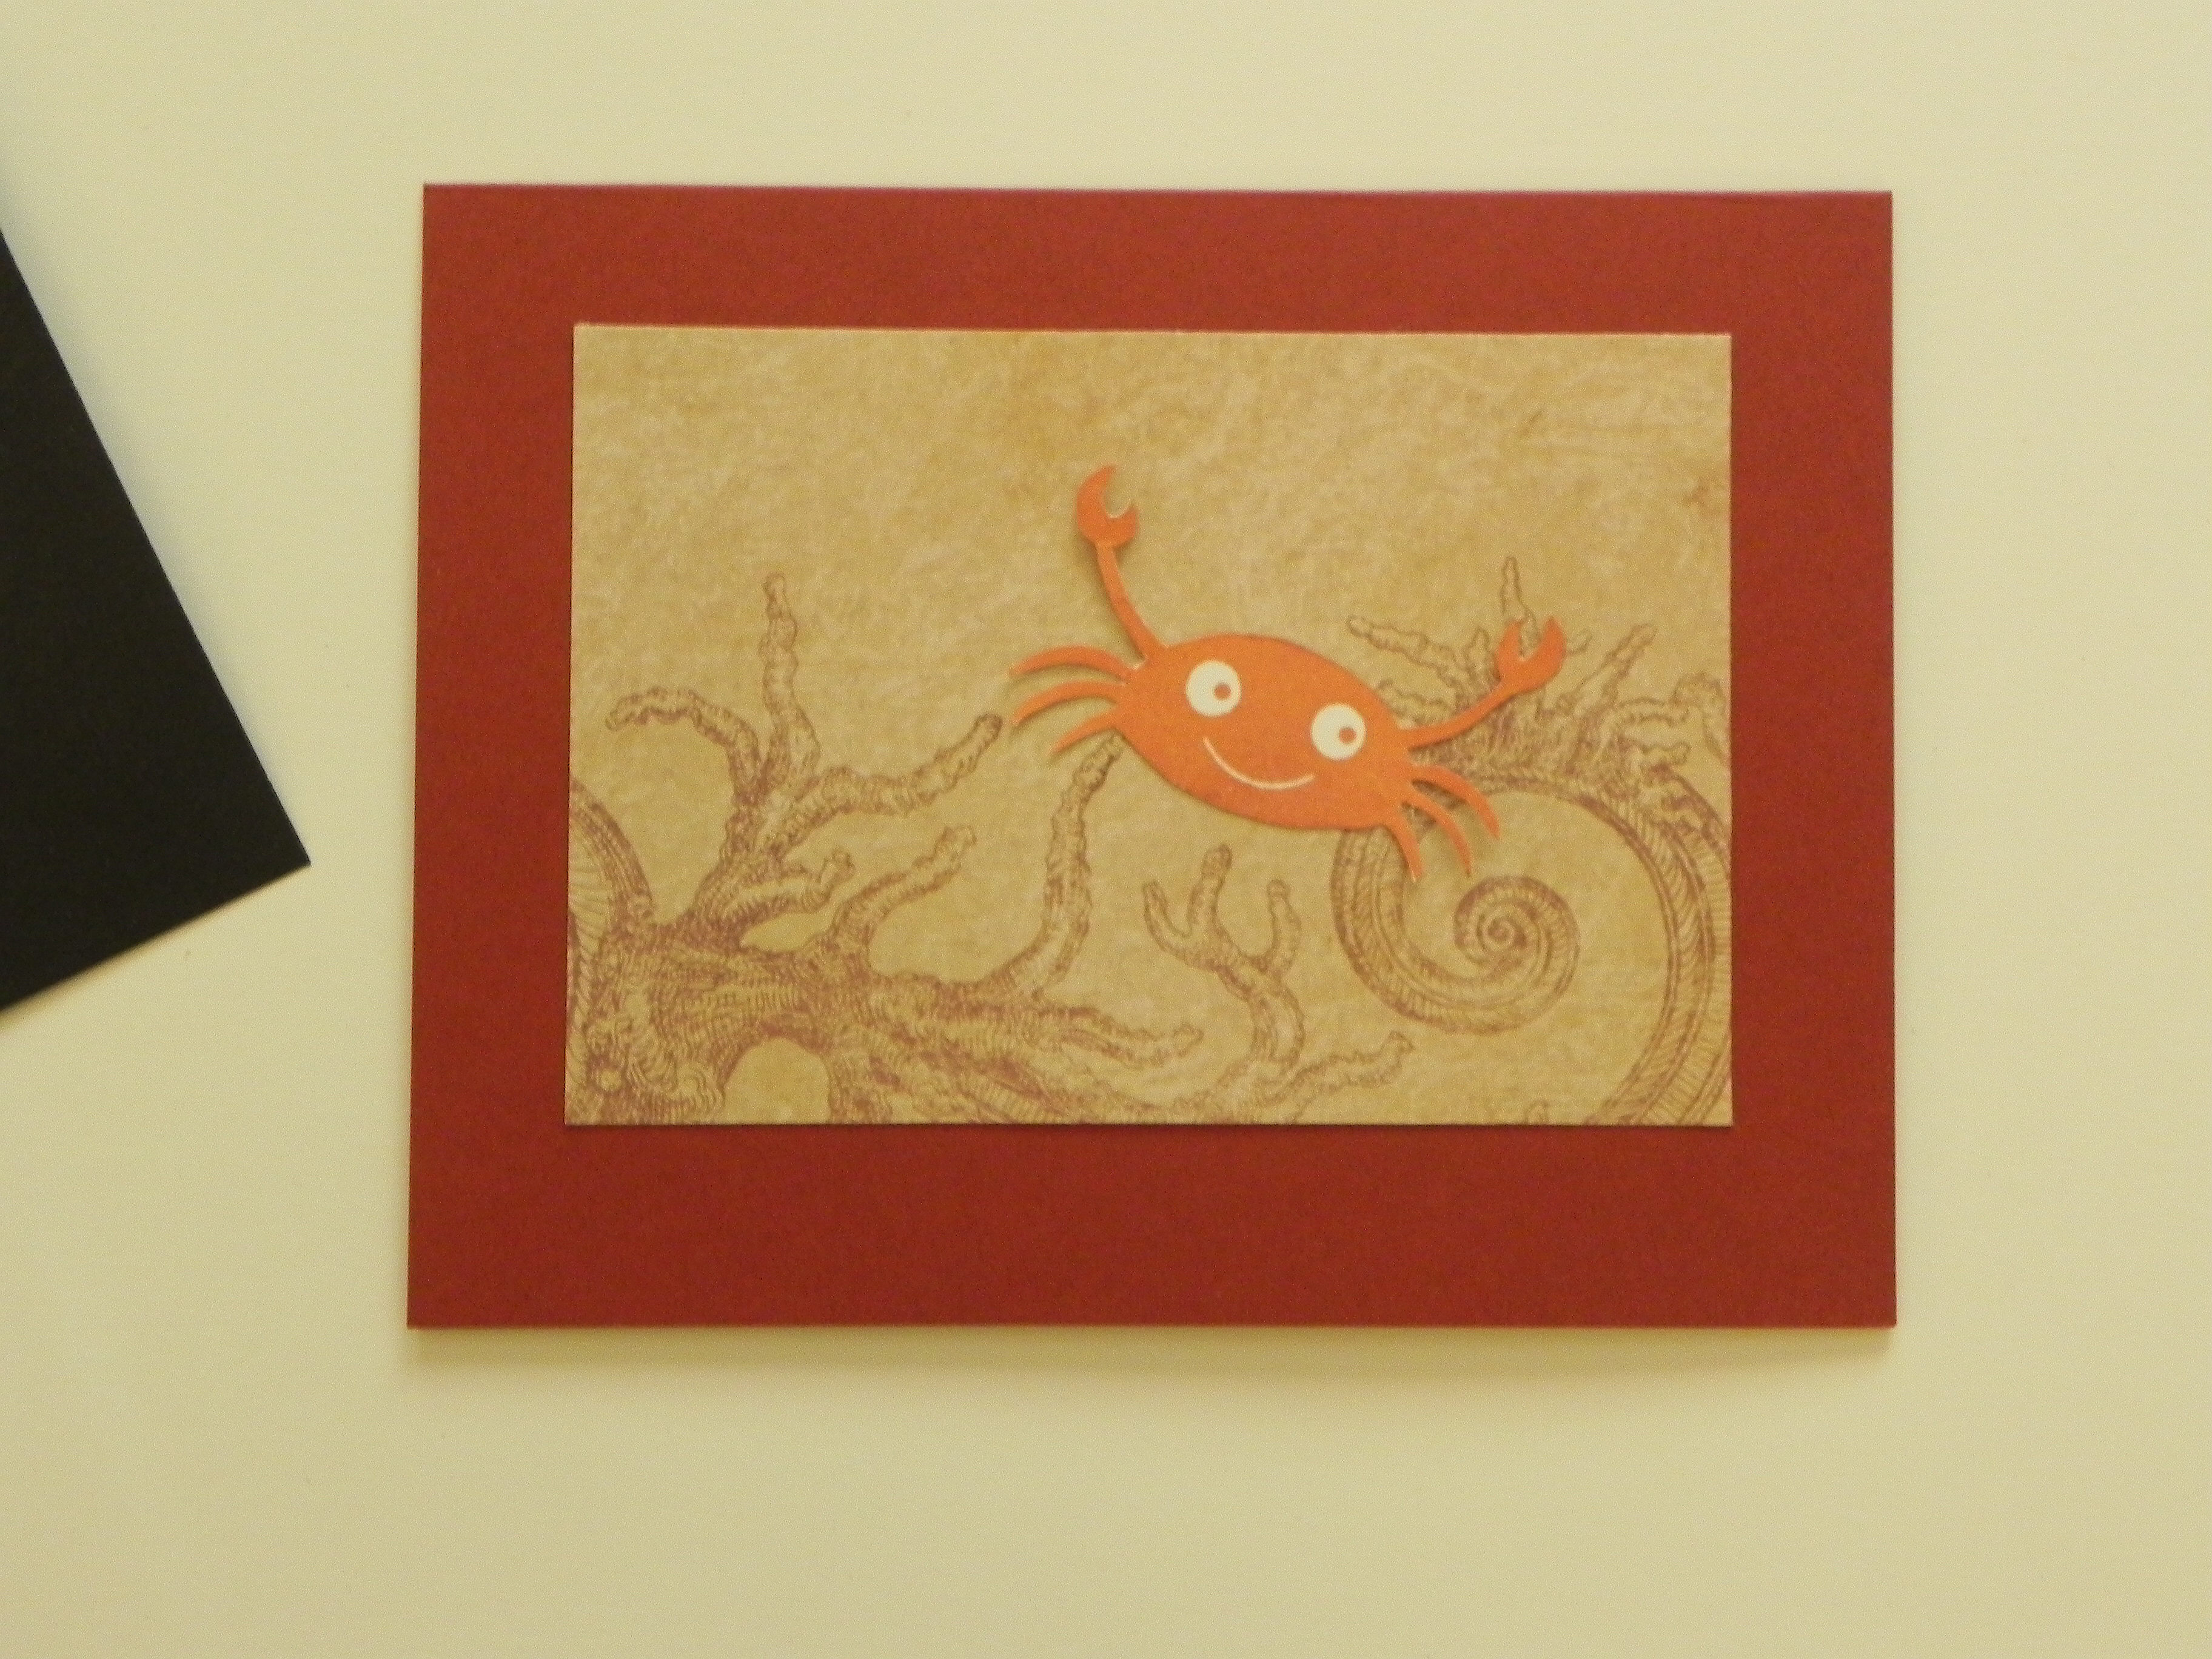
I used Gina K Blue Denim card stock for the card base and the second layer of the top panel, and I also used scraps of brown and red from the Authentique Seasons:  Autumn 6×6 paper pack for the greeting panel, anchor and wave swirl.  The stamps I used for the fish, crabs and greeting were from the Gina K Designs “Fishing You The Best” mini stamp set and were stamped with gina k faded brick ink.  I used the Spellbinders Superelipse die for the frame, although if I had to do it again, I’d choose a different shape since these dies don’t nest well, and I had to use my Silhouette to create the inner mat frame on the blue piece.  For the wave swirl and anchor, I used dies from the Spellbinders Nautical Frame and Accents set. I hand-cut the crabs and fish.  All the edges were inked with gina k dark chocolate ink.  The netting is from AC Moore.  And I used blue LA Looks hair gel for the water.

Here are a few close-ups:

cDSCN6313

cccDSCN6315

cDSCN6316

cDSCN6317

Thanks for checking out my card project!

This content uses referral links as described in the disclosure policy on my sidebar.

Water Gel Card Tutorial

How to Make a Water Scene Using Hair Gel

cDSCN6313

This cool water panel is very easy to make.


First, choose the card stock you wish to use for your card base and top panel.  This card gets a little heavy, so a good, heavy weight card stock works best.  (On my sample above, I used a light weight printed paper on top, so I did a double panel with heavy weight card stock underneath to give it support.)

aDSCN6332


In addition to the card stock, you will need hair gel (blue is my personal preference, although any gel will work) and a small plastic ziplock bag.  (The size of the bag depends on the size of the card stock you use on the front of your card and the size of the frame you cut out.  I’ll explain more on this in a moment.)

aDSCN6325  aDSCN6331


Next, decide what you wish to put behind the water/framed panel.  You may use printed paper, solid paper, or a background scene you create yourself.  (Place your bag of gel over the image to see how it looks!)

aDSCN6349   aDSCN6352

The following is the sample I used in my instructions (see below).

bDSCN6383

Decide if you wish to add any other images to your scene (either on the background panel or the top panel).


Cut a mat in the top panel.  I used a Spellbinders die, but you can use a paper trimmer, a punch, an electronic cutting machine, or you can cut it by hand.

aDSCN6336


The bag you choose to use needs to be bigger than your cut-out frame but smaller than the card stock panel.

aDSCN6341


Put gel in the bag so it just covers the entire inner surface of the bag when it is closed and flattened. Remove large air bubbles at this time by pushing them to the top before sealing the bag.  (Small bubbles are fine and desirable.) Make sure the gel stays in the bag when flattening or removing air bubbles!

aDSCN6327  aDSCN6343


You want the gel layer to be as thin as possible while covering the entire surface.  My bag was about as thick as a quarter when it was filled and closed. If you put too much gel in, it is harder to see through it to the background.

aDSCN6346


Next, put some adhesive on the back of the top panel around the edge of the frame opening.  I used Tombow monoadhesive, but any 2 sided flat tape will work well here.

aDSCN6365


Place the bag filled with gel over the frame opening and on the adhesive you just applied.  At this point, it is ok if the sealed side hangs over the edge of the card.  You will fix that in a moment.  All the other sides should have no overhanging parts of the bag.

aDSCN6371


Turn the sealed edge over and tape it so it no longer hangs over the edge, but make sure it doesn’t hang over the frame opening either.

aDSCN6372

aDSCN6377   aDSCN6375


Continue taping the bag to the back of the framed panel with masking tape.  I needed to cut my tape in half so it fit on the top and bottom parts without hanging over the edges or into the frame opening.

aDSCN6379


Next, use pop dots or foam tape around the outer edges of the frame panel.  I used a double layer of foam tape (one piece on top to the other) to make it thicker.  You want to raise the panel up off of the card base enough so it lies flat.  The thicker the bag with gel, the thicker the foam adhesive needs to be.  (Pictured is just one completed side.  Put foam adhesive on all 4 sides.)

aDSCN6381


Trim your background panel so it shows in the frame as desired.  (It should be large enough to be in the frame completely, but small enough so it fits behind the top panel without sticking out on the sides.)  (I added a stamped crab image to my background here.)  Position it as desired with respect to your frame, and adhere onto your card base.

aDSCN6383  aDSCN6385

aDSCN6387


Here is my card project using this technique.

Shore Grateful Thank You Card bbDSCN6307


Click HERE to see the post for this card.


Thanks for checking out my tutorial!

This content uses referral links as described in the disclosure policy on my sidebar.

Mod Squad Challenge – The Music of Christmas – A “Favorite” Top Three Winner

Mod Squad Challenge – The Music of Christmas – A “Favorite” Top Three Winner

Mod Squad Challenge Winner (Honorable Mention)

Mod Squad Challenge – A “Favorite” Top Three Winner

 (December 2, 2014)

xxxxxDSCN6289

(The host/hostess picked the “Top 3” which will be featured on PINTEREST.)

Click HERE to see the winning announcement.  (Sadly, this site is no longer active.)

Click HERE to see the original challenge post.  (Sadly, this site is no longer active.)

Click HERE to see original blog post.

Thanks for checking out my post!

12 x 12 inch Tonic Guillotine Paper Cutter with Large Base – updated 3/15/16

12 x 12 inch Tonic Guillotine Paper Cutter with Large Base

Tonic Large Base Trimmer

3/15/16 – This is an update from my original post.  

I had been told that these were no longer available when I first posted this in Dec. 2014, but they seem to be back!  I am seeing them in several places now:  on amazon.com HERE and on jet.com Here.

trimmer

This one has a 6 inch base with detachable extension arm to make it a 12 inch cutter.  This also seems to be available again on amazon.com HERE.  

I own both of these models, and they are both great cutting tools.  What I particularly love about the one with the 6 inch base and extension arm is that it takes up much less room on my desk or shelf than the 12 inch base model since the base is half the size; I attach the arm when I need it, and store it under the base when the 6 inch base is enough.  The smaller base also makes it so much easier to move around and use.

However,  it is worth noting (with both models) that the ruler along the top edge doesn’t go all the way to the right edge and starts at 3/4 inch.  My second complaint (with the 6 inch base model) is that there is a gap in the ruler along the top when the arm is attached so the ruler on the left end of the base ends at 6 inches and the ruler on the extension arm starts at 6 3/8.  When I need to trim things less than 3/4 inch or between 6 and 6 3/8 inches, I either need to grab another trimmer, or I need to subtract that amount from the width of the paper and cut off the difference – an inconvenience indeed!  However, I own quite a few trimmers, and I still find myself grabbing these trimmers first because they cuts so well, are so easy to use, and usually have the measurements I need! 

*******************

ORIGINAL POST 12/2/1014

I have been looking all over for one of these trimmers.  (This is the one that Gina K (StampTV) said she used and used to sell through her site.  Check out the description and reviews at  http://stamptv.ning.com/page/our-amazon-store.)

They are now discontinued and extremely hard to find.  I just stumbled on one at http://www.nationalartcraft.com/subcategory.asp?cid=+311&gid=16&scid=1522 and placed an order. They have it listed at a discounted price of $45.50 (the original list price was $59.95), and with the shipping, my order total was $58.45.  According to Lobi in their customer service department, they have 2 more in stock (as of 12/2/14), and she confirmed that they are discontinued and will no longer have them when these go.  IT APPEARS THEY ARE NO LONGER AVAILABLE AT THIS SITE (updated 12/26/14)

*******************

Thanks for checking out my post!

This content uses referral links as described in the disclosure policy on my sidebar.

Rockin’ Santa

Rockin’ Santa

Rockin' Santa rDSCN6190.jpg

This card is being entered in this week’s Mod Squad Challenge – The Music of Christmas – where we are to use music on our card.   (Sadly, this site is no longer active.)

It is also being entered in the Simon Says Stamp Monday Challenge – Holiday Cards – where they are encouraging us to show them our homemade holiday goodness this week. While they are focusing on holiday cards, they welcome us to share whatever we may be making and giving this holiday season! (http://www.simonsaysstampblog.com/mondaychallenge/?p=2246)

This card is also being entered in the Perfectly Rustics Design Challenge No. 37 – Sentiment (Not Birthday). The focus of this challenge is the sentiment on the card, but NO HAPPY BIRTHDAY sentiments are to be used in this challenge!  They want us to think outside of the standard (most commonly used sentiment) and come up with something different.  My card has “Merry Christmas” as the sentiment. (http://perfectlyrustics.com/2014/12/01/prdc-37-sentiment-not-birthday/)s made for my daughter’s drum teacher.

The Santa was cut using my Cricut and the “Jolly Holidays” cartridge.  The drum set is from the “Quarter Note” cartridge.  I used Gina K sandy beach and dark chocolate card stock for the card base and mats.  The music notes printed paper is from the Recollections “Union Square” paper pad.  The red and green printed paper is from my scrap box and I don’t remember who made it.  (I got it at AC Moore a few years ago.)  The metalic paper for the drum set is Recollections (bronze) shimmer card stock, and Santa was made with Gina K cranberry tart, ivory, sandy beach, and a hunter green from my scrap box.  I stamped the Merry Christmas greeting on a scrap of the background green paper using a stamp from the Gina K Designs “Peace and Joy” set and charcoal brown ink.

I was pretty excited to make this card because I used a few Cricut cartridges that I haven’t used in a long time, and I also made use of some of the scraps that I keep and usually forget about!

Thanks for checking out my card project!

This content uses referral links as described in the disclosure policy on my sidebar.