Snowman Shaker Thank You Card

Snowman Shaker Thank You Card

Snowman Shaker Card bDSCN6959.jpg

I recently saw a video tutorial by Theresa Momber making a Recessed Window Card.  She showed how to make the recessed window using a Spellbinders die and a craft knife, and I thought this recessed window card could be easily adapted to make a shaker card.

After I created the recessed window and inserted my stamped panel, I simply added my “shakers” and taped a piece of acetate (cut slightly larger than the window) over the recessed window.  I then cut a frame (using the same size die that I used to create the window) and adhered it over the acetate and window panel.  For the card above, I created a second frame with the patterned paper (with the next larger sized die) and adhered it on the blue frame.  The whole thing was attached to a card base with 4 small pop dots in the corners.  (I used to use lots of pop dots to create the enclosed window to keep in the shakers.)

bbDSCN6978

To create the snowman panel, I used stamps from the following Gina K Designs stamp sets:  Fabulous Holiday Fillers, Let’s Talk, Winter Cheer, and Fabulous Frame Fillers.  I stamped the images using Memento Tuxedo Black and used Gina K Blue Denim ink (and masks) to sponge the background. The snowflakes (hard to see) were stamped with Color Box Frost White pigment ink, although I’m not real happy with the way they came out.  (Heat embossing or versamark resist may have been better.)  I added color to the snowman with Copic Markers B39, B95, and Y17.  Spellbinders Classic Squares (Large) dies were used to make the recessed window and the frames around it.  The printed paper I used is “Winter Freeze” by Melissa Frances along with Gina K Blue Denim and Pure White card stock. To photograph the card, I rubbed the acetate with a piece of wool to build up a little static to make the sequins “stick” to appear to be shaken around; they usually sit on the bottom!

bDSCN6969

Thanks for checking out my card project!

This content uses referral links as described in the disclosure policy on my sidebar.
Chalkboard Thank You Card

Chalkboard Thank You Card

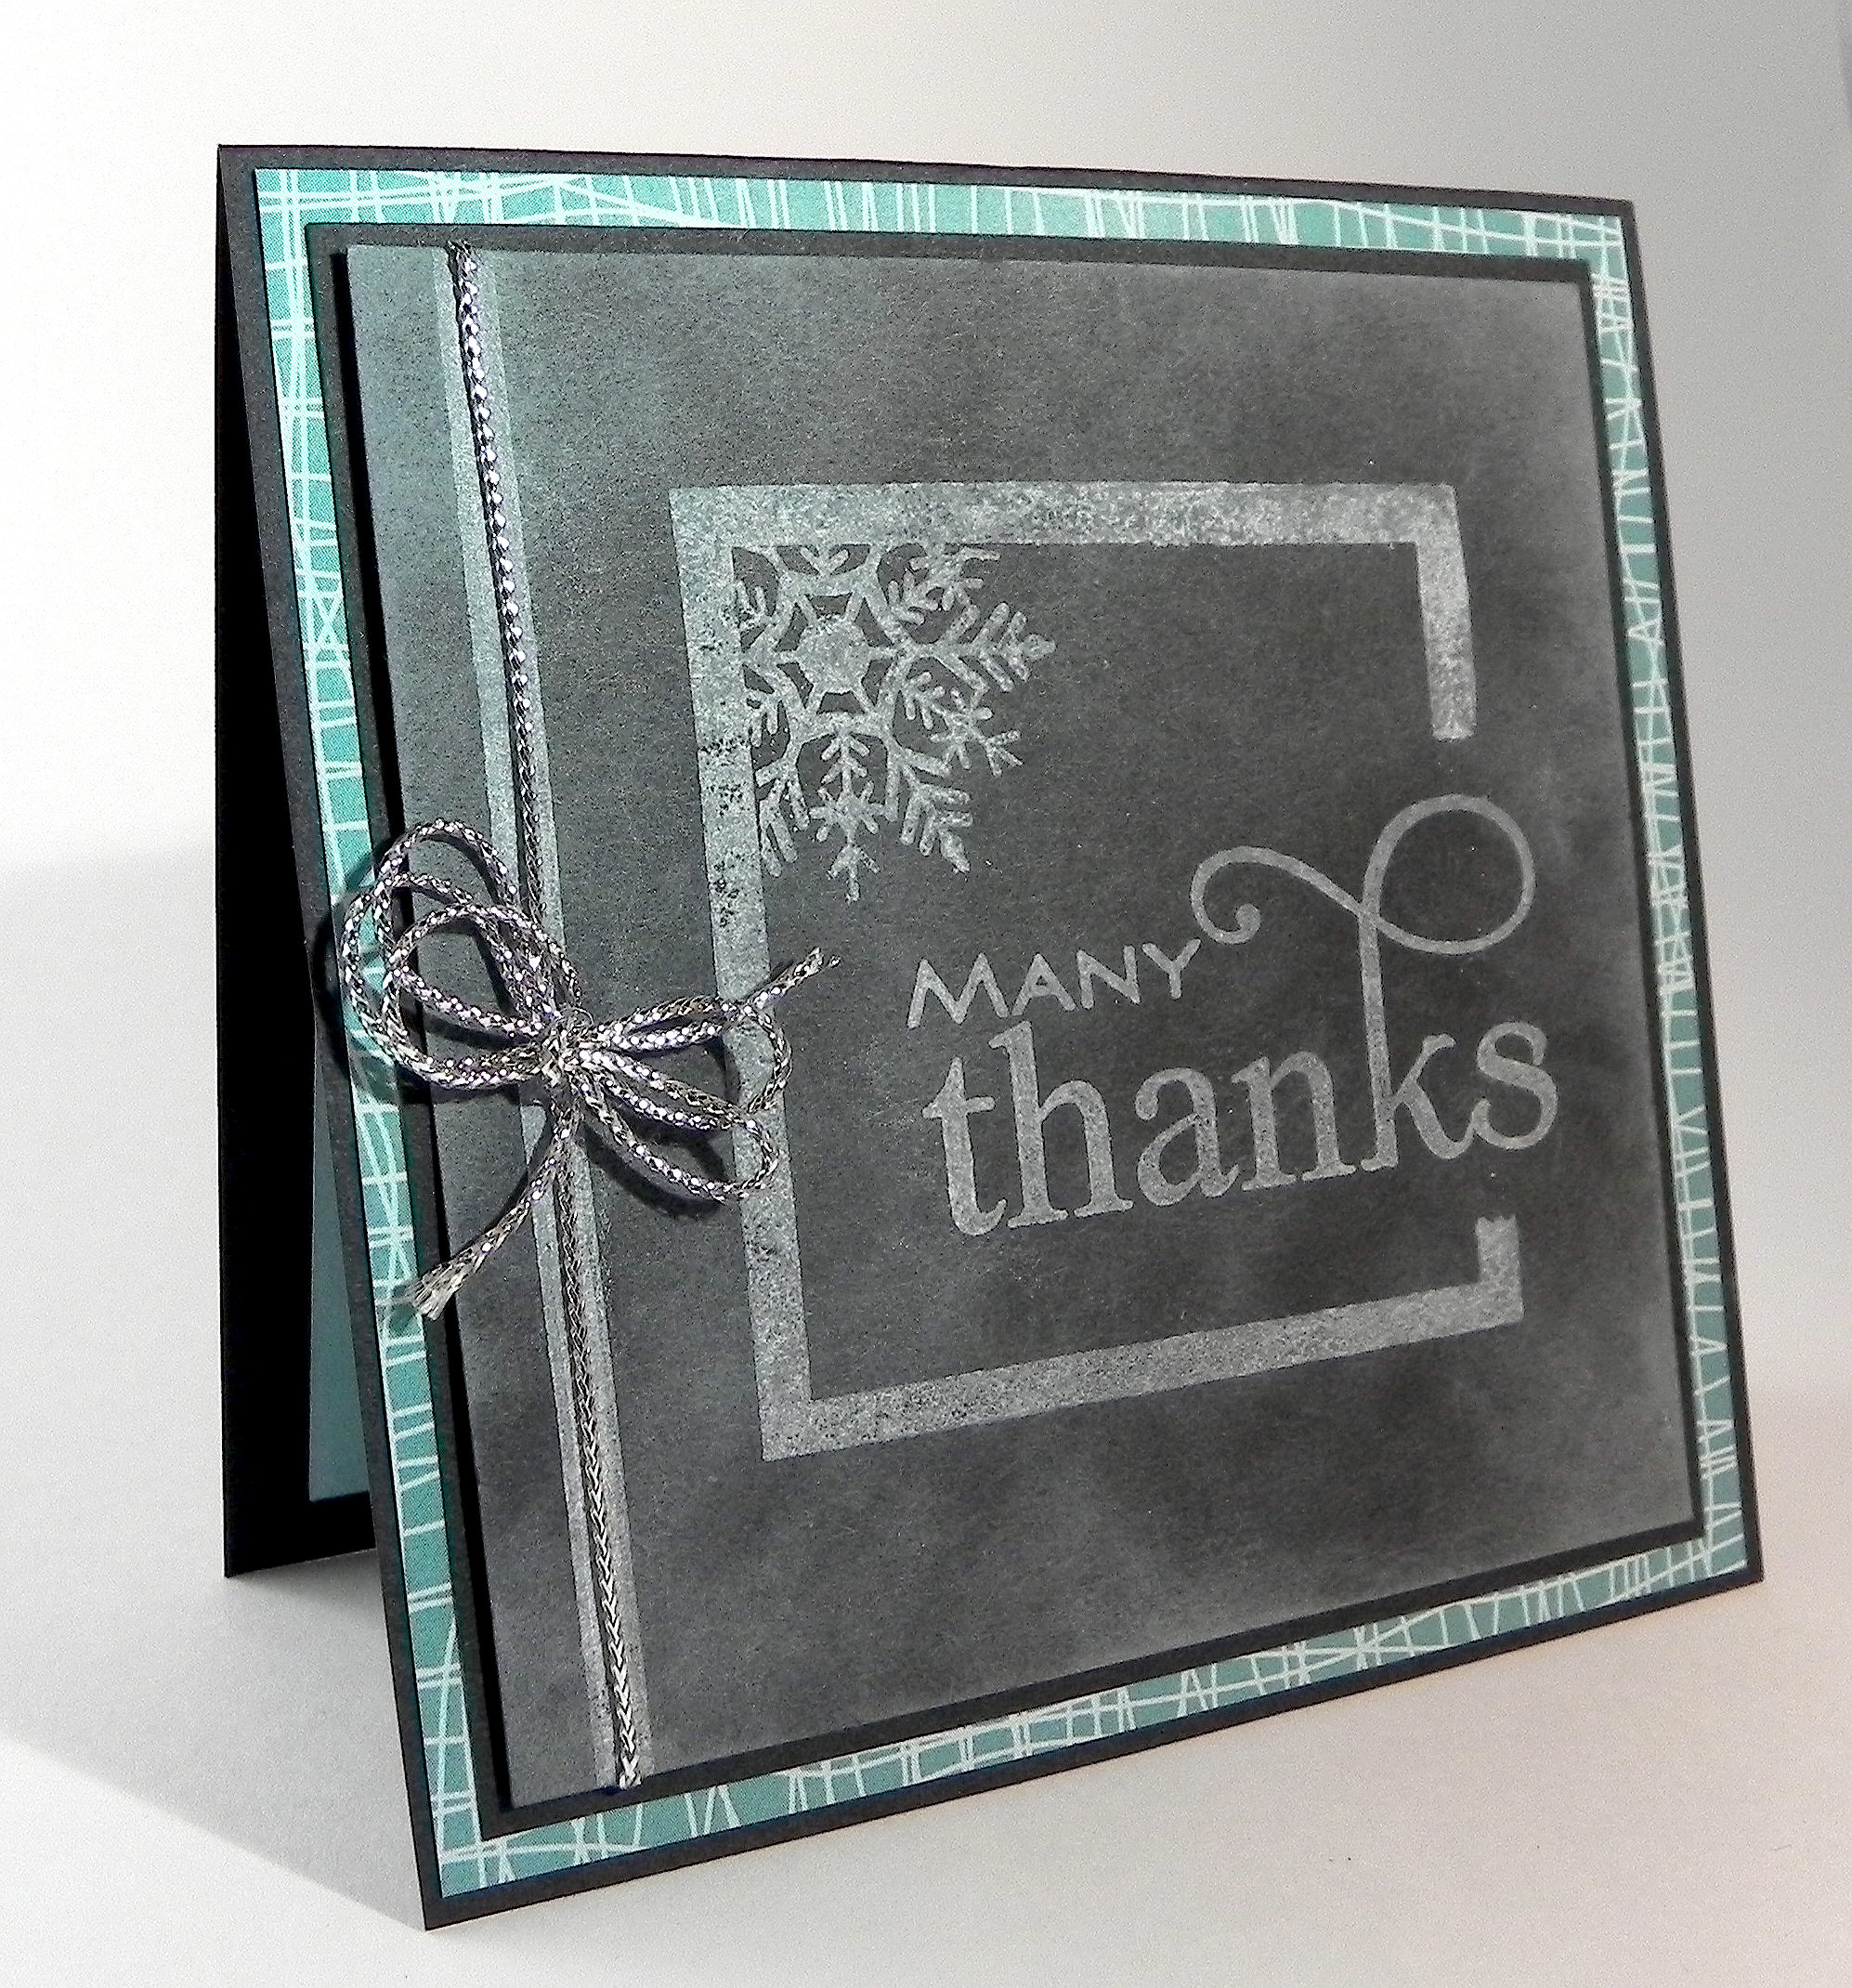
Chalkboard Thank You Card ccDSCN7025

Melanie Muenchinger recently posted a tutorial on the Chalkboard Technique on stamptv, and I thought I’d give it a try.

This card is being entered in the StampTV MIUM Challenge – Thank You, where the challenge is to make a 4″ x 4″ Thank You Card.   (Sadly, this site is no longer active.)

It is also being entered in the Mod Squad Challenge – Thank You.  For this challenge, the thank you card could be any size.   (Sadly, this site is no longer active.)

This card was made using all products by Gina K Designs.  I created the chalkboard look with black card stock and white pigment ink.  The mini snowflake frame is from the “Winter Blocks” set (retired?).  I masked a portion of the frame to stamp the greeting from the “Lots of Lines” set.  The long, straight line under the cord is from the “Perfect Plaids” set (retired?).  The printed paper is from Winter Cheer 6″ x 6″ Paper Pack.  I finished it off with silver cording.

Since I’ve never used stamps from the Winter Blocks set, I am also entering this card in the NBUS (never-before-used-schtuff) Challenge at djkardkreations.com. http://www.djkardkreations.com/2015/01/happy-new-year-2015-nbus-challenge-3.html

NBUS button

Thanks for checking out my card project!

This content uses referral links as described in the disclosure policy on my sidebar.

Penguin Thank You Card

Penguin Thank You Card

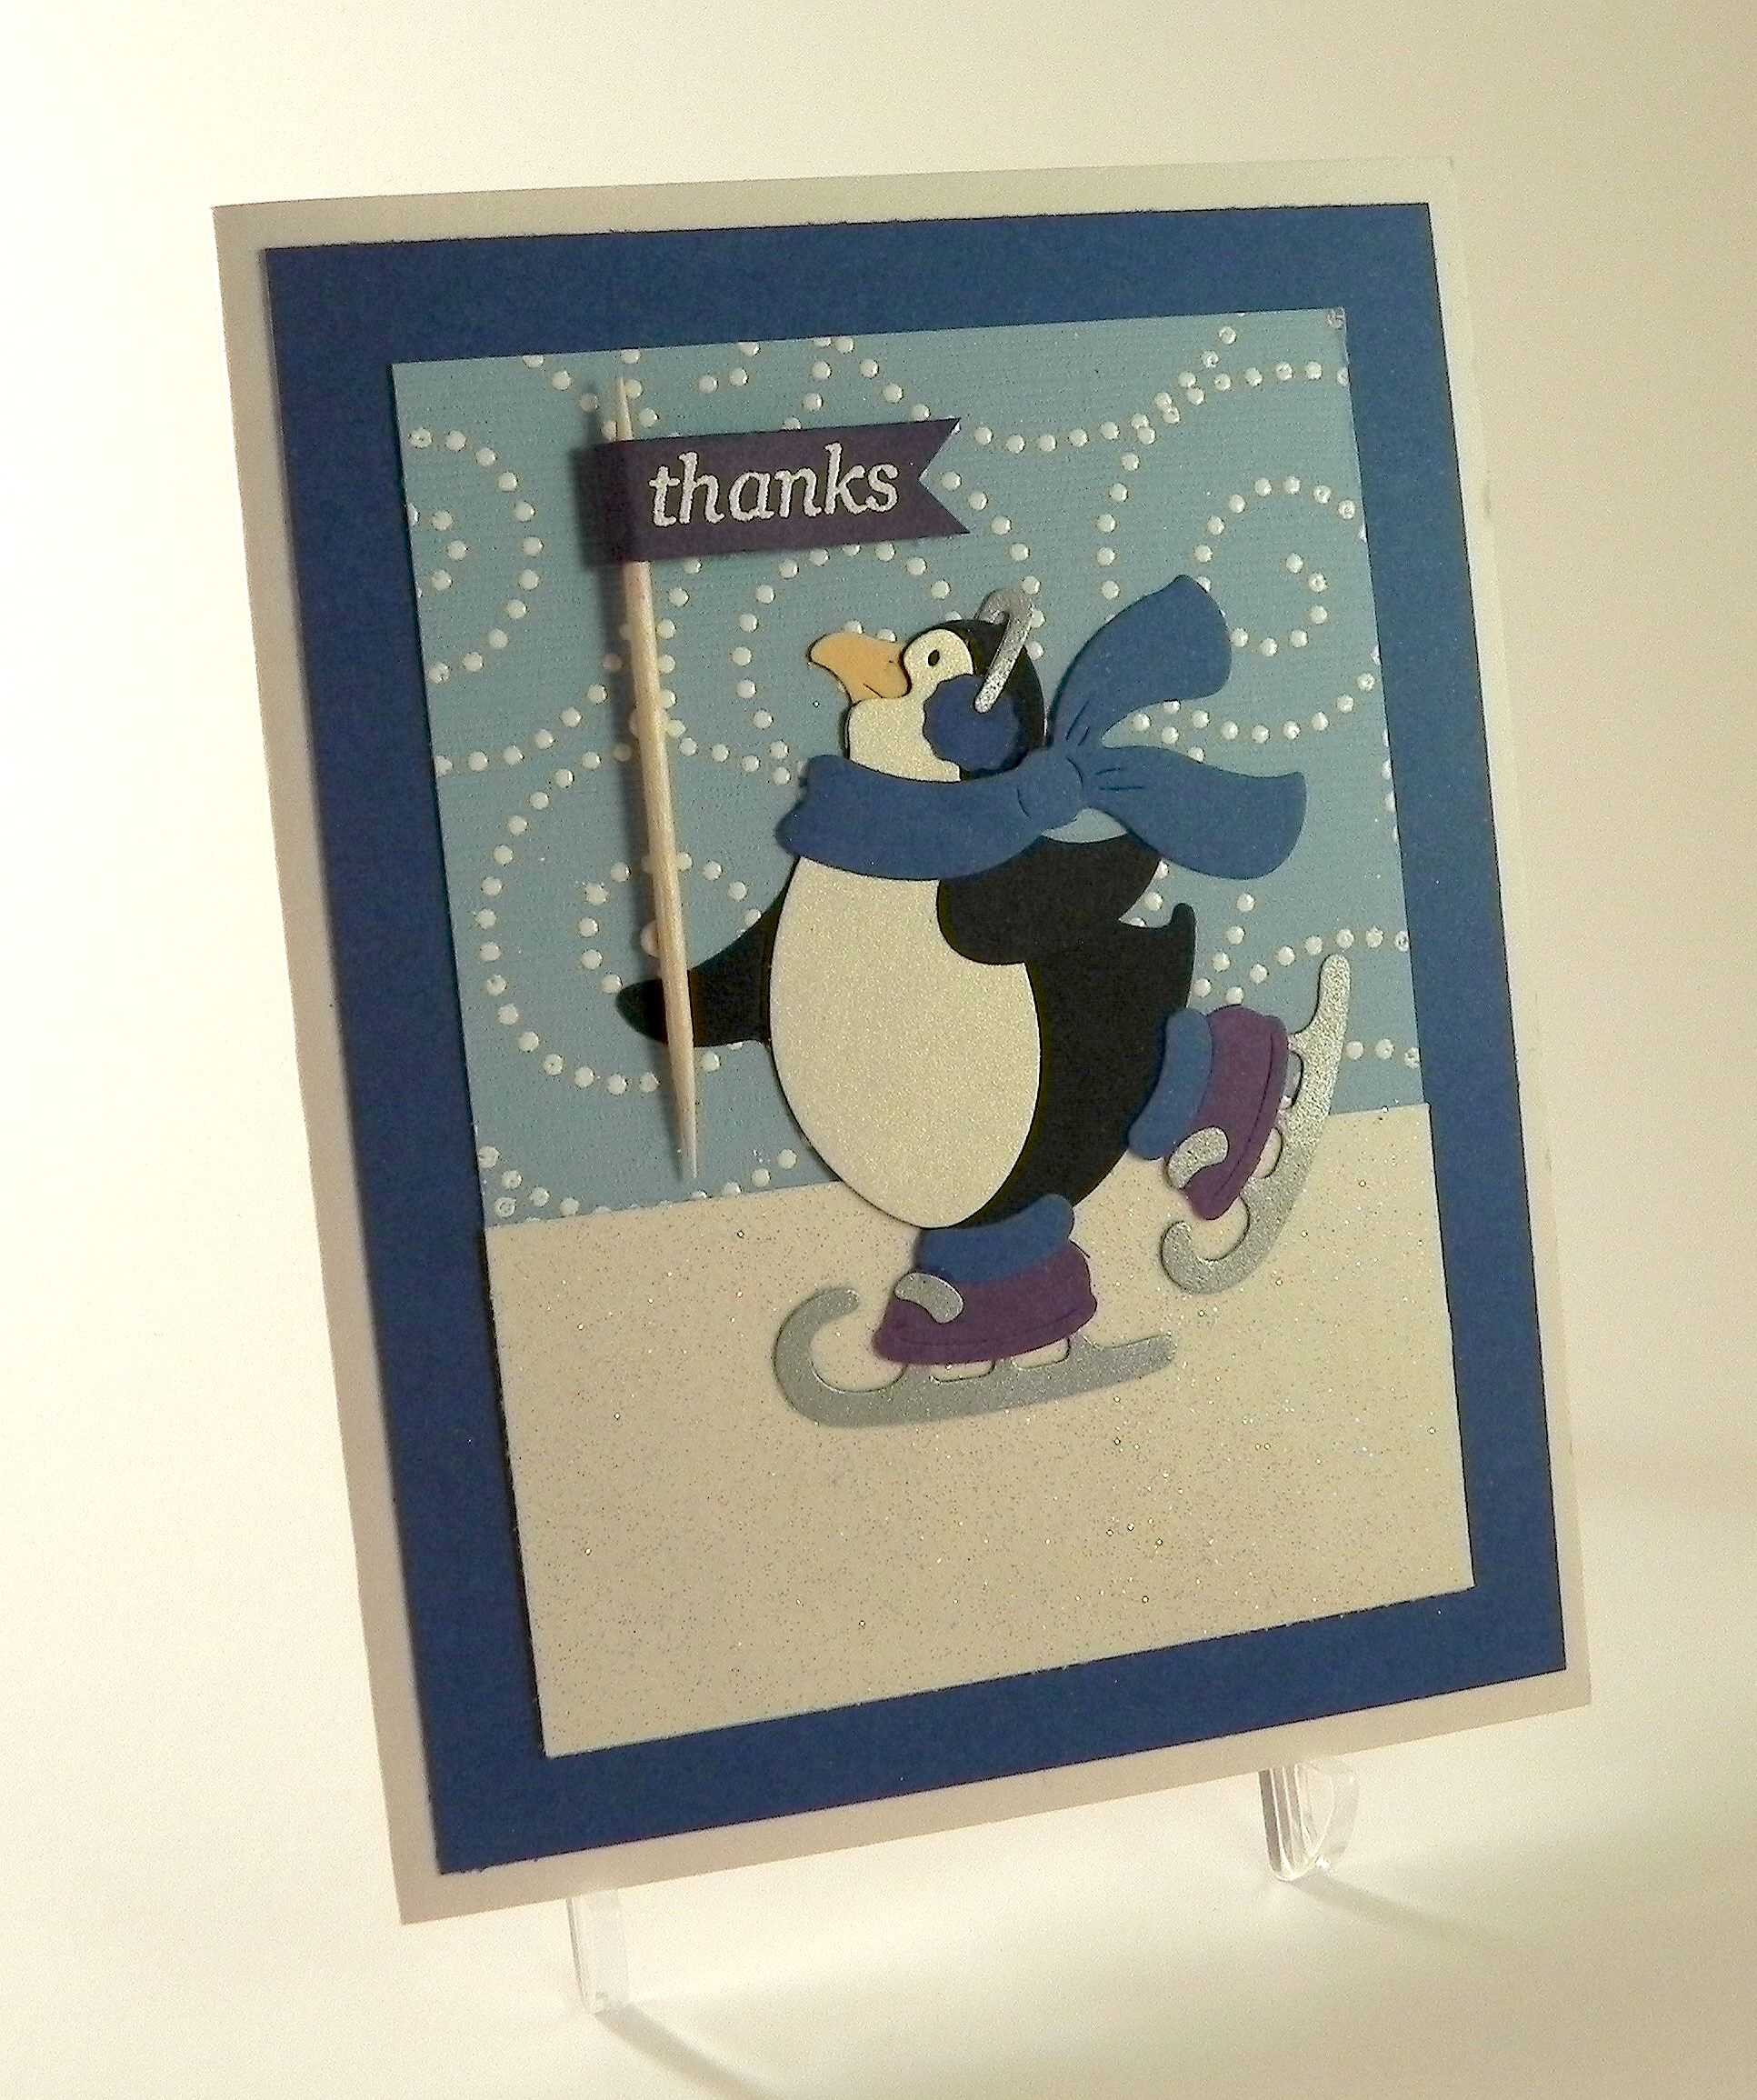
Penguin Thank You Card bbDSCN6772.jpg

This winter thank you card was made with the Cottage Cutz Skating Penguin die.  The background was stamped with versamark and heat embossed with white embossing powder using the Hampton Arts Double Vision Ditto stamp (retired?).  The flag was also heat embossed in white using a stamp from the “Fabulous Frame Filler” stamp set by Gina K Designs.  Stampin’ Up dazzling diamonds glitter was used to add sparkle to the ice (which is hard to see in the photo).

Thanks for checking out my card project!

This content uses referral links as described in the disclosure policy on my sidebar.
Perfectly Rustics Sentiment Challenge (Runner Up)

Perfectly Rustics Design Challenge No. 37 – Sentiment (Not Birthday)

Perfectly Rustics Design Challenge No.33 – Colour Combo

Perfectly Rustics Design Challenge No.37 – Sentiment (Not Birthday)

(December 15, 2014)

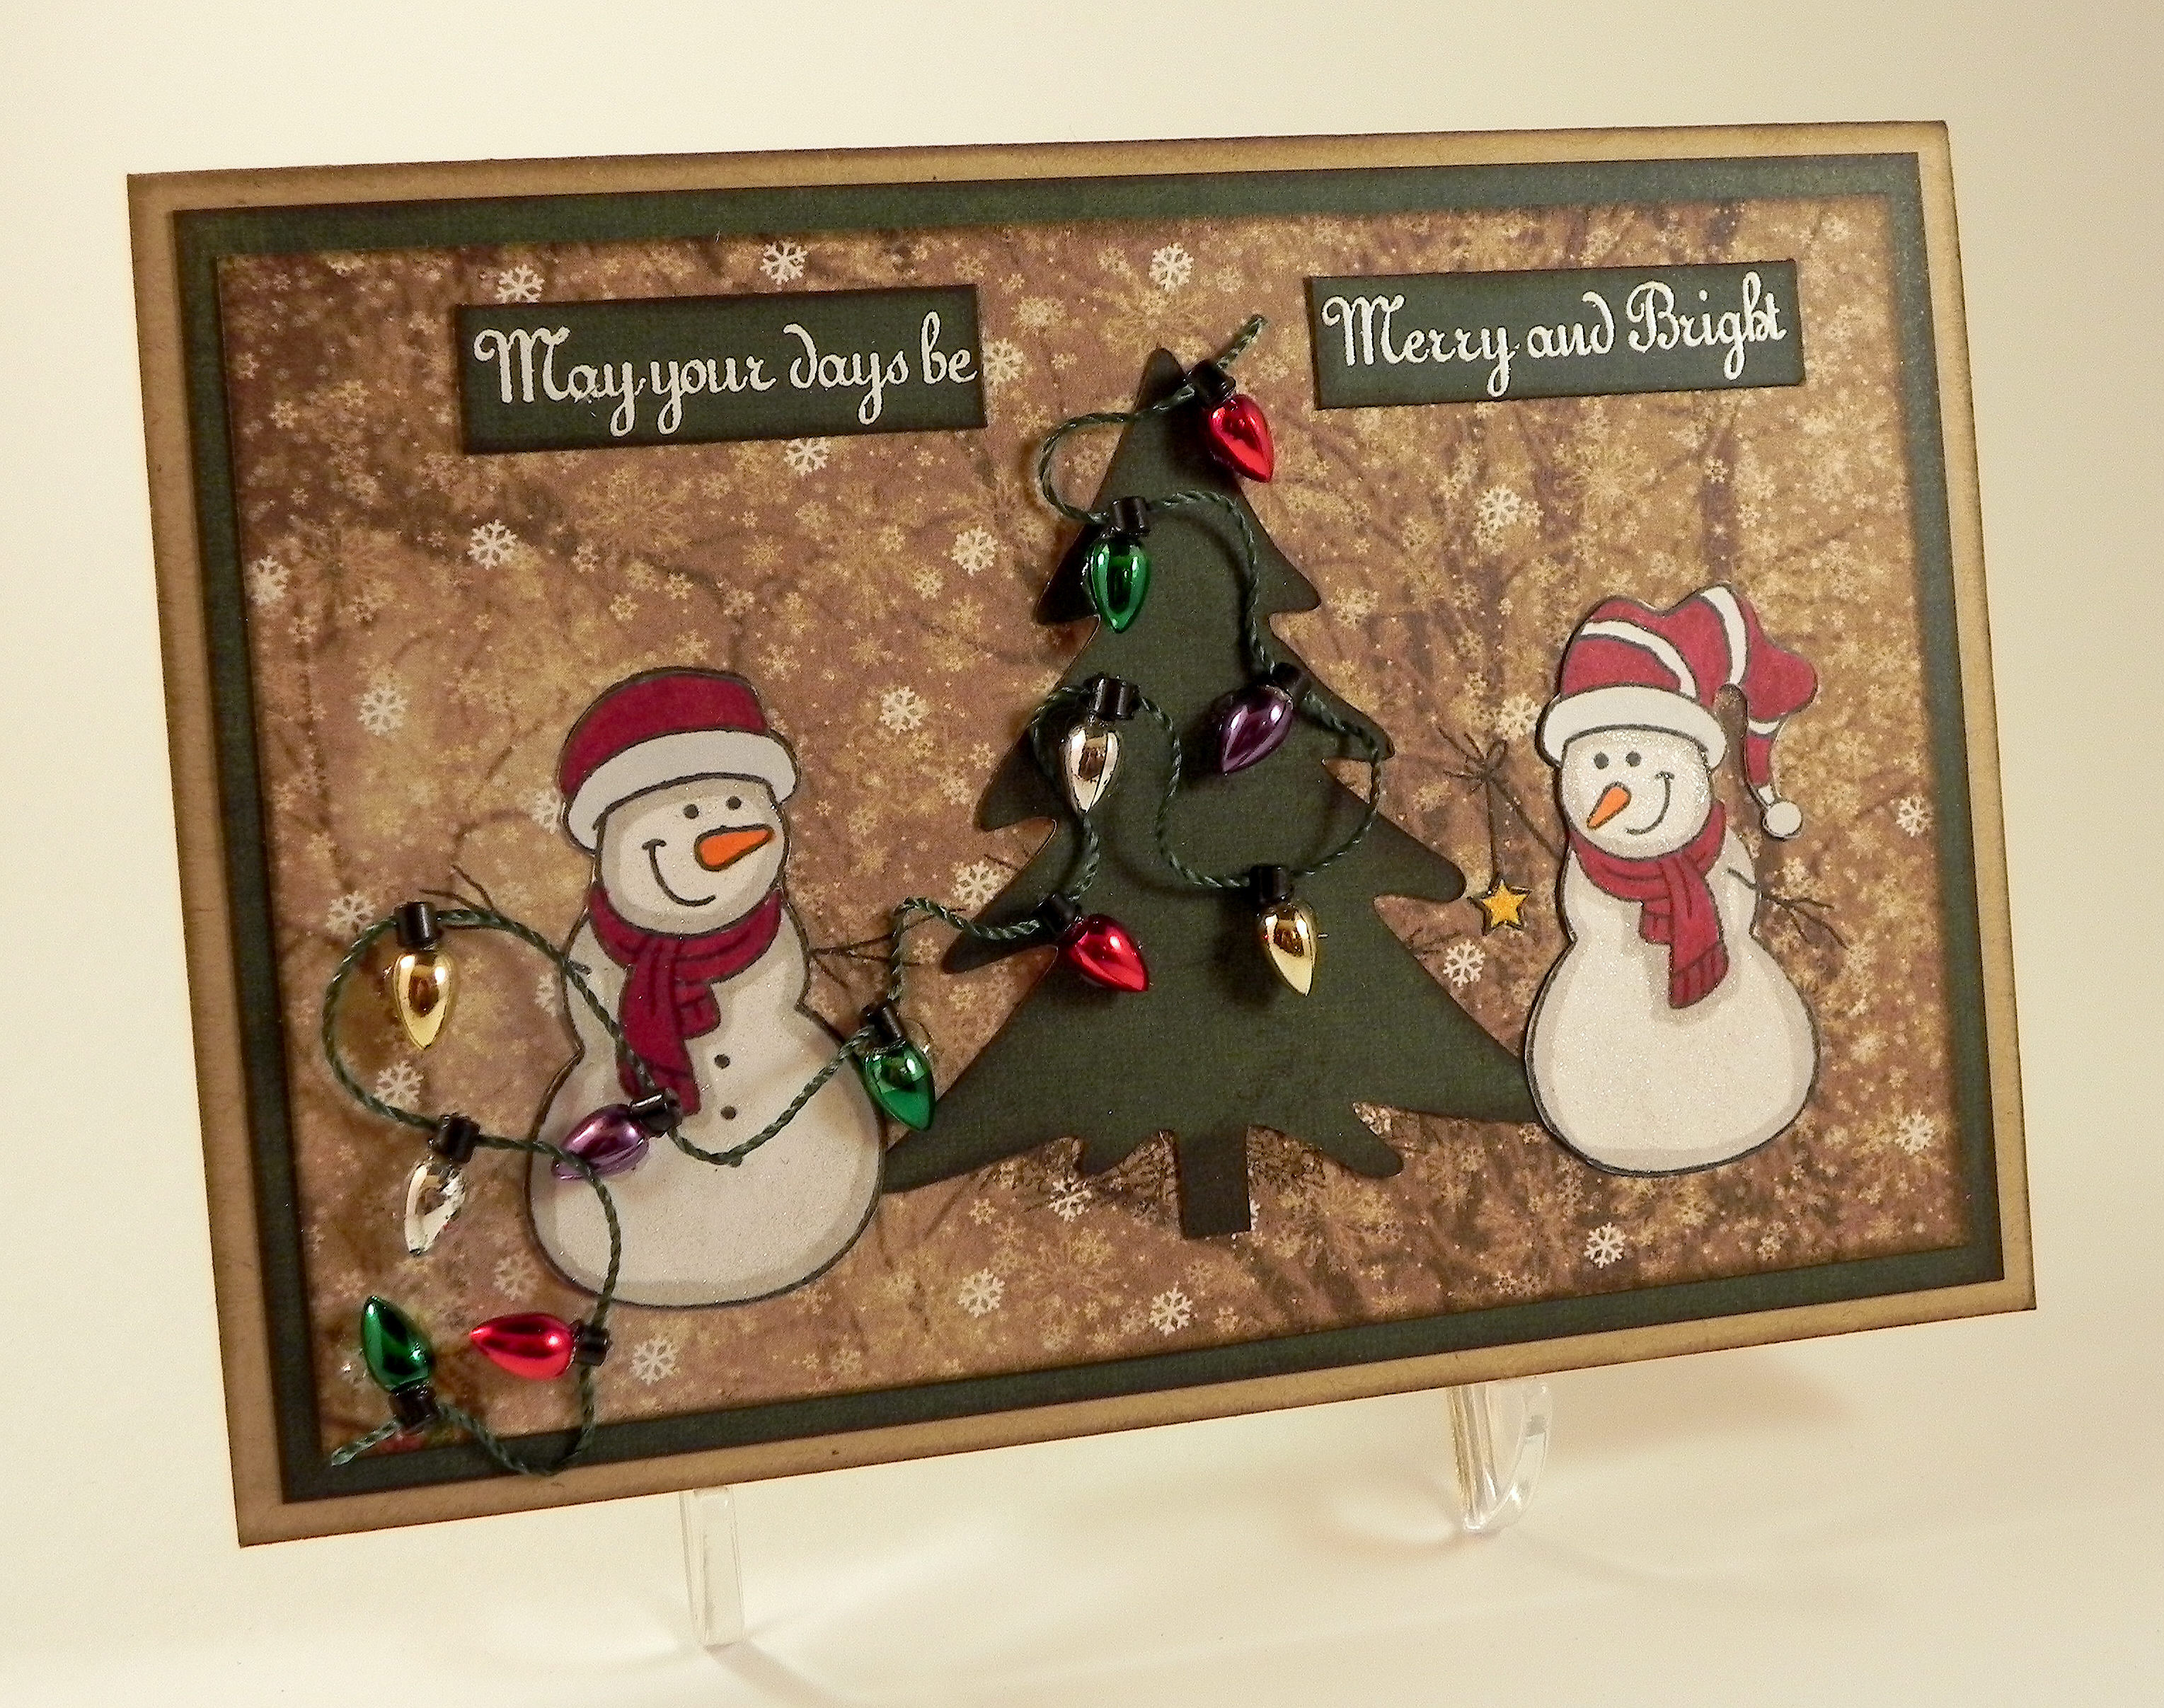
Decorating the Tree DSCN6521

 Click  for HERE the Perfectly Rustics winning announcement.  (Sadly, this site is no longer active.)

Click HERE for the Perfectly Rustics original challenge post.  (Sadly, this site is no longer active.)

Click HERE for the original card post.

Thanks for checking out my post!

Mod Squad Challenge – “Frosty the Snowman” – Winner!

Mod Squad Challenge – “Frosty the Snowman” – Winner!

Mod Squad Challenge Winner (Honorable Mention)

Mod Squad Challenge – Winner!

 (December 10, 2014)

Cloth Tree DSCN6572

(The host/hostess picked the “Top 3” which will be featured on PINTEREST.)

Click HERE to see the winning announcement.  (Sadly, this site is no longer active.)

Click HERE to see the original challenge post.  (Sadly, this site is no longer active.)

Click HERE to see original blog post.