Thinking of You with Antique Leaf Label
(inside: praying for you)
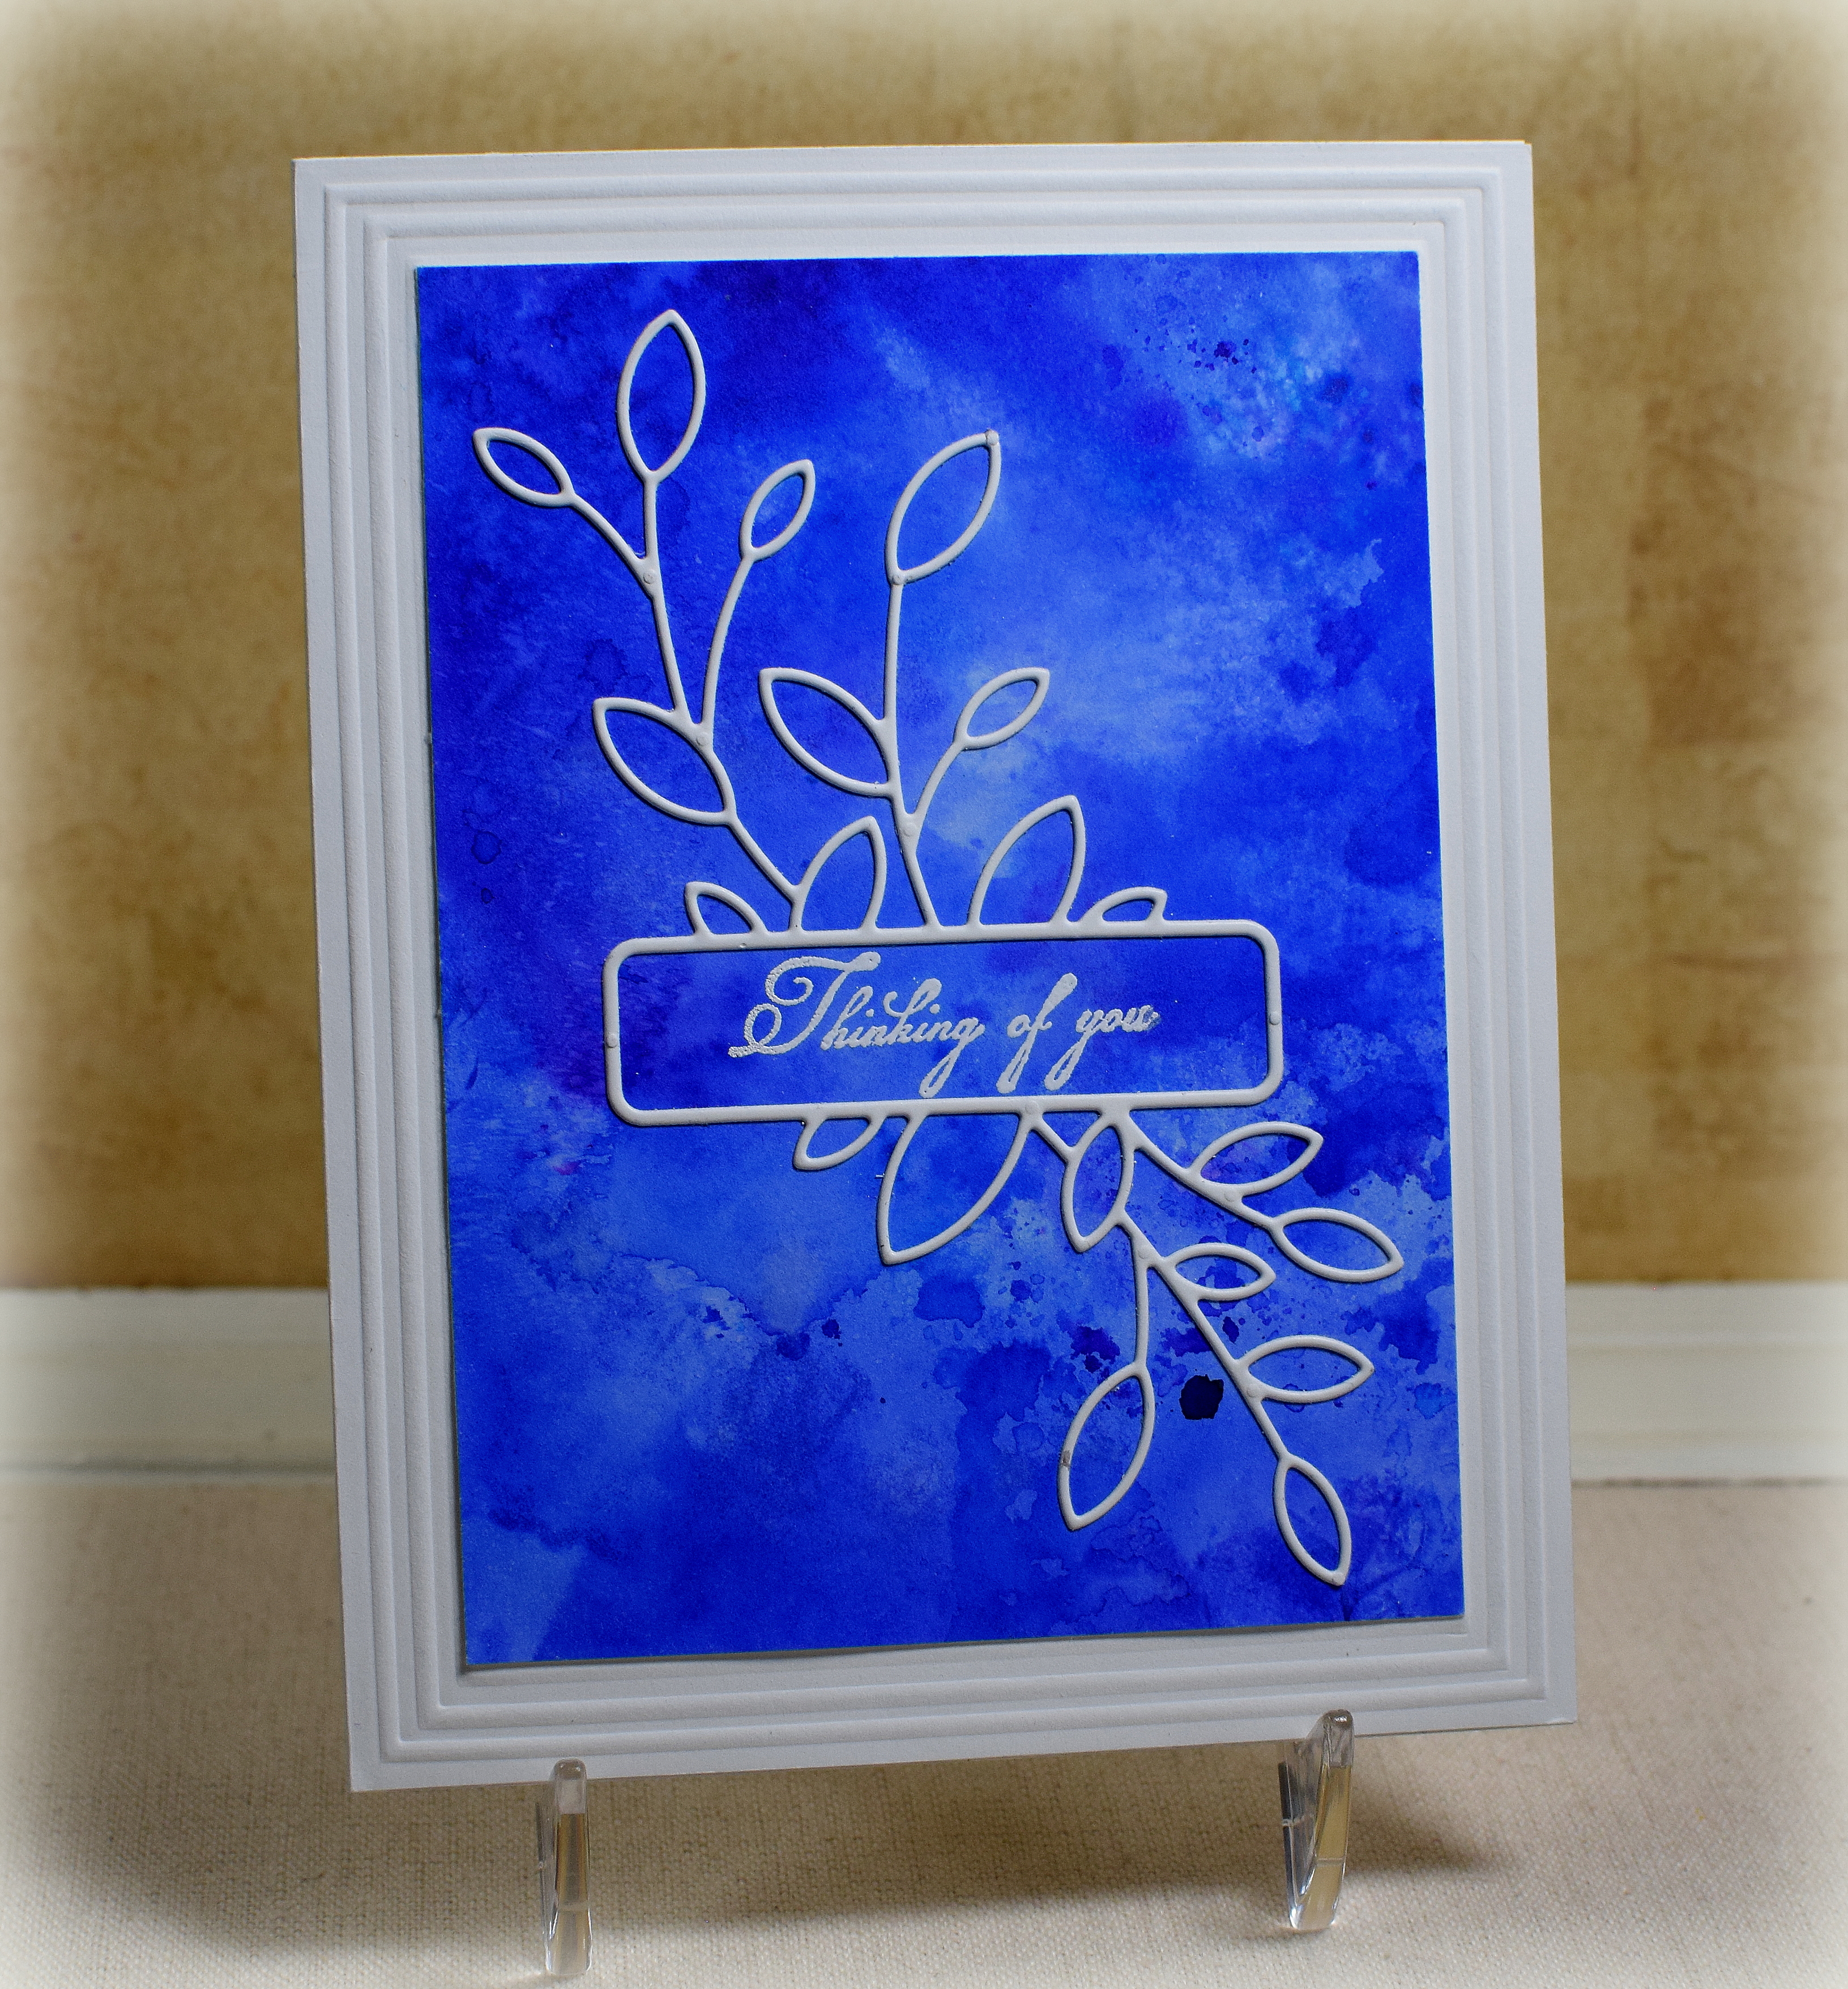
Unfortunately, I needed several cards to send to people dealing with serious illness or loss. The “Antique Leaf Label” die from Memory Box creates a delicate leafy die cut with a small window/opening in which to stamp a greeting. I used this as the focal element for my cards.
I made the die cut into a sticker by adding Super Tacky Tape by Creek Bank Creations to the back of the white card stock before die cutting. This die cut is very thin and delicate and does not hold it’s shape well when trying to adhere it to the card so I created a template by positioning and cutting the image from a scrap of card stock that was the same size as my card front. I was able to place the template over the actual card panel and drop the die cut into the negative space on the template and shape it before sticking it down.
The greeting is from the “Little Branches” stamp set from Gina K Designs (retired?). I heat embossed it with white embossing powder. The sentiment on the inside is from the “Moments of Grace” set from Simon Says Stamp.
The blue panel was made by smooshing violet and ultramarine blue Color Burst and water onto heavy weight white card stock.
The frame was created with the “Stately” embossing folder from Craft Concepts (no longer available?).
I had originally tried splattering white paint onto a gray panel:
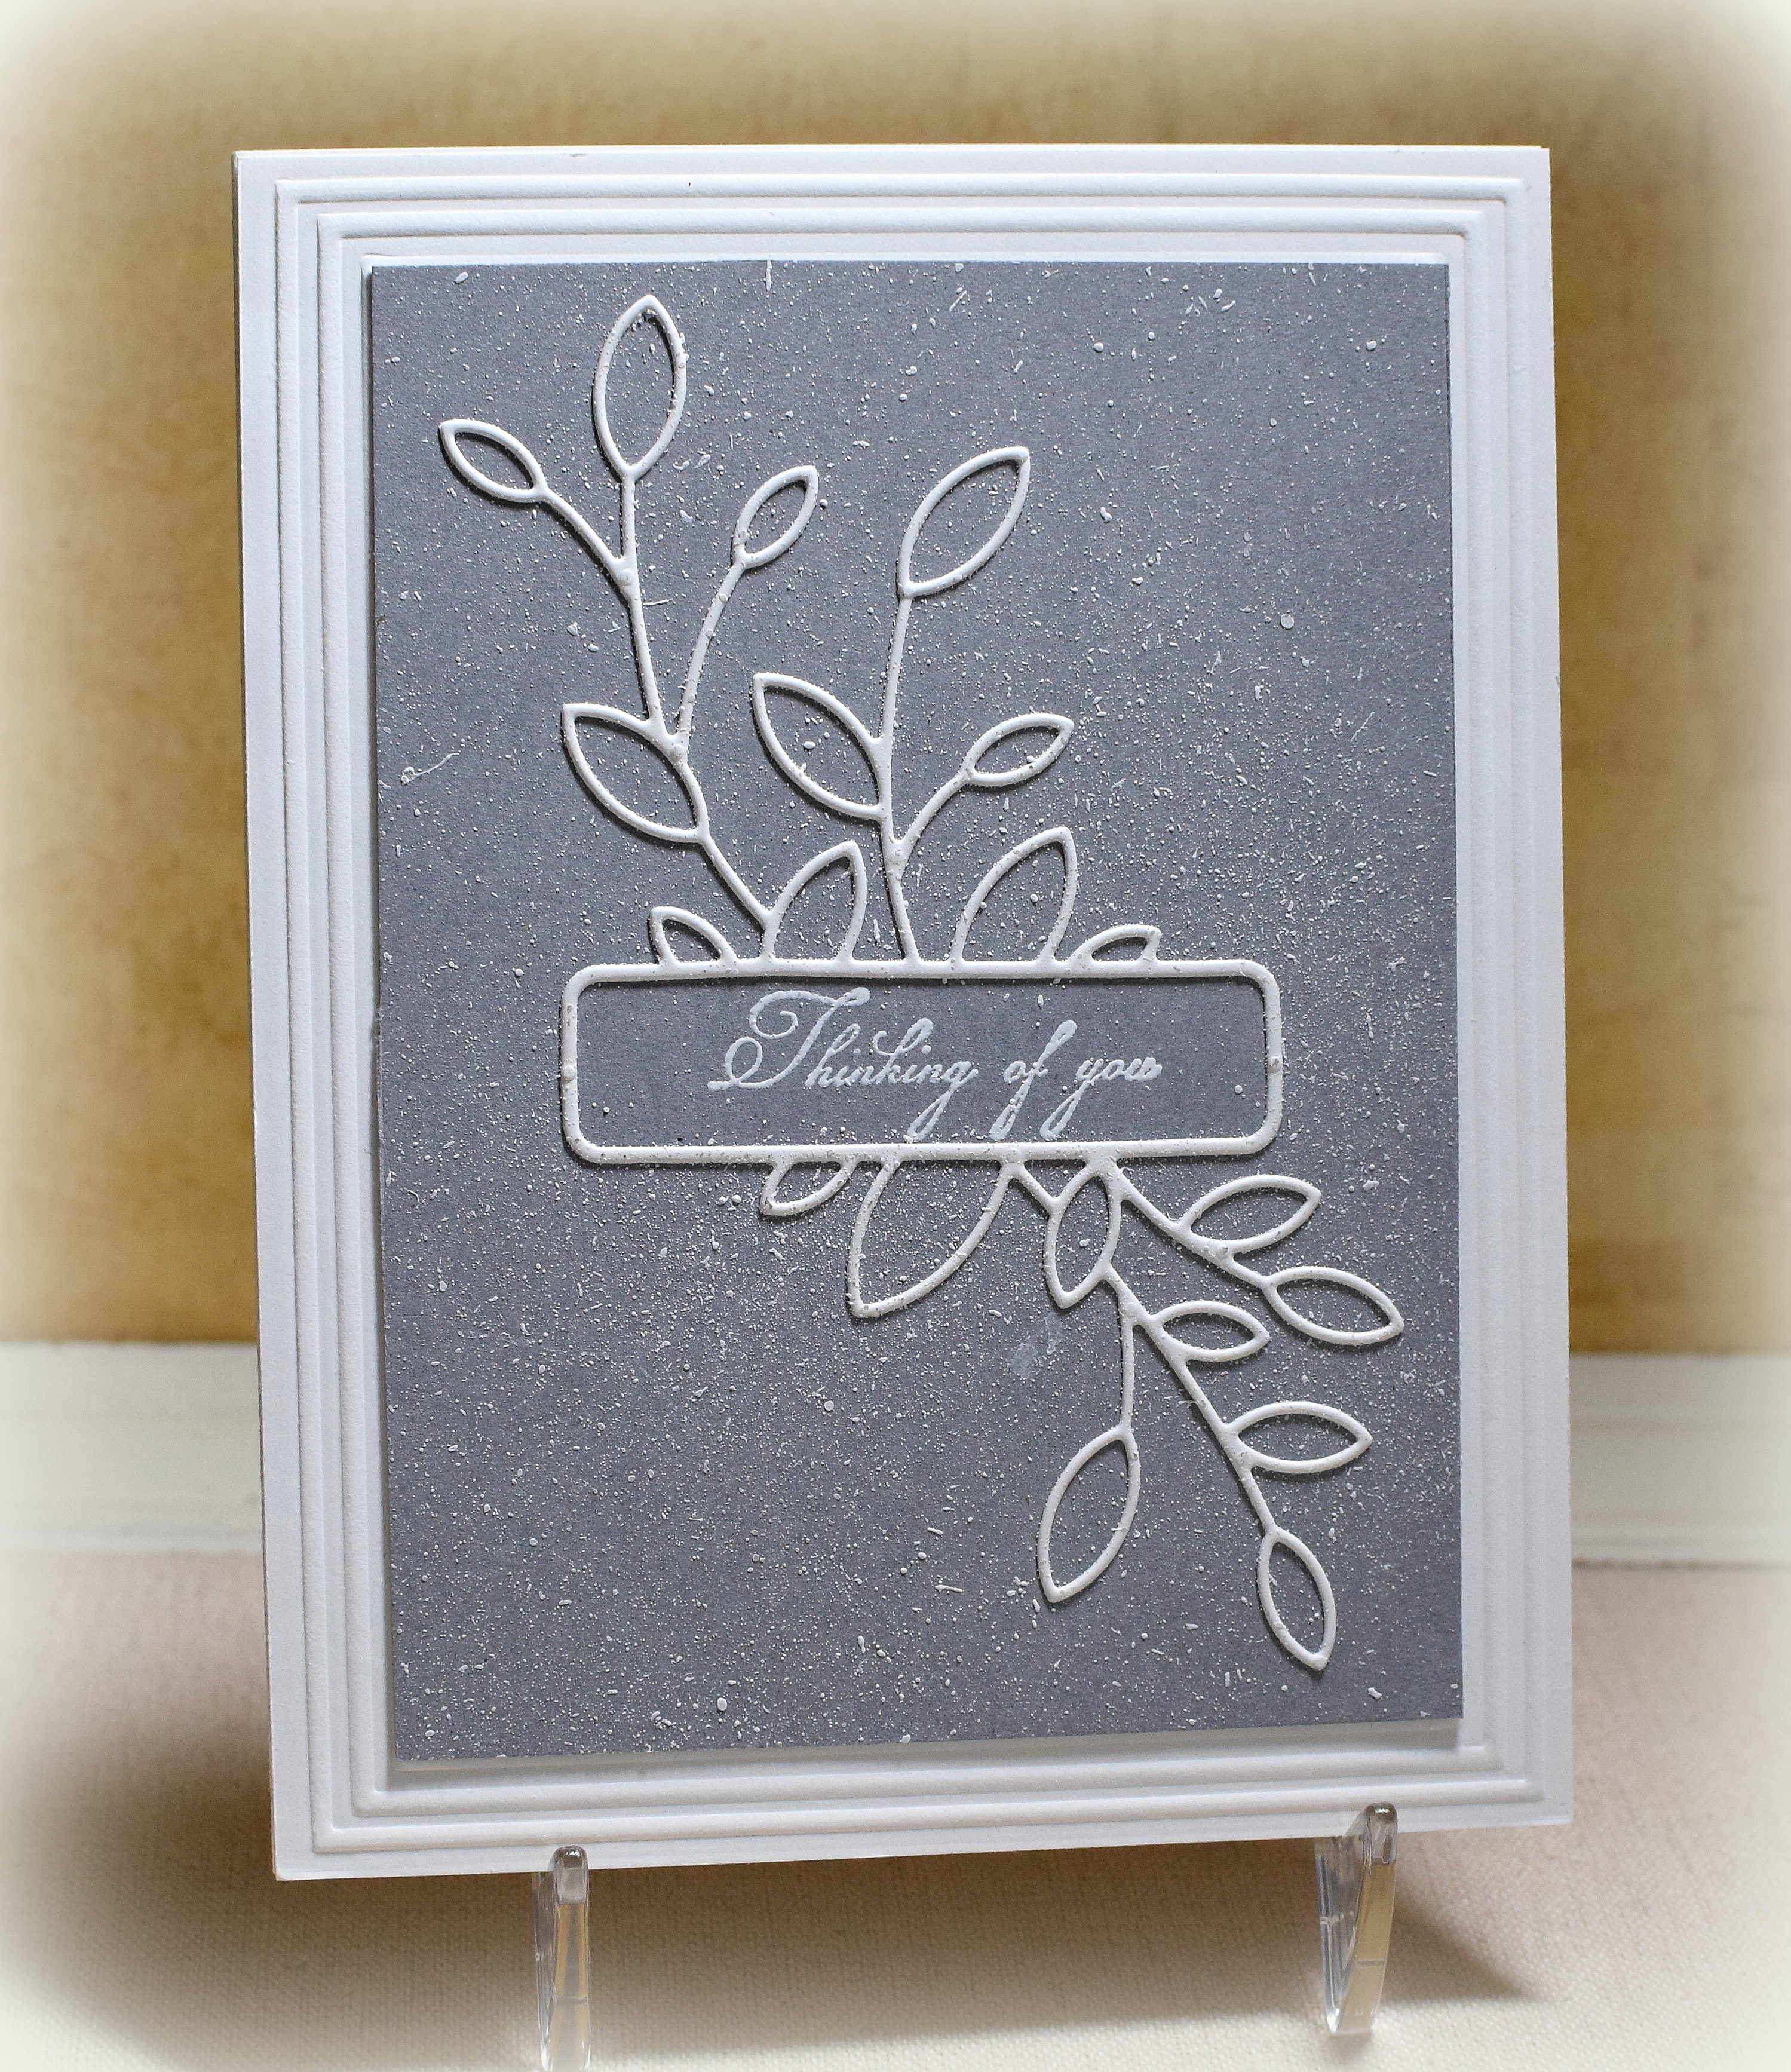
I liked the way this came out, but I had trouble controlling the paint and made an absolute mess. (I ended up with one usable panel.) Love the look but need more practice with the technique!
Thanks for checking out my card projects.
This content uses referral links as described in the disclosure policy on my sidebar.