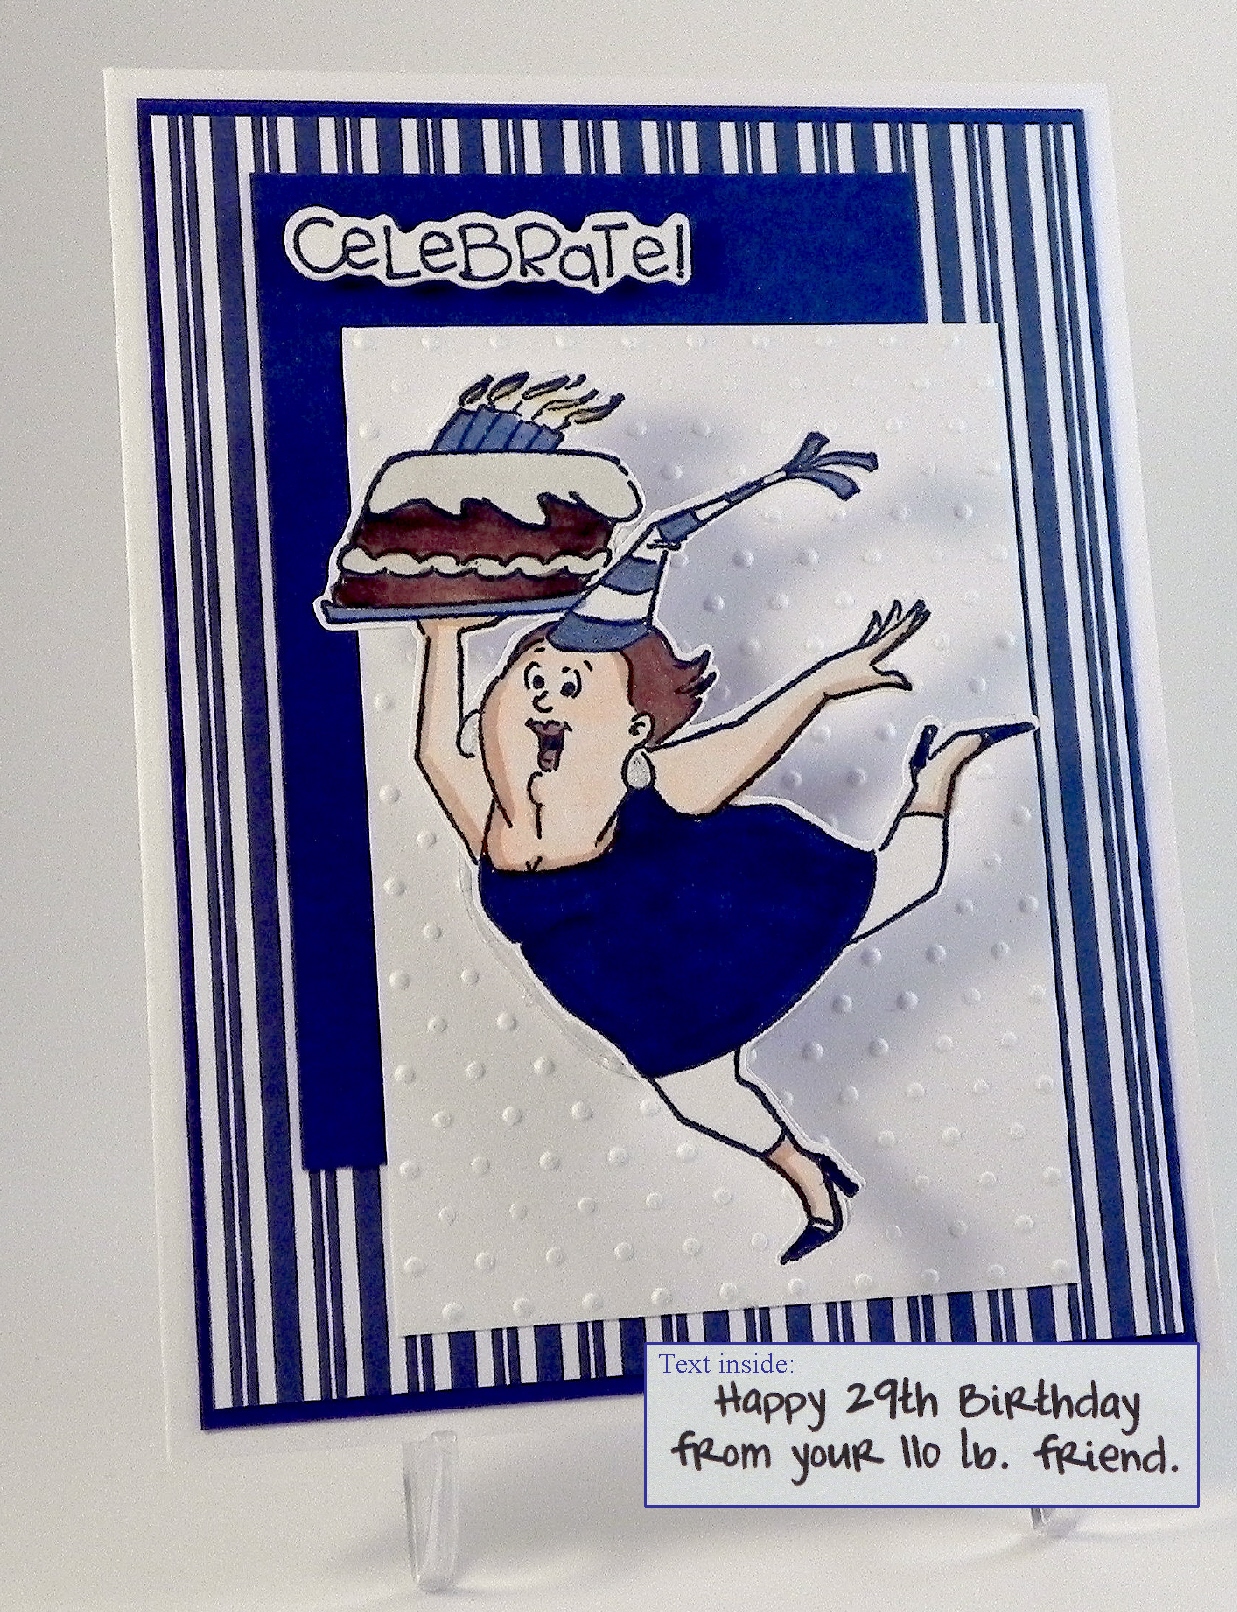
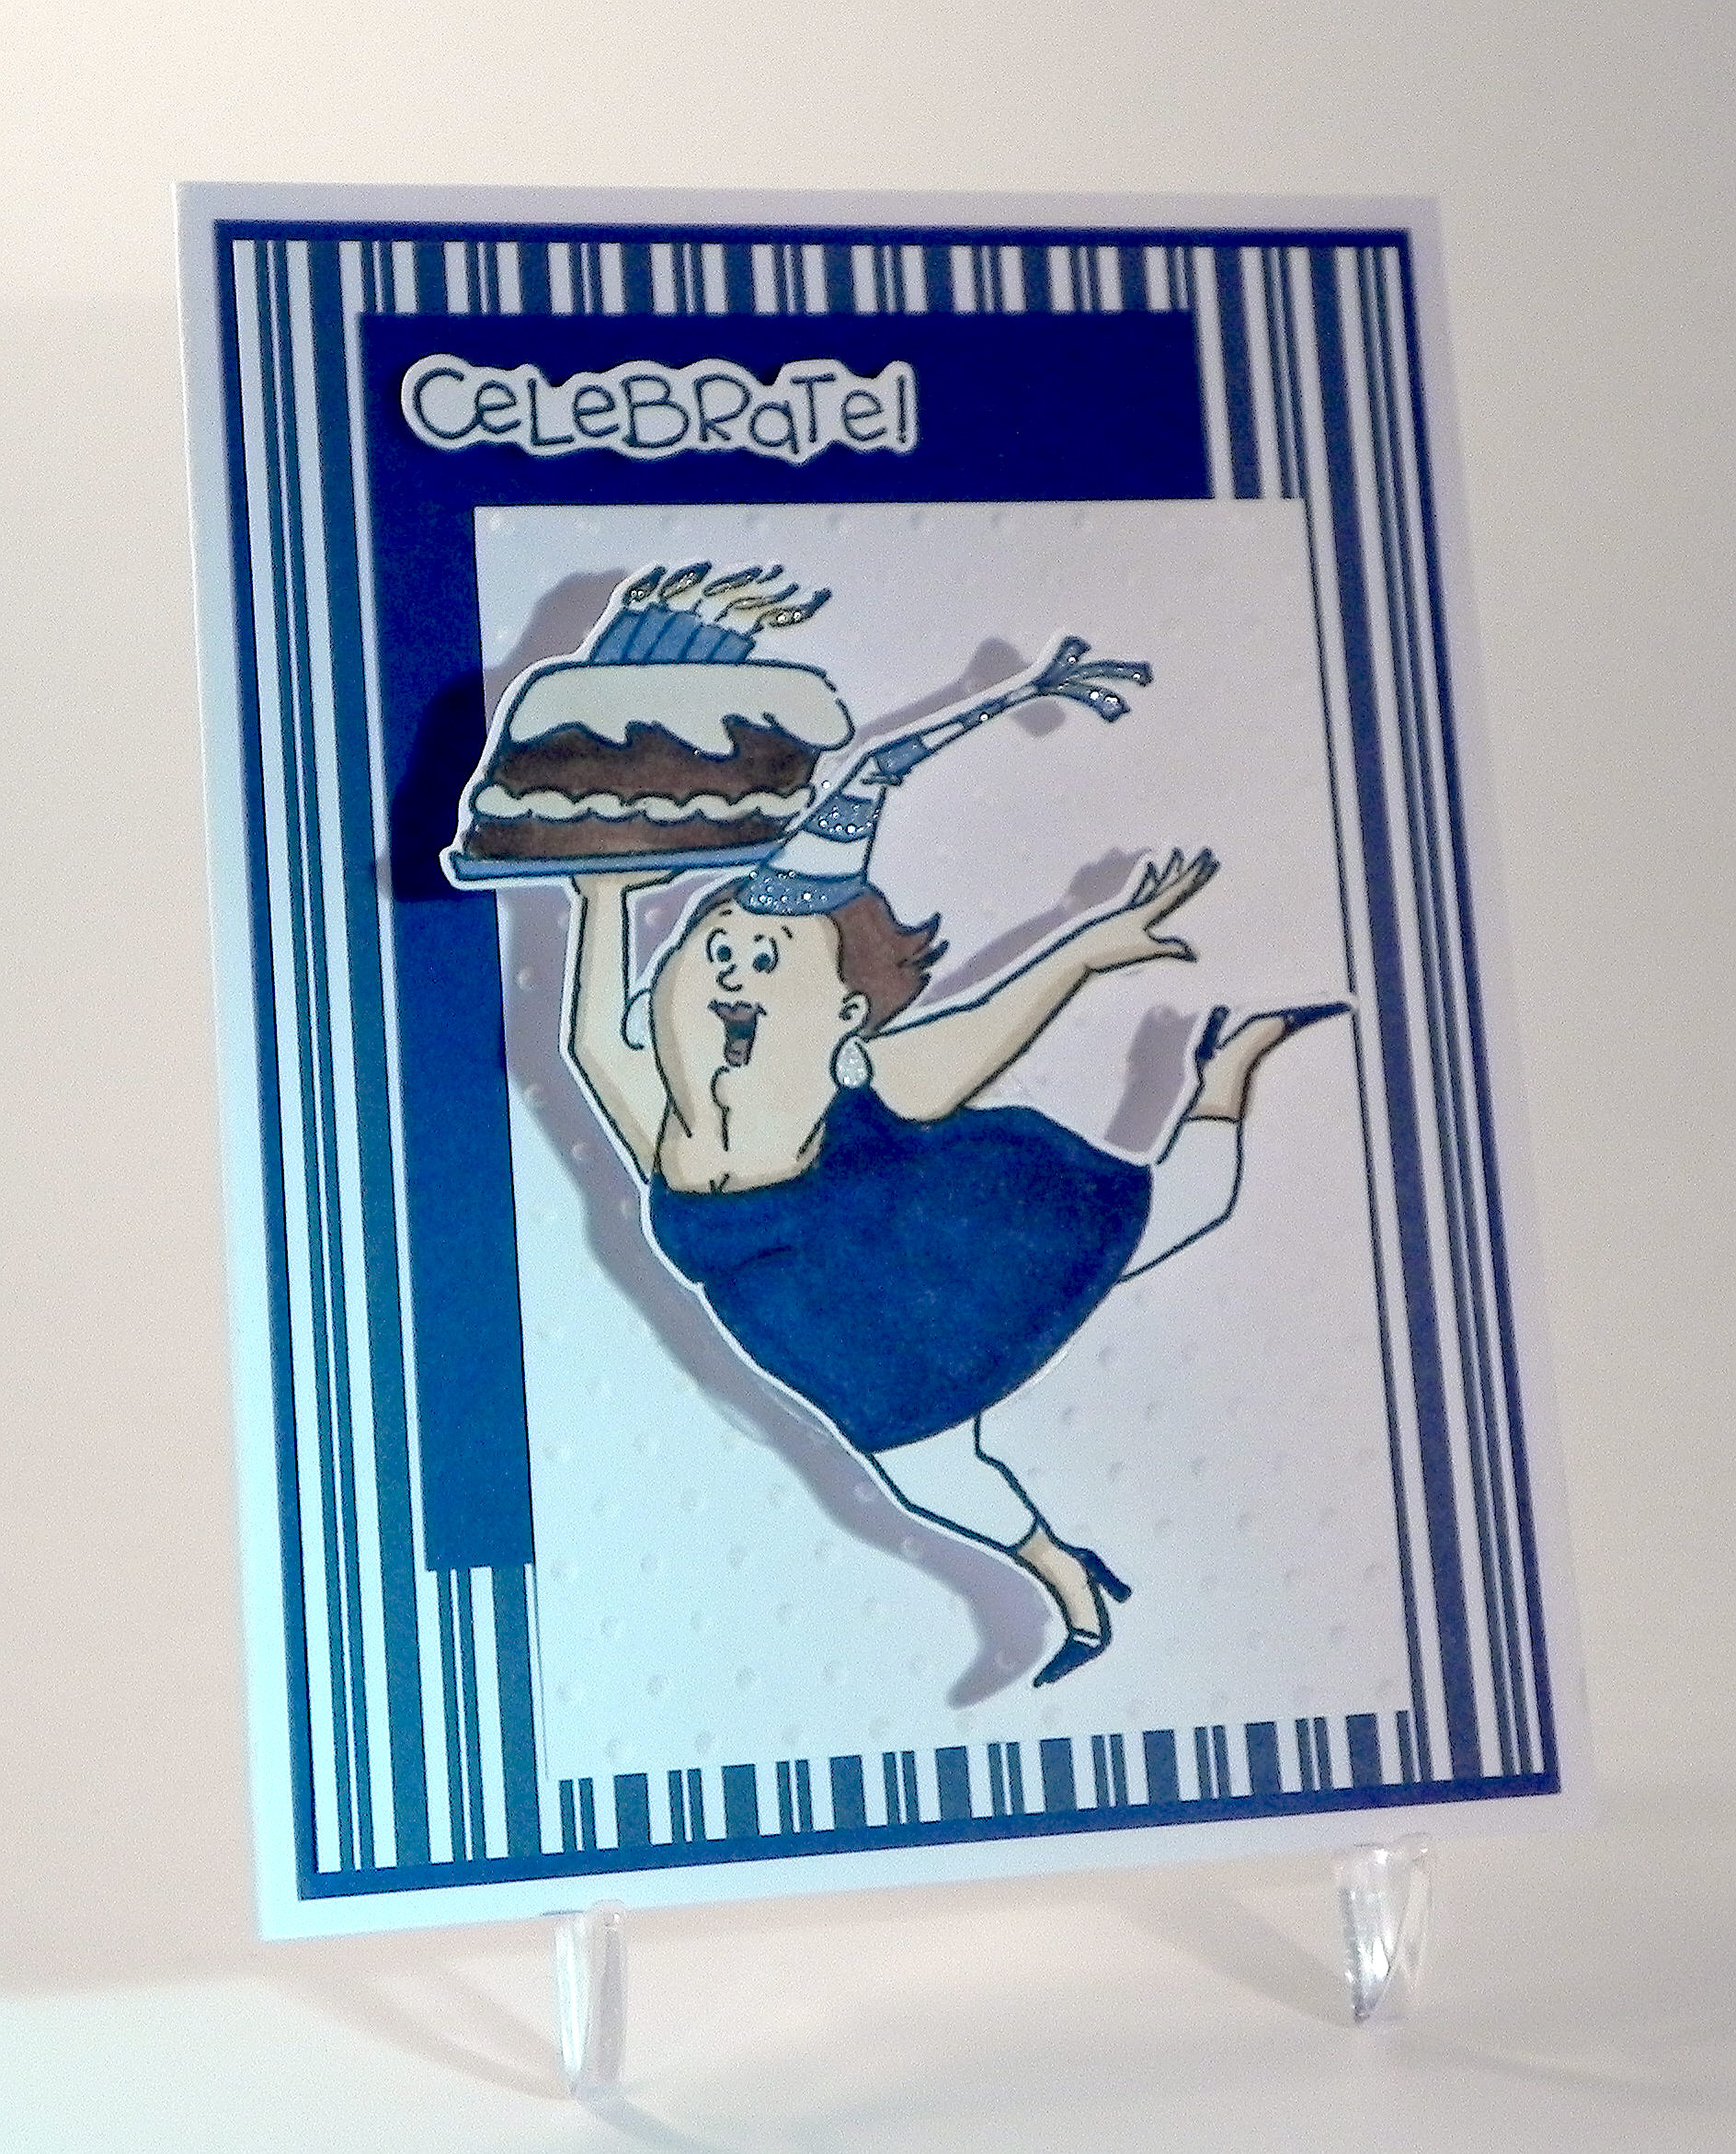
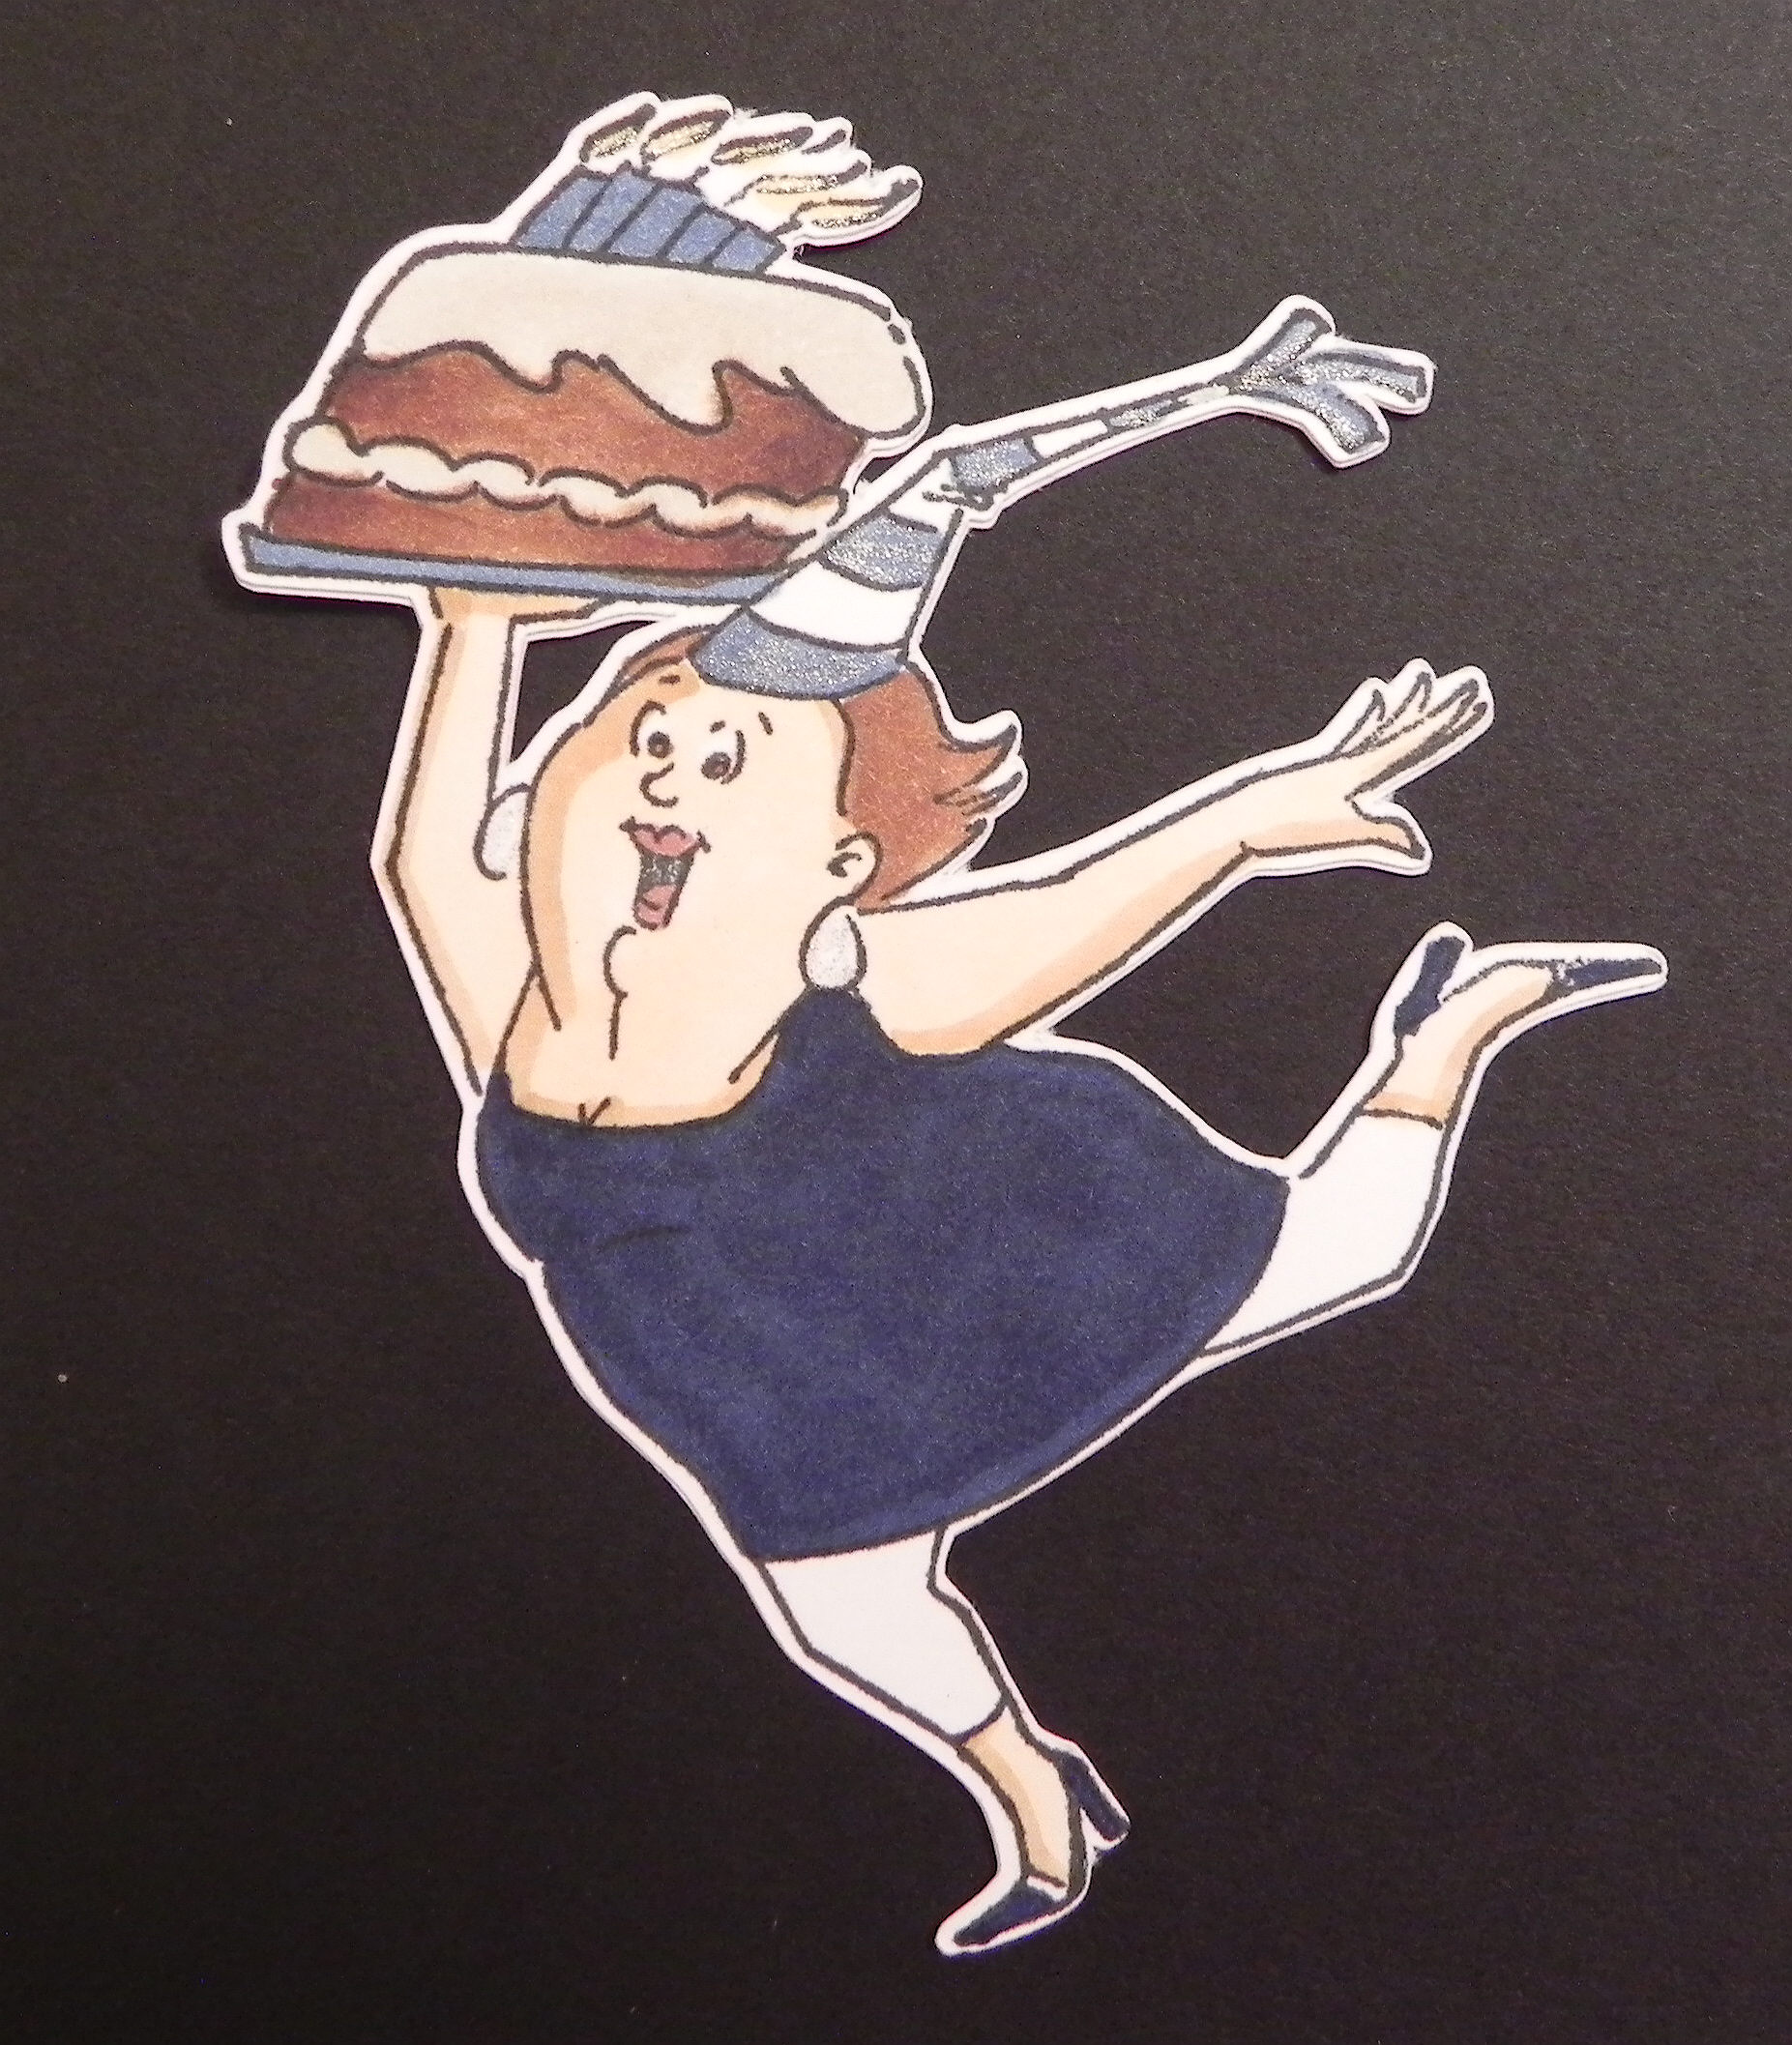
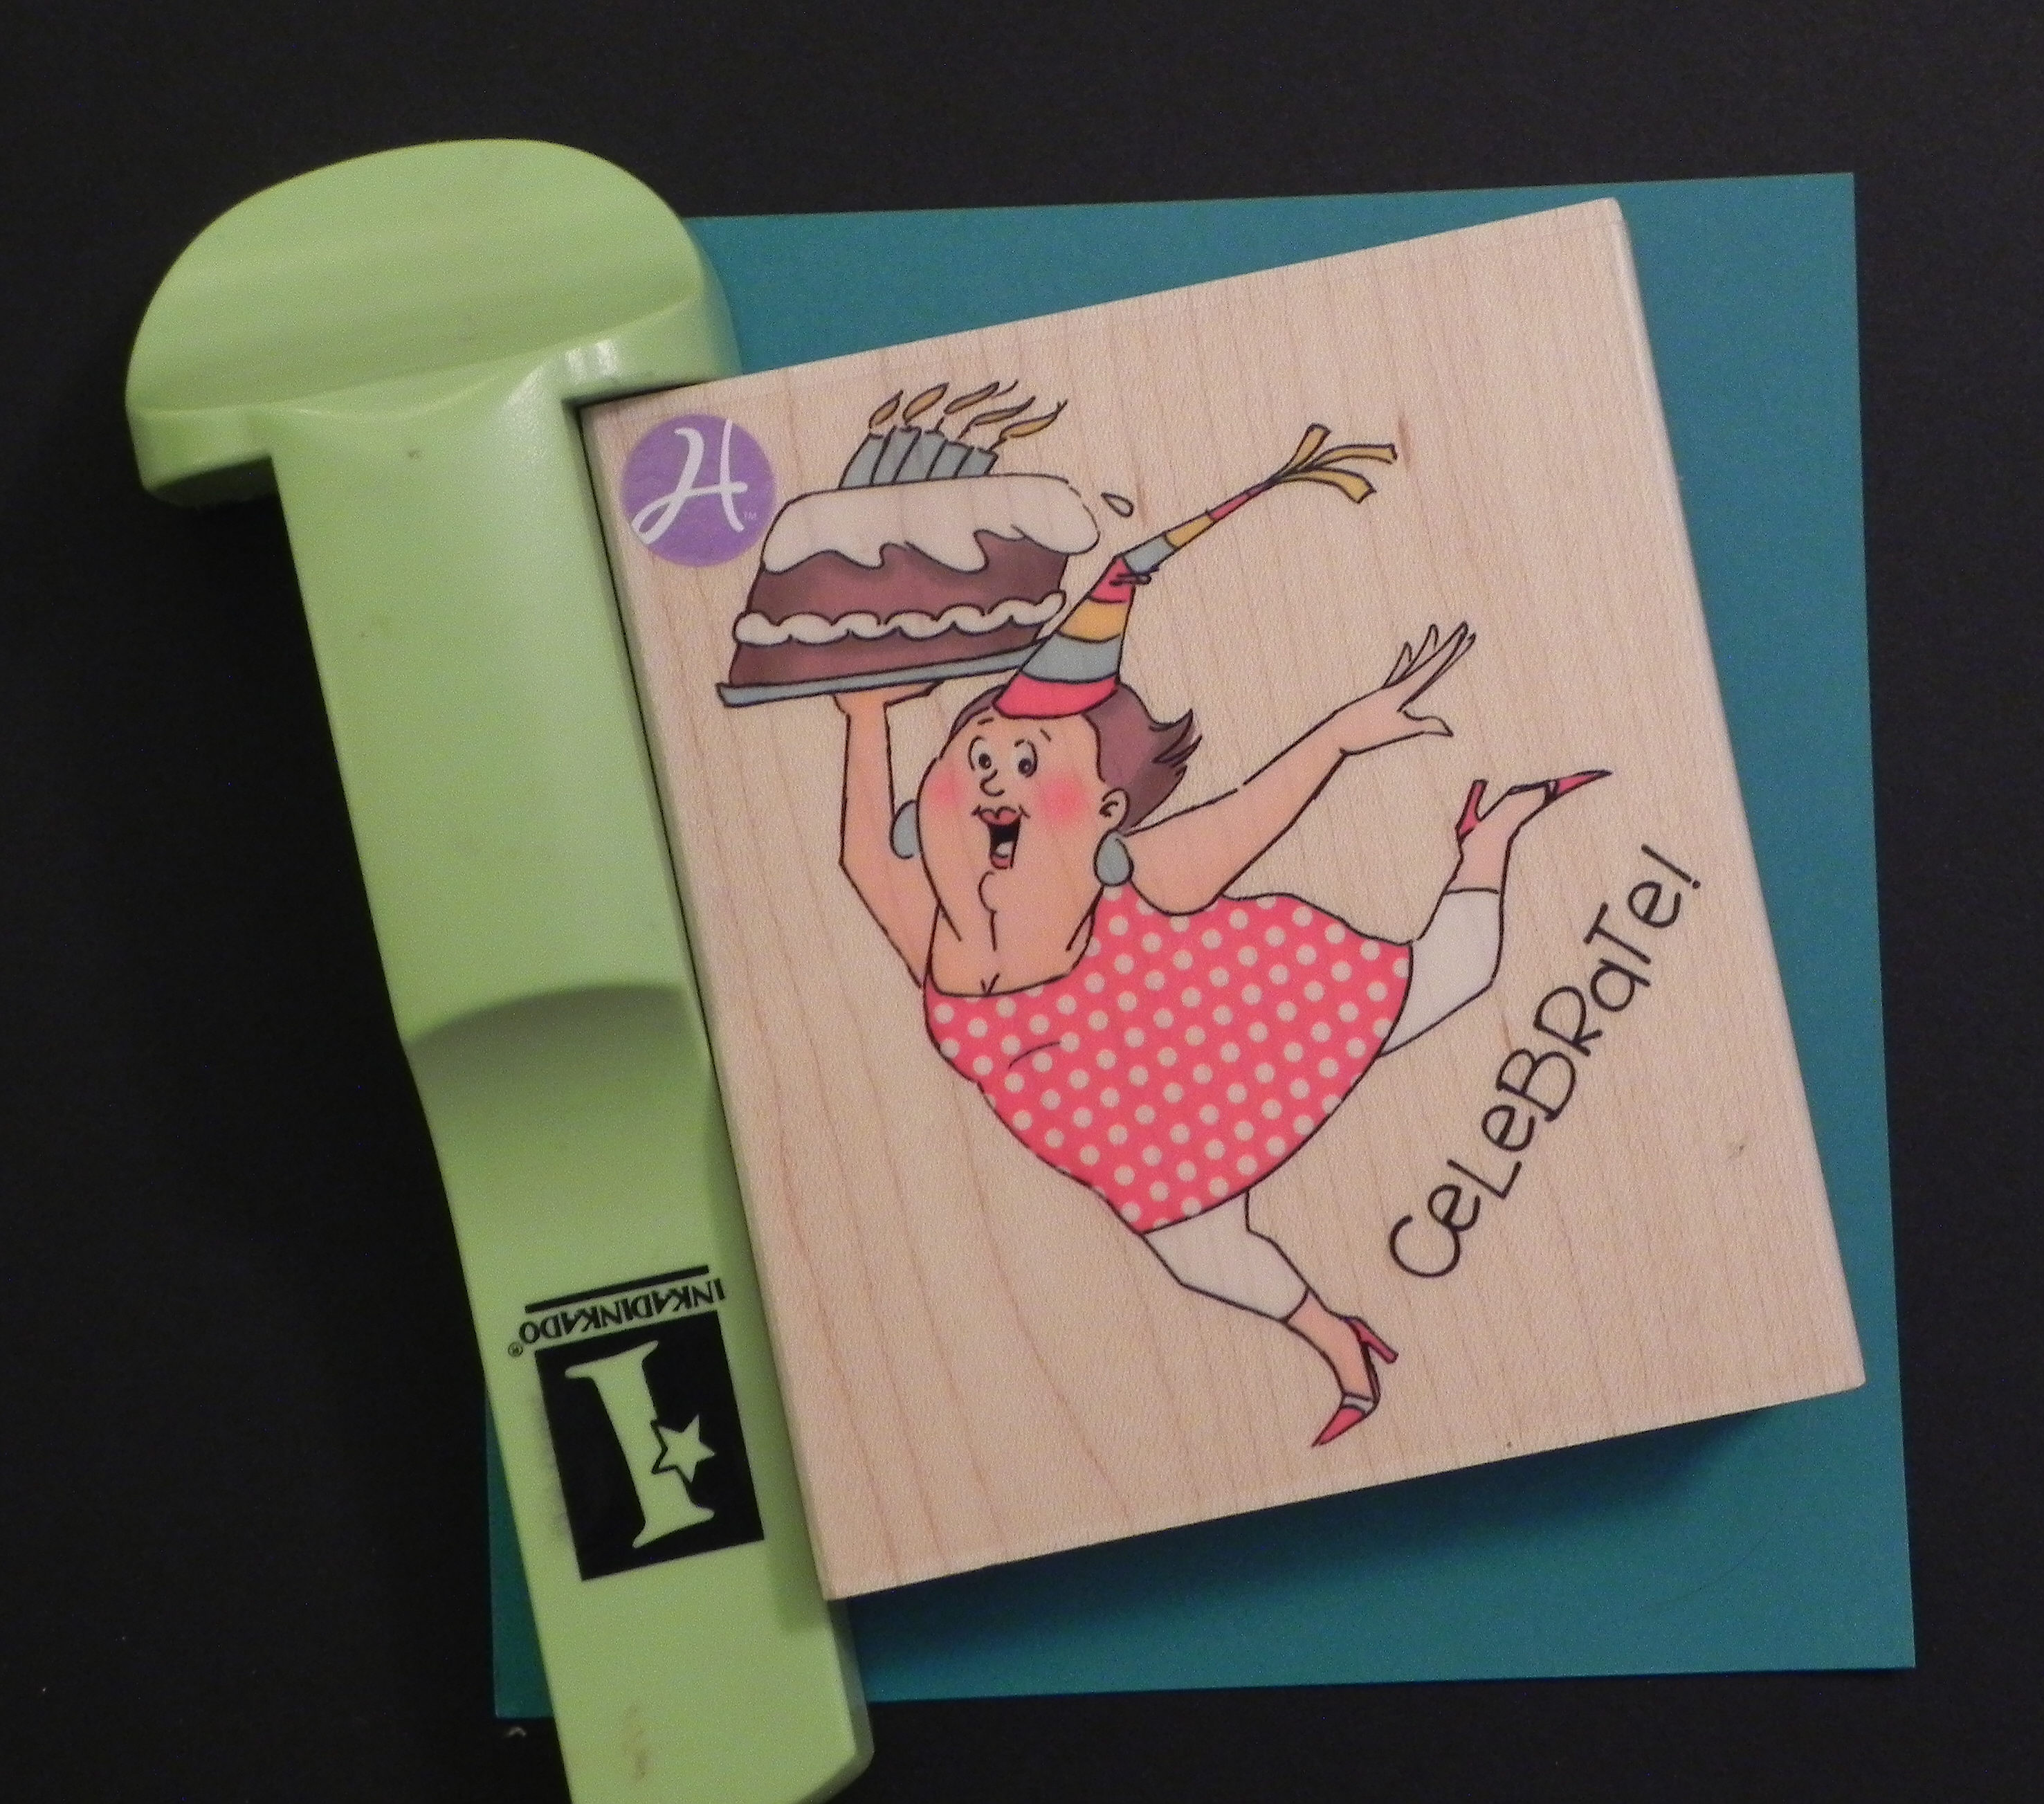
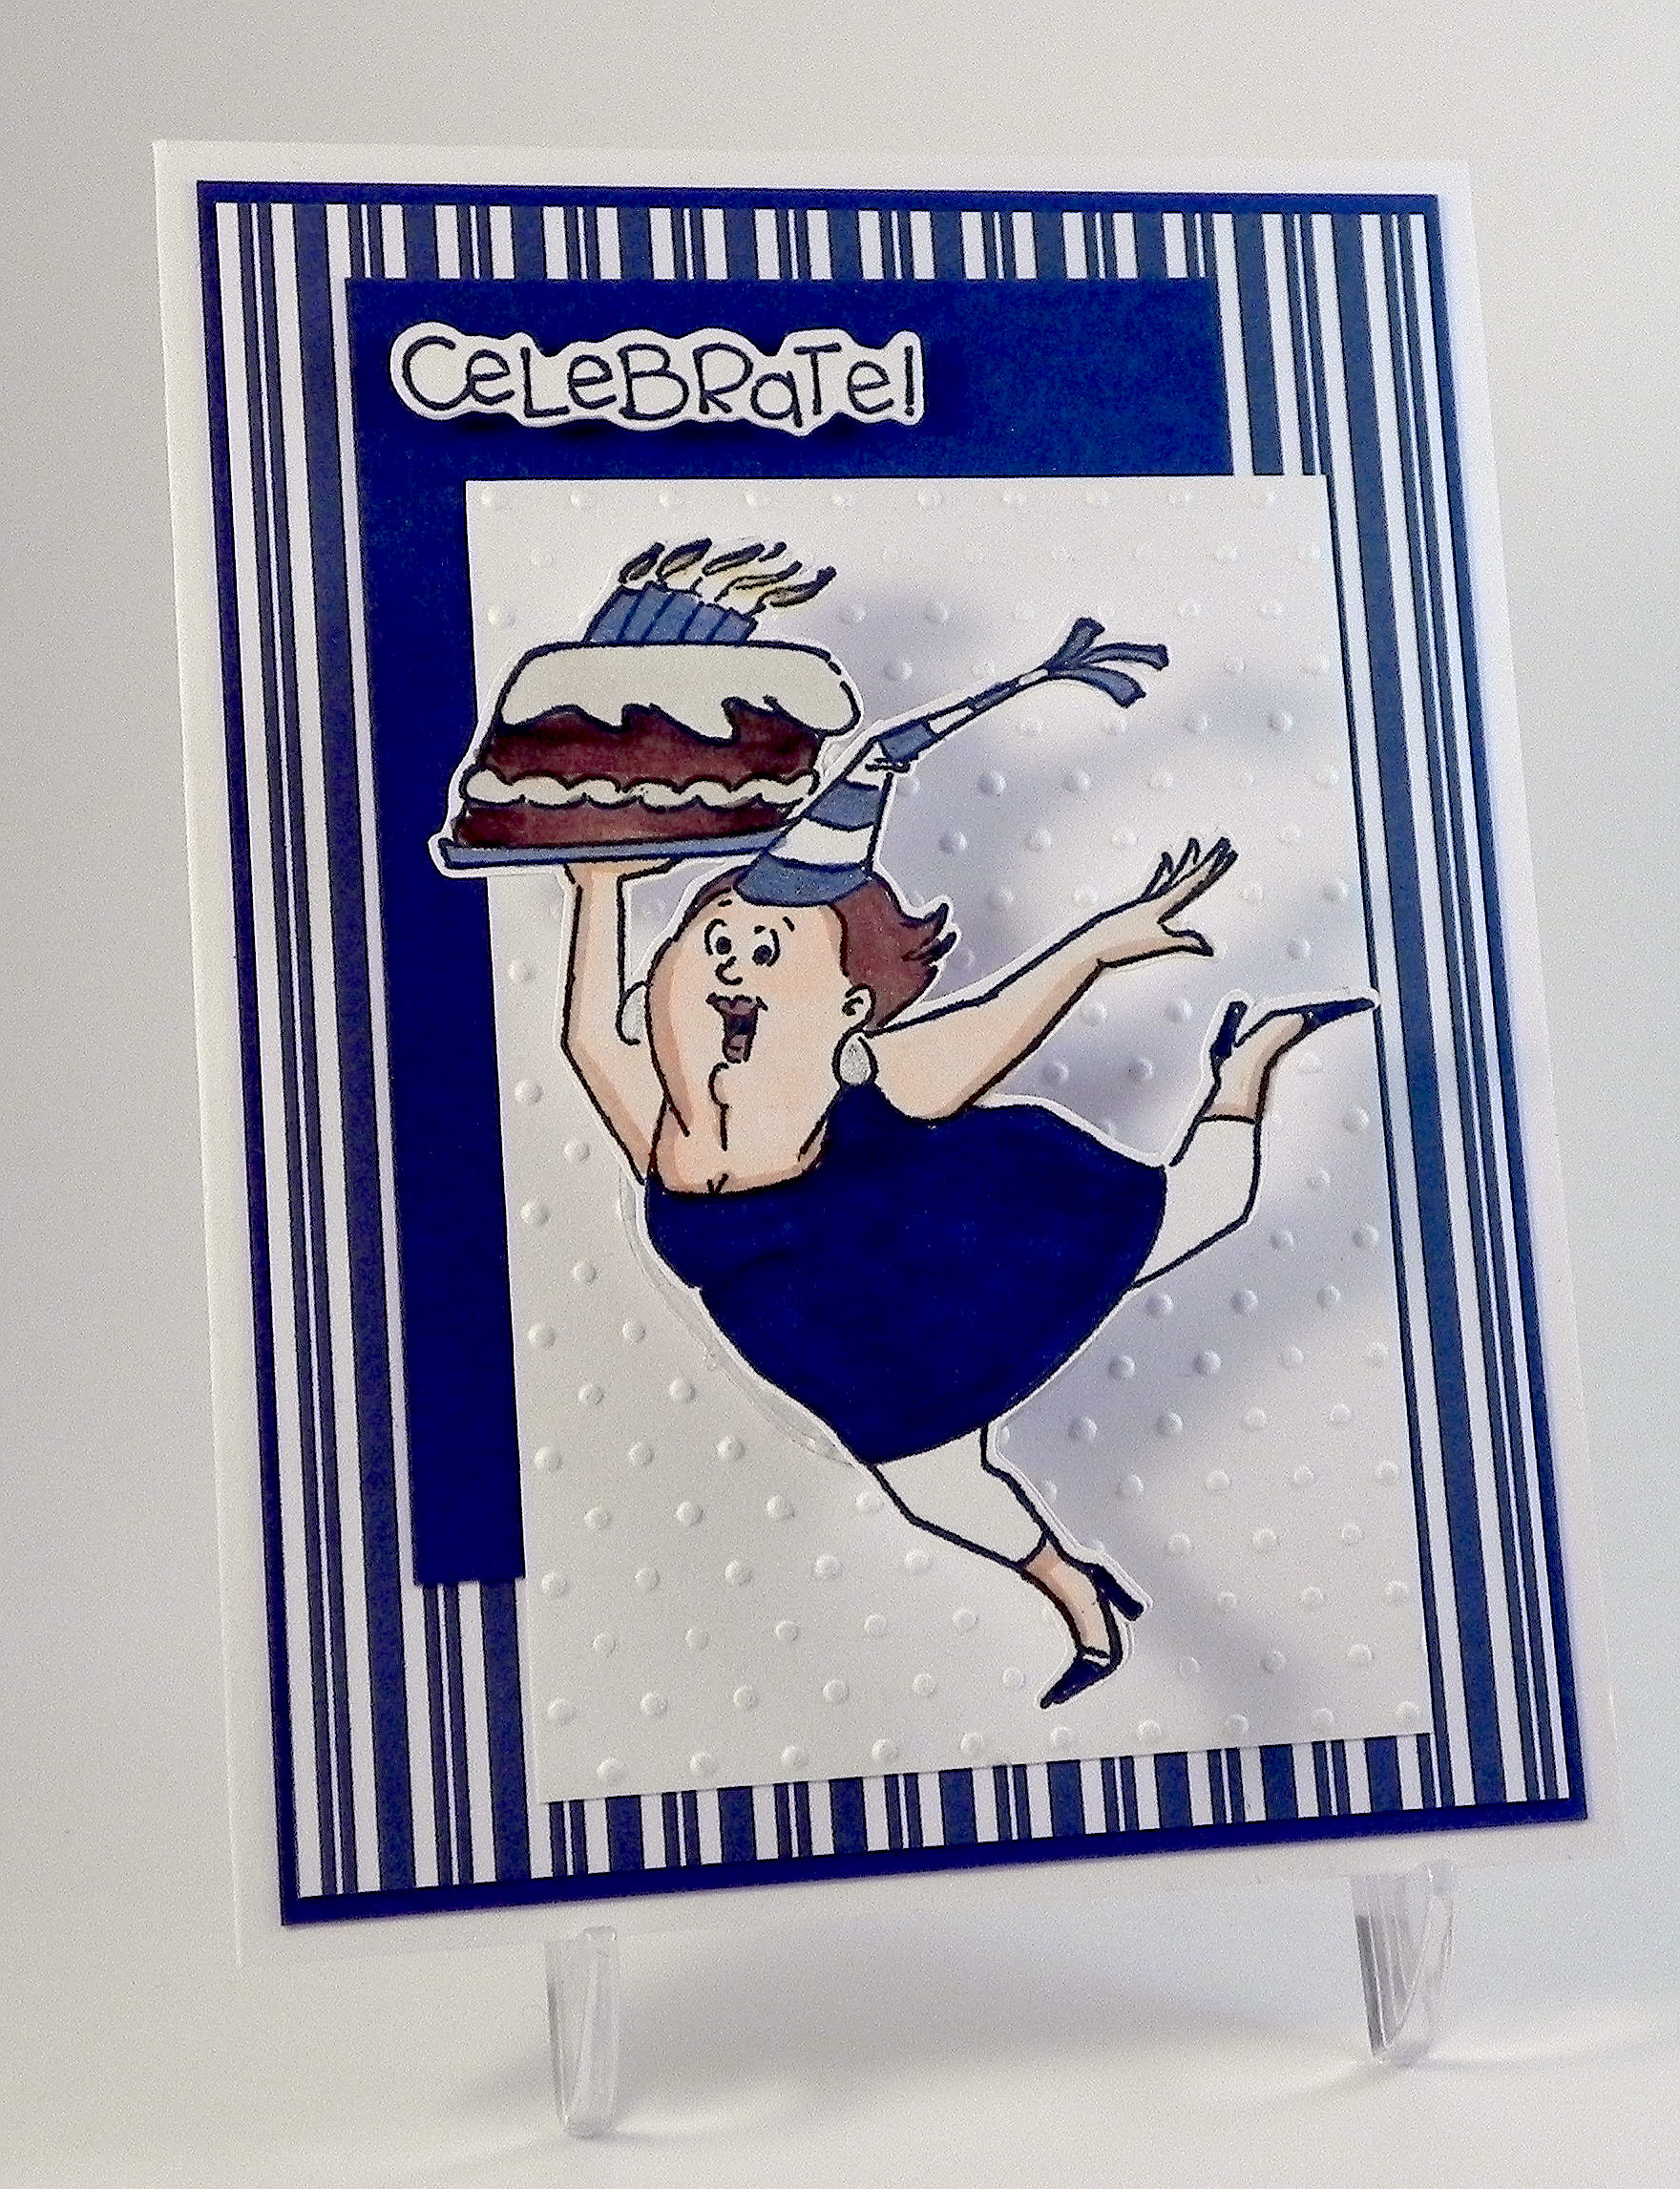
A friend recently commented that his 29th birthday was fast approaching. I saw this as the perfect opportunity to use two new stamps I had recently added to my collection. (He is not 29….. and I am not 110 pounds!) The image on the front is an Art Impressions wood mount stamp (distributed by Hampton Art) that I purchased at AC Moore. There is no name on the stamp, but the item number is PS0919. (Over at the Ai blog, it is referred to as “Ai Girlfriend Birthday Celebrate!”) The inside stamp is another Ai stamp from the “Girlfriends” collection (UMF3572).
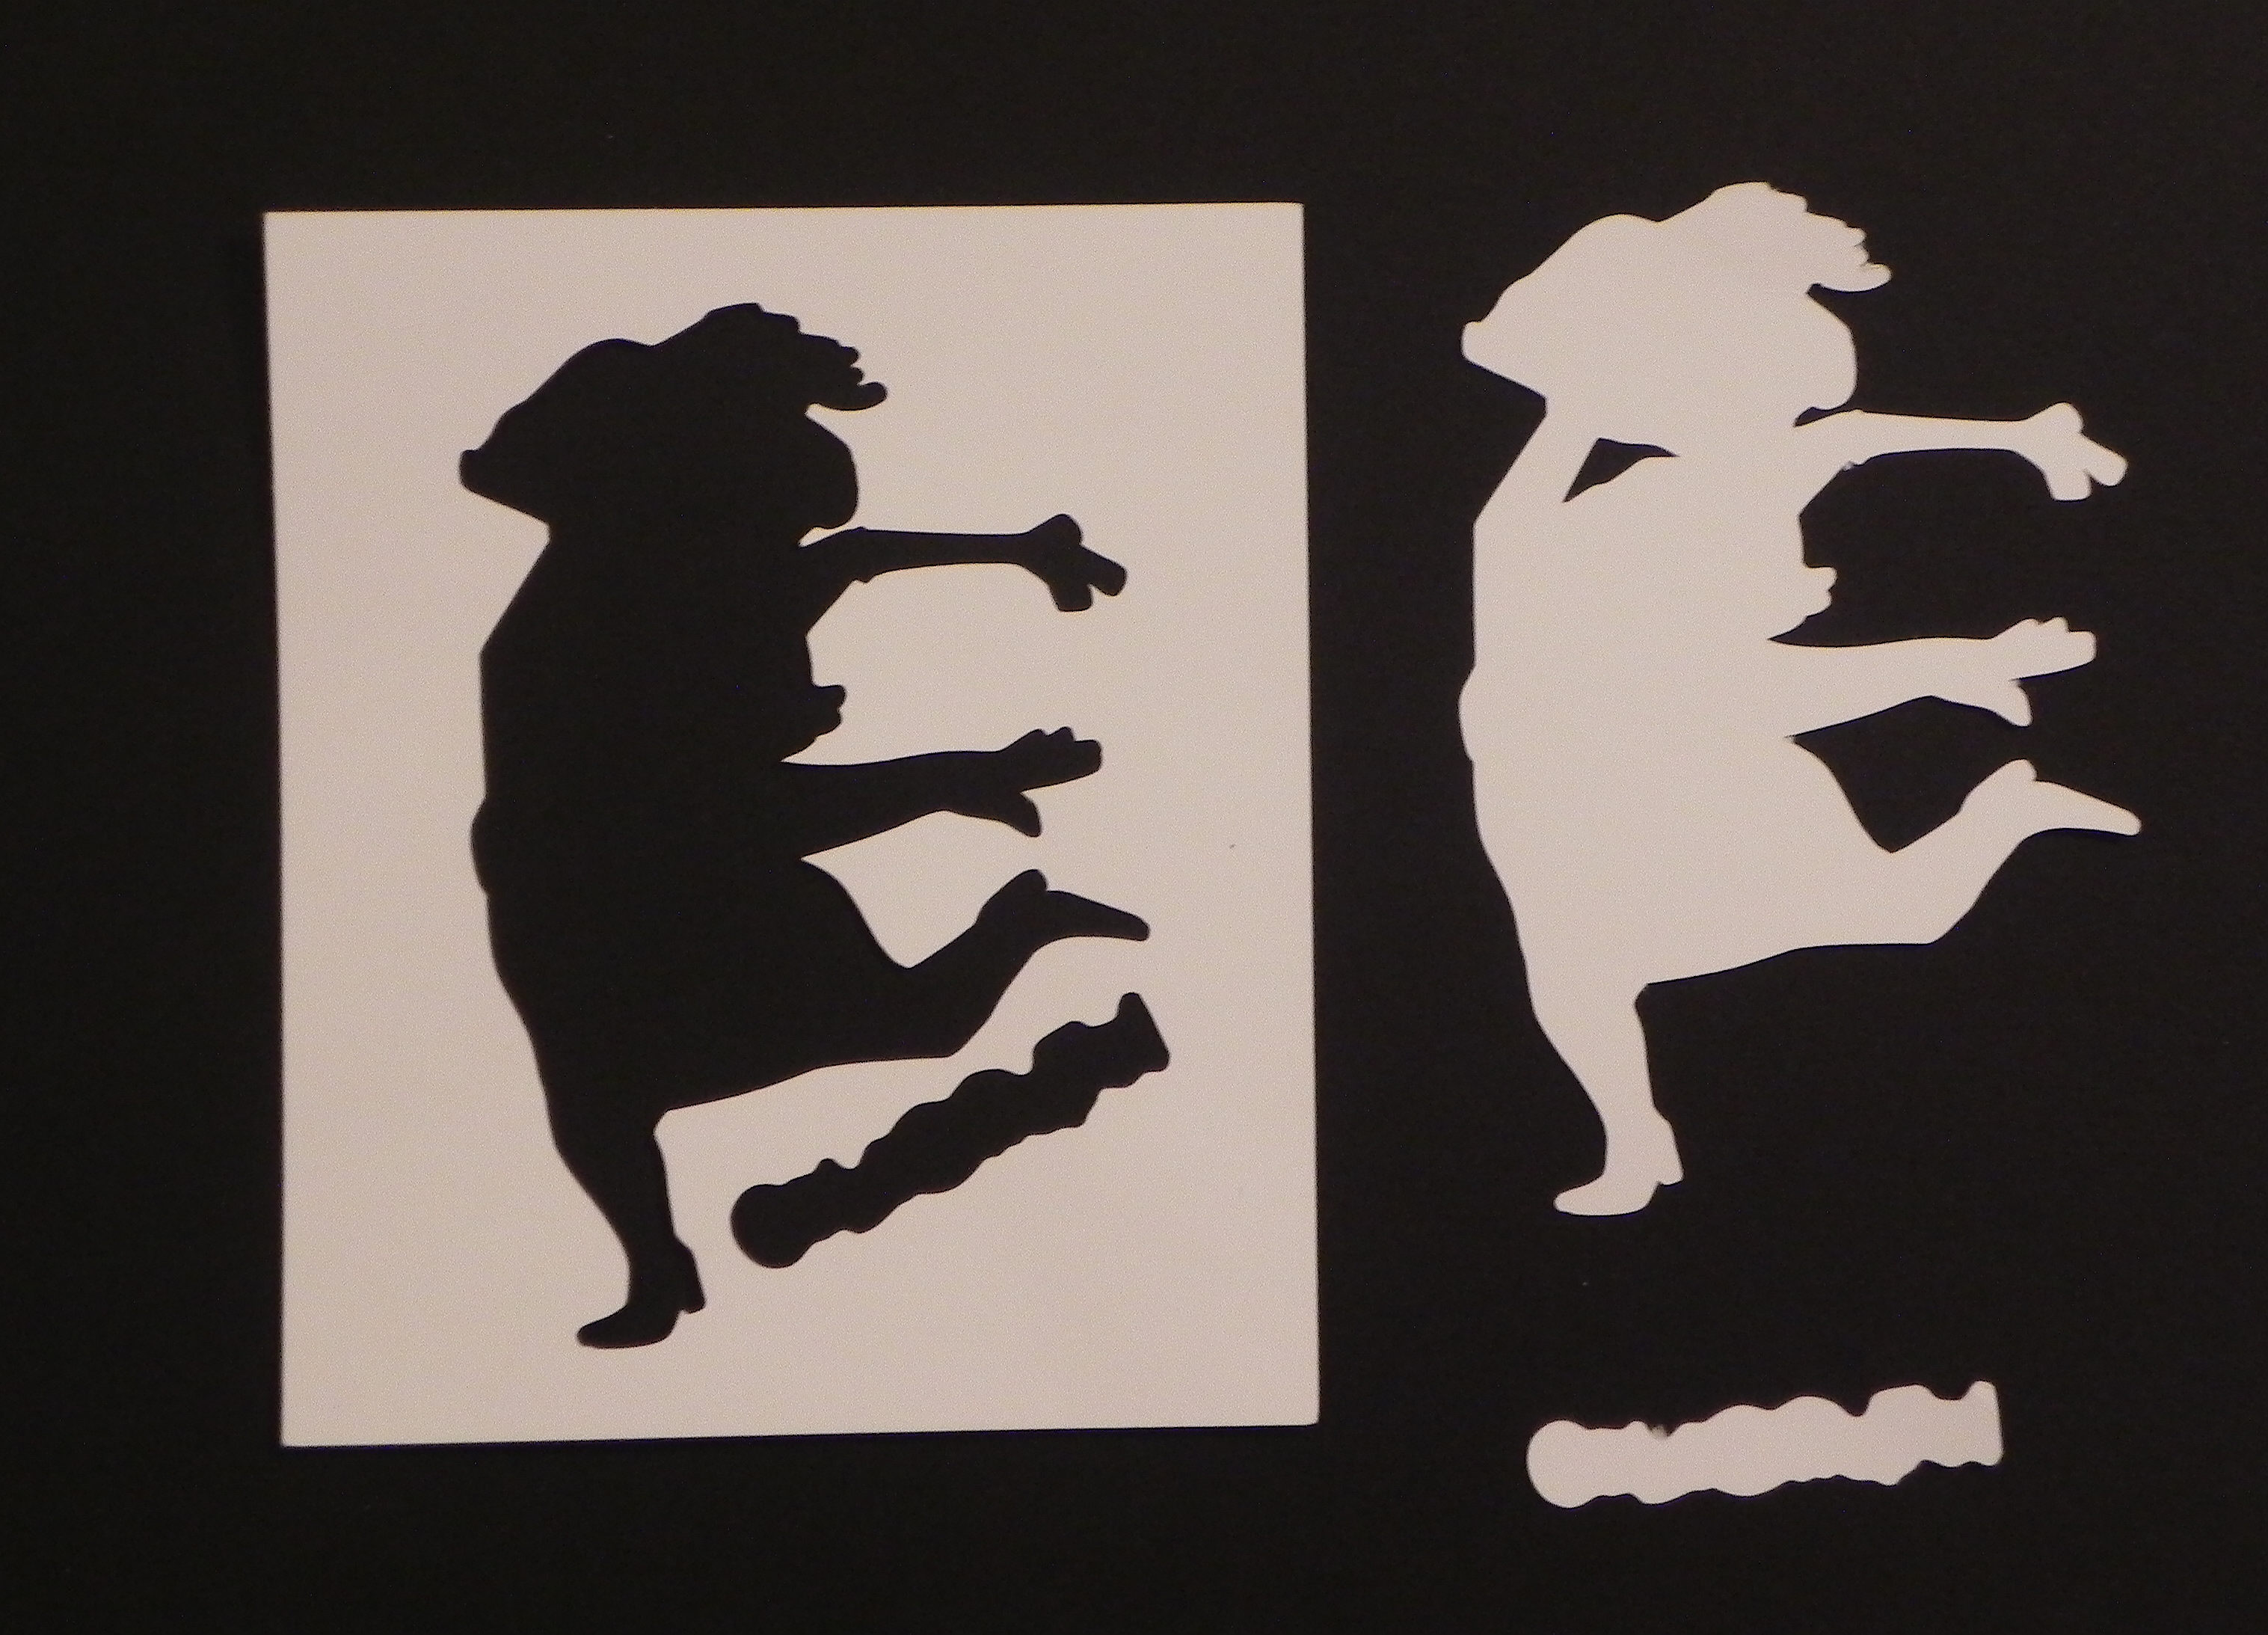
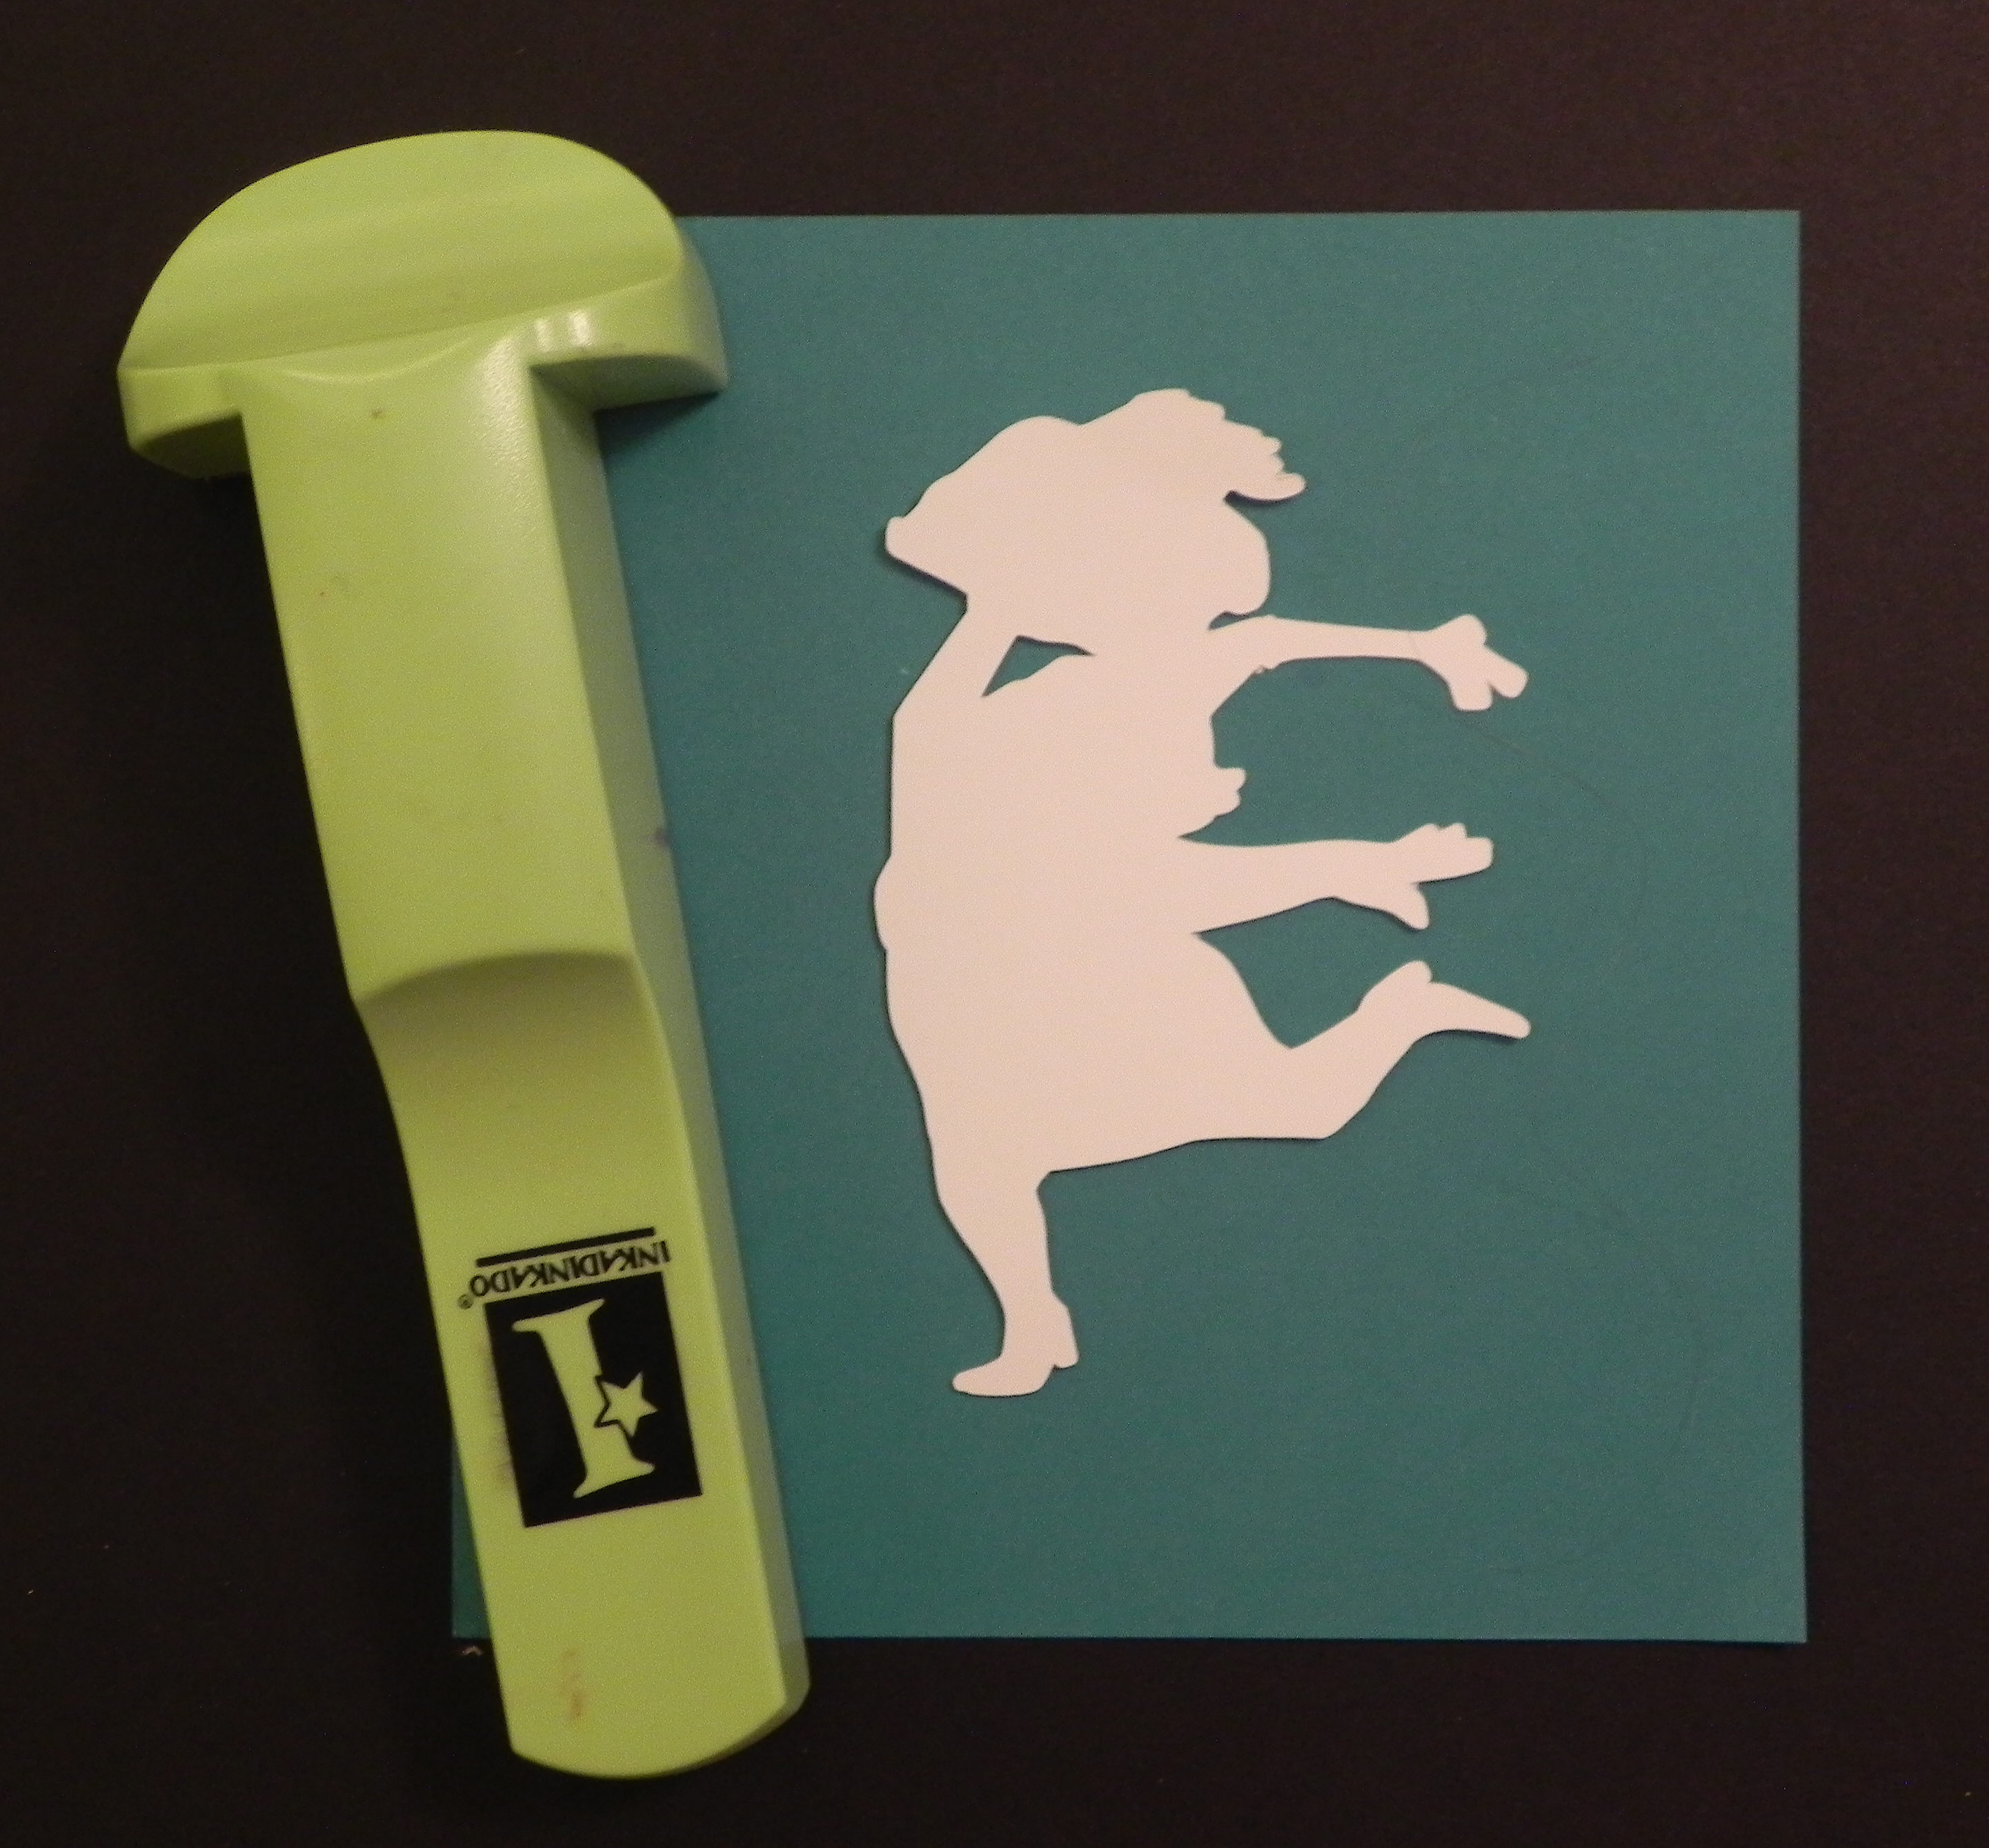
I created a cut file with my Silhouette software and stamped the images on the die cuts I created.
Click (HERE) for a tutorial on how to line the stamp up perfectly on the die cut.
Copic Markers were used to color the image (skin: E00, E31, E57, E04 (mouth); hair: E57; Cake: E57, E59, E40, B34; Clothes: B39, B34) along with a Sakura clear glitter pen for a little touch of sparkle.
The white panel was embossed with a Cuttlebug Swiss Dot embossing folder. The solid blue card stock is Gina K Blue Denim. The striped panel is digital paper from a set called “Yankee Fan” that I purchased from a store called happyheartstudios on Etsy (HERE).
Thanks for checking out my card project!
This content uses referral links as described in the disclosure policy on my sidebar.
Many companies are now offering punches or dies that coordinate with their stamps so one can stamp and cut the image easily. Software for several of the electronic die cutting machines on the market make it possible to create your own die cuts for your stamps. With a tiny border, it can be challenging to get the stamp positioned perfectly, especially with red rubber stamps since you can’t see through them. I have several tools that I use to make this easier.
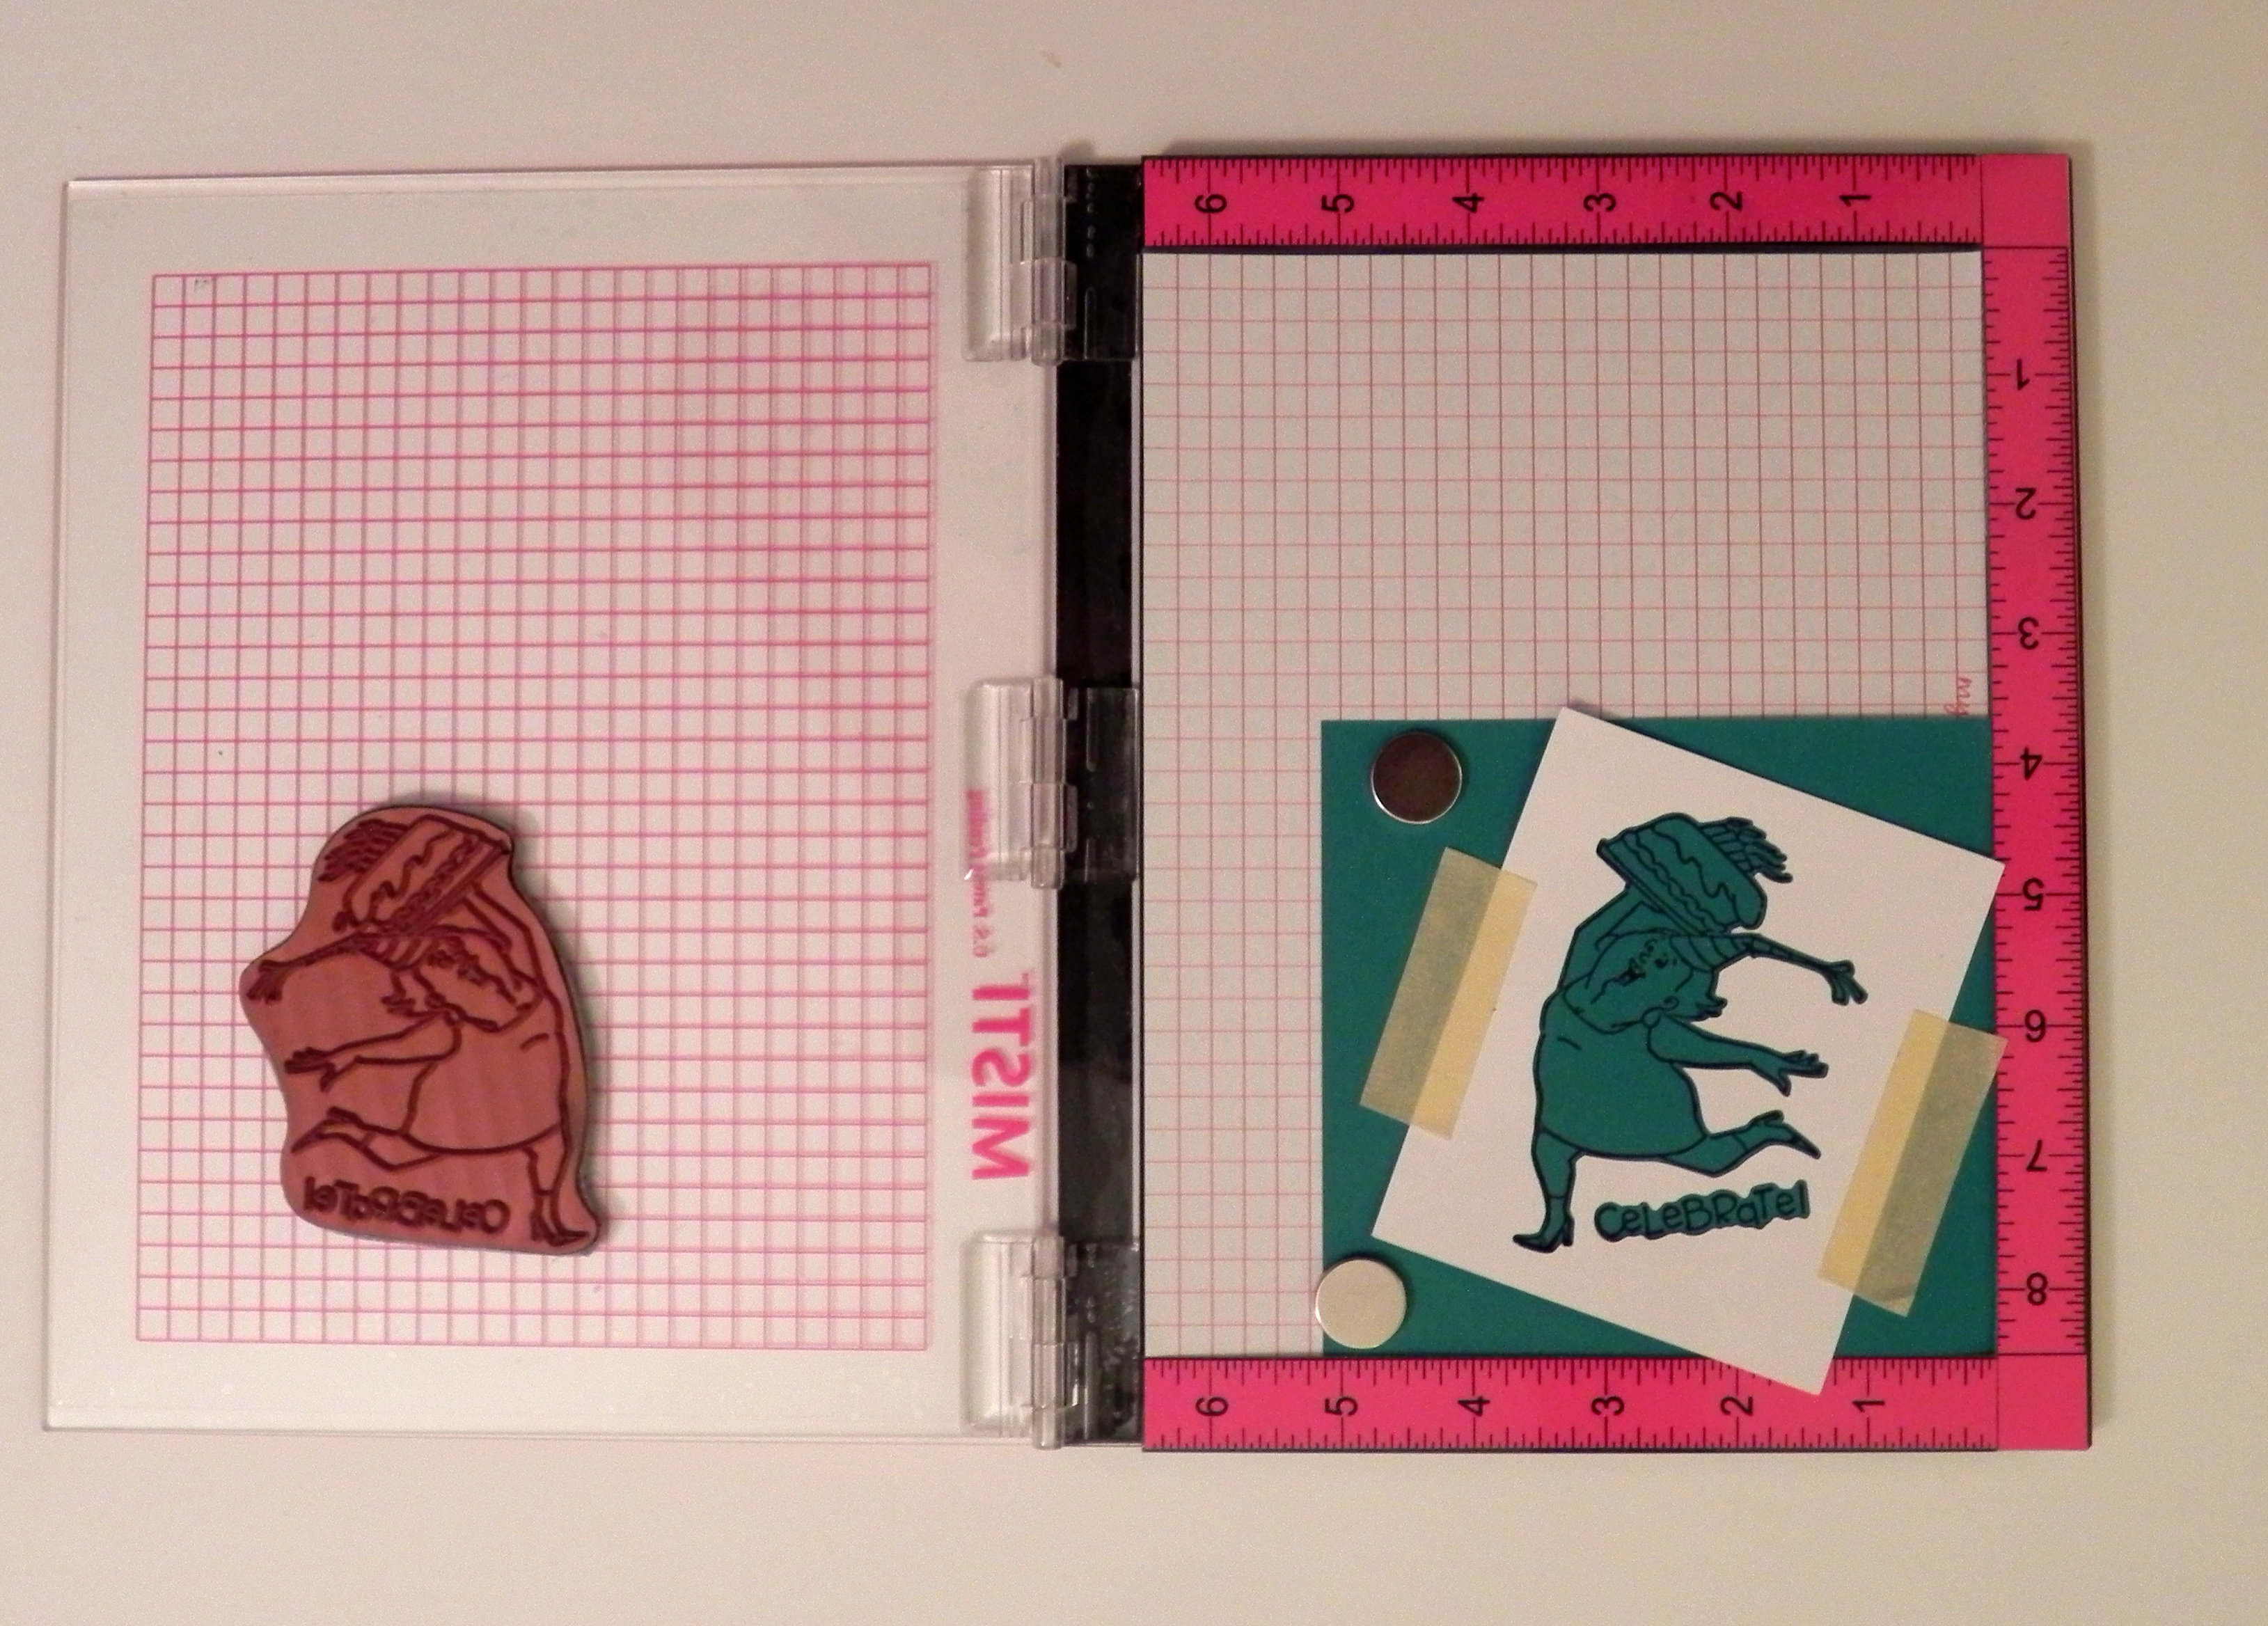
One tool that I use and love is the MISTI (You can check out my previous post HERE for more info on this incredible tool.) This tool works with acrylic and red rubber stamps that are not mounted on wood or acrylic blocks. I have quite a few wood mounted stamps so I either use a different positioning tool (a stamp-a-ma-jig which I’ll explain below) with those, or I remove the stamp from the wood block and attach a new piece of mounting foam to the rubber so it becomes a cling stamp.
Here’s how I use the MISTI with my acrylic/cling stamps and coordinating die cuts:
a. Cut the shape out of a piece of card stock. Keep BOTH the die cut shape AND the negative (the piece from which you cut the shape – with the hole in it).
b. Stamp your image on a scrap of card stock using the MISTI. DO NOT move the stamp or this panel once it has the image stamped on it. (I use magnets to hold the card stock in place. You can also use tape.)
c. Take the negative of your die cut from step (a), and place it over the stamped image on the MISTI. Once you have the image lined up in the cut-out hole, tape this panel in place.
d. Place the die cut/shape you cut from step (a) back into the hole (over the original stamped image).
e. Stamp the image a second time.
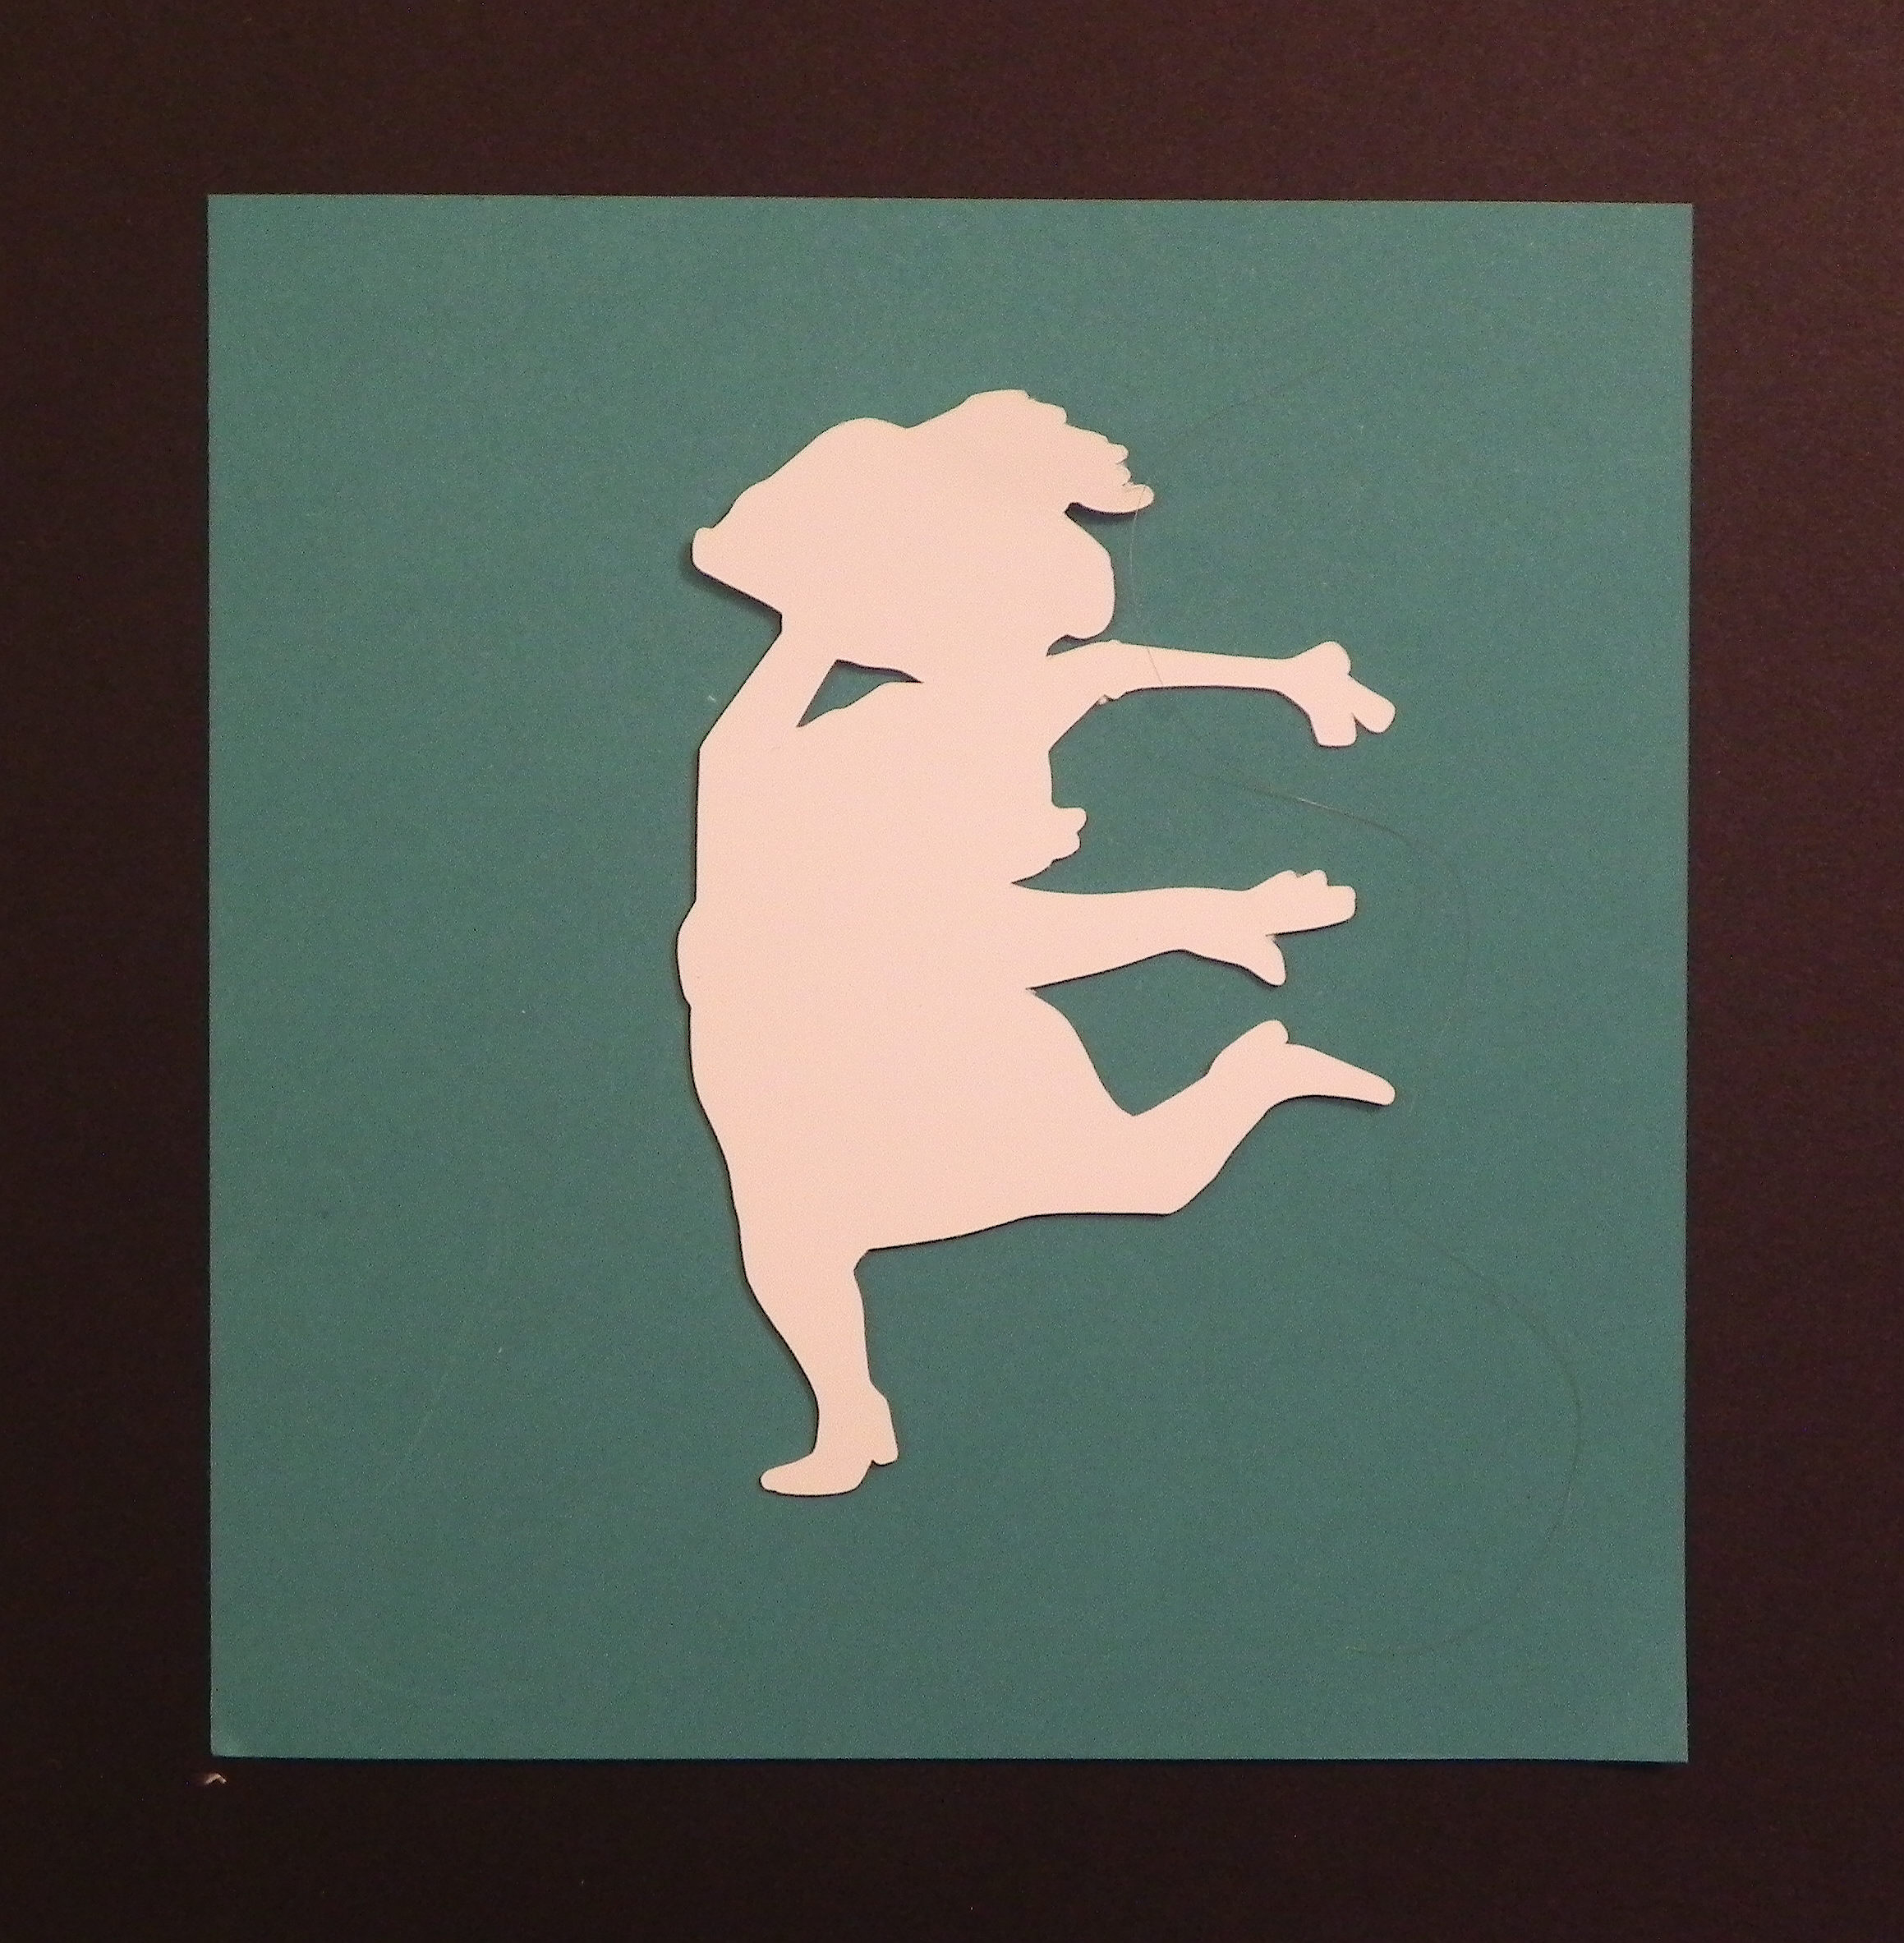
f. Remove the die cut with the stamped image.
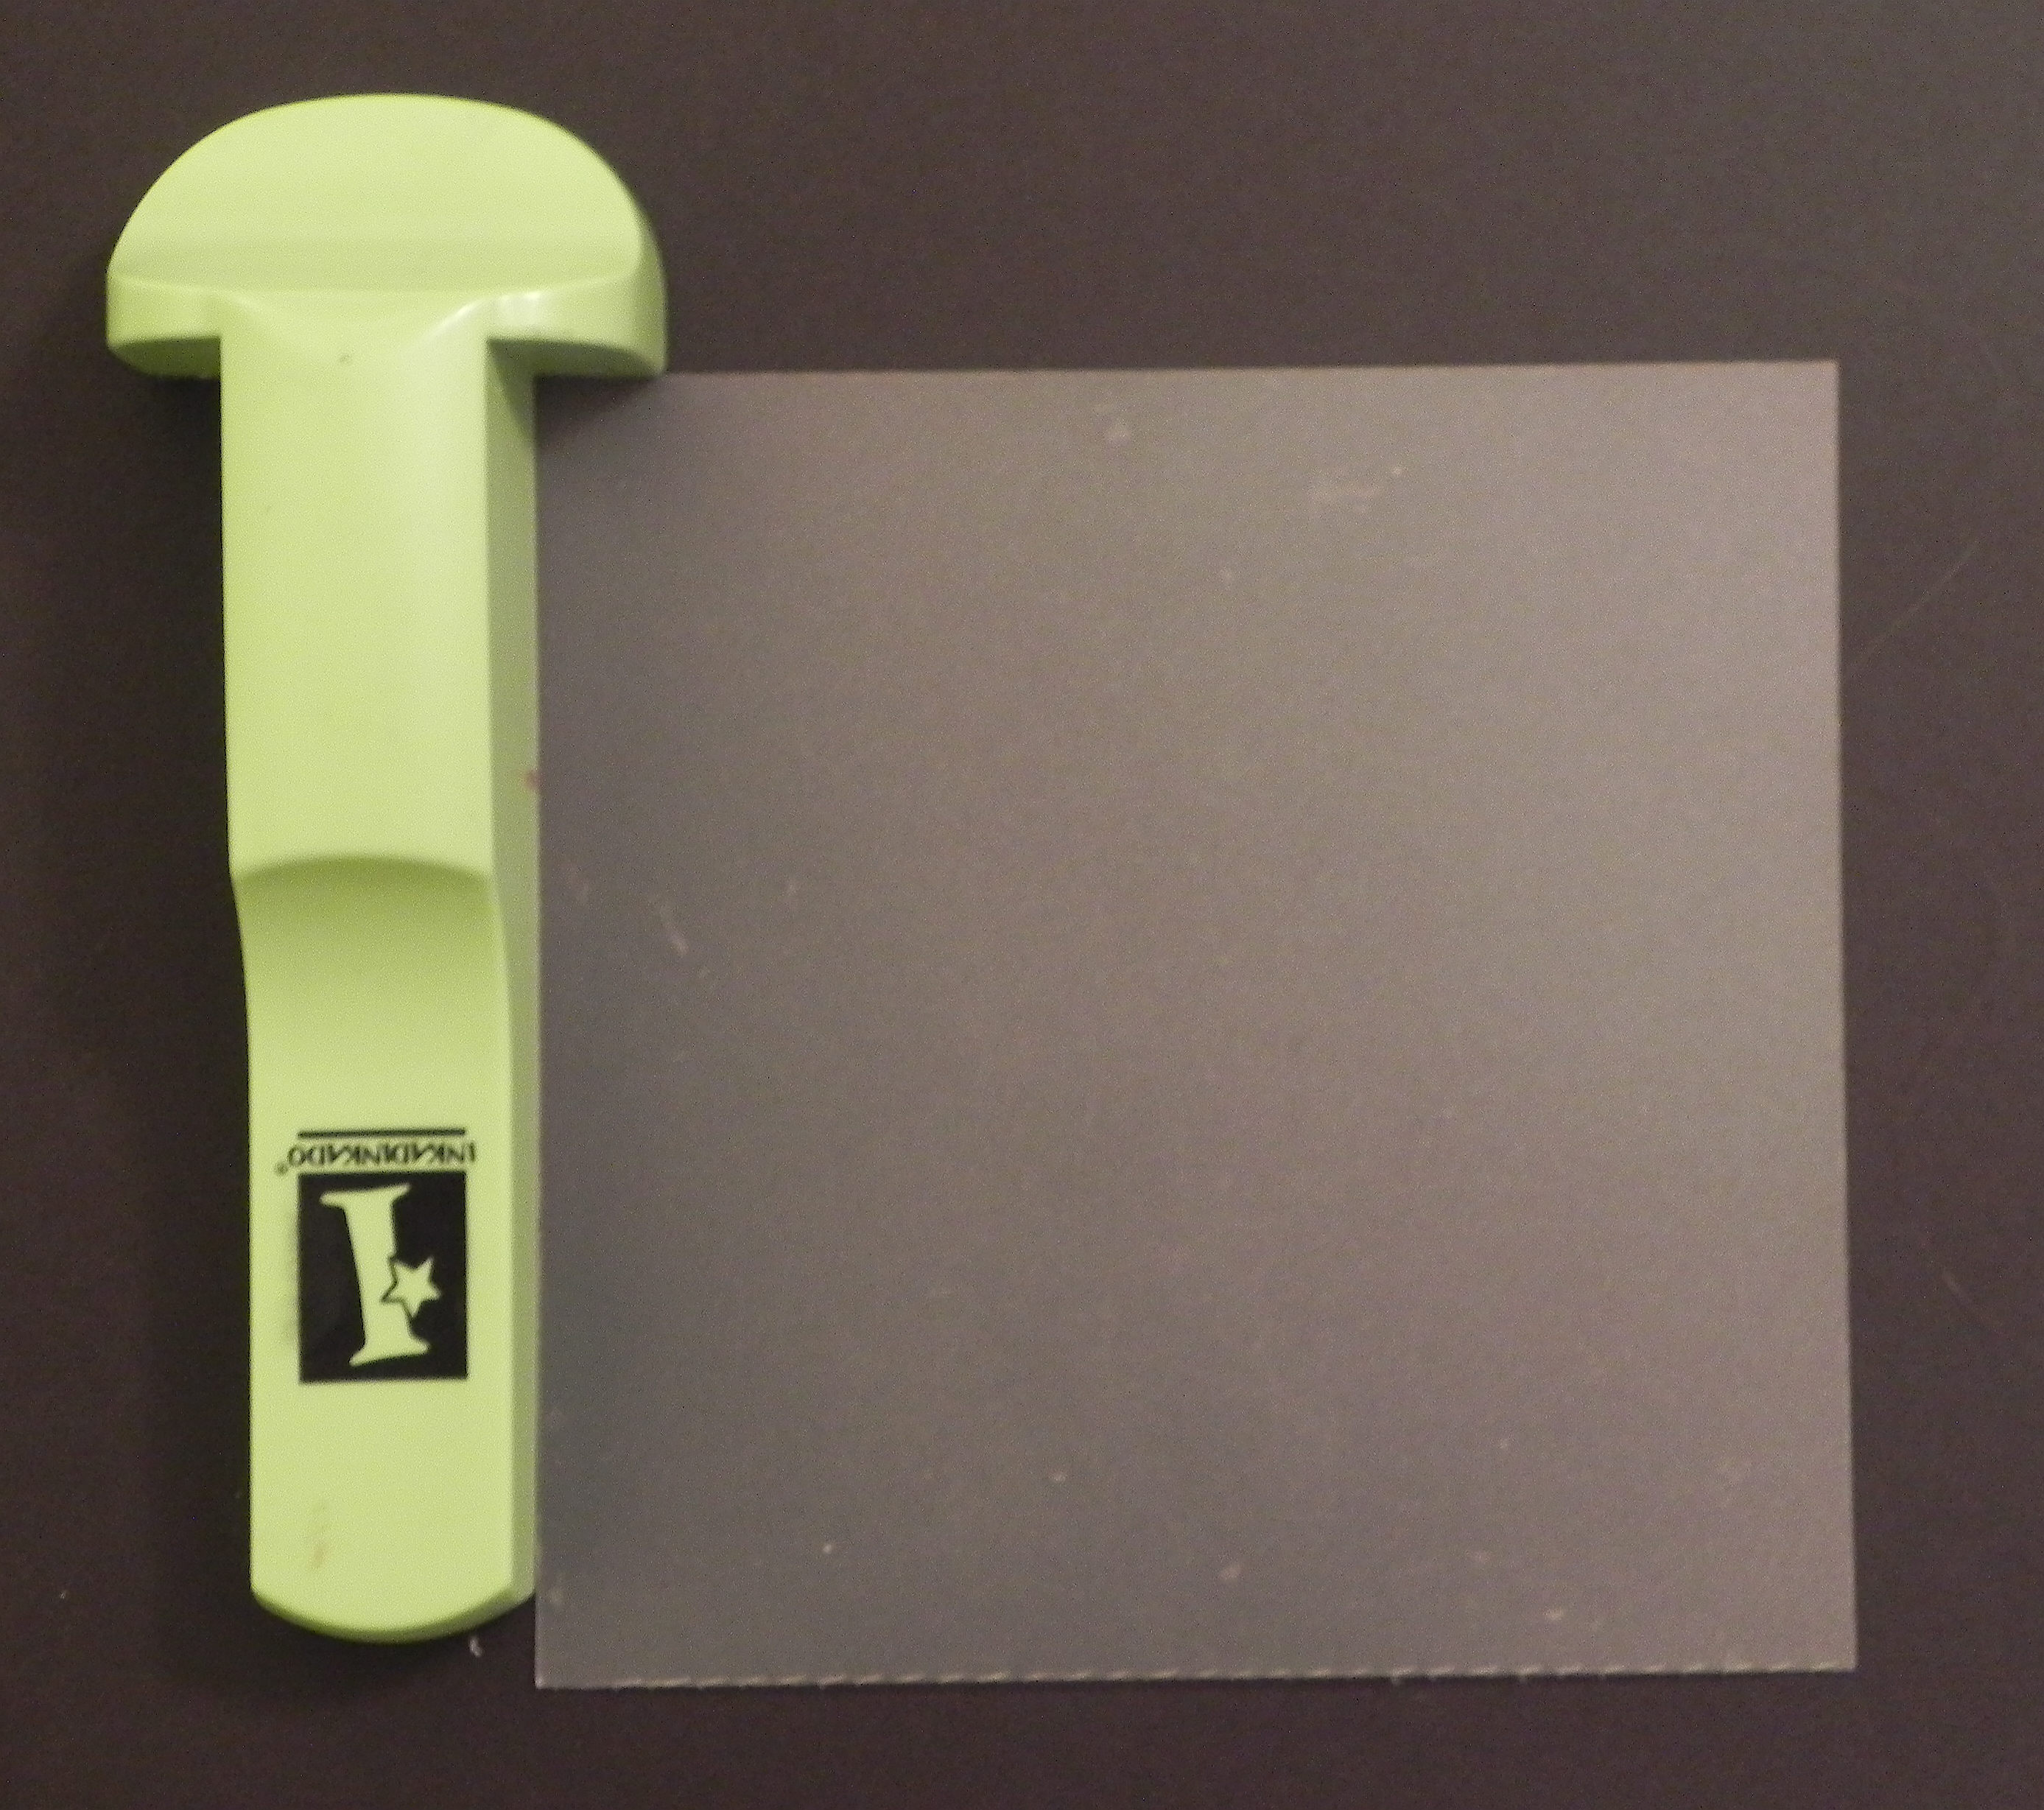
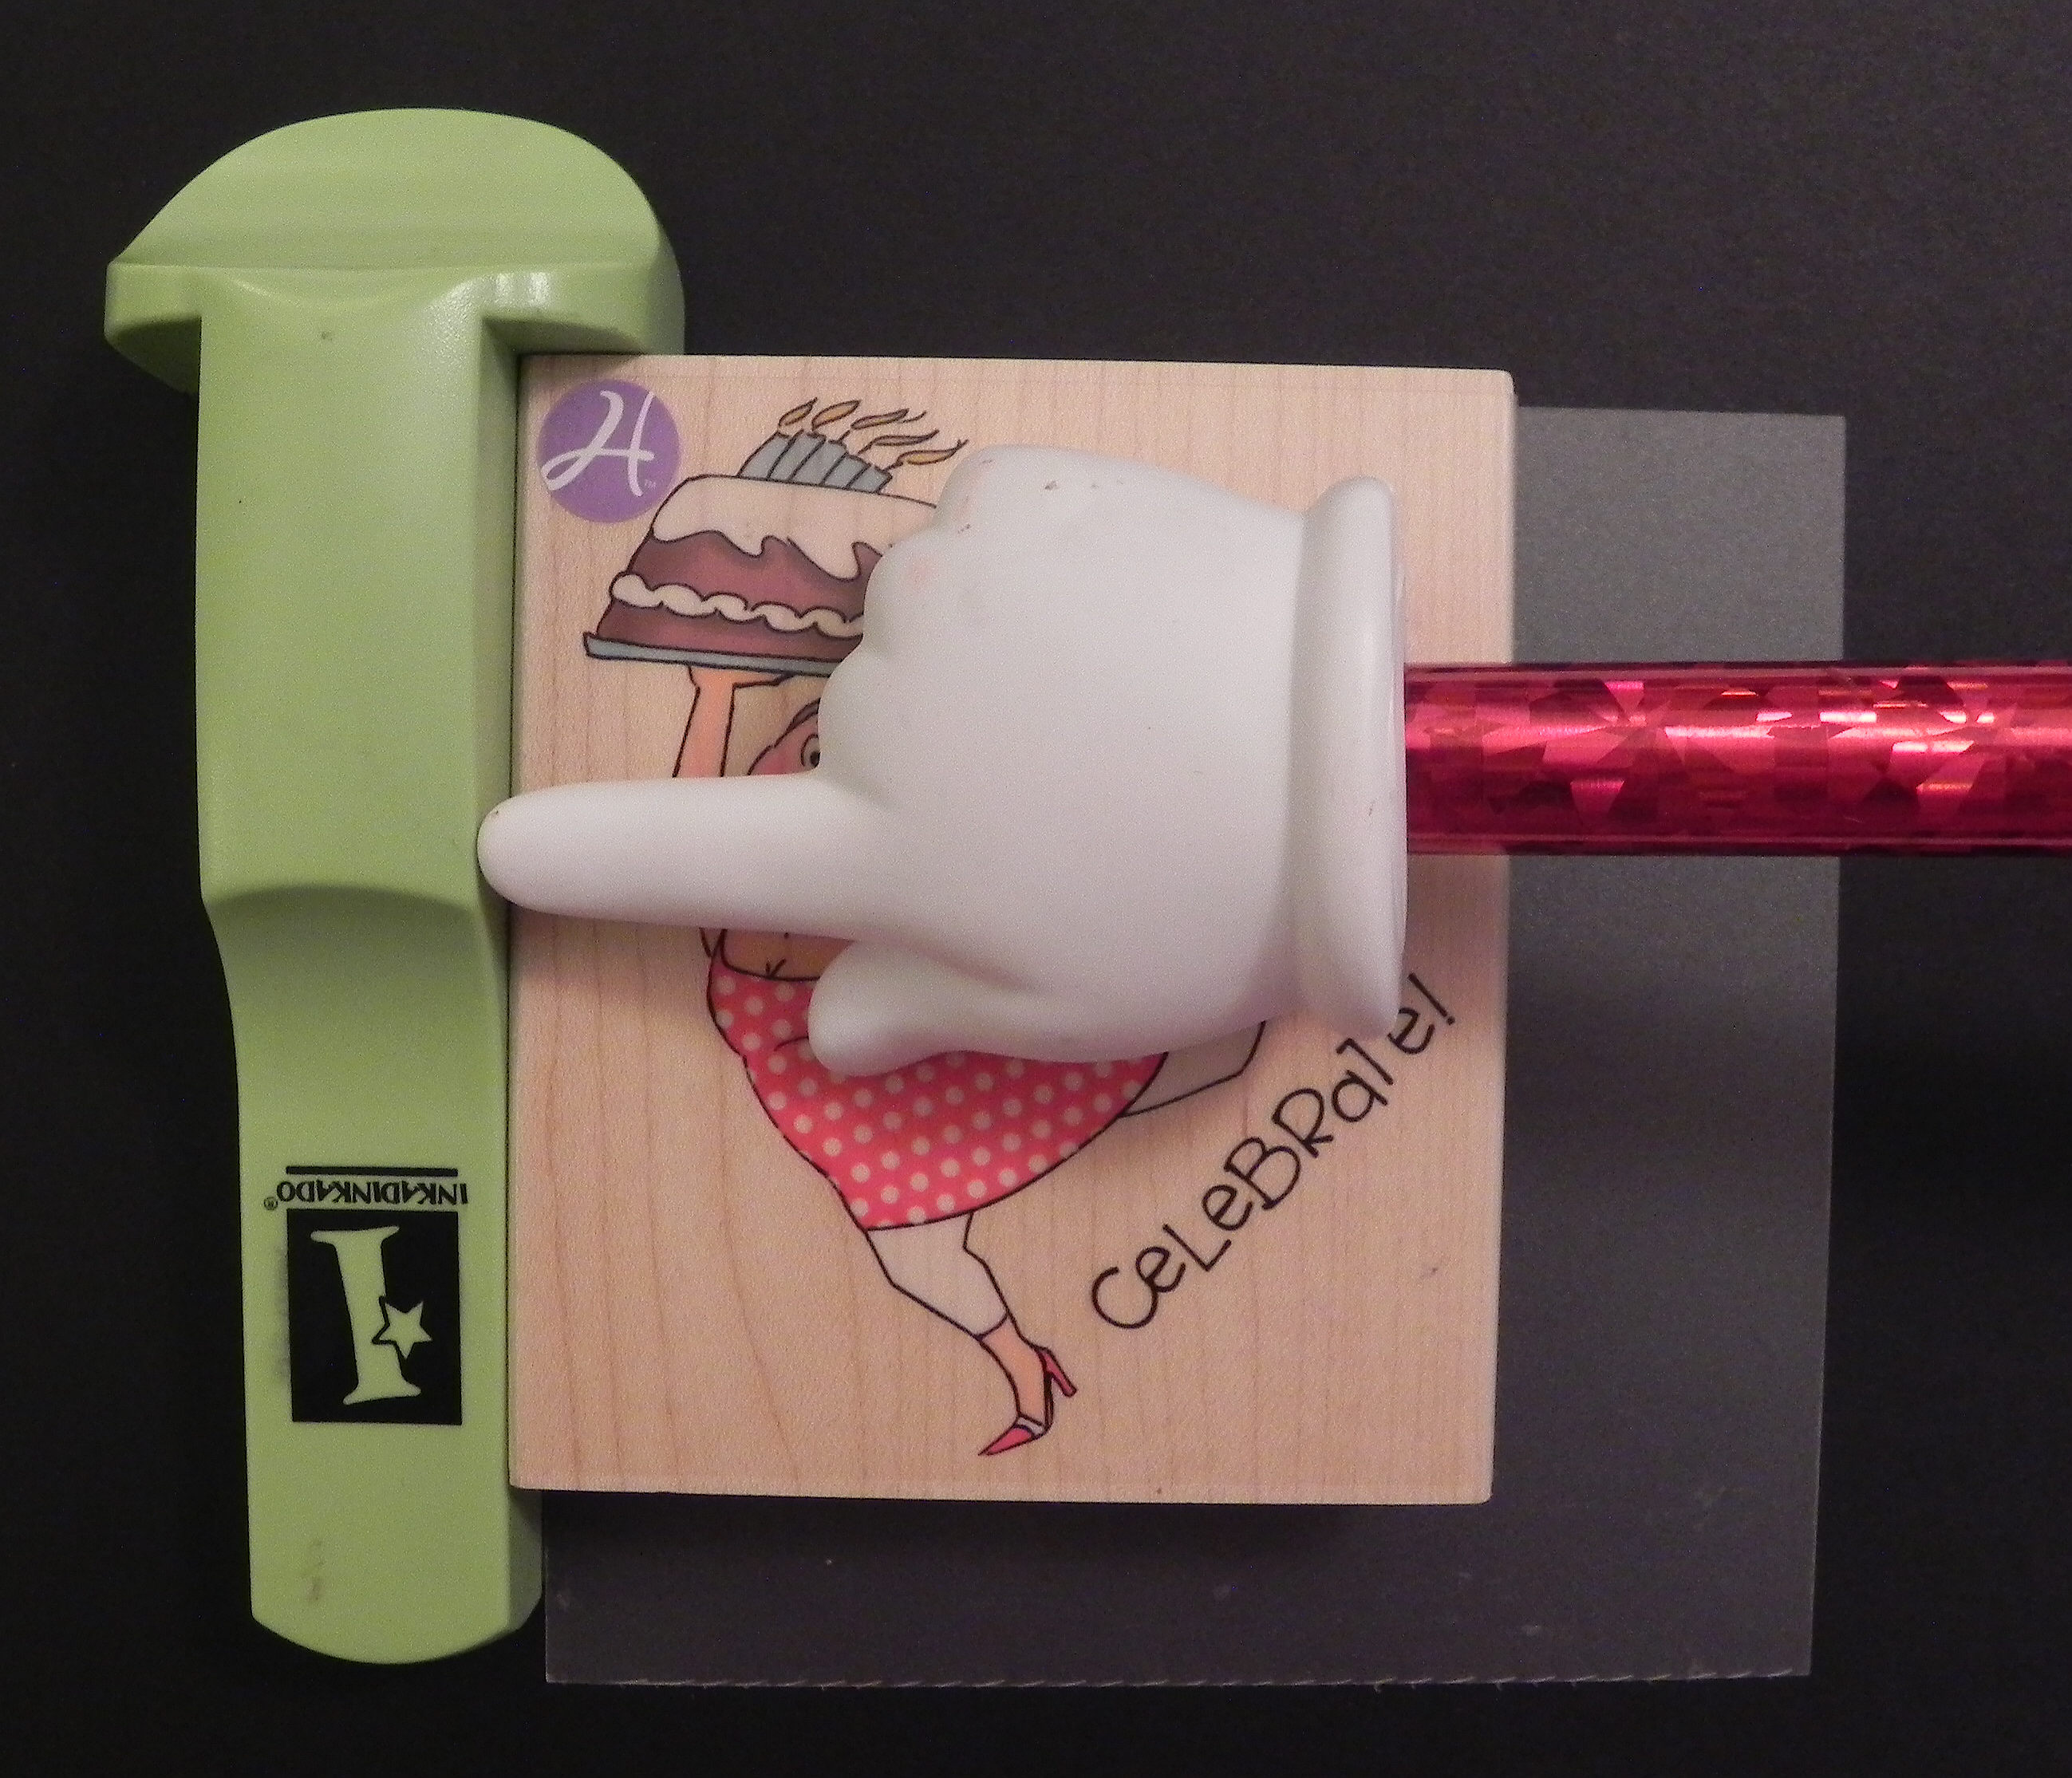
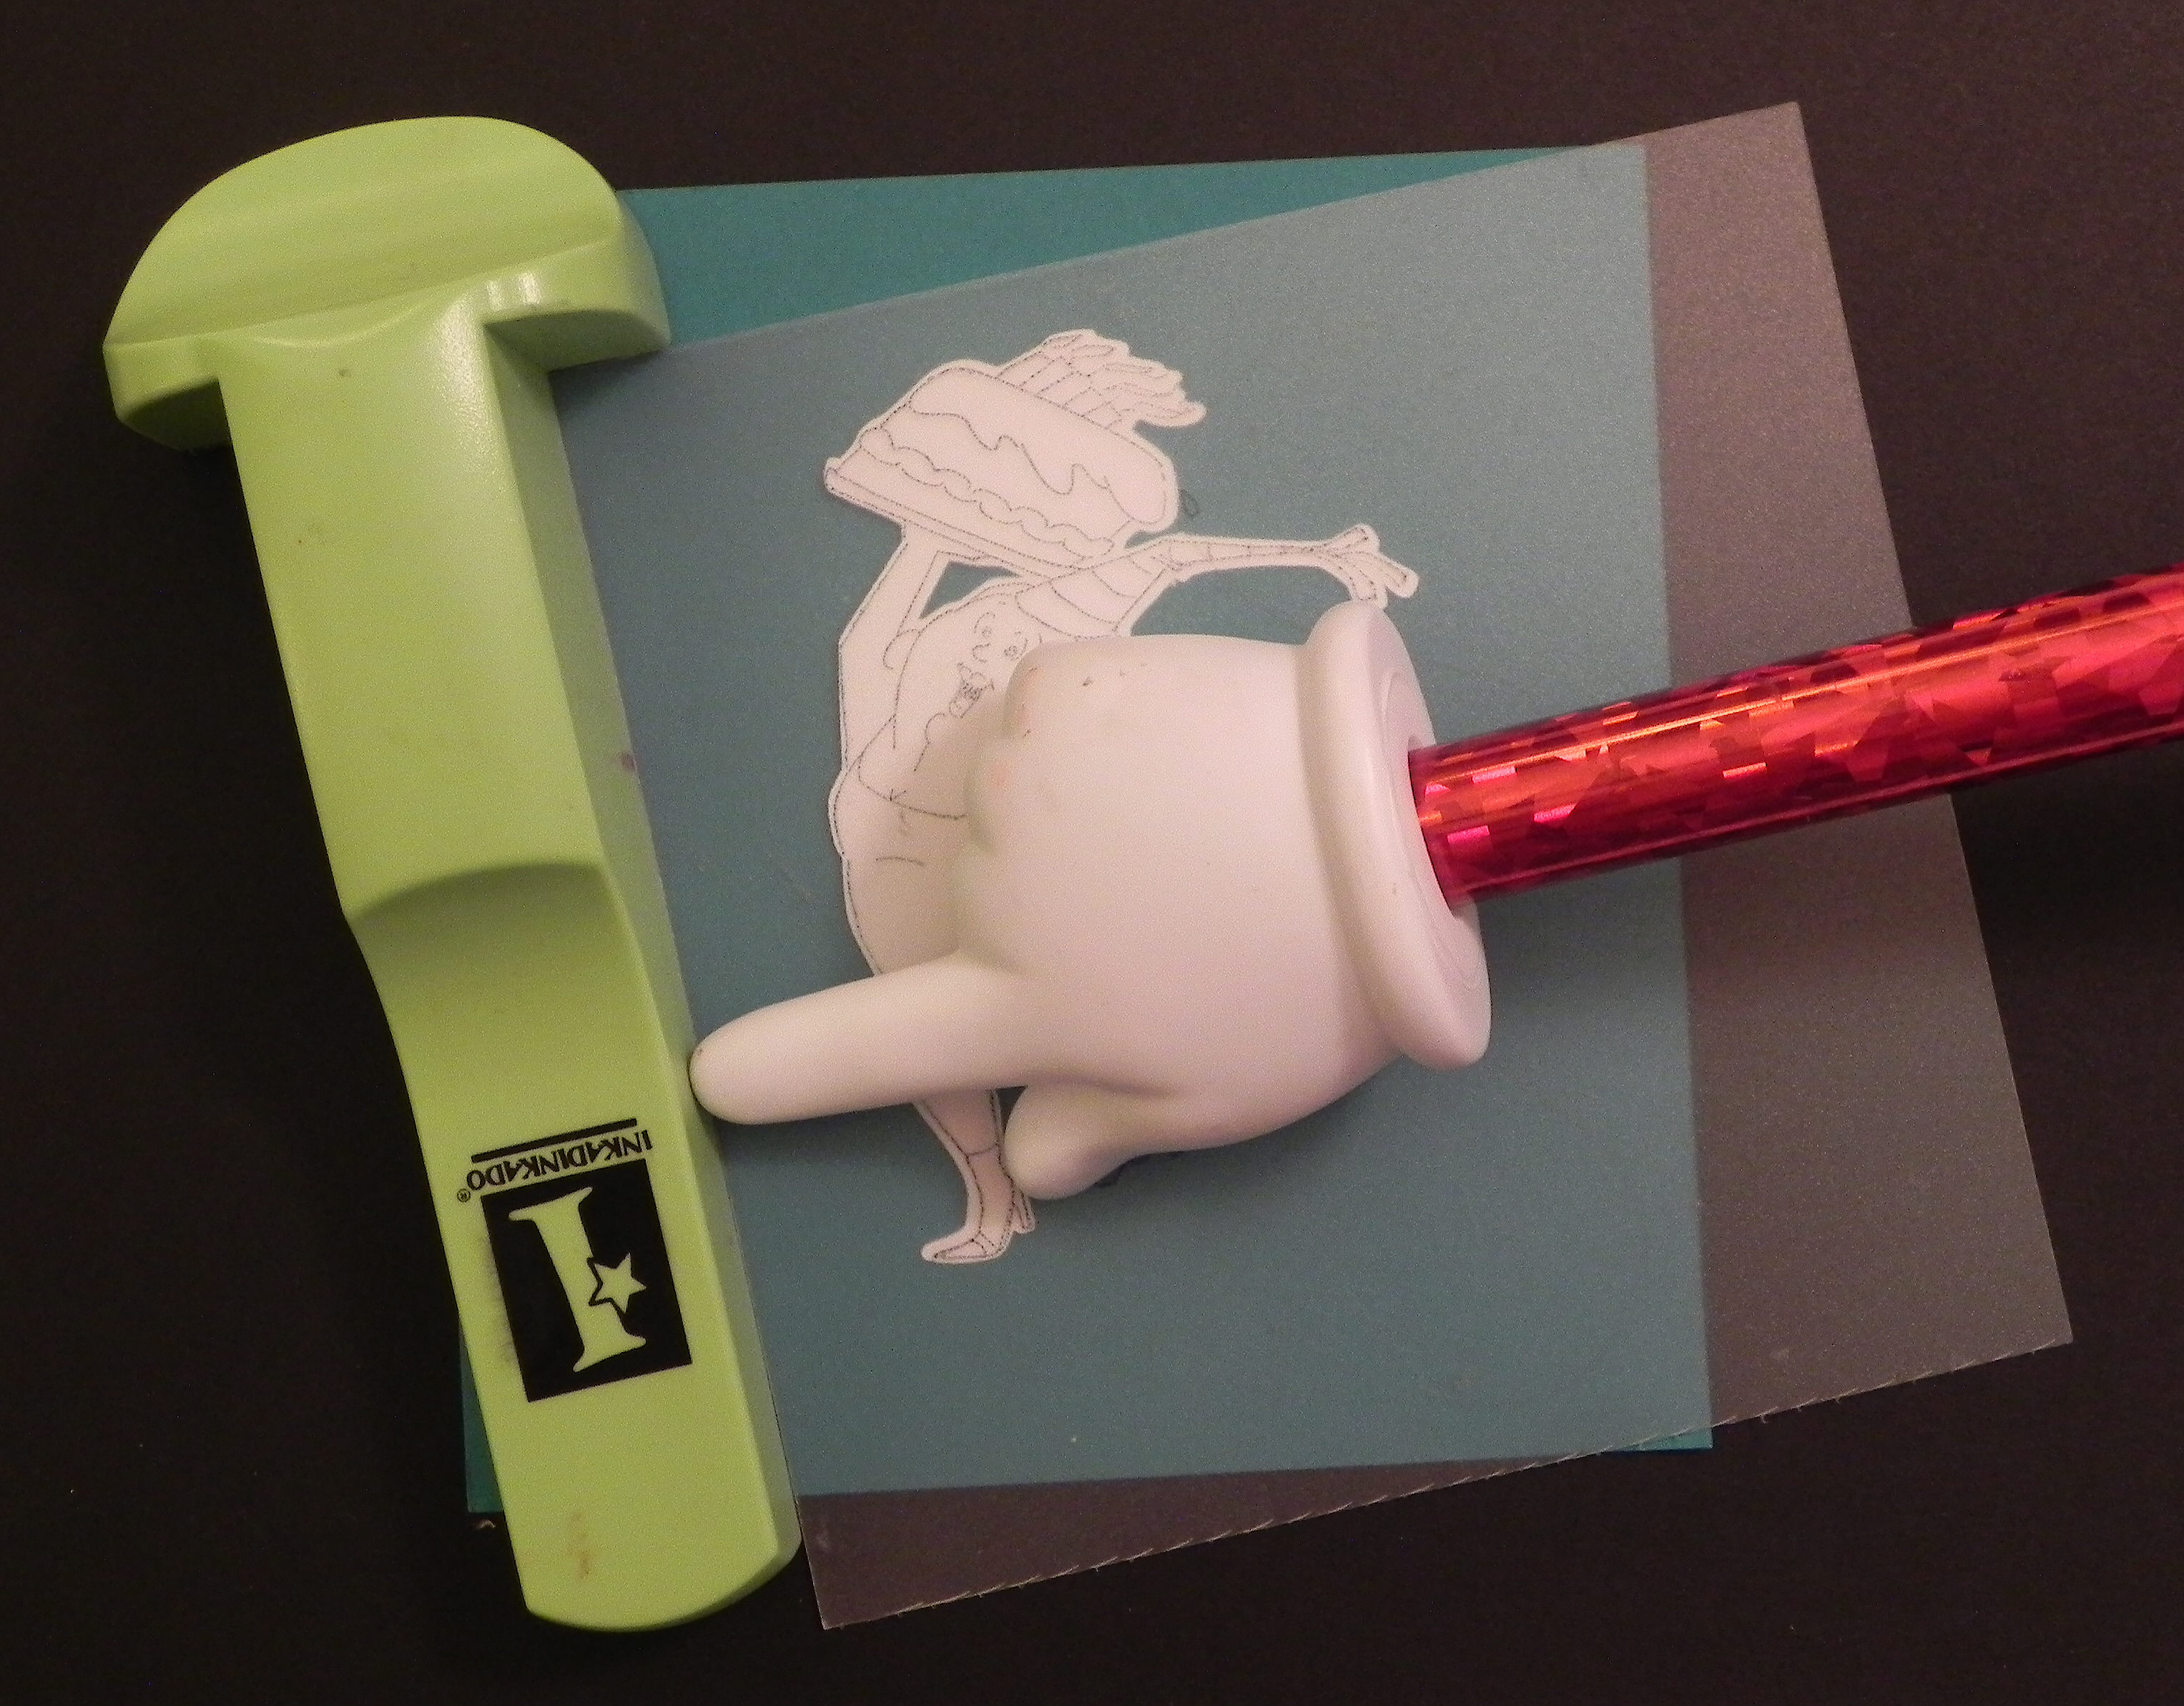
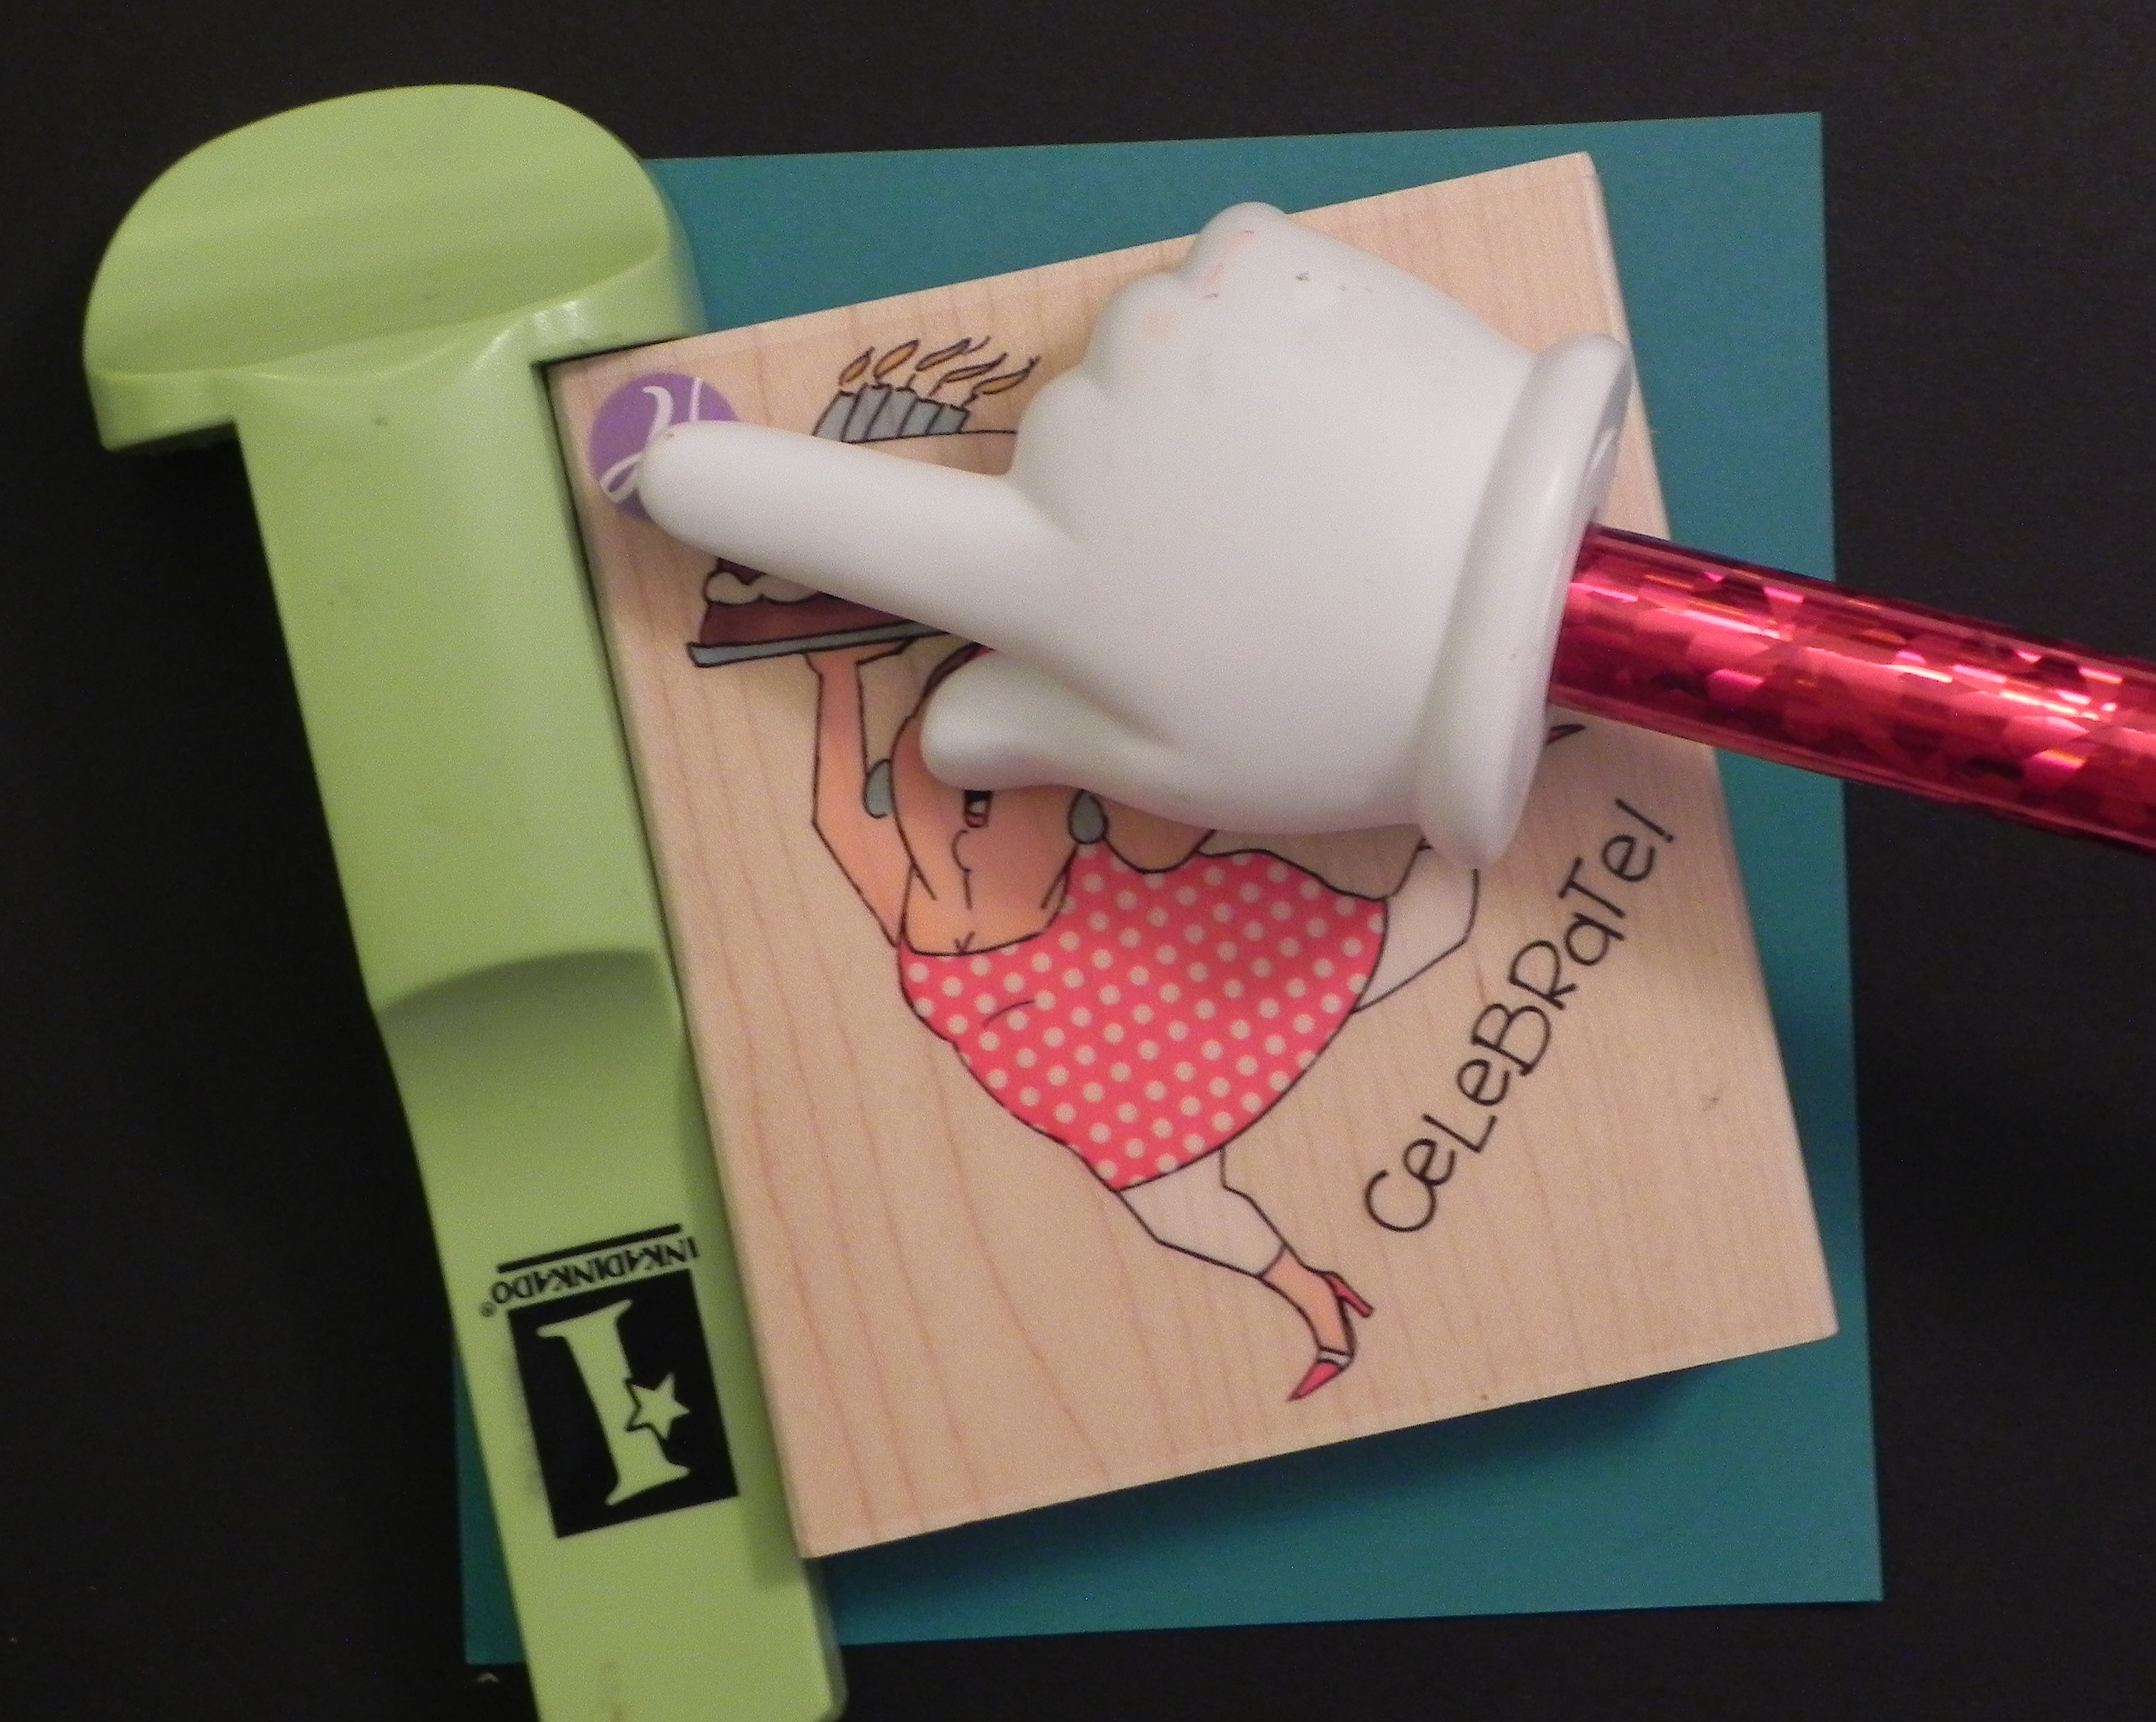
Another tool that I use is a stamp-a-ma-jig. This stamp positioning tool can be used with wood mounted stamps as well as stamps placed temporarily on acrylic blocks.
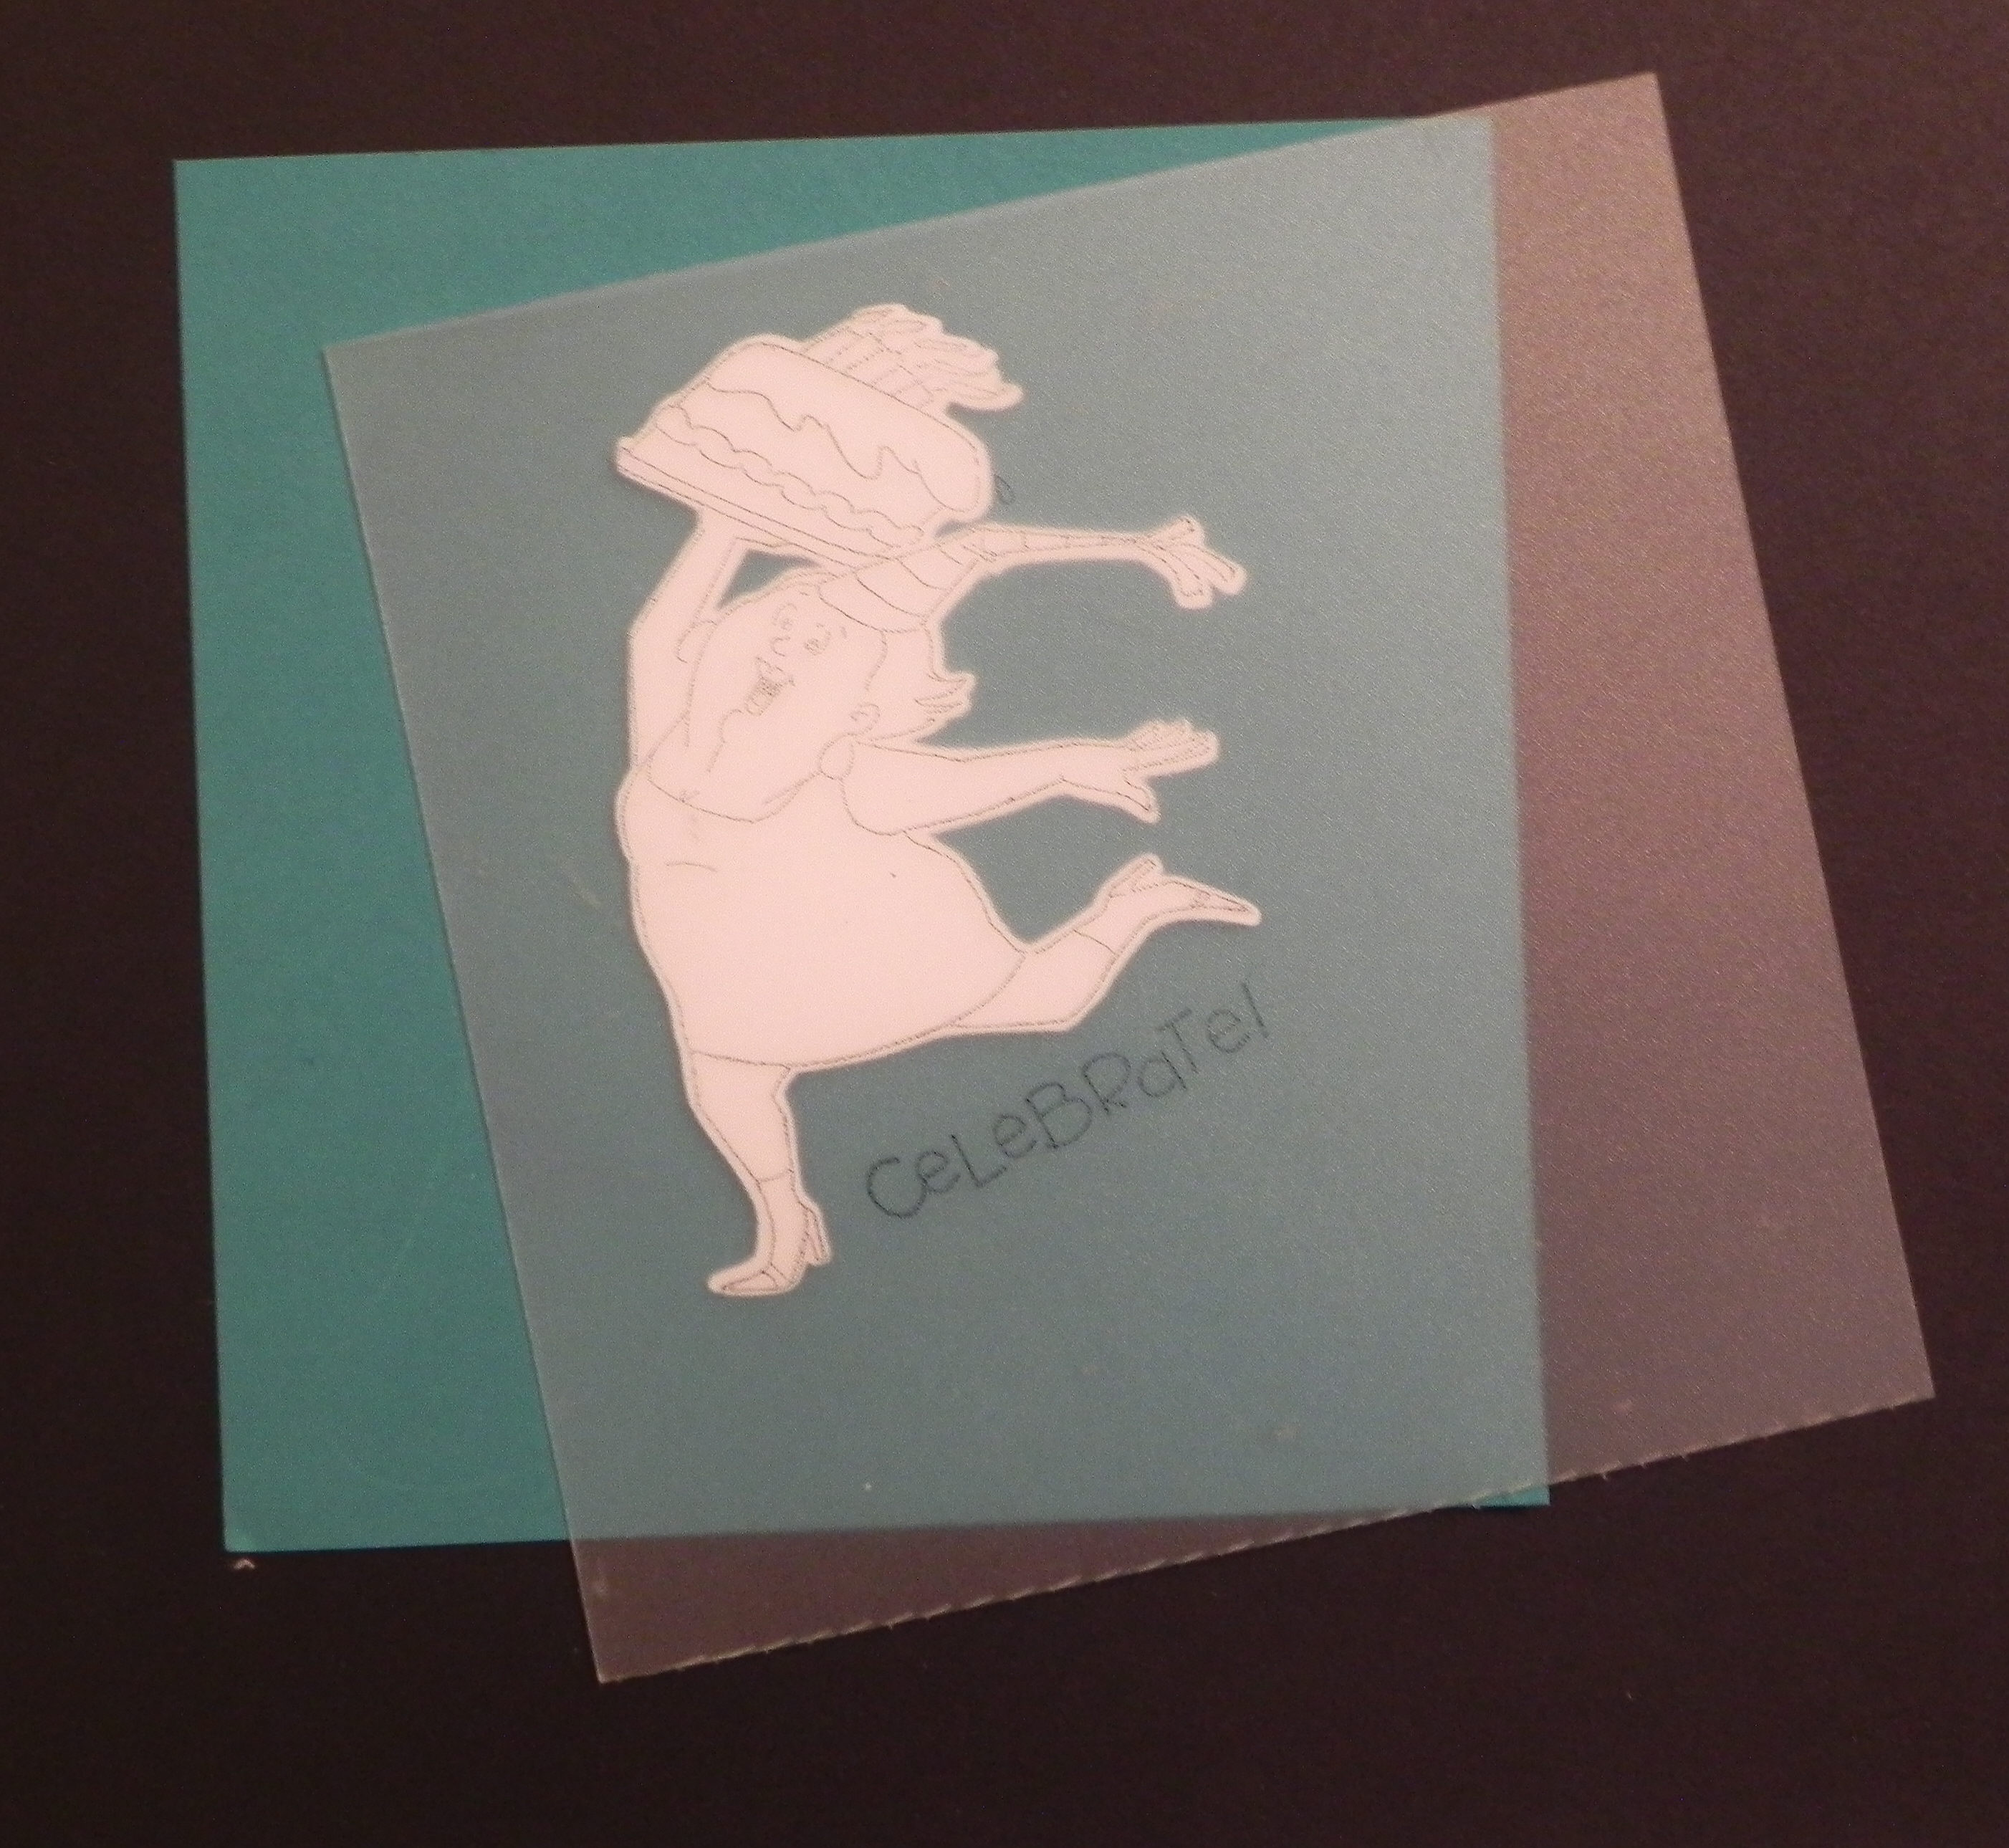
a. Cut out your shape. Adhere this shape to a piece of scrap paper with removable adhesive.
b. Place the clear, positioner sheet that came with your stamp-a-ma-jig in the corner of the tool. Make sure it lines up perfectly square.
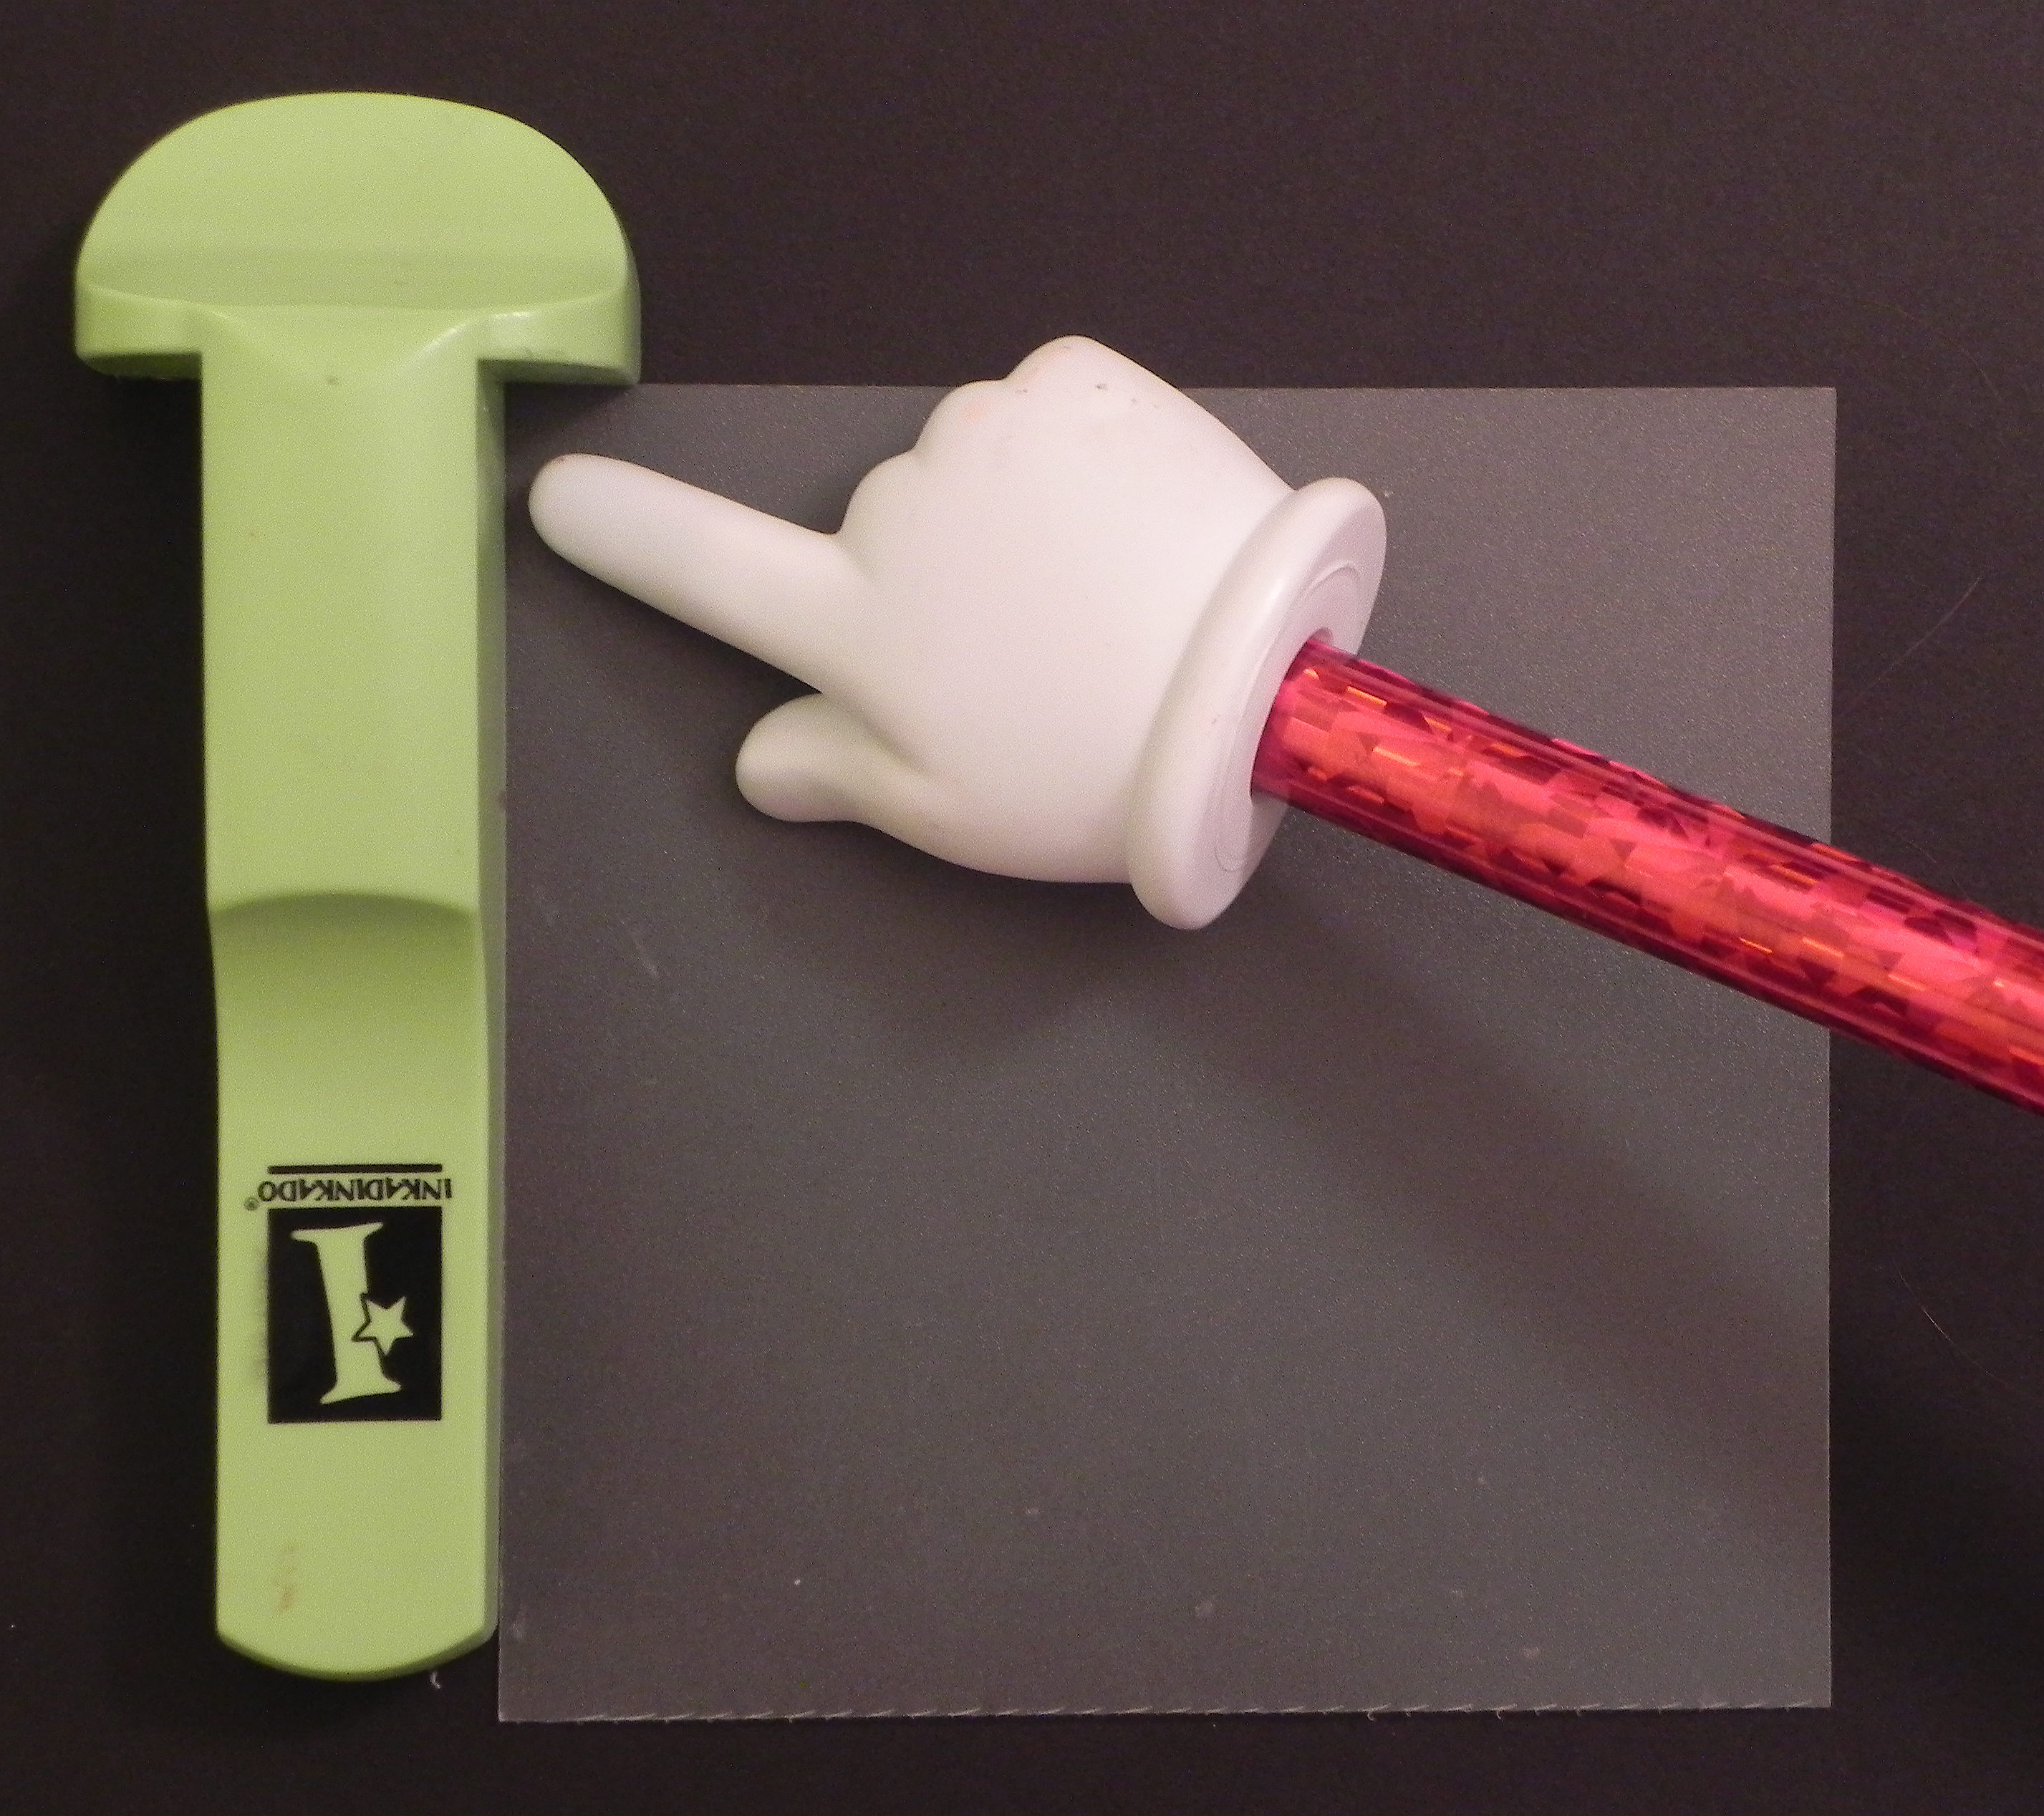
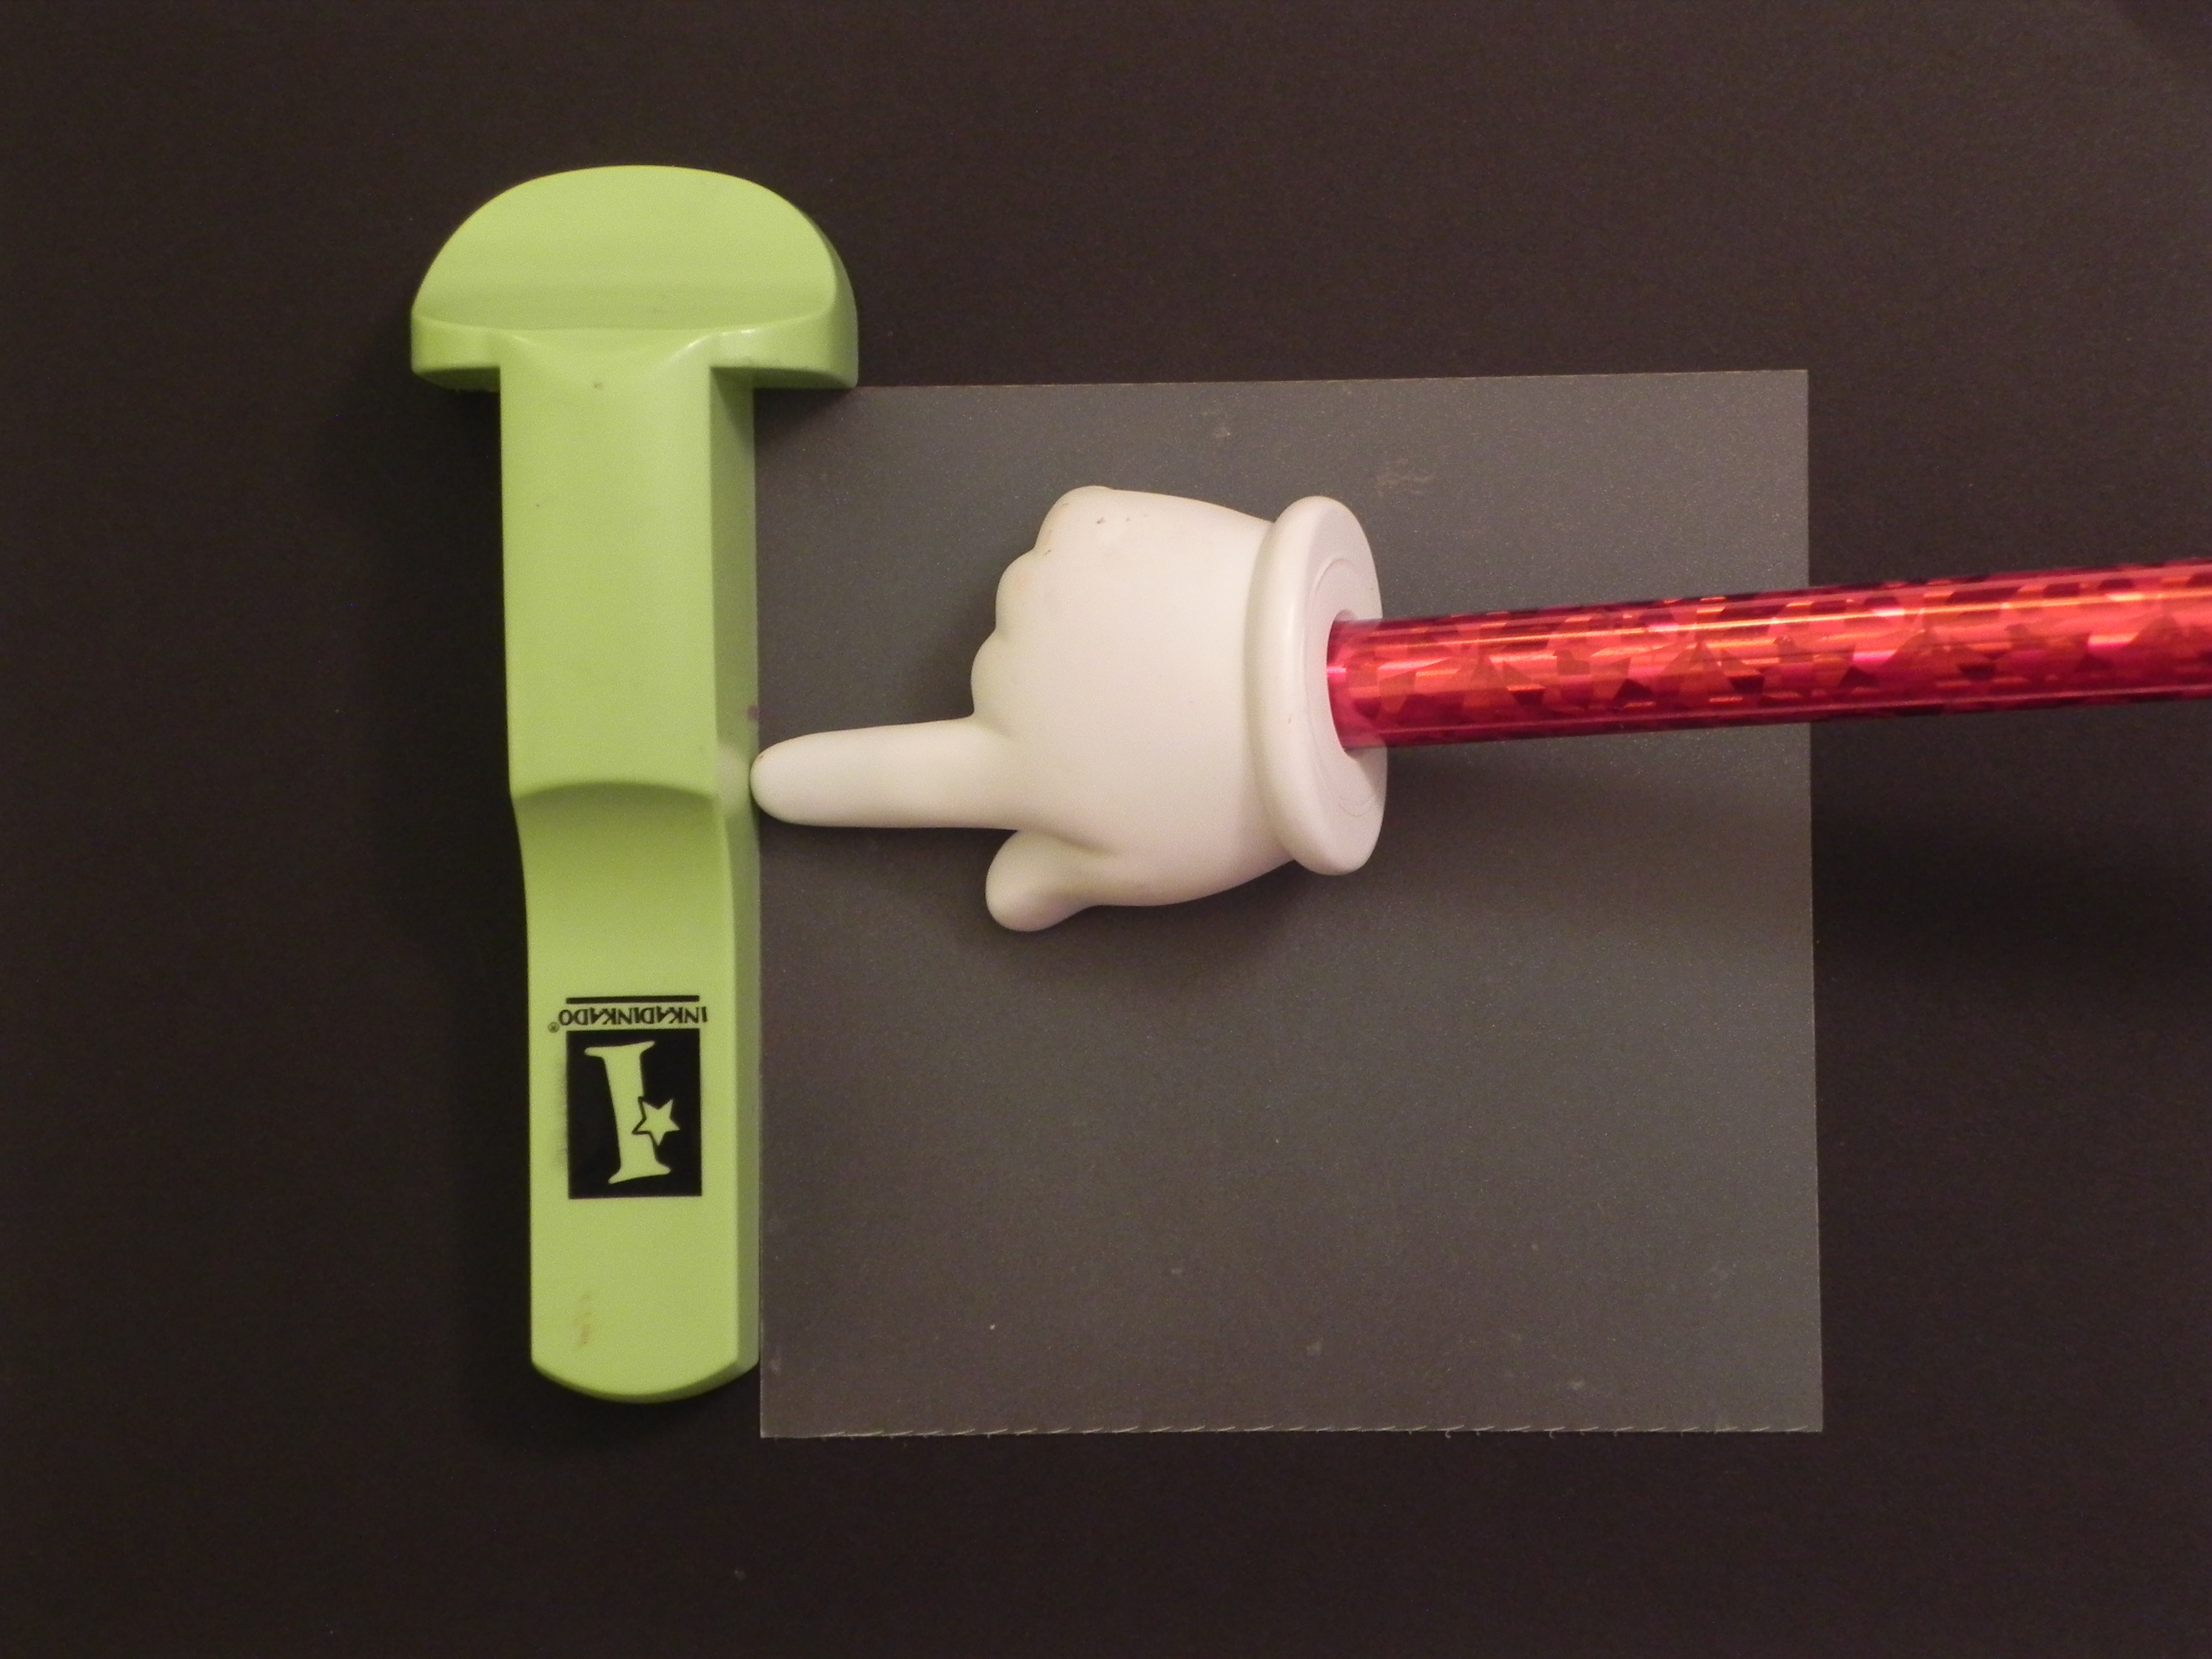
Check alignment here and here
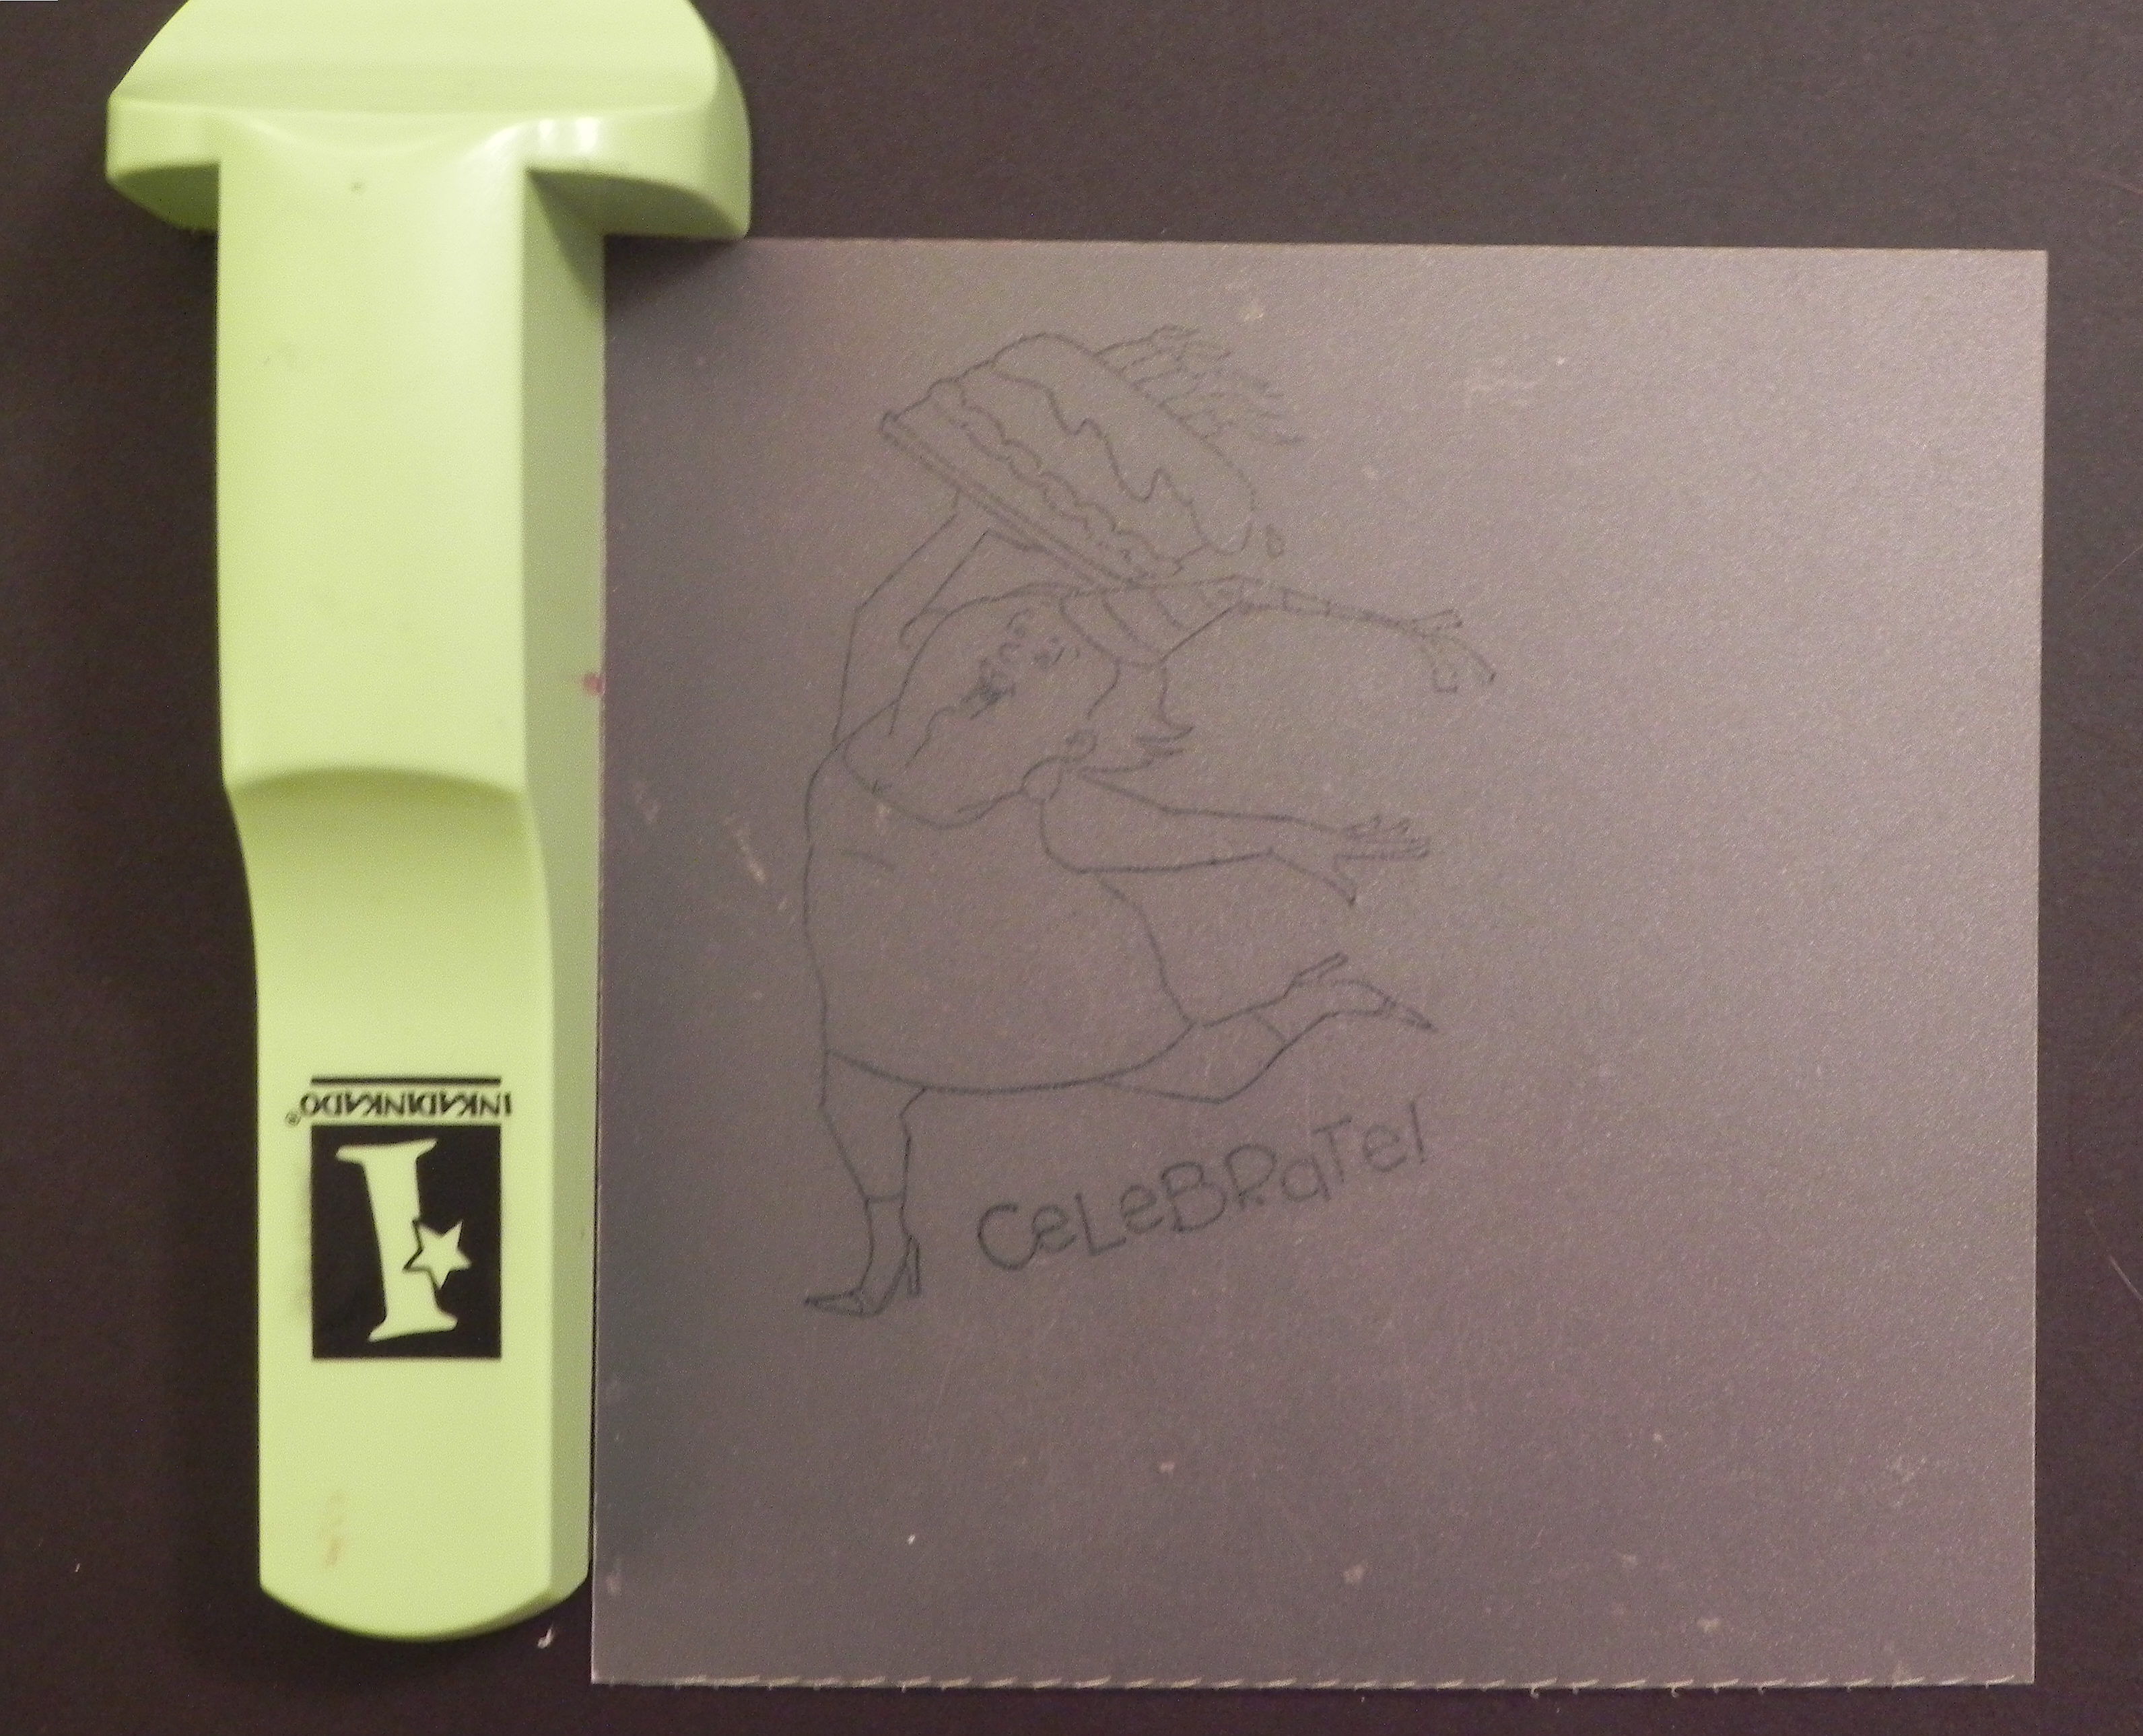
c. Without moving the tool or positioner, ink your stamp, and stamp the image onto the positioner, again making sure to line up the stamp perfectly in the corner and along left edge of the tool.
Check alignment here and here.
d. Remove the stamp and tool, and you will have a stamped image on your positioner sheet.
e. Place the positioner sheet on your cut out shape from step (a). Position it as desired on the cut-out.
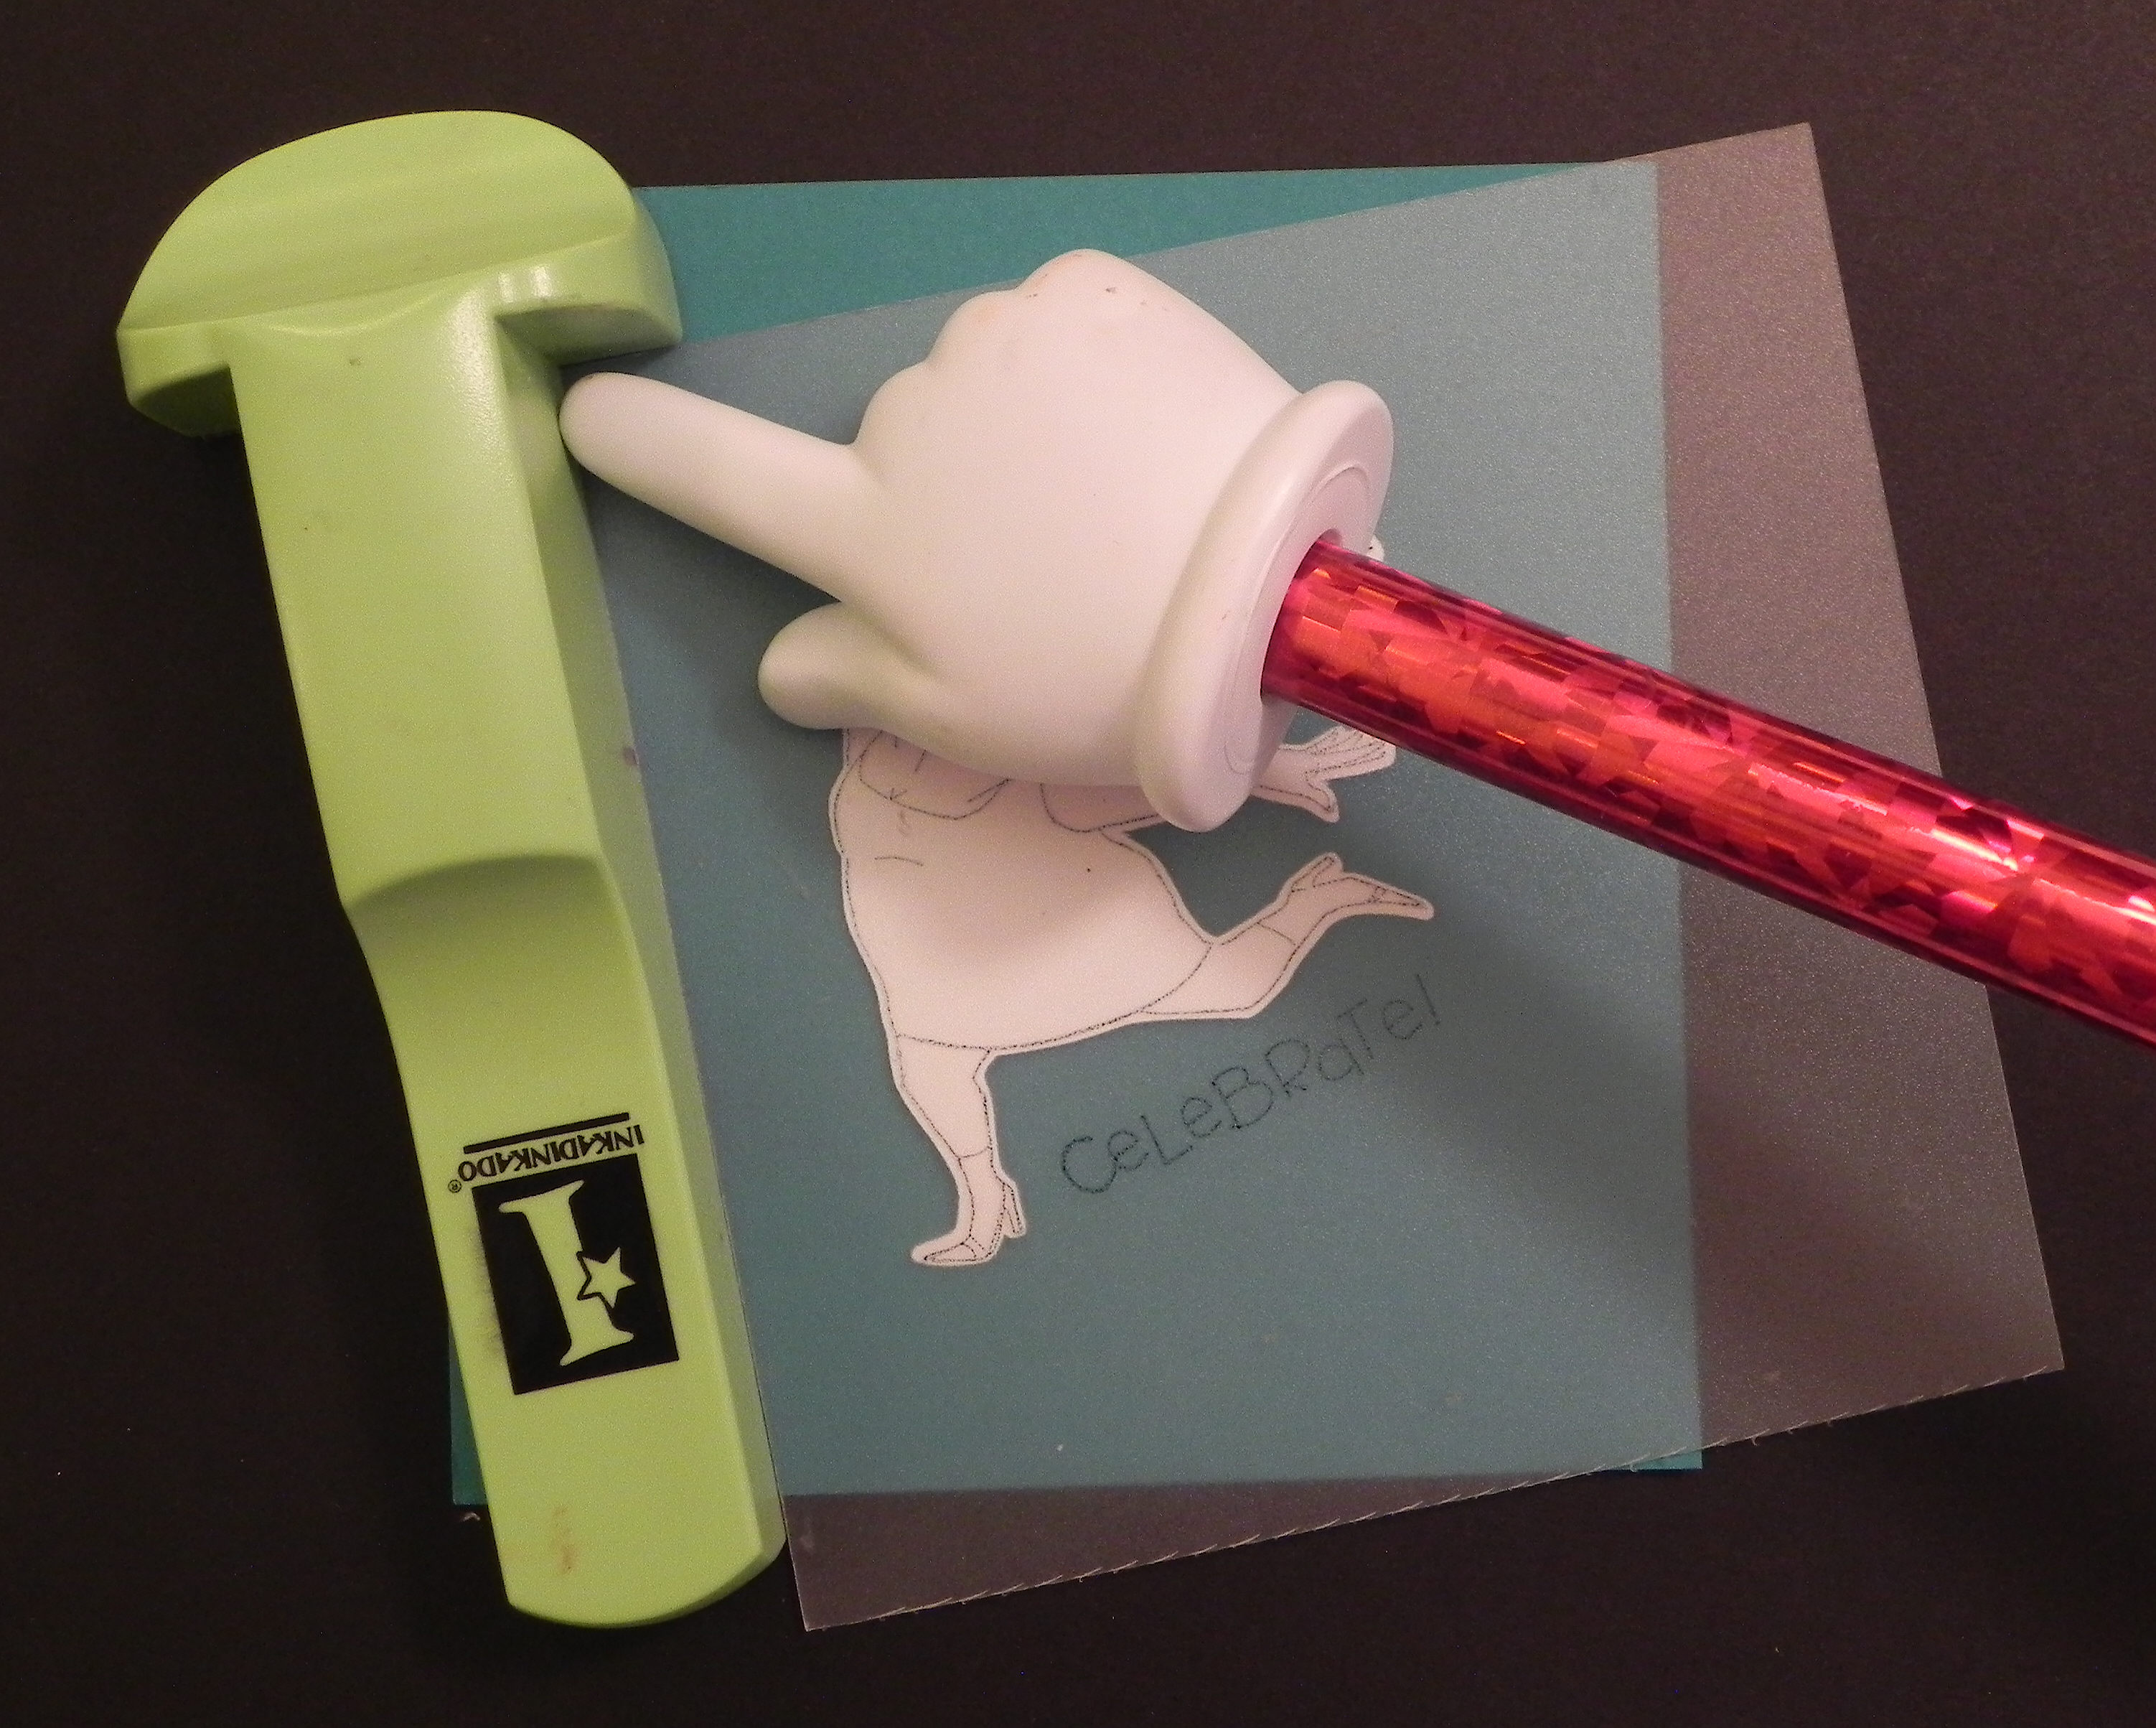
f. While holding the positioner securely in place, put the stamp-a-ma-jig against the upper left corner of the positioner. Check the corner and edge to make sure it is positioned correctly.
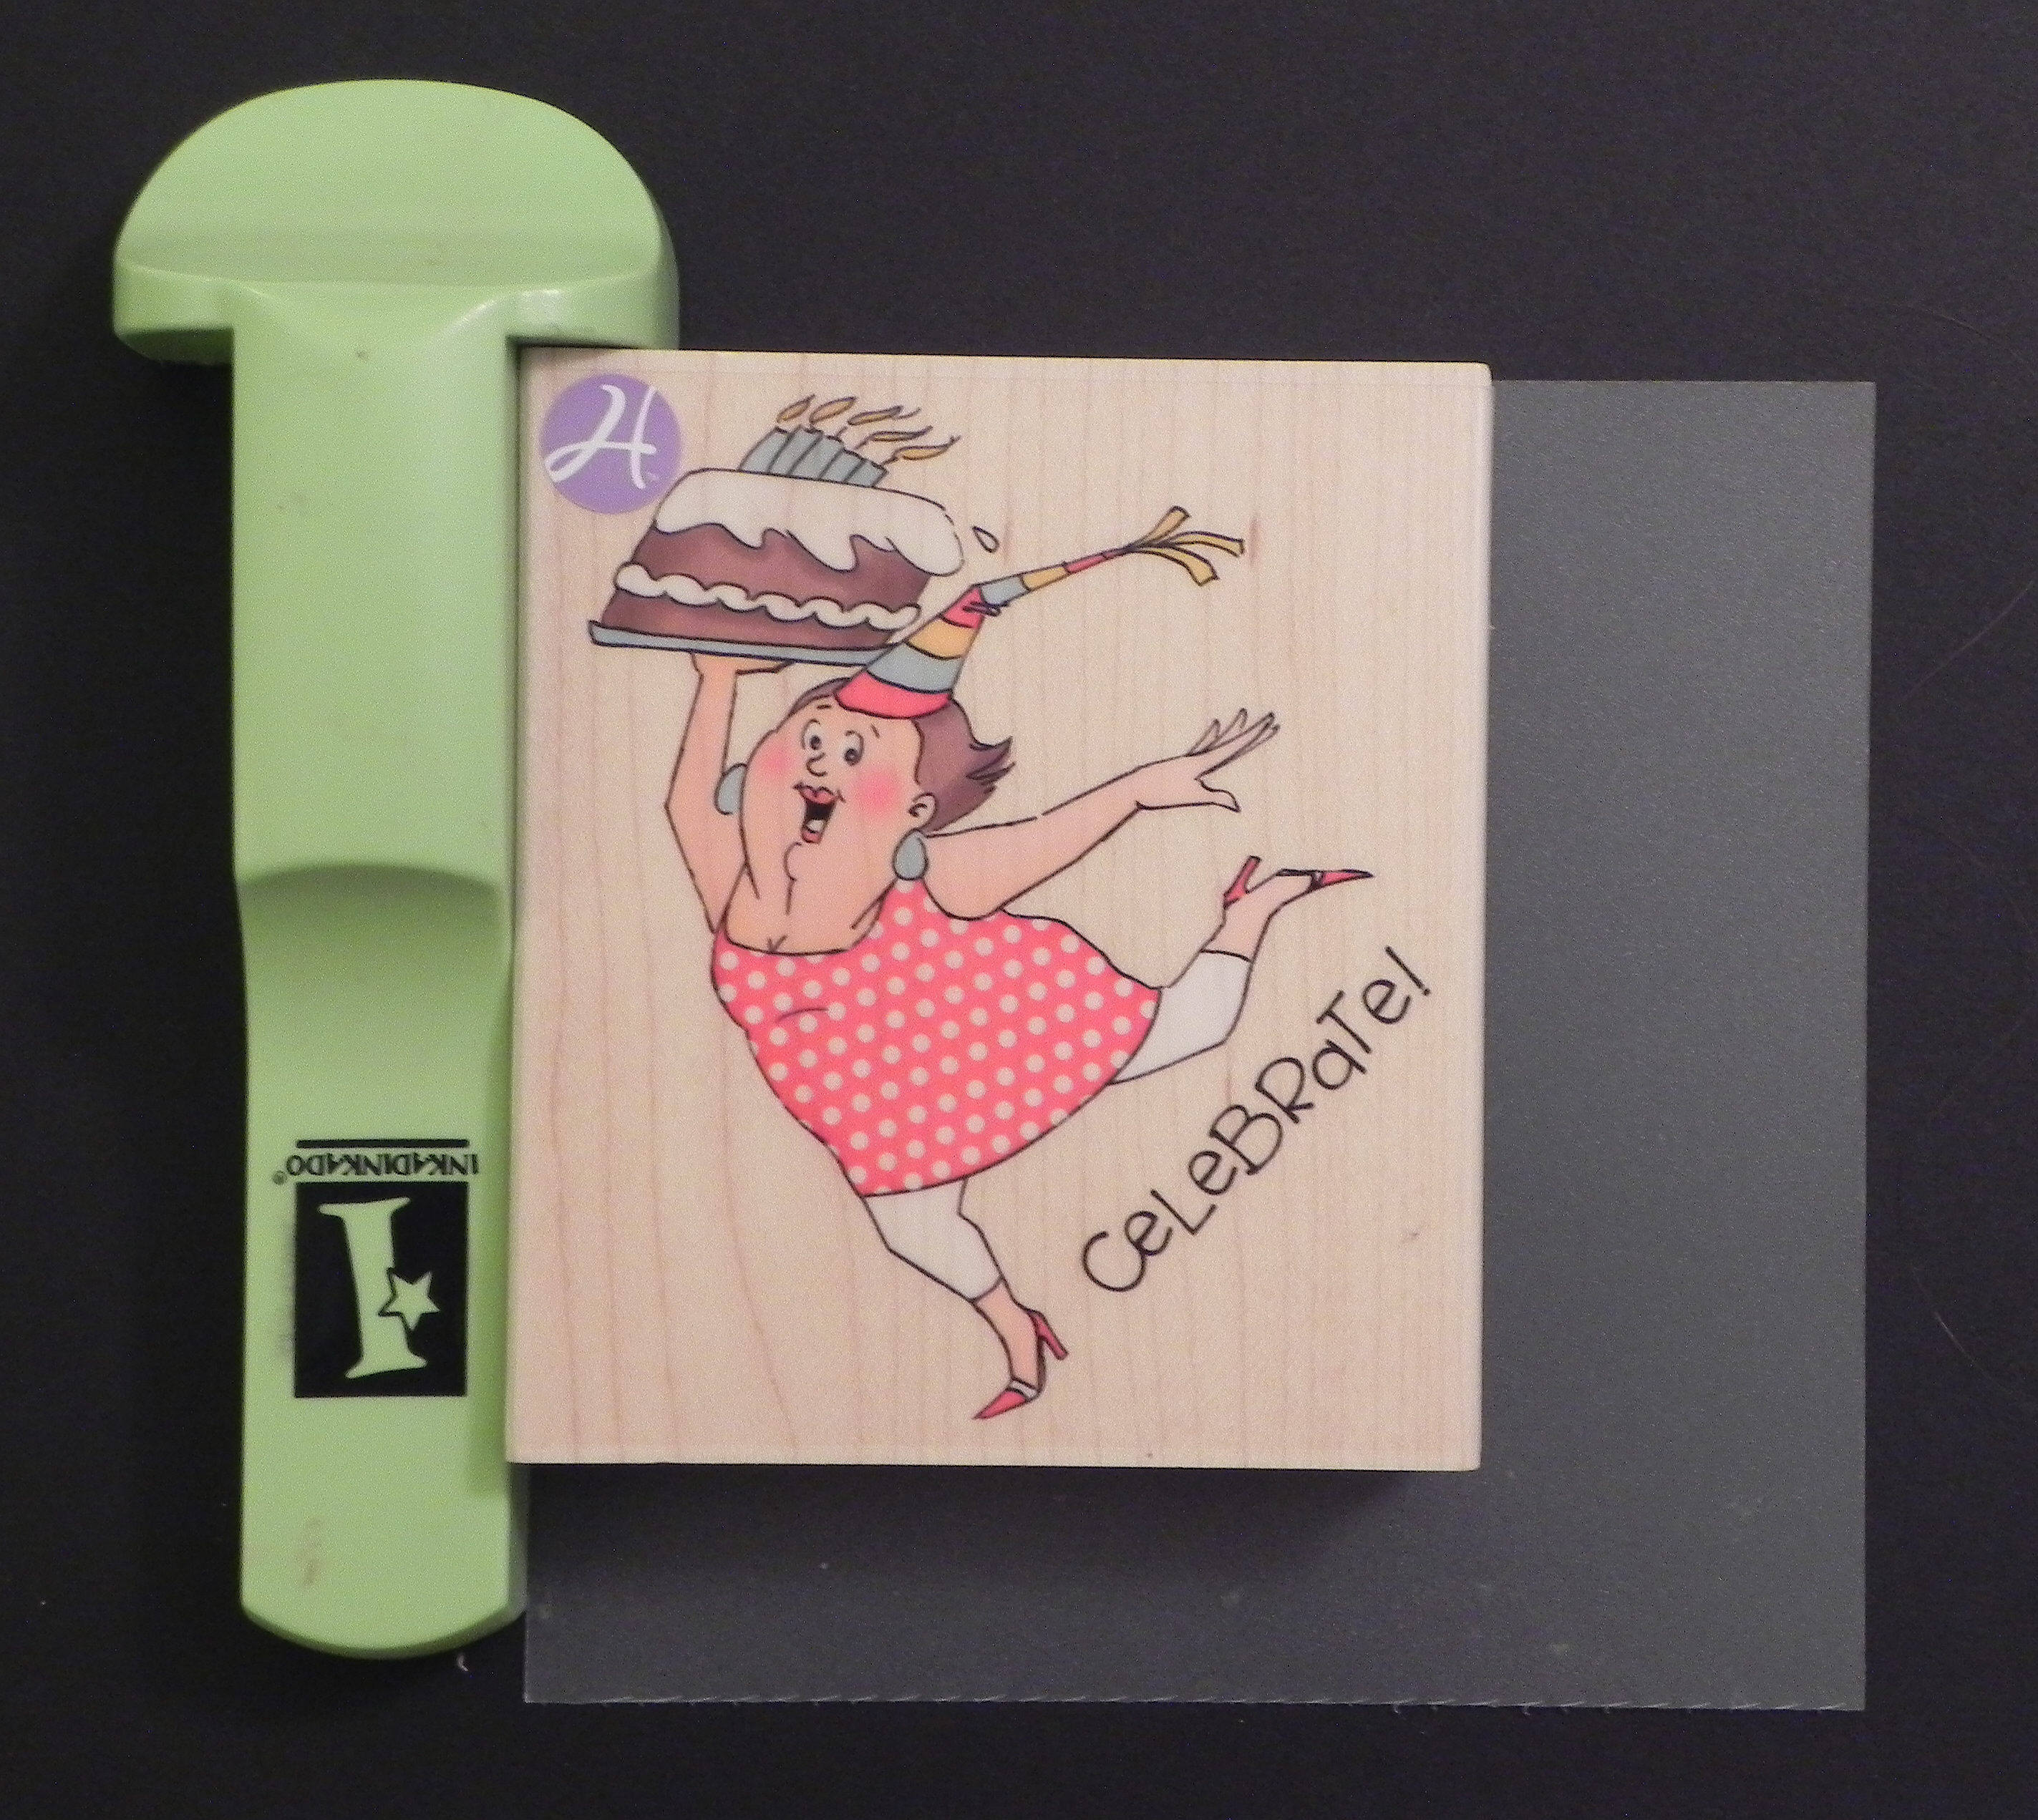
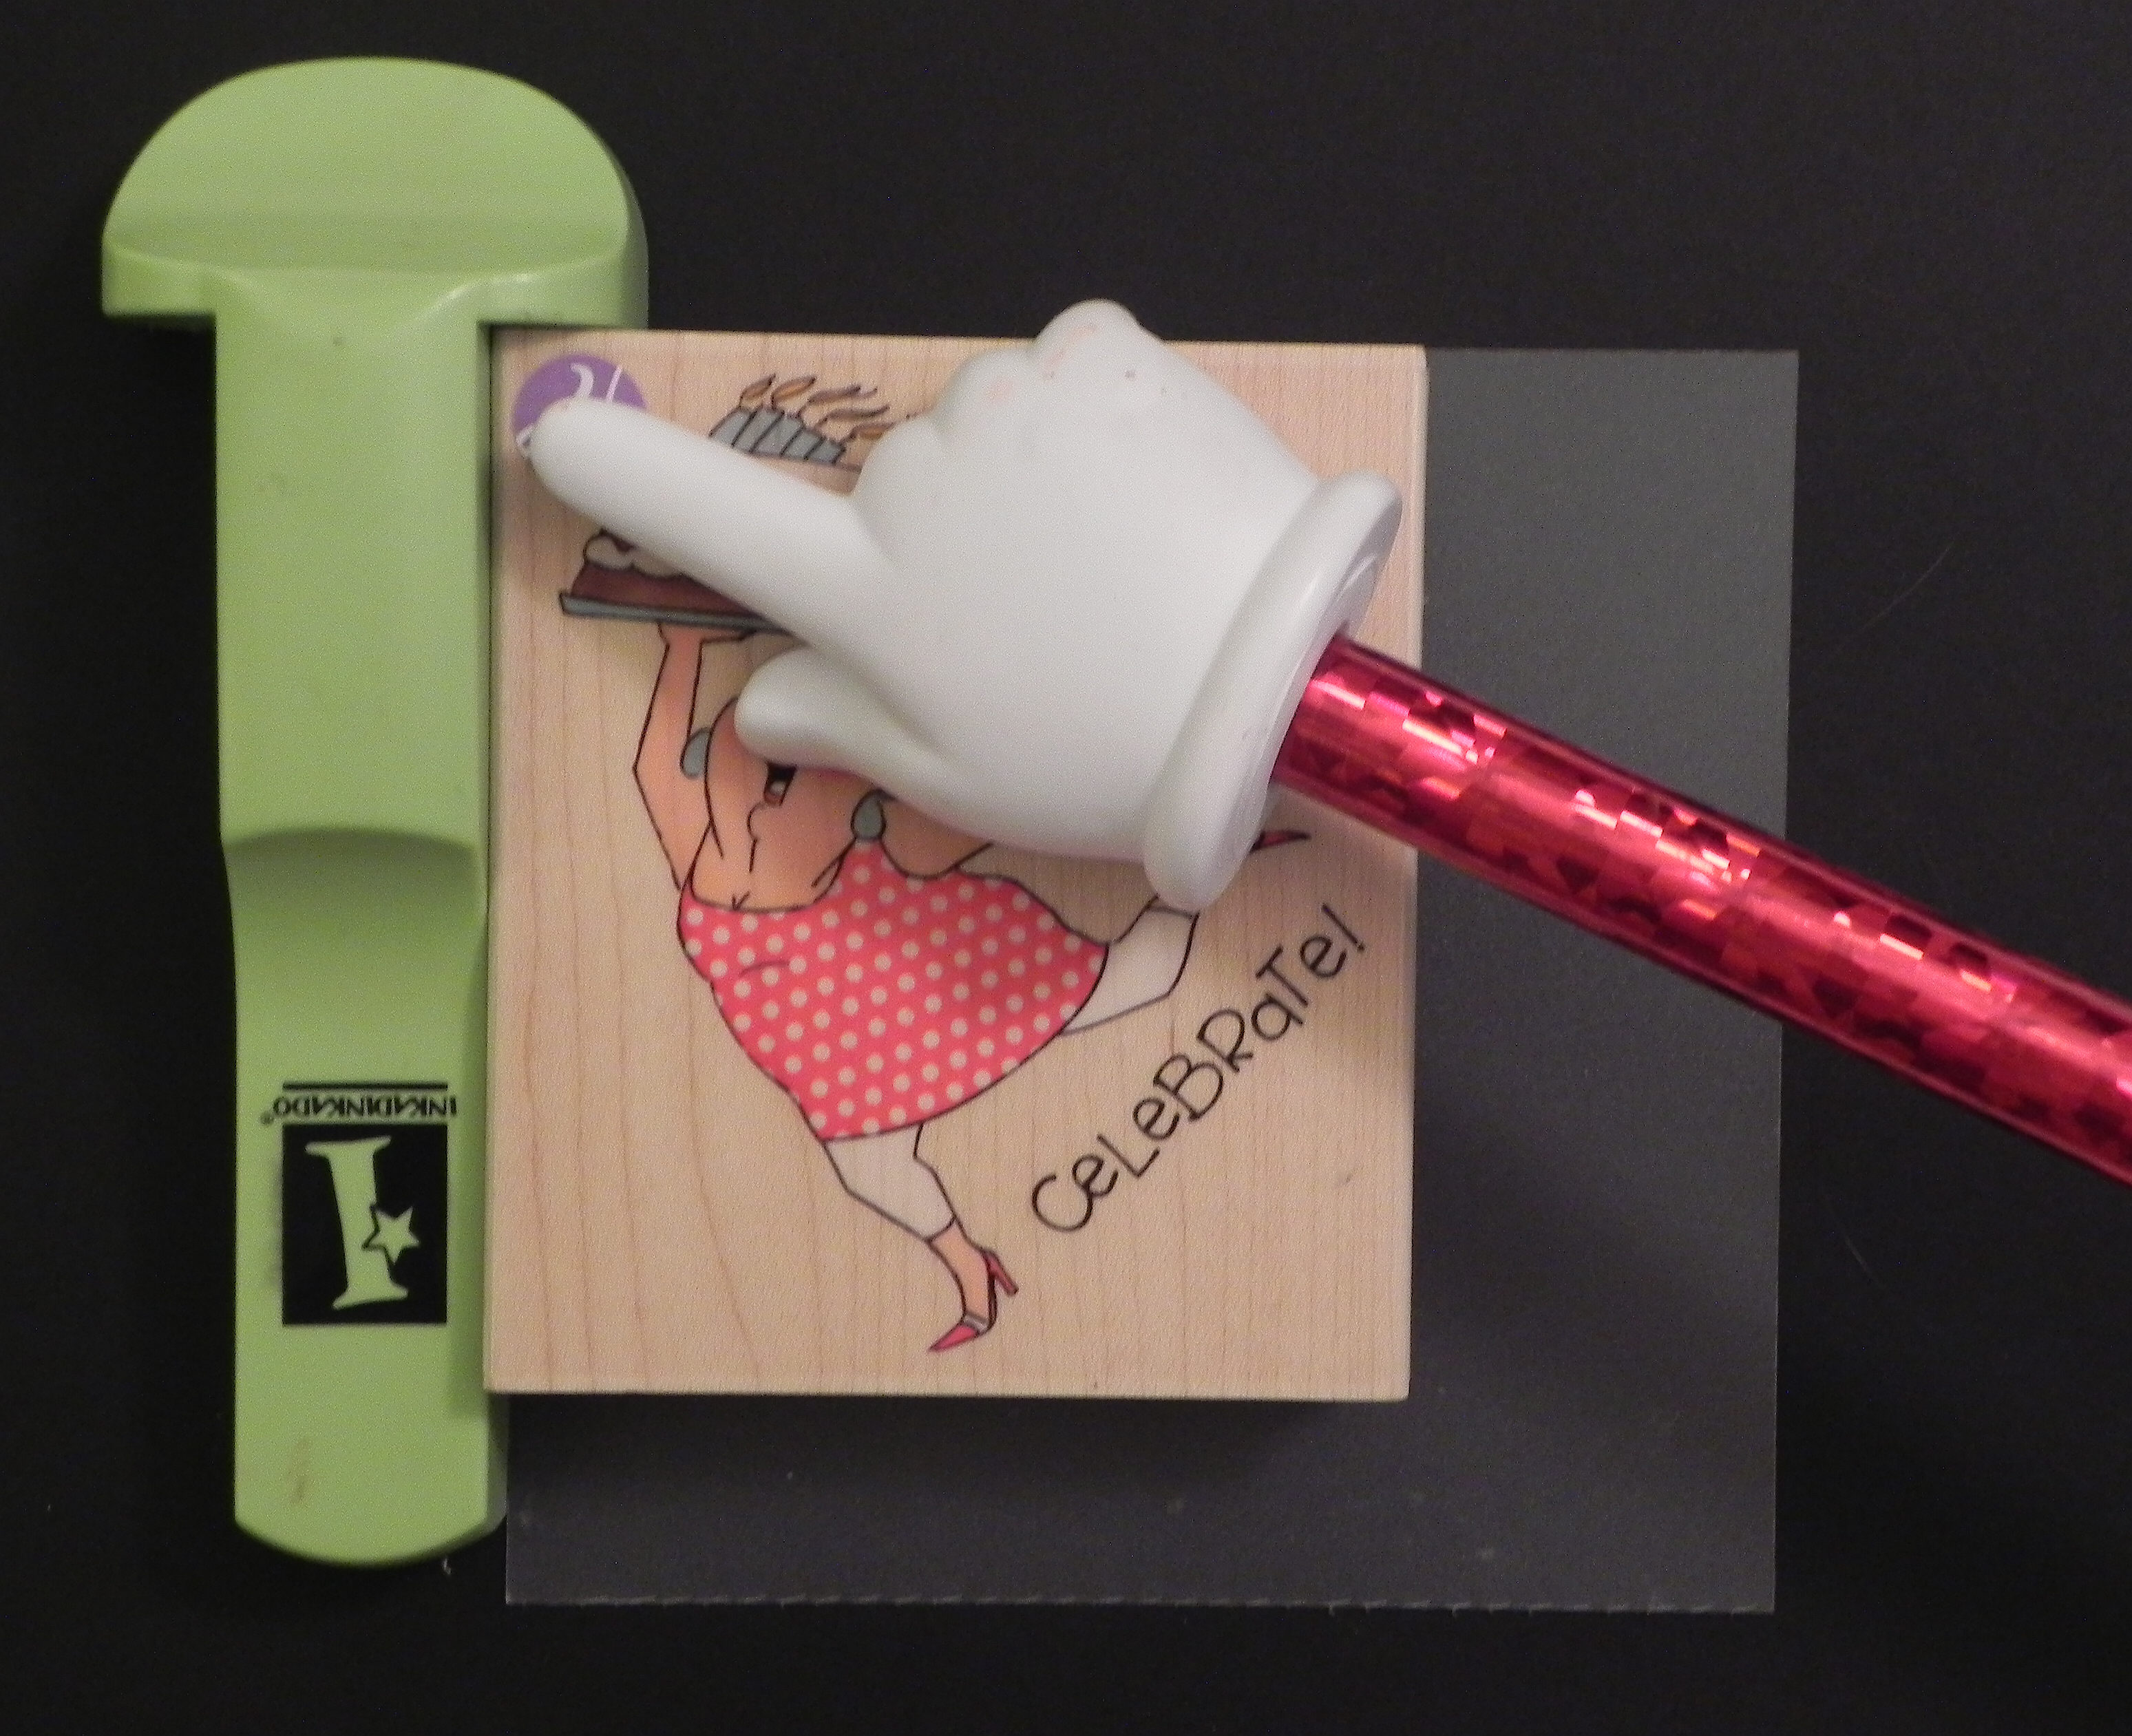
Check alignment here and here.
g. Without moving the tool, slide the positioner sheet away.
h. Stamp the image on your cut-out shape/die cut, lining up the stamp in the corner of the tool as you did before. Don’t let the tool move at all. If it does, start over with the step (e).
Check alignment here and here.
i. Remove the stamp. The image is now on the die cut.
Here’s the card I made using the die cut image. (You can see the original post HERE.)
(stamp is Art Impressions (Hampton Art) # PS0919)
Thanks for checking out my post!
This content uses referral links as described in the disclosure policy on my sidebar.
An earlier version of this card was originally posted in my StampTV Gallery. (Sadly, this site is no longer active.)
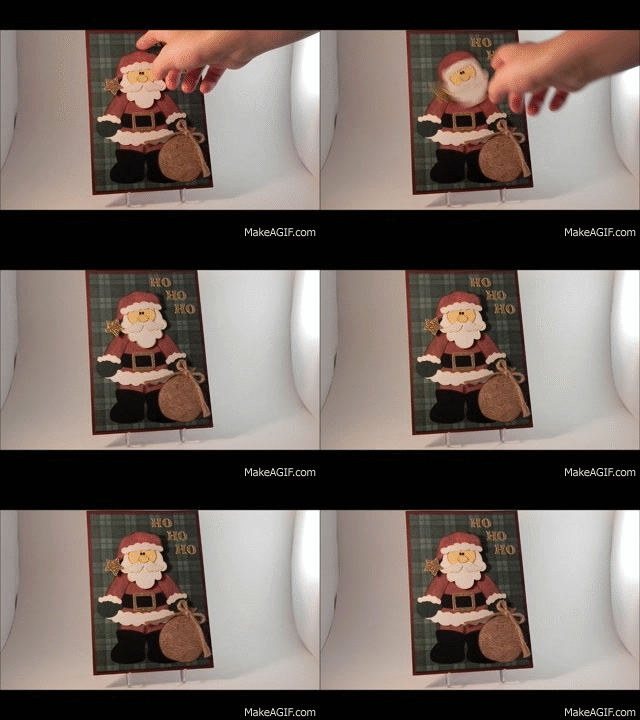
The Santa I used is from an svg set called “Mr. and Mrs. Country Claus” which I have had in my file for a while. My records show it was purchased and downloaded from “Treasure Box Designs” although it was either discontinued or I am mistaken in the artist/company since it is no longer there on their site. (If I am giving credit to the wrong artist/company, I am sorry.)
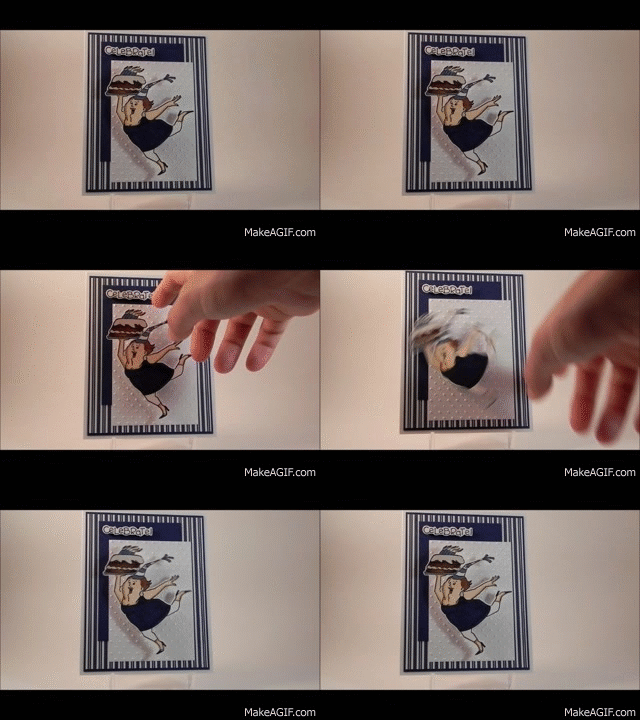
I cut the pieces with my Silhouette, inked all the edges with Tim Holtz Walnut Stain distress ink, and pieced him together. To create a bobble-head effect, I mounted Santa’s head on a spring. (Excuse the poor quality of the GIF file below. I cannot include videos here in my blog post but wanted to show the movement.)
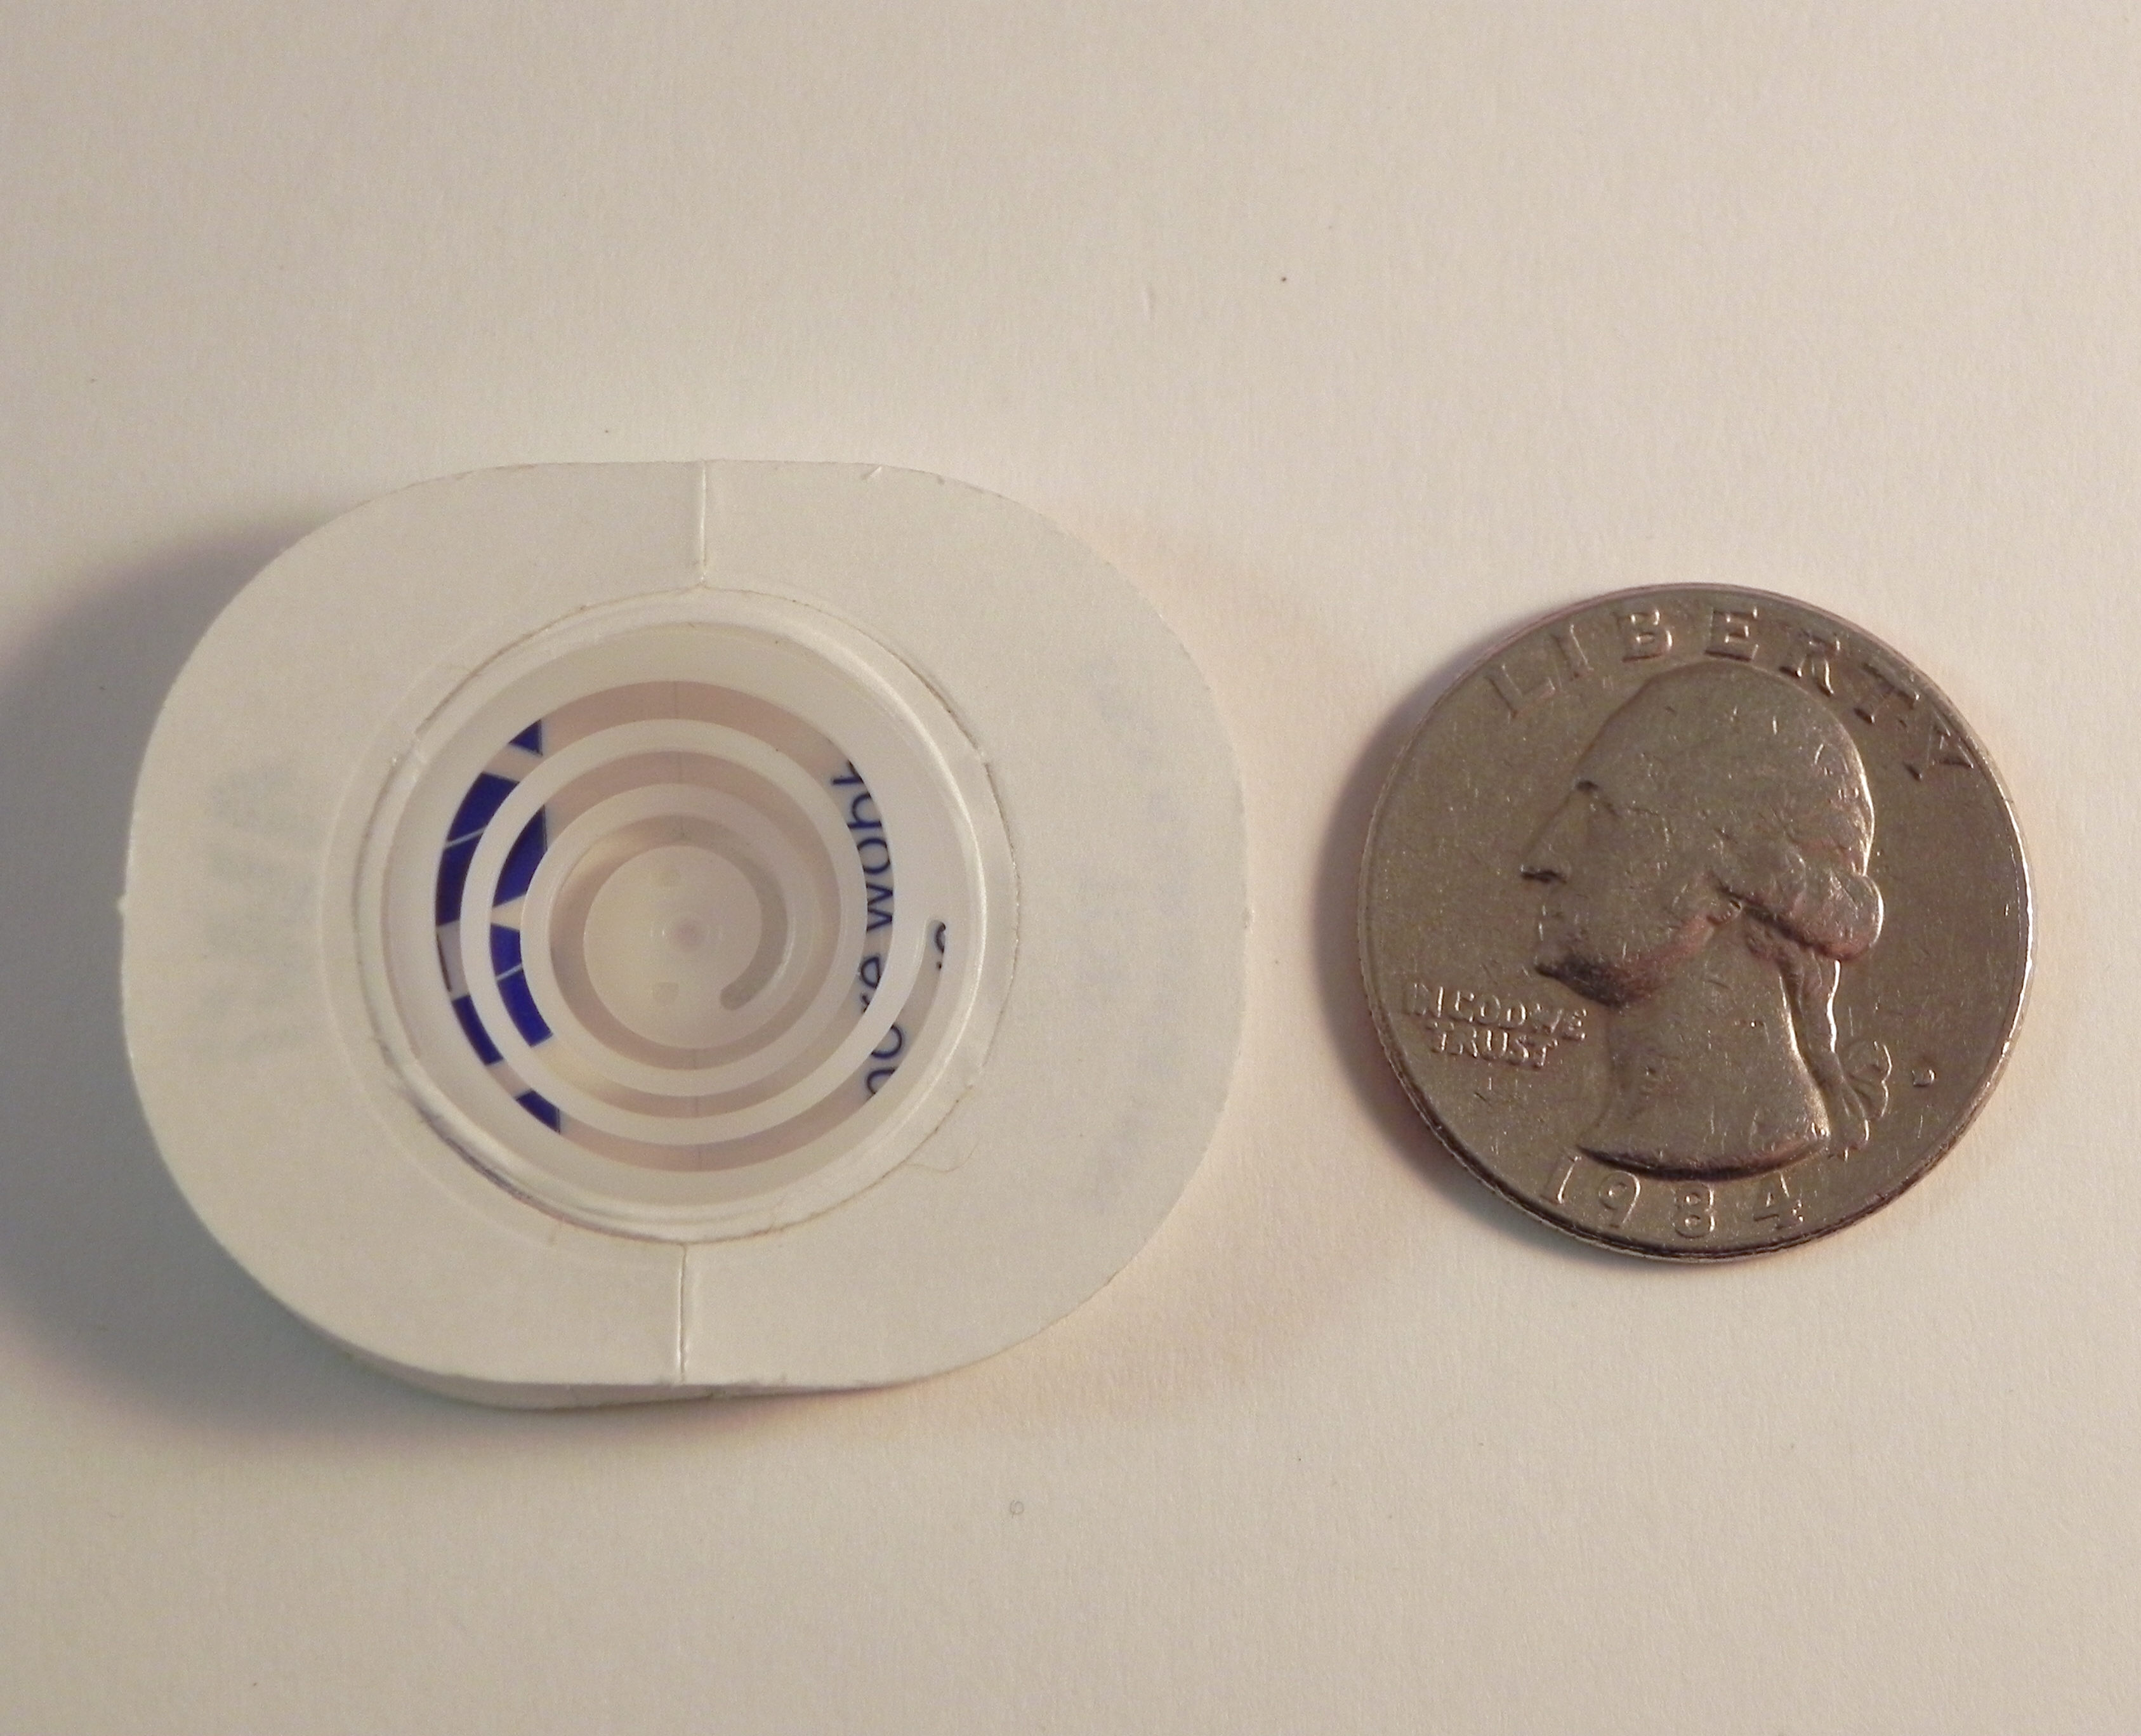
The spring is called an “Action Wobble Spring” and is a plastic spring with adhesive on both sides so it sticks to your card project and to the element you want to wobble. (I got these on Amazon.com HERE.) I really love using these springs, but as you can see in the photo below, the adhesive panels are fairly large so your element needs to be big enough to cover the spring. (They now have mini ones for smaller elements.)
The background paper is Pine Green Plaid by Paper Pizazz mounted on a Gina K Cranberry Tart card base. The red for Santa’s clothes is Burgundy & Gold Crackle Paper by Colorbok. His sack was made with Recollections burlap scrapbook paper. Recollections gold paper was used for the gold elements. (My original card had gold glitter paper, but I it was difficult to cut, so I switched to a flat gold paper for this card.) The other pieces were cut from a piece of a manilla file folder and scraps of green, black and white from my scrap box.
Thanks for checking out my card project!
This content uses referral links as described in the disclosure policy on my sidebar.
My son did an internship in Baltimore the first half of this summer (we live in NJ), and our nephew and his family were awesome and allowed Eric to stay with them while there. This adorable digital image of Noah from a set called “Another Door Opens” from Sassy Cheryl’s Stamps (no longer available) reminded me of Eric as a little guy (he’s 19 now) and seemed perfect for the thank you note I wanted to send them.
I love Cheryl’s artwork and was excited that she had an image in her collection that worked for my project. I was also excited to have the opportunity to practice coloring since I don’t do it as often as I probably should. It took me MANY tries to get one I could live with. Even after the Copic classes I’ve taken, I still struggle with faces, hair and shading. With all the adorable images at Sassy Cheryl’s Stamps that I’ve purchased (shop now closed), it will certainly be fun practicing!
The white panel is X-Press It blending card stock, and the card base is Gina K Blue Denim. The greeting is from the Gina K Designs “Vertical Greetings” set and was stamped with Memento Tuxedo Black ink.
Copic markers used:
Hair – E57, E59, E49
Skin – E00, E01, E31, E04
Clothes – B91, B95, B97, C1, C3, 0
Shoes – E57, E59, E49
Suitcase – E57, E29, E31, Y28, C1, C3, B97, 0
Thanks for checking out my card project.
This content uses referral links as described in the disclosure policy on my sidebar.
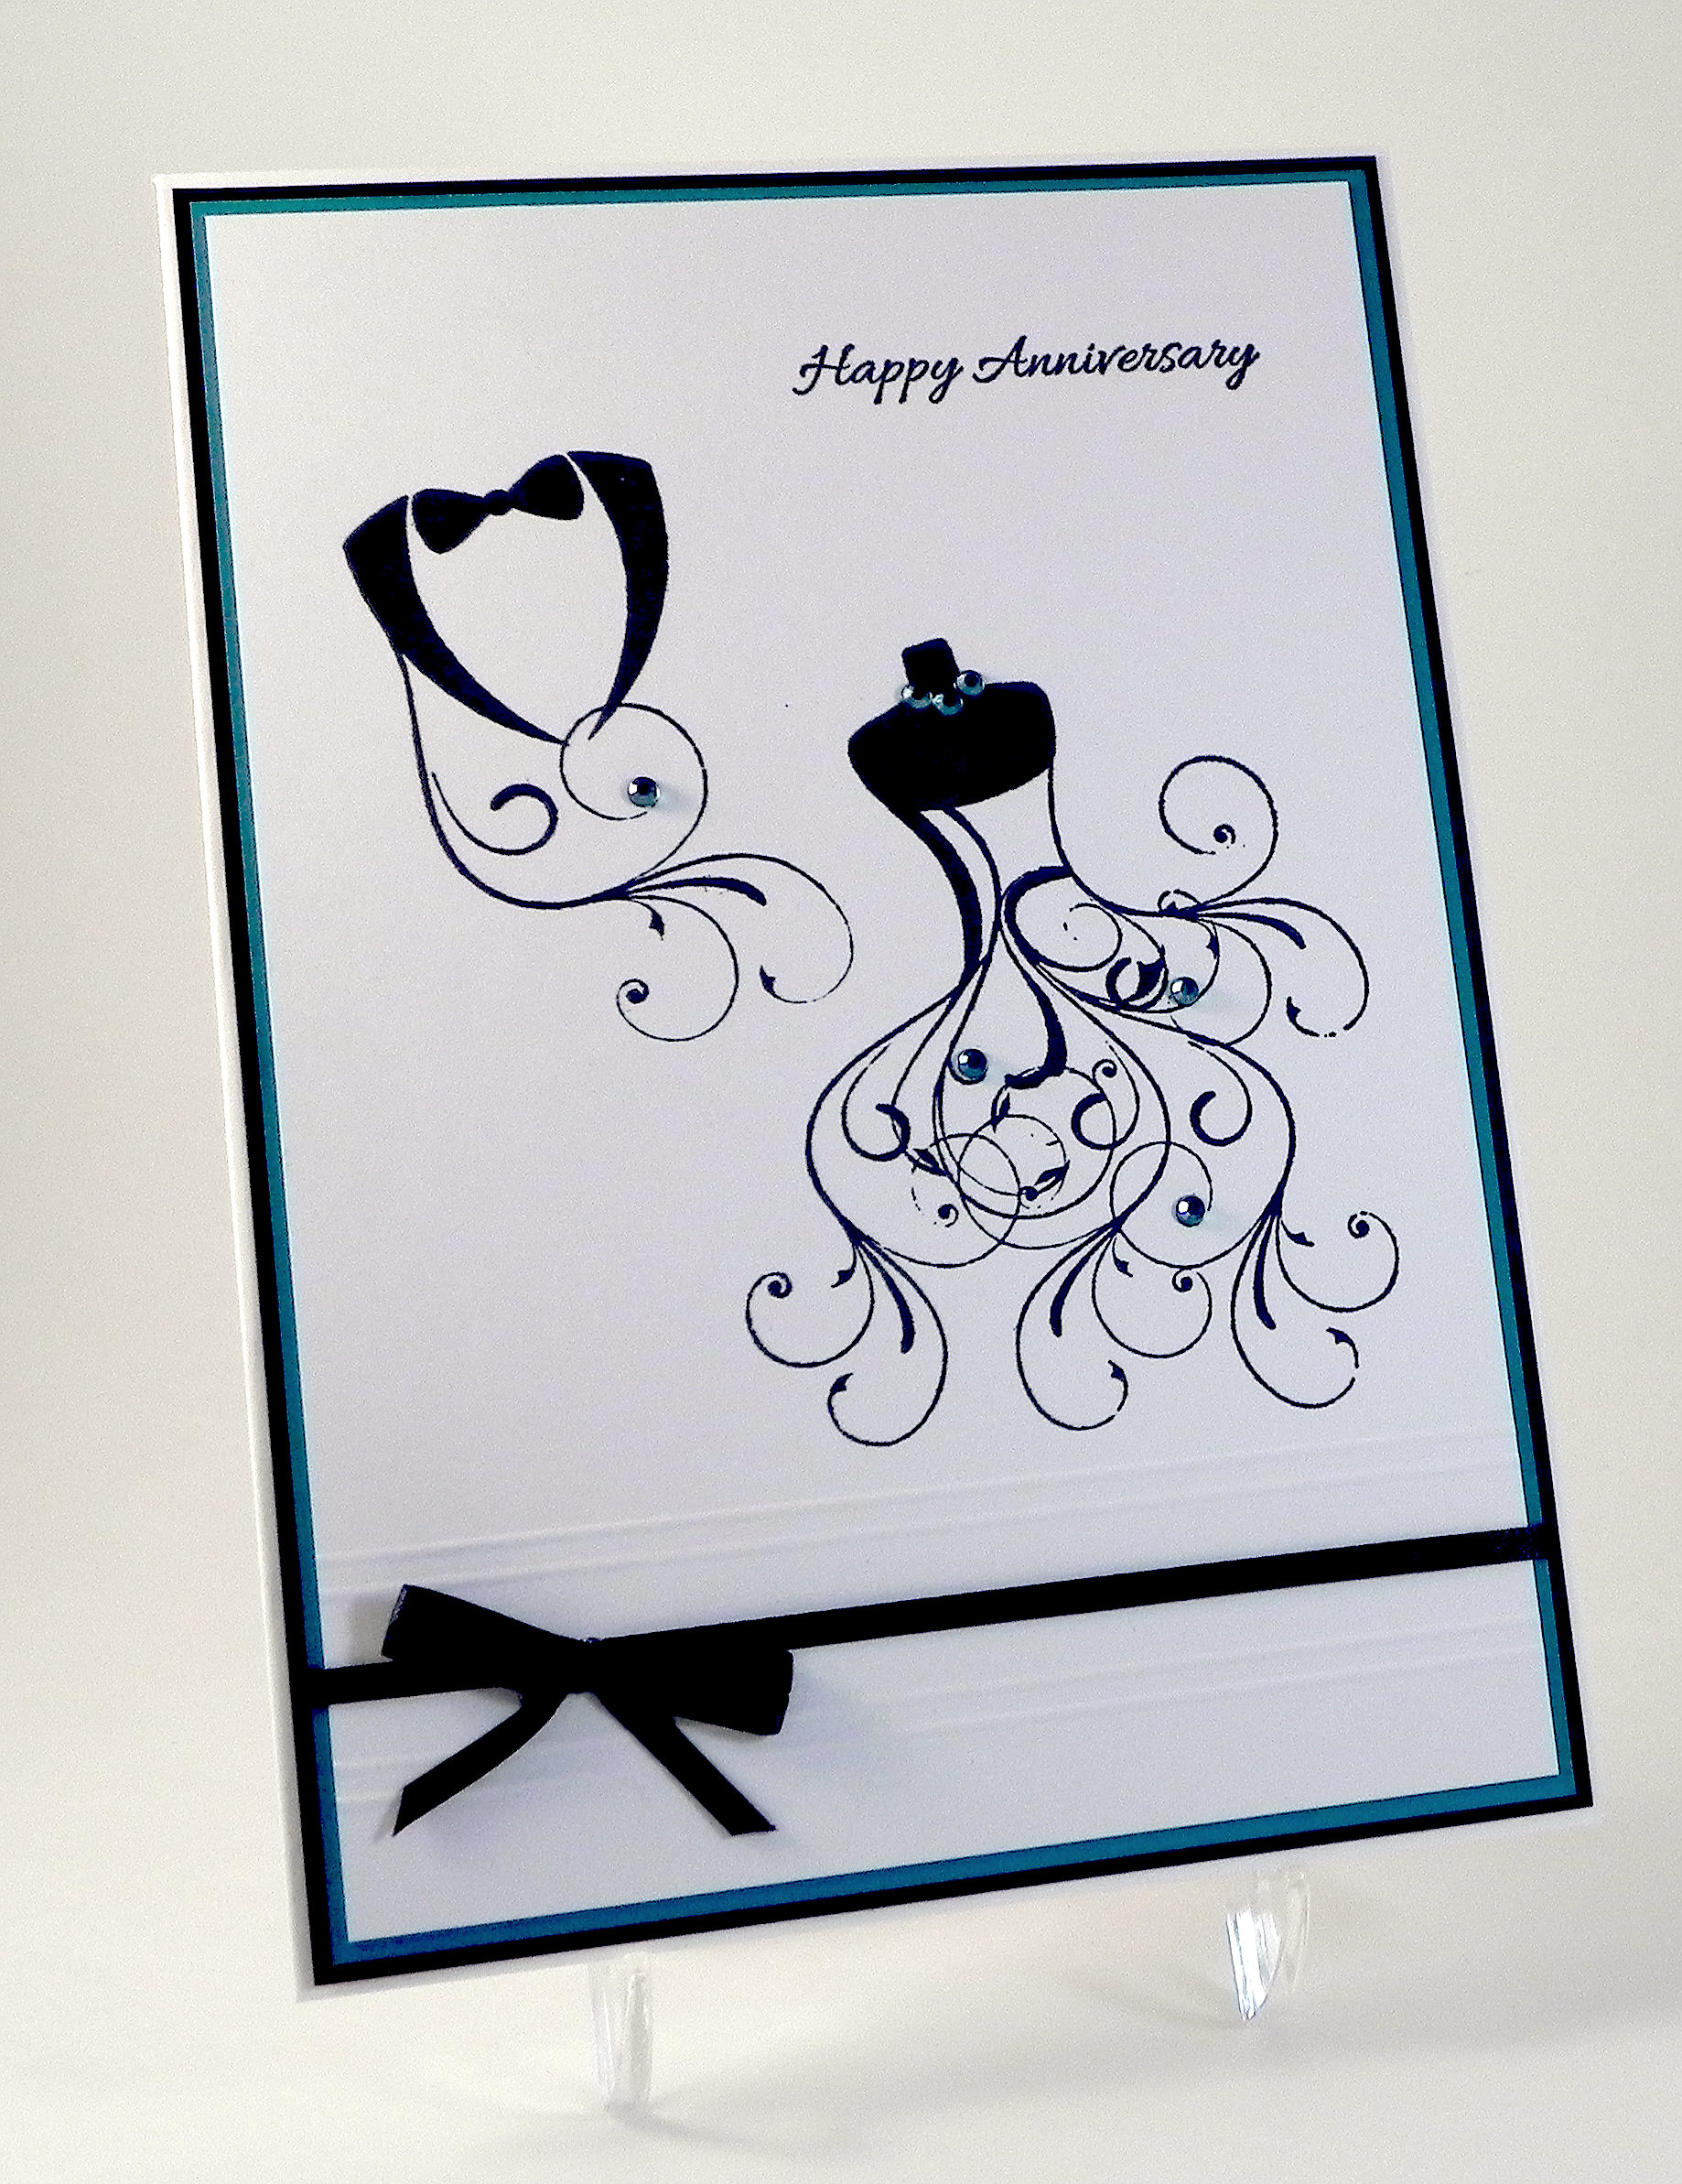
Those gorgeous stamps (I just love them!) are called Wedding Dress, Groom, and Congratulations by So Suzy Stamps. I stamped these images with Gina K Black Onyx ink. I used my MISTI so I could stamp them multiple times to get really dark, crisp images.
The gems were airbrushed with Copic BG18.
The cardstock I used was black, Core’dinations Mediterranean, American Crafts The Goods – Tulle, and Recollections silver glitter paper. I rounded the corners with a Fiskars corner rounder.
The hearts were punched out with a Creative Memories double heart punch. I punched the smaller heart first, and then I punched the larger heart around the hole from the smaller one.
This card was extremely quick and easy to create. Cut 3 panels and a card base. Round 2 corners on each. Stamp 3 images in black. Add a touch of bling (which I airbrushed to coordinate). Punch 4 hearts, and adhere. DONE! Coincidentally, the Mod Squad Challenge for this week is called “Fast & Easy” for those times where you “just need to get a card done quickly” – perfect! (Sadly, this site is no longer active.)
Here is a variation using plain white card stock for the main panel instead of the “Tulle” and no glitter.












 I Played With Paper Today!