Does This Make My Butt Look Big?

Does This Make My Butt Look Big?

Does This Make My Butt Look Big wwDSCN7047.jpg

(Inside Text:  Never mind, don’t answer that!  Merry Christmas!)

The stamps on this card are all from the Beary Christmas stamp set by Sweet ‘n Sassy Stamps.

Beary Christmas Stamp Set

The images were stamped with Memento Tuxedo Black ink and colored with Copic Markers (R59 and G29).

The bear and greeting piece were cut out using cut files I created for my Silhouette and were adhered to my card with pop dots.  I used my MISTI to line up the stamping on the die cuts.  (HERE is a tutorial I previously posted to show how I stamp on die cuts.)

I used the Darice Snowflake Swirls embossing folder on white card stock along with Gina K Cranberry Tart card stock and a white card base.

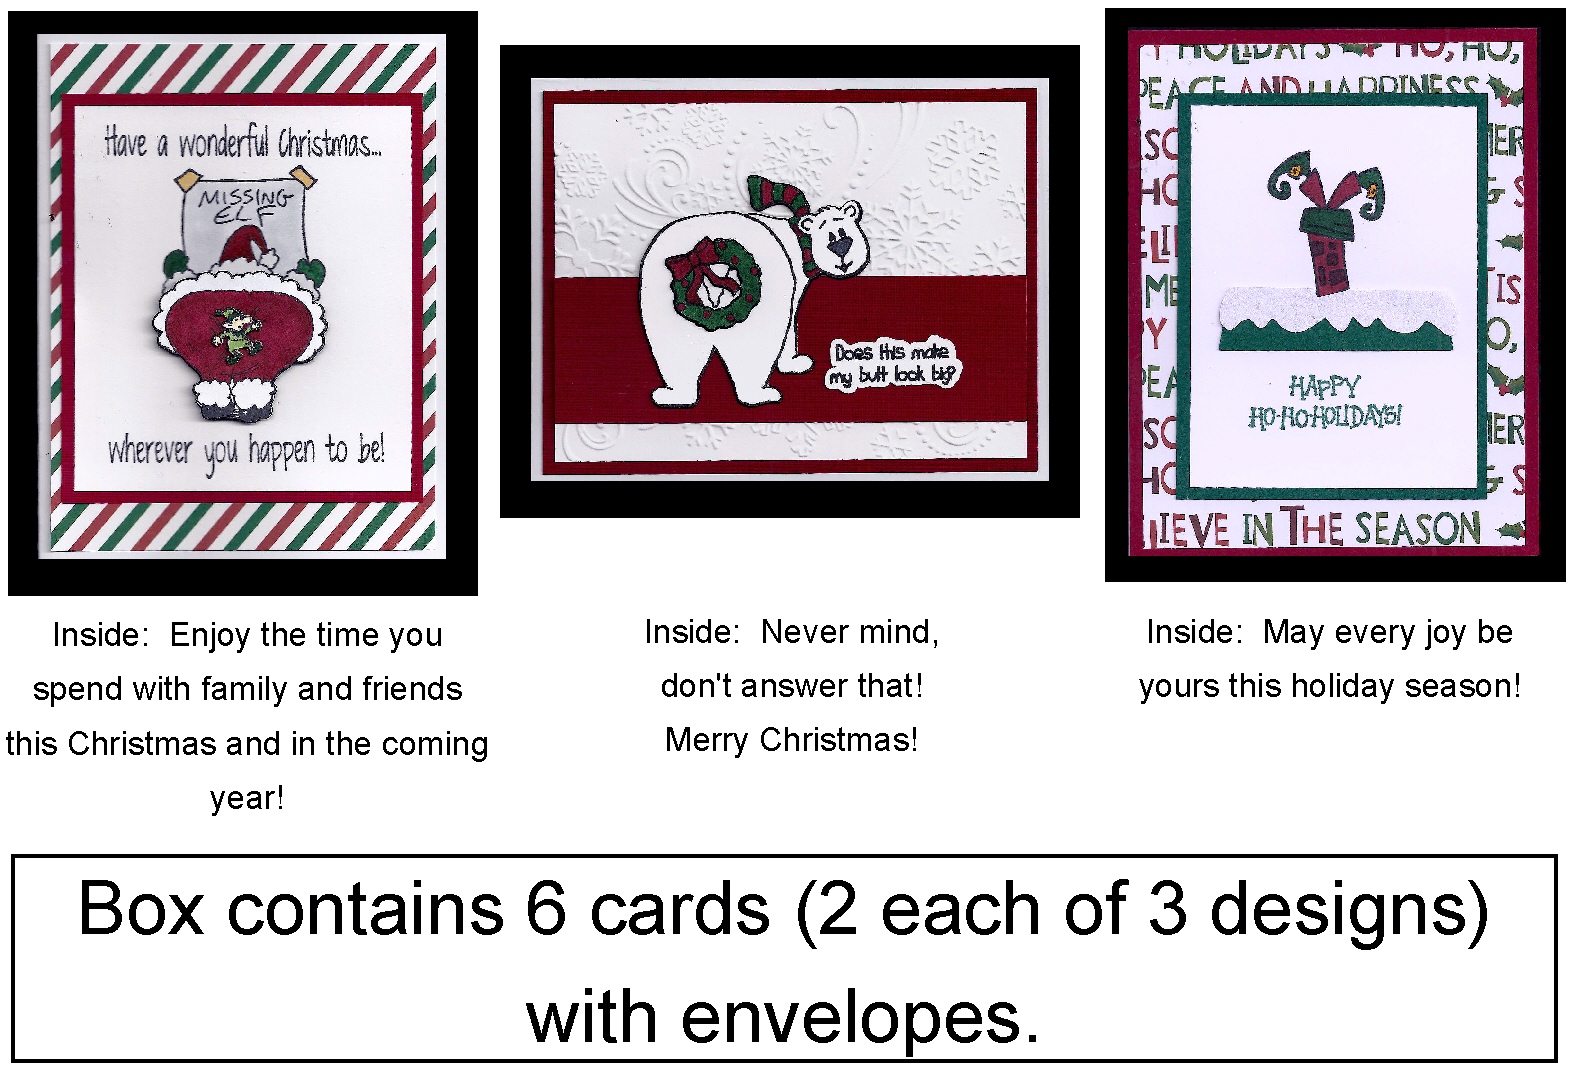
This card was one of three designs in a boxed set:

Humorous Card Insert

Thanks for checking out my card project!

This content uses referral links as described in the disclosure policy on my sidebar.

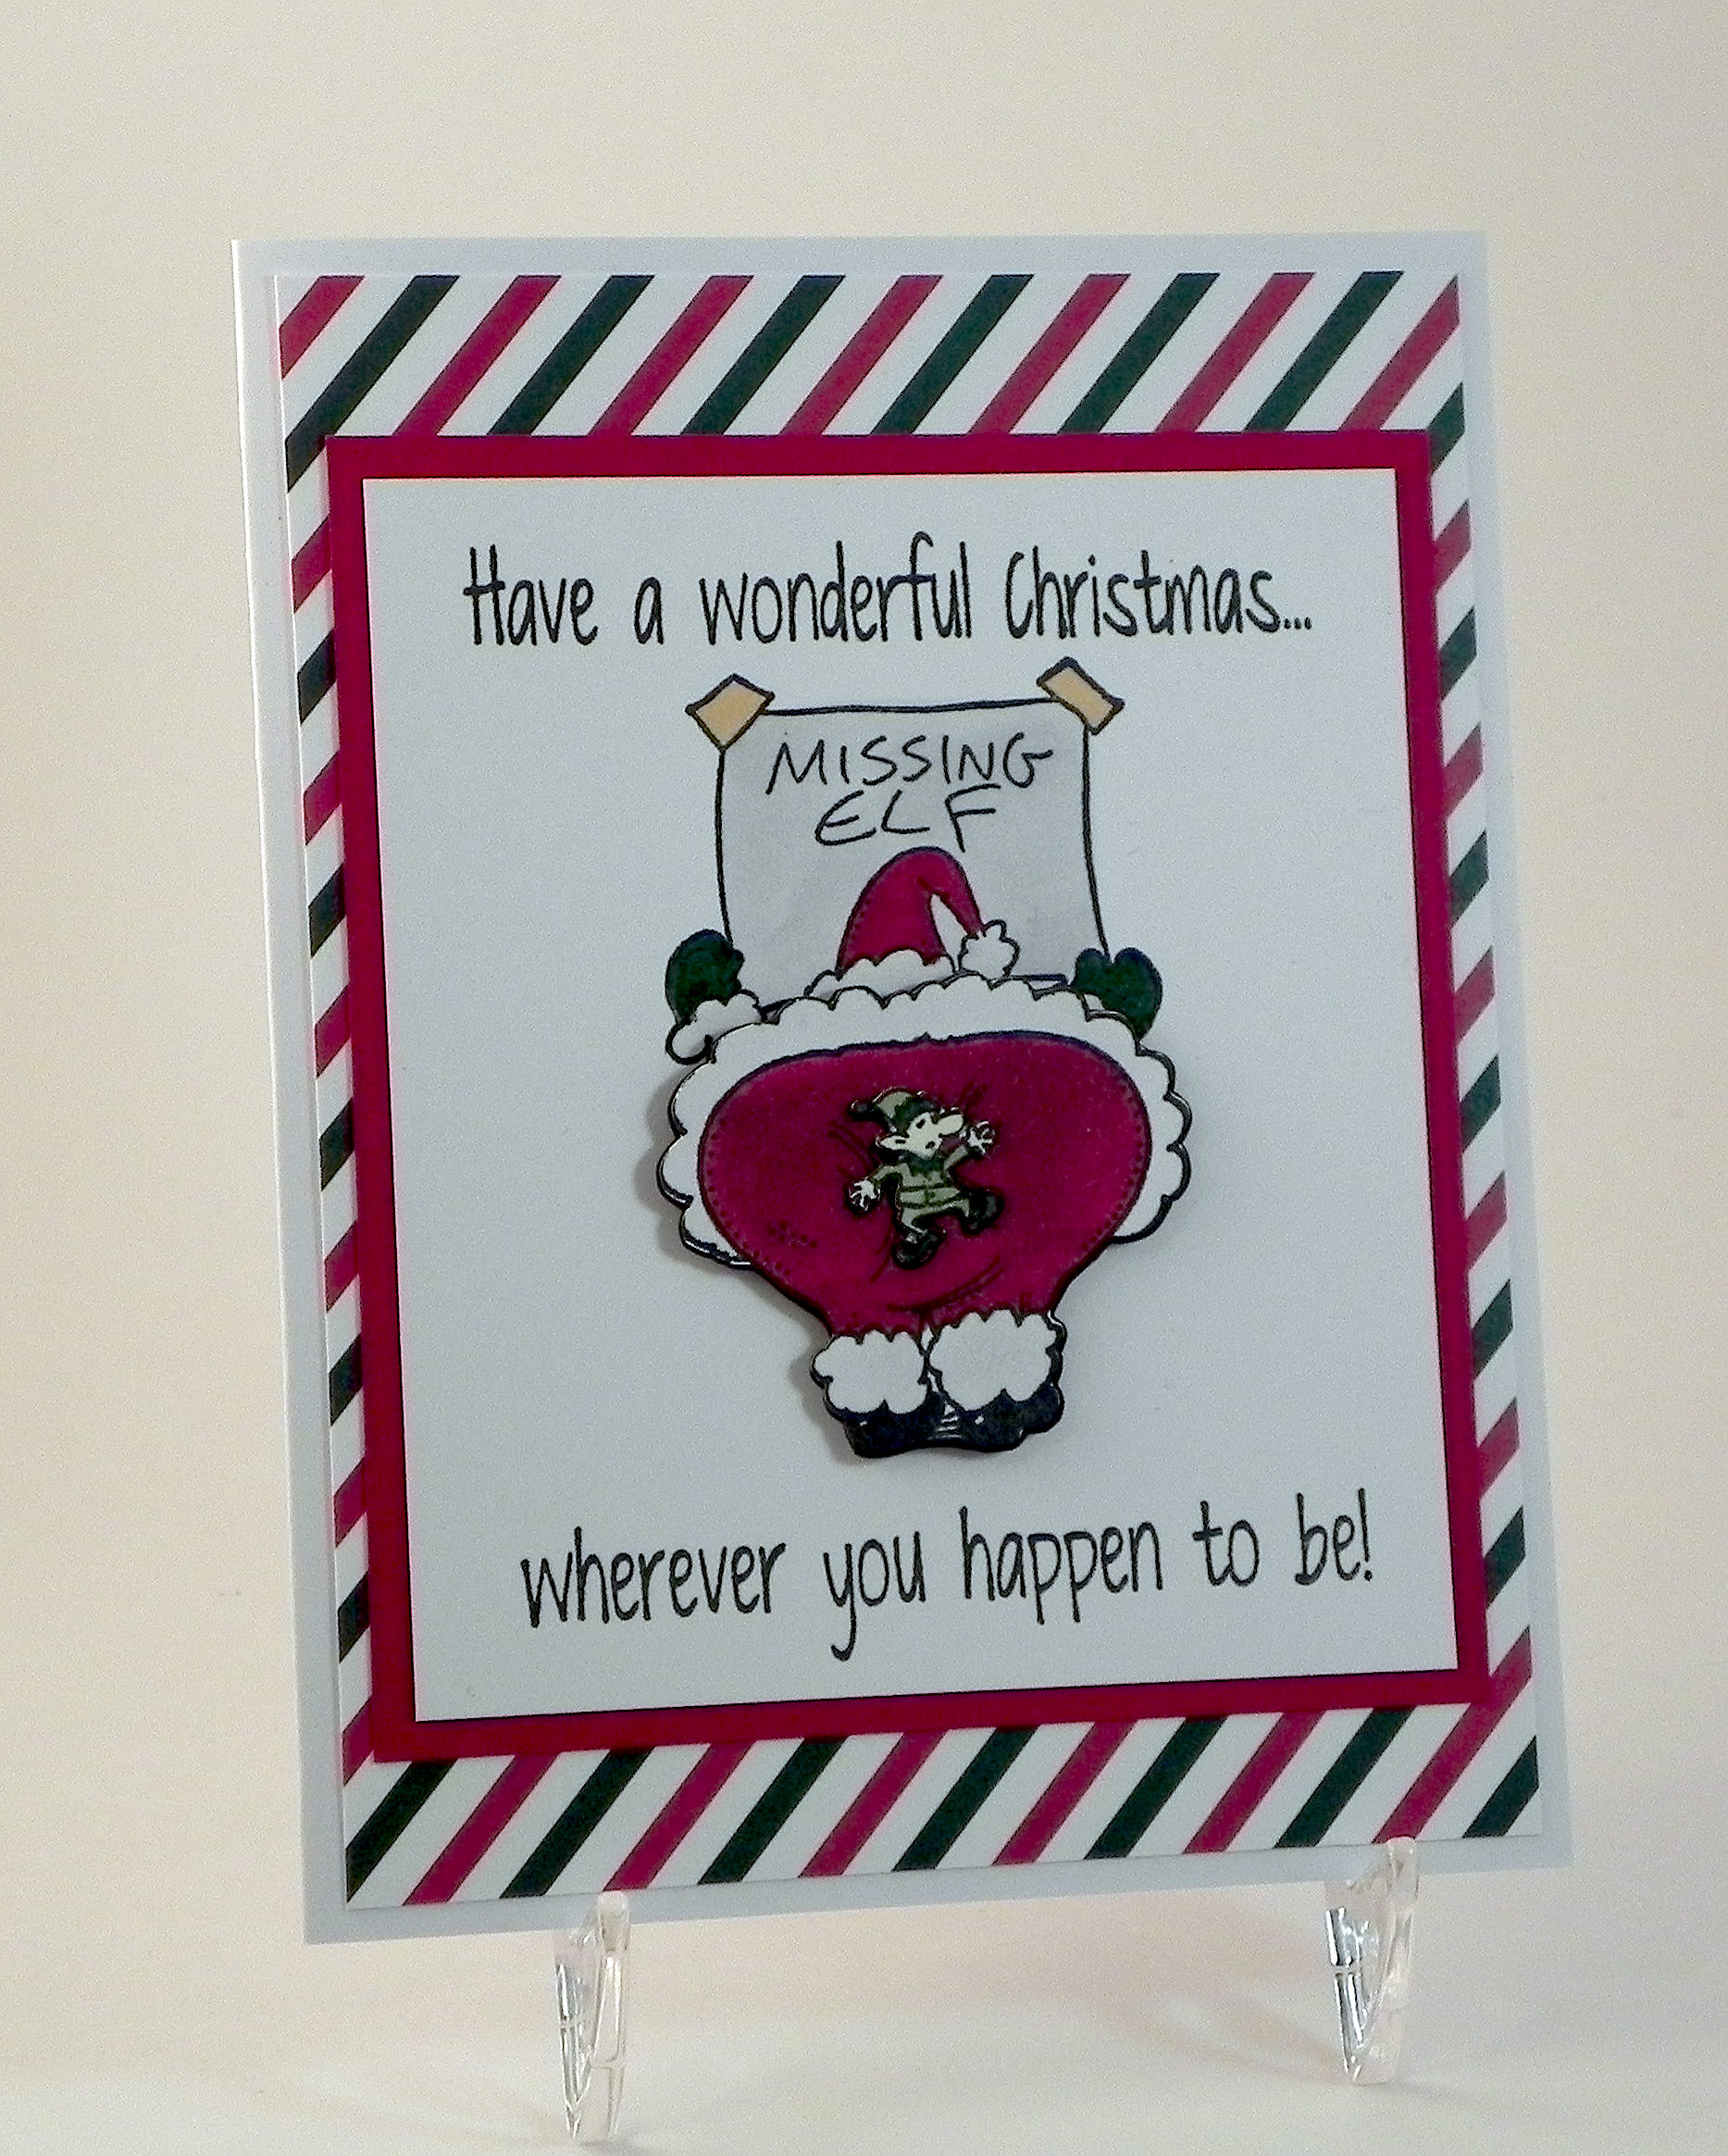
Missing Elf

Missing Elf

Missing Elf zDSCN7040

(Inside Text:  Enjoy the time you spend with family and friends this Christmas and in the coming year!)

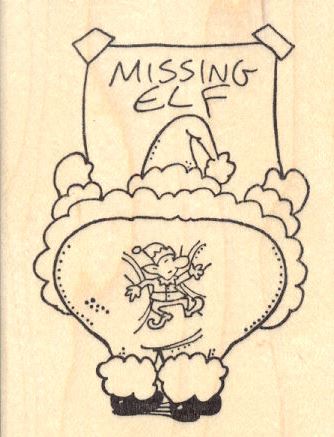
This card features the amusing stamp called Santa Claus Missing Elf (Item K-28903) from RubberHedgehog Rubber Stamps.
missing elf stamp

I created two custom made stamps from RubberStamps.net for the greeting.  The inside text was computer generated.

The image was stamped with Memento Tuxedo Black Ink and colored with Copic Markers (sign: C1, E31; clothes: G29, R59, C0; elf: G29, YG63, E50).

I wanted Santa’s bottom to stick off the card a bit so I started by masking his bottom and stamping the top portion of the image on plain white card stock.  Then I stamped the image again on heavy weight card stock and cut out his bottom which I adhered with foam tape.  I stamped the image a third time, cut out the elf, and adhered him to Santa’s bottom.  Because I was making multiple copies of this card for boxed sets, I ended up creating cut files for my Silhouette to make the cutting easier, and I used my MISTI to line up the stamping with the pieces.  HERE is a tutorial I previously posted to show how I stamp on die cuts.  (I had originally planned to attach Santa’s bottom to the card with an Action Wobble spring which is why I masked the bottom half of the stamp on the white panel; it looked weird to have the whole image there as the bottom half moved.  But I ended up using the foam tape instead because the spring made his bottom stick out too much, and I was trying to make it easier/less expensive to mail.  If I knew I was going to adhere the bottom with the foam tape from the beginning, I probably would not have needed to do the masking!)

The stamped panel was mounted on red card stock from the Recollections Jewel Card Stock paper pack and then on paper from the Recollections Christmas – Holiday Basics Card Stock paper pack.  White card stock was used for the card base.

This card was one of three designs in a boxed set:

Humorous Card Insert

Thanks for checking out my card project!

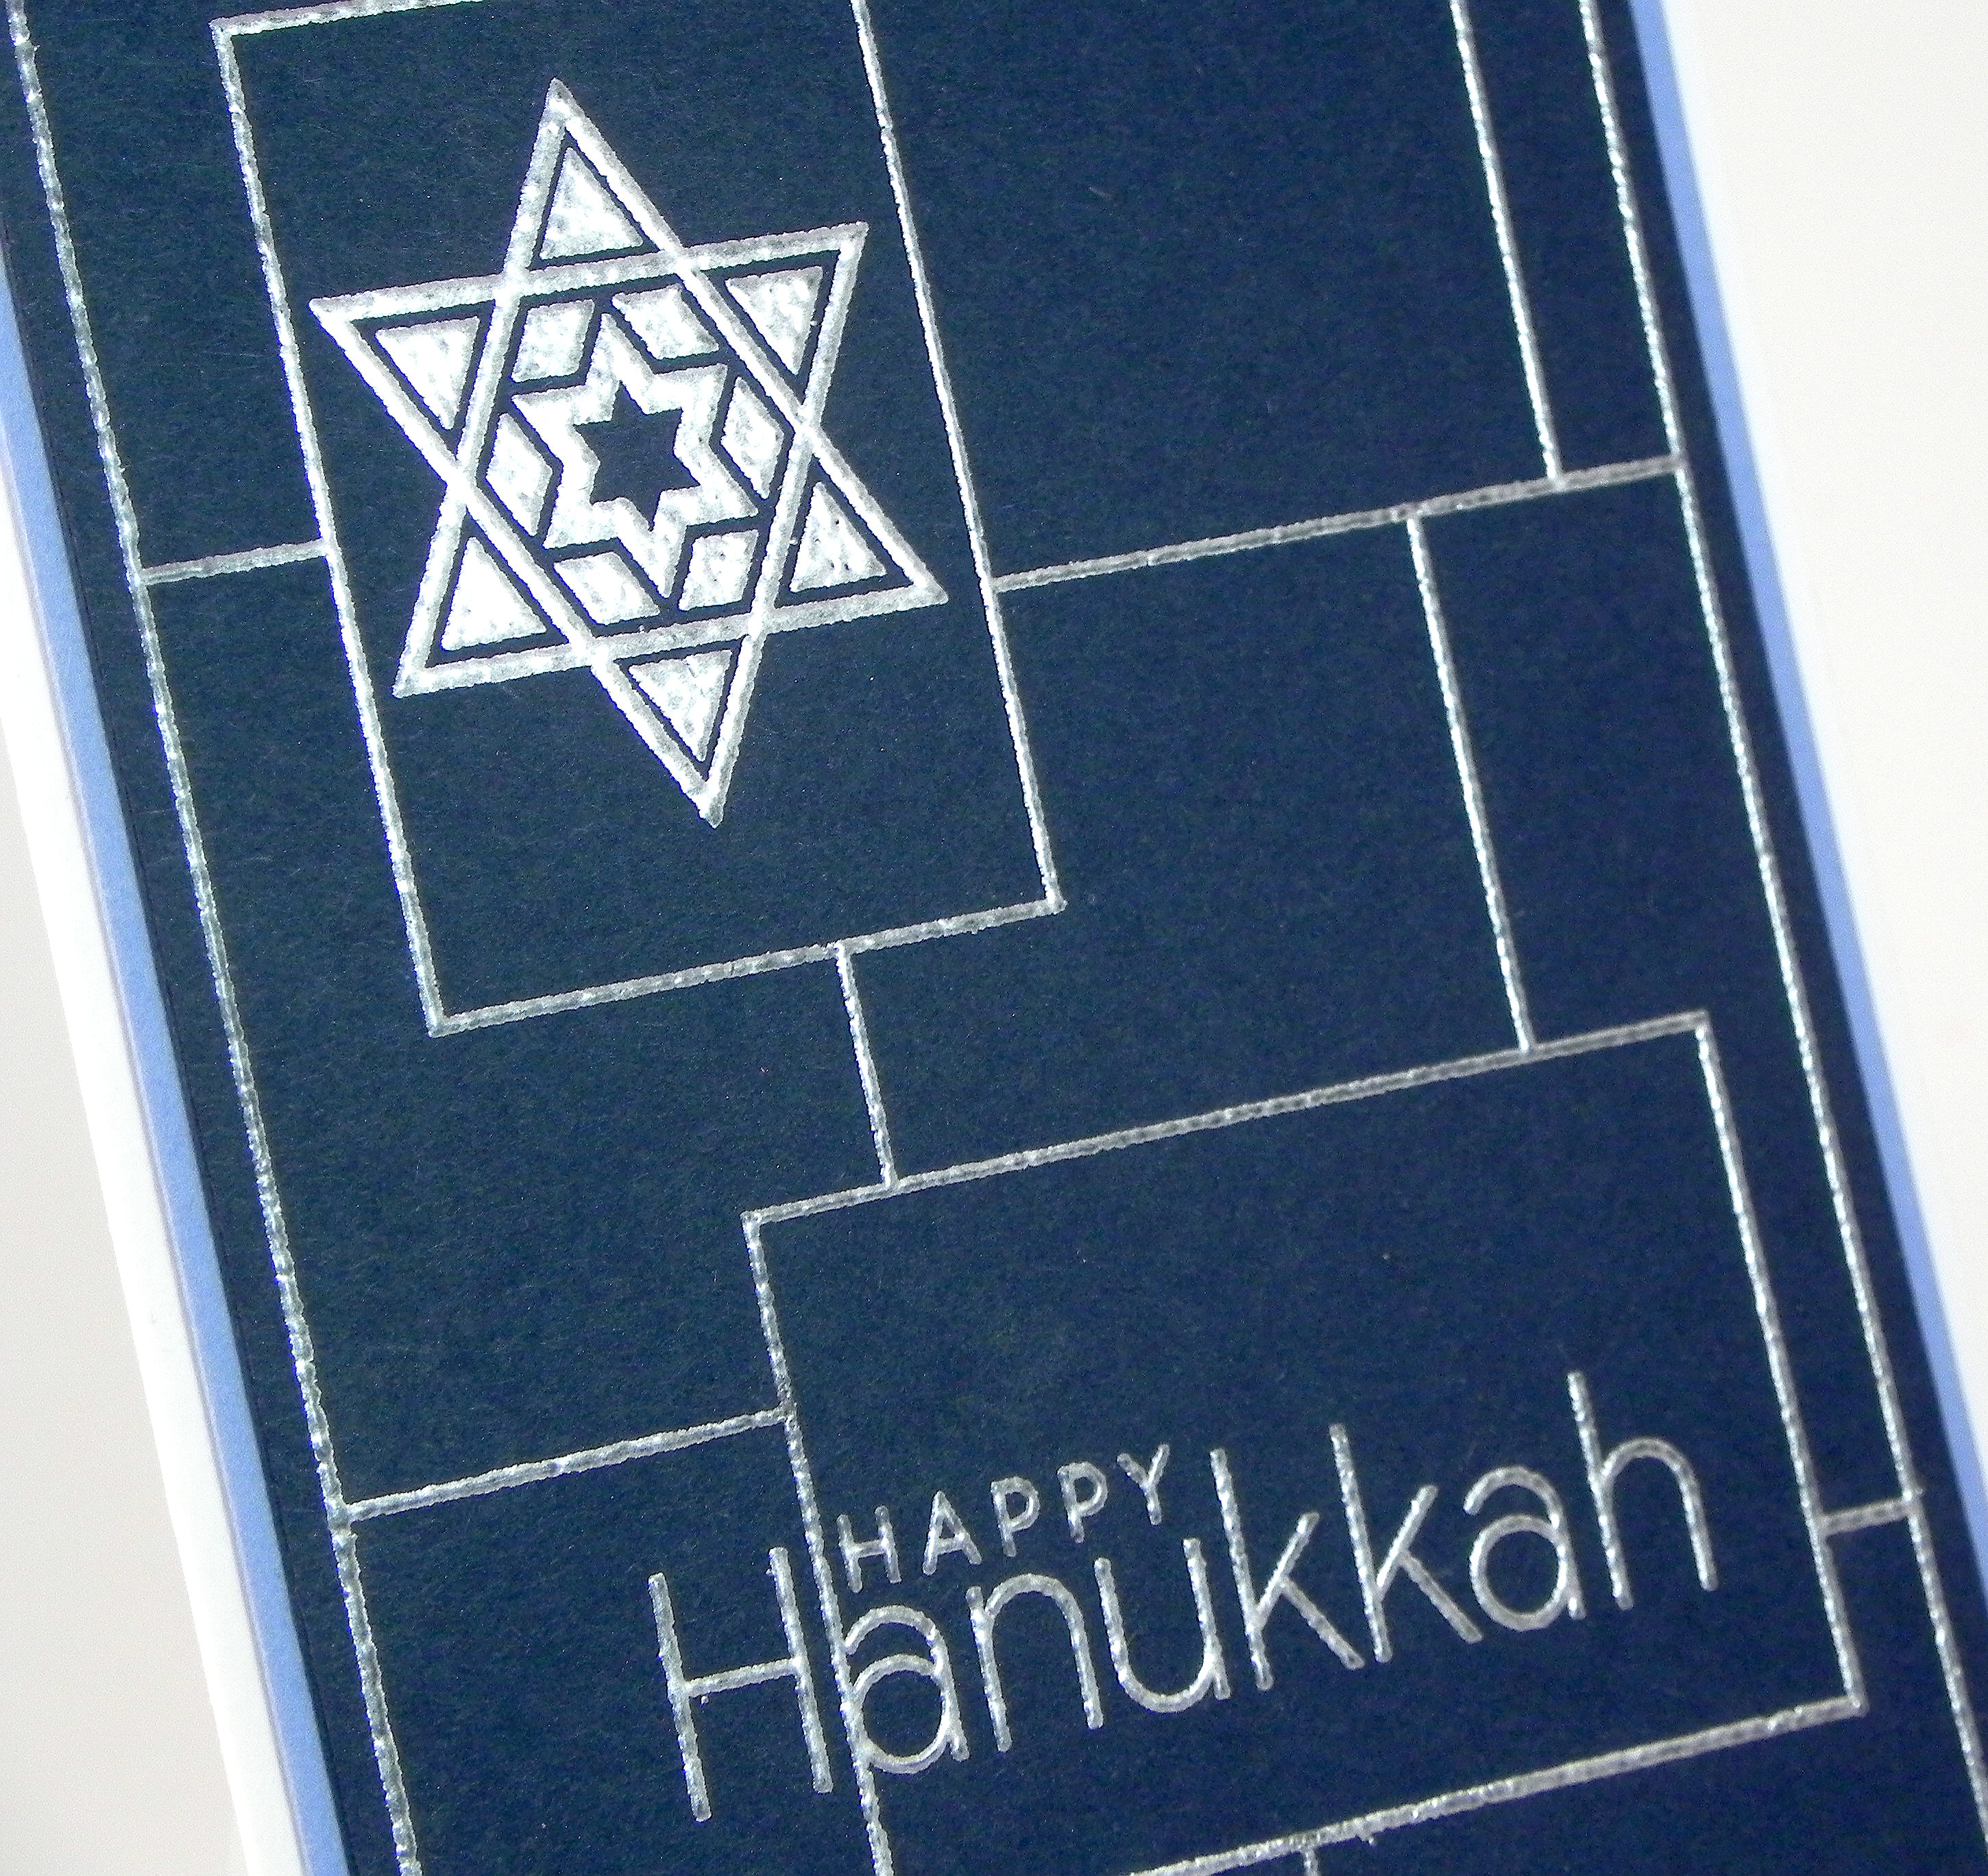
Silver Embossed Hanukkah Card

Silver Embossed Hanukkah Card

Silver Embossed Hanukkah Card zDSCN7086.jpg

(Inside text:  Wishing you peace, health, and happiness)

This simple card design features the background stamp from the Gina K Designs “Inspiration Mosaic” stamp set along with stamps from both the “Menorah Medley” and the “Festival of Lights” stamp sets by Papertrey Ink.  All of the images were stamped with versamark ink and heat embossed with Tsukineko Silver embossing powder on Gina K In the Navy card stock.  This panel was layered on Gina K Powder Blue card stock and a white card base.

wDSCN7090

The inside sentiment was from a stamp called “Passover Saying, Item: H – 19719” from RubberHedgehog Stamps.  The stamp says, “Wishing you peace, health, and happiness on Passover and always!”  I masked off everything after the word “happiness” so I could use it in my Hanukkah card.

Thanks for checking out my card project!
This content uses referral links as described in the disclosure policy on my sidebar.

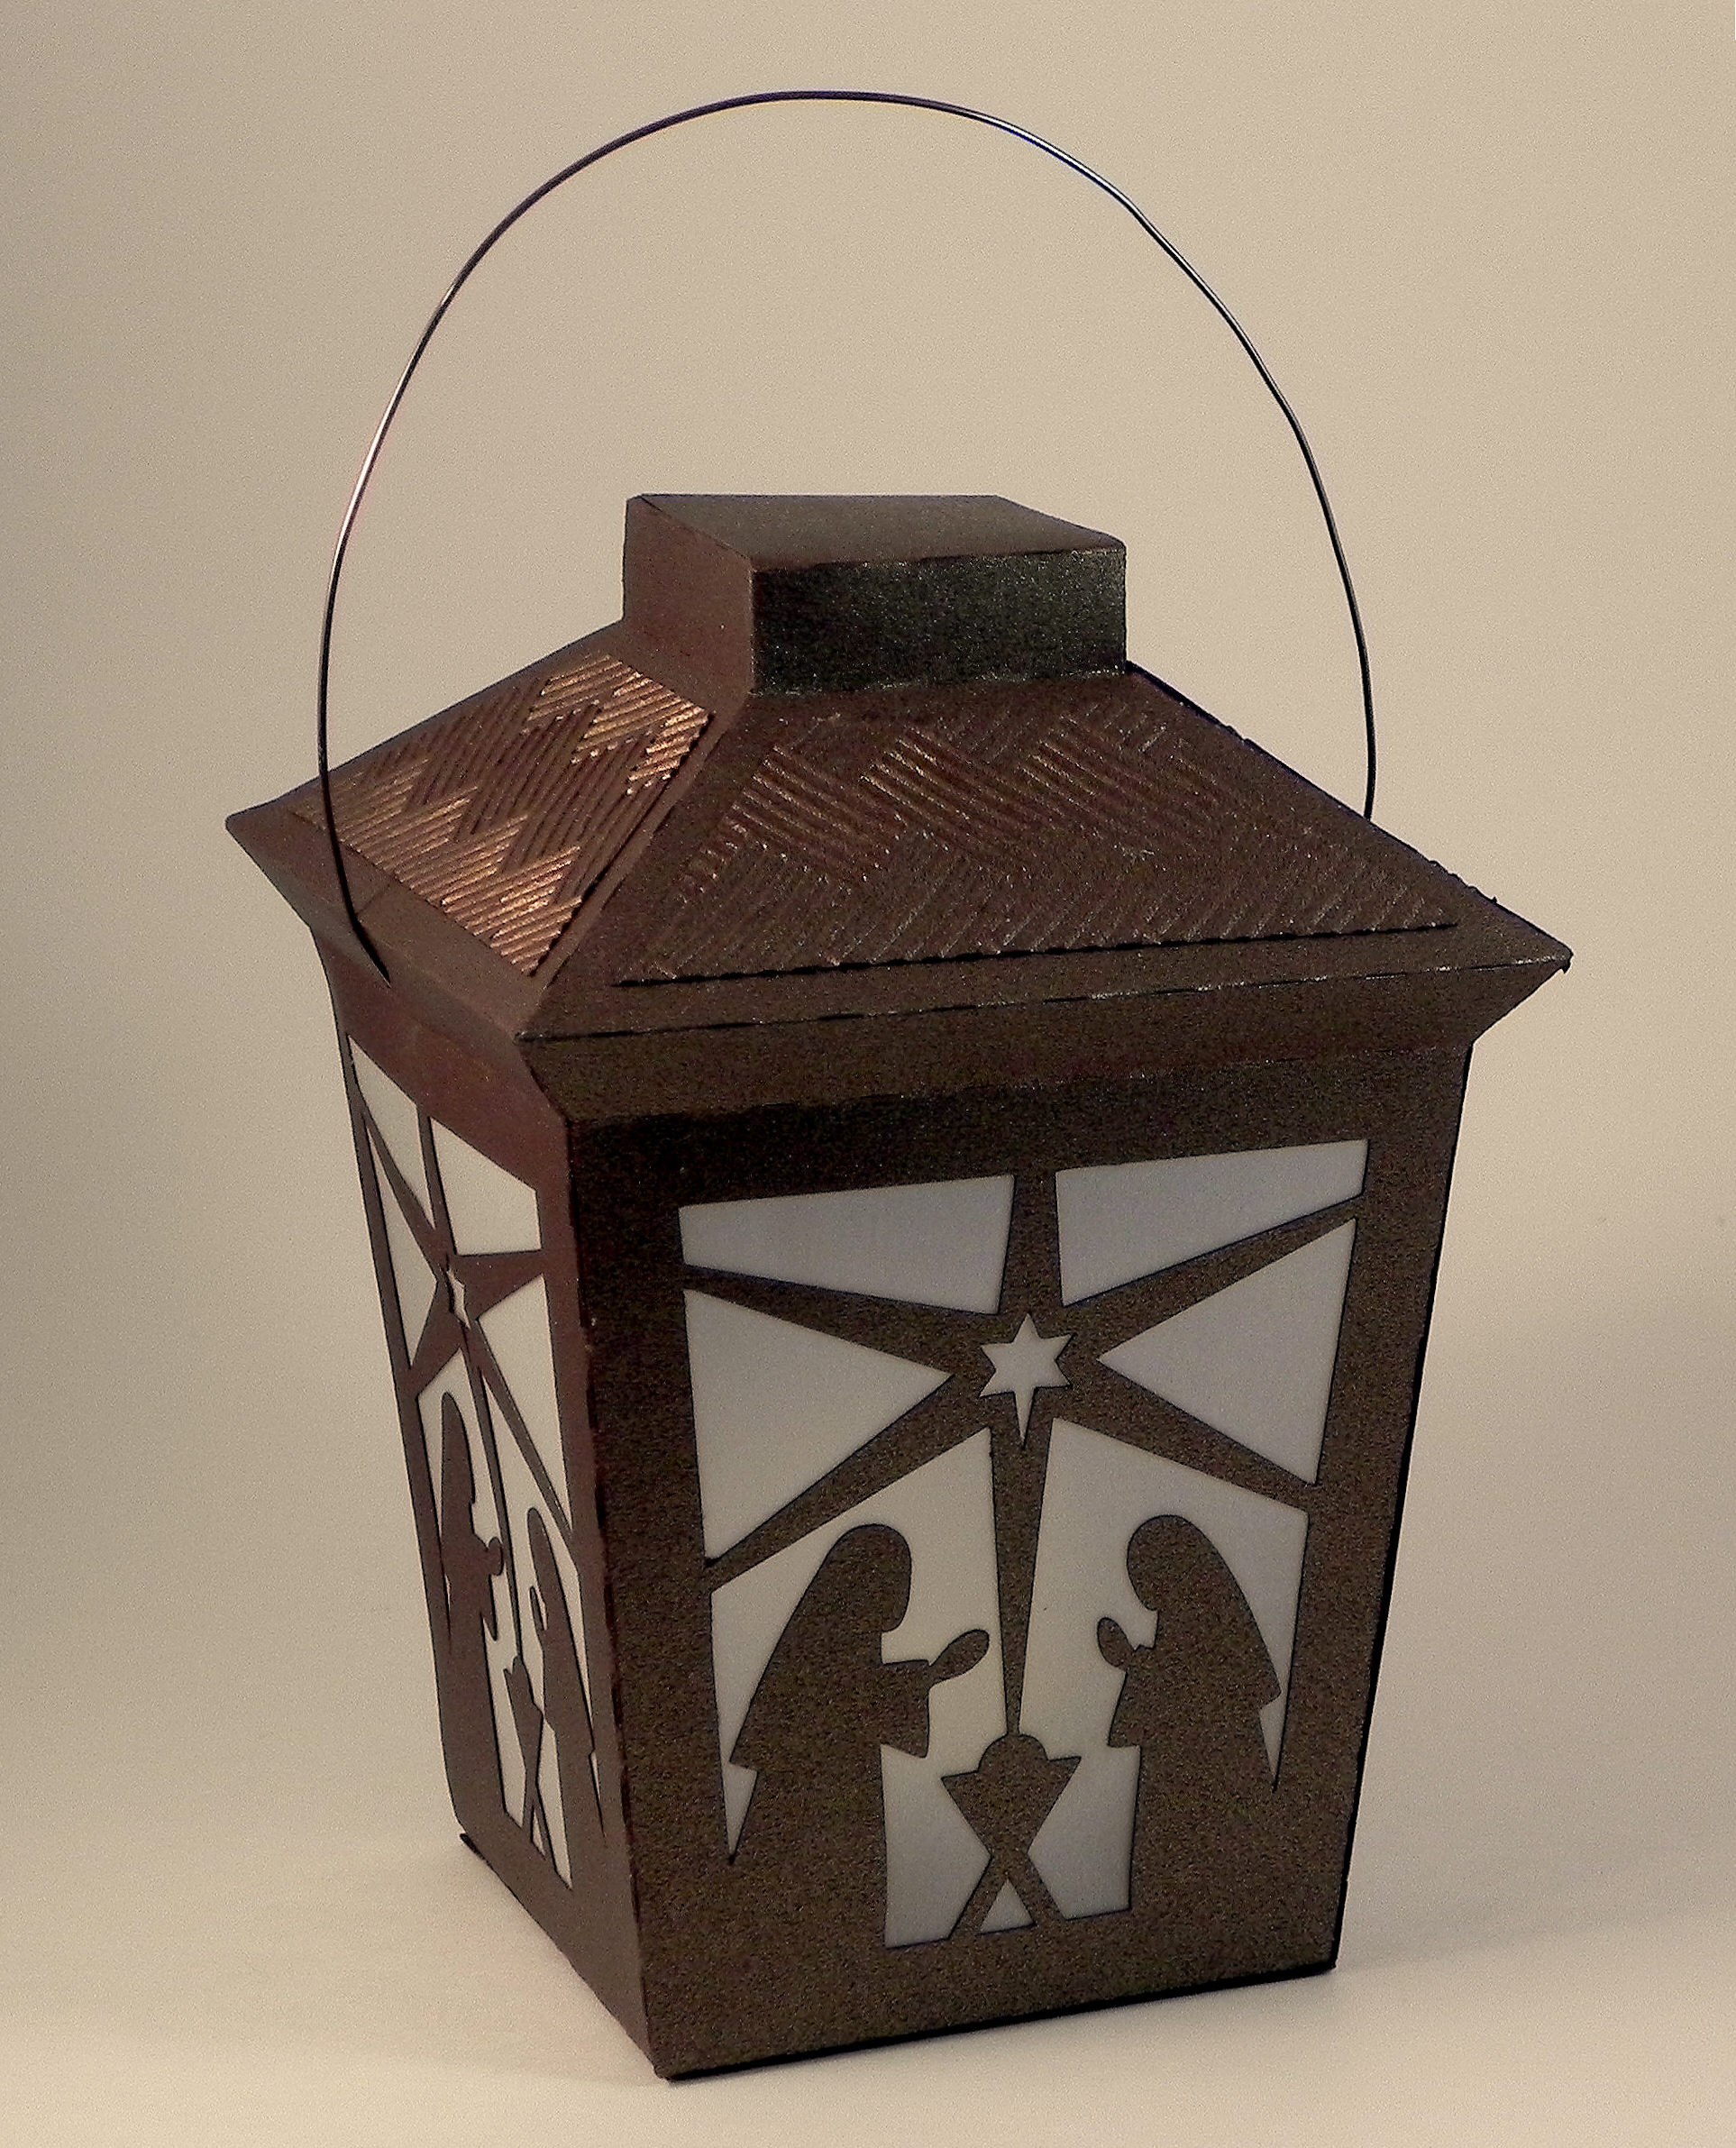
Nativity Lantern

Nativity Lantern

Nativity Lantern zDSCN7100

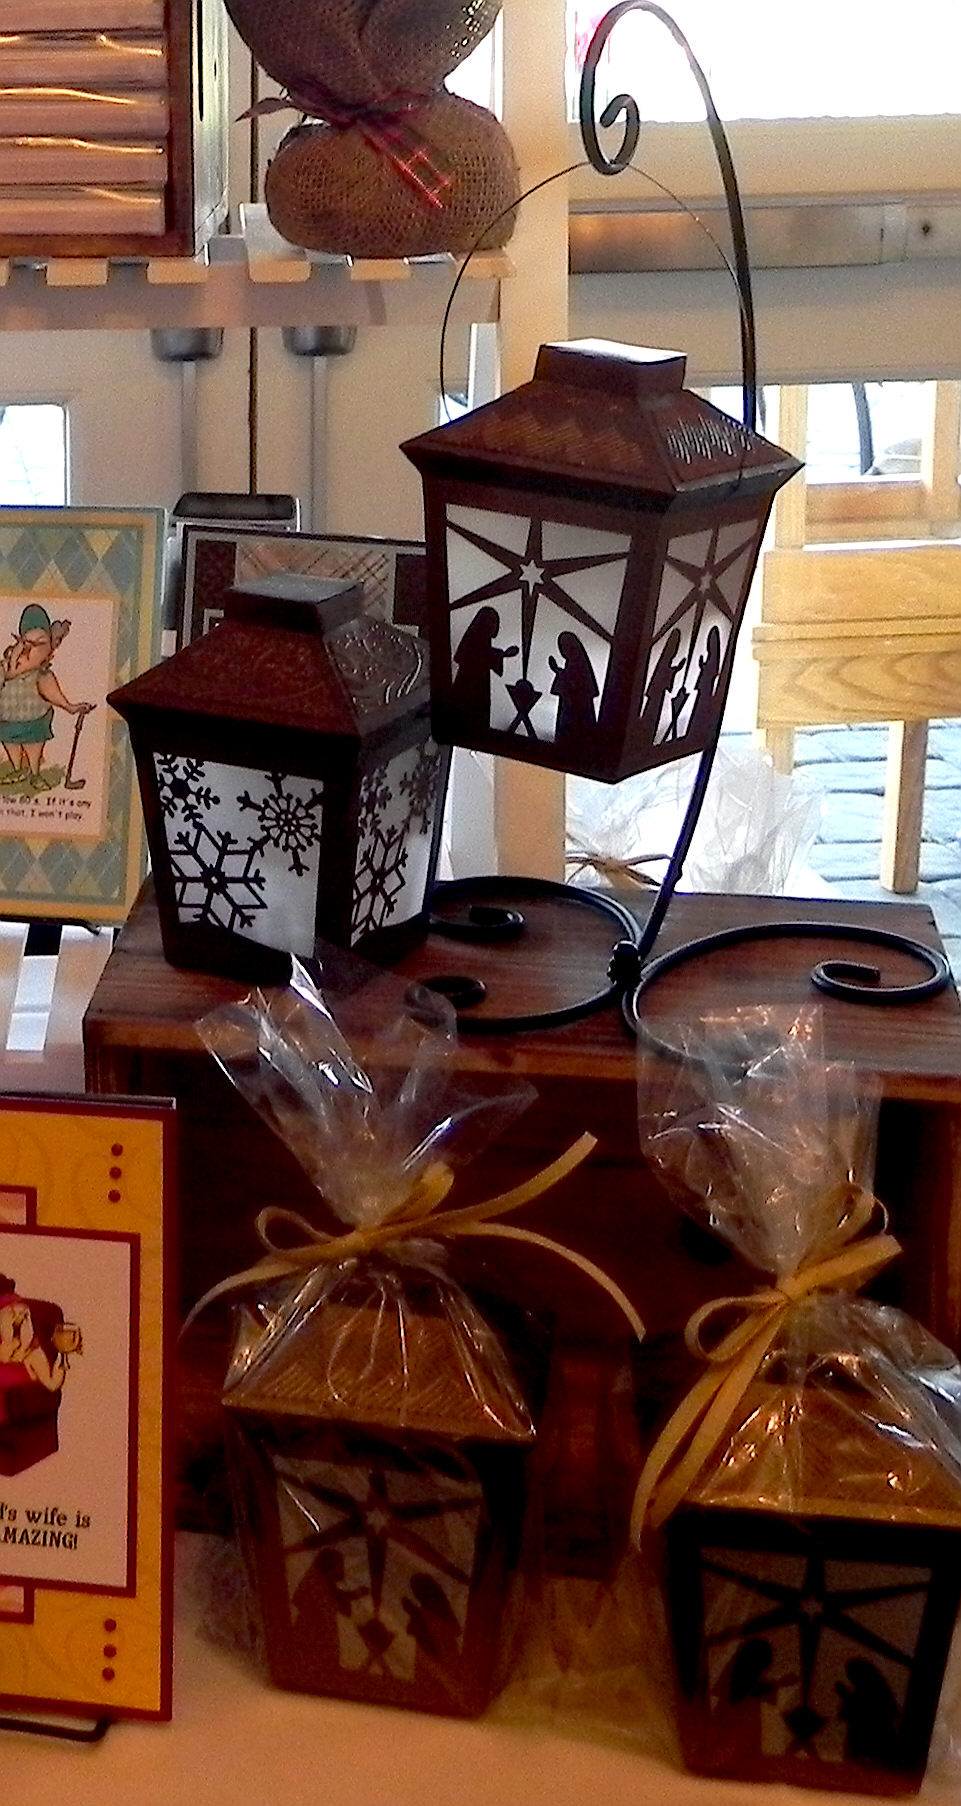
This lantern is a Christmas version of a lantern I previously posted.  It was made from a kit from svgcuts call Crisp Days of Fall SVG Kit.  The kit contains the cut files to make this lantern with fall leaves, but also provided is a plain panel to which you can add your own design so it can be made for a variety of occasions.  I used the plain panel and added the nativity scene to it.  I made a bunch of these lanterns (with permission from svgcuts) for the Rolling Green Holiday Boutique, and they were big sellers!

at show DSCN6316

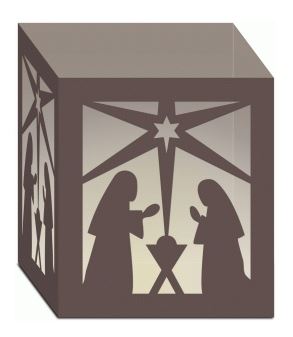
The nativity panel I used for this project was a cut file I purchased from the Silhouette store called Nativity Luminary (#53021) by Lori Whitlock.  The nativity scene for her luminary is in a square panel, so I needed to adapt it slightly to fit in this lantern panel.  (I purchased a commercial license directly from Lori Whitlock’s site for this file.)  Here is her luminary:

Nativity Luminary

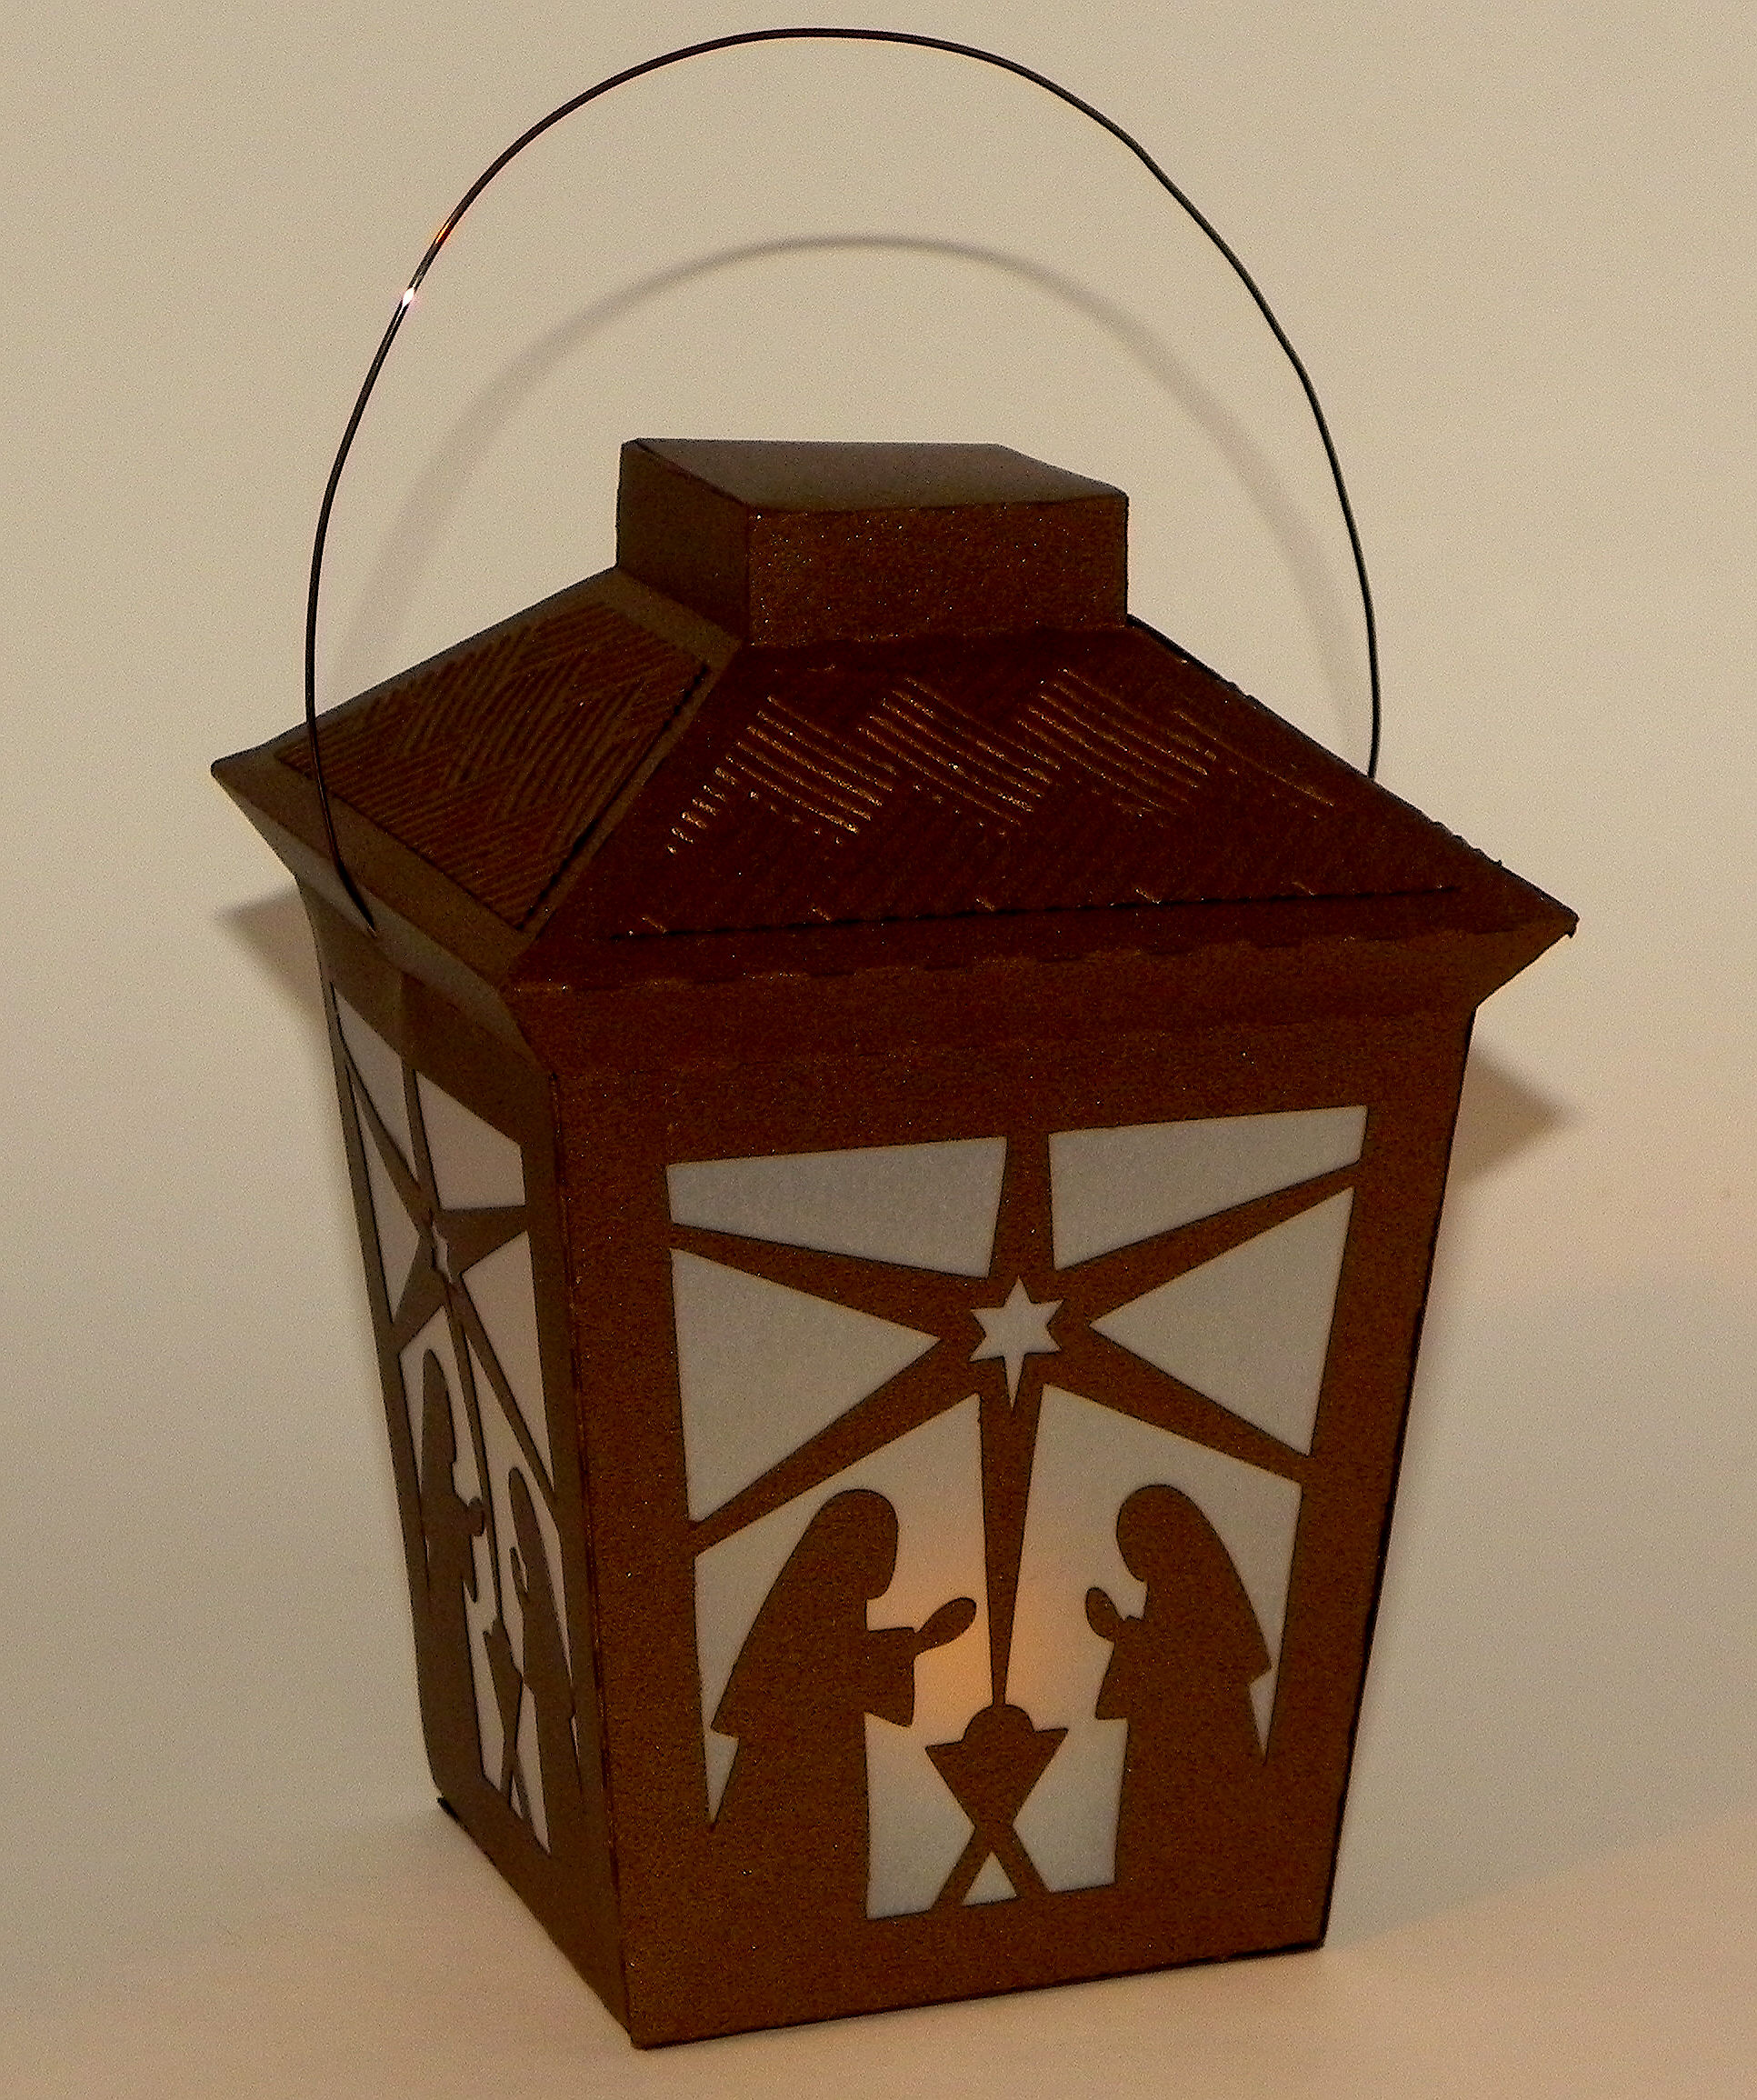
I used metallic bronze card stock  (Recollections) and vellum for this project.  Once all of the pieces were cut out by my Silhouette electronic die cutting machine, I assembled and glued everything together. A battery operated tea light placed inside makes the lantern glow.  (Don’t use a real candle!!!)

wDSCN7103

SVGCuts has a great tutorial video to help with assembly of this project.  (HERE  is the You Tube video link for this project tutorial, or you can watch it on their site as well.)

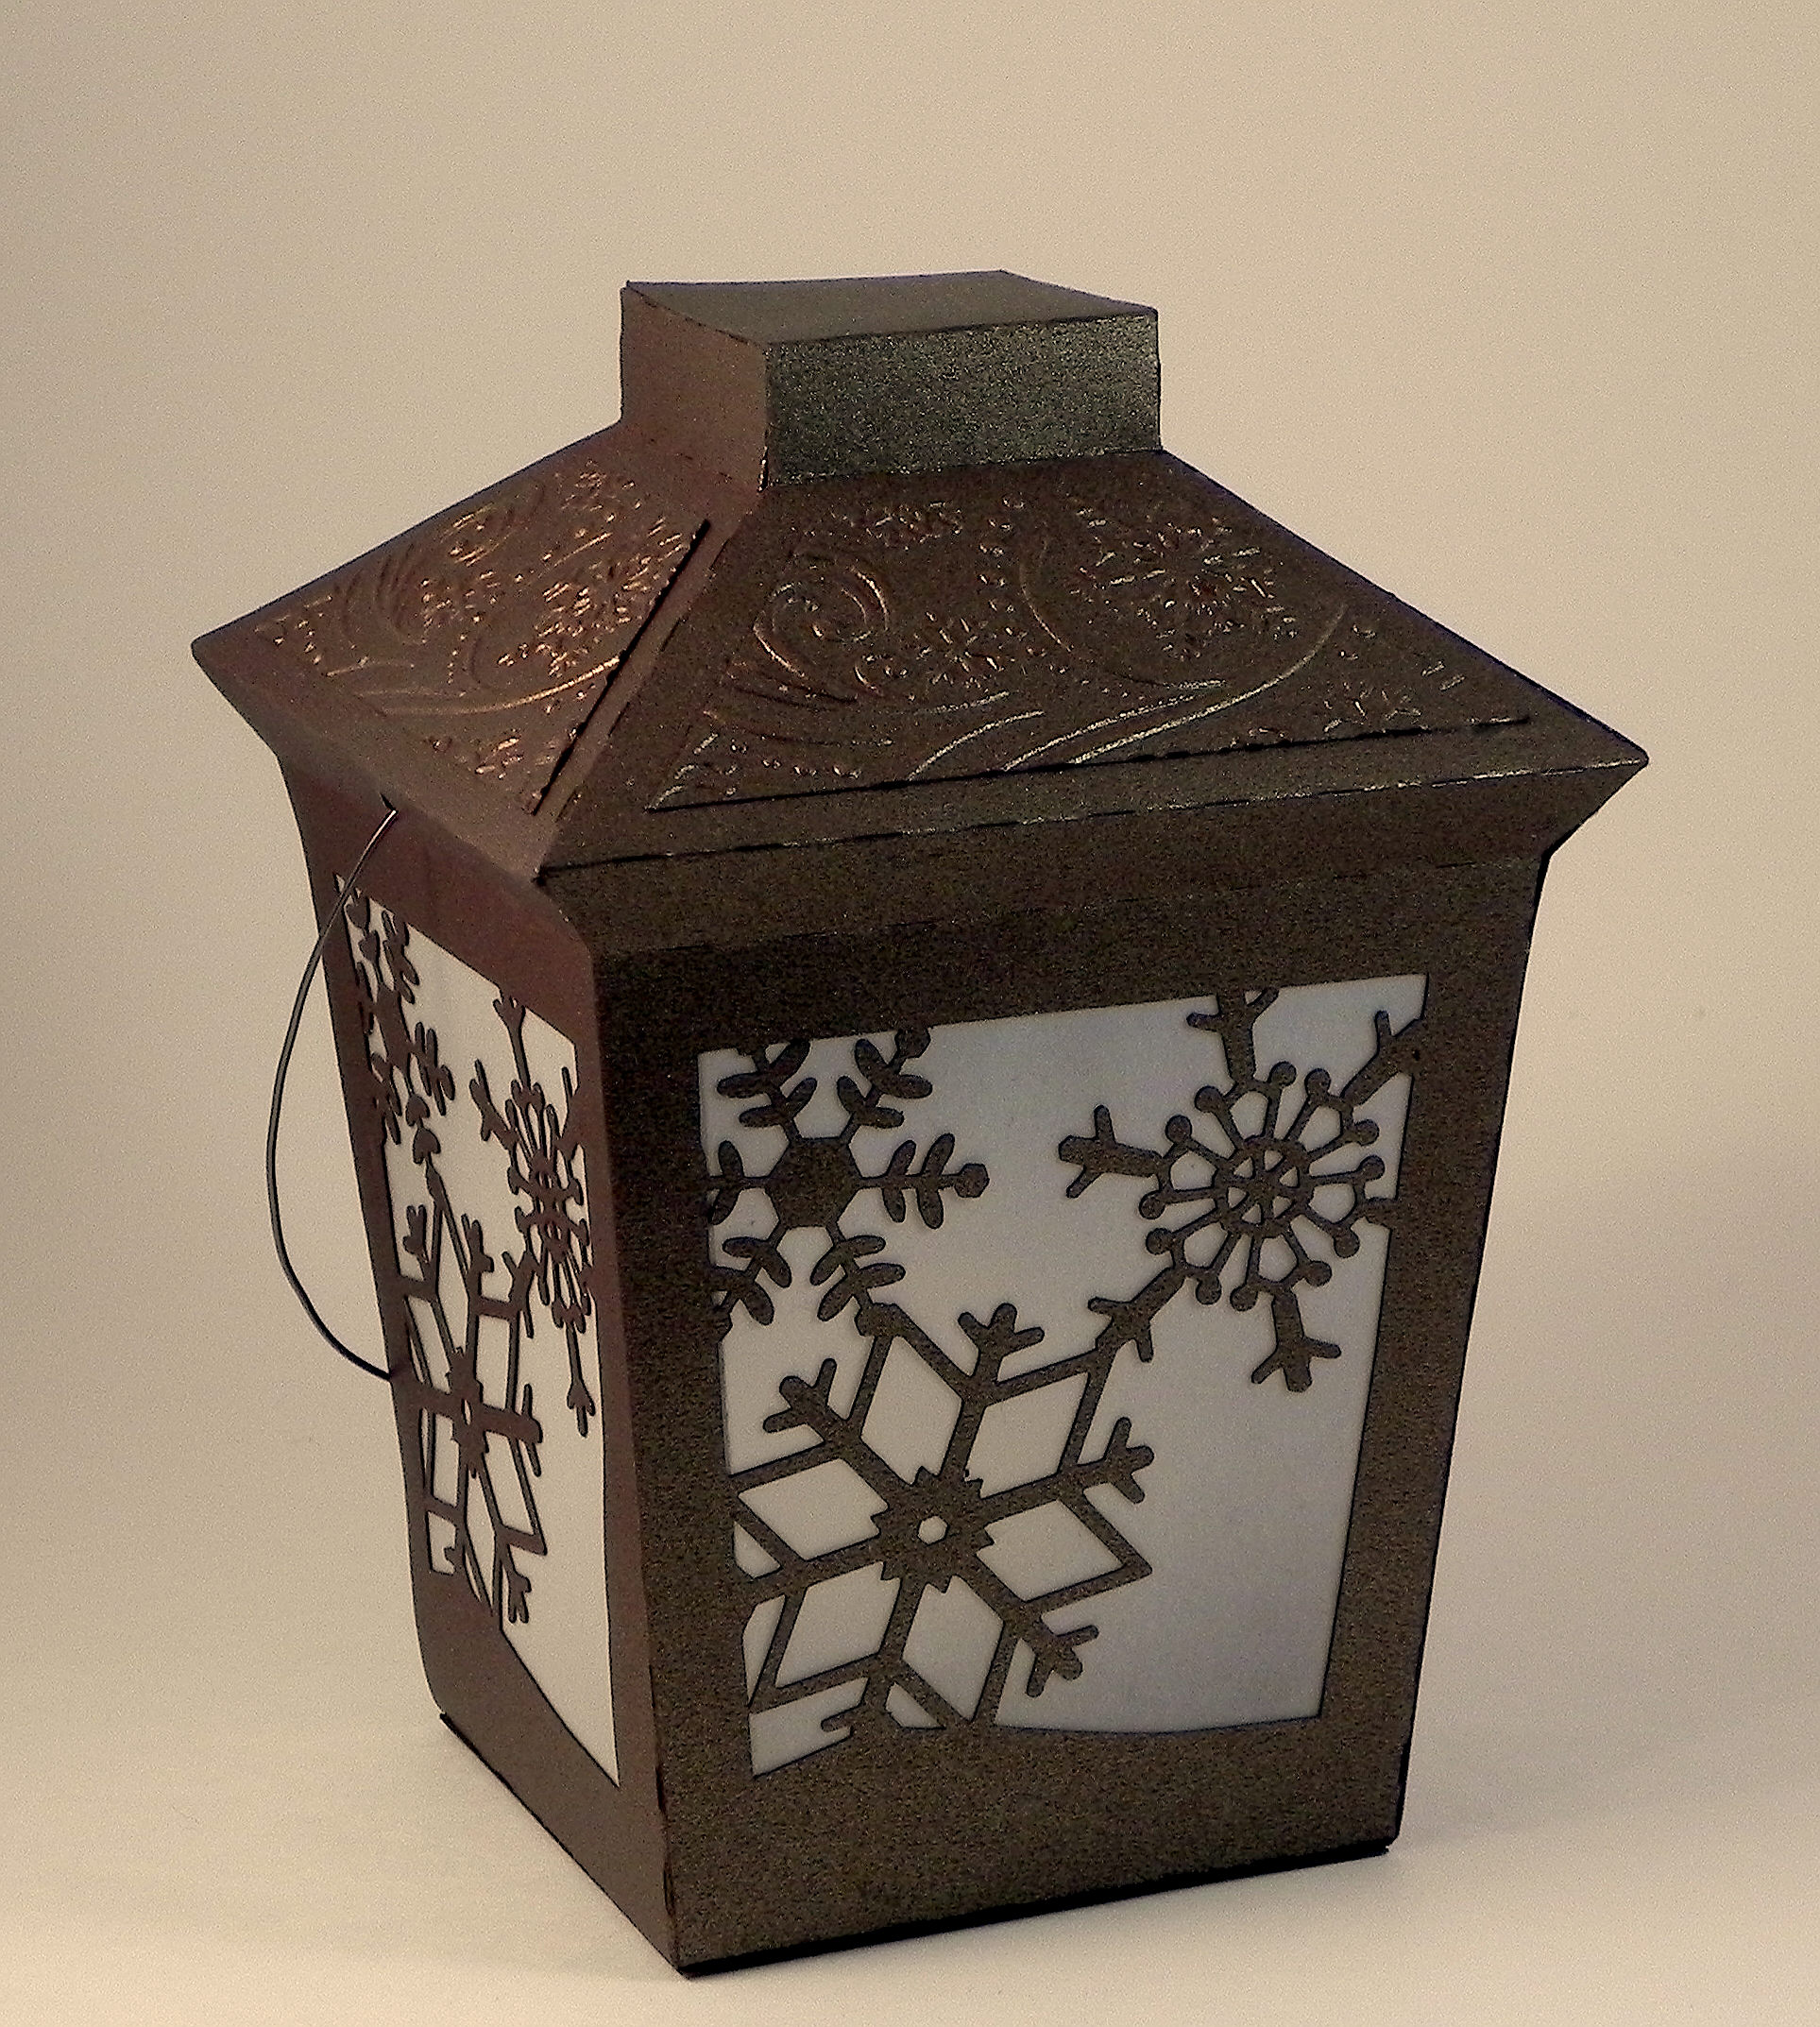
In addition to the nativity theme, I also made one with snowflakes which are from the “extras” file from the “Christmas Box Cards” SVG kit by svgcuts.

Snowflake Lantern wDSCN7110


Thanks for checking out my post!

This content uses referral links as described in the disclosure policy on my sidebar.


Nativity Ornament Card

Nativity Ornament Card

Nativity Ornament Card yDSCN7068 lighter

(Inside Text:  Wishing you a blessed Christmas and a Joyous New Year)

Wow, December really flew by!!  I’m now just getting around to photographing and posting some of the projects I completed in November and December.

This Christmas card features a Silhouette cut file (Nativity Ornament Tag #70877) by Sophie Gallo, and digital paper from a set called “Craft and Silver Christmas” by POandPOdigital which I purchased HERE on Etsy.

I needed to simplify the star on the ornament since my machine was having a little trouble cutting the original design.  The ornament and the frame (created with my Silhouette) were cut from paper from the Recollections Shimmer  Silver and Champagne Card Stock pack from Michaels.  (I used the one called champagne, I think.  The silver in this pack is not your typical silver, and the two shades are very close.)  These were adhered to the digital paper I printed on plain white card stock.  The card base is Recollections ivory card stock.  The ribbon and the rhinestone brad were also purchased at Michaels. The sentiment on the inside was computer generated.

Thanks for checking out my post!