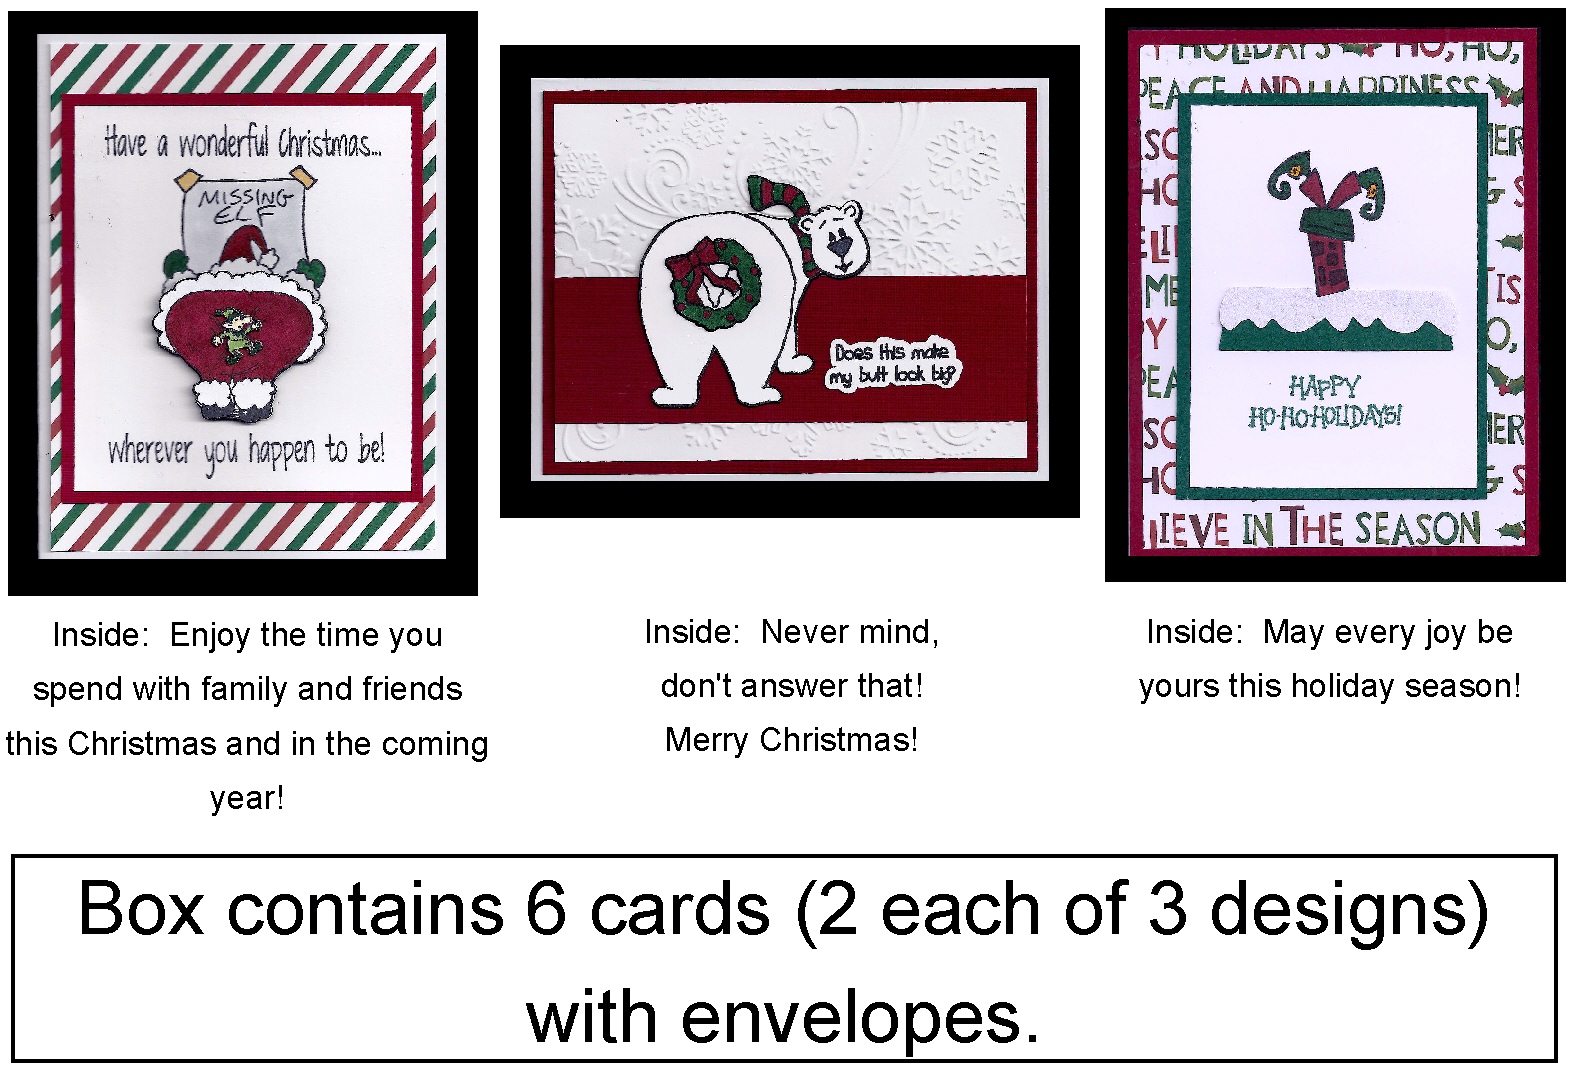
Happy Ho-Ho-Holidays

(Inside text: May every joy be your this holiday season!)
The stamps for this card are from the Gina K Designs “Funky Christmas” set (retired?) and the Stampin’ Up “Ho Ho Holidays” set. The inside text was computer generated.
The “feet” image was stamped with Memento Tuxedo Black ink and was colored with Copic Markers (R59 & C7, G29, and Y17). In order to create the darker sections on the chimney, I added the C7 to the R59. Adding gray is an easy way to create darker shades of colors you already own without needing to purchase additional markers. The greeting was stamped with Gina K Christmas Pine ink.
I used red and green card stock from the Recollections Jewel Card Stock paper pack and printed paper from the Recollections Christmas – City Sidewalks Card Stock paper pack. White card stock was used for the card base behind the red panel.
The snow-covered roof parts were cut files from the “Santa on Roof – design #52189” set by Michelle Renee which was purchased in the Silhouette store and cut with my Silhouette. I used Gina K Christmas Pine and Recollections White Gold Shimmer card stock to create the roof.
This card was one of three designs in a boxed set:
Thanks for checking out my card project!