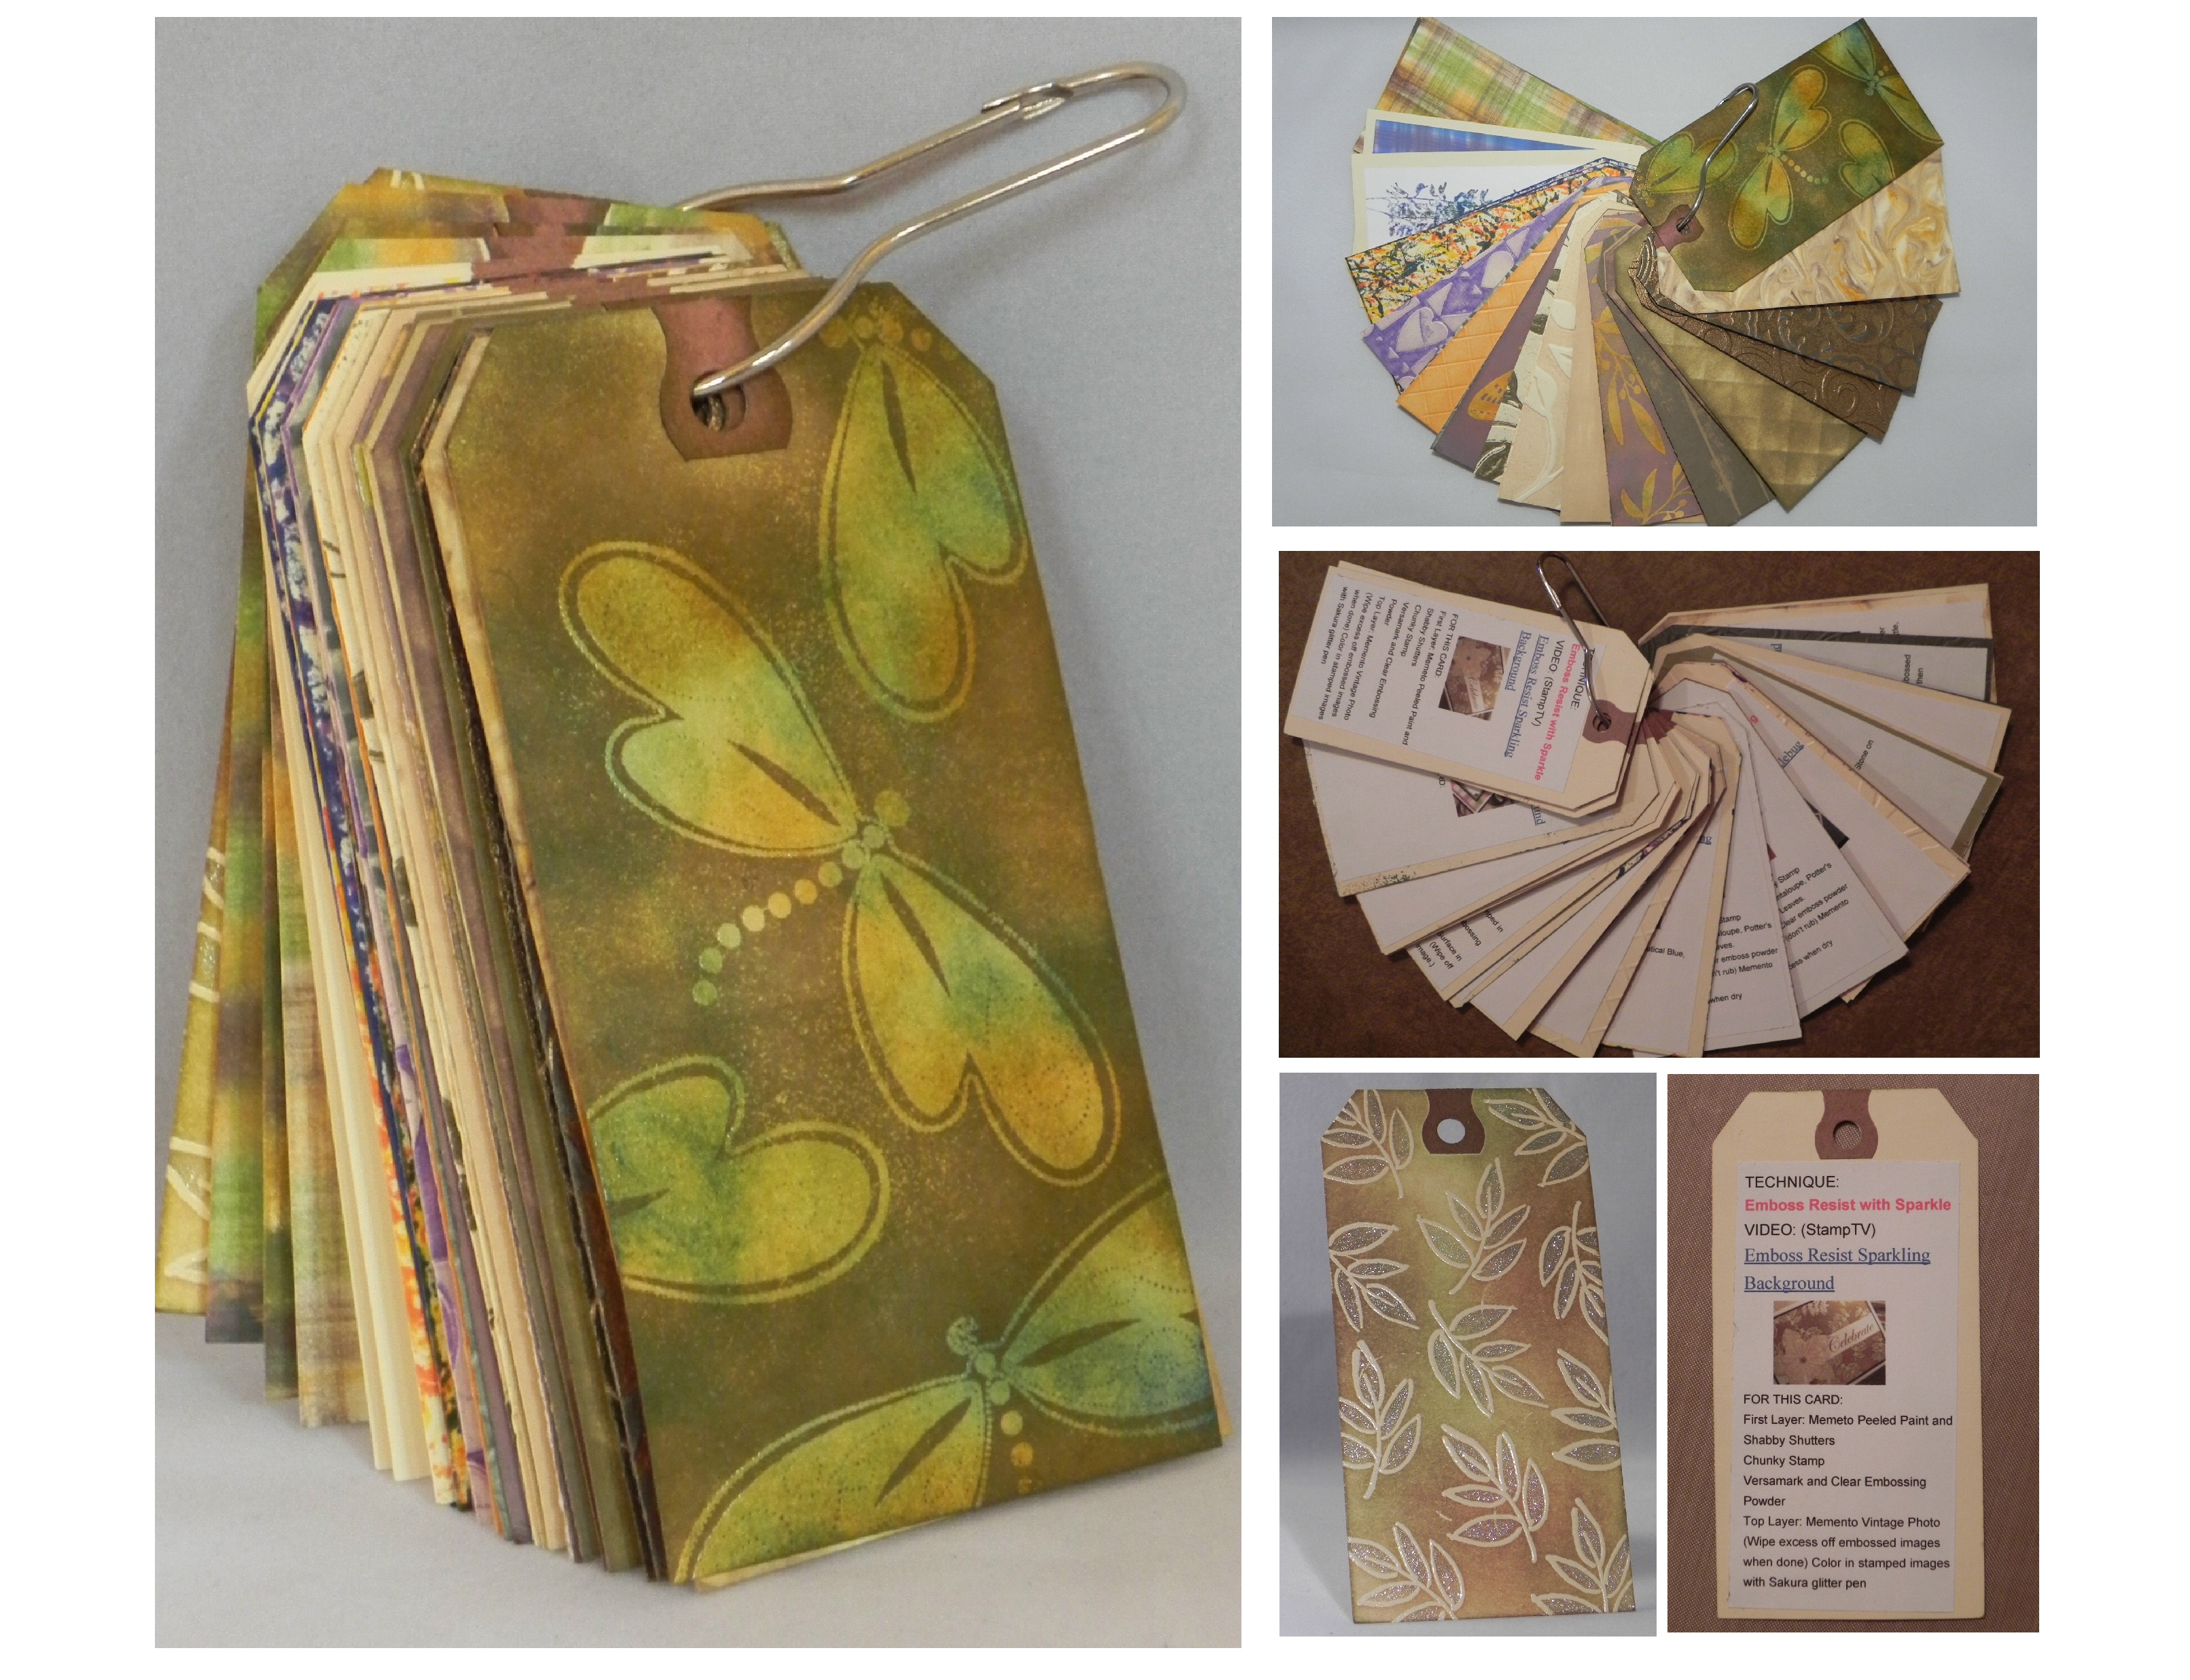
Technique Tags
(a blast from the past…)
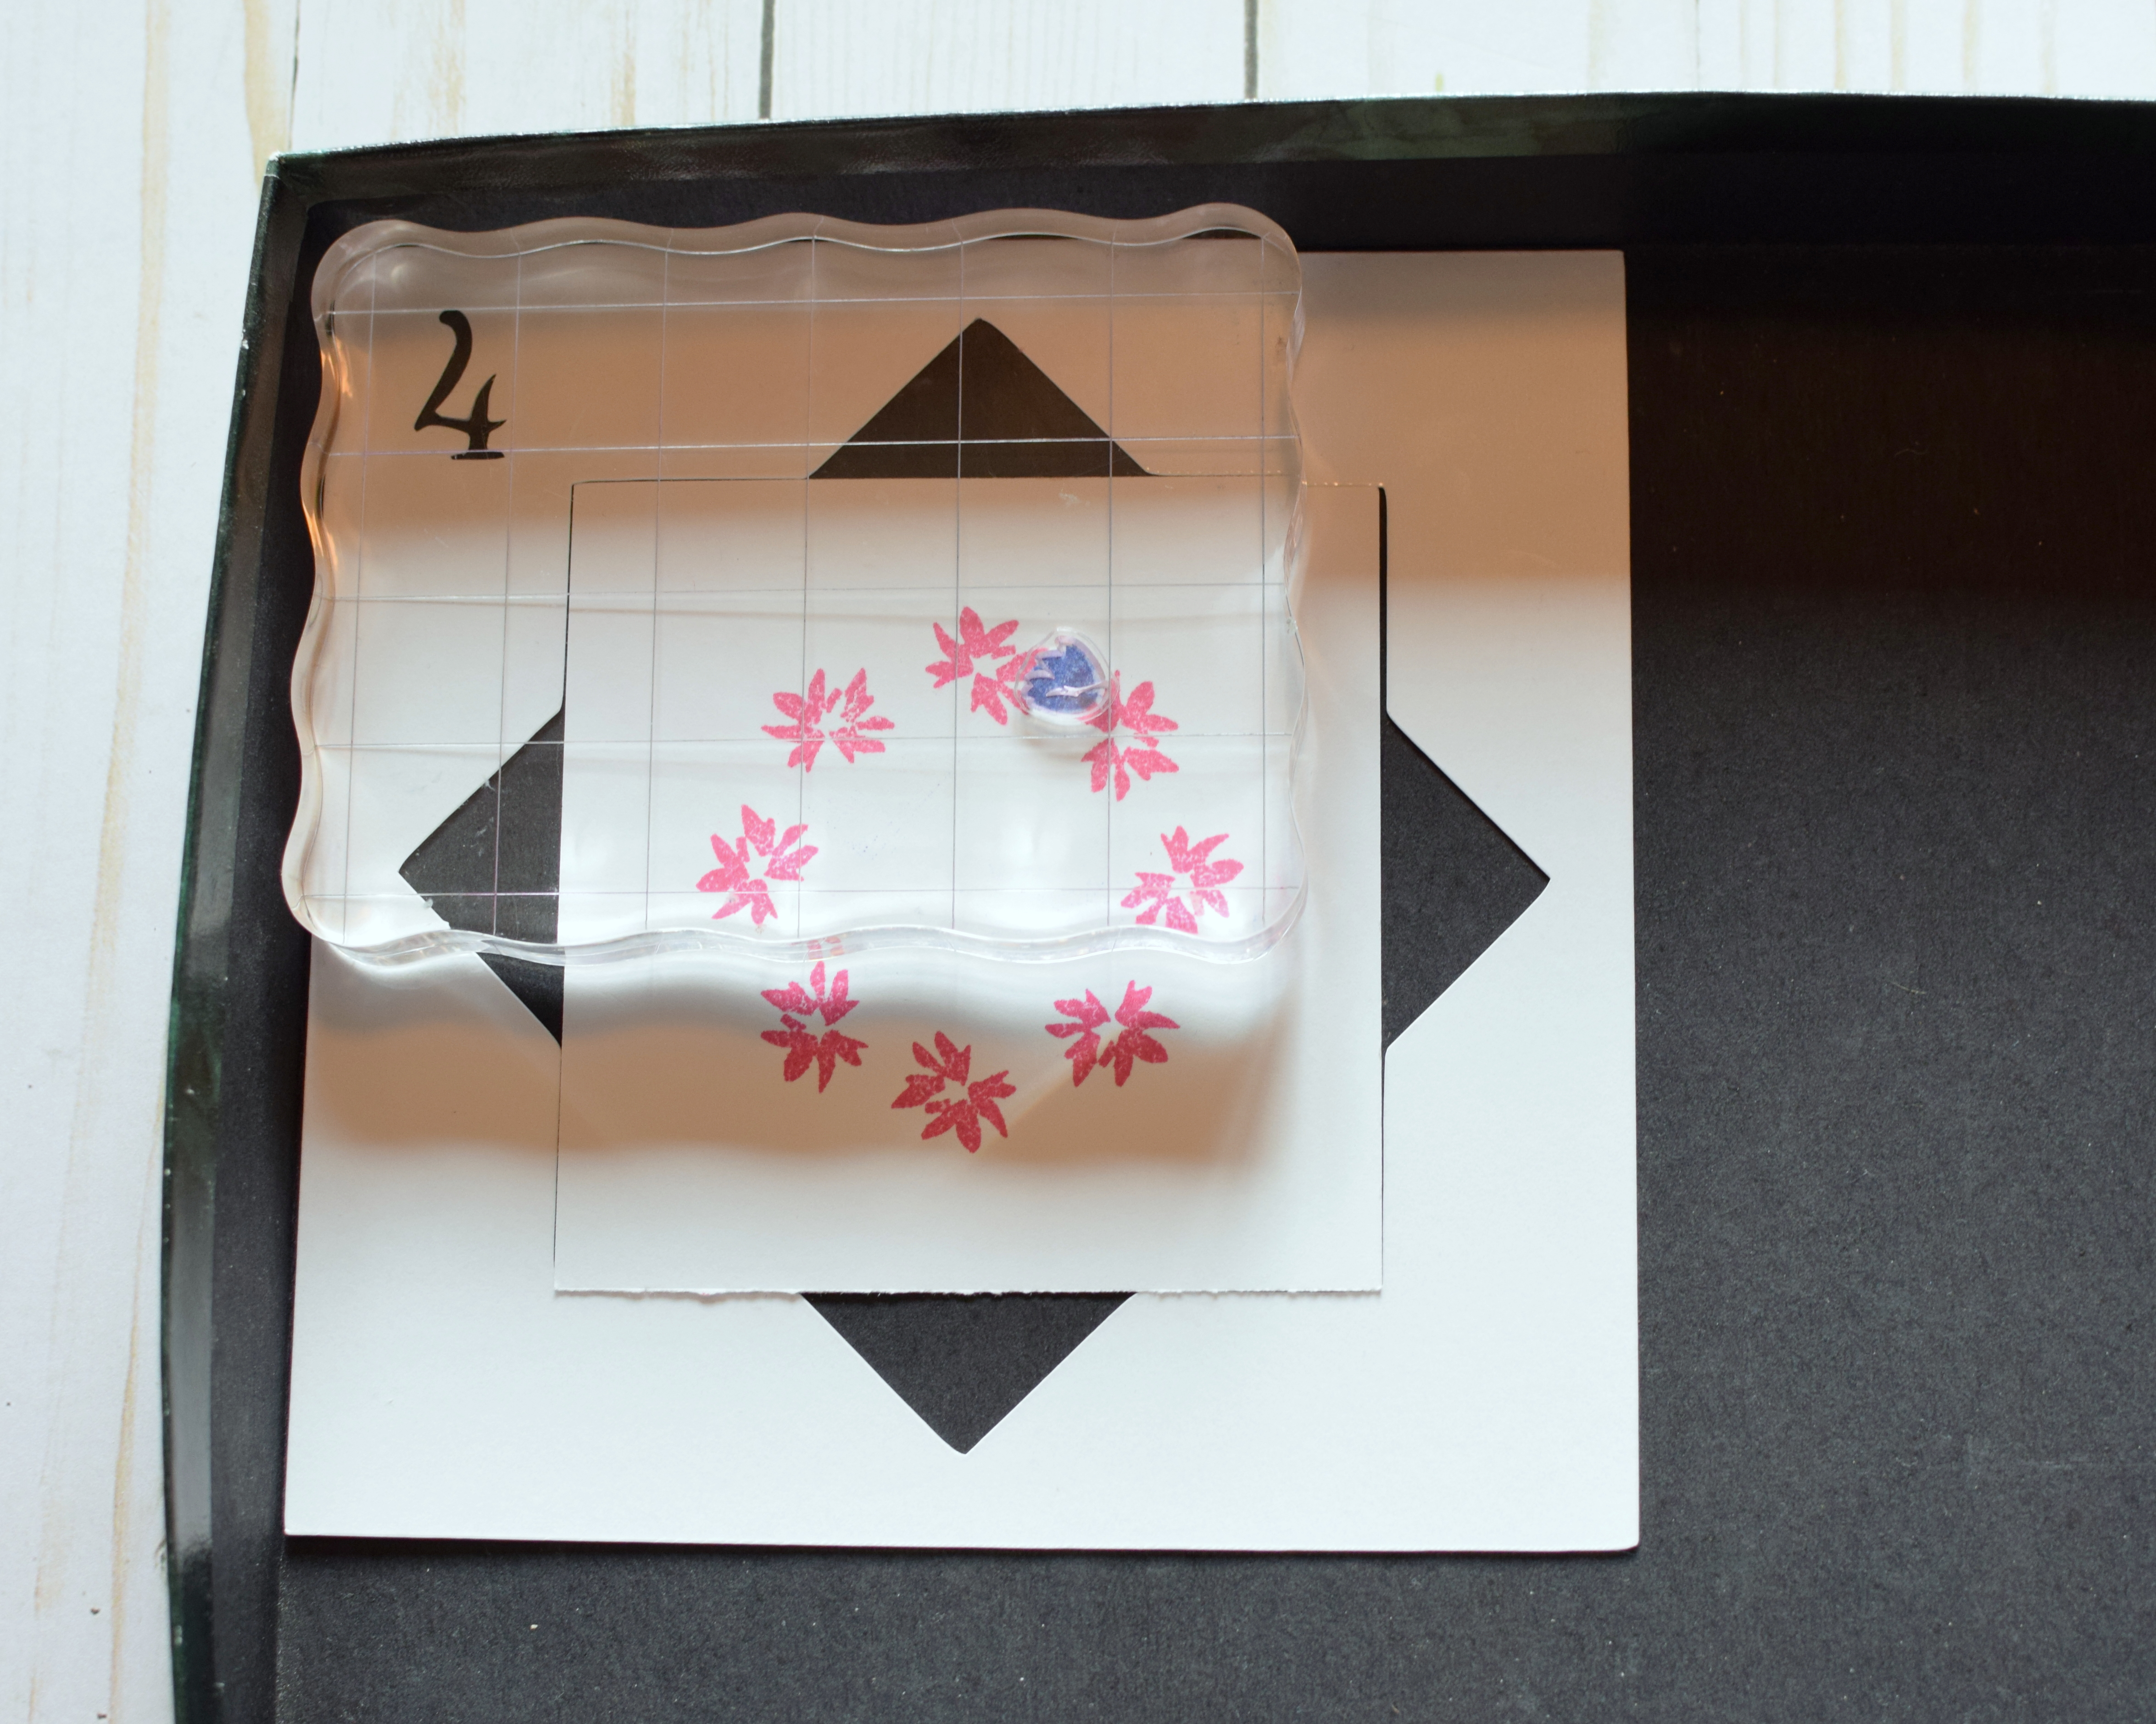
Here’s an idea that helps you keep track of new techniques you come across and also allows you to try them quickly without needing to create a whole, finished project…
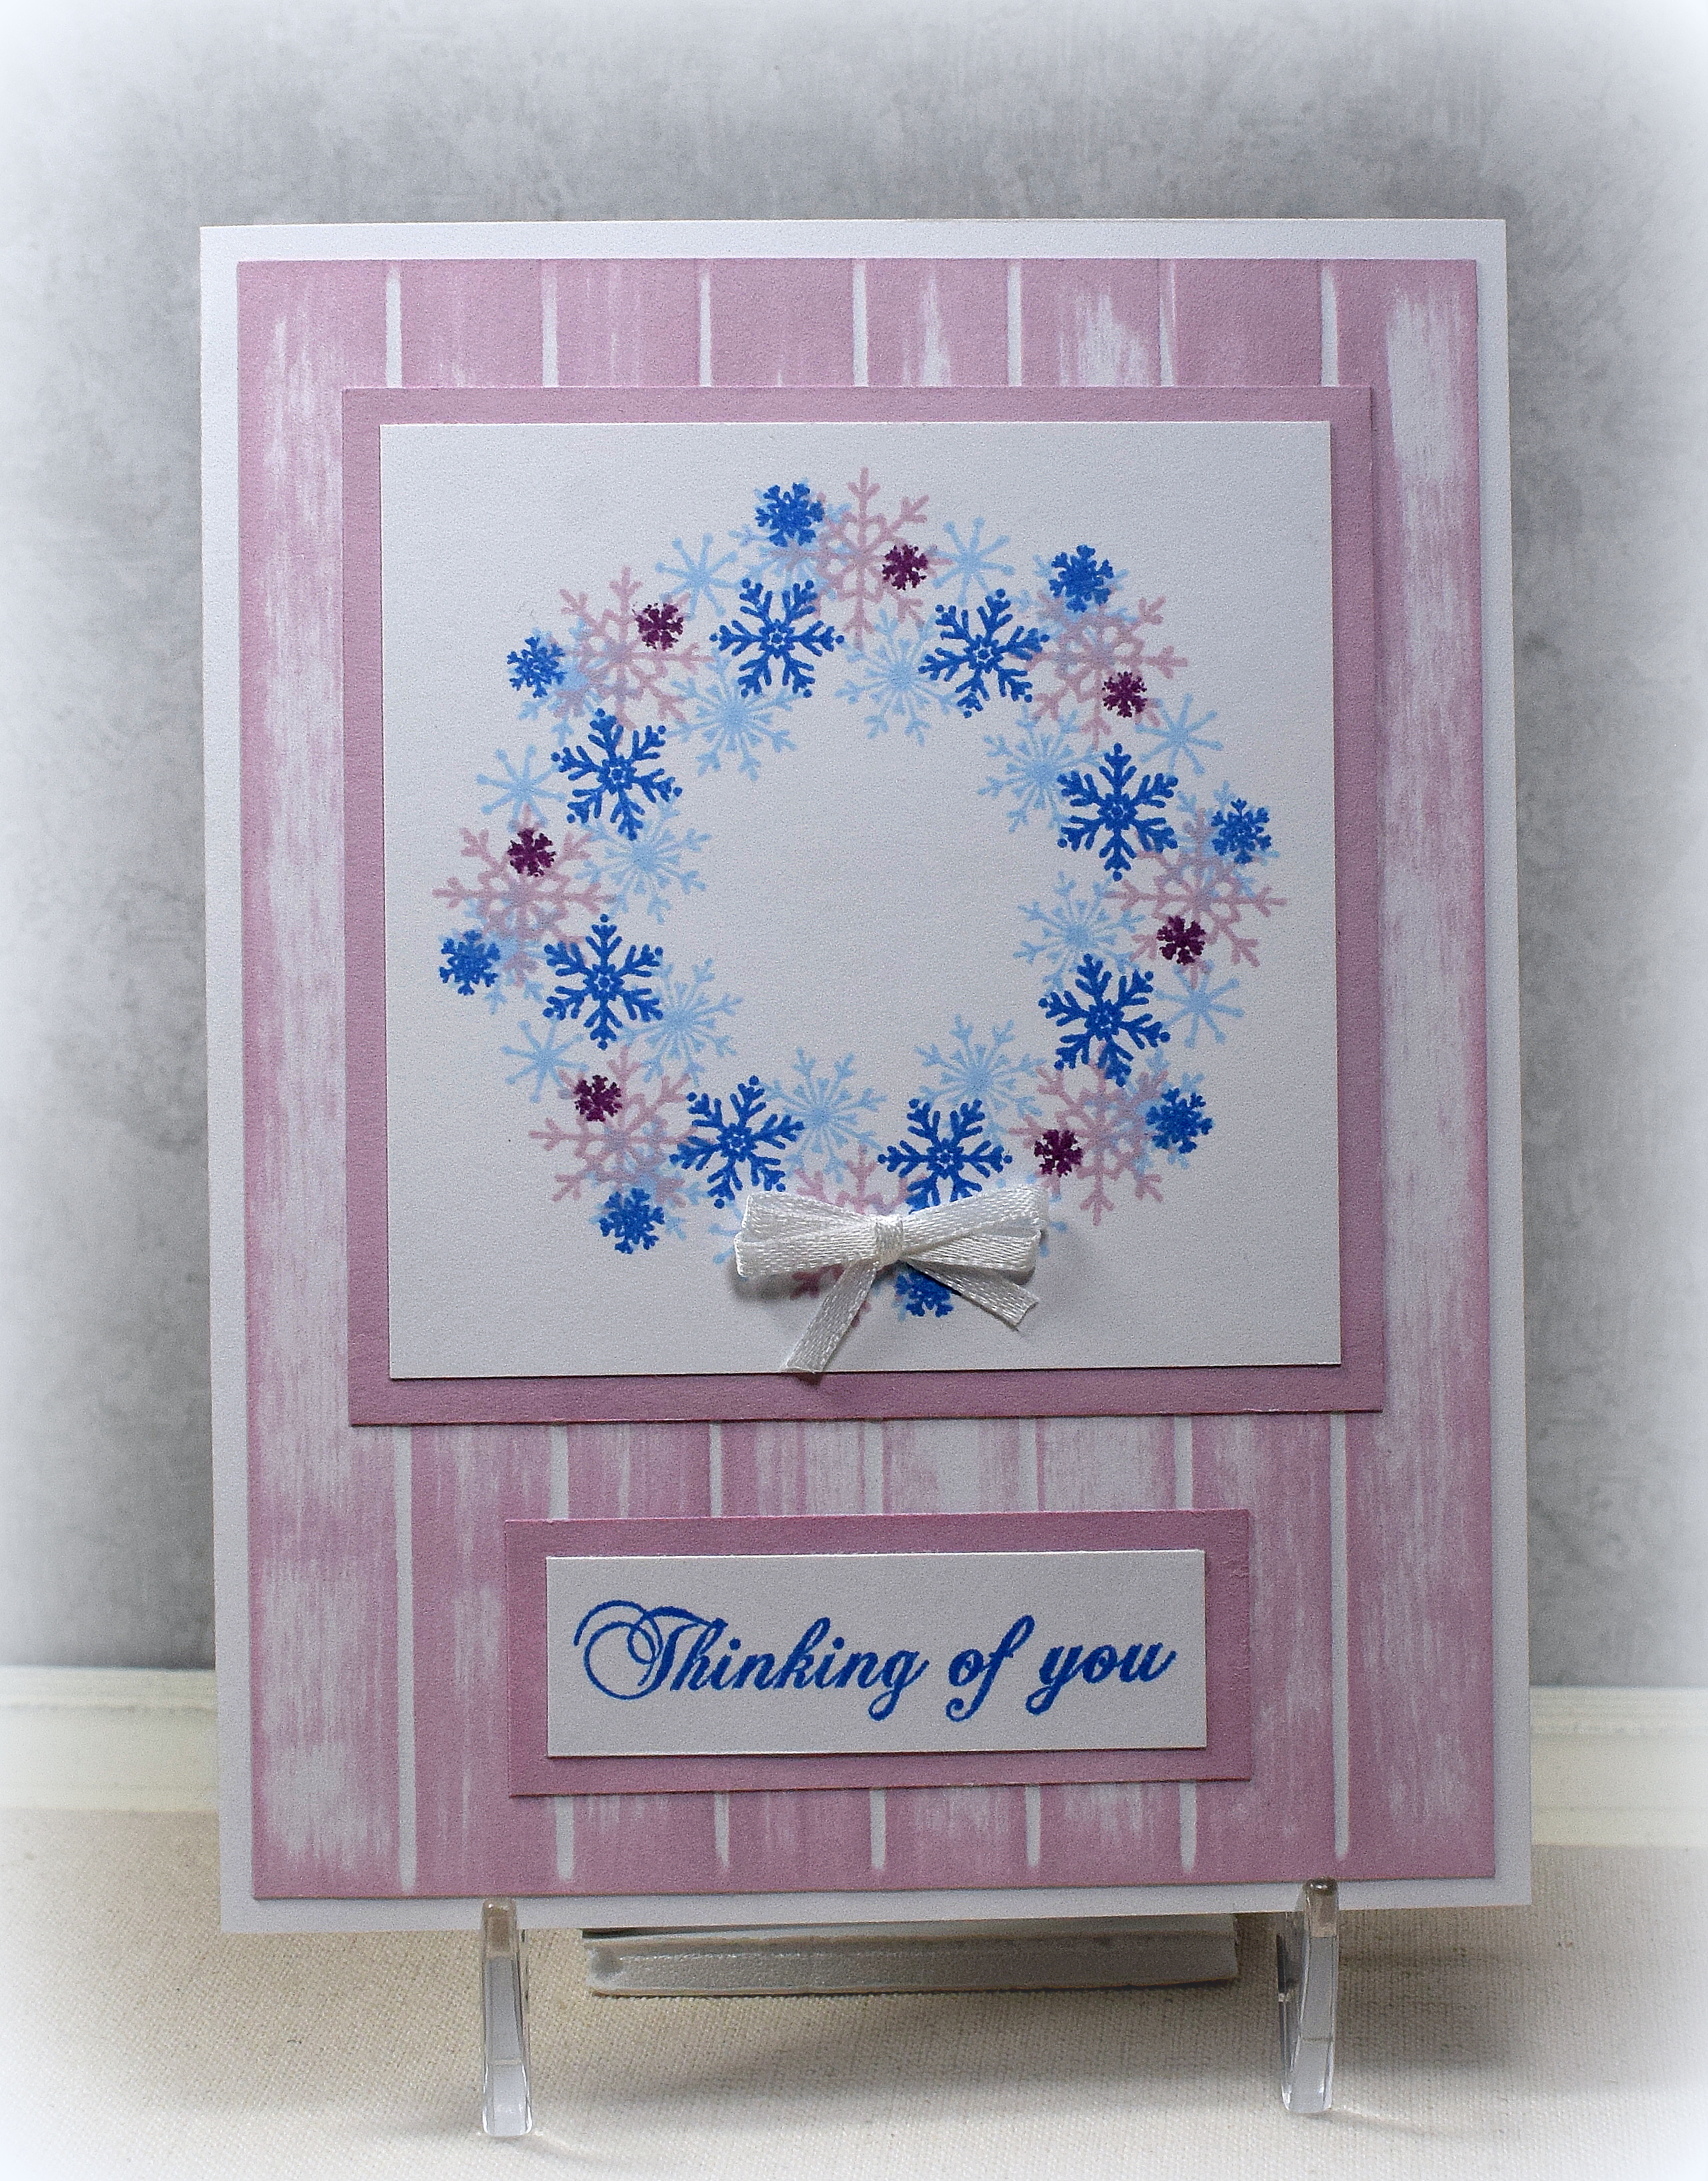
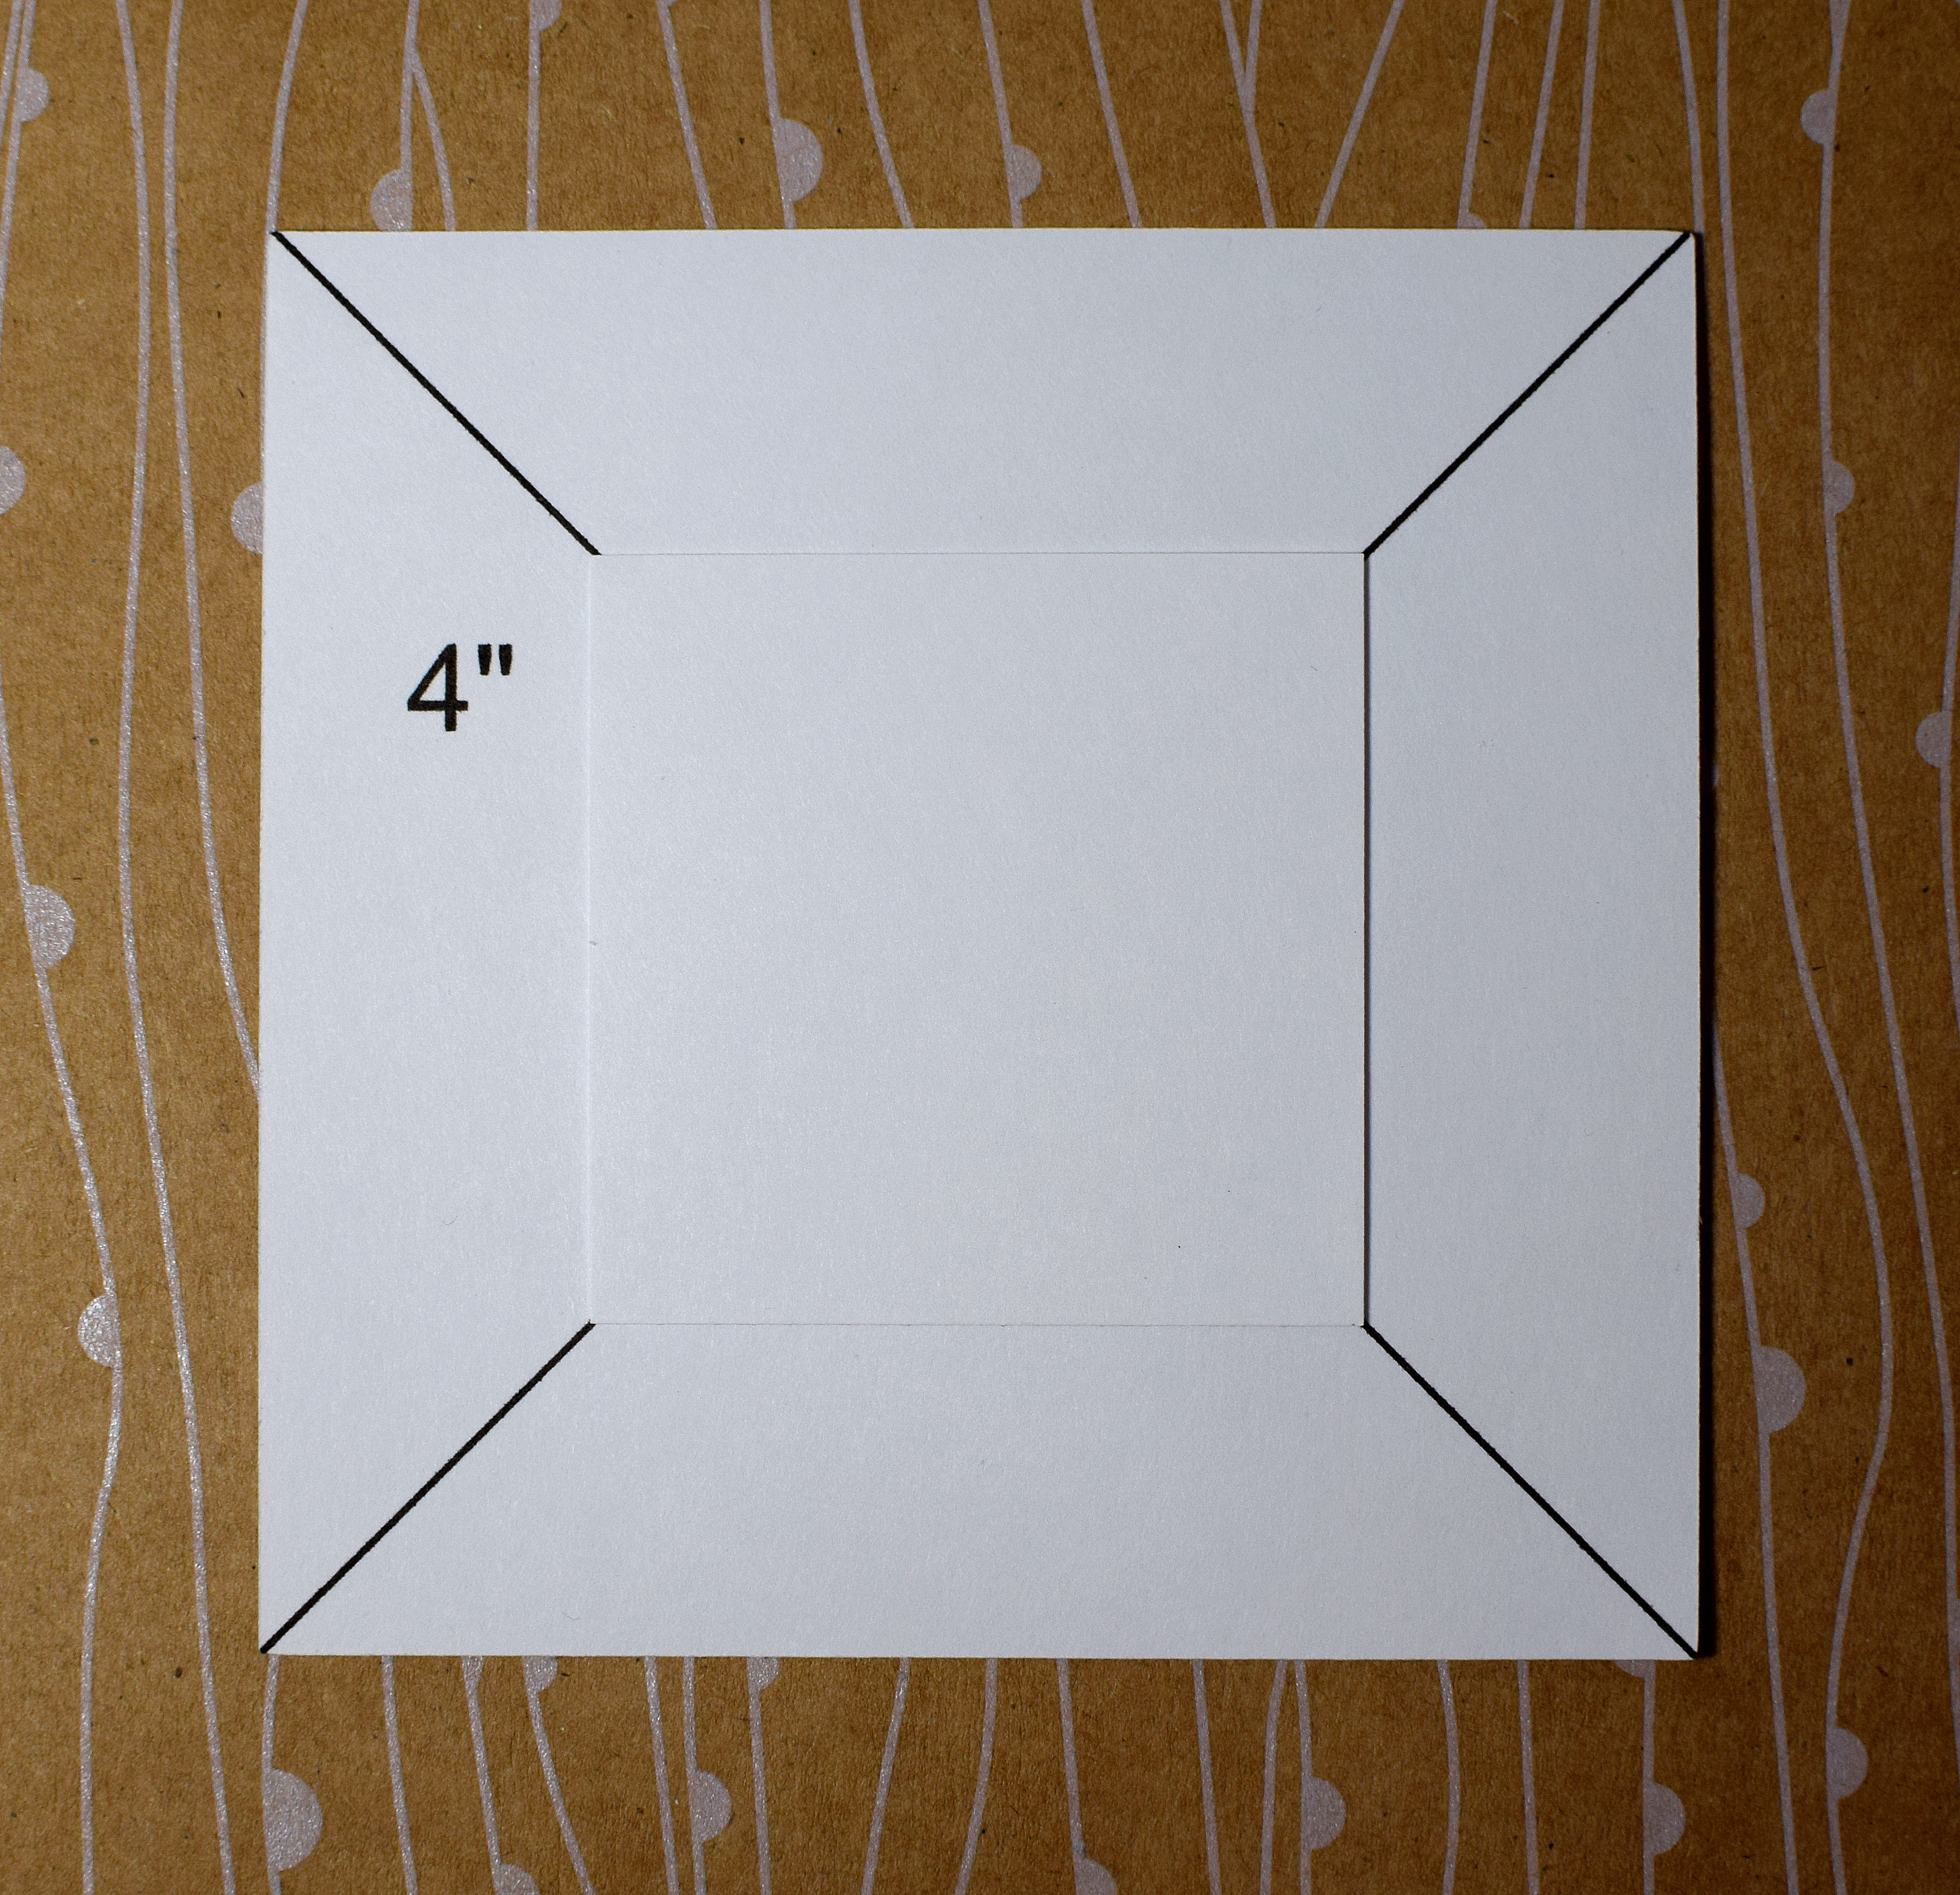
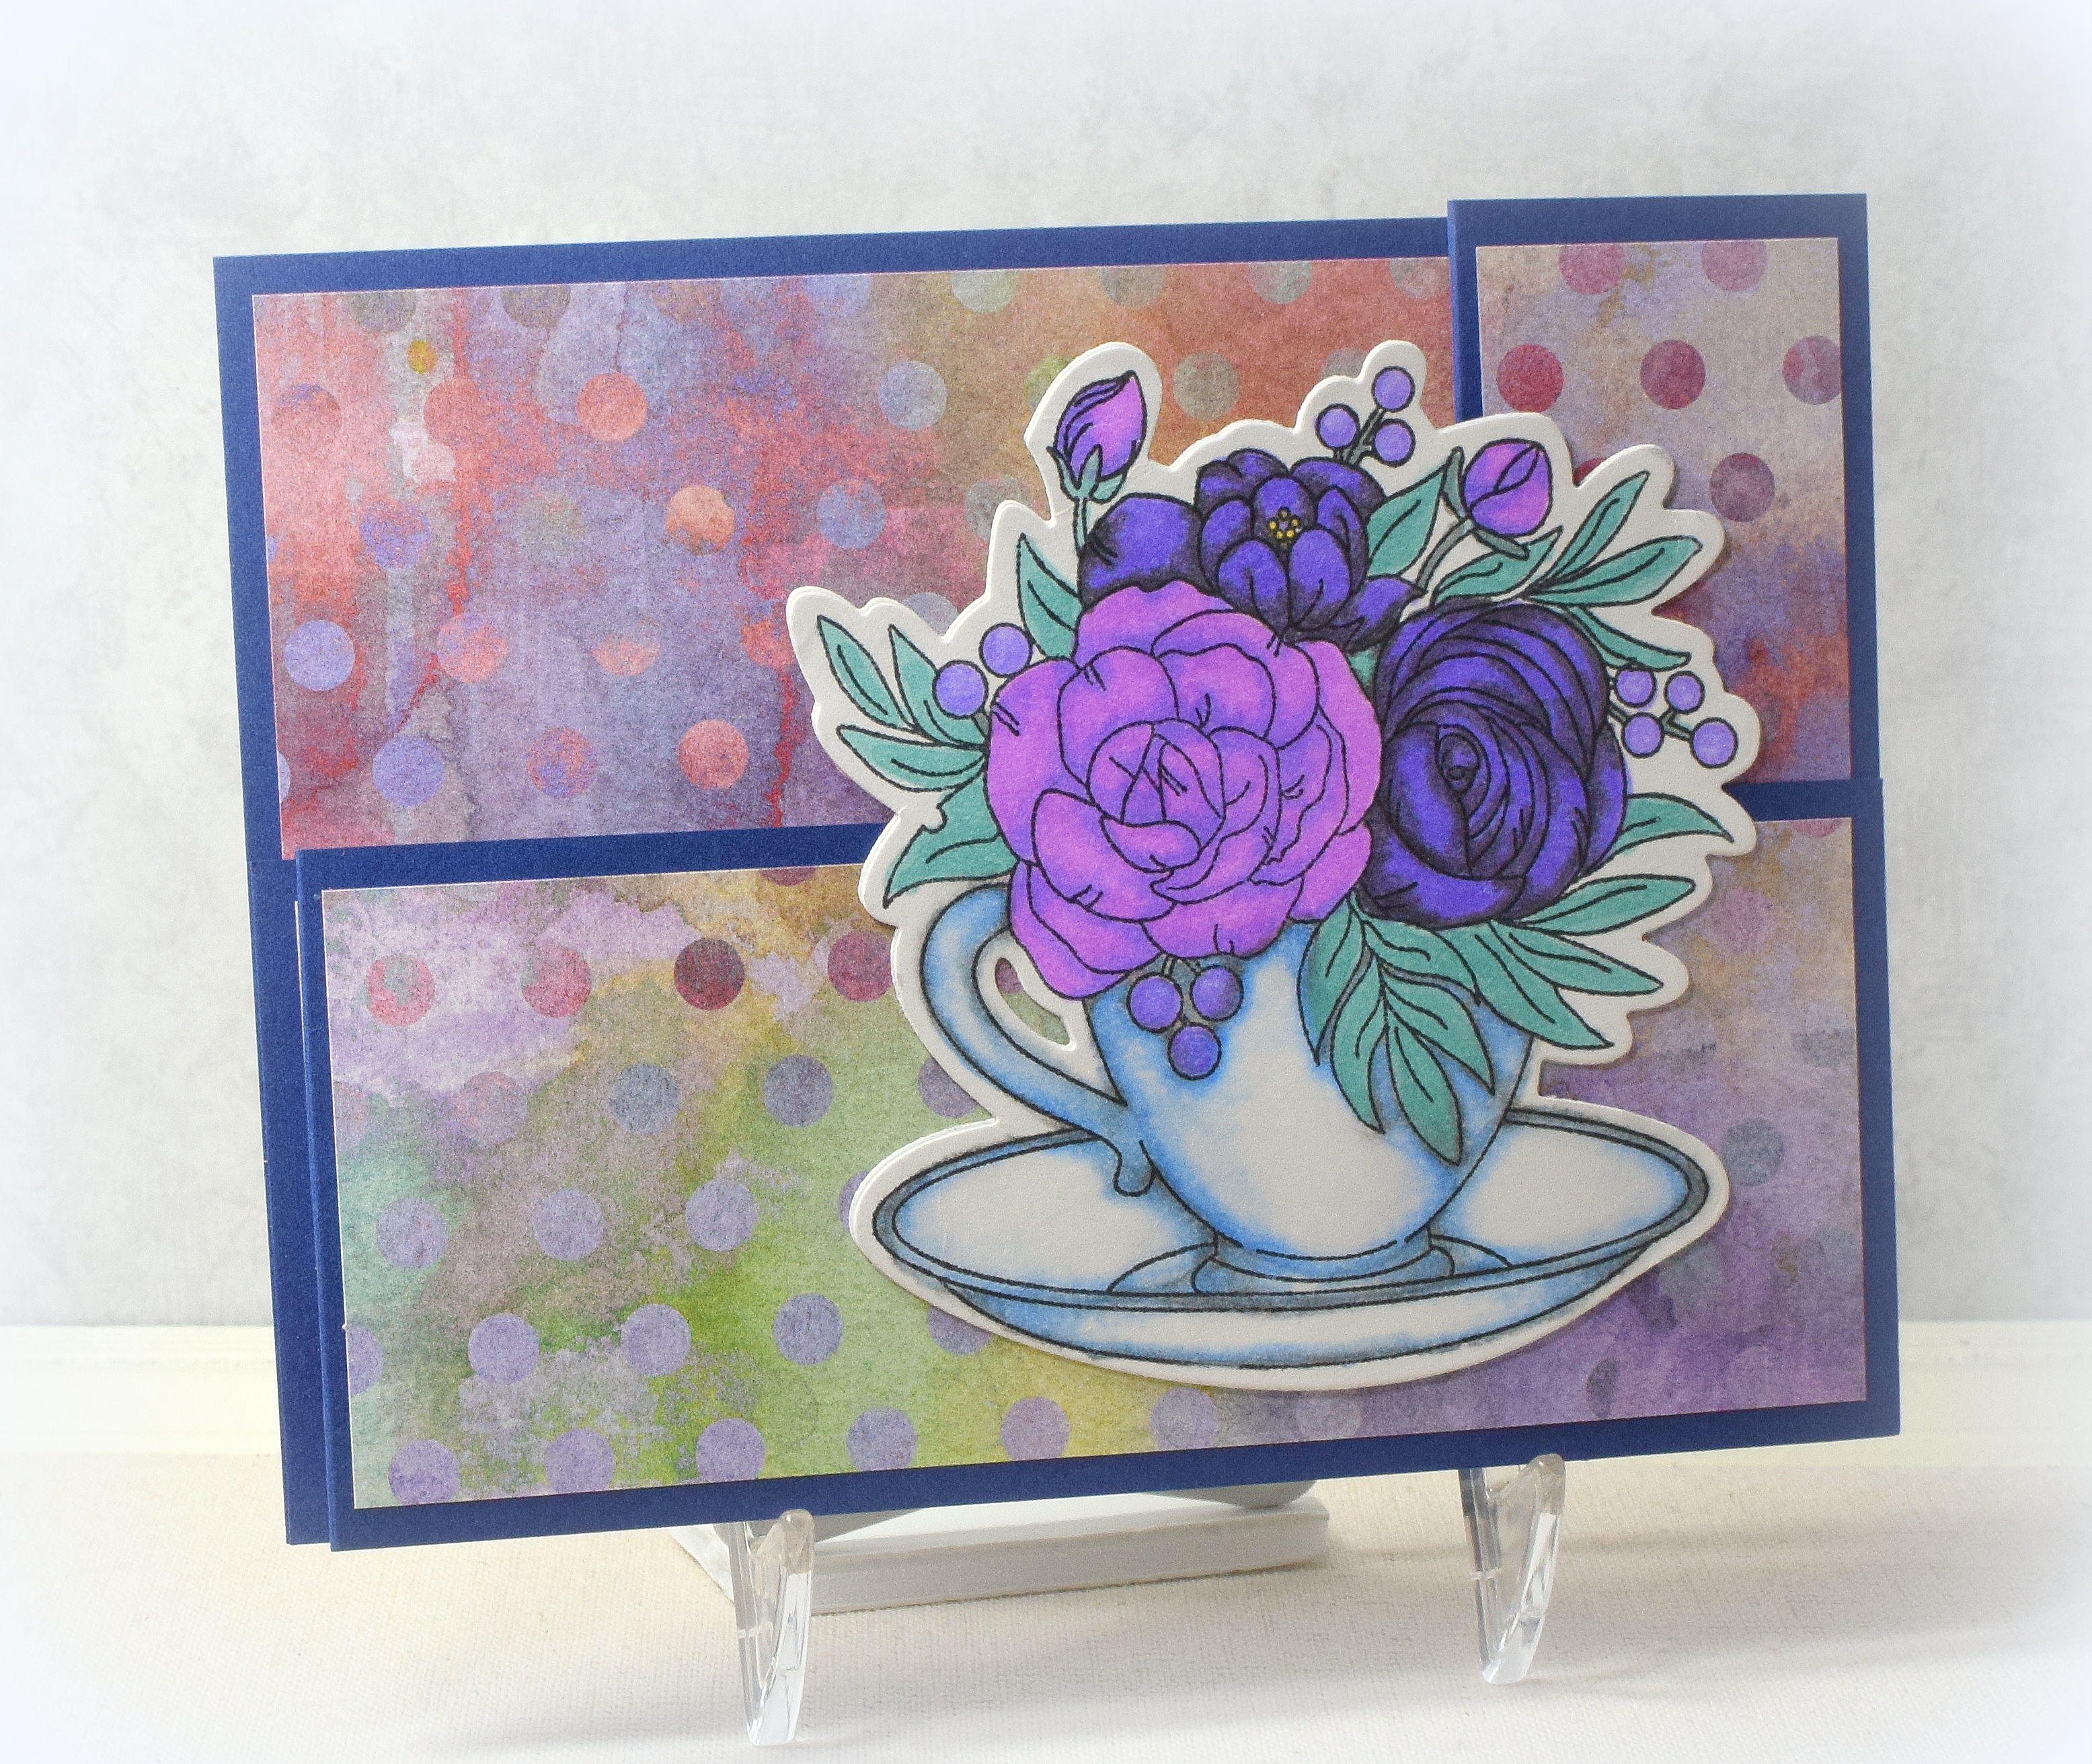
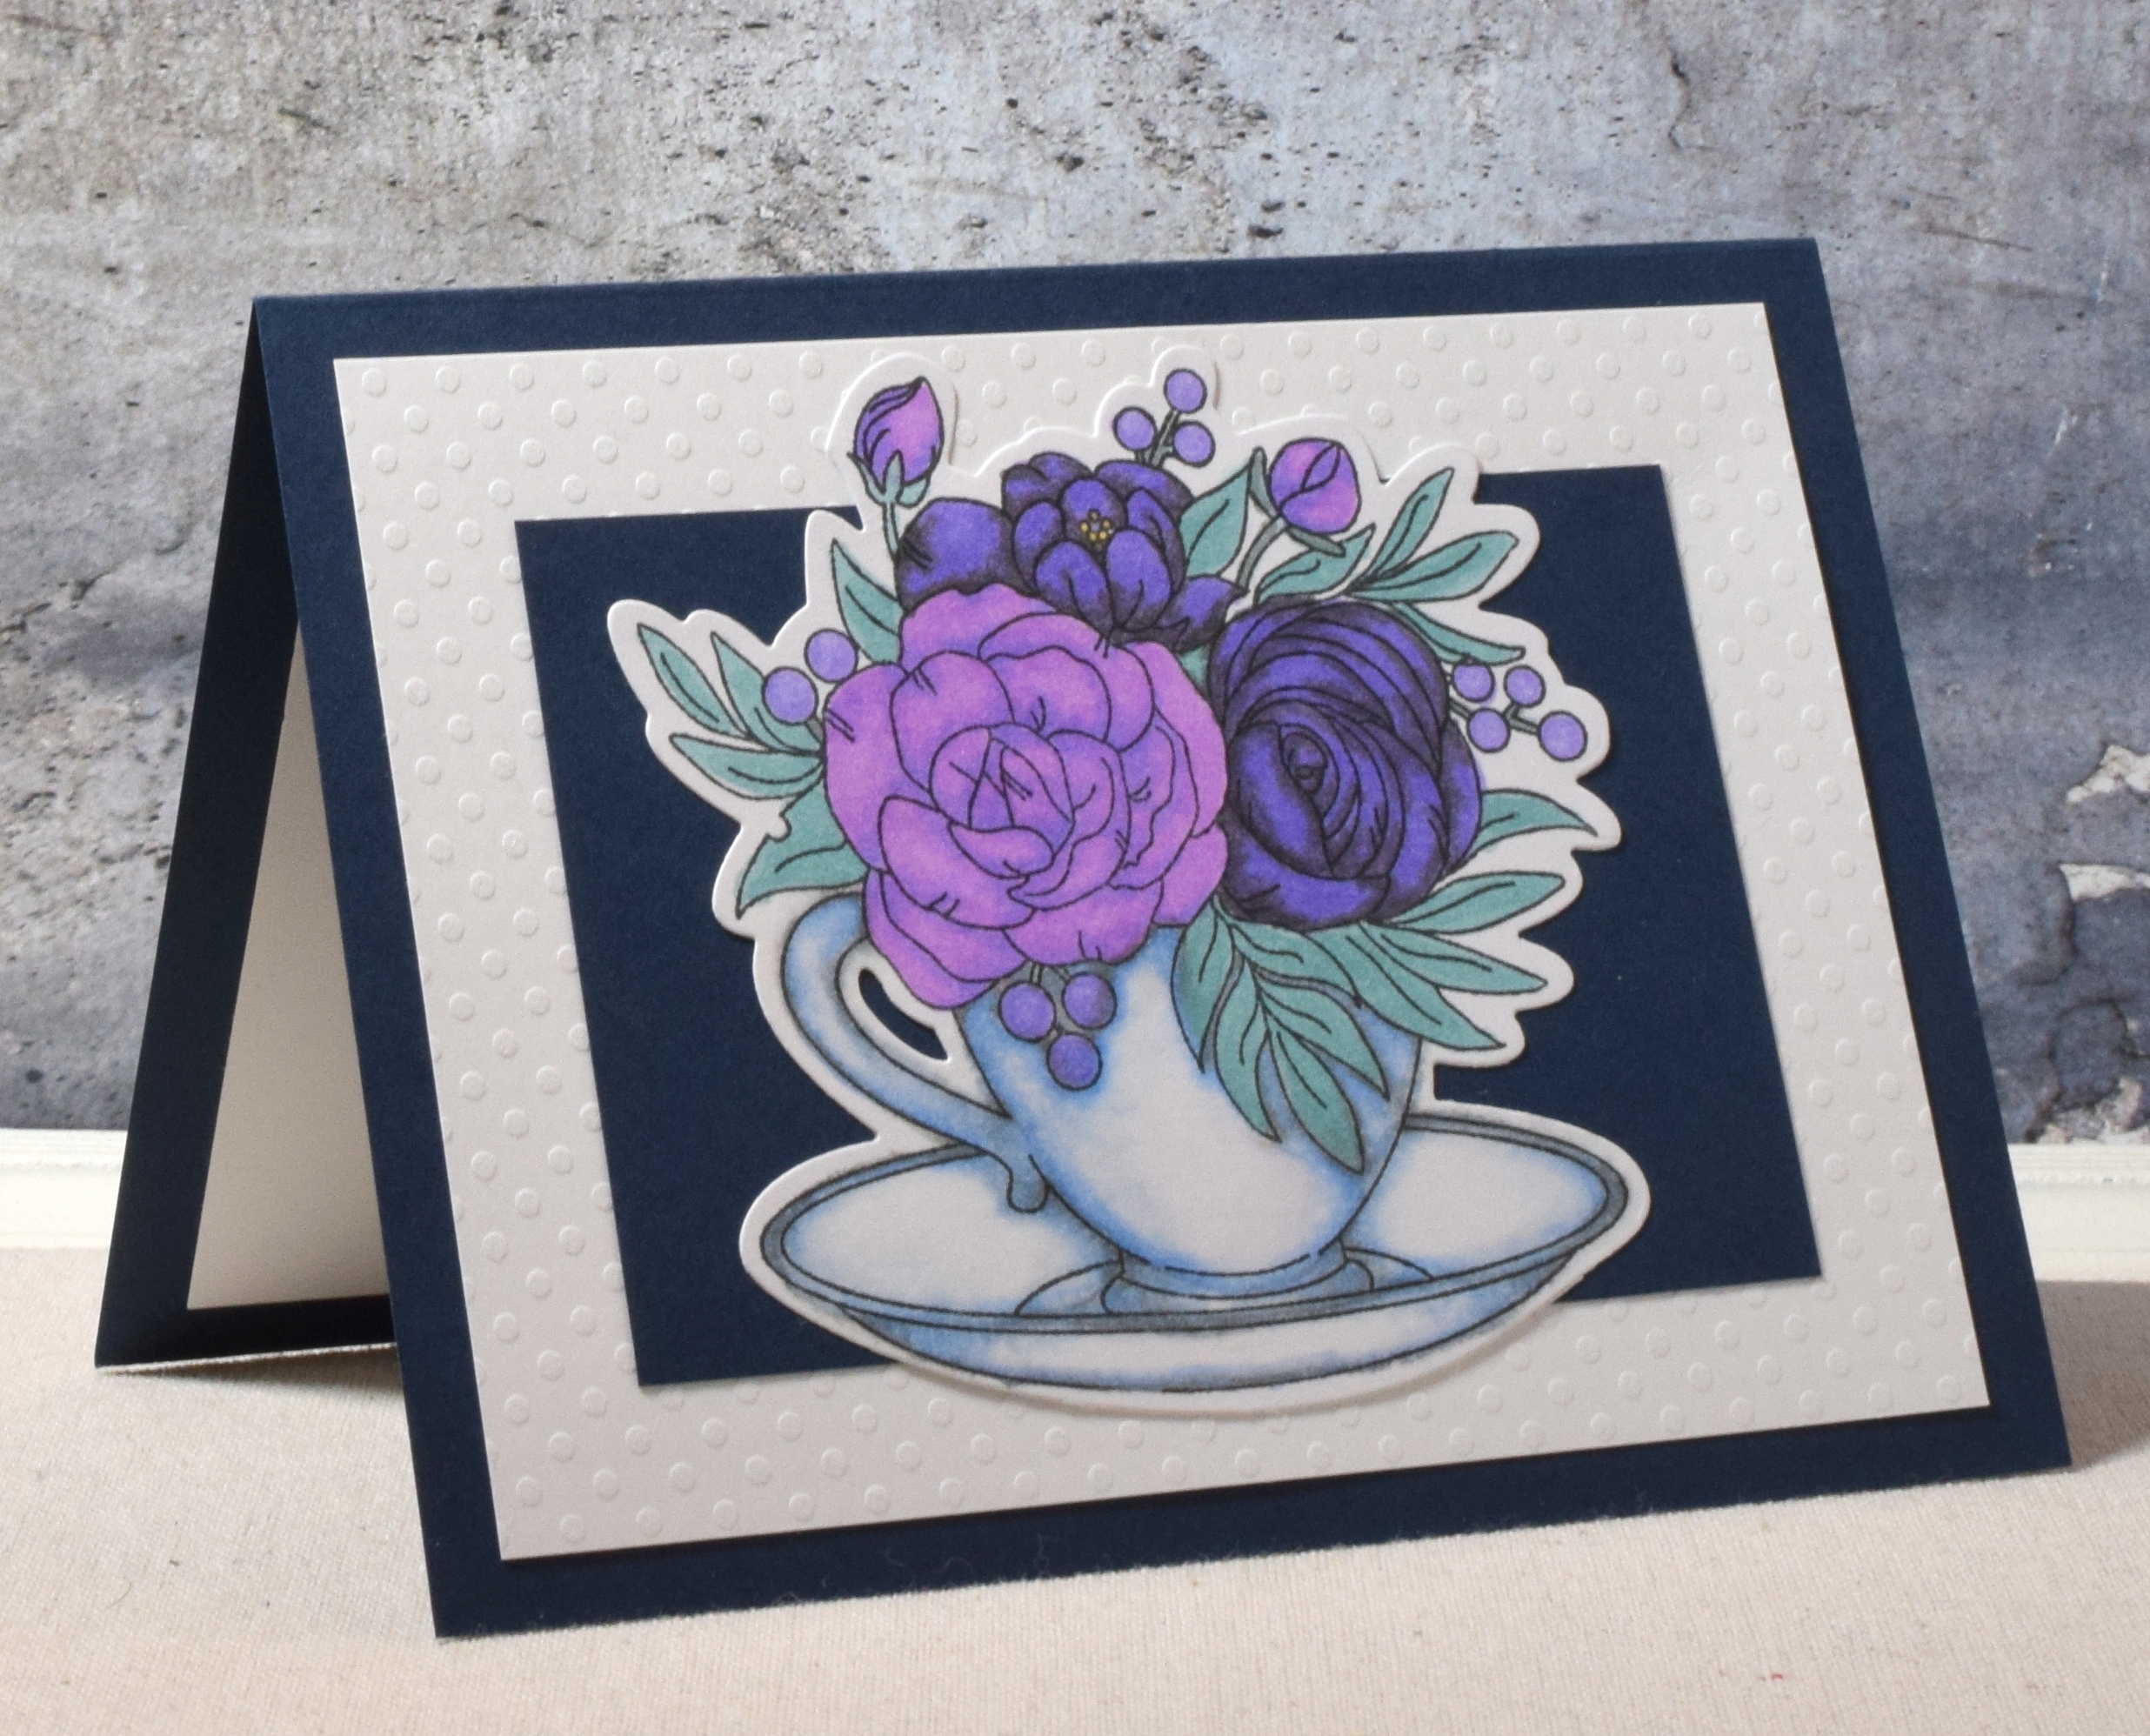
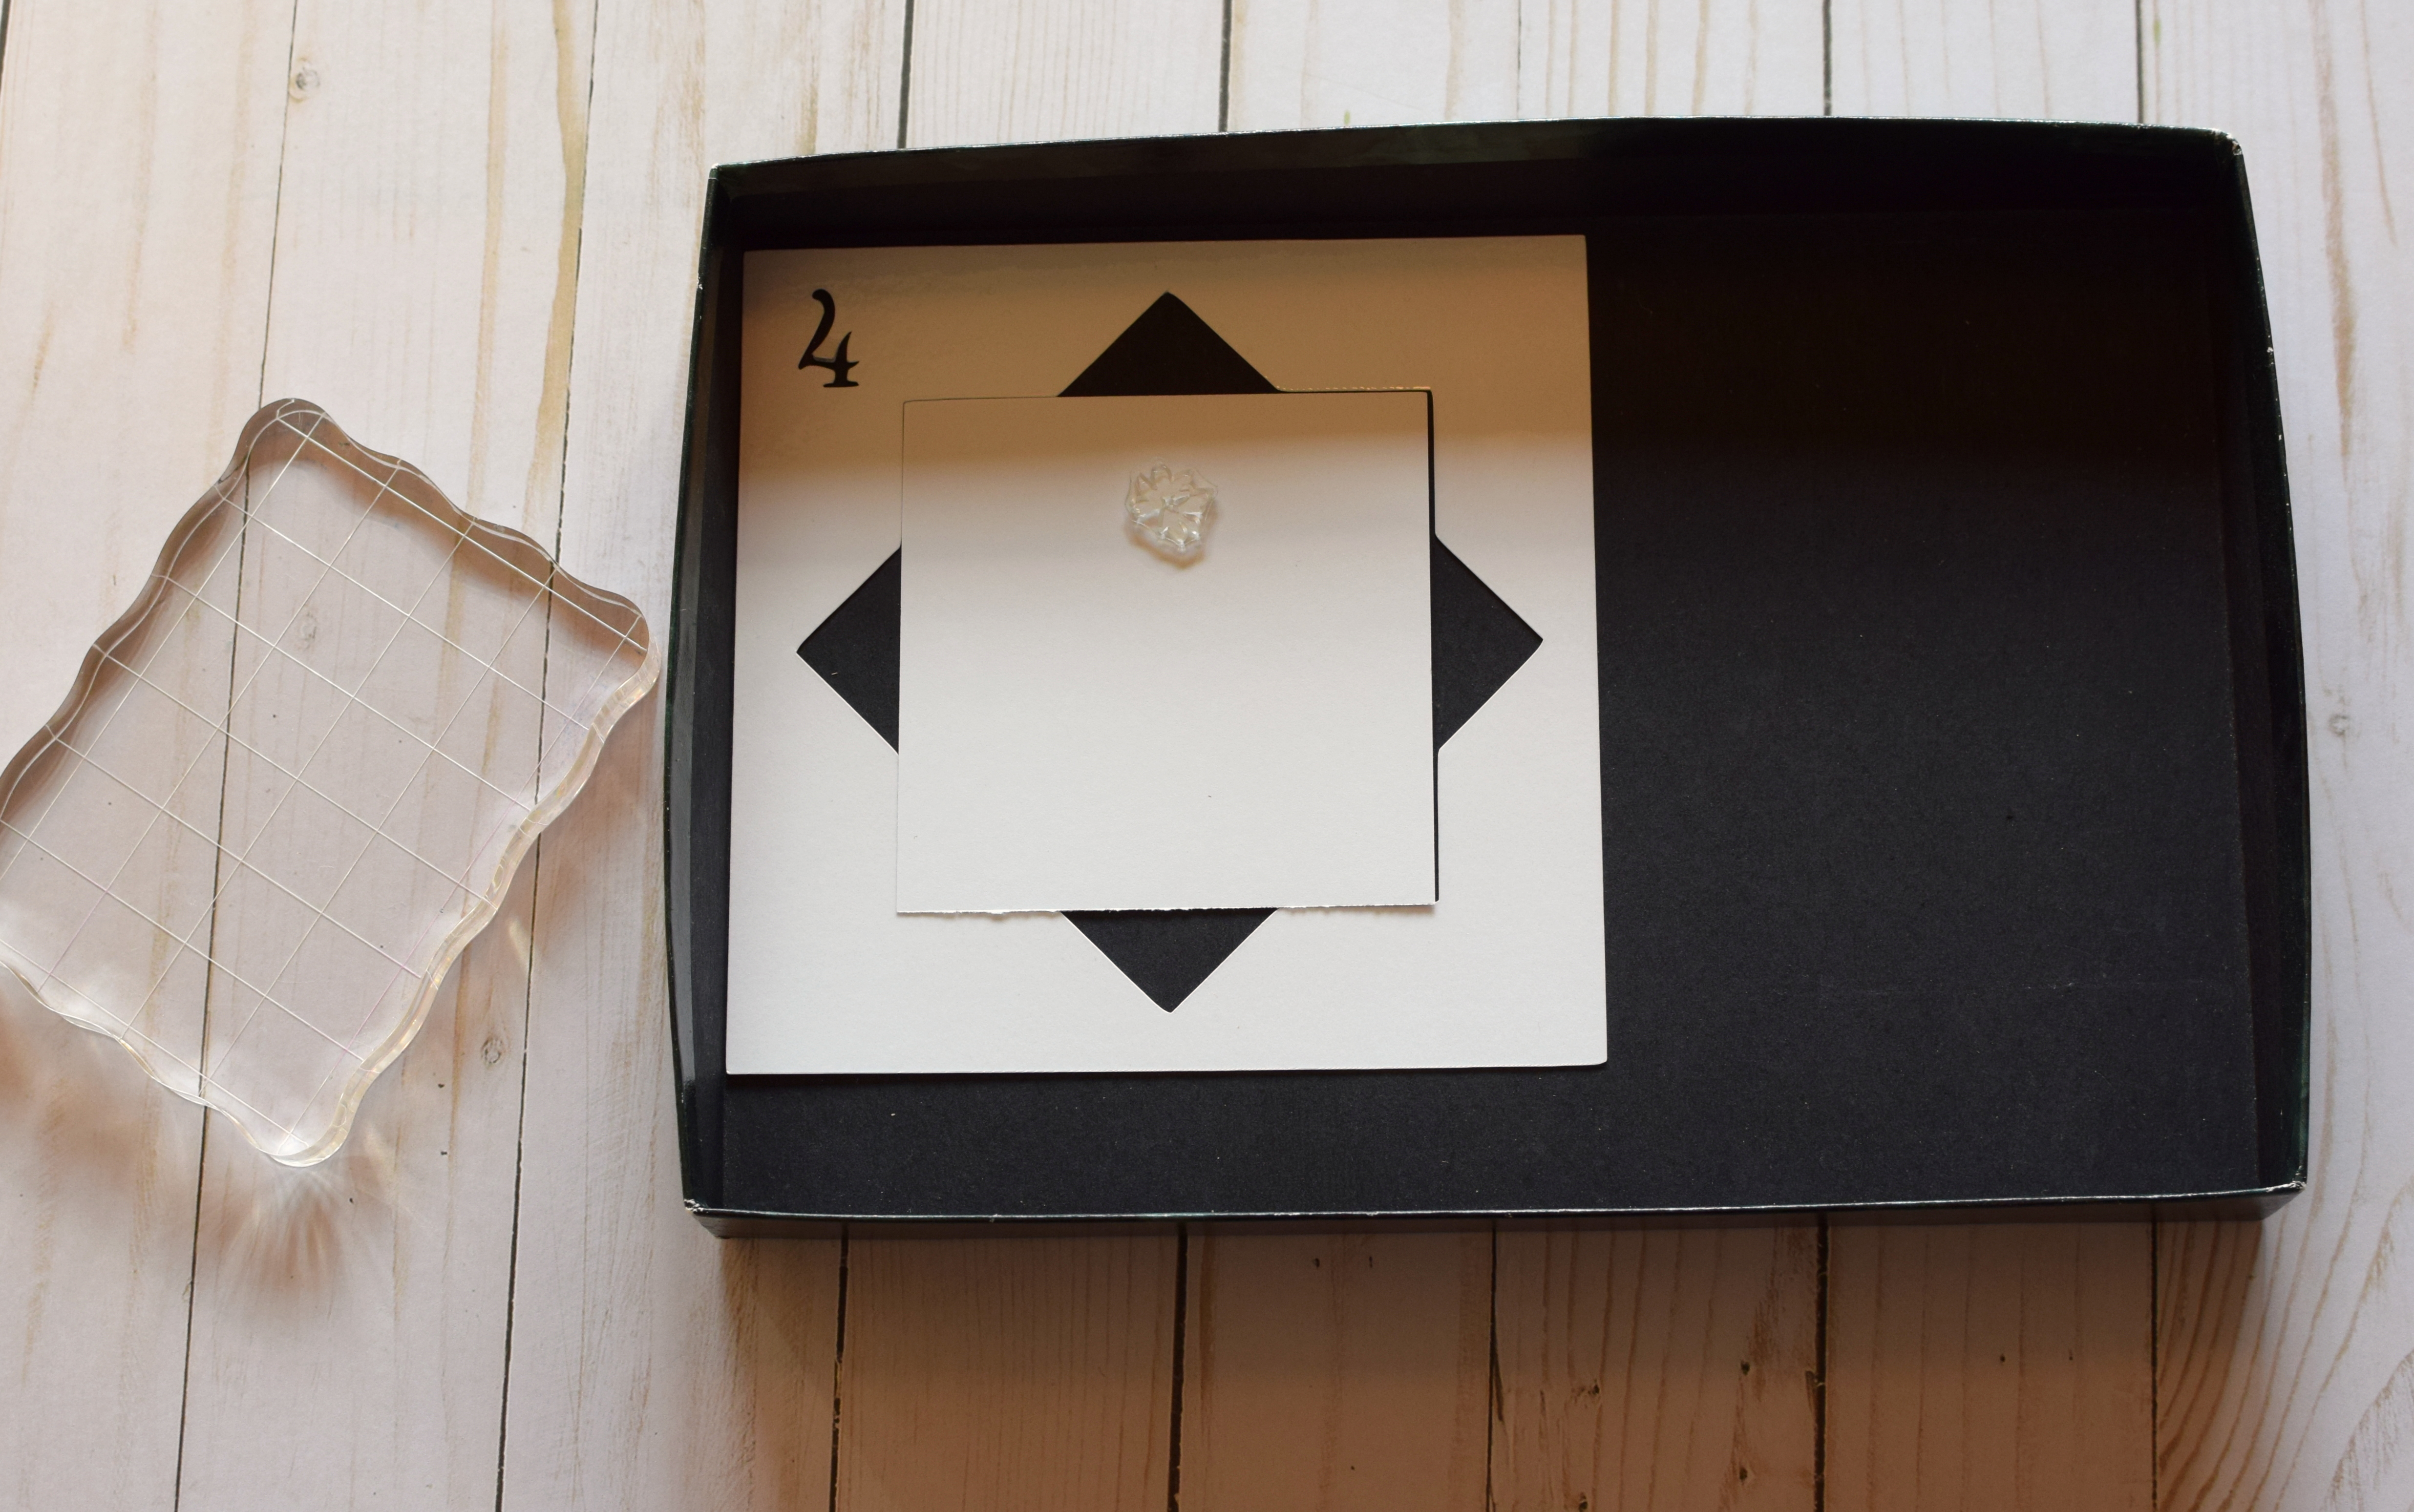
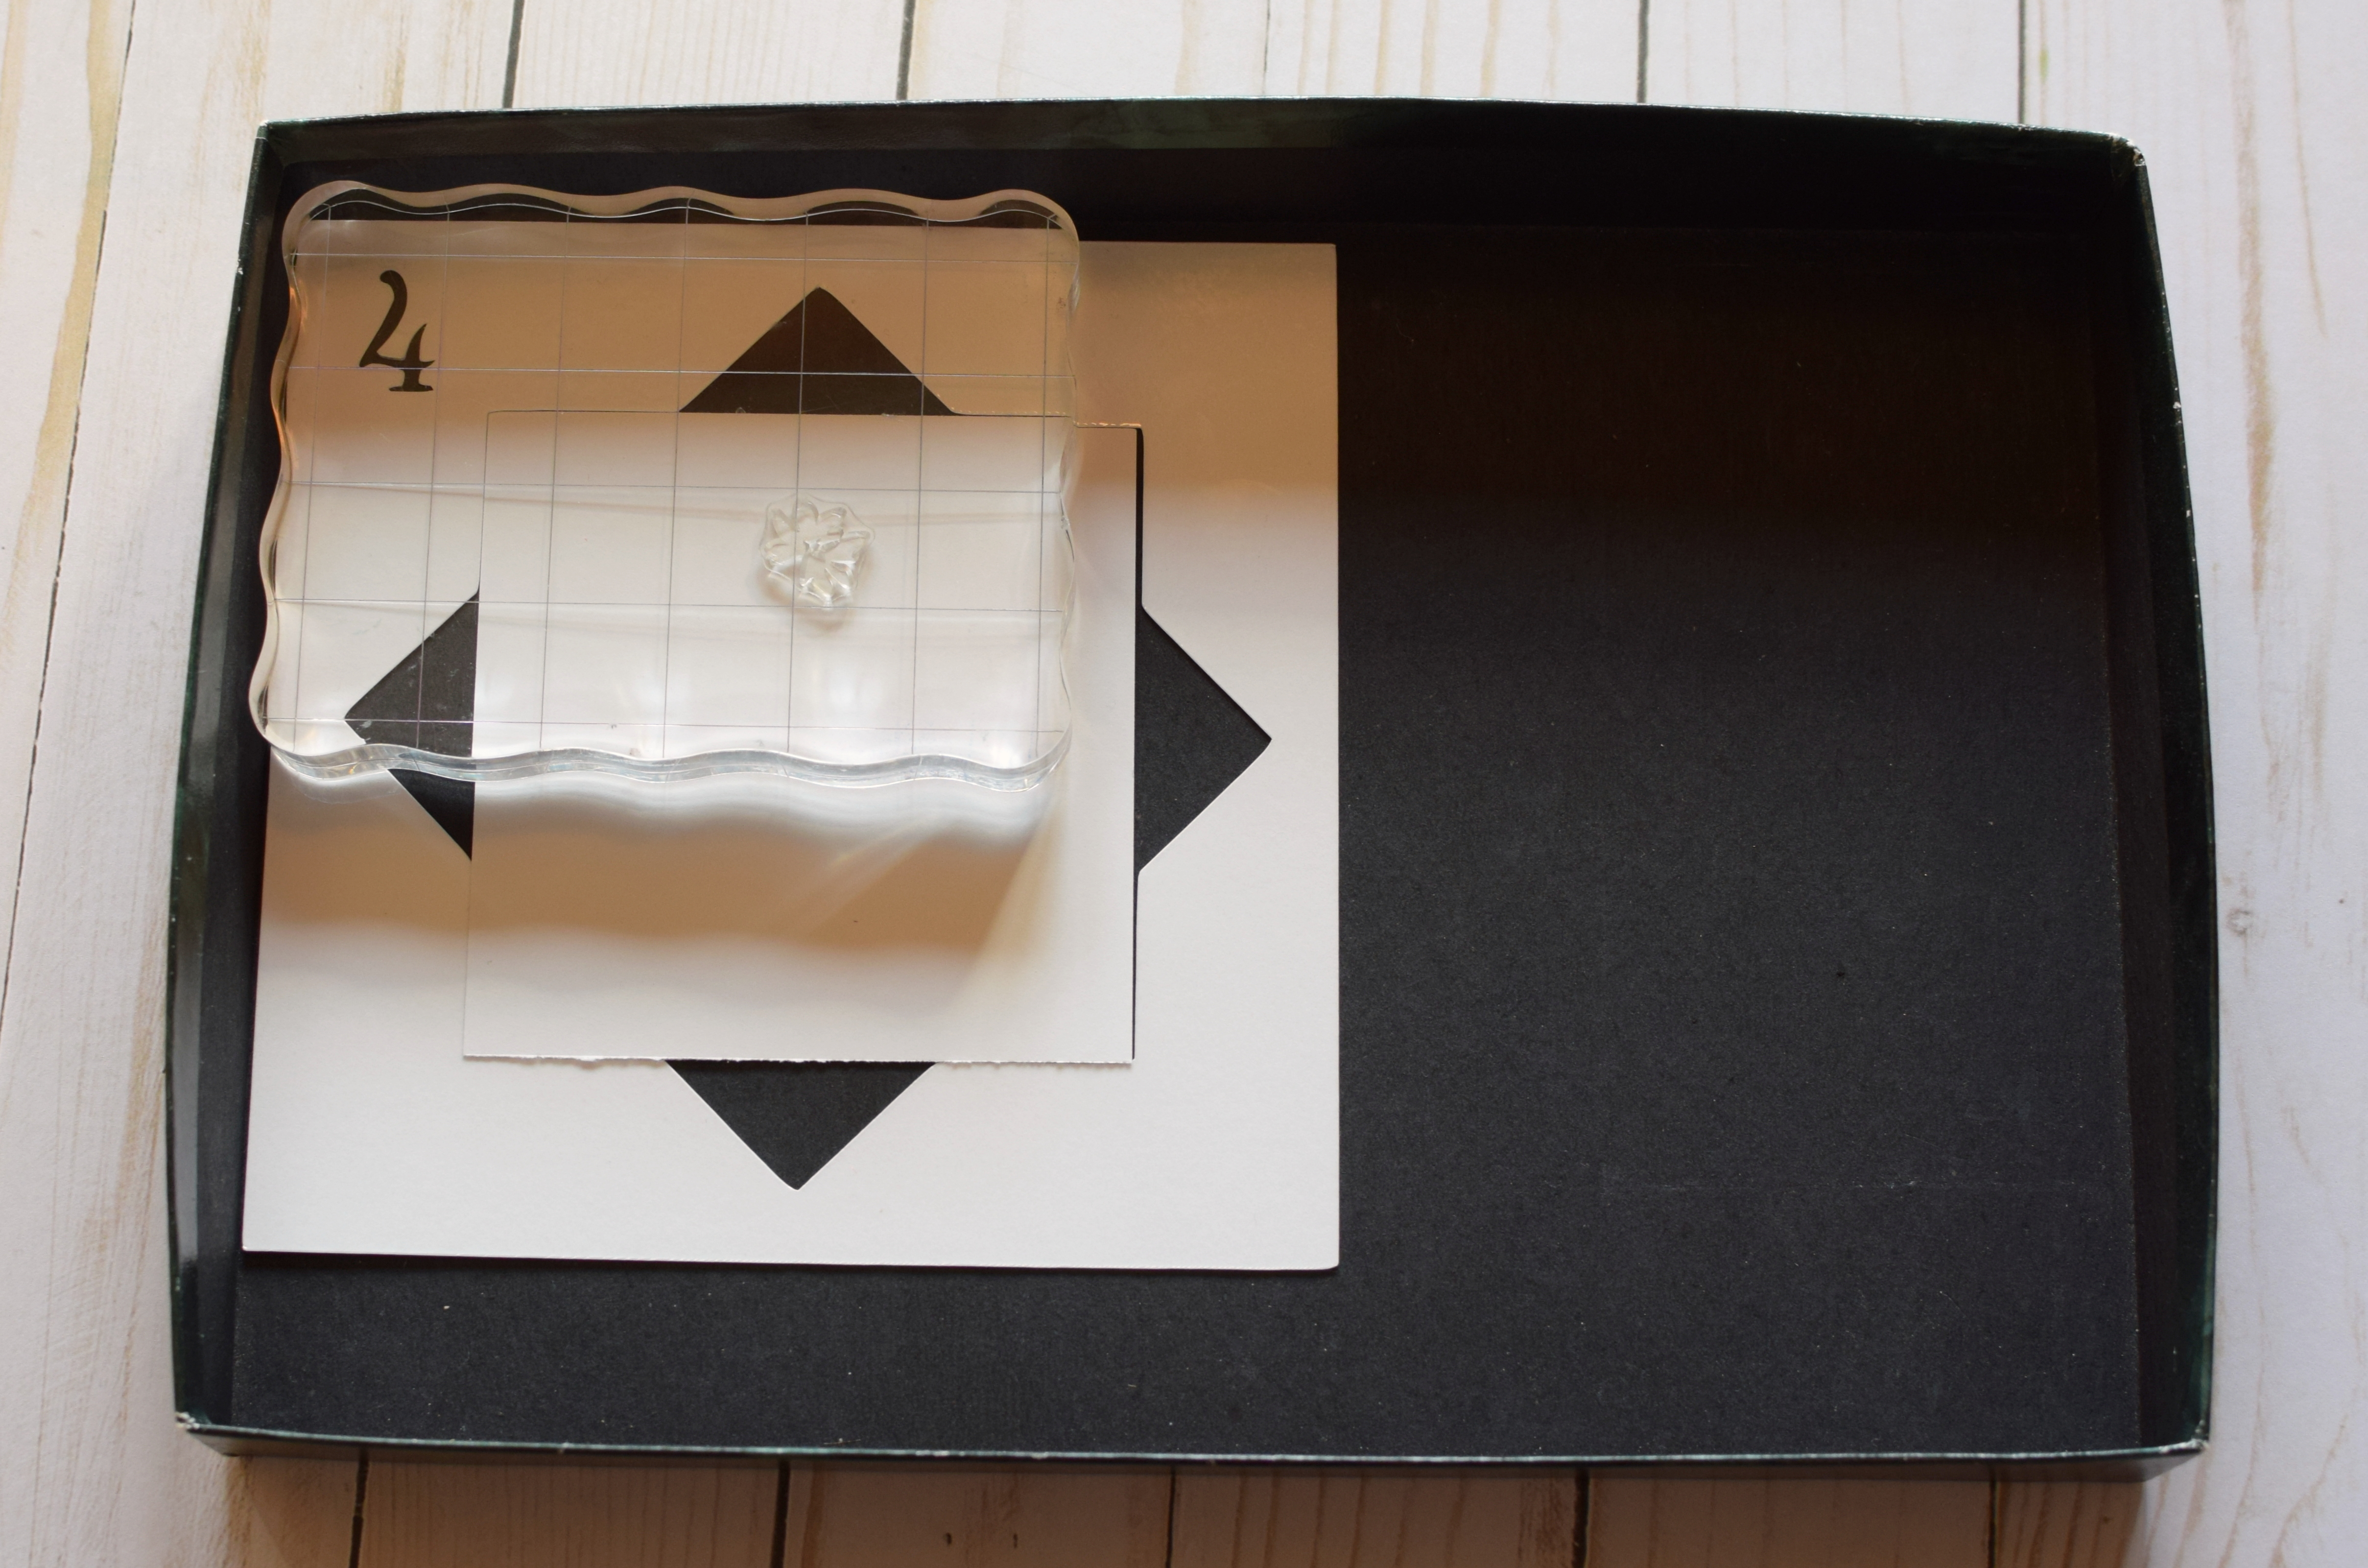
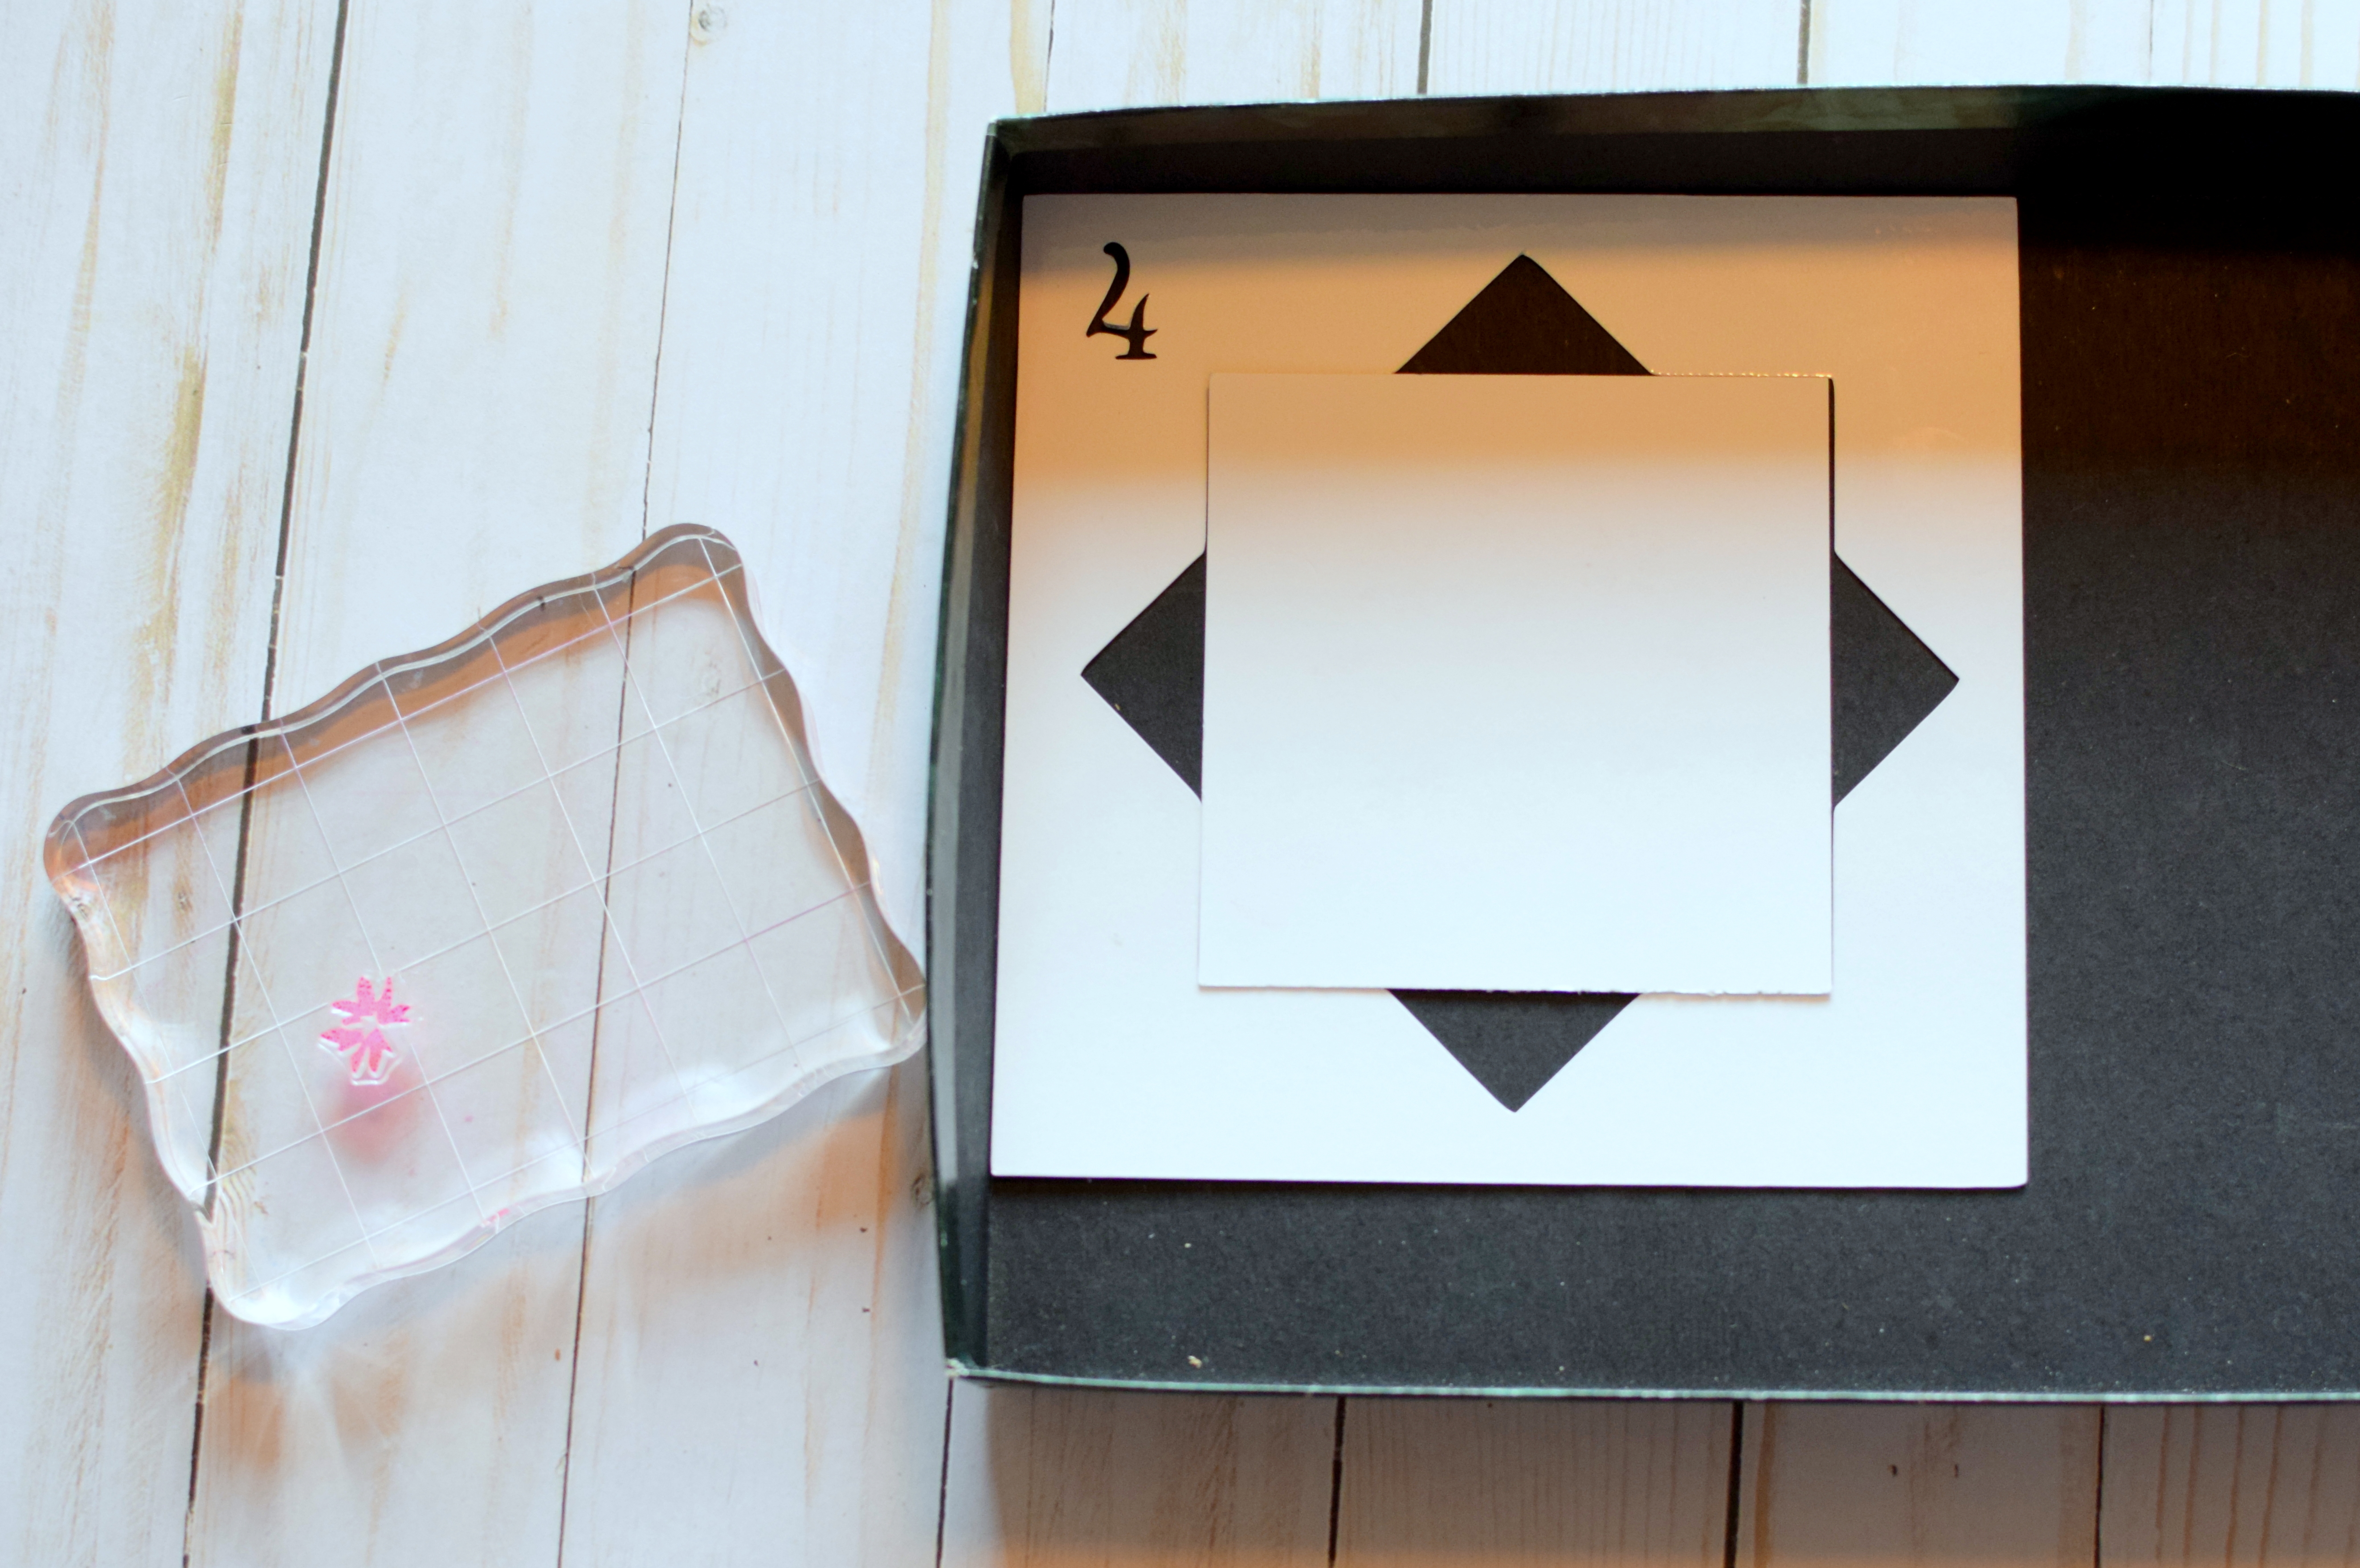
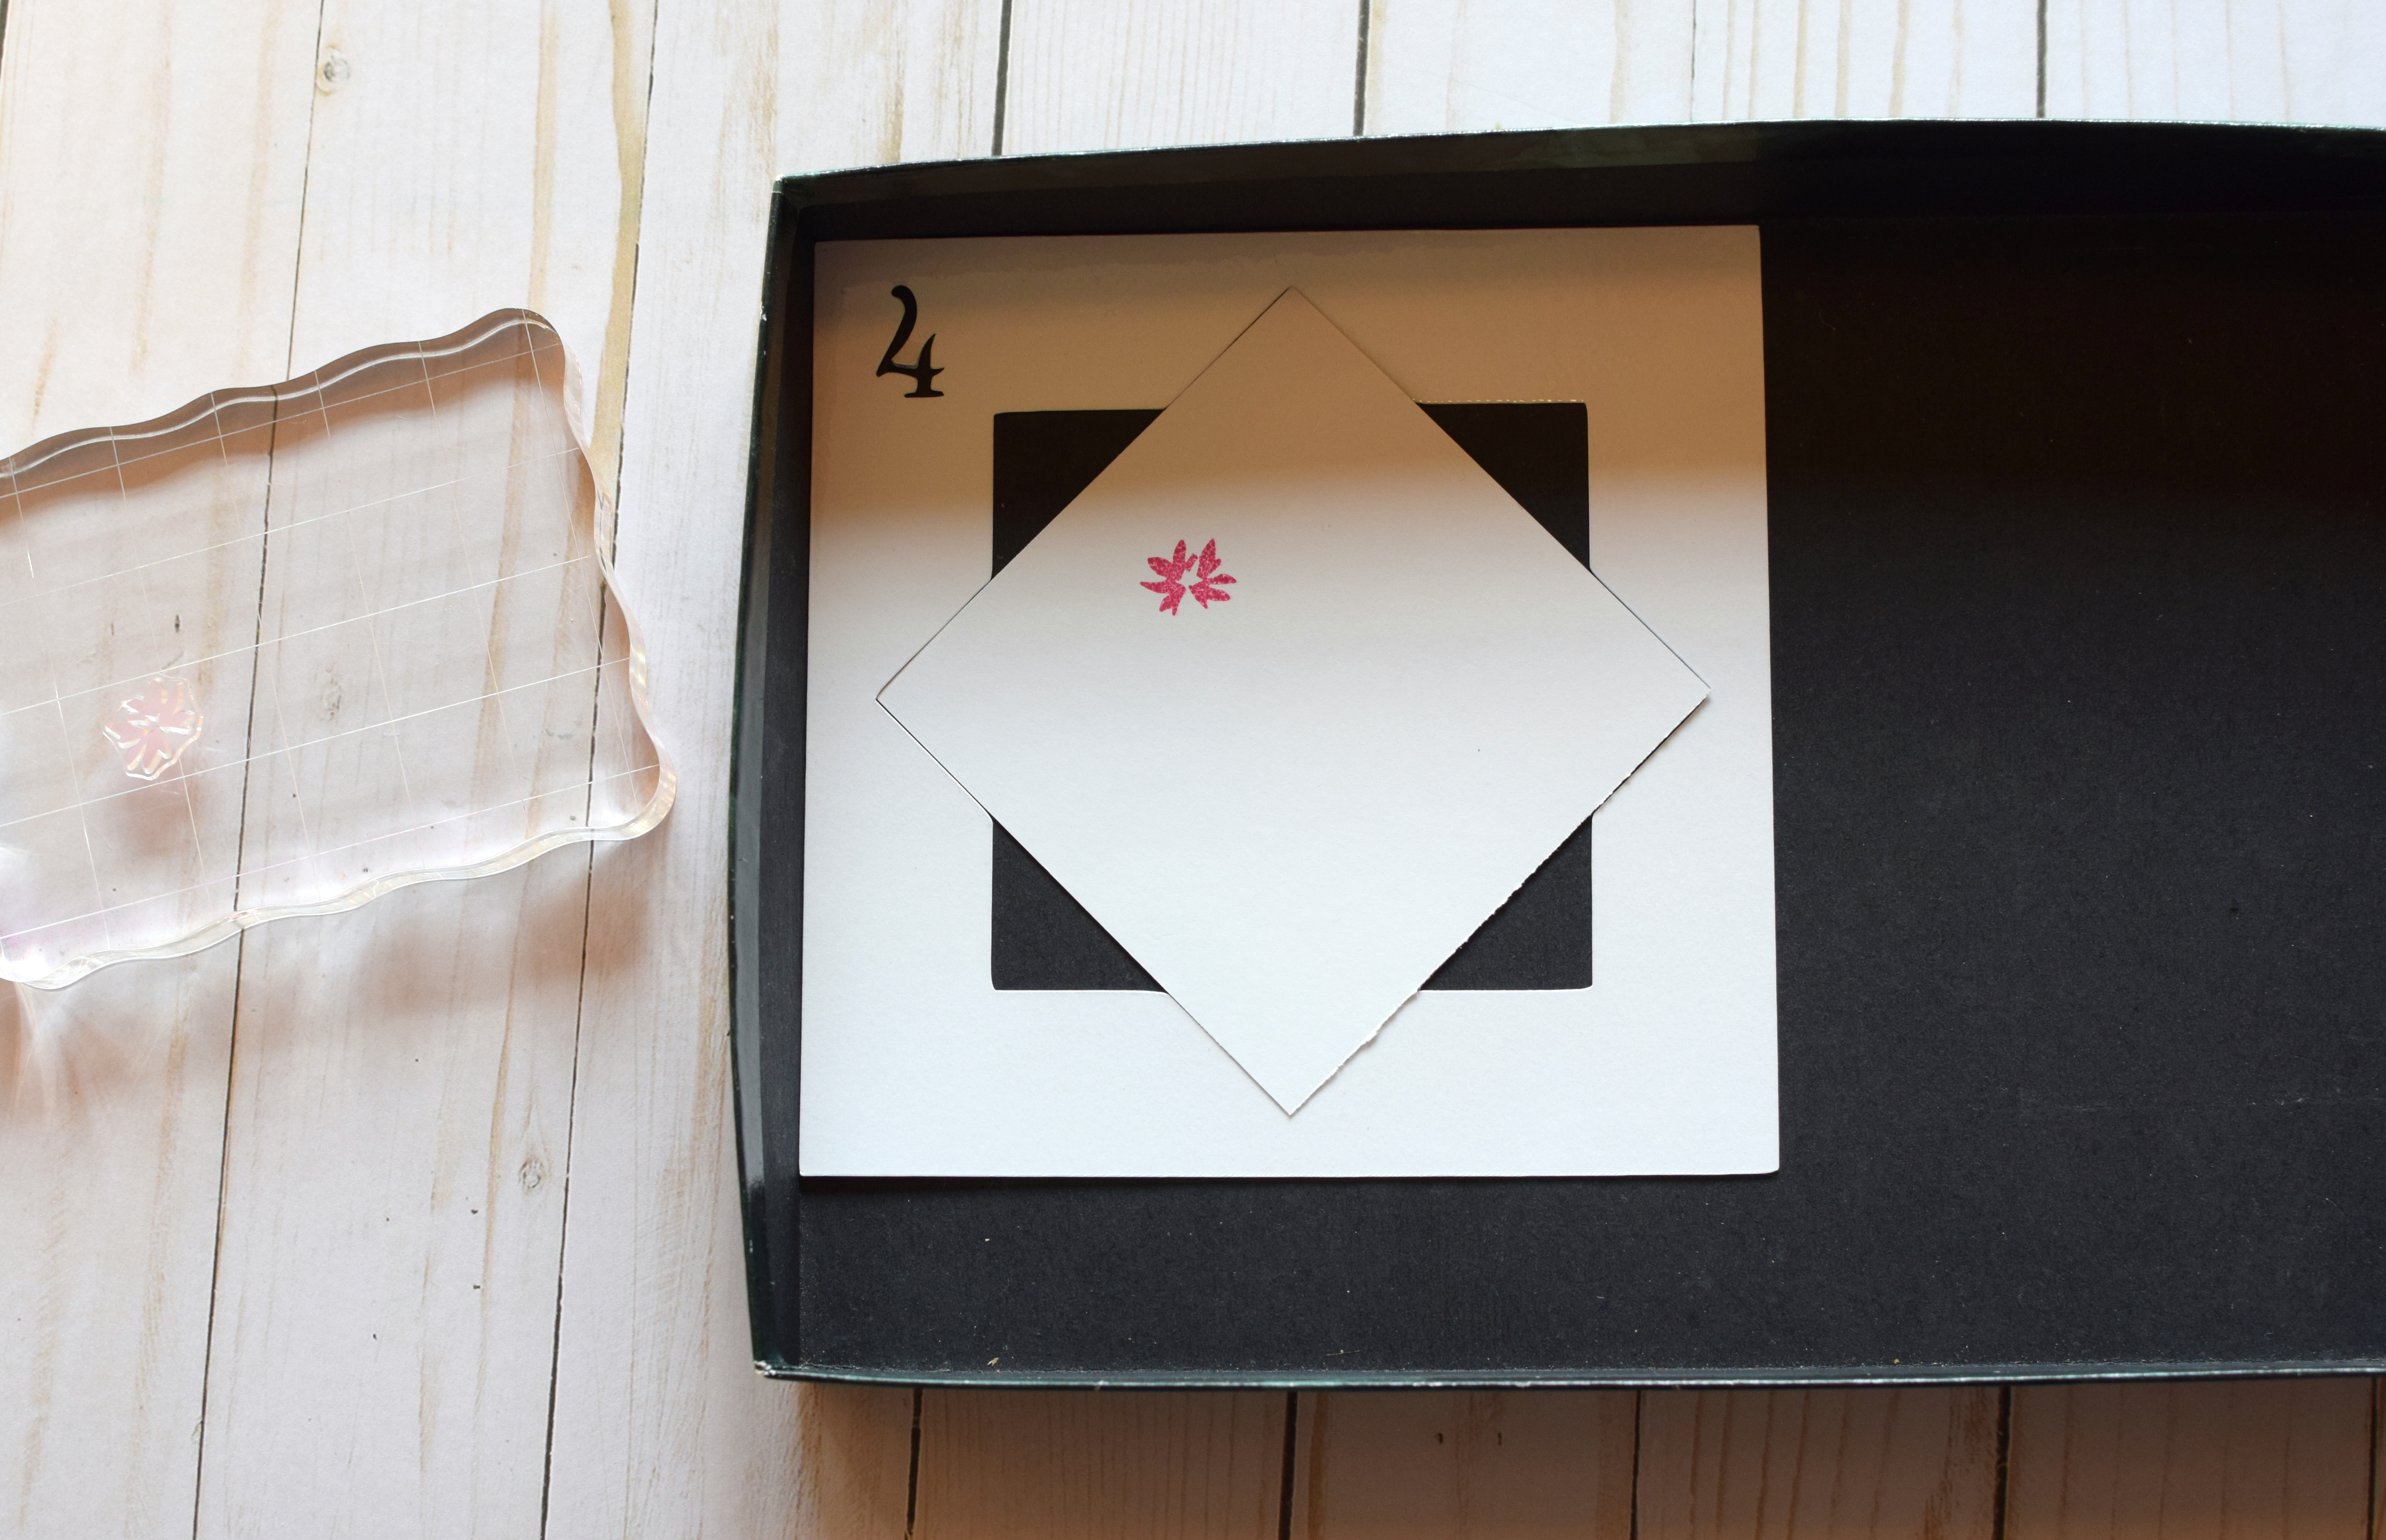
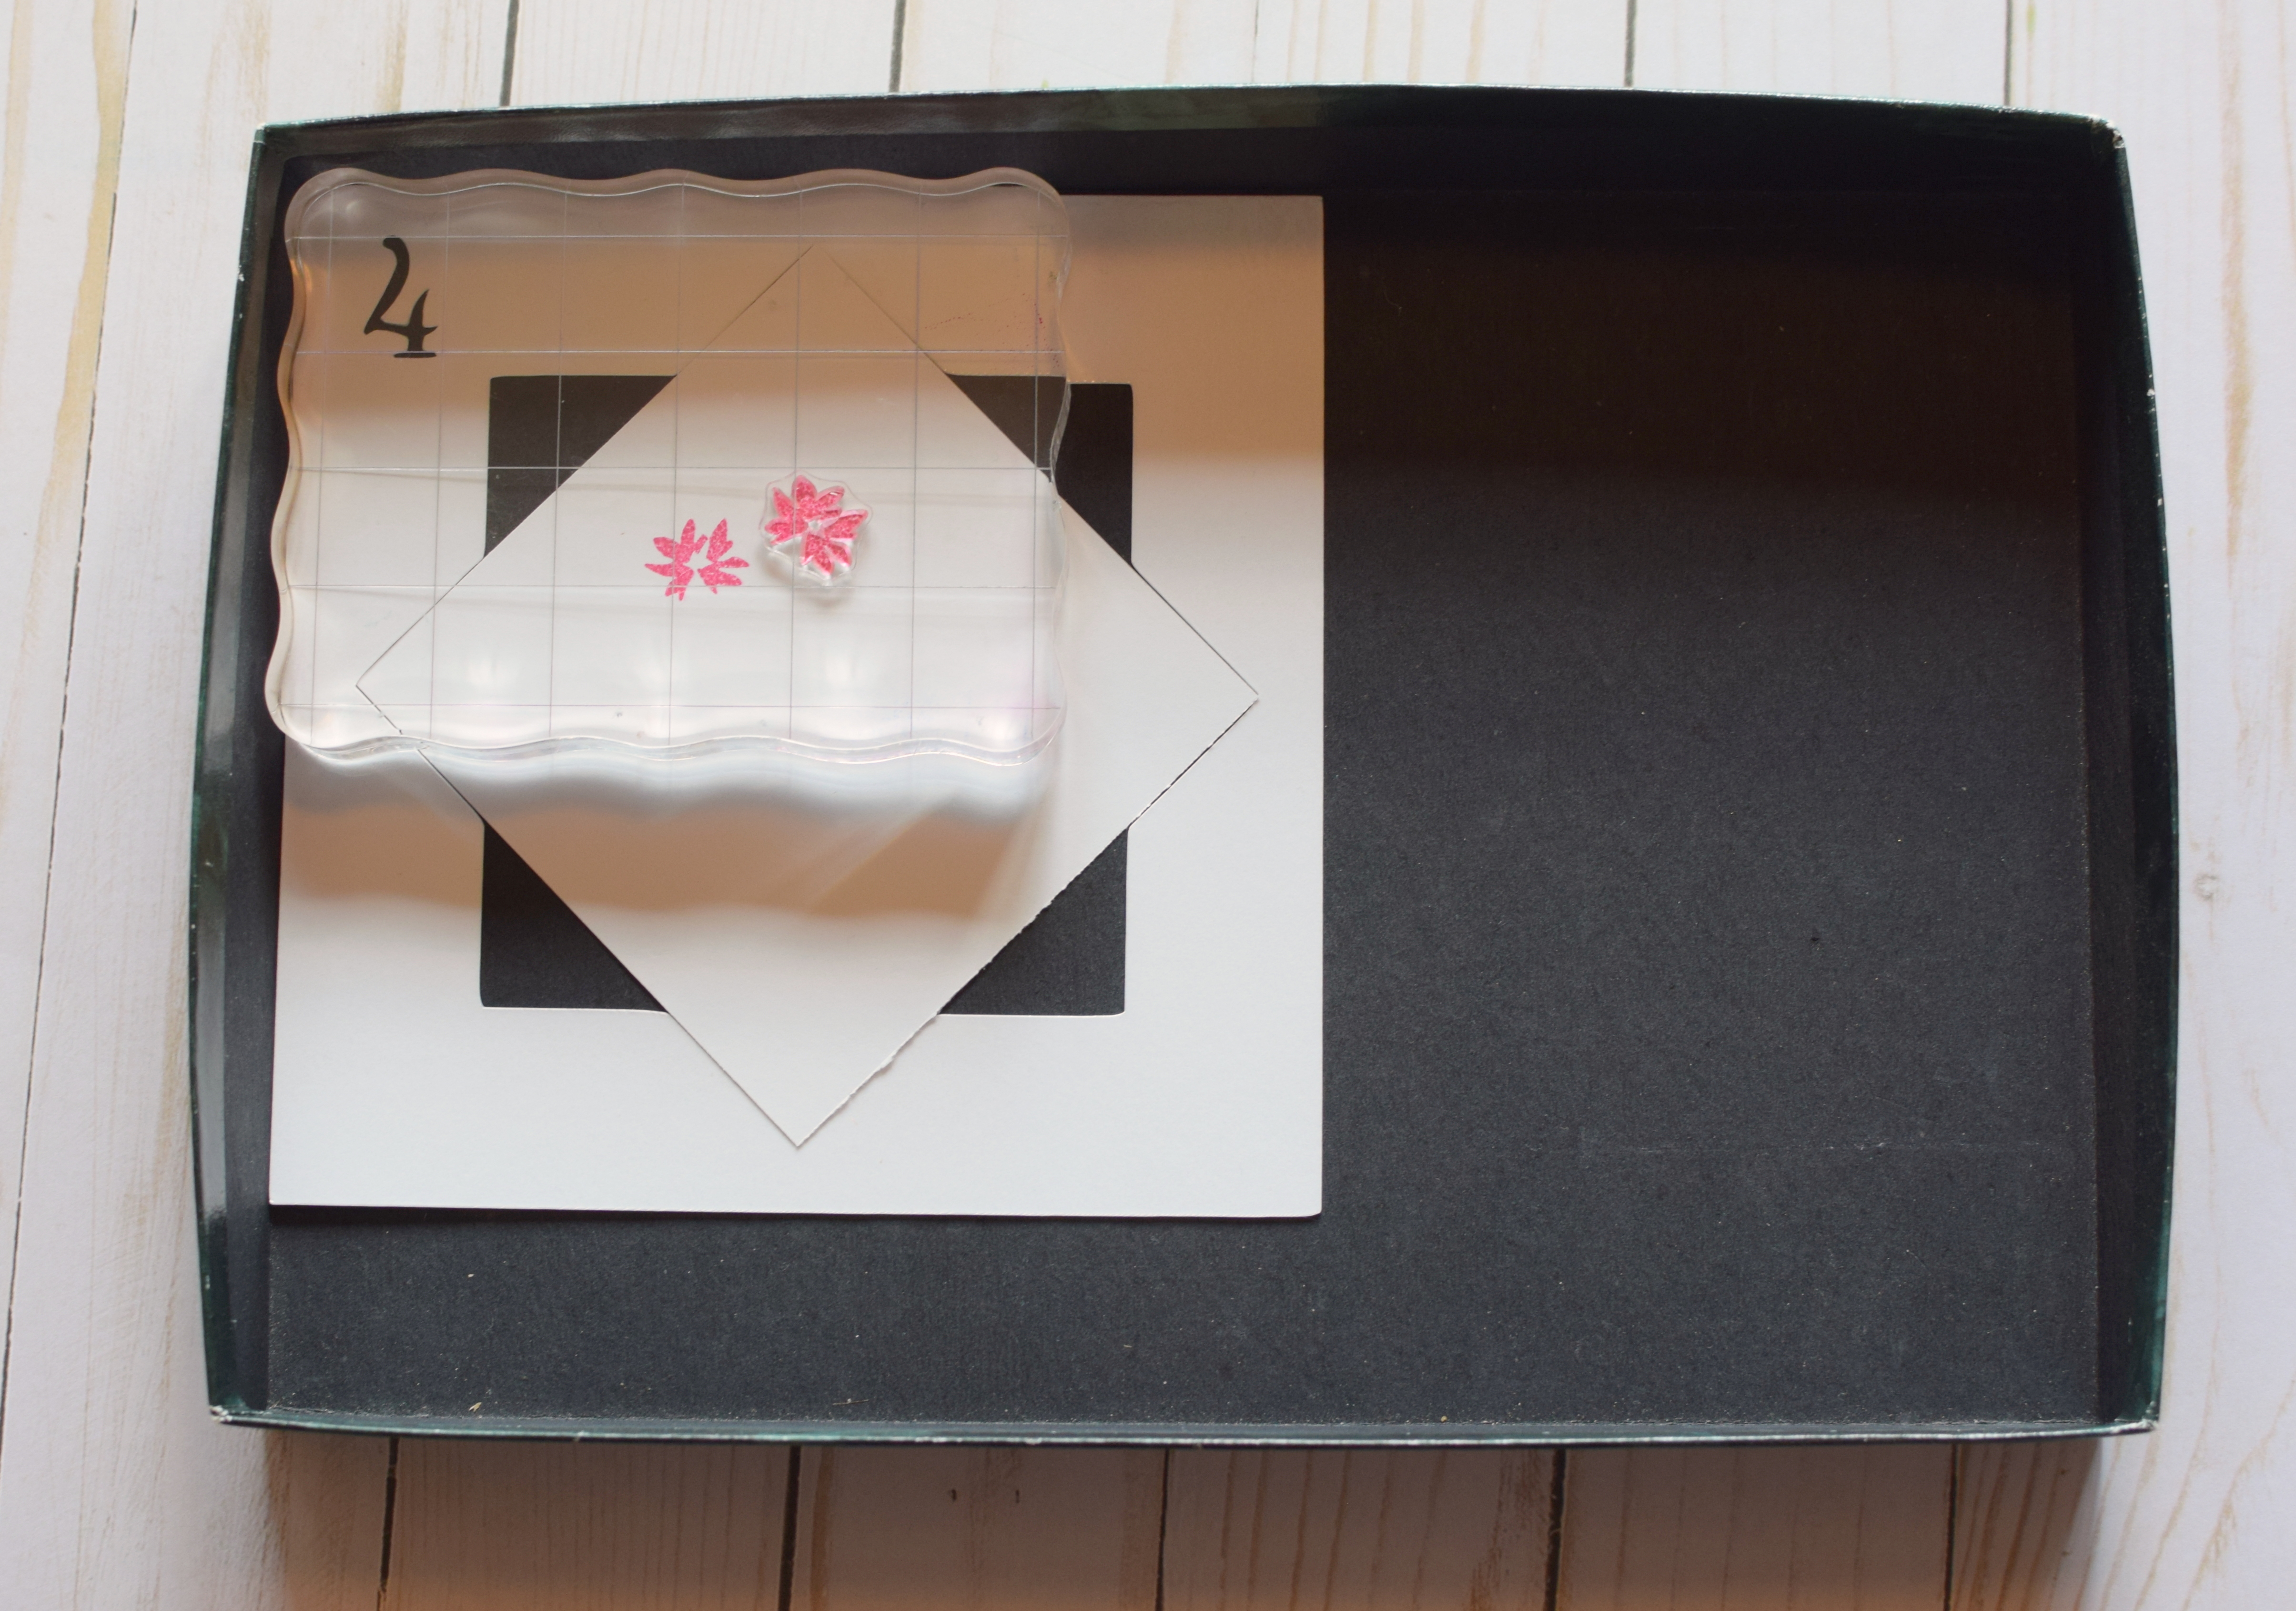
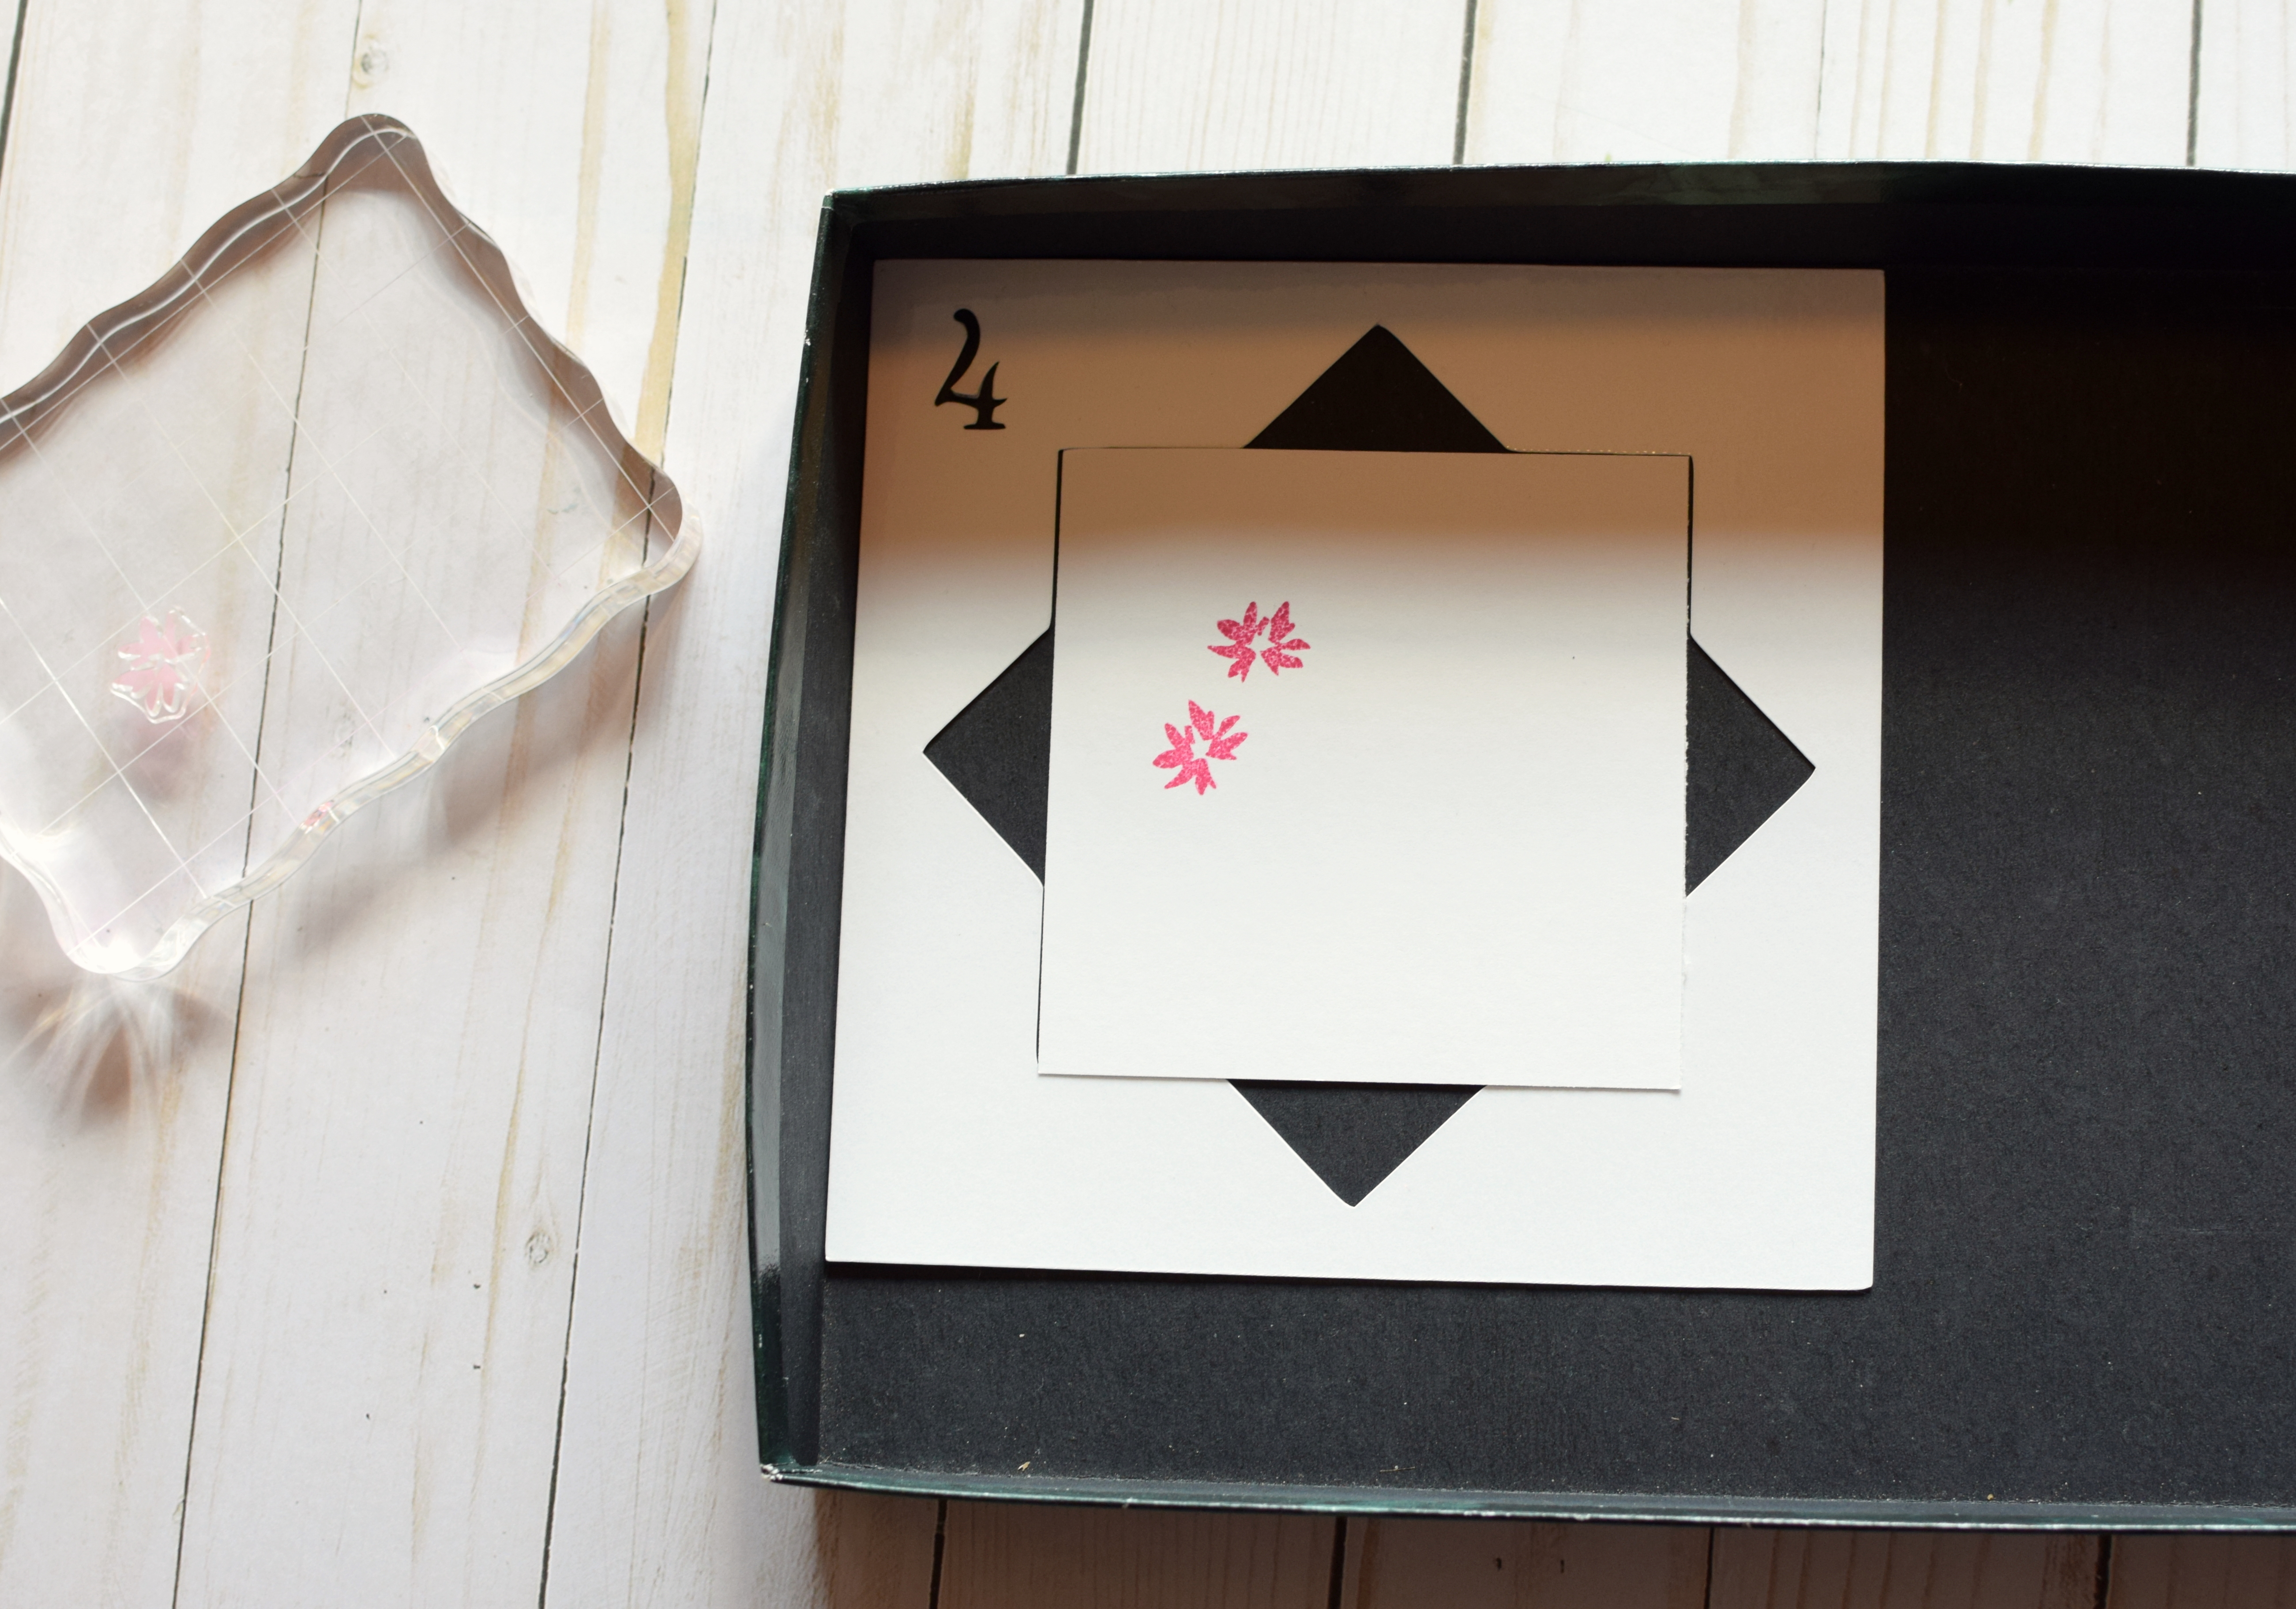
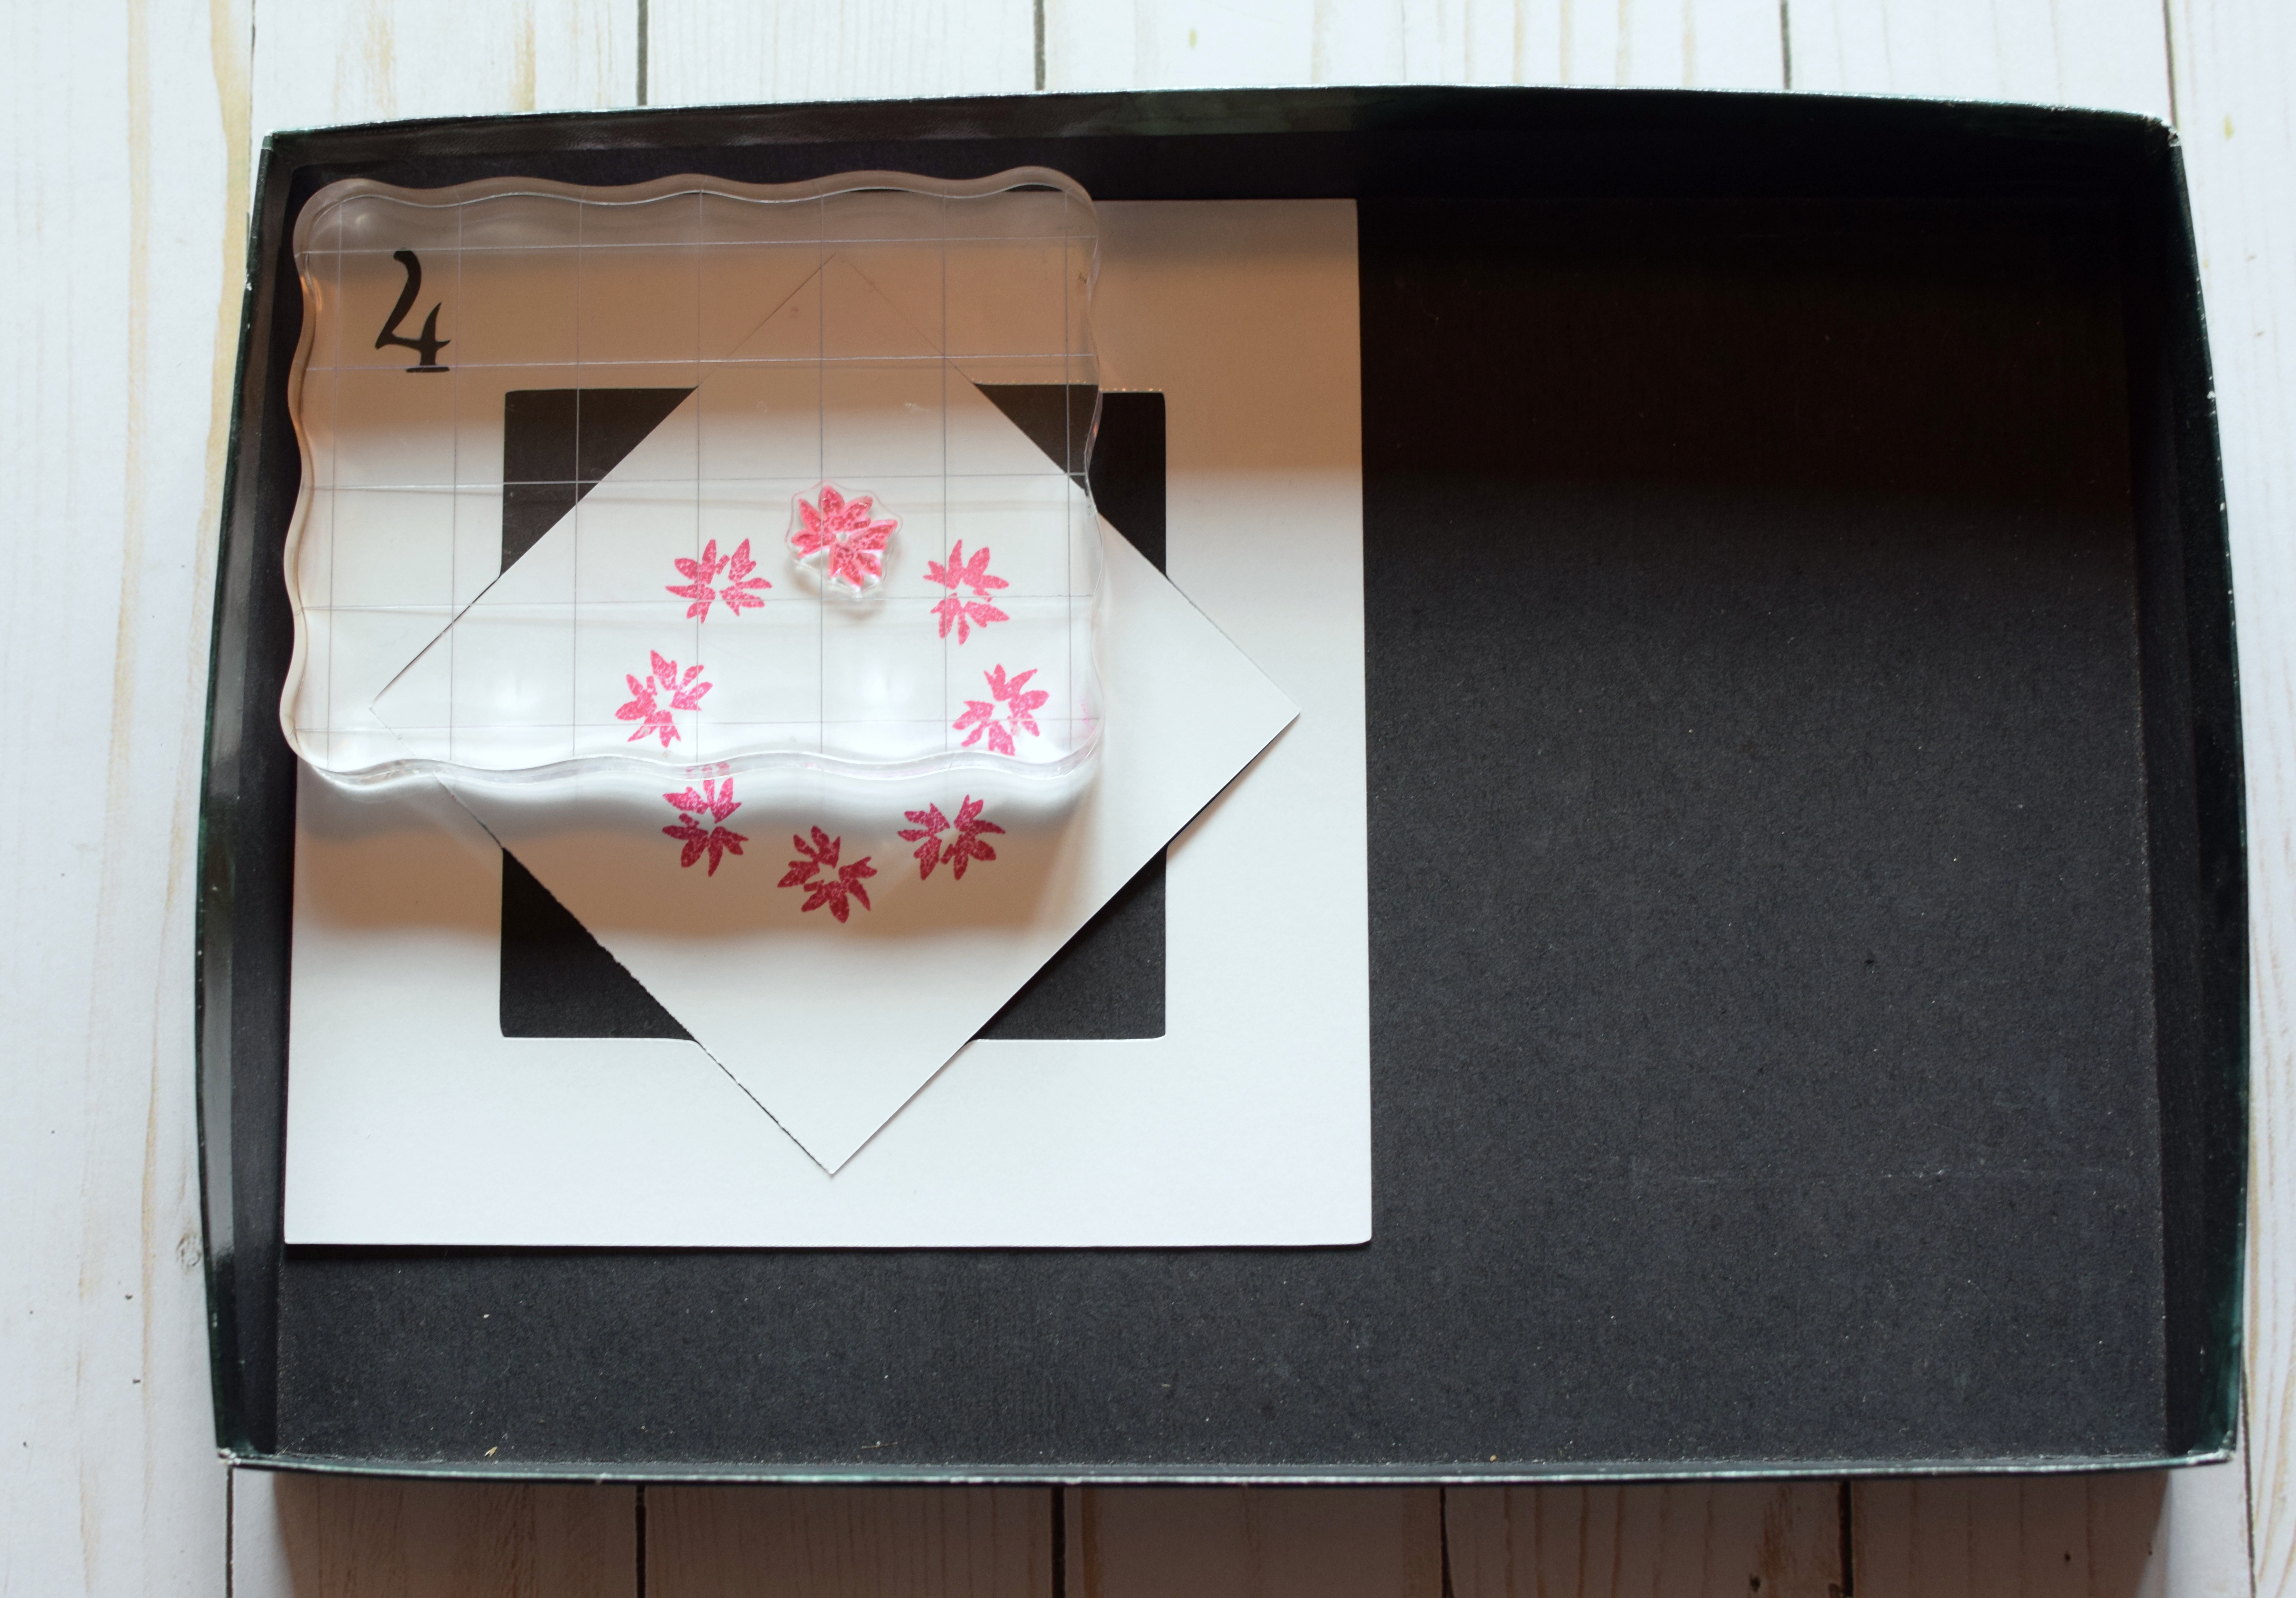
Early in my card making “career,” I couldn’t get enough of the many technique videos and instructional posts available online. I learned so much so quickly and couldn’t keep up with trying them all on complete card projects so I started doing technique samples on tags (with the video/instructional post location and instructions/notes on the backs). I used a shower curtain ring to keep them together which made it easy to add new tags as I learned new techniques. When I had time to work on a card project, I could flip through my tags to get ideas (and instructions) on techniques I had wanted to try. (I still love watching technique videos, but I pace myself now – lol!)
Saving videos as “favorites” on YouTube or pinning cards and/or instructional blog posts to pinterest boards are also great ways to “remember” things you see and want to try, but the technique tags are a way to actually try the technique quickly without worrying about the rest of a card layout.
This project was originally shared on stamptv (June 14, 2013). (Sadly, this site is no longer active, and the StampTV galleries no longer exist.)
Thanks for checking out my post!