Holiday Accent Lamp

Holiday Accent Lamp

zDSCN9070

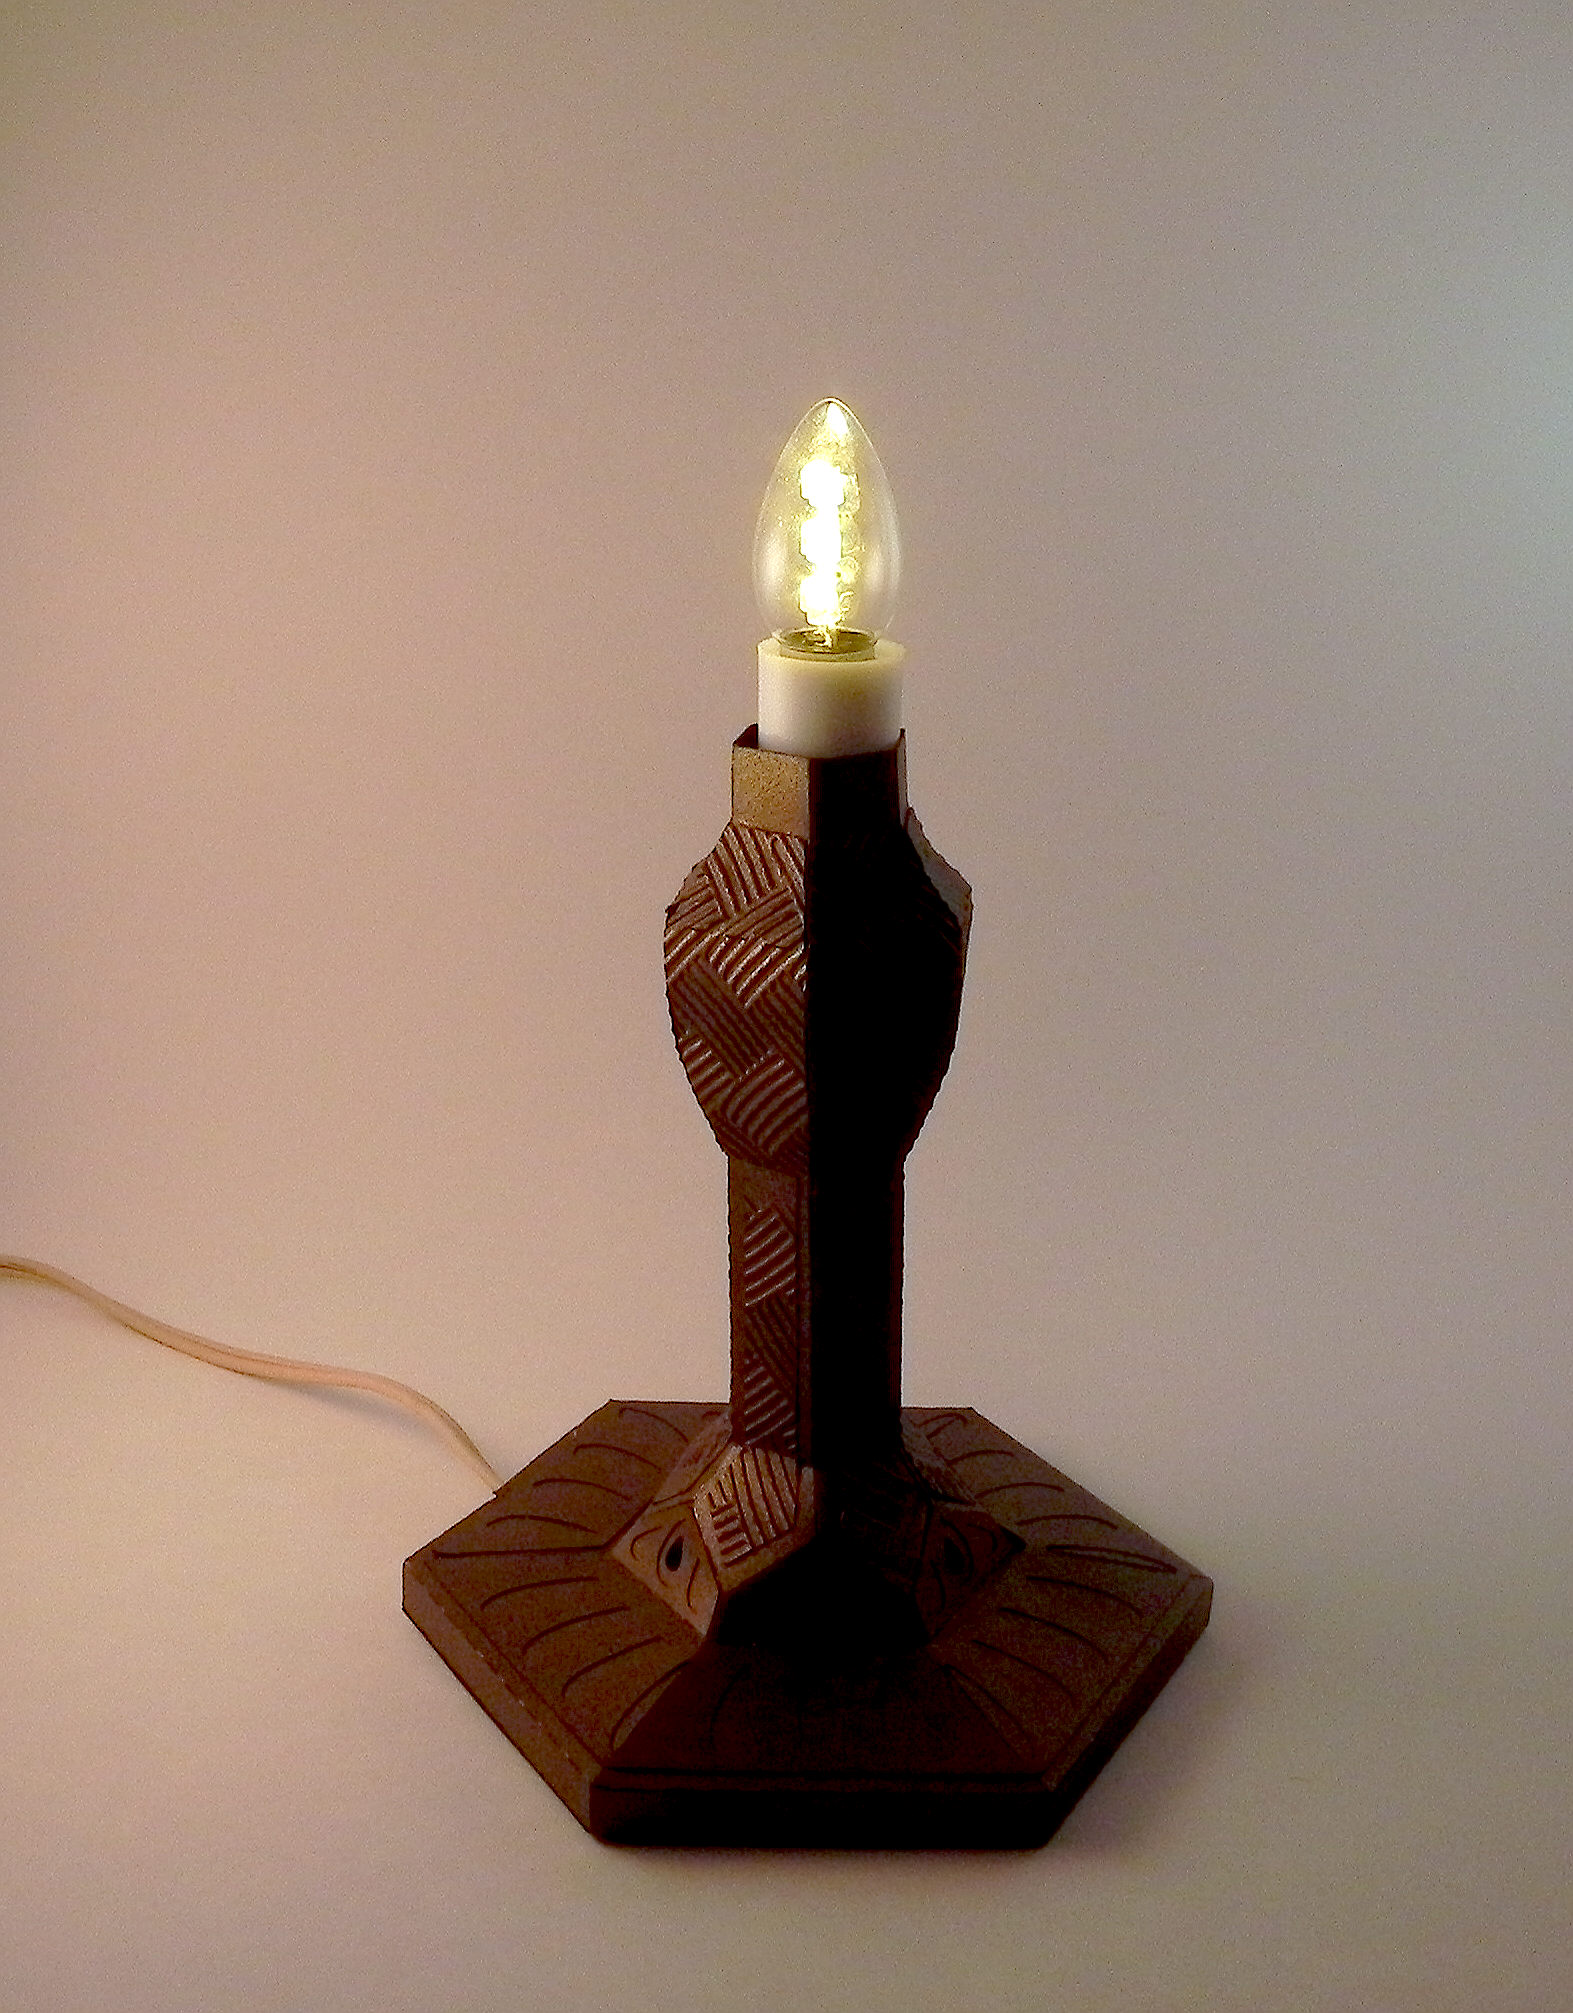
I thought I’d take a quick break from golf cards to make this Tiffany-inspired lamp project which I’ve been wanting to try for a while.  It was made with my Silhouette electronic die cutting machine, an svg file from the “Boho Butterflies SVG Kit” by svg cuts, an electric candle, card stock and vellum.  The original design had dragonflies on the lamp shade, but I wanted to make my lamps as holiday gifts and decorations, so I altered the cut file to include holly leaves instead.  The basic holly leaf design (which I manipulated to fit on the lamp shade panel) came from the “Comet’s Candy Land SVG Kit” which is also by svg cuts.

lampshade

(original lamp shade design)

It’s hard to believe this lamp is made out of paper!  I used Recollections brown (chocolate) shimmer paper (which looks like bronze/metal), Recollections black card stock, and vellum.  I used Copic Markers (G29, R59, and Y28) to color the vellum panels.

*POST ADDITION – I found it tedious and difficult to color 36 panels, front and back, for each lamp I wanted to make.  The vellum kept shifting so the colors didn’t line up with the black lines perfectly, and this was messy/obvious when the lamp was assembled and lit.  (I’m not sure why I didn’t have that much trouble with my first one!)  I ended up creating two print and cut files so I could either color in my panels by hand with lines visible on the vellum, or I could just print and cut the already colored panels.  Much easier!!

Print and Cut with no color  Print and Cut with color

You can see the tutorial on how to assemble the lamp HERE.

There is a 9 inch electronic candle “built in” to the center of the lamp base which came with a 7w bulb. I replaced this bulb with an LED bulb so it didn’t get hot since it will be lit so close to the paper.  (The original bulb seemed to work fine and didn’t really seem to get that hot, but I didn’t want to take any chances.)
wwDSCN9082

I used the Darice 5×7 Basketweave embossing folder for the decorative panels on the base of the lamp.

wDSCN9110

The design details on this lamp are incredible!  The lamp shade fits on the lamp without touching the bulb.  And the decorative knob on the top is pretty cool!

wDSCN9097

wDSCN9119

Some sad news…

As I’ve mentioned in previous posts, I LOVE svg cuts; there is a huge variety of projects (2-d and 3-d), and they are all AWESOME!!!  It’s the first place I look when I need an idea or element for a special occasion or project.  I LOVE watching Mary do her project tutorials which takes a lot of the frustration out of creating these projects.  (I tried to wing it a few times and ended up wishing I had just gone straight to Mary for some of the more complicated designs!)  And, I don’t think I’d even have any idea at all about electronic die-cutting with svg’s if it weren’t for Leo’s tutorials on Sure Cuts A Lot and all the customer support/questions answered by him over the years.  So… I was extremely saddened by the news that Leo and Mary are going their separate ways and will no longer both be working together at svg cuts.  Leo has decided to start a new svg company called Dreaming Tree (3DSVG) while Mary will continue to run svg cuts.  (Leo explains this in a letter on his new site, HERE).  I’m sad for them that things didn’t work out, and I’m sad that the company as I’ve known it will not be the same.  However, I am excited with the idea that there is a new company out there that will be providing svg files, am hoping this works out well for both of them, and am looking forward to visiting both often.

Thanks for checking out my post!

This content uses referral links as described in the disclosure policy on my sidebar.
Holiday Planners

Holiday Planners

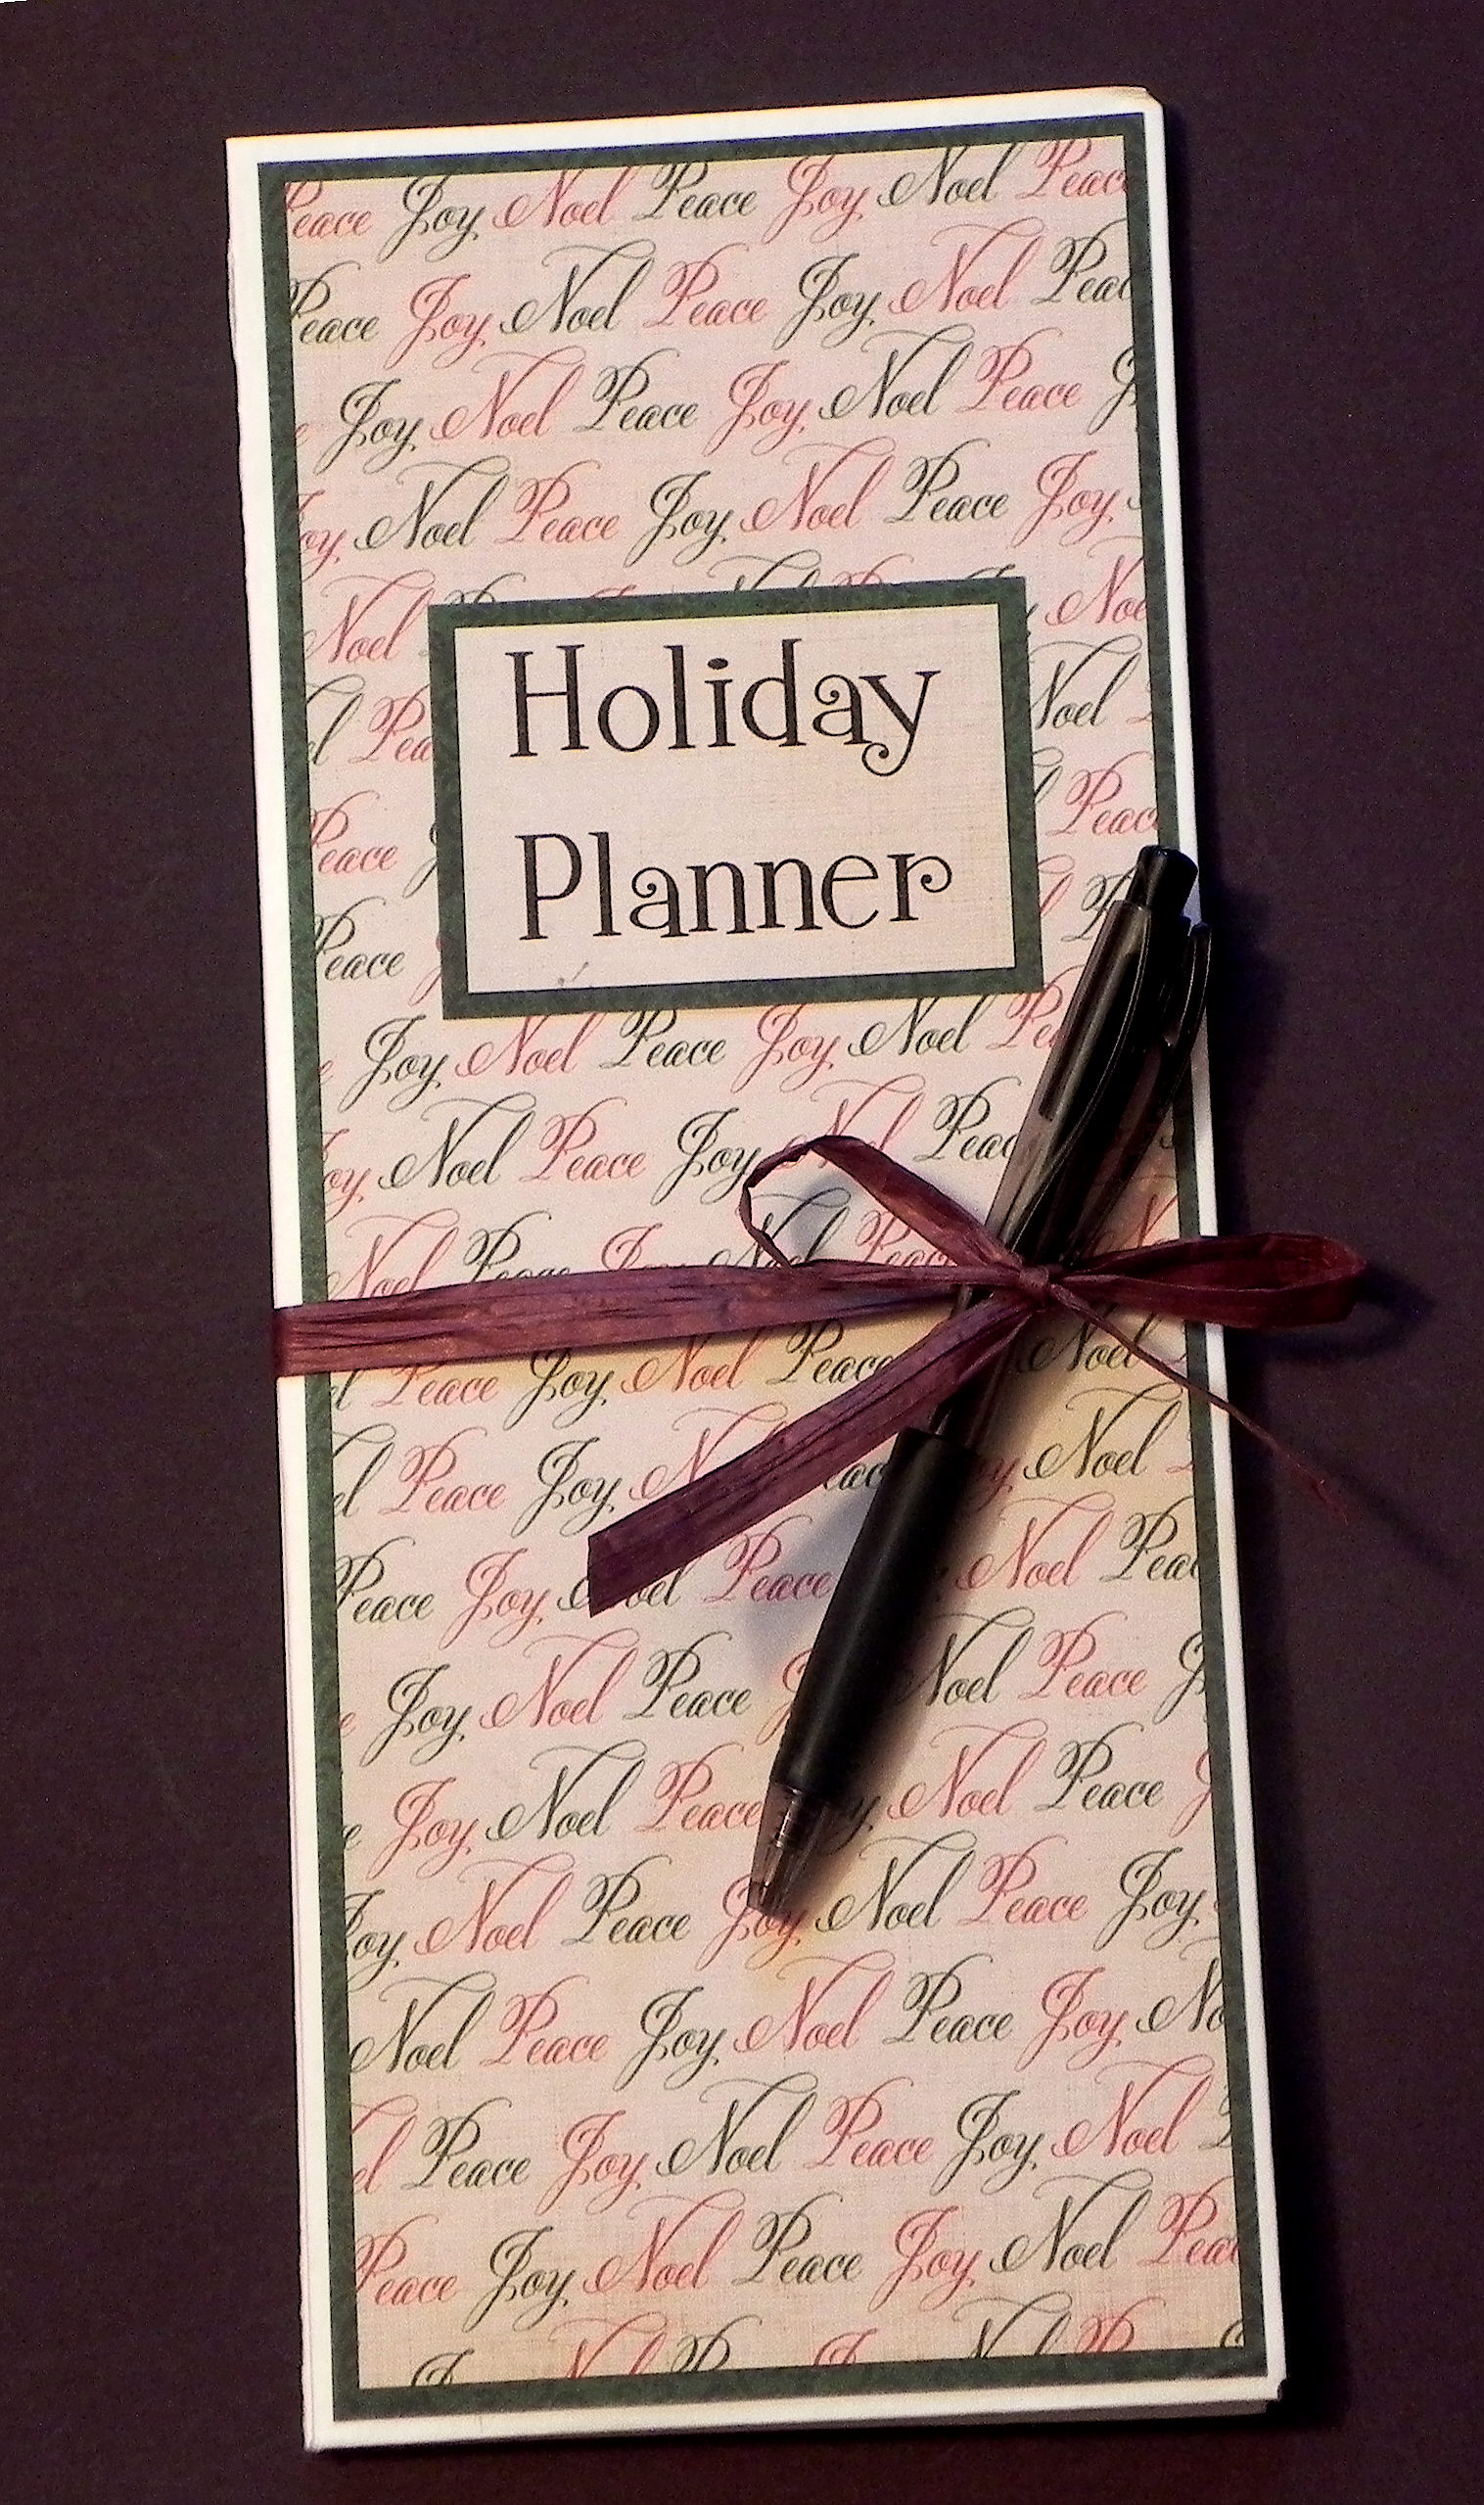
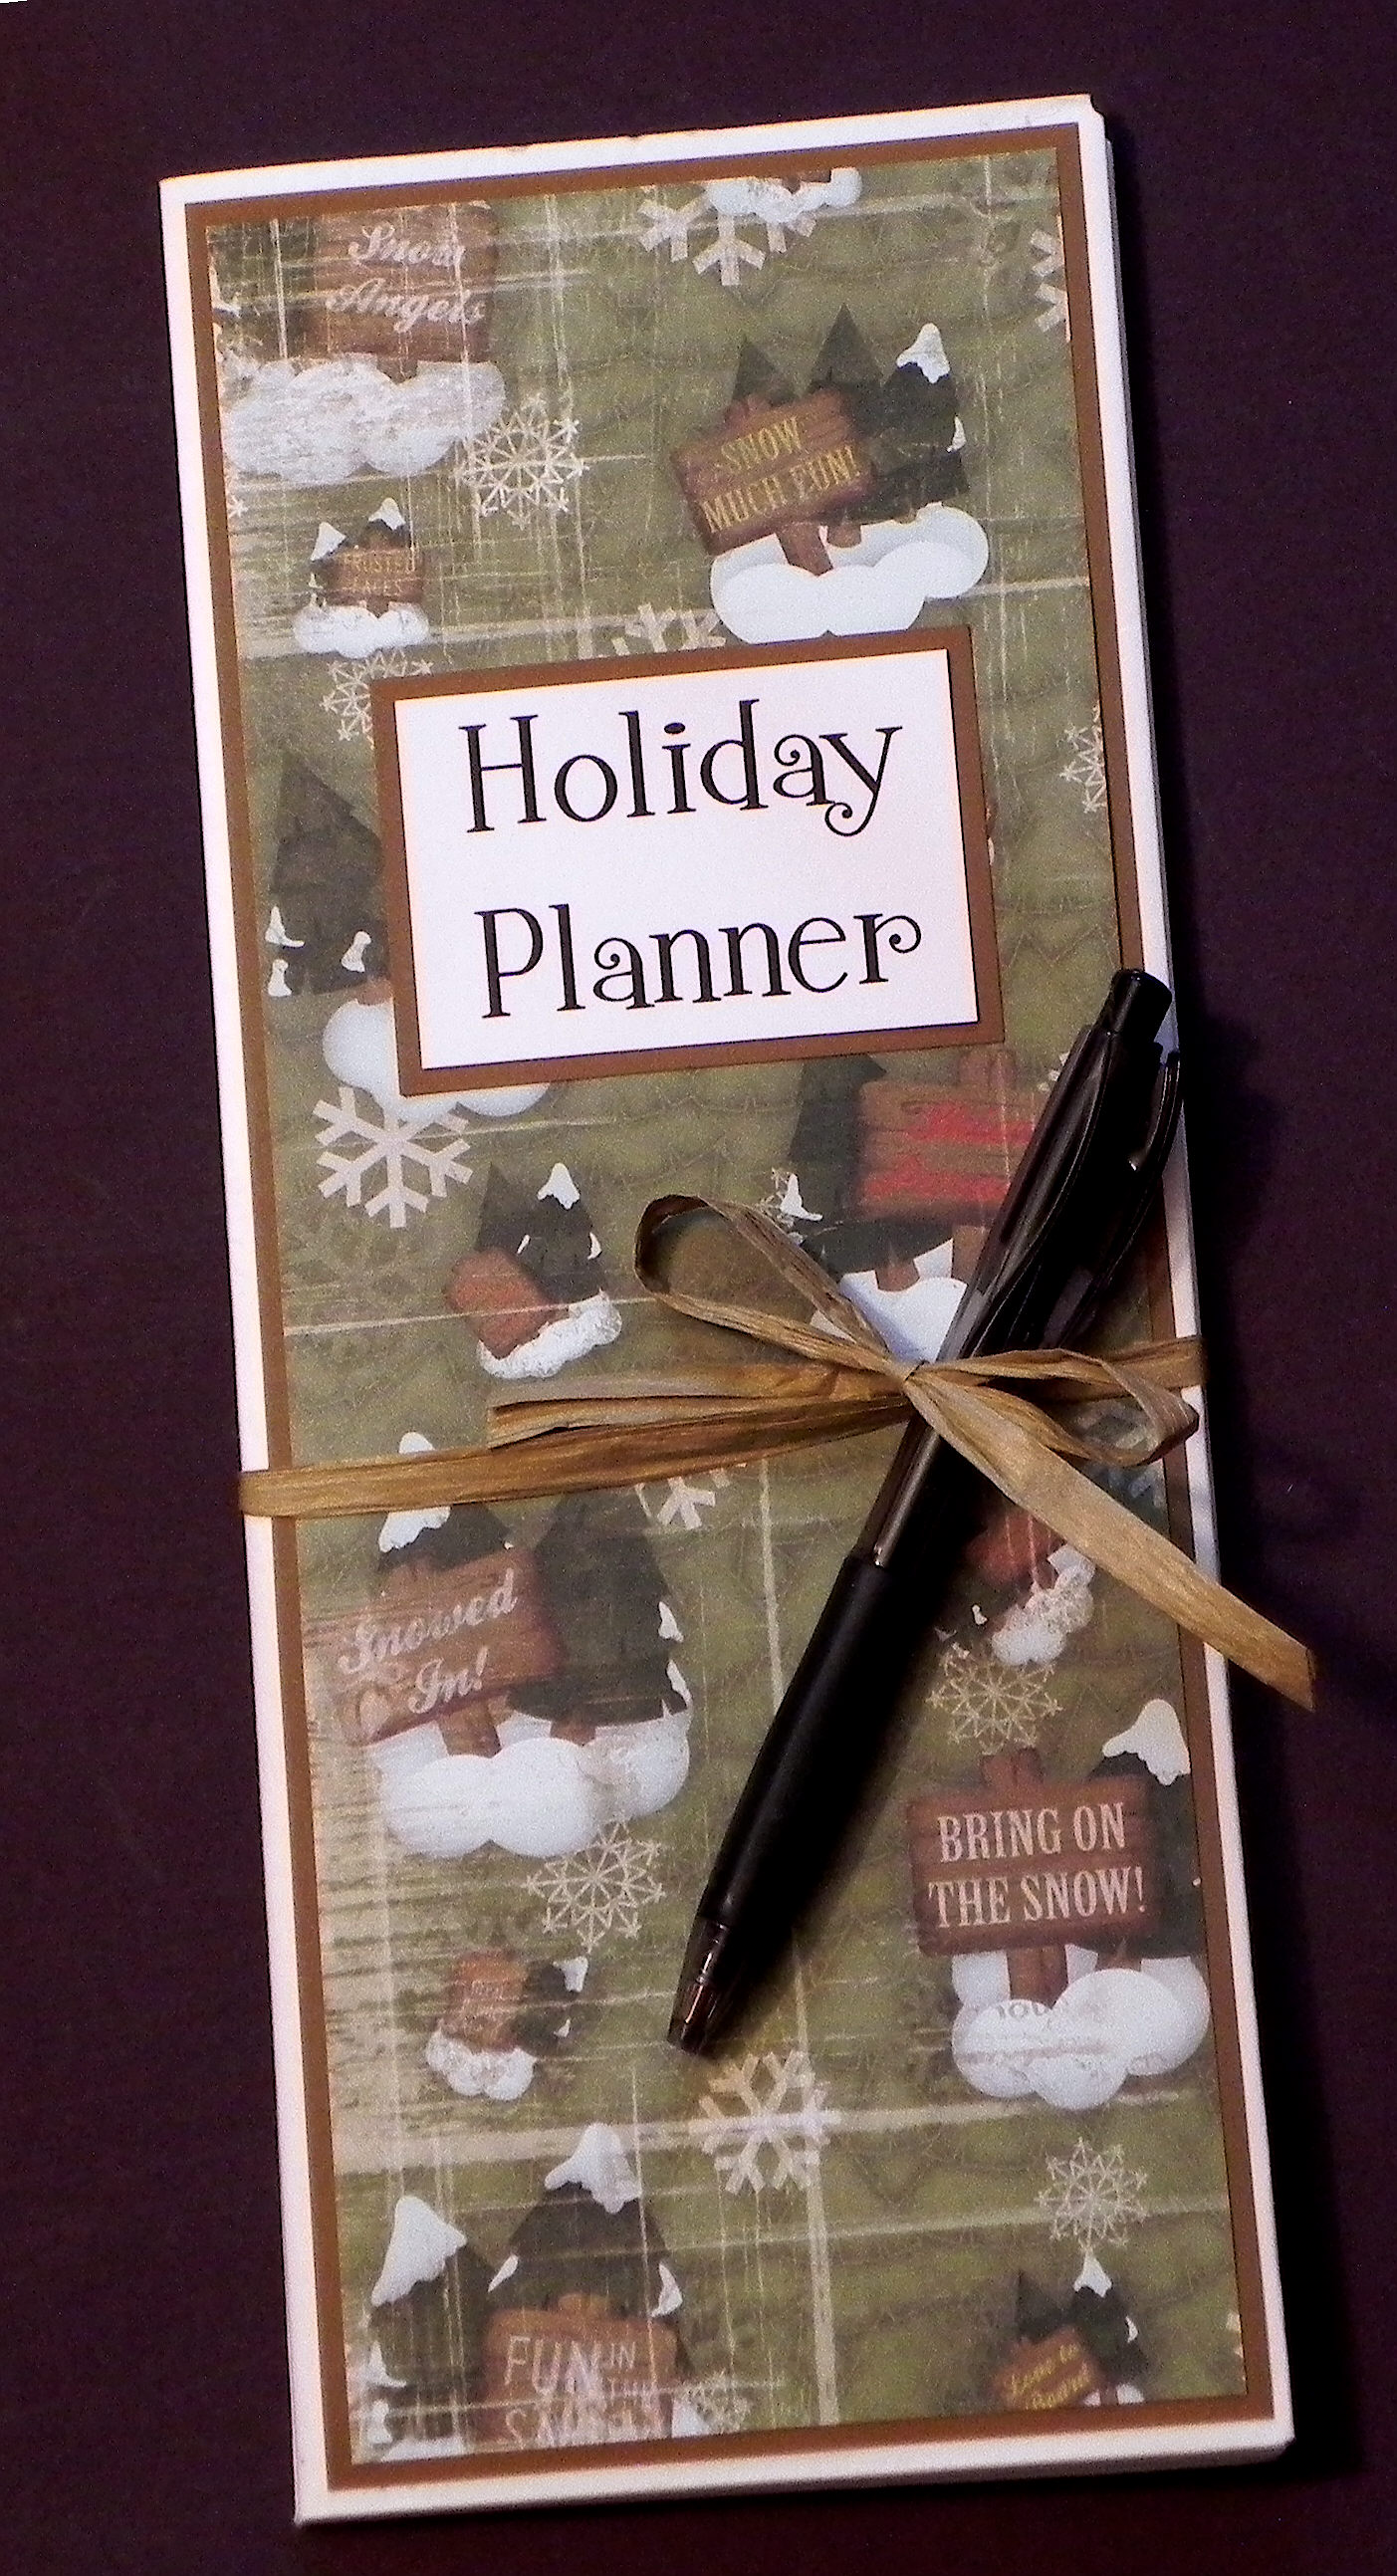
holiday planner main photo

(one of several designs; see more below)

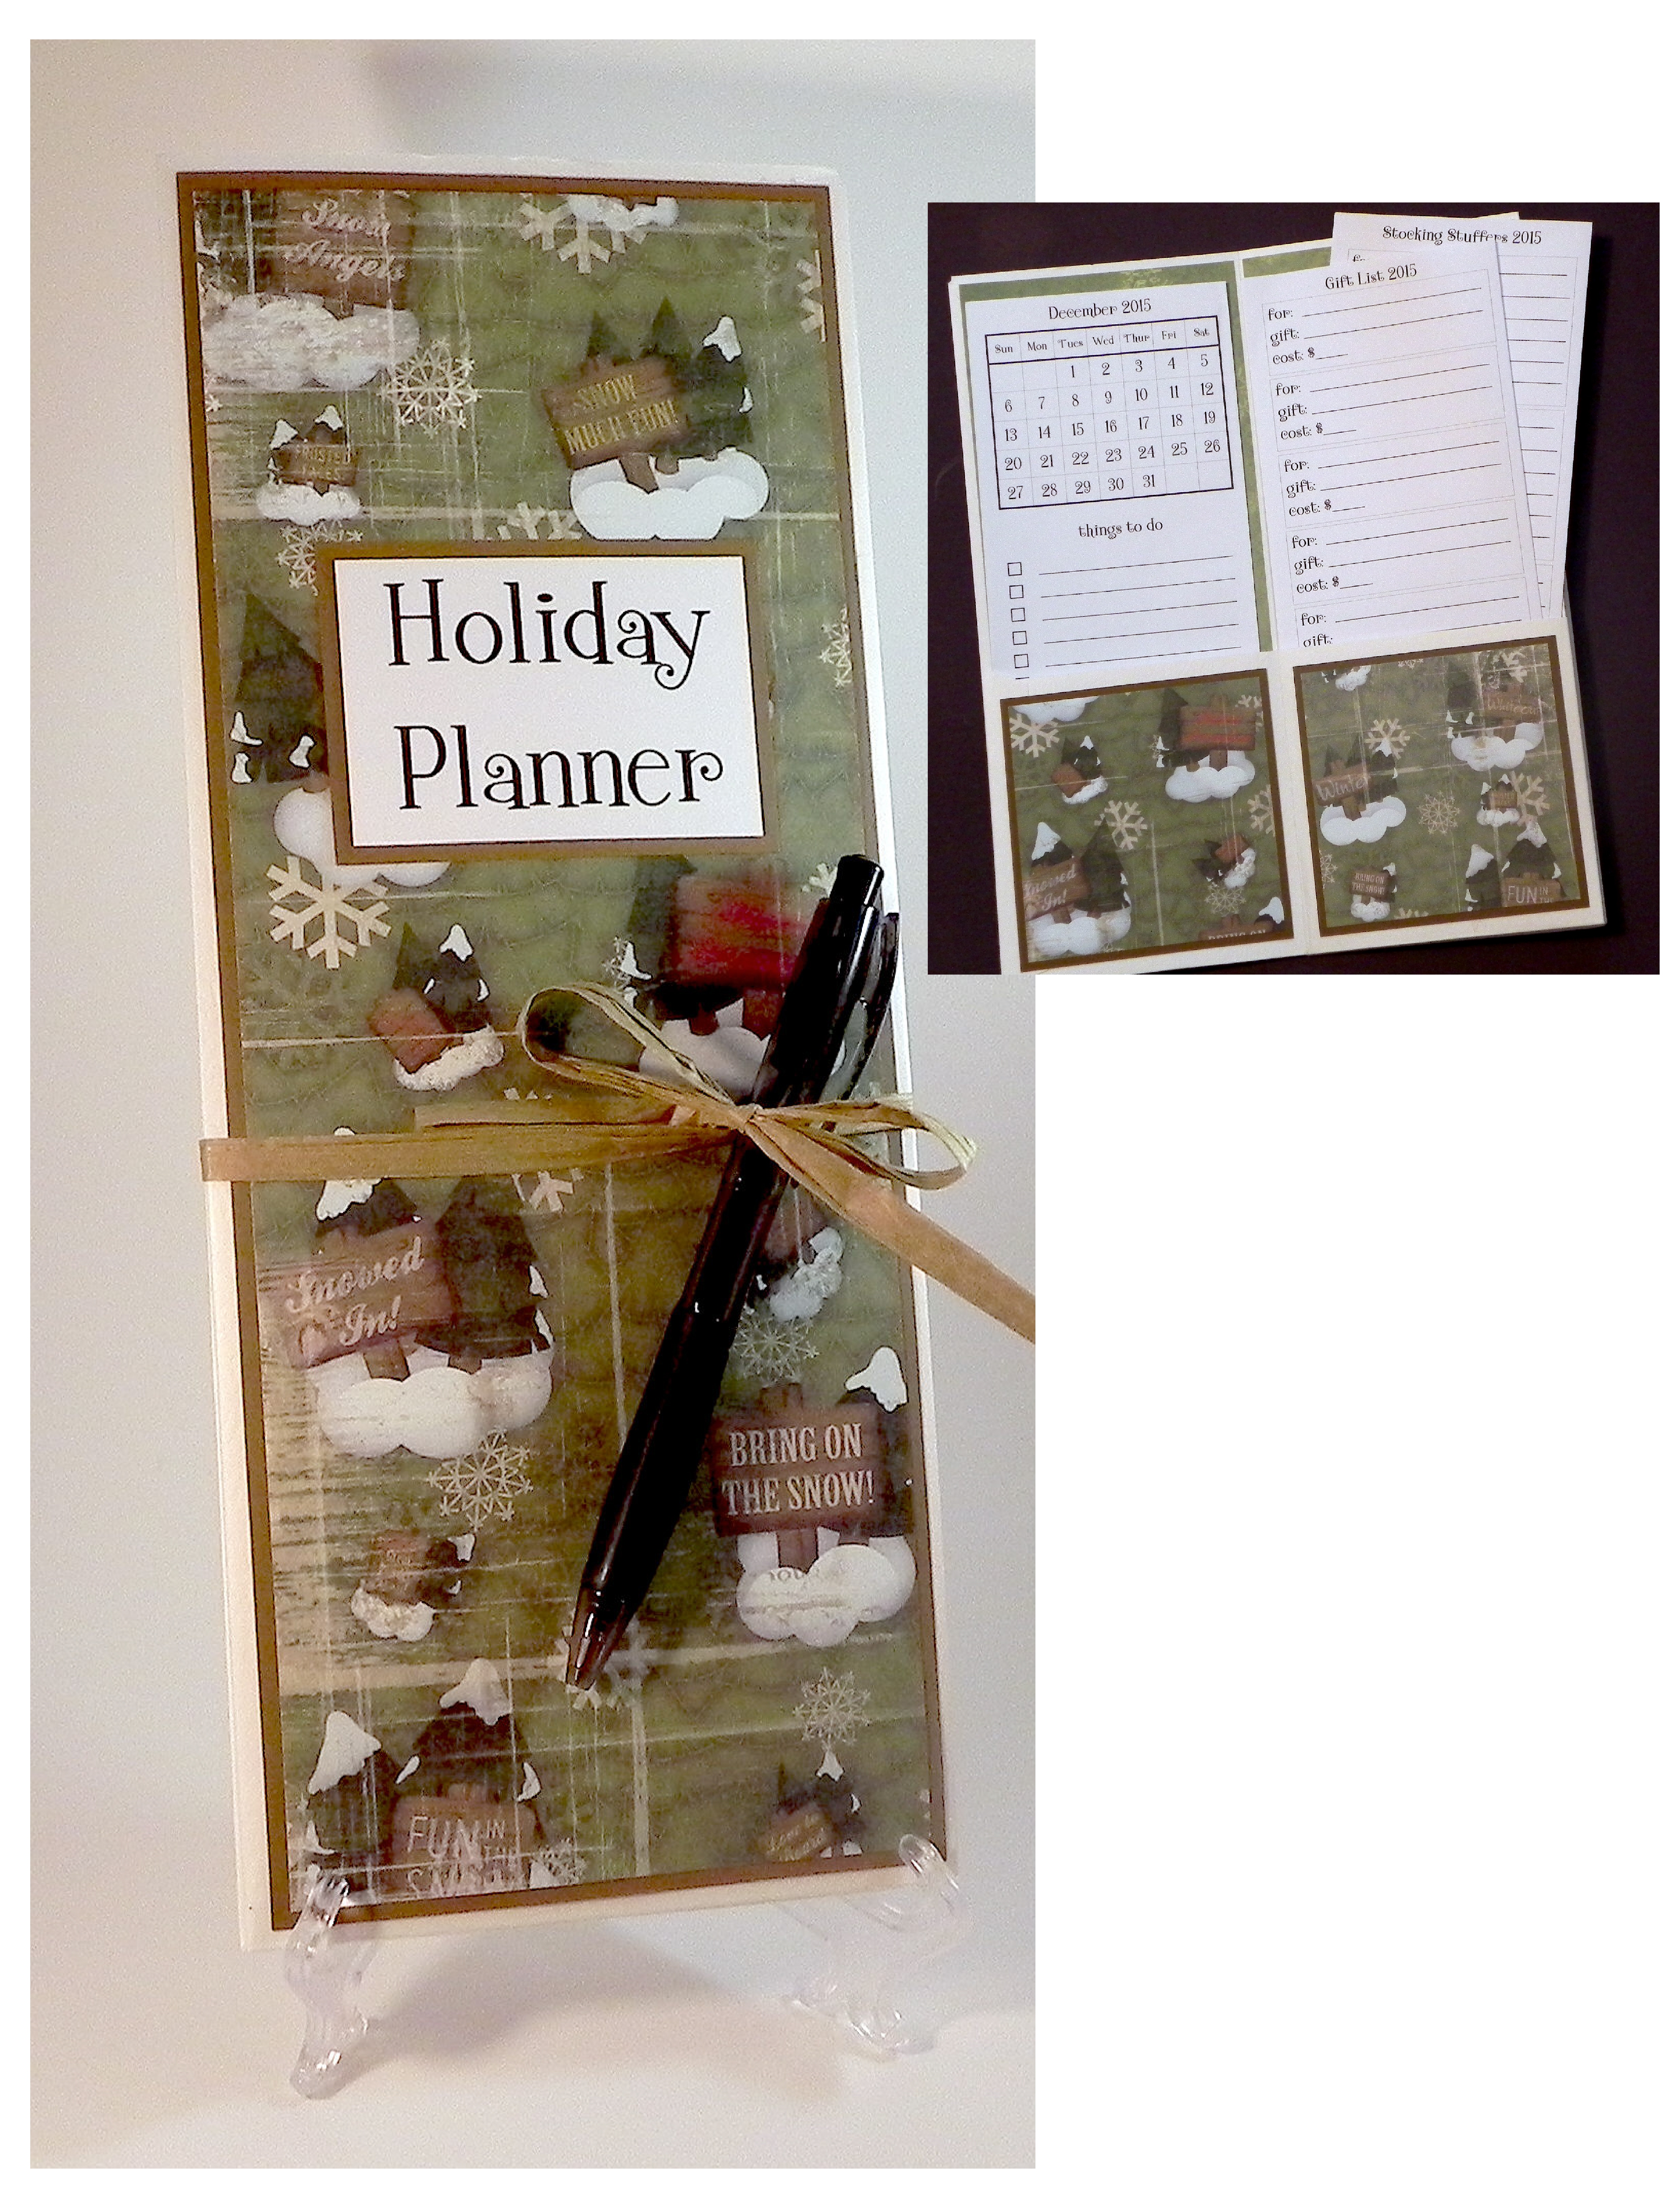
I loved this “Holiday Planner” idea when I saw it HERE on Melissa The Stamp Doc’s blog.  I thought planners would be useful, fun to make, a great way to use up some of the paper I have piling up in my craft room (I think I’m addicted to buying the stuff!!), and a cute item to offer at the Rolling Green Golf Club Holiday Boutique which is at the beginning of December (the perfect time to start planning for the holidays!).  So I decided to make a bunch of them!

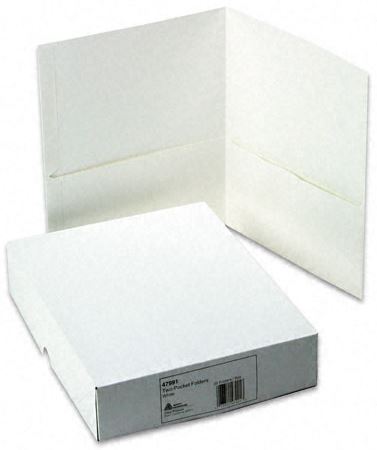
The base for each of the planners is a pocket folder which I ordered on Amazon, but you can also get them in office supply stores and where school supplies are sold.

pocket folder pic

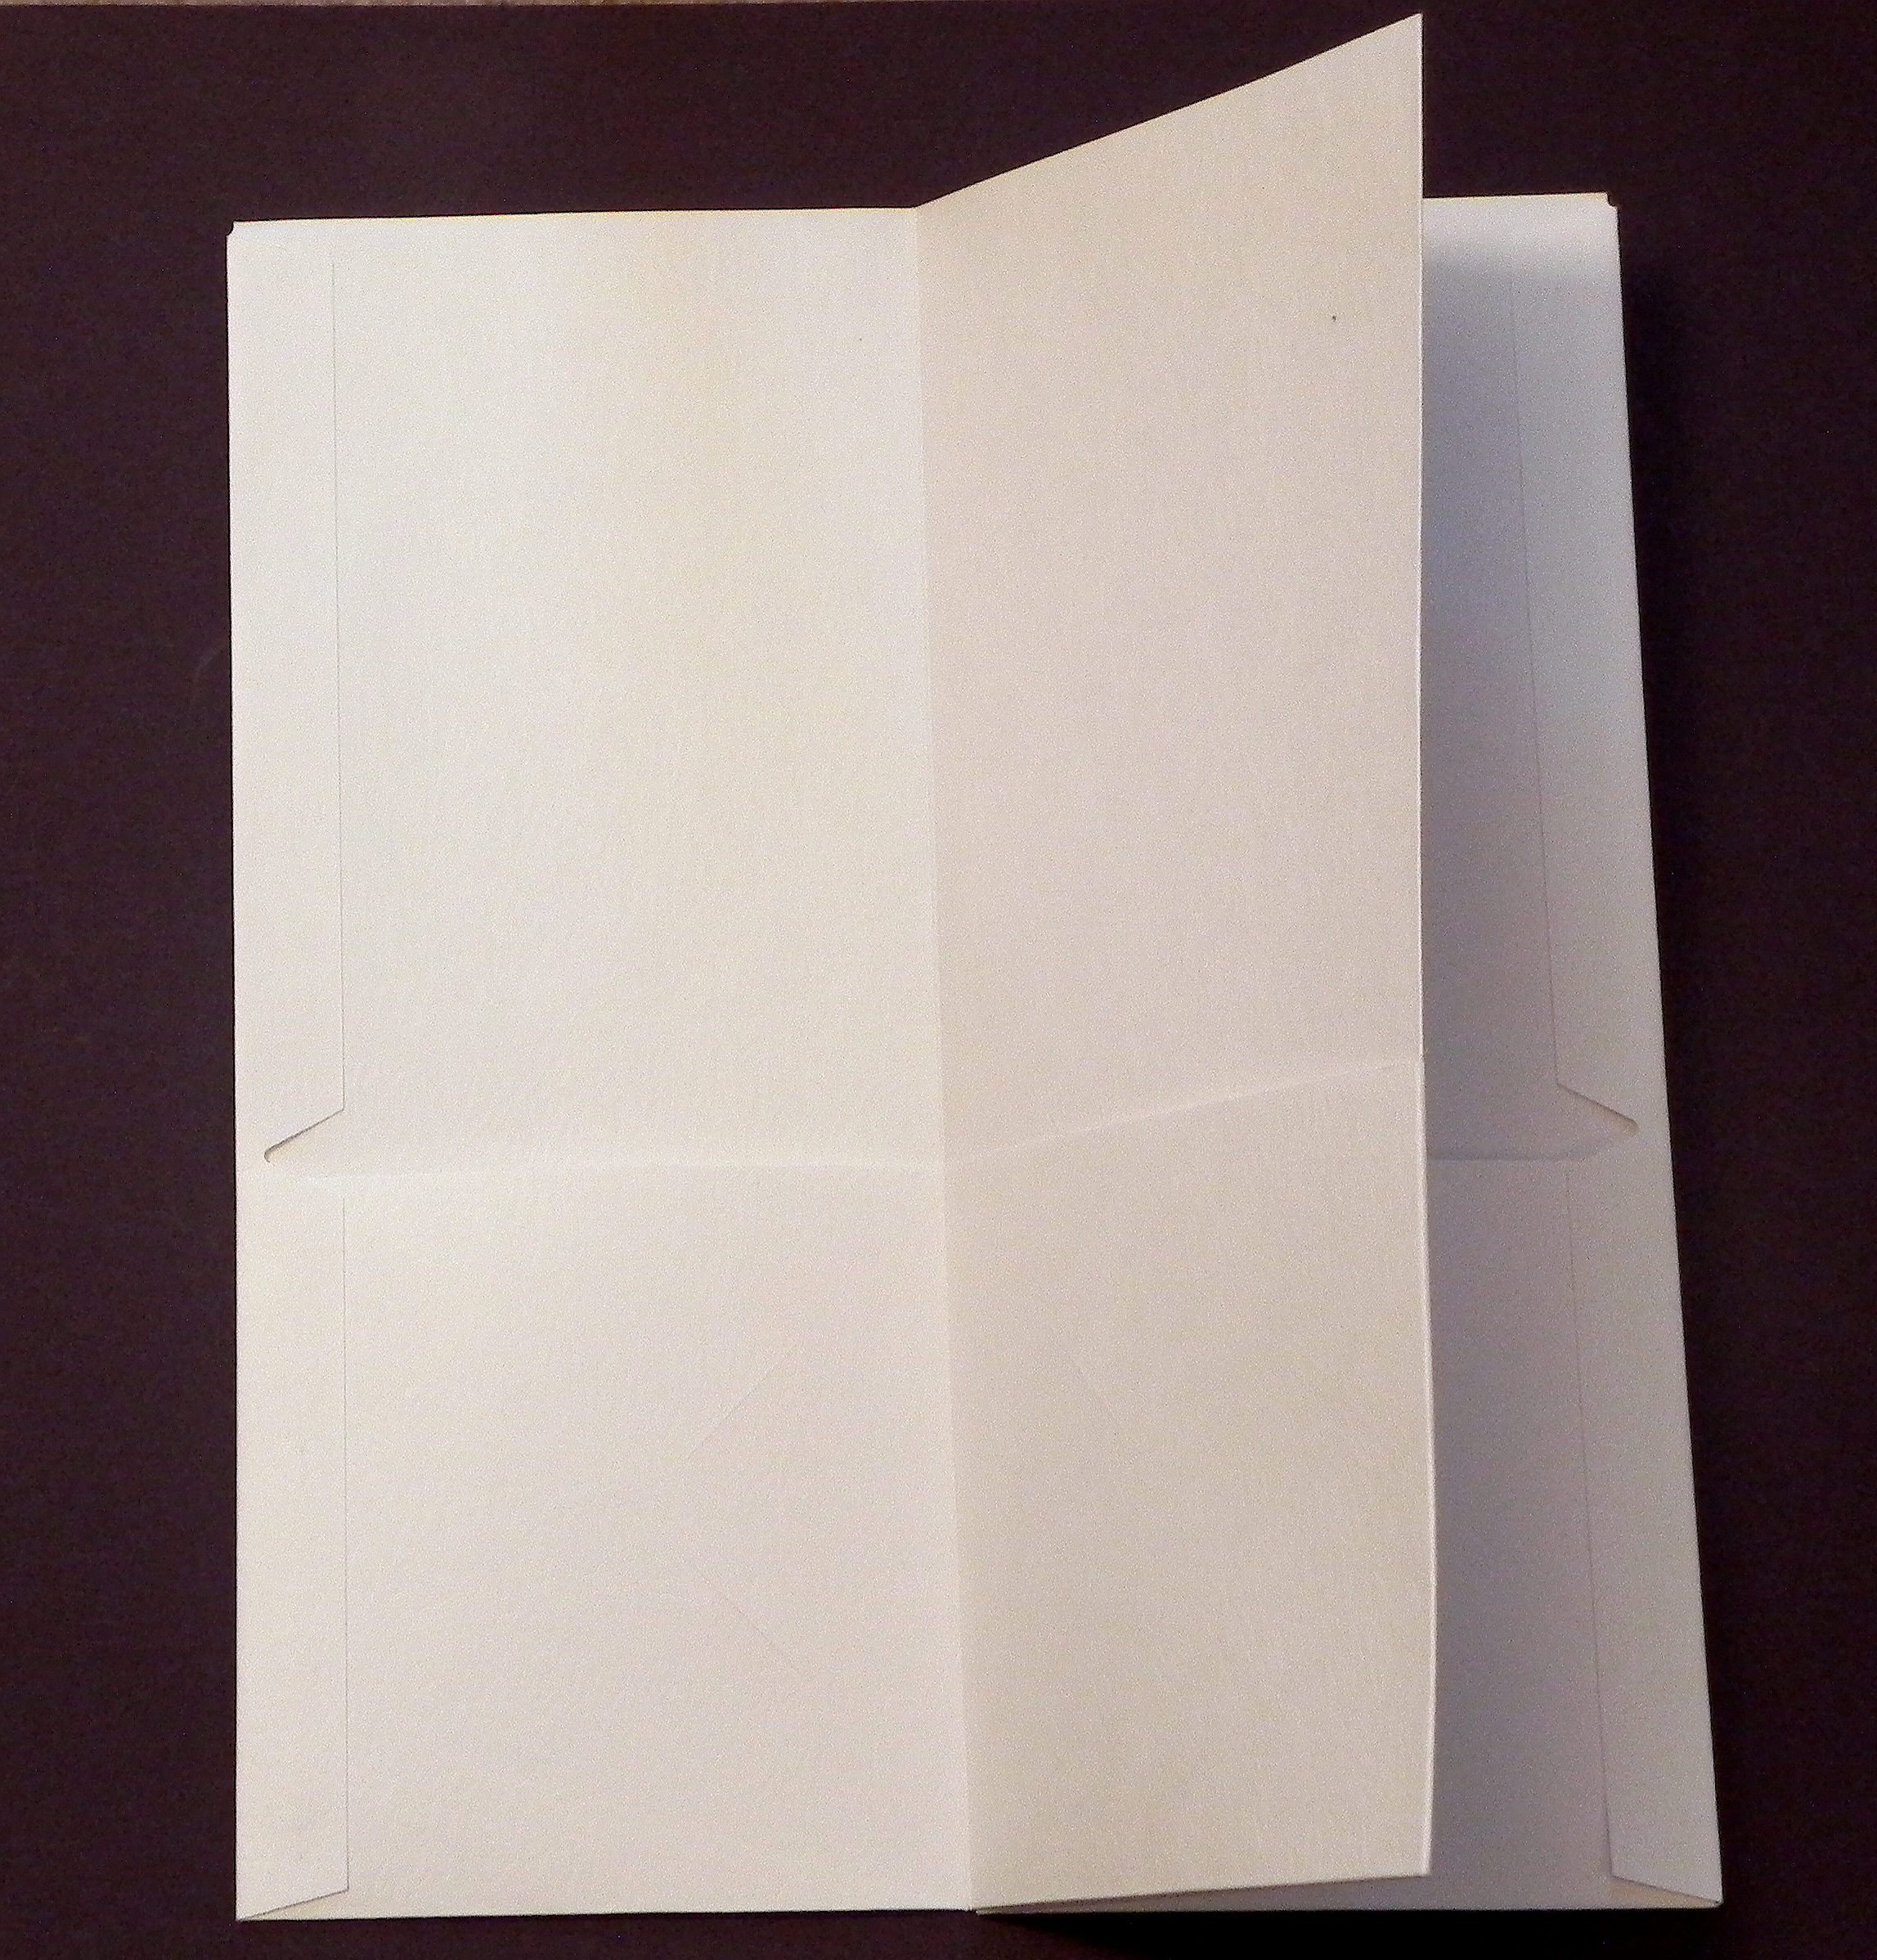
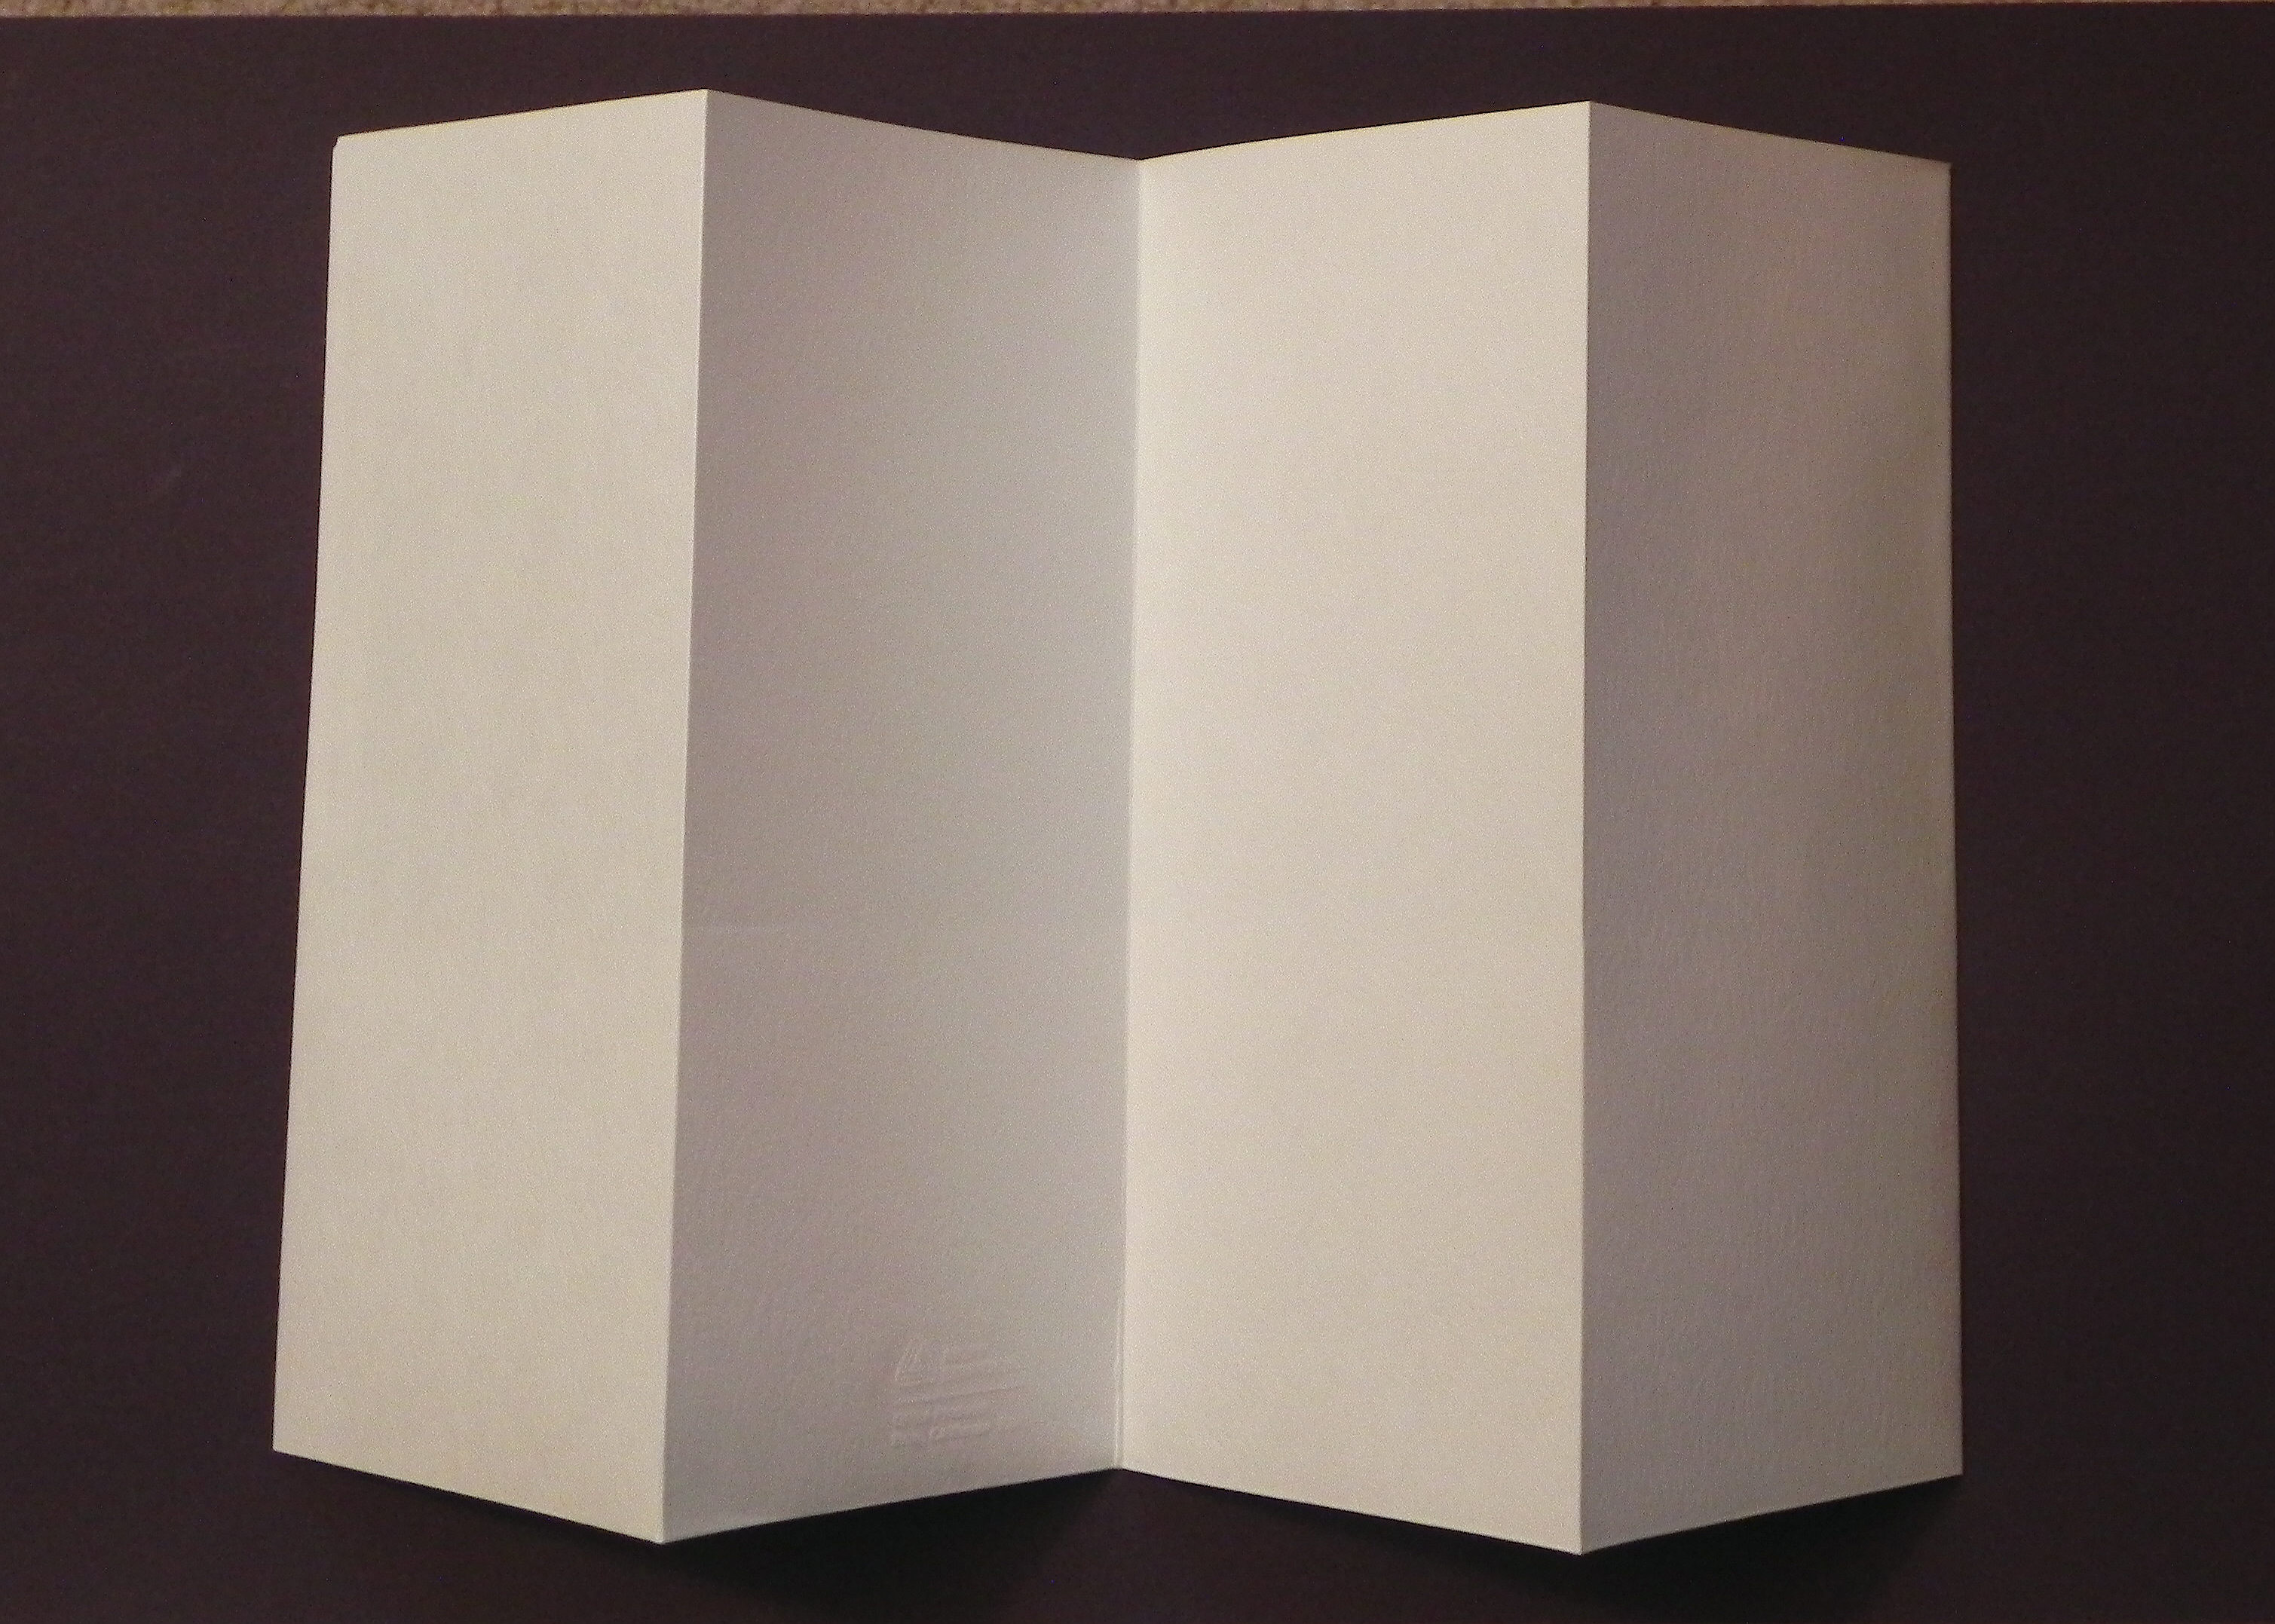
I scored each side of the folder in half vertically and folded them so the pockets were on the inside.
wDSCN8984

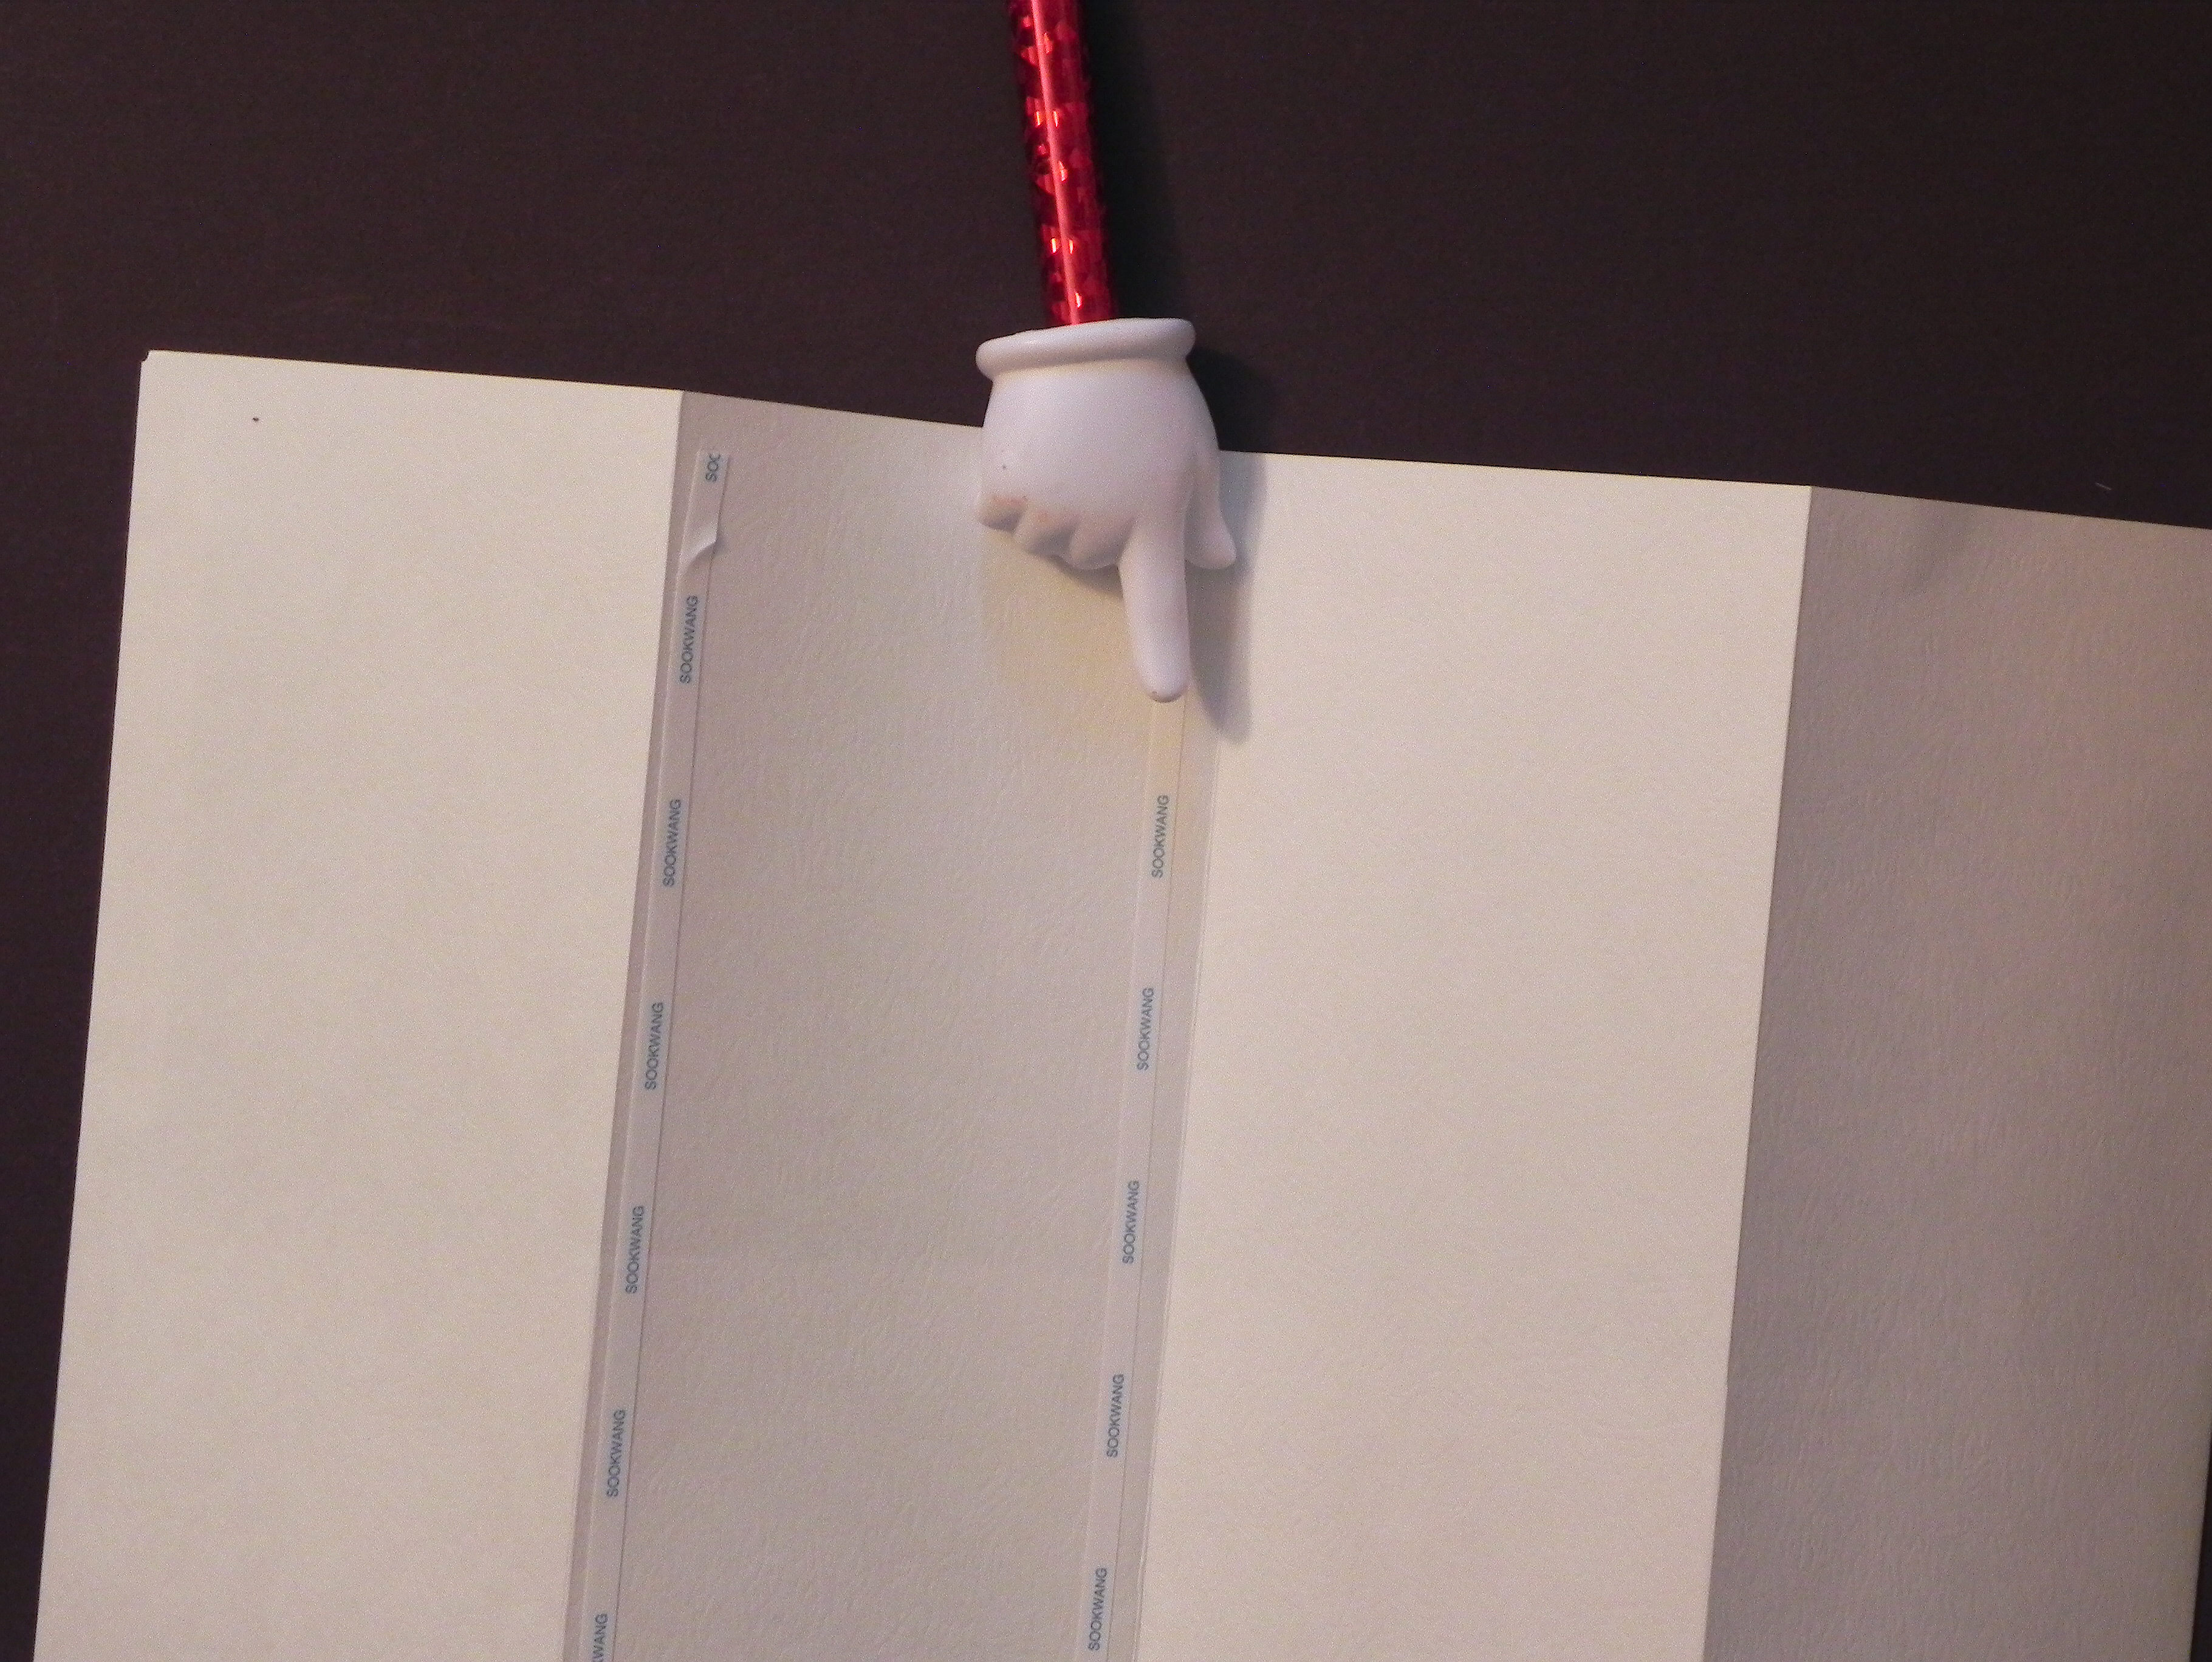
I added score tape to the back of the middle panels so they would stay together and form a tall, skinny book.  (Melissa’s opened flat.)

wDSCN8987     wDSCN9038

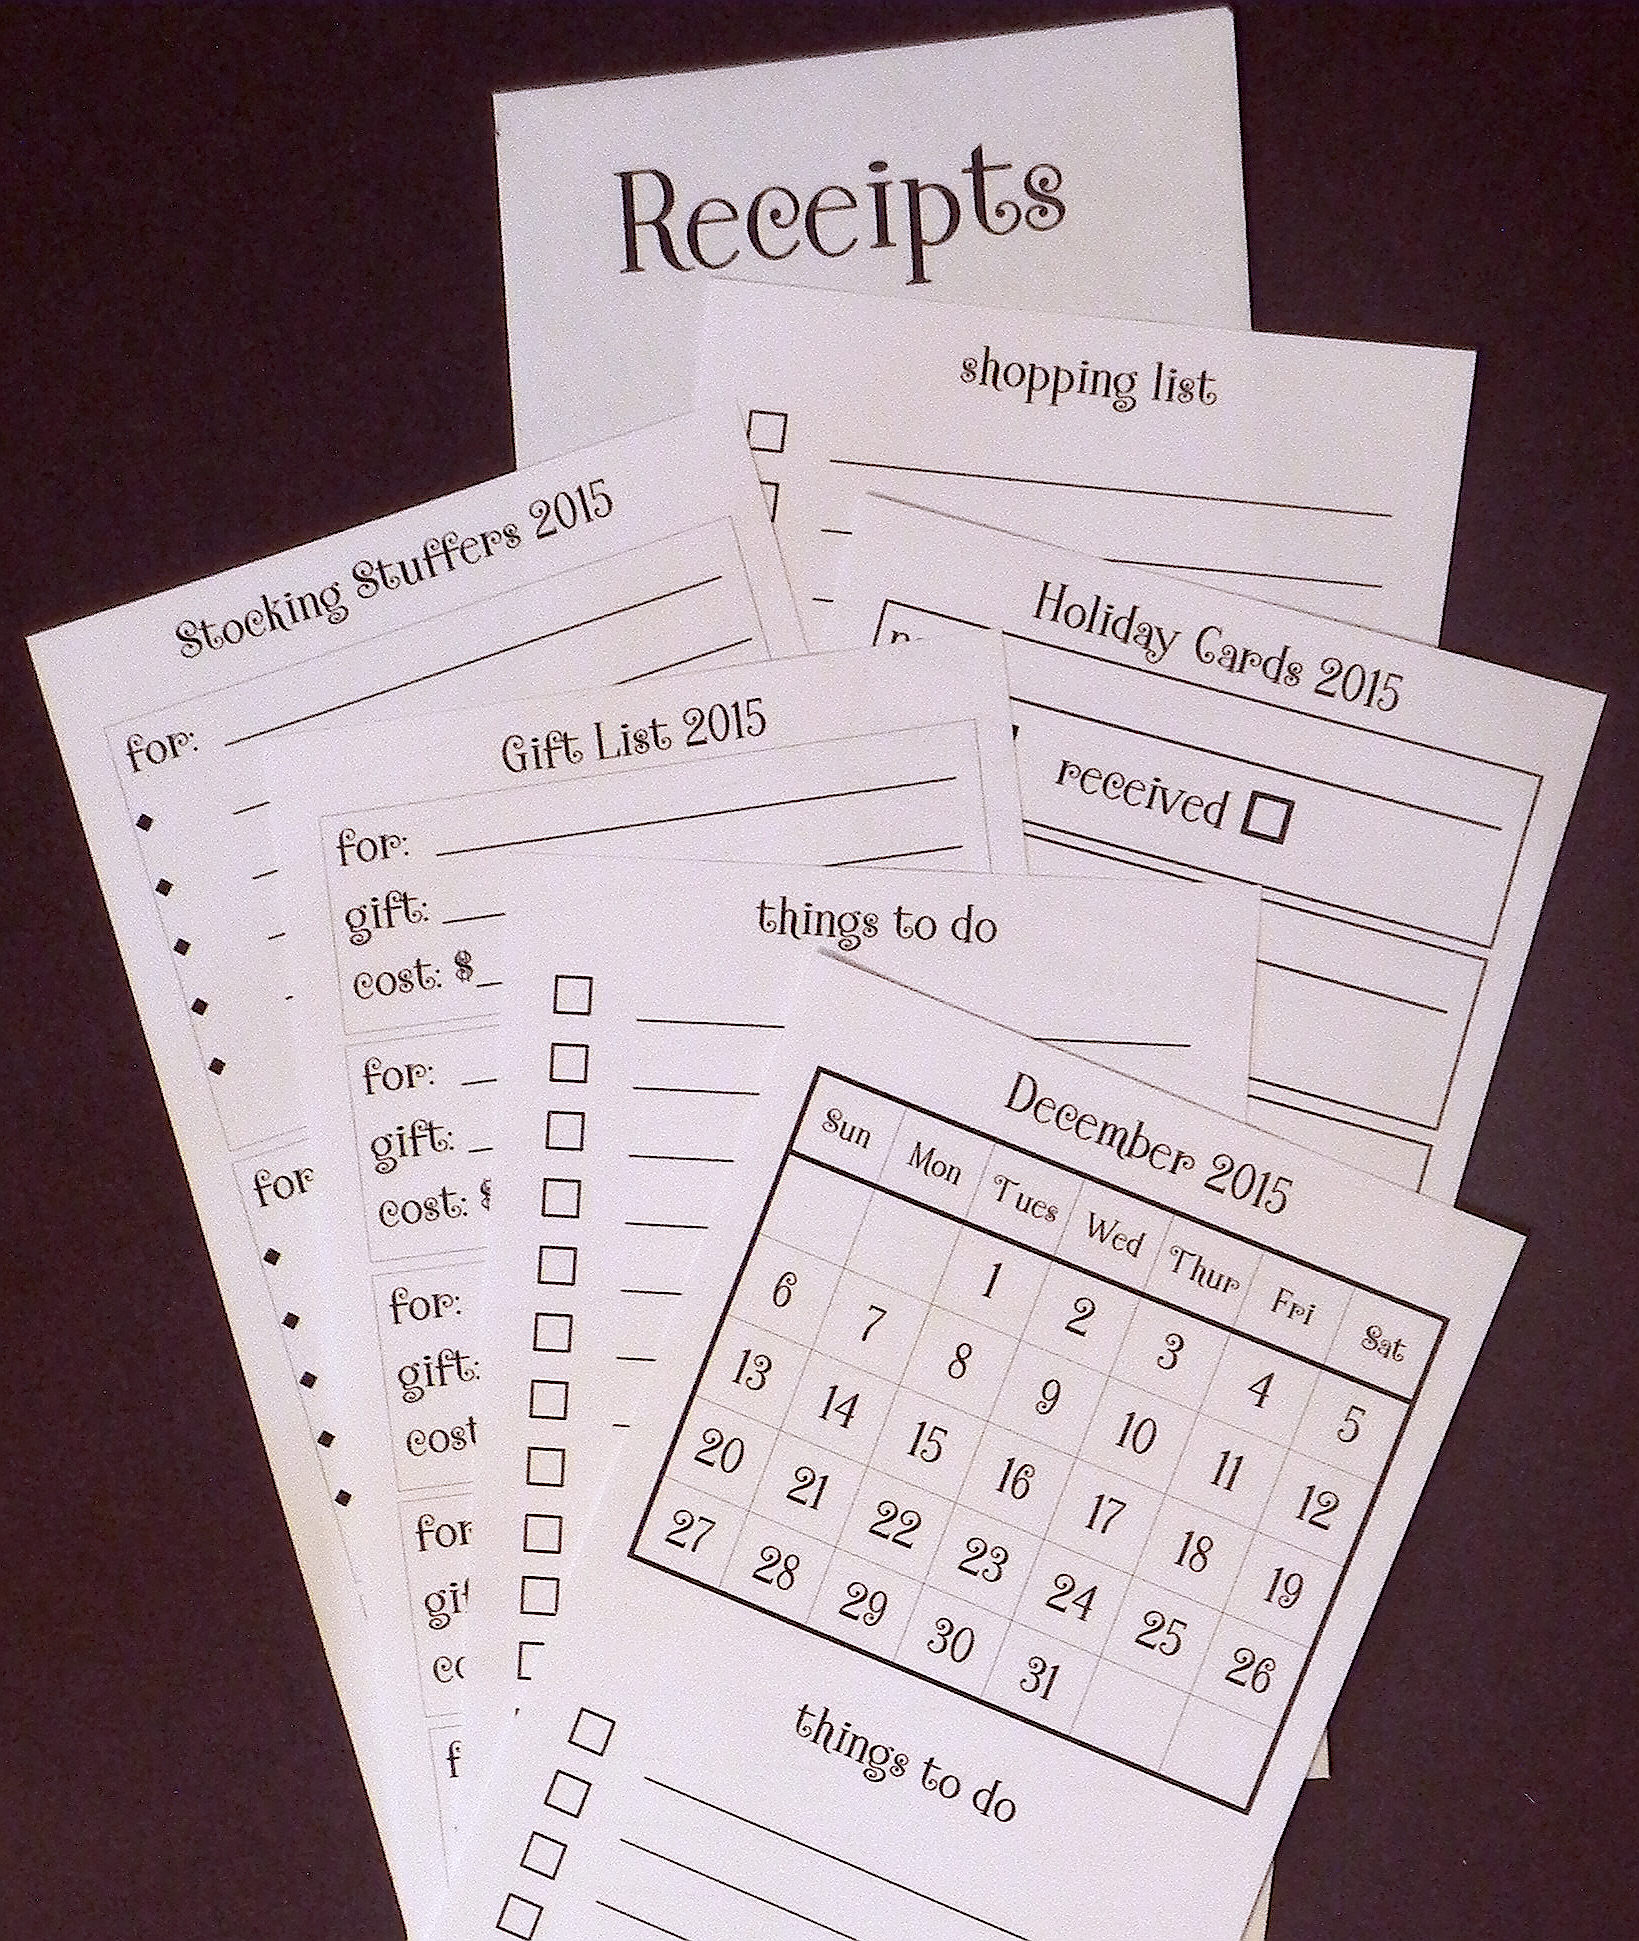
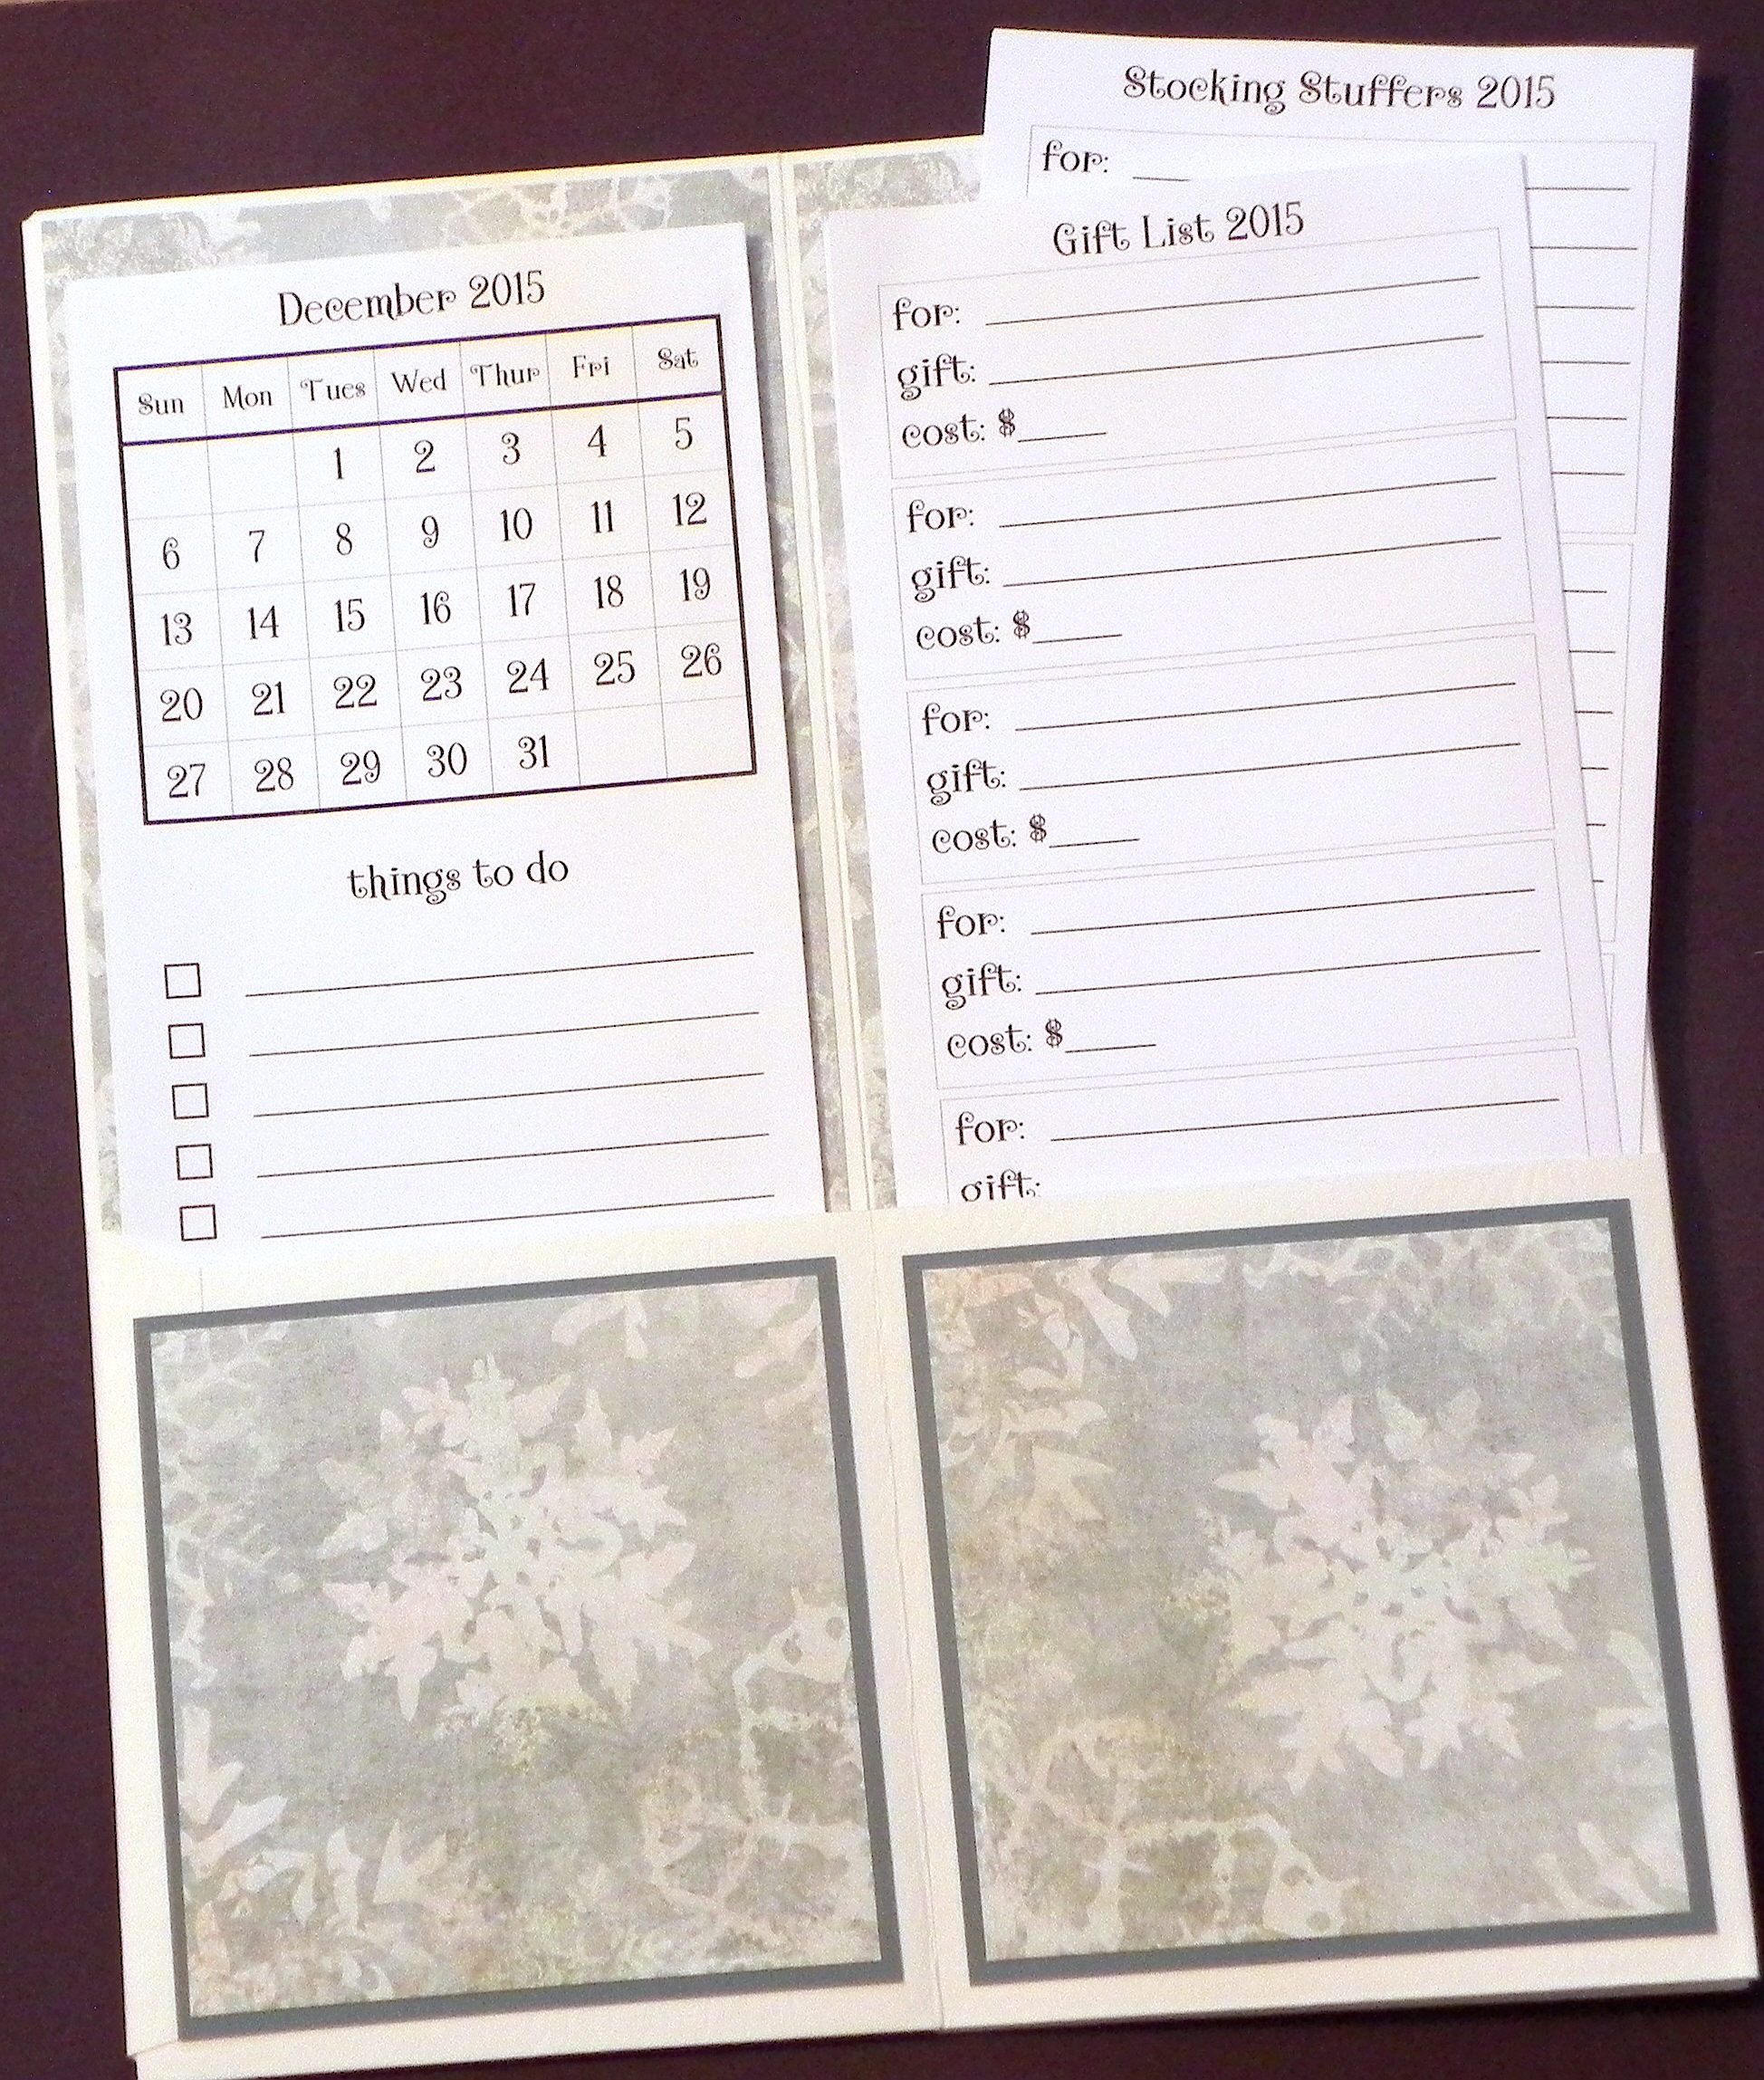
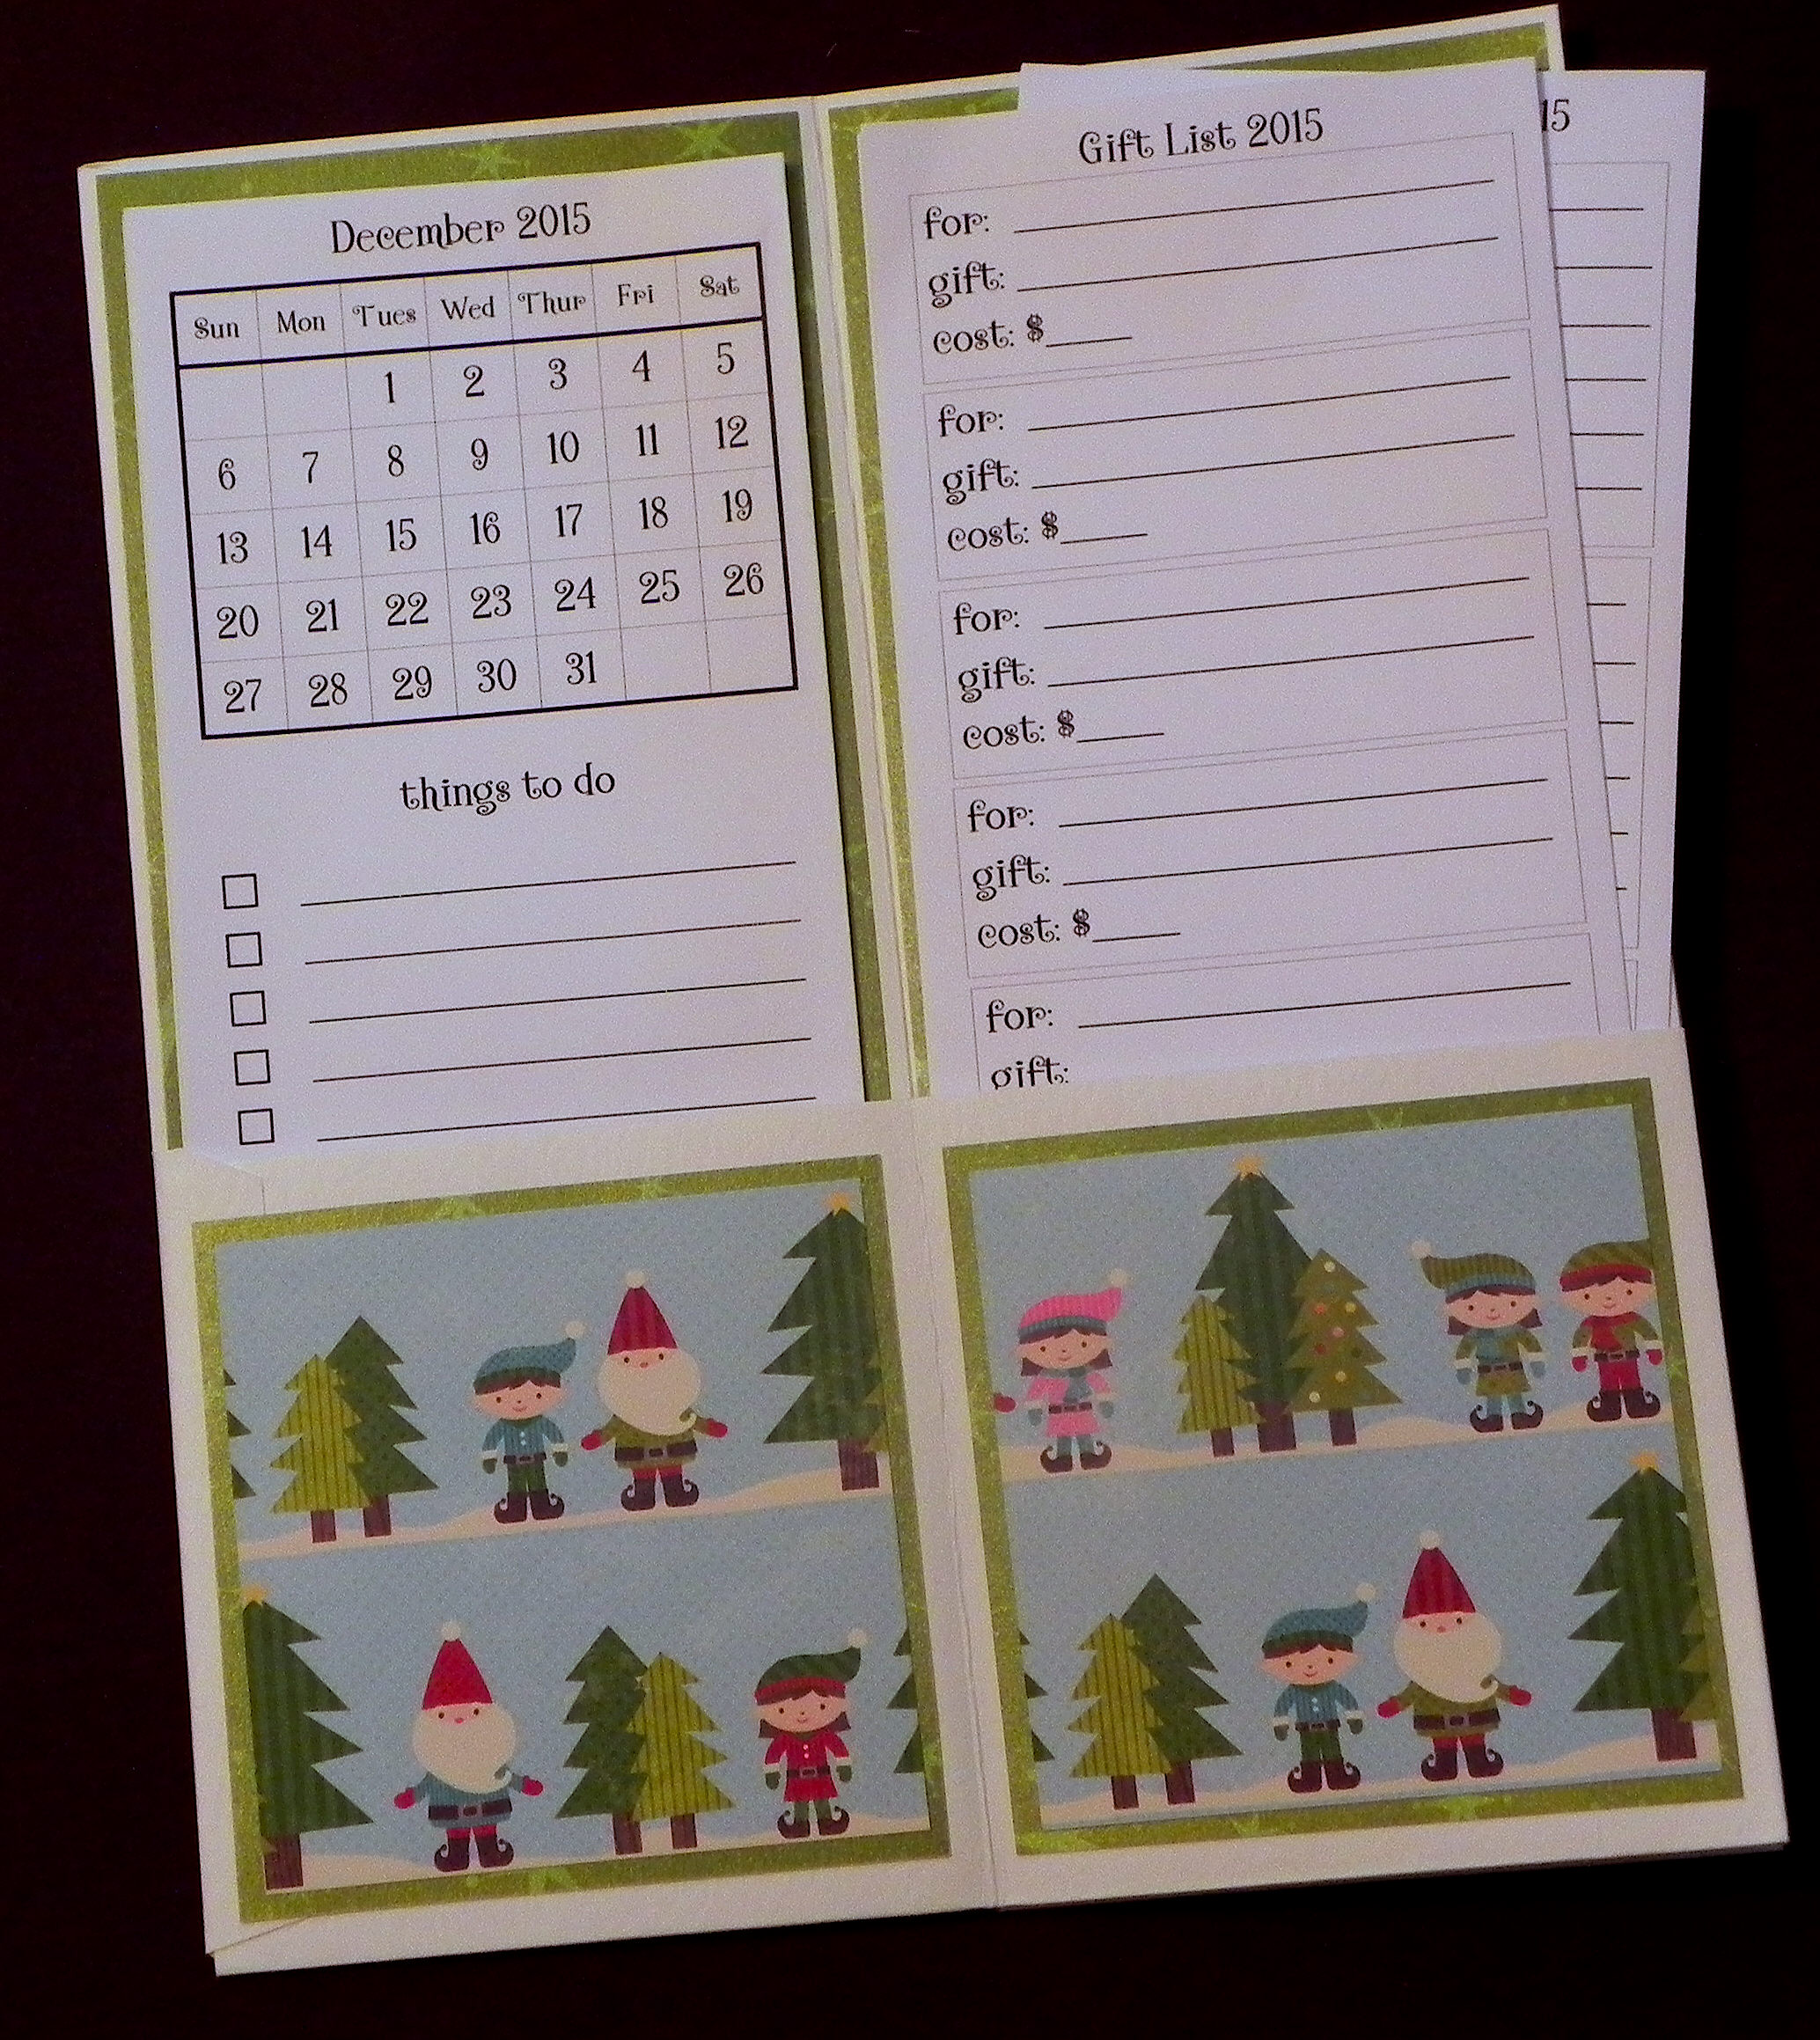
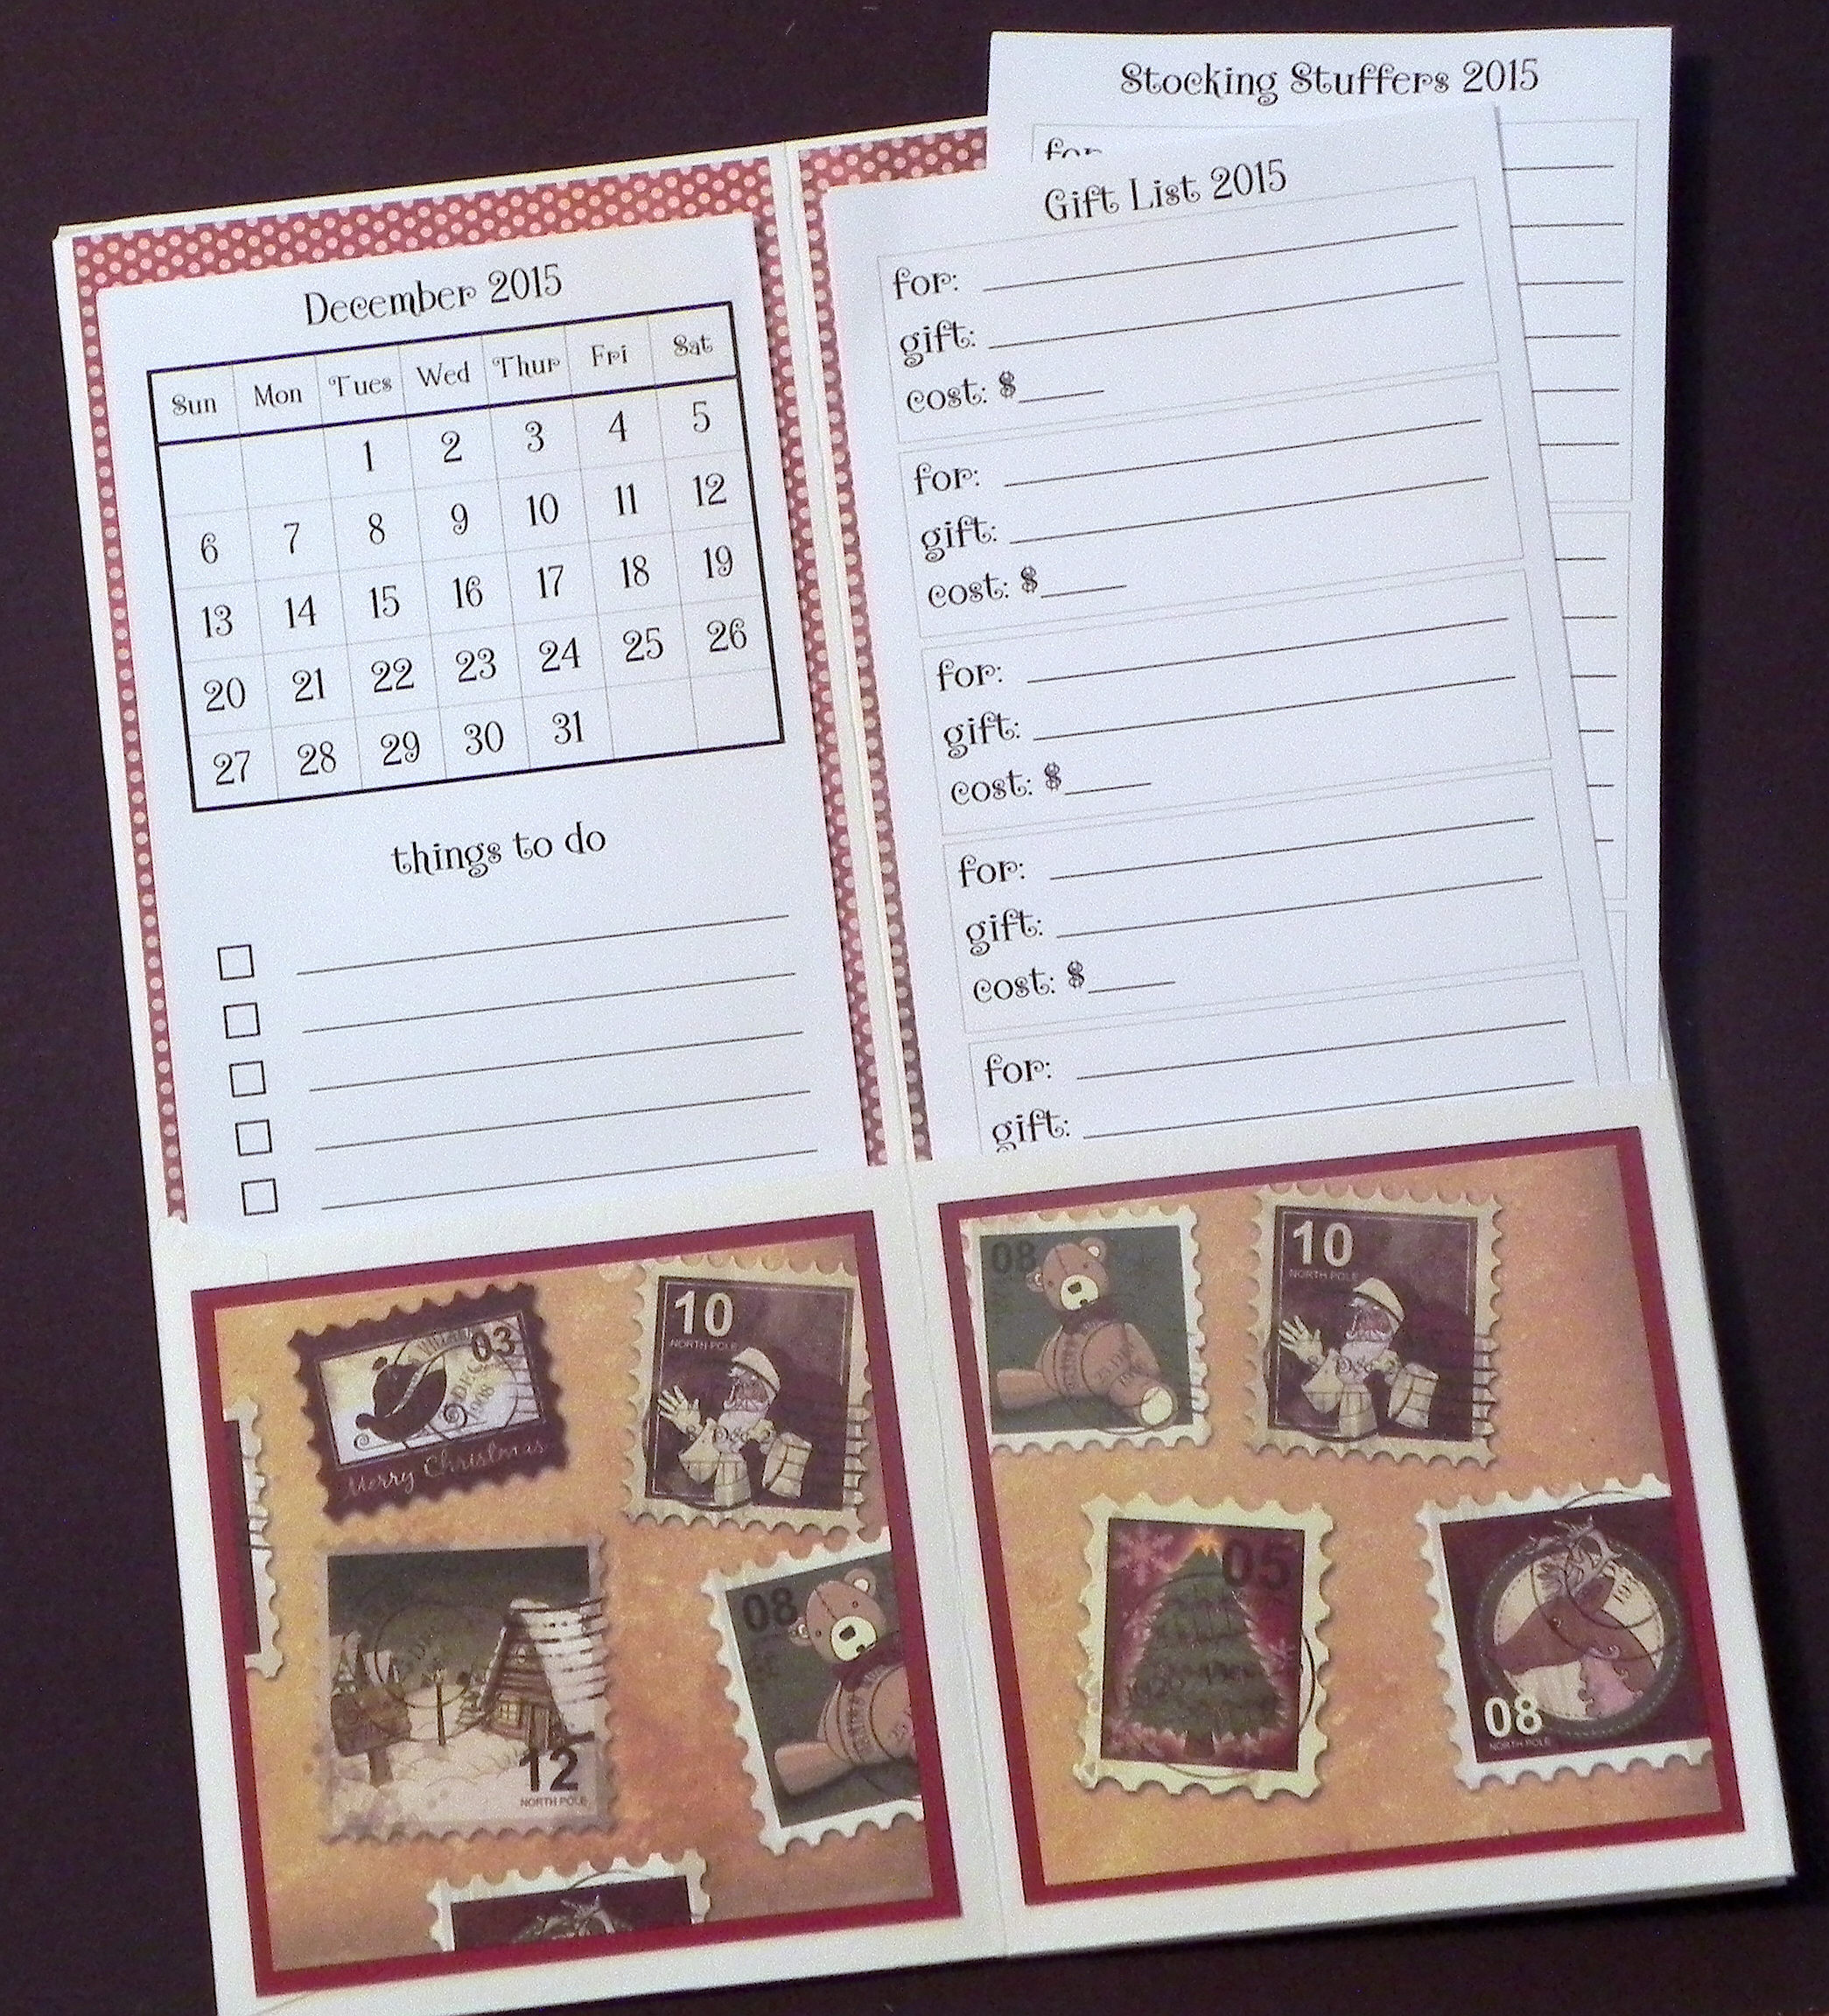
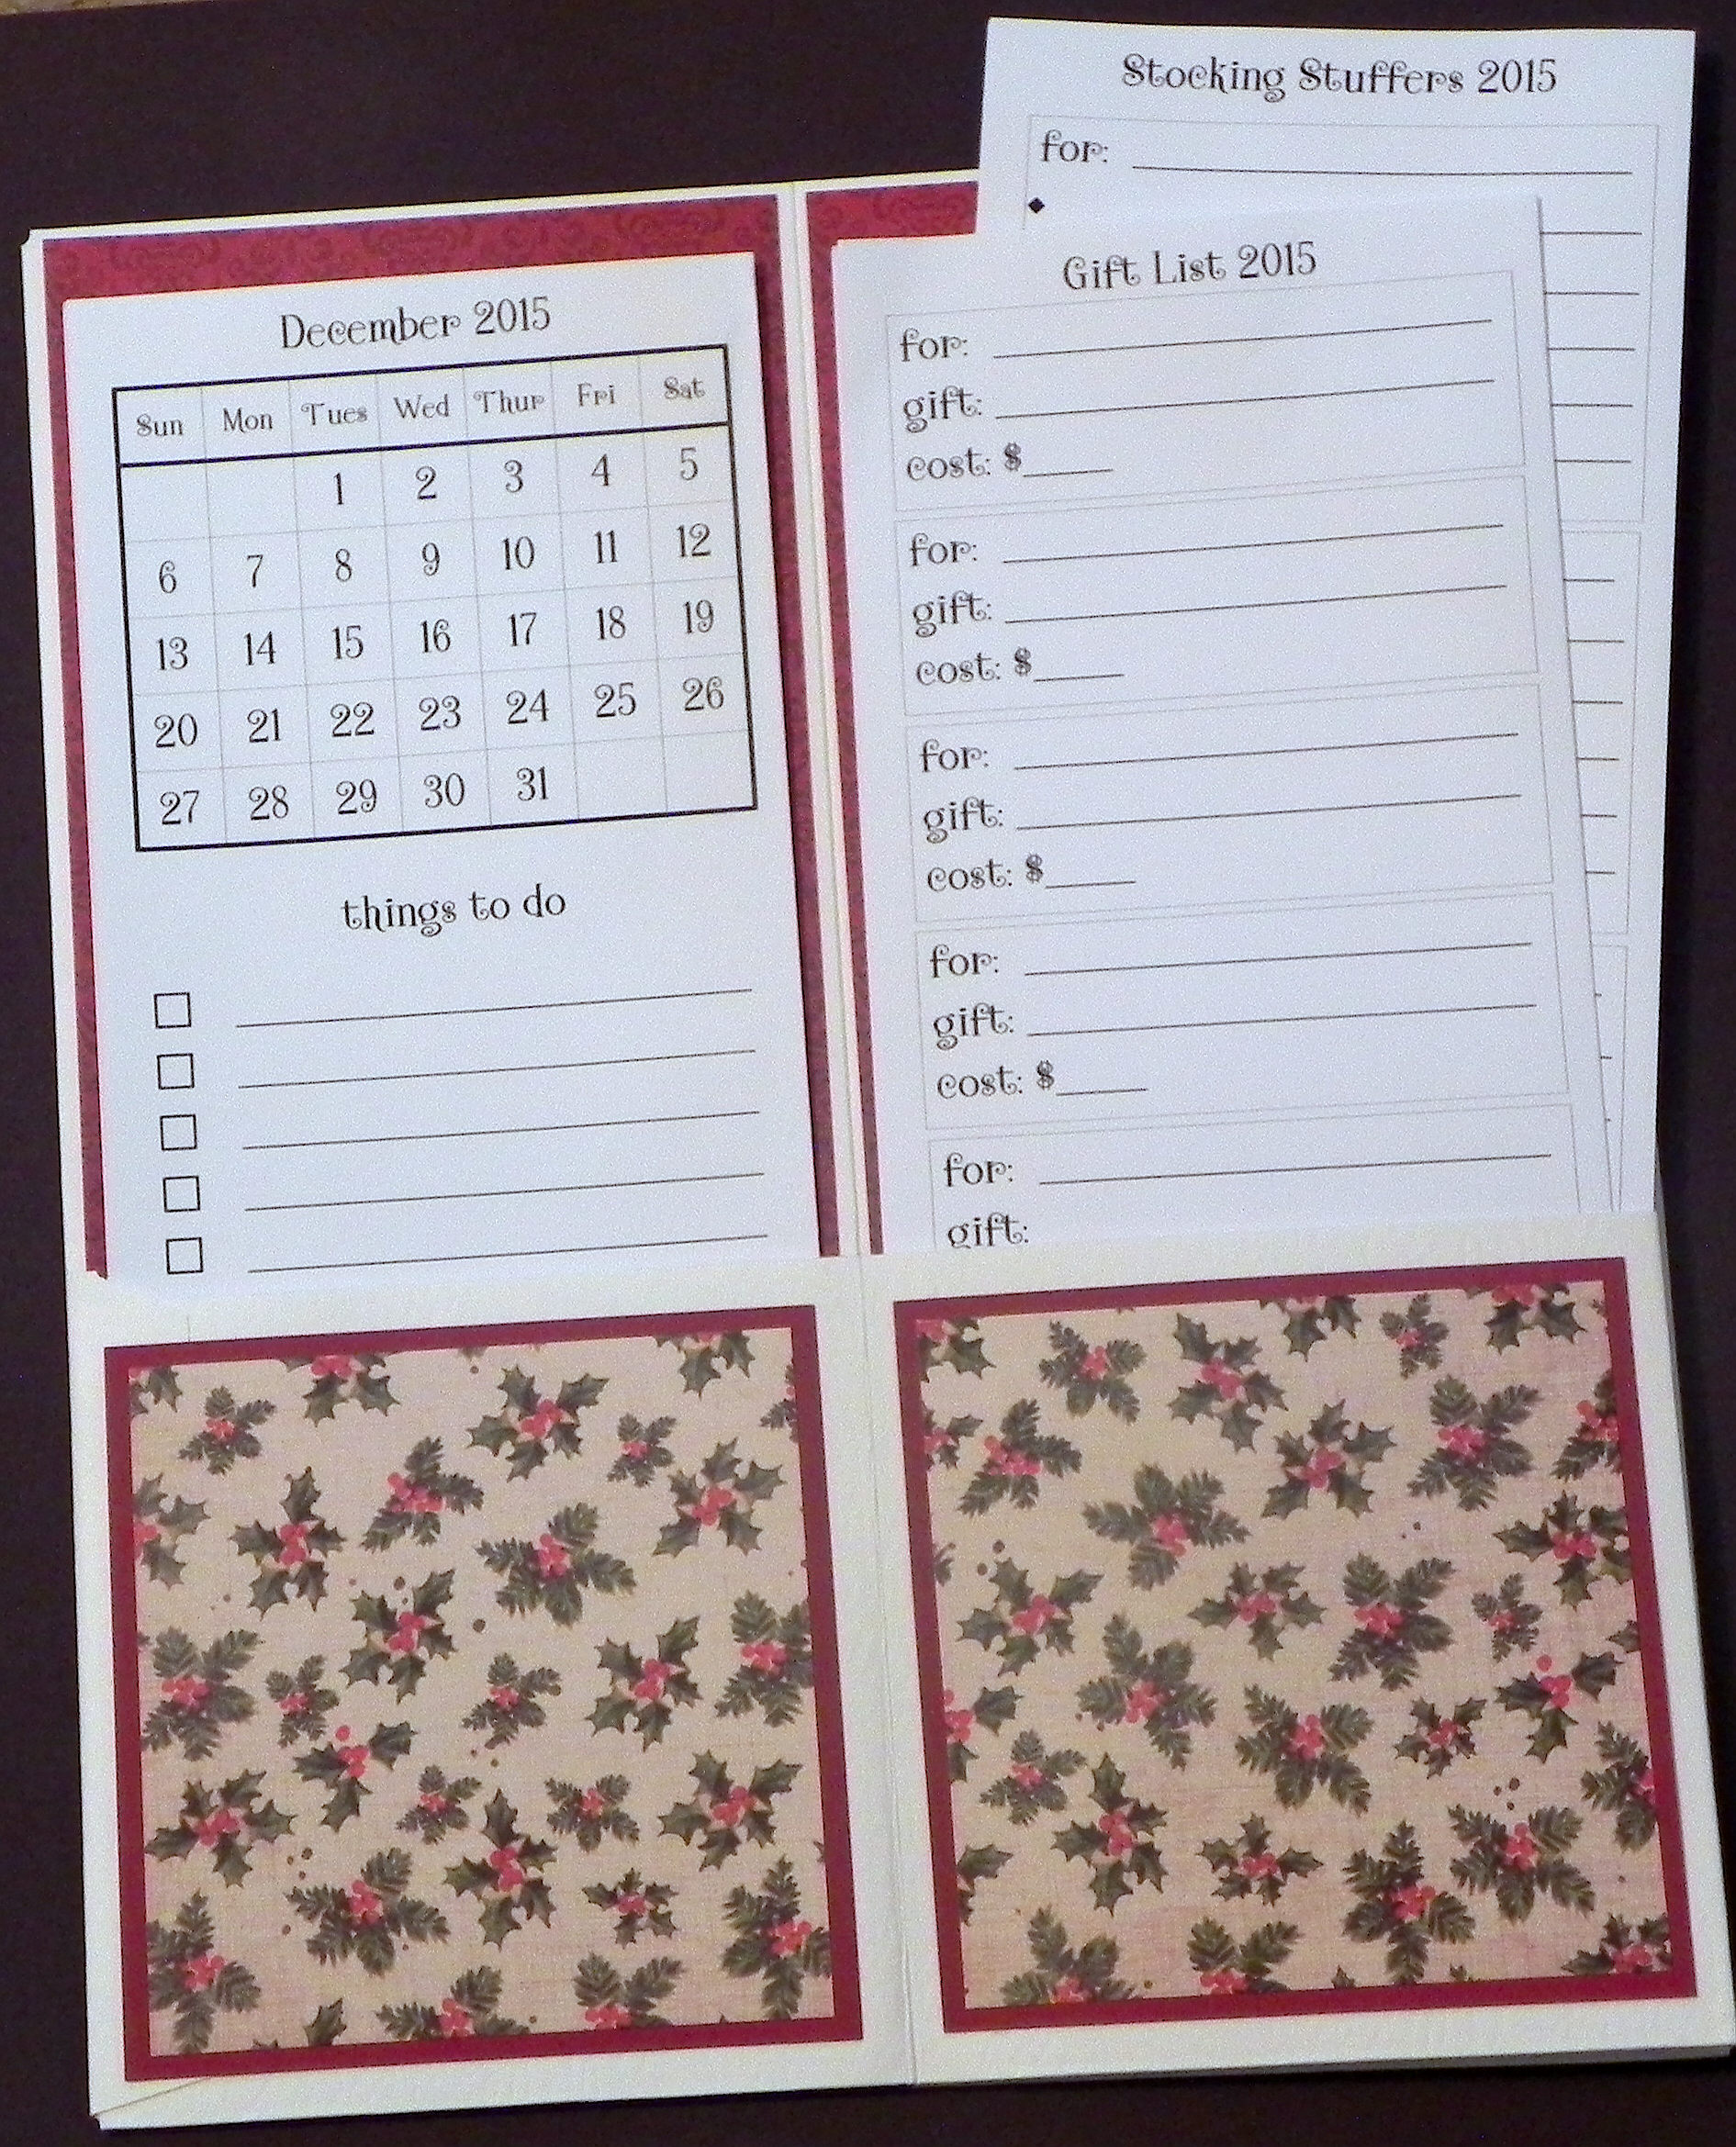
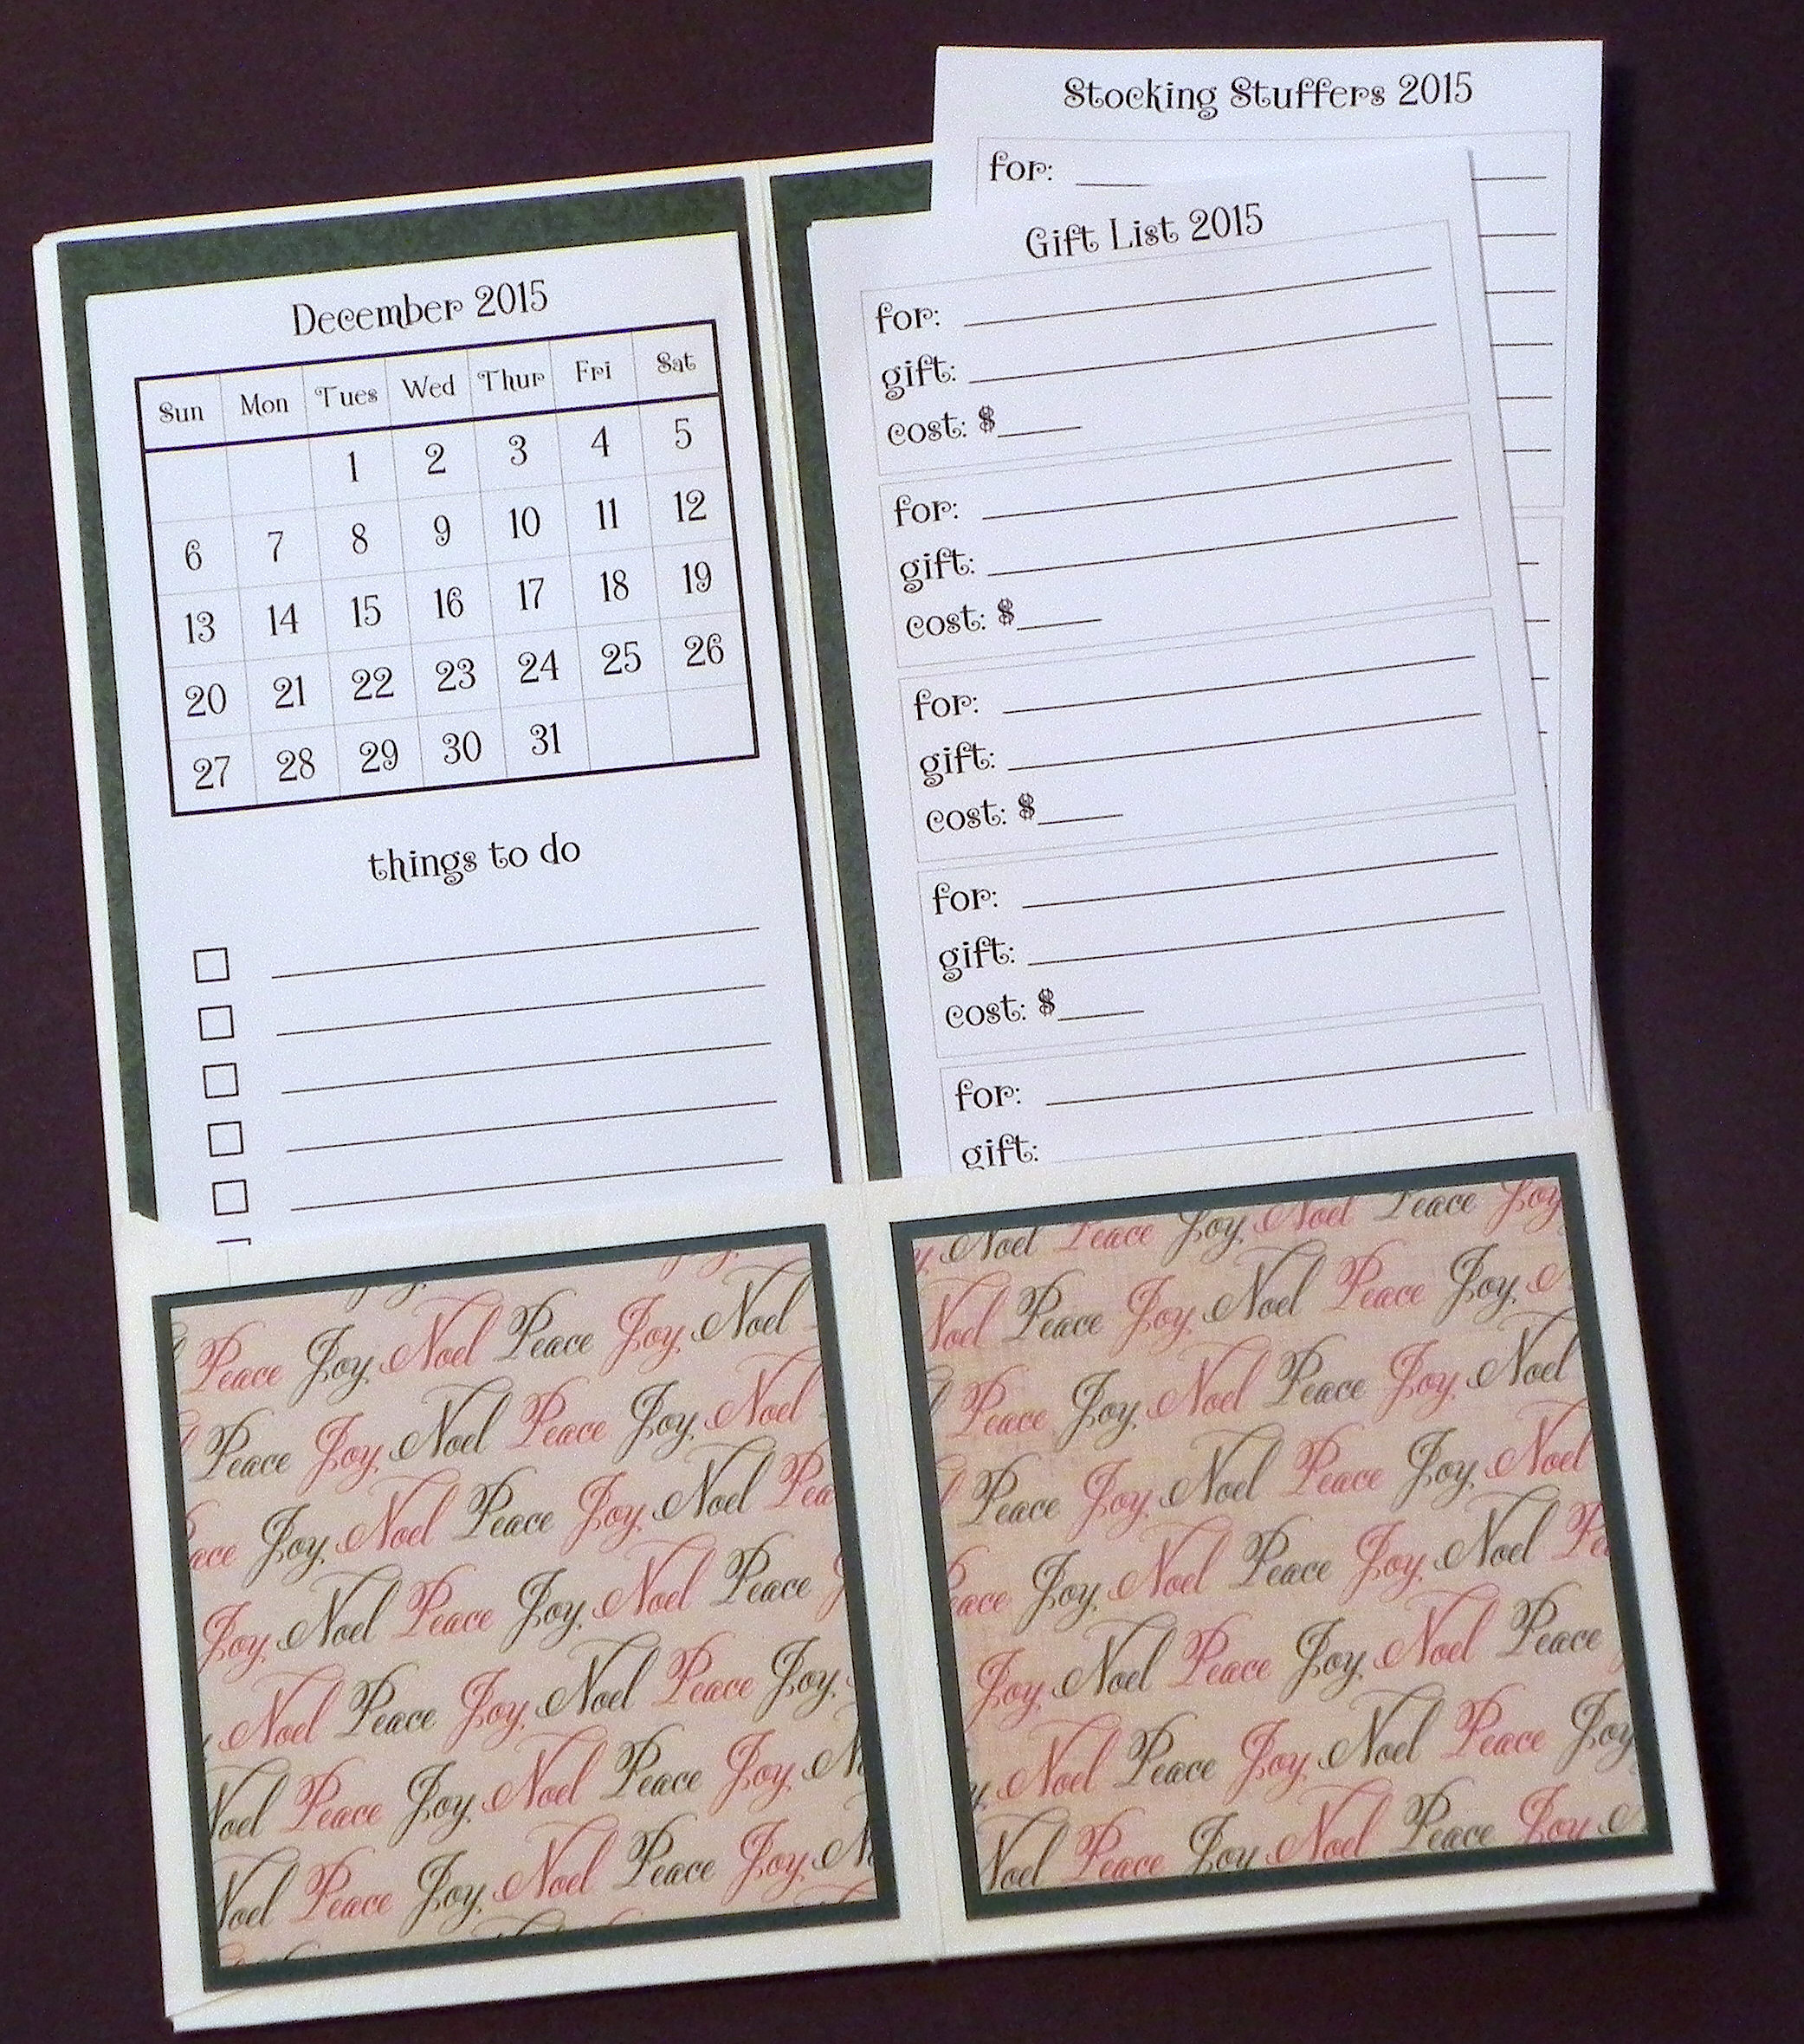
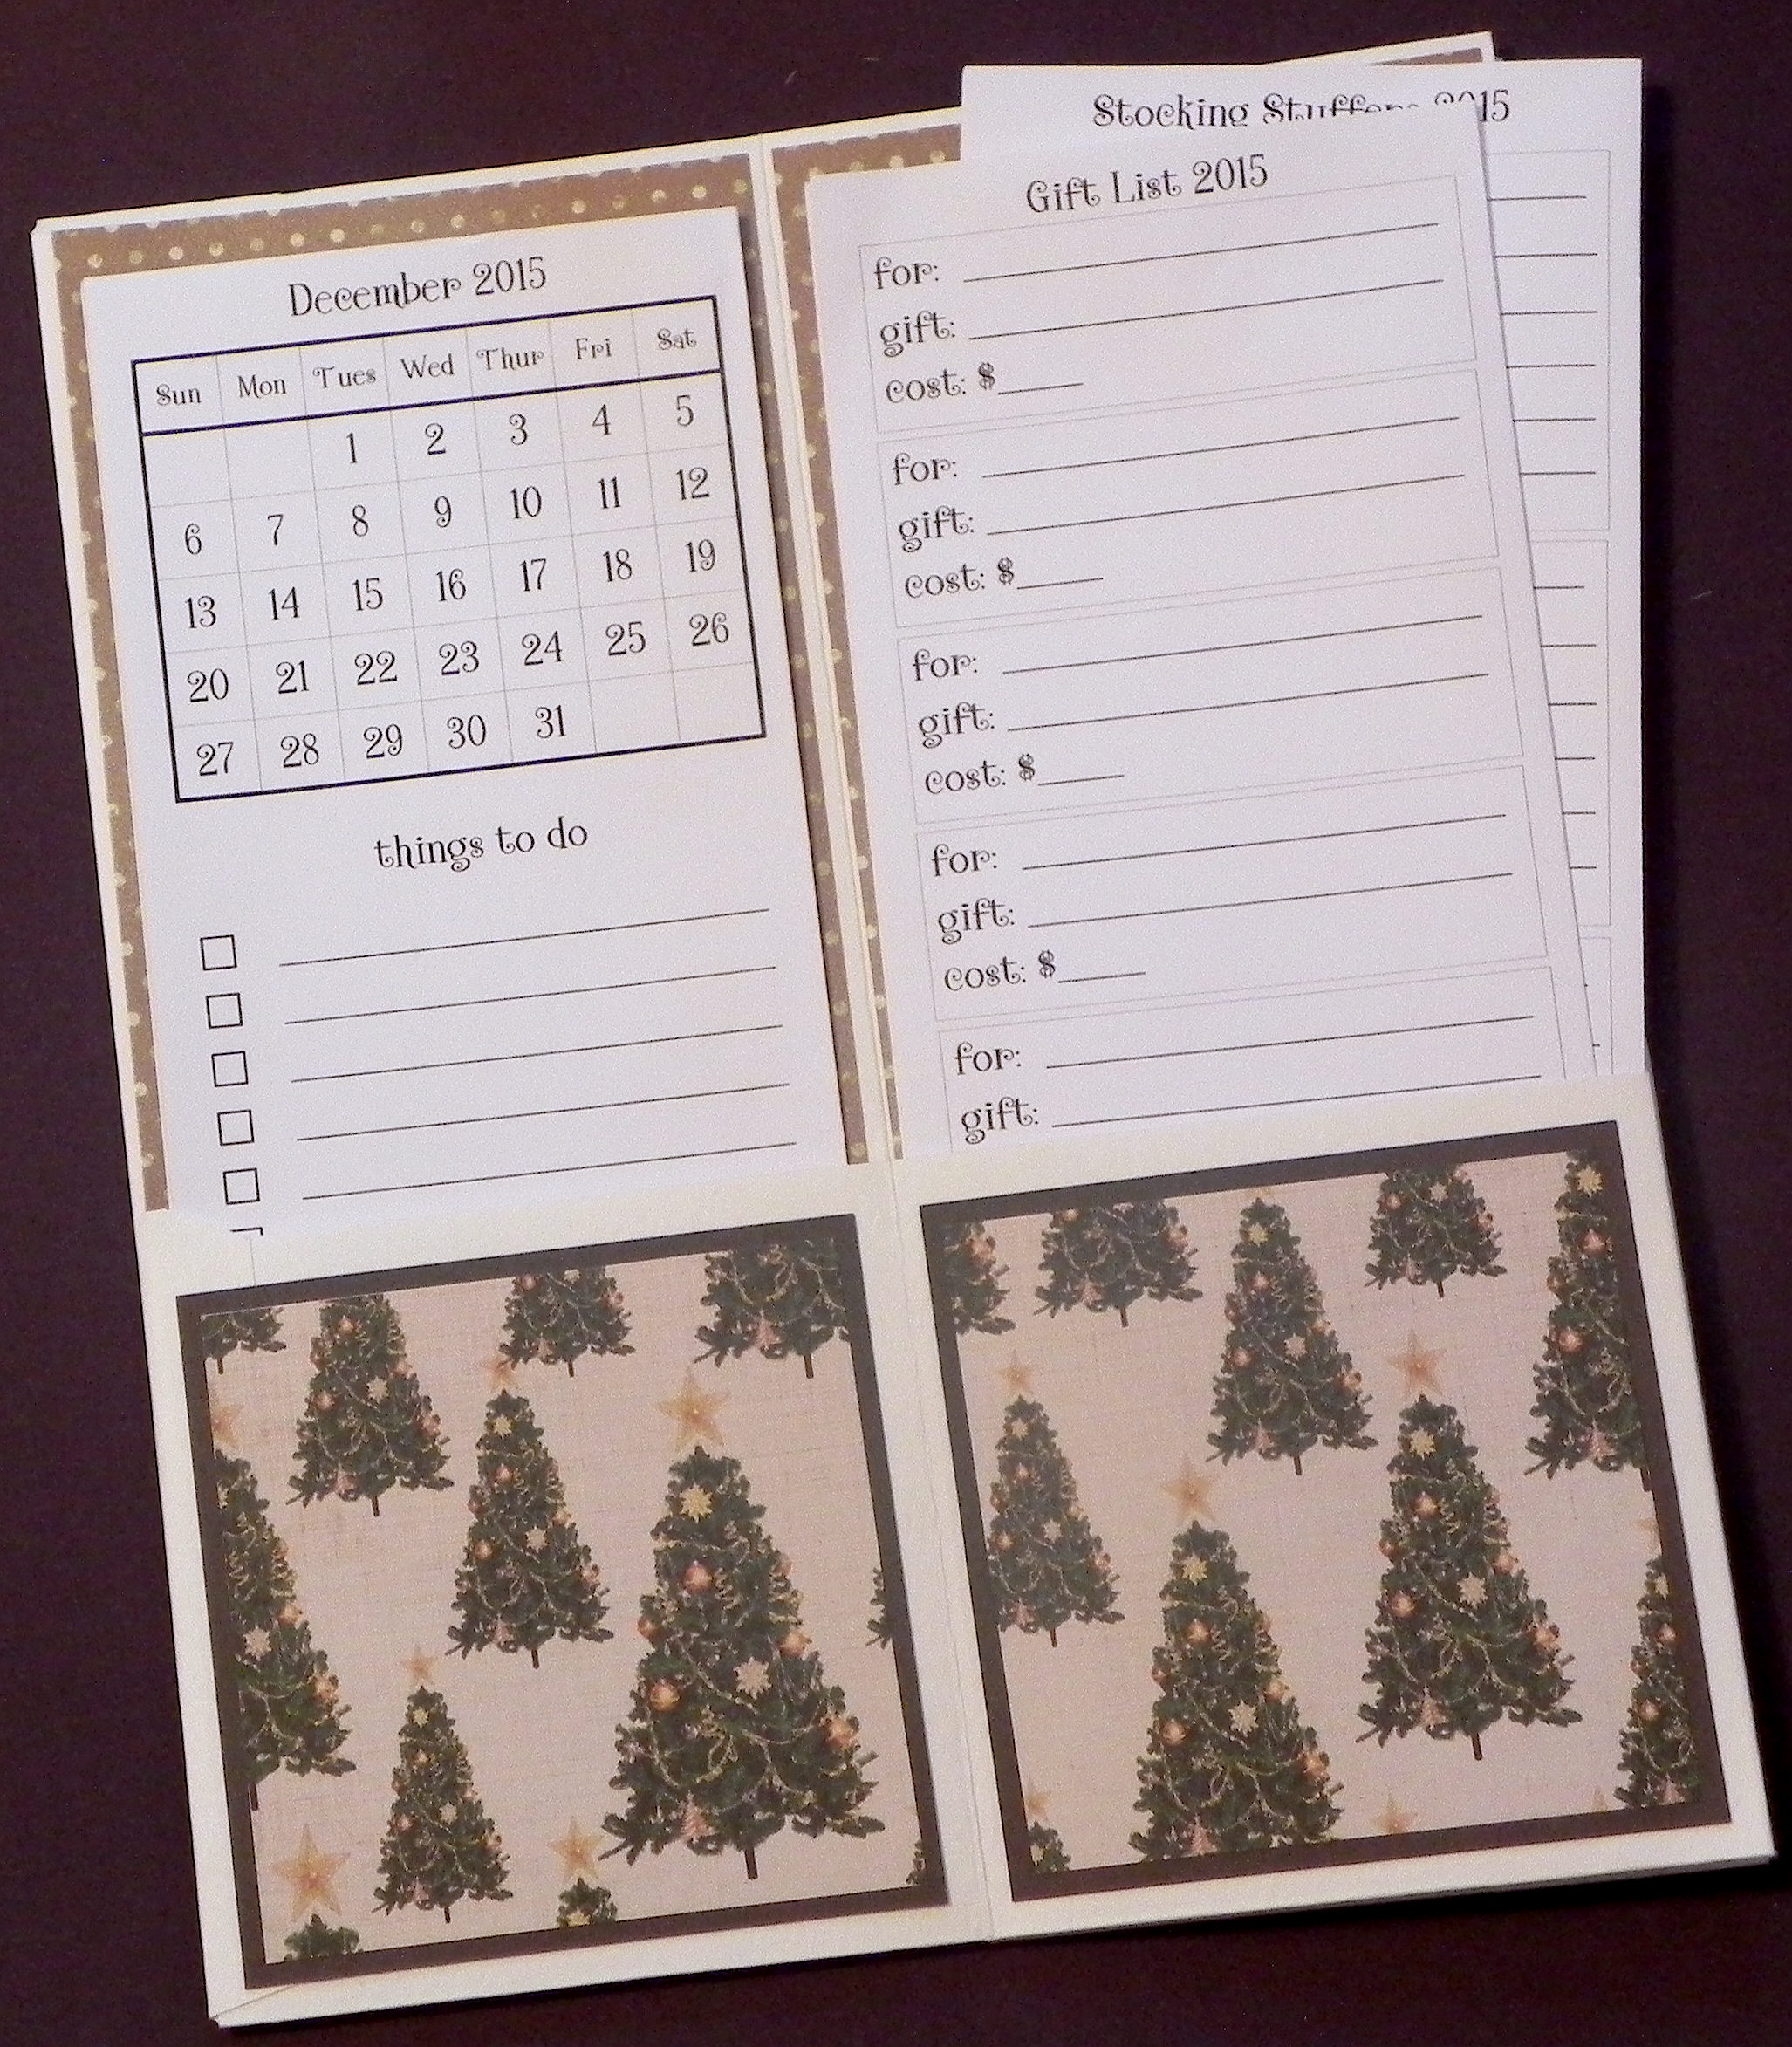
I designed and printed my own inserts for each planner.  I included a calendar, “to do” lists, shopping lists, stocking stuffer and gift lists, card lists, and an envelope for receipts.  (A link for inserts was provided in Melissa’s blog post, but these are copyrighted and cannot be used in products for sale.)  I will include contact information with each planner I sell so the customer can request and print additional/updated sheets for later, if desired.

wwwb DSCN9039

I added decorative paper and mats to the fronts and inside pocket panels and made a “Holiday Planner” label (computer generated) for the fronts.  To finish them off, I tied pens to the planners with raffia. For the sale, each planner will be placed in a plastic sleeve (actually made for license plates) that I found at Bags Unlimited and sealed with clear, circular mailing seals.

I made several different styles.  (Click on each photo for a larger view.)

*

zzDSCN9054   wDSCN9027

     My Mind’s Eye “Holly Berries” from the “Holly Jolly” collection

Recollections card stock (sku 4 0010073676 0)

*

zzDSCN9044     wwwDSCN9034

Jillibean Soup “Folded Flakes” from the “Christmas Cheer Chowder” collection (front and back)

Reminisce “Under the Tree” from the “Santa’s Workshop” collection

*

zDSCN9058     wDSCN9030

Karen Foster Design “Christmas Stamps”

Glitz Design “Joyeux Noes Polka” from the “Joyeux Noel” collection

Gina K Cranberry Tart card stock

*

zzDSCN9055     wDSCN9024

Reminisce “Christmas Holly” from the “A Christmas Story” collection

Reminisce “Christmas Joy” from the “A Christmas Story” collection

Gina K Cranberry Tart card stock

*

zDSCN9051     wDSCN9026

Reminisce “Christmas Joy” from the “A Christmas Story” collection

Reminisce “Christmas Holly” from the “A Christmas Story” collection

Gina K Christmas Pine card stock

*

zDSCN9048     wwDSCN9031

My Mind’s Eye Unforgettable “Happiness” Delight Paper

TPC Studio “Apple Picking” from the “Rustic Garden” collection

Gina K Charcoal Brown card stock

*

zDSCN9050     wwwwDSCN9018

Karen Foster Design “Signs of Winter”

Melissa Frances “First Snowfall”

Gina K Warm Cocoa card stock

AC Moore Chestnut 12×12 card stock (PPR9010)

*

Thanks for checking out my post!

I Don’t Like to Think… Jr. Legal Pad Cover

I Don’t Like to Think… Jr. Legal Pad Cover

wDSCN8817

Here is another notepad cover design I created.

The sentiment stamp on this one is called “I Don’t Like to Think Before I Speak…(RWD-107)” by Riley and Company.  The image is from an Art Impressions set distributed by Hampton Arts and sold at Michaels (Item# 10325411 – Beach Babes).  This set is made exclusively for Michaels and is not sold on the AI website.  I stamped the sentiment and image with Memento Tuxedo Black ink and colored it with Copic Markers (chair: R05 and C4; hair: E74 and E79; drink: Y13, Y11, C1, BG10, and C1; skin: E50, E31, and E04; hat: YR15; glasses: E79) and a Sakura clear glitter pen.  The “sand” is from the “Work of Art” stamp set by Stampin’ Up, stamped with Memento Desert Sand ink.

The cover was made with white card stock.  Then I created a decorative panel and adhered it to the front.  The printed paper is called “Colorful” from the Unwritten line by reminisce.  I used this paper to paper piece her bathing suit and for one of the background panels.  I also used Gina K Blue Raspberry and Sweet Mango card stock.  The Sweet Mango panel was partially embossed with the Darice 5×7 “Stripes” embossing folder.  A piece of sheer ribbon finished it off.

wDSCN8819

Here is the first design I previously posted.  Still more notepad cover designs to come…

Thanks for checking out my project!

This content uses referral links as described in the disclosure policy on my sidebar.
My Husband’s Wife… Jr. Legal Pad Cover

My Husband’s Wife… Jr. Legal Pad Cover

yyyDSCN8837.jpg

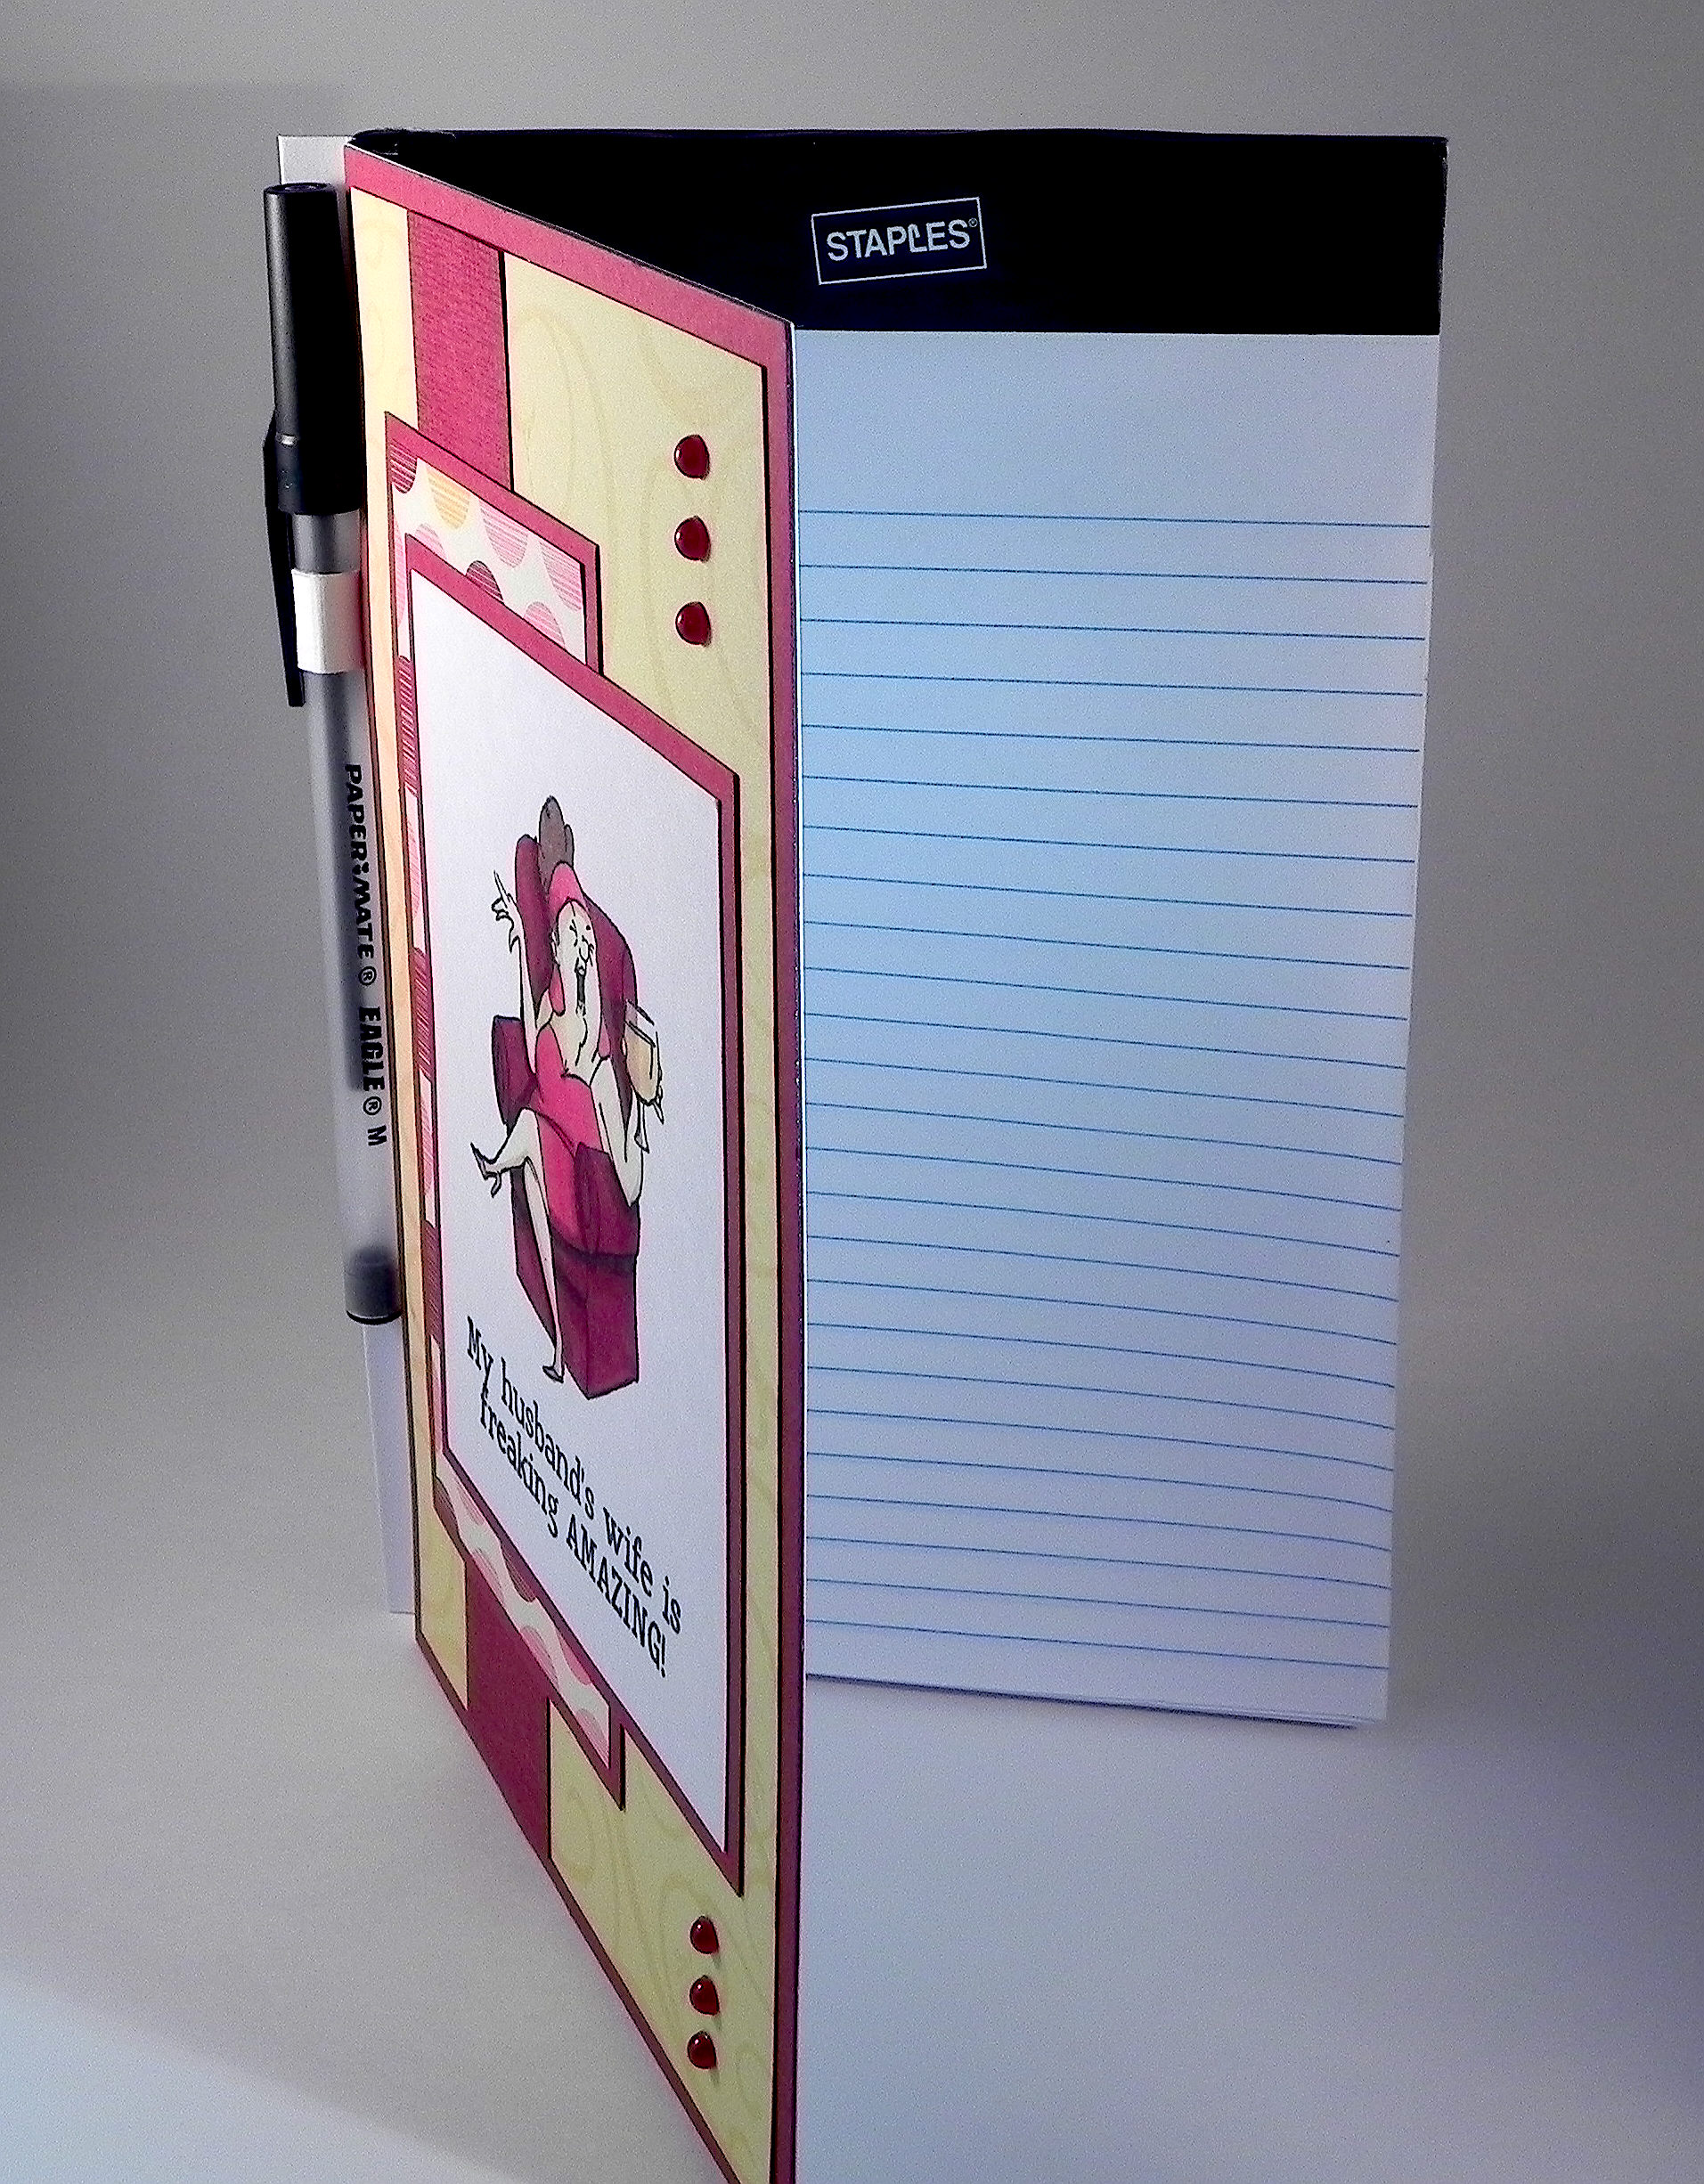
I love amusing stamps (both images and greetings) and have purchased quite a few of them. Unfortunately, they are not always appropriate for birthday, anniversary, thank you, and get well cards which is what I make/send most.  While they are fun as “just because” cards, I often don’t have time to create and send cards like that.  I originally saw some gorgeous notepad covers created by Kathy Krug which she posted in her StampTV Gallery (sadly, this site is no longer active.) and then found a YouTube video tutorial by Melissa The Stamp Doc (HERE) showing how to make them.  I thought they’d be the perfect “canvas” for some of my sillier stamps and would make great stocking stuffers so I decided to make some for the Rolling Green Golf Club’s Holiday Boutique.  I have to say I had a lot of fun with this project!

I went with a simple, playful design for my covers.  The sentiment stamp on this one is called “My Husband’s Wife…(RWD035)” by Riley and Company.  The image is from an Art Impressions set distributed by Hampton Arts and sold at Michaels (Item# 10387640).  (There is no name on this particular set, but “Aged to Perfection” or “Wine Diva” seem to work when I searched the set on google.)  This set is made exclusively for Michaels and is not sold on the AI website.  I stamped the sentiment and image with Memento Tuxedo Black ink and colored it with Copic Markers (chair: R89 and E49; dress: R81, R83, R85 and R89; hair: E47; Wine: Y32, E33, and E31; skin: E50, E33, E31, E04, and R21)

The cover was made with white card stock.  Then I created a decorative panel and adhered it to the front.  The printed paper is called “Savannah Dot” by Scrapworks.  The solid card stock is Gina K Cranberry Tart and Sweet Corn.  I created the pattern on the Sweet Corn card stock with a stamp called “Florentine Scroll Background” by Hero Arts and Gina K Sweet Corn ink.  It’s hard to see in the photo above, but I added “texture” to the vertical Cranberry Tart strip with a stamp from the “Frame & Filler” set (retired?) by Gina K Designs and Gina K Cranberry Tart ink.

The adhesive pearls were from Michaels (in the “impulse shopping” bins by the checkout counter) and were a perfect match to the Cranberry Tart card stock!

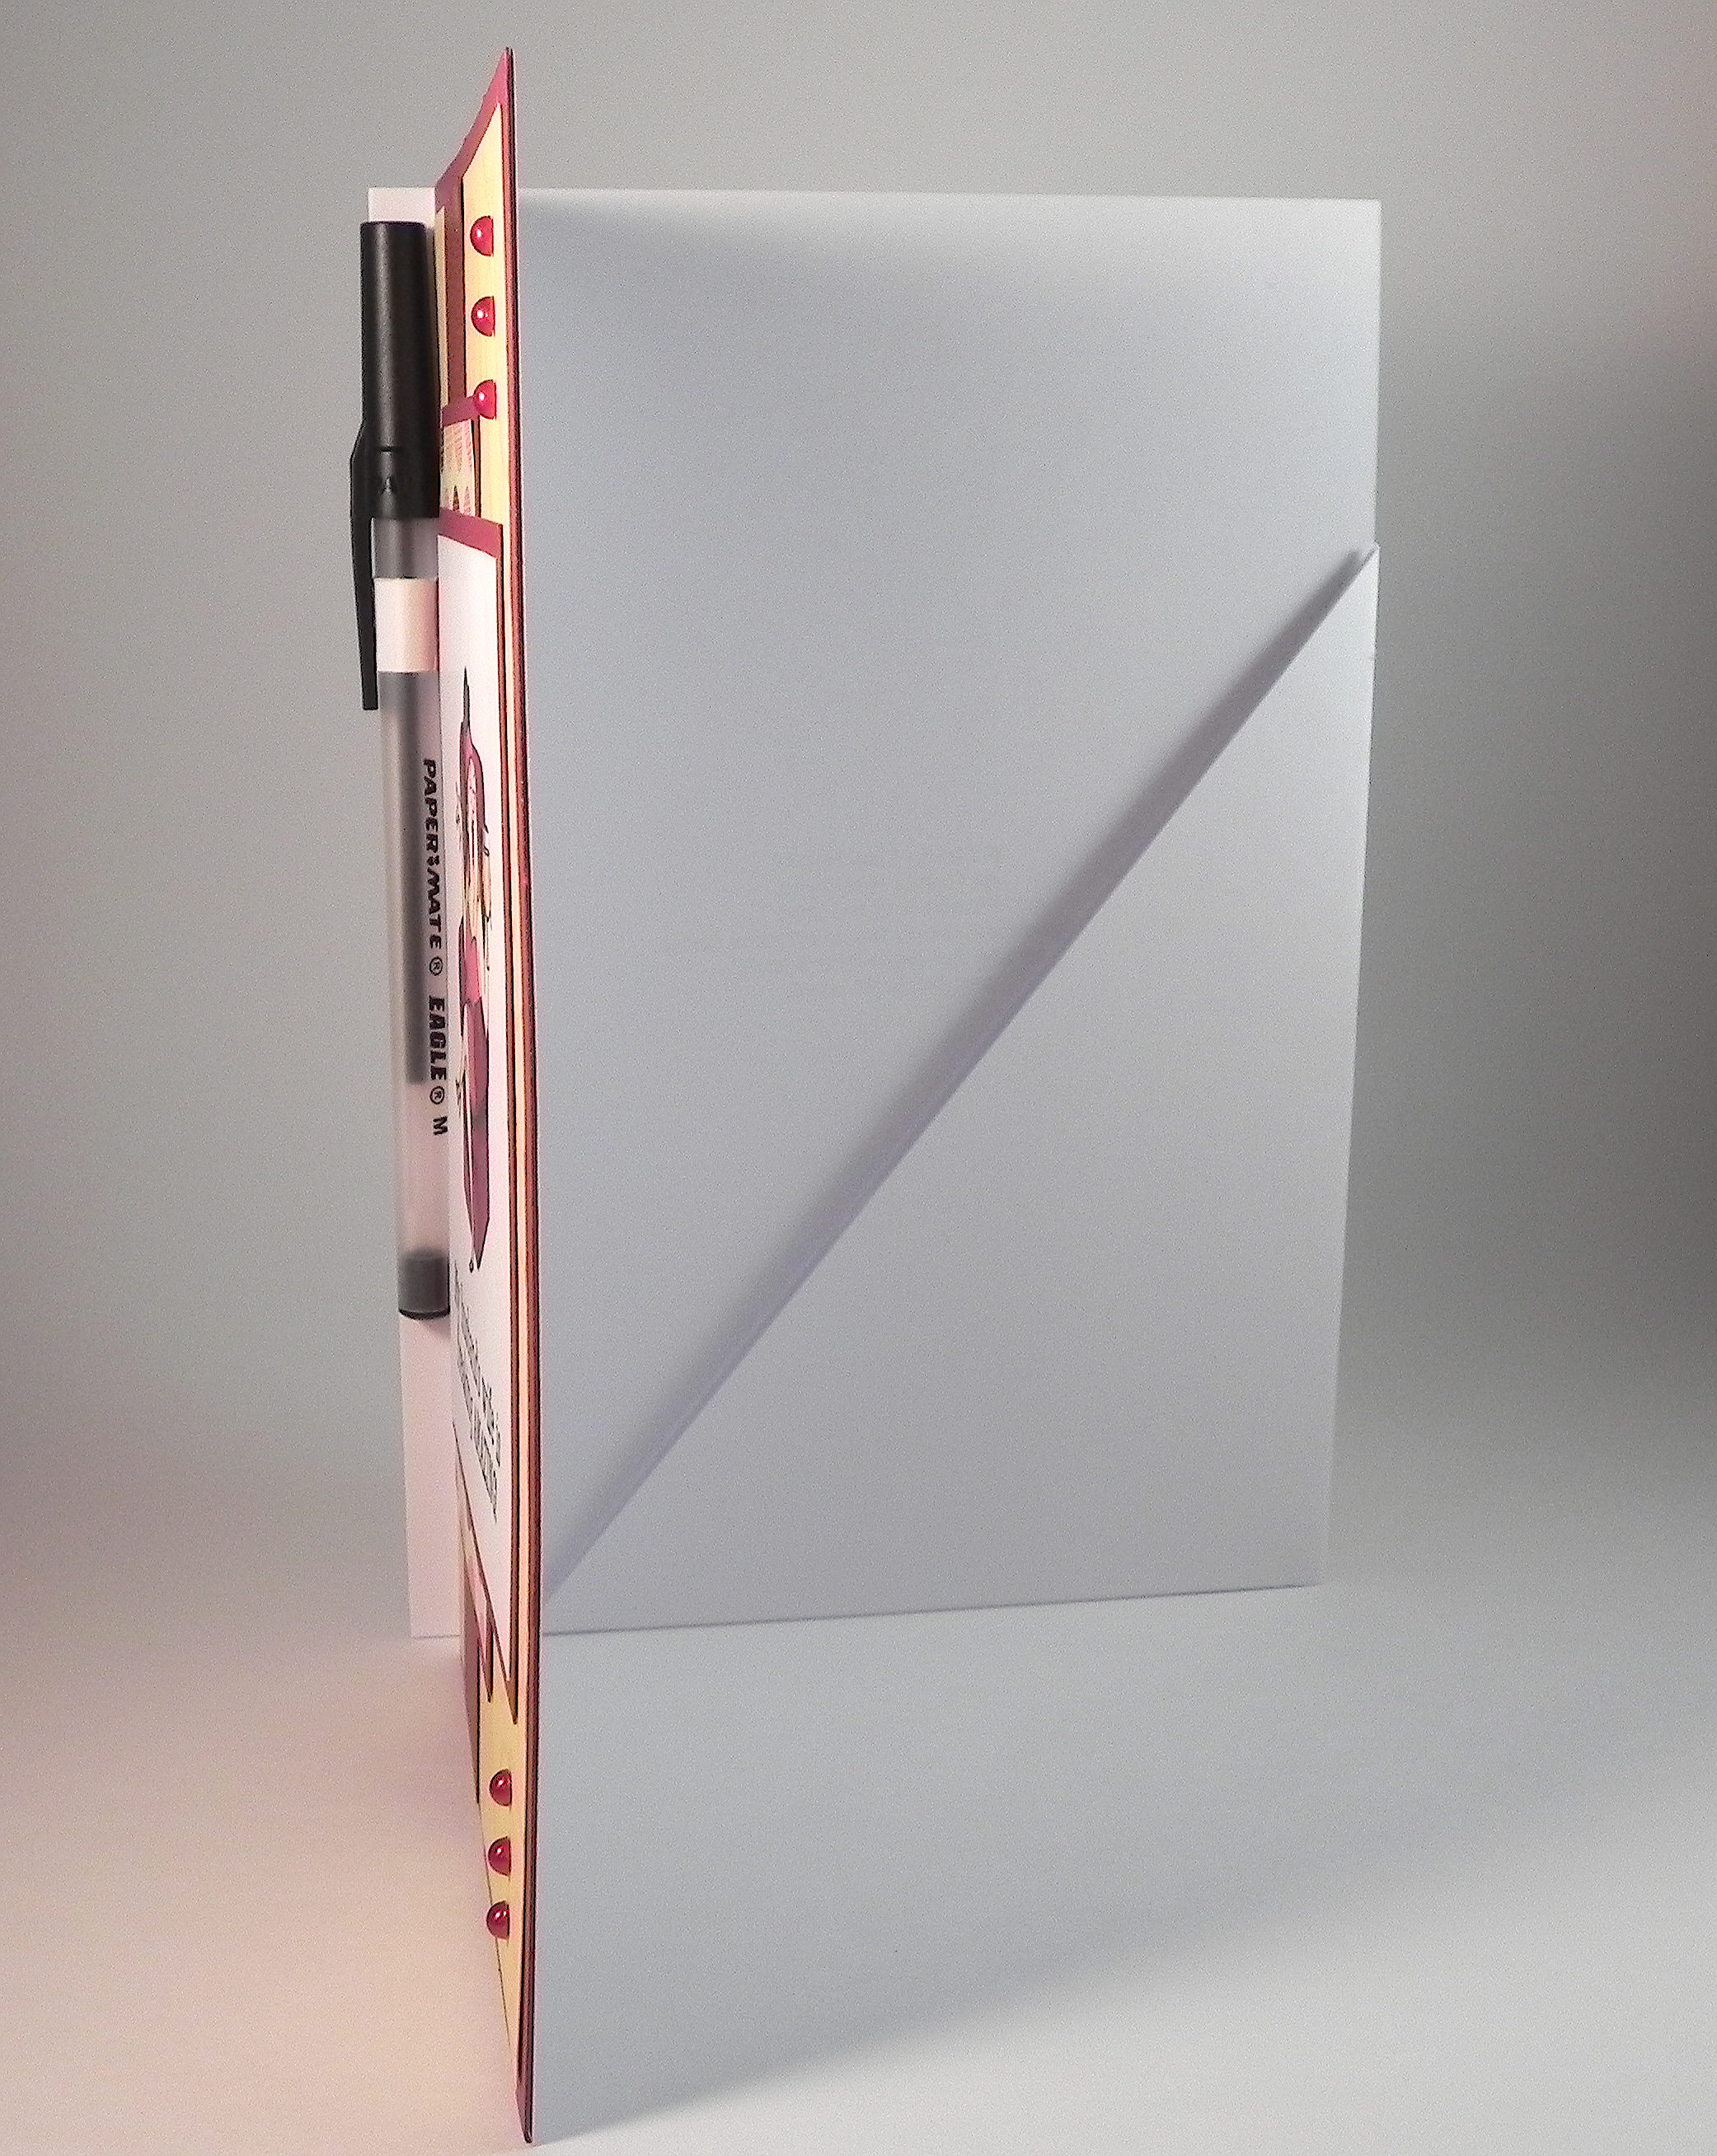
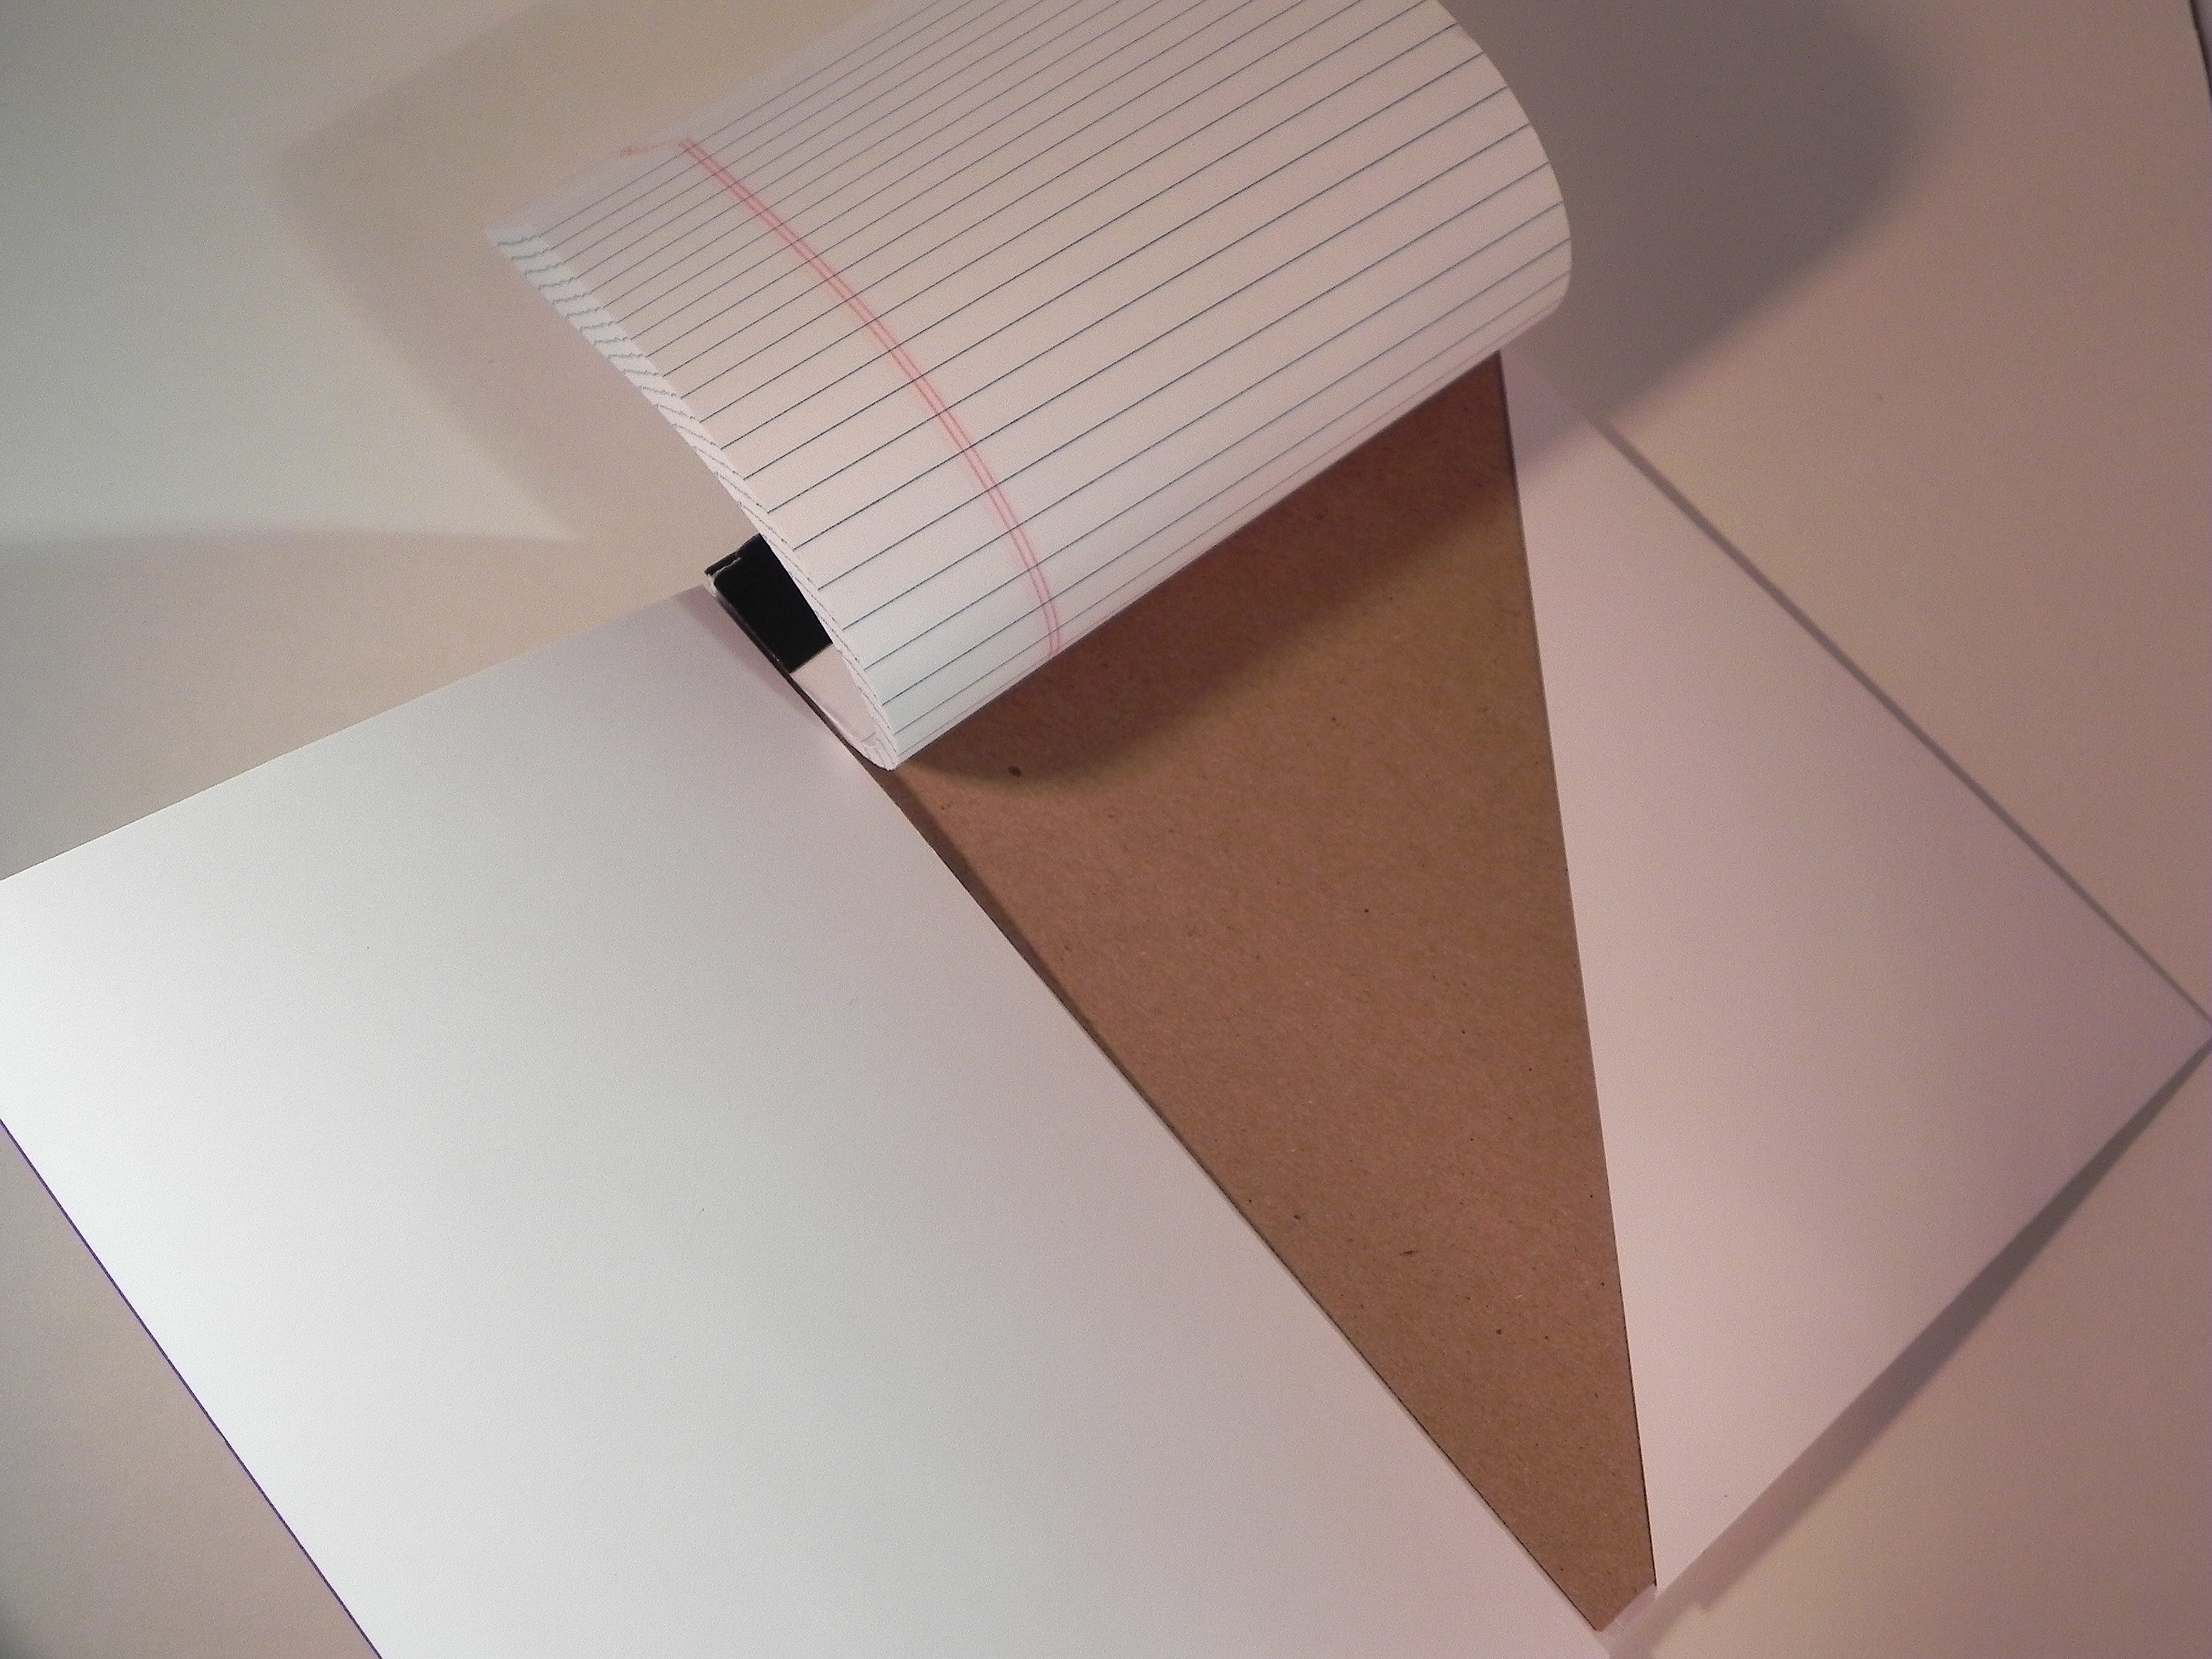
I made a pocket (a square envelope cut in half, diagonally) with my We R Memory Keepers Envelope Punch Board and adhered it to the inside, back panel.  The back, cardboard panel of the note pad slips into this pocket which holds the notepad in place and allows for easy replacement when all the paper is used.

wDSCN8873      wDSCN8878

The Jr. Legal Pad (5″ x 8″) was purchased at Staples.
wDSCN8805

This is one of several notepad cover designs I created.  More to come…

Thanks for checking out my project!

This content uses referral links as described in the disclosure policy on my sidebar.
Graduation Cap Gift Box

Graduation Cap Gift Box

Graduation Cap Gift Box.jpg

I made several of these gift boxes a few years ago for some high school graduates and was just asked where I bought them by the mom of one of the original recipients. (She wanted to give them as gifts as well.)  After telling her that they were hand-made, I whipped up a few for her and decided to share them here.

The gift box was created using my Silhouette and an svg file from the Graduation Day SVG Kit from svgcuts.com.  (You can see the tutorial on how to assemble the box once your pieces are cut out HERE.)  I used Core’dinations “Black Cat” card stock, and embroidery floss for the tassel.  (The video tutorial I mentioned shows how to make the tassel as well.)  I made my cap all black, but you could customize this project with paper and tassel to match the school colors of the graduate who will be receiving the gift!

Thanks for checking out my post!

This content uses referral links as described in the disclosure policy on my sidebar.